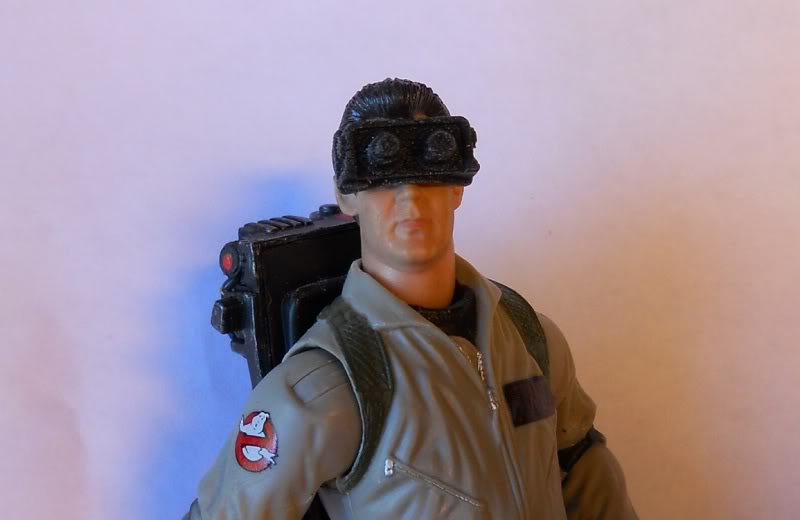
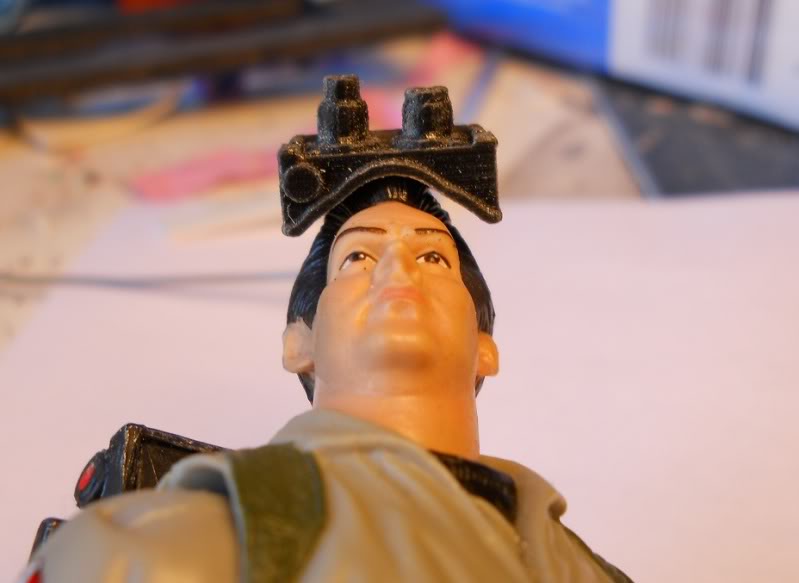
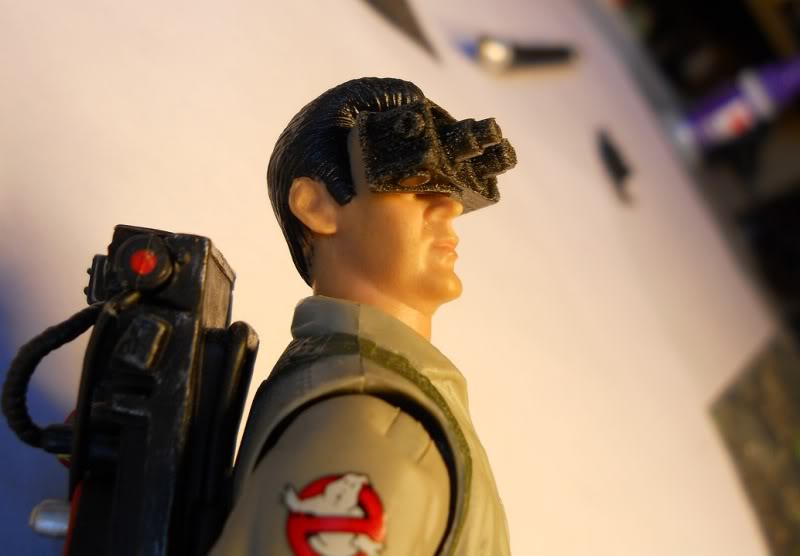
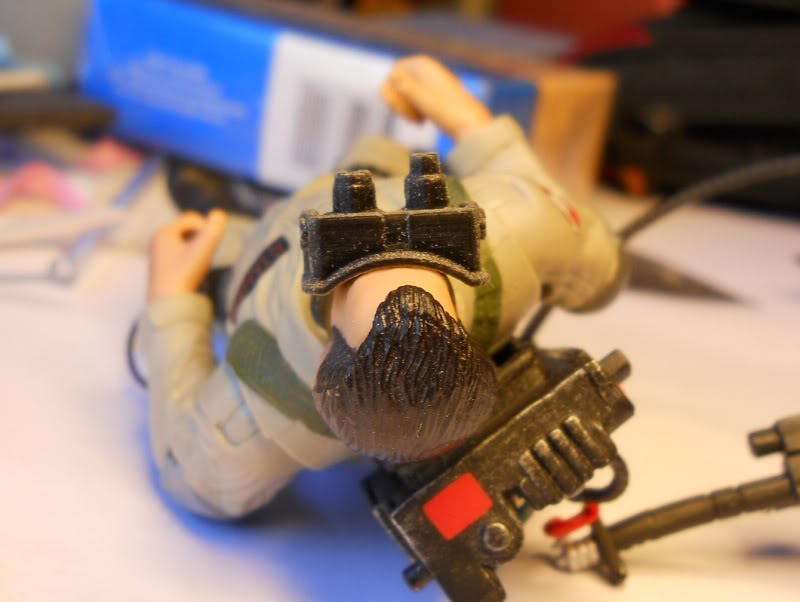
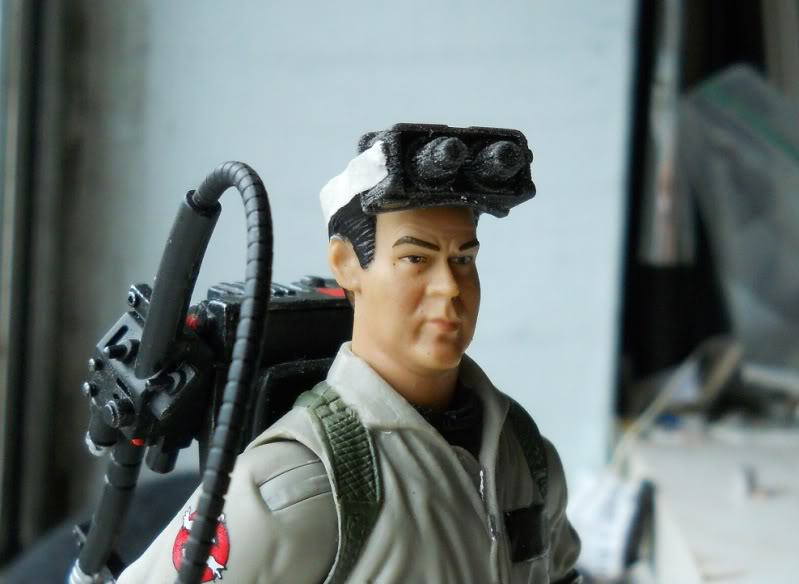
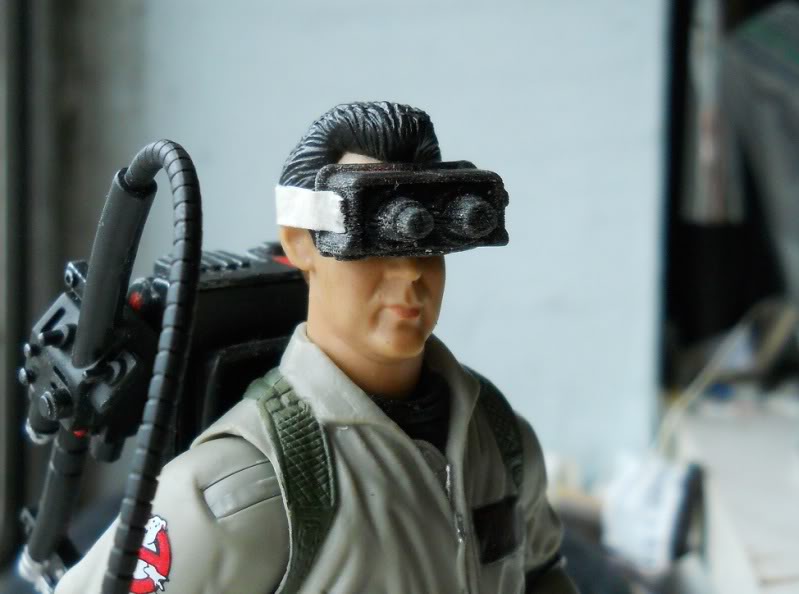
I’m not thrilled with the fit on these, but I’m putting it out to the community . They actually fit nicely on Peter and Winston, and even reasonably well over Egon’t glasses, but Ray’s the one that they need to look good on, and they’re a little big on his narrow freak head. The straps were too small to print on Shapeways, but a pair of straps are pretty easy to cut out by hand. I’ll be making some for these, but I like to show how this stuff comes out of the package.
So what do you gents think? Too narrow? Good enough? Good enough for now? I’m going to go back to the program to see what I can do, but I could make them available now, If anyone likes them.
The Ray figure needs his own set of Goggles sized just for him. I’d narrow the gap between the Lenses and extend the sides so the cut away for his forehead and nose could be deepened, but that’s just me.
Are all the edges on your Goggles smooth? They appear to be a bit soft or fuzzy looking.
About the fuzziness- The 3D printing process they use on this stuff involves building it up with layers of plastic . That means that the top and bottom sides are perfectly smooth, and the sides are slightly ribbed. There is a slight graininess around the edges. Some of that comes off with a simple swabbing with rubbing alcohol and the rest can mostly be hidden with paint. I’d rather show them exactly as they arrive than show them cleaned up and have someone get mad that I misrepresented what they’re getting.
I already have a pair of goggles that I made from scratch that fit much better, but I wanted the challenge of making them like this, and being able to share them.
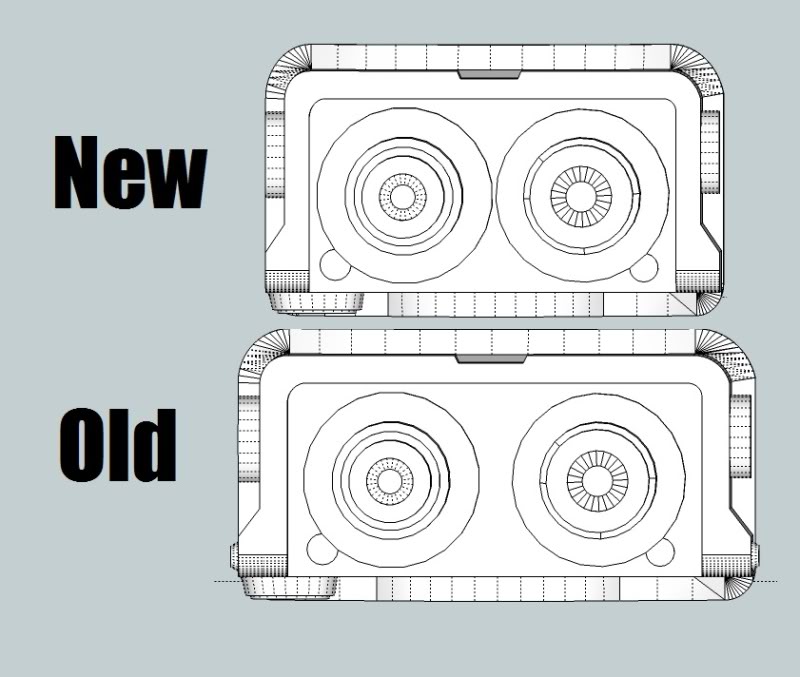
For anyone who’s interested in the Sketchup particulars- to distort around the lenses and battery plug (round cover on the underside) I first deleted the flat planes that the lenses are sitting on and the plane on the bottom. This disconnected those parts from the rest of the model. That left me free to do a simple resizing squash on the body around them. I then just dragged the lenses and plug to where I needed them. It didn’t affect the round knobs on the sides since they were being distorted along their flat axises and not their round ones. Once the lenses and plug were where I wanted them, I redefined the surfaces under them and then merged the surfaces. Hopefully the small differences in thickness wont lower my wall thicknesses enough to affect printability.
Got my Goggles yesterday. I ordered 1 pair made with the Black Detail Material at $4.46, the other is made with the Frosted Ultra Detail at $7.12. Here are the photos:
These were taken right out of the bag, so no painting or cleaning was done.
Being clear, it’s hard to tell if the “grain” still shows as much on the Ultra, but you can see a vast difference in the sharpness of the “glass” in the Lenses.
Once I clean them up with Rubbing Alcohol and put a coat of Paint on them, we’ll have a better compairison. At the moment, it looks like Frosted Ultra for the win.
yup, frosted looks much better, more detailed (lenses even look longer, but Im sure thats because the plastic holds the detail better then the black) gonna have to order some stuff from tom next week when I have some free bucks to play with
Wow! frosted Ultra is really nice. I don’t even have any of my own stuff printed in that. Maybe I should splurge a little more on myself. I’m very eager to see them painted up. Also, if you do decals for them I might need a set for mine.
I STILL wish someone would offer a movie accurate proton pack through this 3d toys website, Matty’s is good but like many of their products, it leaves room for improvement…
One coat of Paint for each. Black Detail still on the Left, Frosted Clear on the Right. You can see the Frosted gives much sharper edges and details.
Layers are still visible, but not as deep,
The Lenses on the Frosted set are microns longer but the details are miles better. The Frosted also took the paint much more evenly.
Here’s Ray wearing the Balck Detail Pair. I used Museum Putty to hold them in place.
And here he is with the Frosted Clear Pair, much nicer.
Think I’ll use the Black Pair as a Belt Hanger, the Frosted are getting a bit more paint work and some Decals. I’ll have to rework the side Instructions Decal from the Rookie as it’s a bit too large.
I have to say, I’m pretty embarrased, that I still haven’t gotten around to posting my OWN pictures and here you are knocking it out of the park Cap! Nicely done. Thanks to everyone for the kind words! And thanks again to CaptCyan for doing the world’s best commercial for my Shapeways page!
As for the straps, I have a set on mine, and all I did was cut thin strips of some thin pleather and glue them on with Krazy glue. I have mine in the Black Detail, and the glue holds just fine.