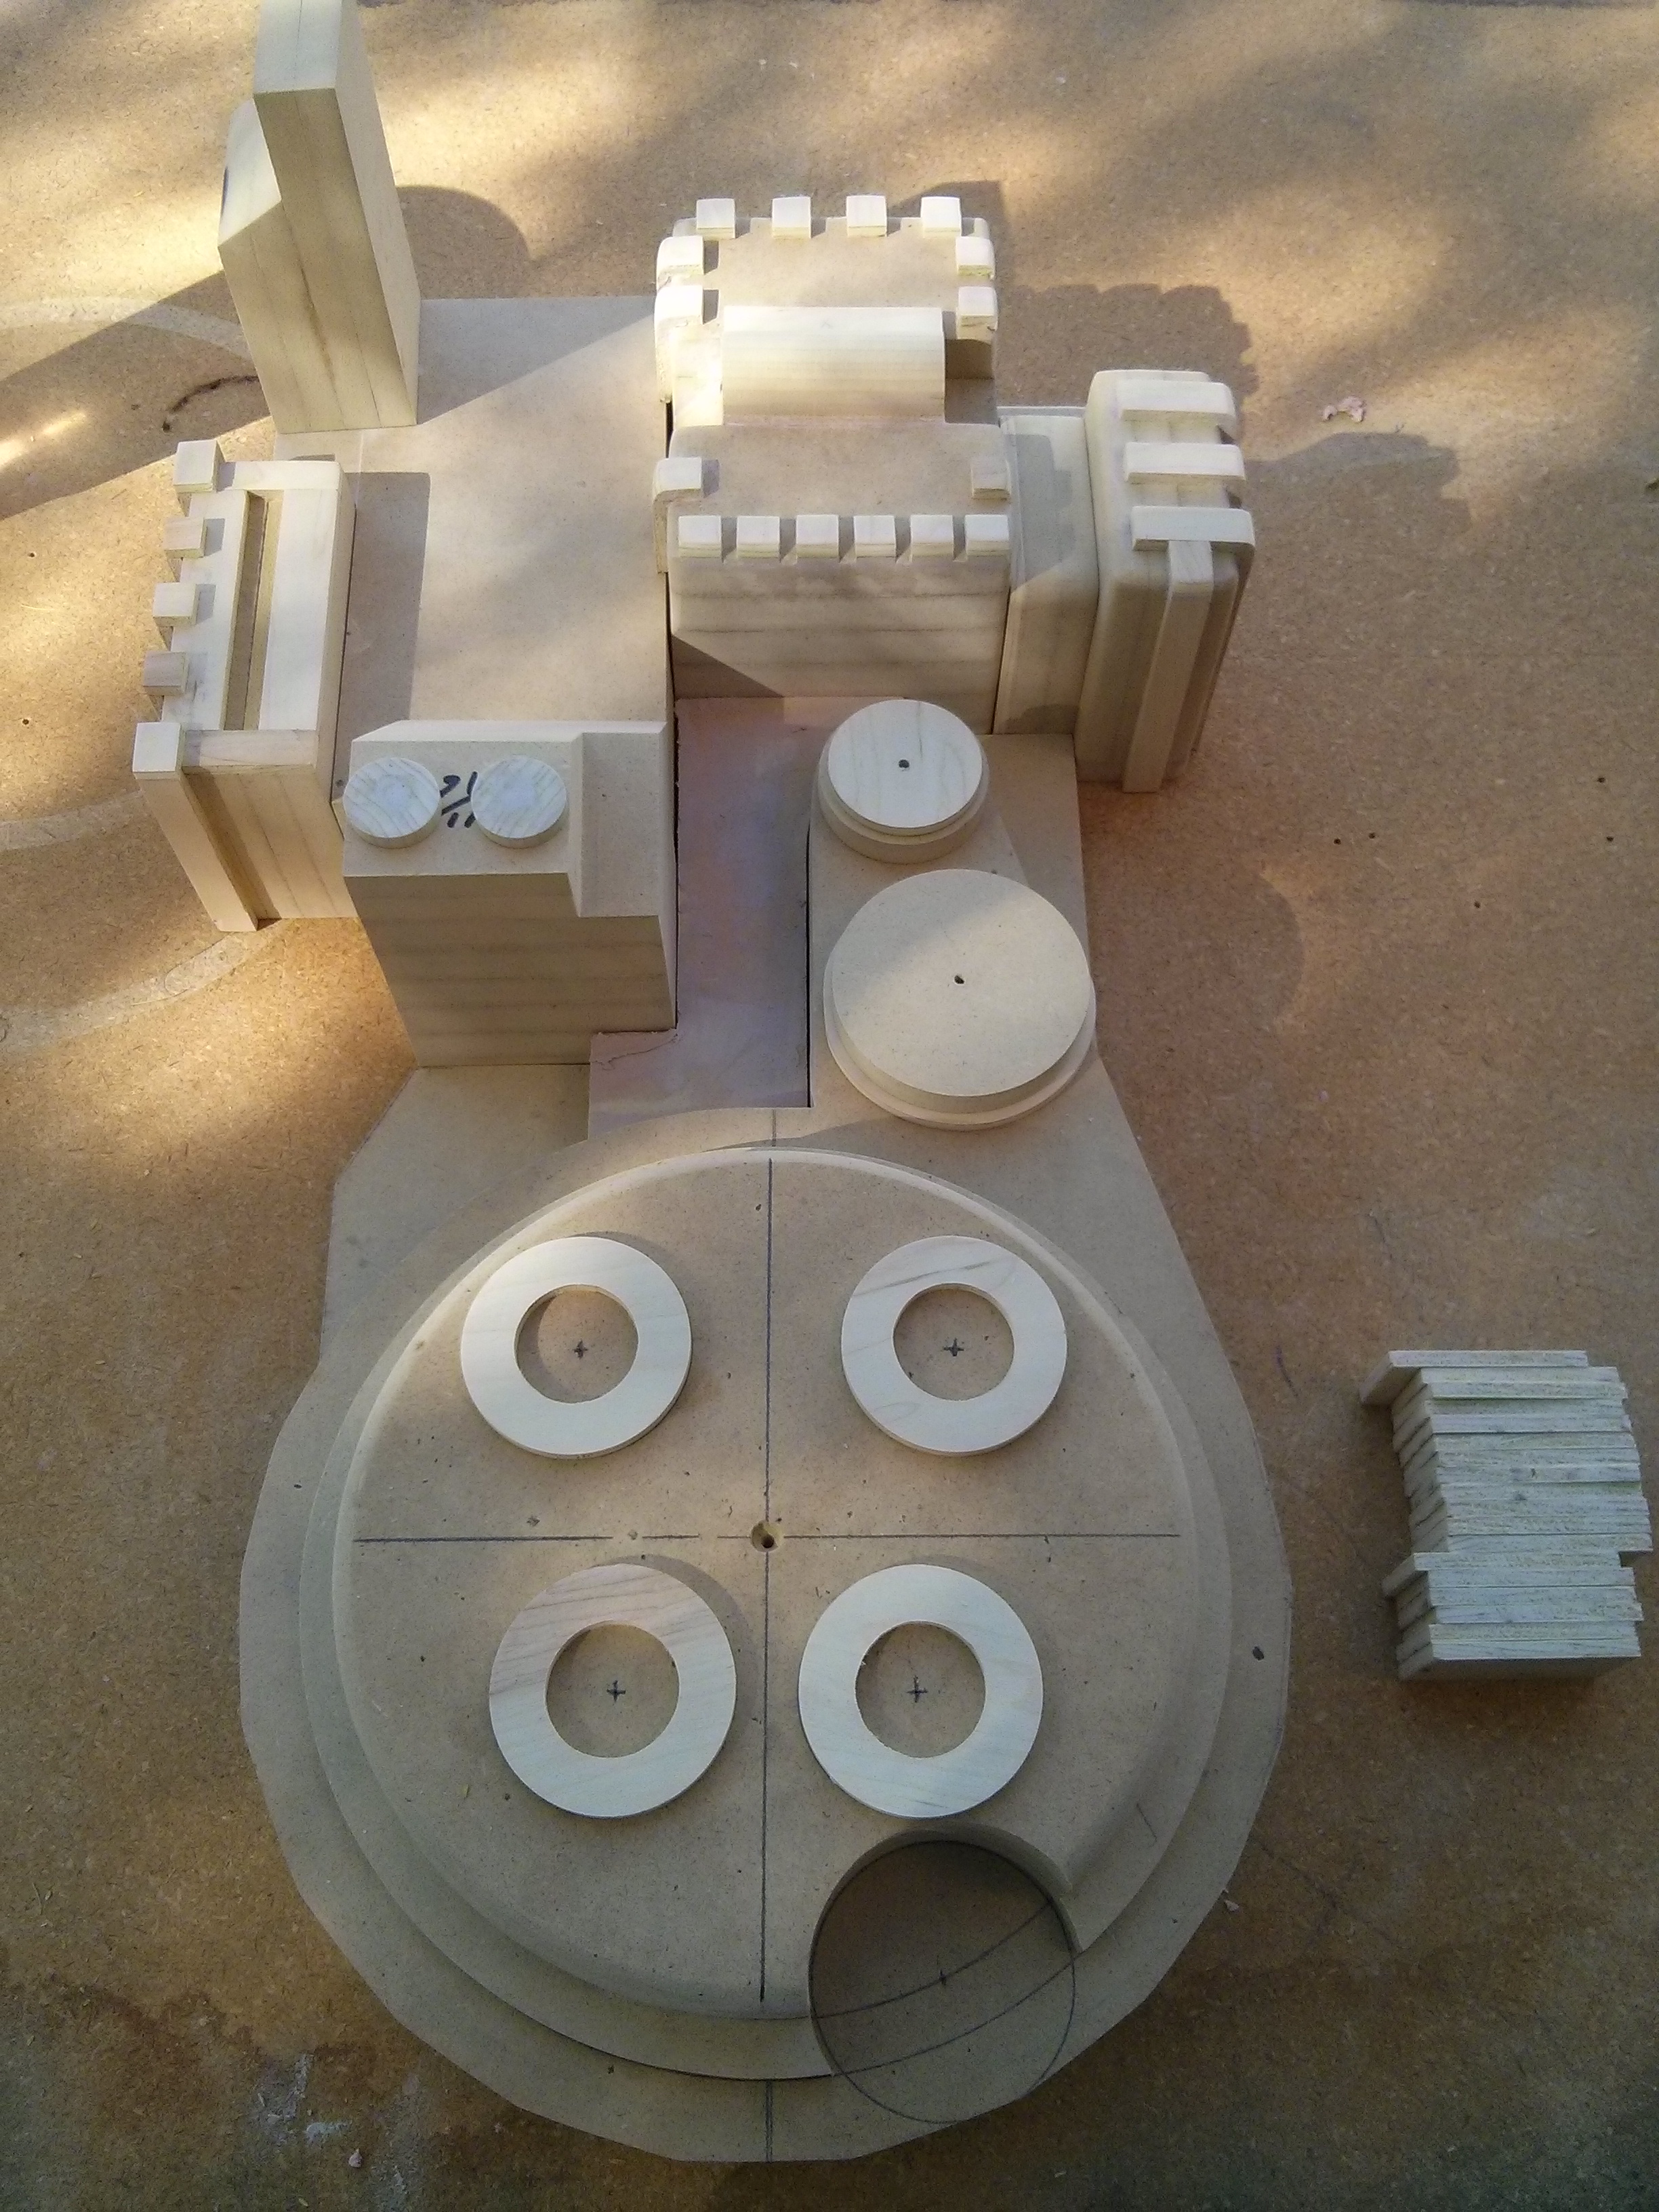
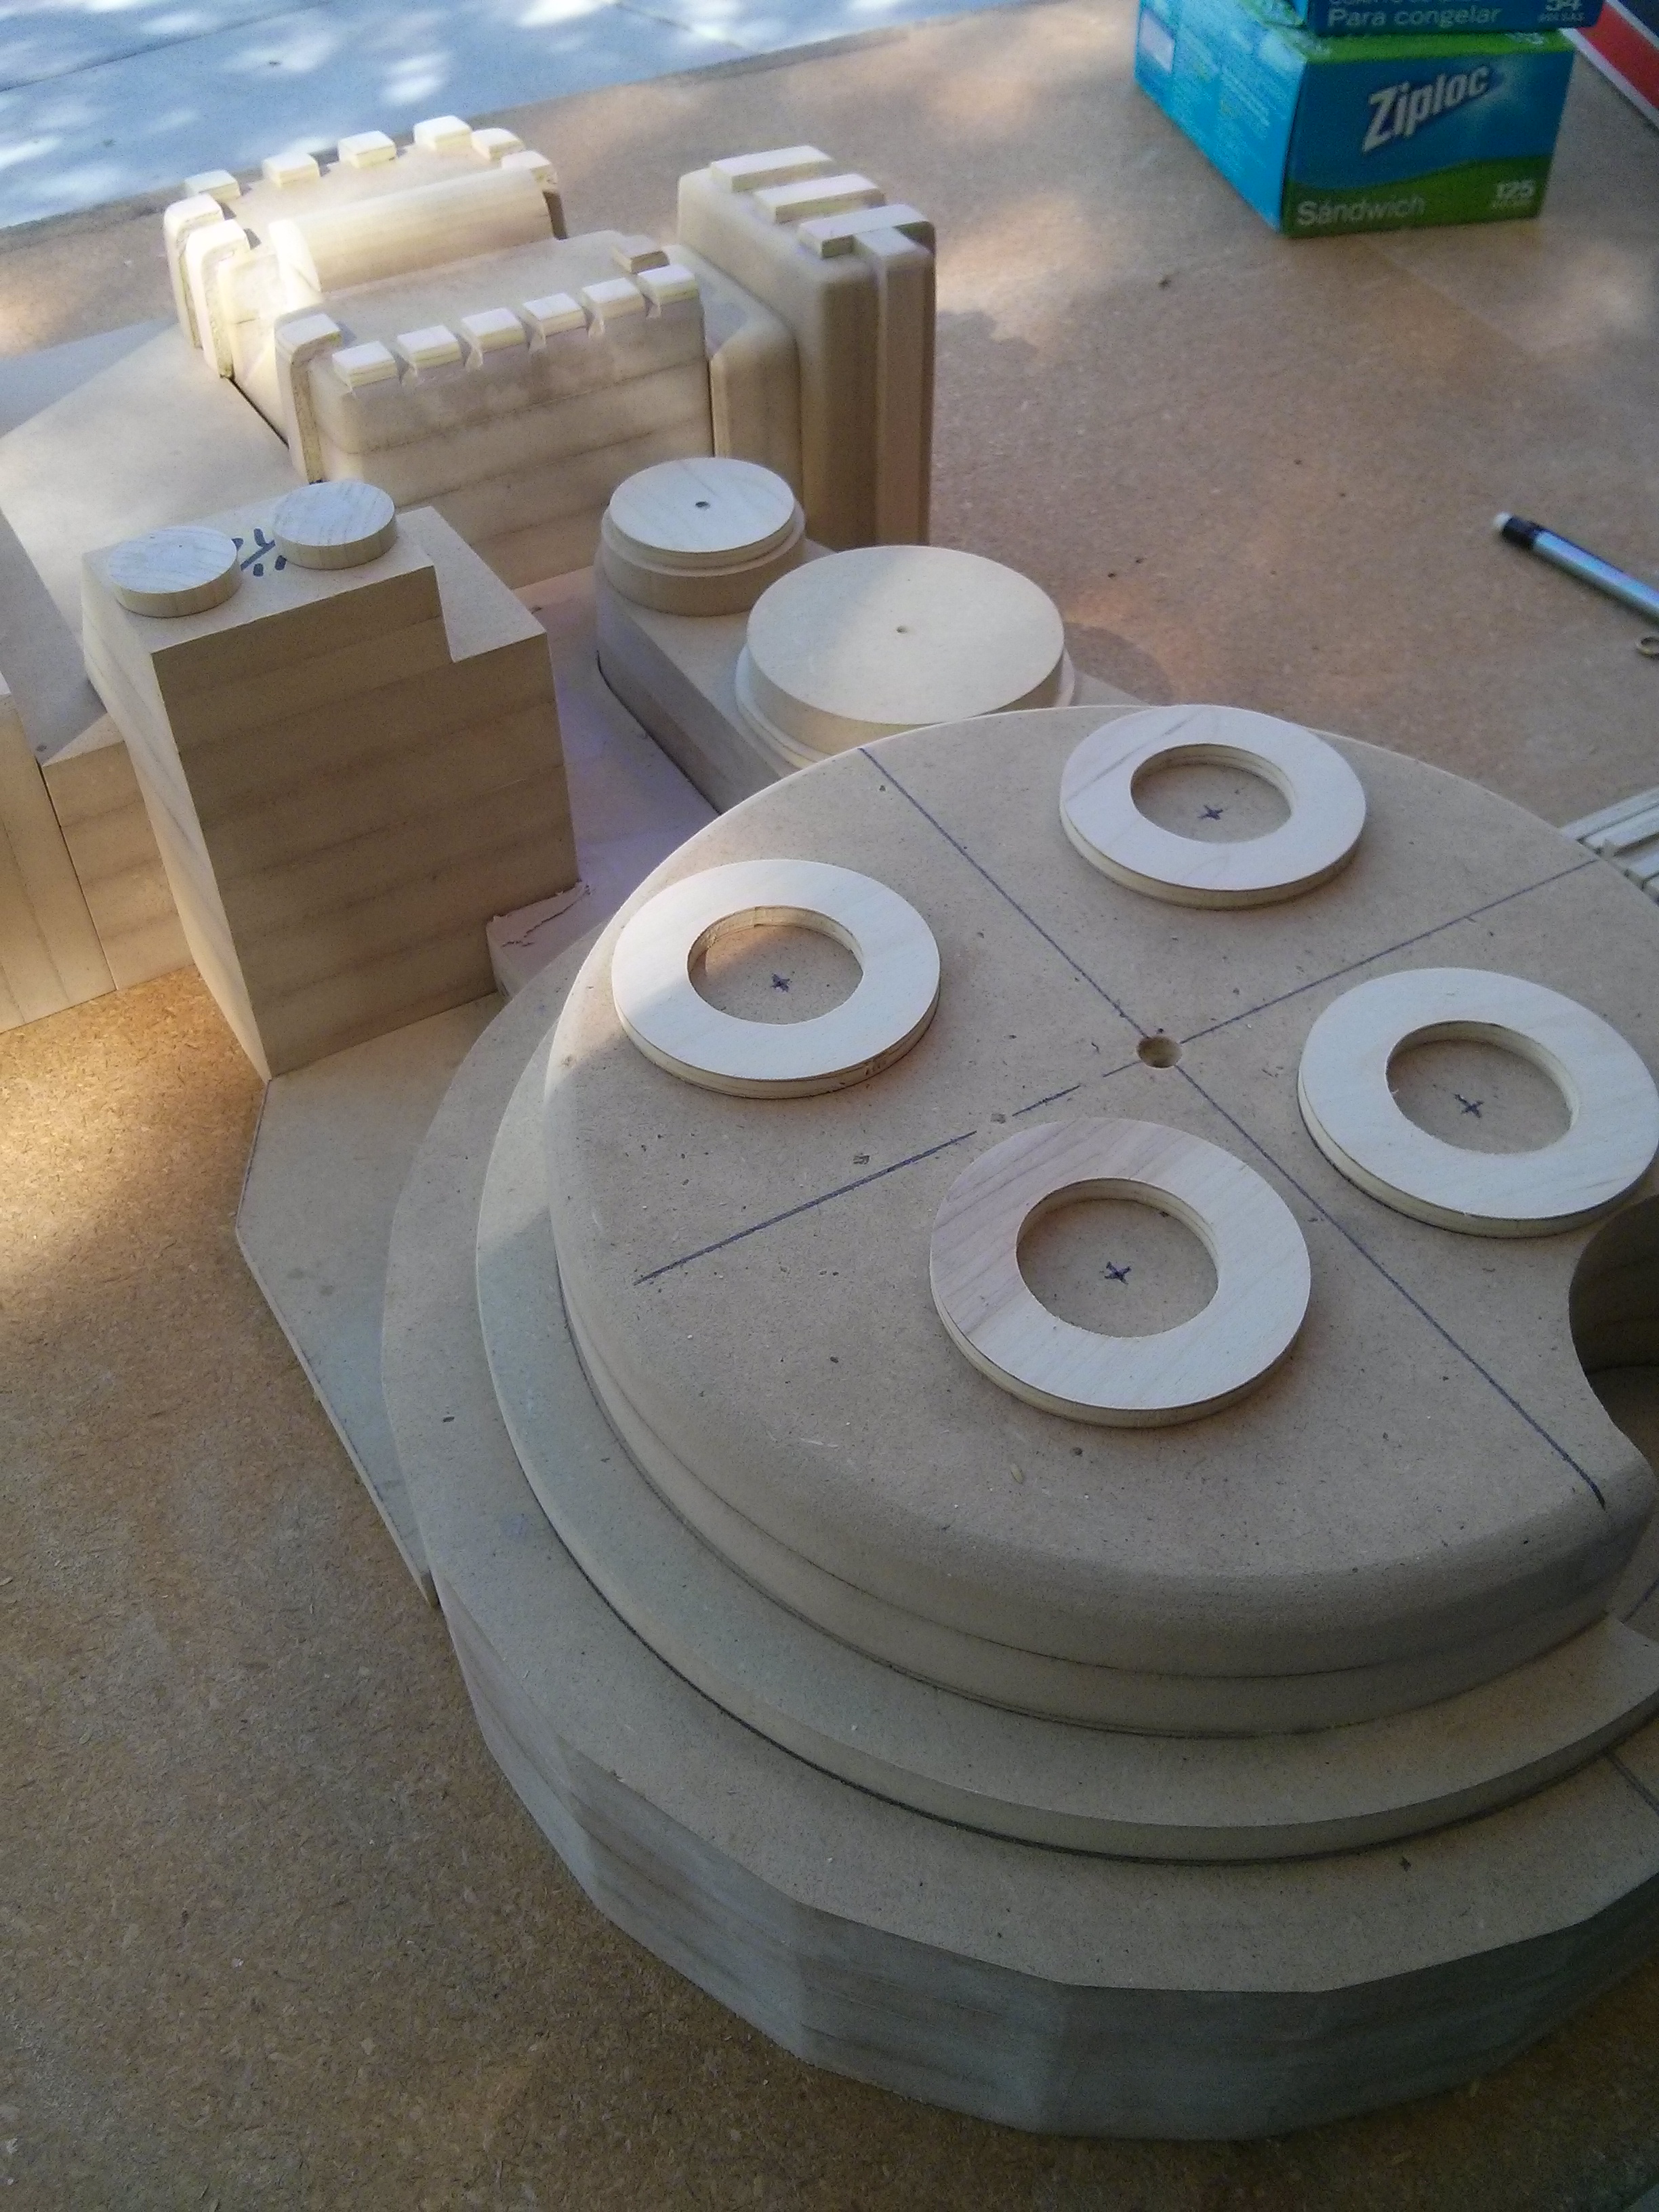
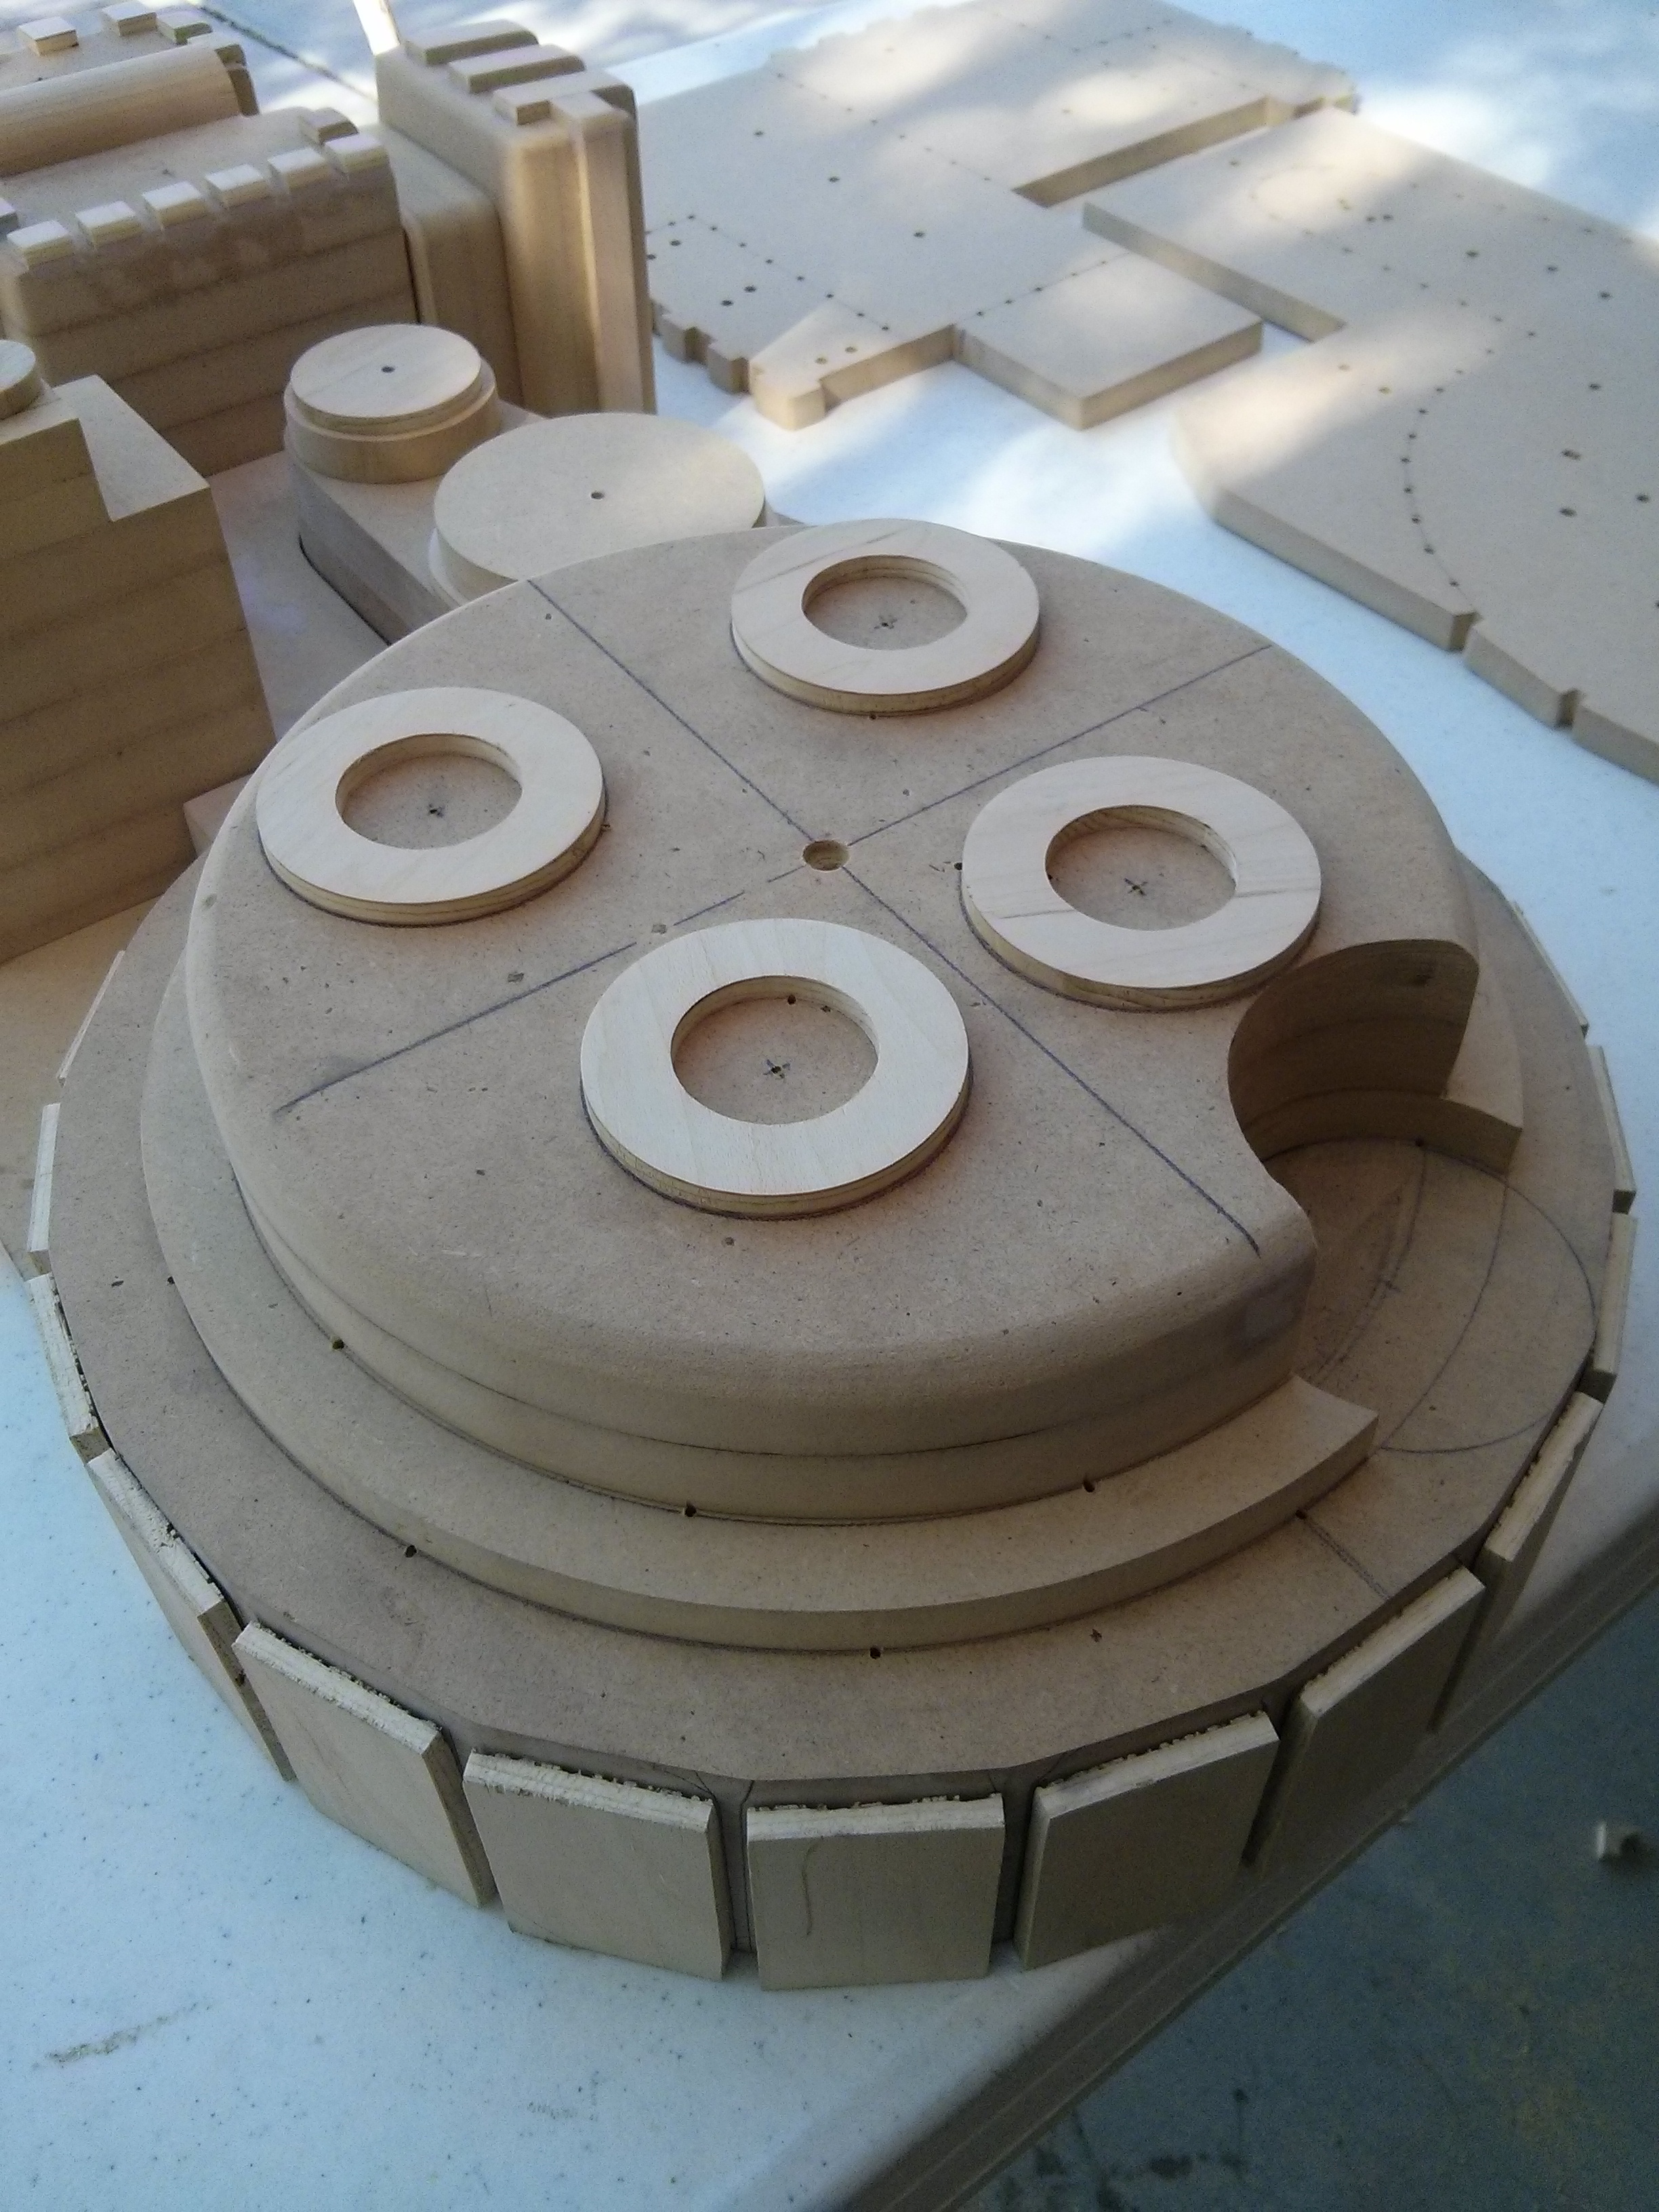
Just posting some pics of my pack. It took me a while about 1.5 months to get this far mostly working on Sundays. The plan is to pull about 4 vacuum shells from this maybe more if other friends are interested.
It has been fun I got to use my router a lot even made a DIY router table. I know it isn’t 100% screen accurate but since it’s going to be a vac shell it never will be.
With that being said if you notice any major issues let me know. Also any other pro tips for vacuum forming would be great I already did some really early test pulls with thin styrene and learned a lot already.
Pack pieces dry fit together. The spacer ribs have yet to be attached (Ignore any extra bondo it was still drying)
I plan on updating more especially when I do some pulls. I should have posted more when I started now most of the pieces are already created and I have do the prep/gluing/sanding
I am planning on the ion arm being done as a separate piece(s) which seems to be pretty common for vac packs. I will likely reinforce with wood/epoxy on both sides and then attach with a couple bolts & washers. I am probably going to reinforce the whole back with fiberglass which i don’t really want to do but I want it to be as sturdy as possible.
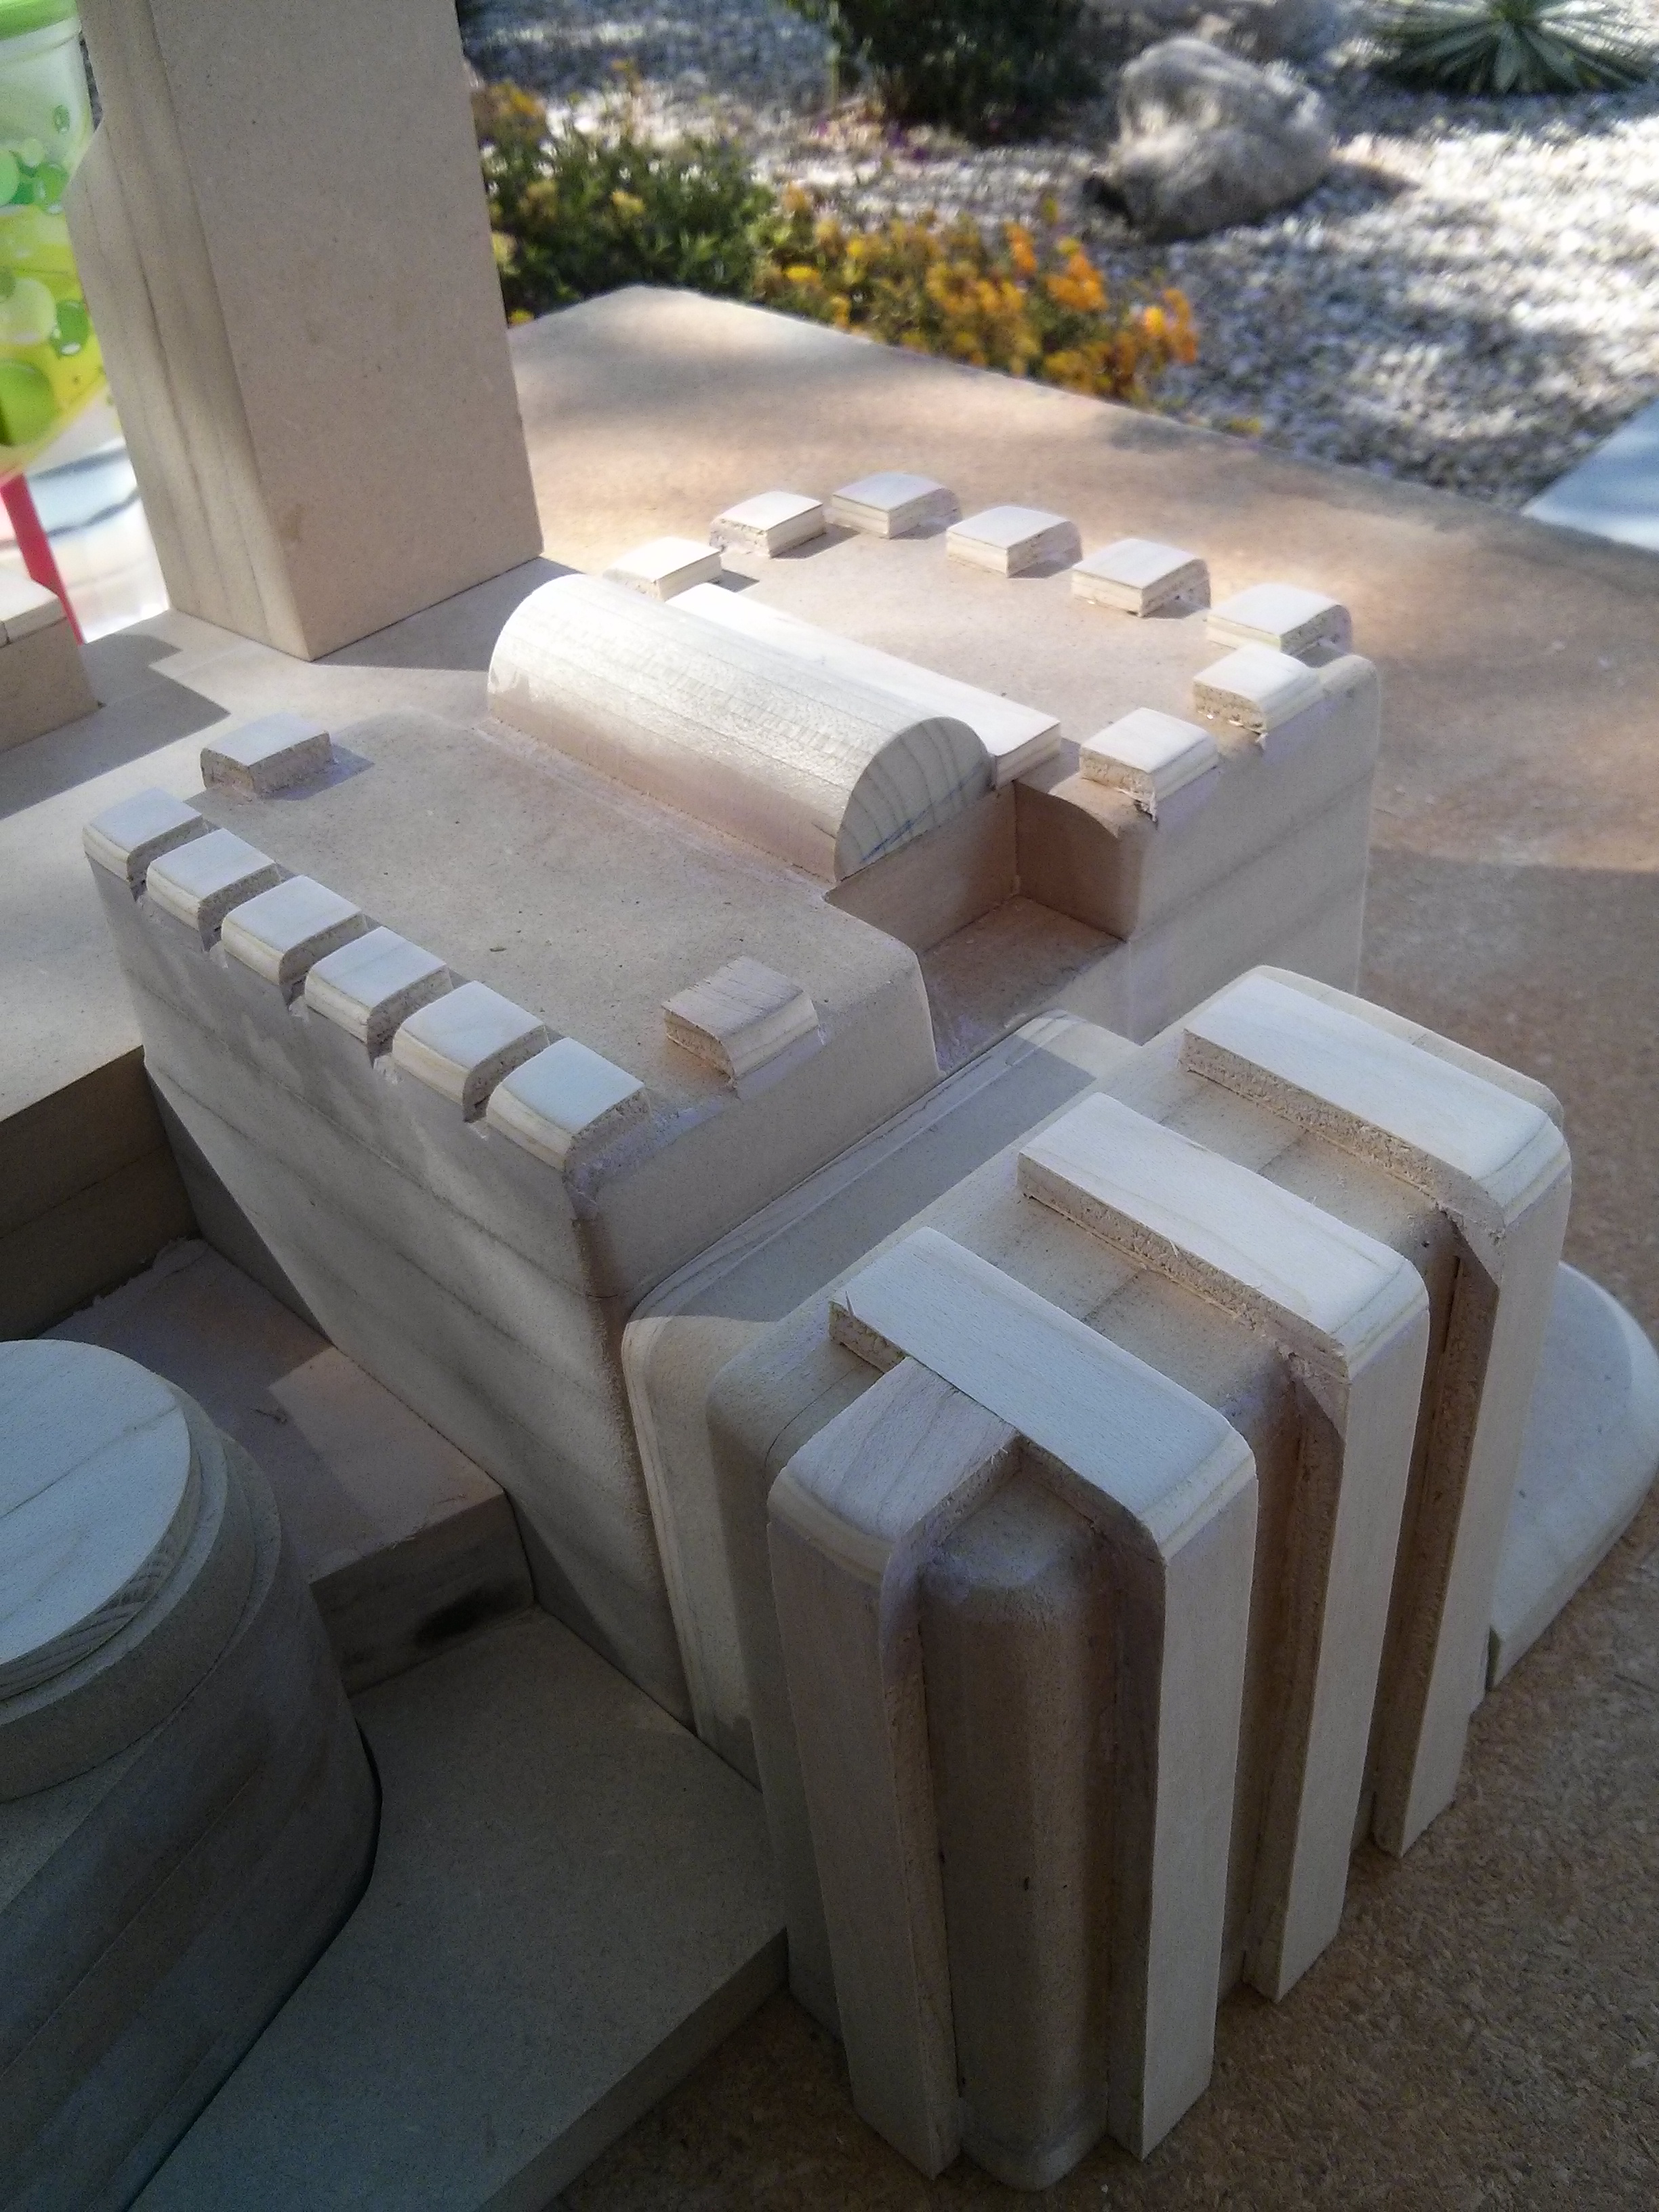
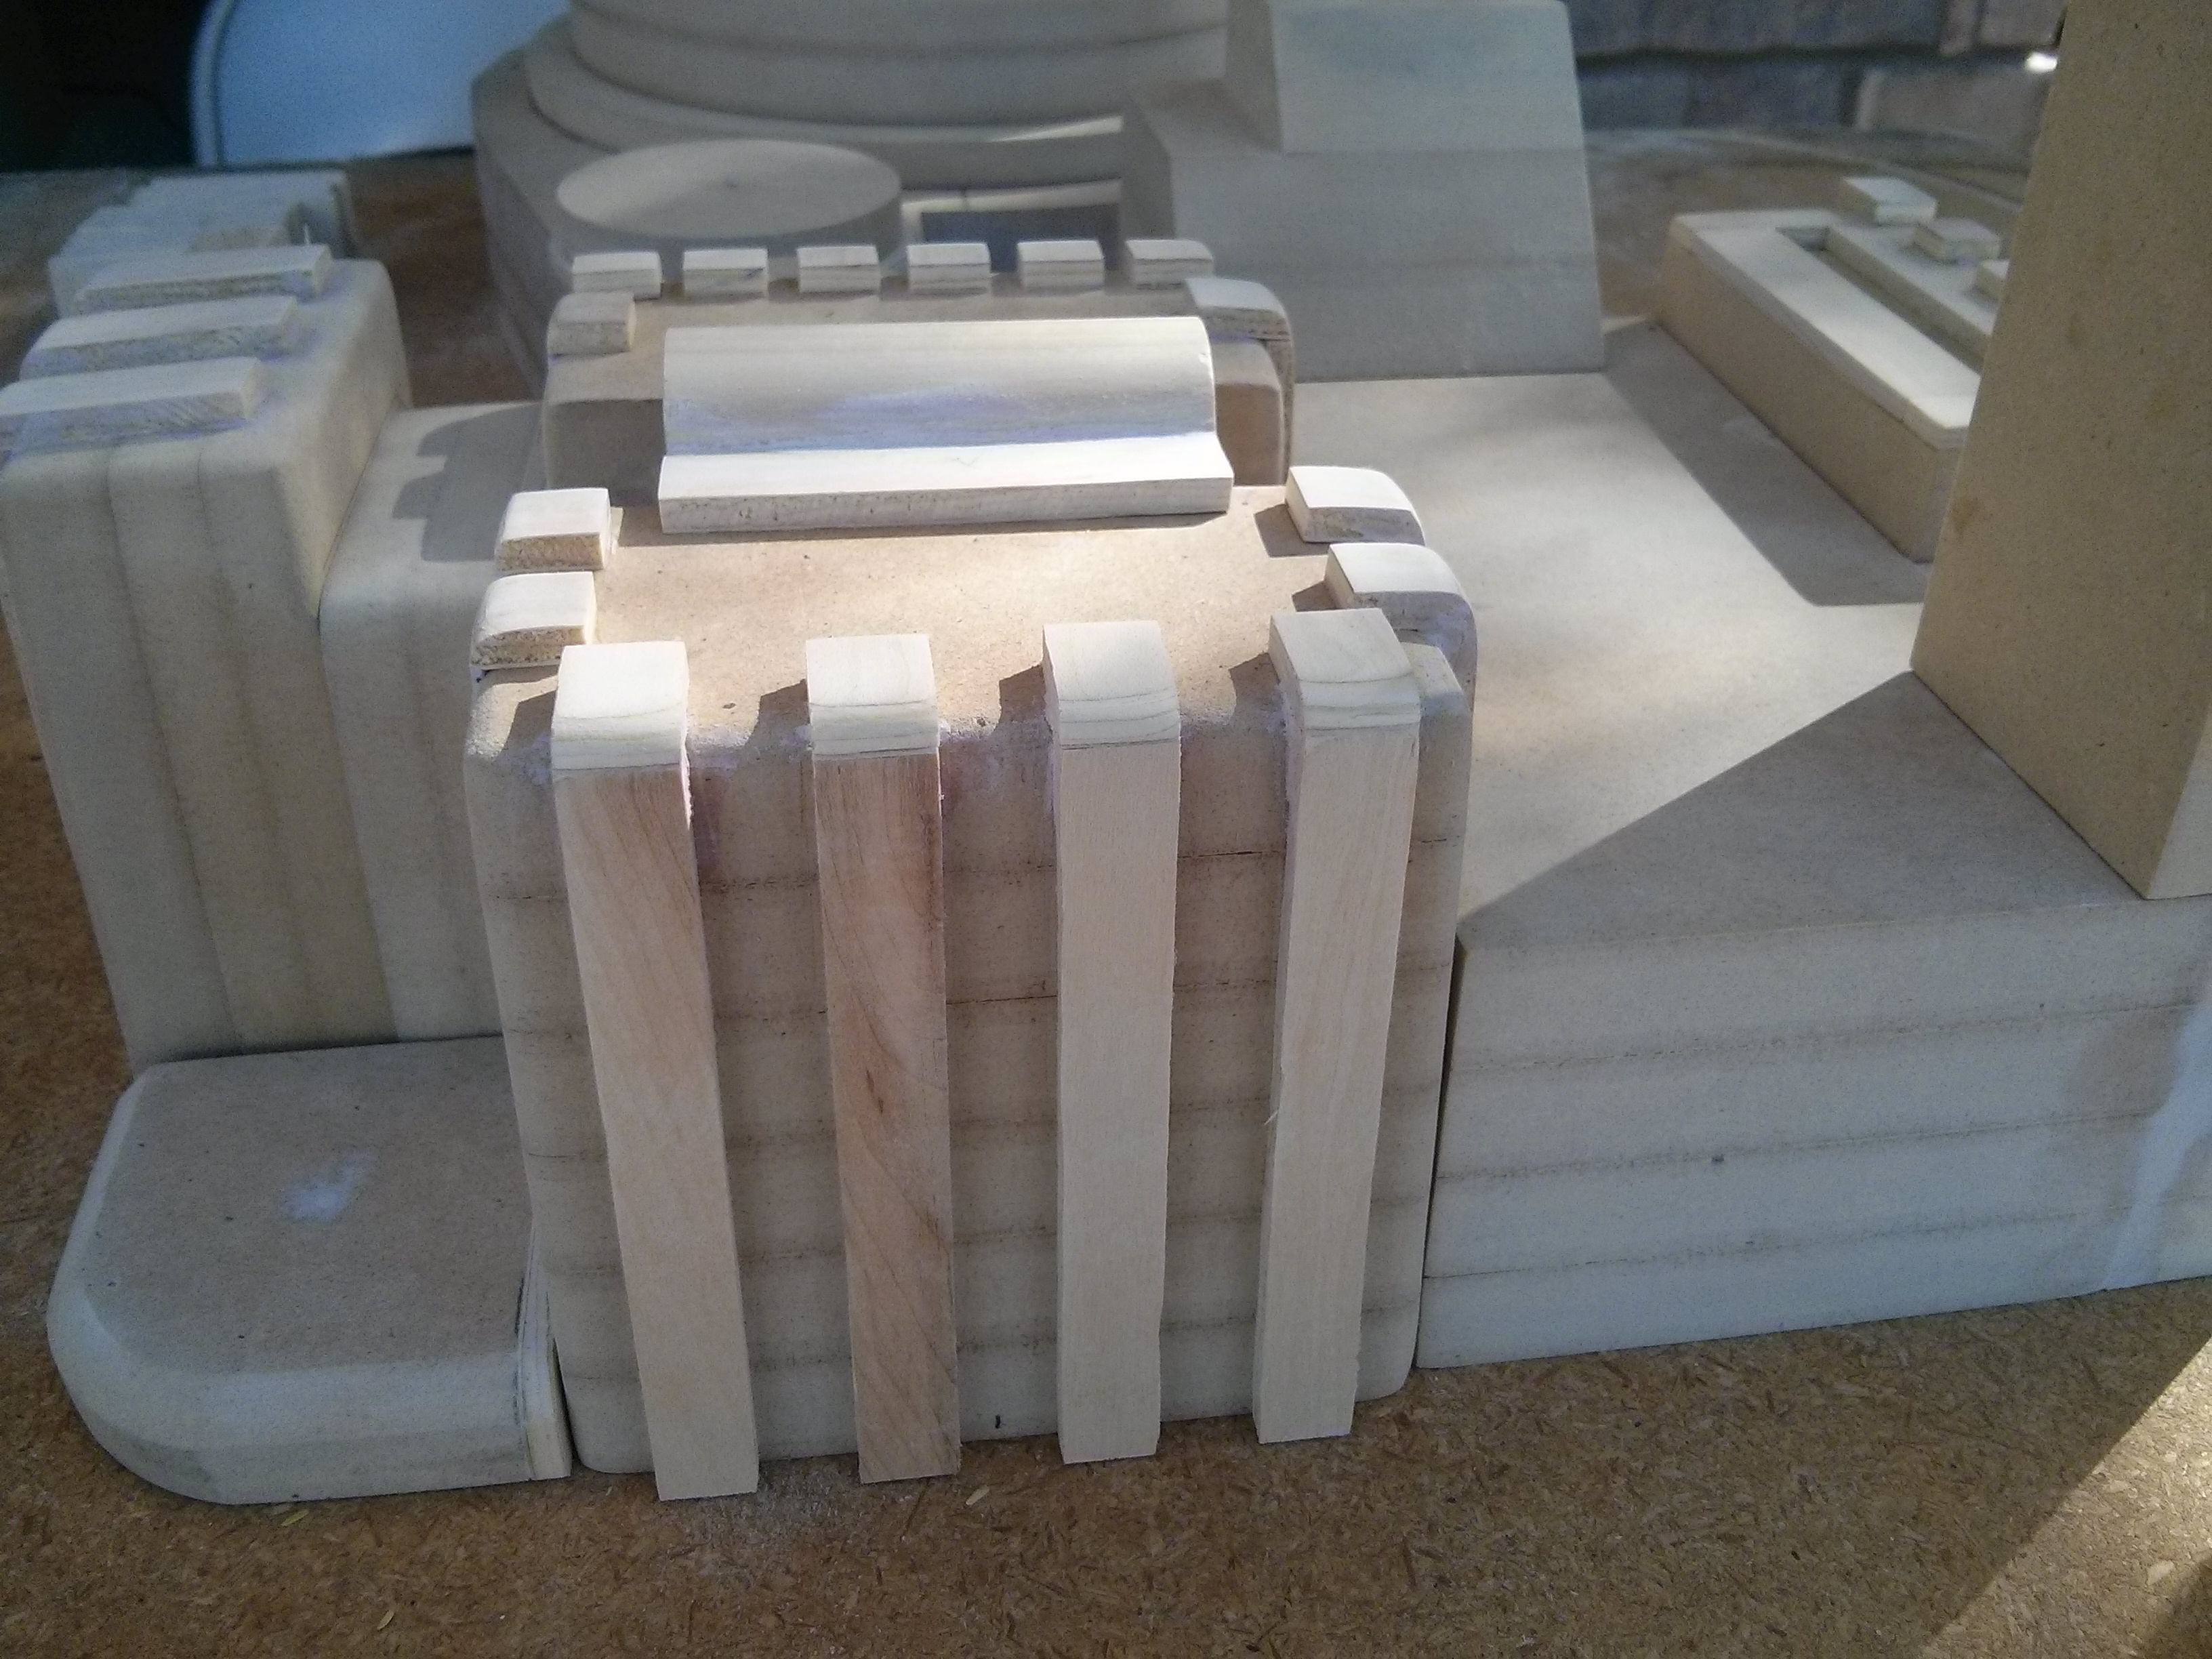
Added the ribs (or whatever they are called) around the cyclotron. Also added two little thumbtacks to the EDA which I am not sure is screen accurate or not but I have seen others do it and I thought it looked cool.
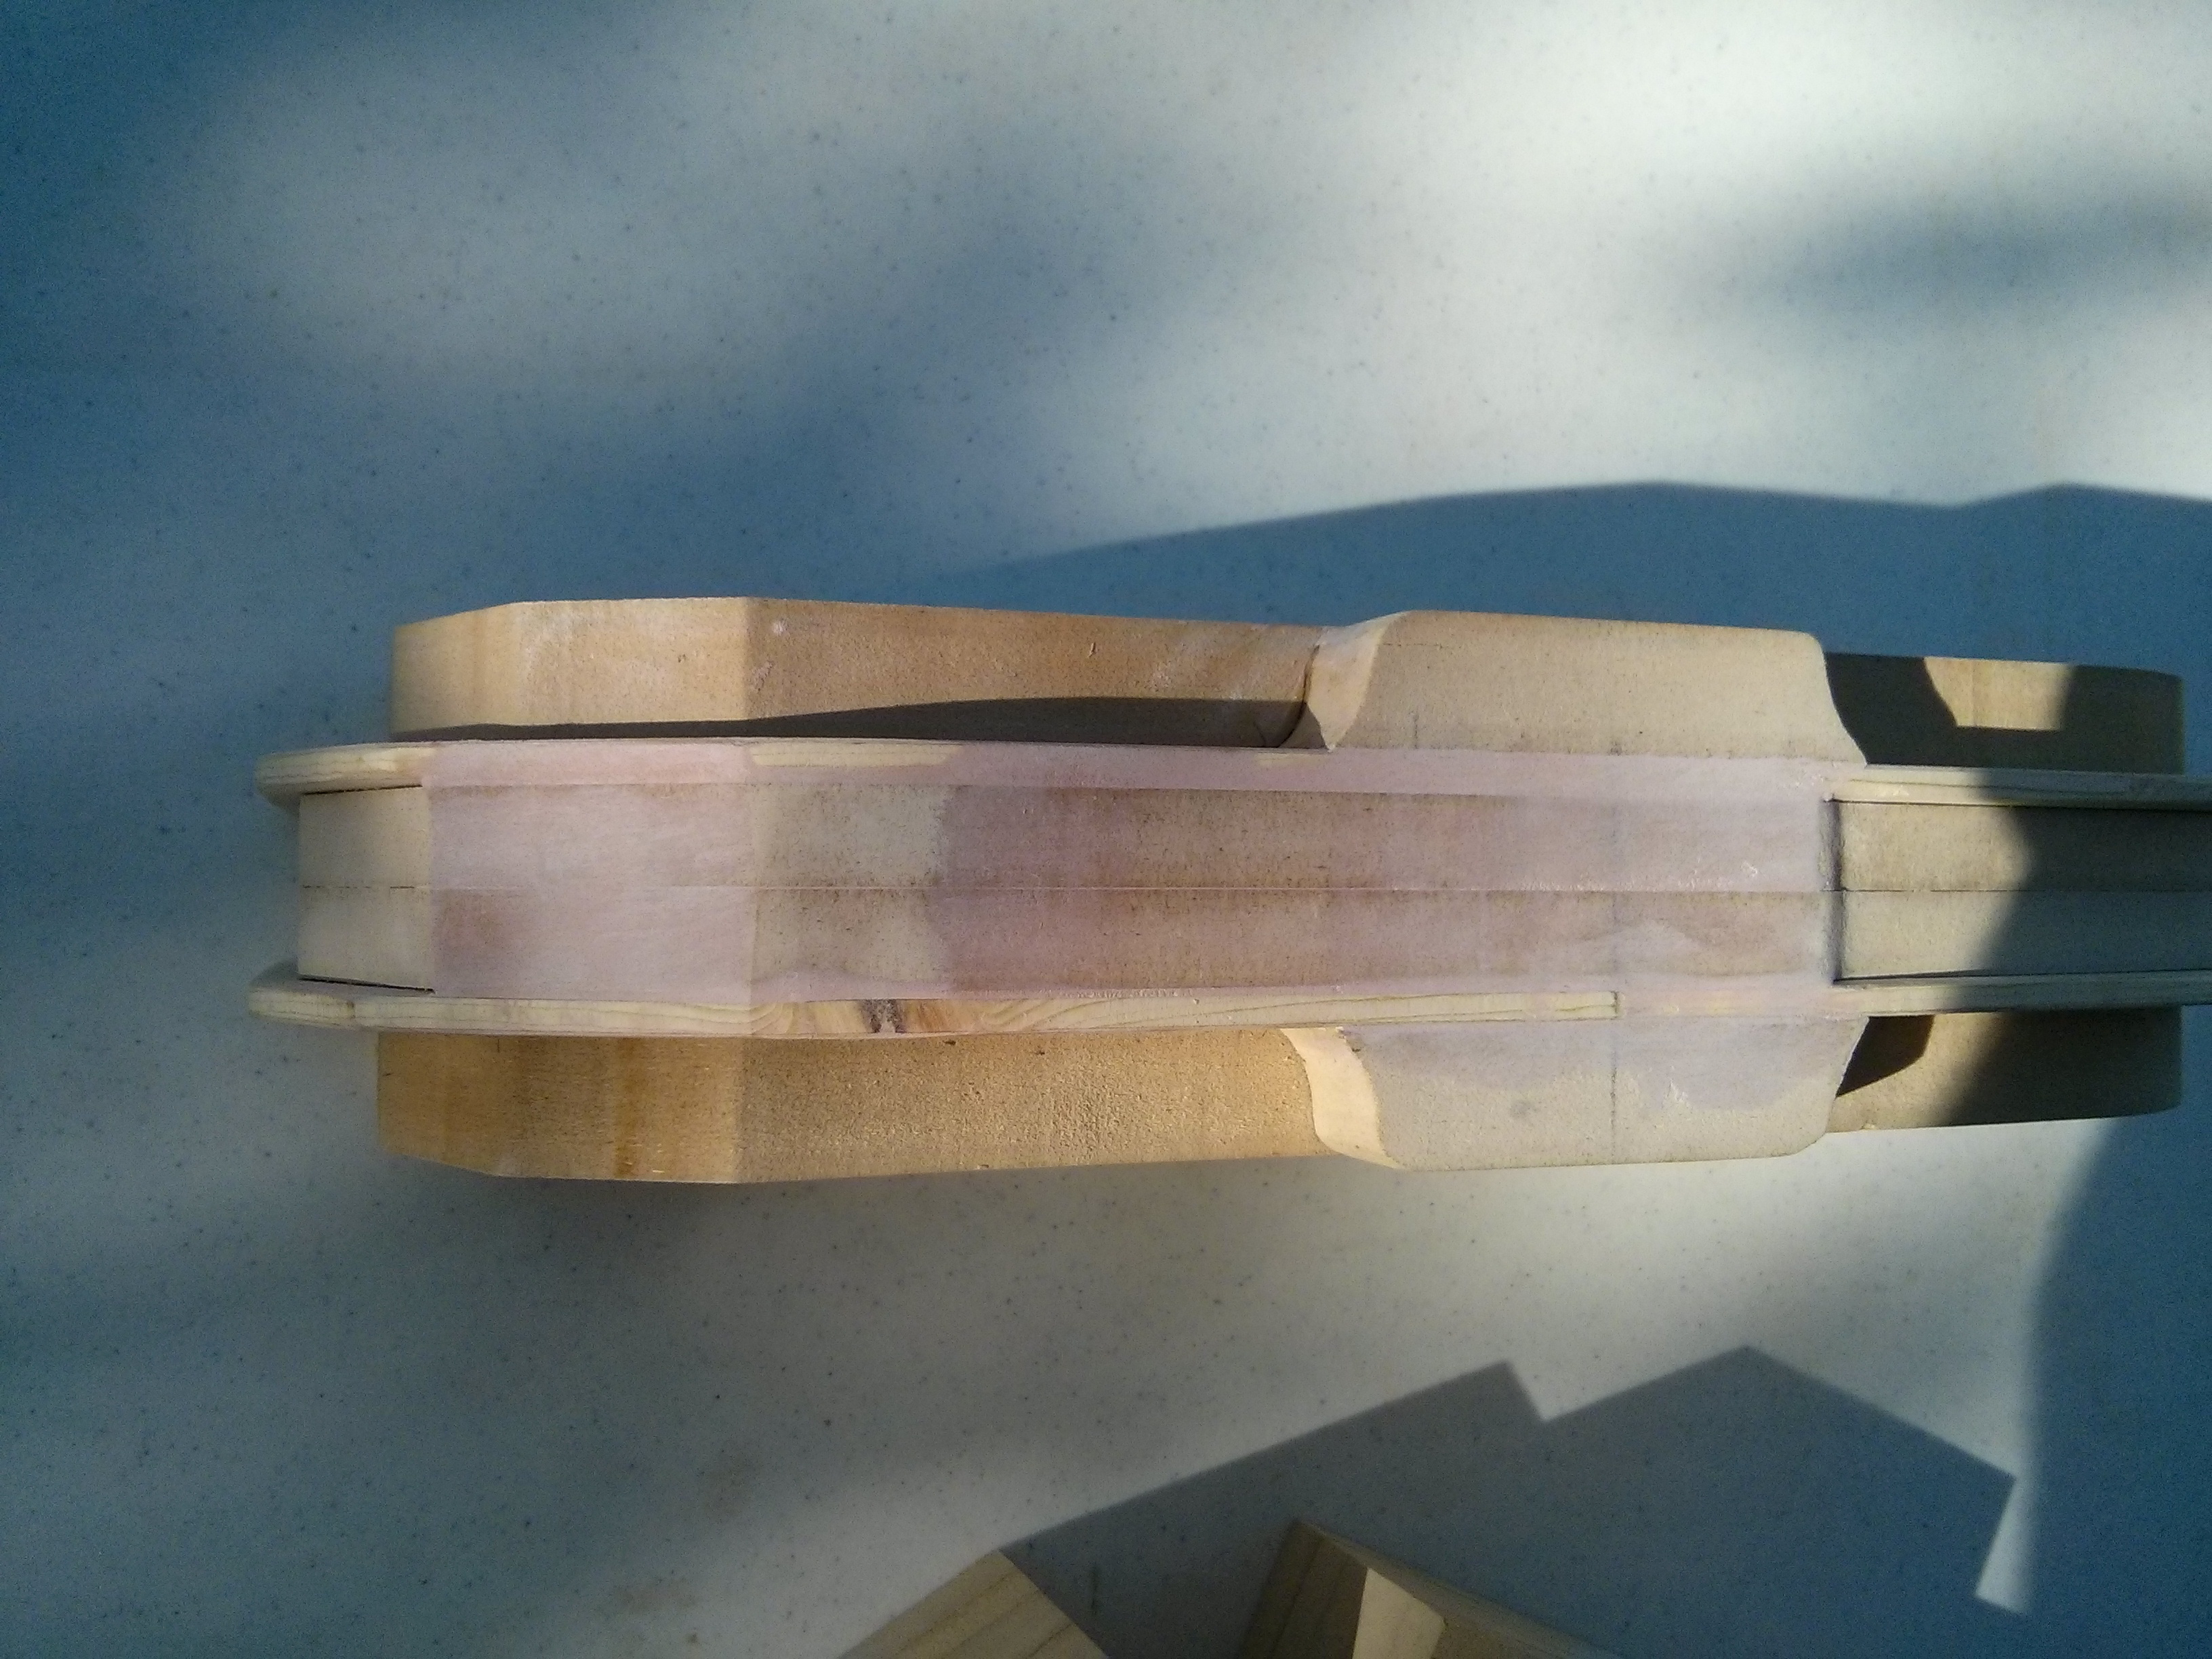
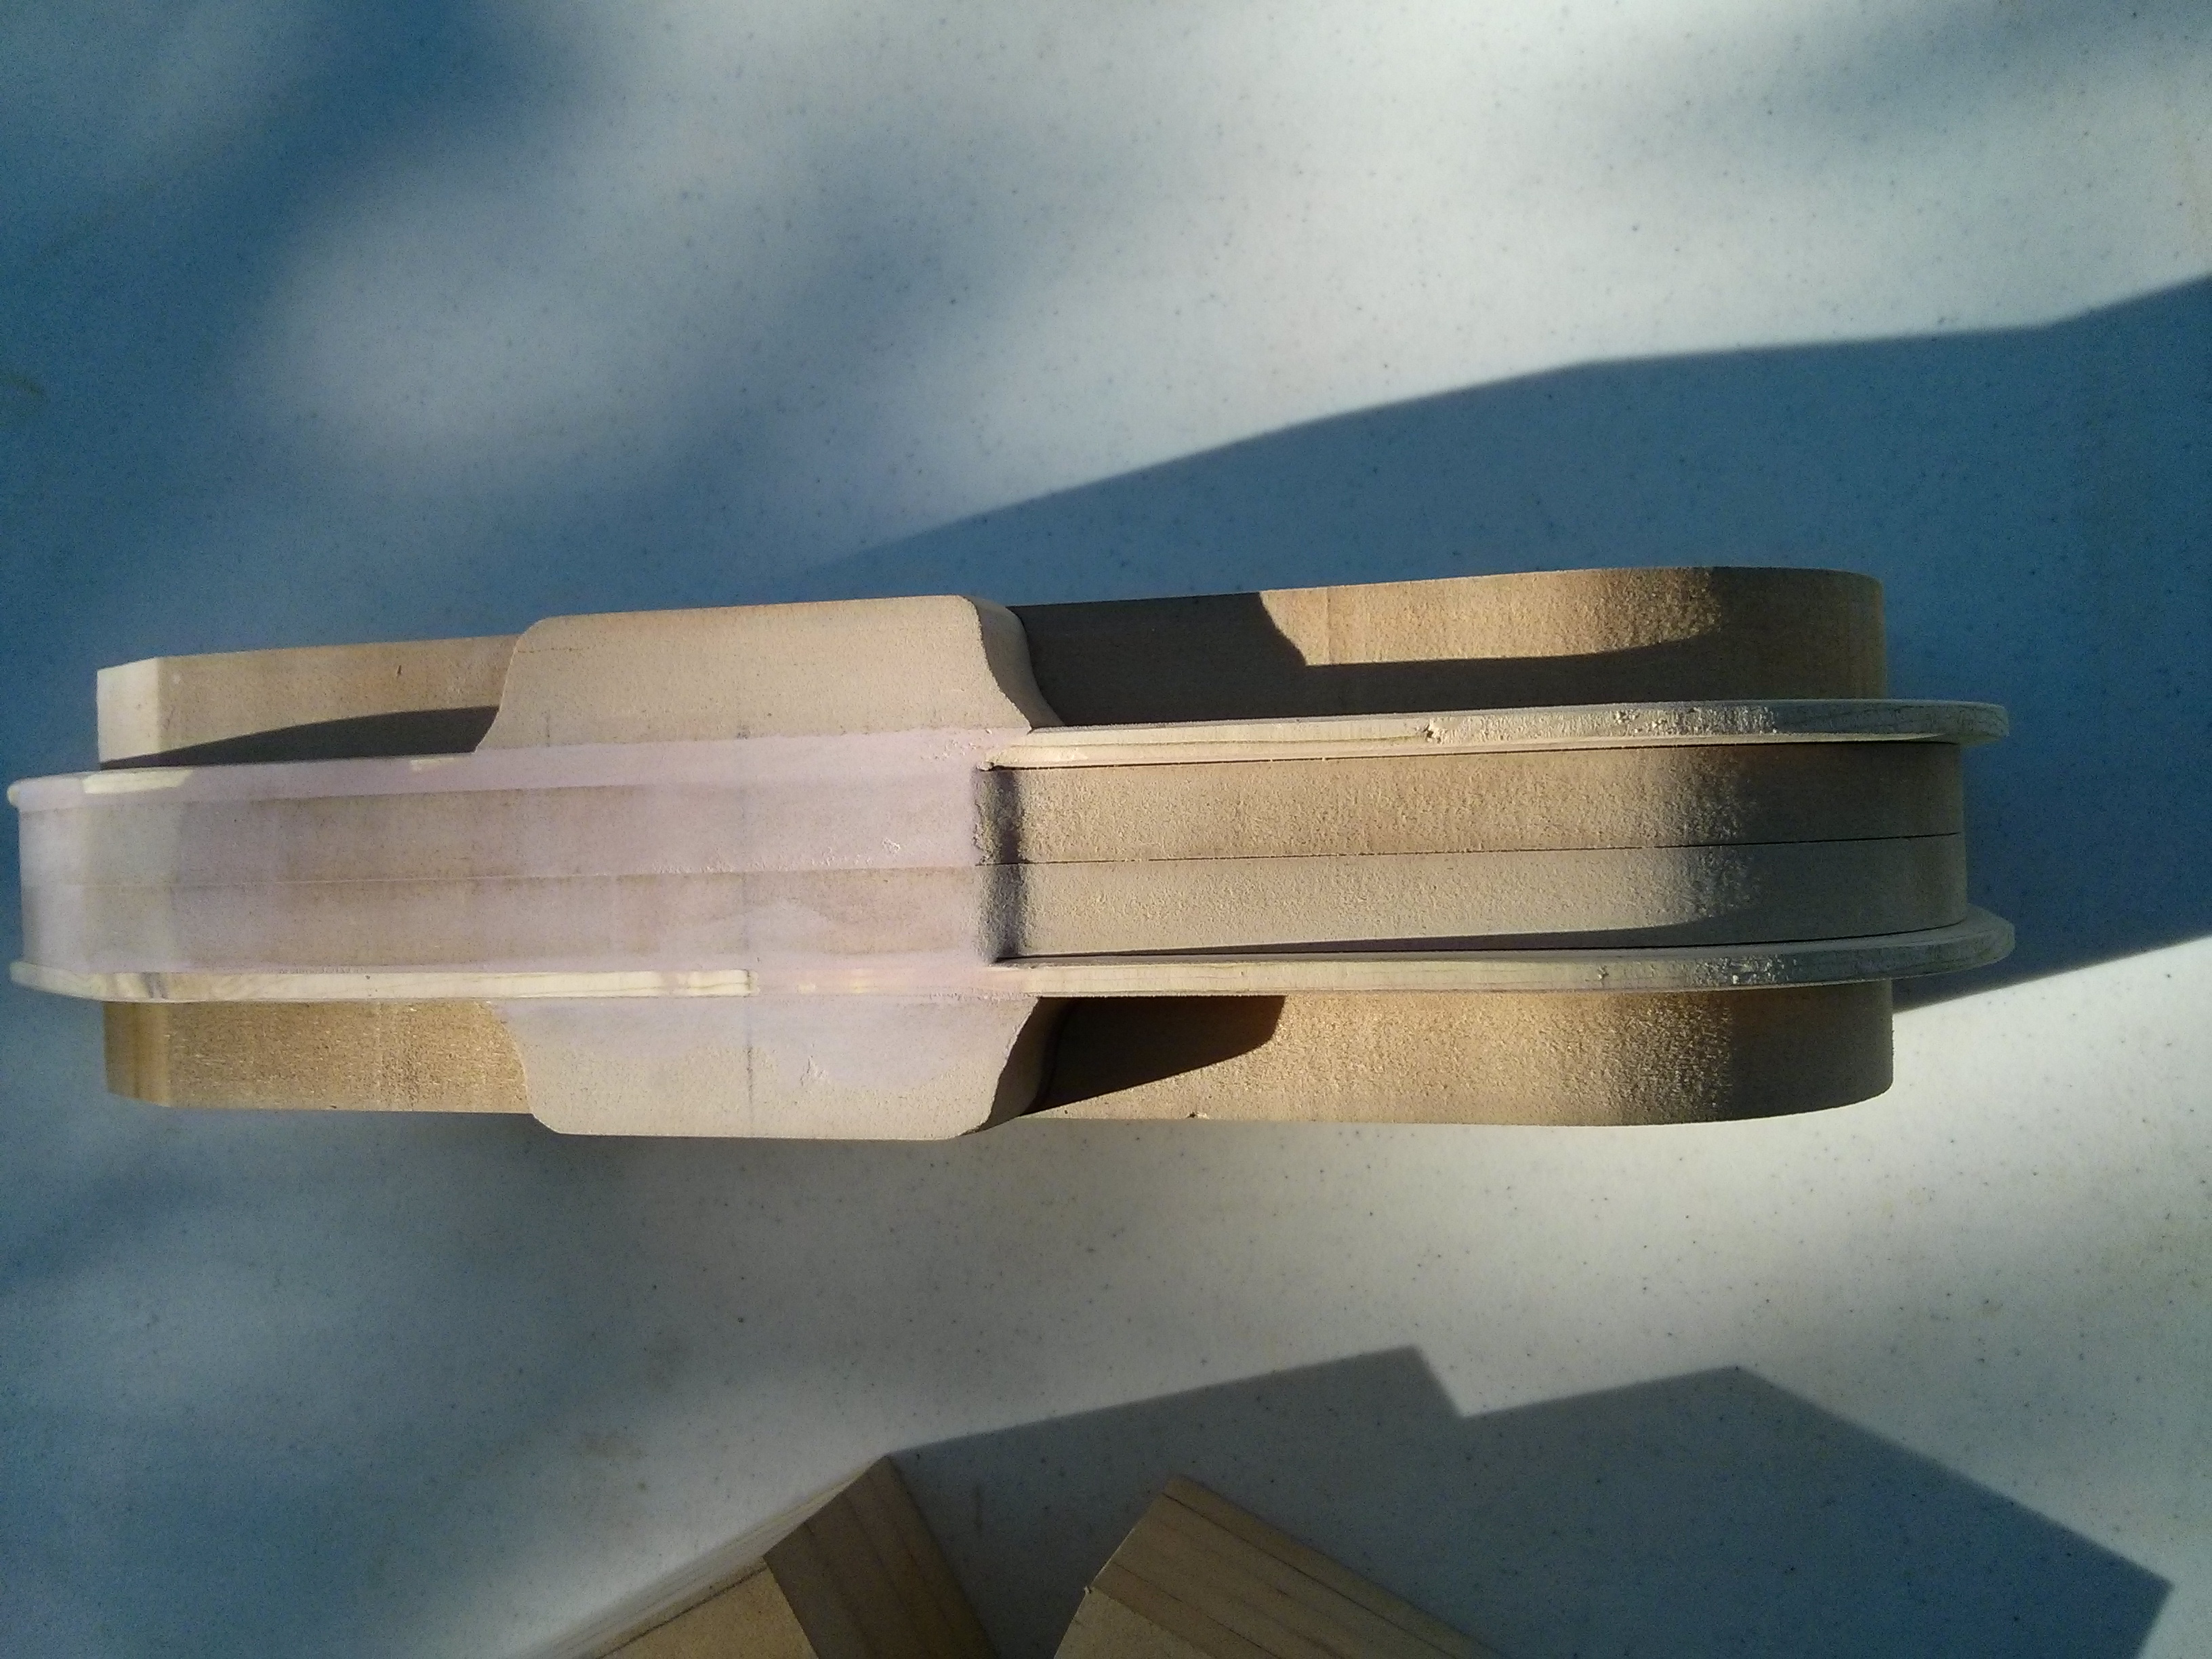
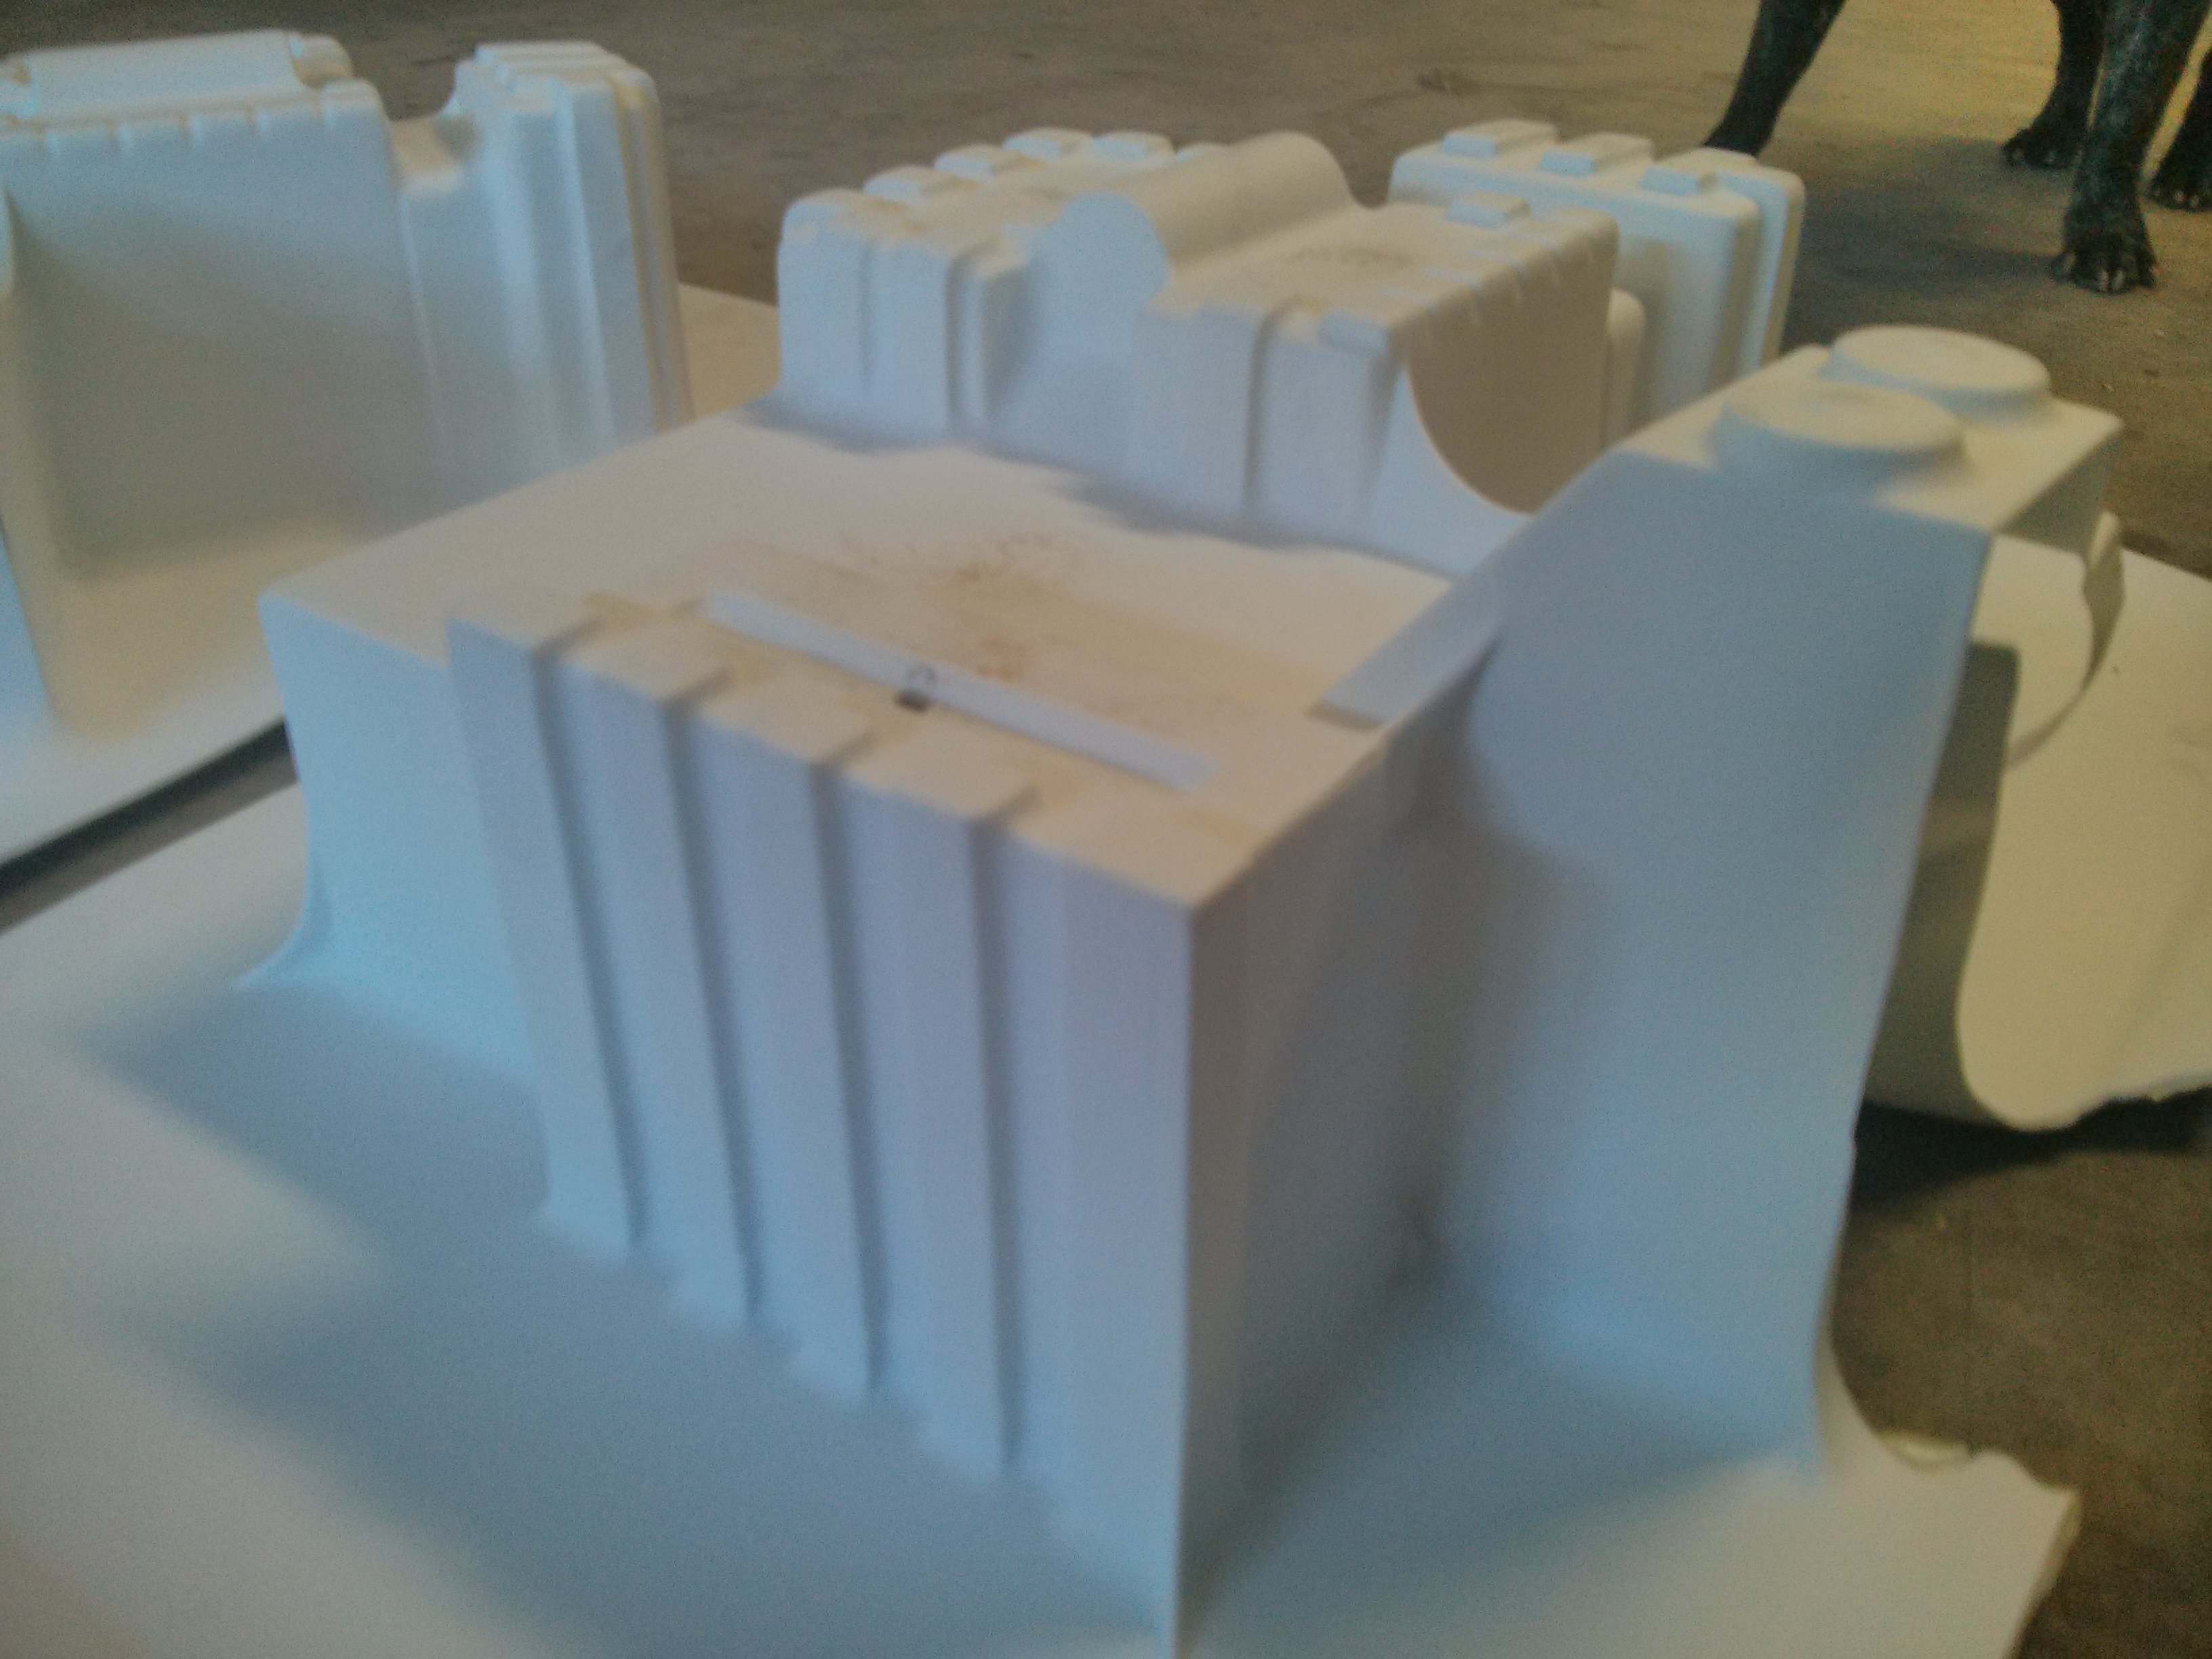
Below you can see more detail on the ribs and you can also see the many little 1/16" holes that I made to help air escape during the vacuum forming process. I wanted to make them as small as possible to keep them from being seen in the final product.
A view of the top of the pack where you can see I added some more of the tiny holes to help air escape. I tried to place them underneath areas that will be covered by other parts. I will probably add a few more before I am done.
Below are the “spacer” plates that I created to help with the vacuum forming process. The idea behind these are two fold, they will move everything up to help reduce webbing of the parts. I will also attach all the parts to them and that should allow for easier removal from the vacuum form. The many holes are to allow air easily escape from between the pieces and from the many tiny holes I drilled in the middle of parts. This is similar in effect to what I have seen other people do I don’t know how well it will work but I am crossing my fingers.
I plan on calling around locally to find high impact polystyrene but unless everything goes perfectly I probably wont have time to start doing vacuum pulls until early next month. But I still have to work on the gun body and bumper so I wont be twiddling my thumbs.
Another Sunday and bumper was born! Creating the bumper was all we got done this Sunday but it went pretty well and it is not a particularly easy part. I also created the 2nd piece for the ion arm I will vac form both then glue them together and make a fake weld line to cover up the seem. Getting close to vacuum forming so any pro tips are very welcome.
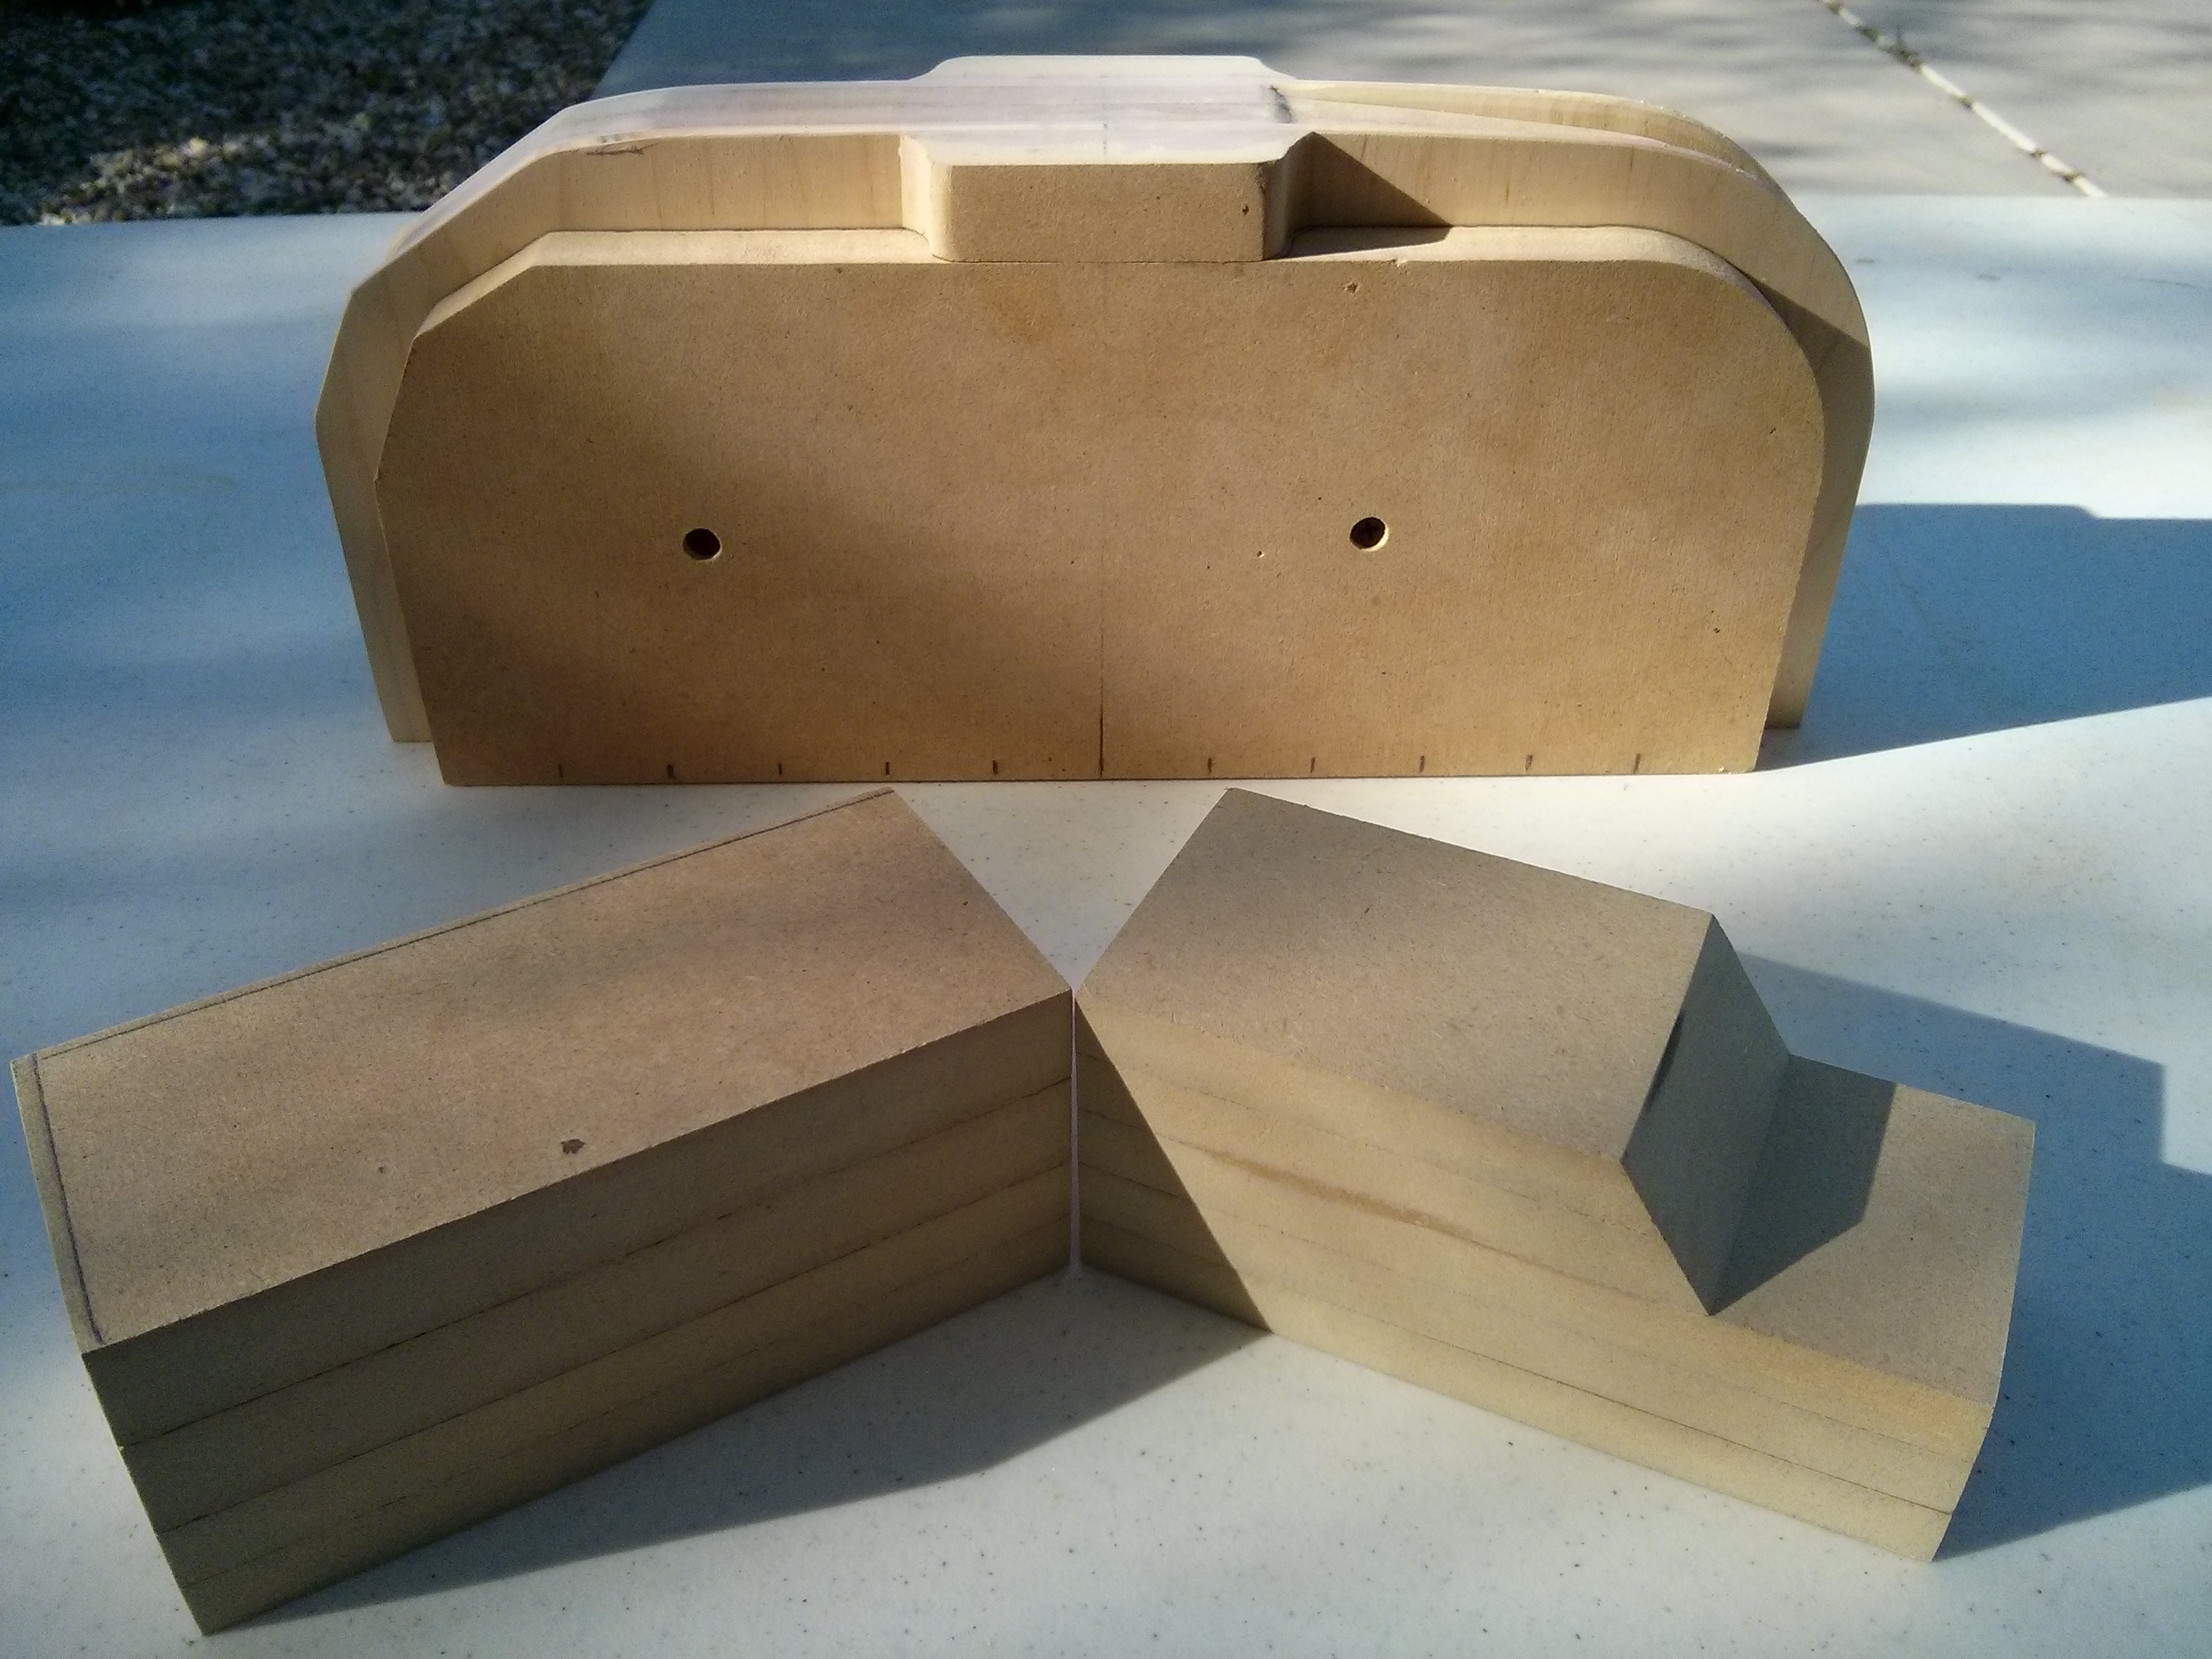
I realized I forgot to make a bumper spacer to help reduce webbing for the vacuum forming. All the other pieces already have an extra half inch spacer. Once the spacer is done everything will be ready to get formed. I am a little nervous about how well that will go and will need to make some frames for holding the plastic and heater. I still need to call some local places to see who sells styrene in the thickness I want and for a decent price. I be out of town next weekend so no updates for a while.
Here was the work this weekend. Bumper and Ion arm. You can see that the Bumper was designed to have a “shelf” that I can use as a line to cut the extra plastic away from the final product.
Thanks for the kind words Nick. I have seen your stuff so it means something coming from you.
Alan, I am pretty nervous/excited about doing the pulls, webbing/detail/heating issues etc, so we will see how it goes. I emailed people today and found a local guy with .060" HIPS for $30 a sheet so I will probably pick that up next week. I did test pulls with really thin plastic and found that I really need a good seal so I will be working on a really good frame to hold the plastic.
Oh yeah his was one of the threads that made me think I might be able to pull this off. He is actually in the same state(AZ) and I contemplated reaching out to purchase some pulls but decided to build my own in the end.
He has a pretty fancy homemade vacuum forming setup mine wont be as good but still crossing fingers that I can get good pulls.
Edit: For those looking for the D-42 thread its below and very detailed I have used it as a reference quite a few times.
Back in town again and I have some good news and bad news.
First the good, I did the first pull on the vacuum forming rig and it looks pretty good a little bit of webbing but hopefully I can improve that.
The bad, I cant remove the plastic from the model/positive/buck. I need to buy a tool to remove the extra plastic but the whole wooden model is really stuck in there and I don’t know how to remove it without destroying the pull. This pull was for the lower section which is mostly one large piece, hopefully the upper section will not have the same issues because it separates into more pieces. If I cant remove it I will destroy the plastic then try to separate the model into more pieces, this will be a pain because they are glued together but I cant think of what else to do.
If anybody has pro tips on how to remove stuff from vacuum molds please let me know.
Also bad, it is full on summer in AZ now and I think I almost gave myself heat exhaustion from working outside all day. I was really excited about doing the pulls and just didn’t want to stop. Eventually forced myself inside when I started feeling woozy.
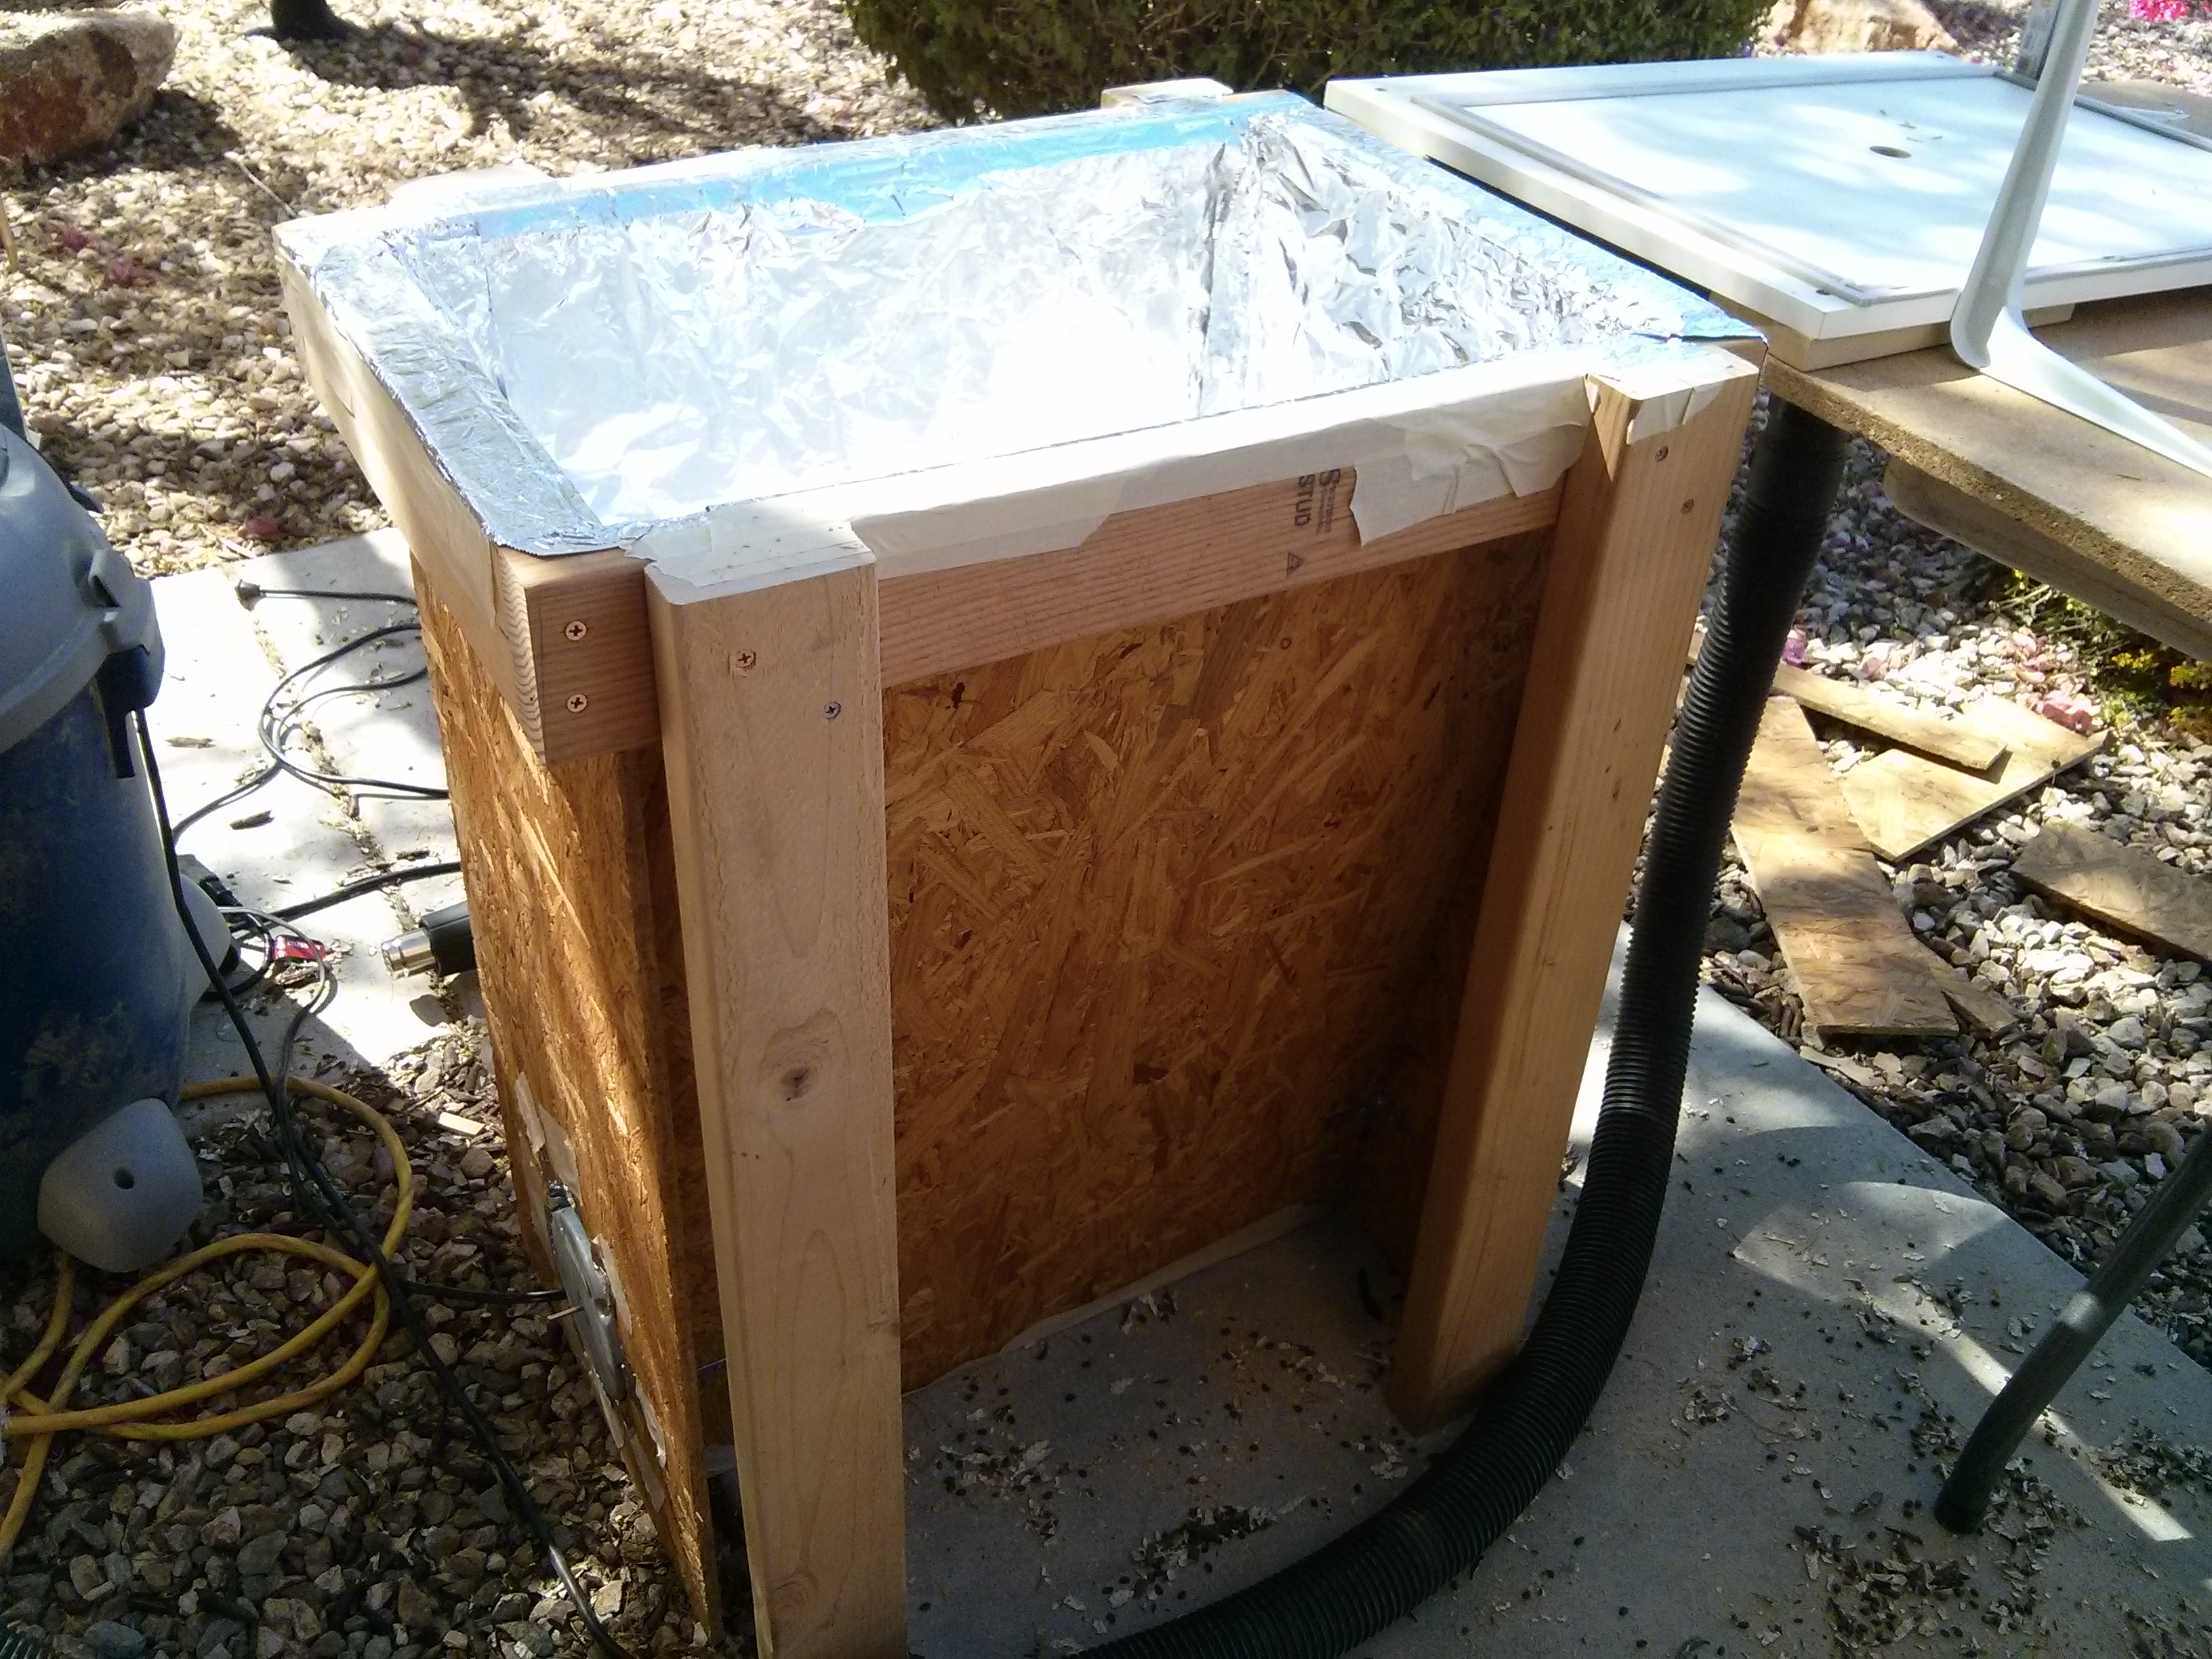
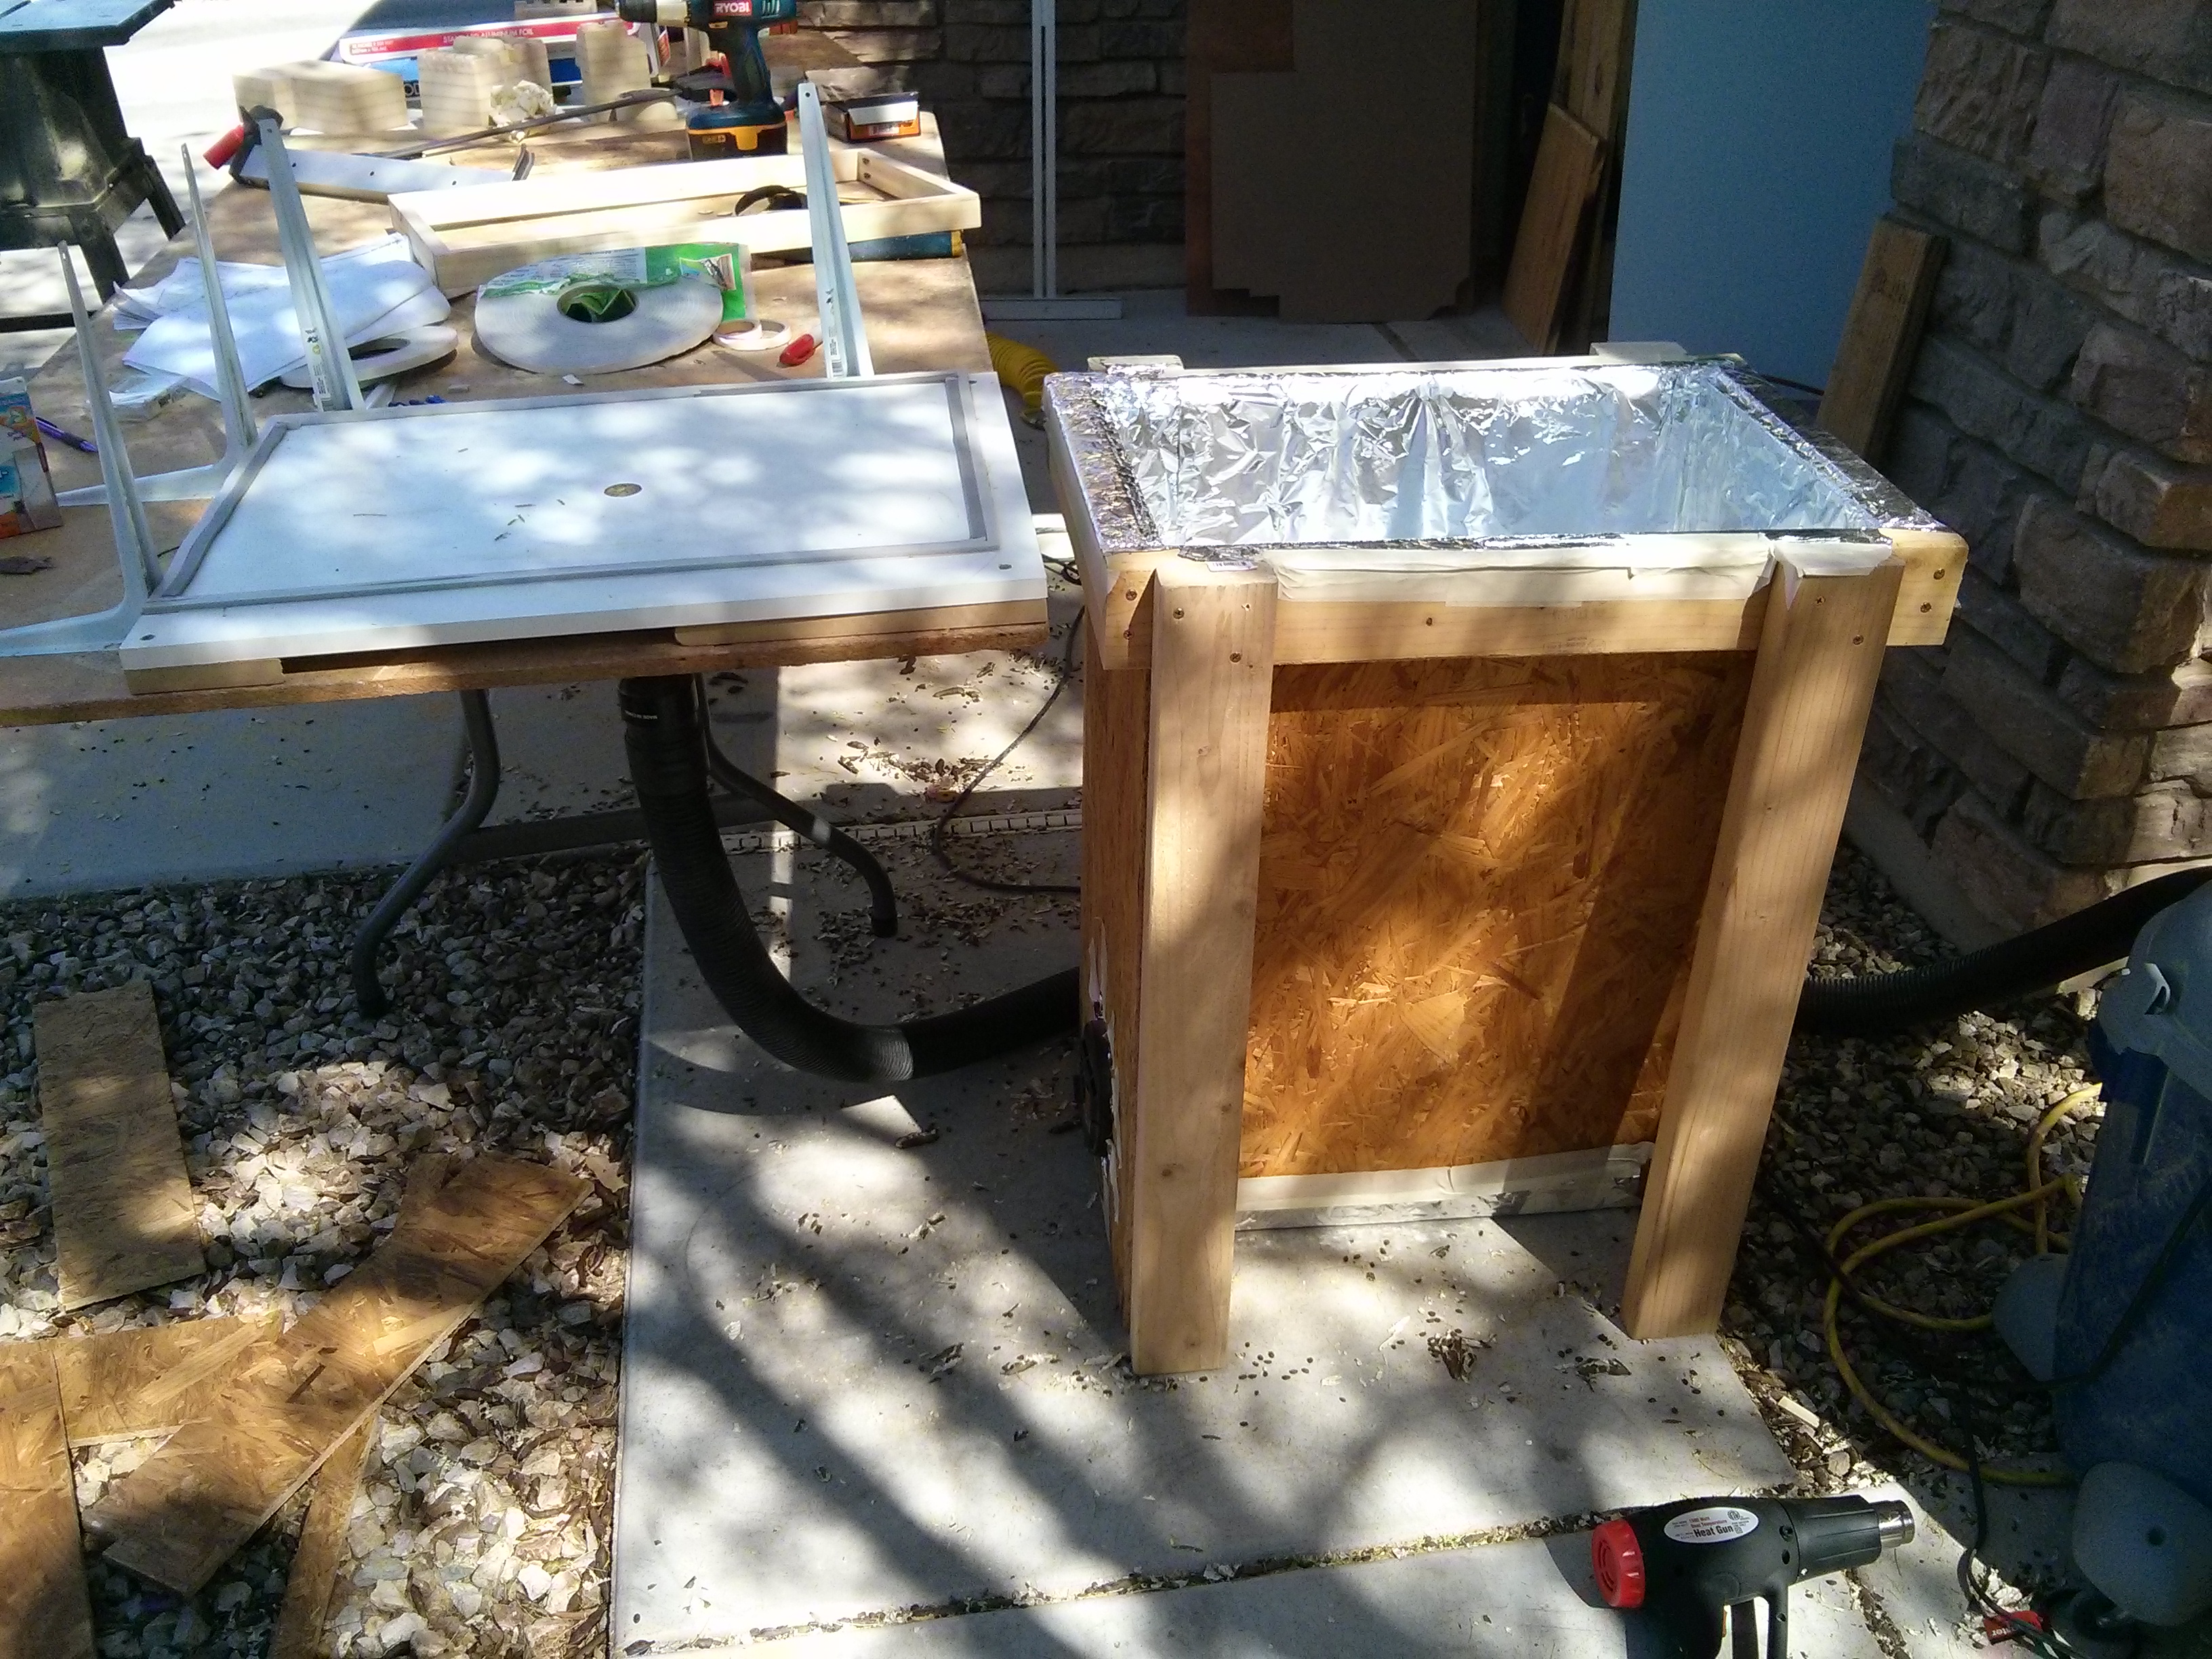
Inside is covered in aluminum foil and you can see the heater at the bottom. It heats pretty well but I had to make a cover to contain the heat escaping from the top.
My vacuum table is literally just a sheet of laminated wood with a hole in it and brackets to help align the whole thing.
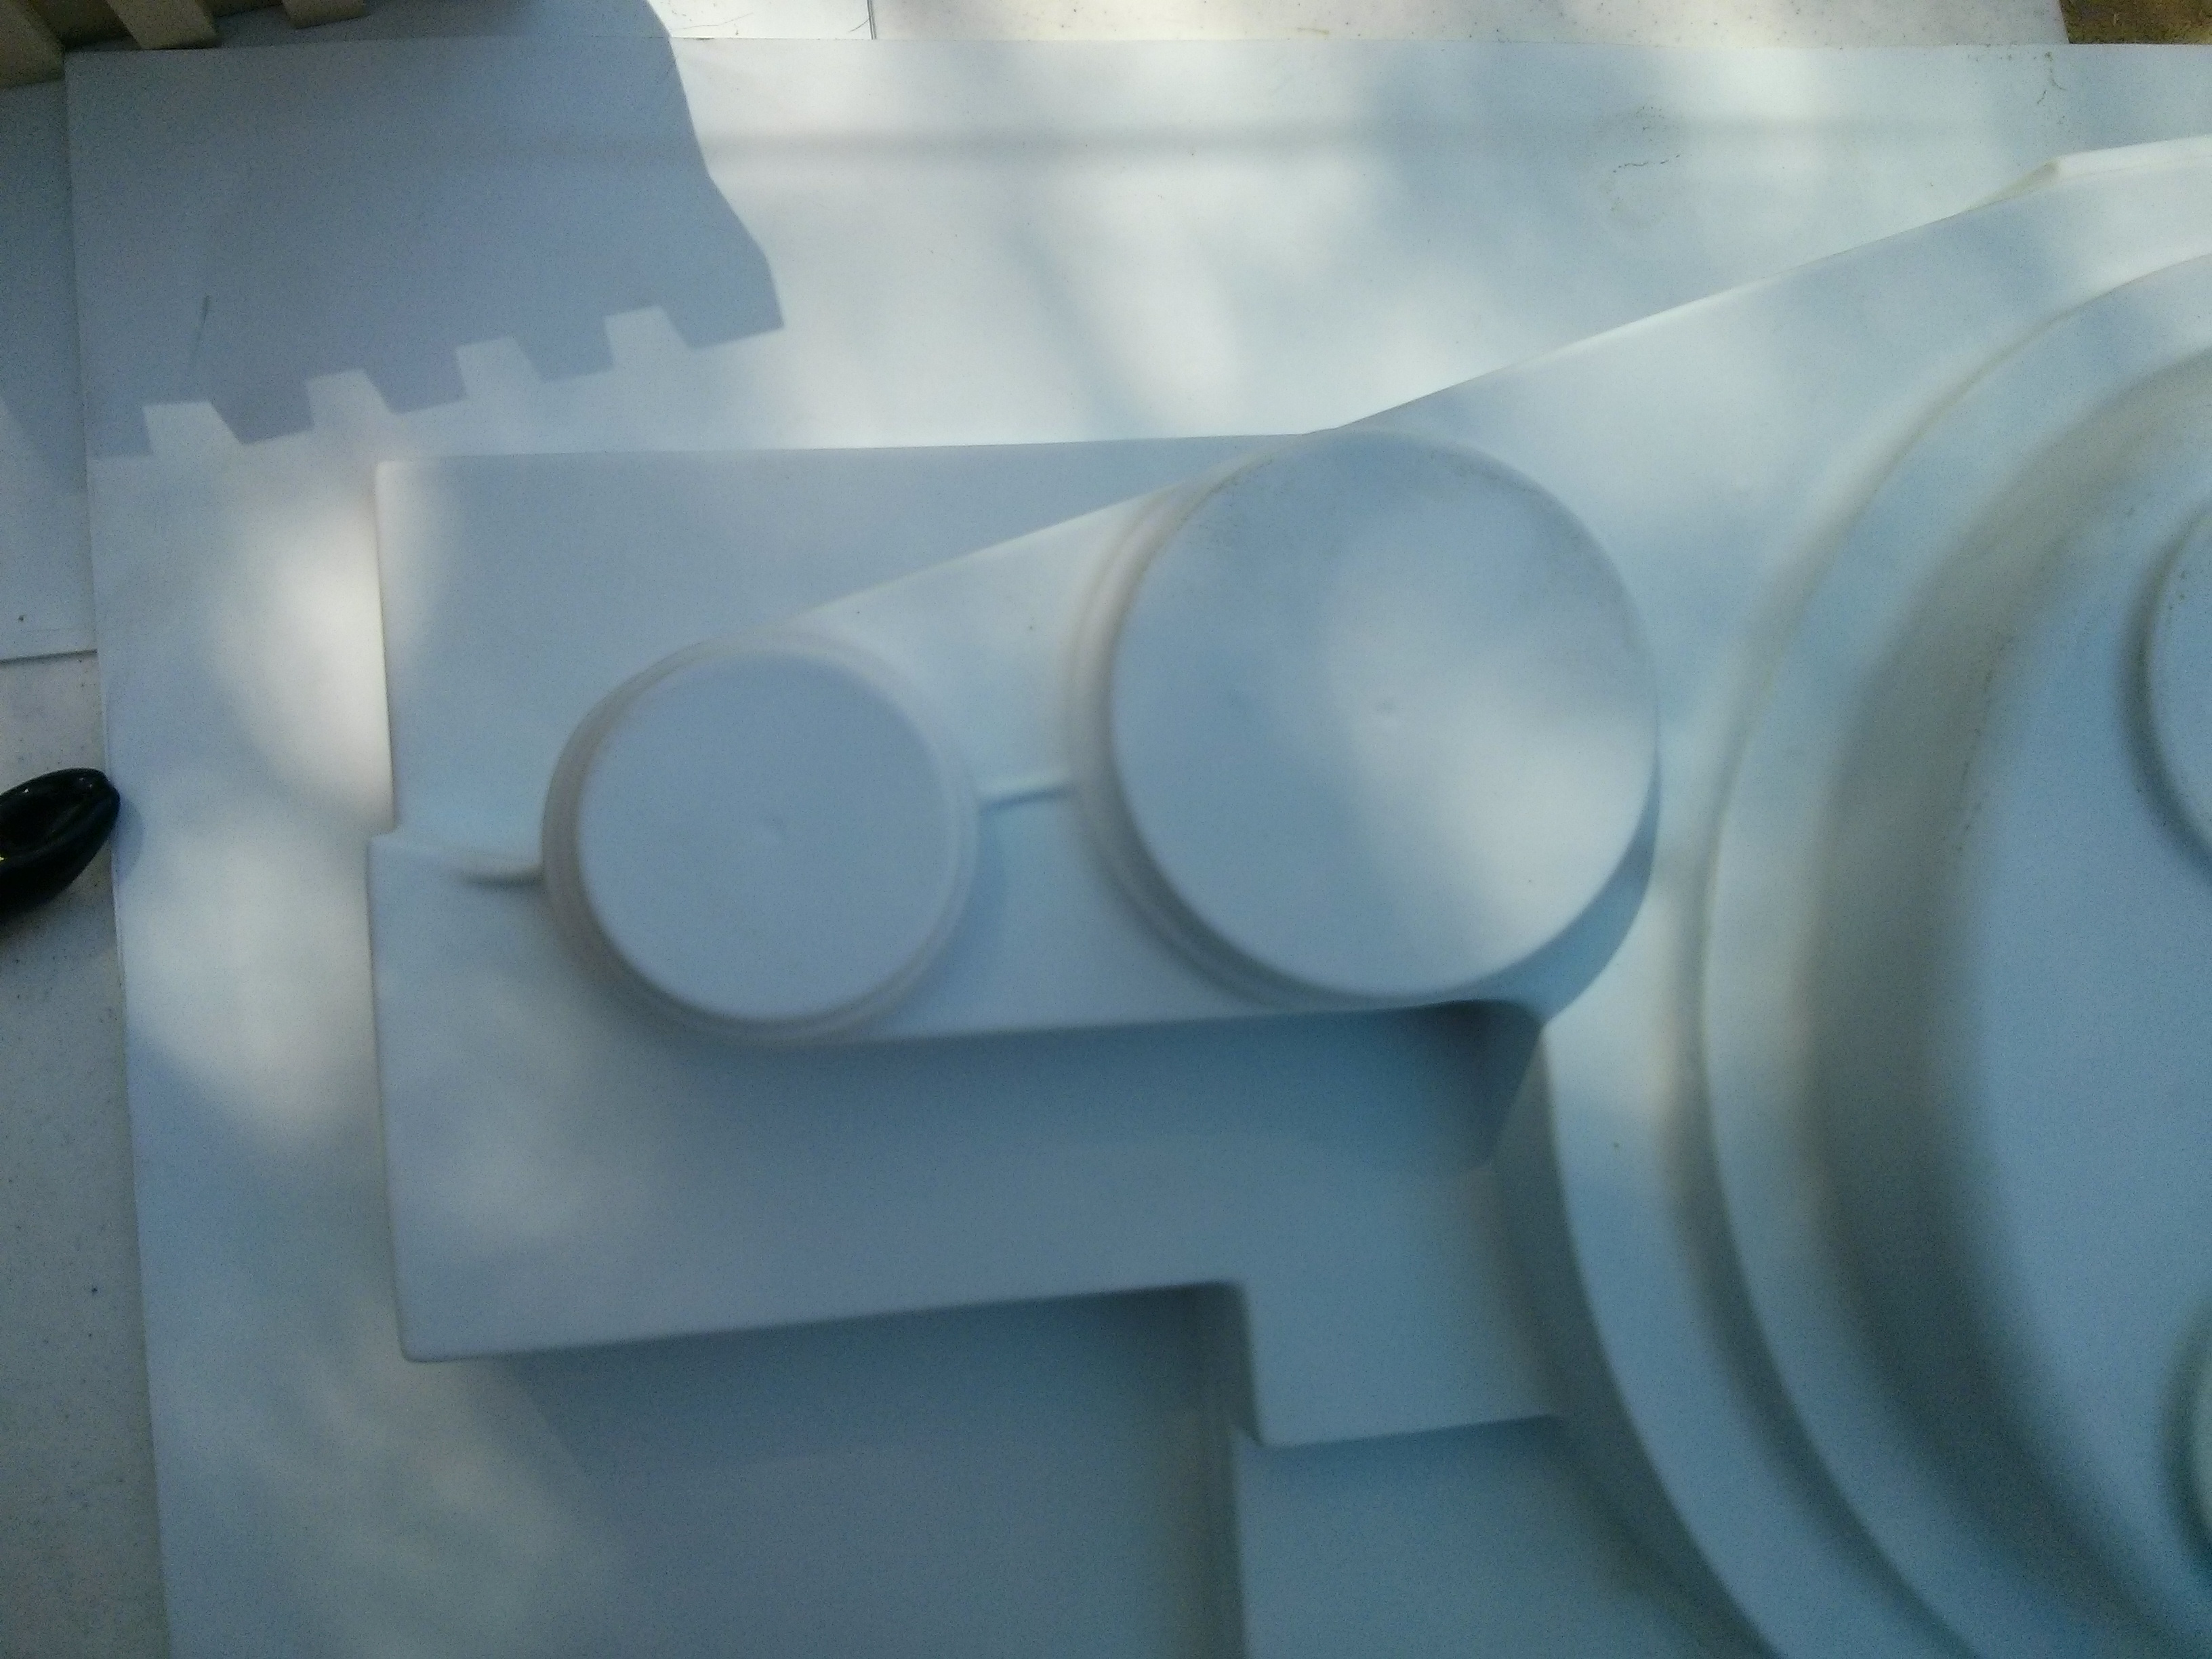
First pull details are pretty good but I think next time I will get the plastic hotter.
Some more detail of the ribs on the side I think they look pretty good. Remember there is a spacer lifting the whole thing up so I will cut 1/2" off the bottom.
Here you can see the webbing I did get. I am hoping heating the plastic up some more will reduce this along with making a few more holes for air to escape around these areas.
One more shot of the problem area. I am really pleased with the detail here so hopefully I can reduce the webbing and it will be good. Of course I need to get the mold out first
Thanks Nick, It was pretty late in the afternoon by the time I did the pull and the heat was getting to me so I didn’t really have time to form a game plan to get the buck out. I need to get an attachment for my multi tool to cut off excess plastic then I’m going to try using a putty knife (or similar) to release the plastic around all the edges. We will see how that goes.
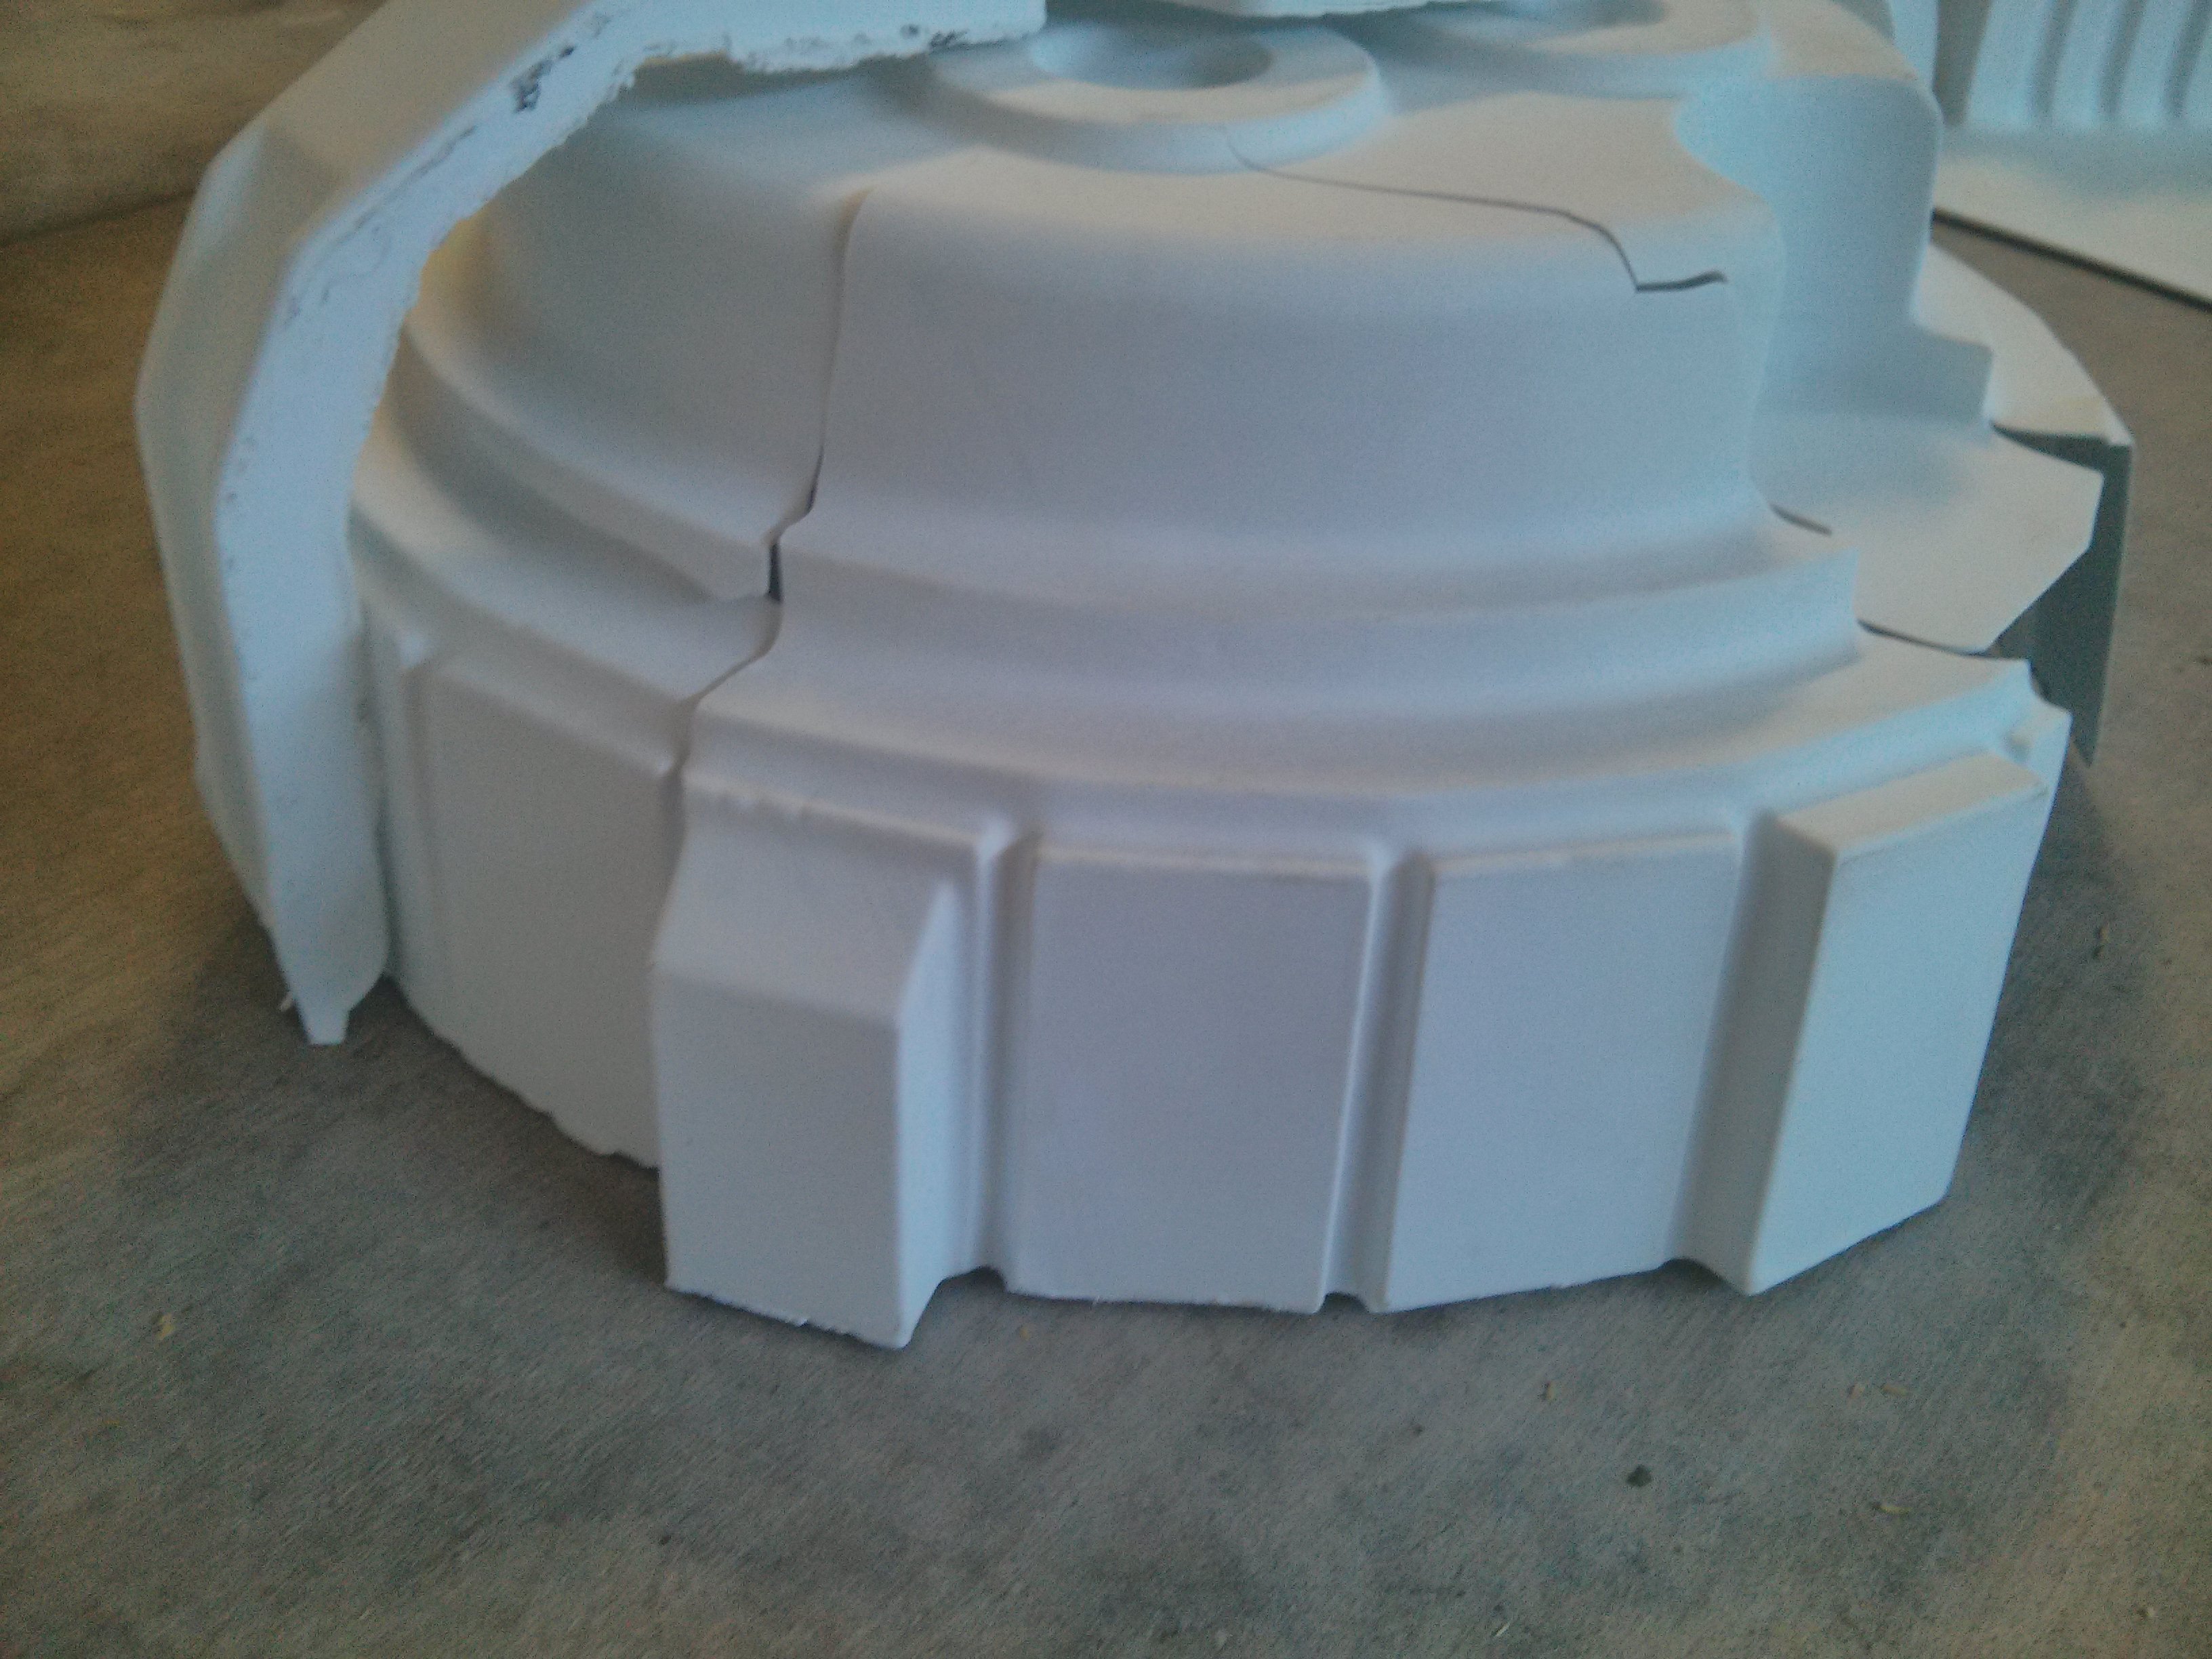
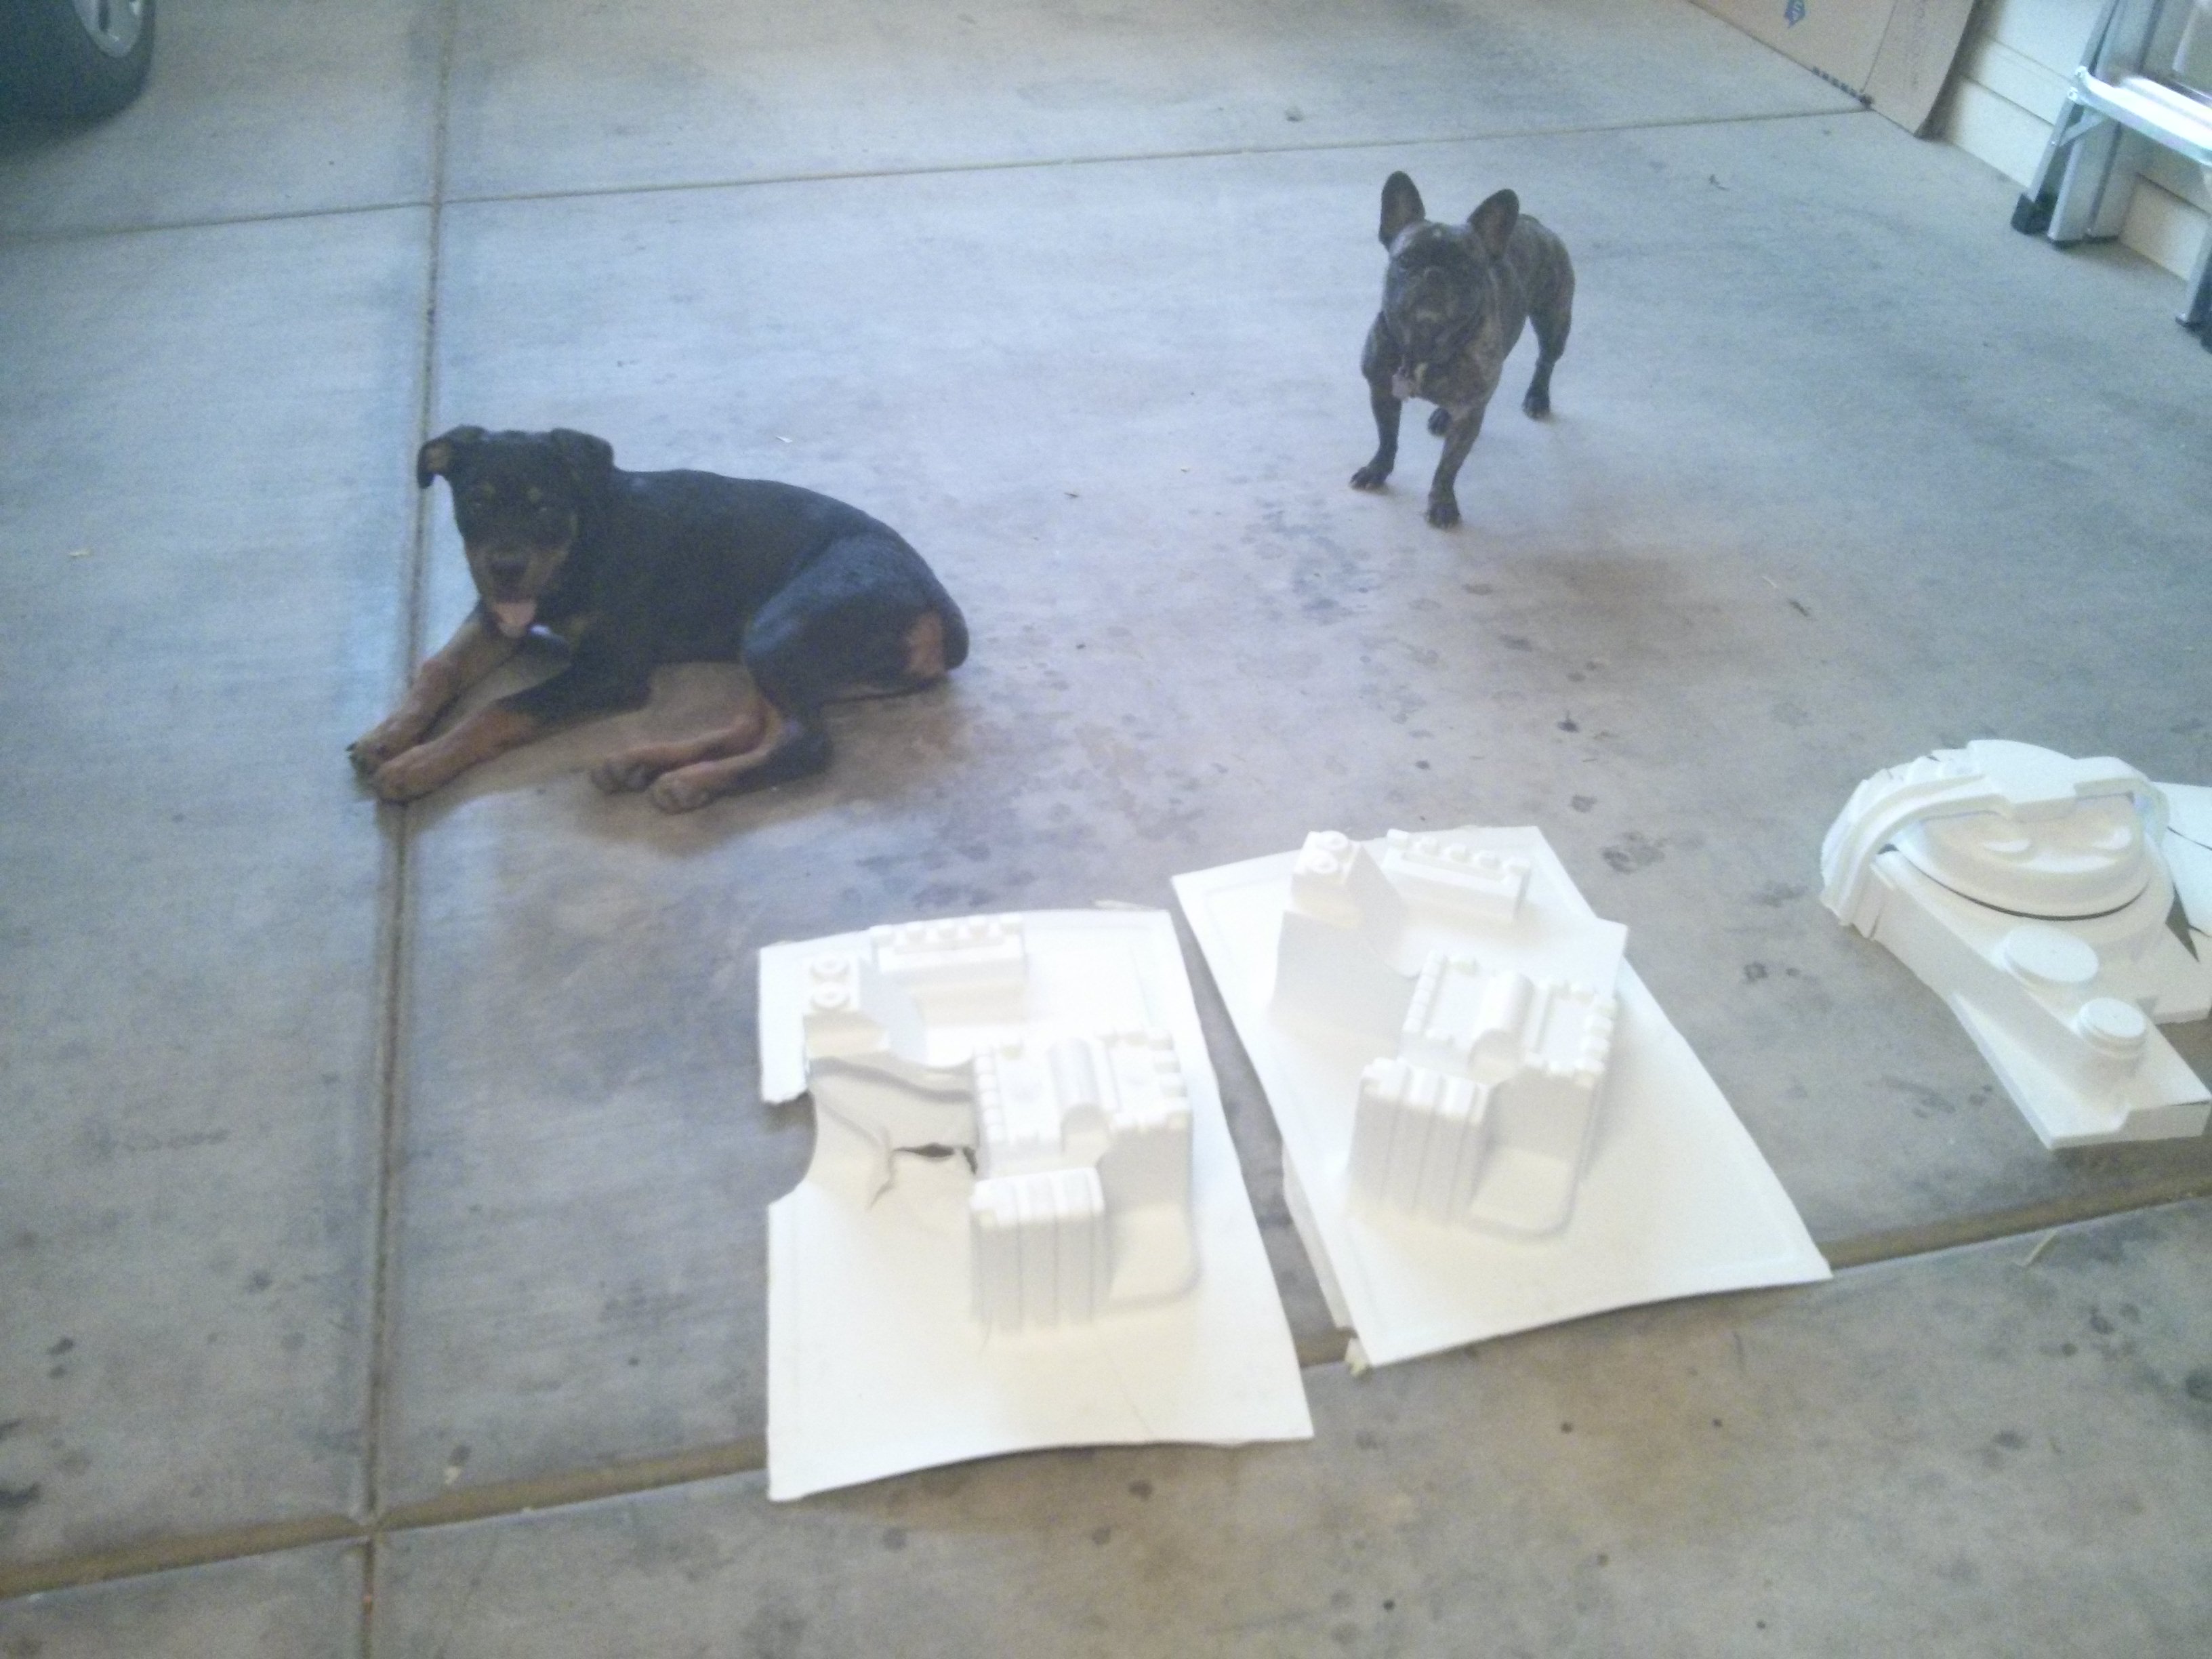
So it has been a while since I have posted partly because I have been busy with work but mainly because we came to a full stop when trying to Vacuum form our first pieces. It has been impossible to remove the bucks from the plastic molds without destroying the mold itself. So it has been pretty heart breaking to get some nice looking pulls only to destroy them and damage the bucks in the process. See pics below for my destroyed pulls.
I did some searching and couldn’t find much on mold release until I went back to the studio creations site. I don’t know how I missed it before but he specifically calls out “Coating the porous wood with a mold release is crucial for getting the plastic off the mold once vacuum-formed.” So I need to buy some of the mold release and crossing my fingers that it works, I can only find it as a case so $65 so it better work.
I am camping this weekend so I will probably order mold release and try some more pulls next weekend.
Cyclotrons are below: the one on the right was the first pull and I put a lot of effort trying to get it out but it was still damaged. The one of the left was even a better pull and we used some powder to help release but it didn’t help at all and we just ripped it apart to get it off.
As you can see the detail is pretty good though I do need to work on my plastic cutting skills.
Details on the upper pack parts look pretty good. Webbing is present in the usual places. I forgot the spacers on the upper one (pennies) so the lower one has sharper details.
Some of the side walls are pretty thin and for the upper piece I will probably try to do 24"x24" pulls instead of my current 16"x24" this will use more plastic but hopefully trade for better end results.
Thanks! I am pretty pleased with the results especially because I am just using my shop vac. That’s kind of the worst part because it looks so good but then I destroy it while trying to remove the mold
I actually need to order the mold release but it looks like I am going to spend $65 on a case the only other site I found that sells by the can comes out to be $24 for a single can shipped and for that price I might as well get the case (12 cans). Anybody need a can of mold release in AZ?
Edit: Mold Release has been ordered and should be here by Friday. Fingers crossed that it will do the trick.
2nd Edit: Well my weekend was messed up by events out of my control and I am out of town this weekend. So even thou I have everything for a second go I wont get it work on it for another whole 2 weeks. Very sad :walterpeck:
I vac formed mine and had the same problem areas but also had some problems getting the pulls flush on the edges. I haven’t updated my thread in ages though. It’s been a really long project. The styrene I used from from New Hampshire Plastics and actually has rubber mixed in so it is super flexible and resists the tearing your getting releasing the molds. That may be something to look into!
It’s obvious you have put a lot of money and time into the rig and molds.
With molds this slick do you think it might be work it to pull fiberglass shells? It’d certainly be a lot of money and work, but you could recoup some cost in the long run by selling shells either here if you meet requirements or through other venues.