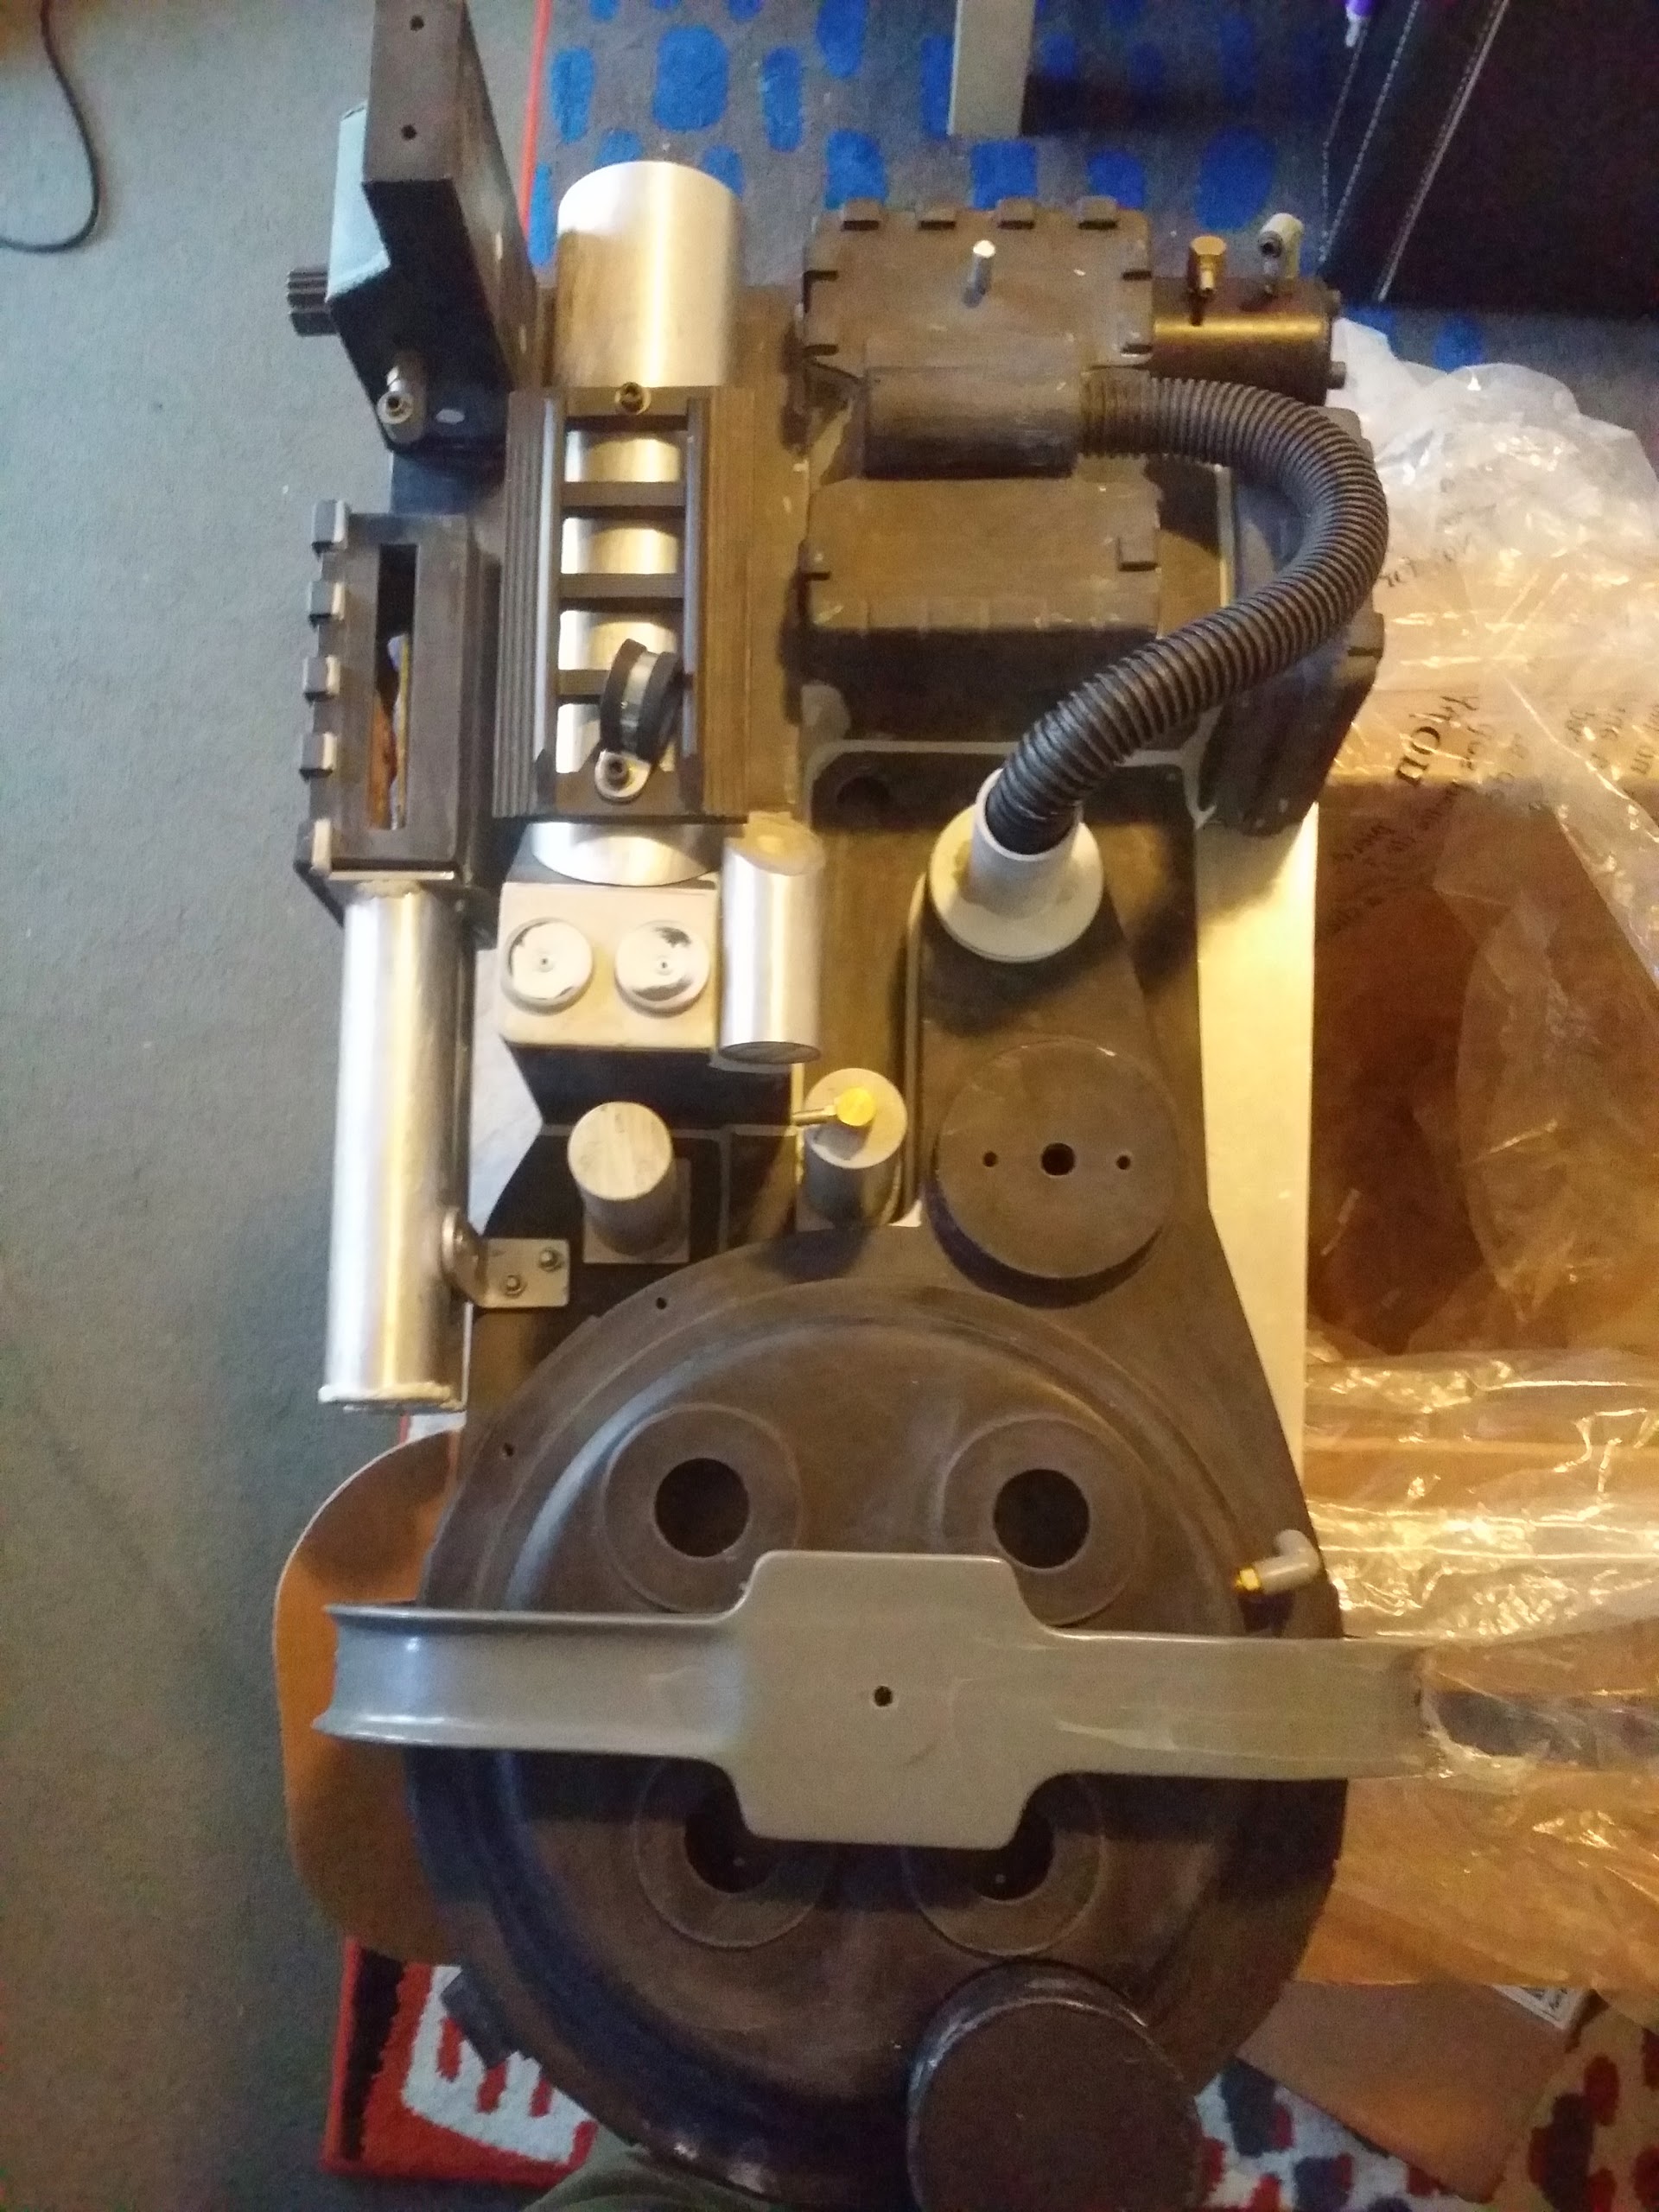
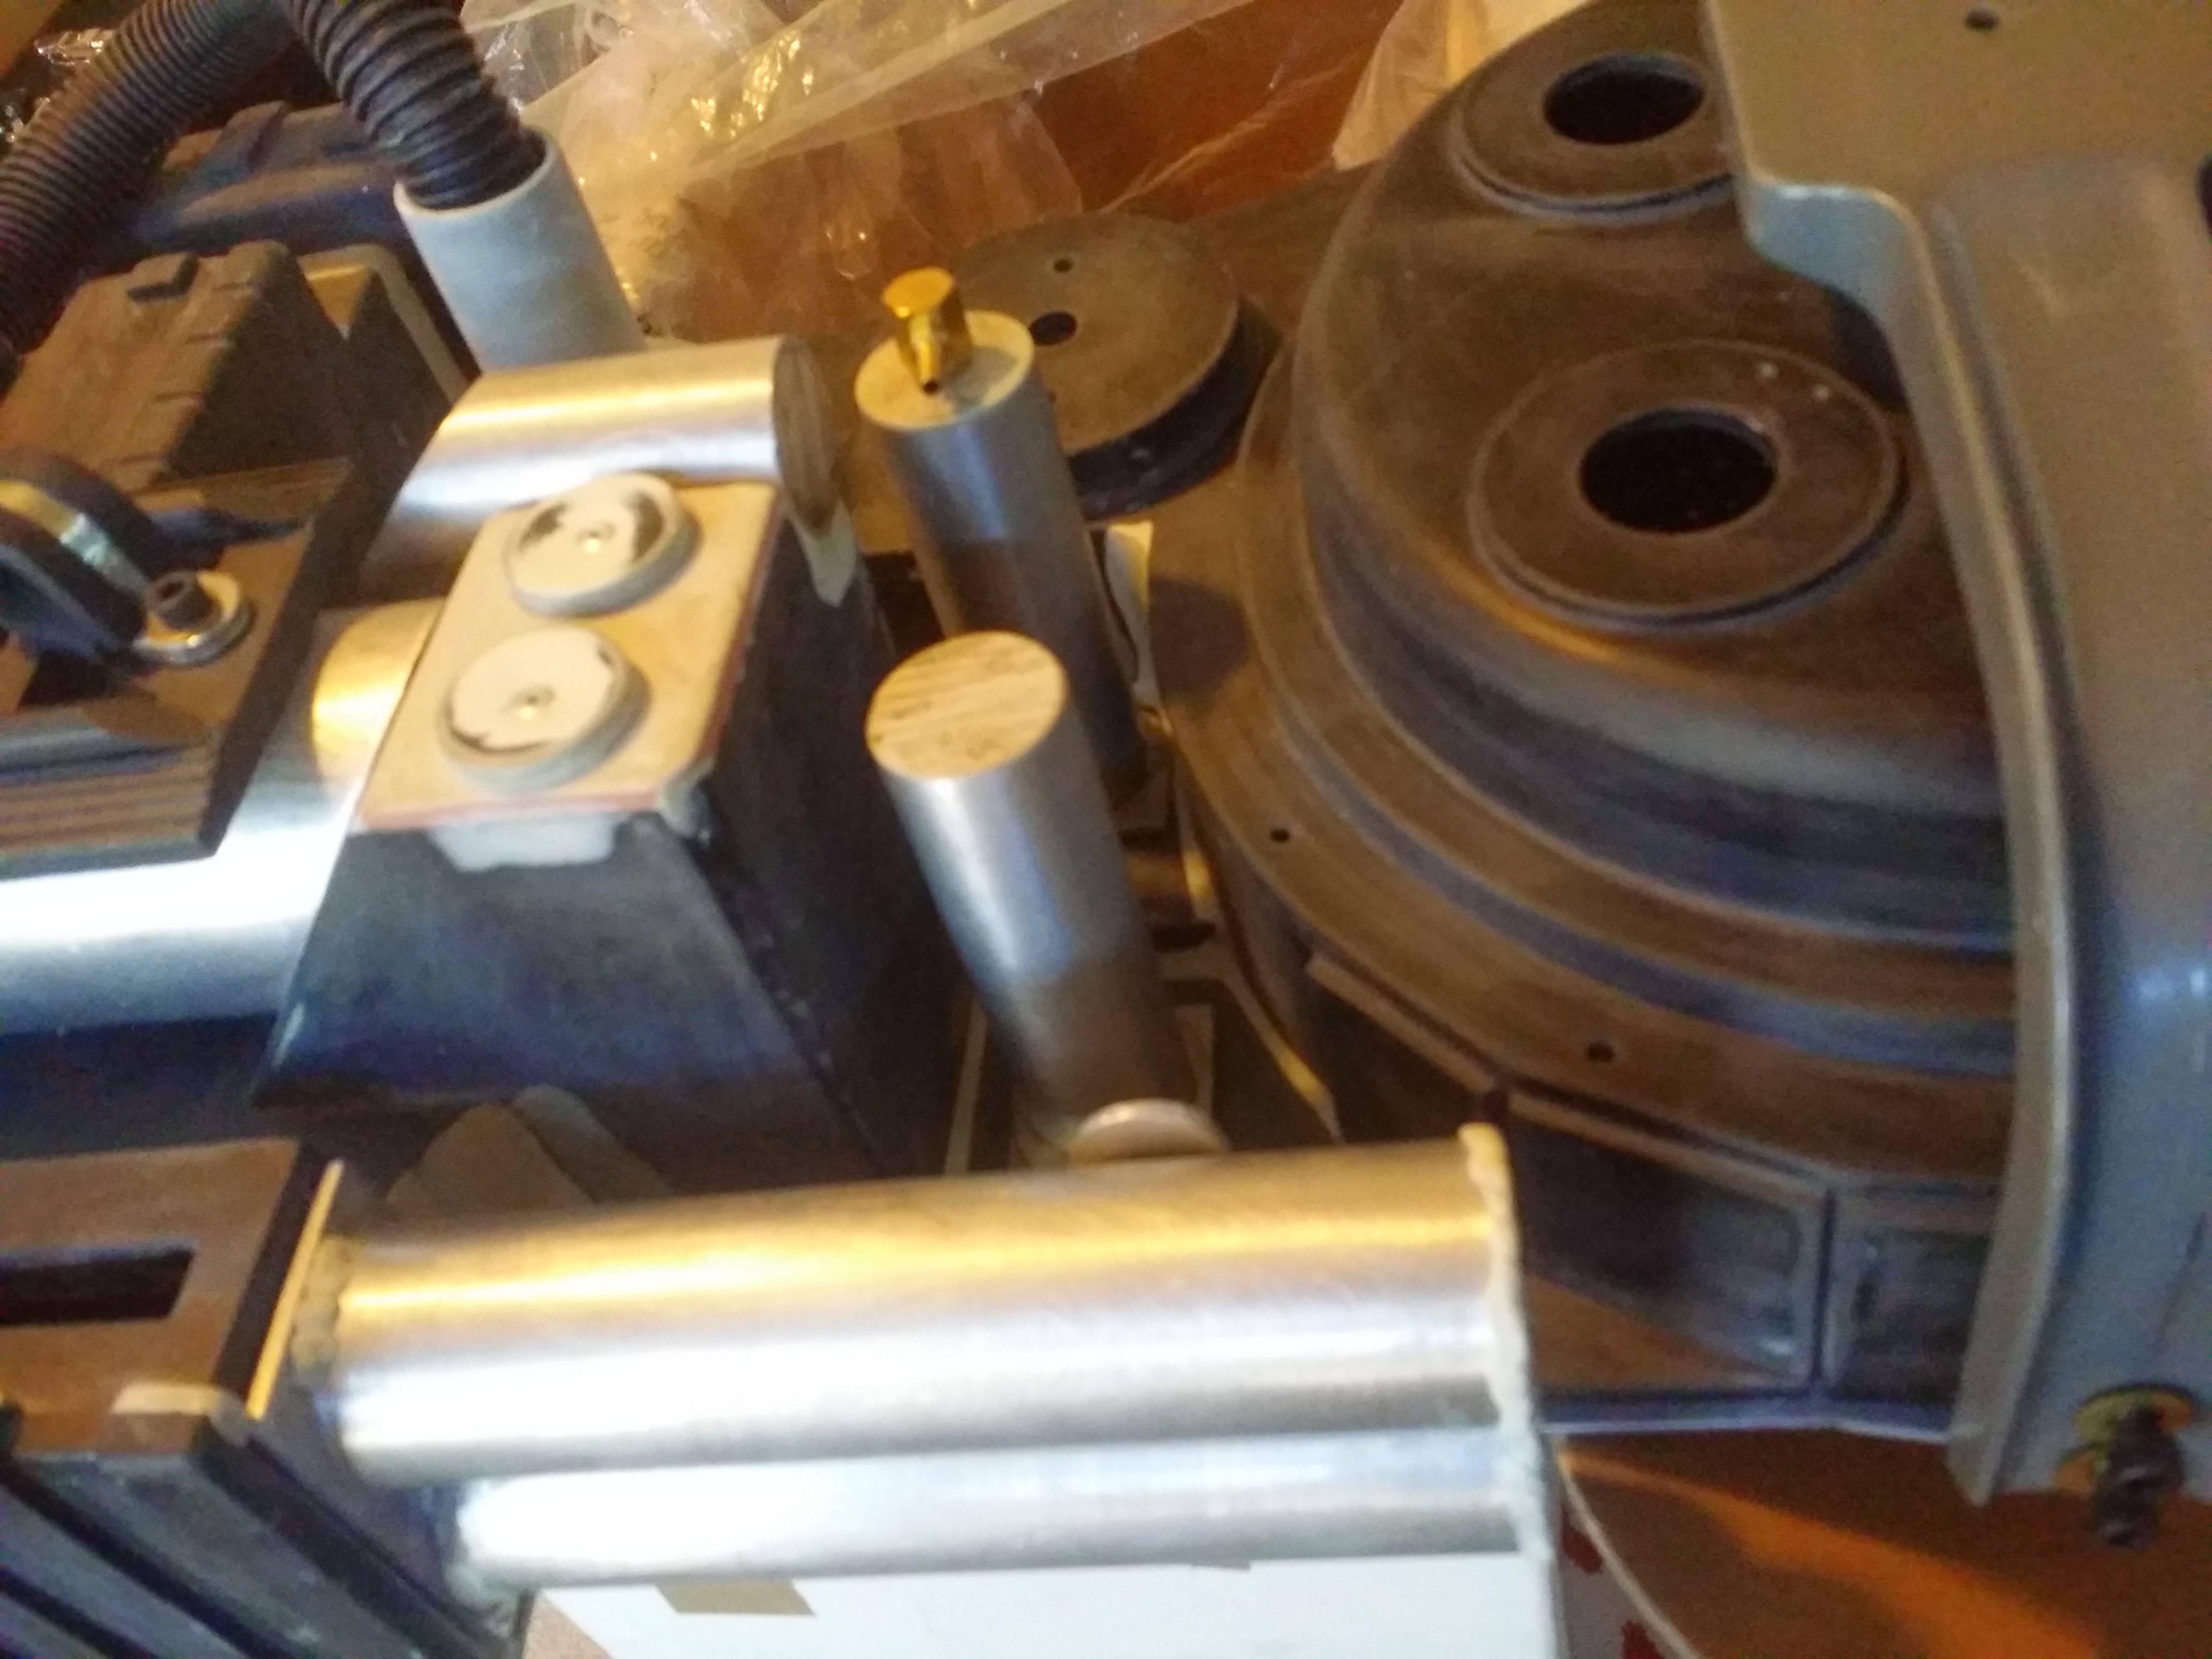
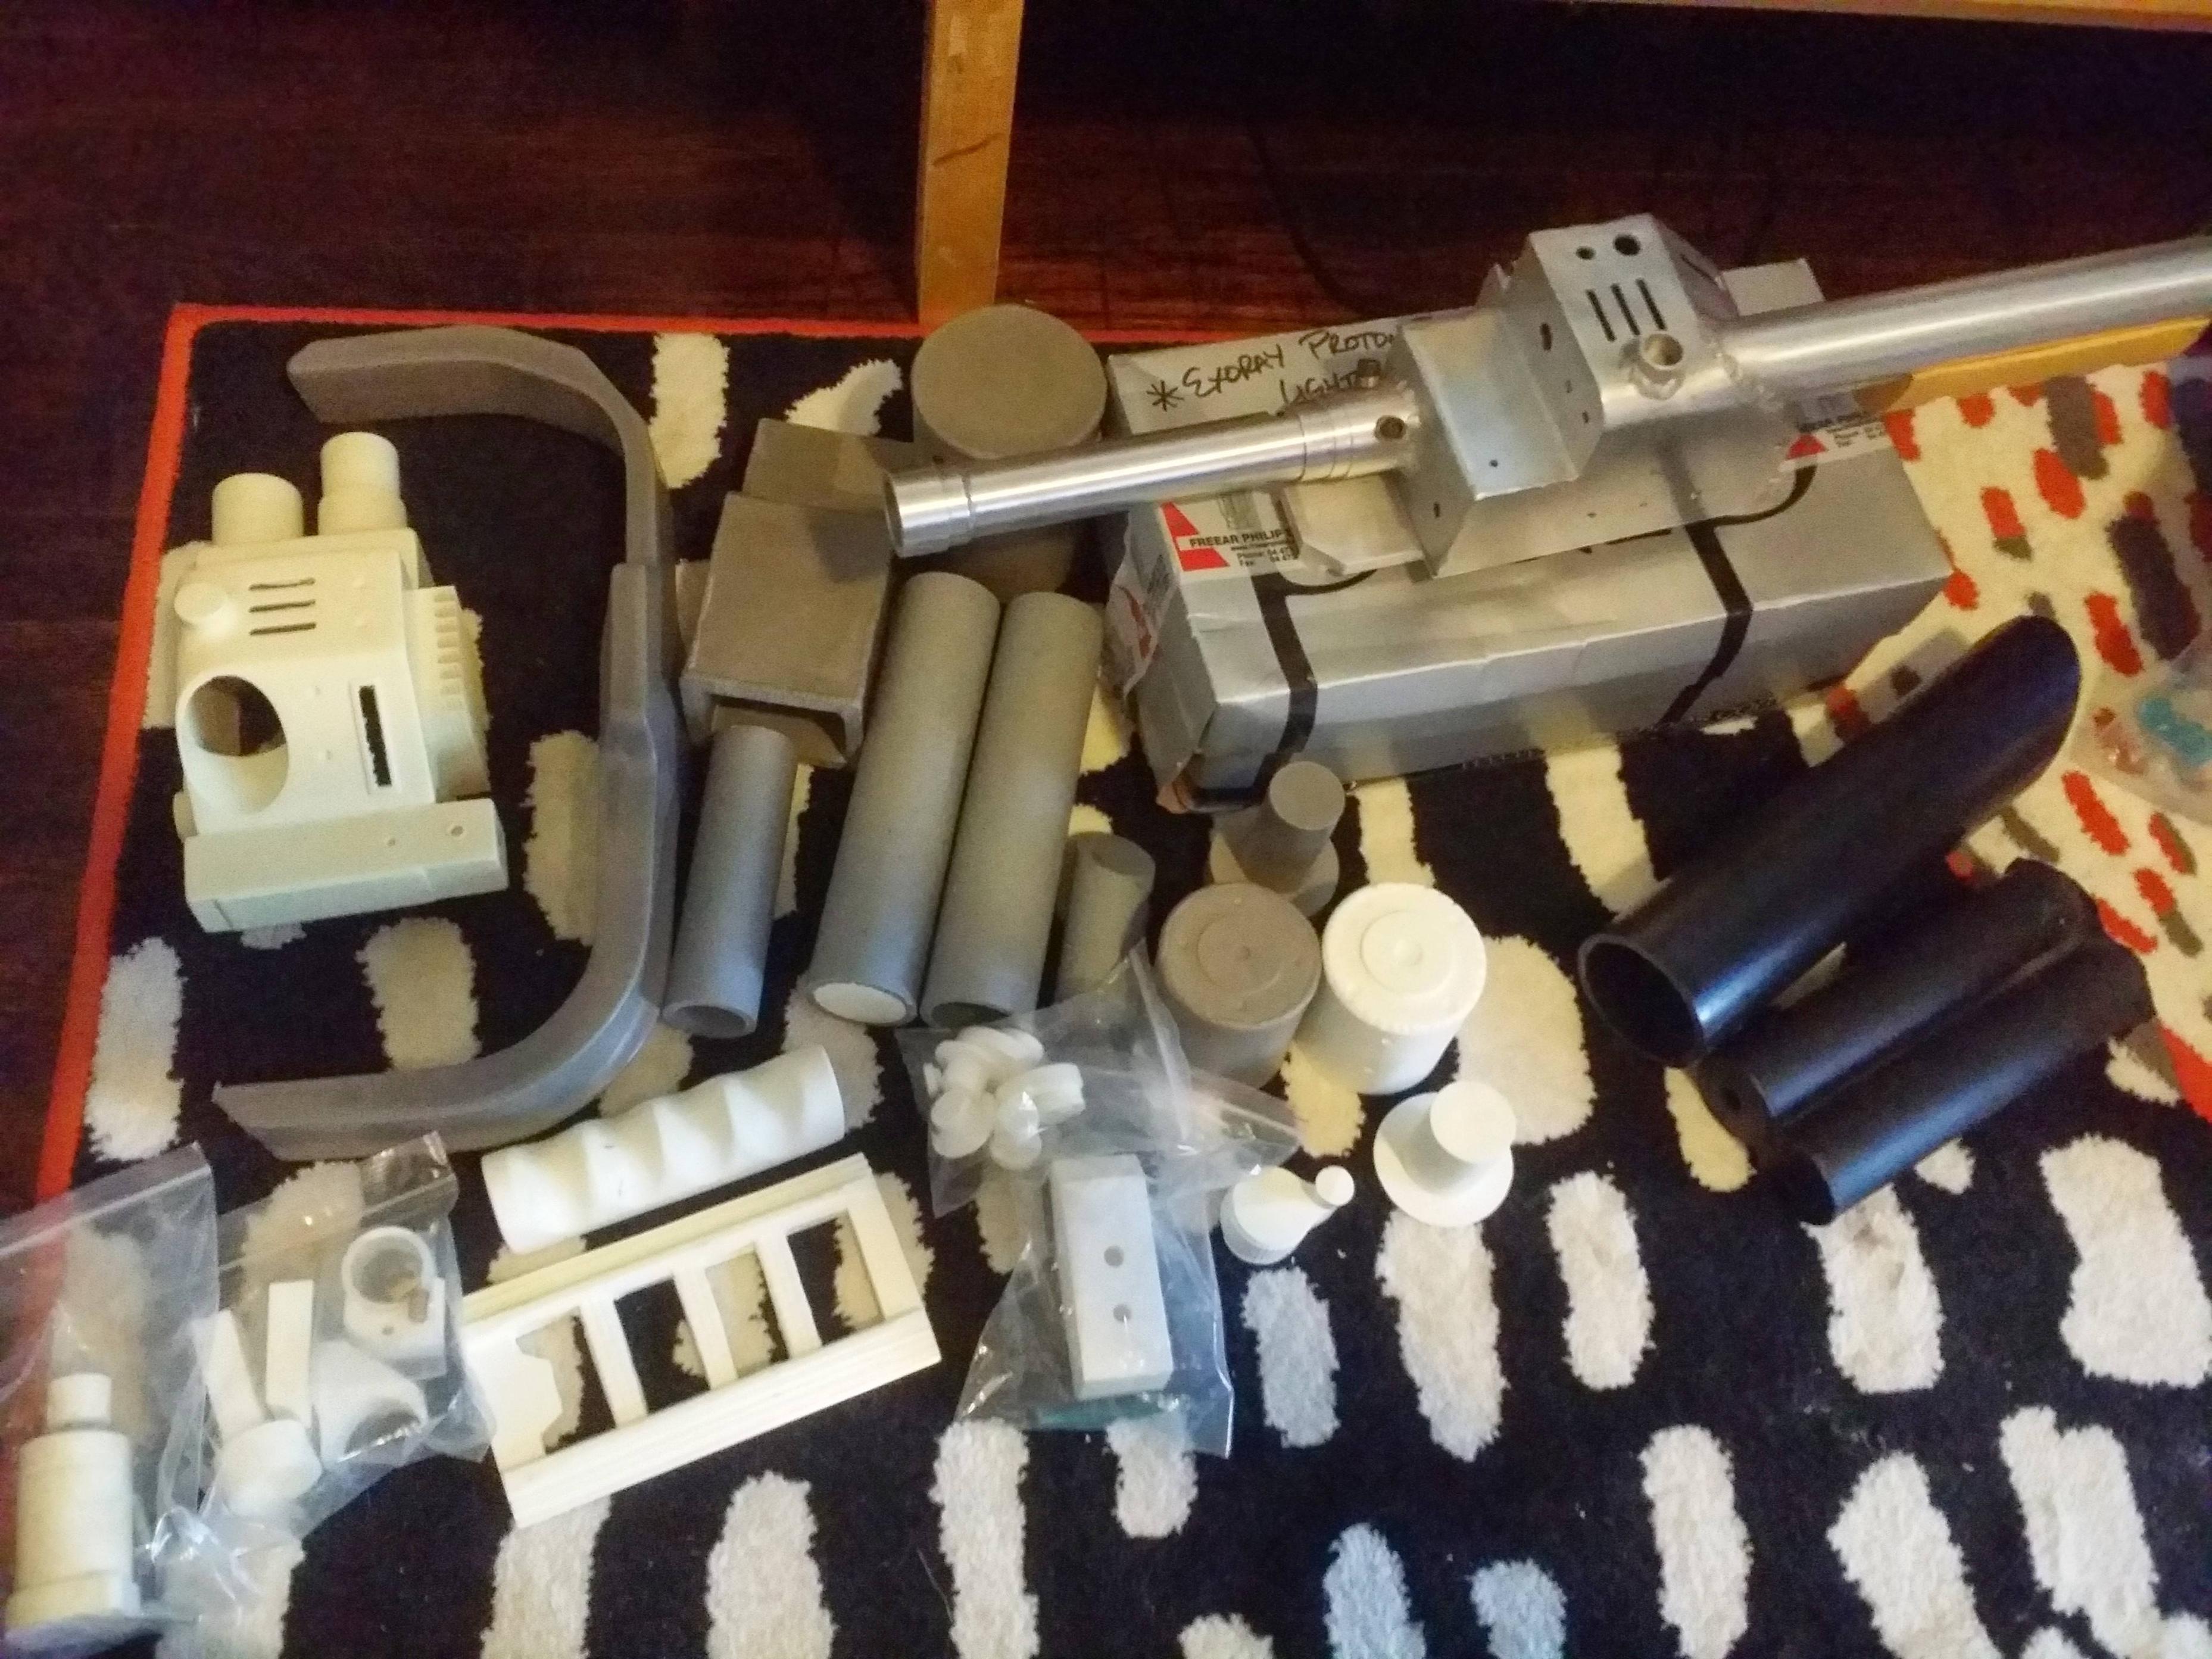
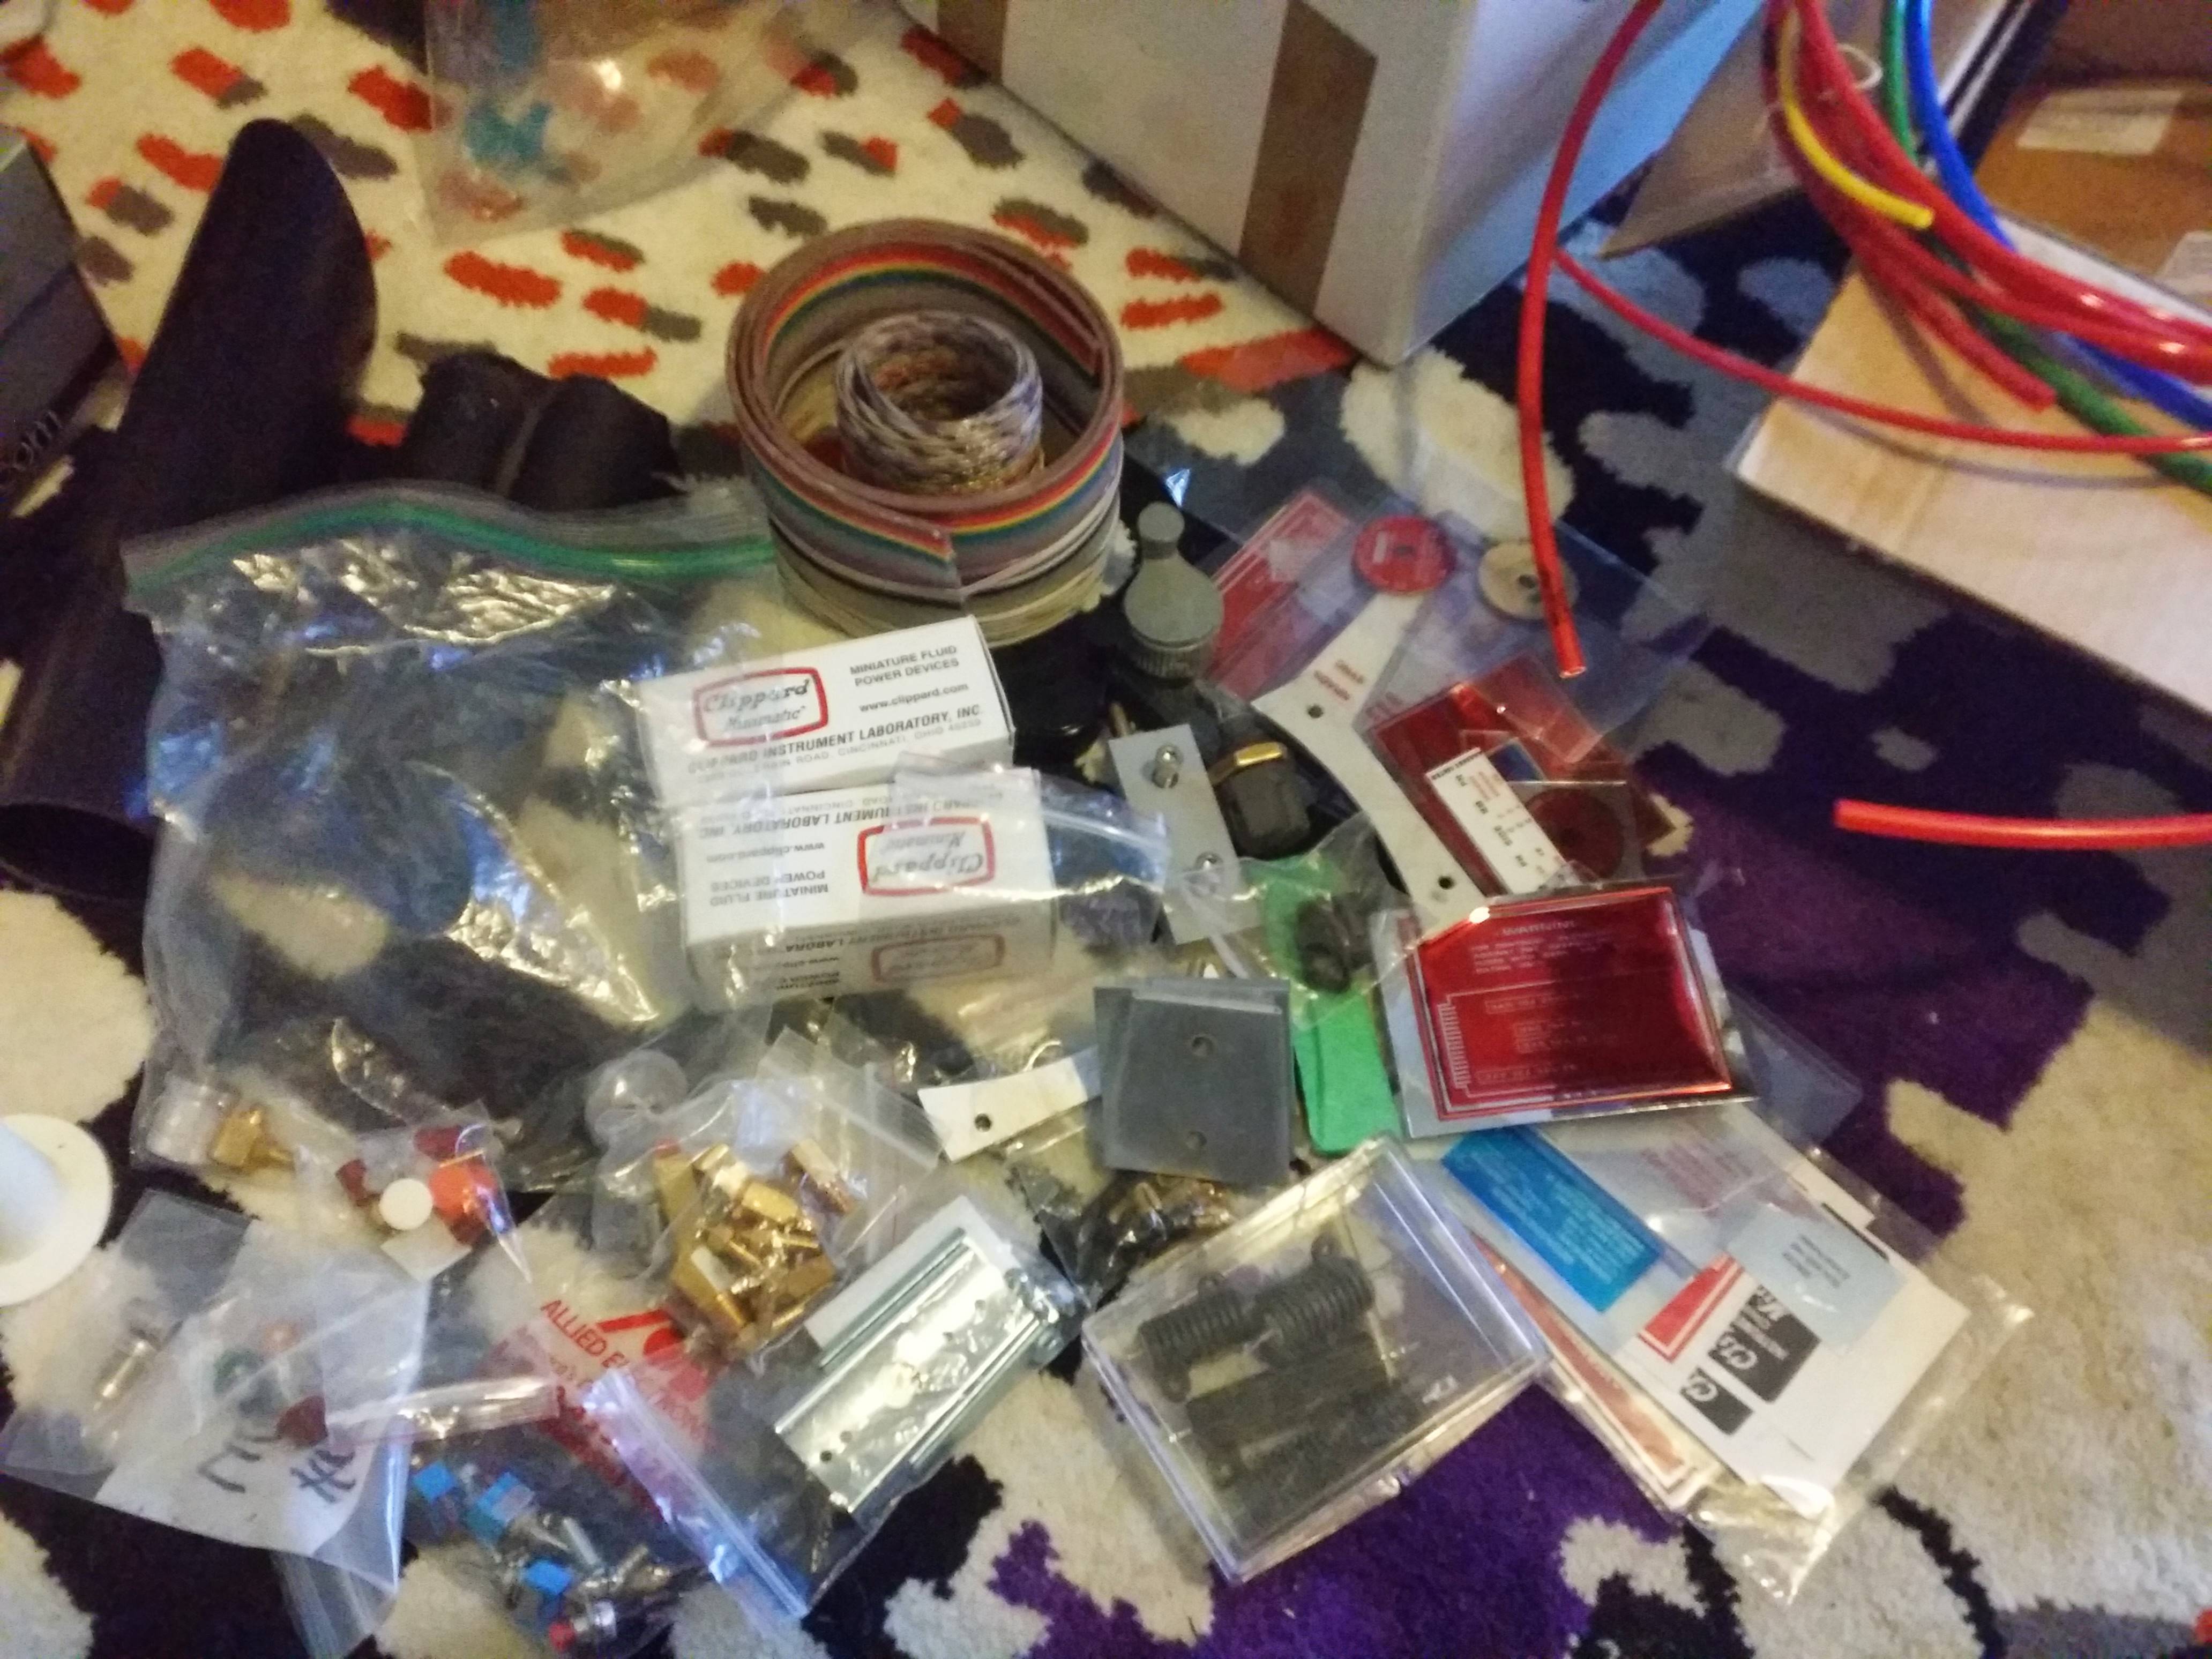
Just today I received a massive collection of parts (thanks Ponyboy!) and suffice to say..I’m a bit overwhelmed. I’ve been a member of the site for a long time, but never had the means to build my own pack. Well, lately I had kept my eye on the FS forums and up popped this lot!
It only took 6 days from New Zealand! And everything is here!
Pull that shell aside. The first thing I would do is finish hanging all the parts on that.
Once I had everything mounted I would work on getting the mother board mounted to the shell, then remove the shell and get the Alice frame mounted to the mother board.
Then put that aside and start on the thrower.
Slow and steady wins the race! Looks like it’s going to be a nice pack.
Line 'em up and sort 'em out. If you’ve got two crank knobs, put the best one in a use pile and the other in a box. Work your way through all the parts, you’ll have a pile for your build and a box of extras. Tape up the box and put my mailing address on it, I’ll take care of the extra parts for you so you won’t have to worry about them.
That should help get everything organized. I’ll also be labeling all the little drawers. I’m still getting familiar with what exactly each little part is called.
What you should really do first is do some research. Have a look at some of the amazing builds on here and get used to part names and learn what parts you have in your collection.
Go through the forsale section and the gb fan store and see what the names are and so on…
You defiantly have enough parts for at least one full pack, but you also have a spare throwing chicken gun body and various spare multi media mayhem parts for the thrower and pack as well as many types of stickers.
I would go through and learn what they are, and pick out the best ones for your build. I could be wrong but I wouldn’t be surprised if you had some sort after bomamatt stickers… which are are keeper.
I know you have an older version of the gb1 ribbon cable made by a user called madeinsocial
But it’s very worth it to properly familiarize yourself with this site and all the reference pictures…
Julzieee, thanks for the reply. I know you’ve given me a lot of info over PM. Thanks a lot. This is going to be my build thread so I just wanted to get more eyes on everything. I’m working on labeling everything and organizing it all in a plastic storage cabinet similar to the one I posted about earlier.
Okay, got everything labeled and identified..as far as what they are. I’m more familiar that I thought. Seeing it all in a big pile was worse than when I actually went through piece by piece. As to where each piece came from..? That’s a mystery to me for the most part..but that’s okay. Everything has a place in it’s little storage drawer.
So, now..what’s step one?
Remove everything from the frame and start painting?
Take it apart, study how it was assembled and put it back together… see if there are any flaws/differences in his build that you don’t like and make them your own…
You can’t start a book half way through, you have to start on page 1. I agree with Phil, take it apart an take photos as you do so you can remember what went where and how an with what hardware. And then start reading some of the build threads and as that thread out something on, put yours back on. Lather, rinse ad repeat until it’s built.
If you want ground zero, you need to take it back to zero. It’s all good, don’t stress about the parts, just take it one piece at a time.
That is one sweet “proton pack in a box” find. Seriously, it can sometimes take people a year if not more to accumulate all of that between finances and the randomness of availability of certain parts.
It has been said of course, but find a build in the build section that you are comfortable with and just follow step by step. That should get you where you need to be without finding you have a ton of left over stuff.
Then when you are done, sell the extra for some uniform stuff or recoup some of the cost.
But again, nice find. Good luck on the build and can’t wait to see it.