TEST: Pepakura spacer ... *UPDATE*

I tried to make a spacer out of paper like so many have done with Halo armor suits. The idea came to my mind after looking at some results over at 405th and after printing and glueing an Iron Man faceplate. As Venkman71 also described the spacer to be a bitch to scratch build and as my foam spacers didn’t come out like I wanted them to look, I was thinking about trying it with paper. Because the thread with the Pepakura proton pack seems to be frozen, I got pepakura designer and made the spacer myself.

I used the 3D Model for Google SketchUp done by Martin from here. Credits to him!

I cut away everything except the spacer and experimented some hours until I got the dimensions as accurate as possible (some changes are needed perhaps in the future) and then edited every flap to be big enough so cutting out the paper would be less hard and glueing would be time-effective. All in all I needed about one hour and a half for cutting and folding and about 2 hours for glueing the pieces together (sometimes this can be a cruel thing to do).

I tested it with normal paper and it came out somehow awkward, but anyway, just look at the pictures:

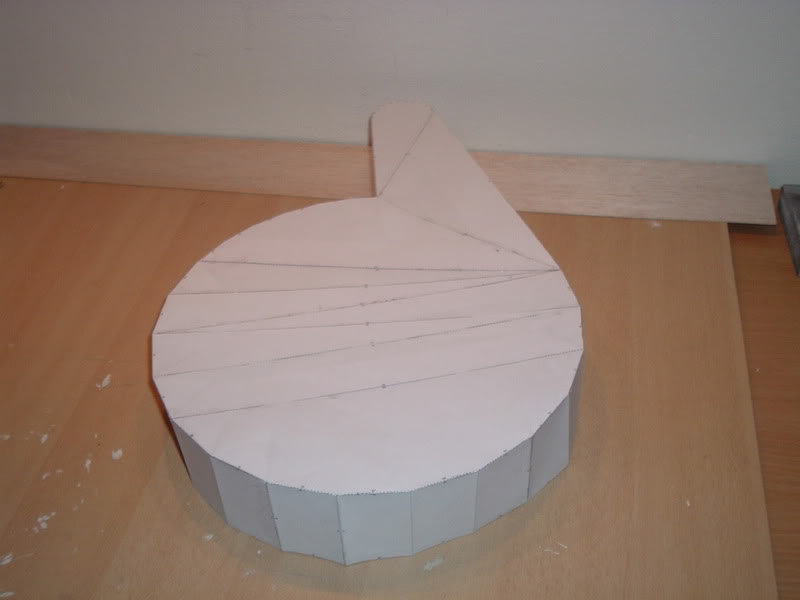
The spacer:
The edges of the spacer:
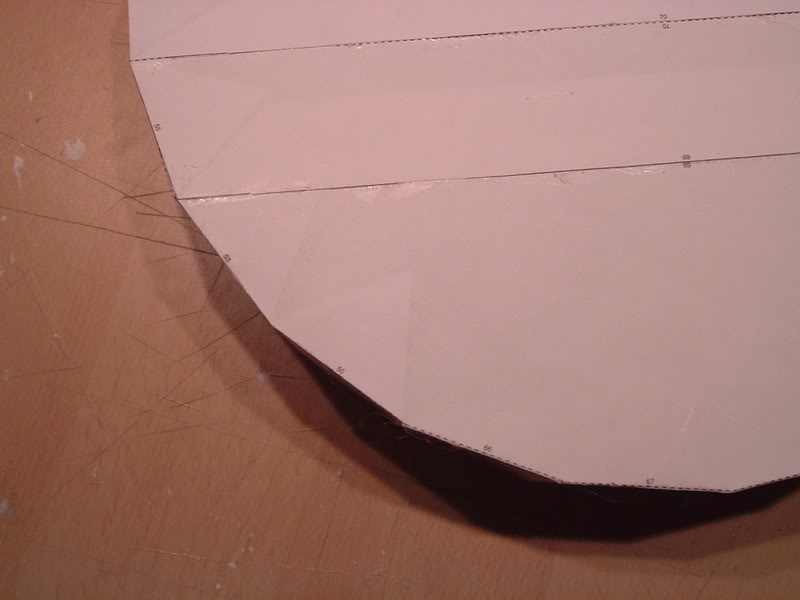
Look how the edges round themselves inside because of the glue hardening process:
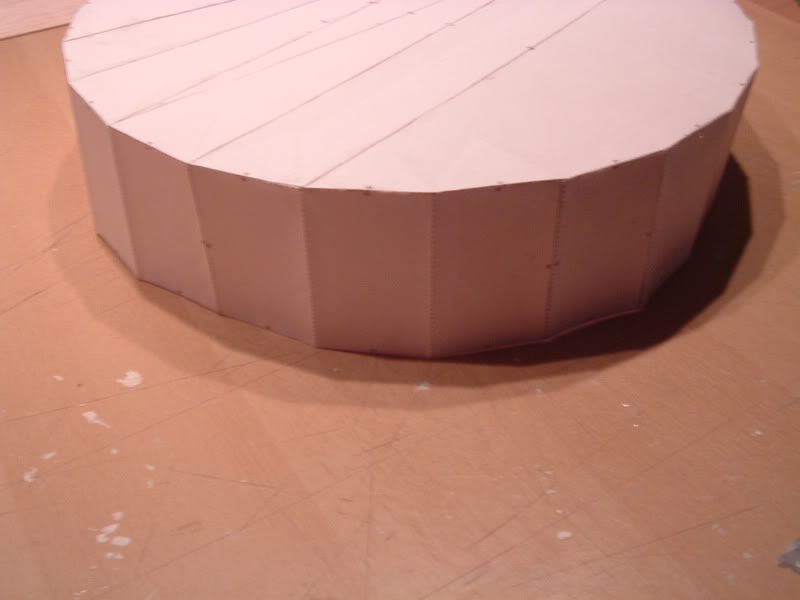
The “round” upper area of the spacer before the “arm” begins:
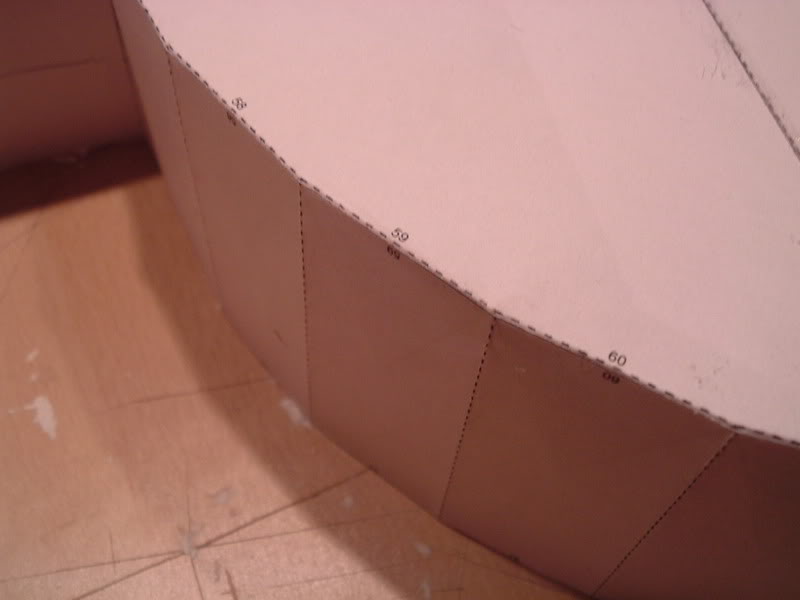
Closeup of the round part of the “arm” on top:

I glued an additionial piece of paper inside this part. When using thicker paper or more sheets inside, this can come out perfectly round after resining.

Foam spacer and paper spacer:
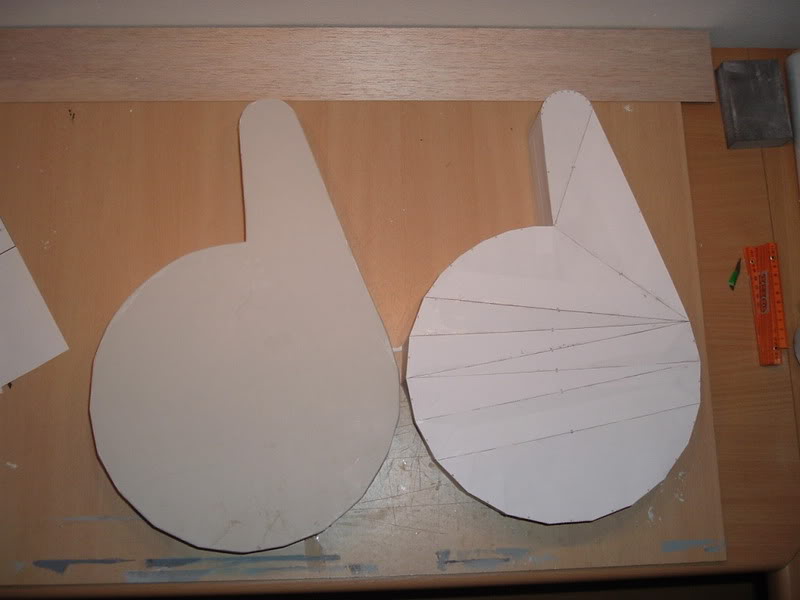
My personal opinion about this technique after trying this piece:

PROS:

  • It is easy as hell. To imagine cutting everything out of wood or foam consumes way more time than printing, cutting, folding and glueing.
  • Using paper, noone has to get special equipment. Scissors and glue will do. For those people who want to make a cardboard pack, I could imagine glueing the paper onto the cardboard and then just cut like hell. Also here a time saving element.

CONS:

  • As some of you already know, paper alone does nothing, it’s not stable and needs to be reinforced. As some of you also know, the guys with the halo suits are doing this with 2 coats of resin before they add some layers of resined fibreglass.
  • Fibreglassing is a problem. Resin and fibreglass mats are not cheap like paper or cardboard. Additionally, you need a respiration mask and some experience (I won’t explain here).
  • BUT: What you will get out of it is a fibreglass shell and you will have a hollow spacer which can be important building a proton pack. A hollow spacer has lots of space for electronics, amplifiers, speakers, etc. That’s the reason why I tried the spacer.
  • Normal paper is too thin and a pepakura spacer can’t be resined good enough when using this thin material because it is just too awkward and unstable.
  • BUT: There are more types of paper. When getting thicker paper which can still be cut precisely (scissors or scalpel or whatever cuts paper) you would get a pretty stable thing. The disadvantage using thicker paper is that the spacer in the end would come out a tiny bit smaller, because it has to be resined from the inside.

This is all I have to say for now about using paper for the spacer. I will try to get my hands on thicker paper (almost cardboard like, but thin enough to cut and fold) this week. Then I’ll try the same thing with this type of paper. When it is stable enough, perhaps I’ll try resining it. Additionally I have to make some changes on the flaps and the spacer in general because I found out that some flaps are too large and some are on the wrong side which makes glueing more difficult.

Let’s see if this technique is ■■■■ for the proton builders or if it comes out good.

This is a fantastic test. I hope to see more soon. It’s very cool.

Nice job so far!

I’ve been waiting for someone to try this…

Yeah, I’ve been waiting for someone to try pepakura over here.

I have some experience working with pep stuff for my Halo 1Master Cheif and a little bit on our ODST suits (my neighbor does most of the sculpting on that one). Anyway you will want to paint a coat of resin on the out side, the inside, and then reinforce with cloth or mat. Cloth conforms to grooves better but the matt is much stronger with less layers. Be warned that if you want a smooth finish, you will need to use bondo and glazzing putty on the outside of the pep. If you don’t own a mouse sander I suggest investing in one. :cool:

For paper the 405th suggest card stock or 110 weight paper which is similar in texture to a buisness card. It can be printed and folded and will hold it;s shape rater well, although you will want to provide some support while you are applying resin for the first time.

as far as resin and cloth, if you go to home depot you can get a gallon for about $35 and about 3-4 packs of cloth at $4.47 a piece which should be plenty for a single pack. That’s about what I use per shell in my molds.

Yes, you might want to upgrade to card stock.

A while ago I had a short but almost pointless youtube video on fiberglassing the outside of a spartan helmet without losing any details. It would work perfectly for the pack as well.

For the cloth, here are my rules: cloth on the outside, mat for the inside. :slight_smile:

Yes, that’s exactly what I was thinking about or even a little bit thicker.

That’s a bit problematic. About 1 gallon here in Germany costs about 50$ and one piece of cloth also 10$ (recalculated from Euro to $ US) which would be about 90 bucks :walterpeck:

Regarding the thickness of everything, I guess the spacer needs to be a bit sturdier to hold the cyclotron and the bumper aswell. Anyway, I considered pepakura stuff only for some parts of the pack, e.g. the spacer, the basic body of the crank generator (in a limited way) and the booster.

Making other parts out of resined fibreglass would not need any pepakura designed things. A rolled up piece of paper with the correct diameter worked out fine with resin and fibreglass mat should do the trick (if someone would want to make this the same way which I wouldn’t consider). I don’t have much experience with this pepakura designer and 3D programs, but trying another crank gen in pep designer was almost catastrophical because of the rounded edges. This just would be the same work afterwards then carving and would need lots of resin. So completely rounded edges are not really possible as far as I’m into it. (unless someone knows how to cut a 12th inch of paper and then glueing it g). Dunno if it really is possible though.

Alright so there’s an update on this.

Sorry for taking too long on progressing on this, but I had to continue working on my packs and this is a test anyway. Sorry again for the bad pic quality, had to use my crappy phone camera as my digital camera is broken and I’m completely broke.

Ok here’s details:

Cut and pepped the spacer the same way like with normal paper, but used stiff business card like paper. Went a lot better now, but still the convex areas on the small areas on the bottom exist although not the same way. After folding I reinforced most of it with another layer of cardboard to make it even more stiff. So I got 2 layers of that business card paper on most areas.

The whole thing does look like this:

![image](http://www.gbfans.com/images/pb/Primaeraggressor/Pepakura Spacer_050520101047_resize.jpg)

After the first coat of resin, the whole thing got a little bit distorted, esp. the bottom area of the whole thing:

![image](http://www.gbfans.com/images/pb/Primaeraggressor/Pepakura Spacer_050520101049_resize.jpg)

The support here was absolutely no help while resining, it distorted itself afterwards, but this can be helped using a little sheet of wood (in this case balsa wood). After inserting the piece of wood, everything corrects itself and it becomes pretty regular:

![image](http://www.gbfans.com/images/pb/Primaeraggressor/Pepakura Spacer_050520101048_resize.jpg)

The edges look pretty good and after an inner and outer coat or resin, it becomes very stable already without fiberglass inside. On the bottom is just excess resin that glued the piece onto the table. I just painted the resin directly on the table to make sure everything gets a good amount of it. Never mind, when it is hard it can easily be cut off or sanded away with a dremel tool:

![image](http://www.gbfans.com/images/pb/Primaeraggressor/Pepakura Spacer_050520101050_resize.jpg)

Ok and here is another “problem” which I hope can be erased after putting fiberglass in it. ALTHOUGH coating the inner side first and despite laying a foil covered weight inside it while hardening the top side of the whole spacer deformed. It’s not as much as it looks on the pics, you notice it at once. I hope this will flatten out when inserting the fiberglass mat with a good amount of resin:

![image](http://www.gbfans.com/images/pb/Primaeraggressor/Pepakura Spacer_050520101051_resize.jpg)

As you can see, the biggest distortion is where the “arm” of the spacer begins. I again hope this will flatten out a little bit when fiberglassing so you’d only need a little bit of bondo to make it completely flat.

Another and the last pic with a sneak preview of other parts of my pack g:

![image](http://www.gbfans.com/images/pb/Primaeraggressor/Pepakura Spacer_050520101052_resize.jpg)

That’s it for now. I’ll update this thread again when I got some fiberglass mats and another bunch of resin (found a fairly cheap source but this still has to wait because I needed glasses and those ripped a big hole into my pocket). Will surely take about at least 2 weeks. Sorry again for that.

Take care…

Aside from the warping it looks great. maybe making a foam insert that is roughly the size of it would help with doing the outside then you could wait for it to dry and then do the inside.

Also this halo armor which you speak of, link to it please!

405th.com

Just go to the forum and read a little bit around, you can find many thoughts about resining there. A specific suit doesn’t exist, there are many builders.

oh i thought you had made one and i wanted to see it…

No, I didn’t actually … I just found the idea or resined paper fairly interesting and just wanted to start a test if it would be suitable also for GB related prop elements …

More! I’ve been waiting a long while for this, and tried what you did once, breaking each piece up from a 3d model from google sketchup.. But the end results were not pretty as it had over 50,000 folds total! I’ve done a few different custom things in Pepakura (I did a Haunter, from pokemon, mask for Halloween for my cousin; life size Canti from FLCL) and I have some things to share.

For warping, you might want to pack with some paper, or like you did with the braces, as you’re applying the resin. Also, do it very, very thin for the first coat, and then you can layer it on after that. You definitely will want to fiberglass, if not the outside at least the in.

Also, if you have a boat store nearby, you can probably get resin by the quart/gallon, and fiberglass by the yard.

If you frequent the 405th, you probably know that this method is also pretty good for making casts of via silicone and resin. I’m super excited to try this out; any chance of posting the PDO file?

Thanks. Yes I did the first coat very thin, but it was impossible to work further on with that stuff. The thin coat didn’t stabilize it like it should have done so I mixed a new portion of resin and did another coat which was a little thicker. Most of the warped areas unfortunately were already there and somehow I couldn’t straighten them …

Like I said, I just want to make some changes to the pep model, didn’t have any time recently, but I promise that I will share the PDO file :cool:

For the spacer, (if you want to try another one) you might want to have it facing down against a flat surface and (lightly) only coat the inside of the face. Leave the walls for later. Once the face cures, coat the inside of the wall in small sections at a time. That way you keep everything flat. Don’t bother coating the outside. Resin soaks through.

When I made my suit, the 405th didn’t even know about pepakura =3

I know this is an older thread, but i just thought i would share some info that could help with the method… using a urethane resin directly on the INSIDE of the piece works like a champ. I did my whole Master Chief outfit like this way after reading about the method over at the 405th; I think there’s a few videos on YouTube of a helmet being slush cast.

You have to start out with thin coats so the paper doesn’t get sopping wet; I generally stuck to 2 or 4oz batches until there was a nice, thin, & even coat on the inside of each piece. I went directly from paper to resin on the inside & didn’t even bother with fiberglass resin on the outside. As with nearly EVERYTHING papercraft, this method has been talked through pretty extensively over at the 405th.