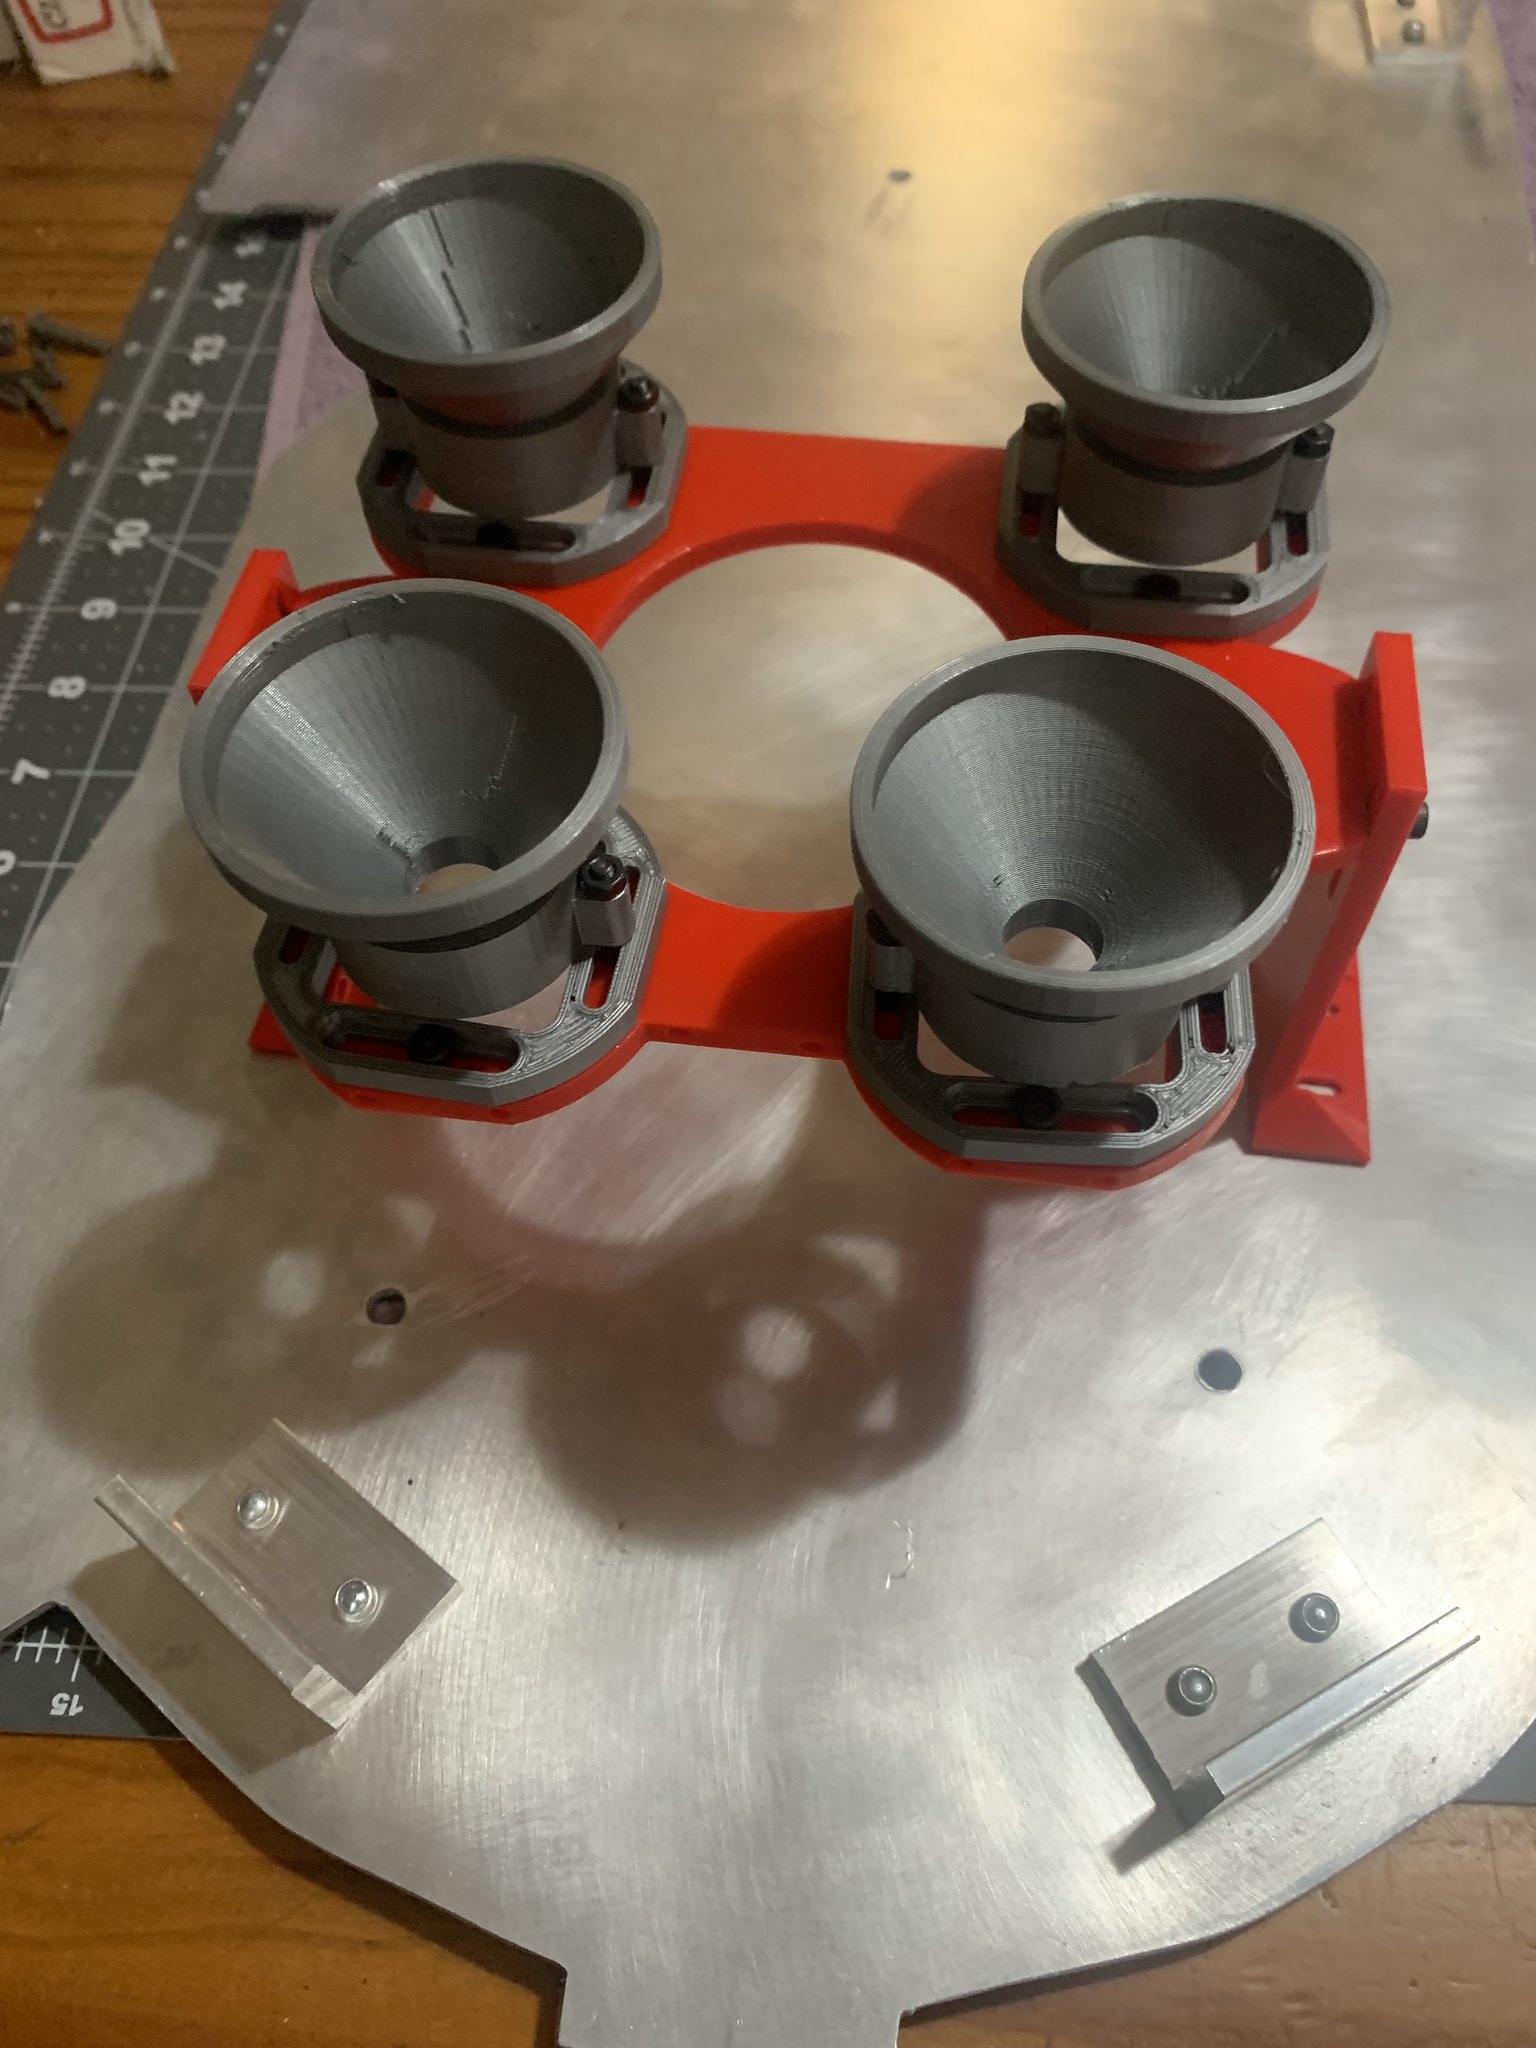
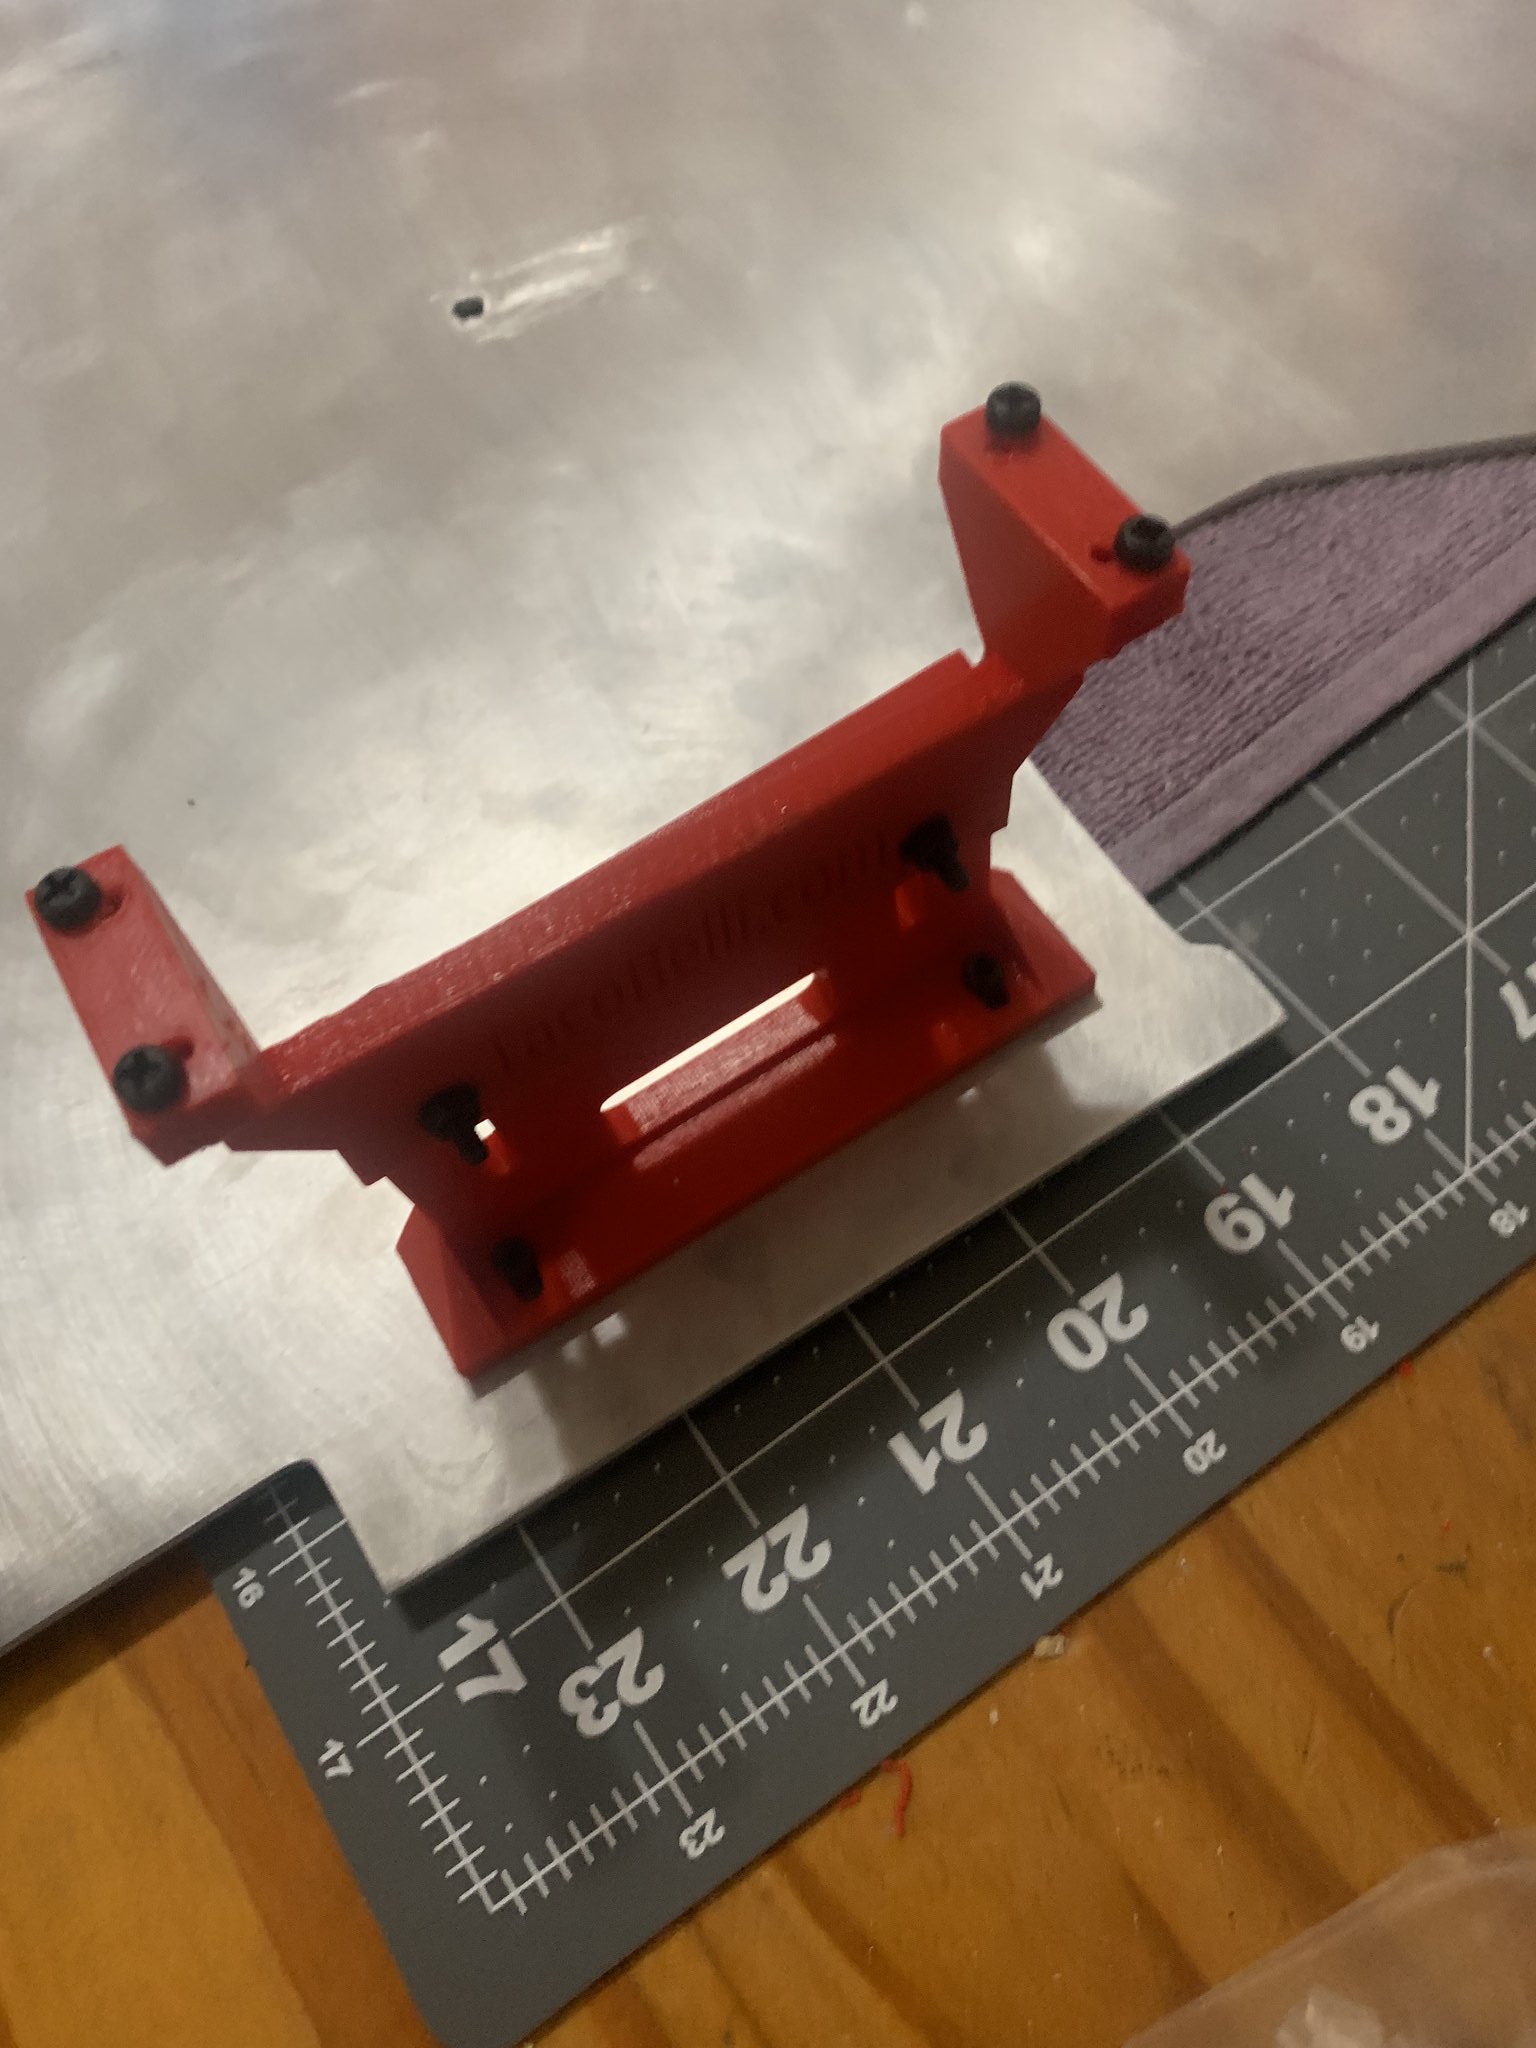
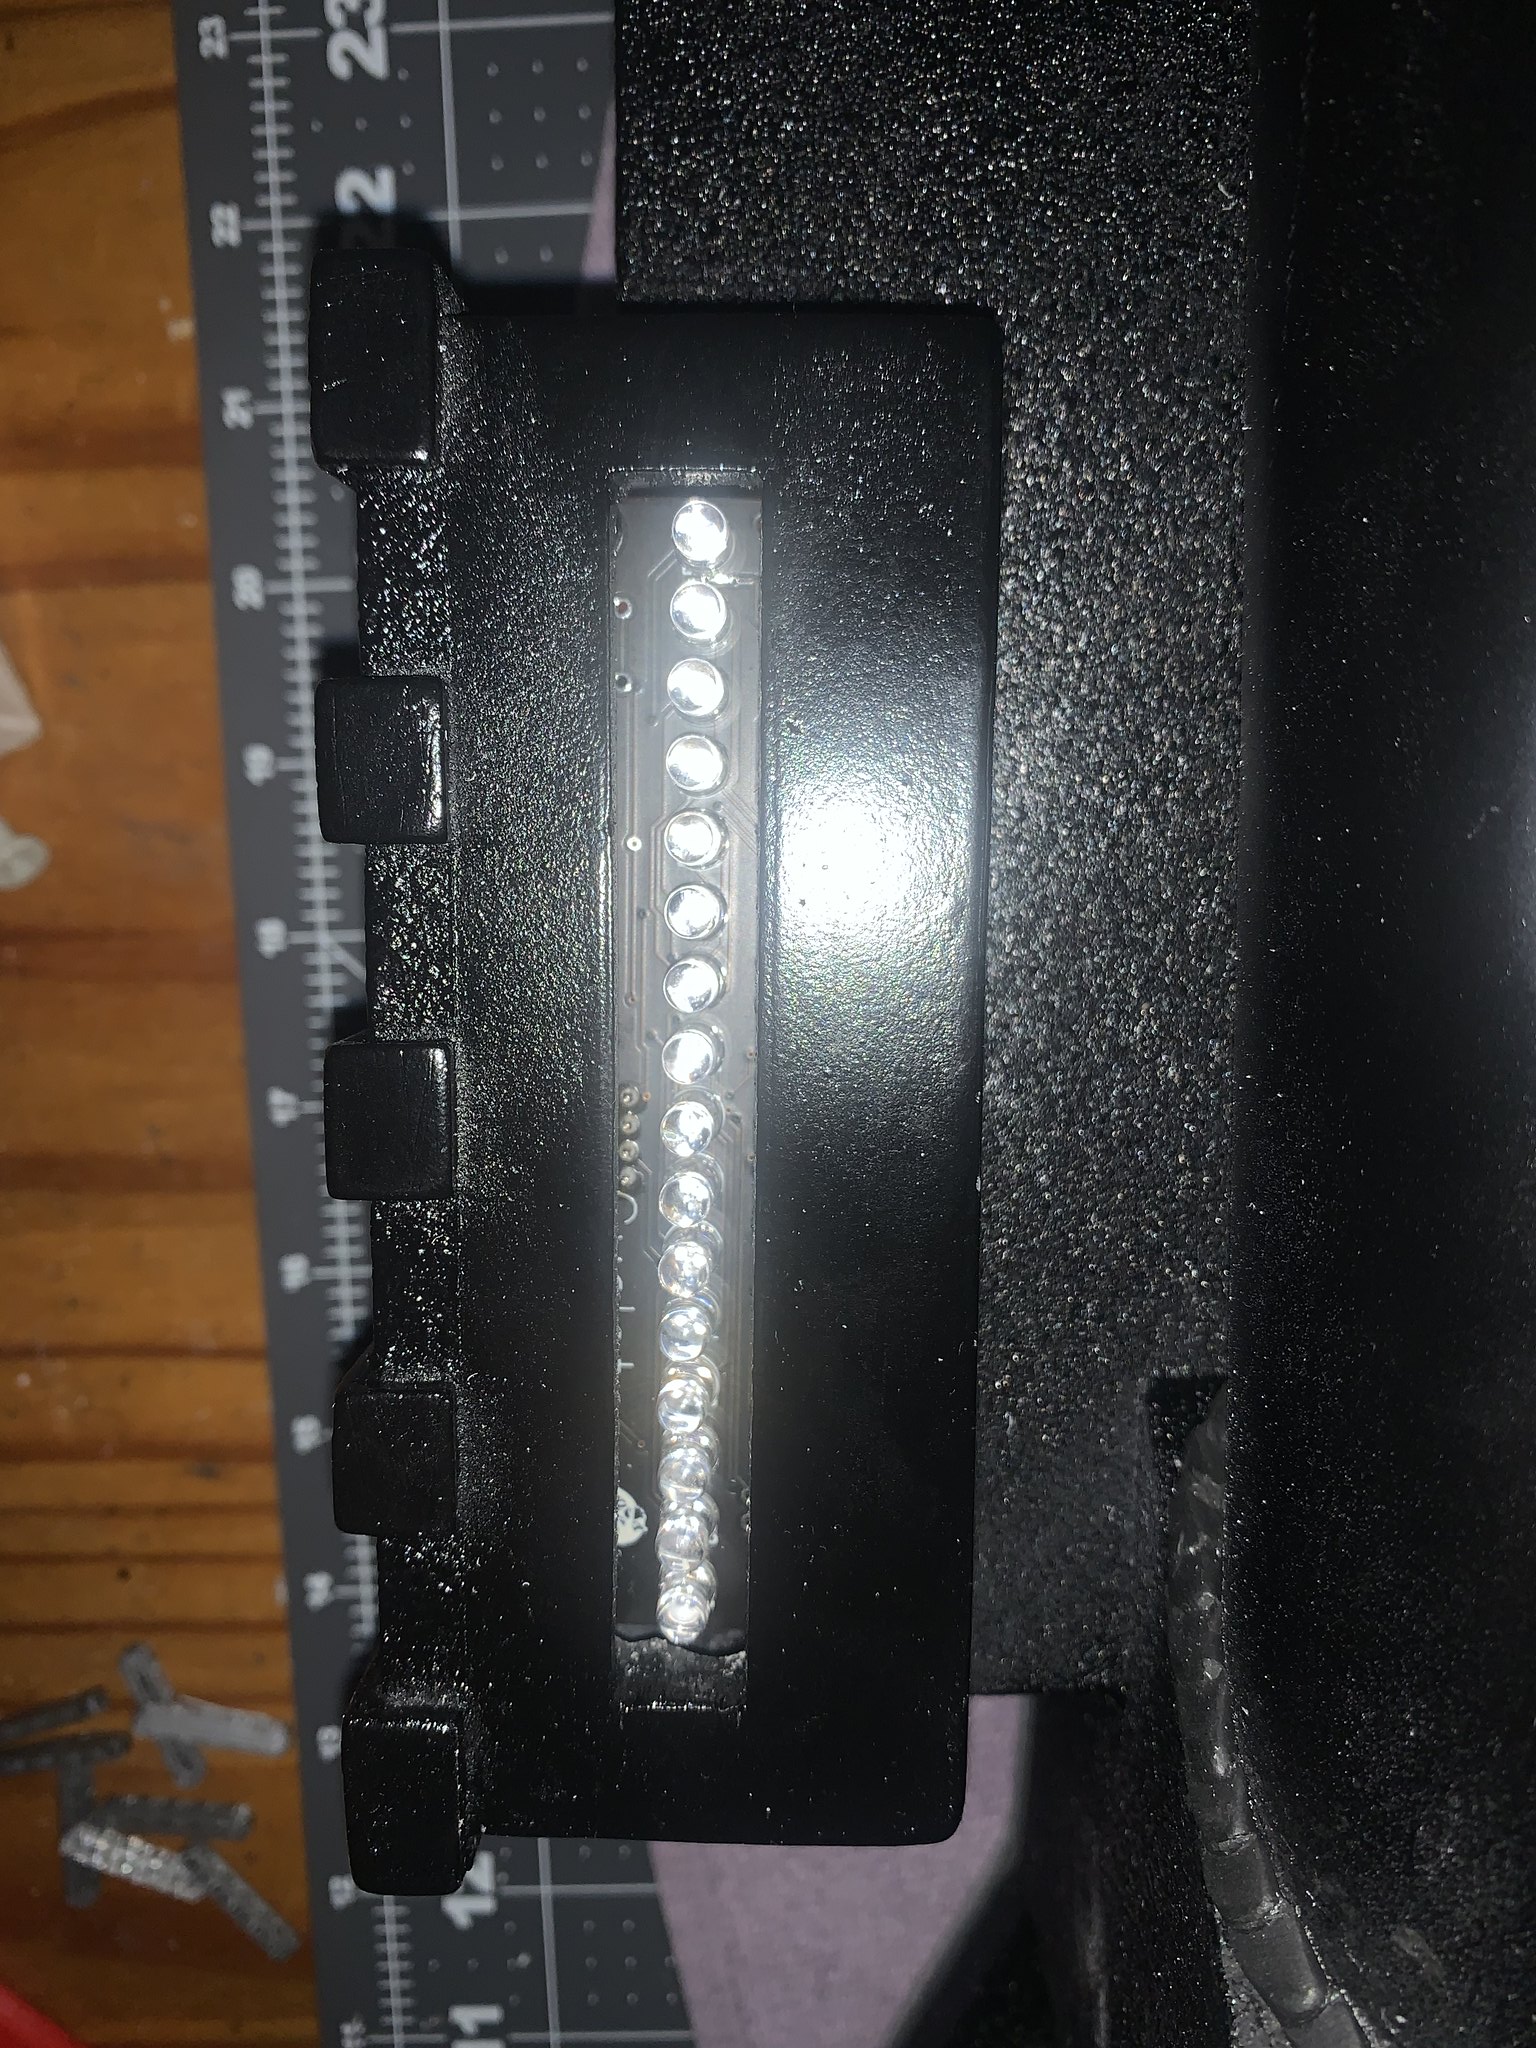
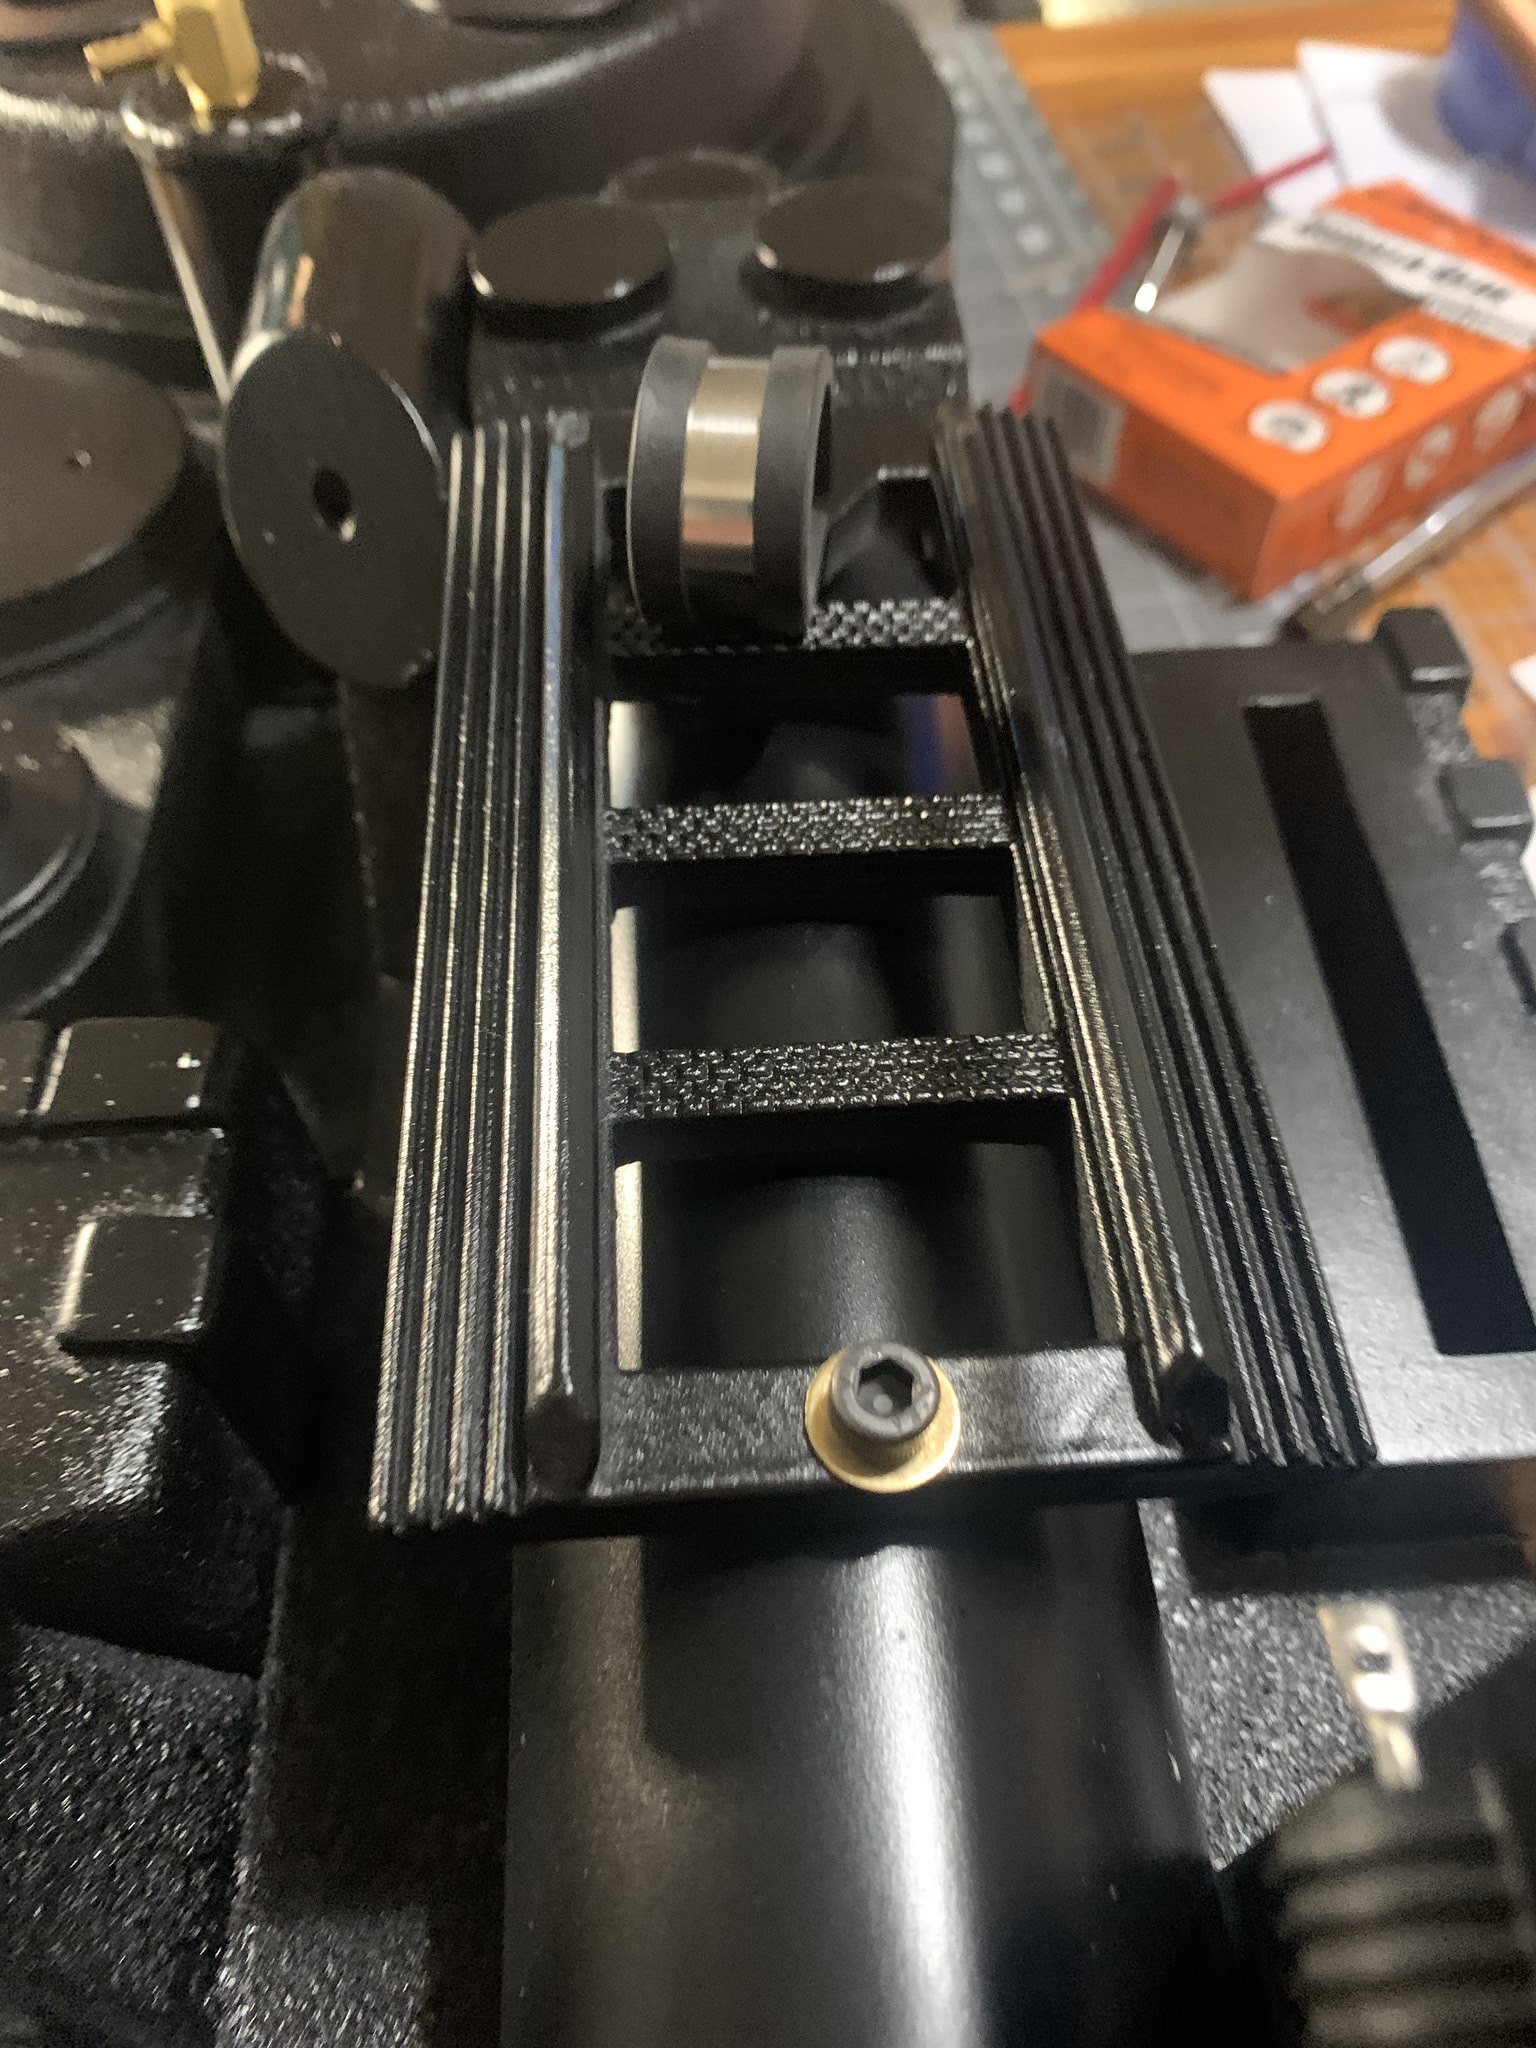
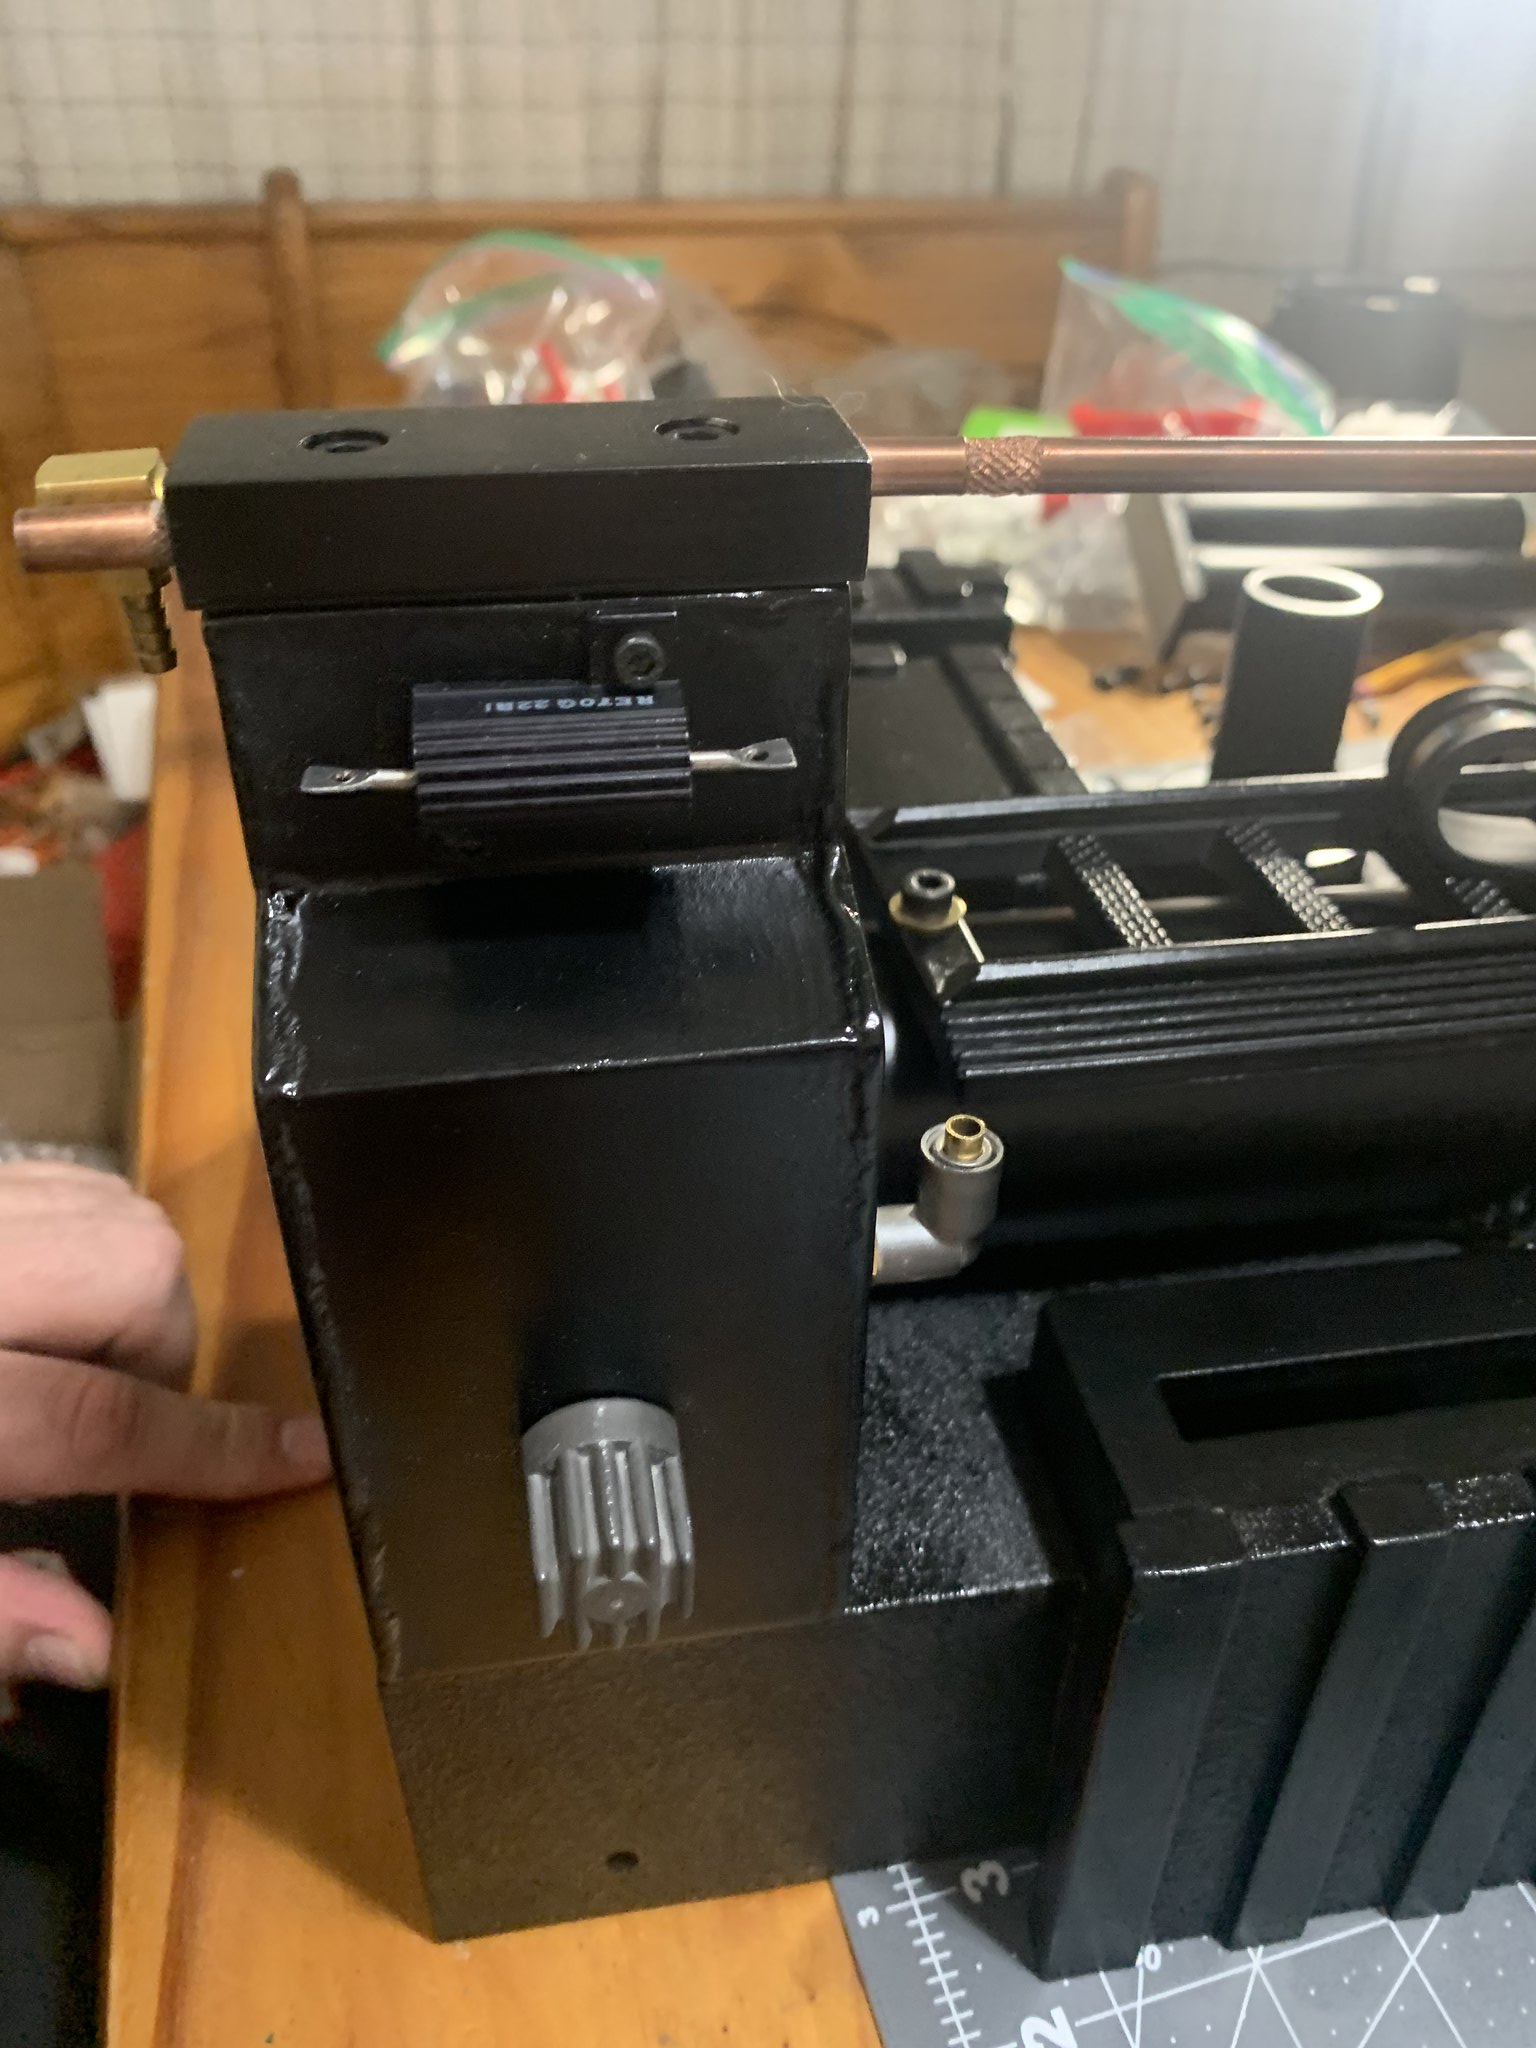
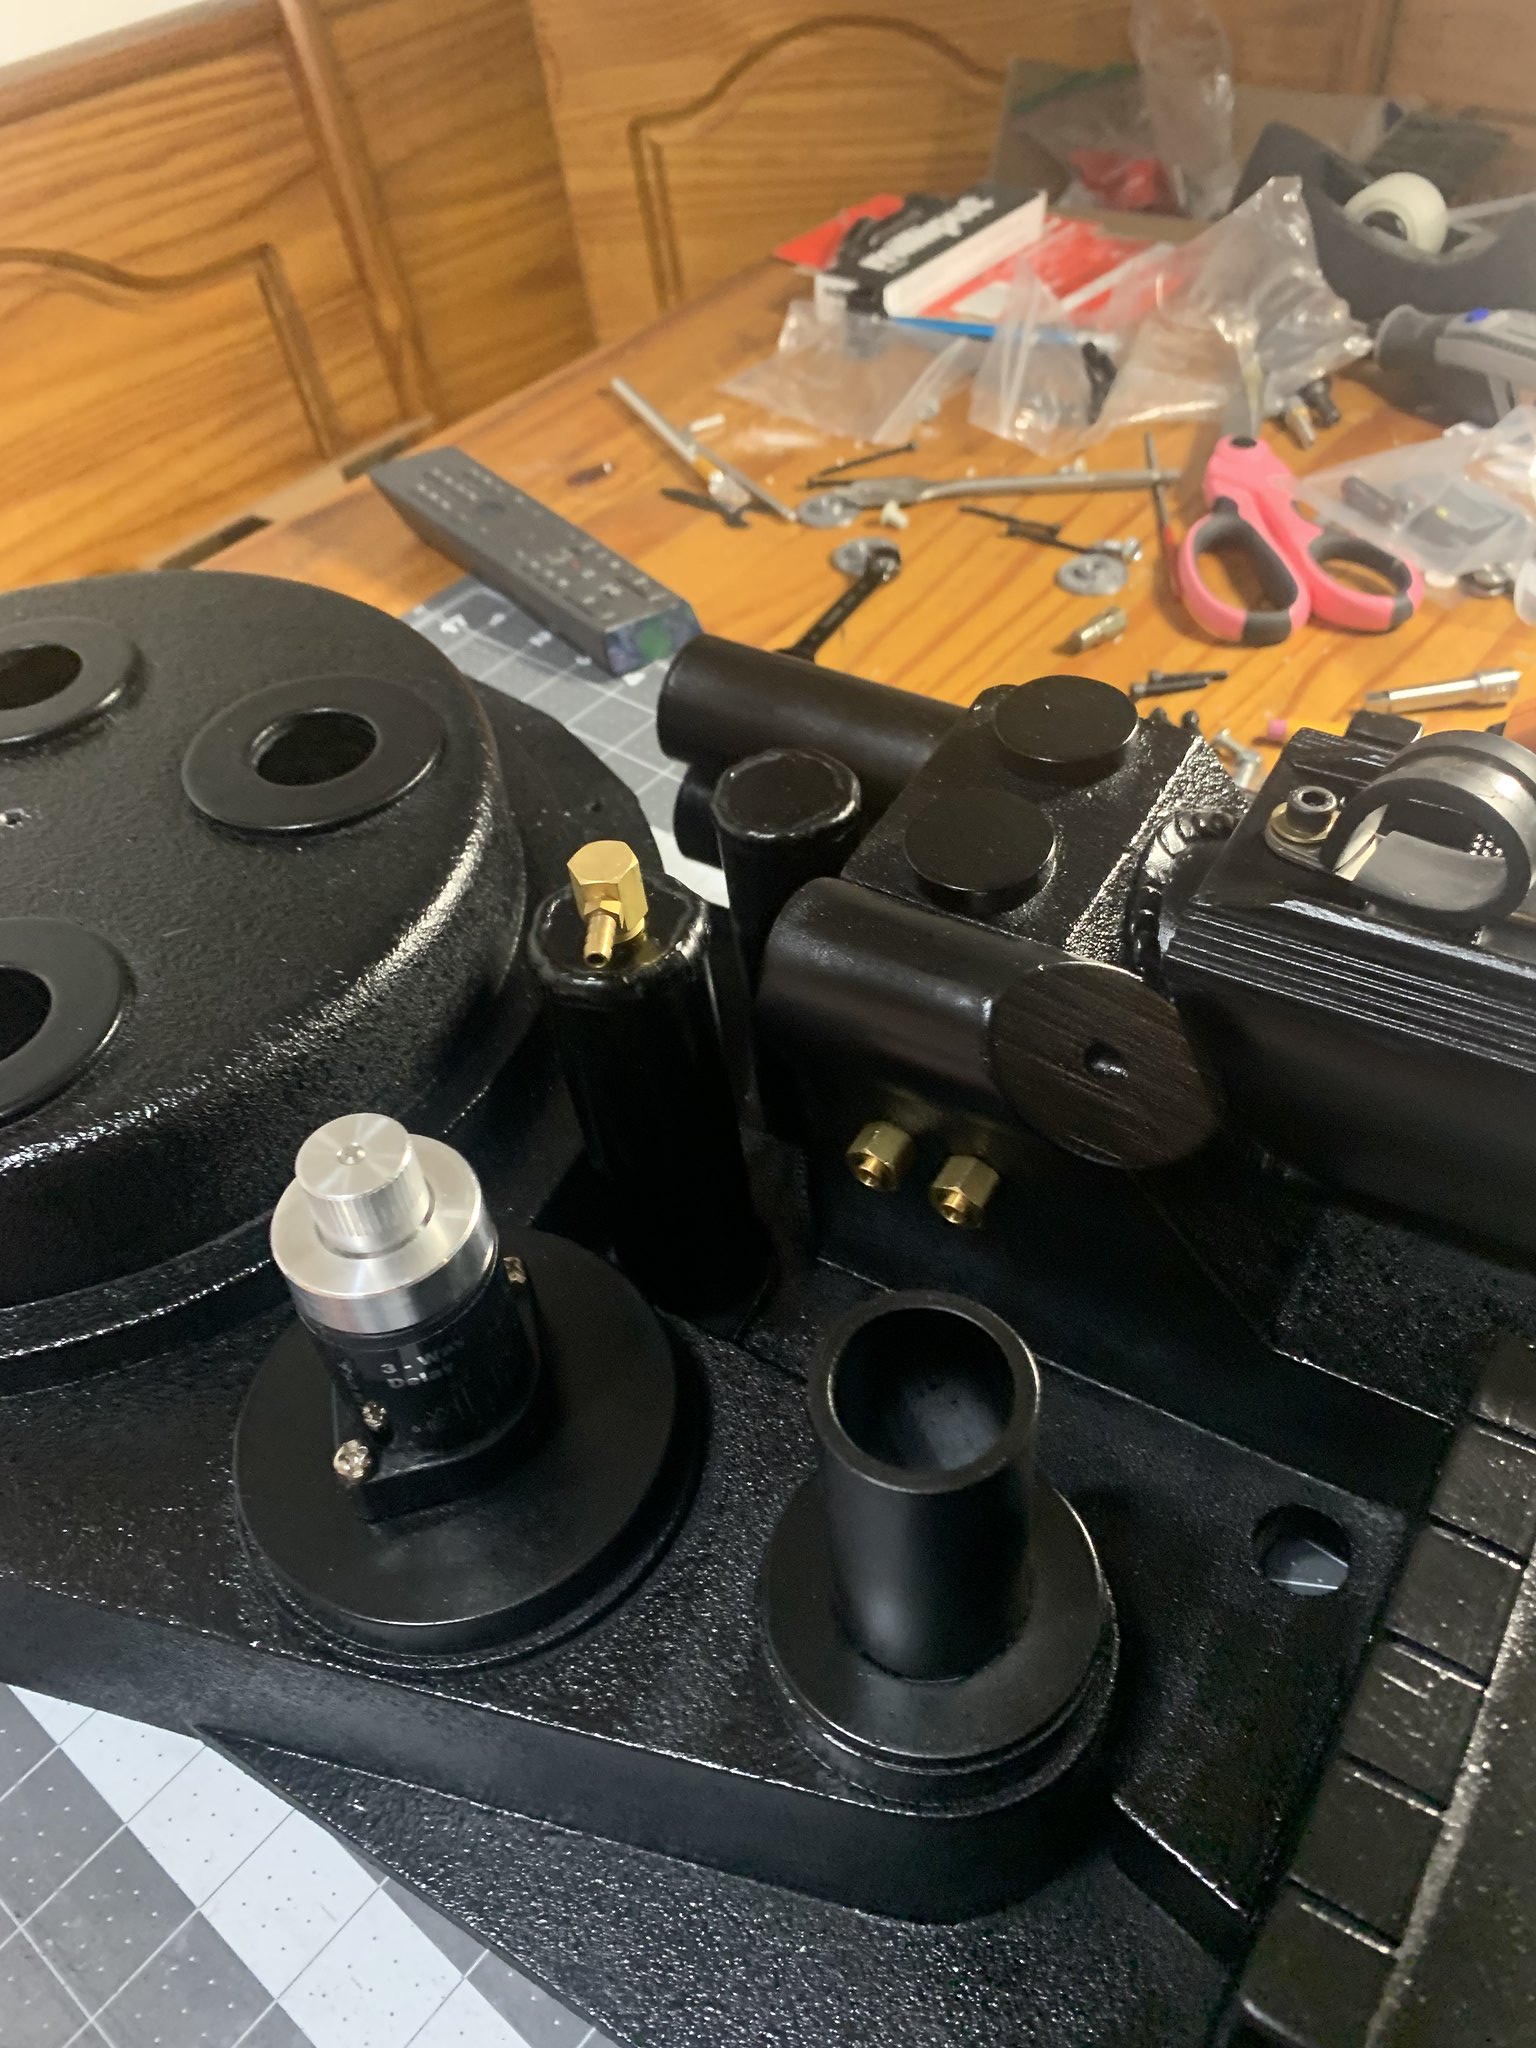
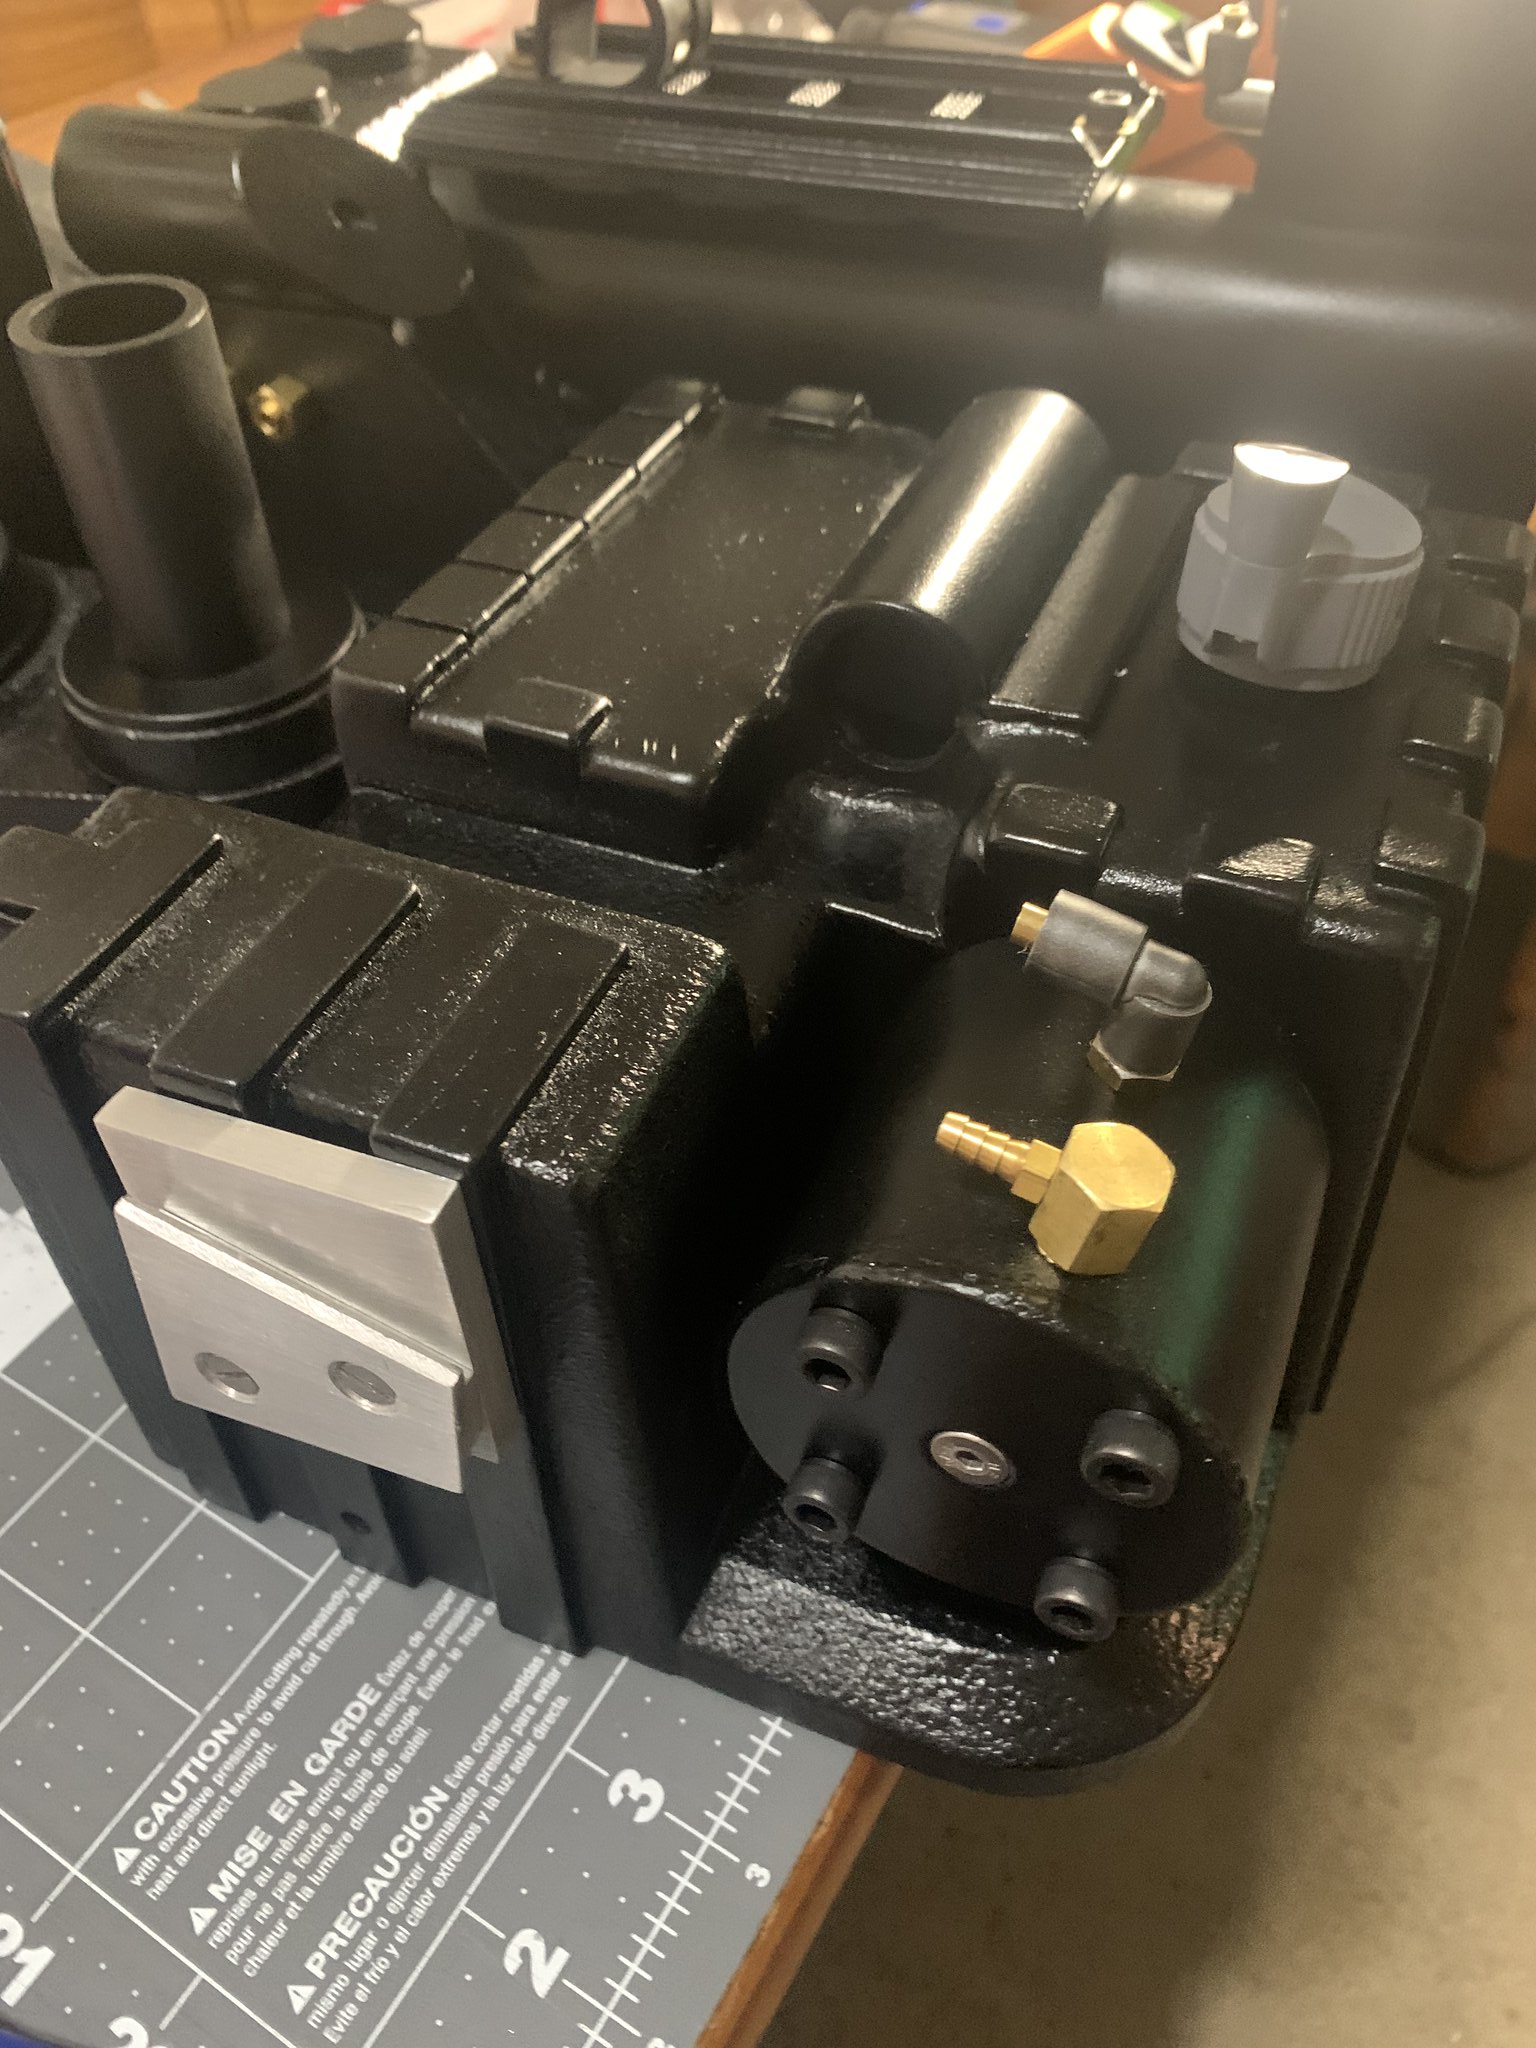
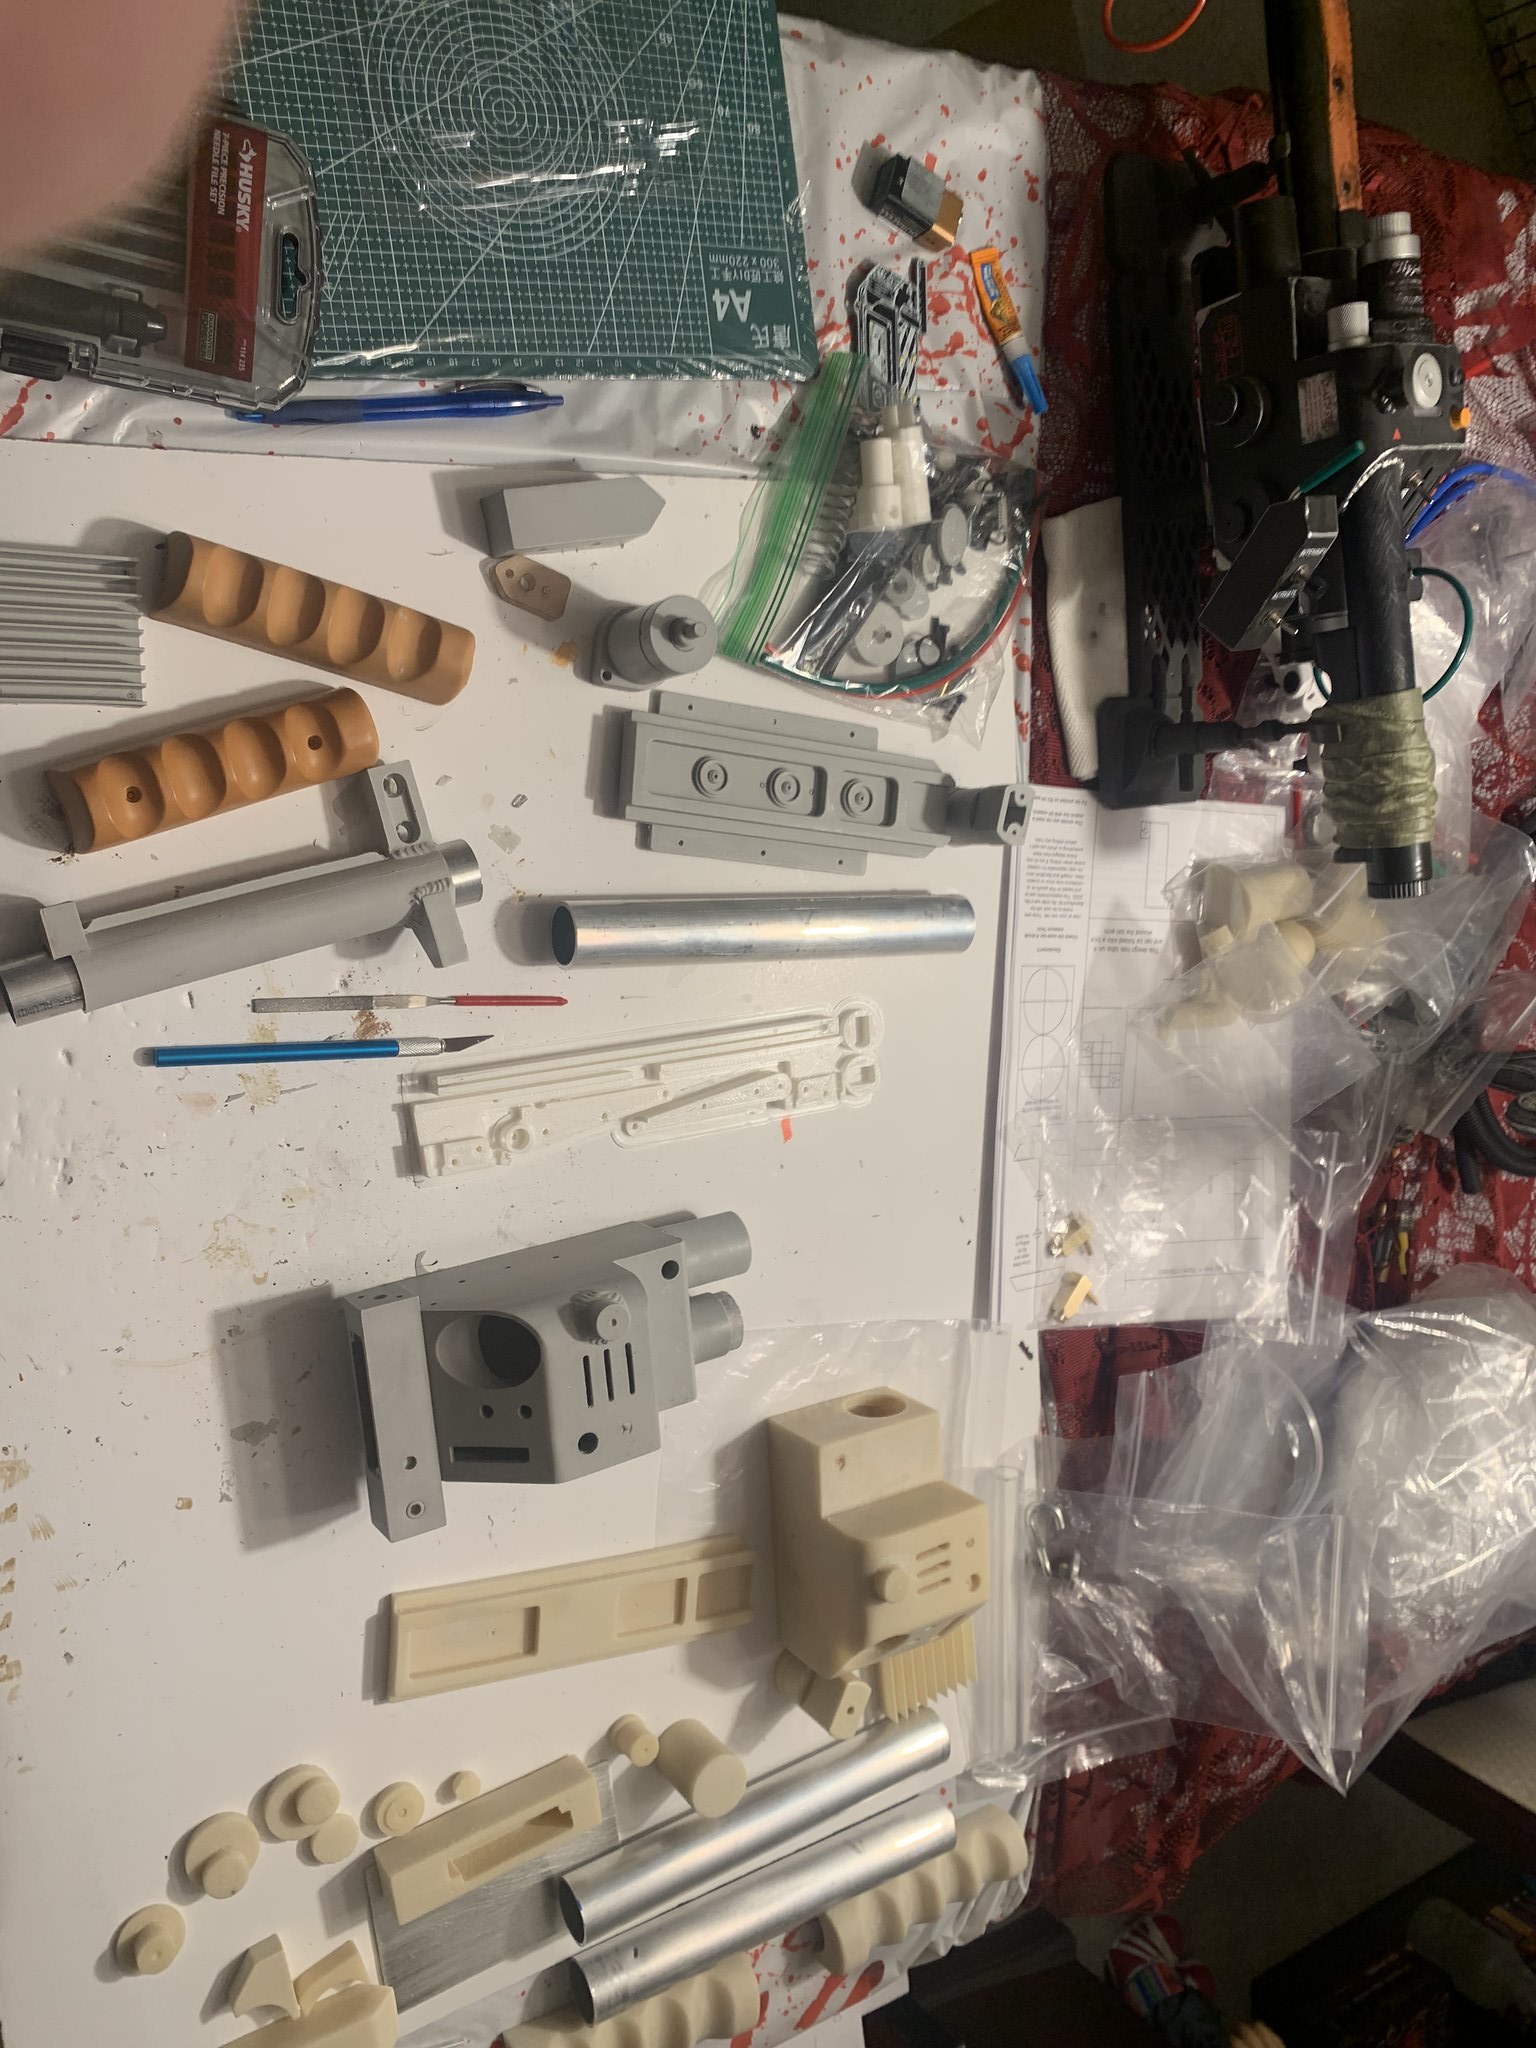
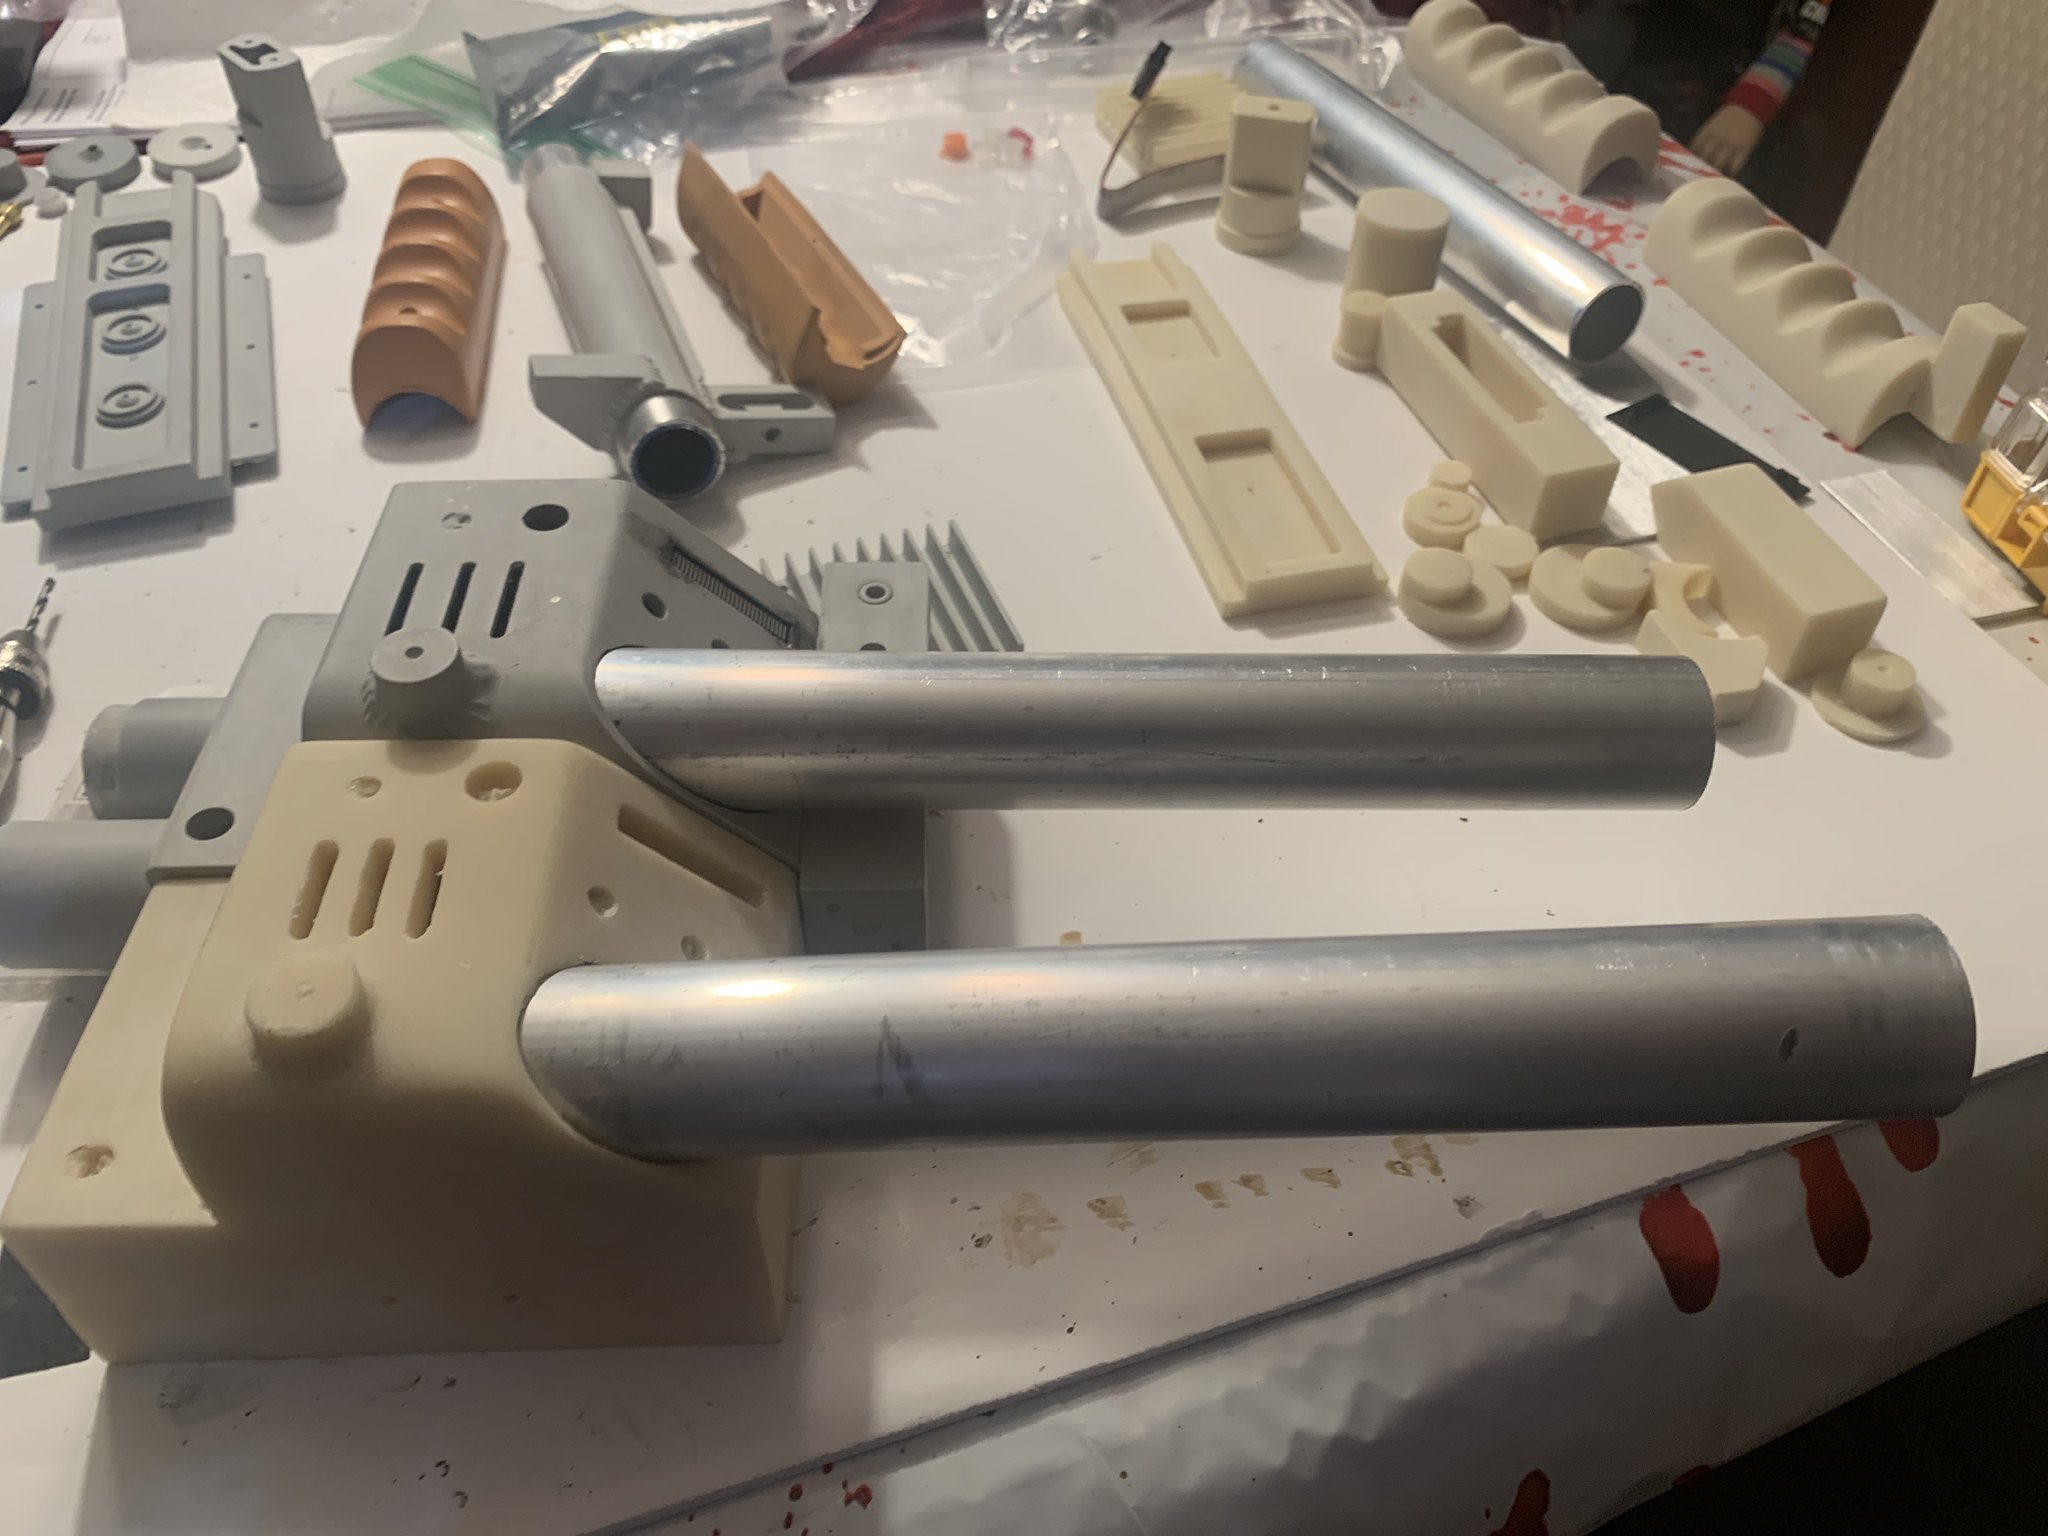
TKs soon to be build

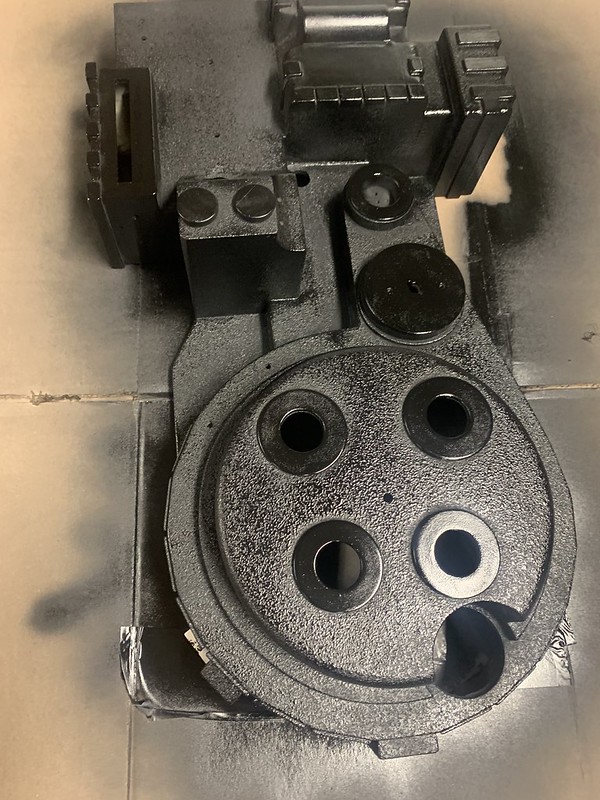
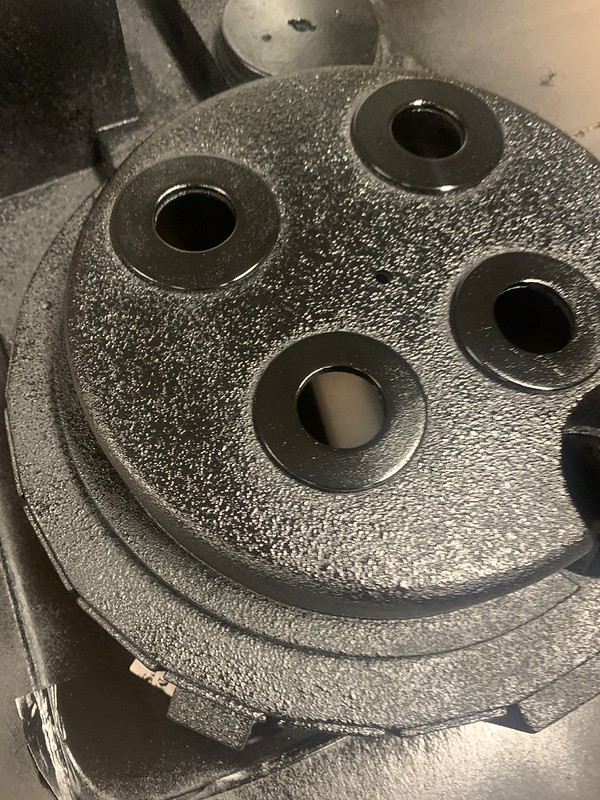
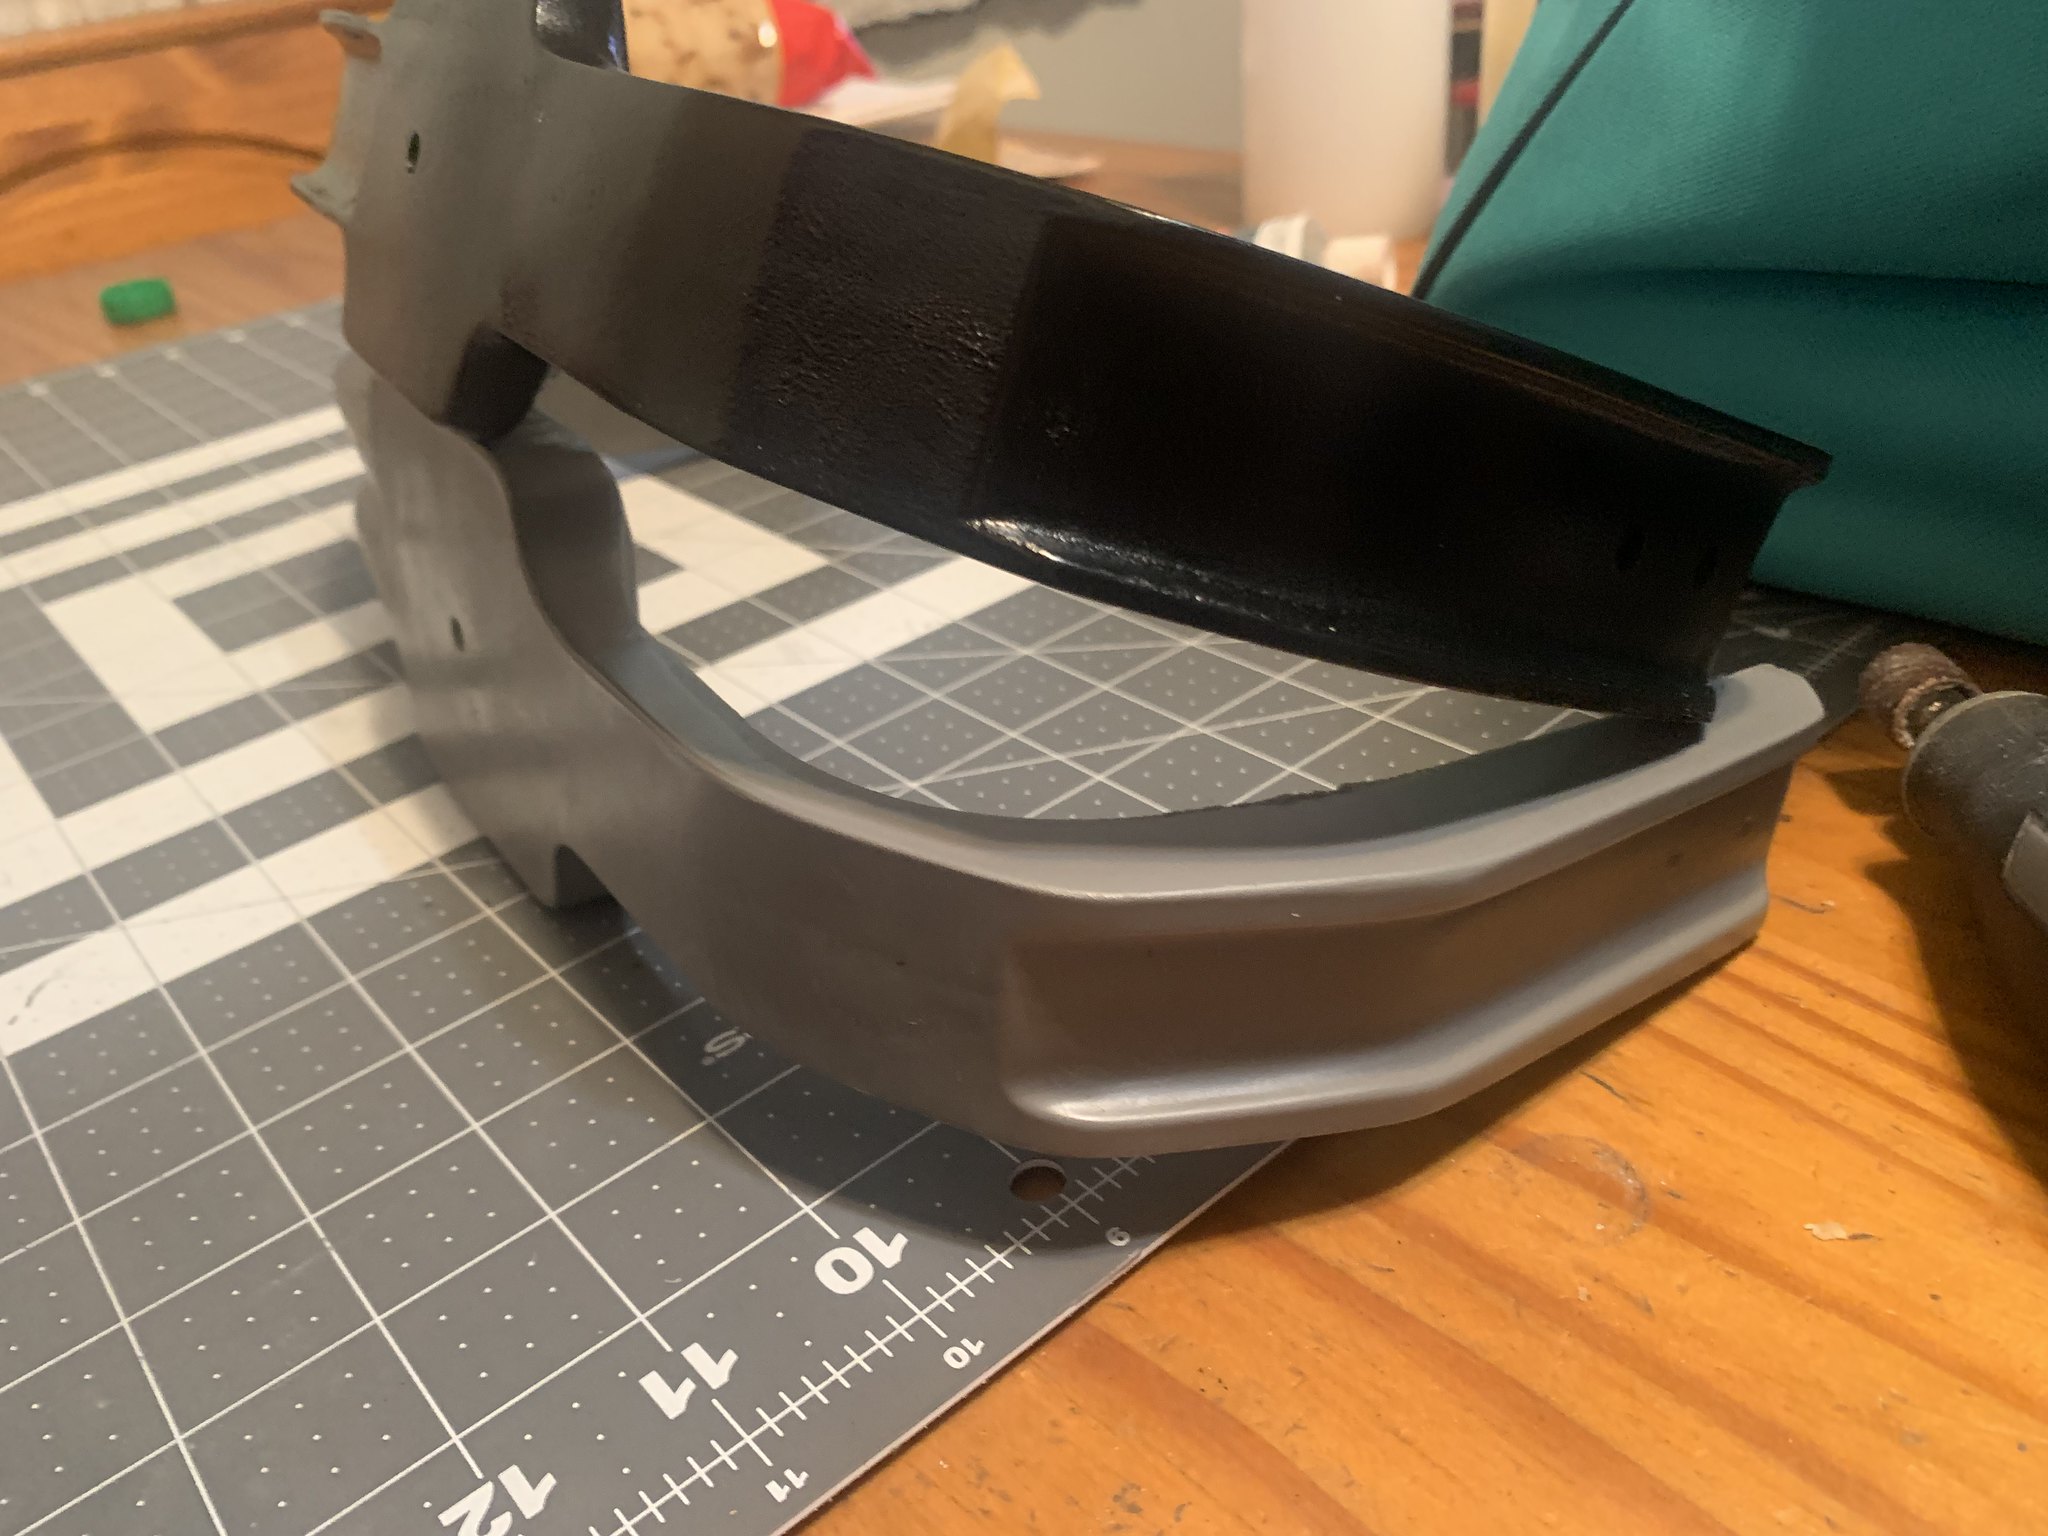
So with Everything drilled and tapped it is time for texture and paint. (have not drilled the bumper as I am waiting on a spacer and shock mount to decide if I replace the bumper in Ben’s kit)

I again copied the texture guide and printed it out to put in my binder. I followed a few threads on what to tape off and ignored a couple of others…

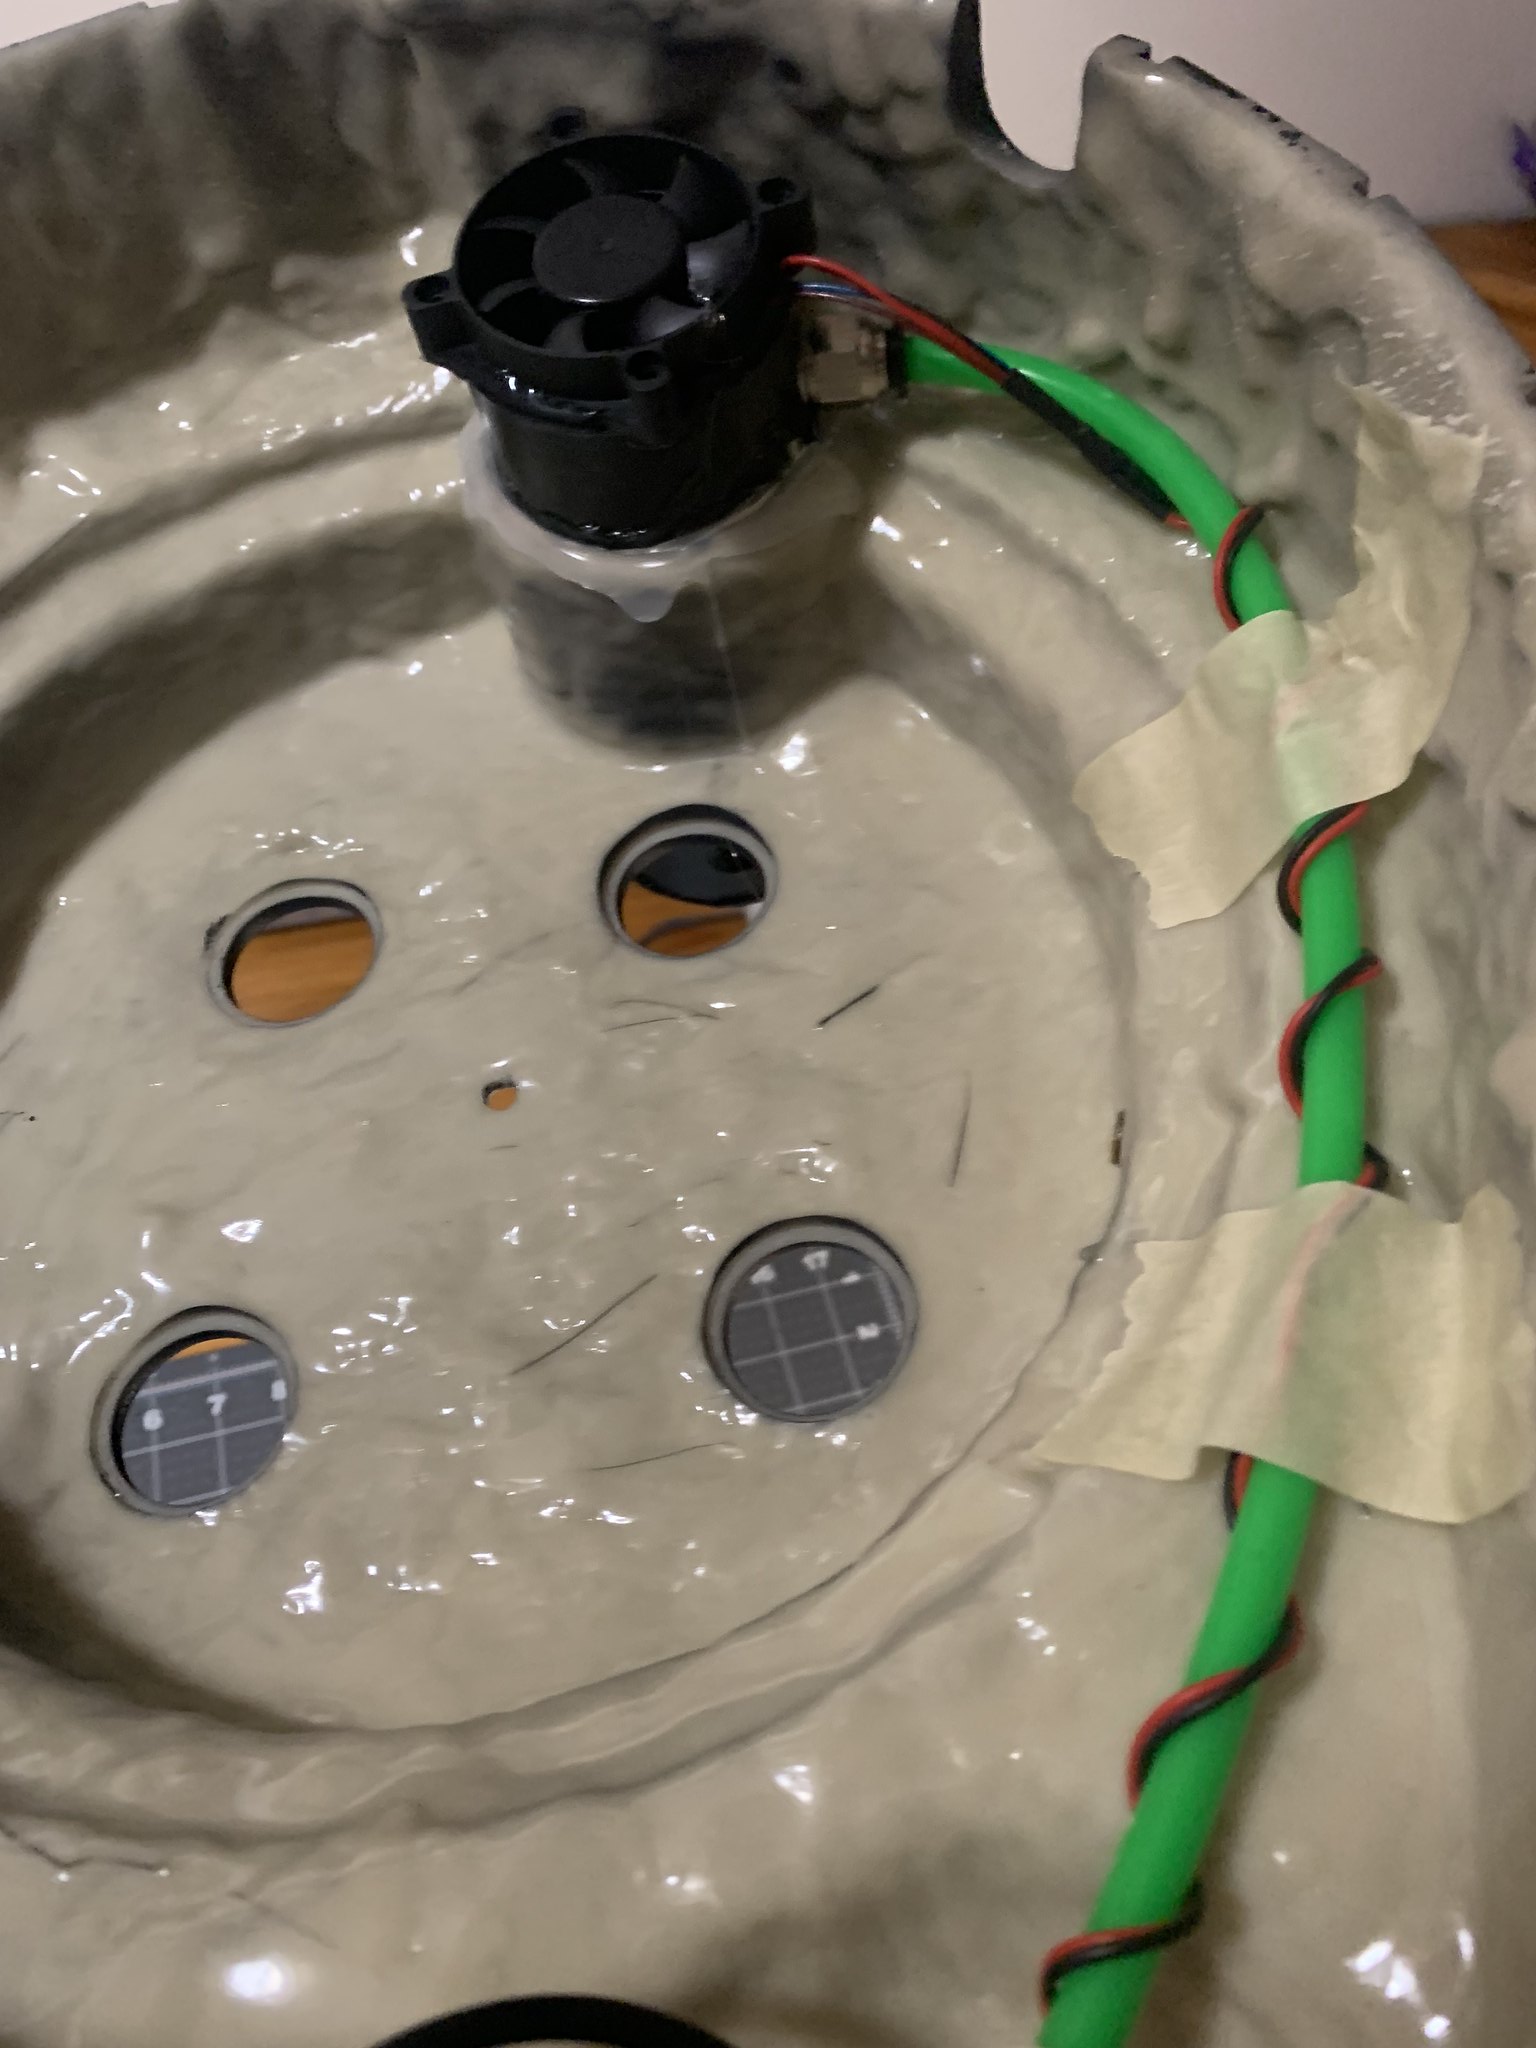
after taping I sprayed my homex a little at a time until it looked the way I wanted it to.

and when I got to that point I took the masking tape off and used a whole can of lacquer to harden the homex.

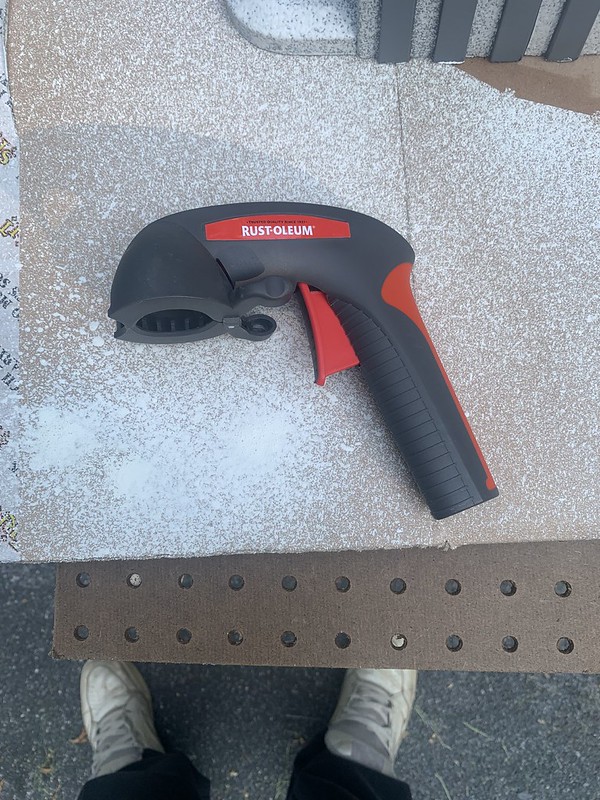
I forgot to add that the hot water heating your paint worked wonders as did the spray grip which I highly suggest.

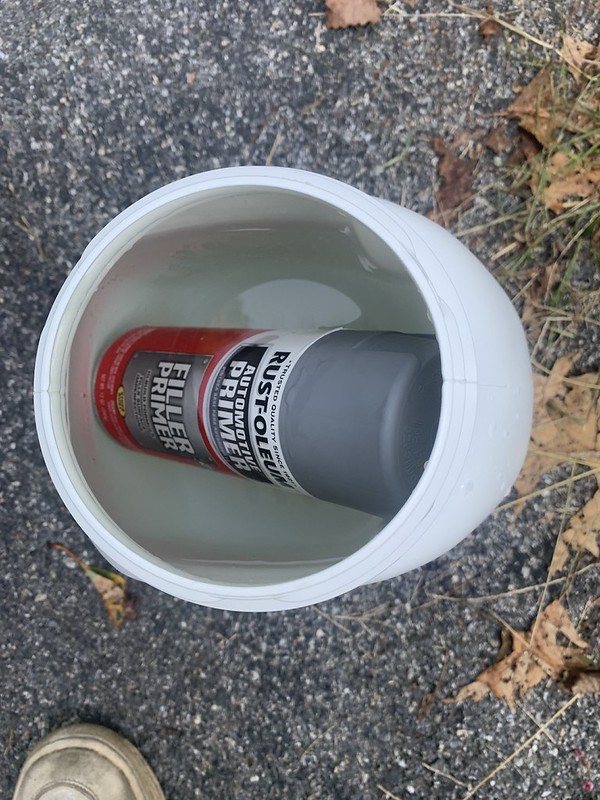
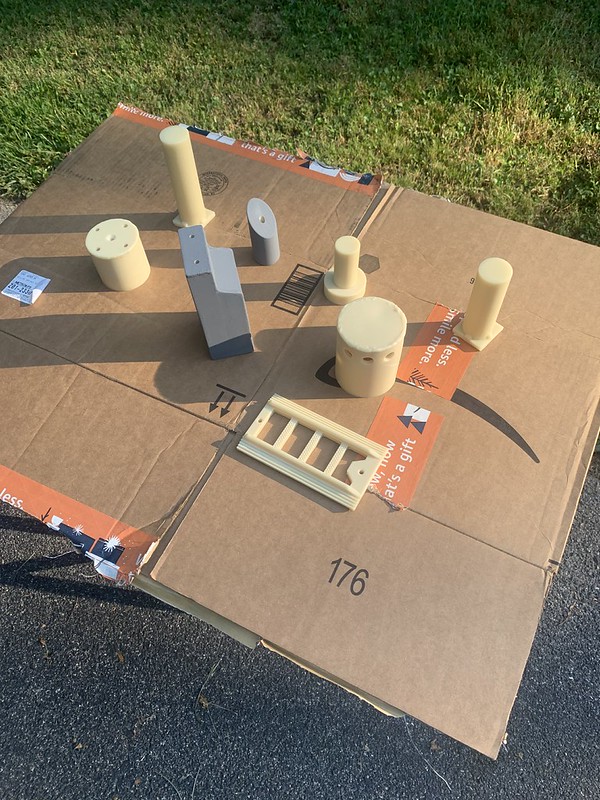
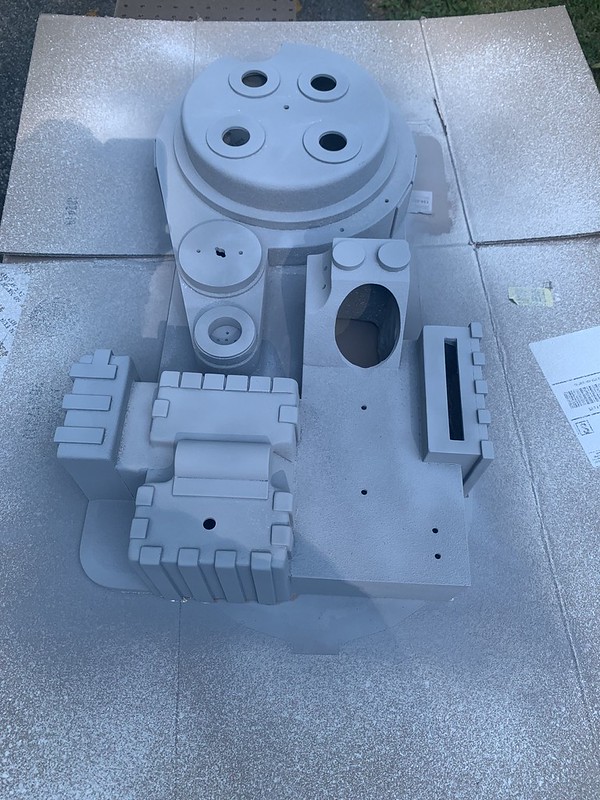
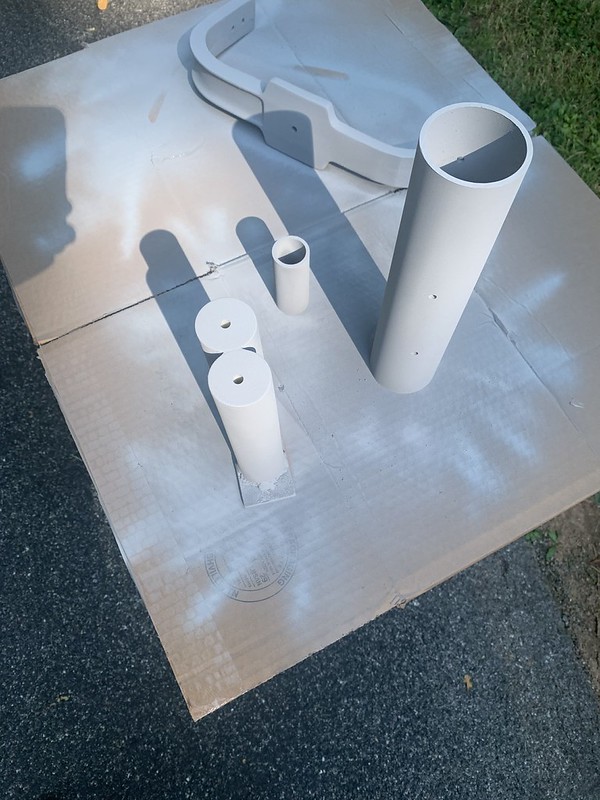
with the pack textures and sealed it is time to prime everything I have at this point. I made sure to wash everything really well to make sure no residue was left and laid everything out.

At this point I want to chime in, in many threads I seen suggestions for using primer filler, I personally dont suggest this, at least for the textured pack. The primer is thick and needs wet sanded to look smooth/finished and it is very difficult on the textured pack. the rest of the parts it worked great and I could wetsand to make it look awesome.

Back to the pics. I laid everything out and primed everything.

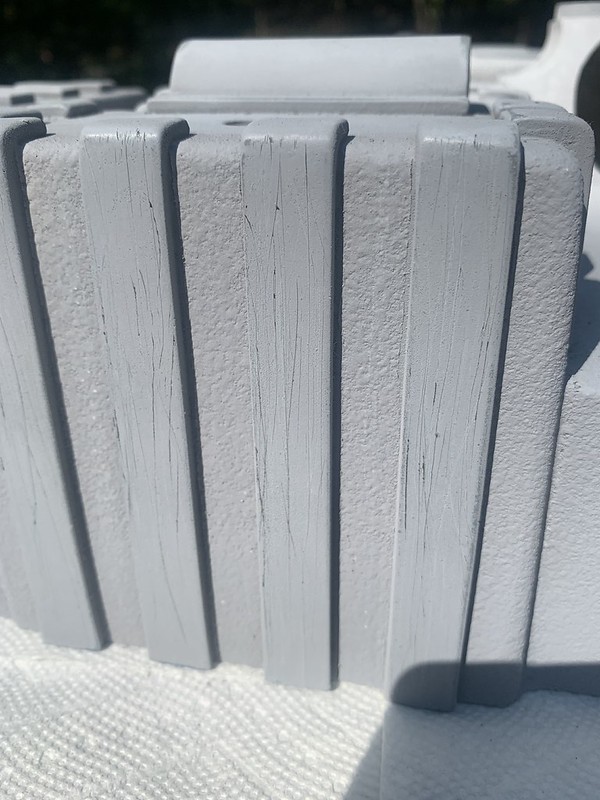
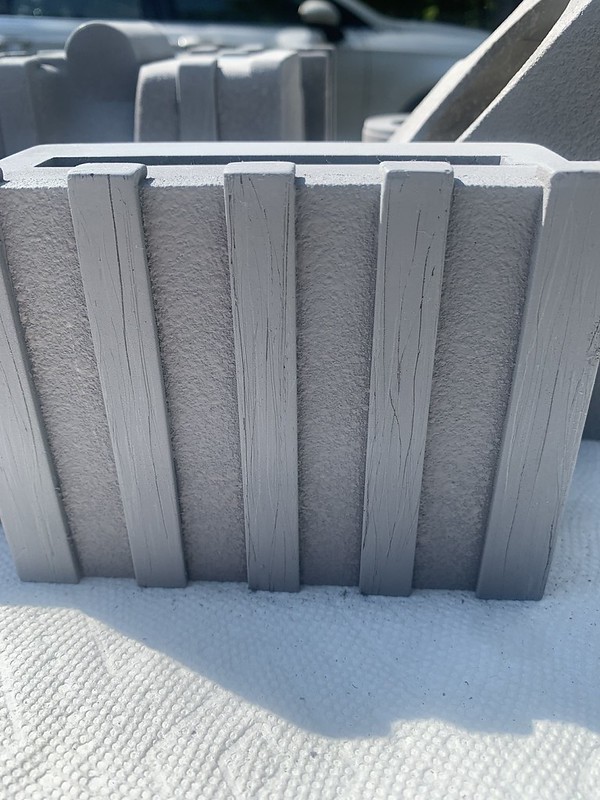
With everything primed I wet sanded everything and prepped to lay some satin black down but before I do that I want to add the wood texture to the slats using a drimel sanding wheel.

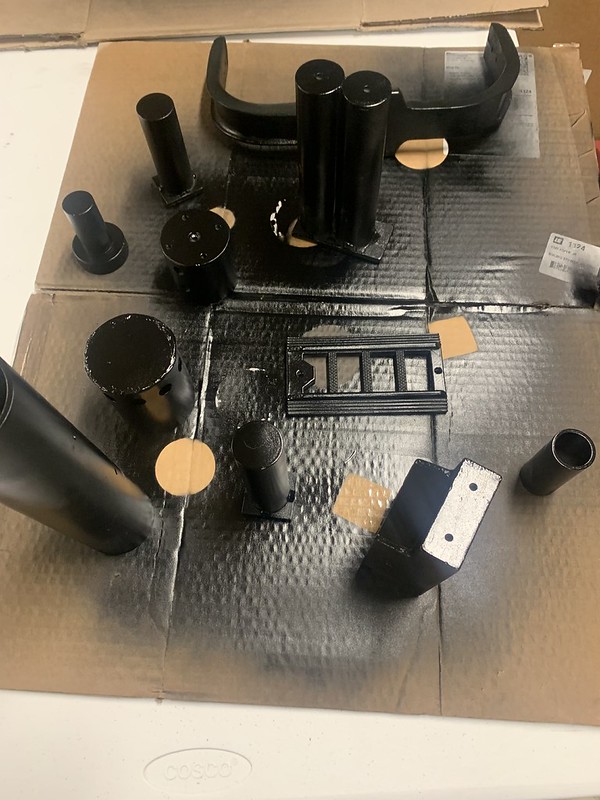
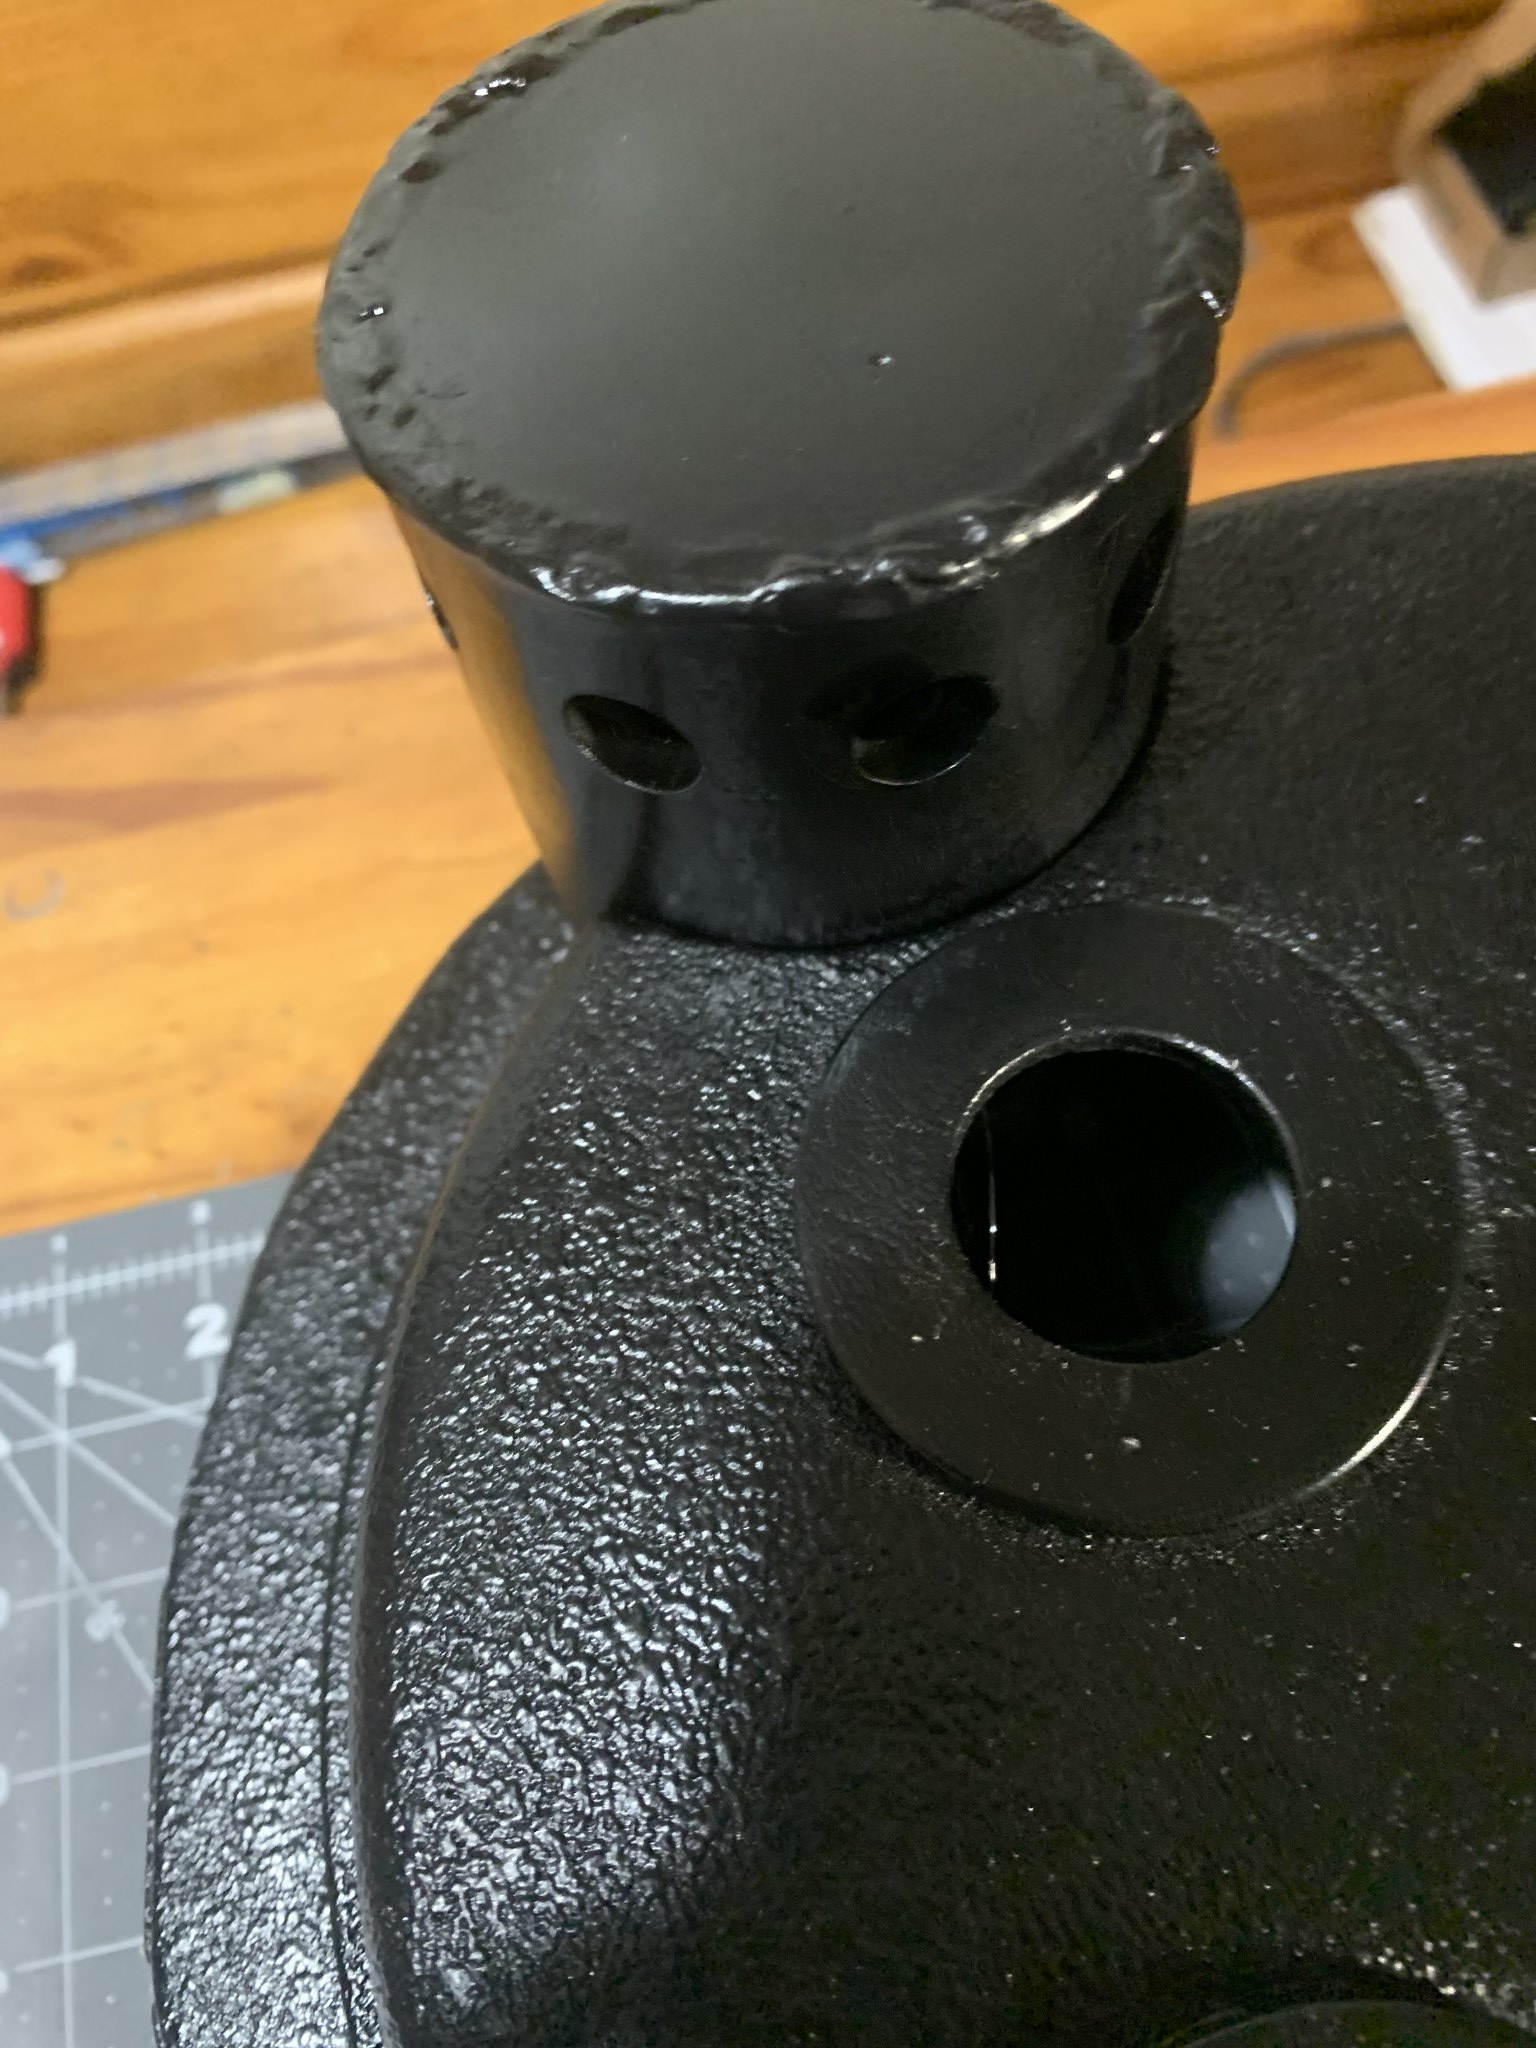
I then laid my first couple coats of satin black on everything

With this weekend looking nice I will finish with a few more coats of satin black over the pack itself, everything else looks good to me.

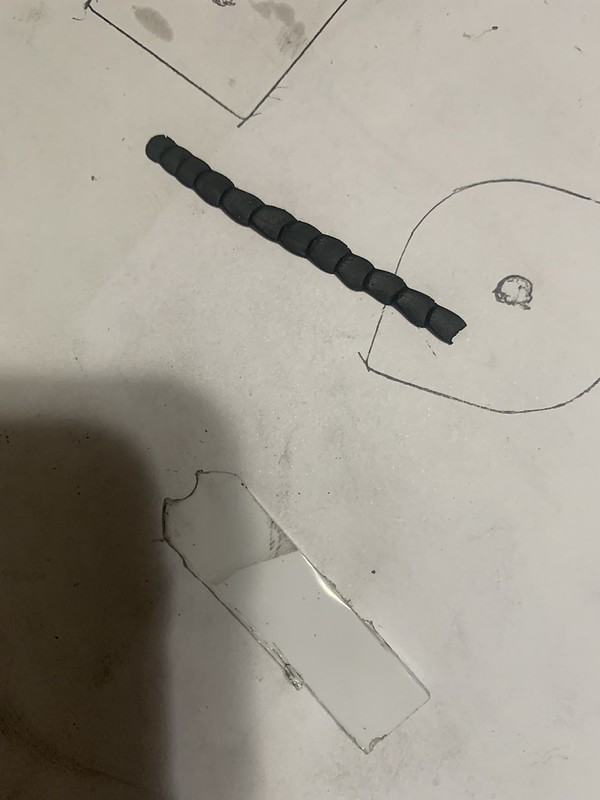
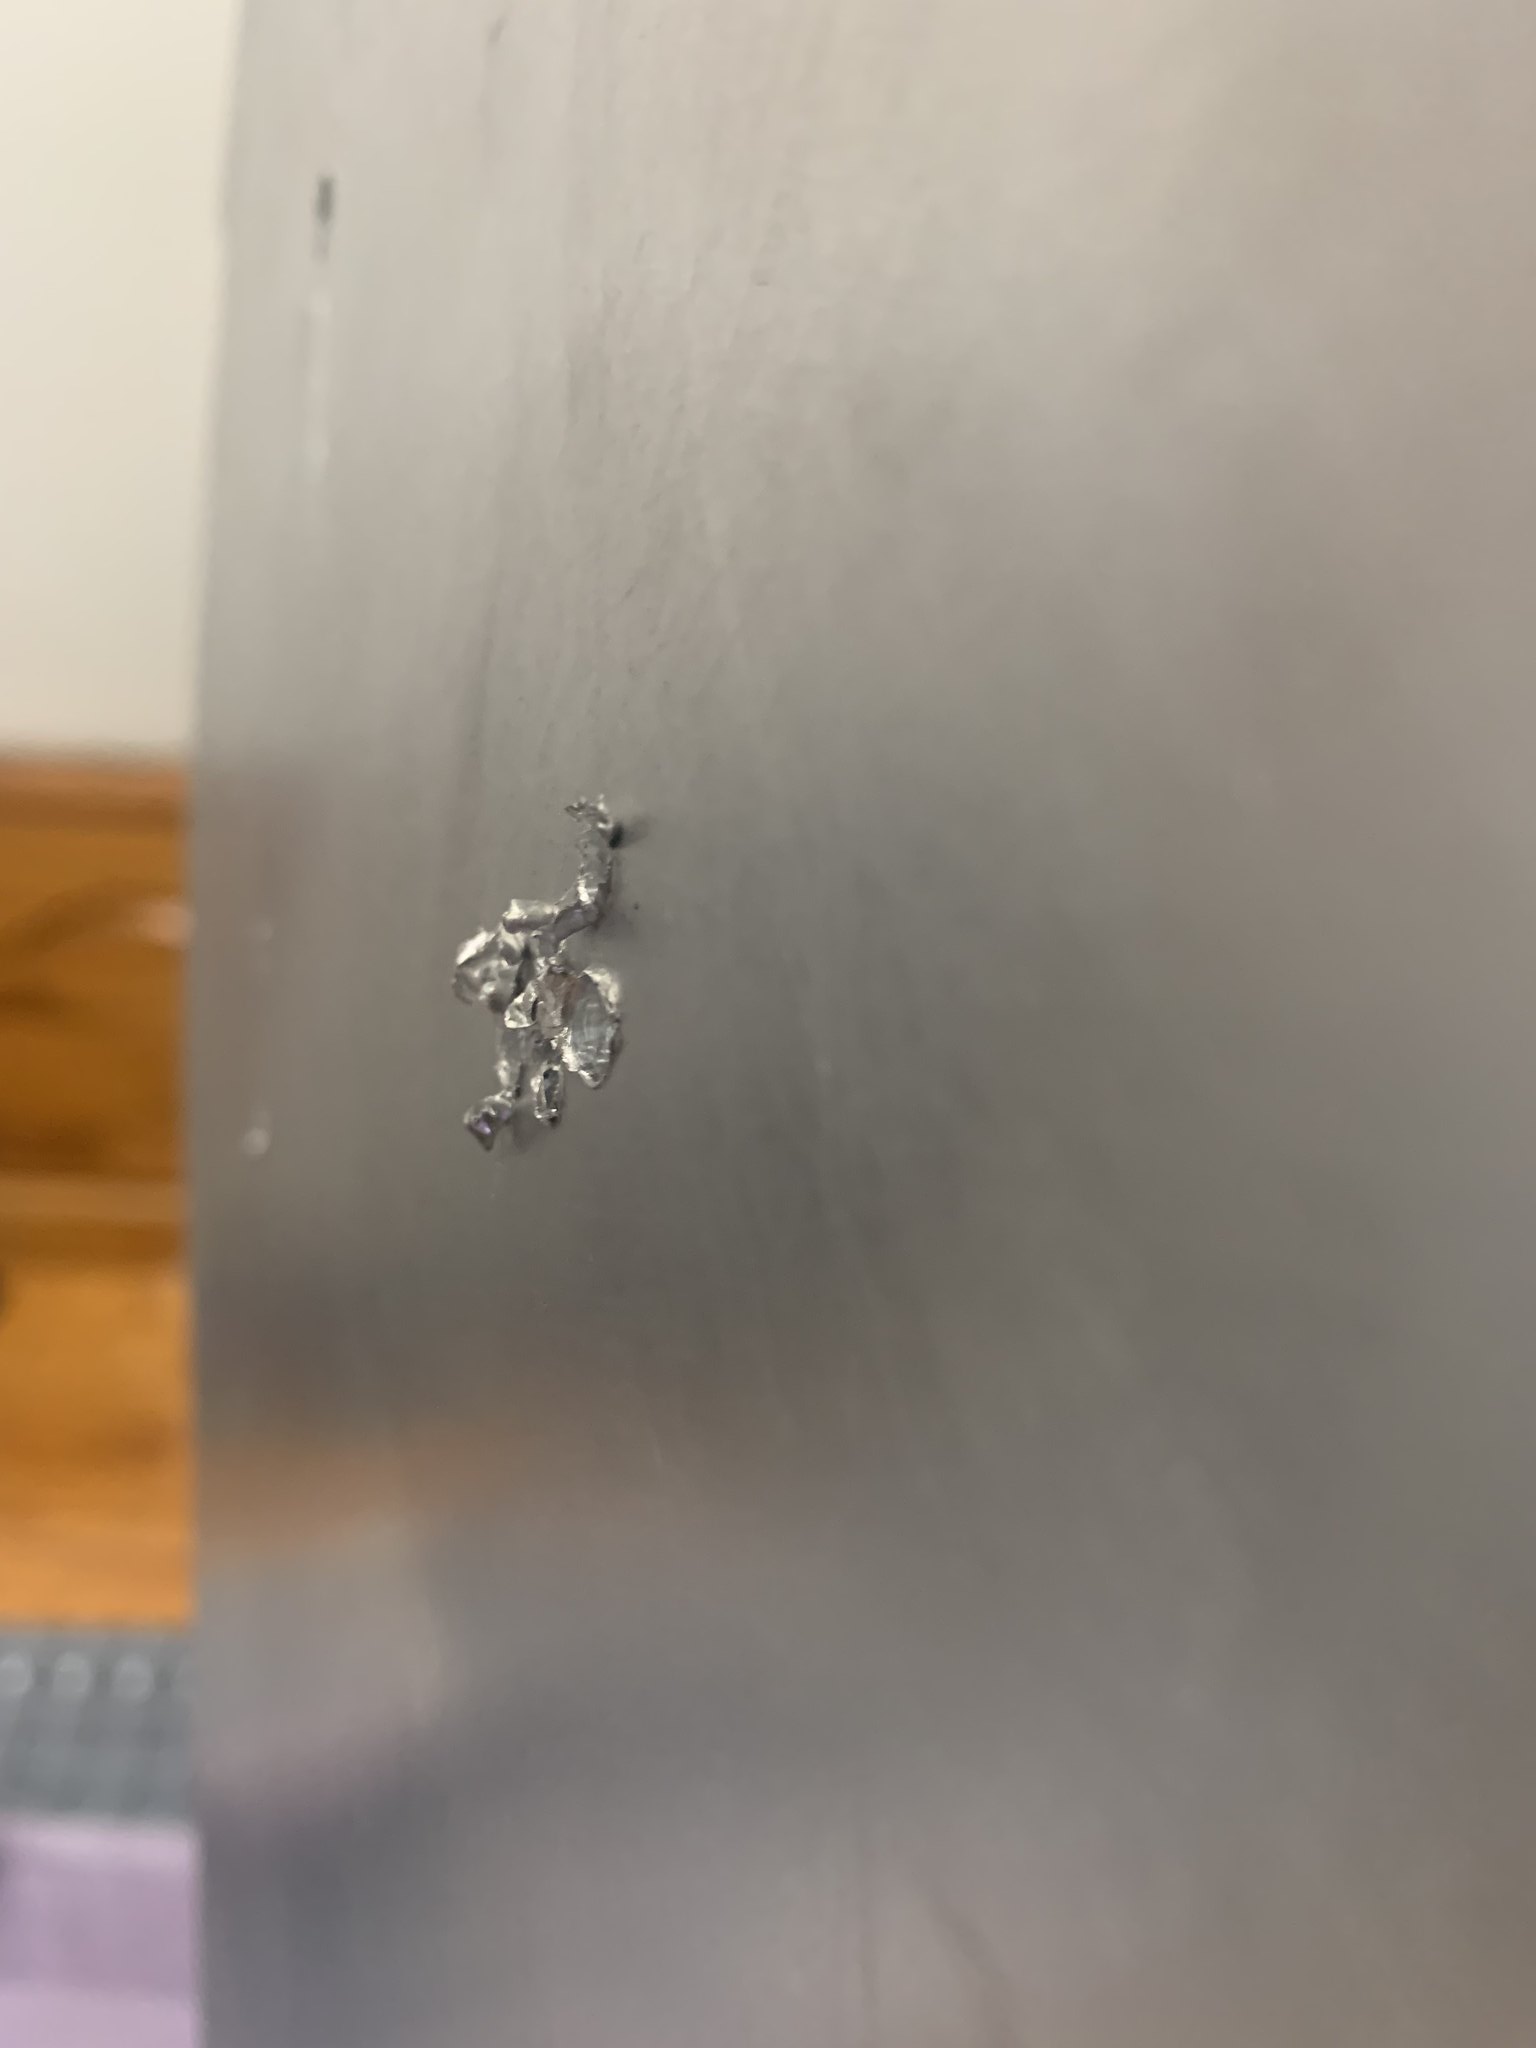
While waiting for this weekend to come I worked on my “weld” technique with milliput

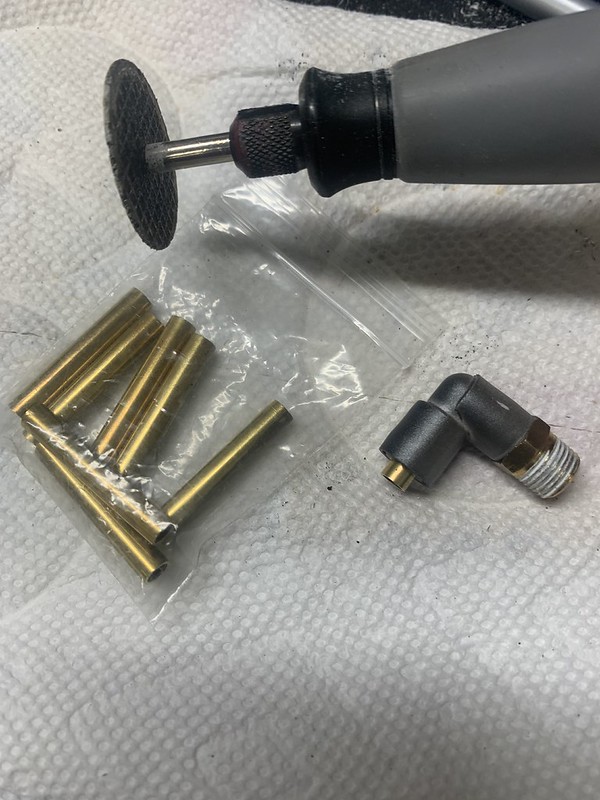
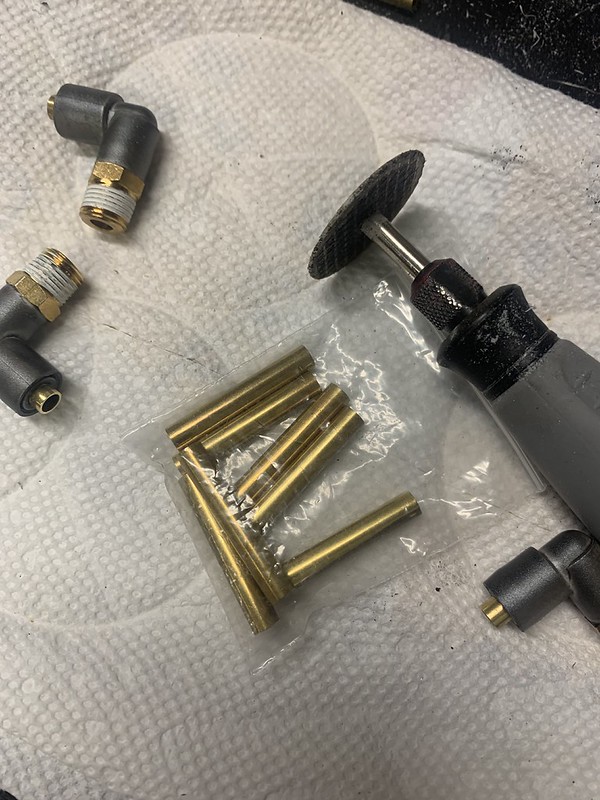
I also worked on my SMC elbows to get them more like the legris elbows

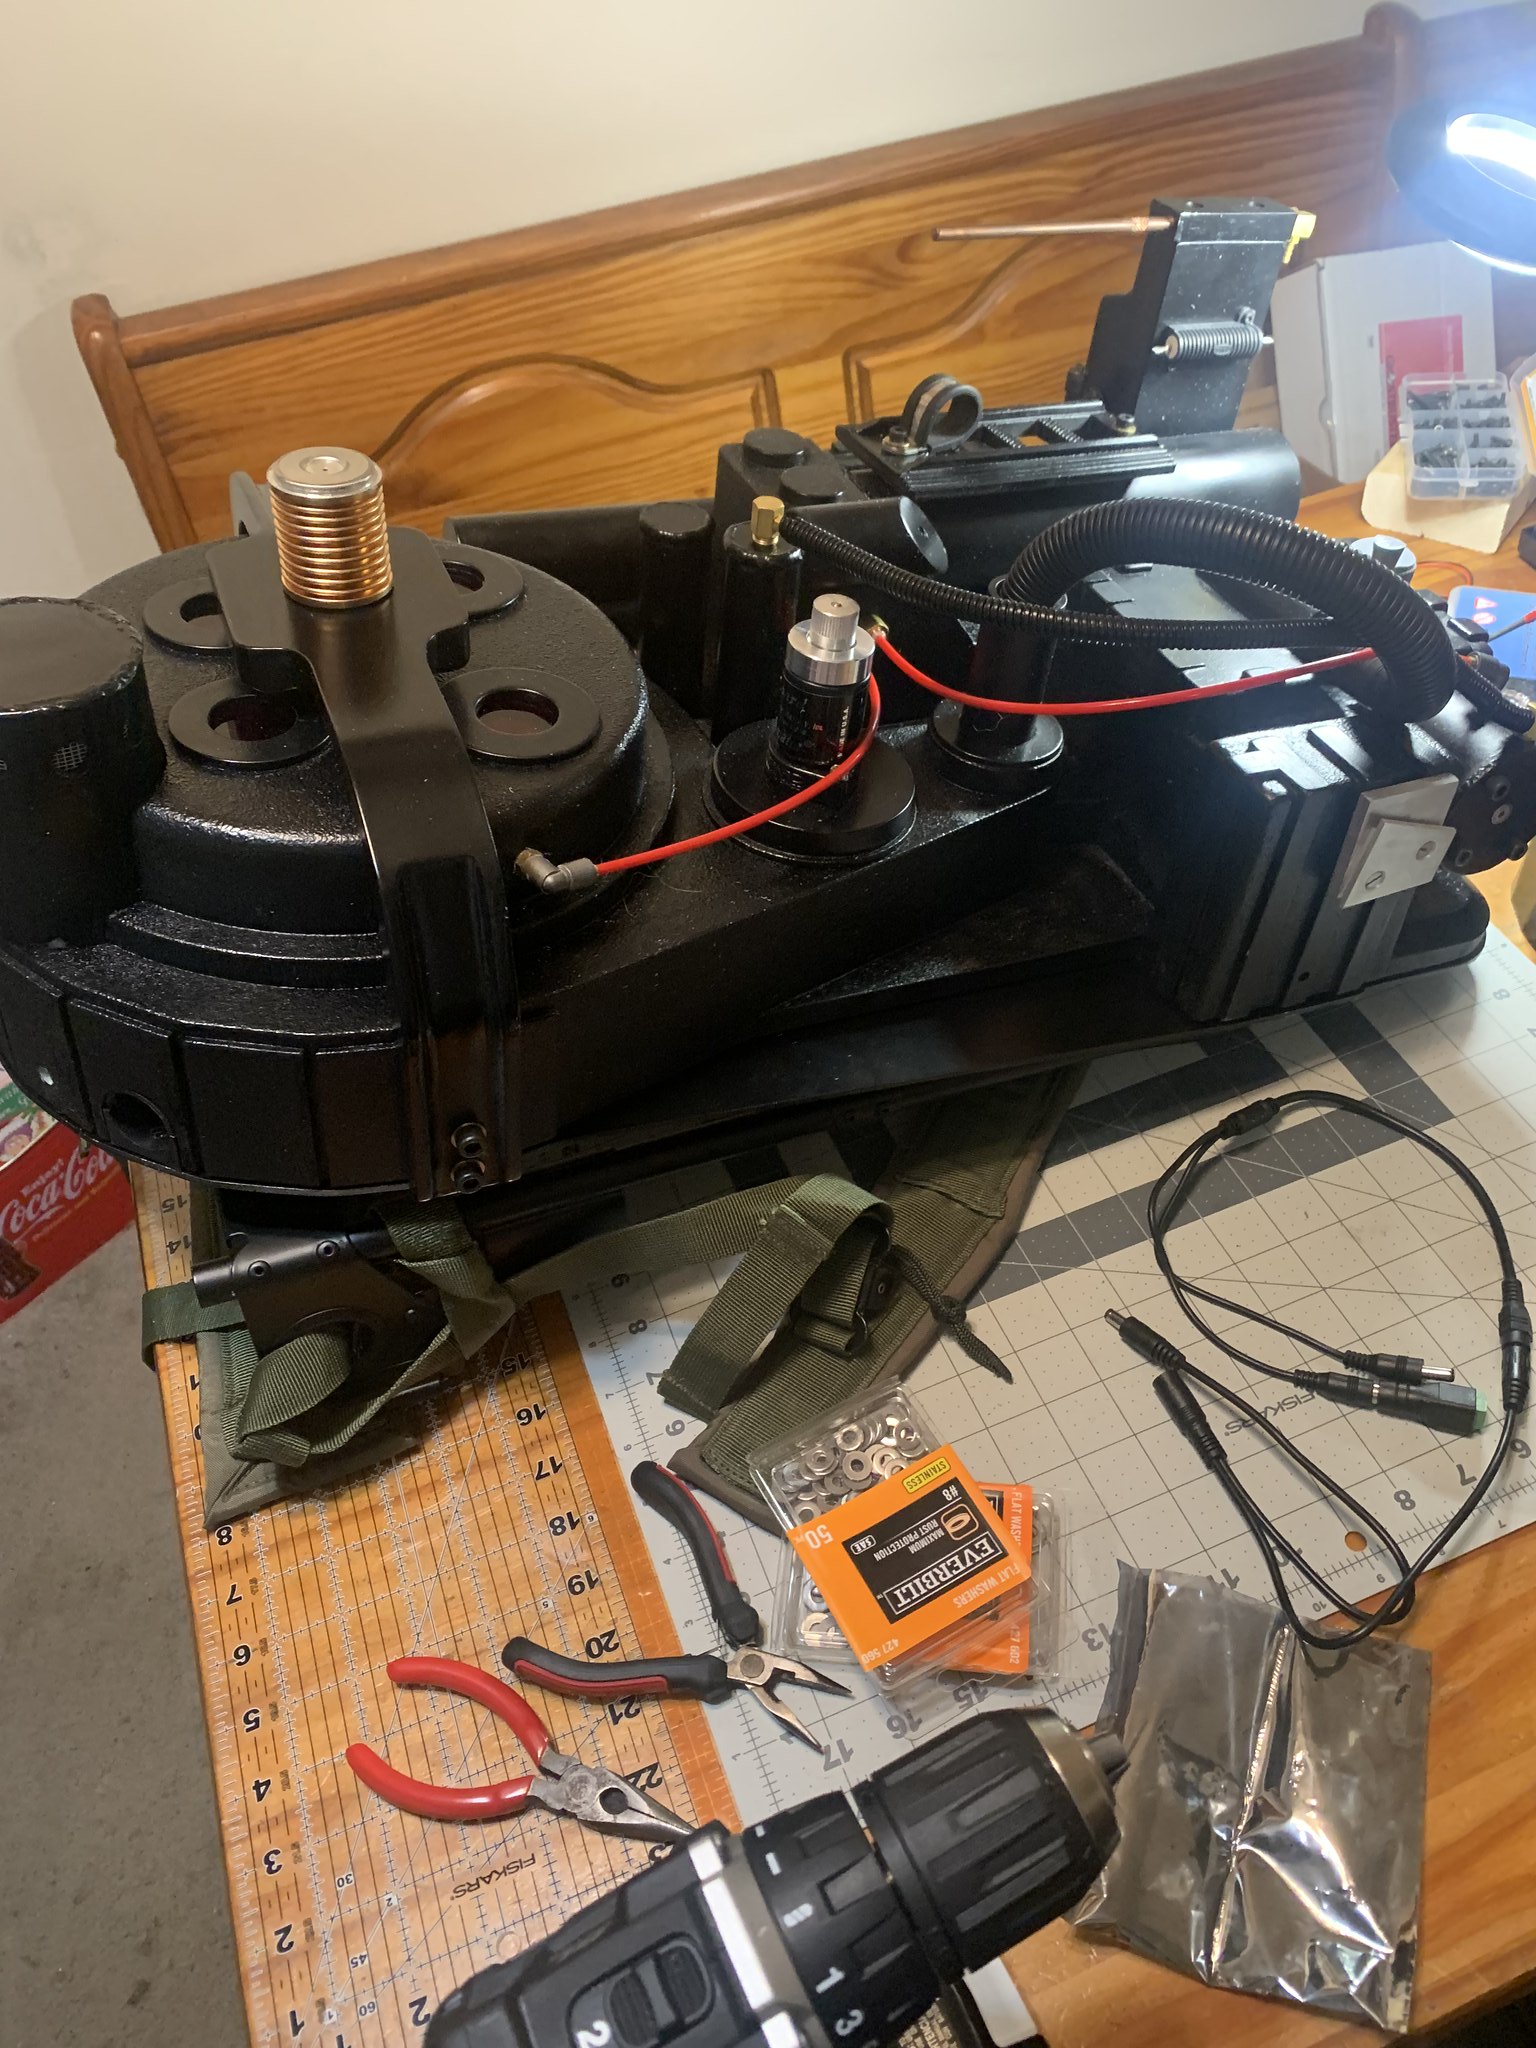
So this is where I am at, at this point. So far its been a fun build. I feel I have been rushing through it as it is my first pack but its been fun.

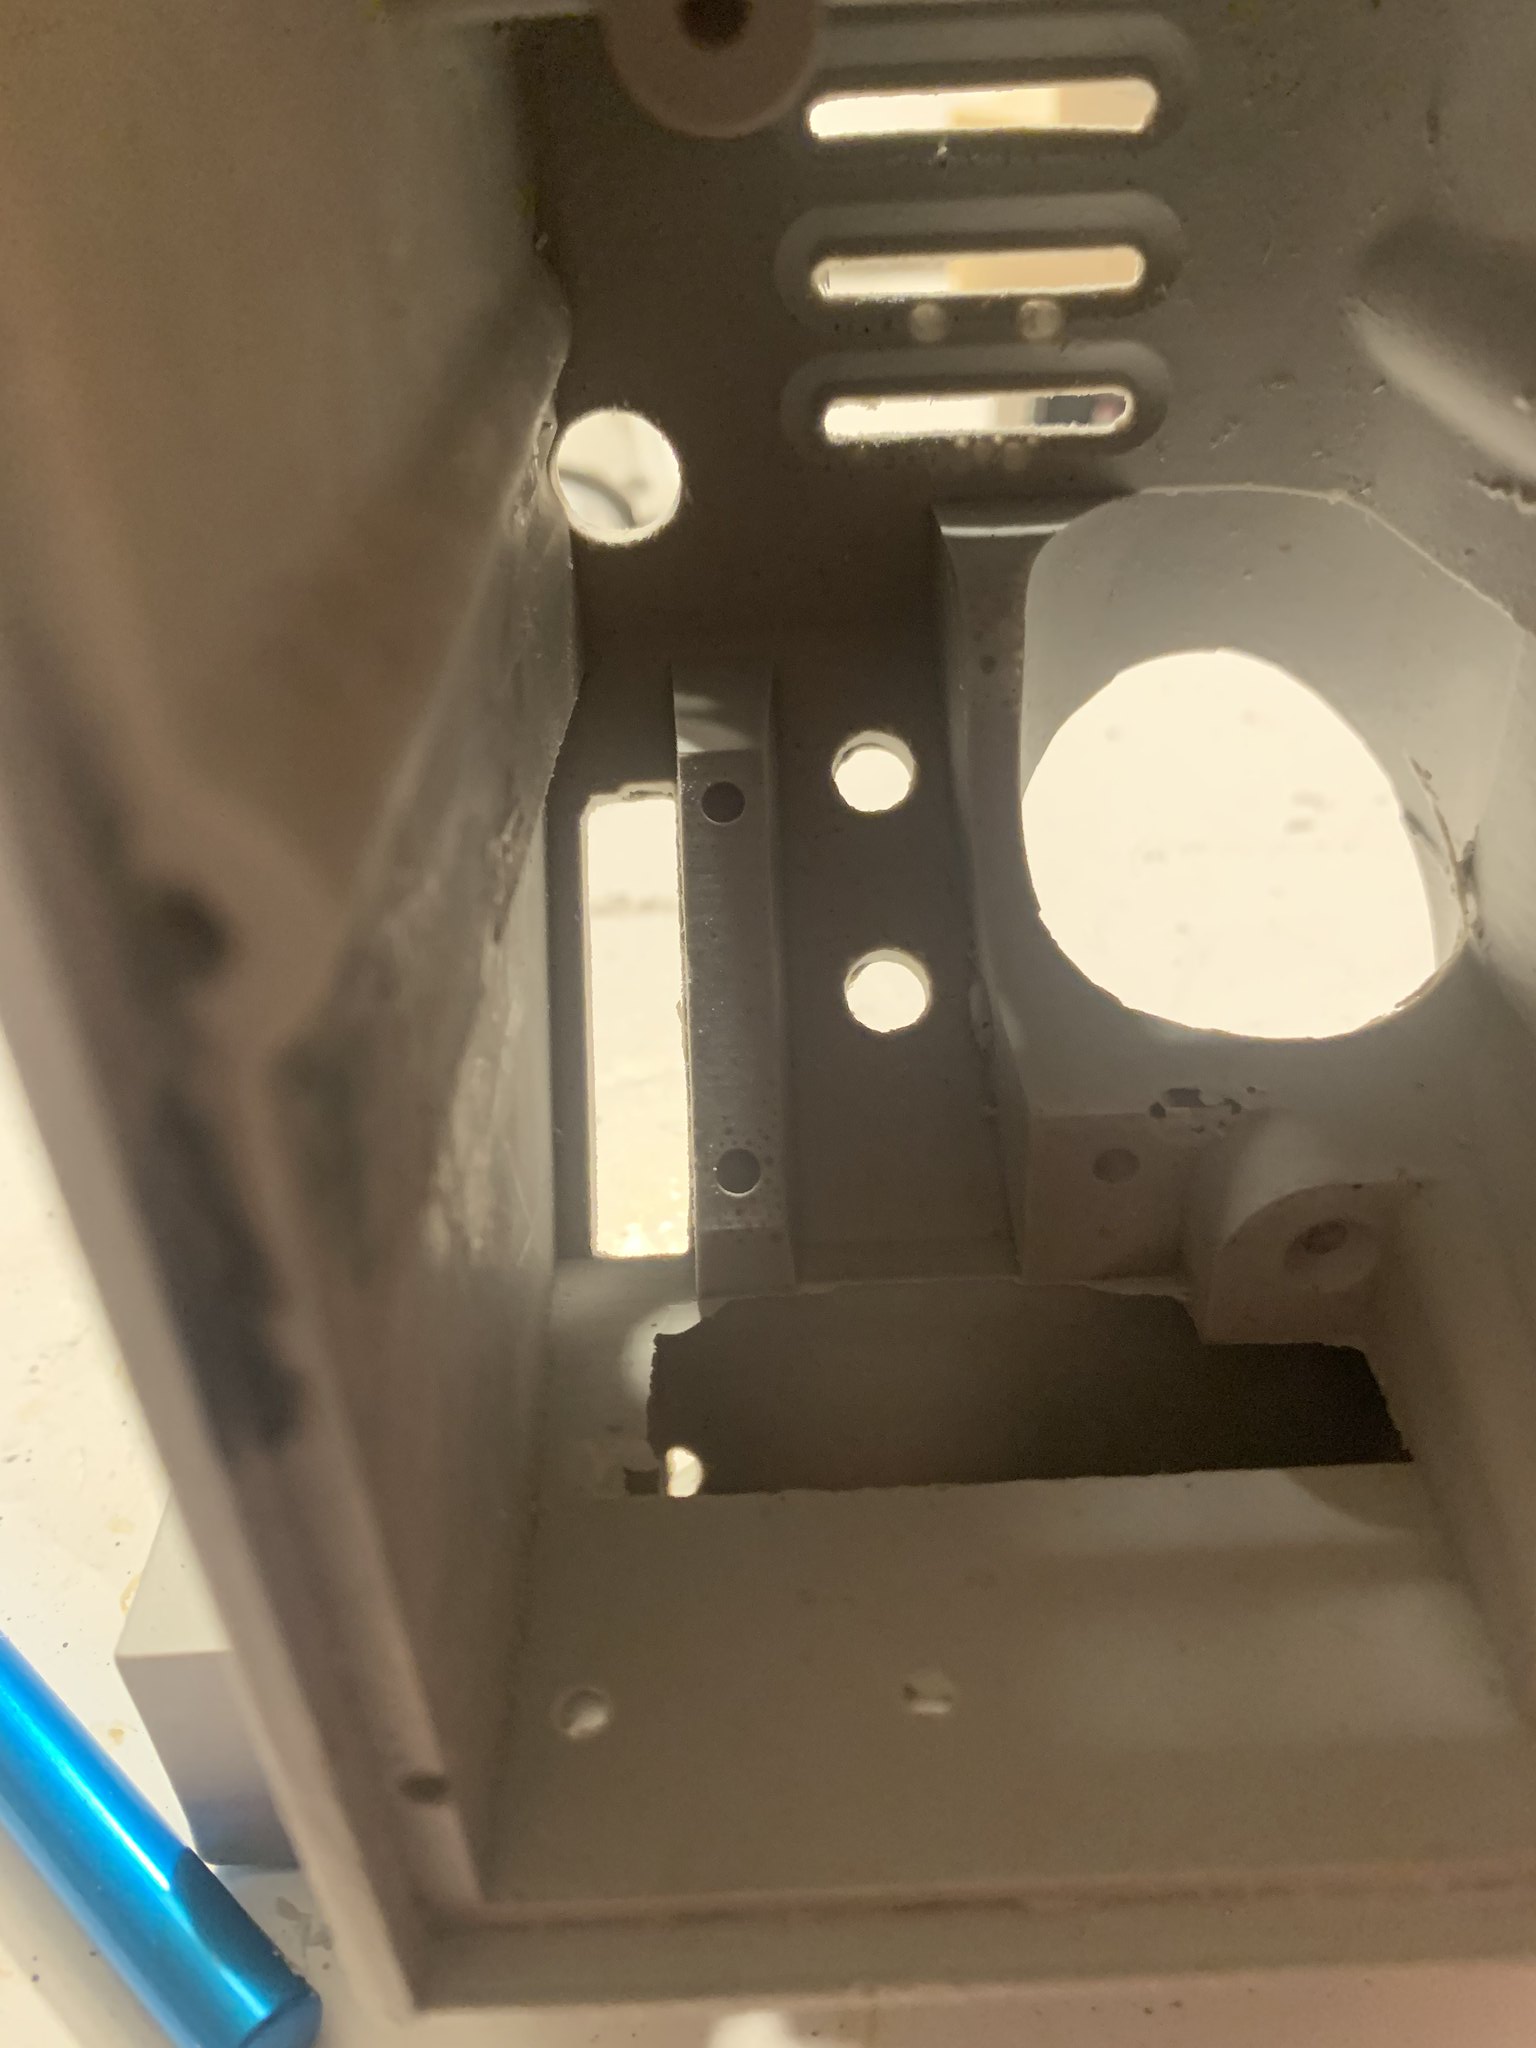
Some (maybe all at some point) of the packs had what looked like black sealant or caulk, rather than welds to close up any gap. All the welds on the packs were actual real welds between two metal pieces, so intersections like that you need to bear in mind won’t have been welded. If you’re feeling adventurous you can fill the hole in the pack Ben has cut, and then cut the booster tube to the right angle. Ben’s tube is actually too small as well. Have a look at my build thread as I covered all of that there :slight_smile:

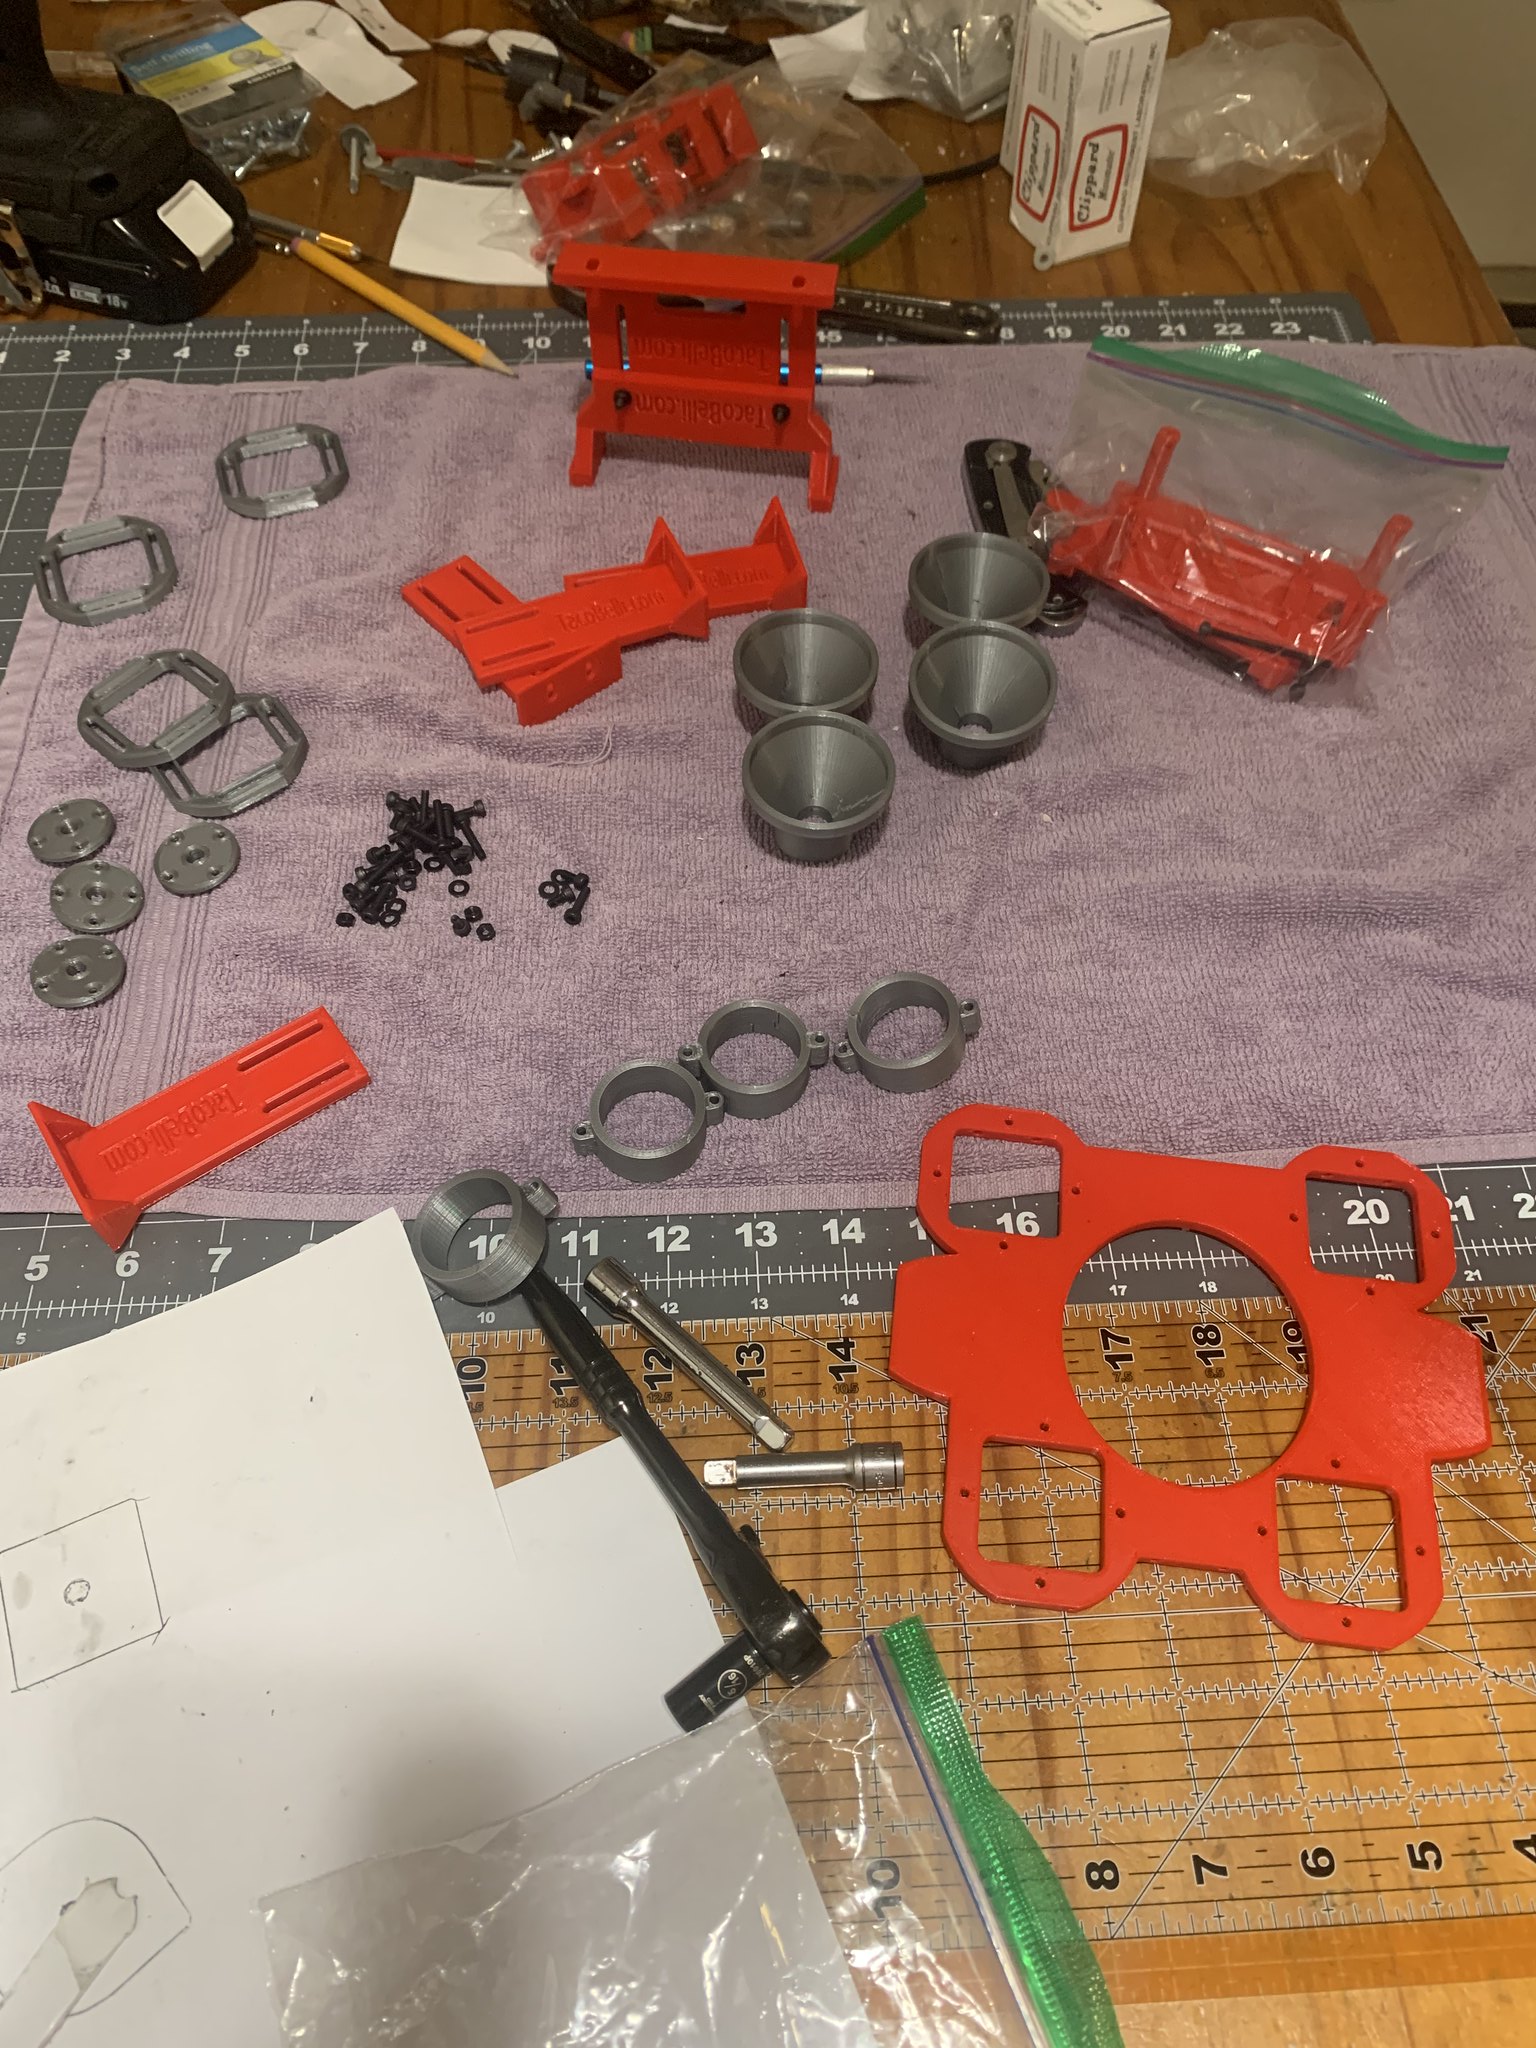
I got my Tacobelli items and speaker, having this in hand I figured I could work on my Motherboard and get it ready for paint

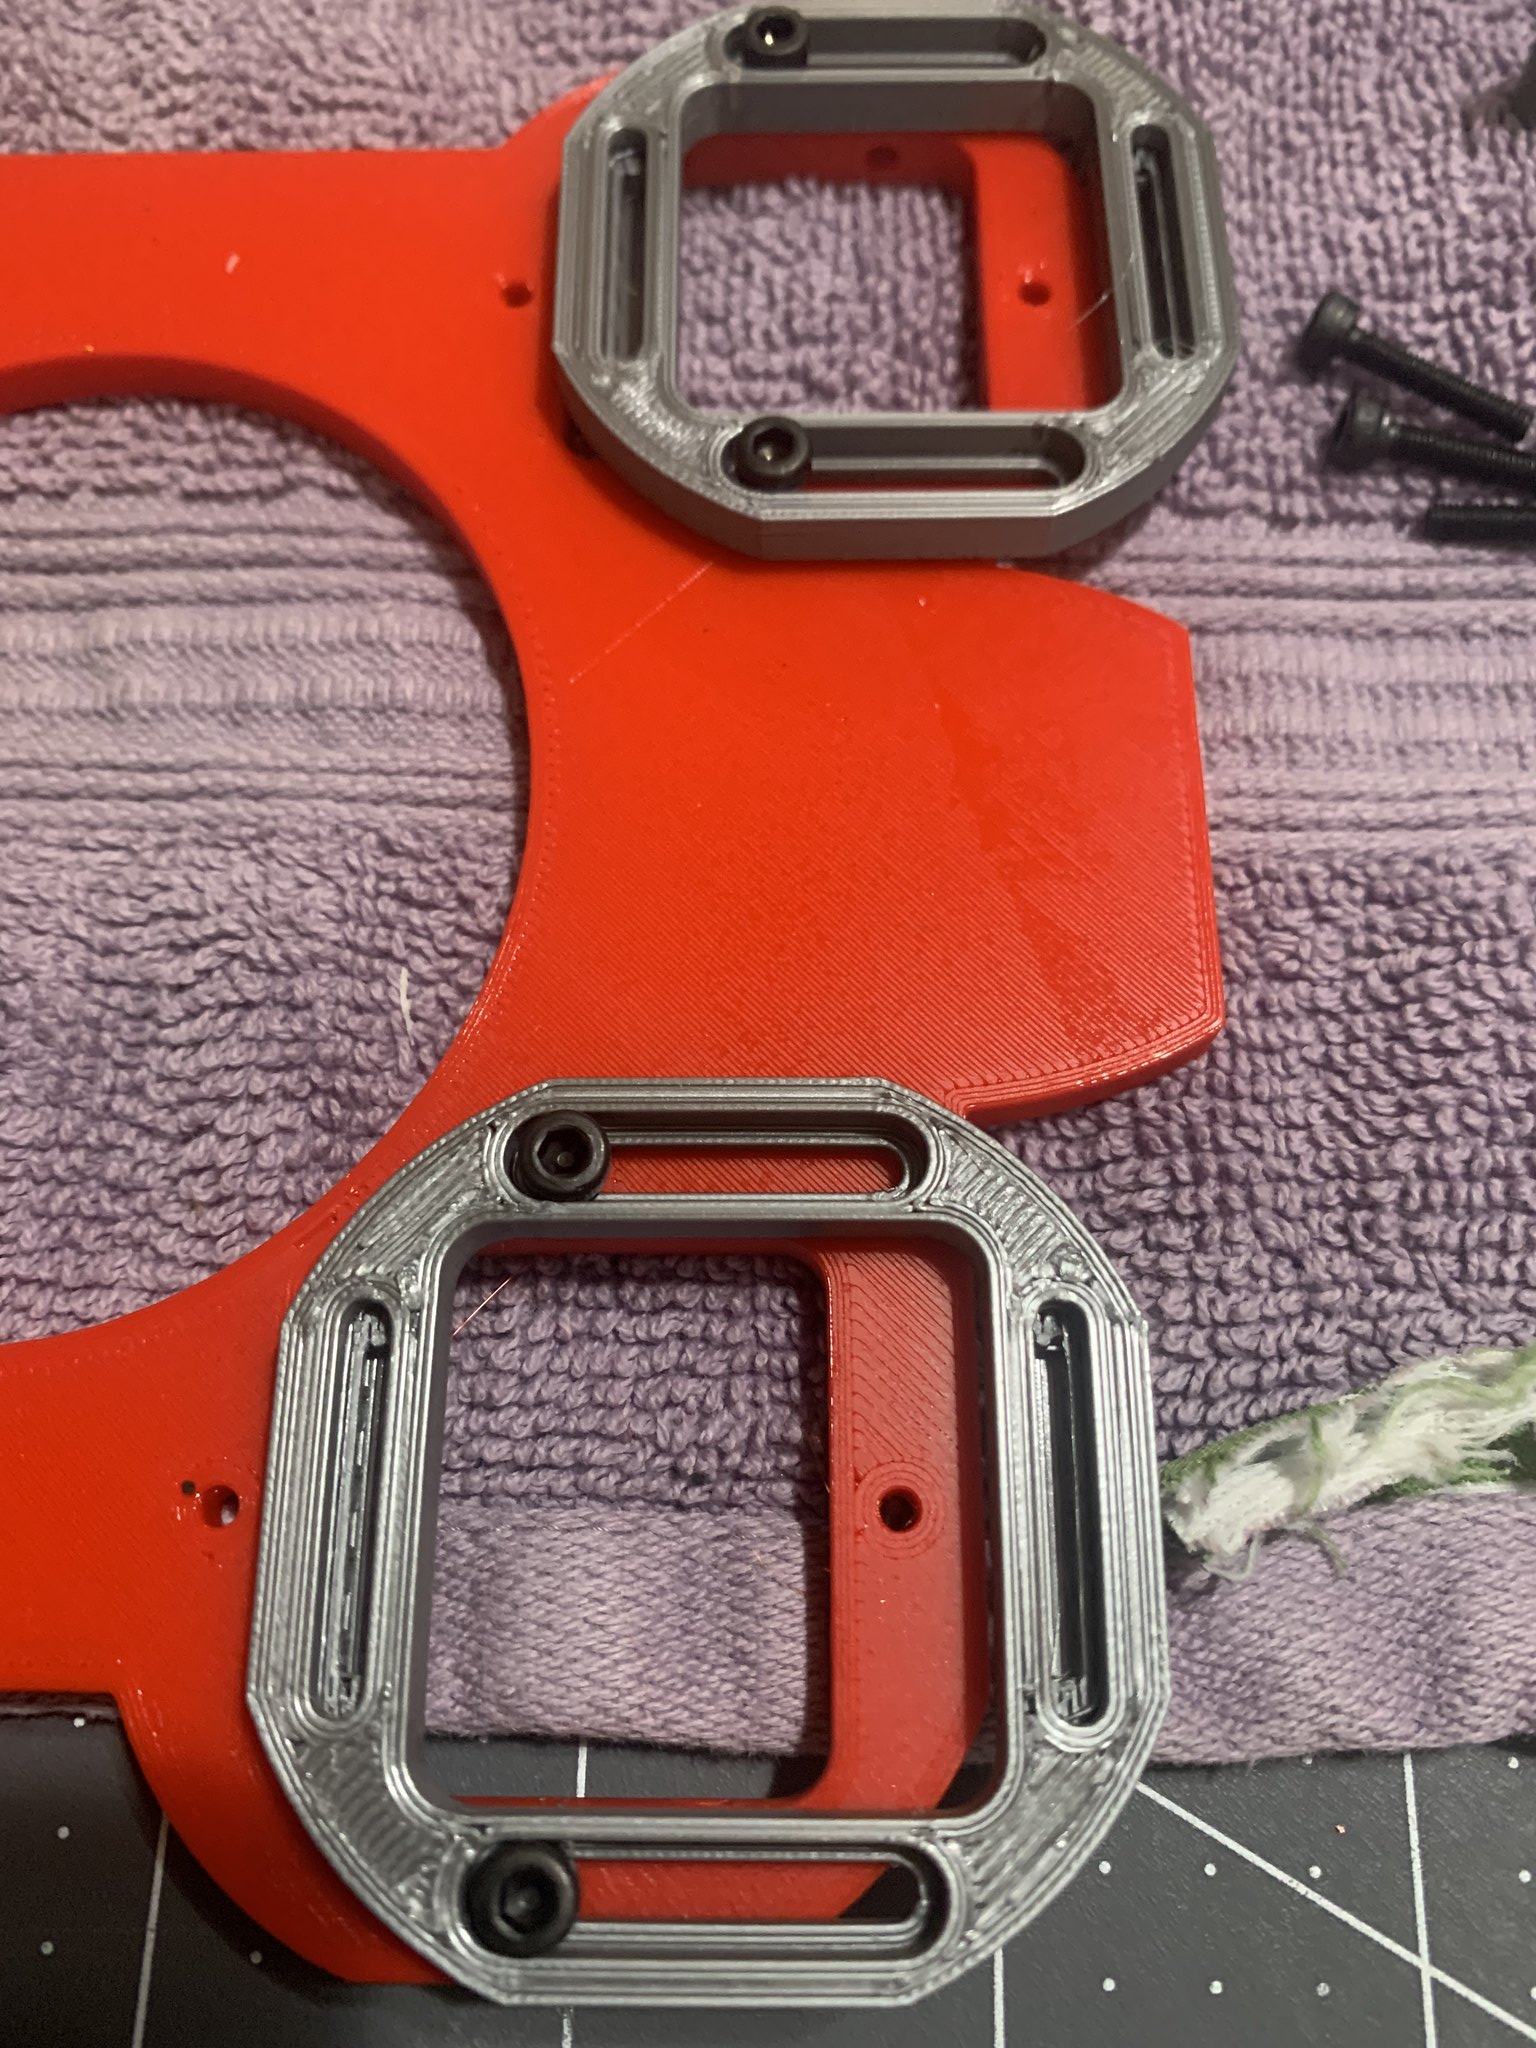
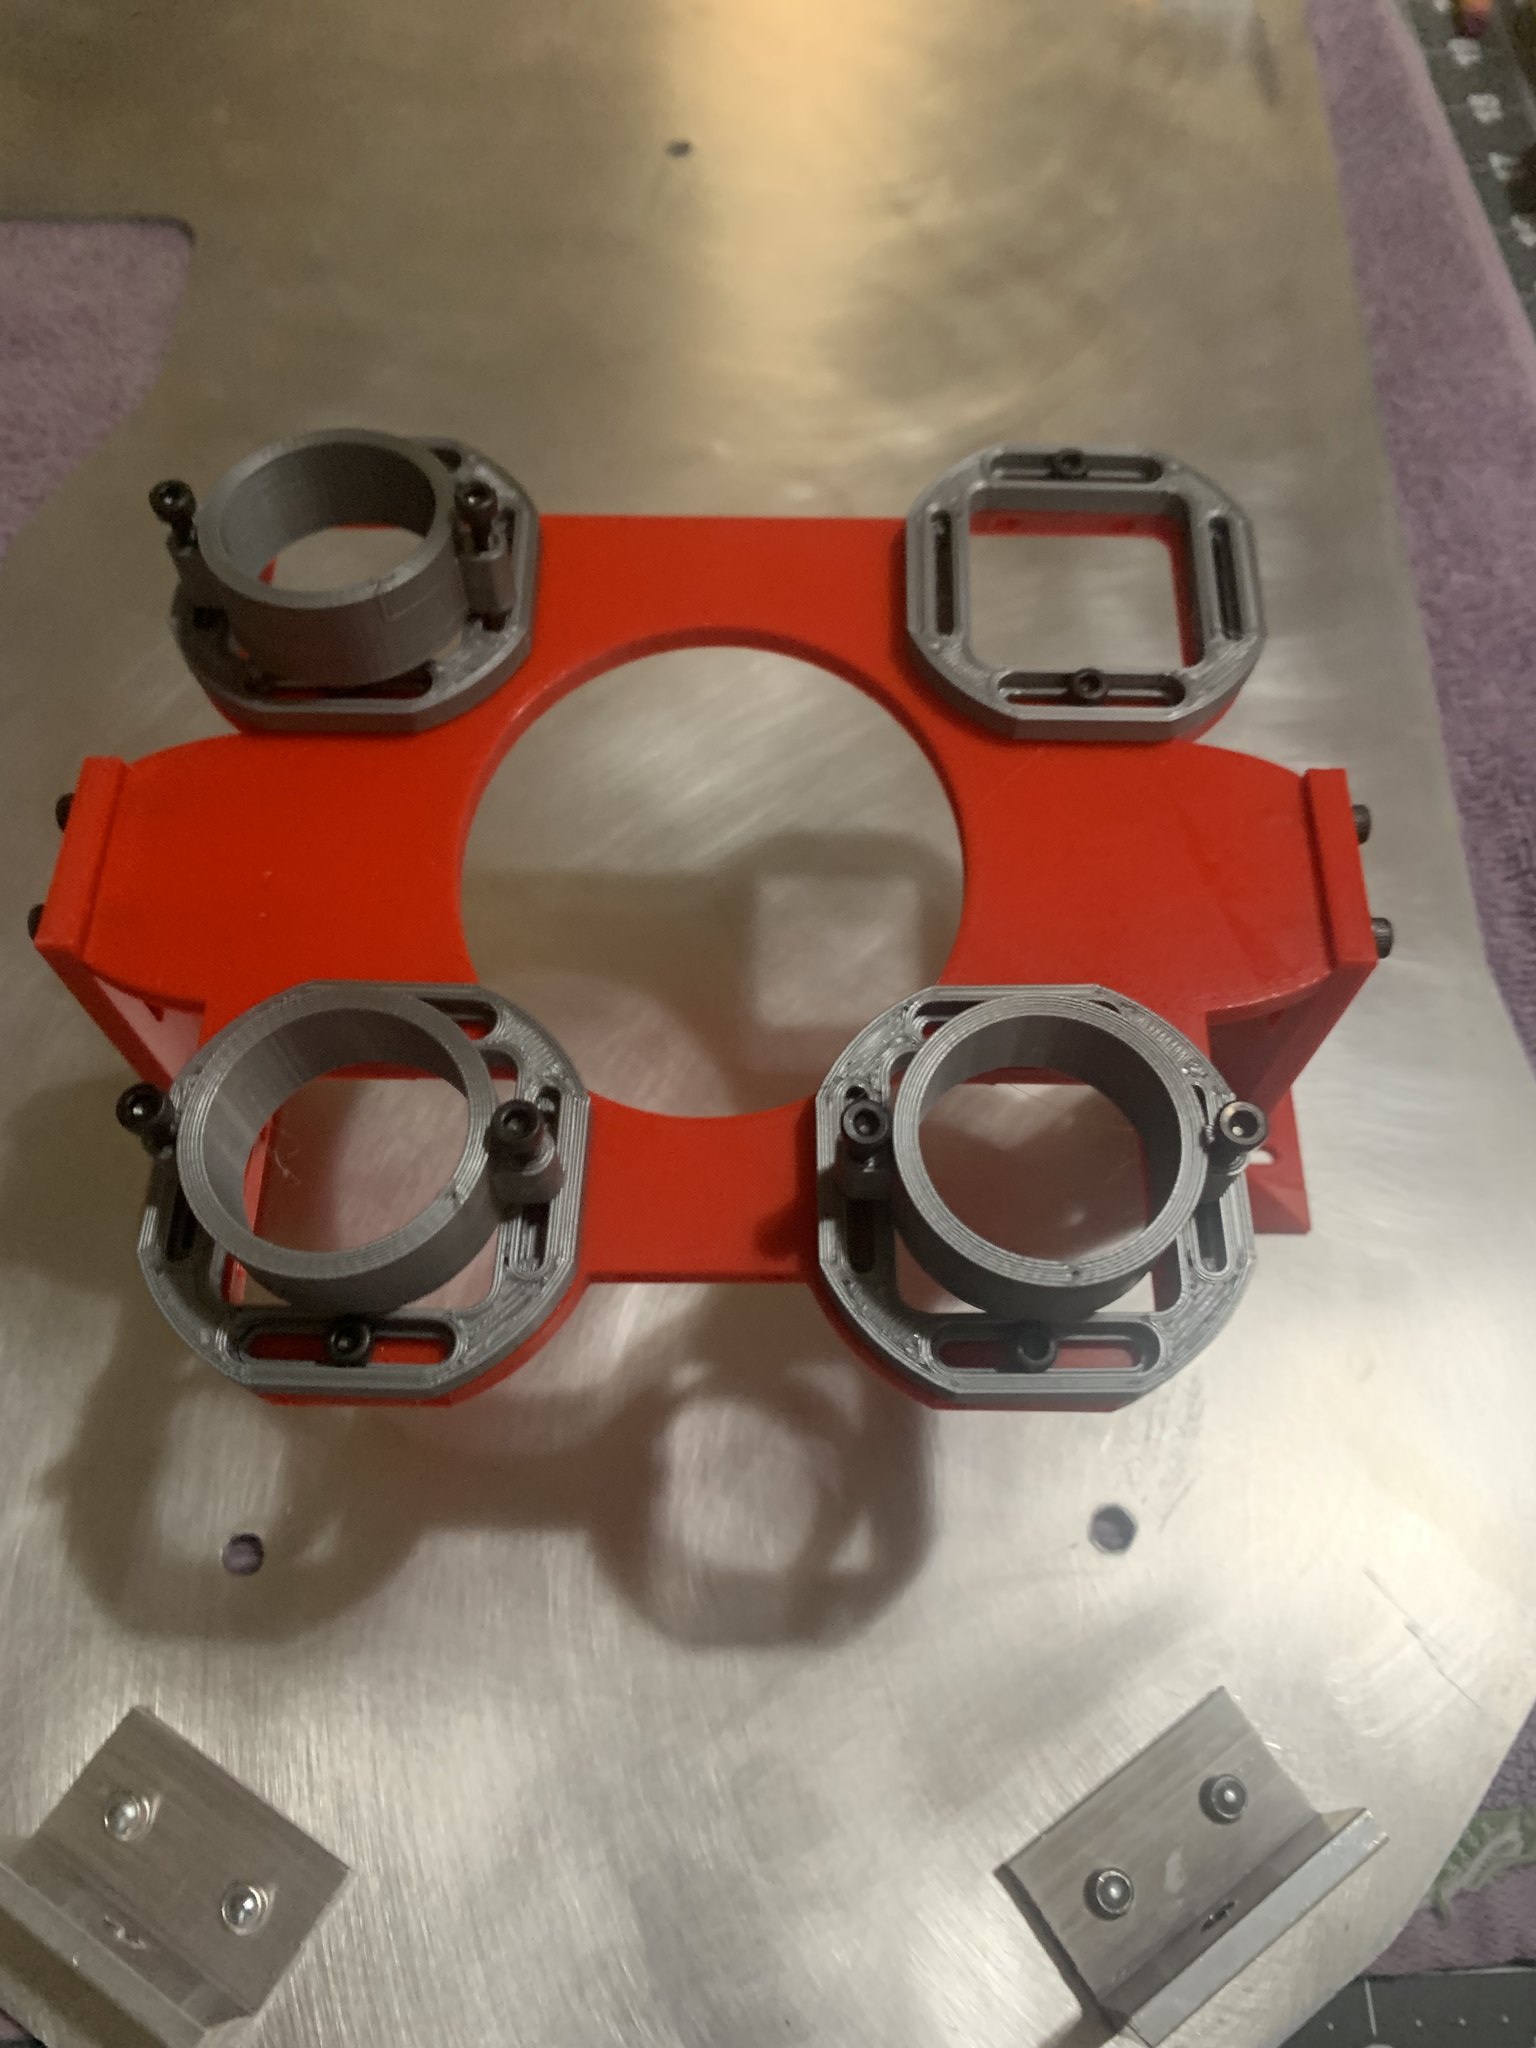
Took me a bit to figure out how the kit went together but finally figured it out.

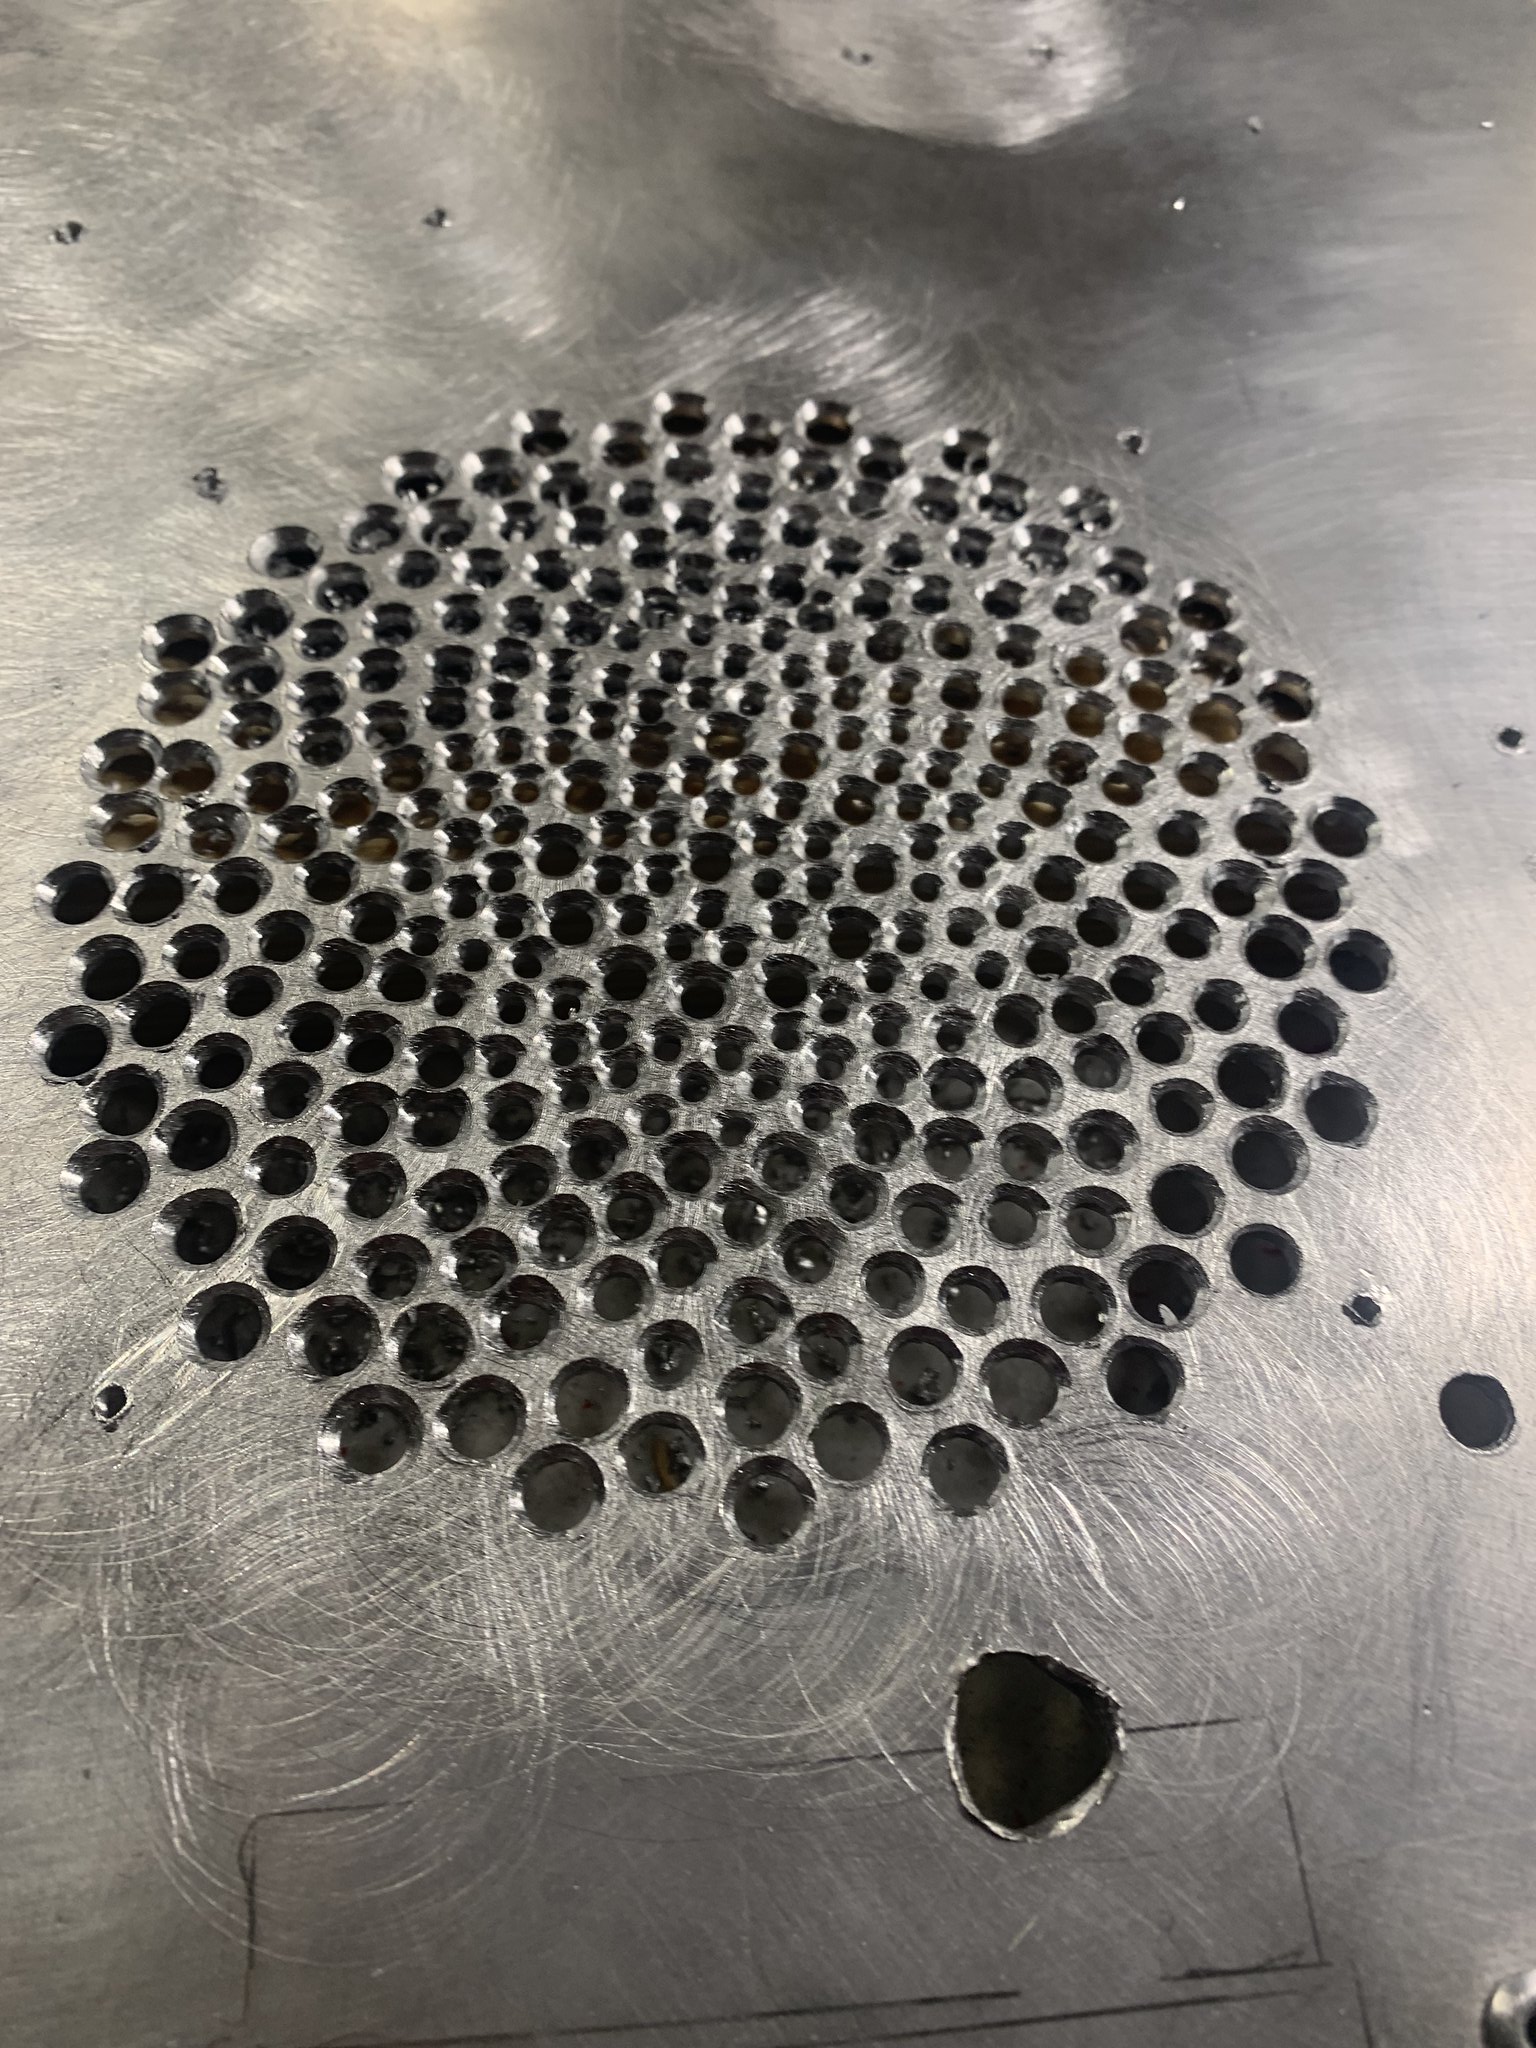
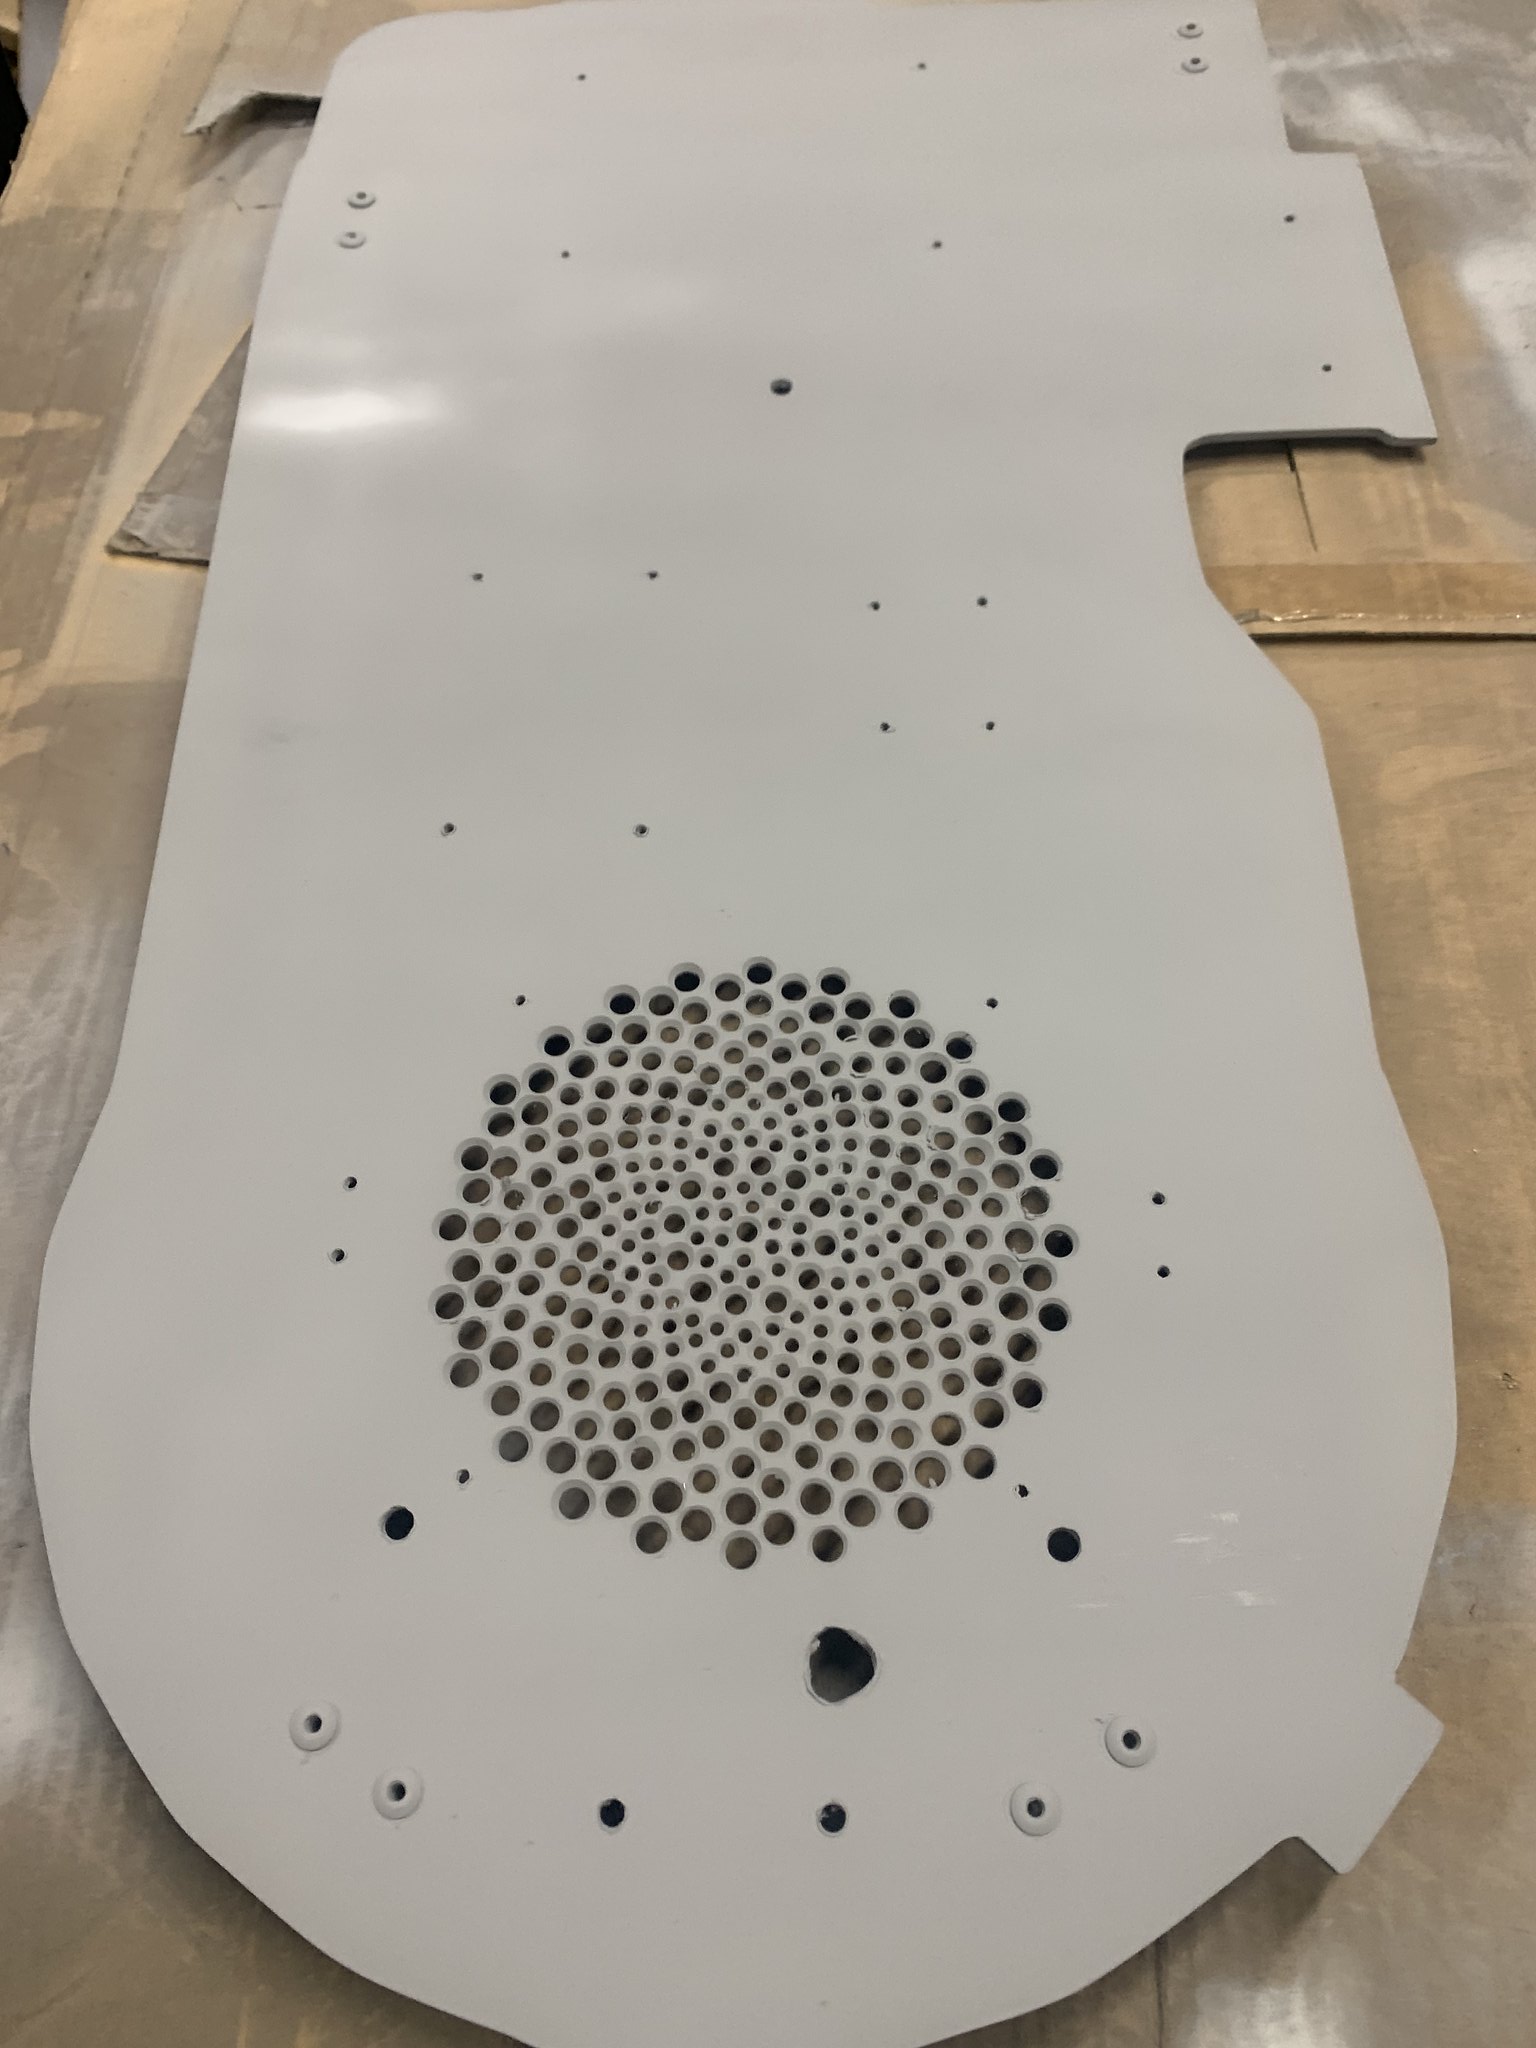
With them in place and knowing all my spacing for the speaker I started my Grill… Thank you Bishop for a great design

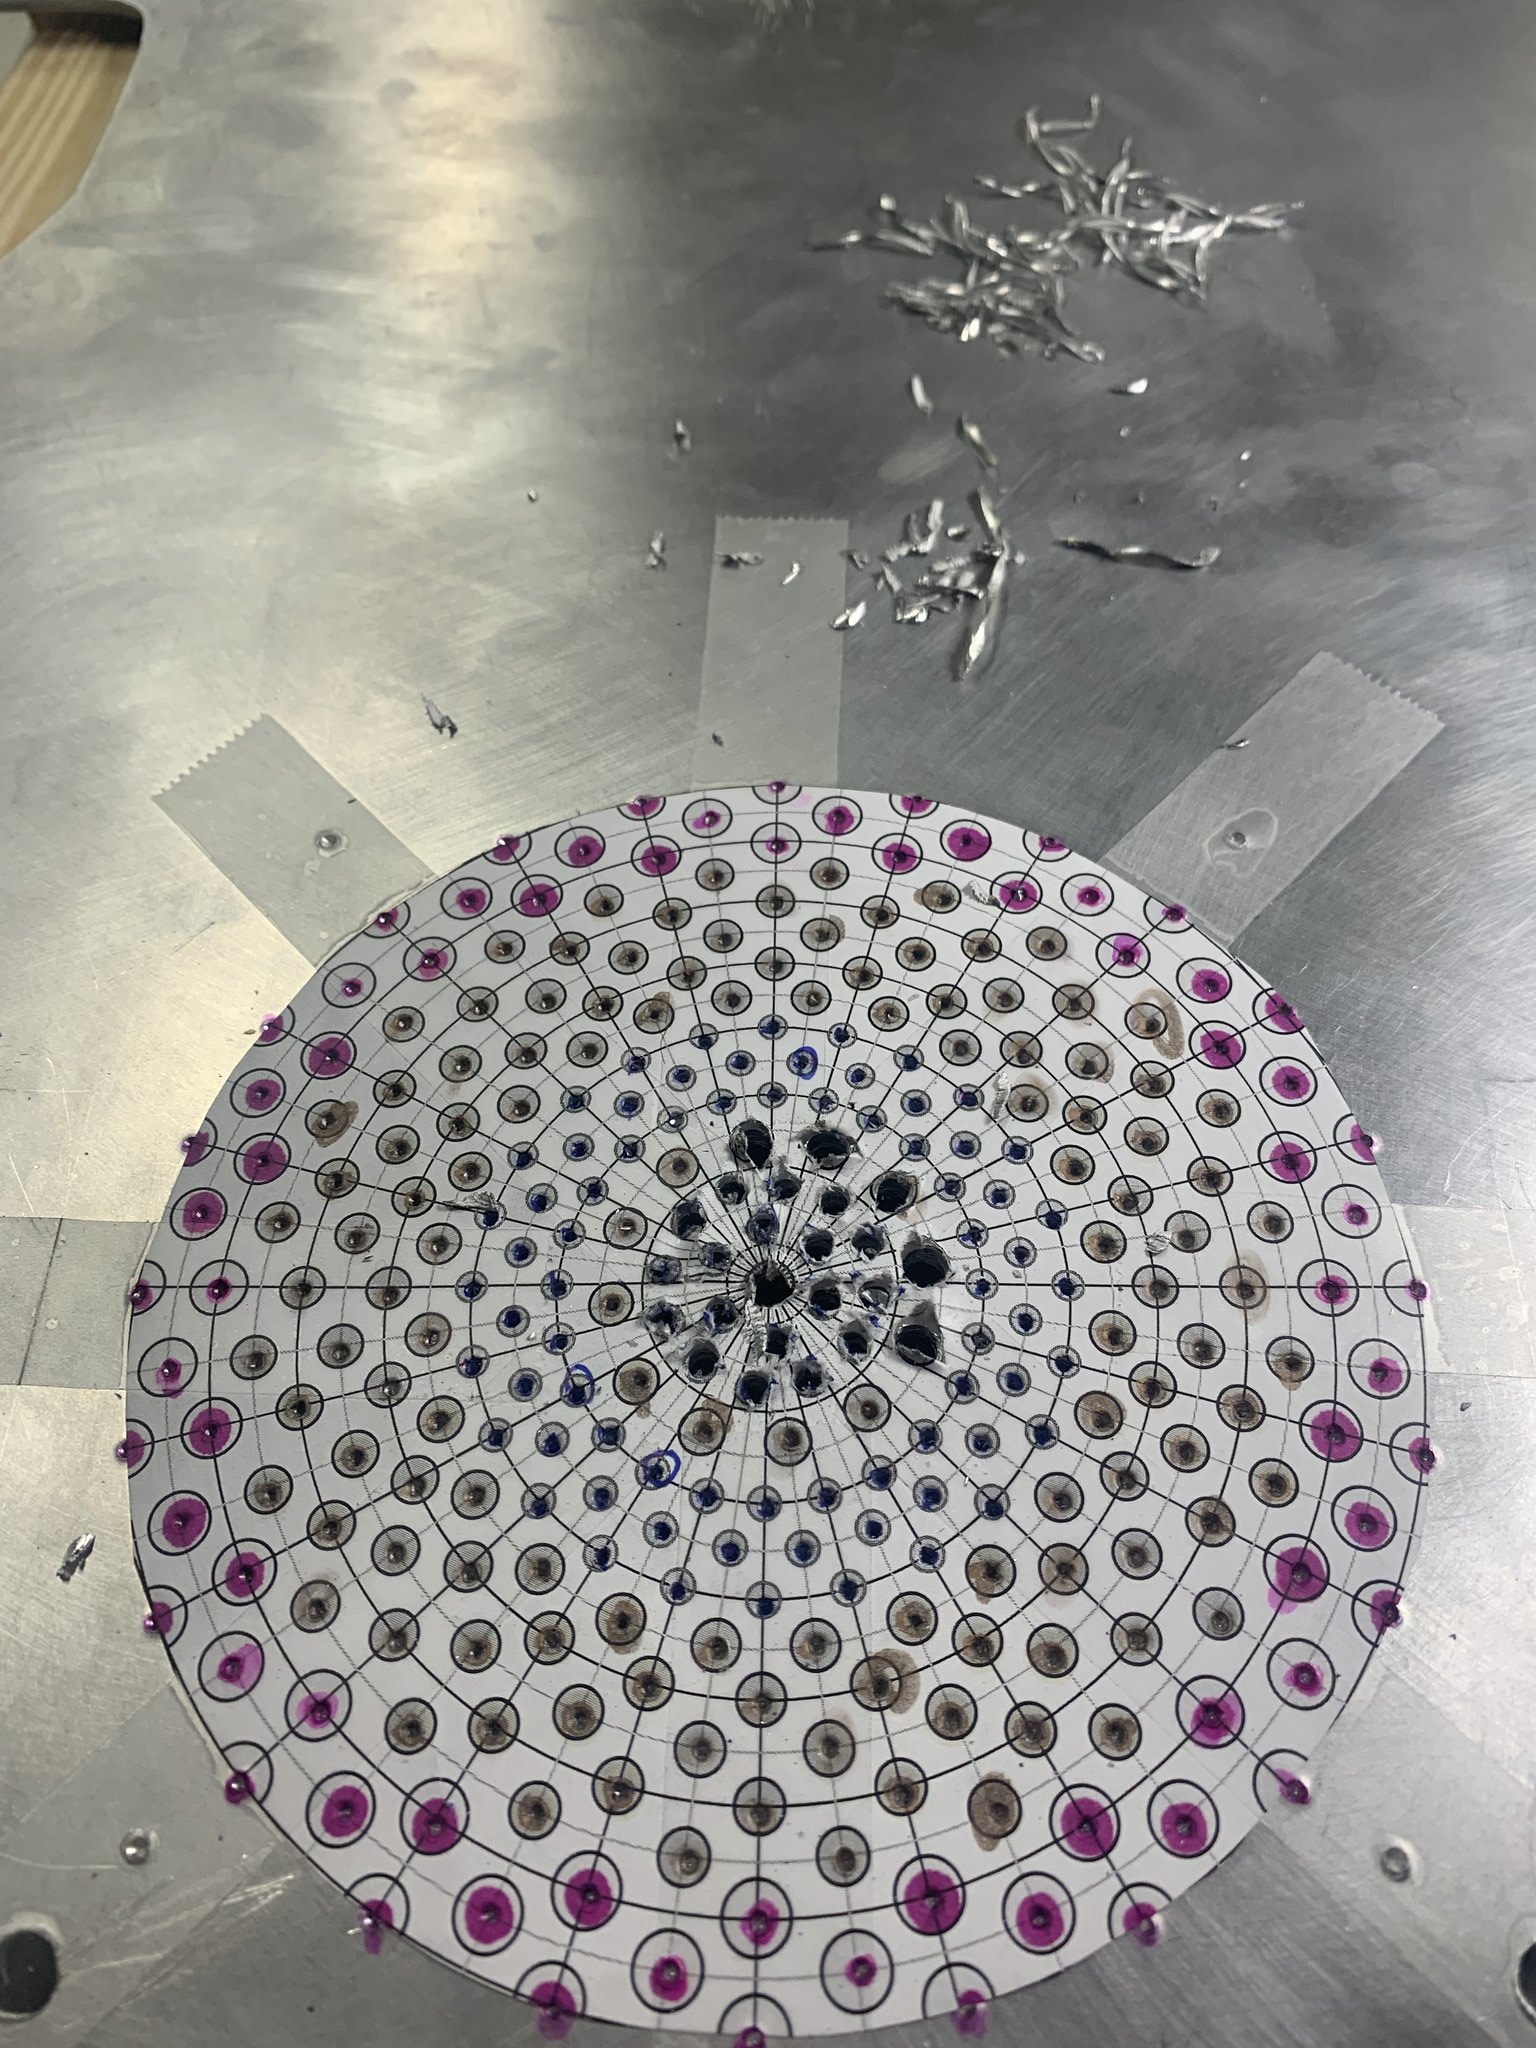
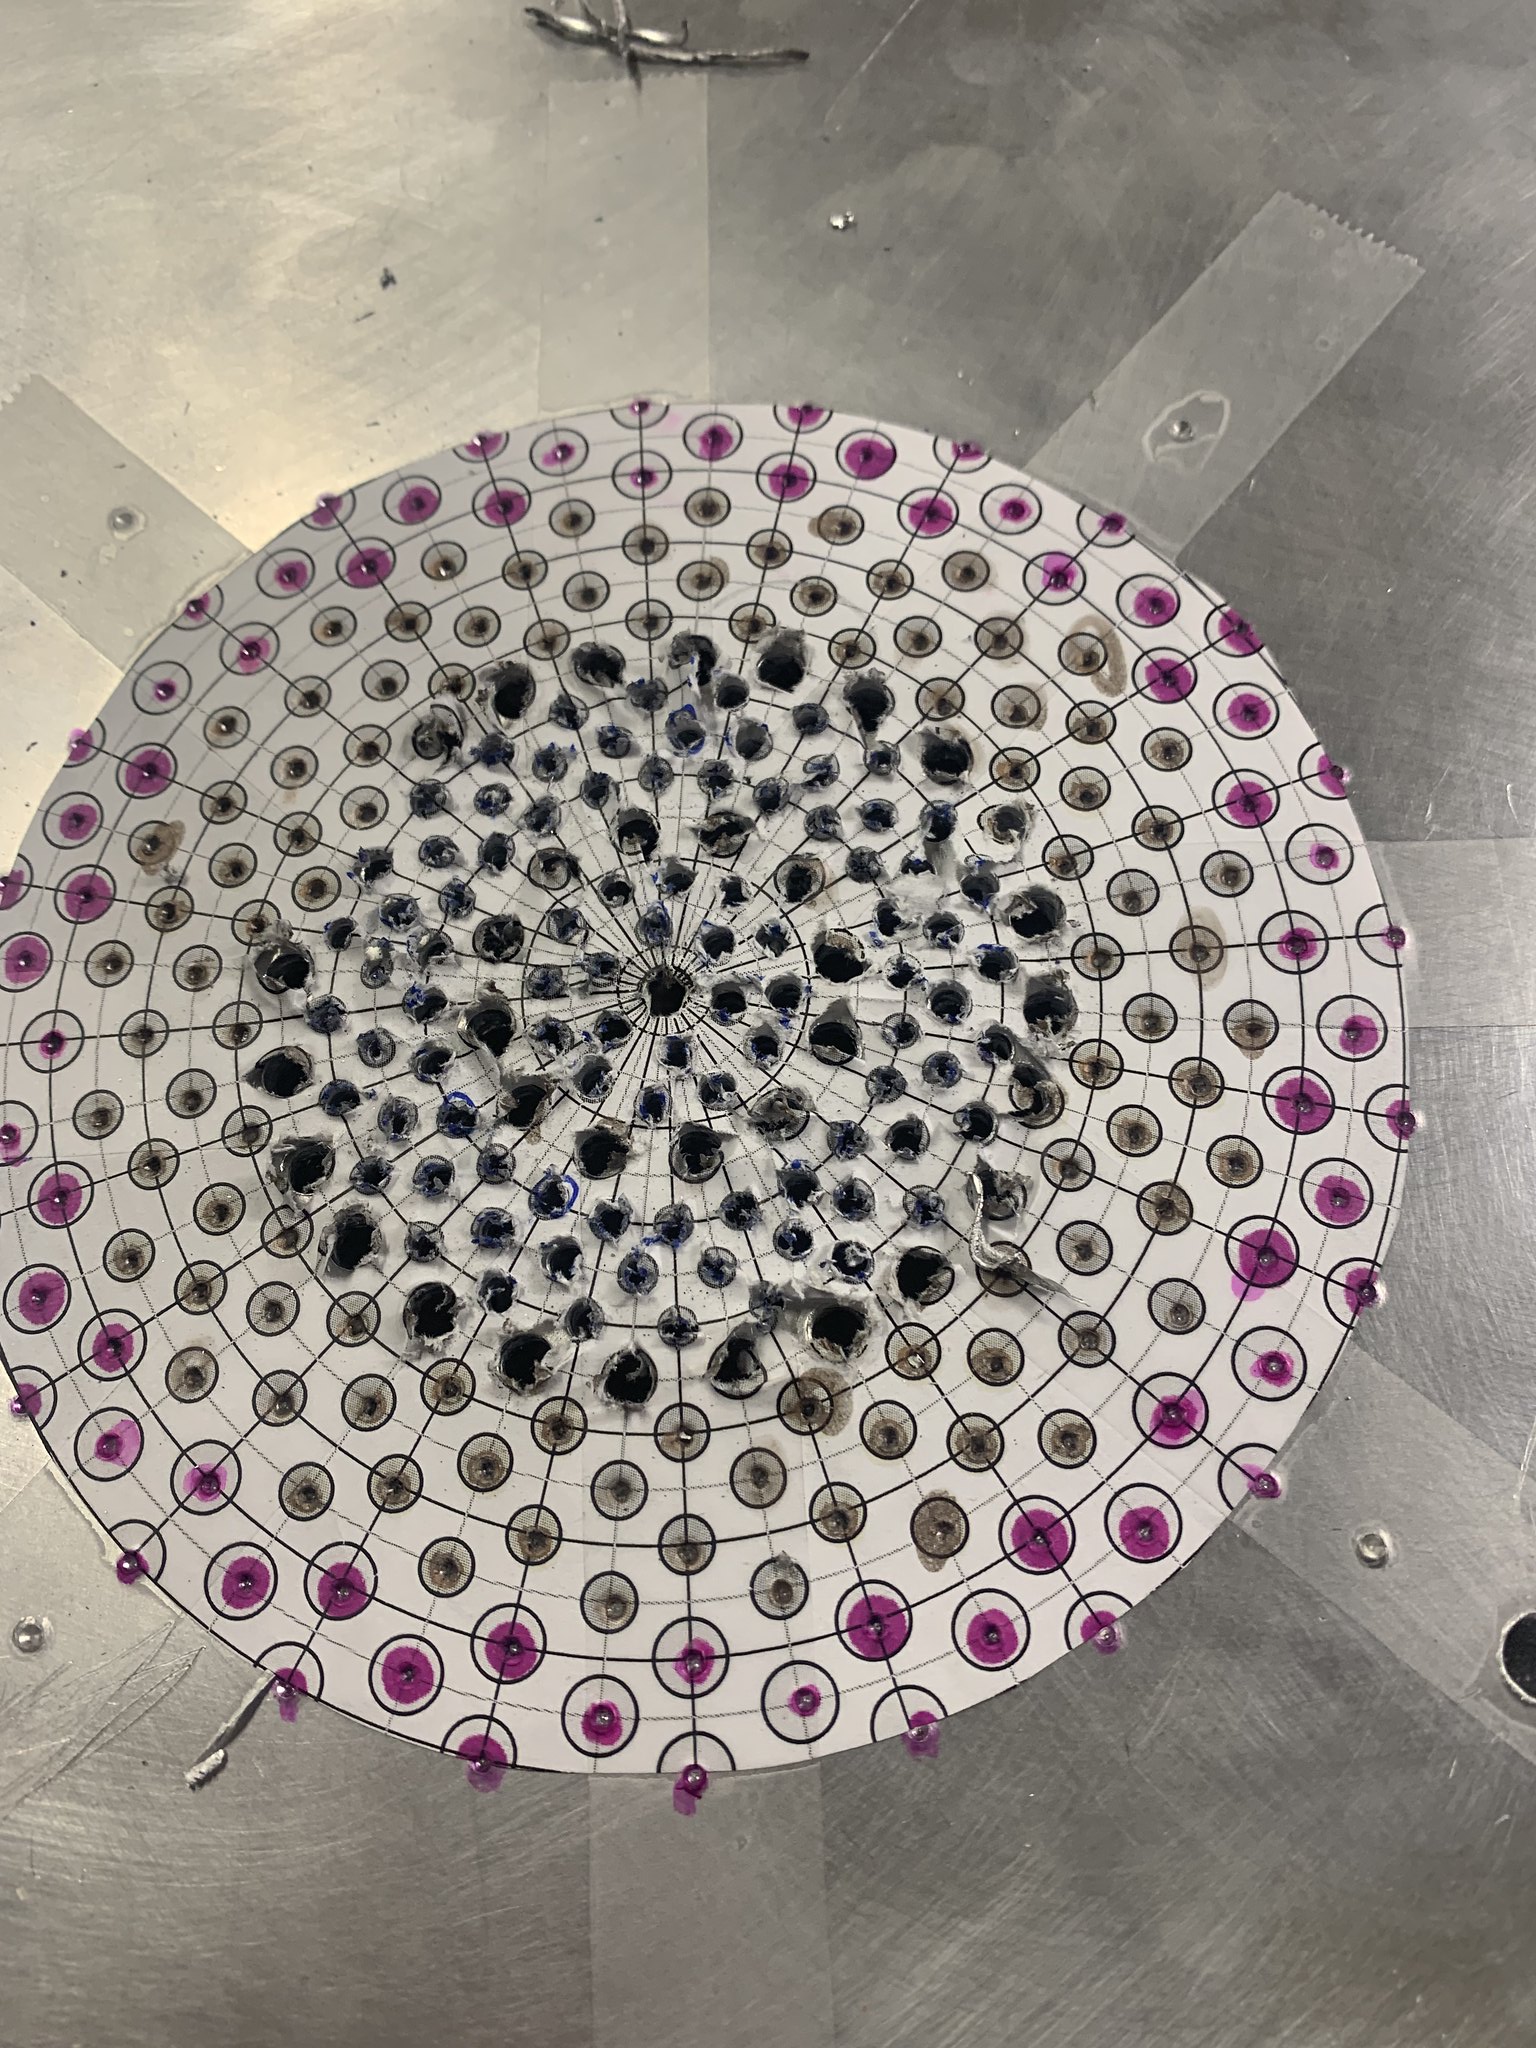
I punched every whole with a punch to make sure I had a good starting place. Let me arm rest a bit and I know I miss punched a couple we will see how they turn out.

Started drilling

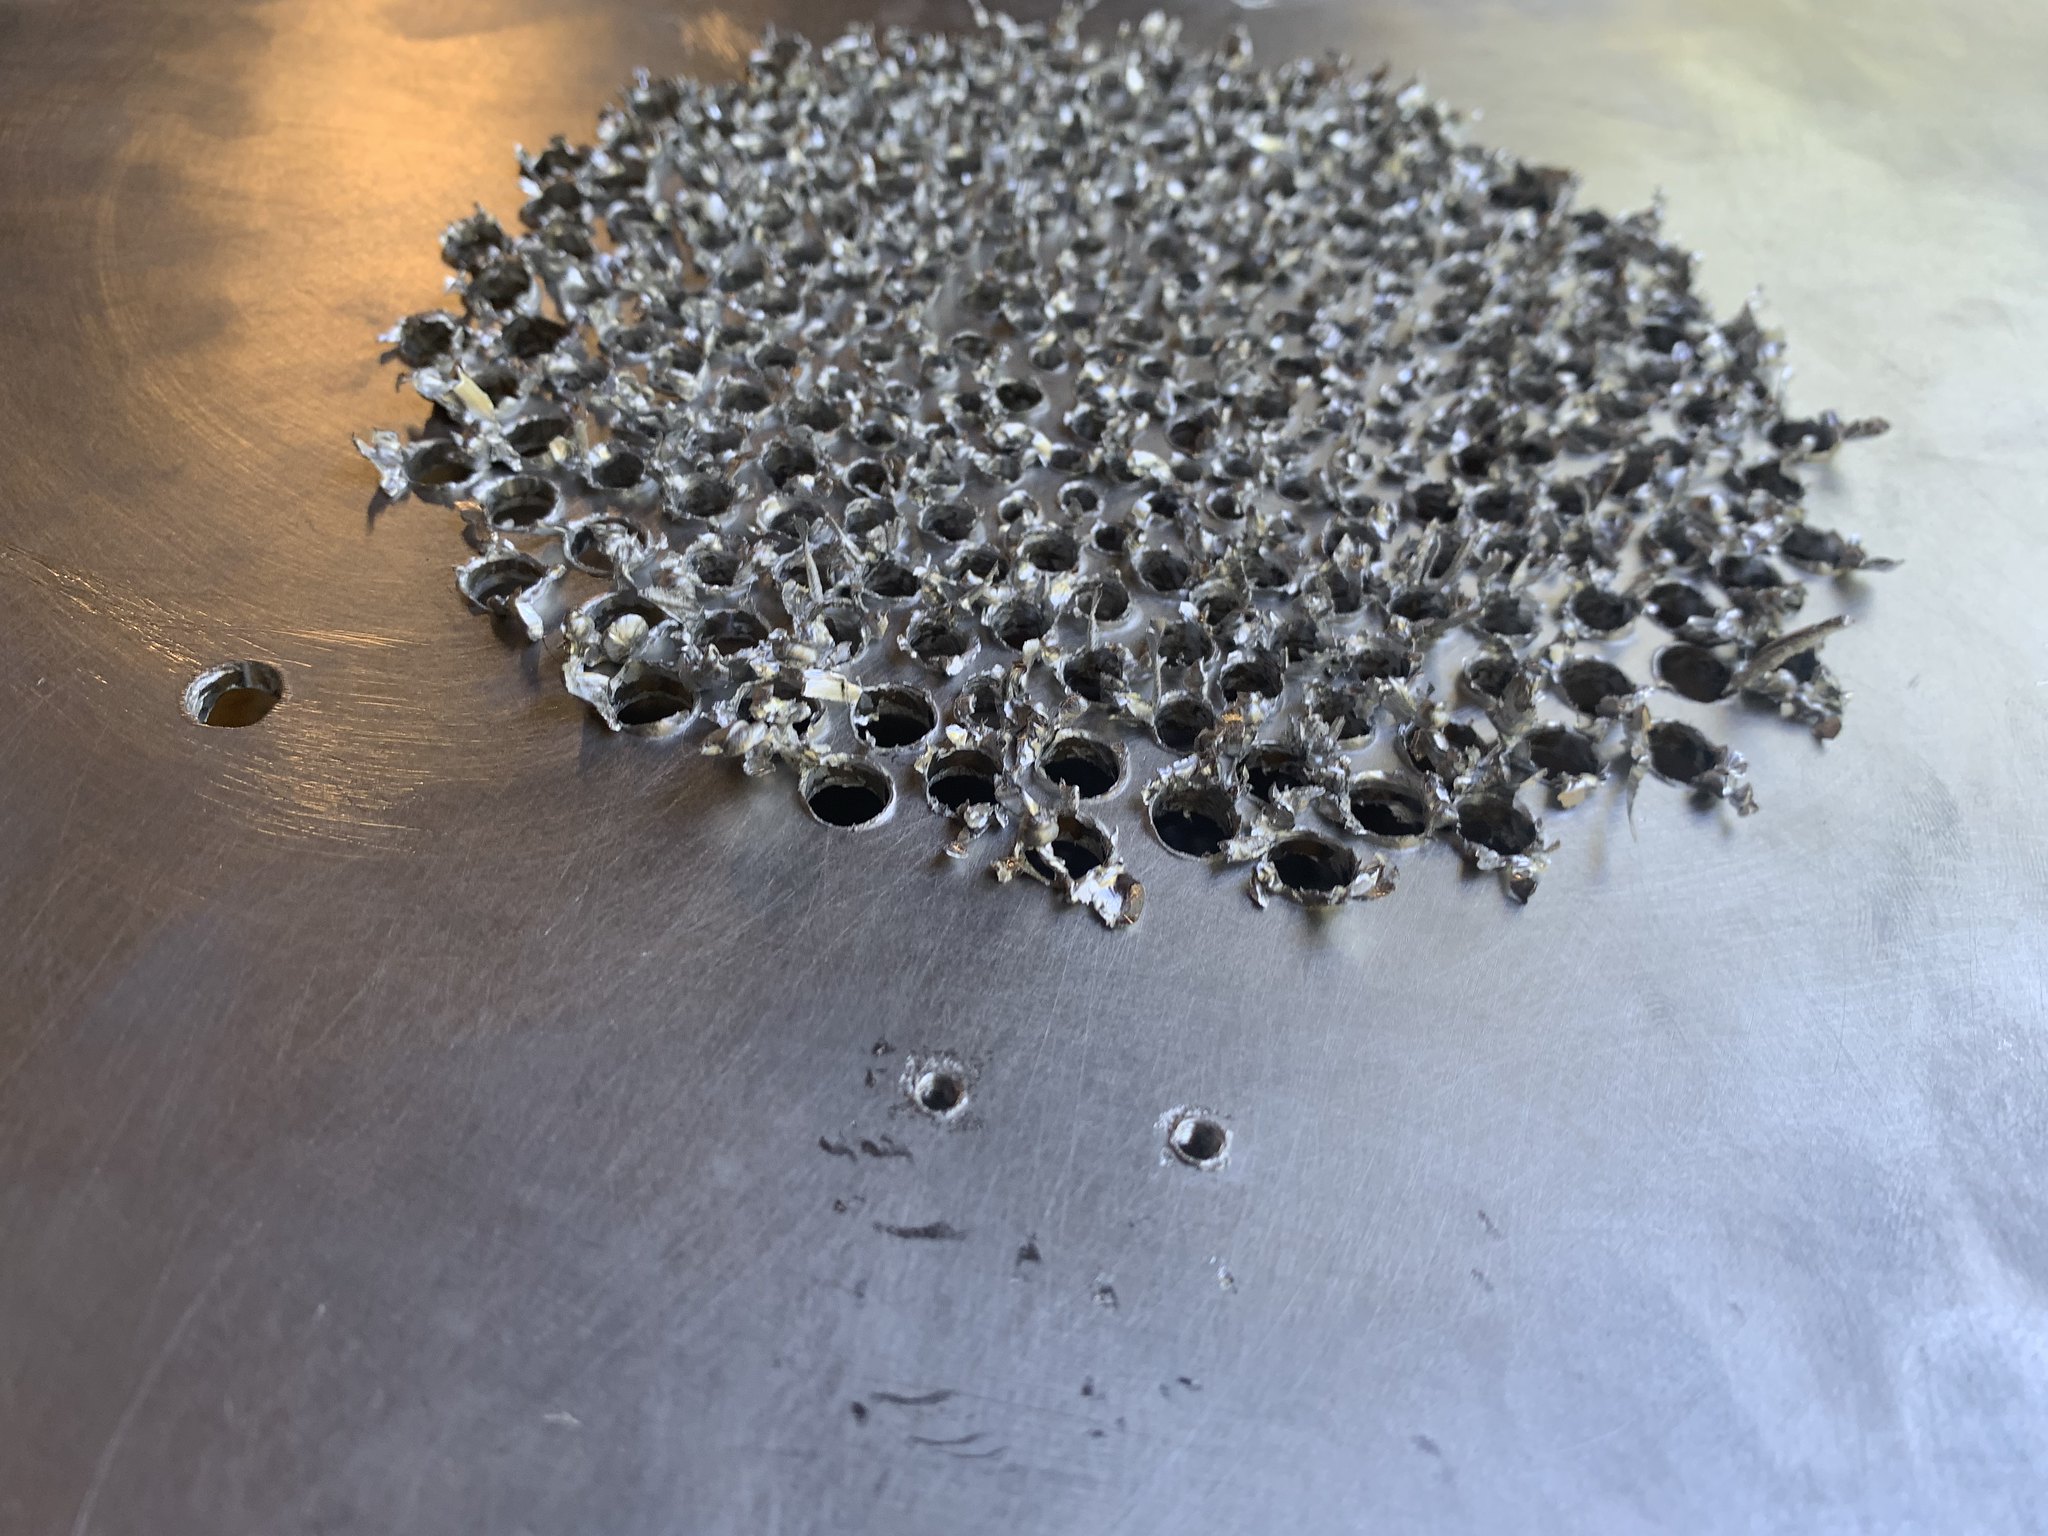
OHHHH This will be fun to clean up…

TWO HOURS LATER…

THREE HOURS LATER…

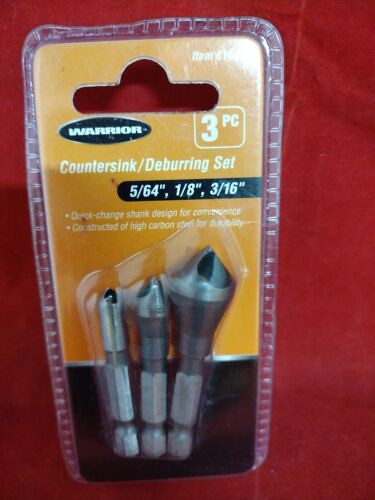
Tried all kind of tools to clean the holes up, used every one of my counter sinks and nothing seemed to help but finally found a tool at harbor freight counter sink and deburring tool. Never used anything like it so I did not know about them.

It was a little bit of a learning curve but surprisingly the 3 sizes worked with what I drilled with. and finally cleaned them up.

and prime… coated it with satin black today.

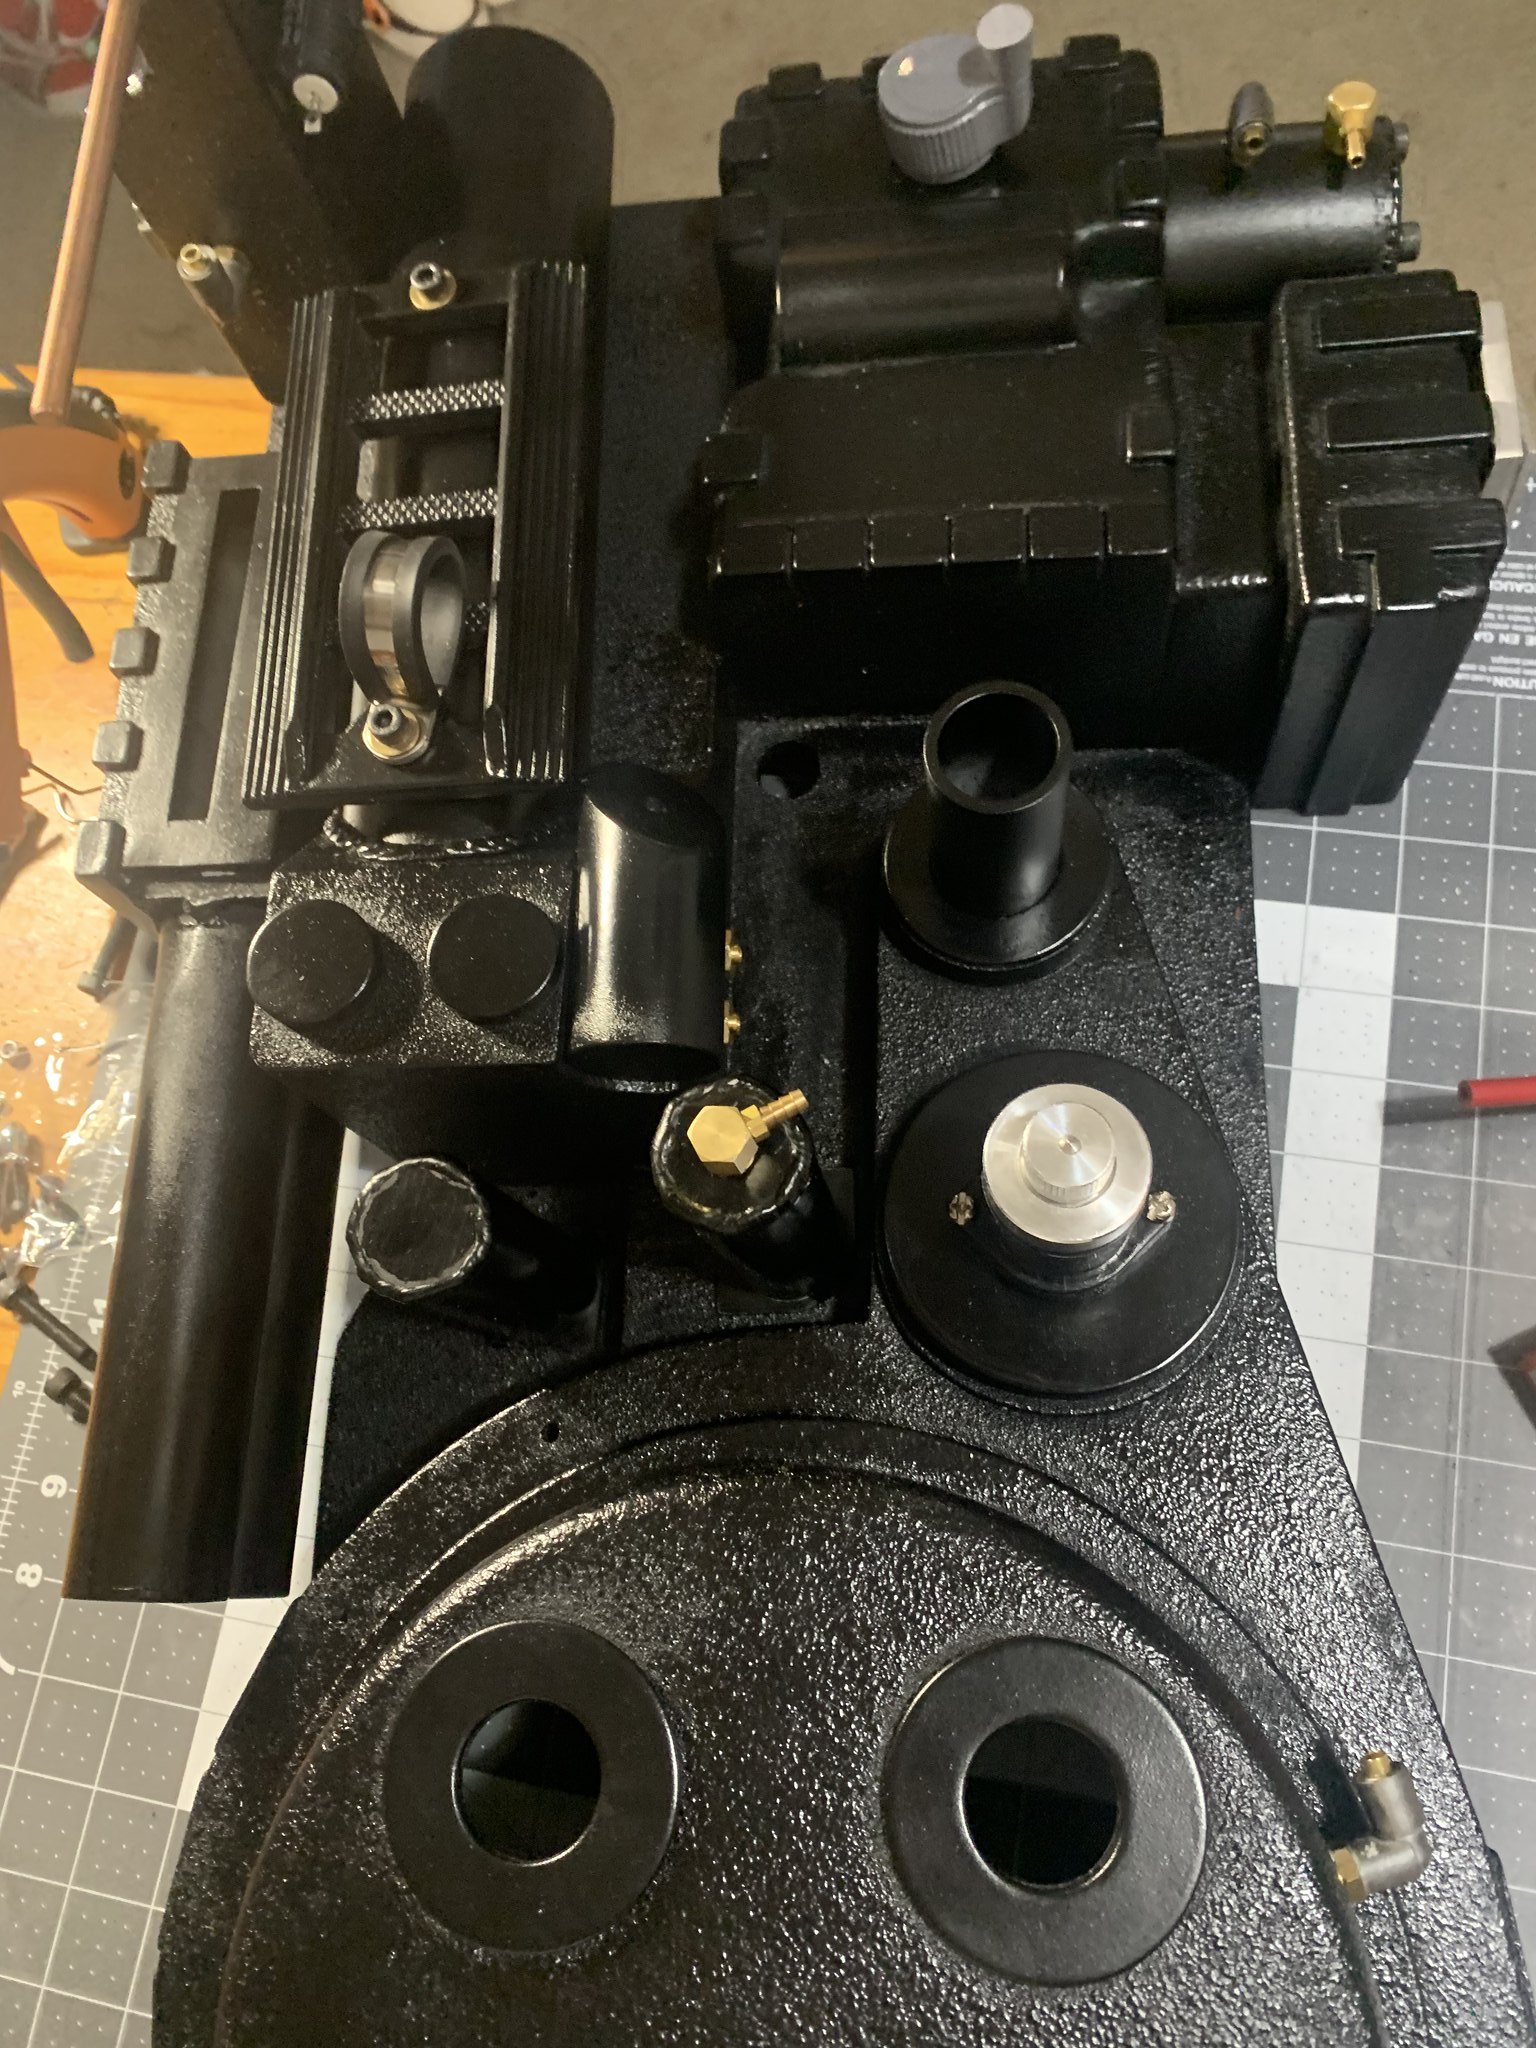
With my Motherboard coated with Satin Black and in my garage drying I decided to start putting the pack together.

Having pre-drilled everything made this a Breeze.

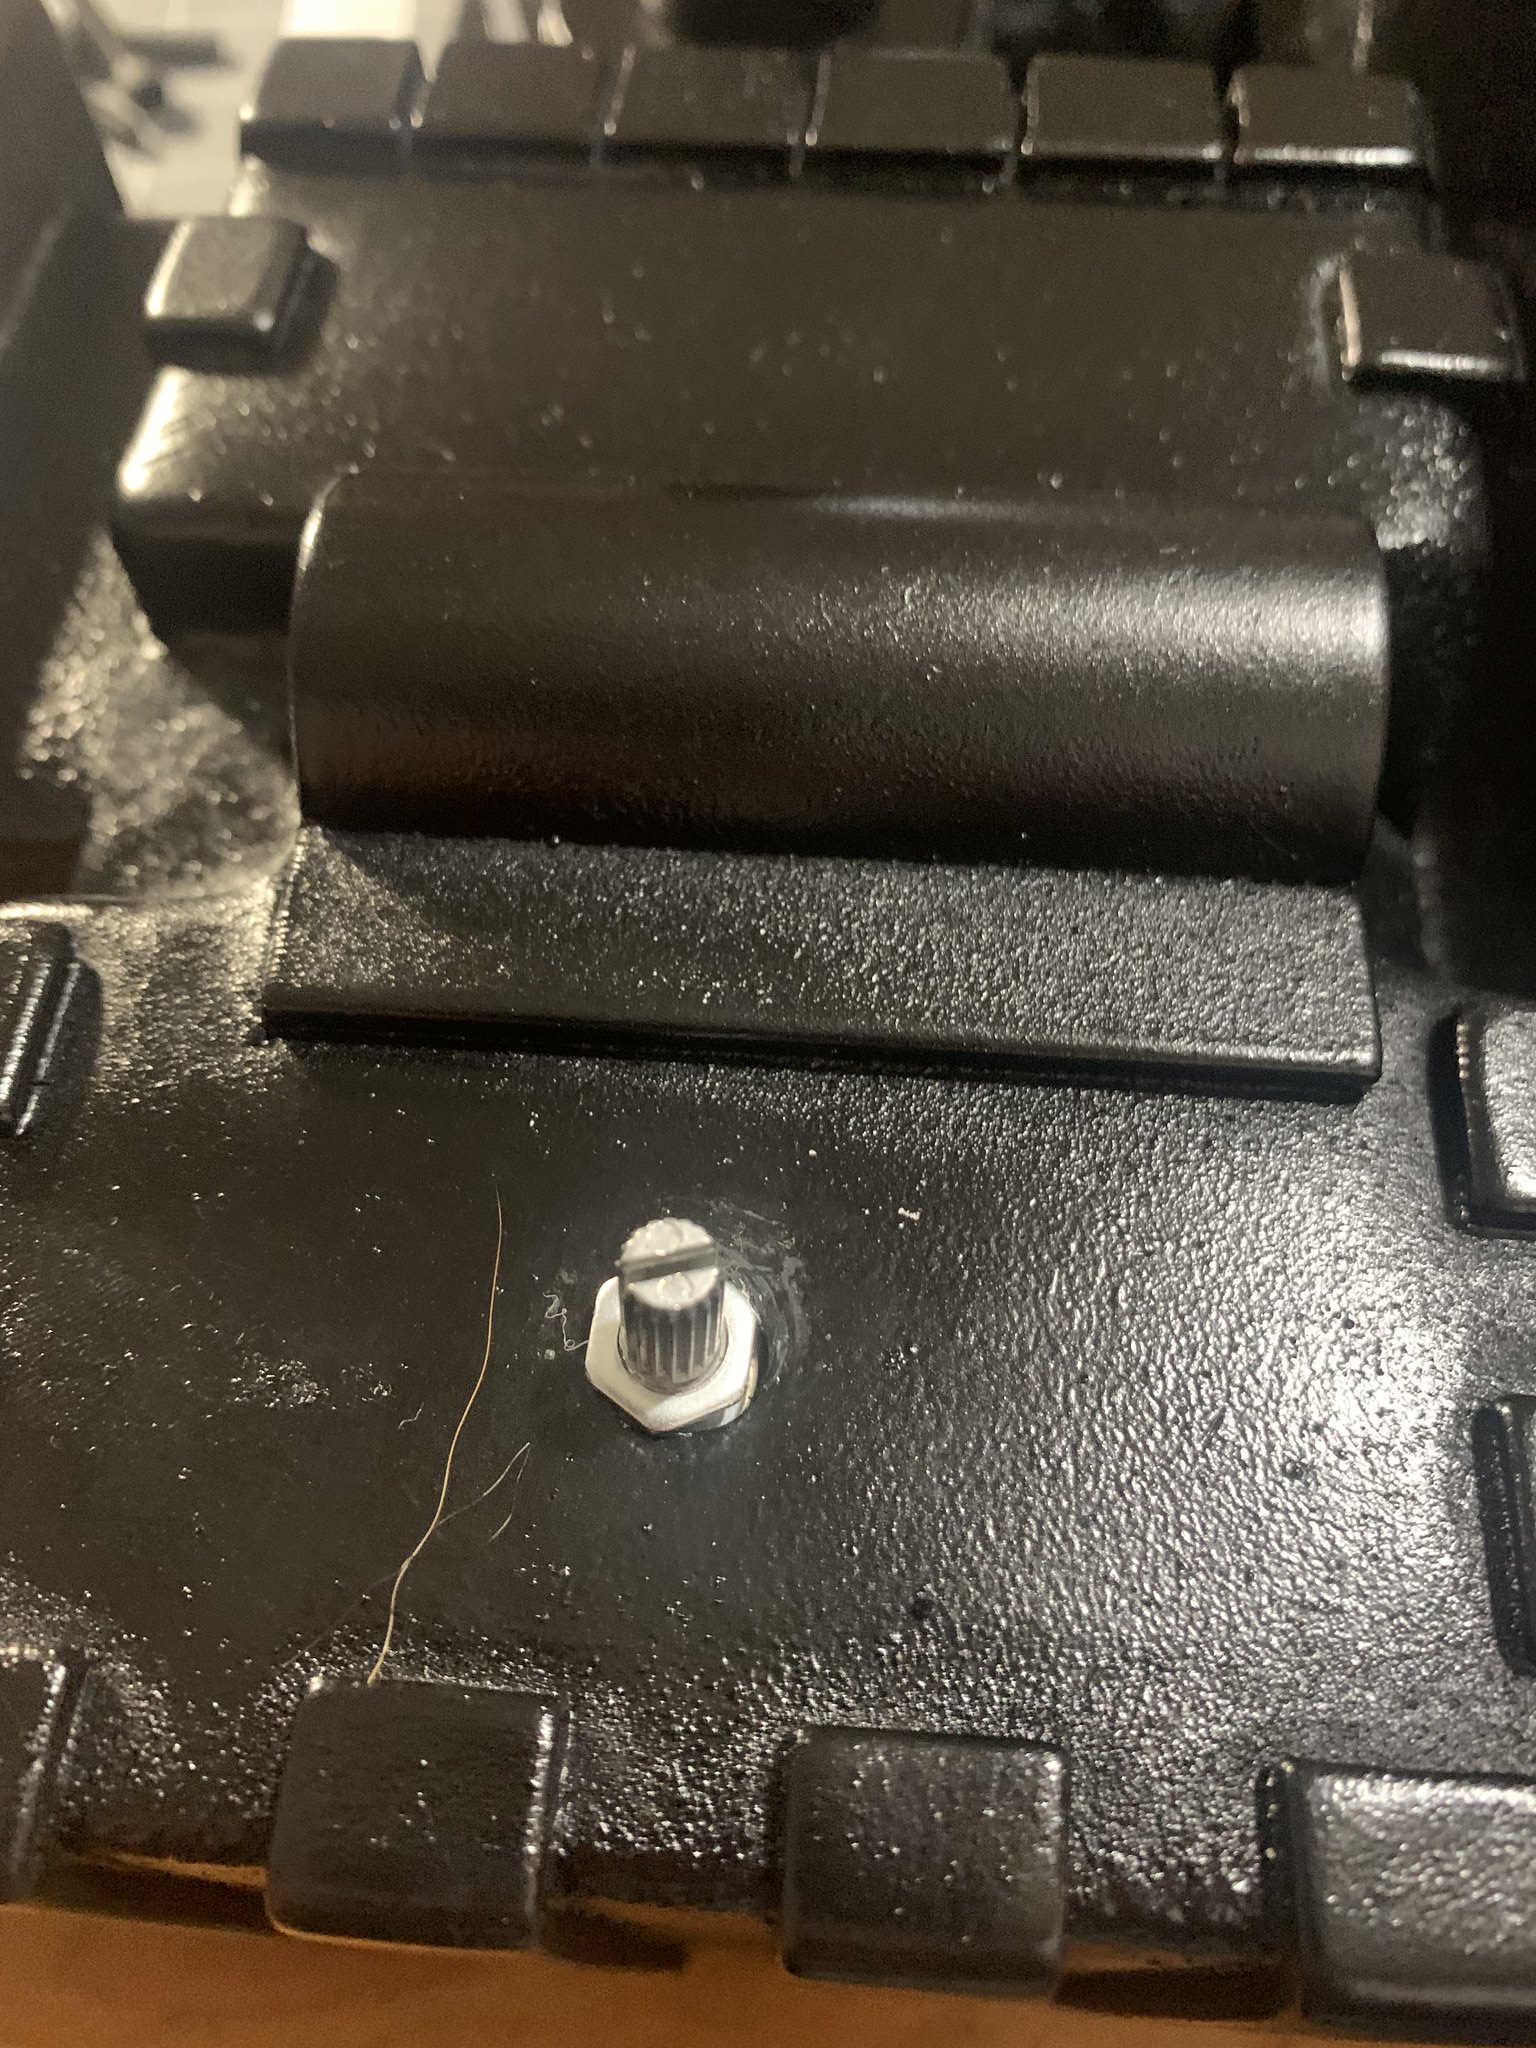
Volume control and one of my dogs hairs

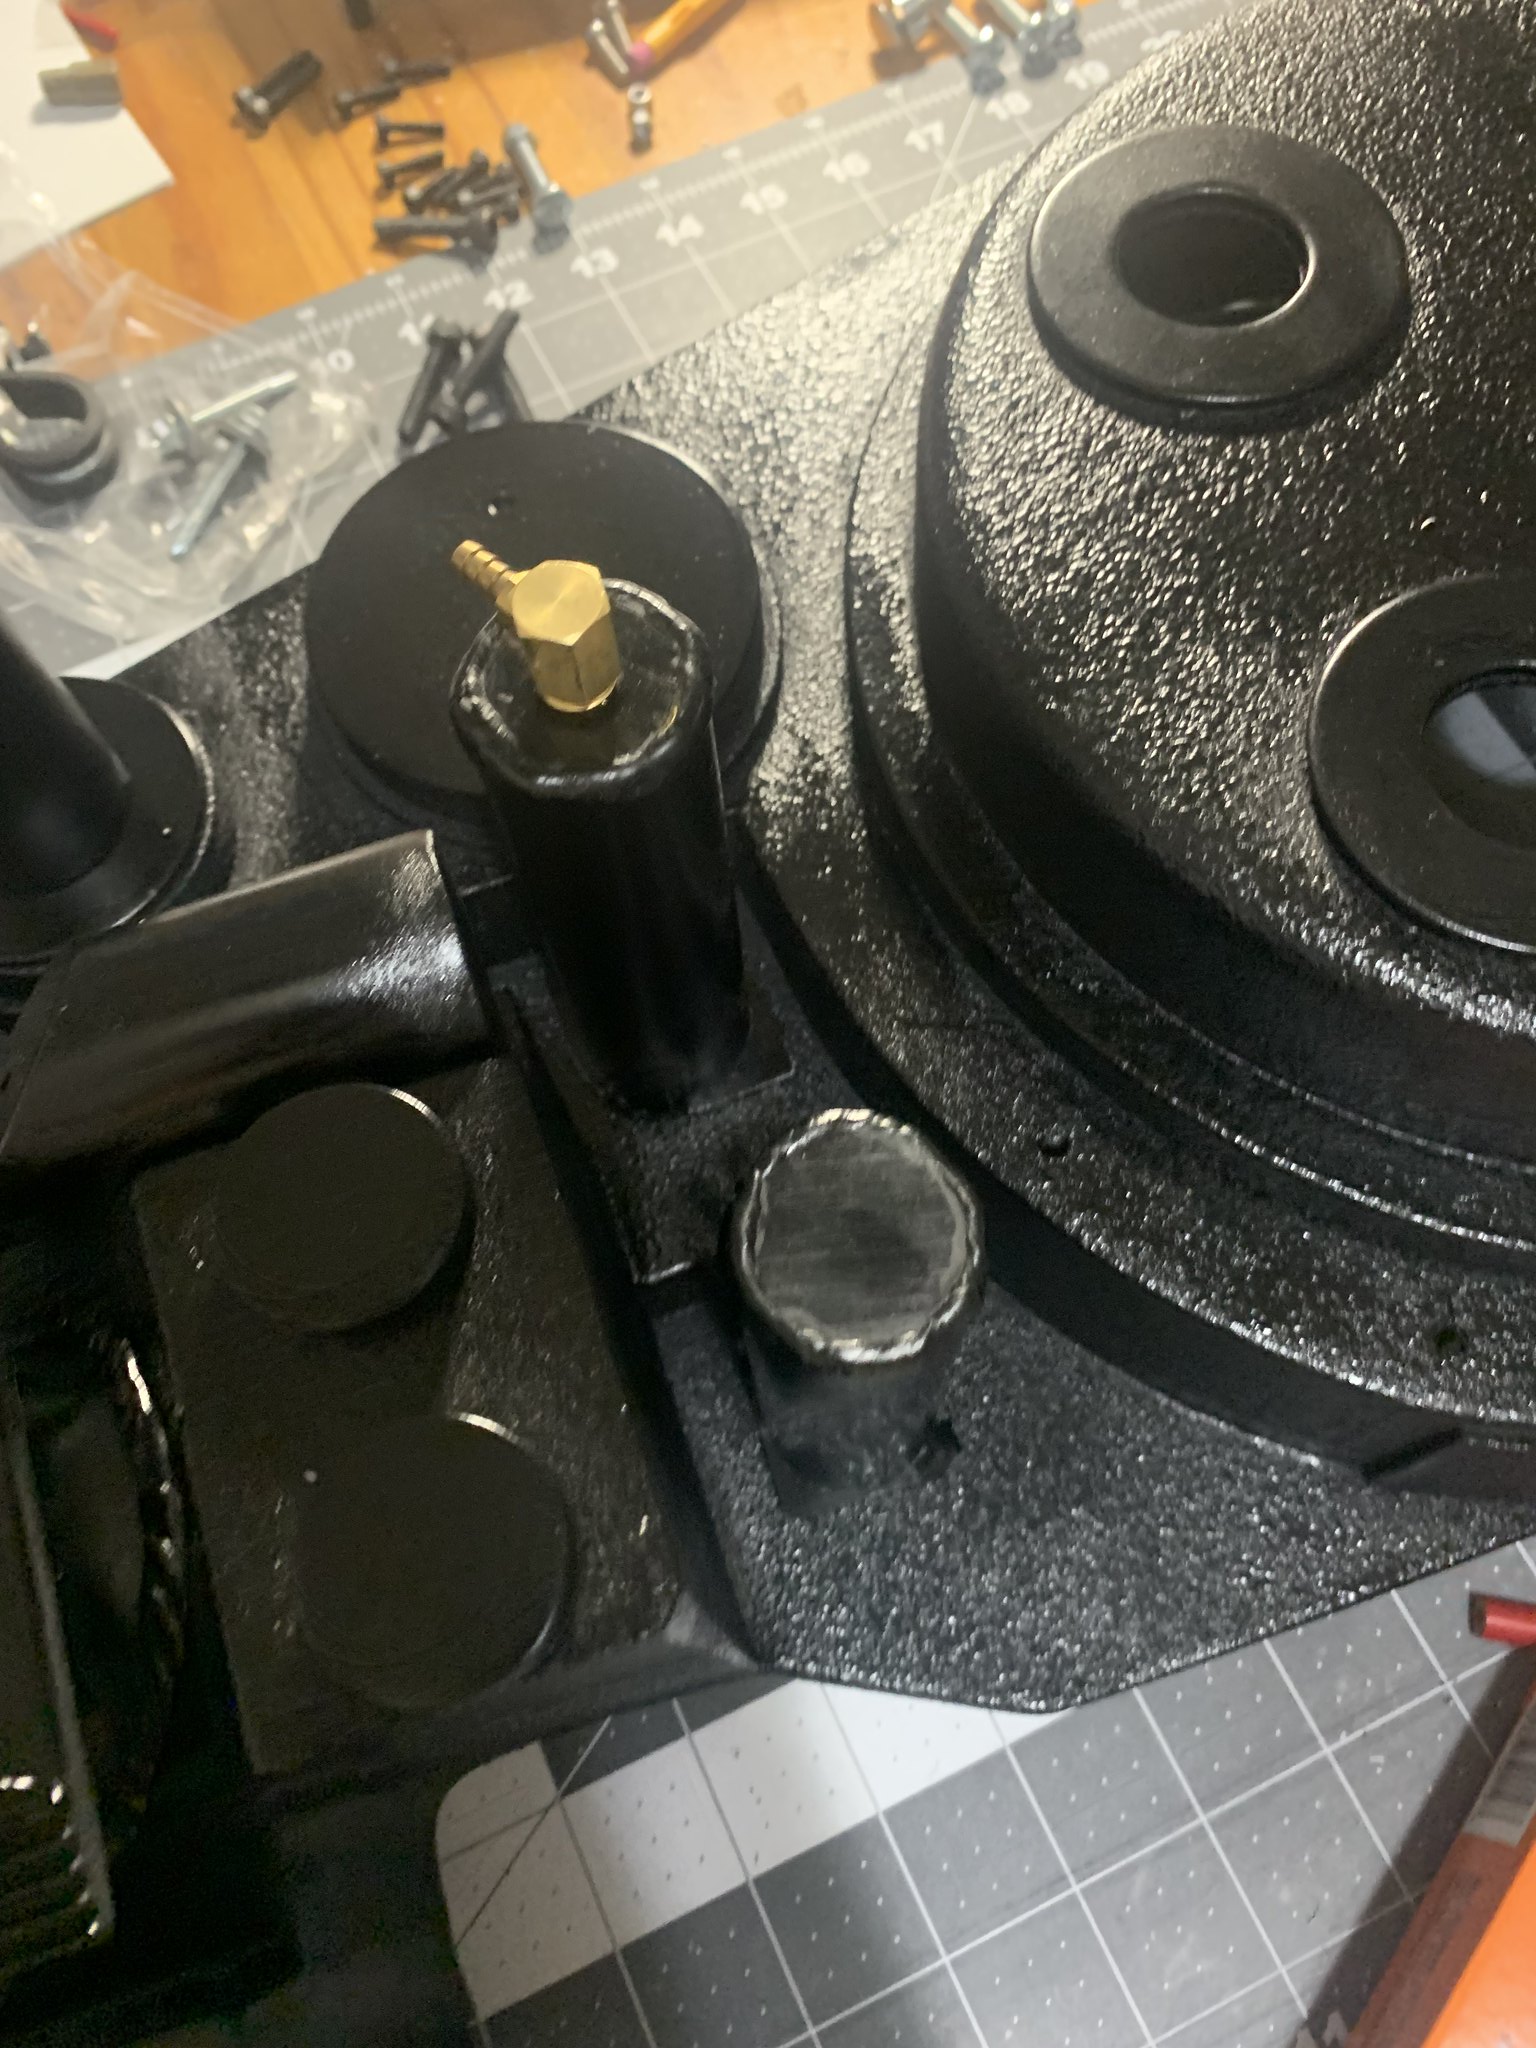
I bought replacement aluminum filler and beam line tubes and they look good

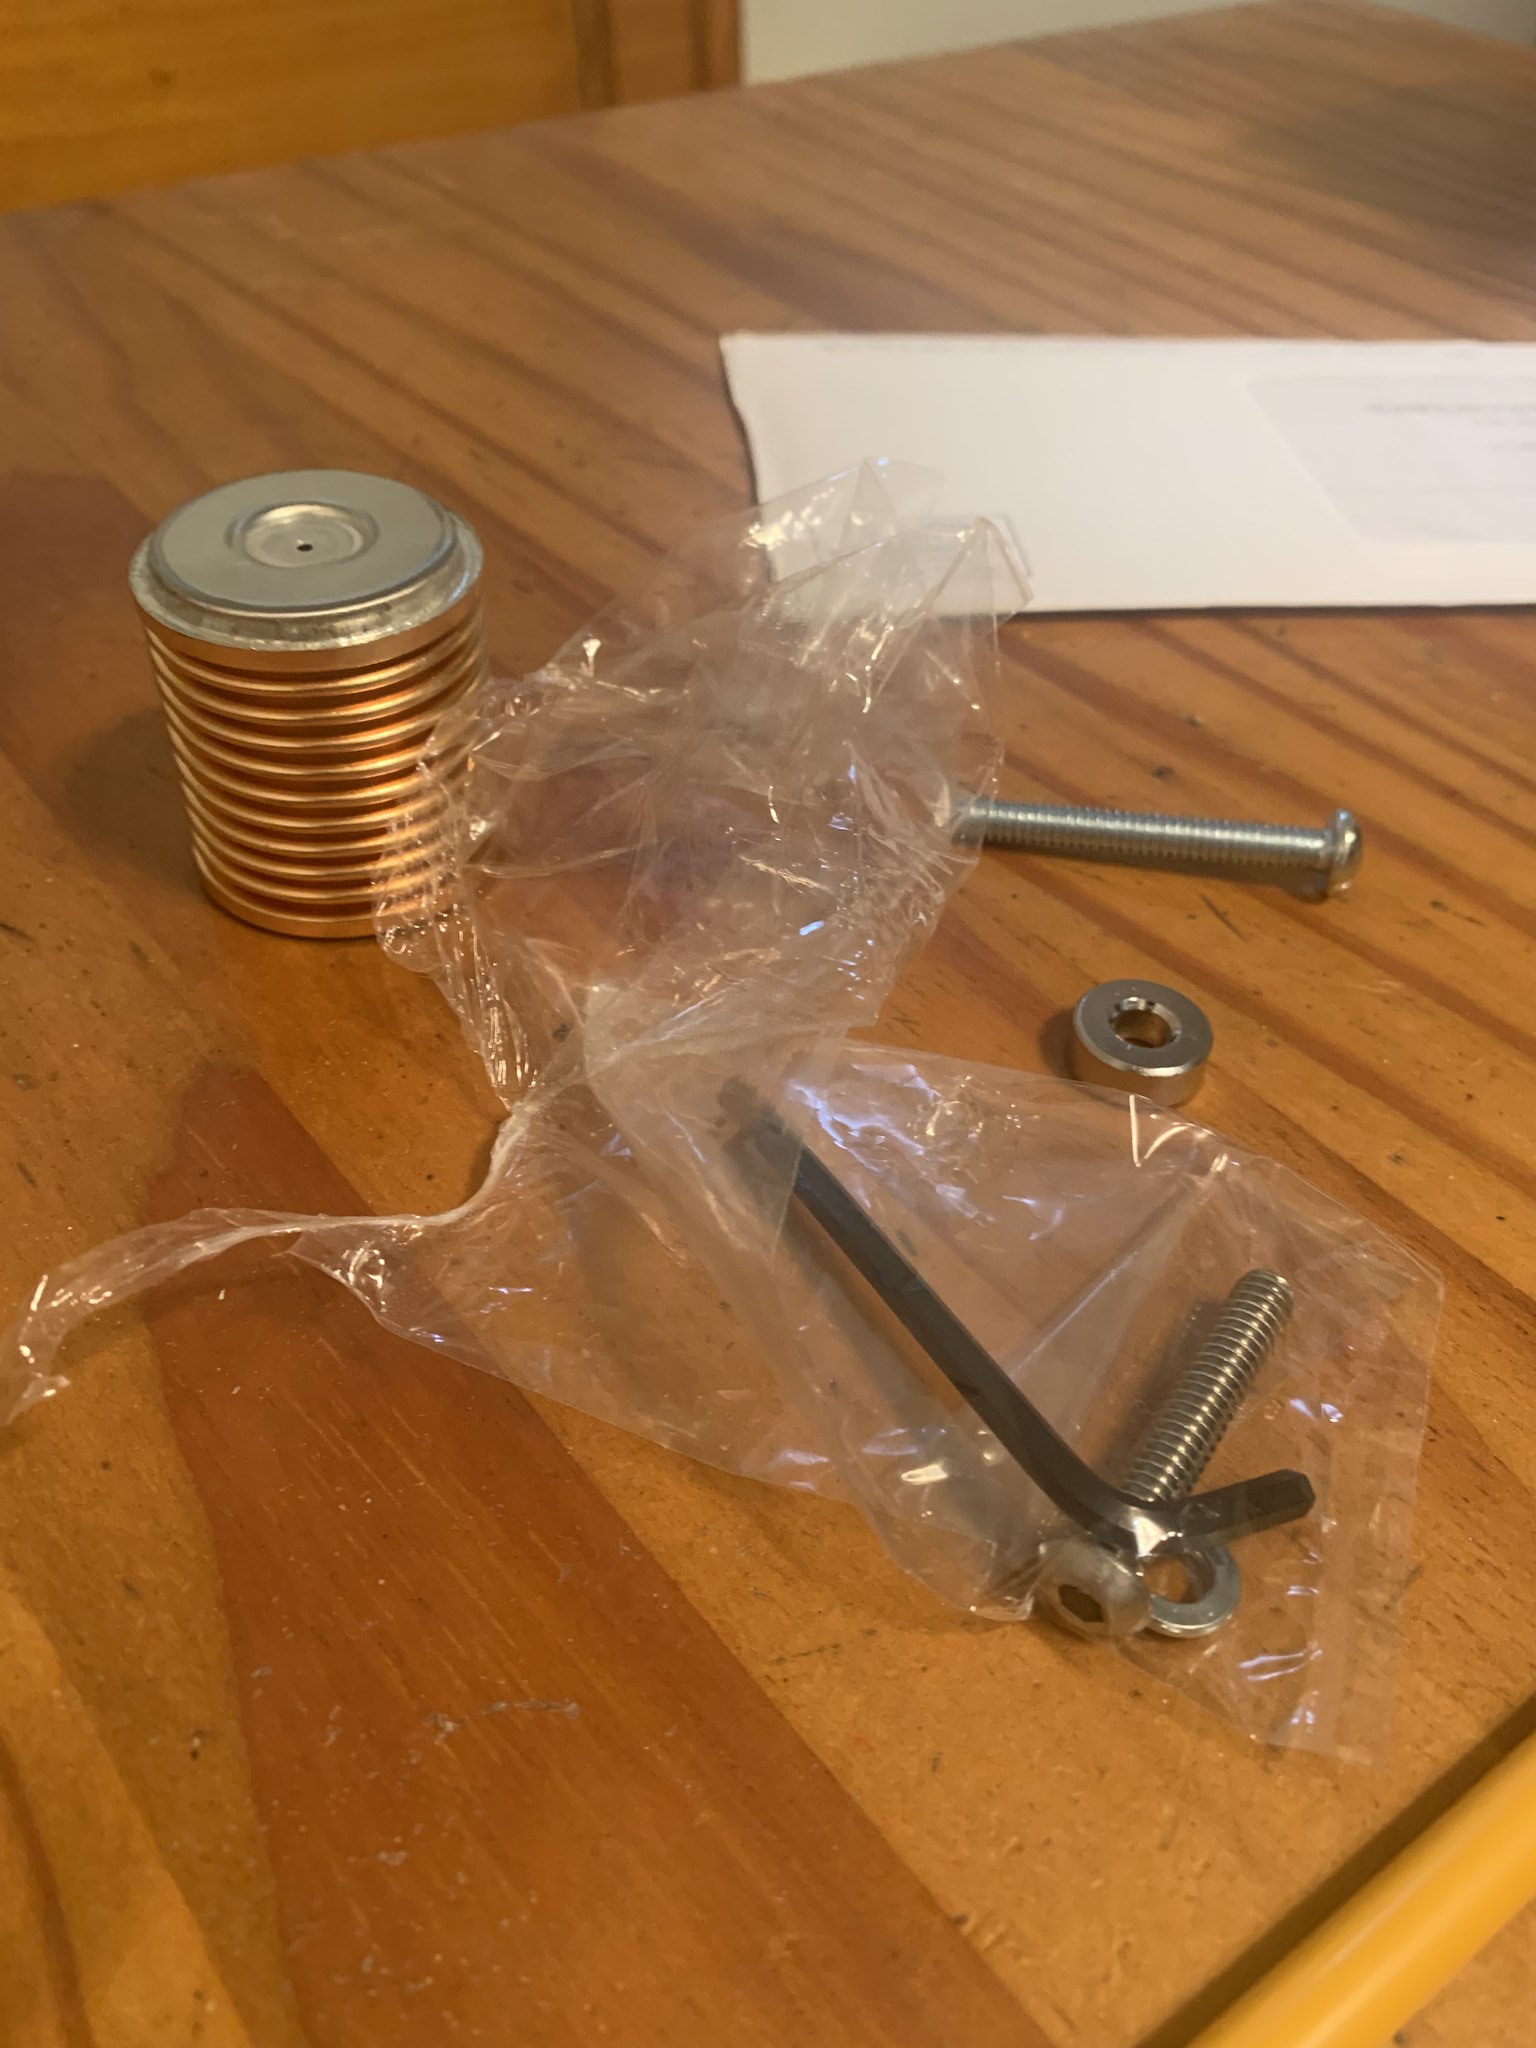
Ive seen both silver and brass washers on the booster tube and frame so I have both but but the brass on for now.

Ion arm with real resistors and converted SMC elbows

Clippard 331 and straights

HGA and v hook

Glued the smoke kit in and test fit the N-Filter to make sure they fit well together I did not push the N-Filter on as I still have to add mesh and I would like to add reflective tape.

Added the Injectors and crank knob (will control my volume)

Oh forgot have my spangler plate as well

Once the paint dries and cures on the MB will get everything added to that and keep moving forward.

I did run into one big issue that has me buggin out.

With the spacer on the bumper, the arms do not reach the bottom of the body. It seems to miss it by the width of the spacer. Do I get rid of the spacer OR look at a new Bumper? I am waiting for a replacement aluminum shock mount as I was not to sure about the resin one that came with the kit so I have time.

I had the same, the BoK bumper arms are too short. I swapped mine for a gbfans bumper and that was much better.

Cool ordered!

Of course right after I ordered I seen Mack factories…. Man they look sweet. How is Mack factory for shipping? Was looking at the bellows there as well

Sat down to start the wand build but had no “guidance” or direction for and in my search for information I came to realize many people have replaced or chose different wands when building a BOK kit it, so started to research possible other wands and ended up ordering a Throwing chicken kit.

Still plan to build my BOK one and hopefully I can document it a good bit to help future builds but going to take my time on it now as it will not be my main one.

So at this point, waiting on the new bumper from gbfans, waiting on metal bits from BOK including the new shock mount, waiting on TC kit.

This weekend I had planned on getting my MB in order as the paint should have been cured enough that is will not just rub off, but putting the grommet in the hole for my Spengler plate took paint off. Thinking I might try coating it with lacquer like I did the shell after I did the texture, that seemed to make everything super fixed but dont want to make it to difficult to “weather” it later

Mack’s is fine for shipping, prices will be comparable to gbfans I think. His bellows are great, I have them on my pack.

Does the length of the tubing matter or just until it looks correct?

Which tubing specifically?

like from the straights to the elbows or from the injectors to the bottom of the pack or from the ppd to the resistor etc…

Been a rough couple weeks… have had multible surgeries and finally getting to the point that I can work again.

So where did I leave off?

Think I was working onthe different tubing on the outside of the pack, well that still is not done, think I cut some to short so ordered some more from GBfans.

Decided to get to work on the Wiring on the inside of the pack.

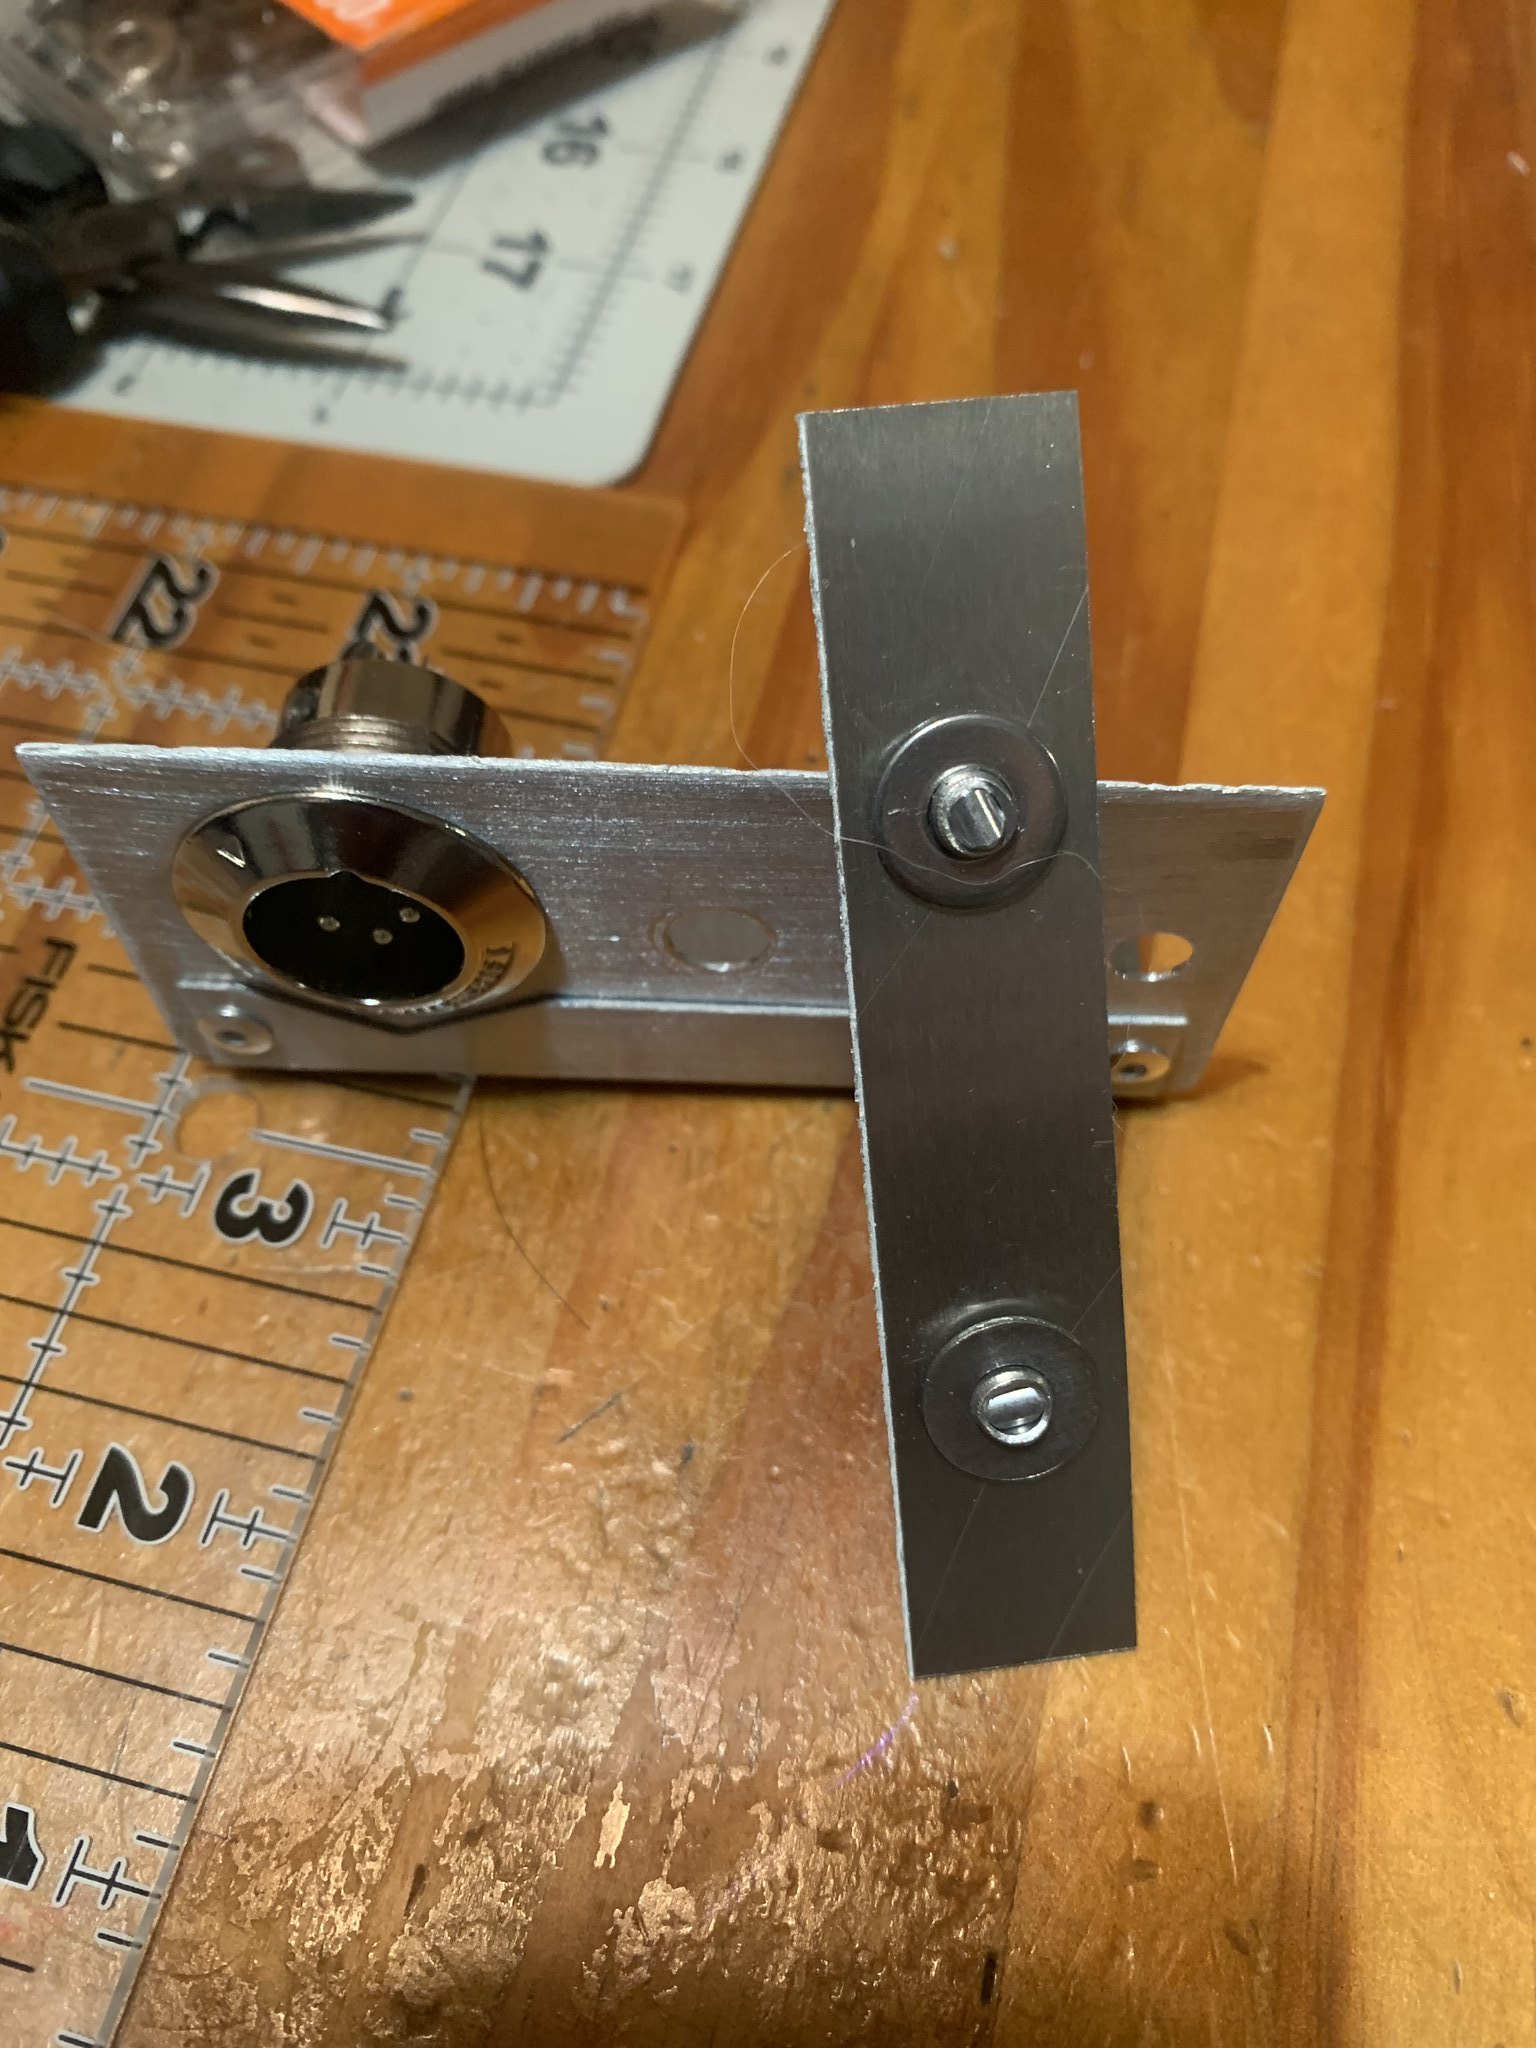
Put my Spangler plate on

and laid everything out to make sure it all fit correctly

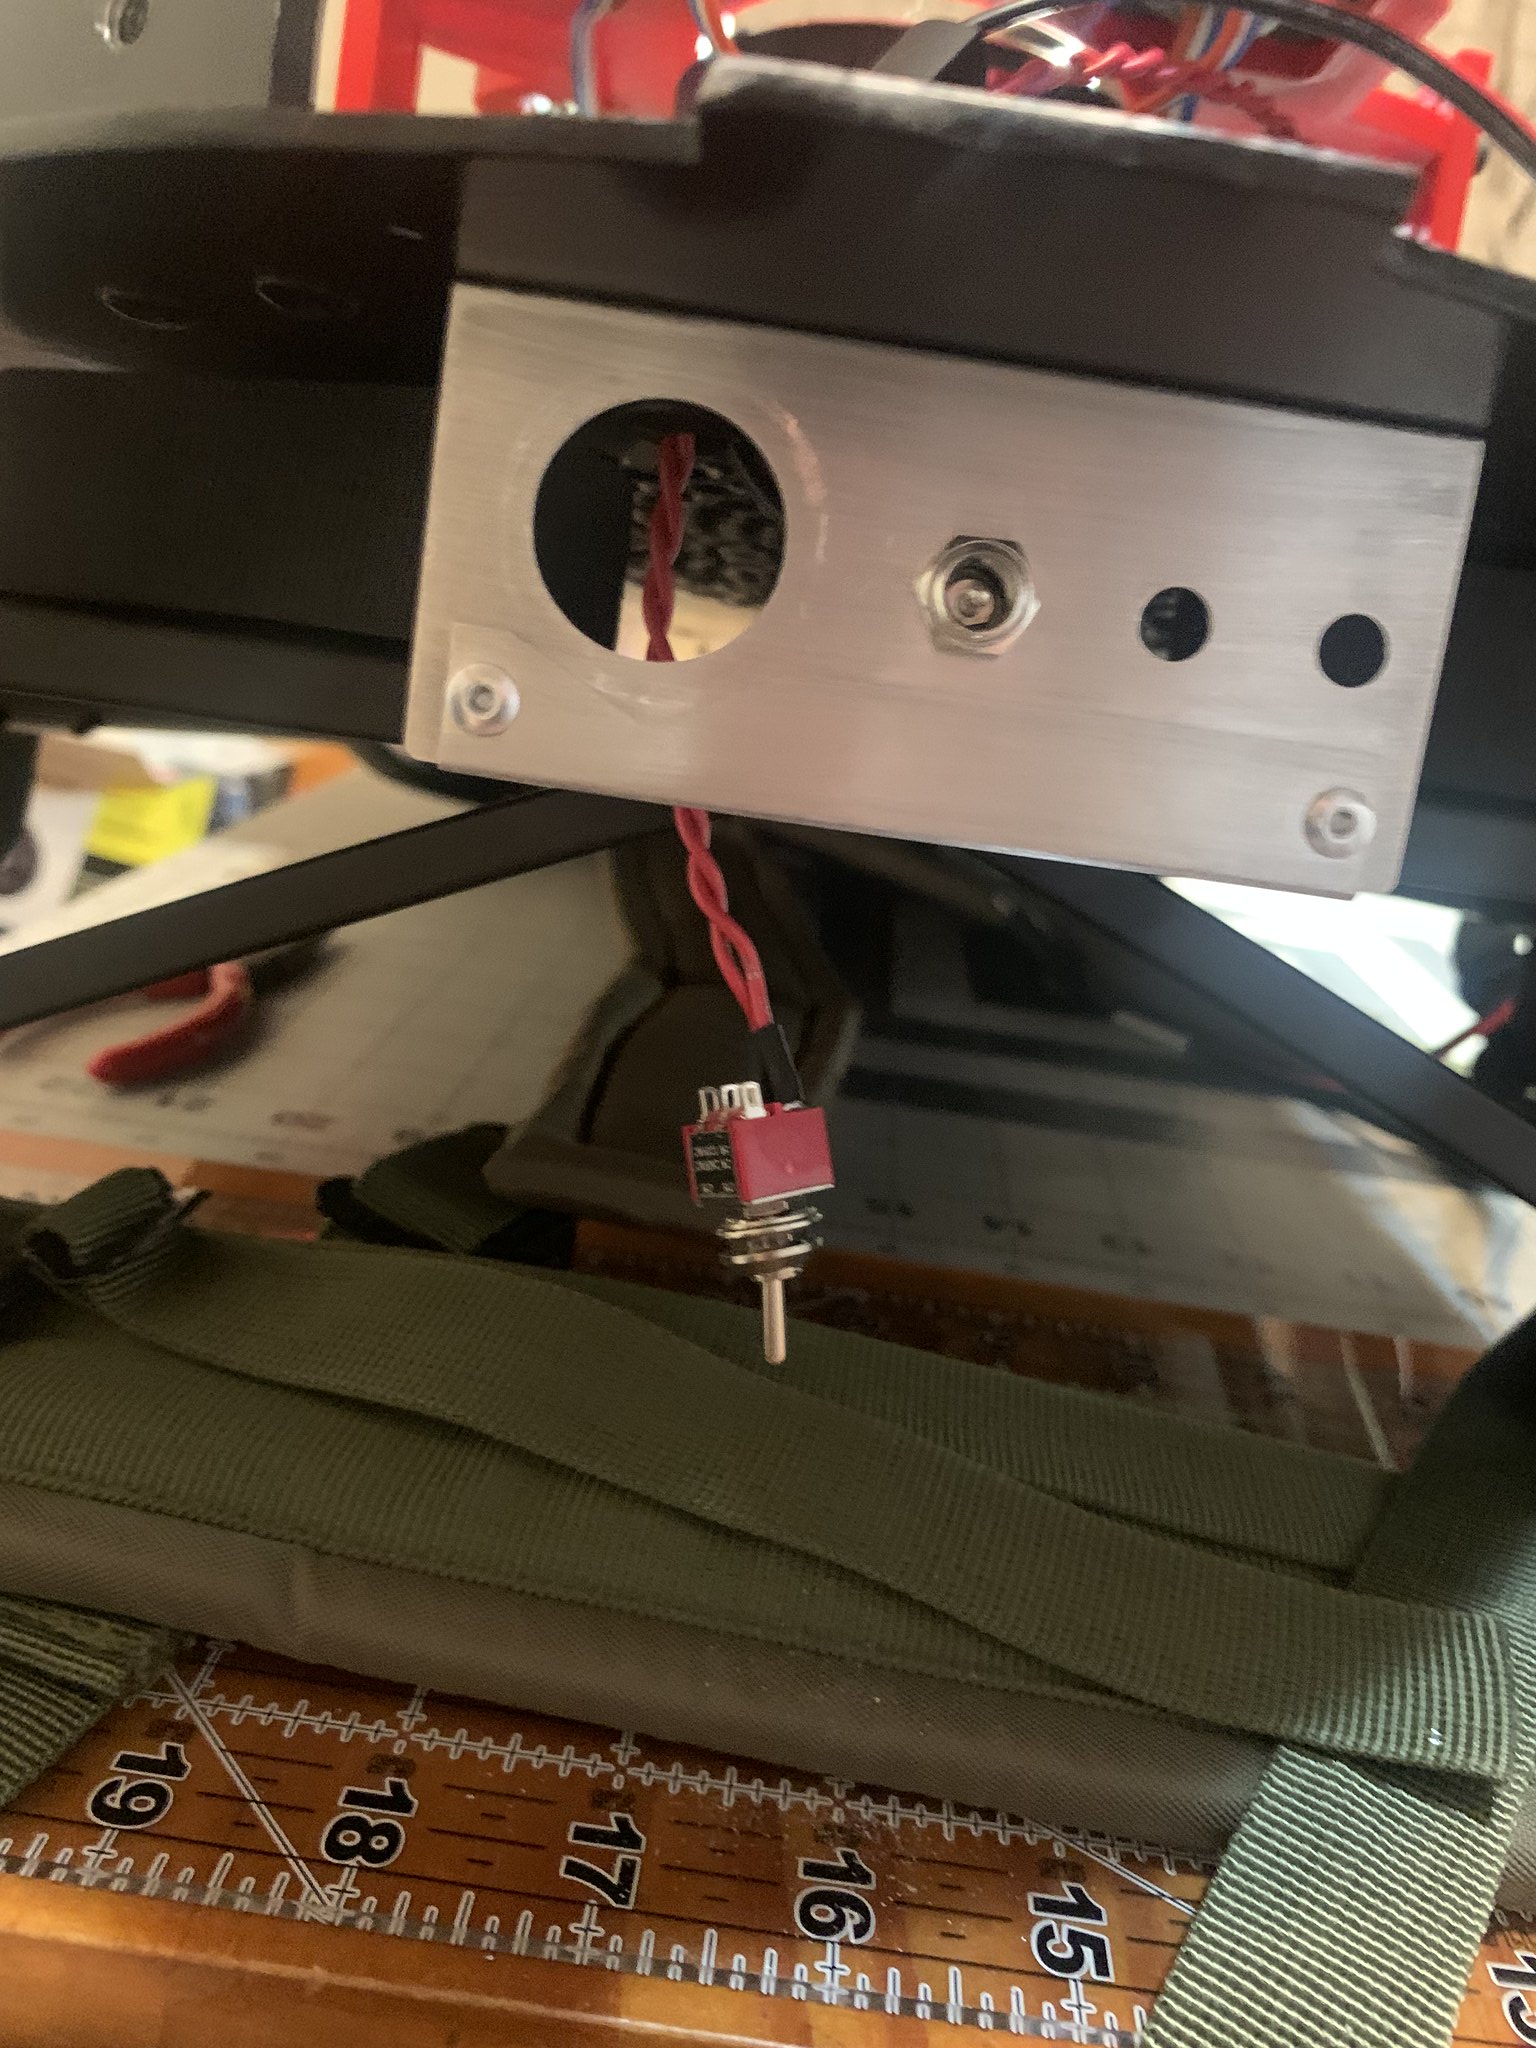
I then realized that I needed to drill out the middle hole on the spangler plate for my Ninjatunes power switch and since it was attached I needed to do it in place…

Well bad move

The plate snapped! I reached out to Nathan to see about buying another one and he asked for a picture. Less than a week later I received a replacement plate from Nathan on his dime. AWESOME CUSTOMER SERVICE!!!

So with new plate in hand I continued with my electronics installation

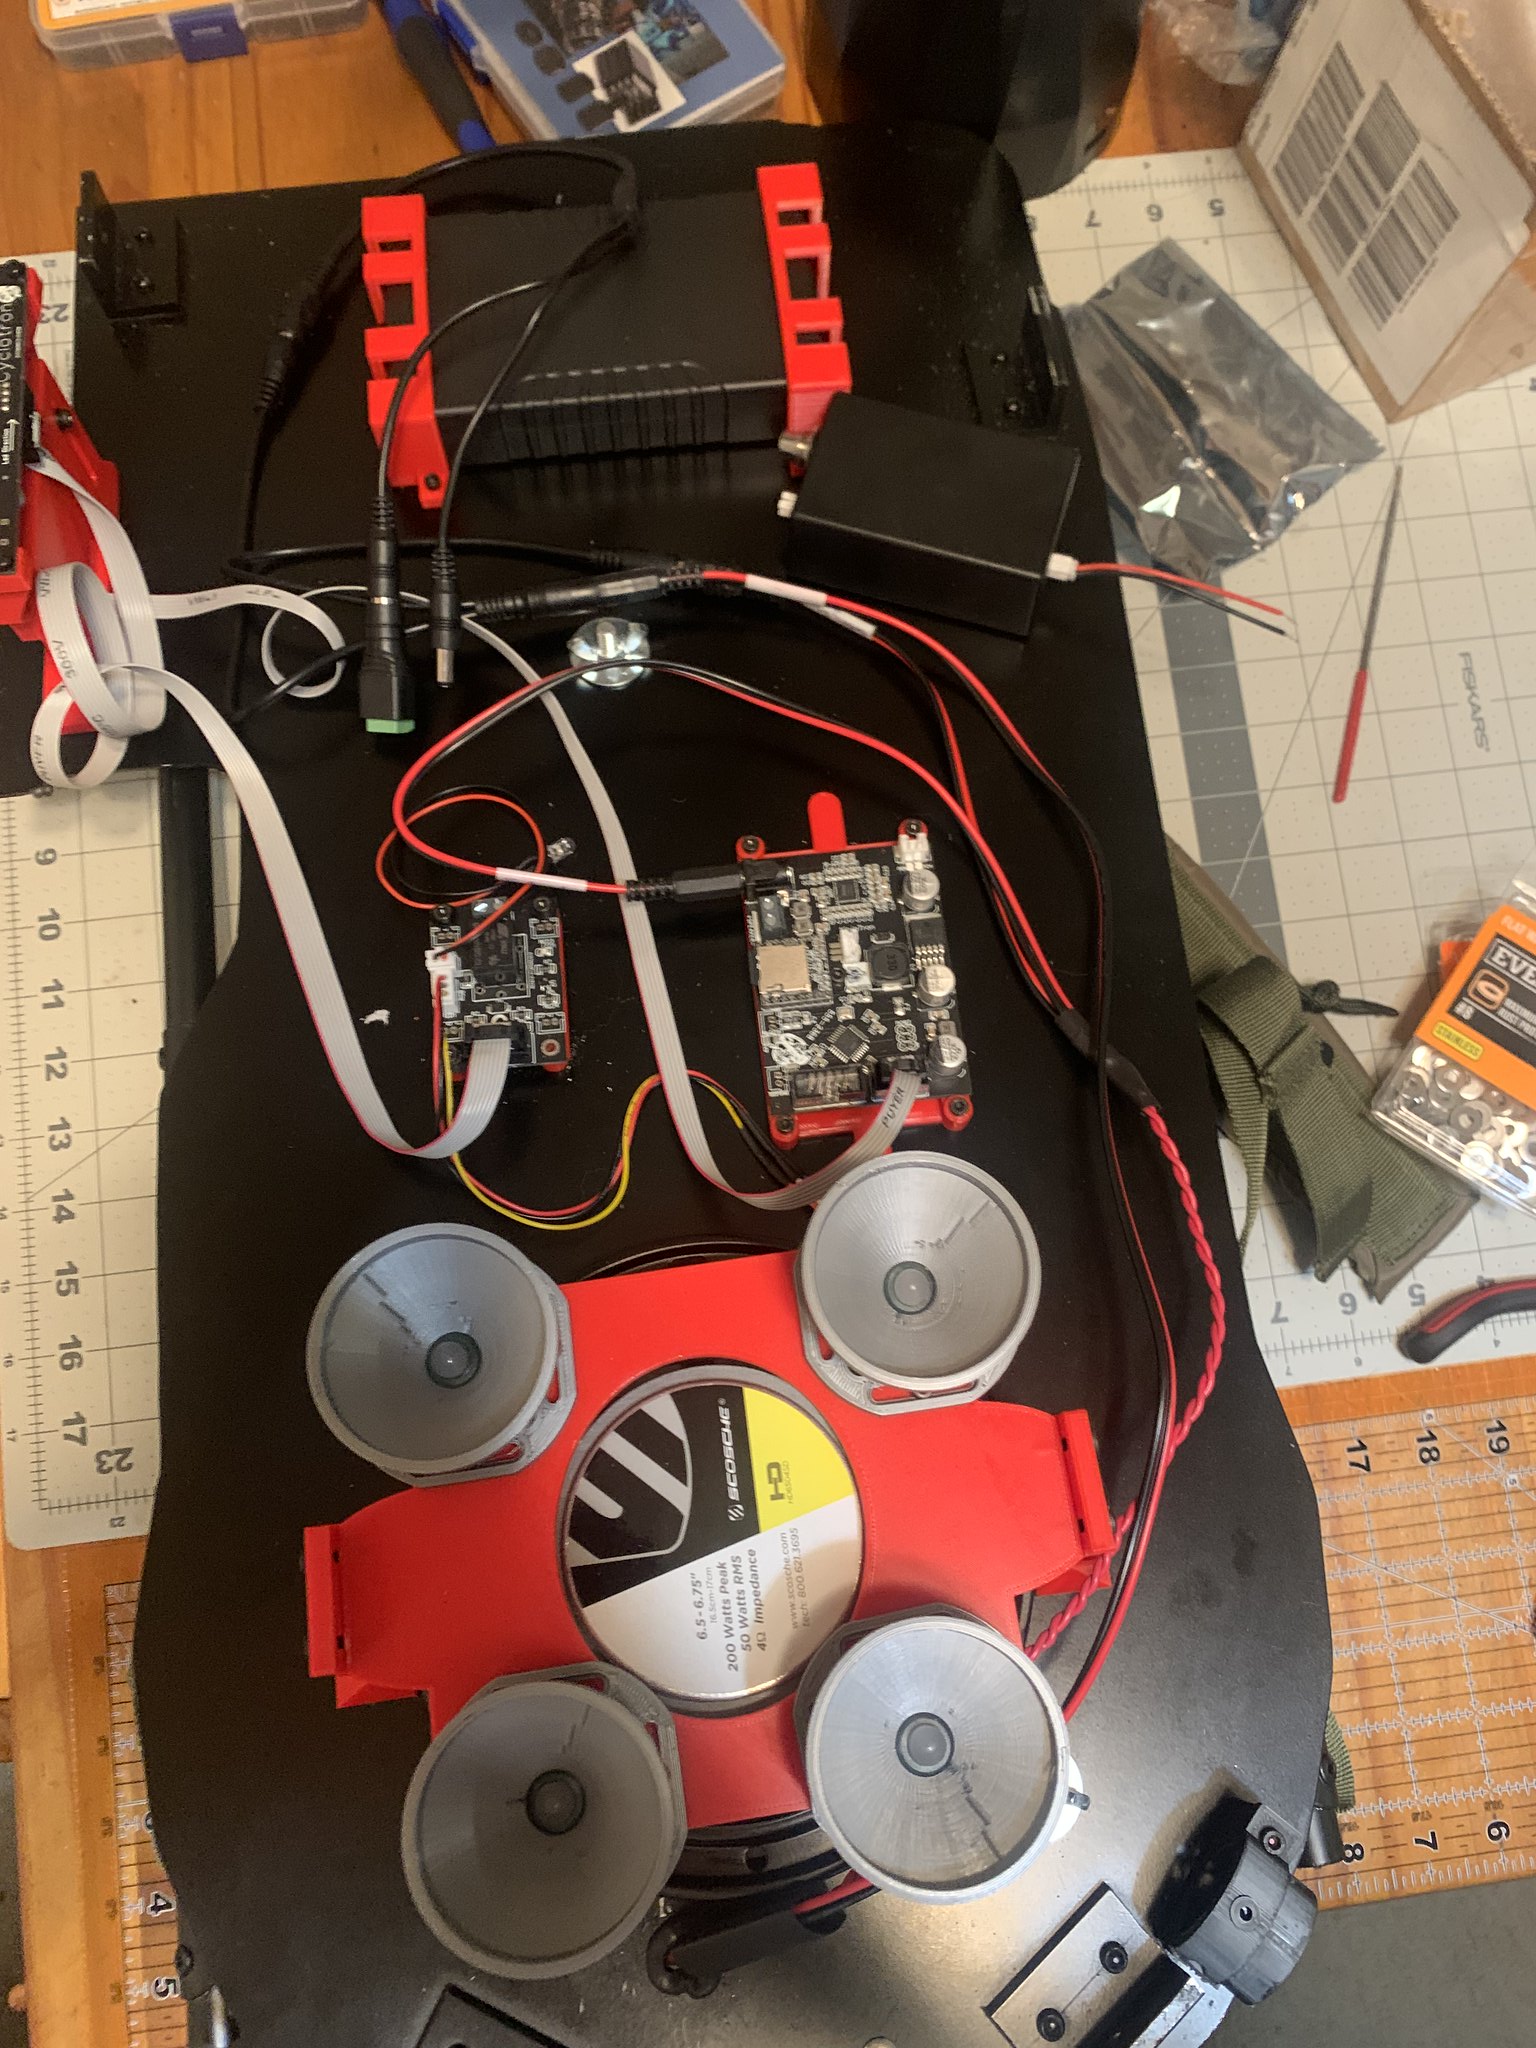
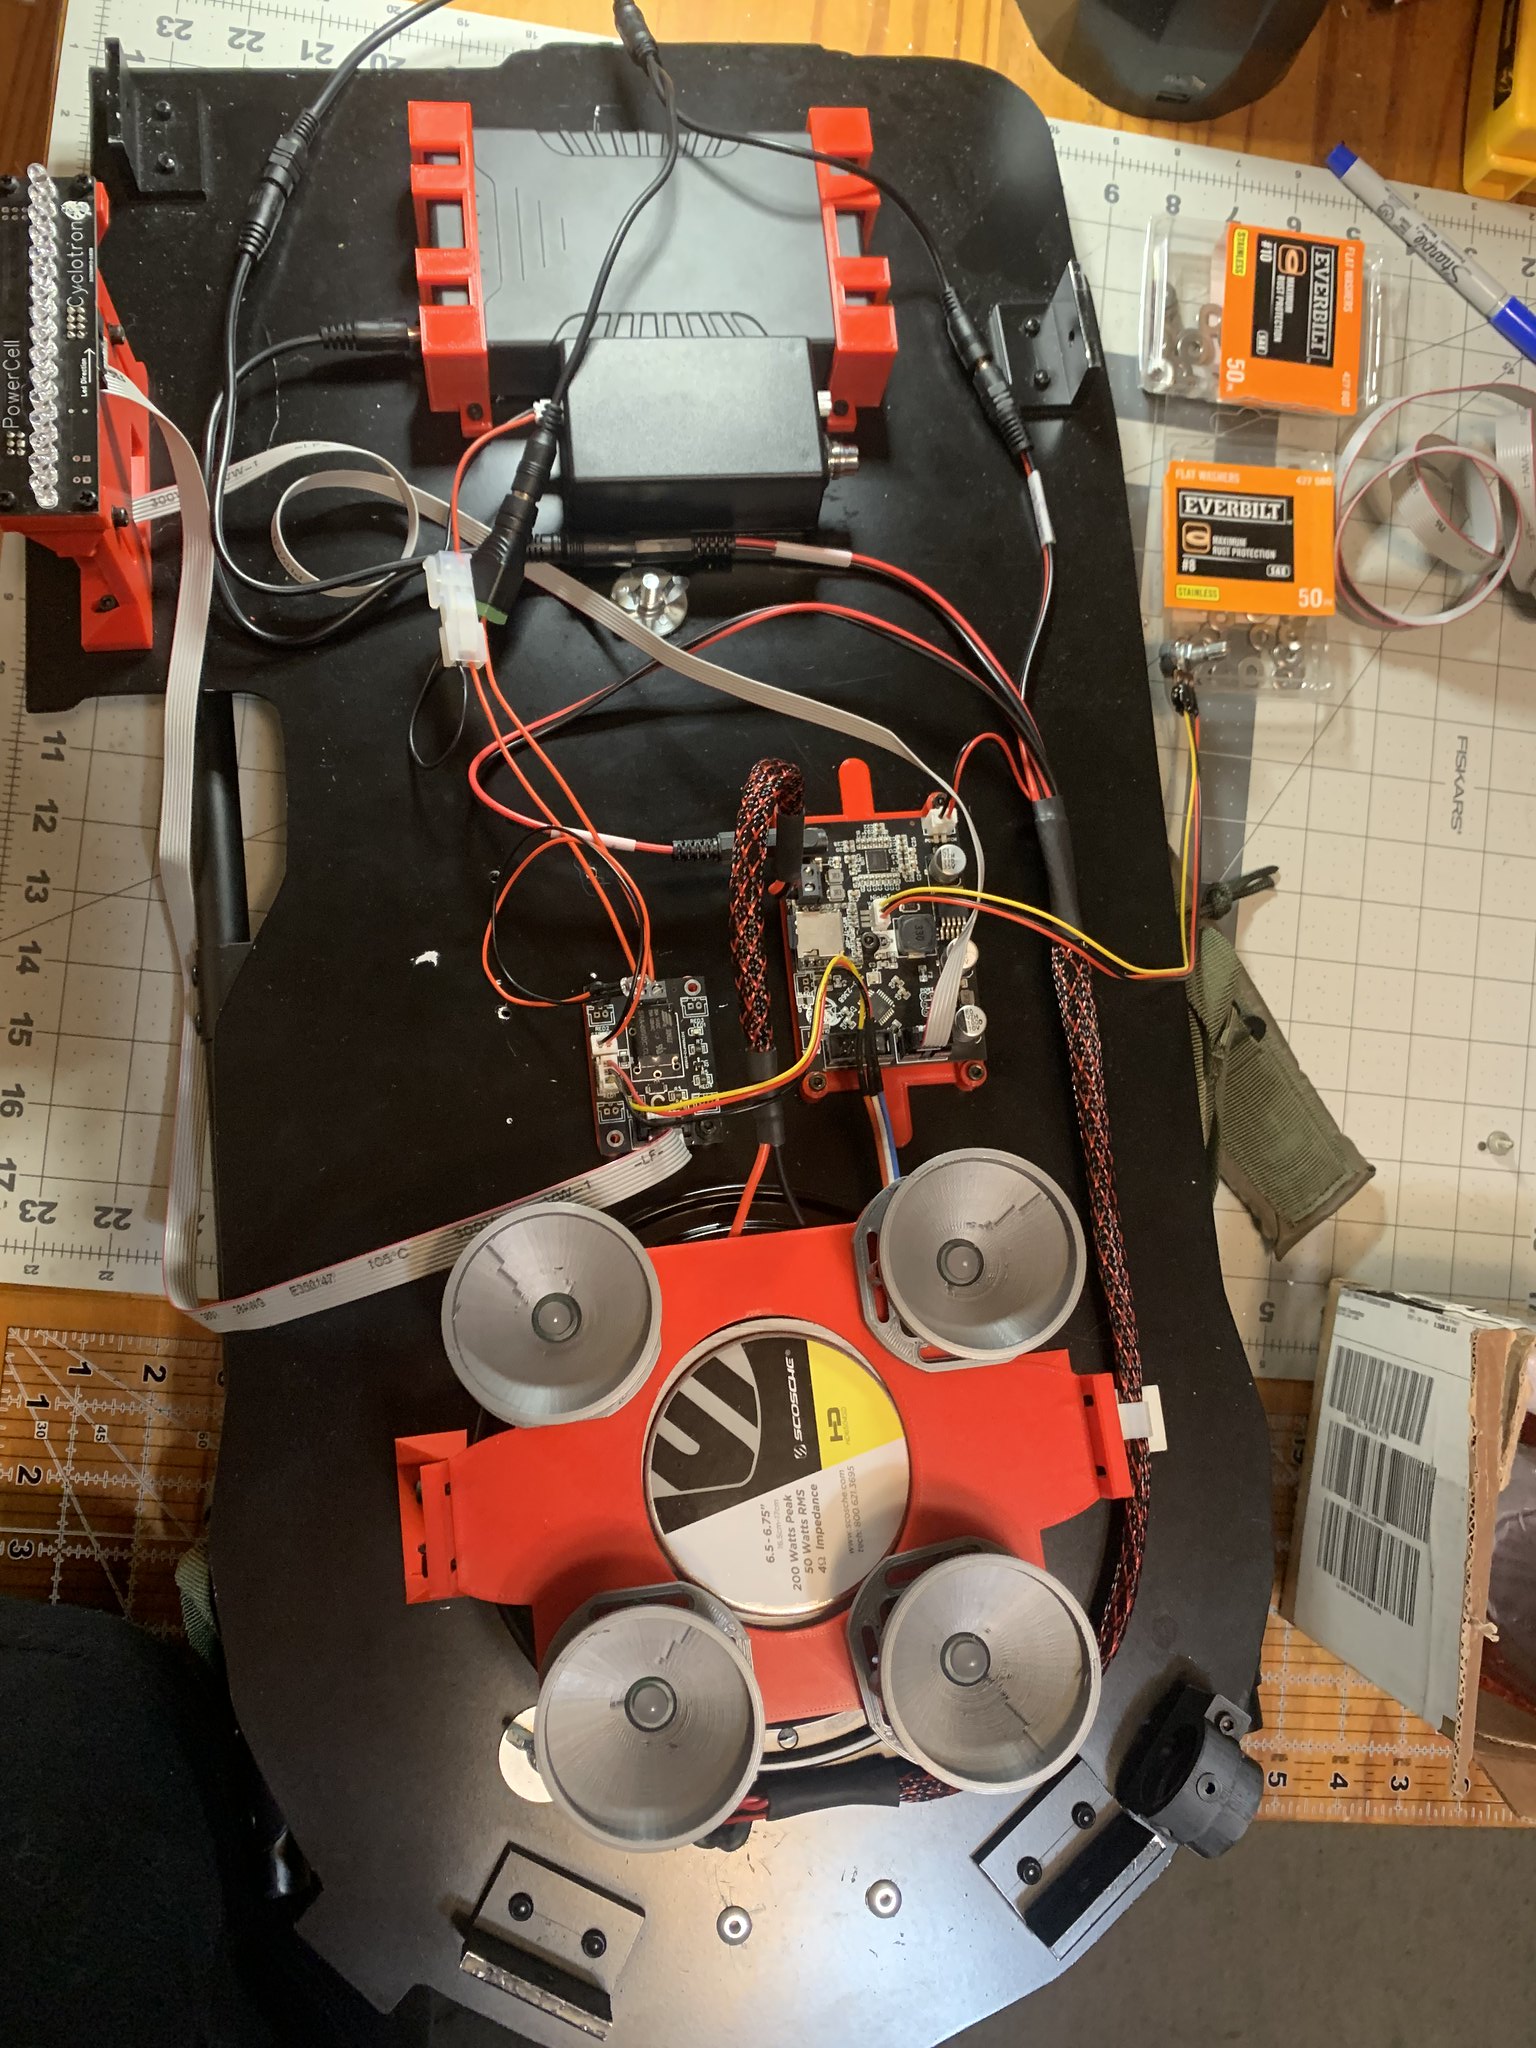
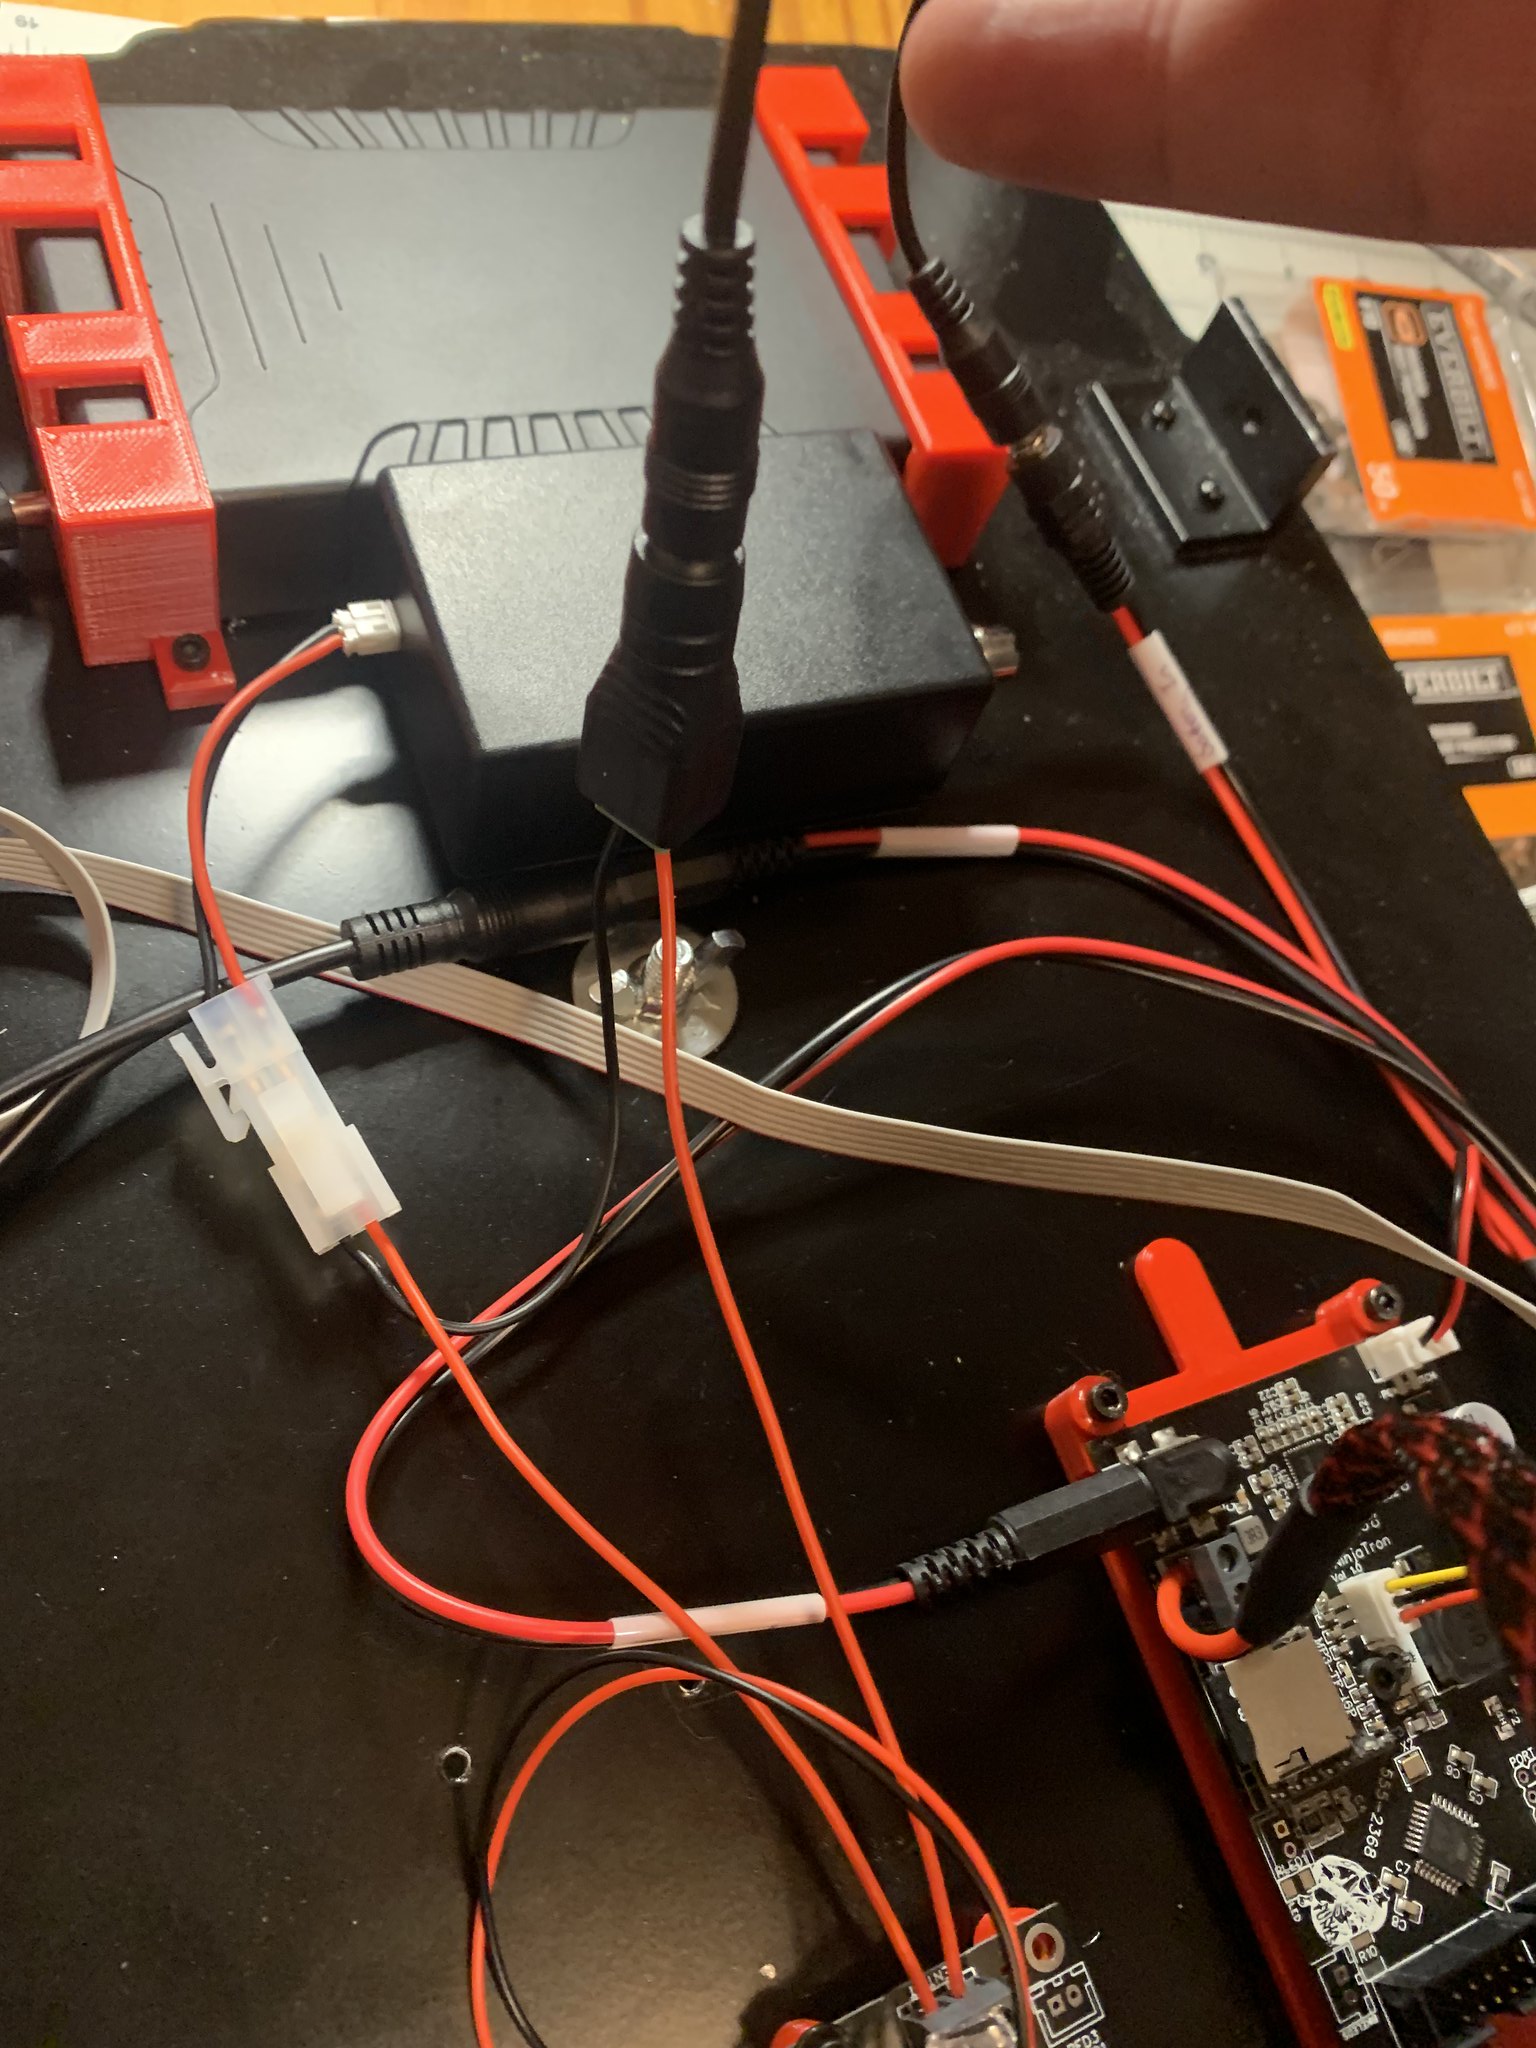
I ended up having to move the small board as it was hitting the pack when it was on. but got everything wired. Now working on cleaning it all up and making it look pretty.

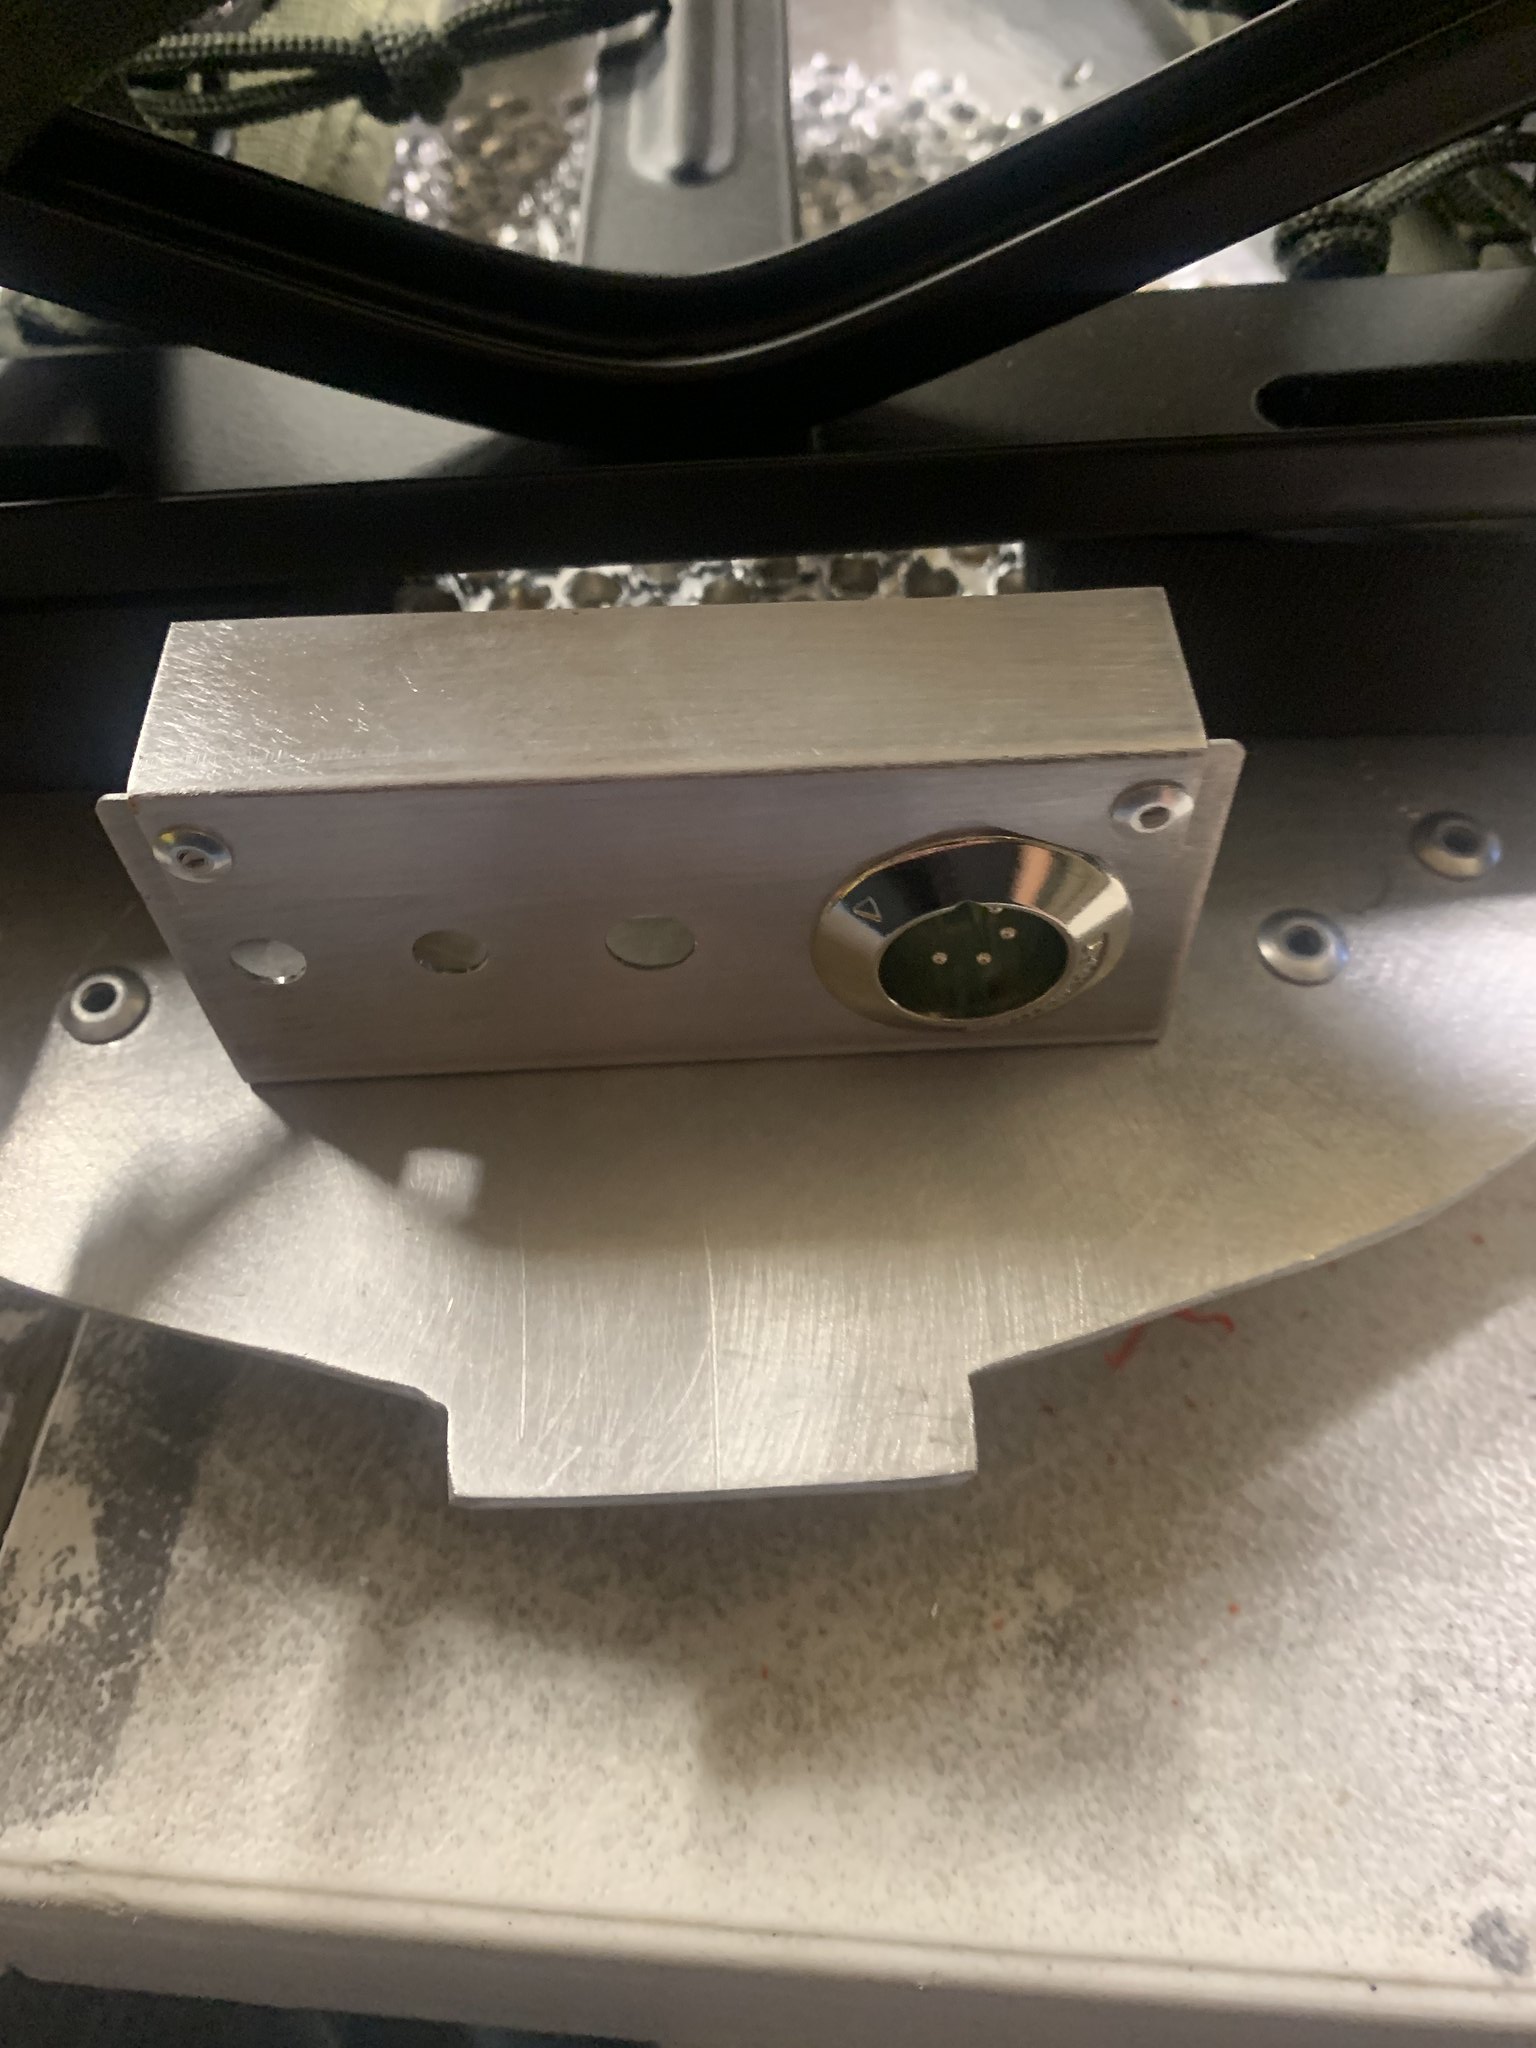
Those that have a CSProp shop Nfilter smoke kit and Ninjatunes kit this is what I needed to do, to make it all work together.

I put a splitter on the battery lead with a power jack socket. Had the positive from the smoke kit go into the ninjatunes board vent port and added a wire from the ninjatunes board to the sockets positive terminal. I took the negative directly from the smoke kit na dput it into the negative terminal on the socket. I have not tested it yet as I have not put the shell on the MB completely yet so hope it all works. I did test the charging of the talentcell and the lights and sounds of the ninja tunes kit, WOOHOOOO I am geting more and more excited.

SO I also got my new bumper and shock mount and and got them put on

shock mount is mack factory, bumper is GBfans

I do like the GBfans bumper more than the BOK one, it just fit better and the size looks better.

I also received my TC thrower kit and laid it out next to my BOK kit

It looks so much cleaner and “simpler” to put together.

I still plan on building the BOK wand as well but just putting hte handle in the TC kit was so much easier than the BOK one.

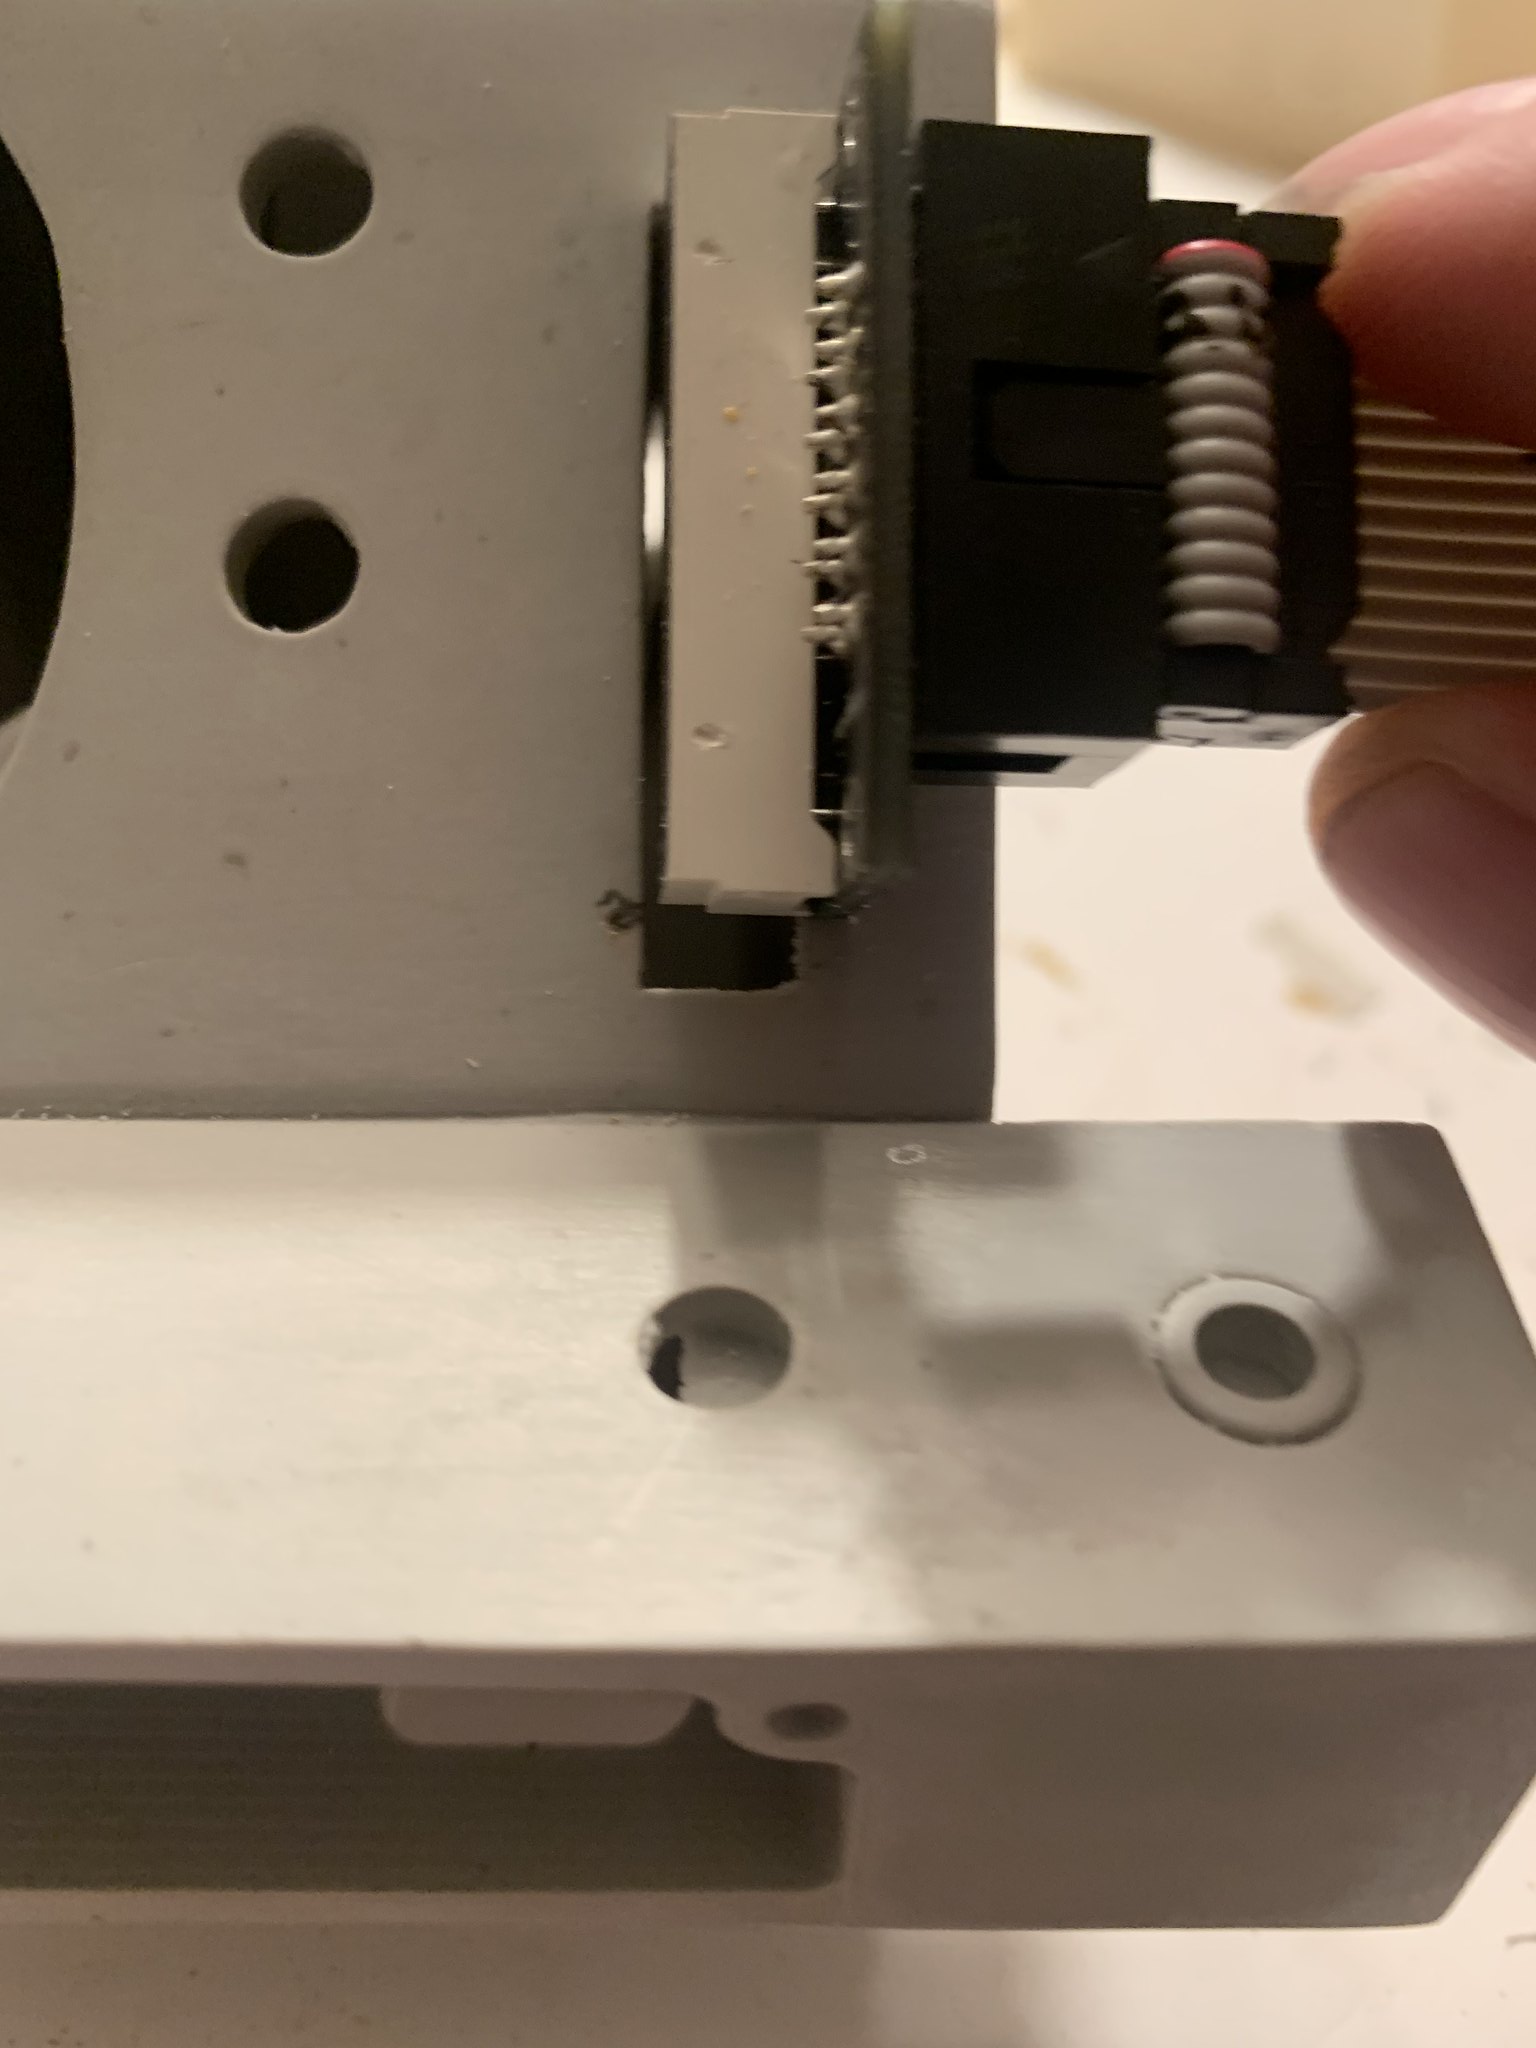
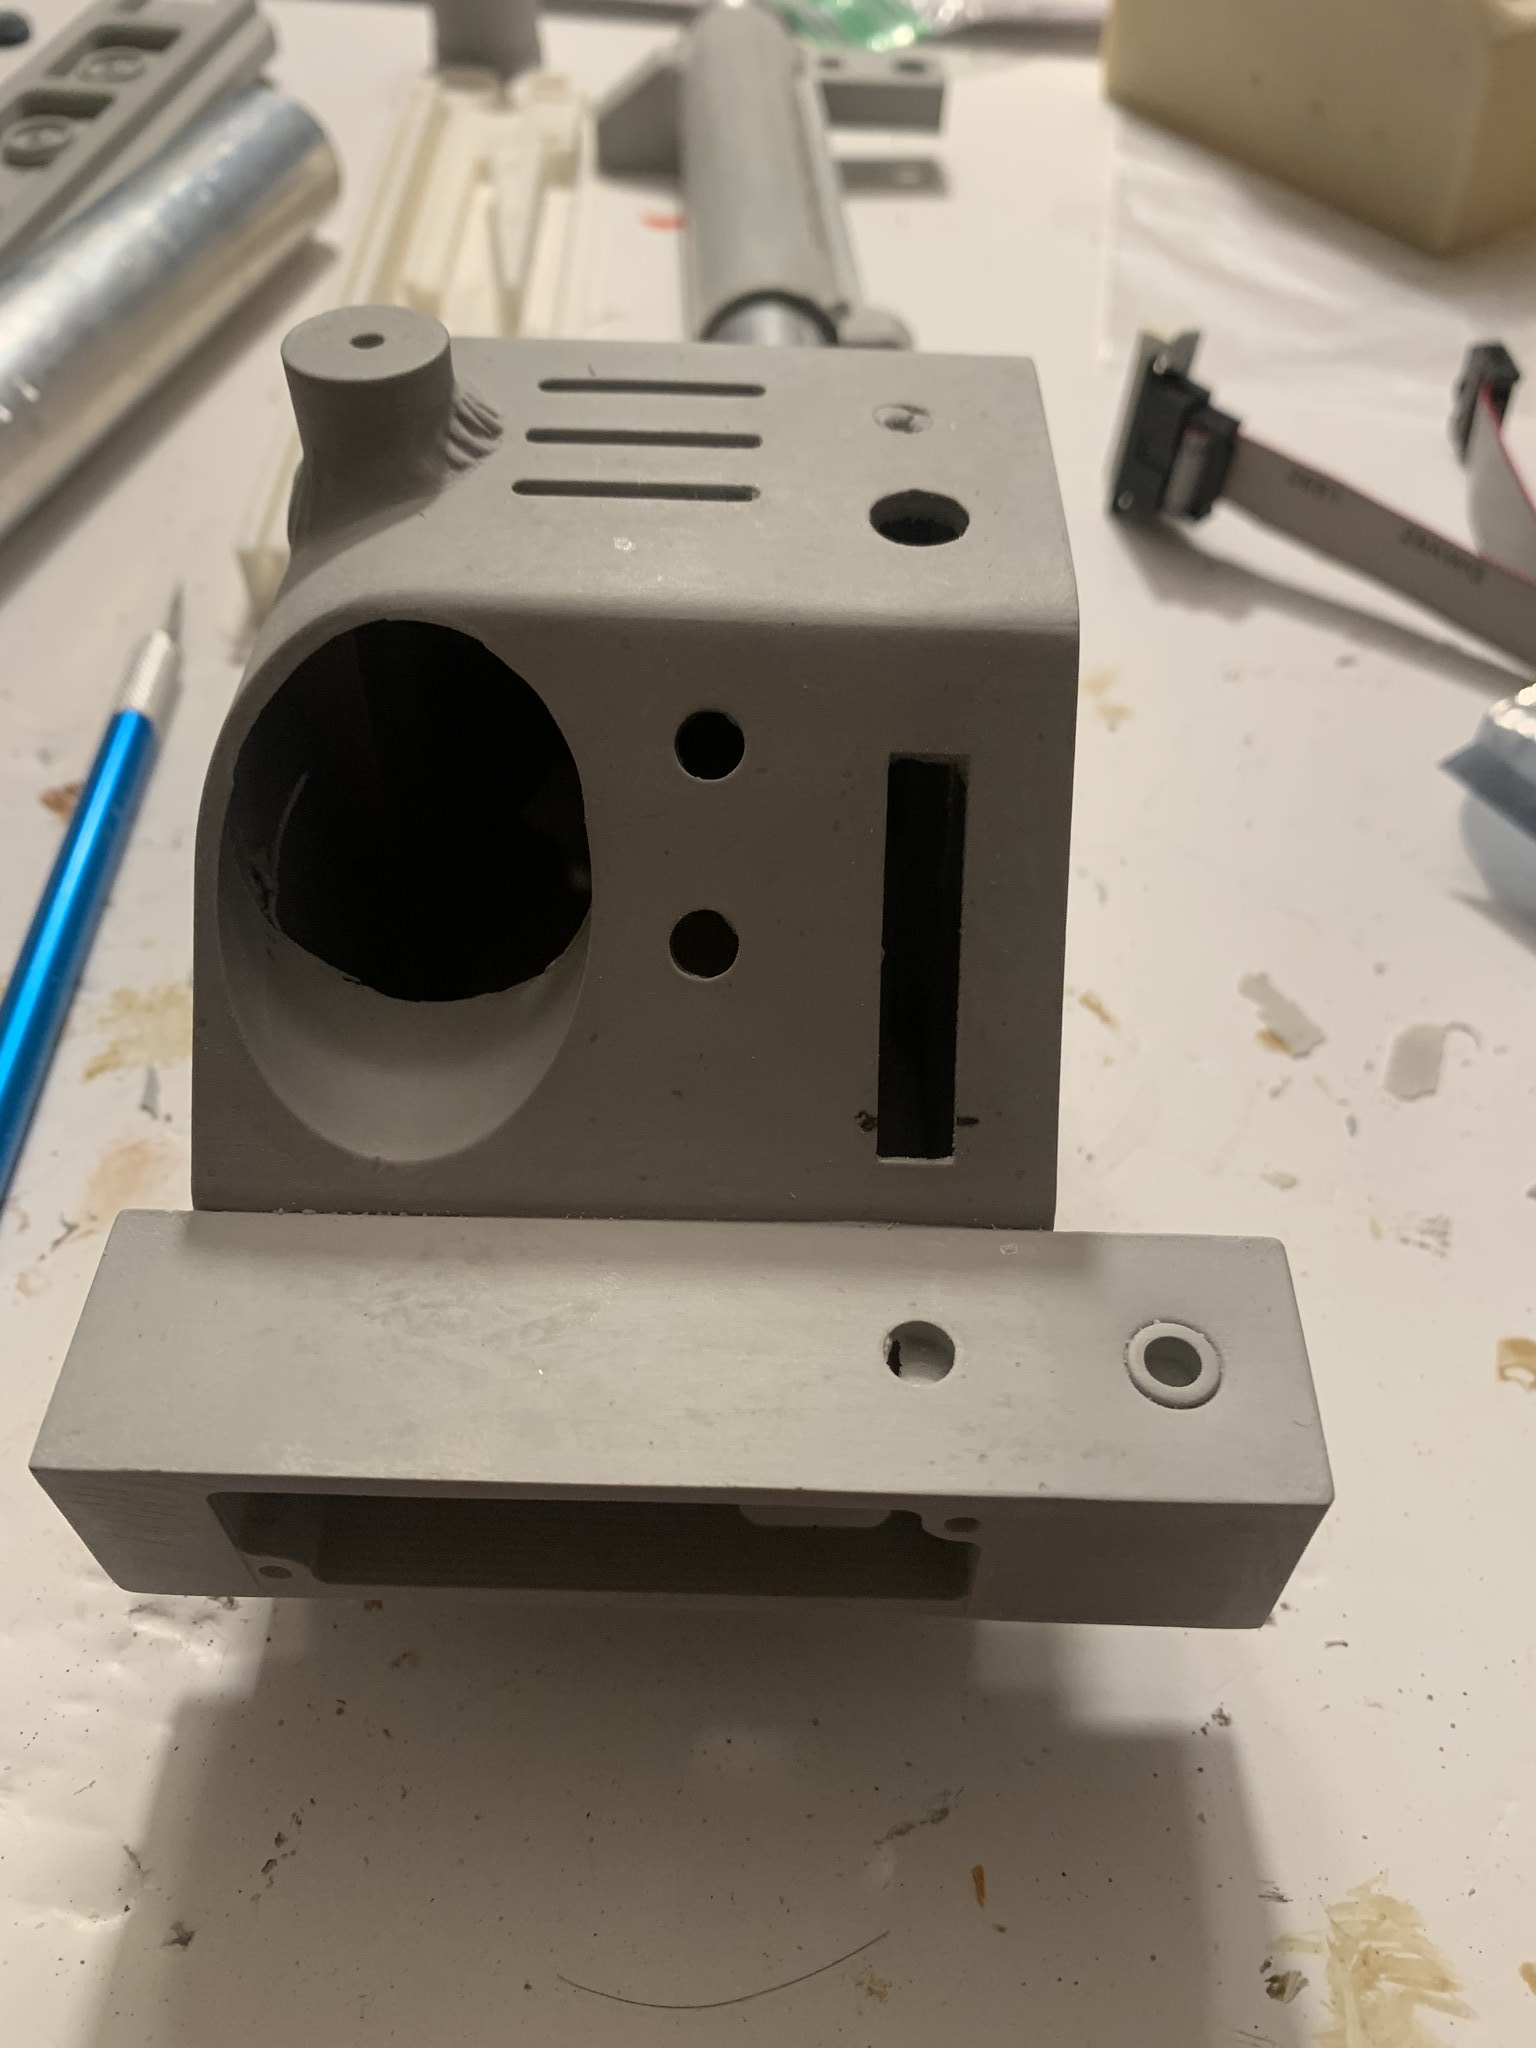
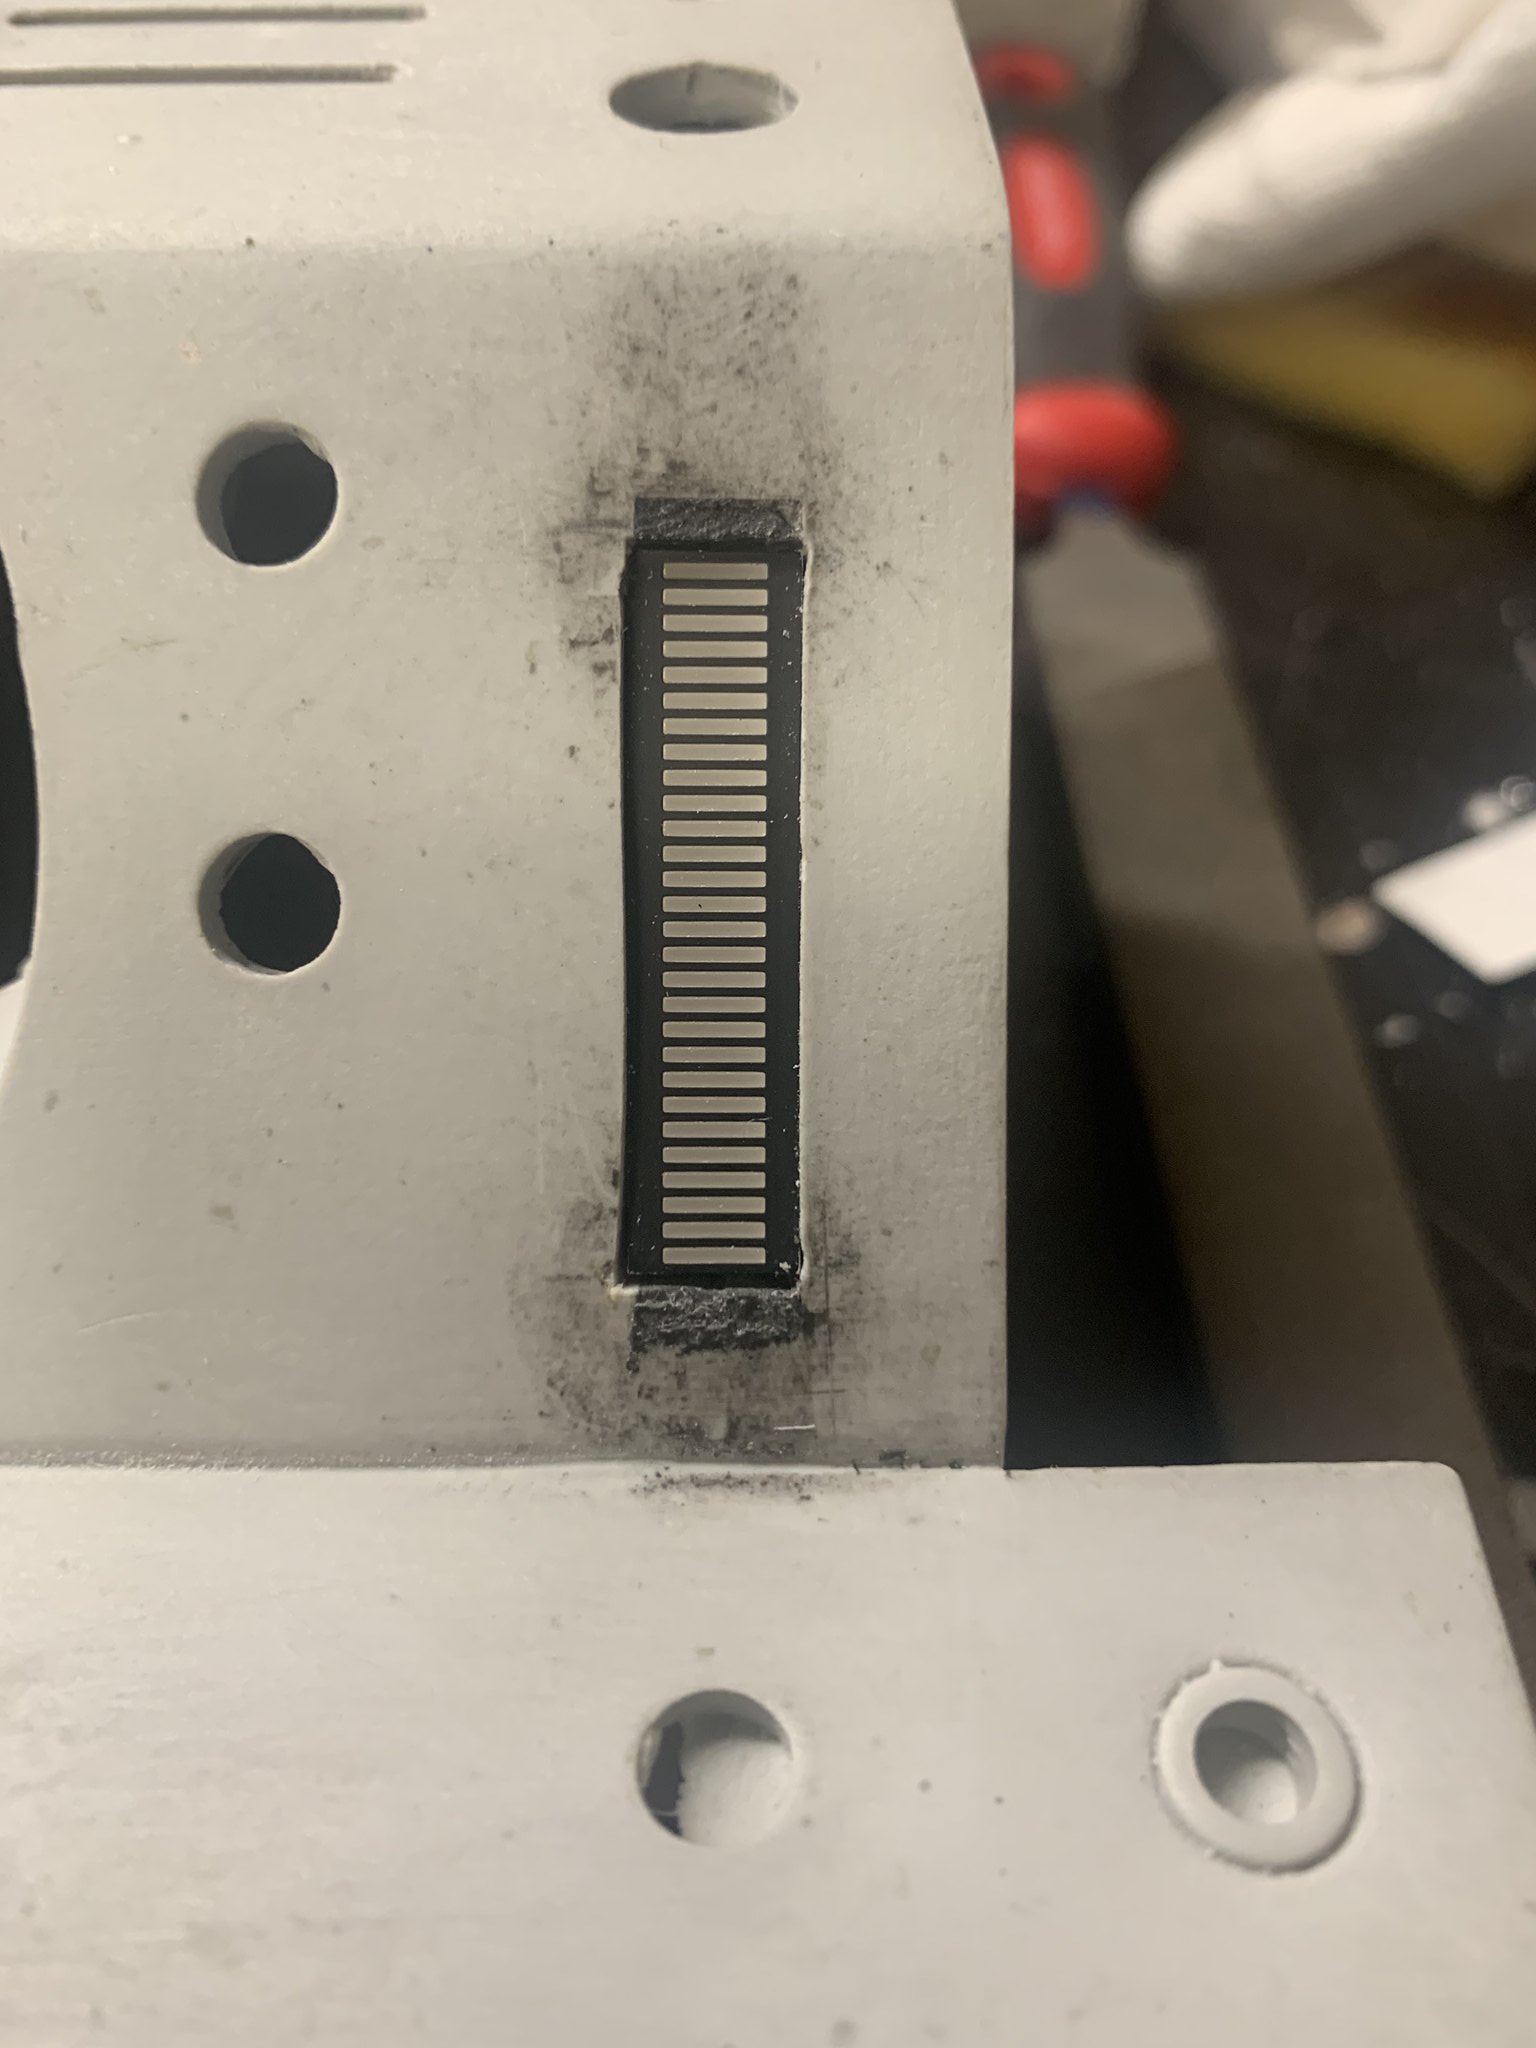
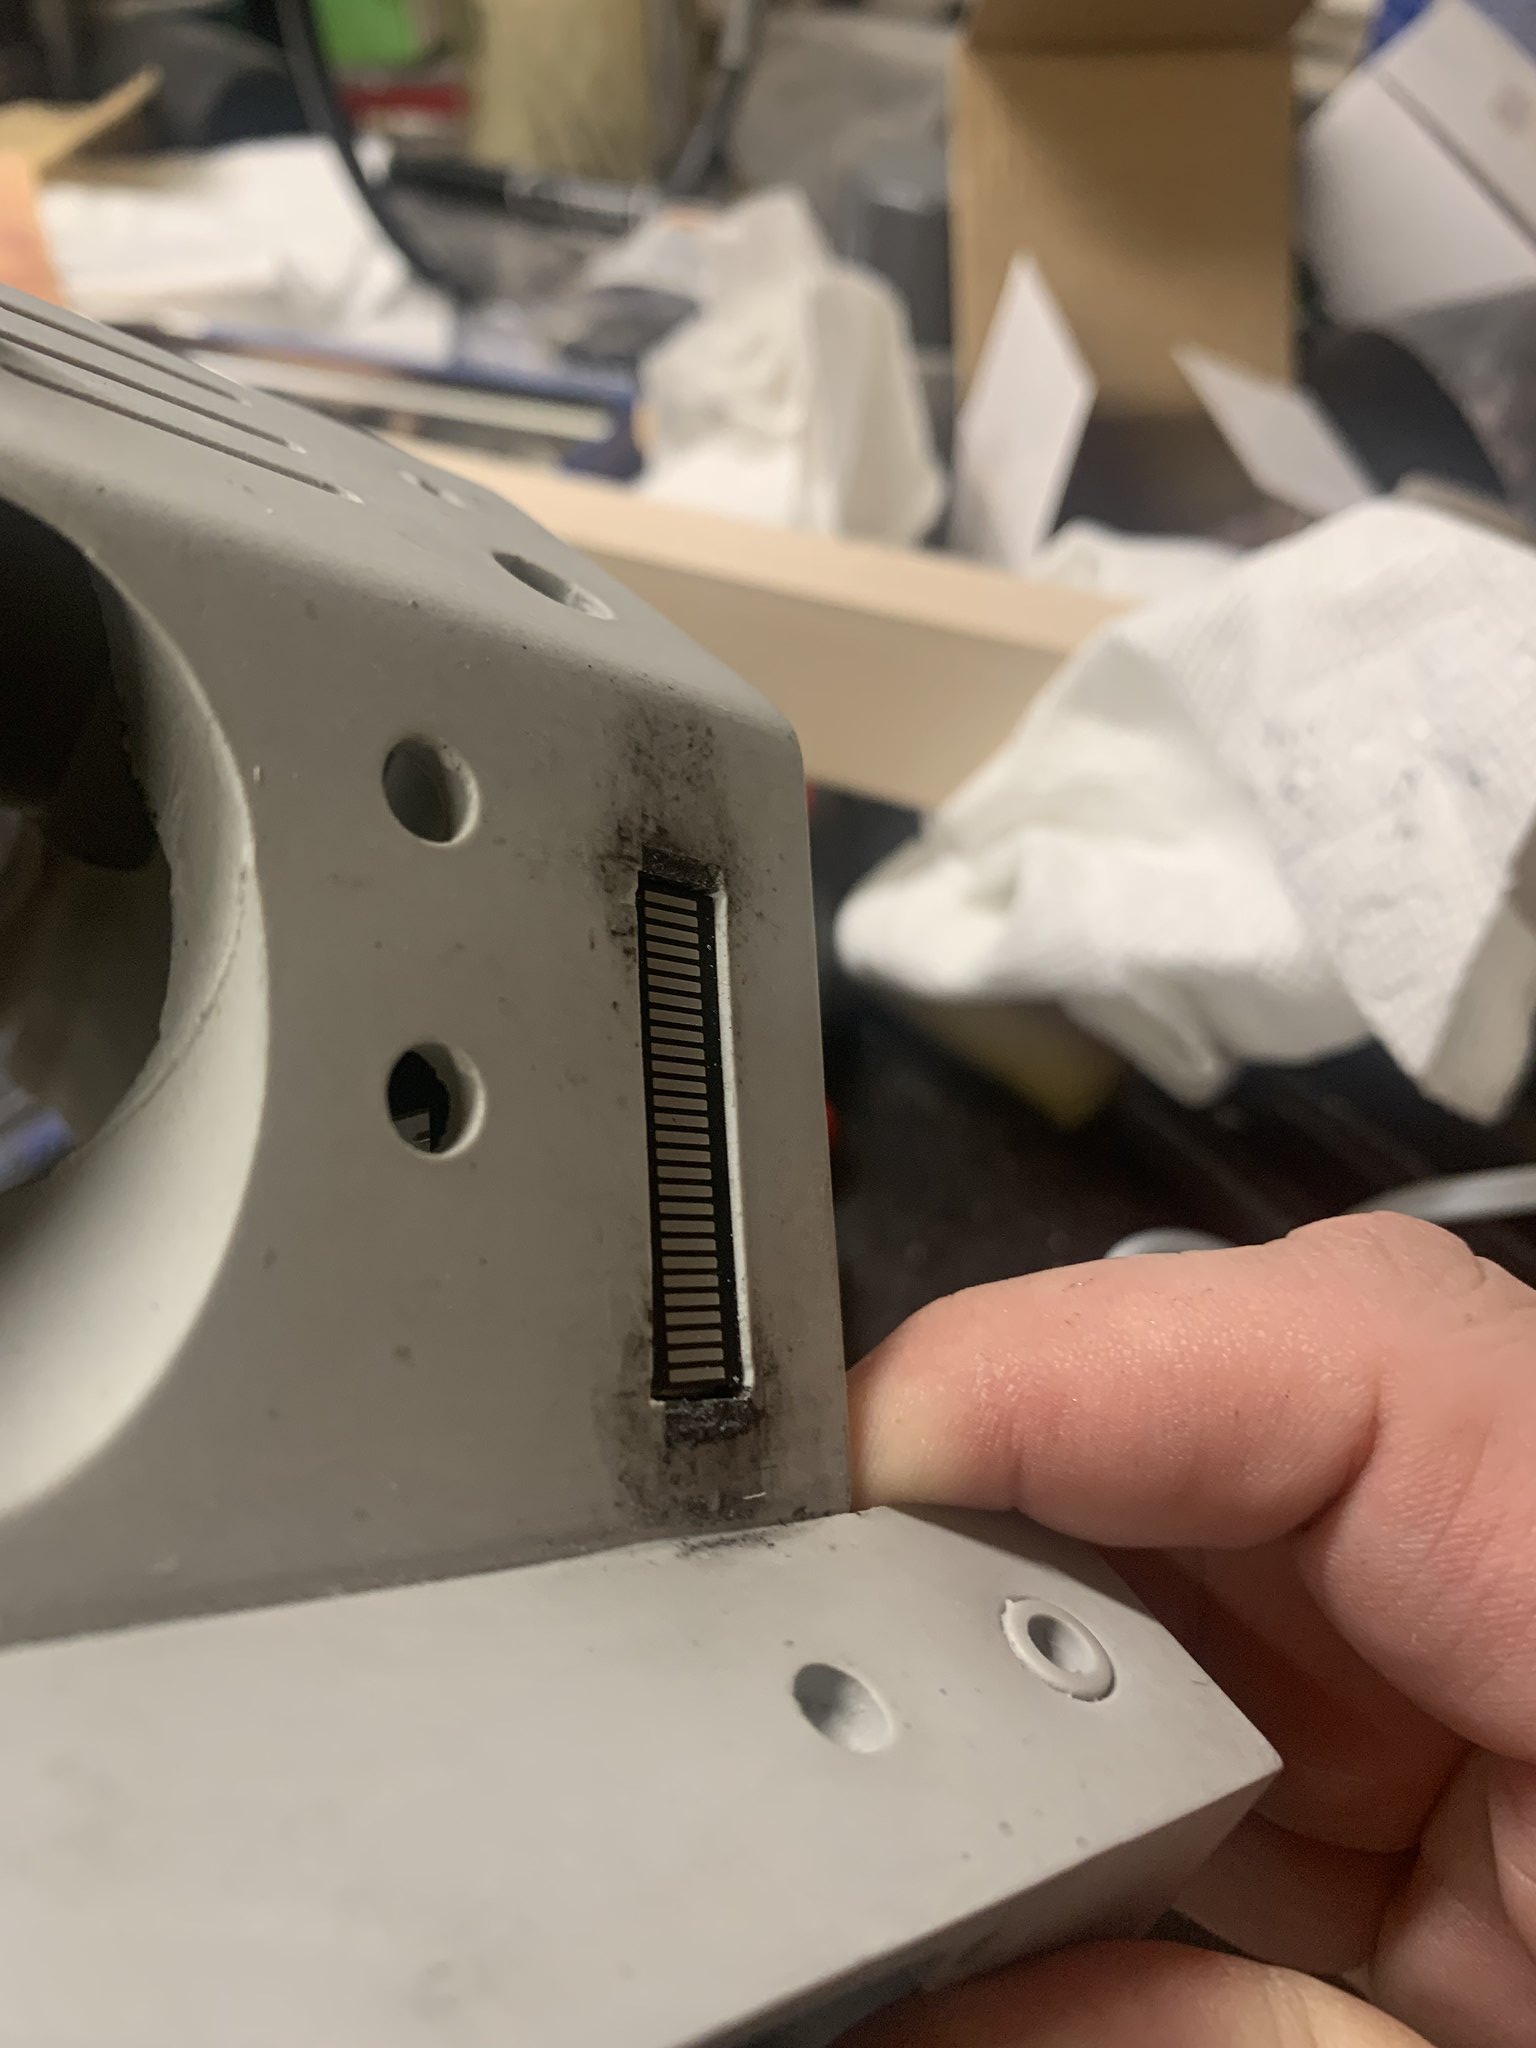
I did notice that the ninjatunes bargraph was not going ot fit in the TC space, to thin and long for it plus there is a ridge inside that whatever kit the TC is made for sits on.

SOOOOO first mod of the TC kit is going to be to make the ninjatunes bargraph fit.

I marked off how much longer the opening is than the bargraph using it as a guide

I split the difference between the top and bottom while making sure it still sat on the ridge to screw it in.

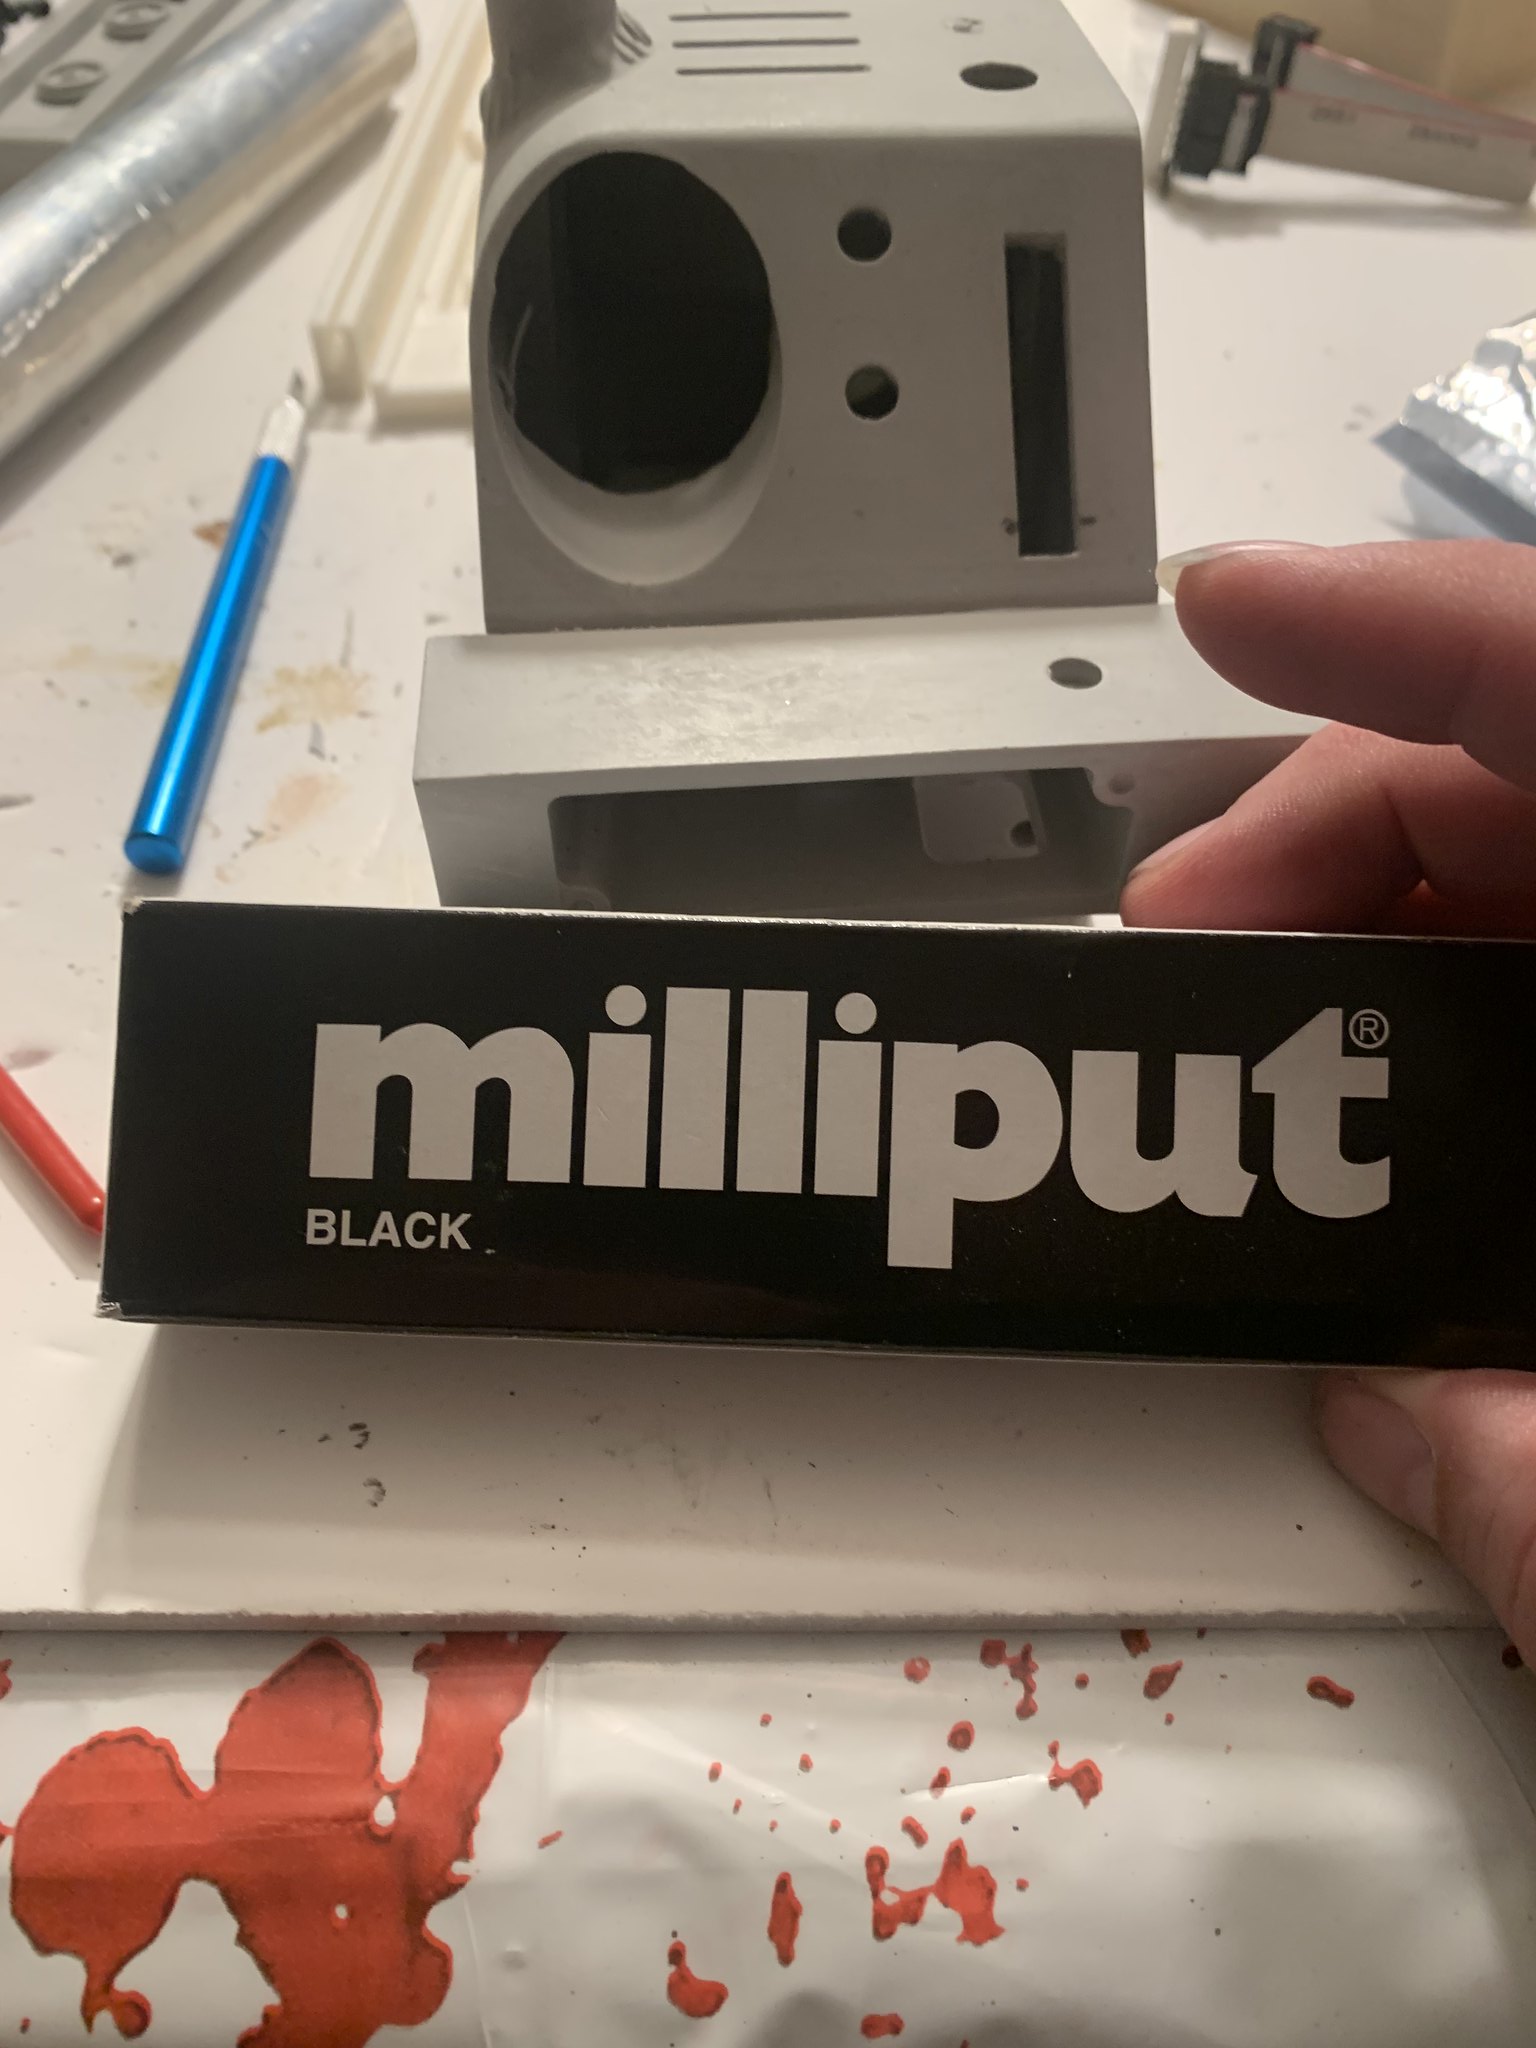
Then filled it in with black milliput

and let it dry and harden.

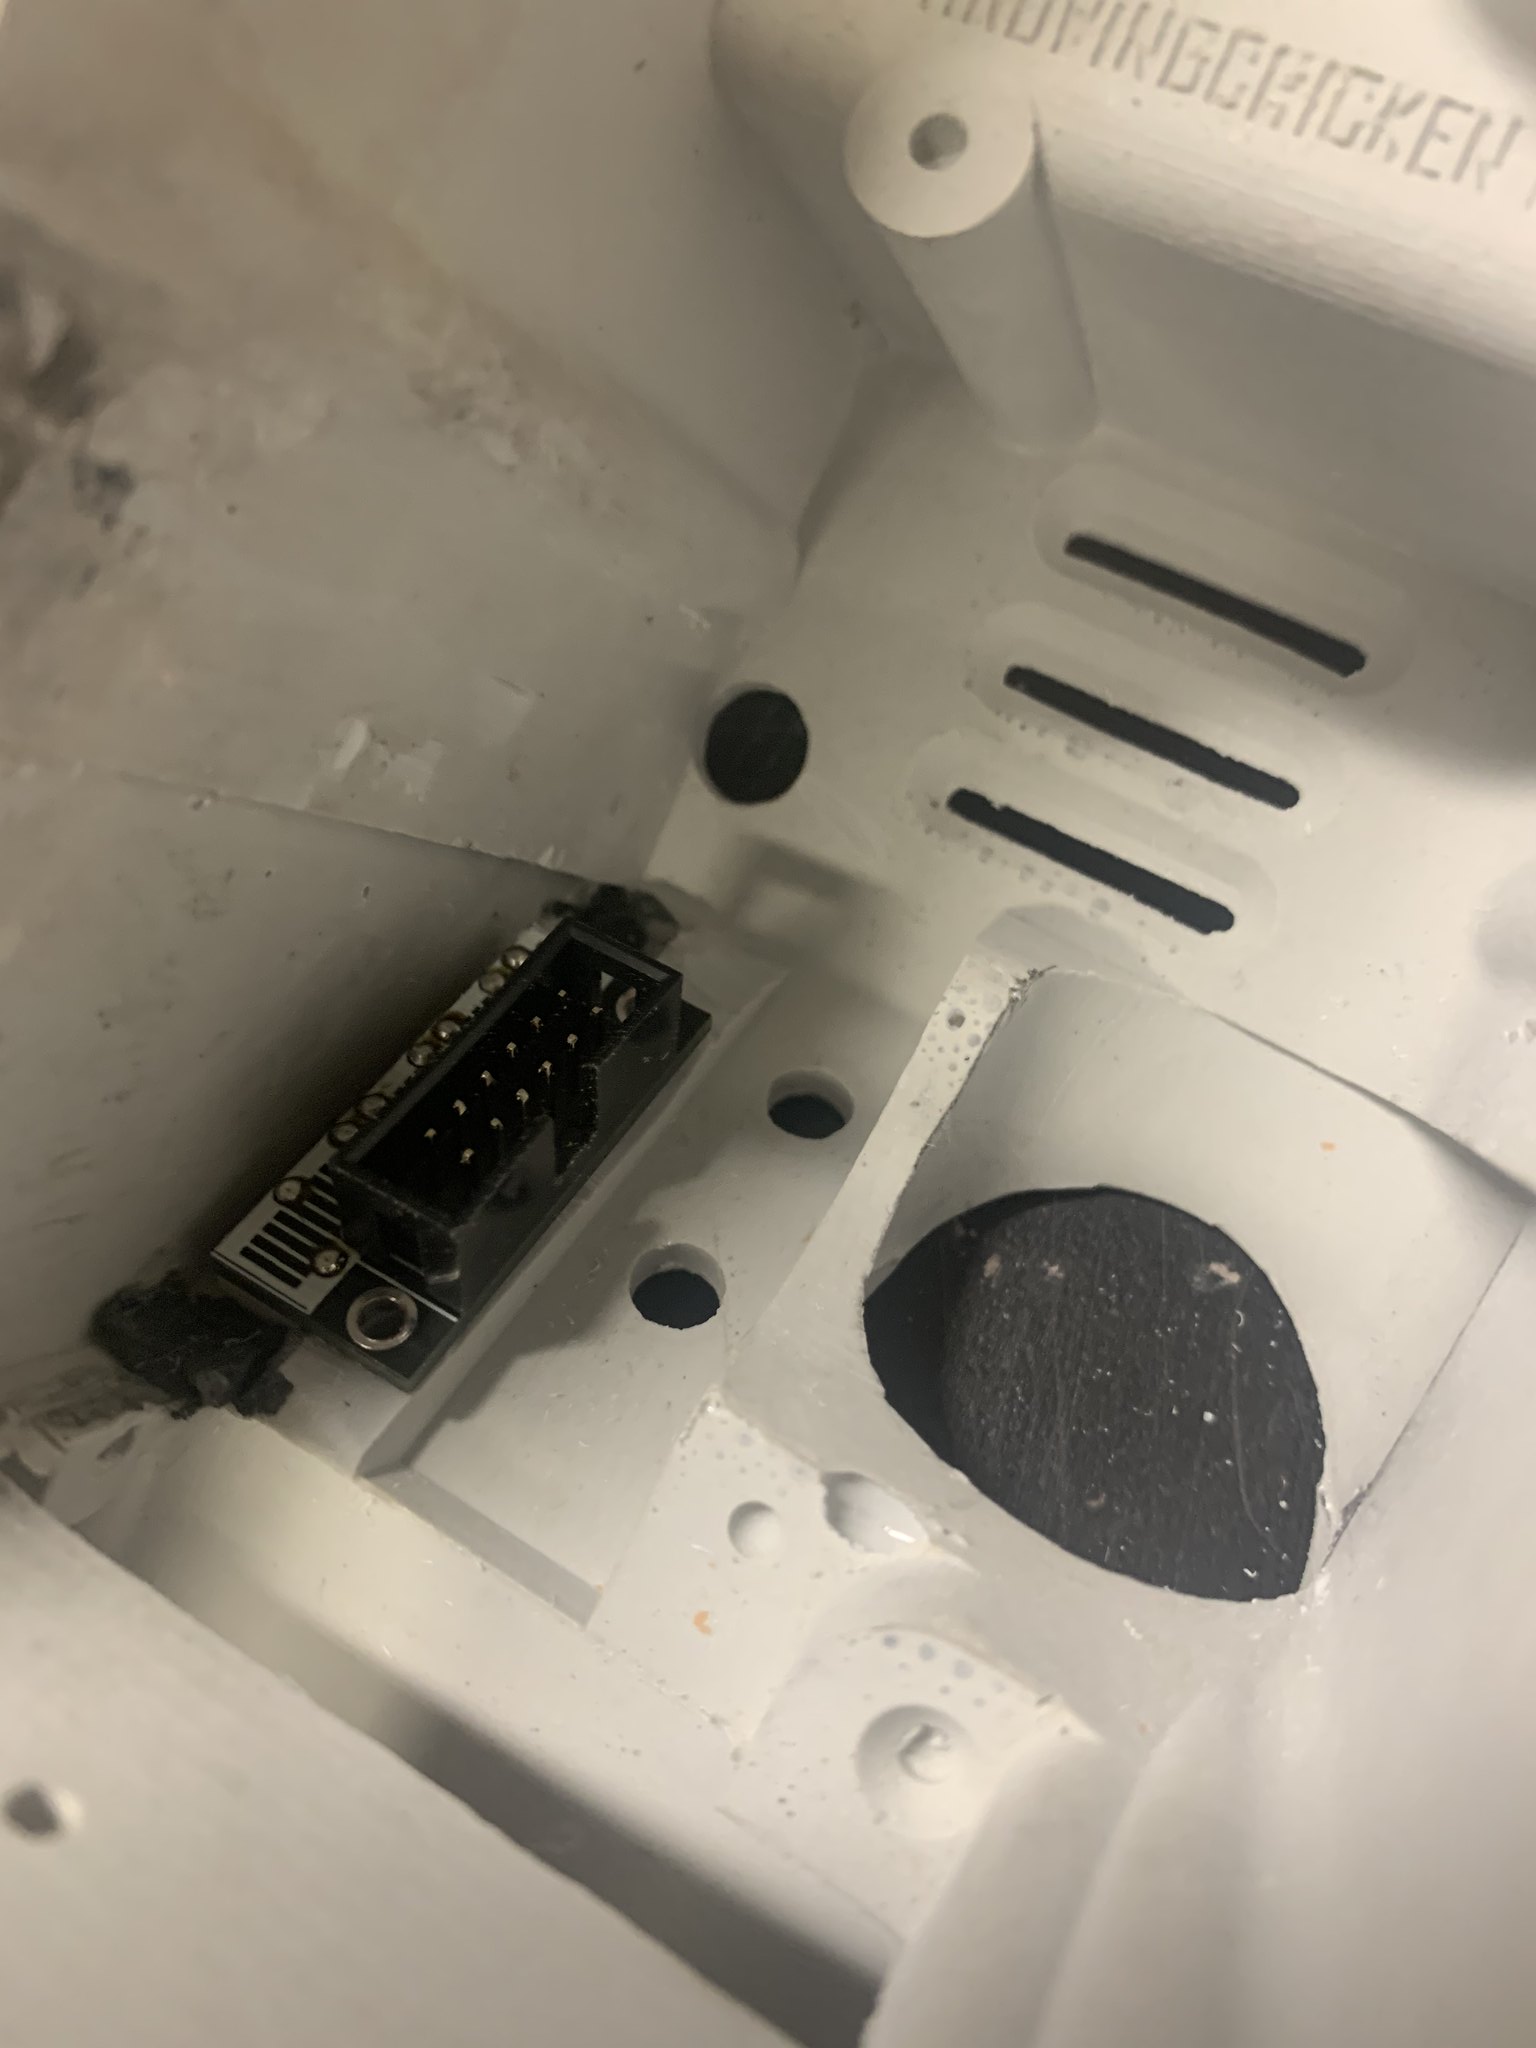
I opened up the side a little and filed everything smooth. I then ground the ledge down, little by little until the bargraph sat in the hole.

I may grind the ledge down just a bit more so that the bargraph is completely level to may just make a small bevel out of milliput to give it the correct look.

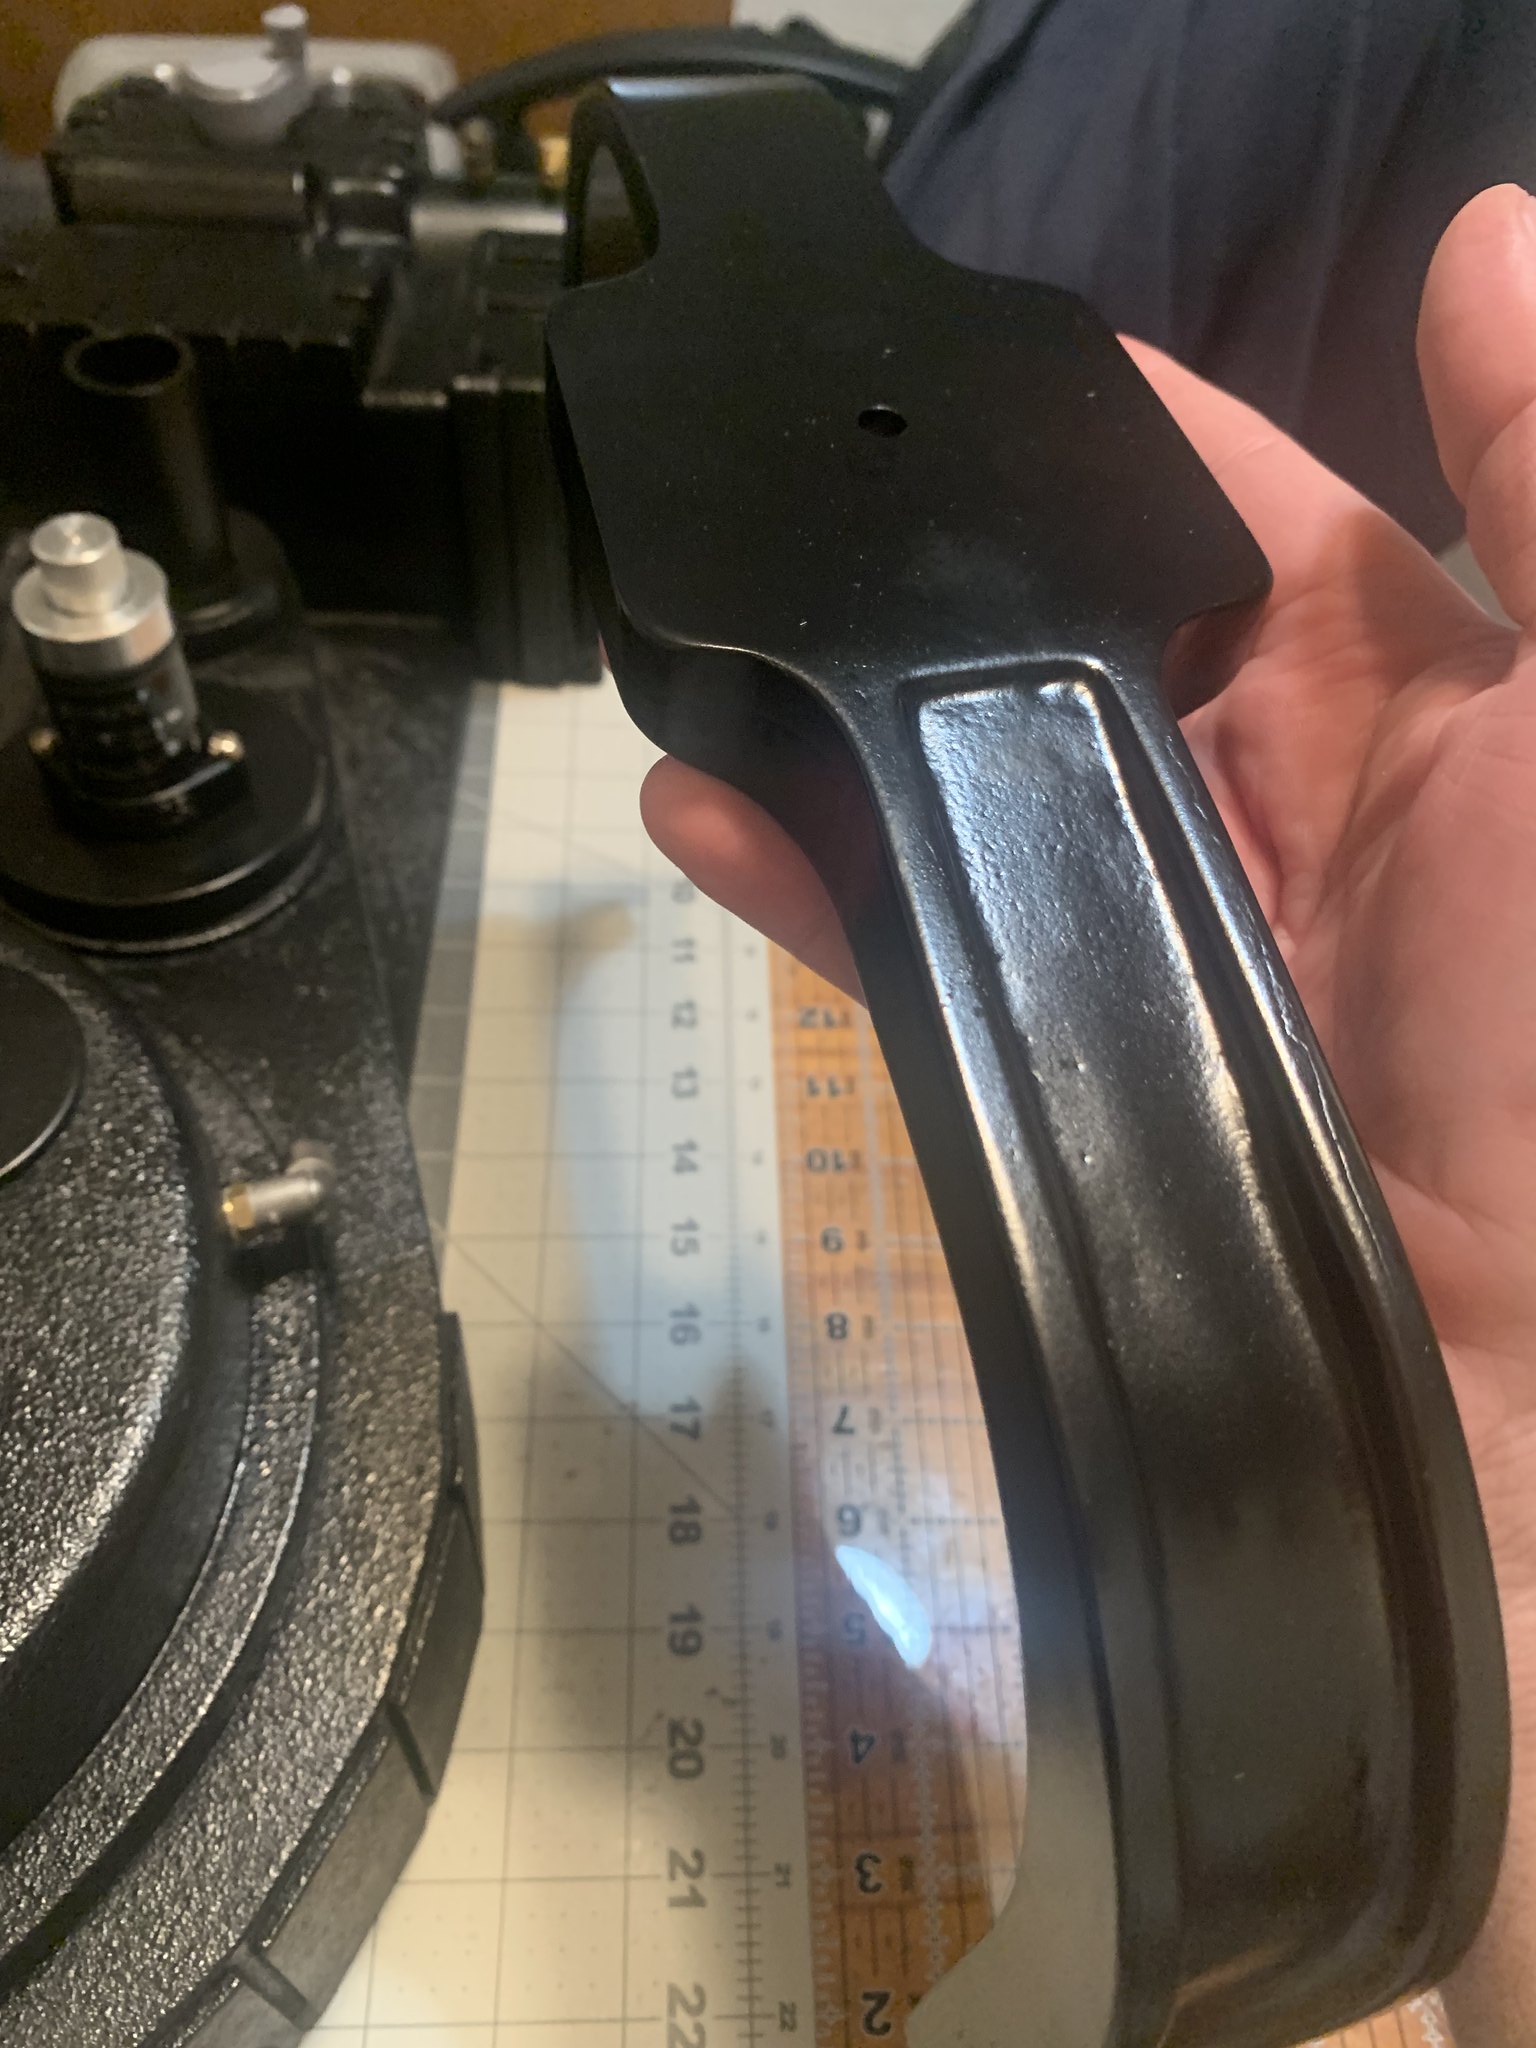
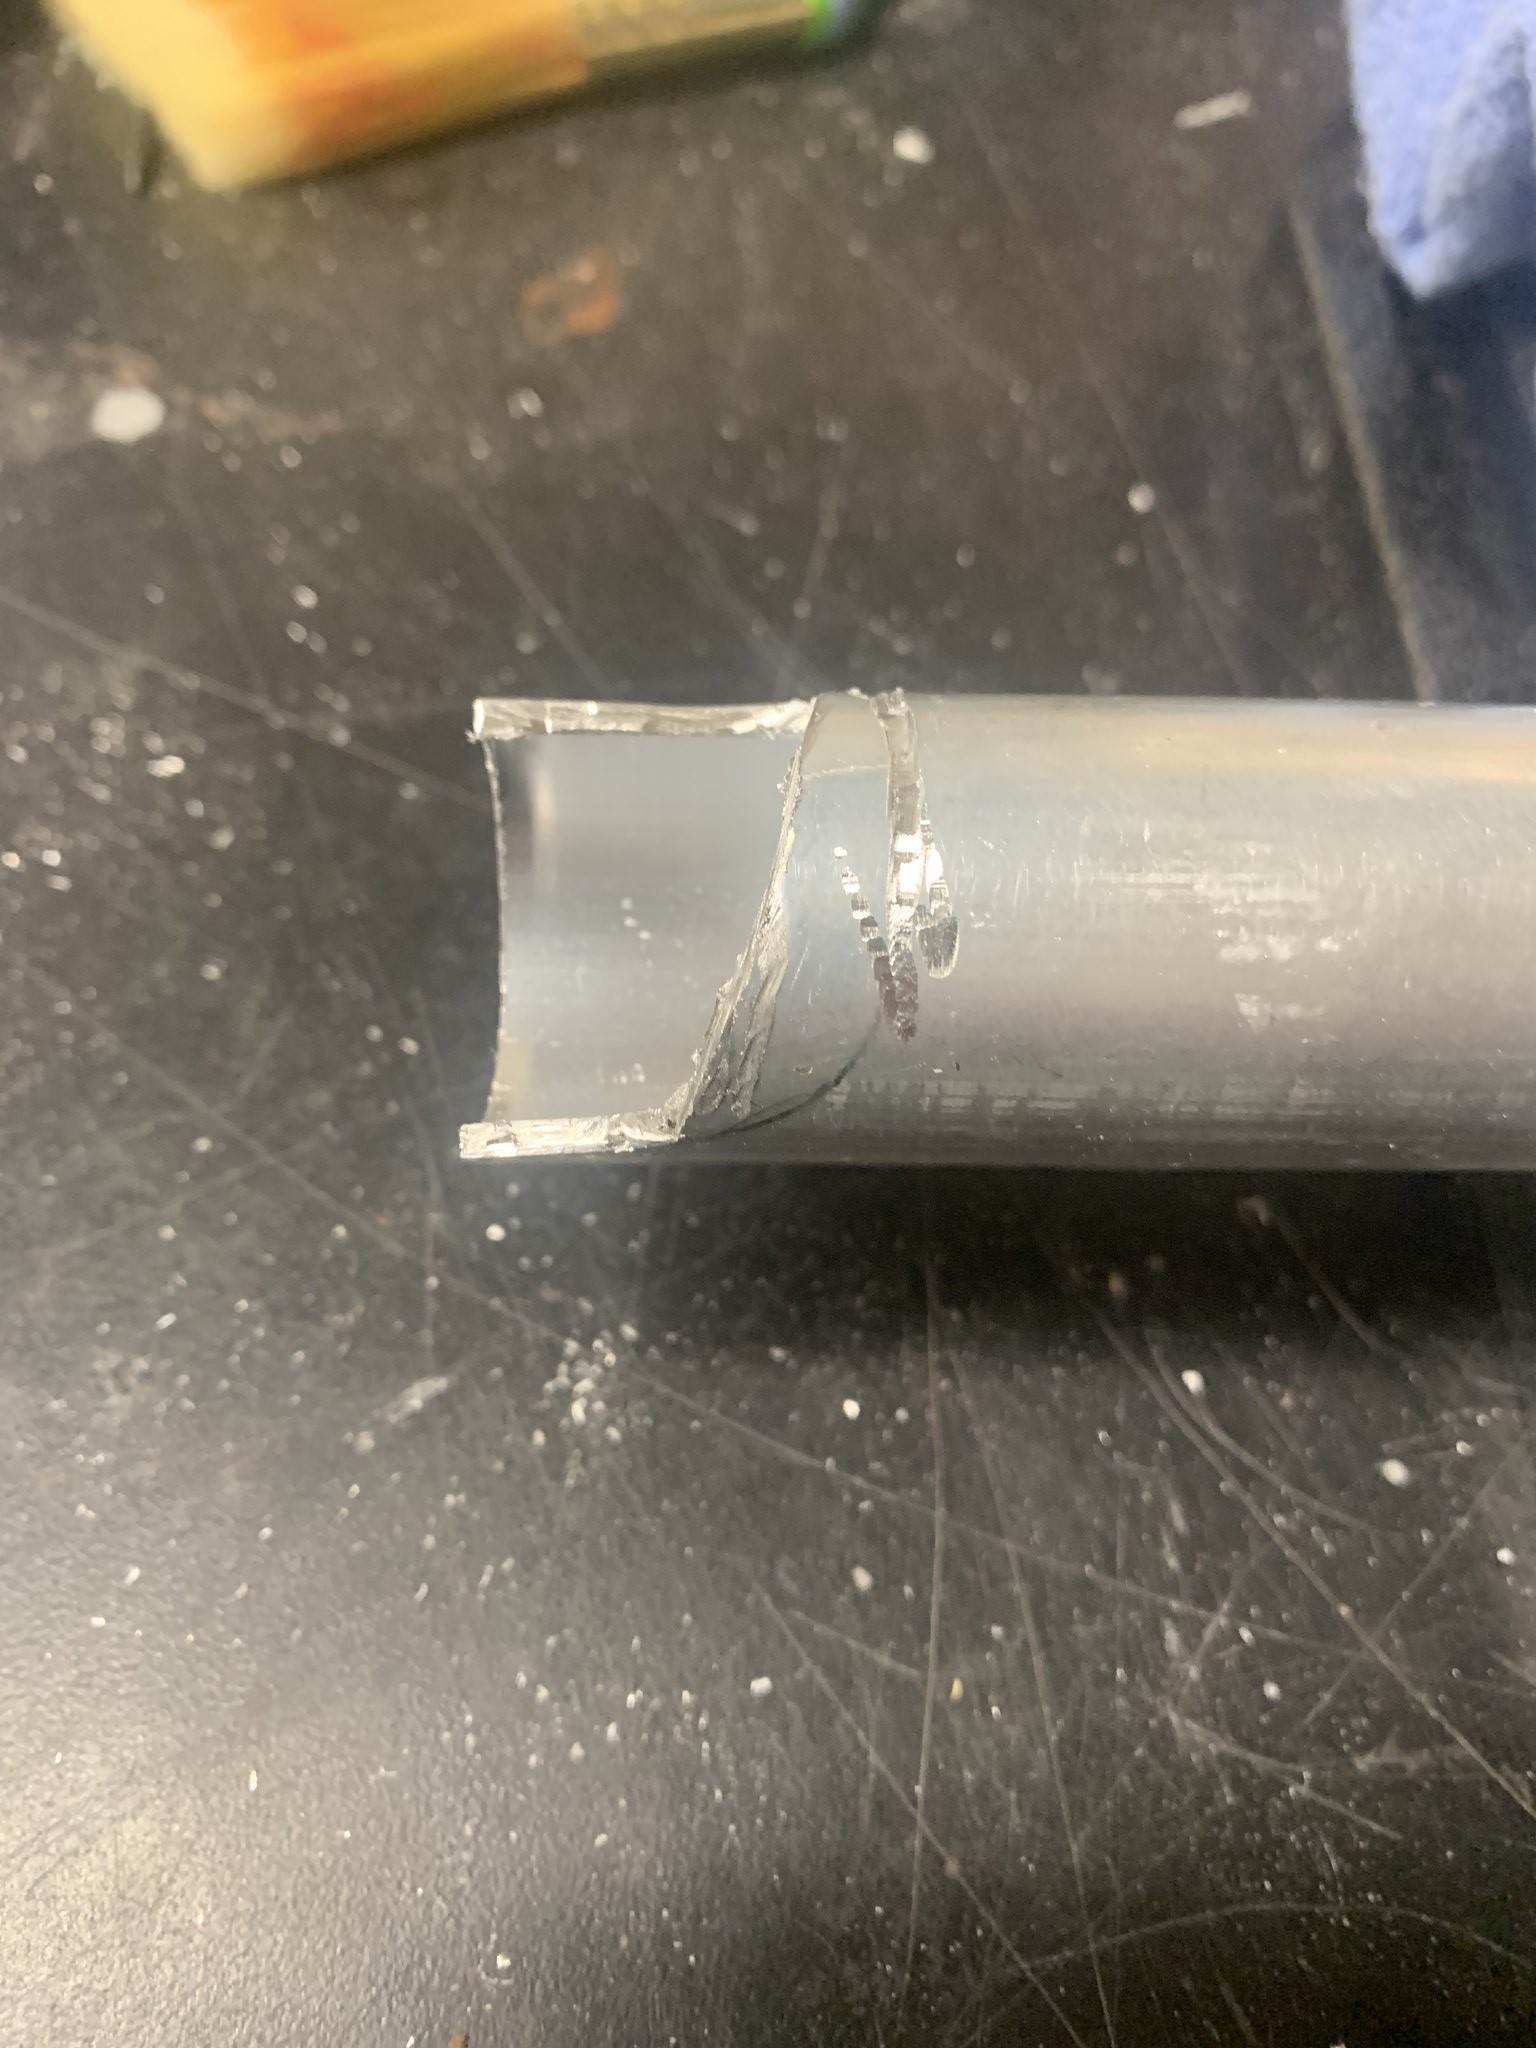
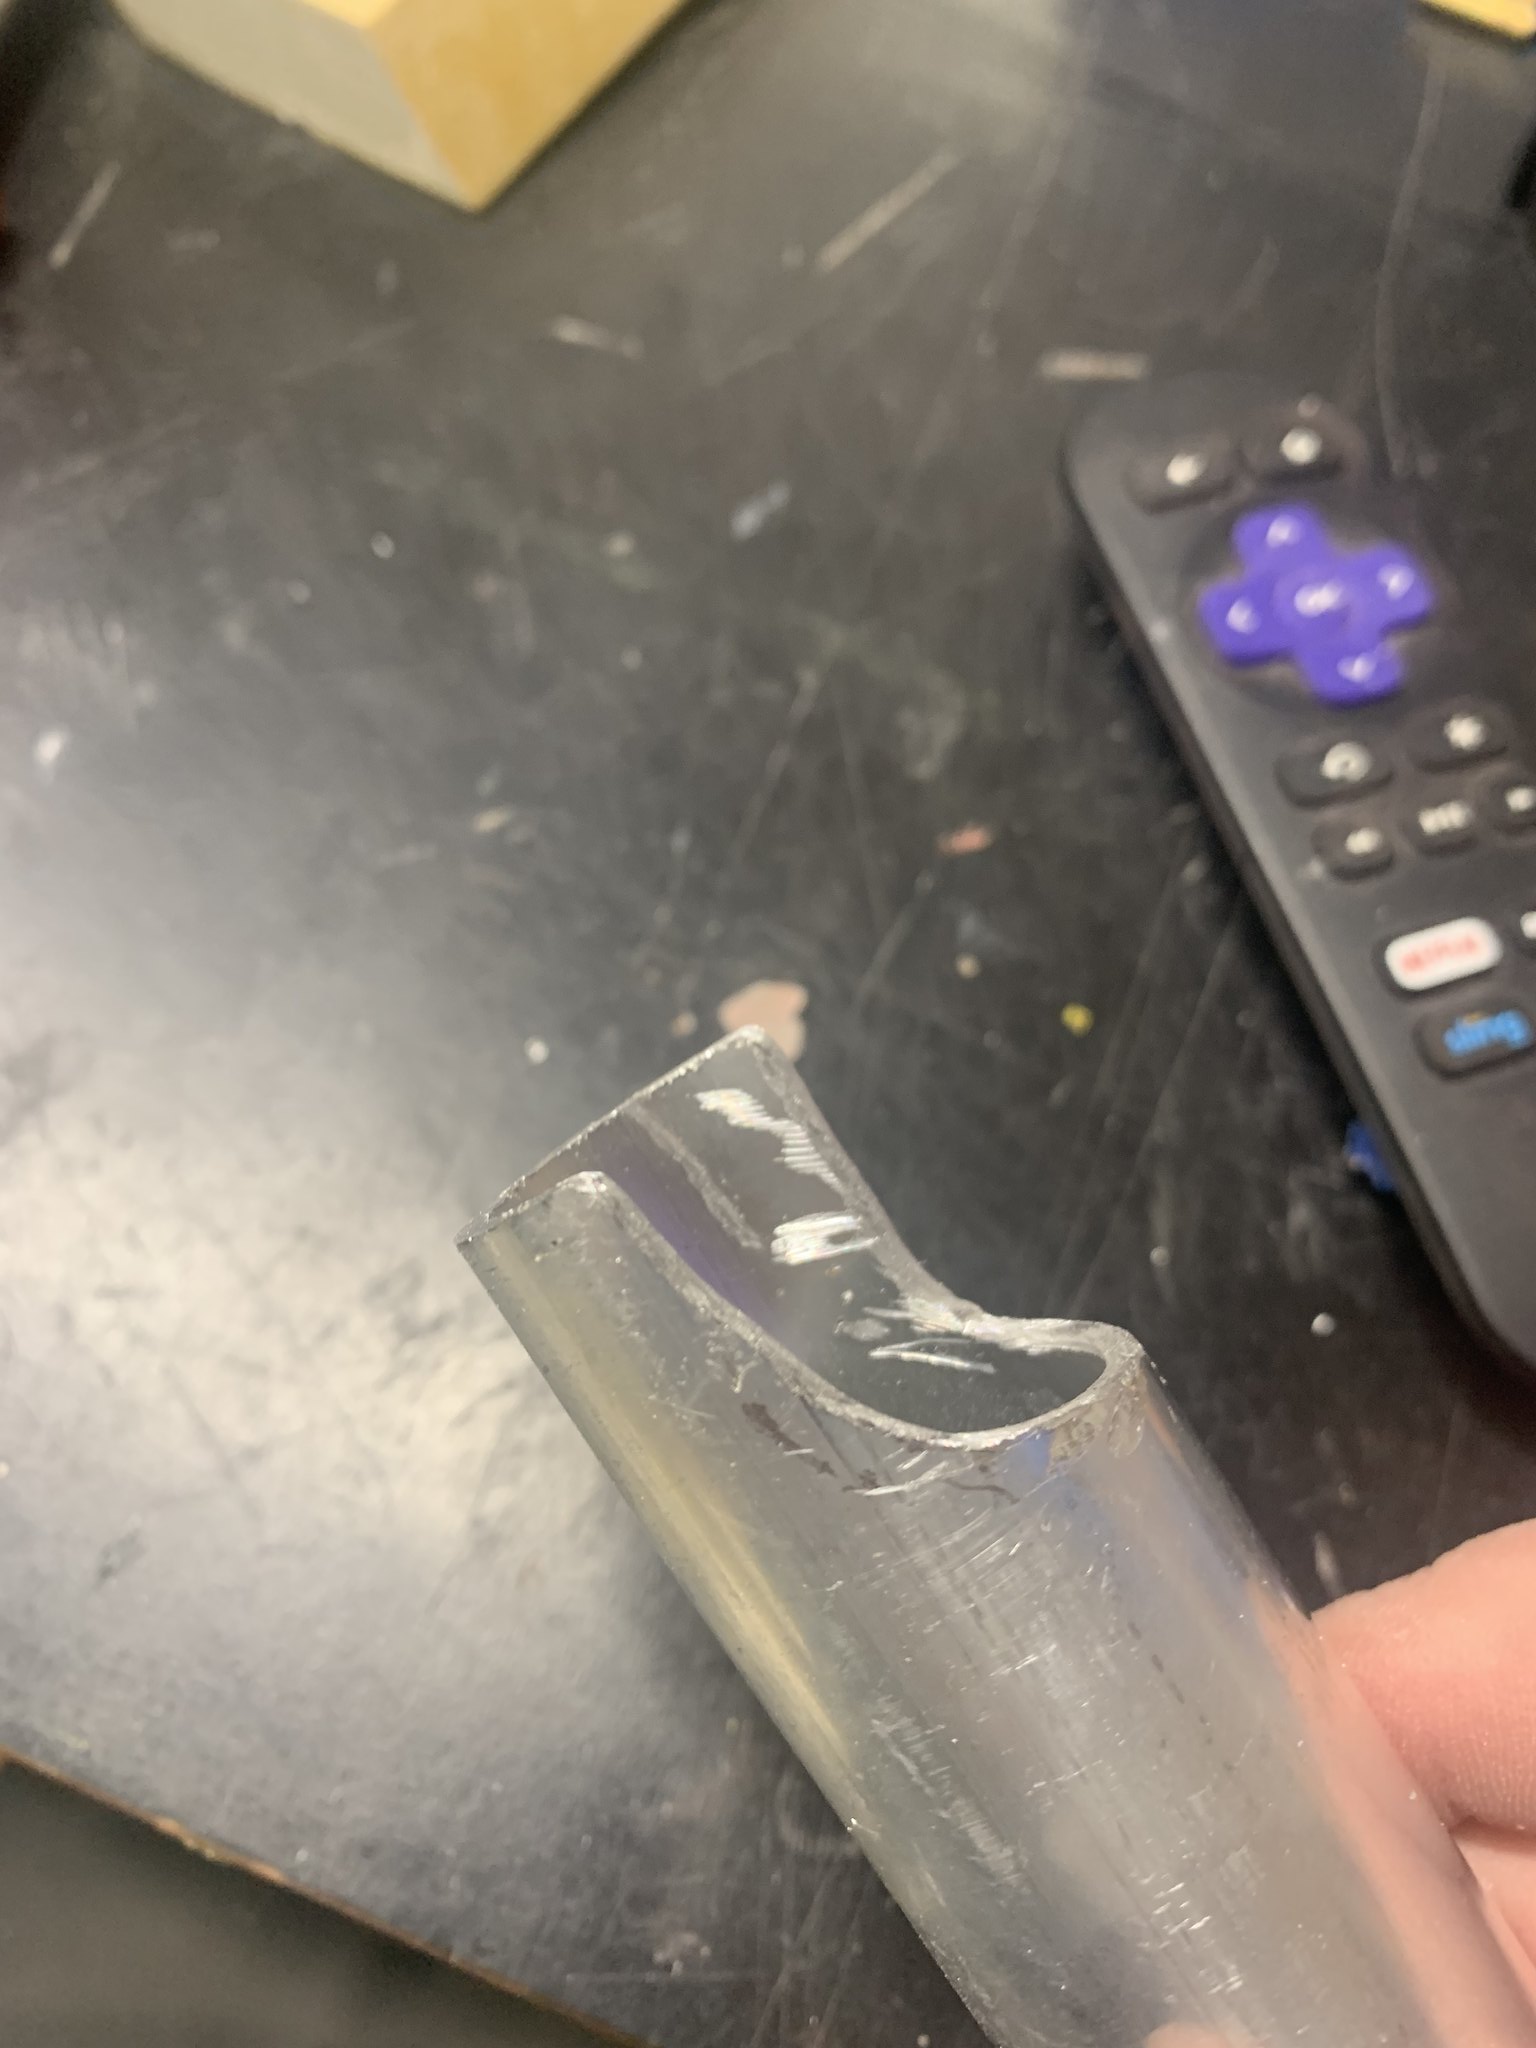
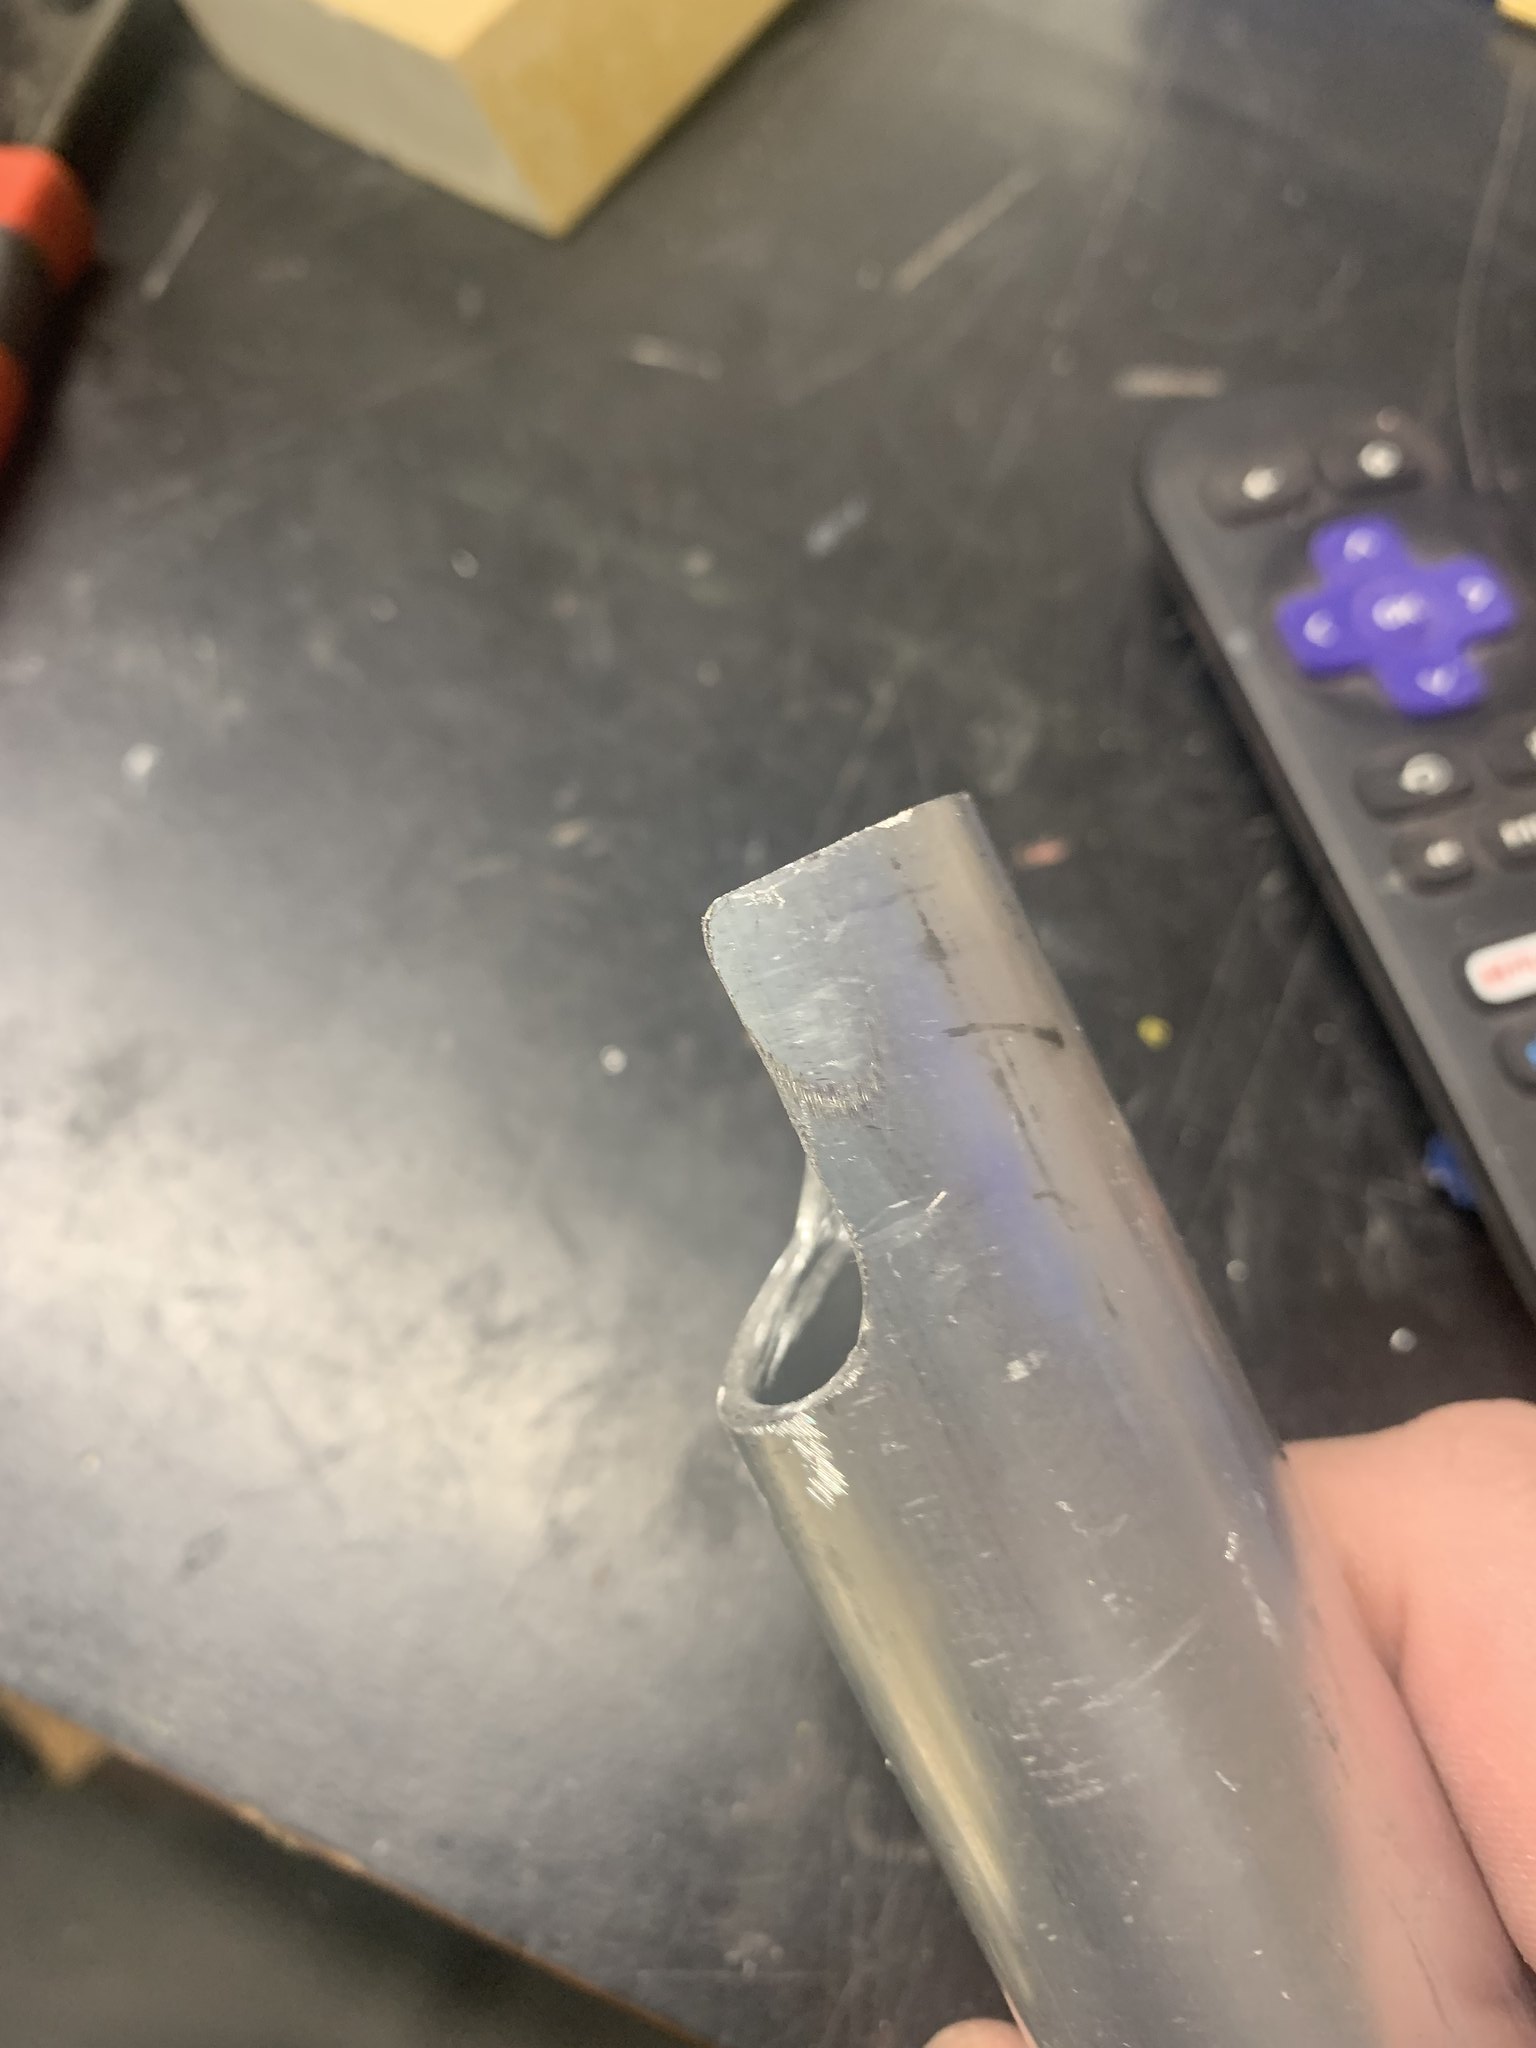
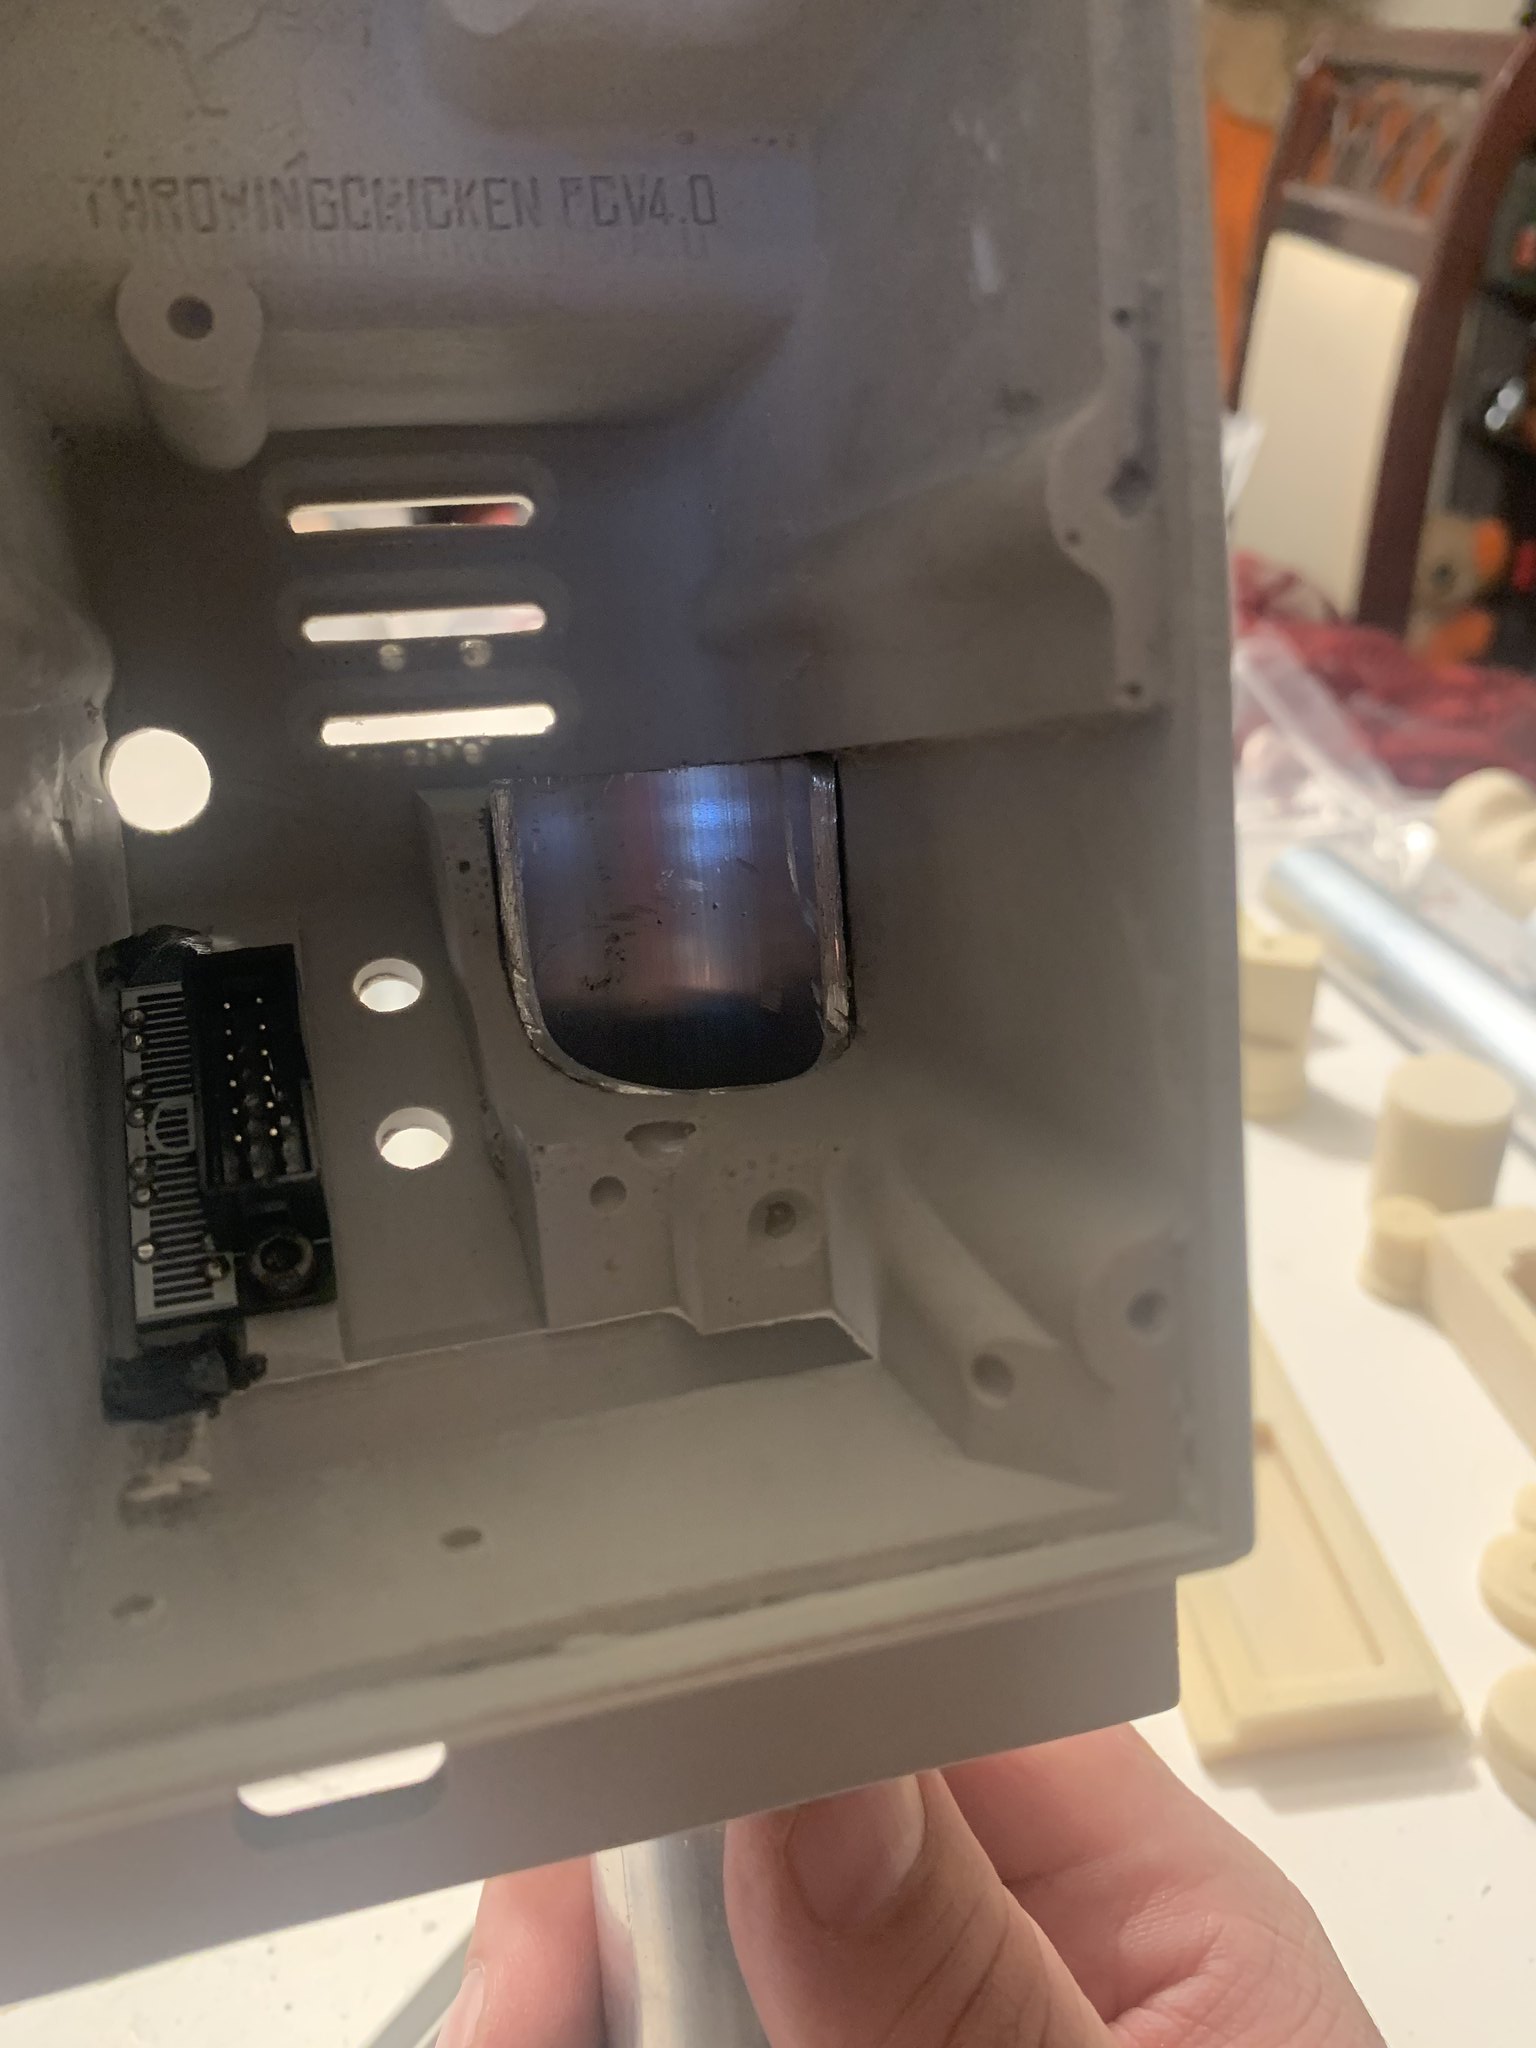
The next easiest thing looked like the handle. In his build thread it says to put the handle in and on the inside trace the edges then cut the tube where you traced… I can not find the picture I took withthe handle in from the inside but I traced it and then proceeded to cut the tube with my drimel

I then deburred it and files it a little smoother rounding the edges

Then test fit it back in. I have not glued or screwed it in place yet, I want to be able to work around that area without the handle being in the way.

I am still waiting on my metal parts from BOK that I ordered when i received my kit, he said they should be here by the end of the week. It included the metal trigger and a metal heatsink for this as well as a metal shock mount which I no longer need since I got the Mack factory one.

The TC kit did not come with a trigger or acrylic tube so I am in stand still for that part until I order a different one or wait for my BOK one.

I am going to order the tube from GBfan and might order all the side discs and bangos as well for the thrower. Heck if I dont see them soon I might just order the trigger and heat sink as well.

I like the TC kit for the fact that all the pieces are seperate and you can get metal ones to replace the resin ones.

I did send a message to Justin but has anyone else used a GBfans aluminum gun track on the TC kit?
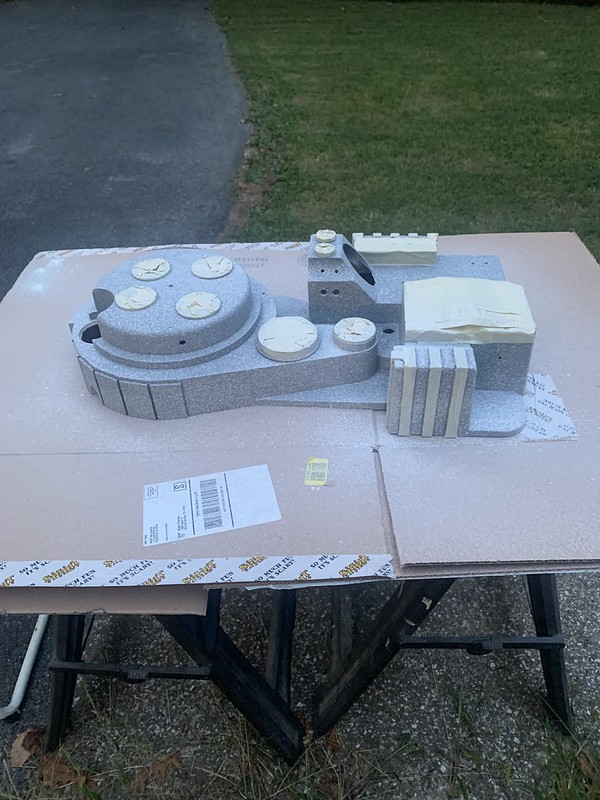
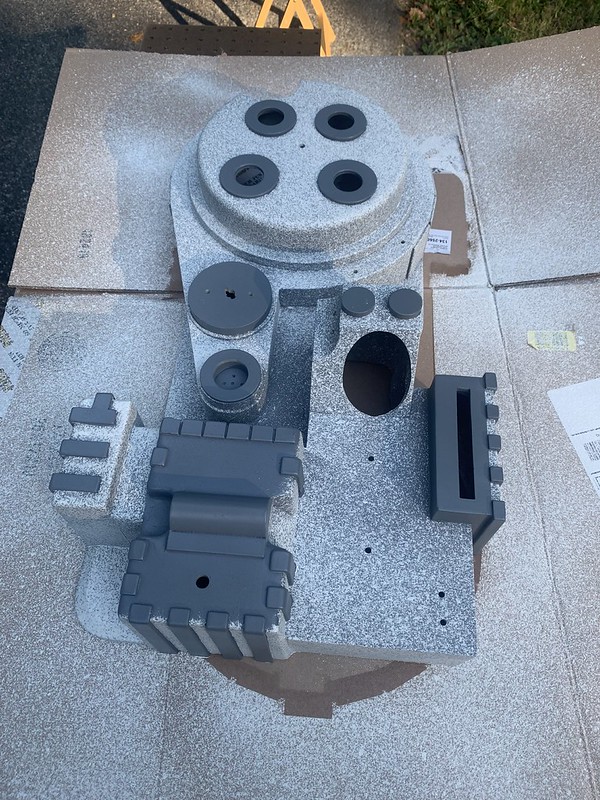
Did you specify the larger metal trigger tip from BoK? He does two sizes, his “standard” one only fits his clear tube, which is smaller than everyone else’s, so be aware of that.

I did not and did not know that as he never told me….. thank you for the heads up

You’ll probably find the BoK clear tube is too small for the TC kit as well, I think his are 20mm diameter from memory, rather than 22.225mm (7/8").

I swapped my BoK bumper for a gbfans one too, definitely the right choice!

Anyone know if the GbFans aluminum gun track will fit on the TC kit?
incase anyone else was wondering… may fit but needs a plate.. as it is just the track

I’m working on an older BOK kit now and I’m coming from a TC kit. Like you I noticed a night and day difference between the two. Personally I like the TC kit more as it was much easier to work with. I’m finding the BOK kits need more work and modification to get it to where TC kit start.

Biggest frustration is the size of the acrylic tube that comes with the BOK and it’s really under size of what the gold standard seems to be. I think most people tend to switch them out in the end.