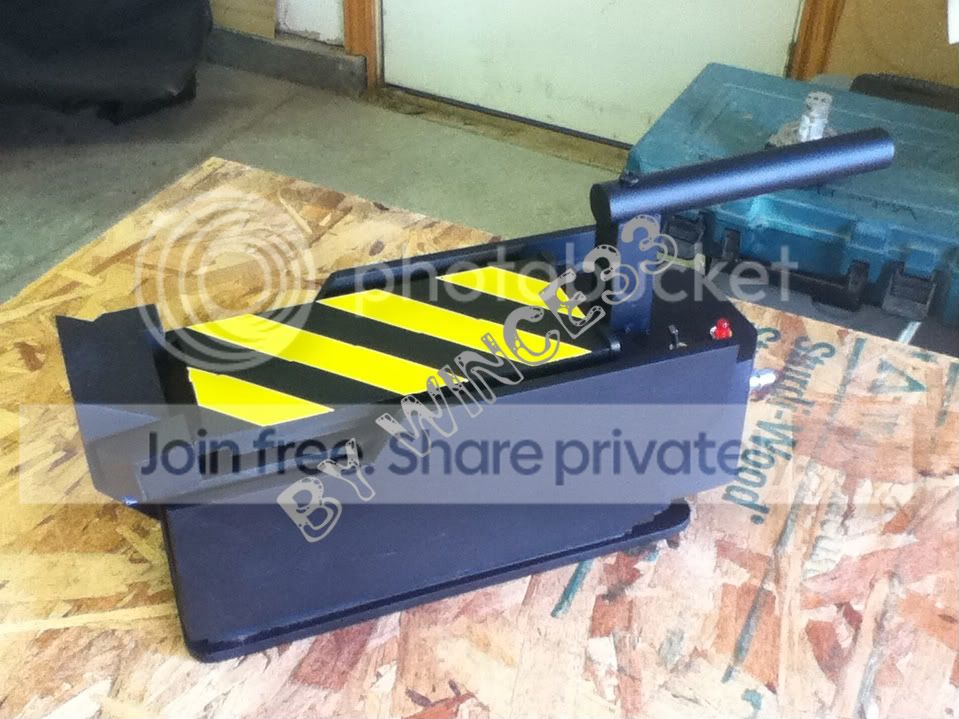
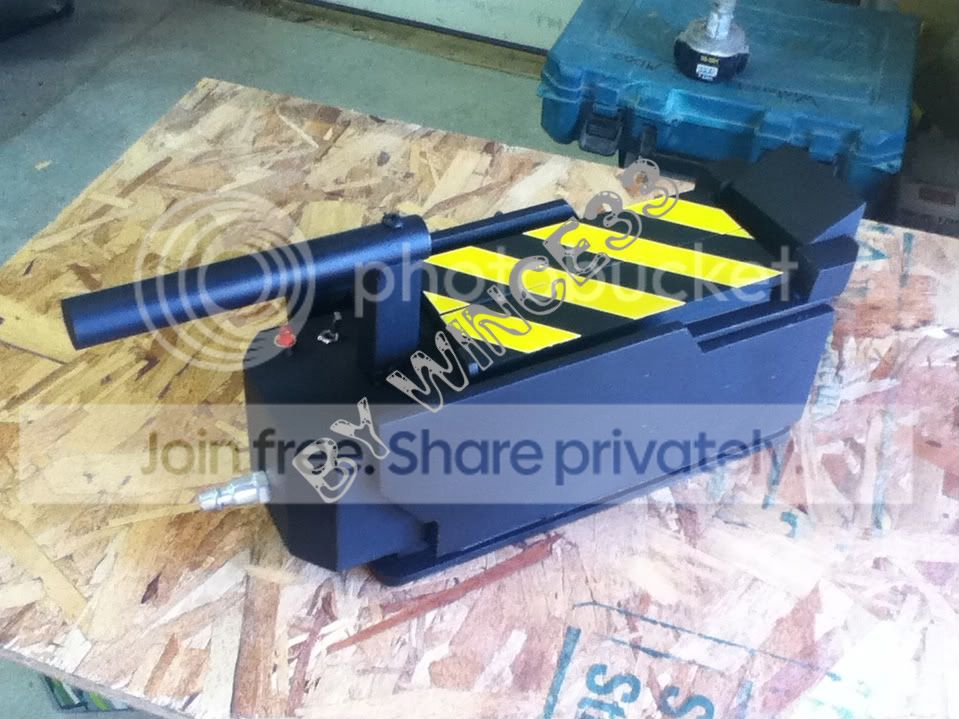
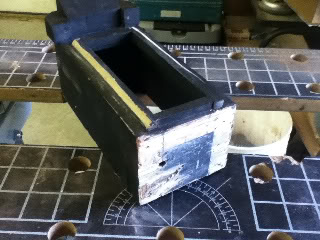
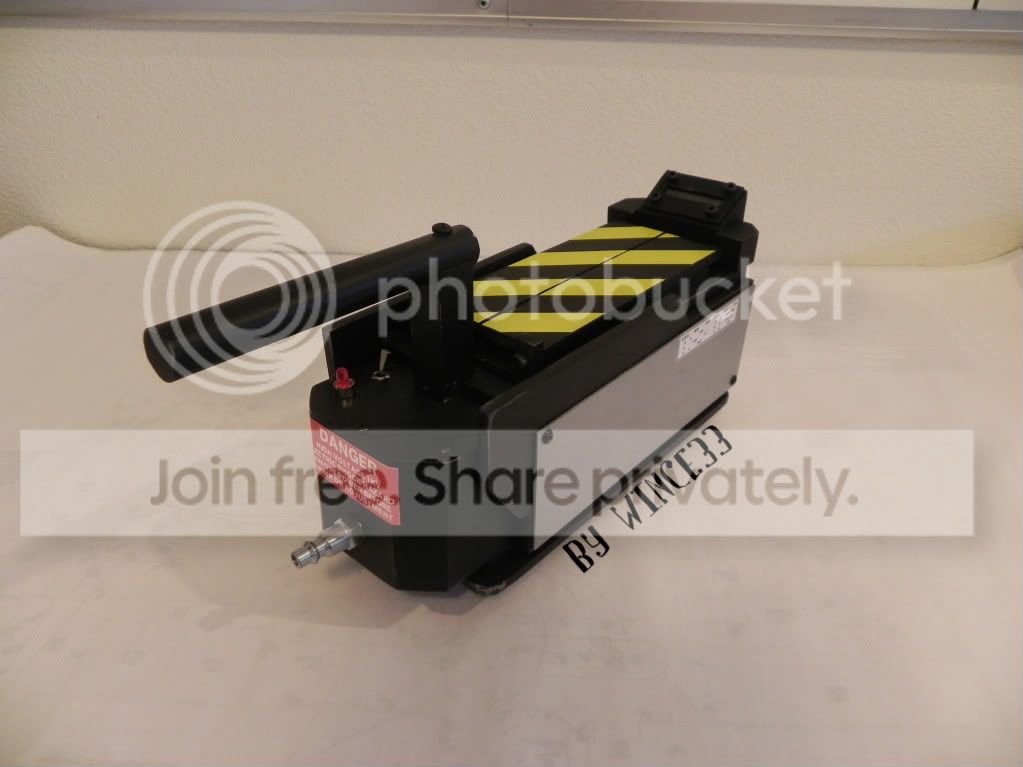
Didn’t really want to post up up a half finished build but I’m encountering a dimension problem, Maybe you guys could help, I’m using the Venkman71 plans ( i just found the JT001 templates and I seem to line up)
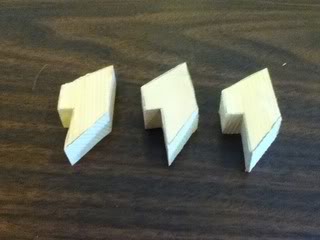
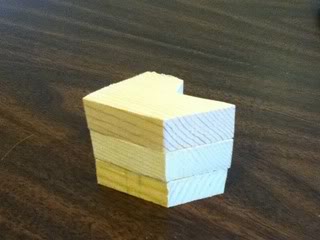
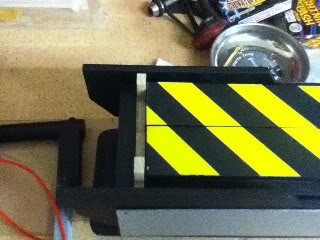
But my cartridge seem off. I mocked up one in cardboard and it seems to short? Shouldn’t it stand out from the front of the trap a bit? I see I need to thicken the back of the outer trap wall to .5",
Someone with more expertese in Traps will undoubtedly chime in later, but from the pictures posted, it doesn’t appear to be shorter than it should be, I took a look at some of the Stunt Trap reference images and the end of the Cartridge appears to line up with the ends of the Trap sides, like yours will when pushed fully into the Trap casing.
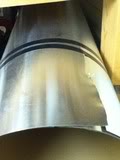
I was digging around in the shop today and found this aluminum sheeting, we used on a job awhile ago. Is it to thin to use for the side plates on a trap?
If you are going to use the sheeting I would recommend you cut the pieces 1/2" larger than the plans call for and bend the edges so you are left with a dull edge. To do this just mark it , score it lightly on the back side and bend it over using another straight piece as a brake. You can wedge out the corners so it folds back nicely. That sheeting is as sharp as a scalpel so be careful.
Another cheap alternative is plastic sign styrene, you can get them at dollar stores and just paint them silver.
Not a bad idea, wrapping it around some wood, not the stitches..
Im going to check in with my brotherIL he runs a metal shop, not sure how much aluminum he works with, as he does a lot of steel work with his plasma table.
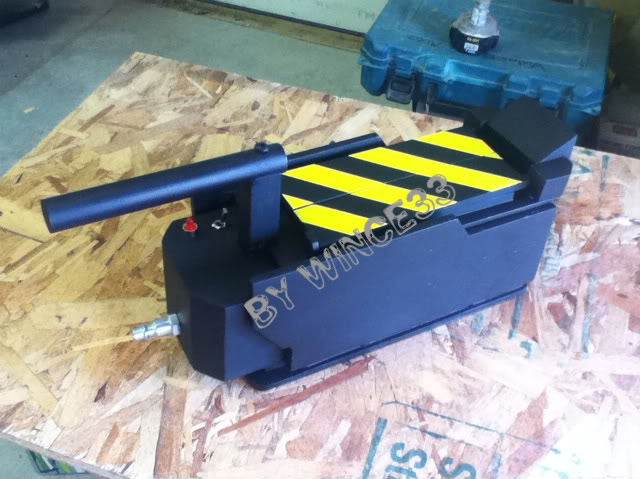
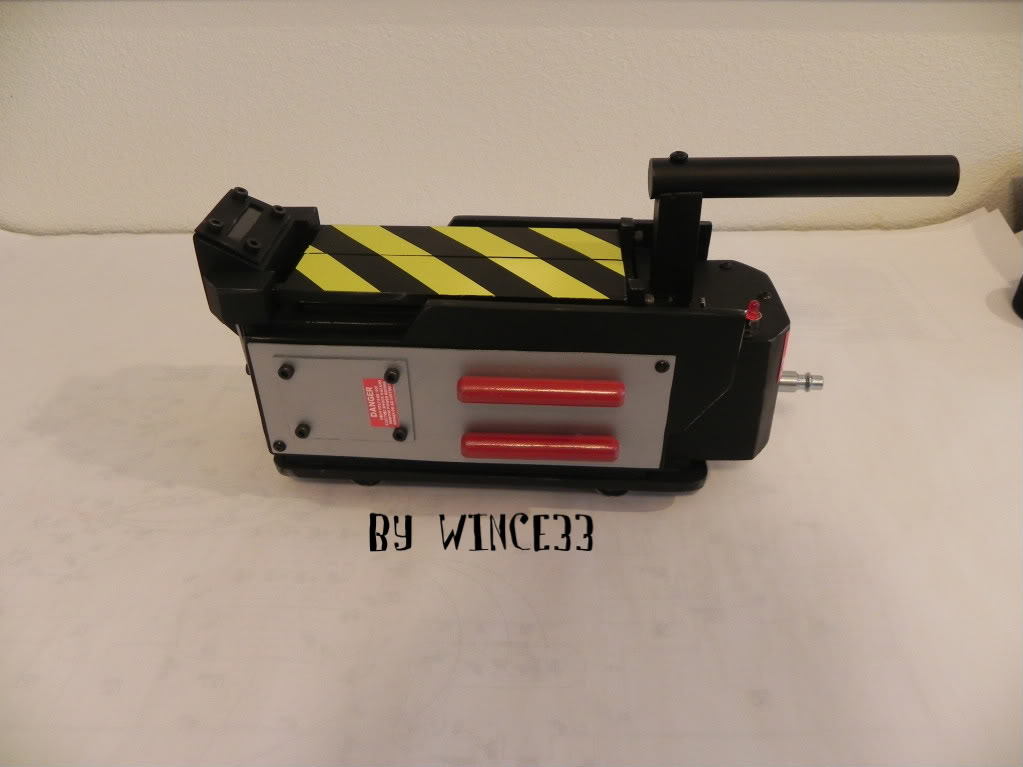
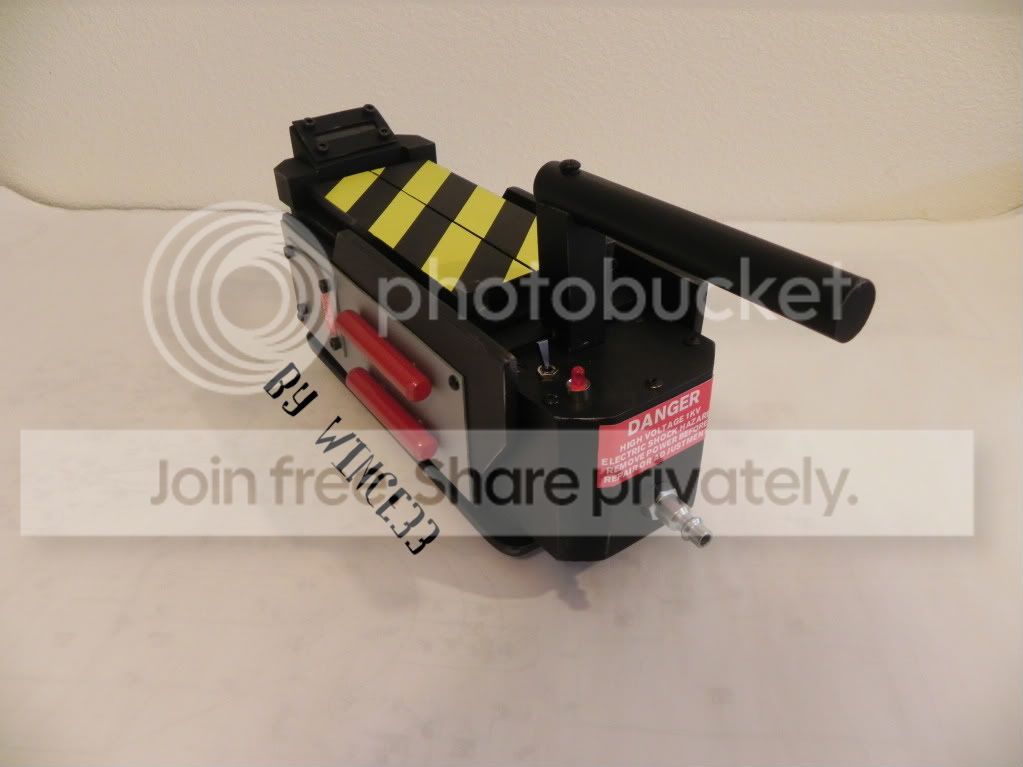
Got the handle put together (1/2" EMT should weather good) and started fabricating the cartridge box
A little update, got far enought I wanted to get some primer on to see how much more work I need on the exposed wood grain. Im not happy with the front indiactor so im going to rebuild it
So starting over for me, I have some wood that I used for the doors that should work better than the scrap oak trim I found. Wish me luck.. No more work for now time to go coach my daughters 3rd grade Y B-ball..