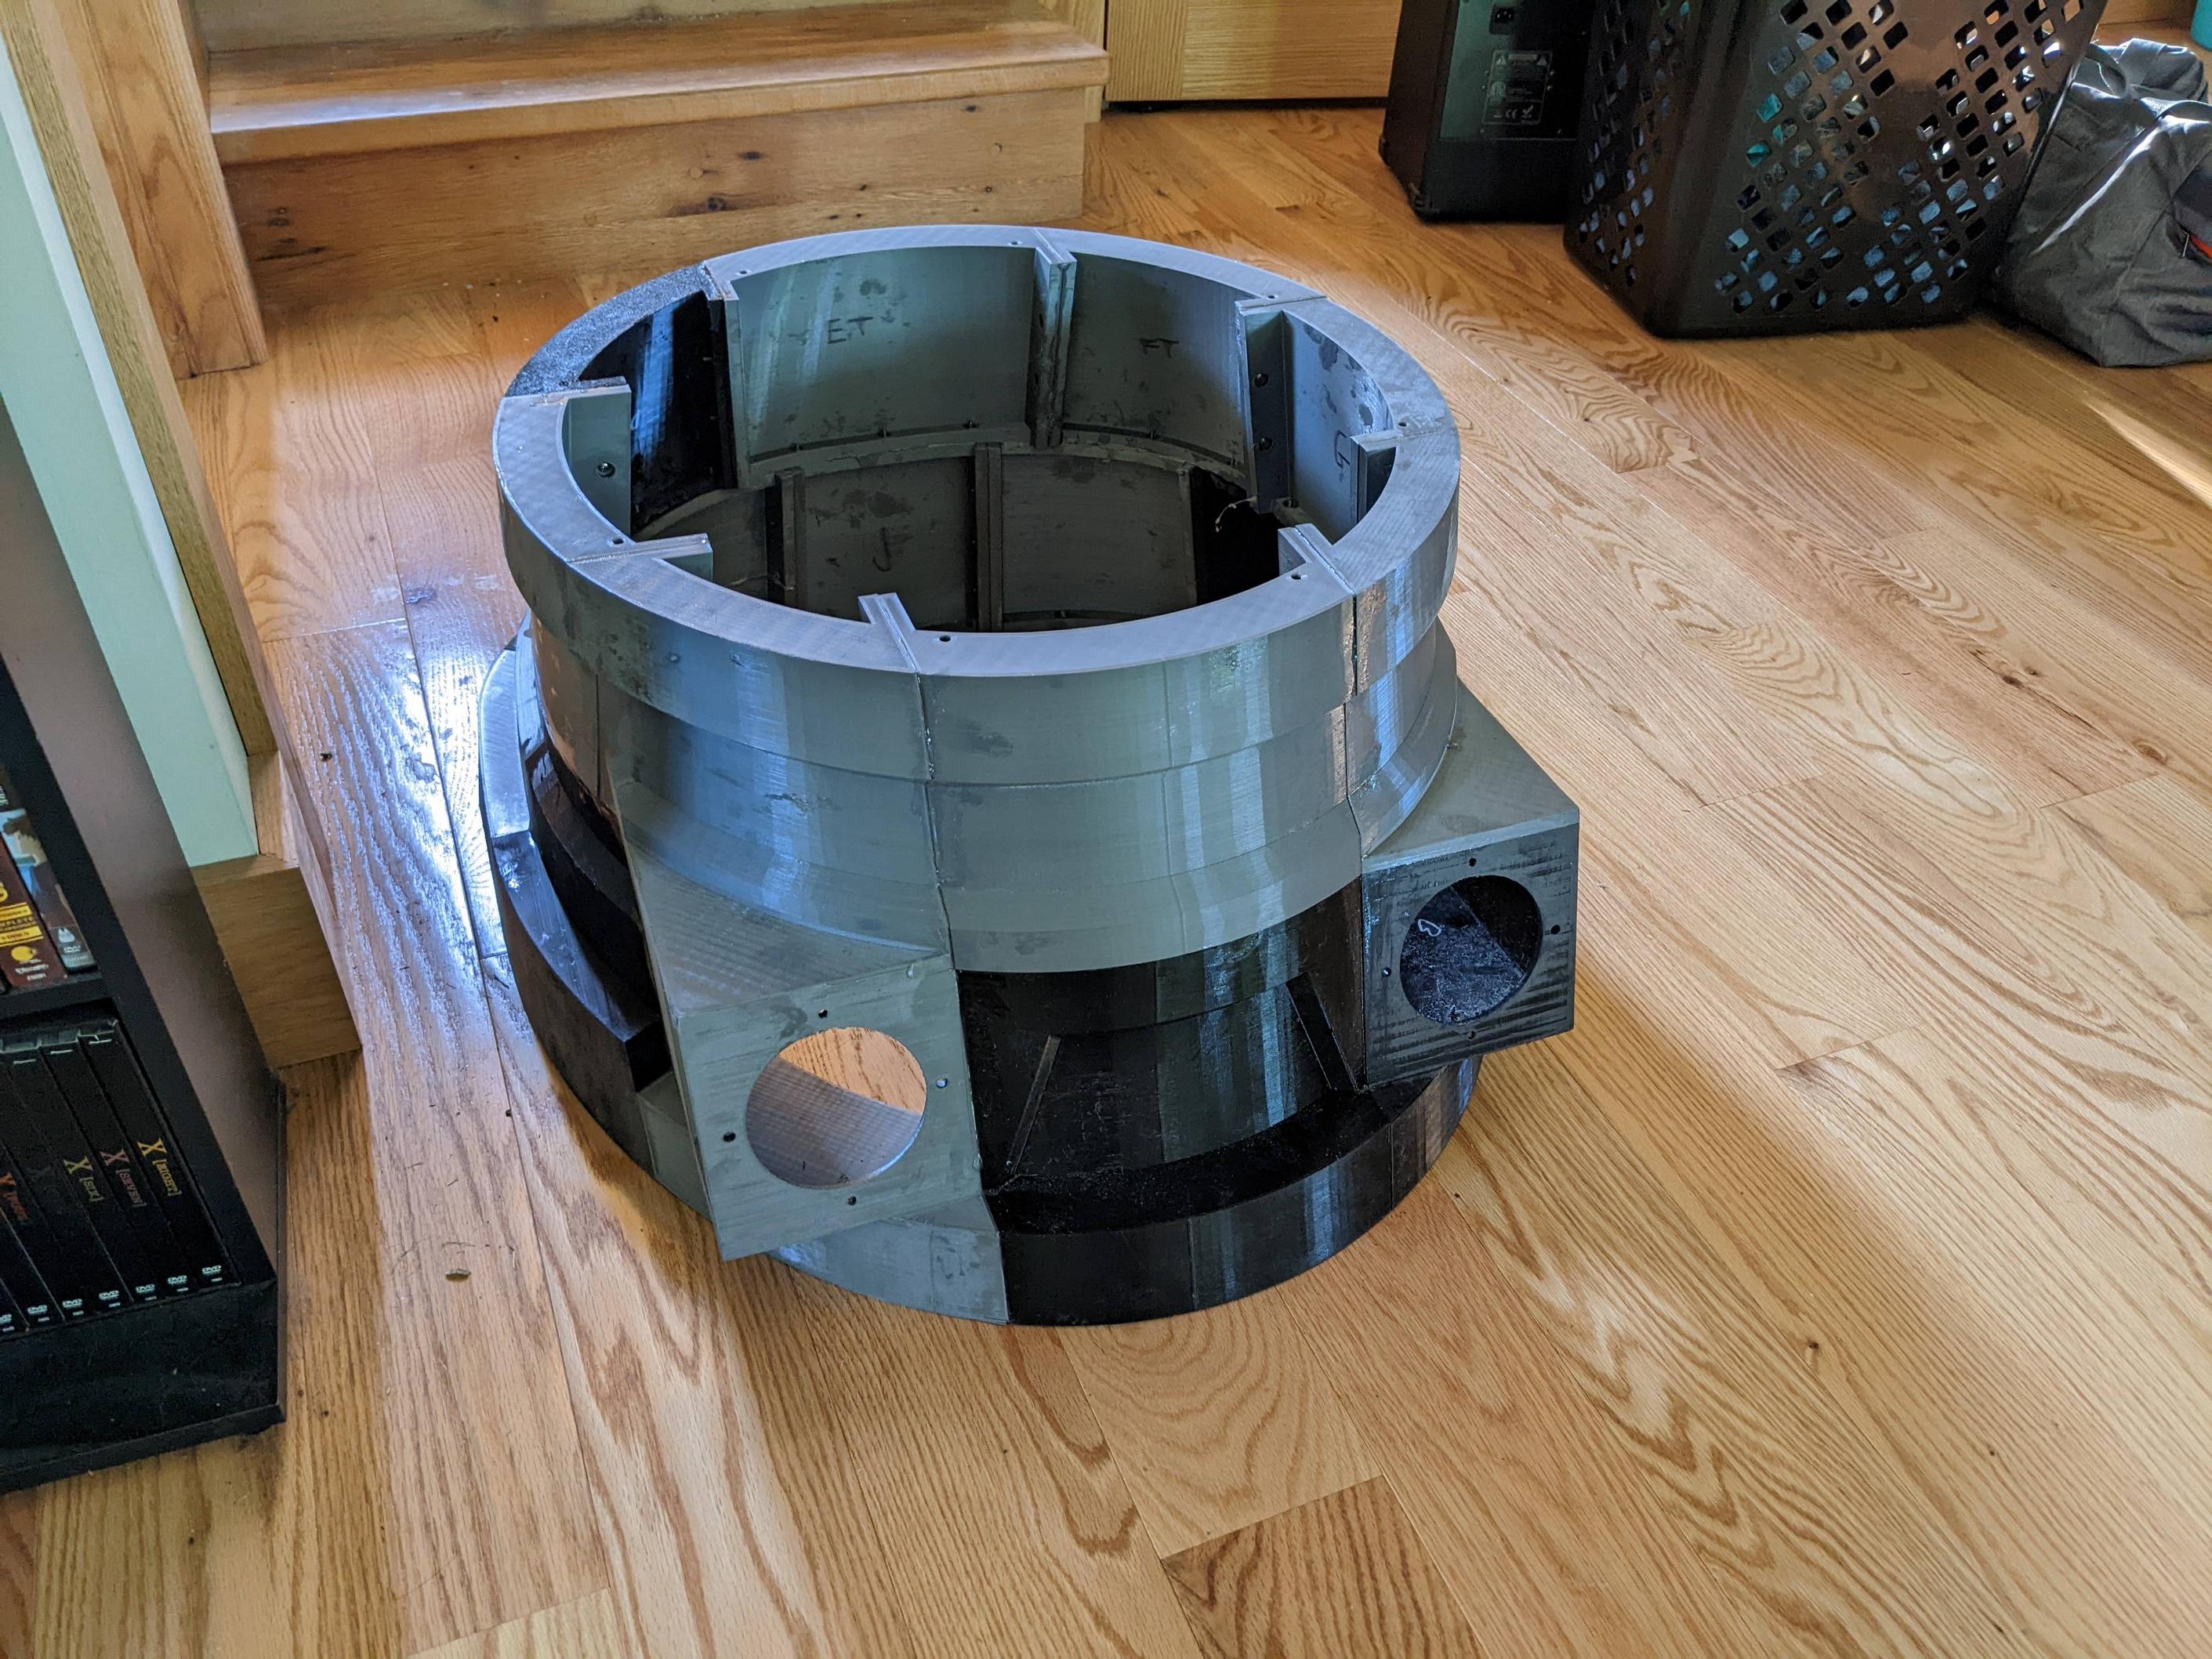
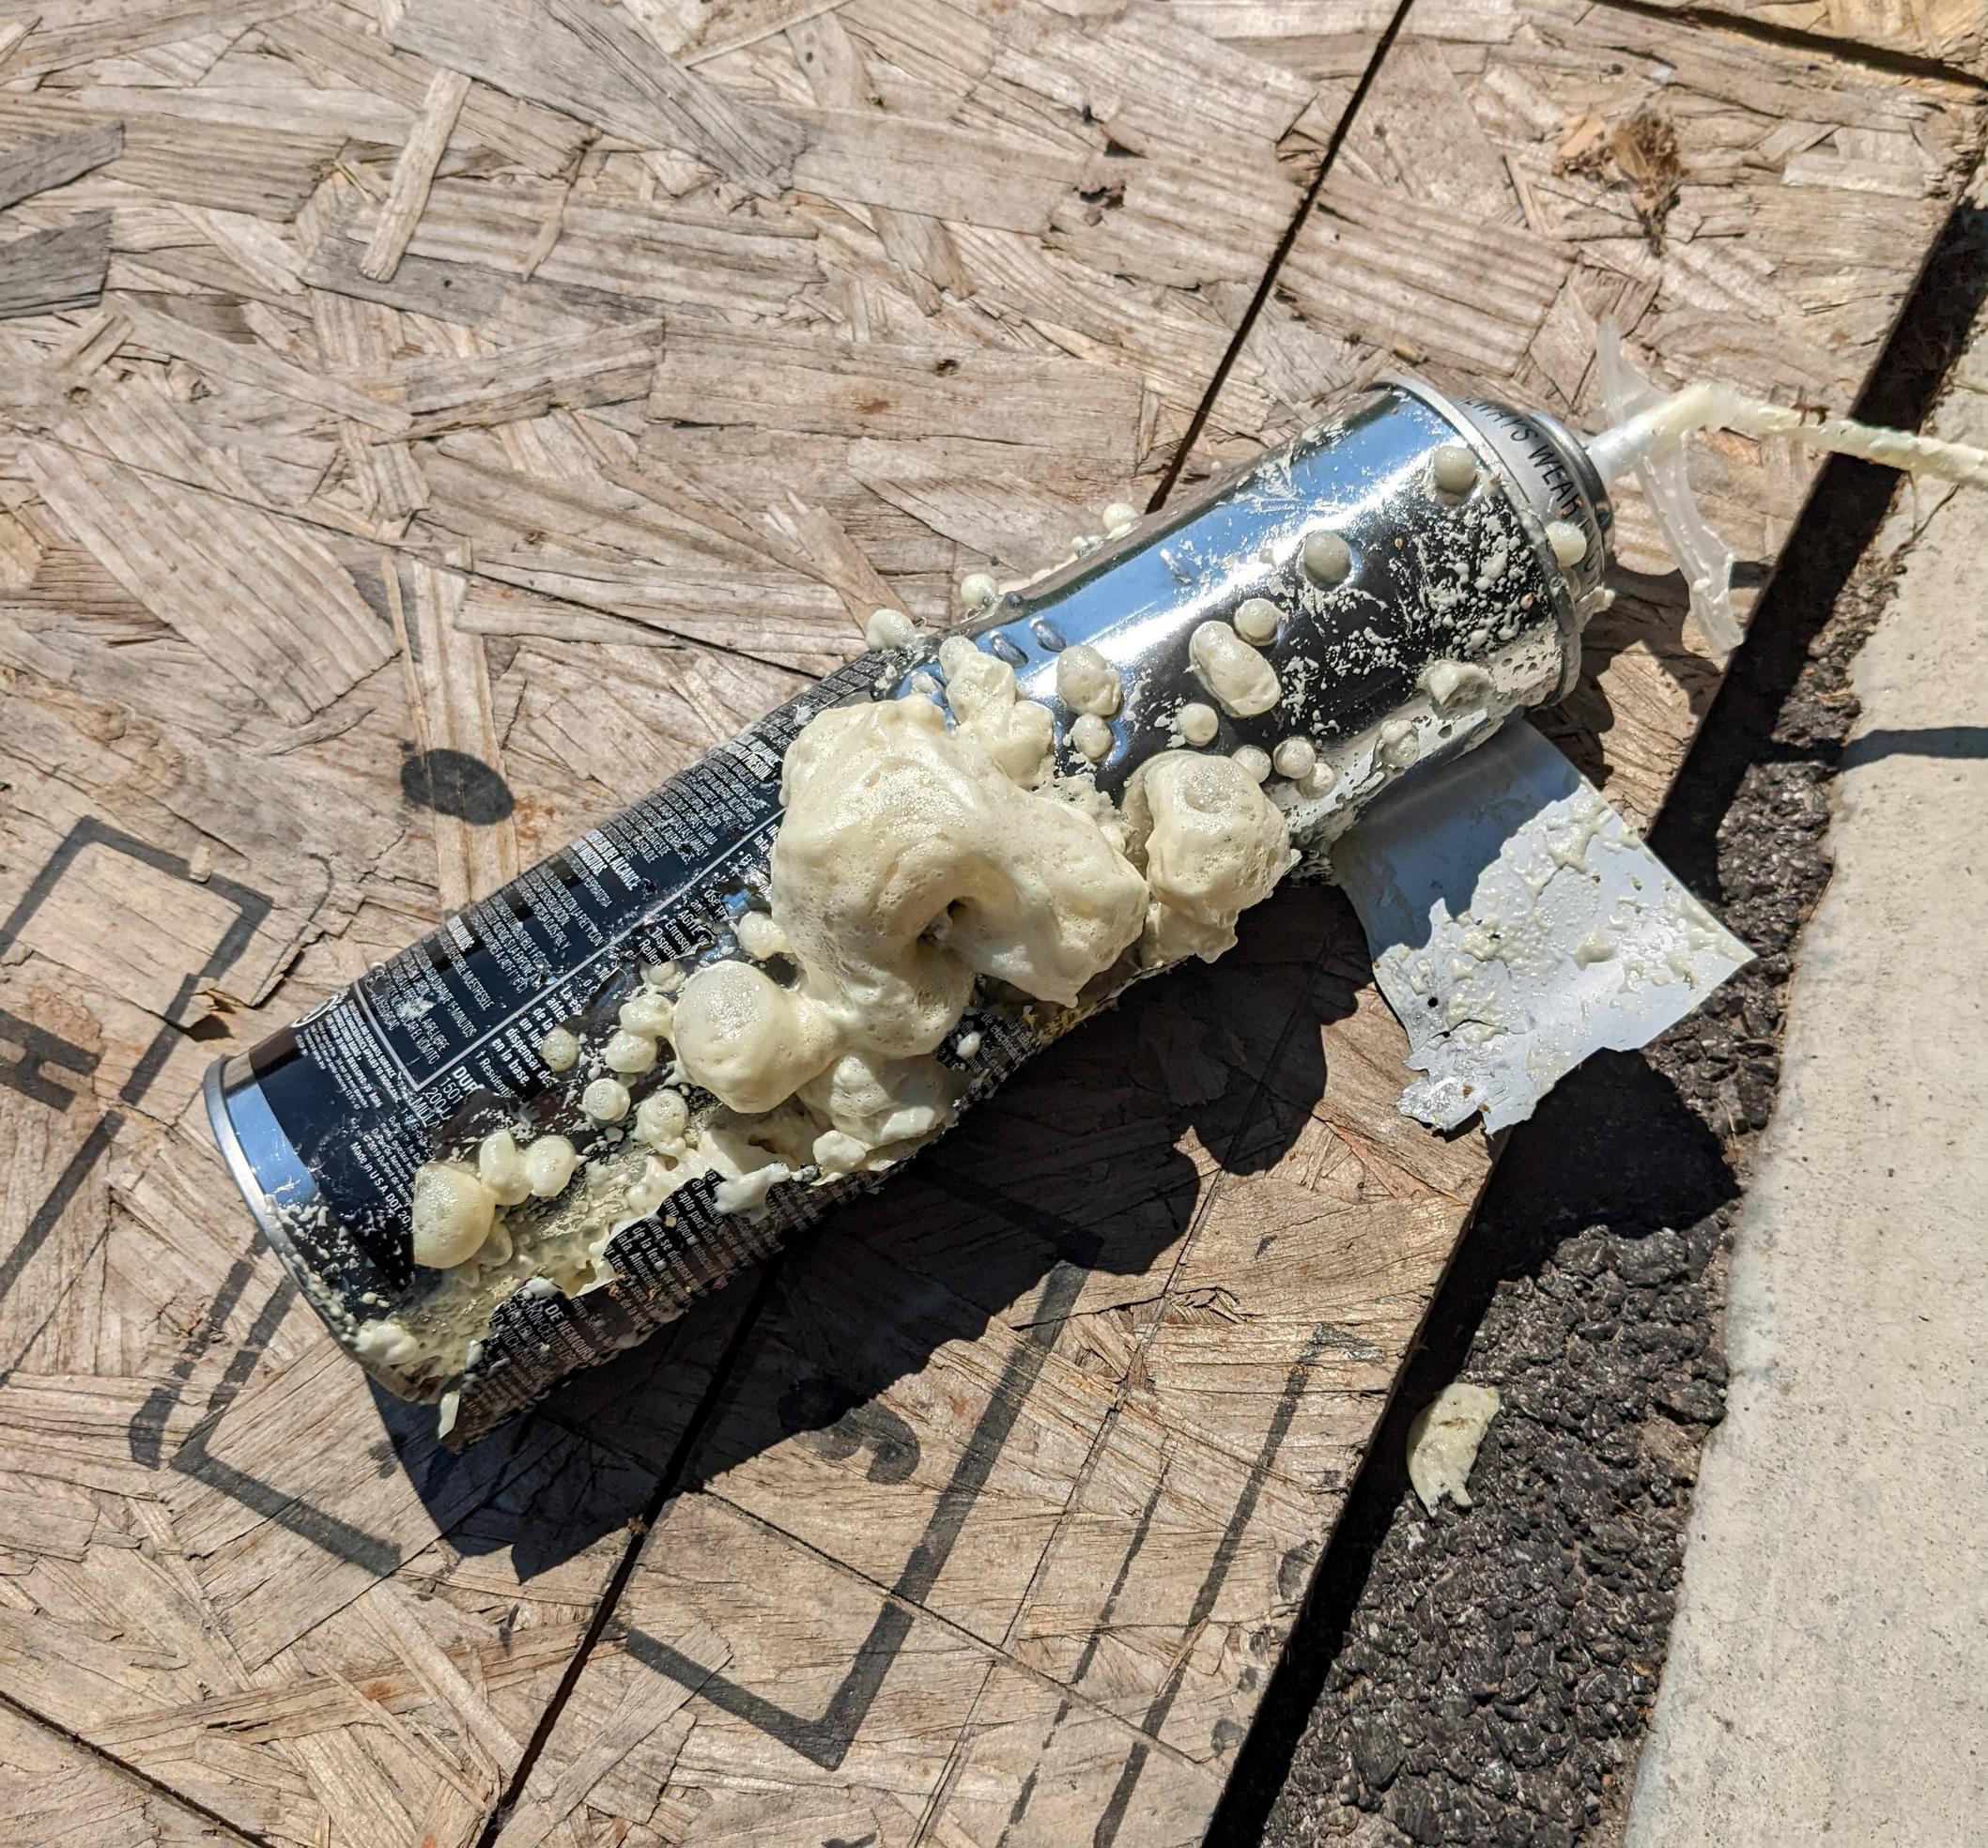
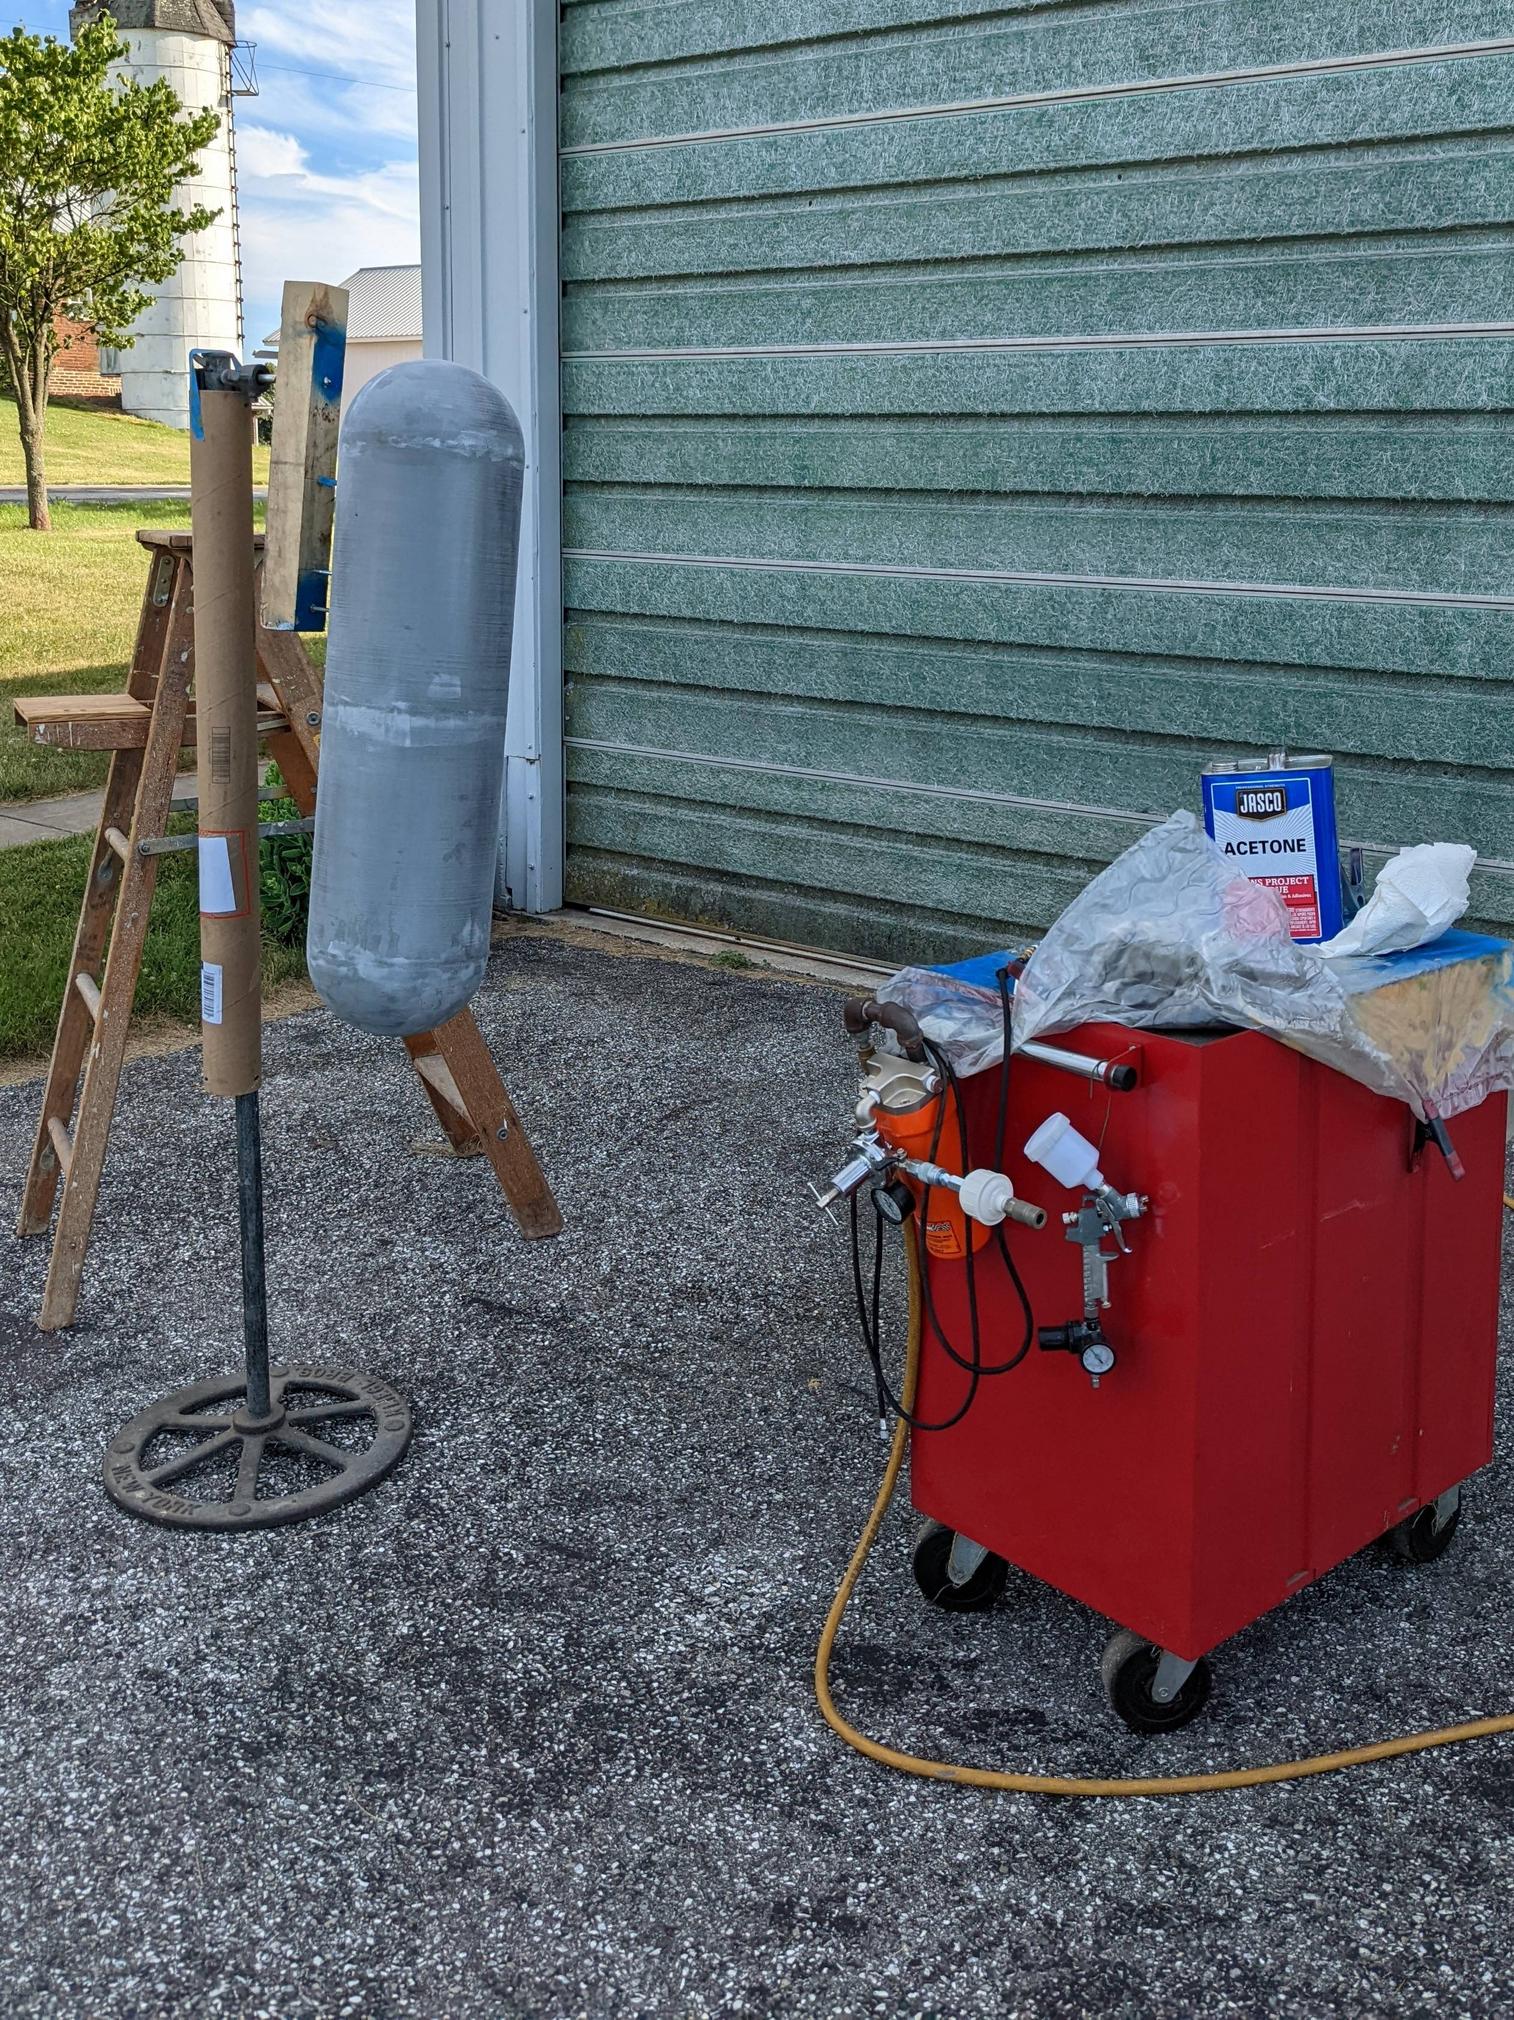
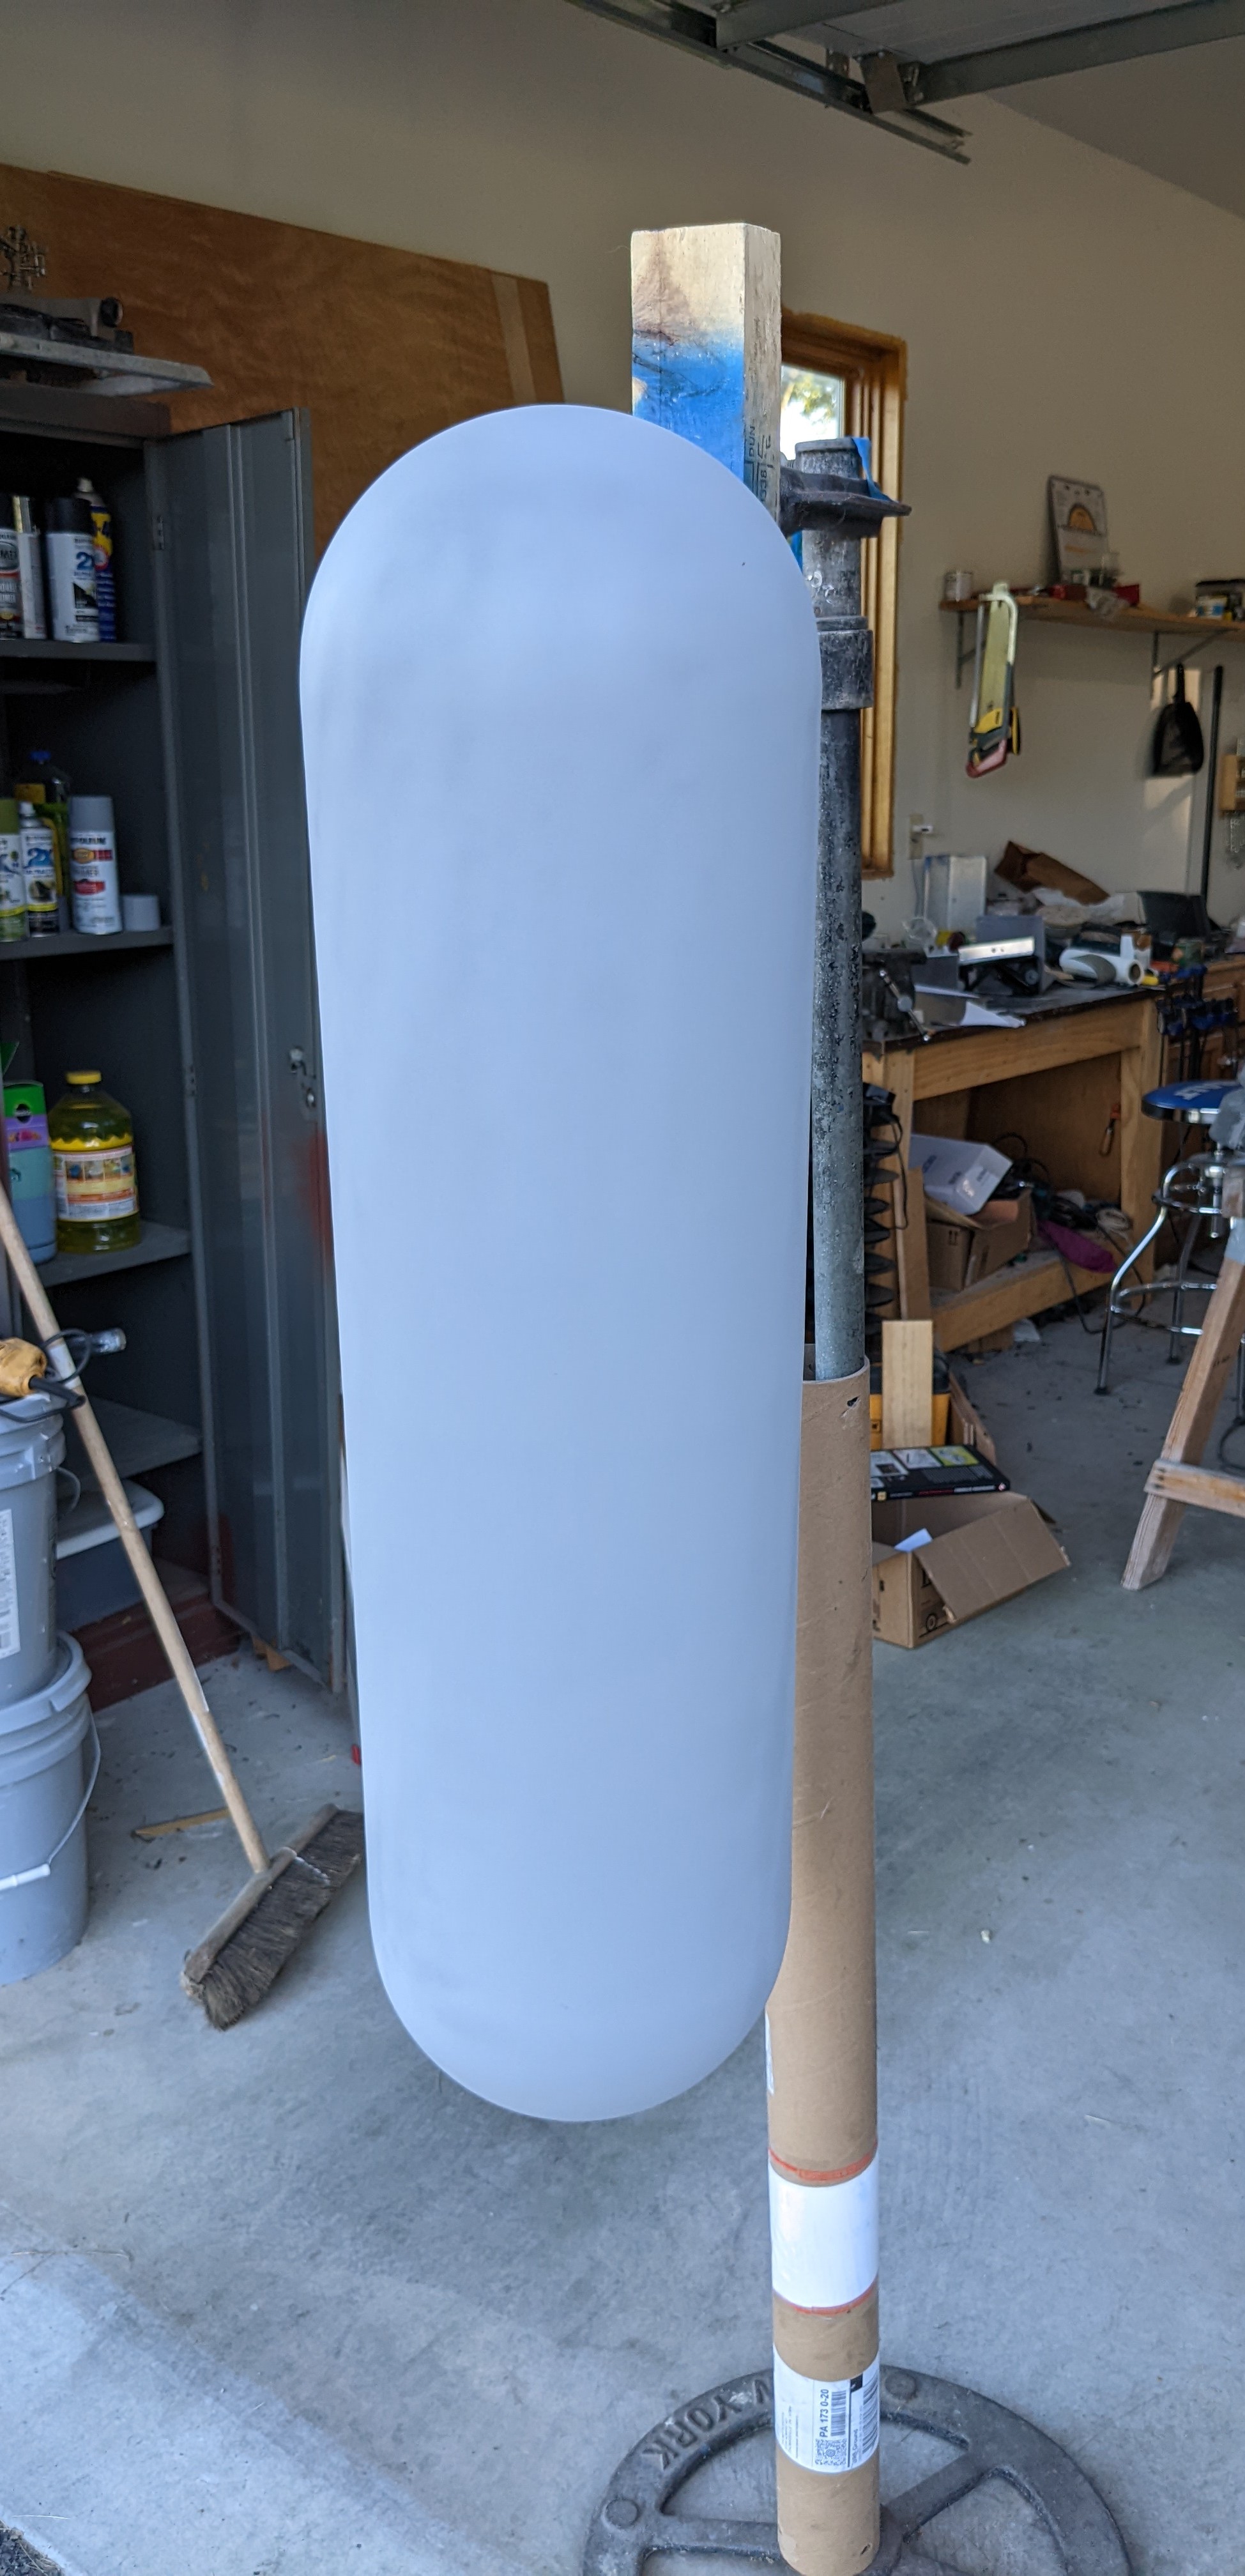
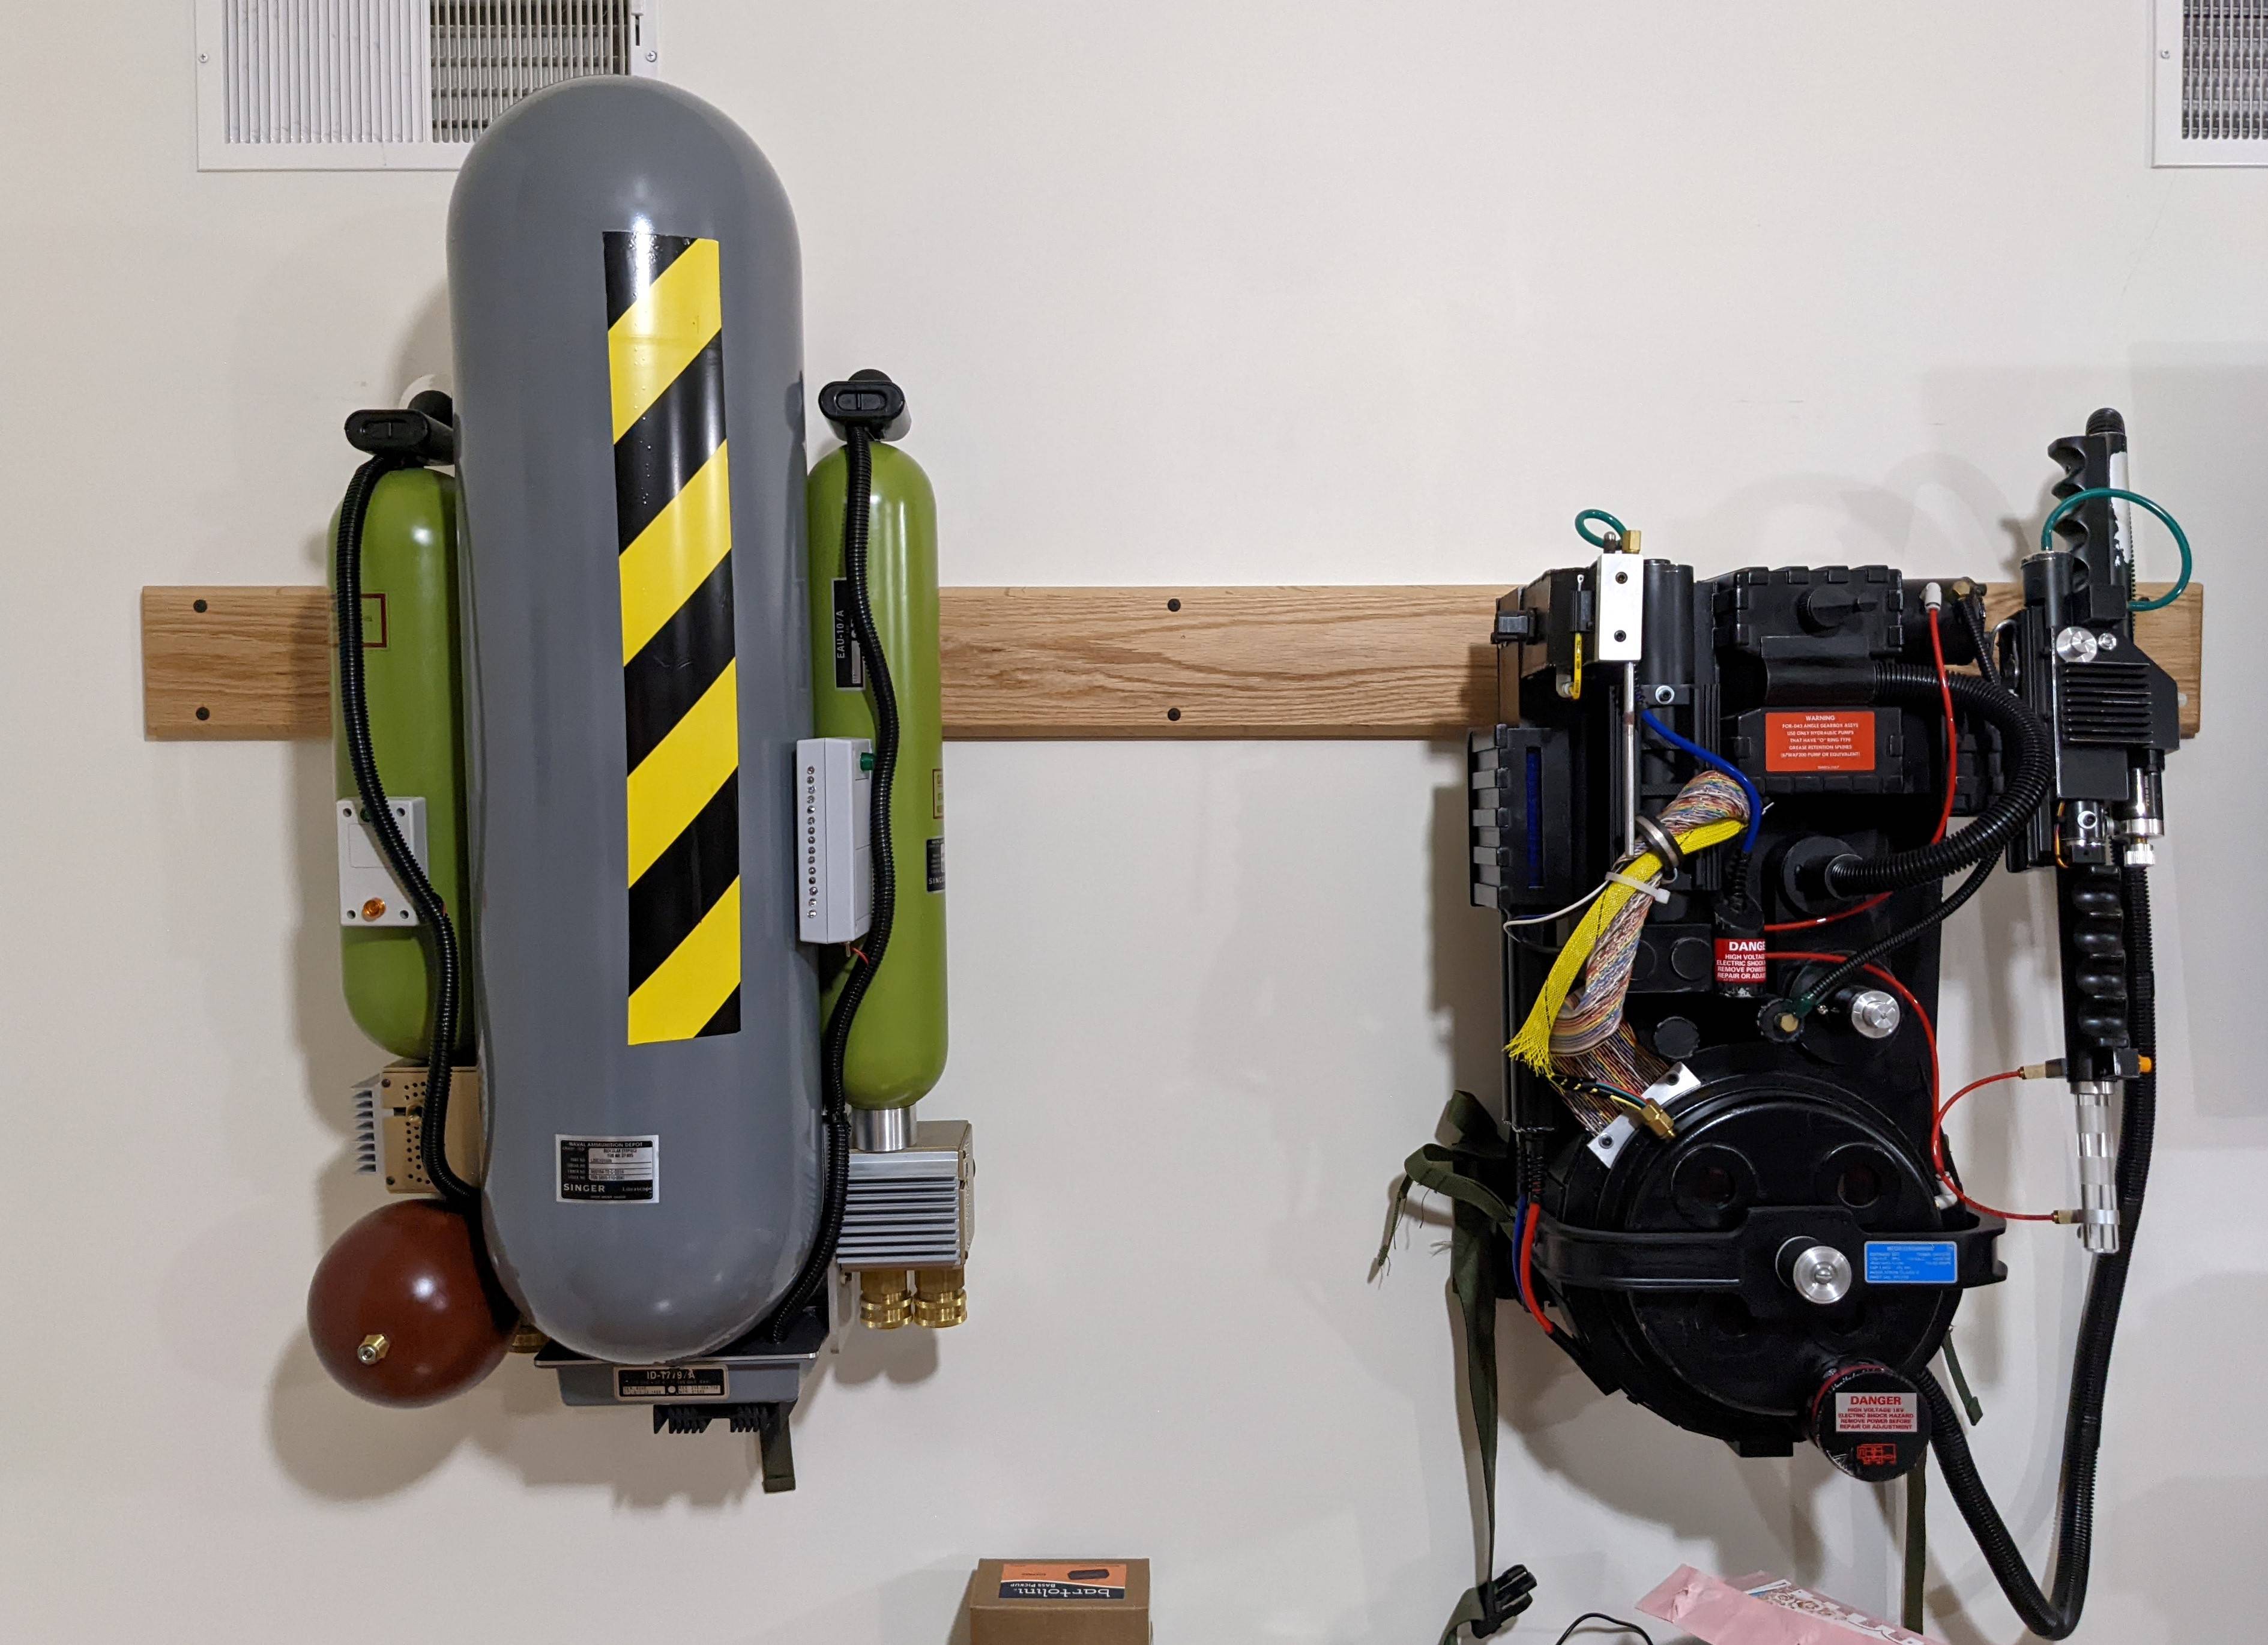
I read about a new finishing technique for 3d printed parts; you mix air cure bondo putty with acetone an spray in on. Preferably with a $16 harbor freight junker spray gun.
This is the first part I tried it on, and it worked a treat.
Only downside is I can’t seem to find the air cure stuff in big bulk cans like you can with the 2 part.
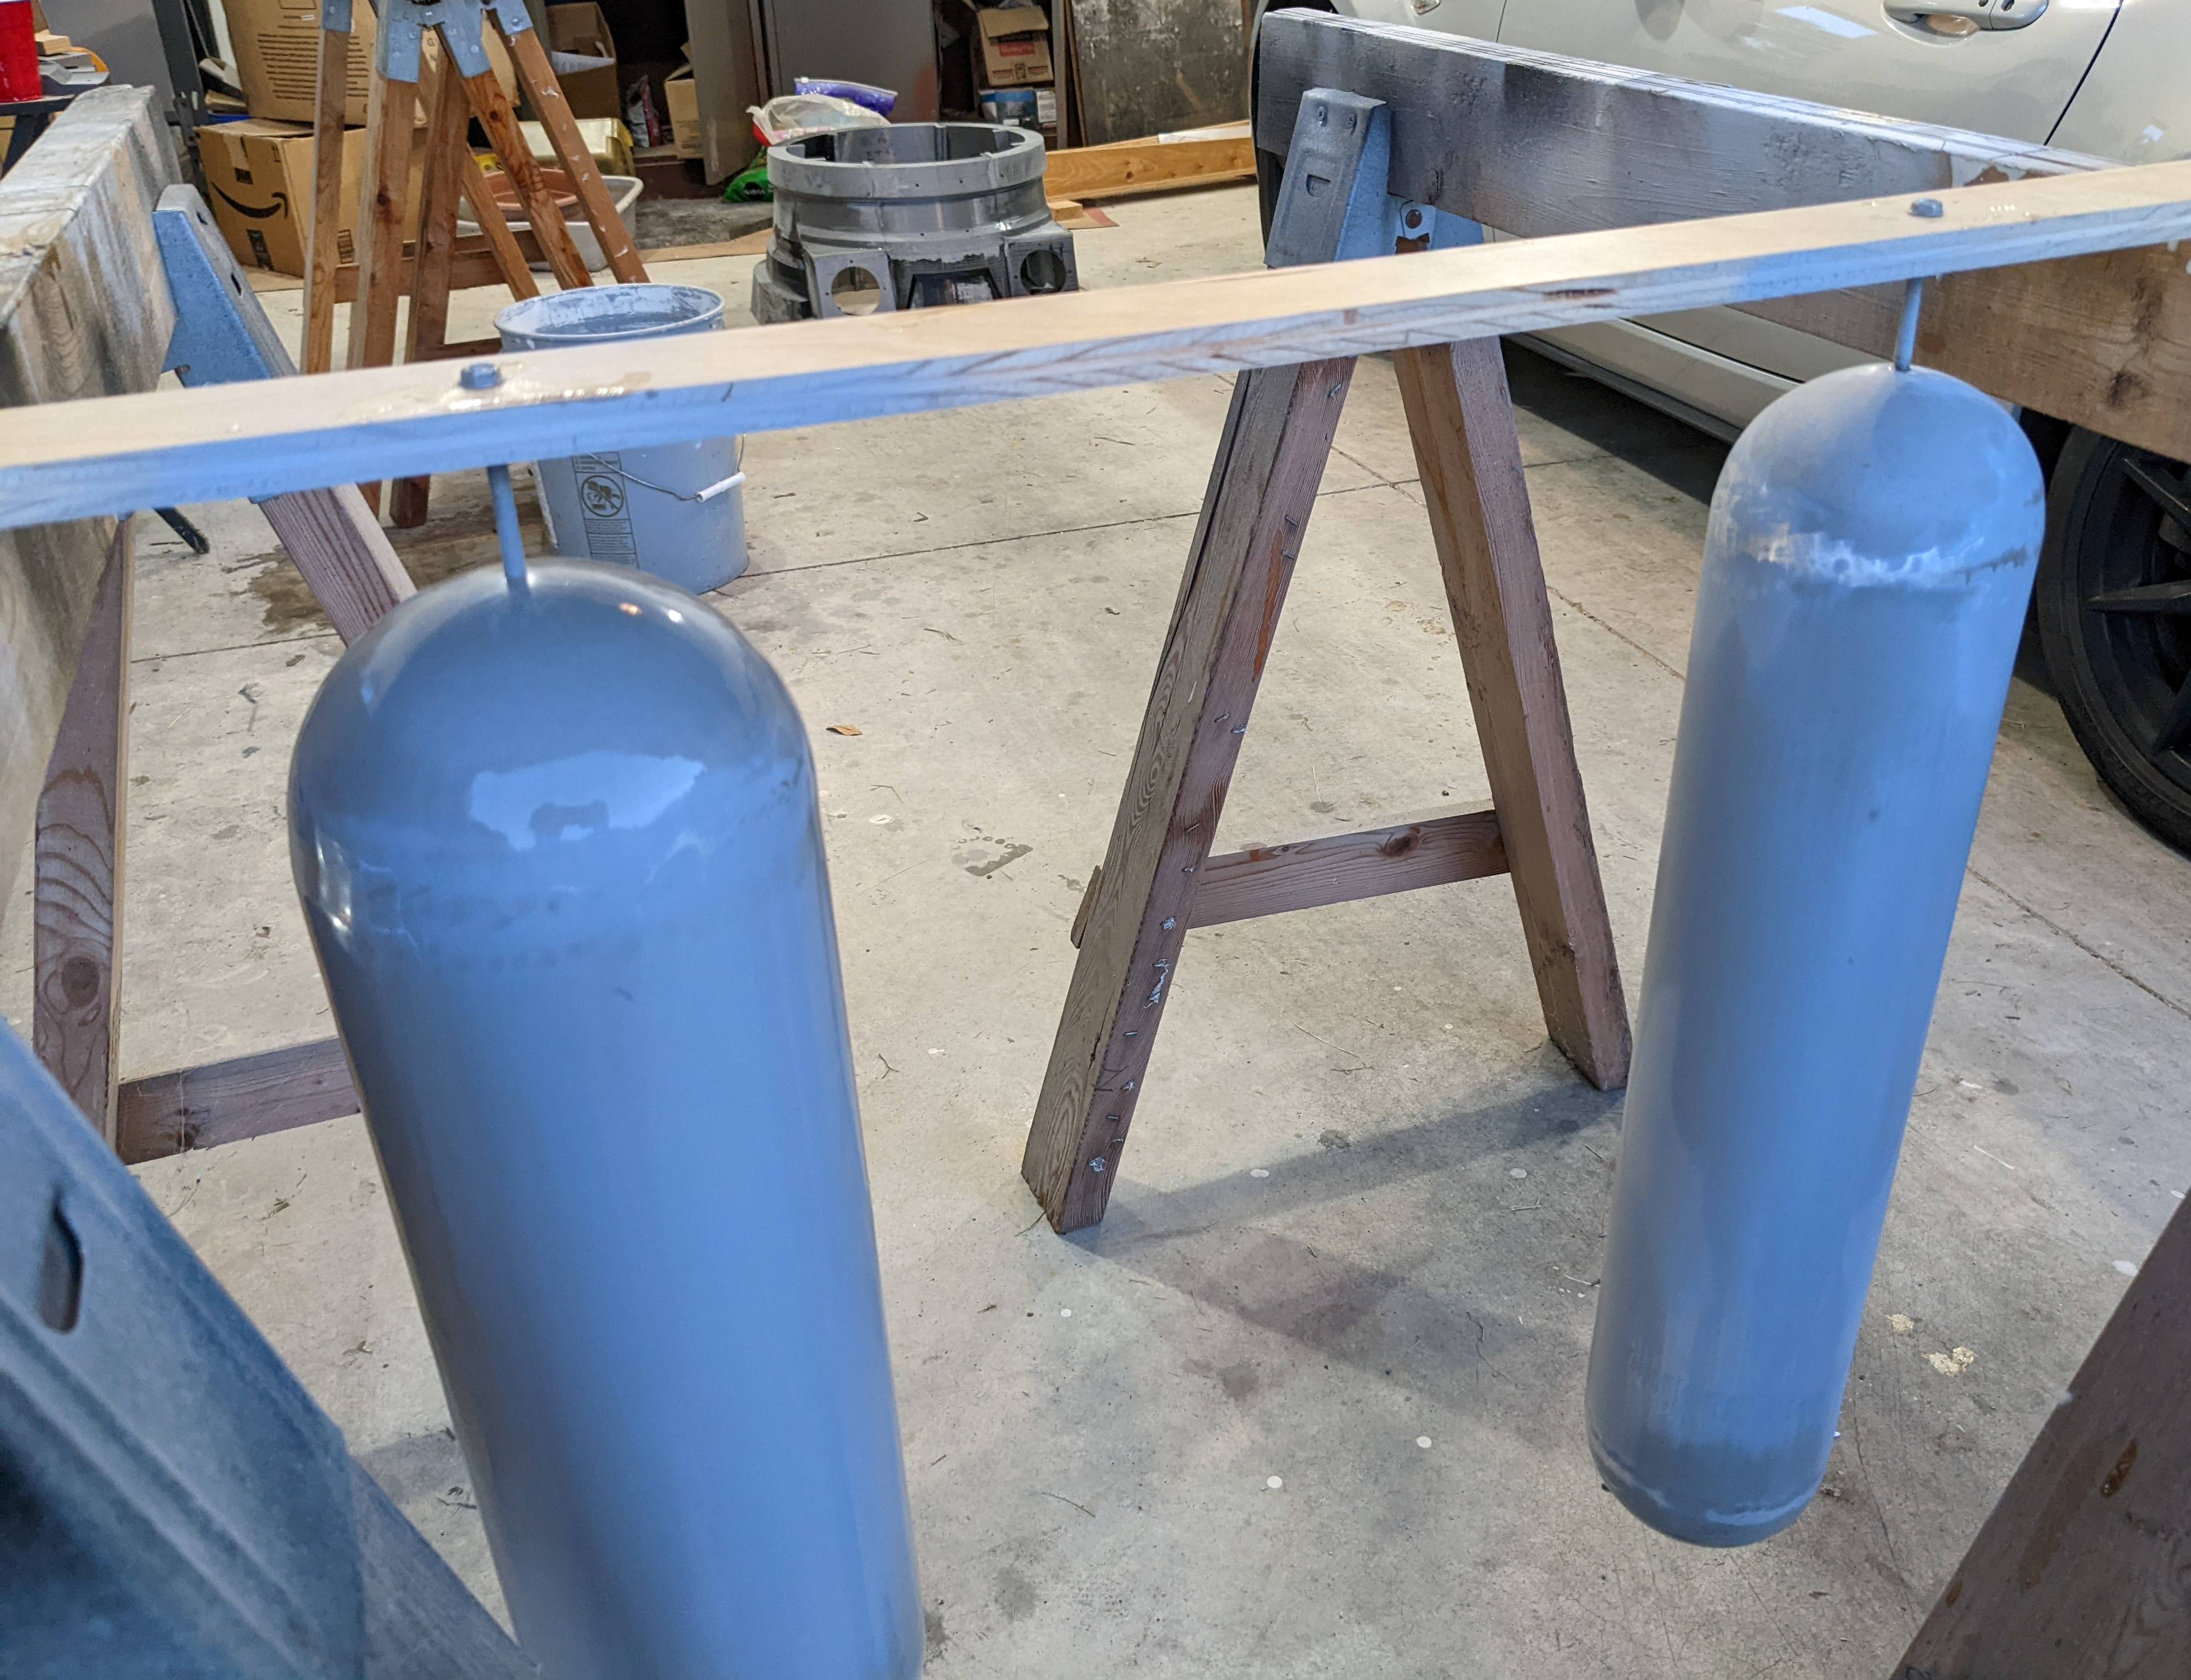
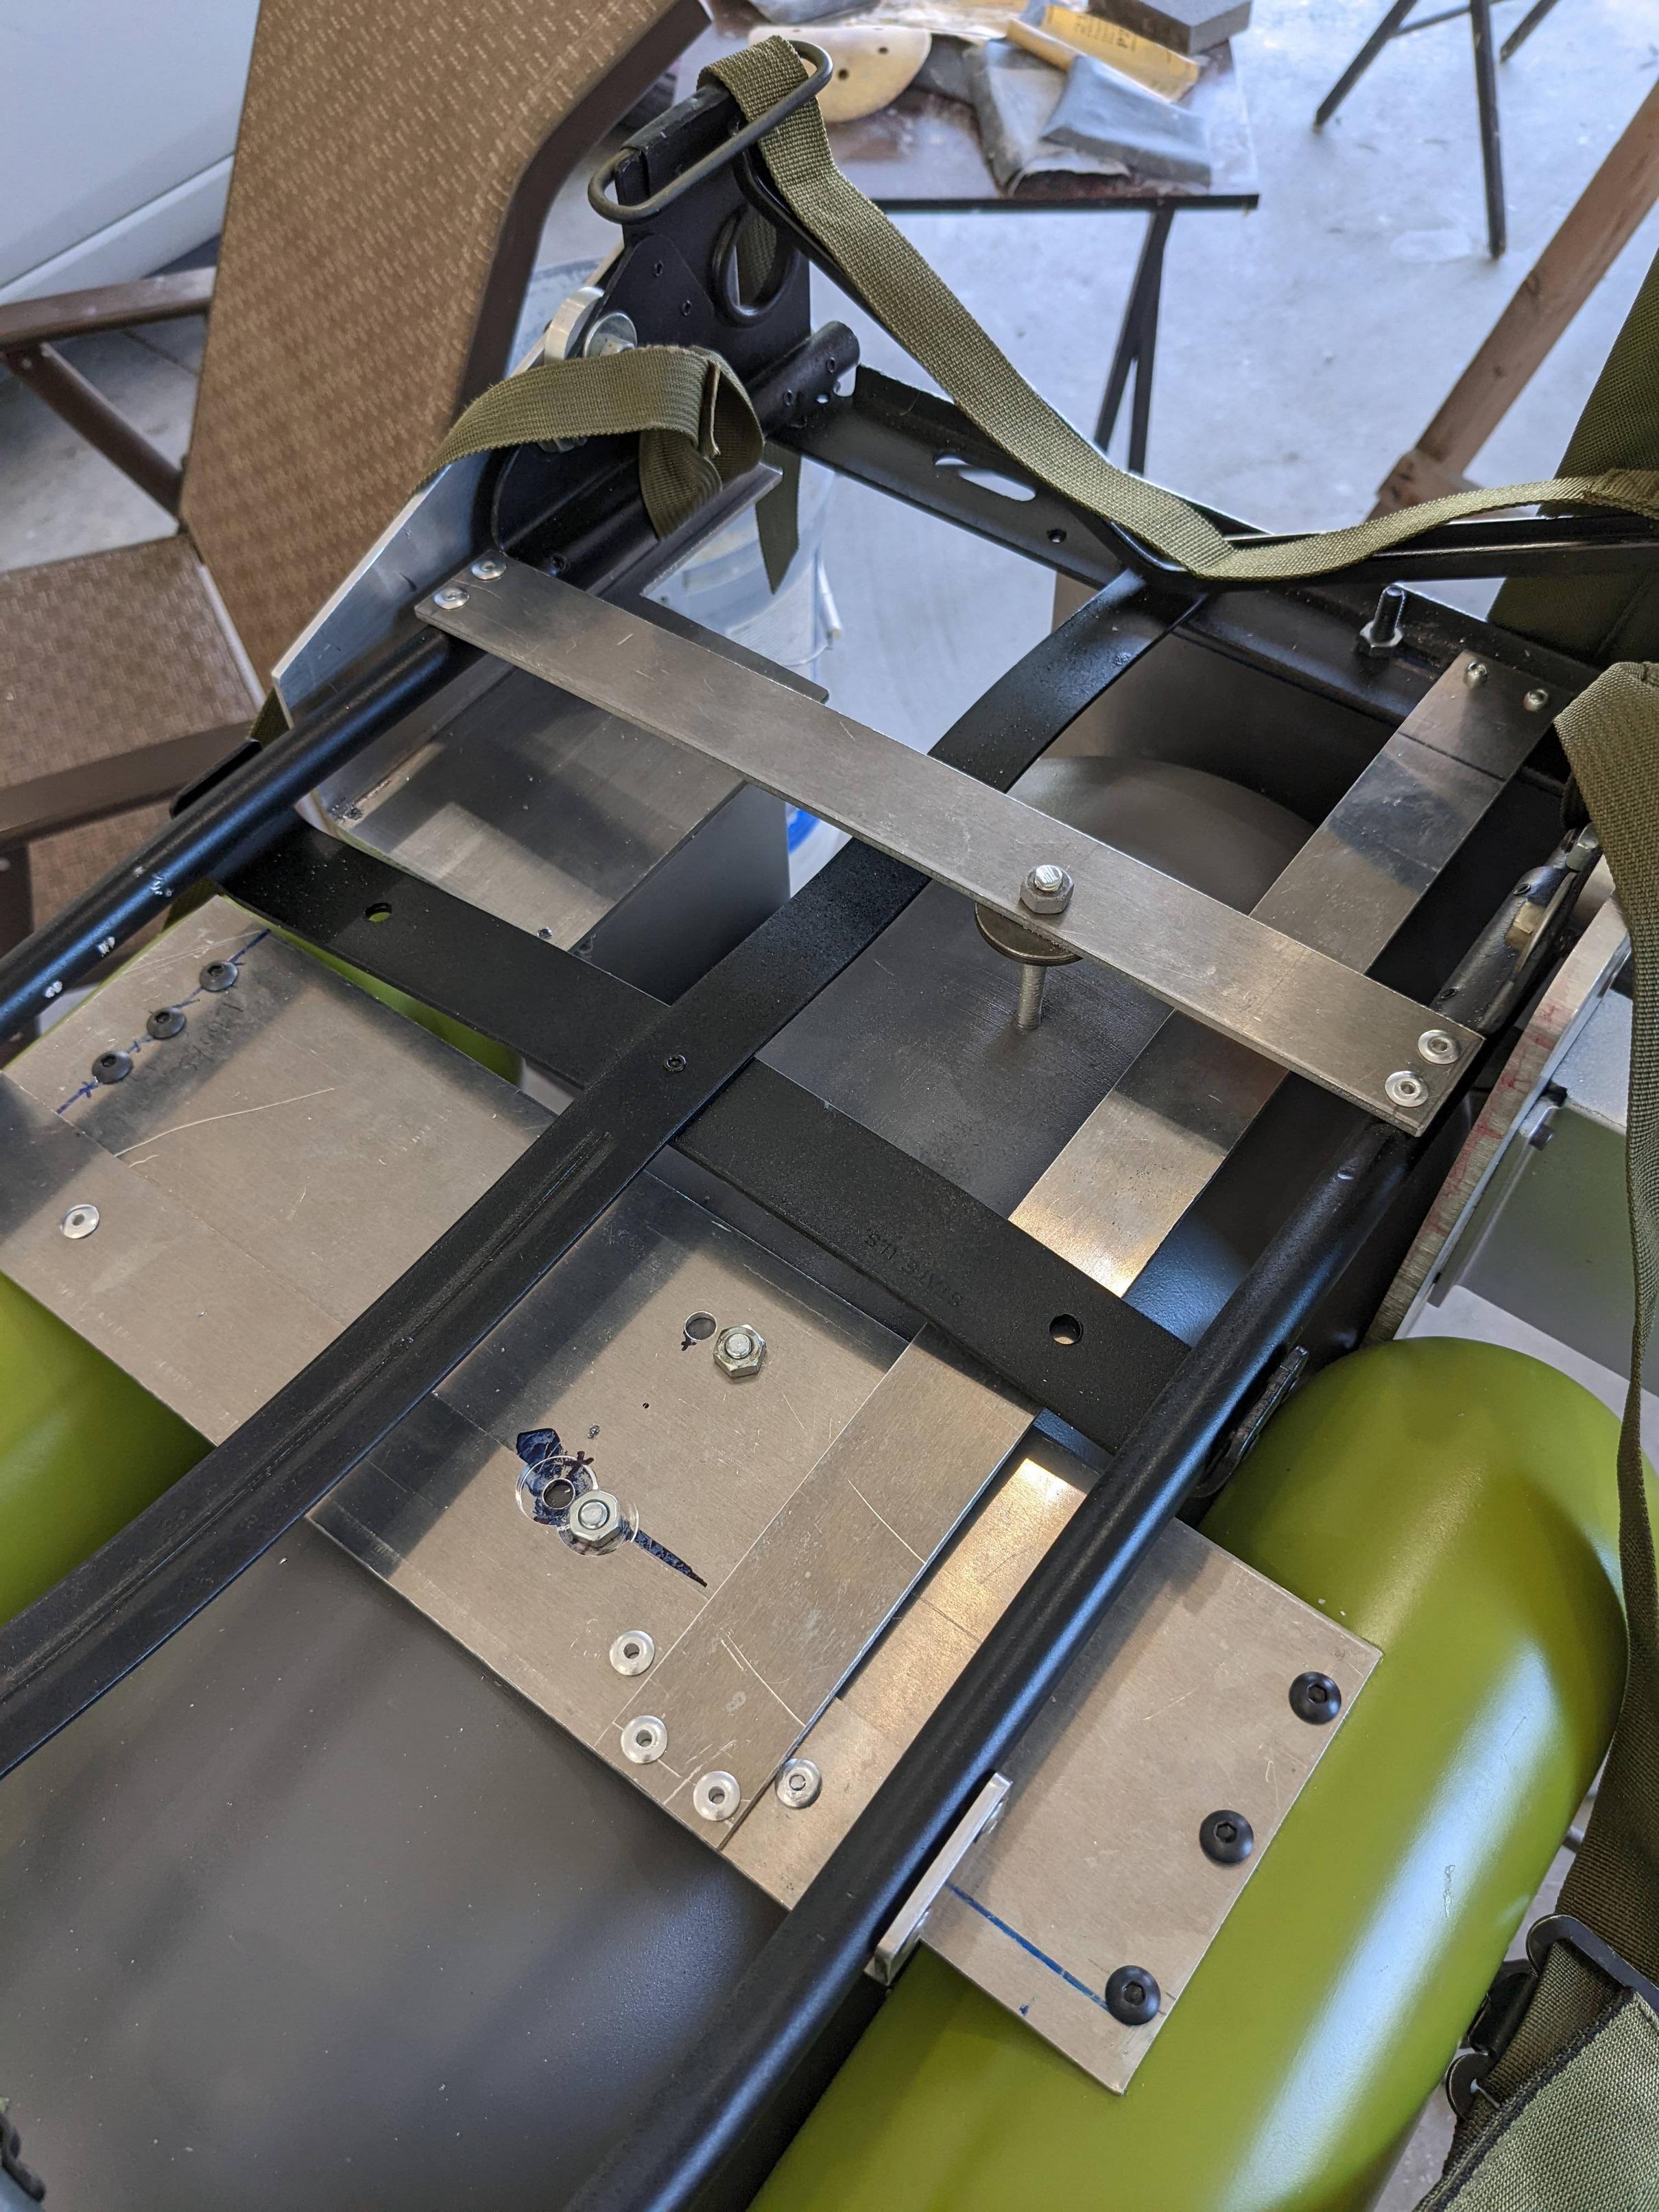
Spent the last few evenings mounting tanks. There’s a lot of fussing and fiddling involved.
I added another crossmember to give myself another mounting point for the main tank. It’s not accurate, but no one will be able to see it once the vest is on. I also used bolts to mount the side tank. The real deal used pop rivets, but I wanted to be able to remove them if a repair is needed in the future.
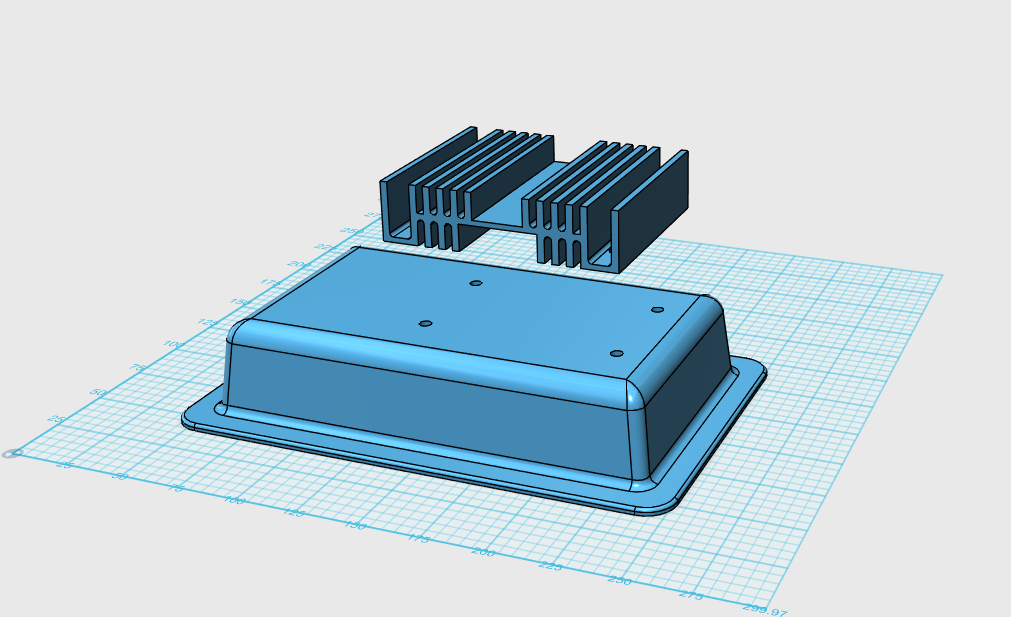
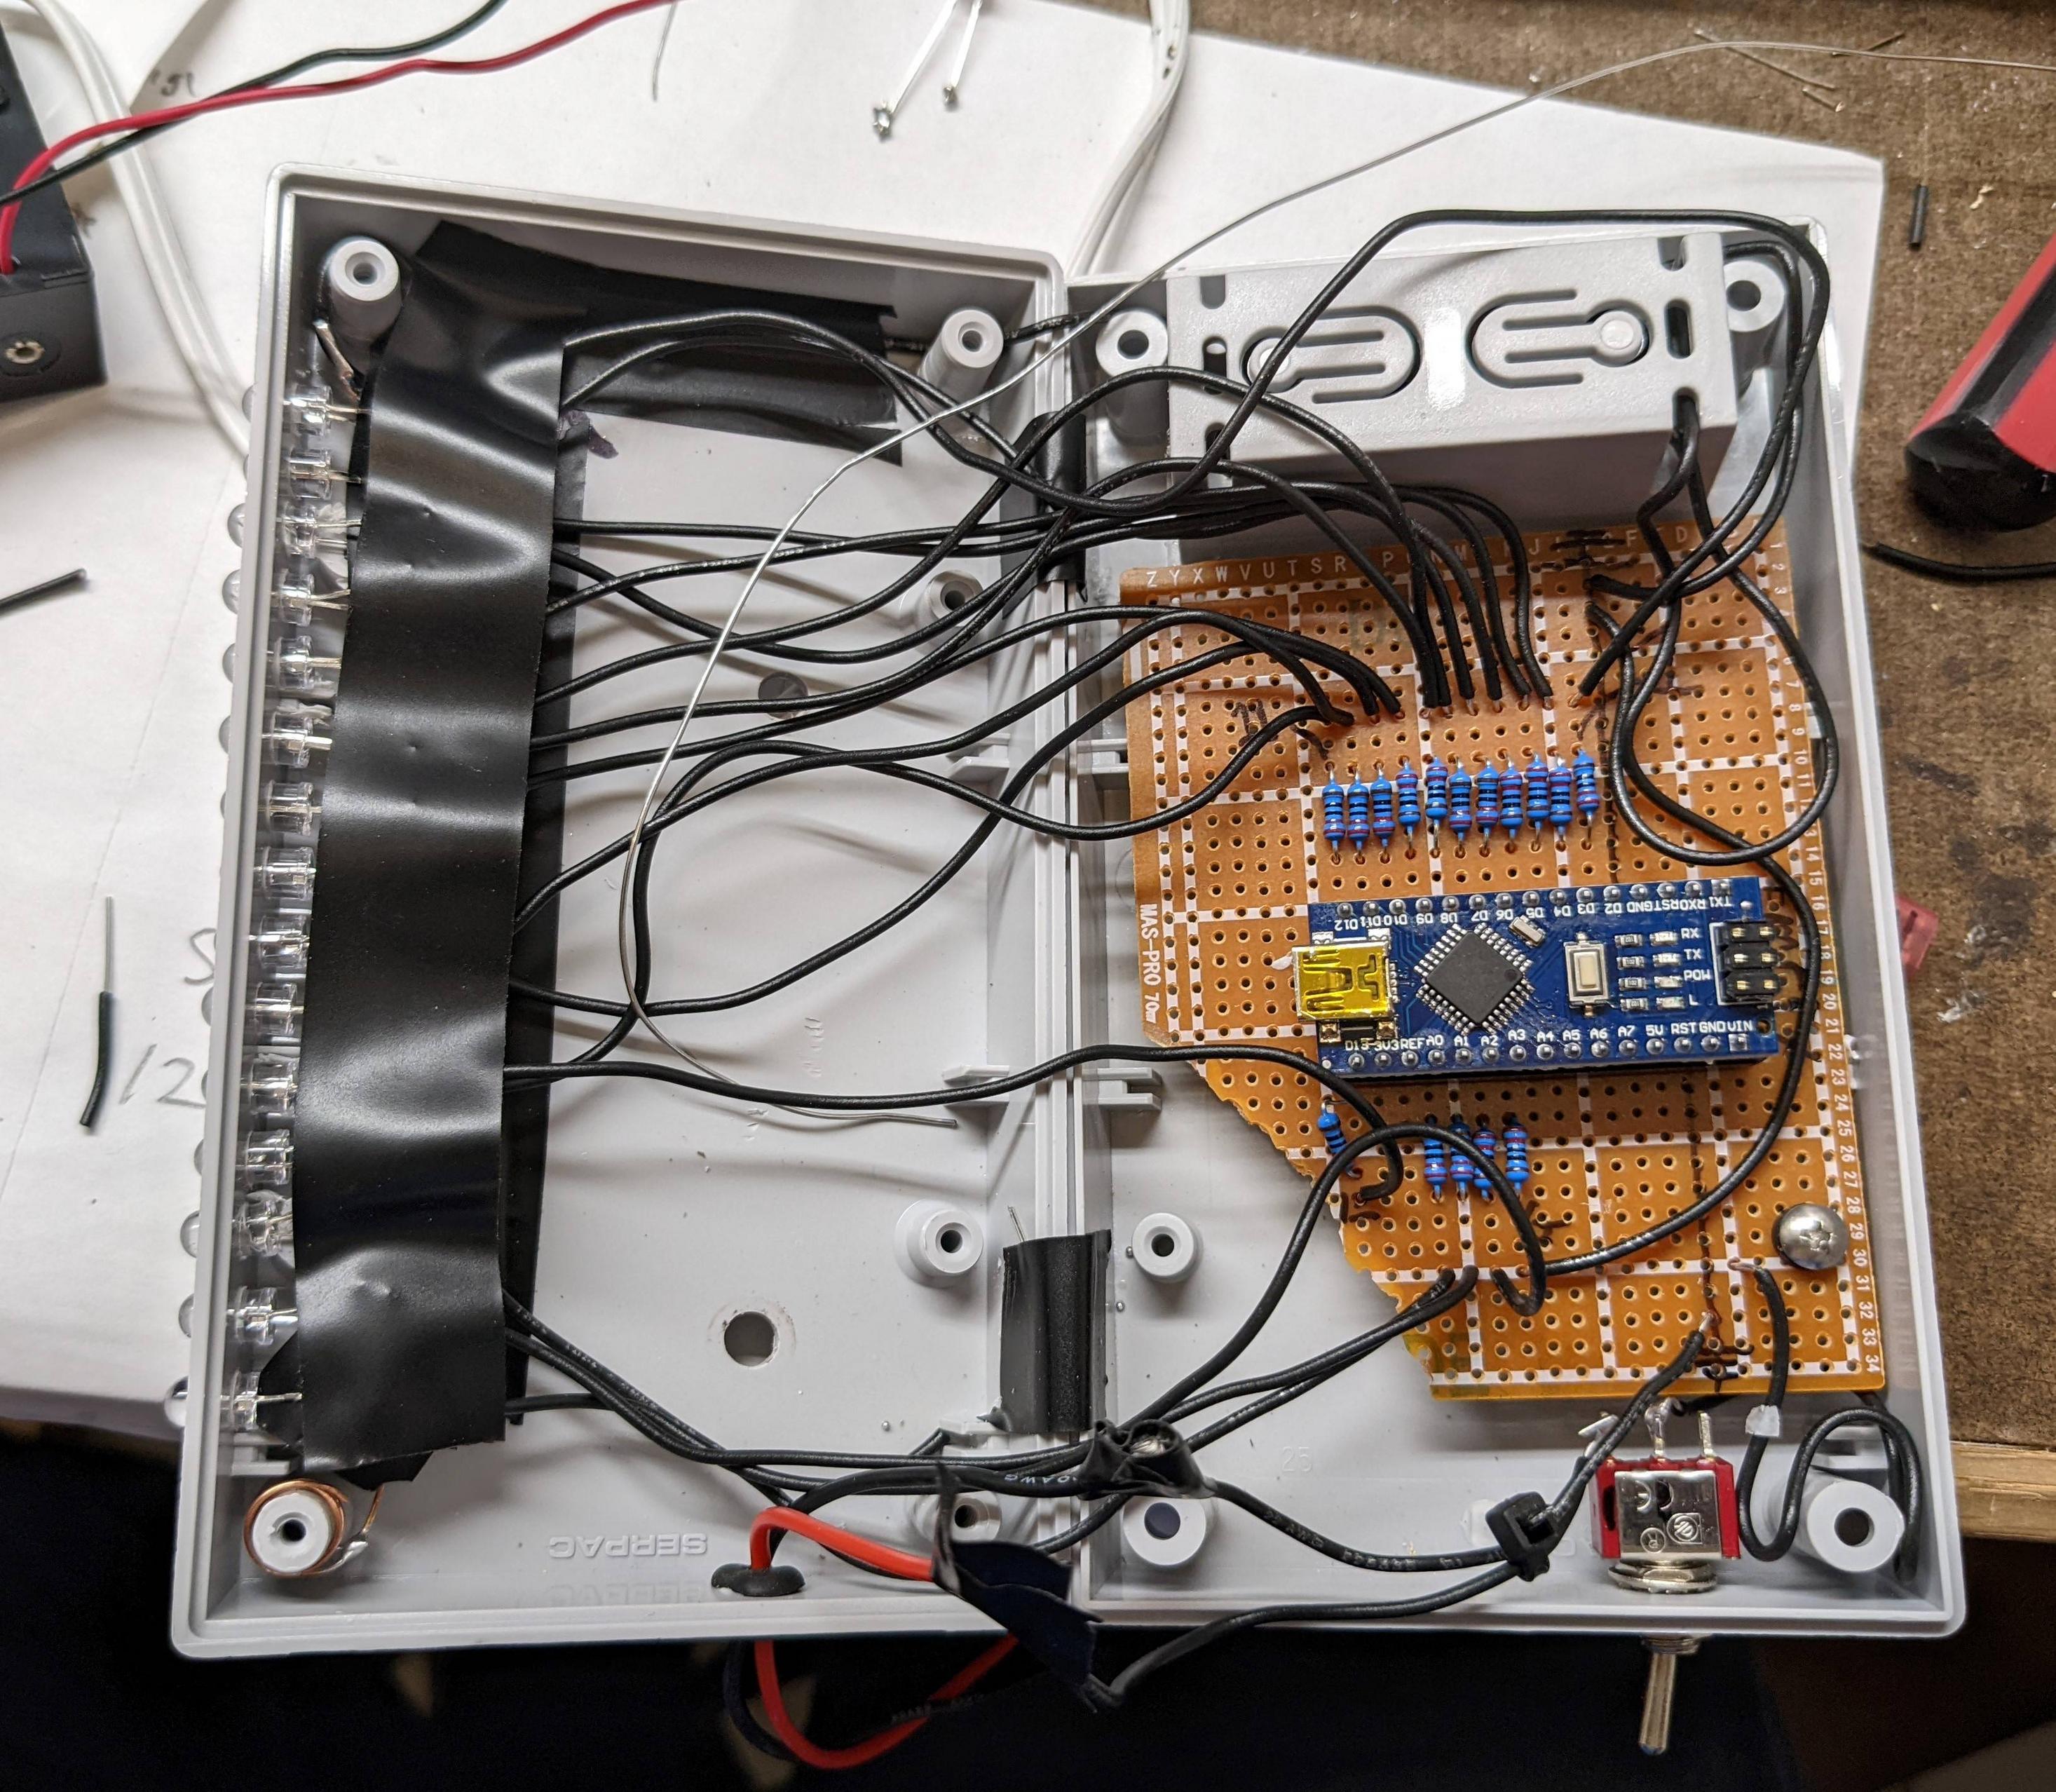
The electronics are mostly done on the pack. This was my solution for the power cell. In hind site, this approach made it tricky to screw the box on after everything was installed, but it works.
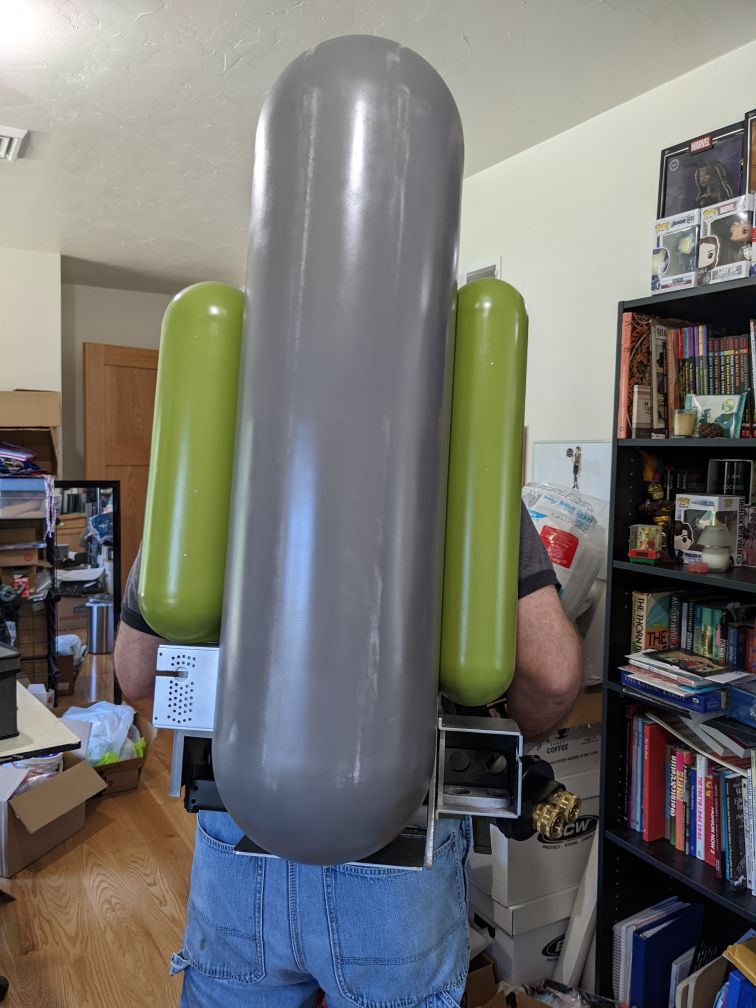
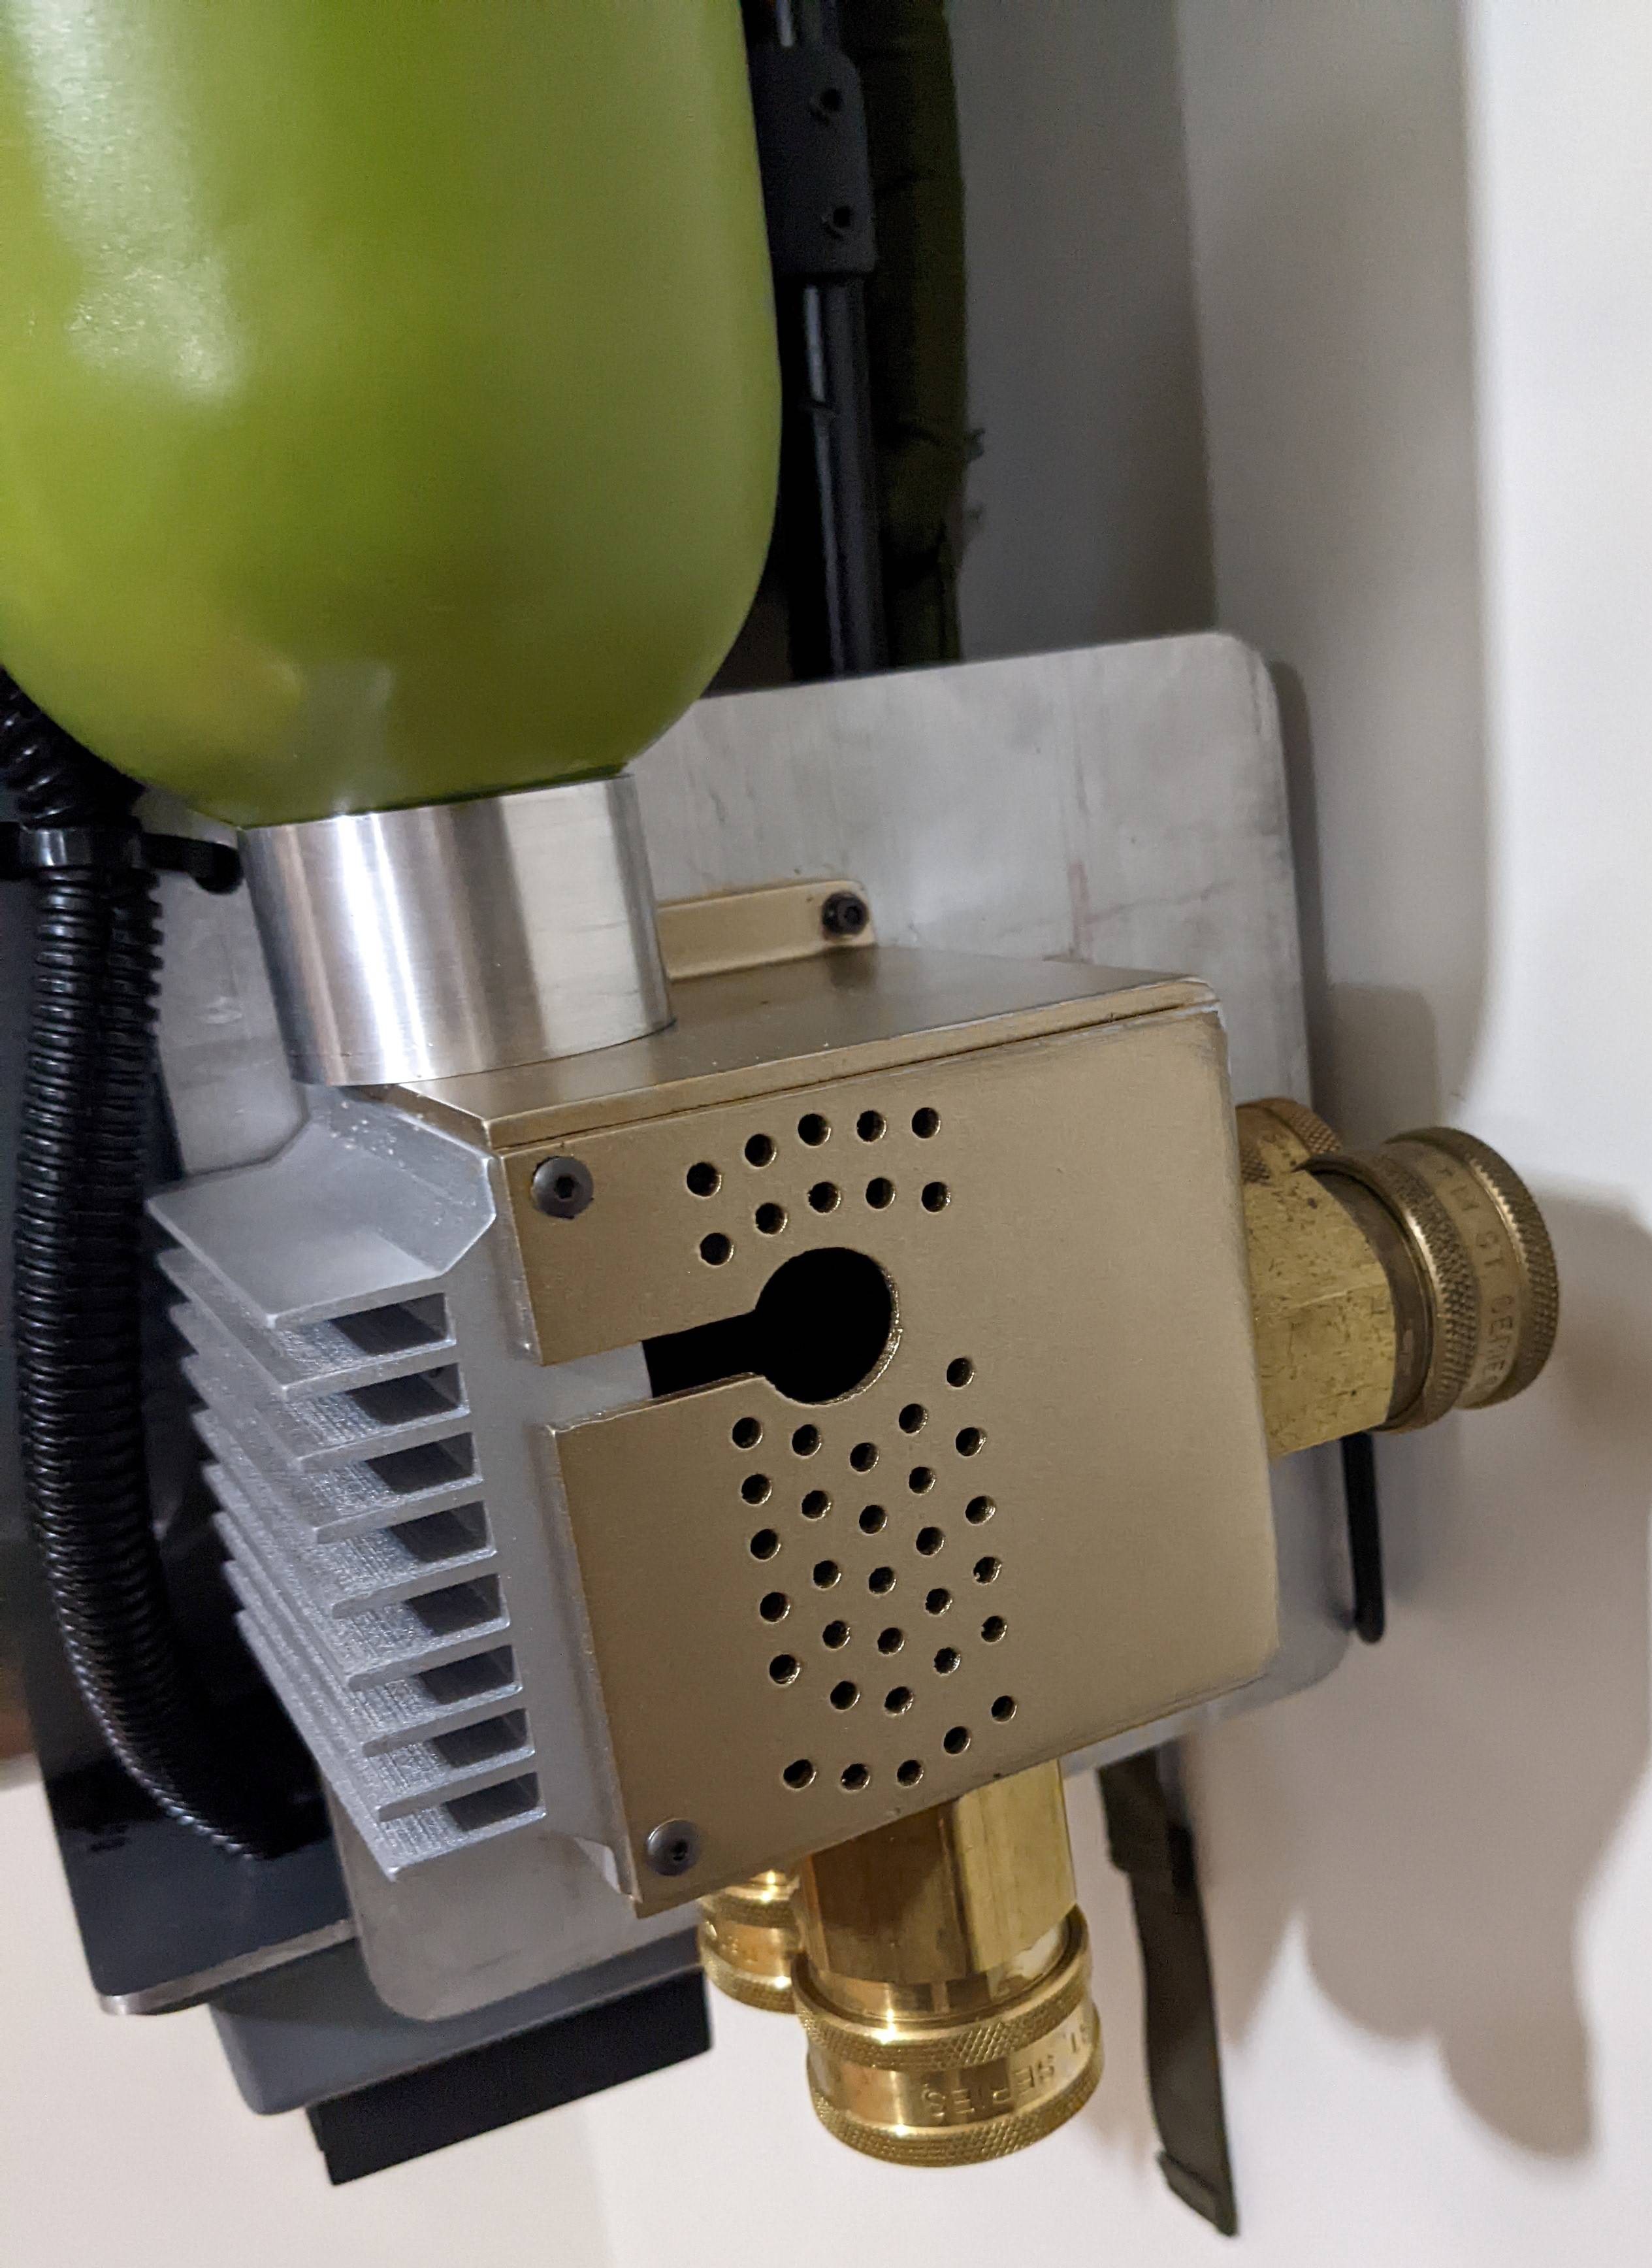
This was a small concession. It doesn’t look like the originals had a second set of quick disconnects on the back side of the pump box, the Zooka hoses were just attached directly to it. I decided to ignore that and added the disconnects anyway. I wanted to be able to disconnect the hoses at both ends just to make moving/displaying/ wearing this thing a little easier.
*Still looking for that elbow for the spherical tank. It’s an elusive ■■■■■■. I might 3d print and electroplate it as a last resort.
Still have to wire the lights in the zooka
*Trying to encourage my seamstress wife to get started on the vest. I think we found very close matches for all the fabrics
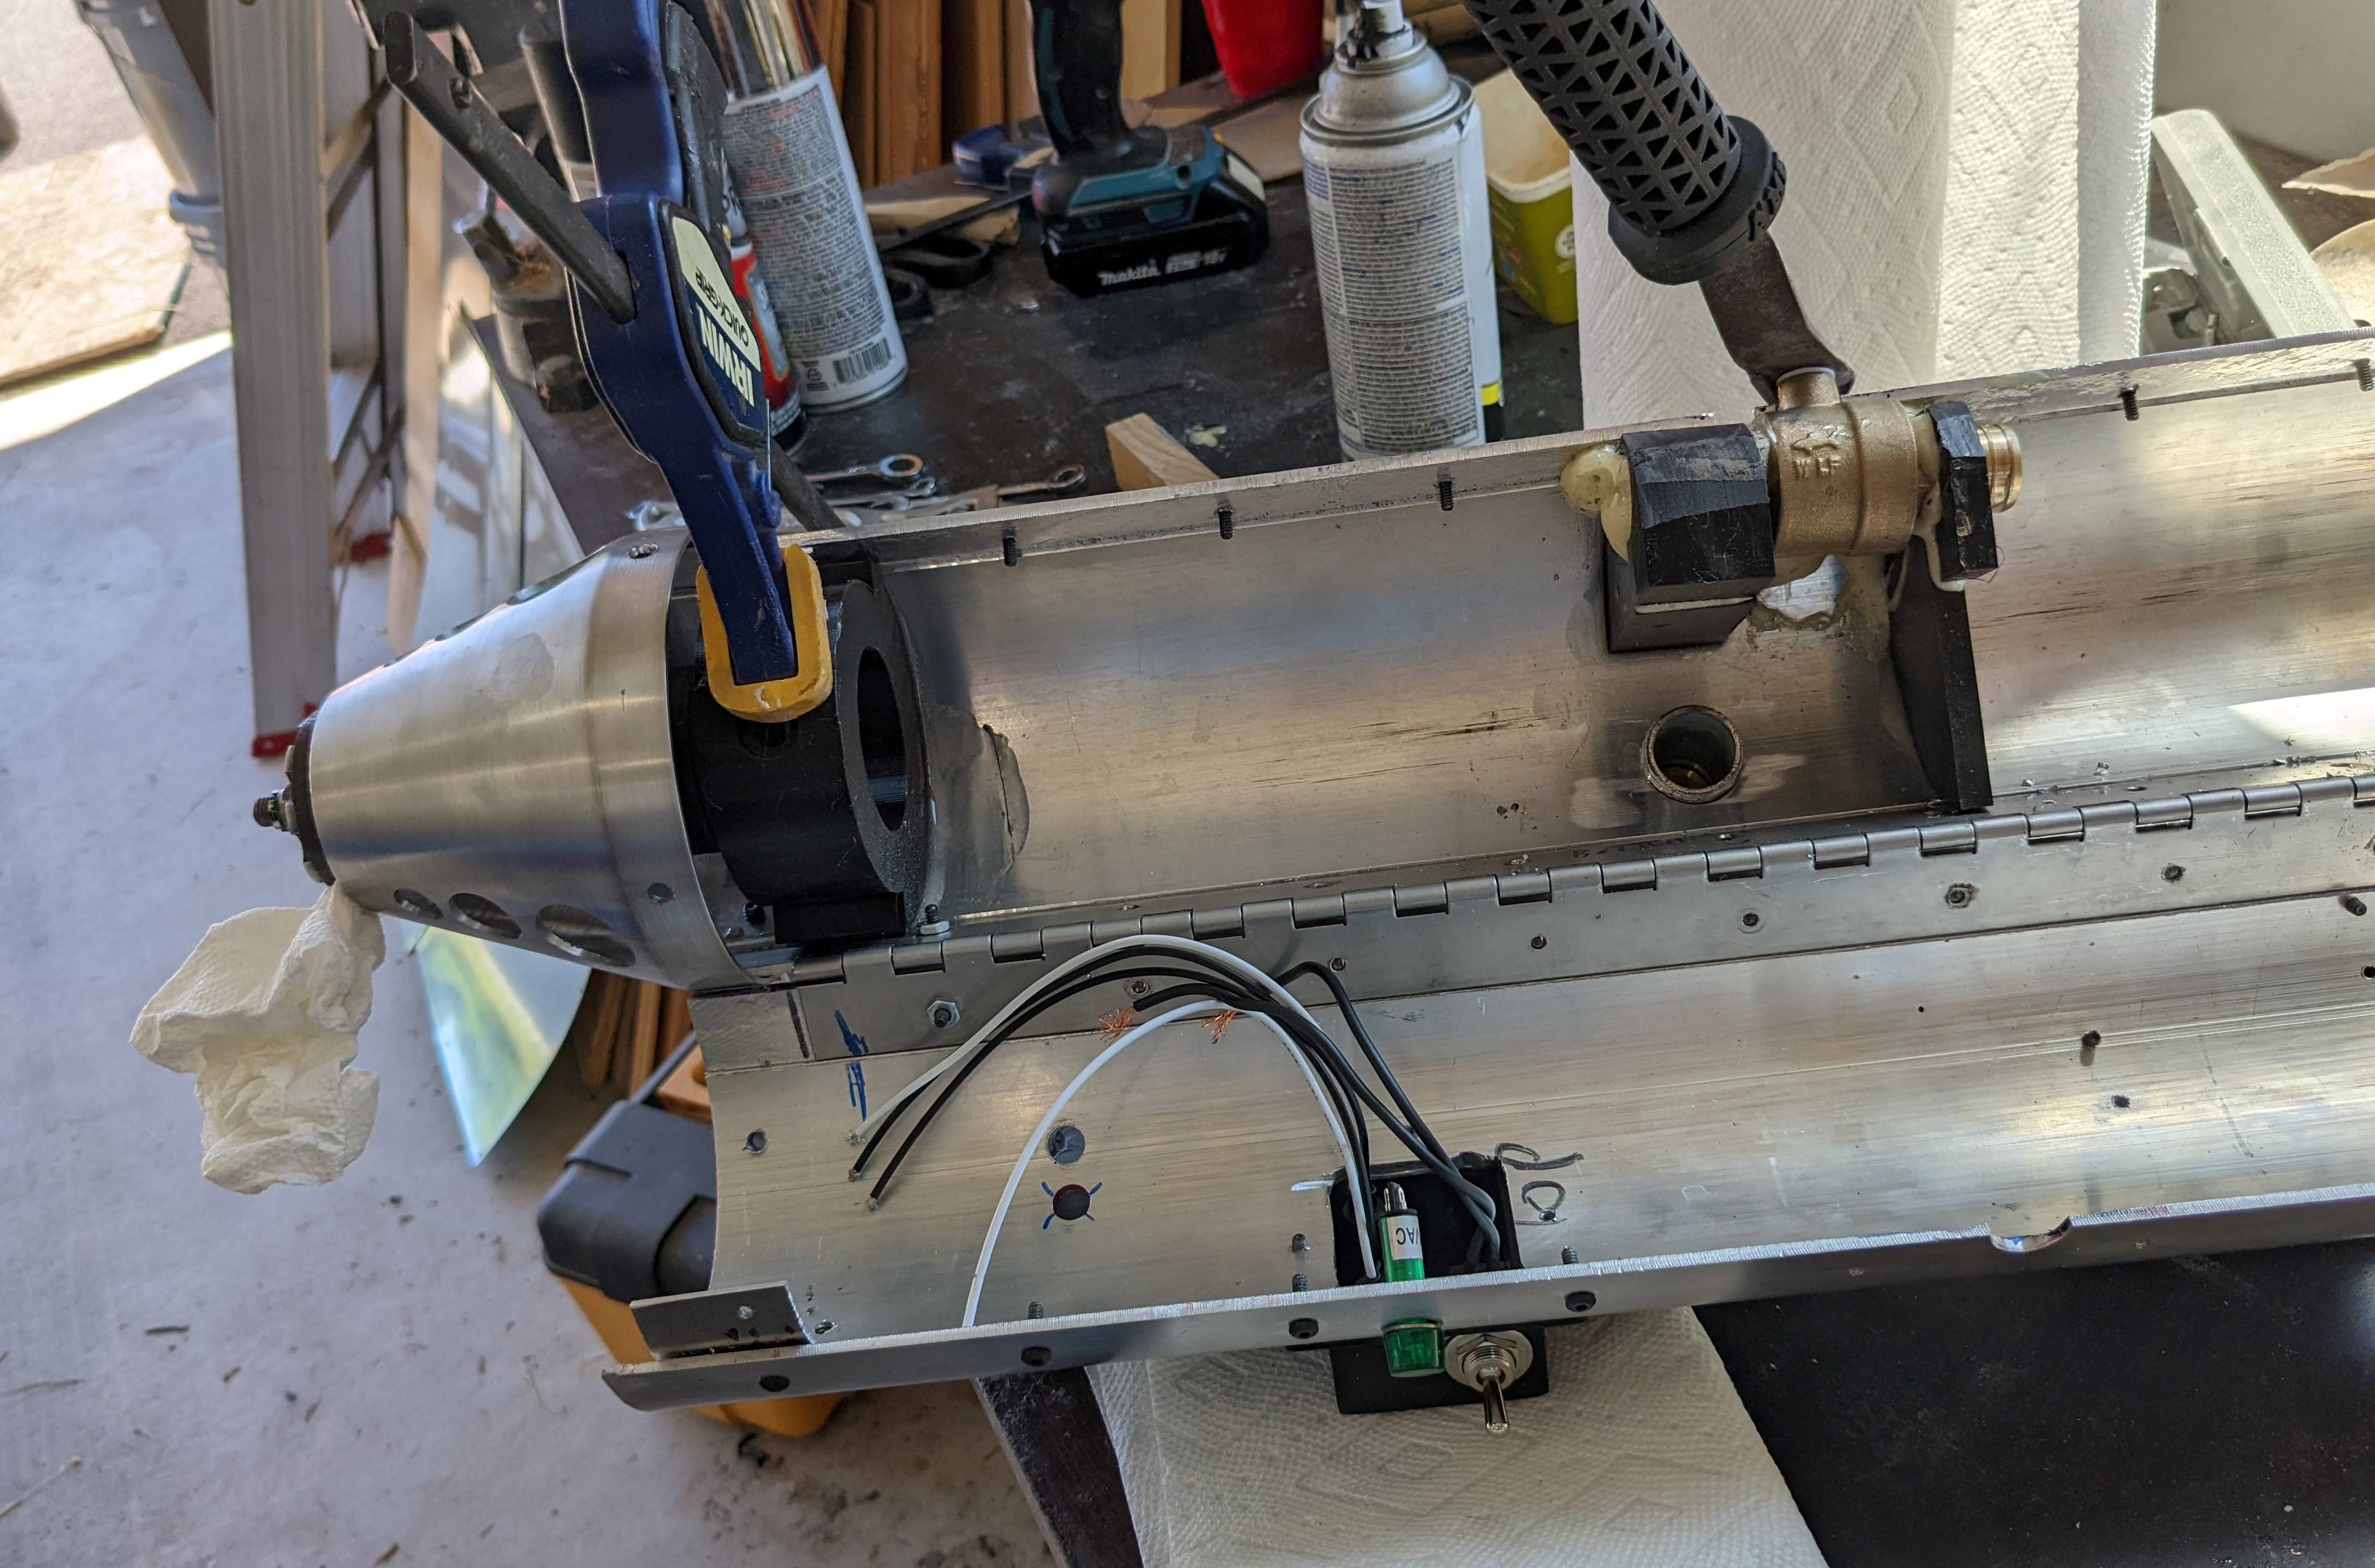
Trying to decide how much relicing I want to do. I was considering dripping some epoxy with pink dye in it around the plumbing fittings.
Has anyone out there tried that? I’m wondering how it will look. I have experience with epoxy dripping effects on accident, but I’ve never tried to do it on purpose
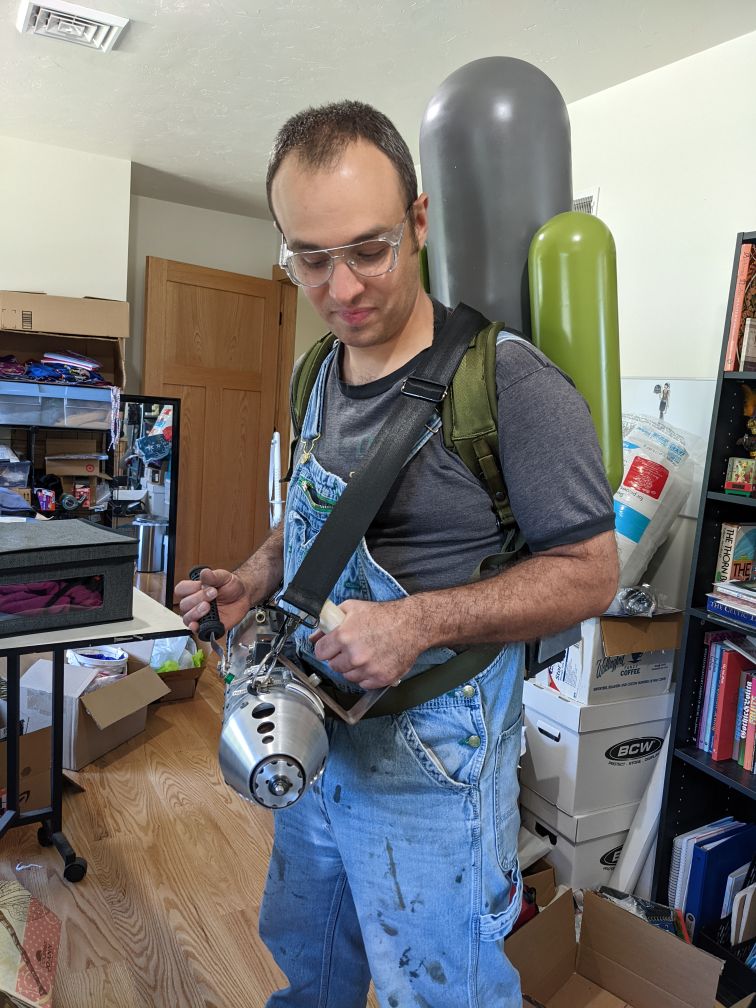
I still have a lot of details to do on the vest. The real props had extra padding on the belt, and extra elastic straps on the middle and top to help distribute the weigh.
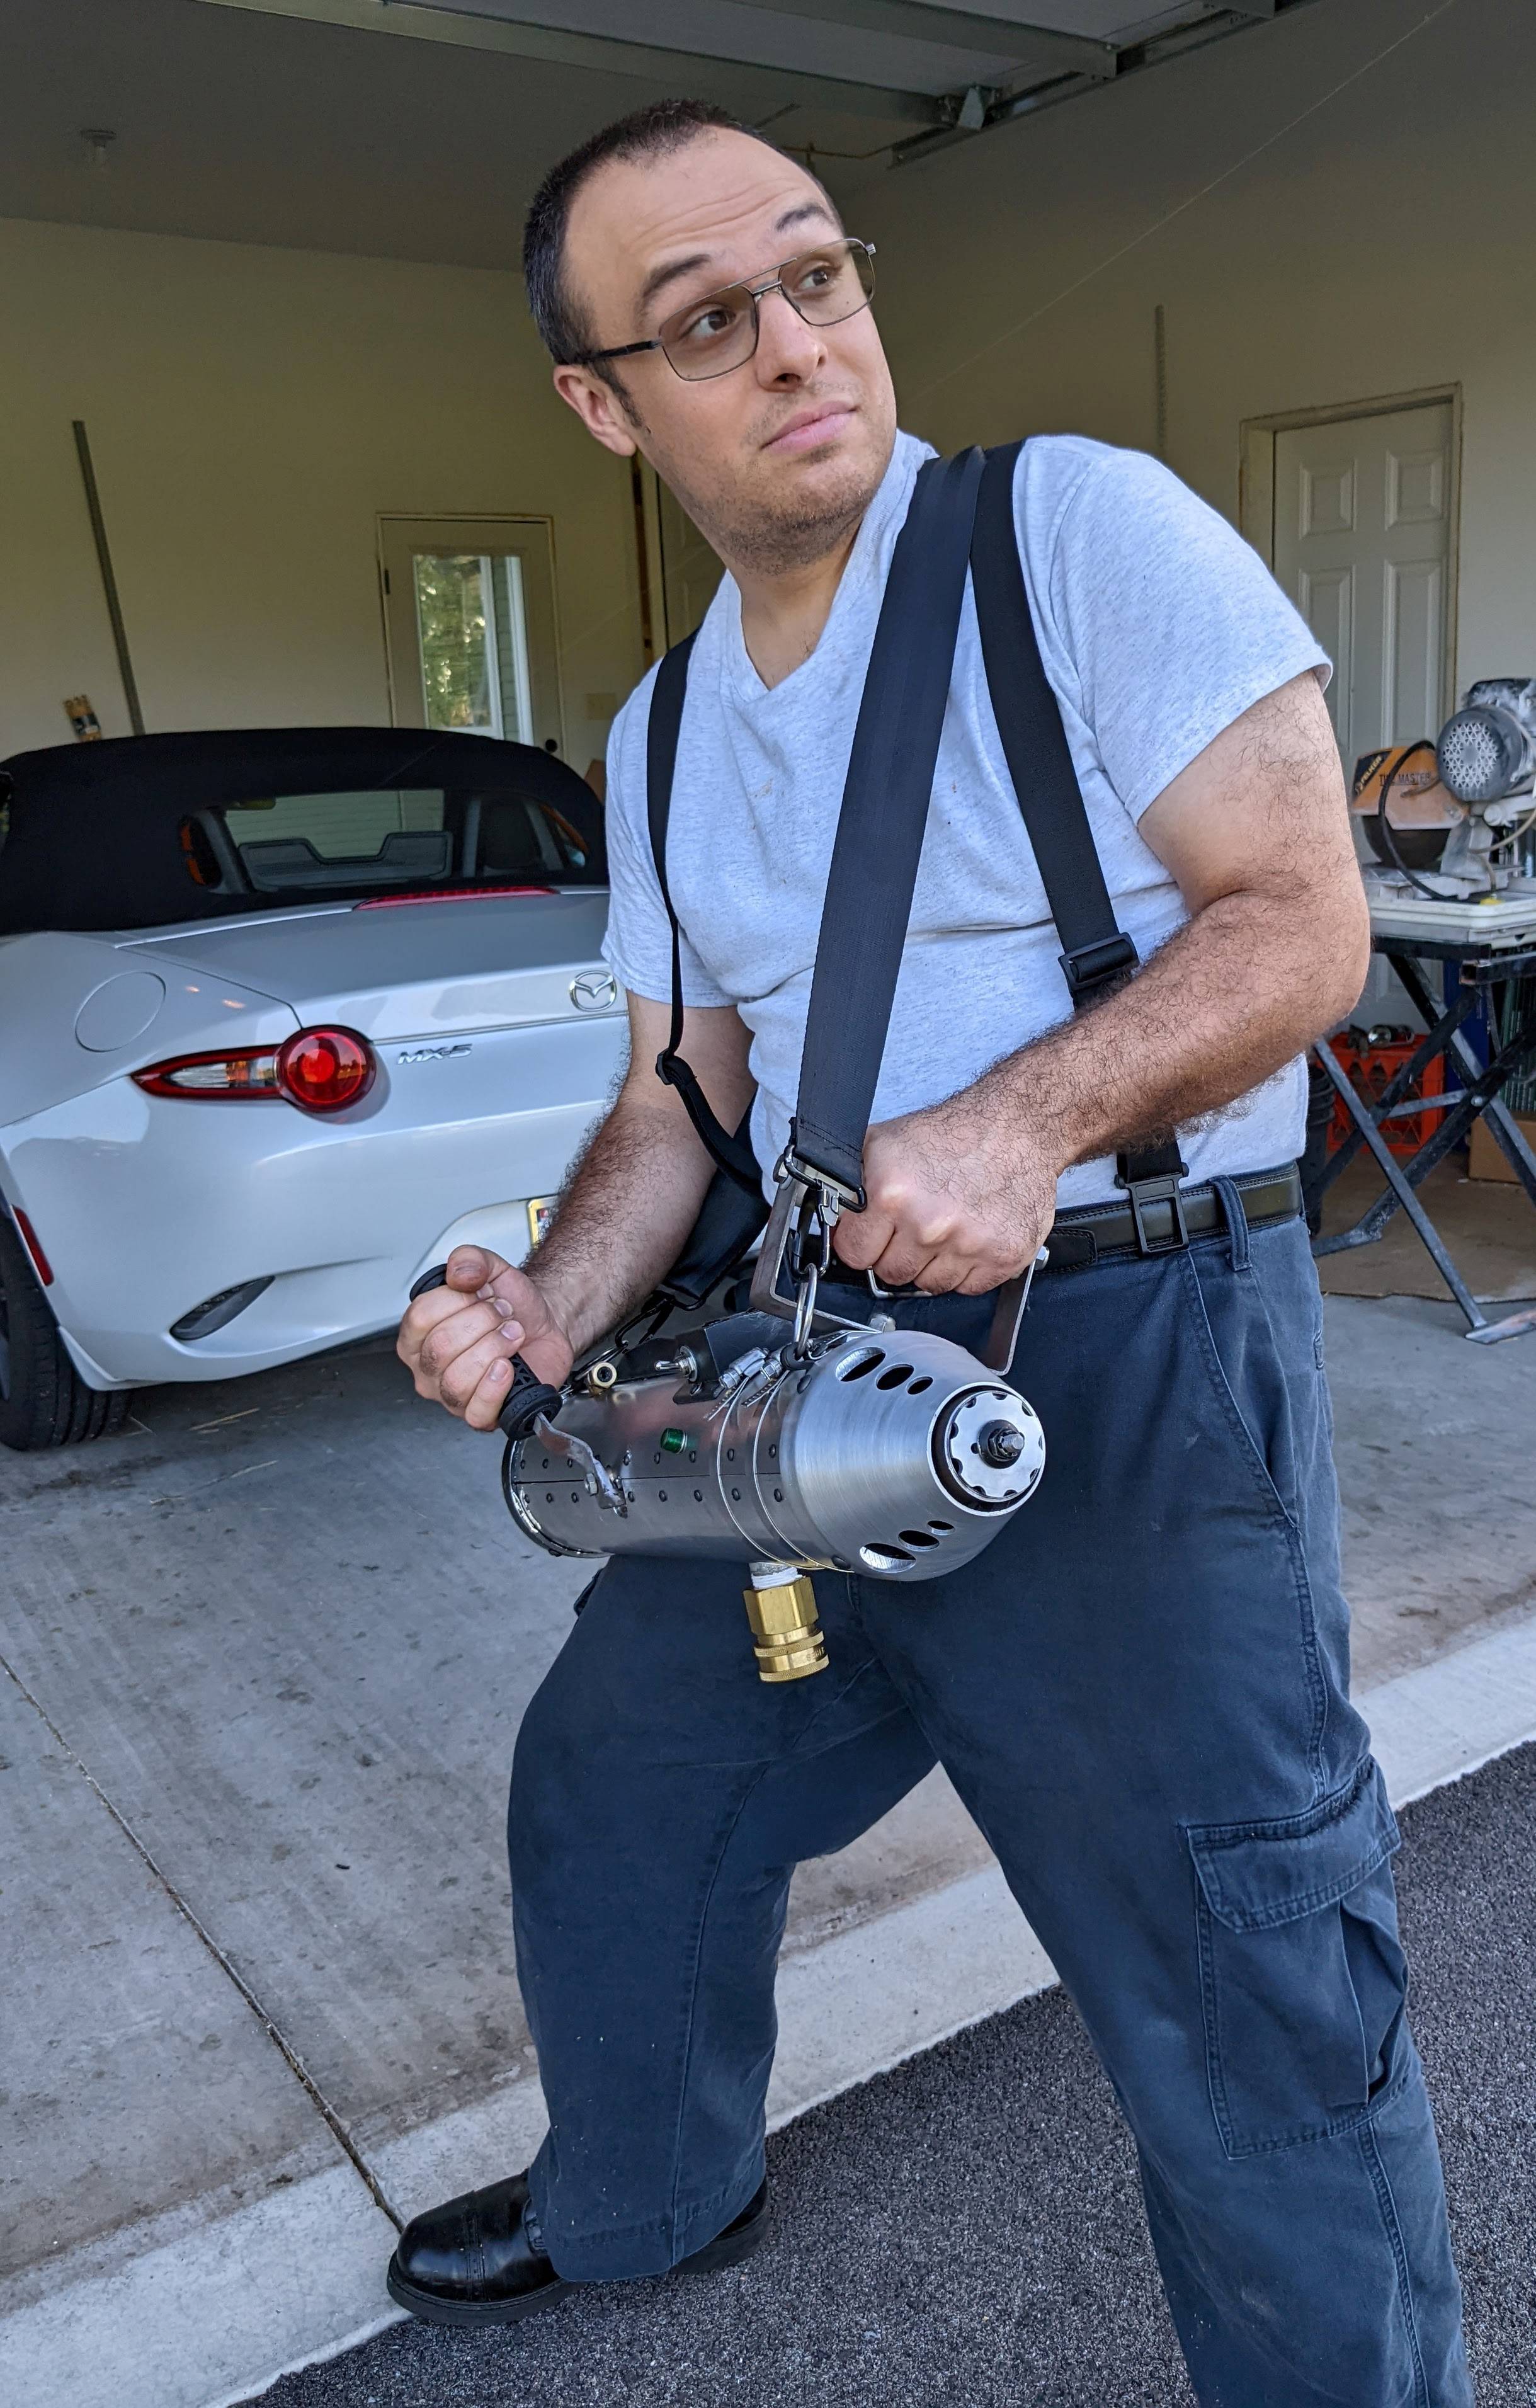
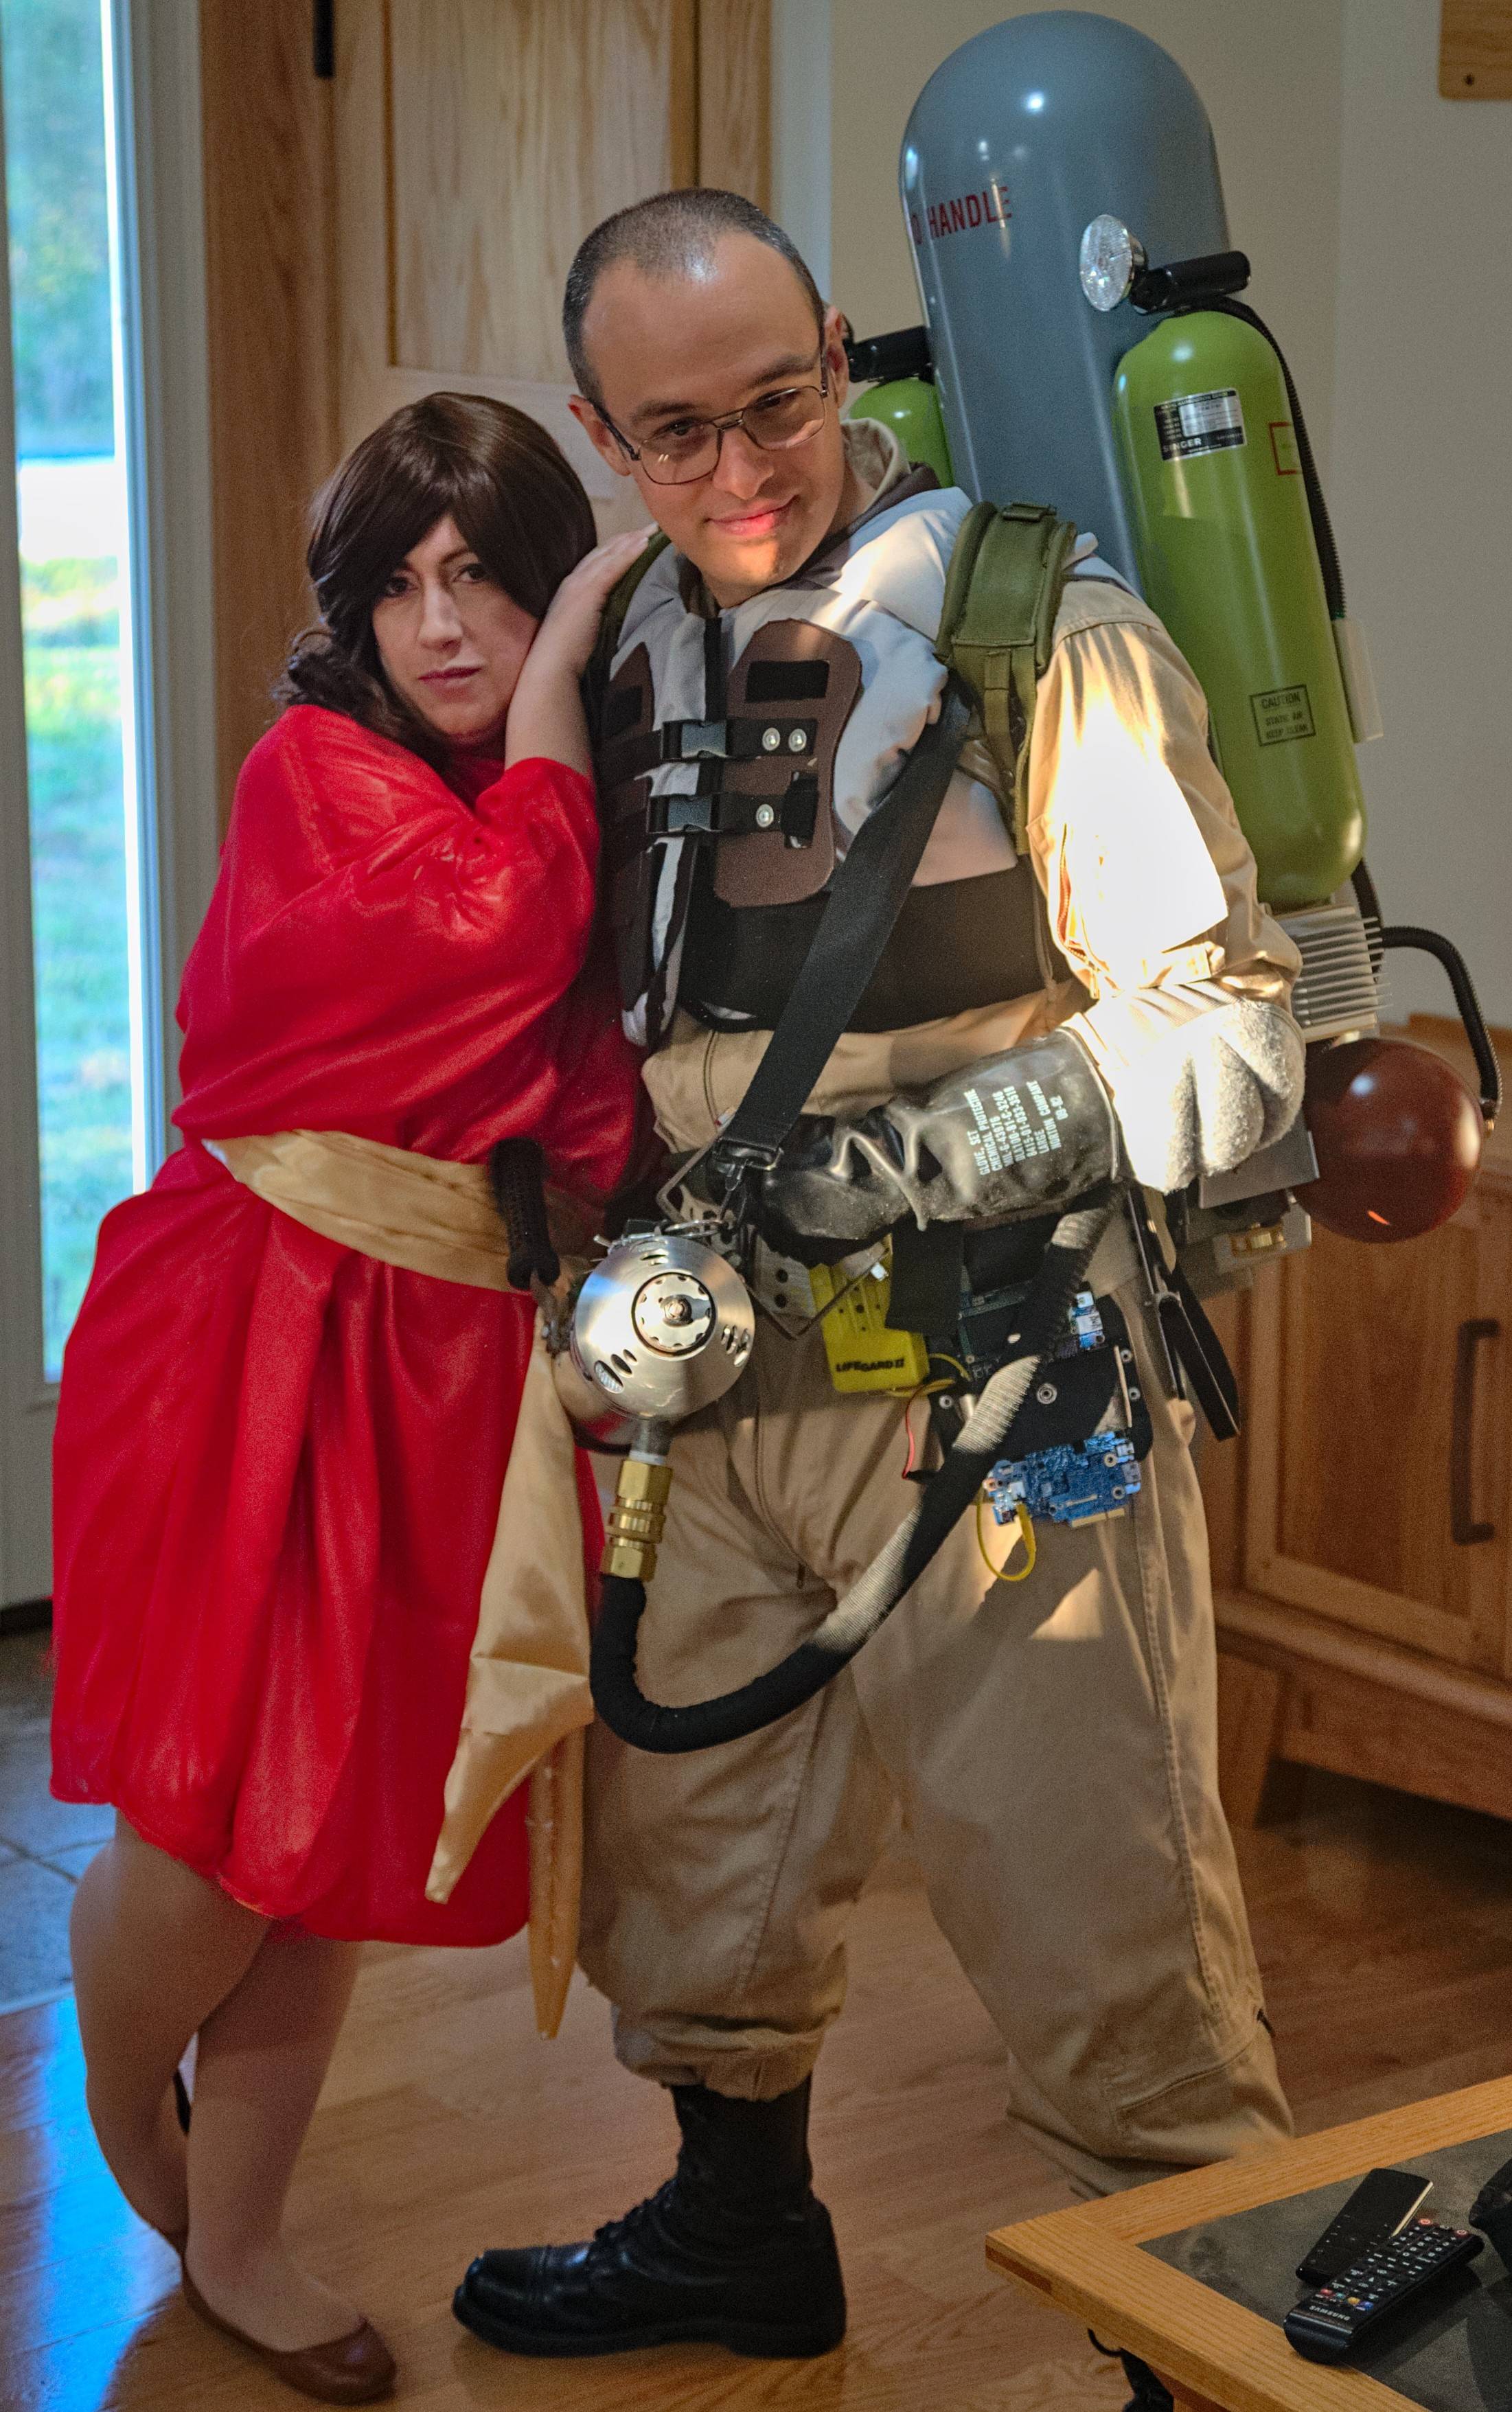
Take my word for it, you need that. I could only wear it all at the party for about 30 min in it’s current state. With the all metal zooka, this thing weighs in at 65lb.
Finally, somebody with a real lathe, not a sissy CNC. Any idiot can buy a car, cool people build them. Well done sir. I may follow along and do the same as I’m well equipped in the machinery area between work and home.