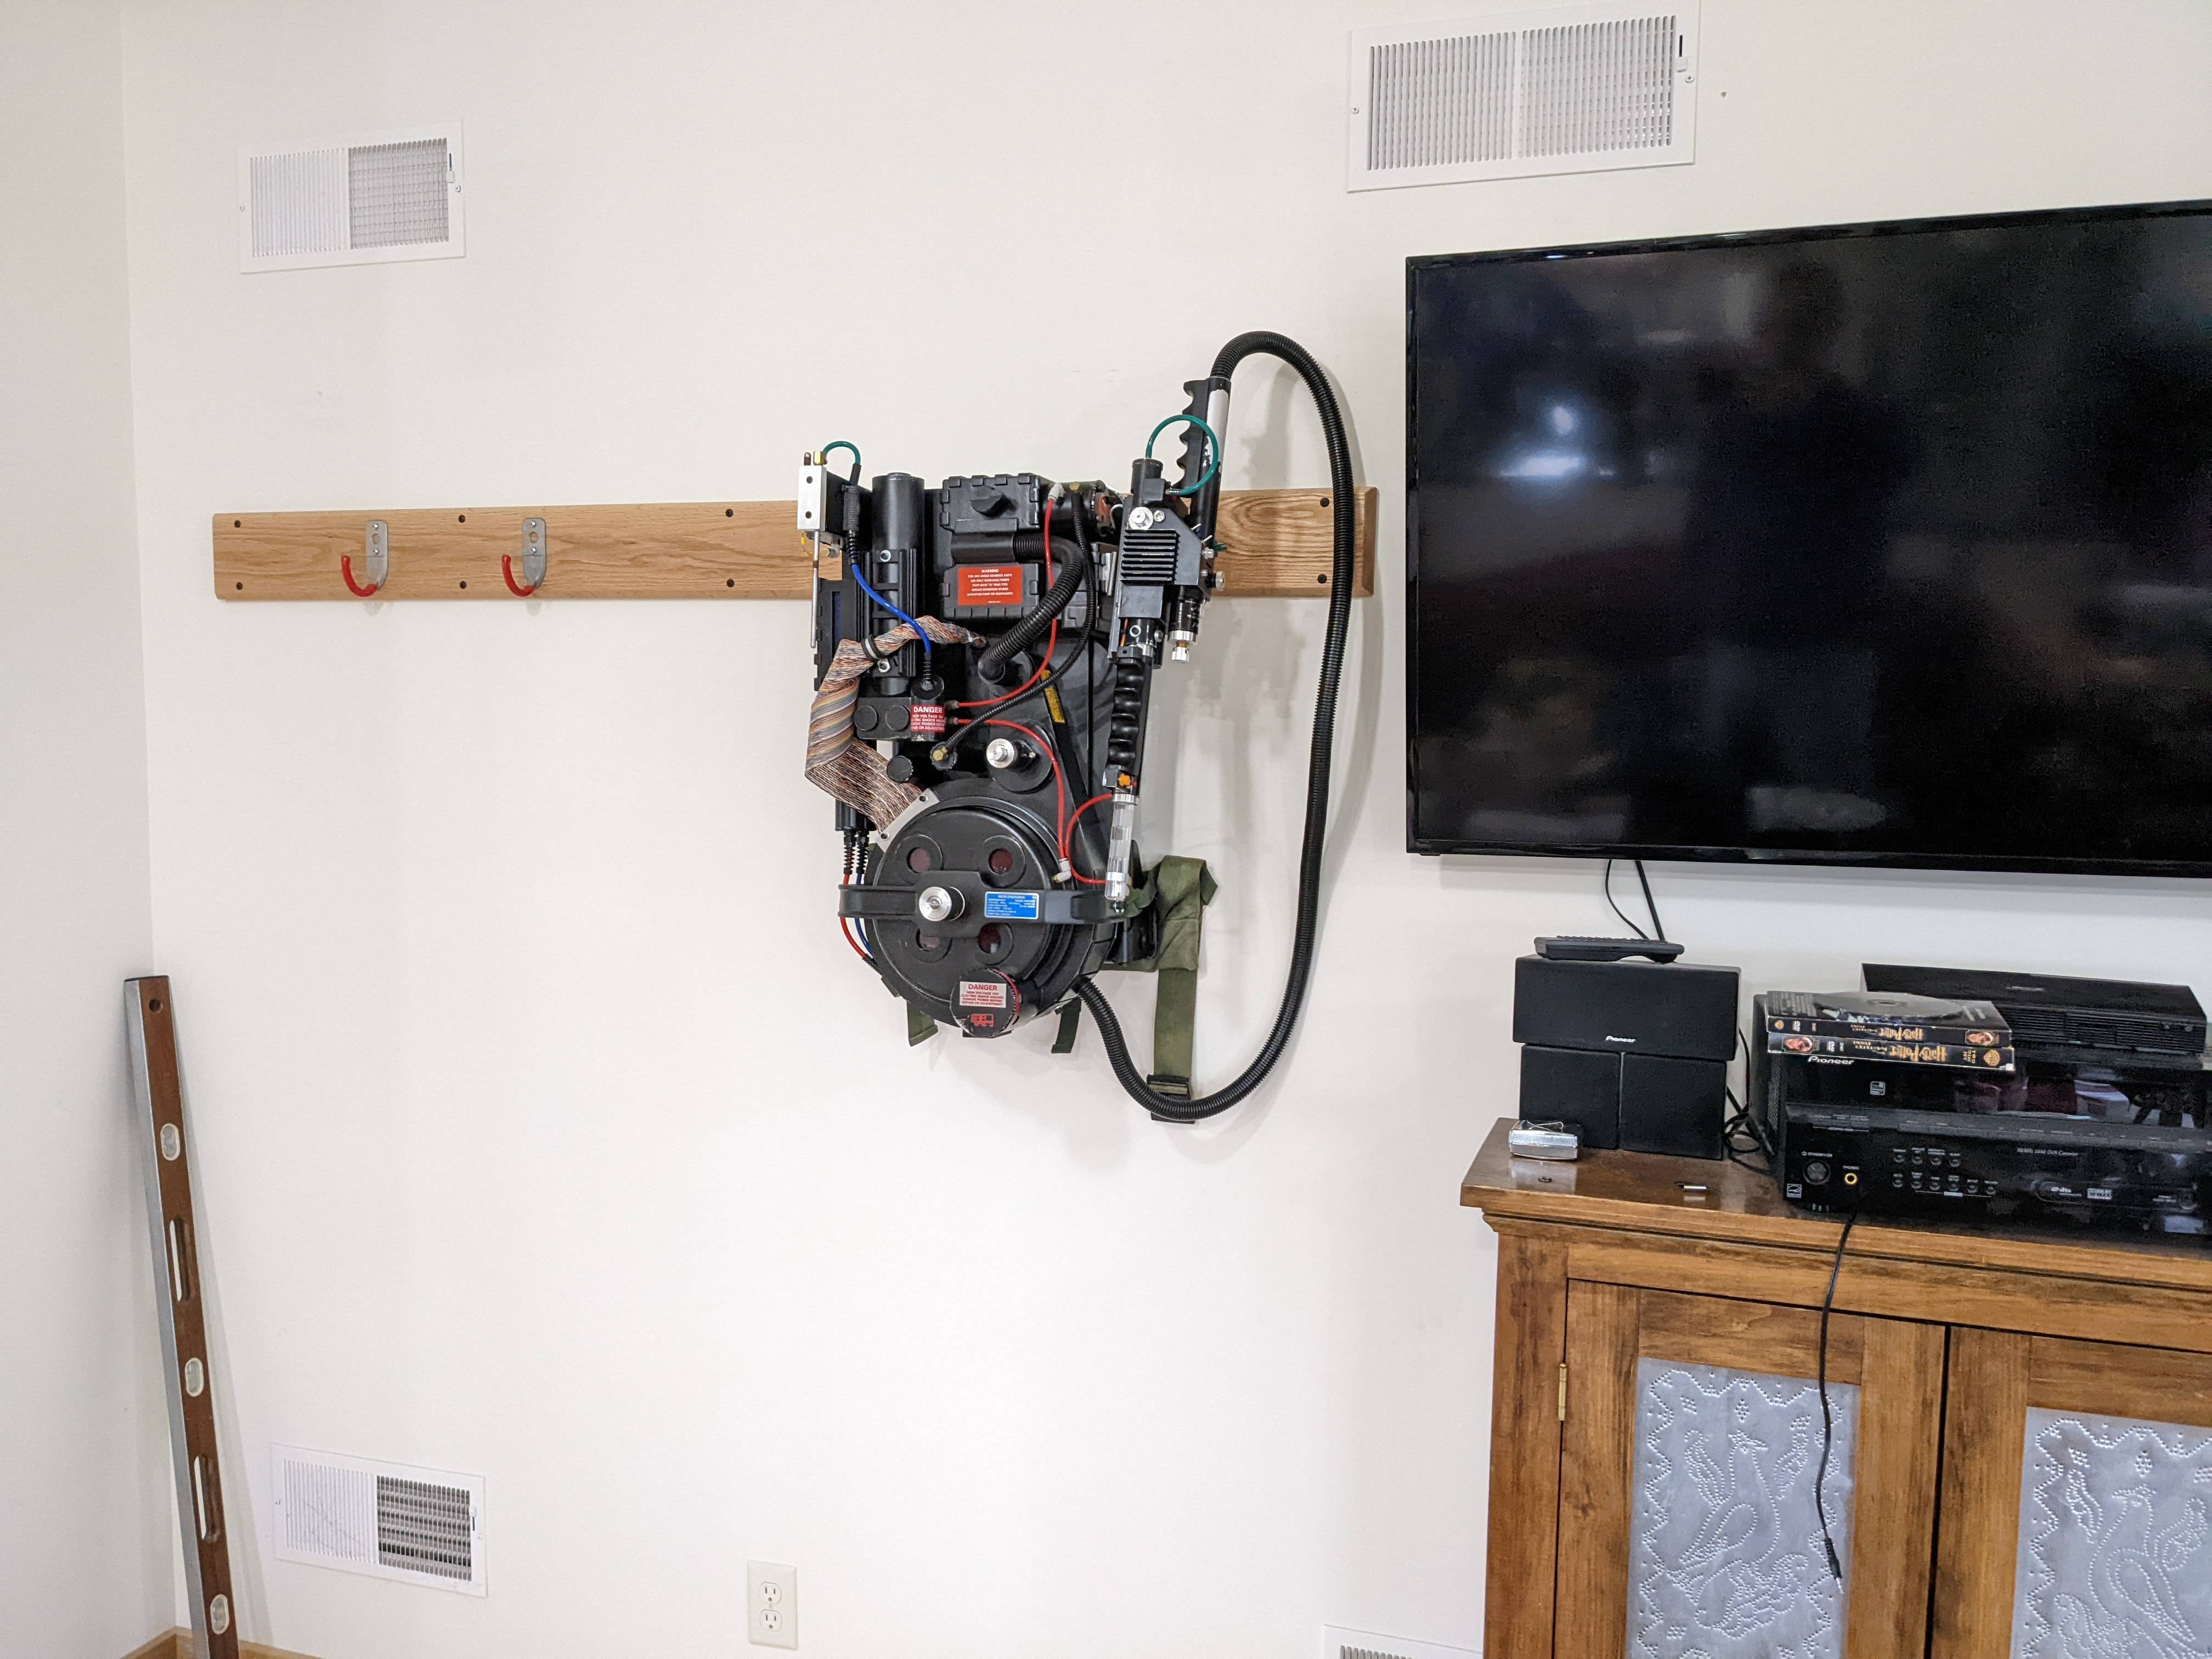
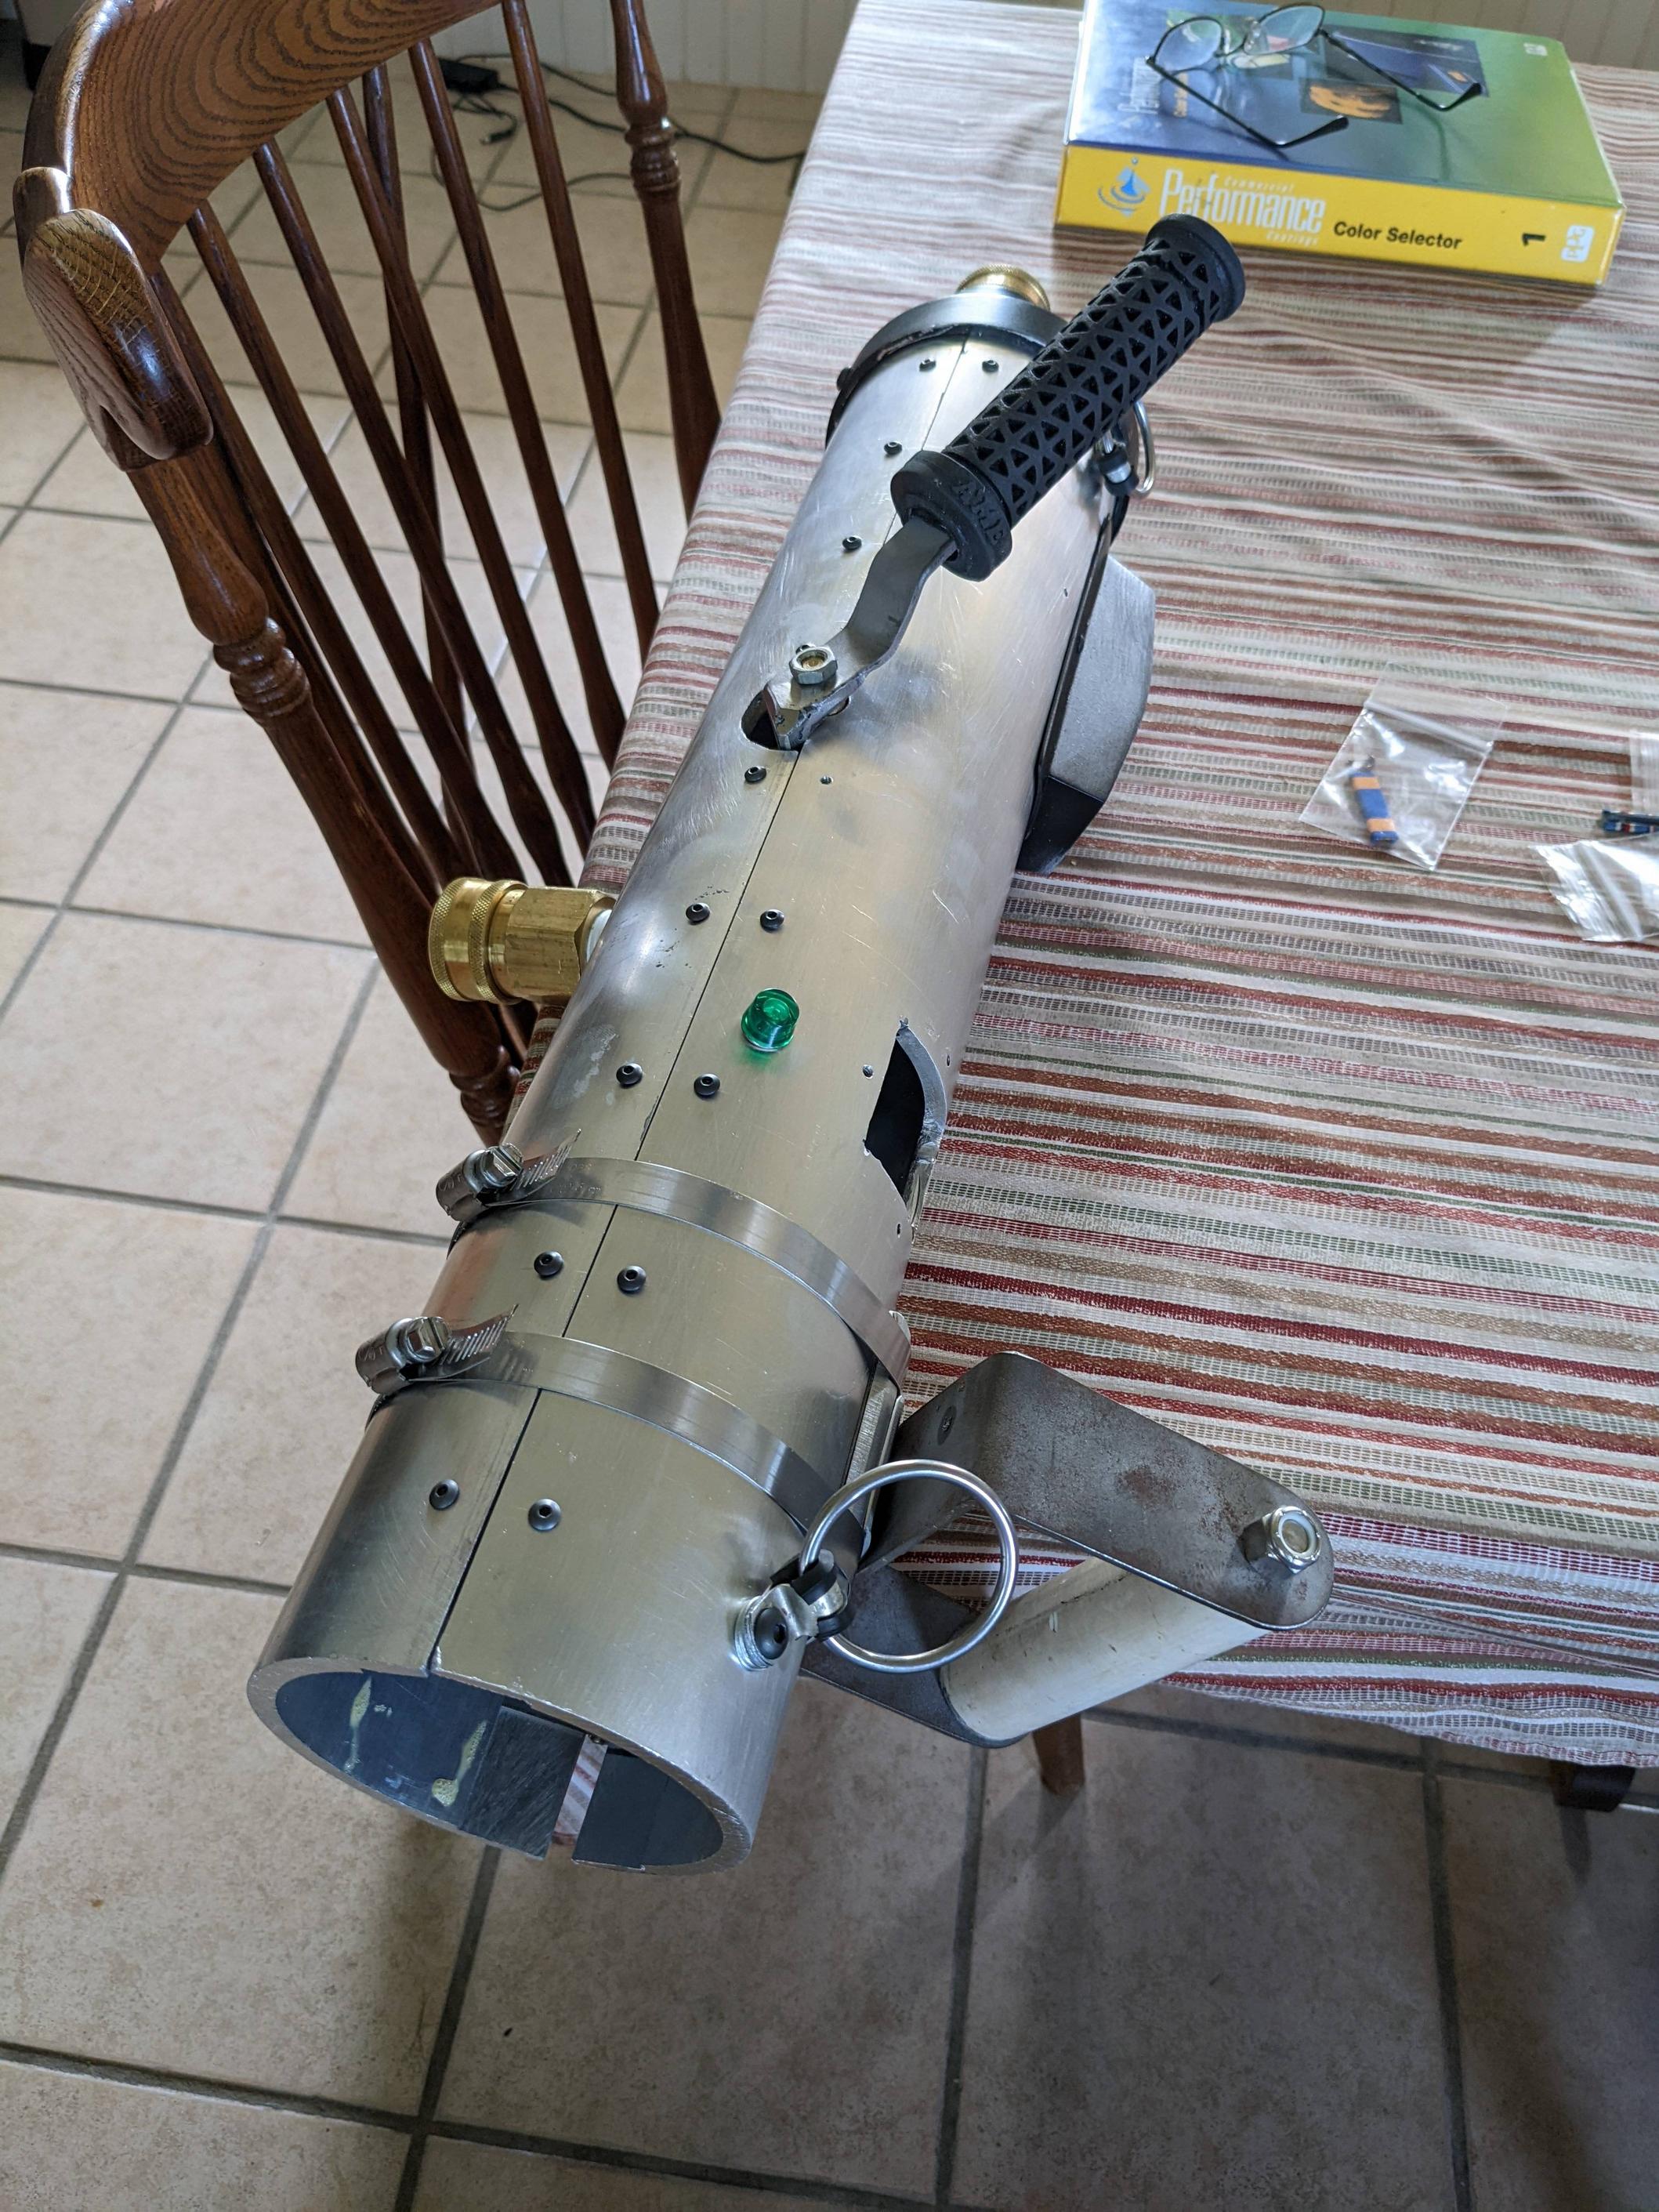
And now I’ve been looking at that empty set of hooks evvveryyy day. I wanted to start posting details of this build; because…come on guys. We need more slime blowers.
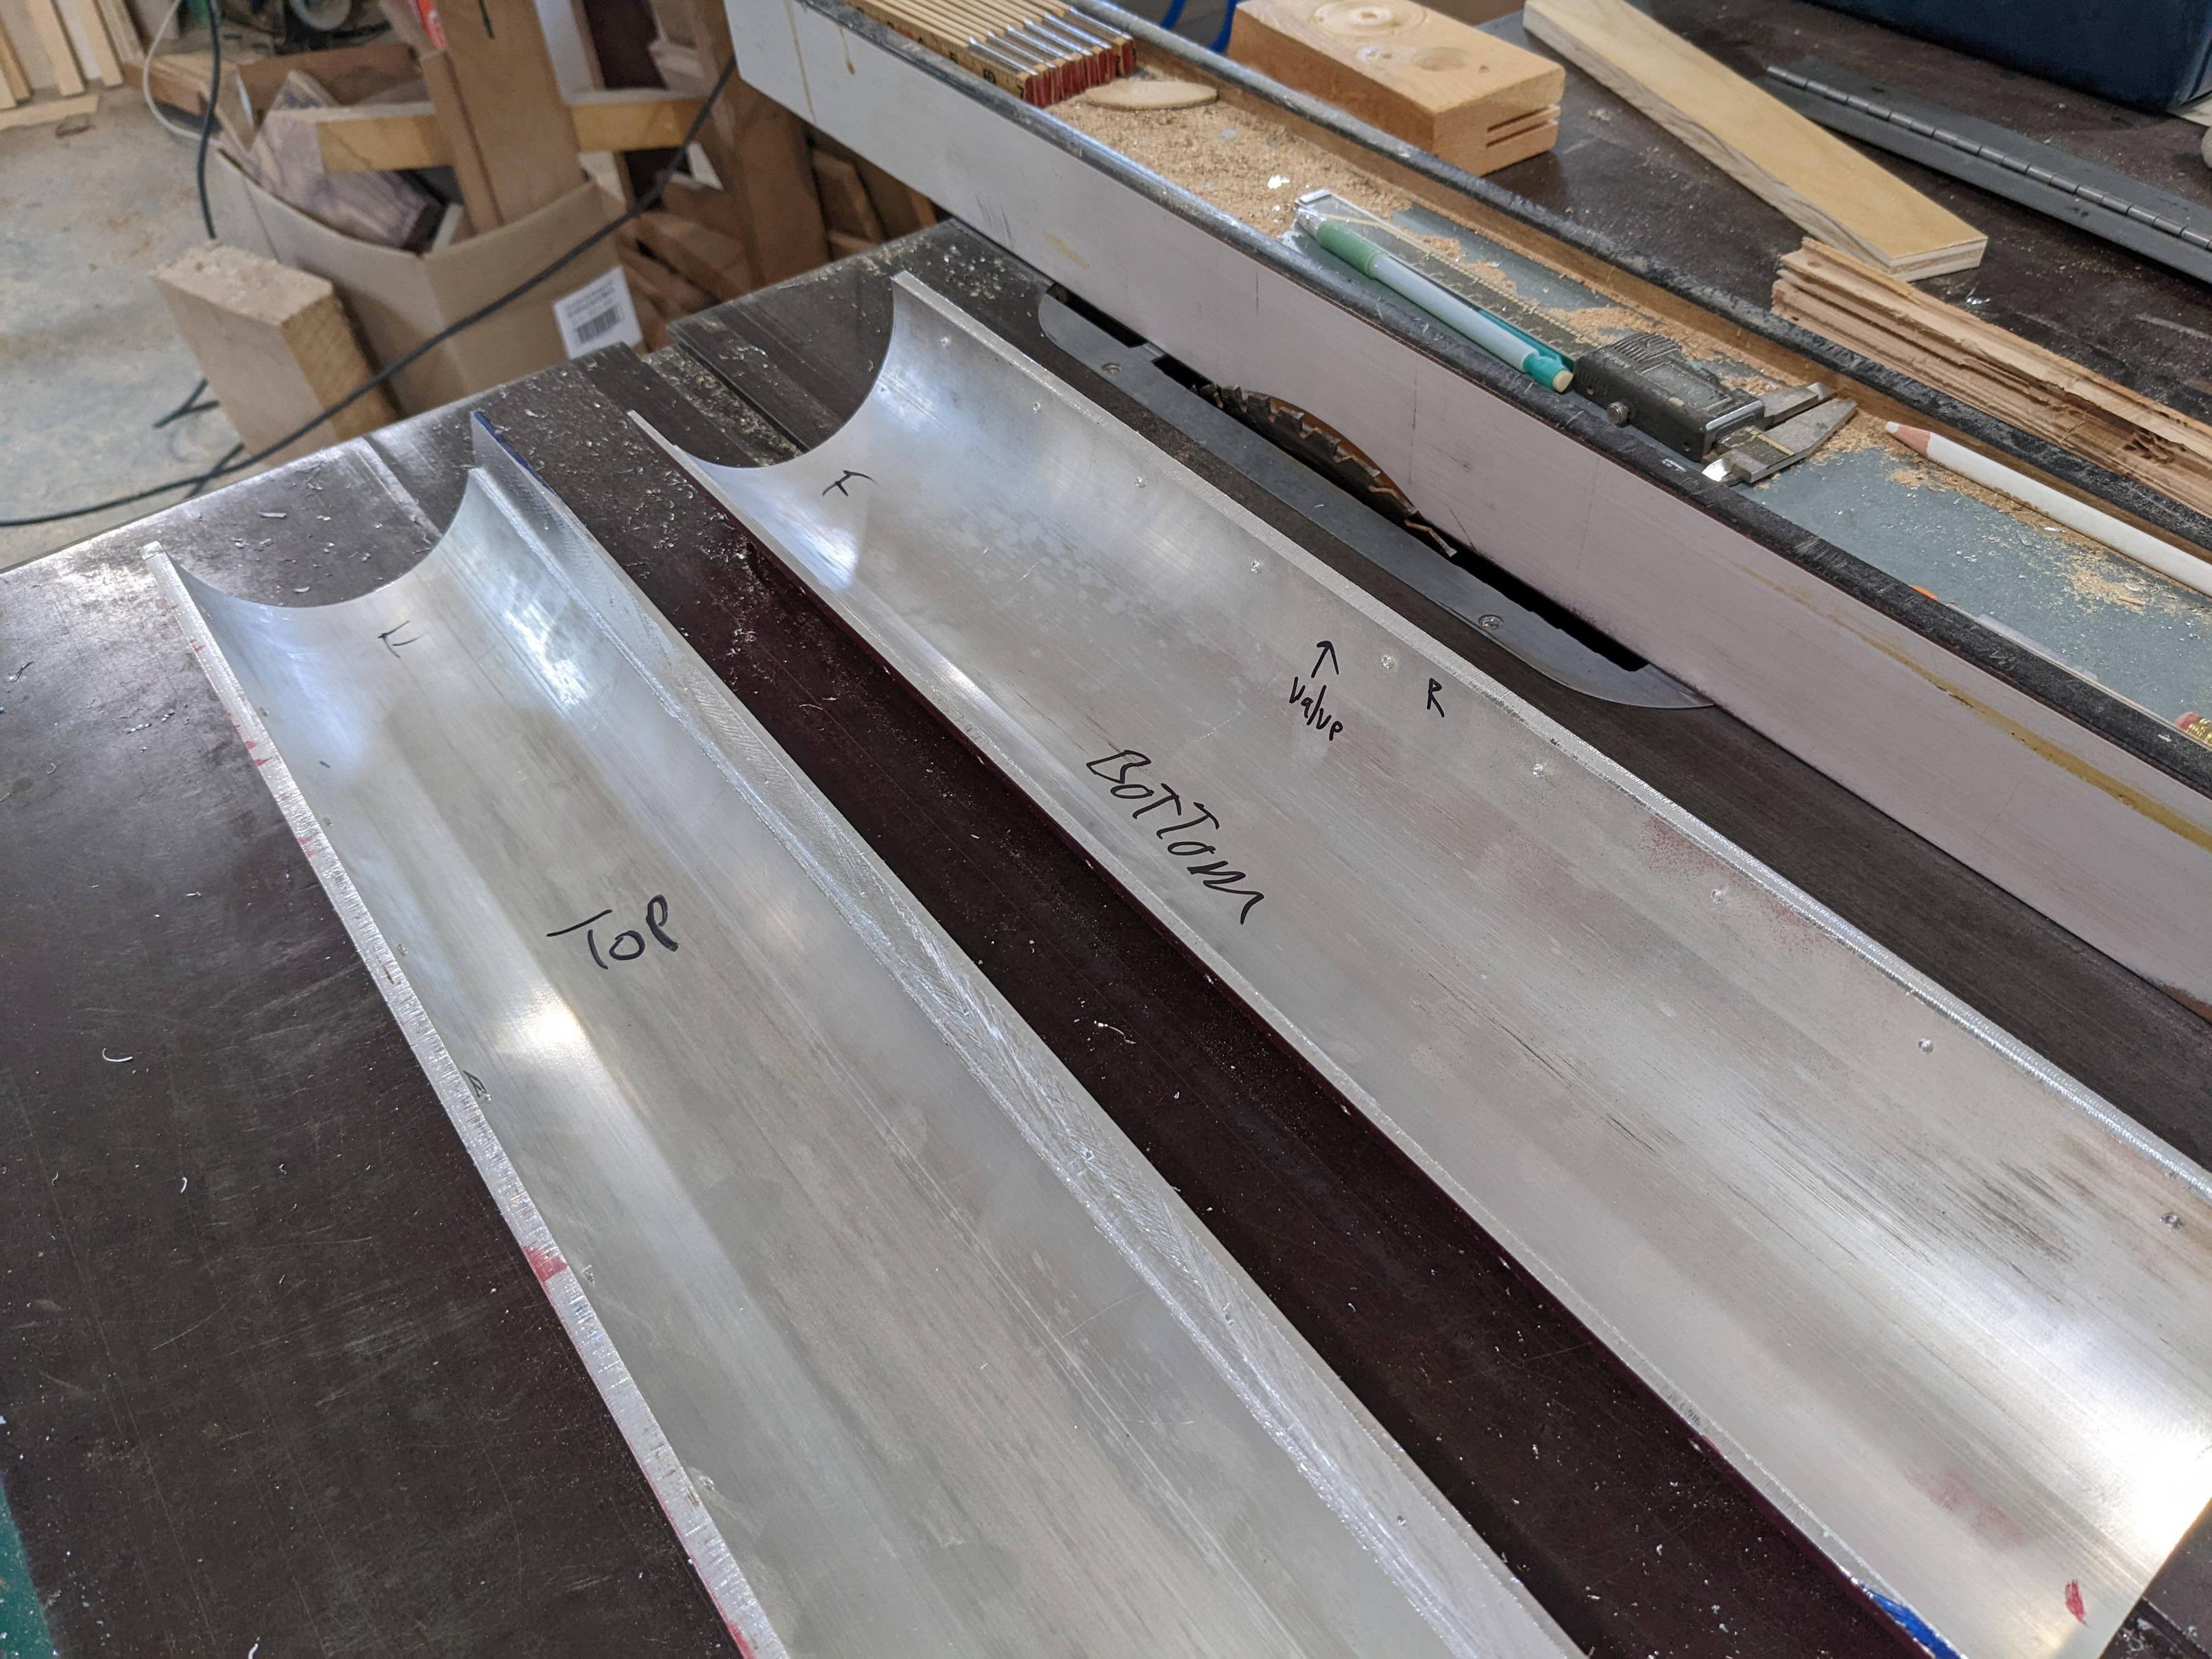
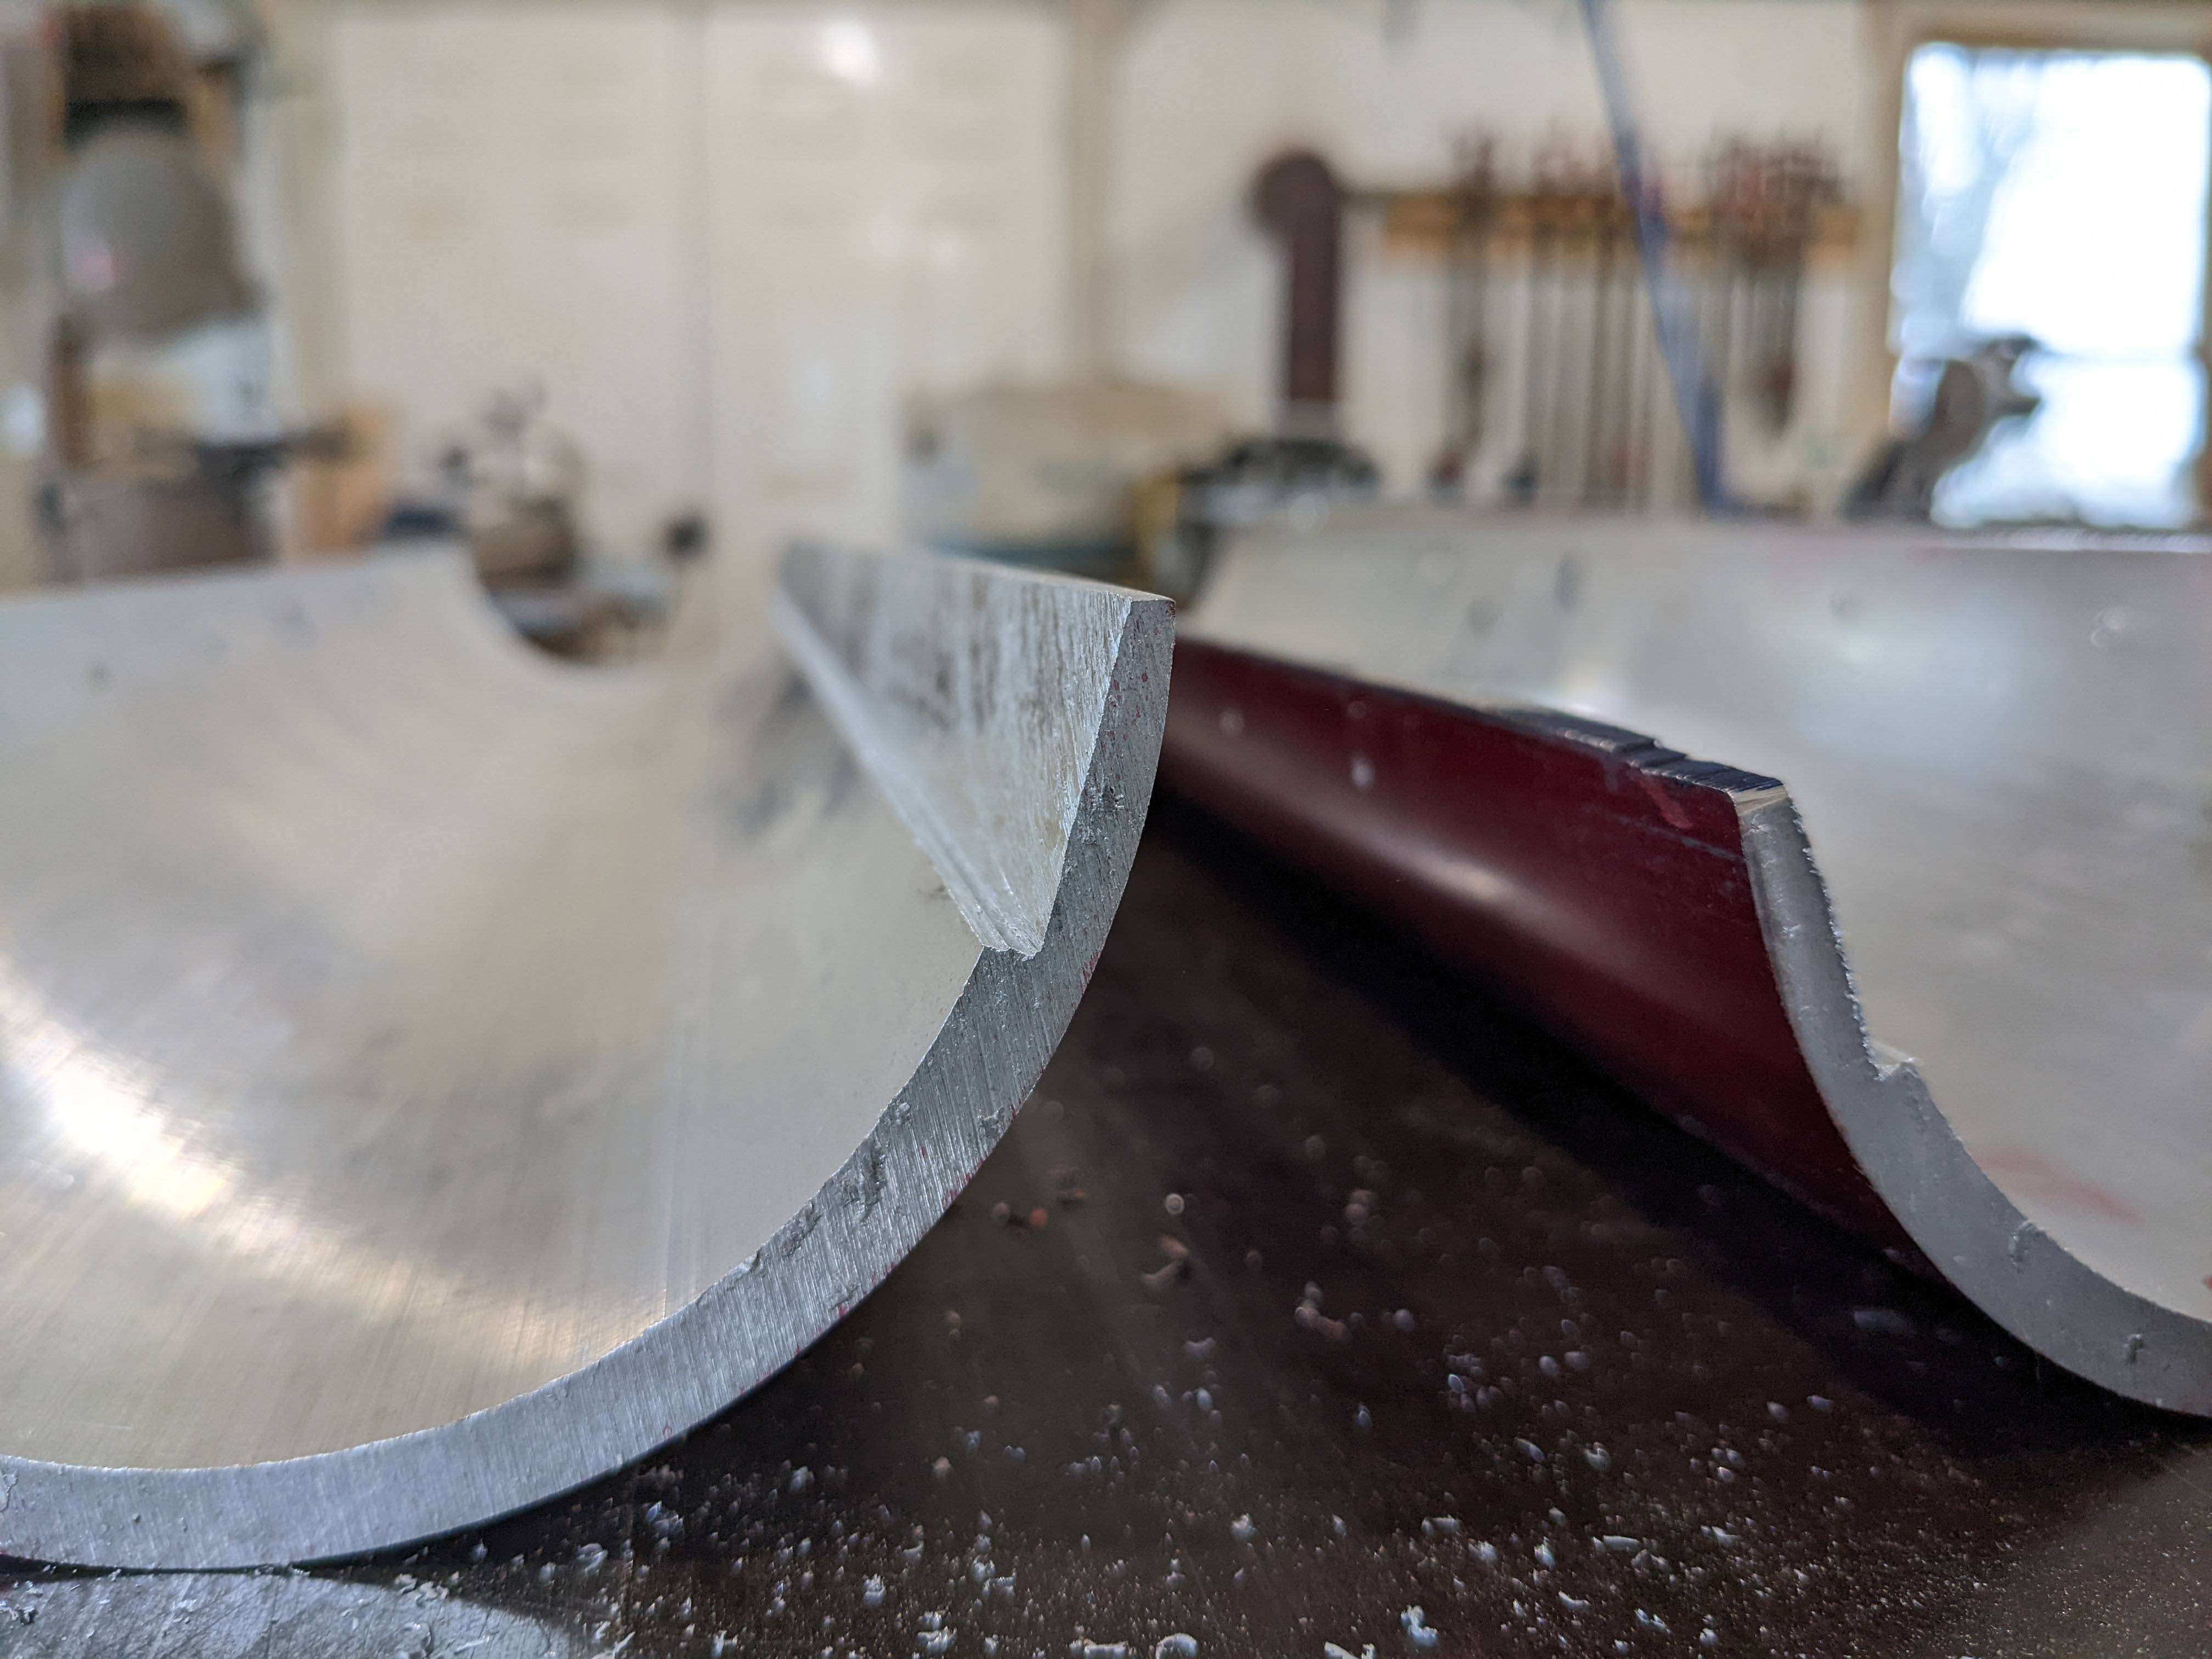
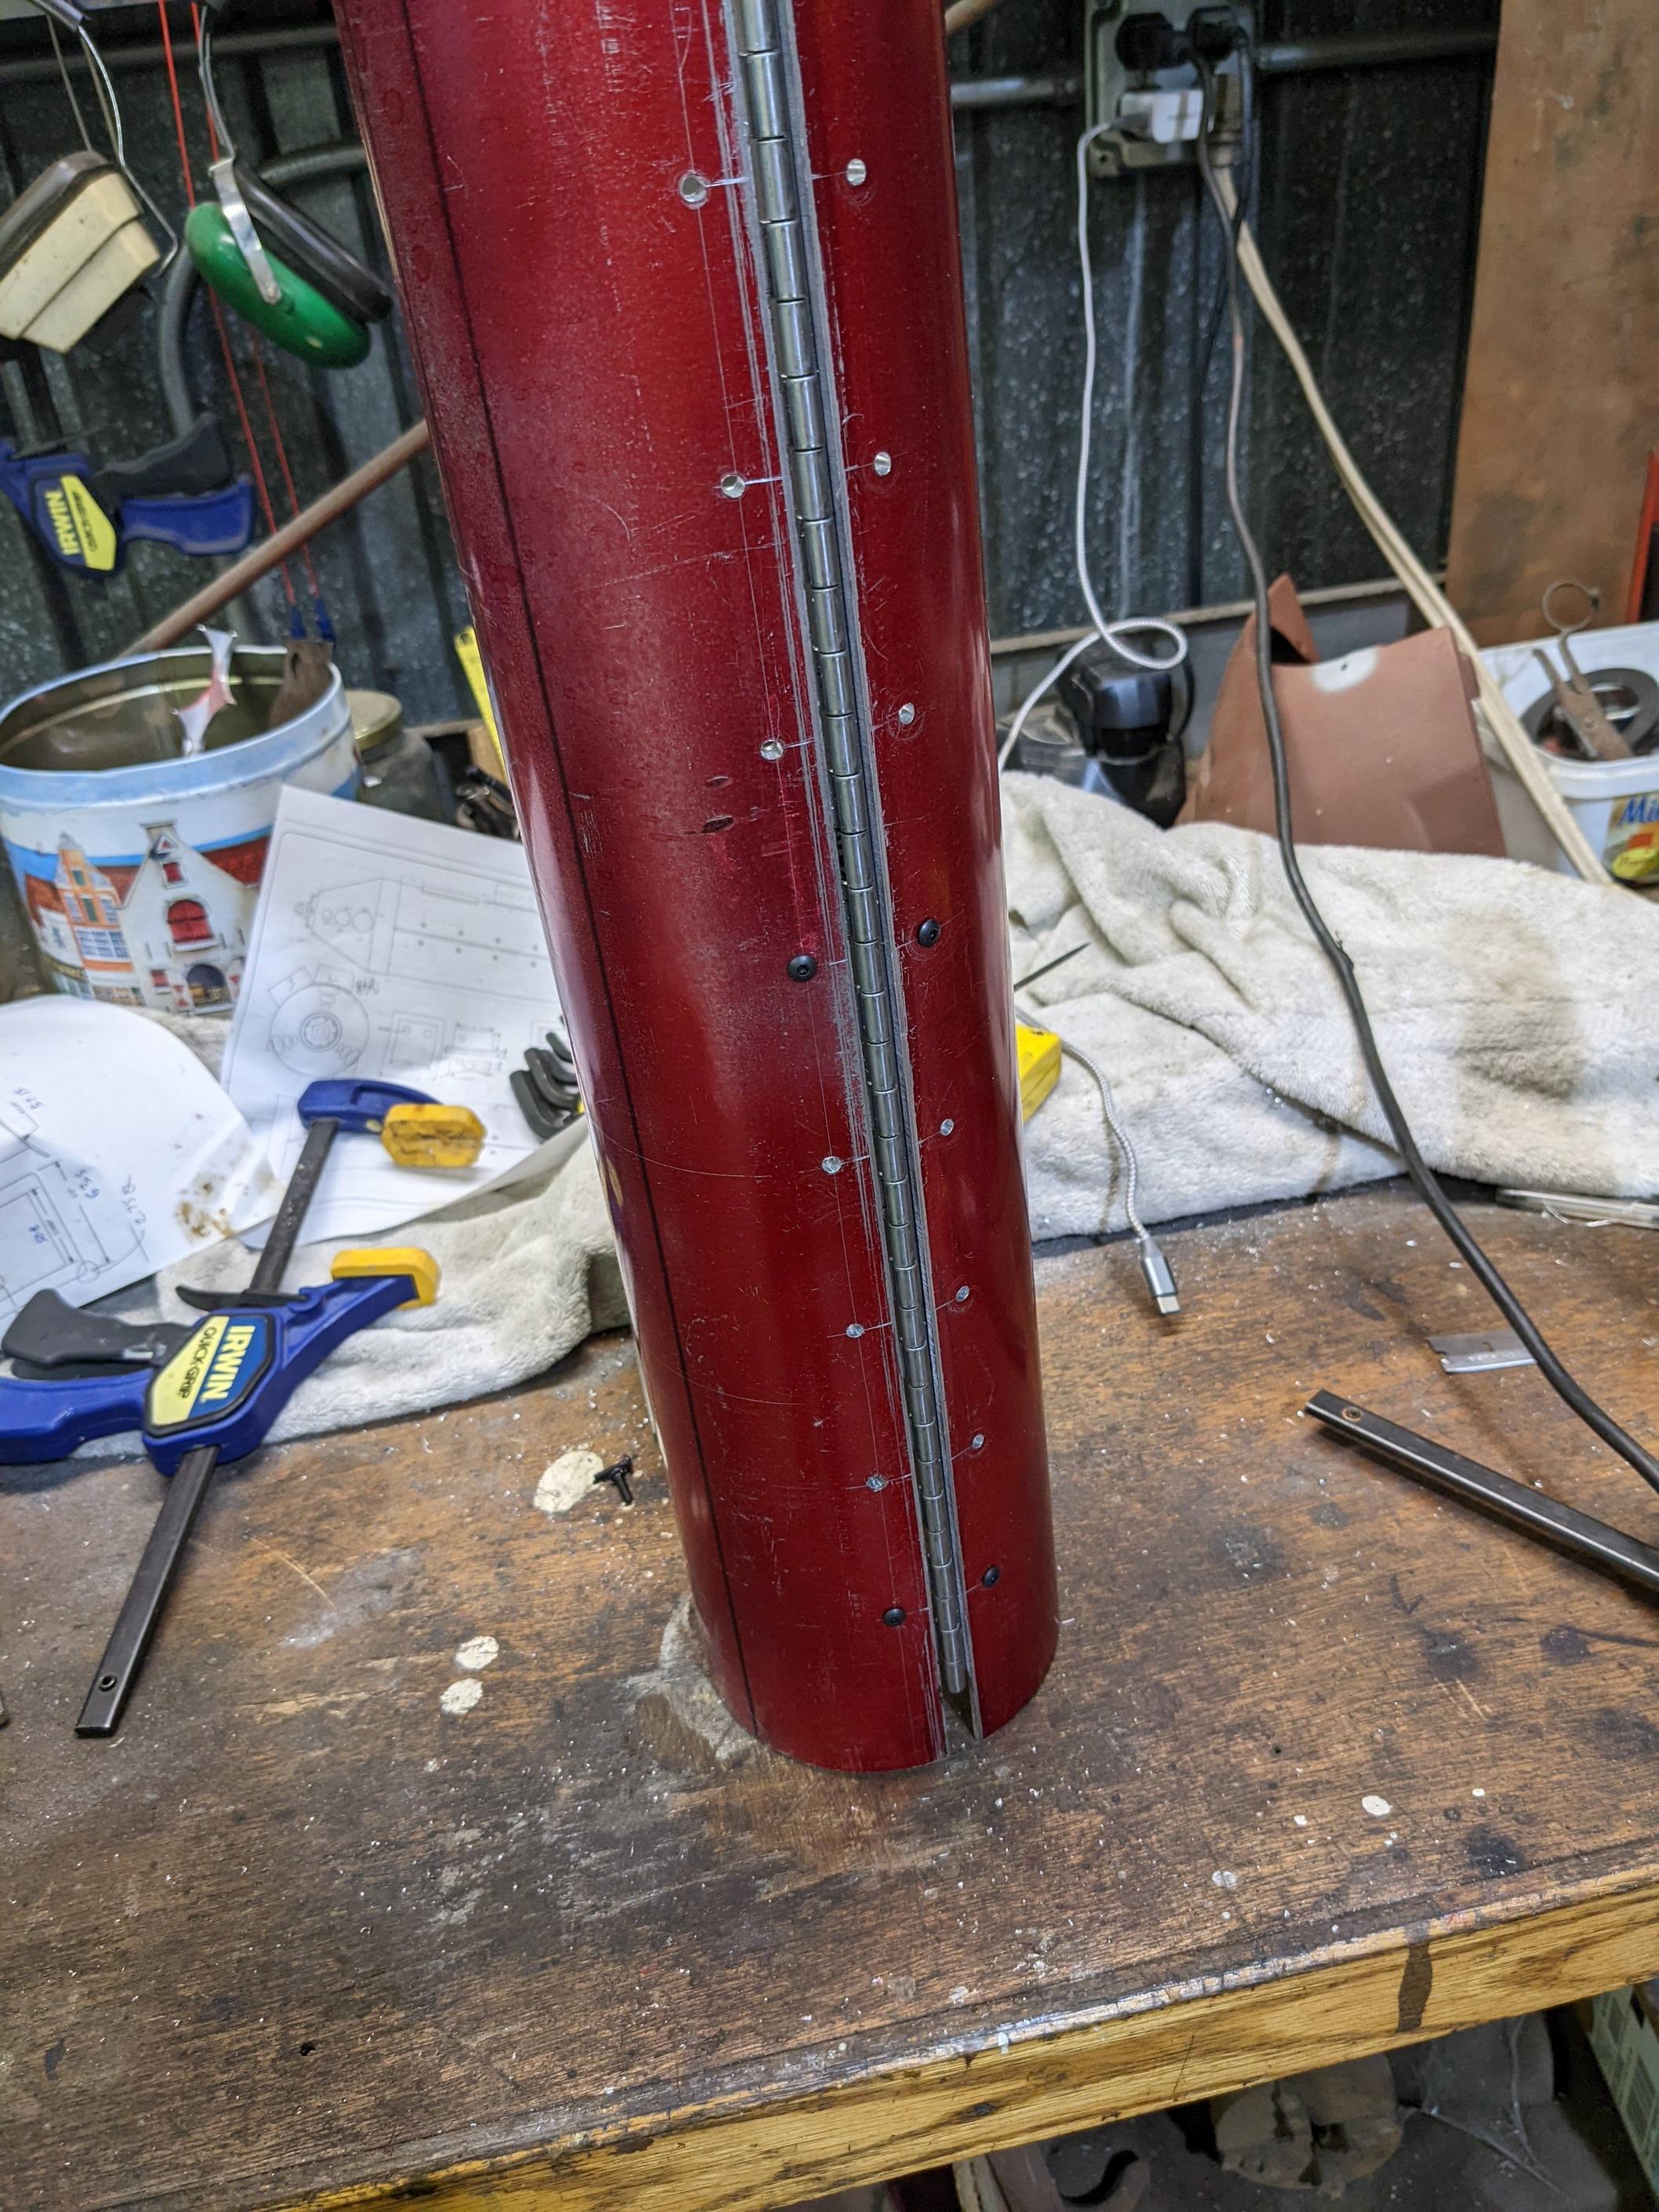
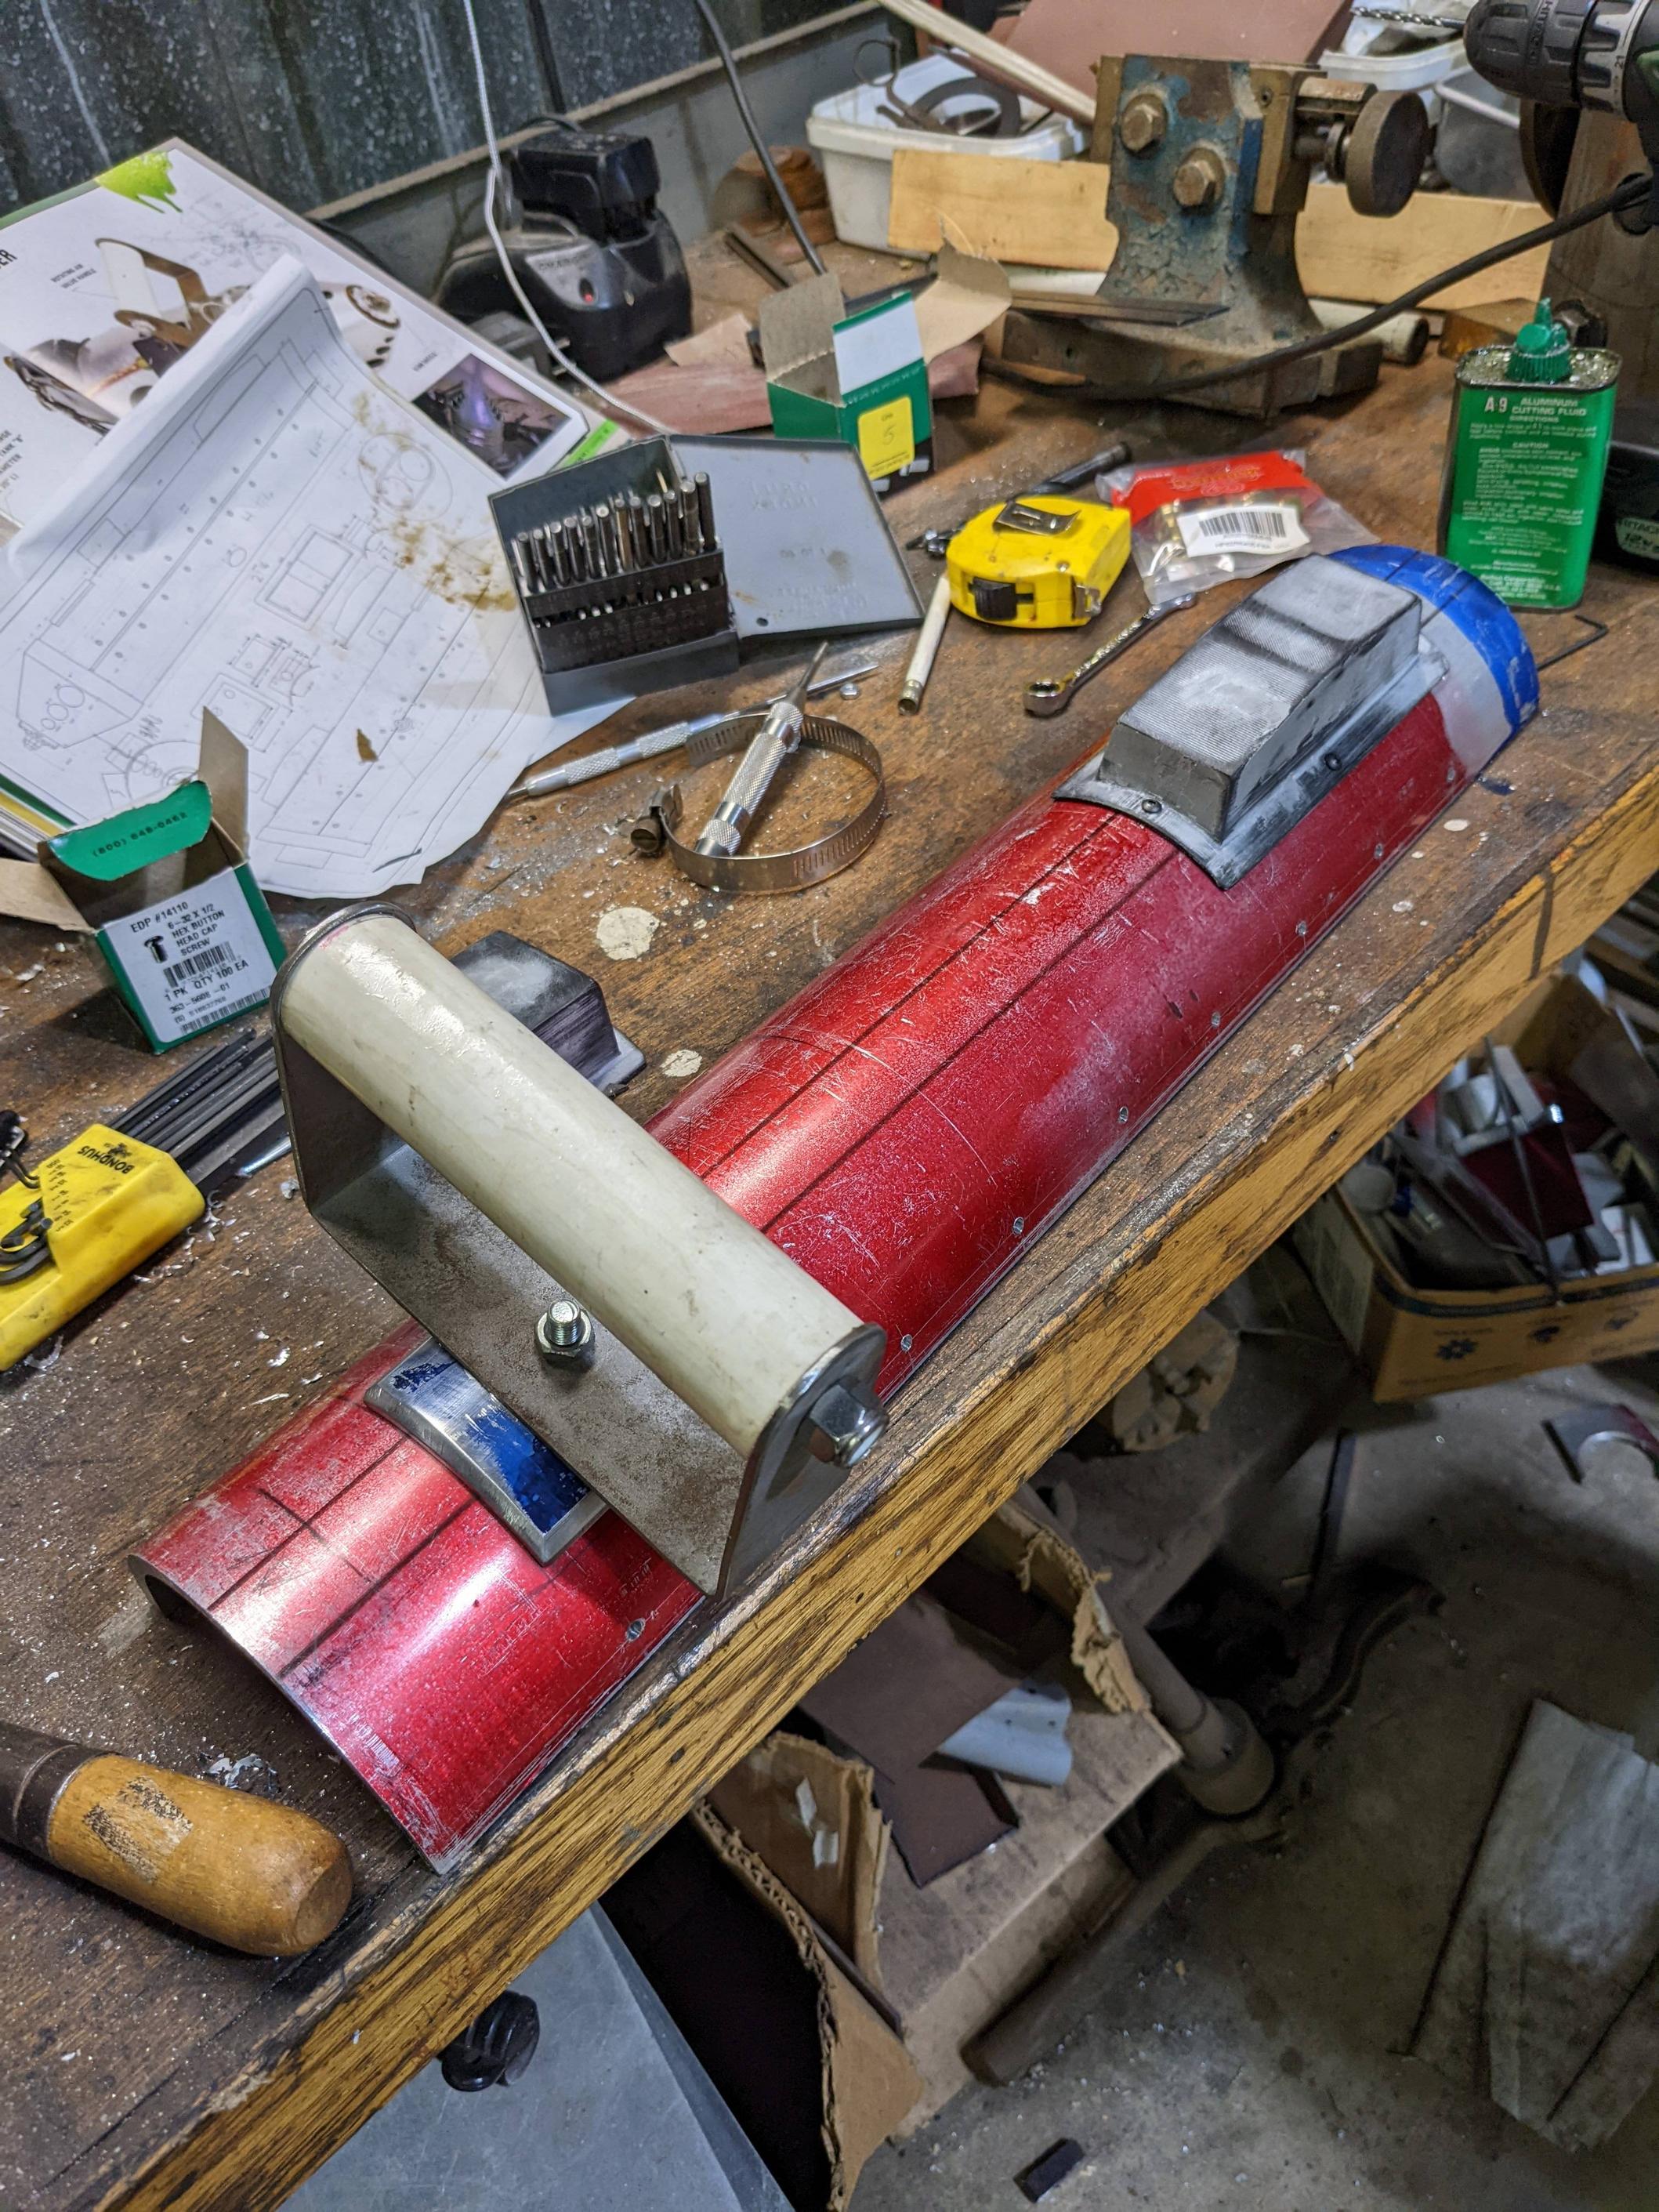
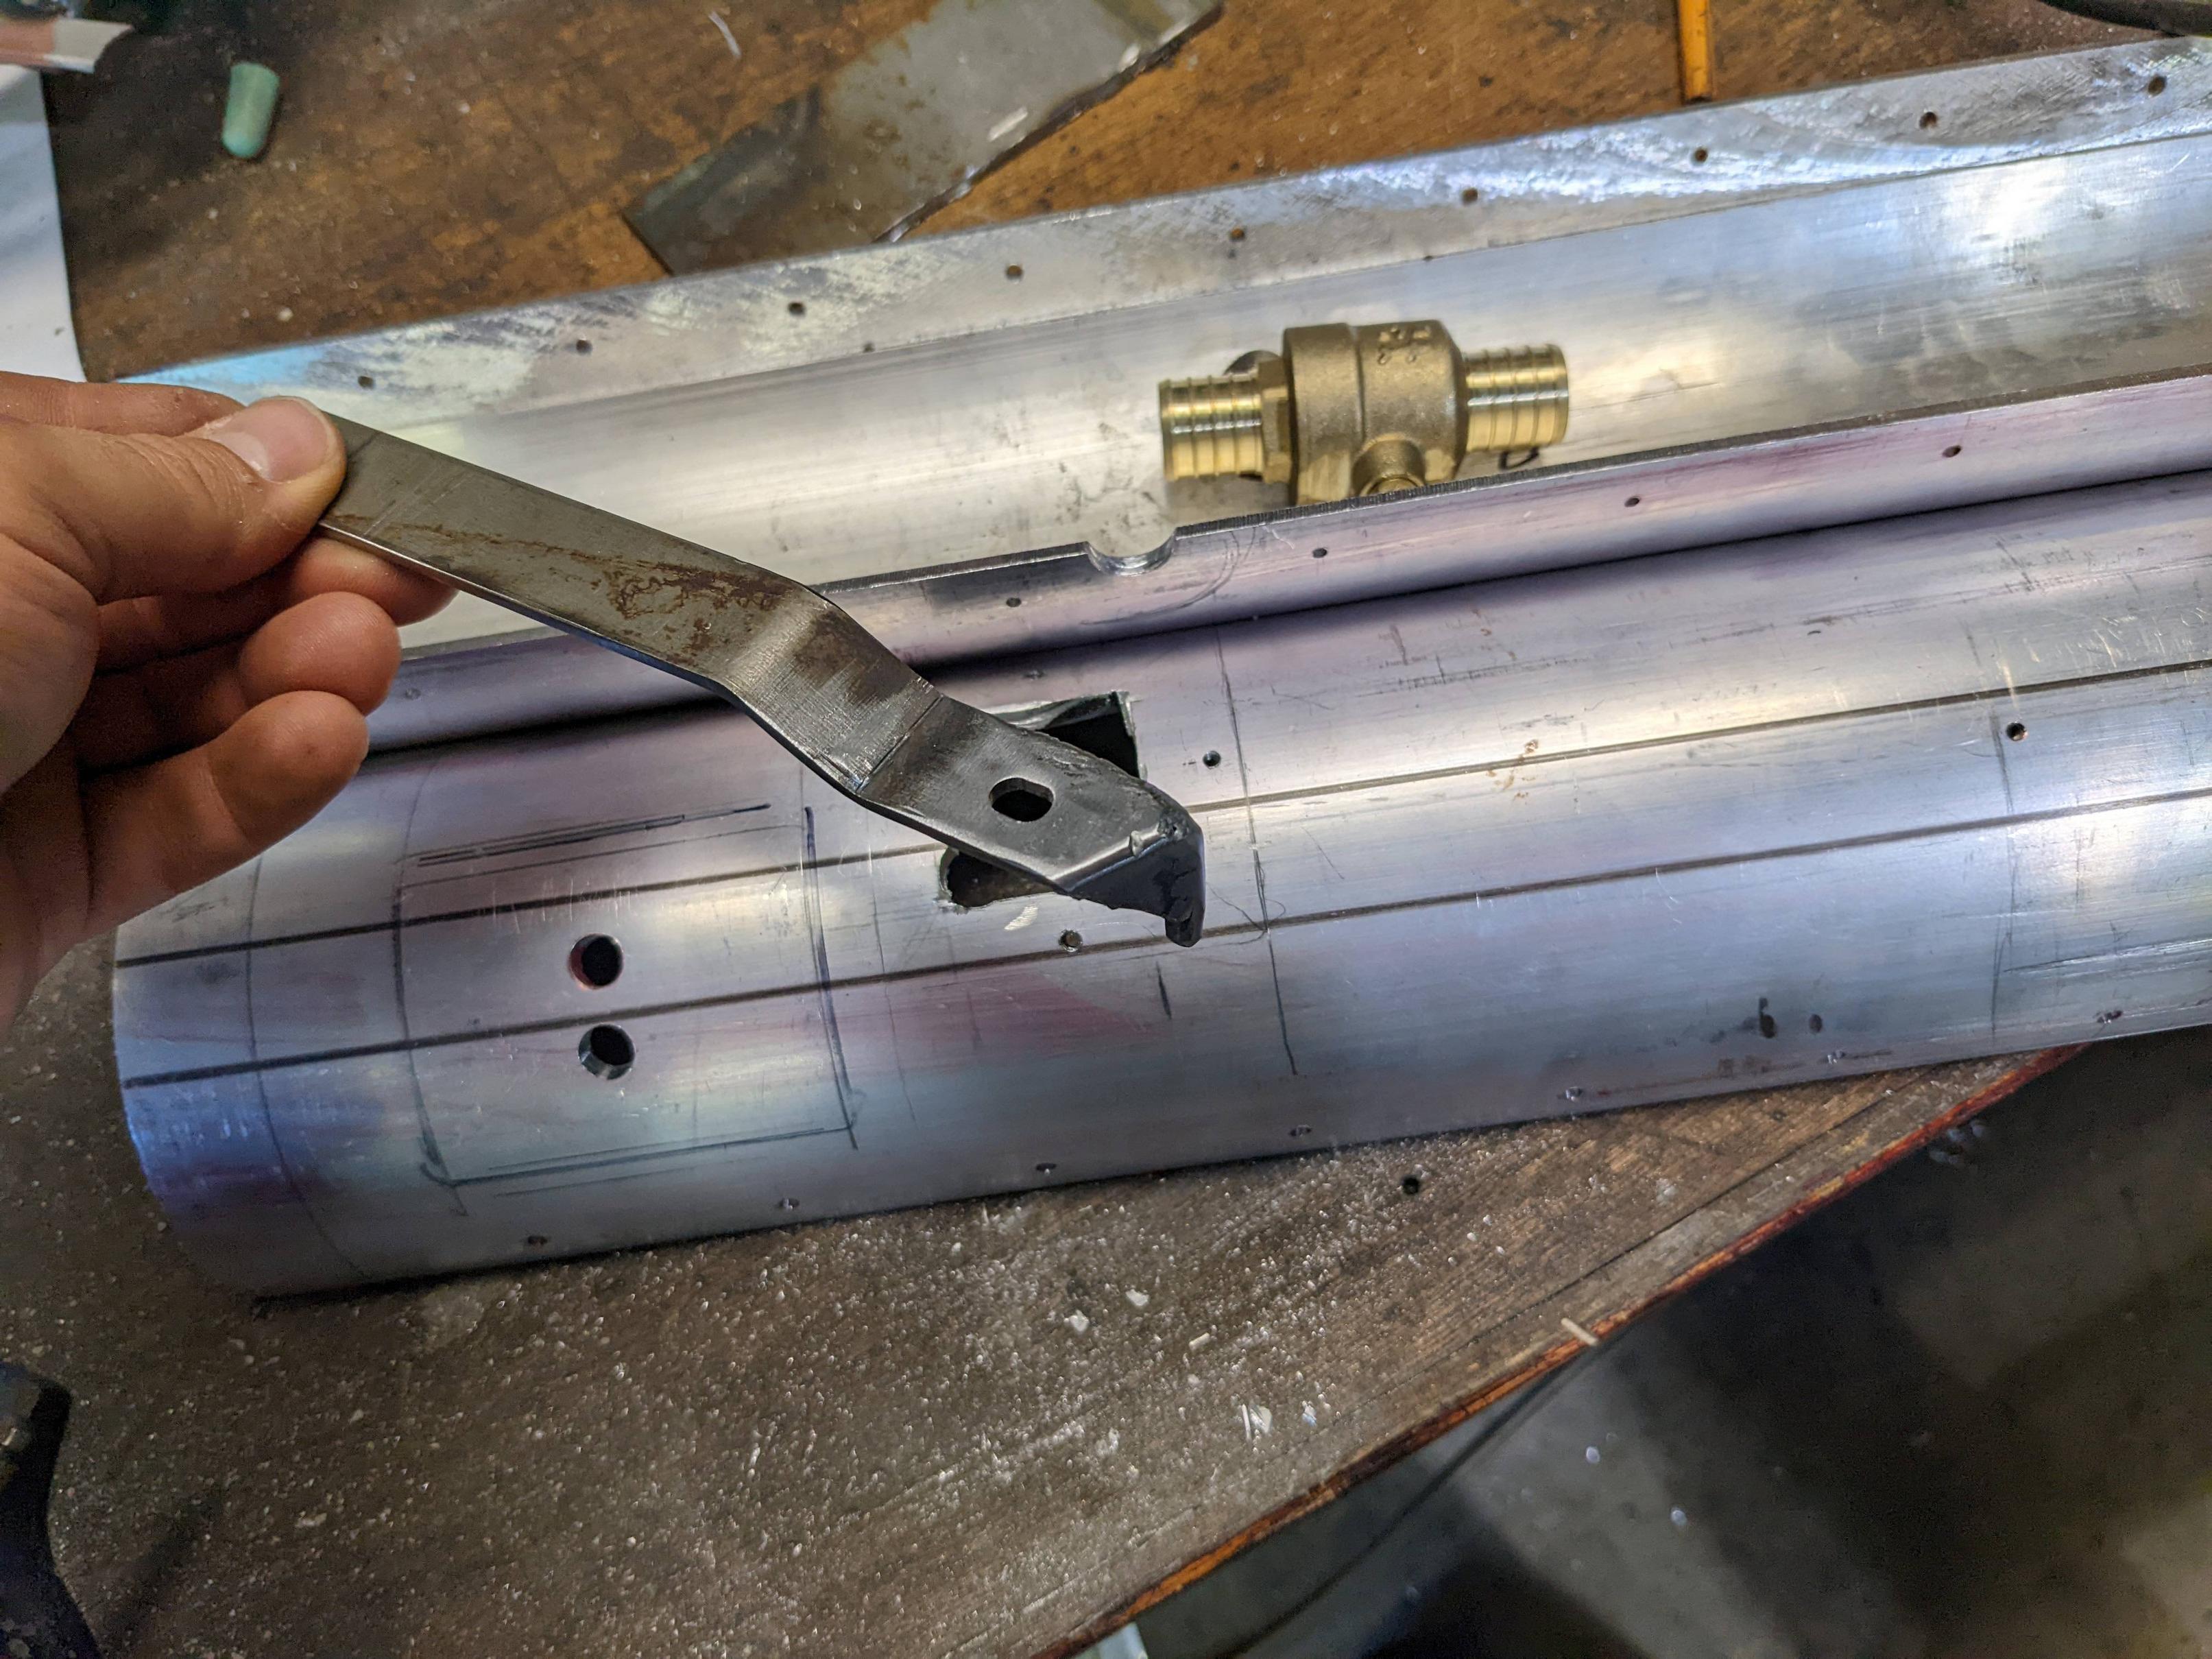
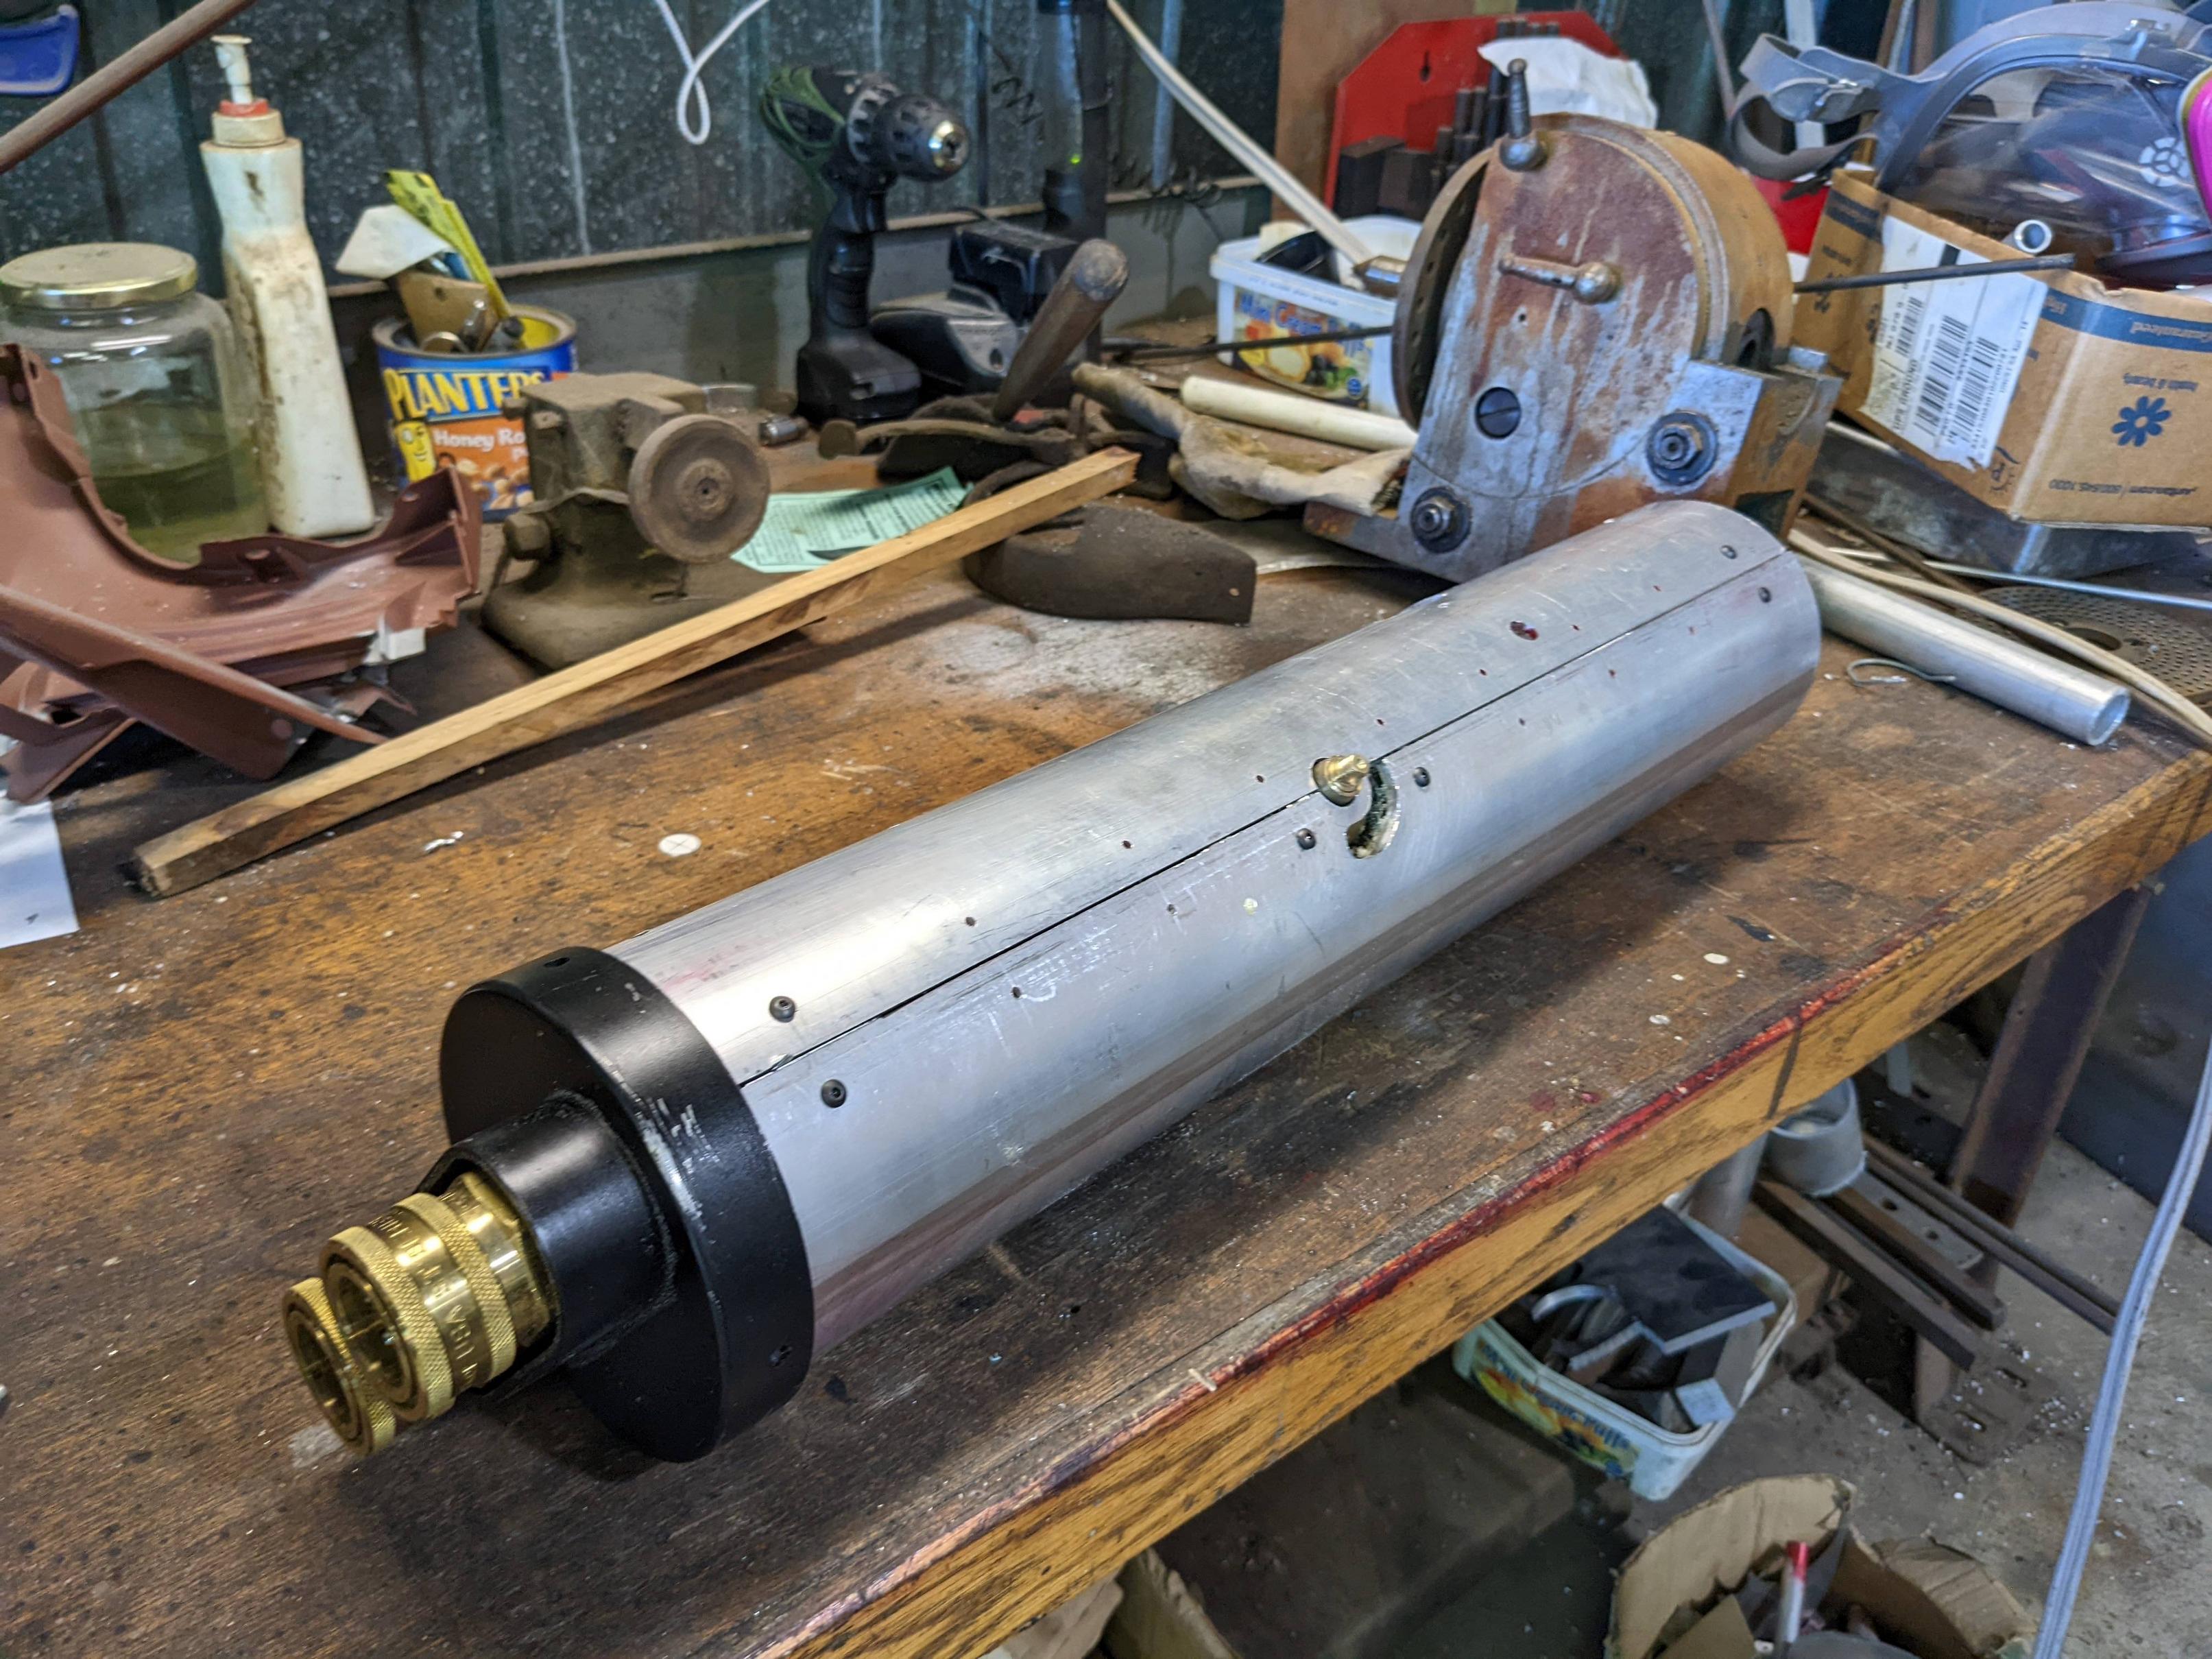
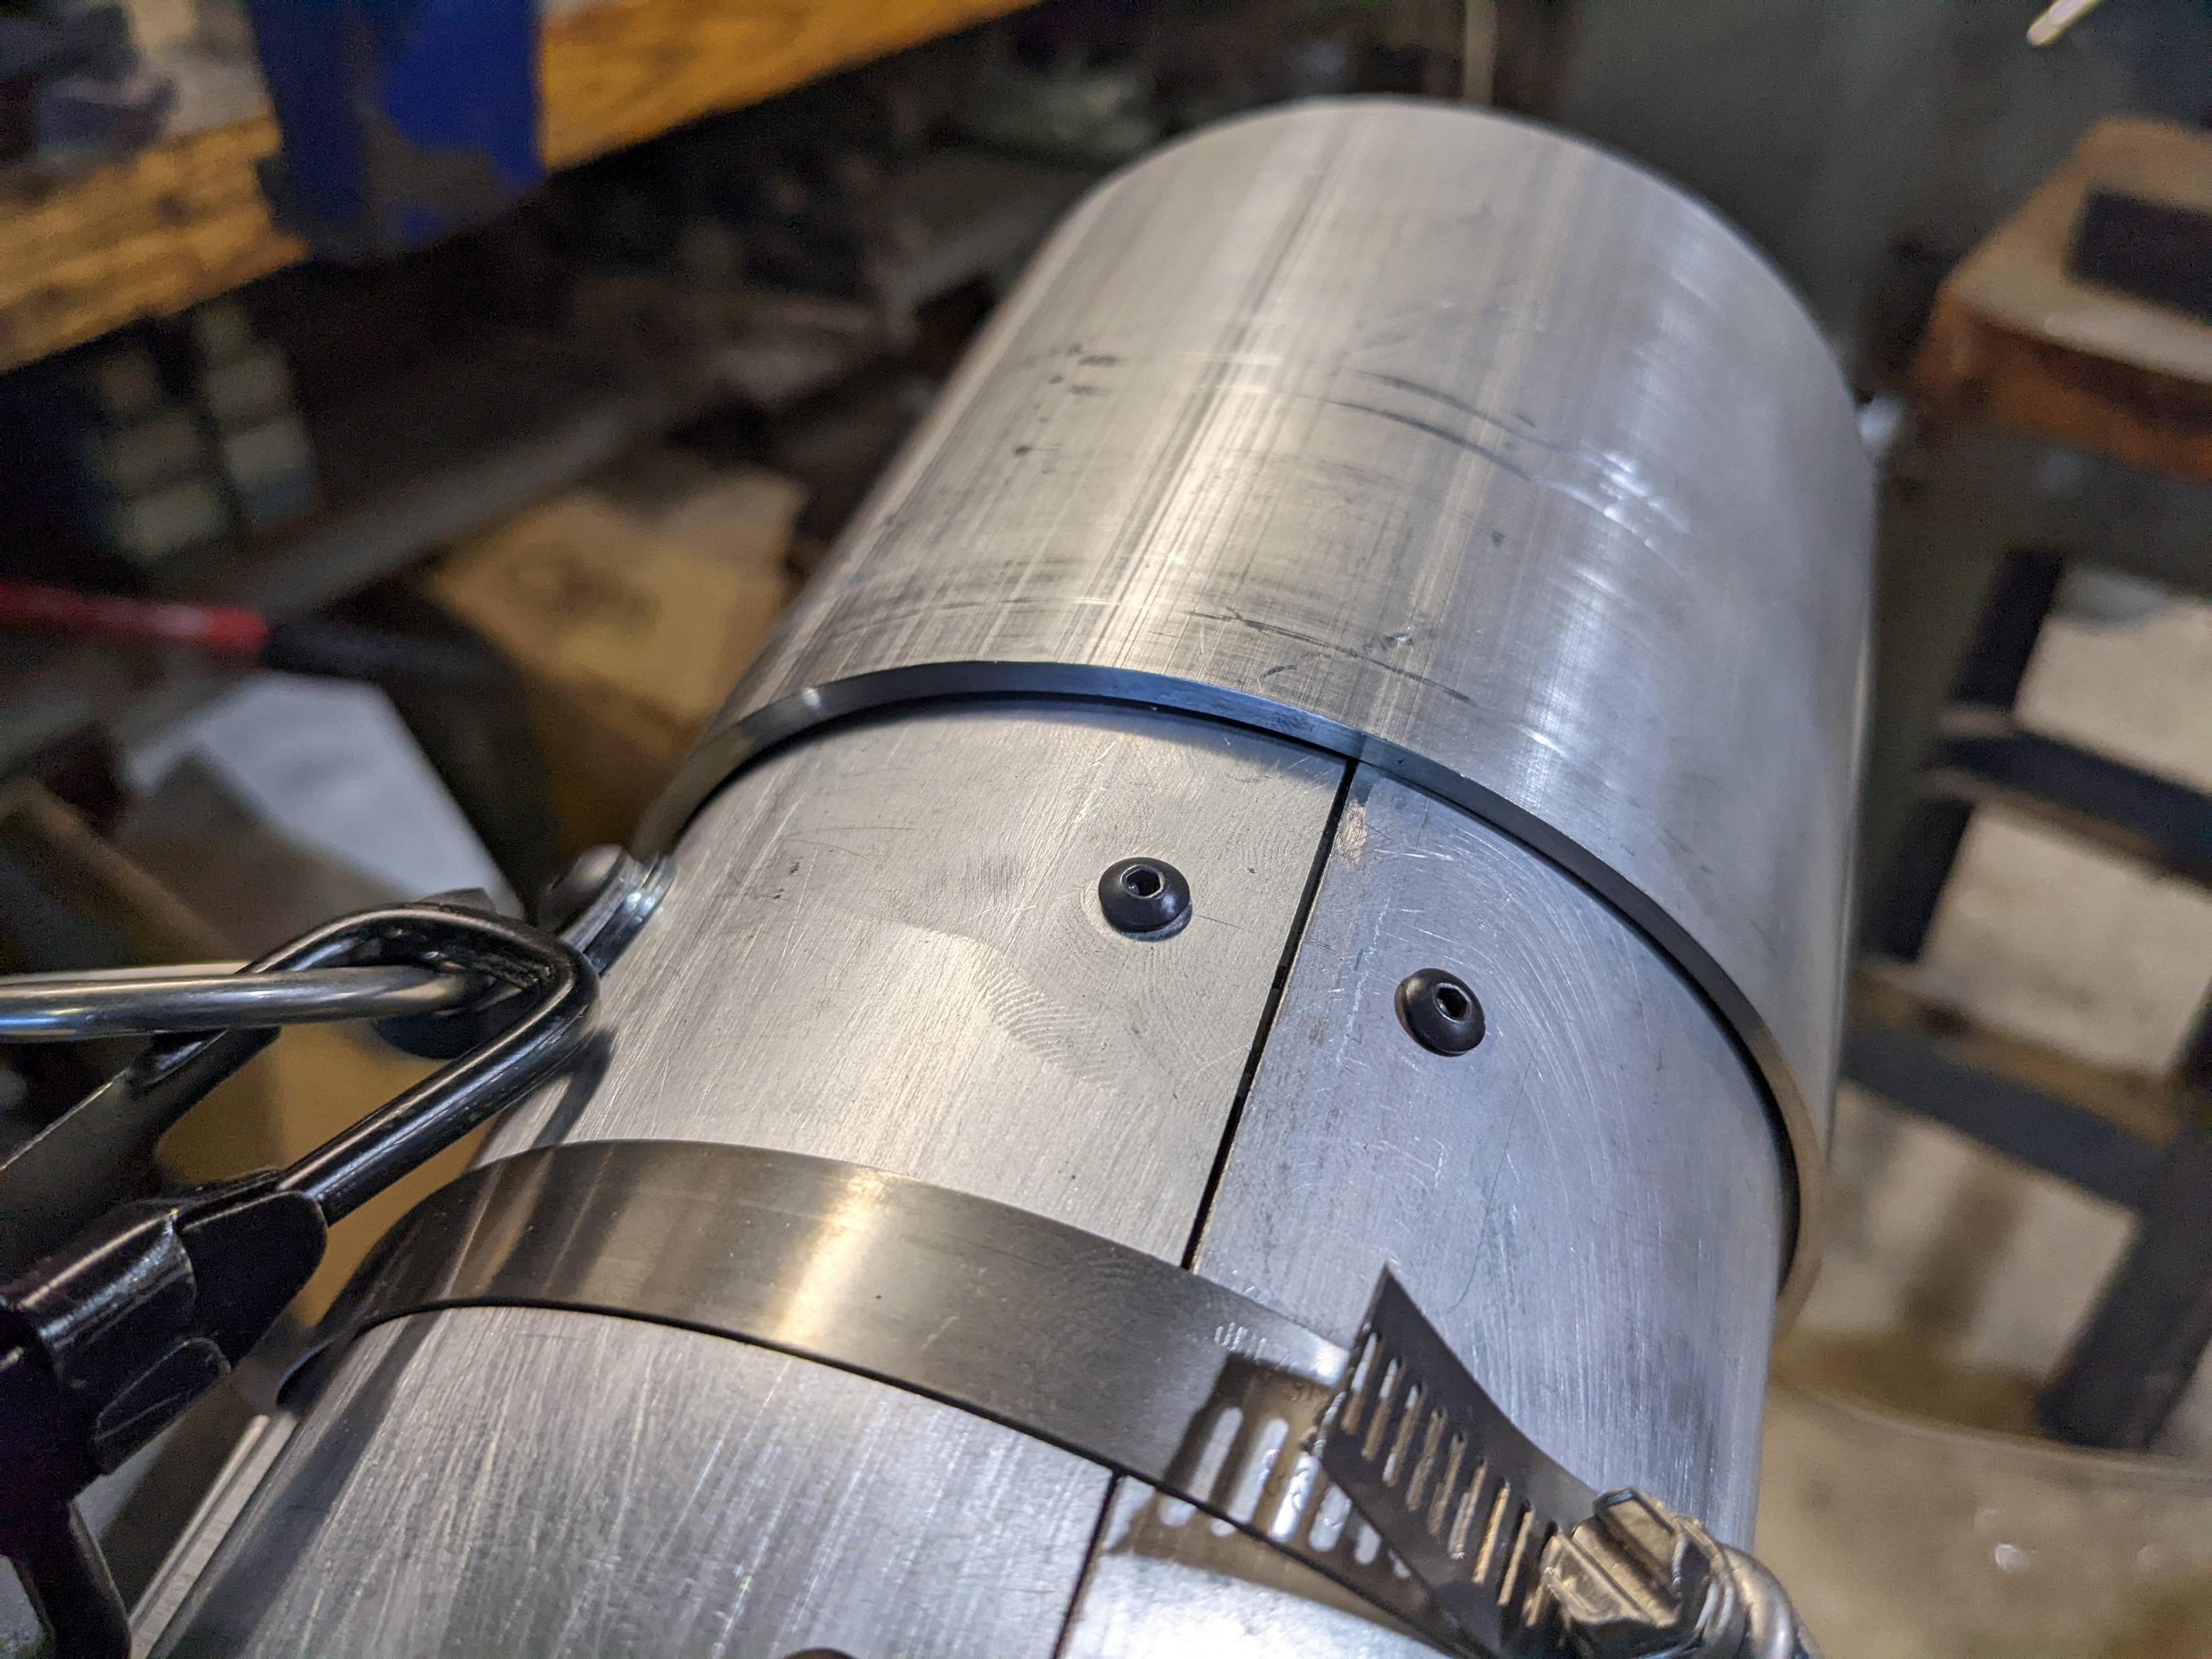
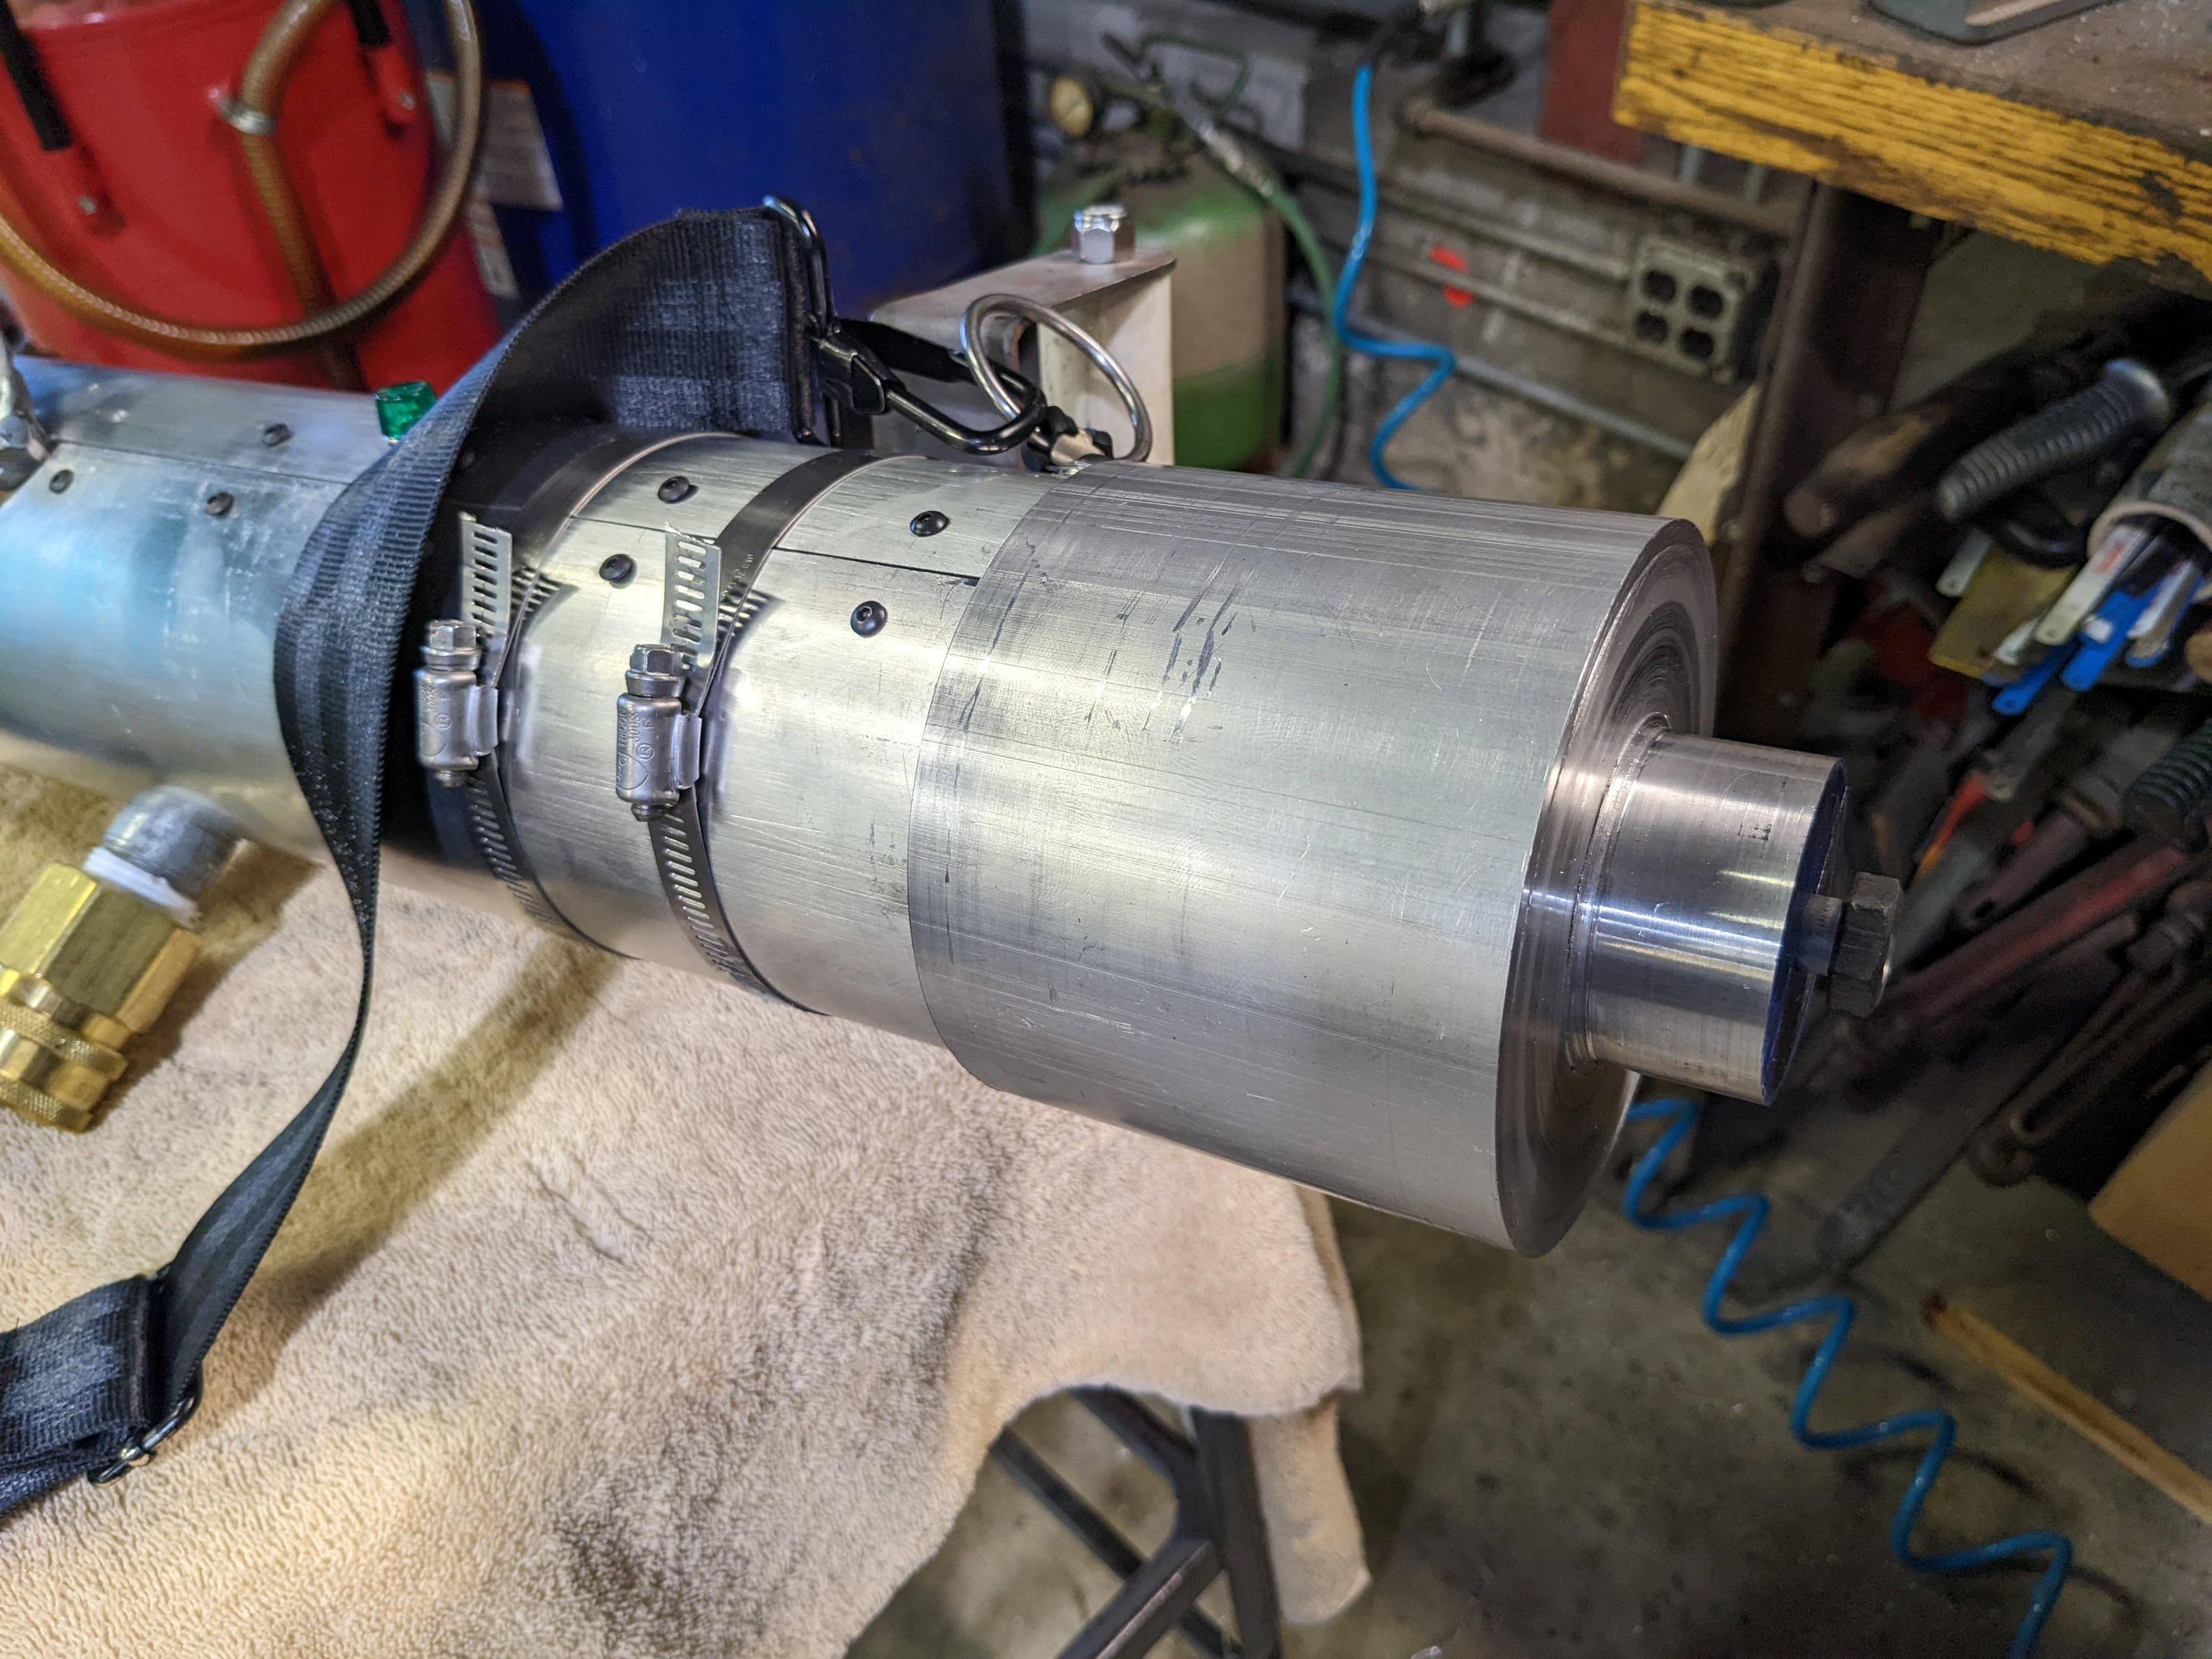
My work so far has been focused mostly on the zooka. I cut a 4 1/2 inch pipe in half free hand with the grinder, faced it on the mill, and inlaid flats for the hinge on the table saw.
I know the sling rings should be pop rivets, but I decided to go with #12 bolts instead. I didn’t want to deal with a broken sling when I’m playing with it.
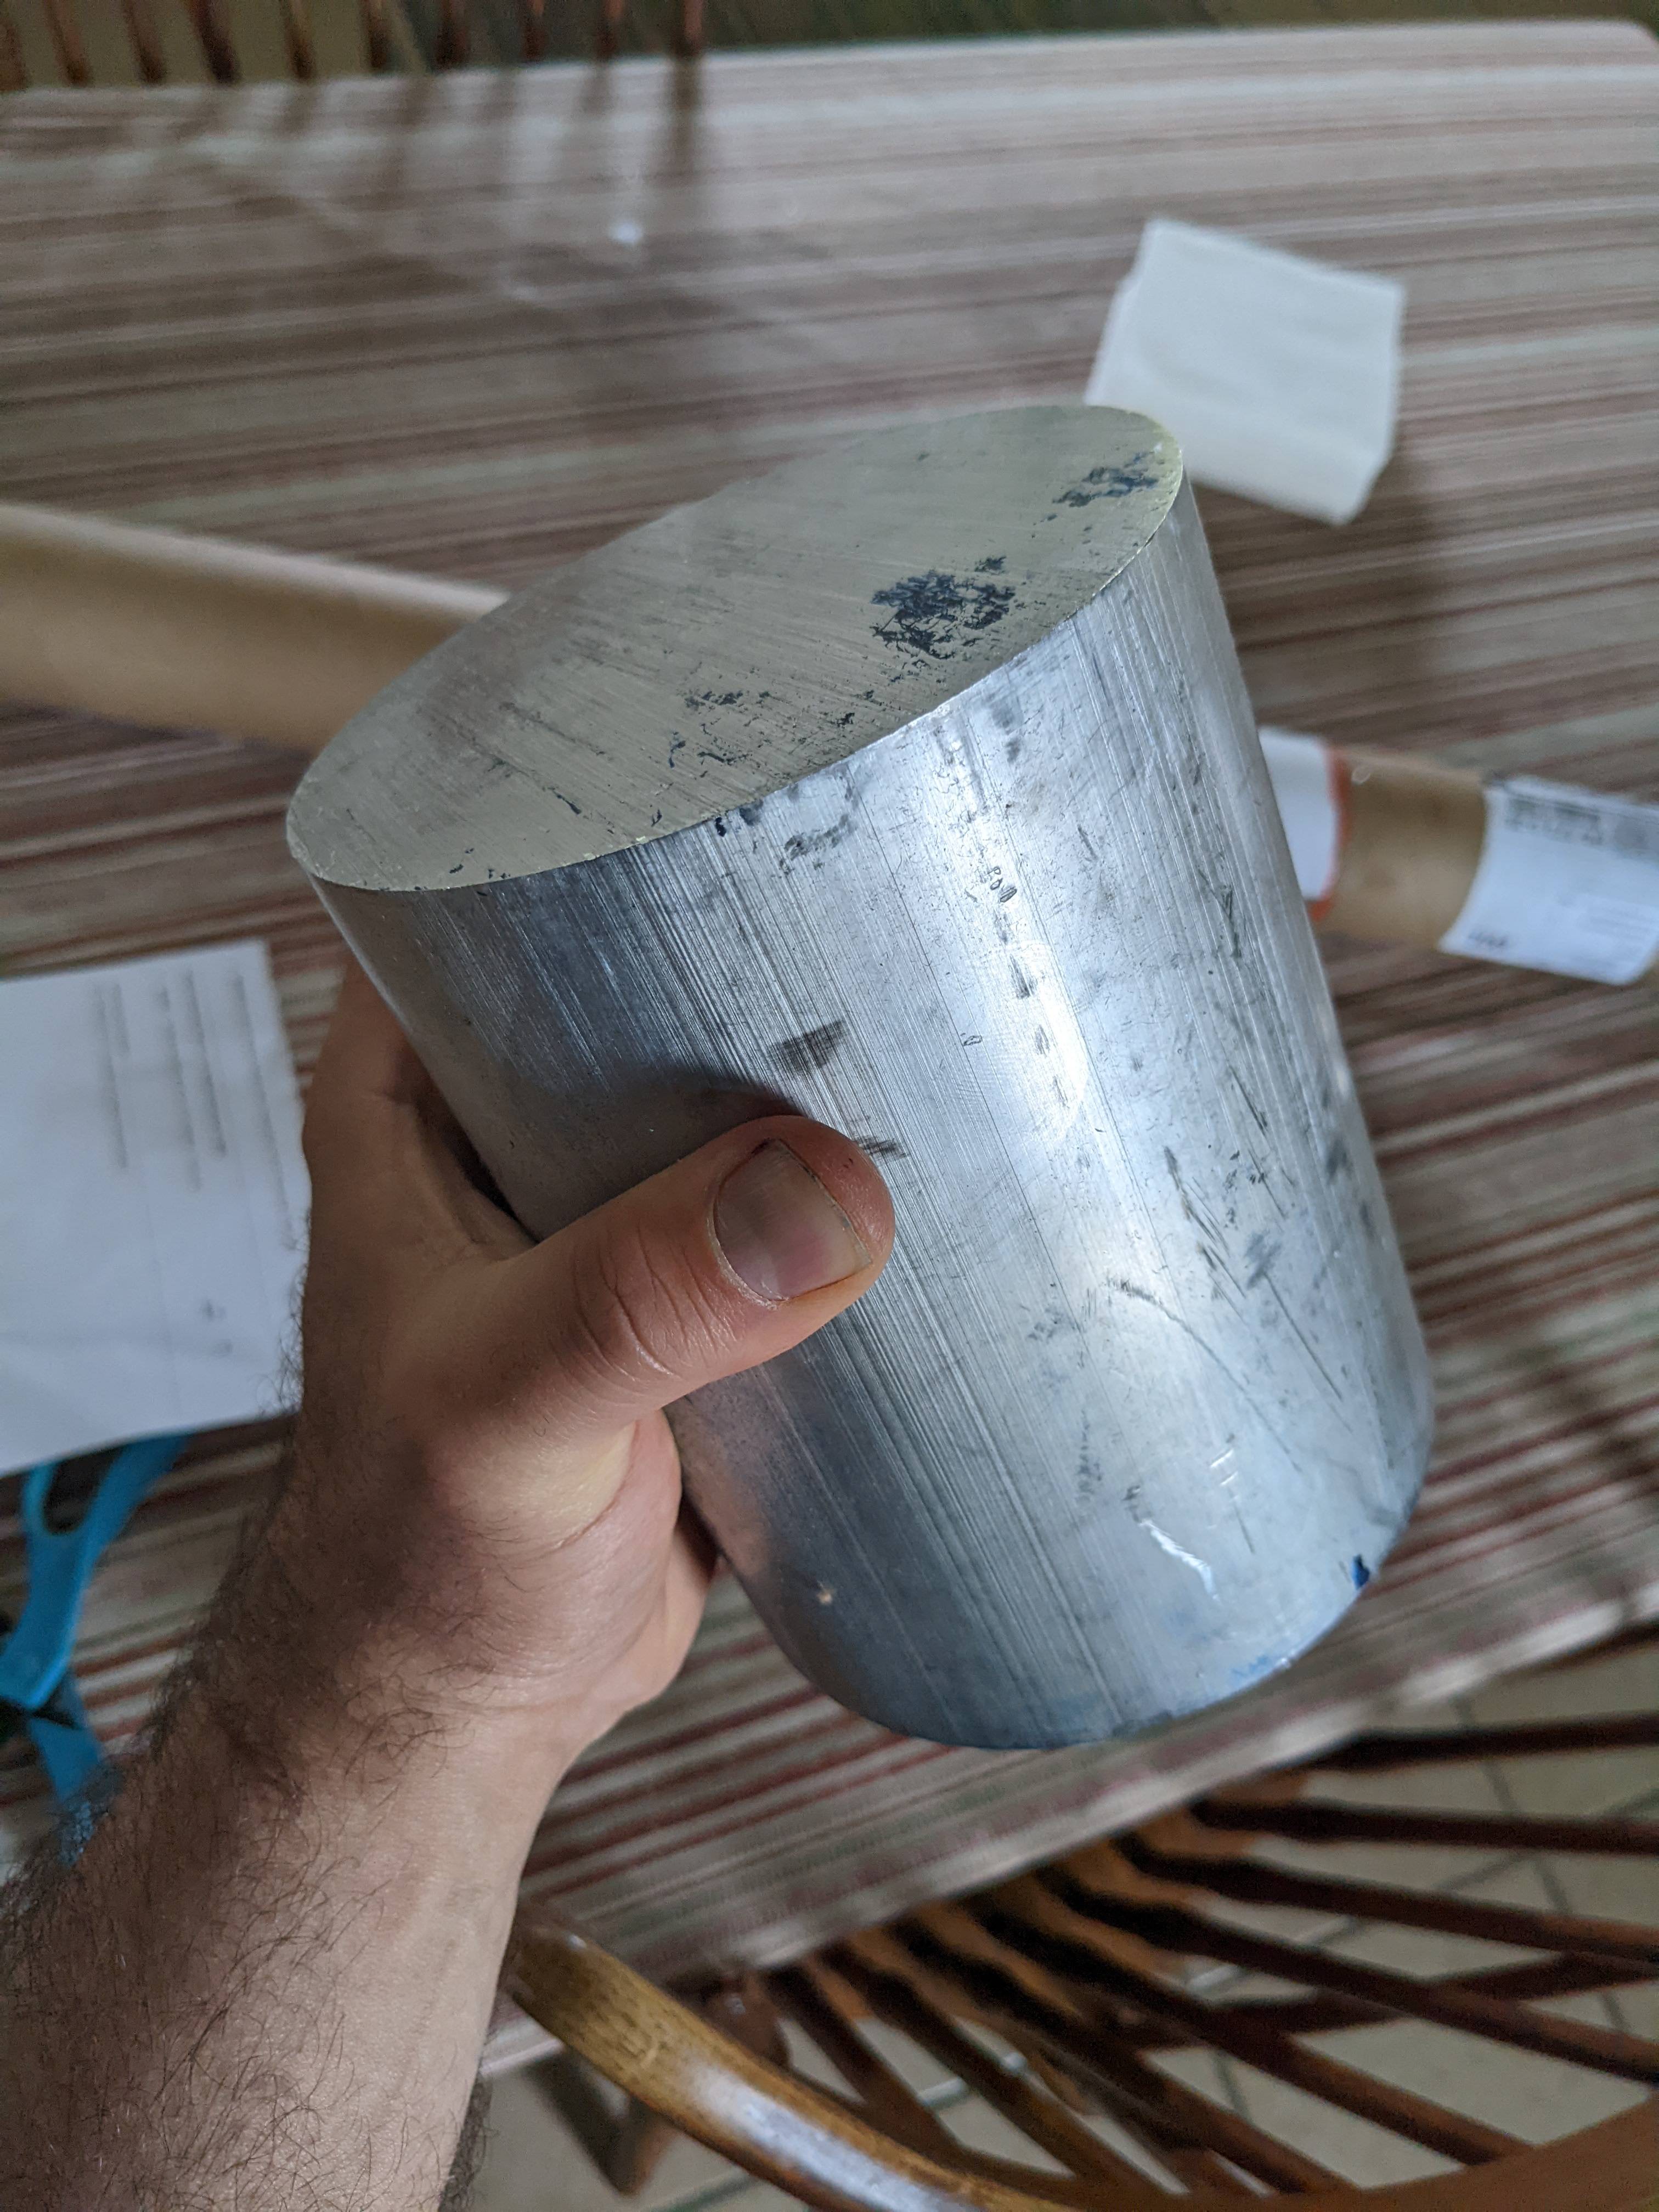
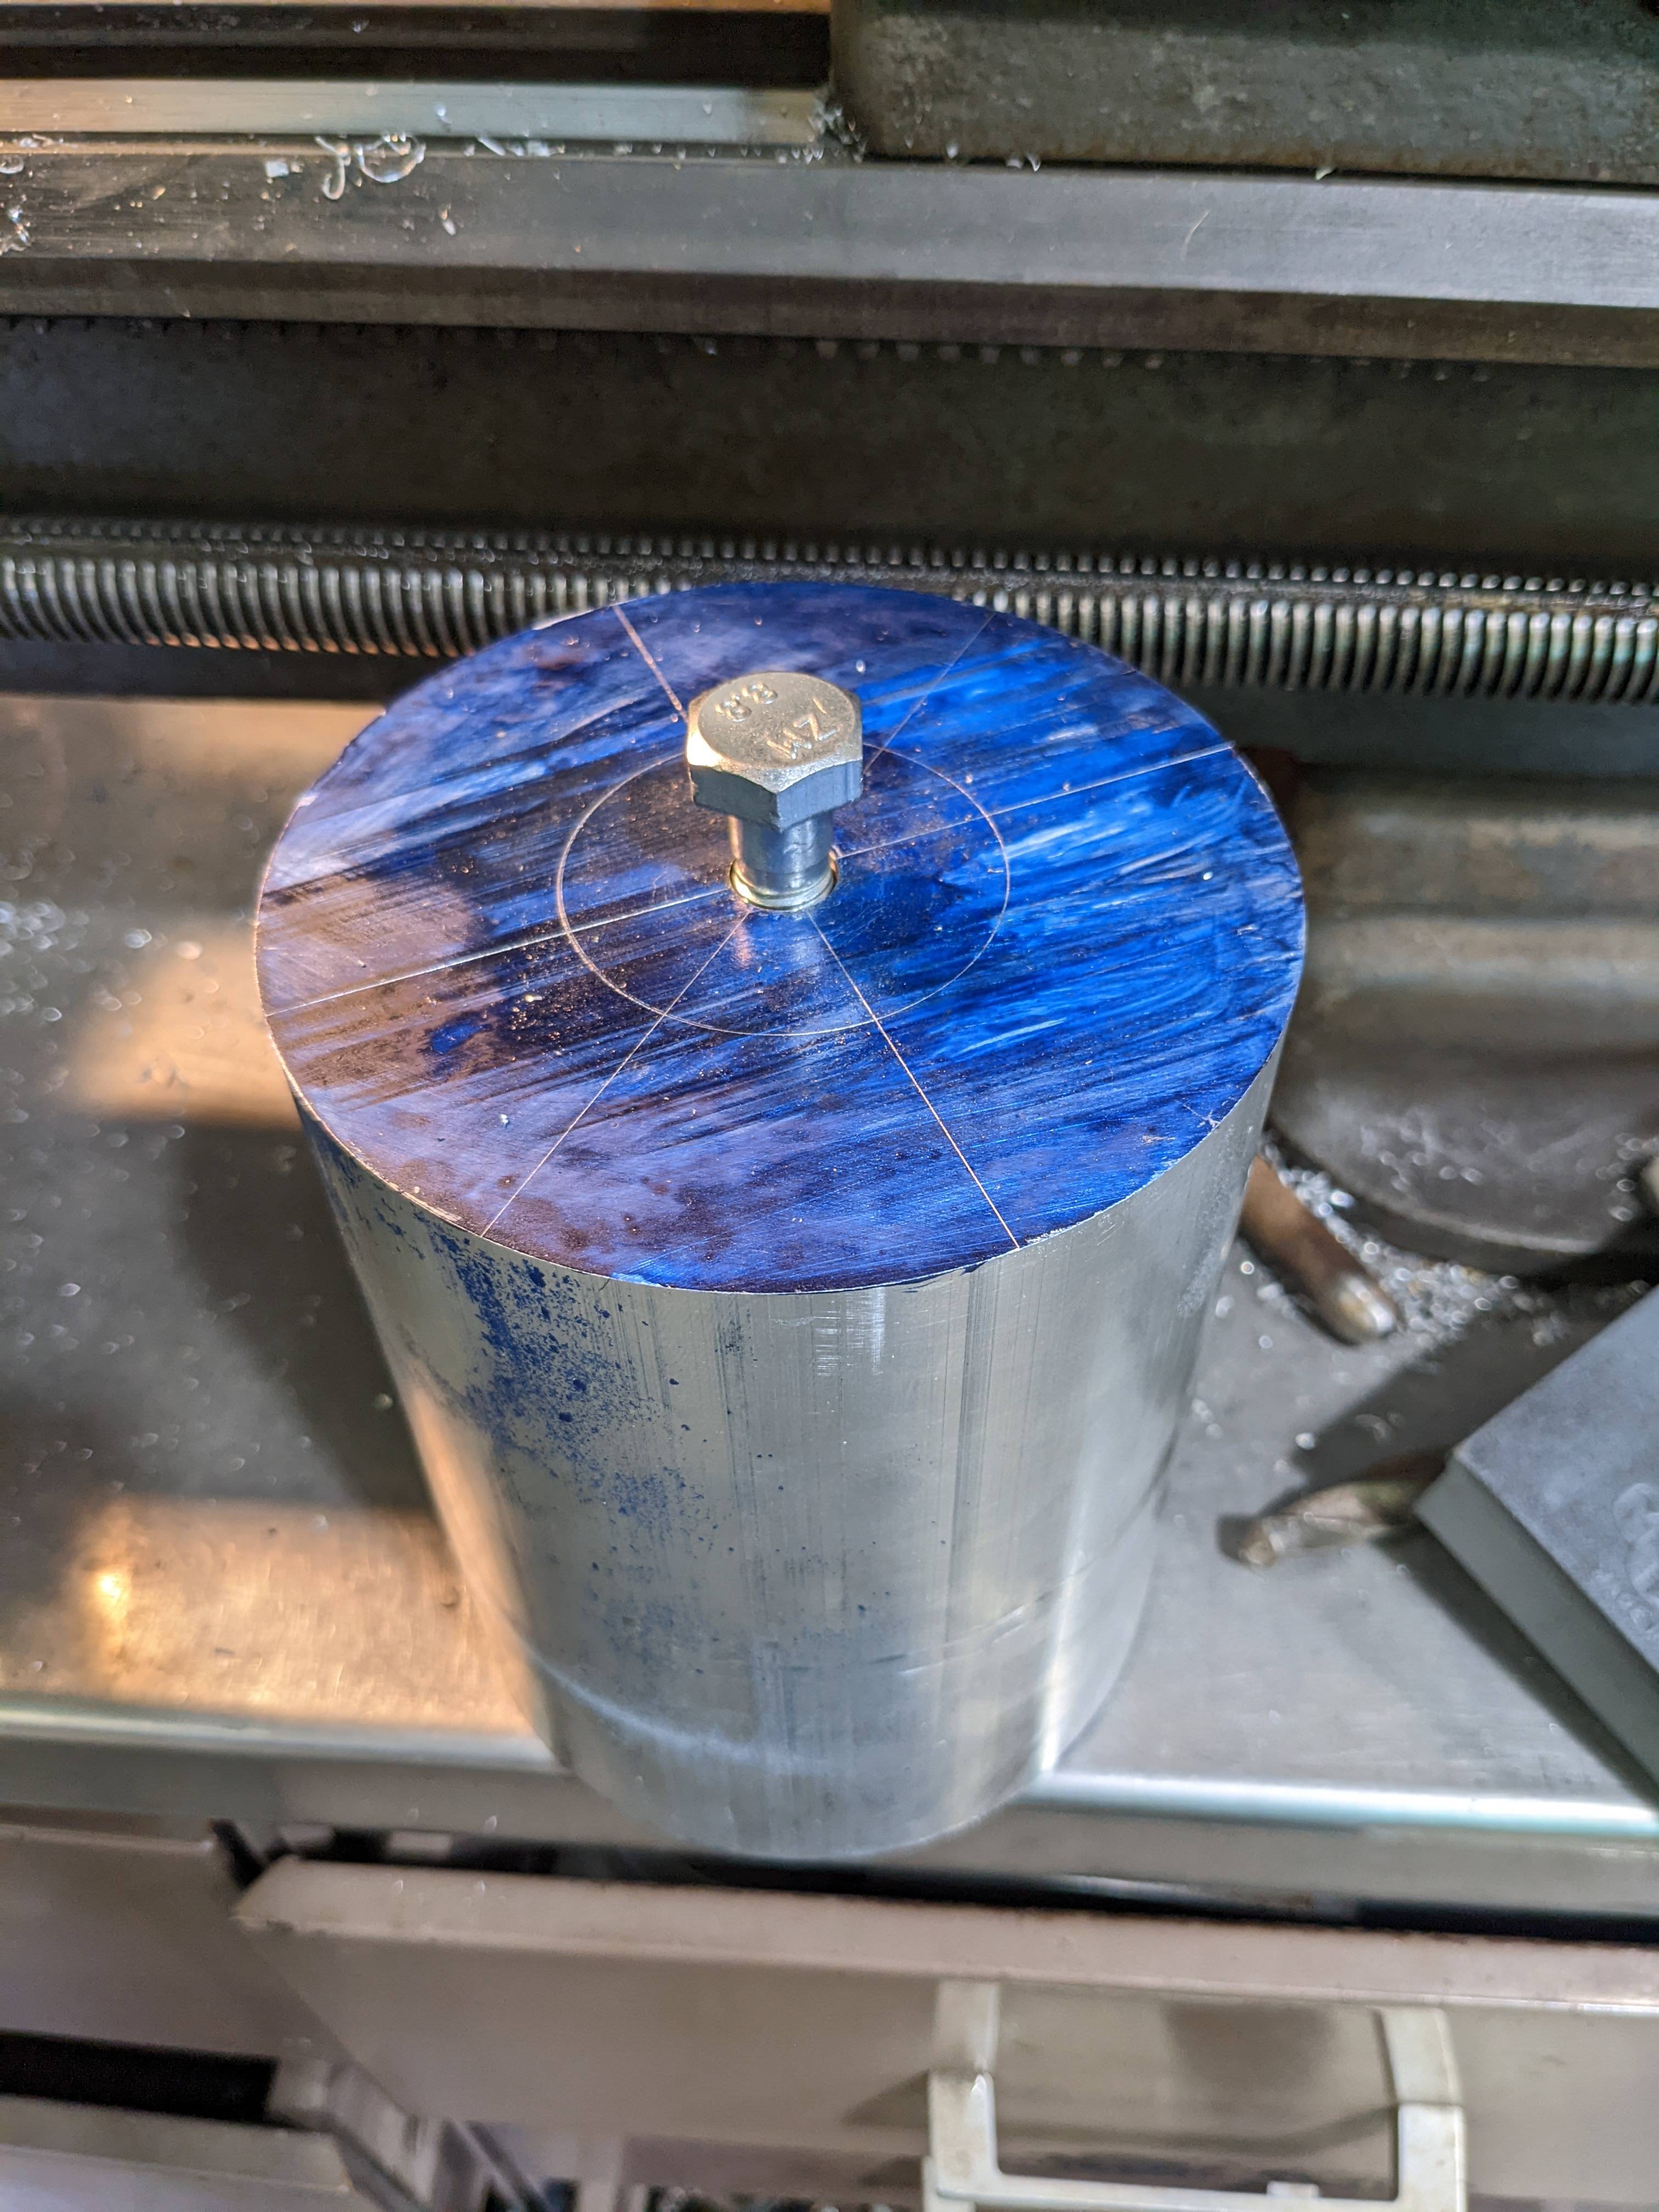
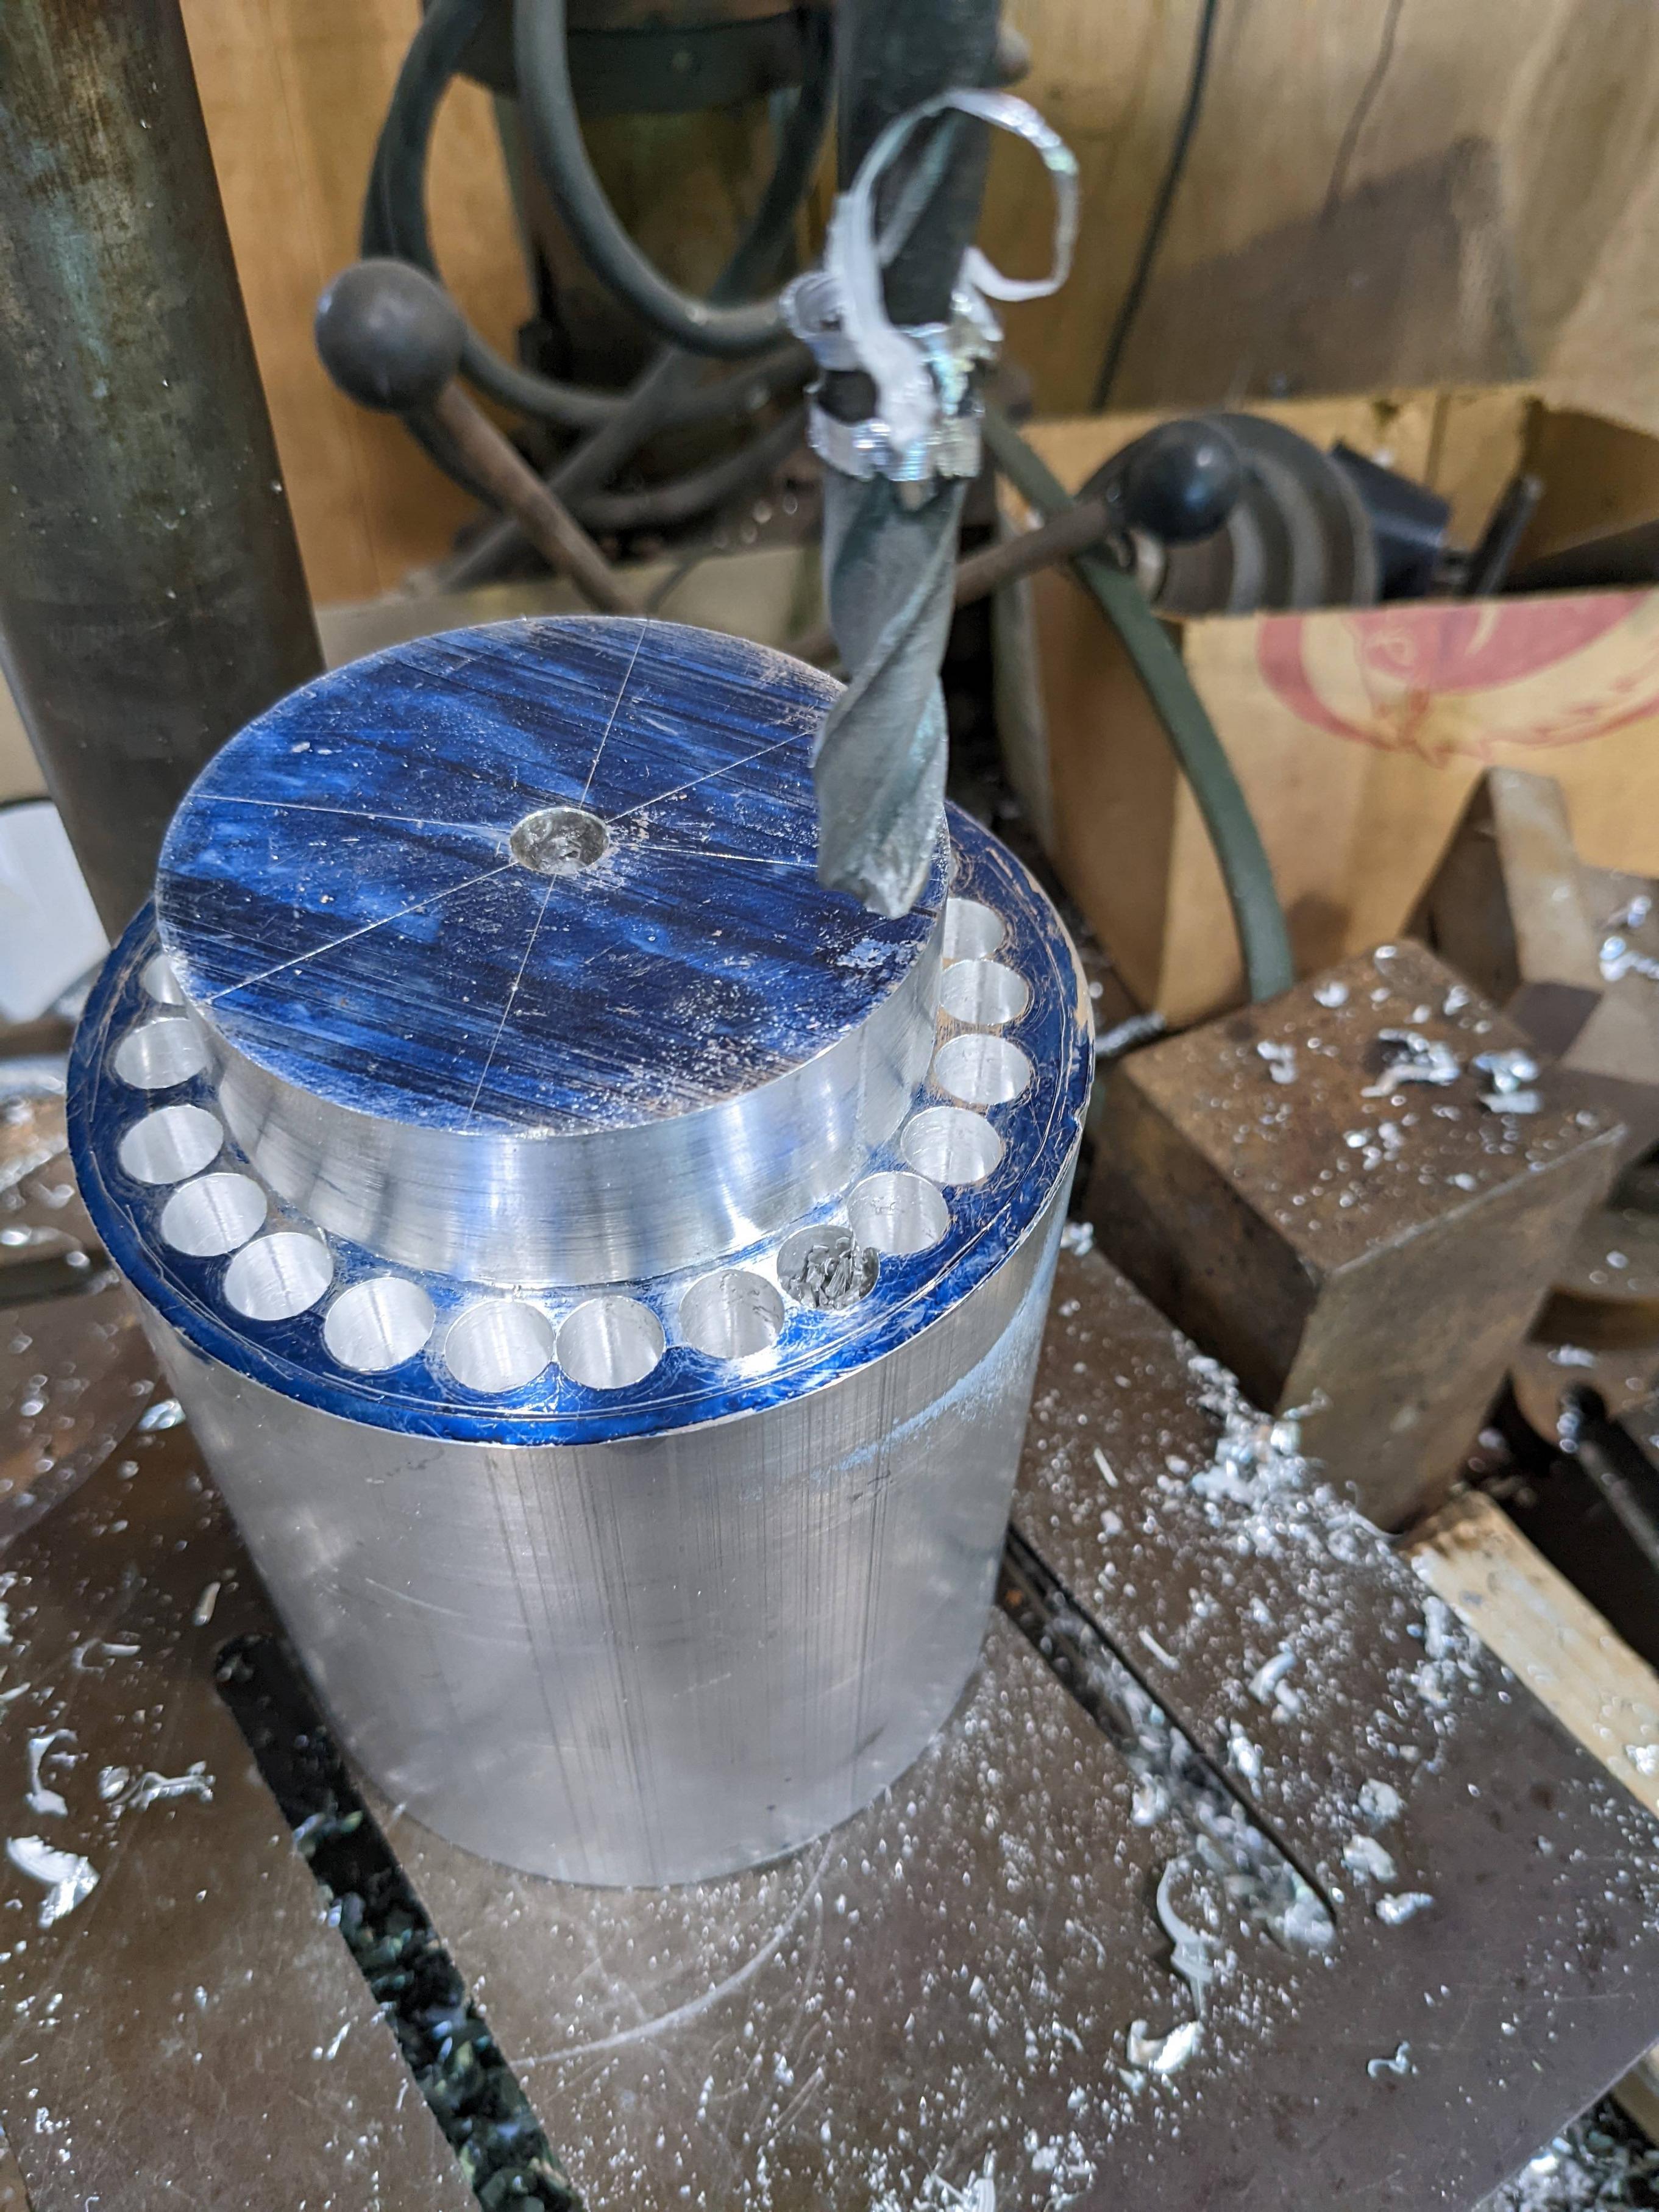
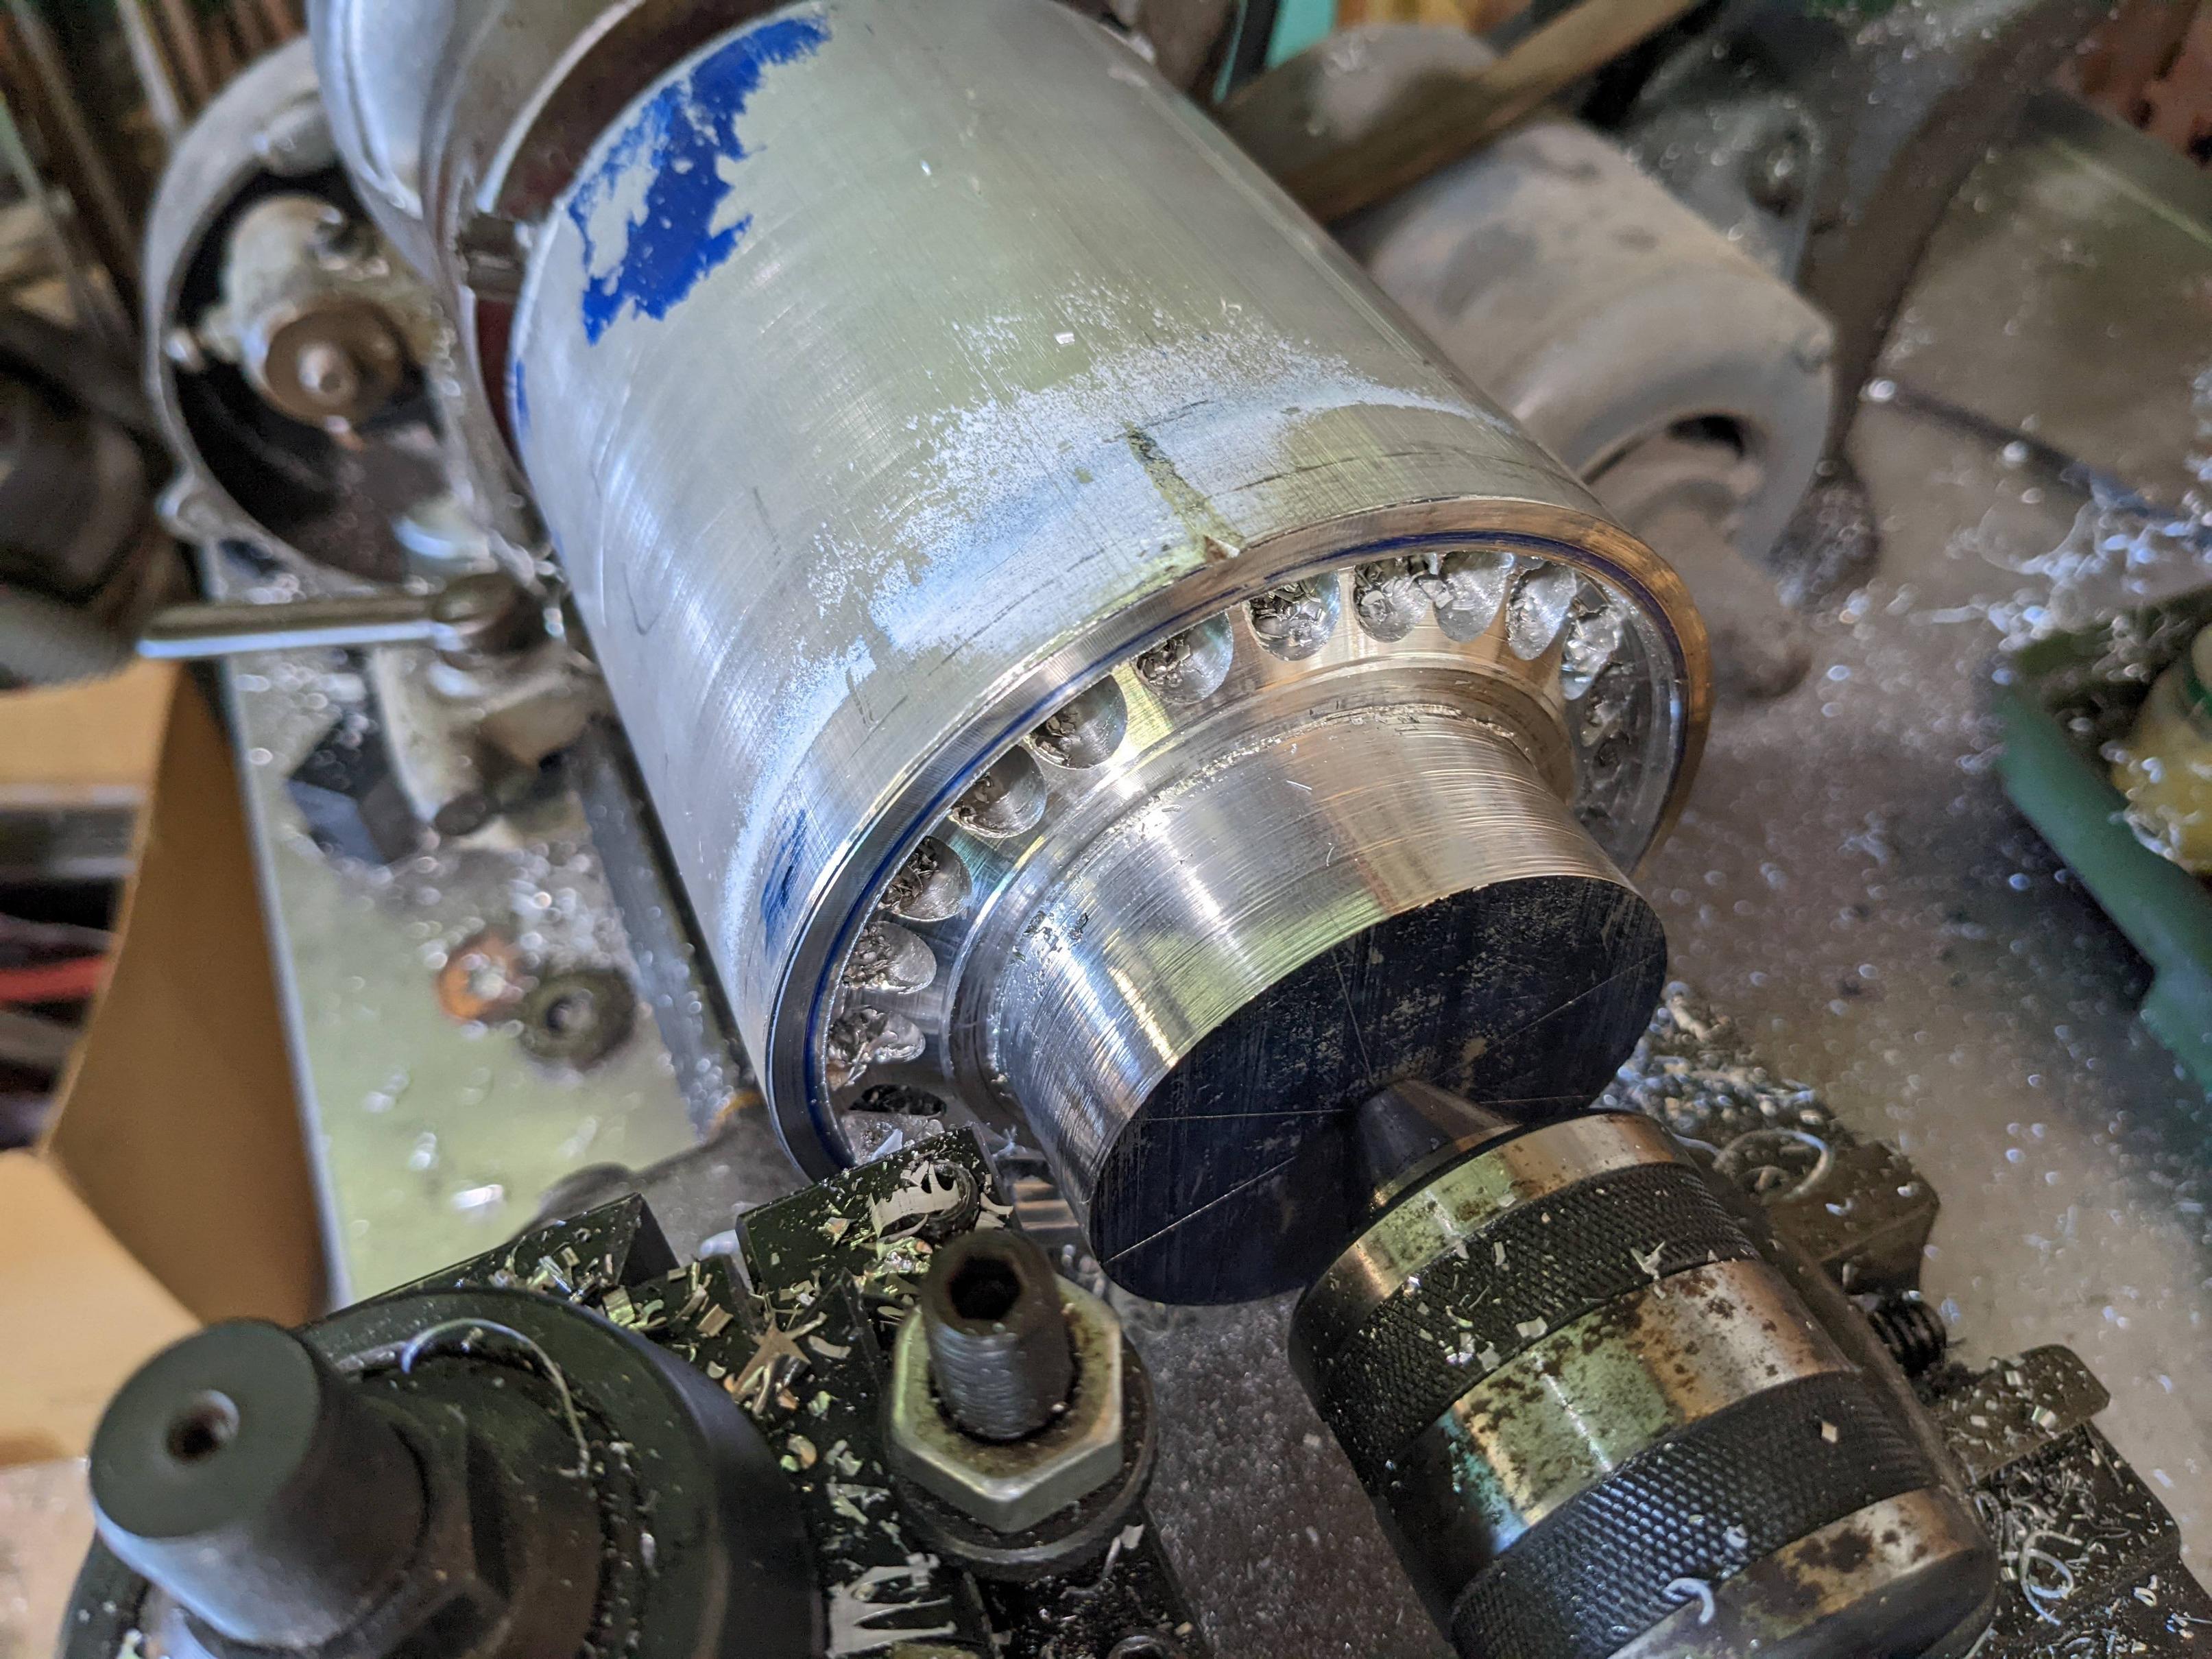
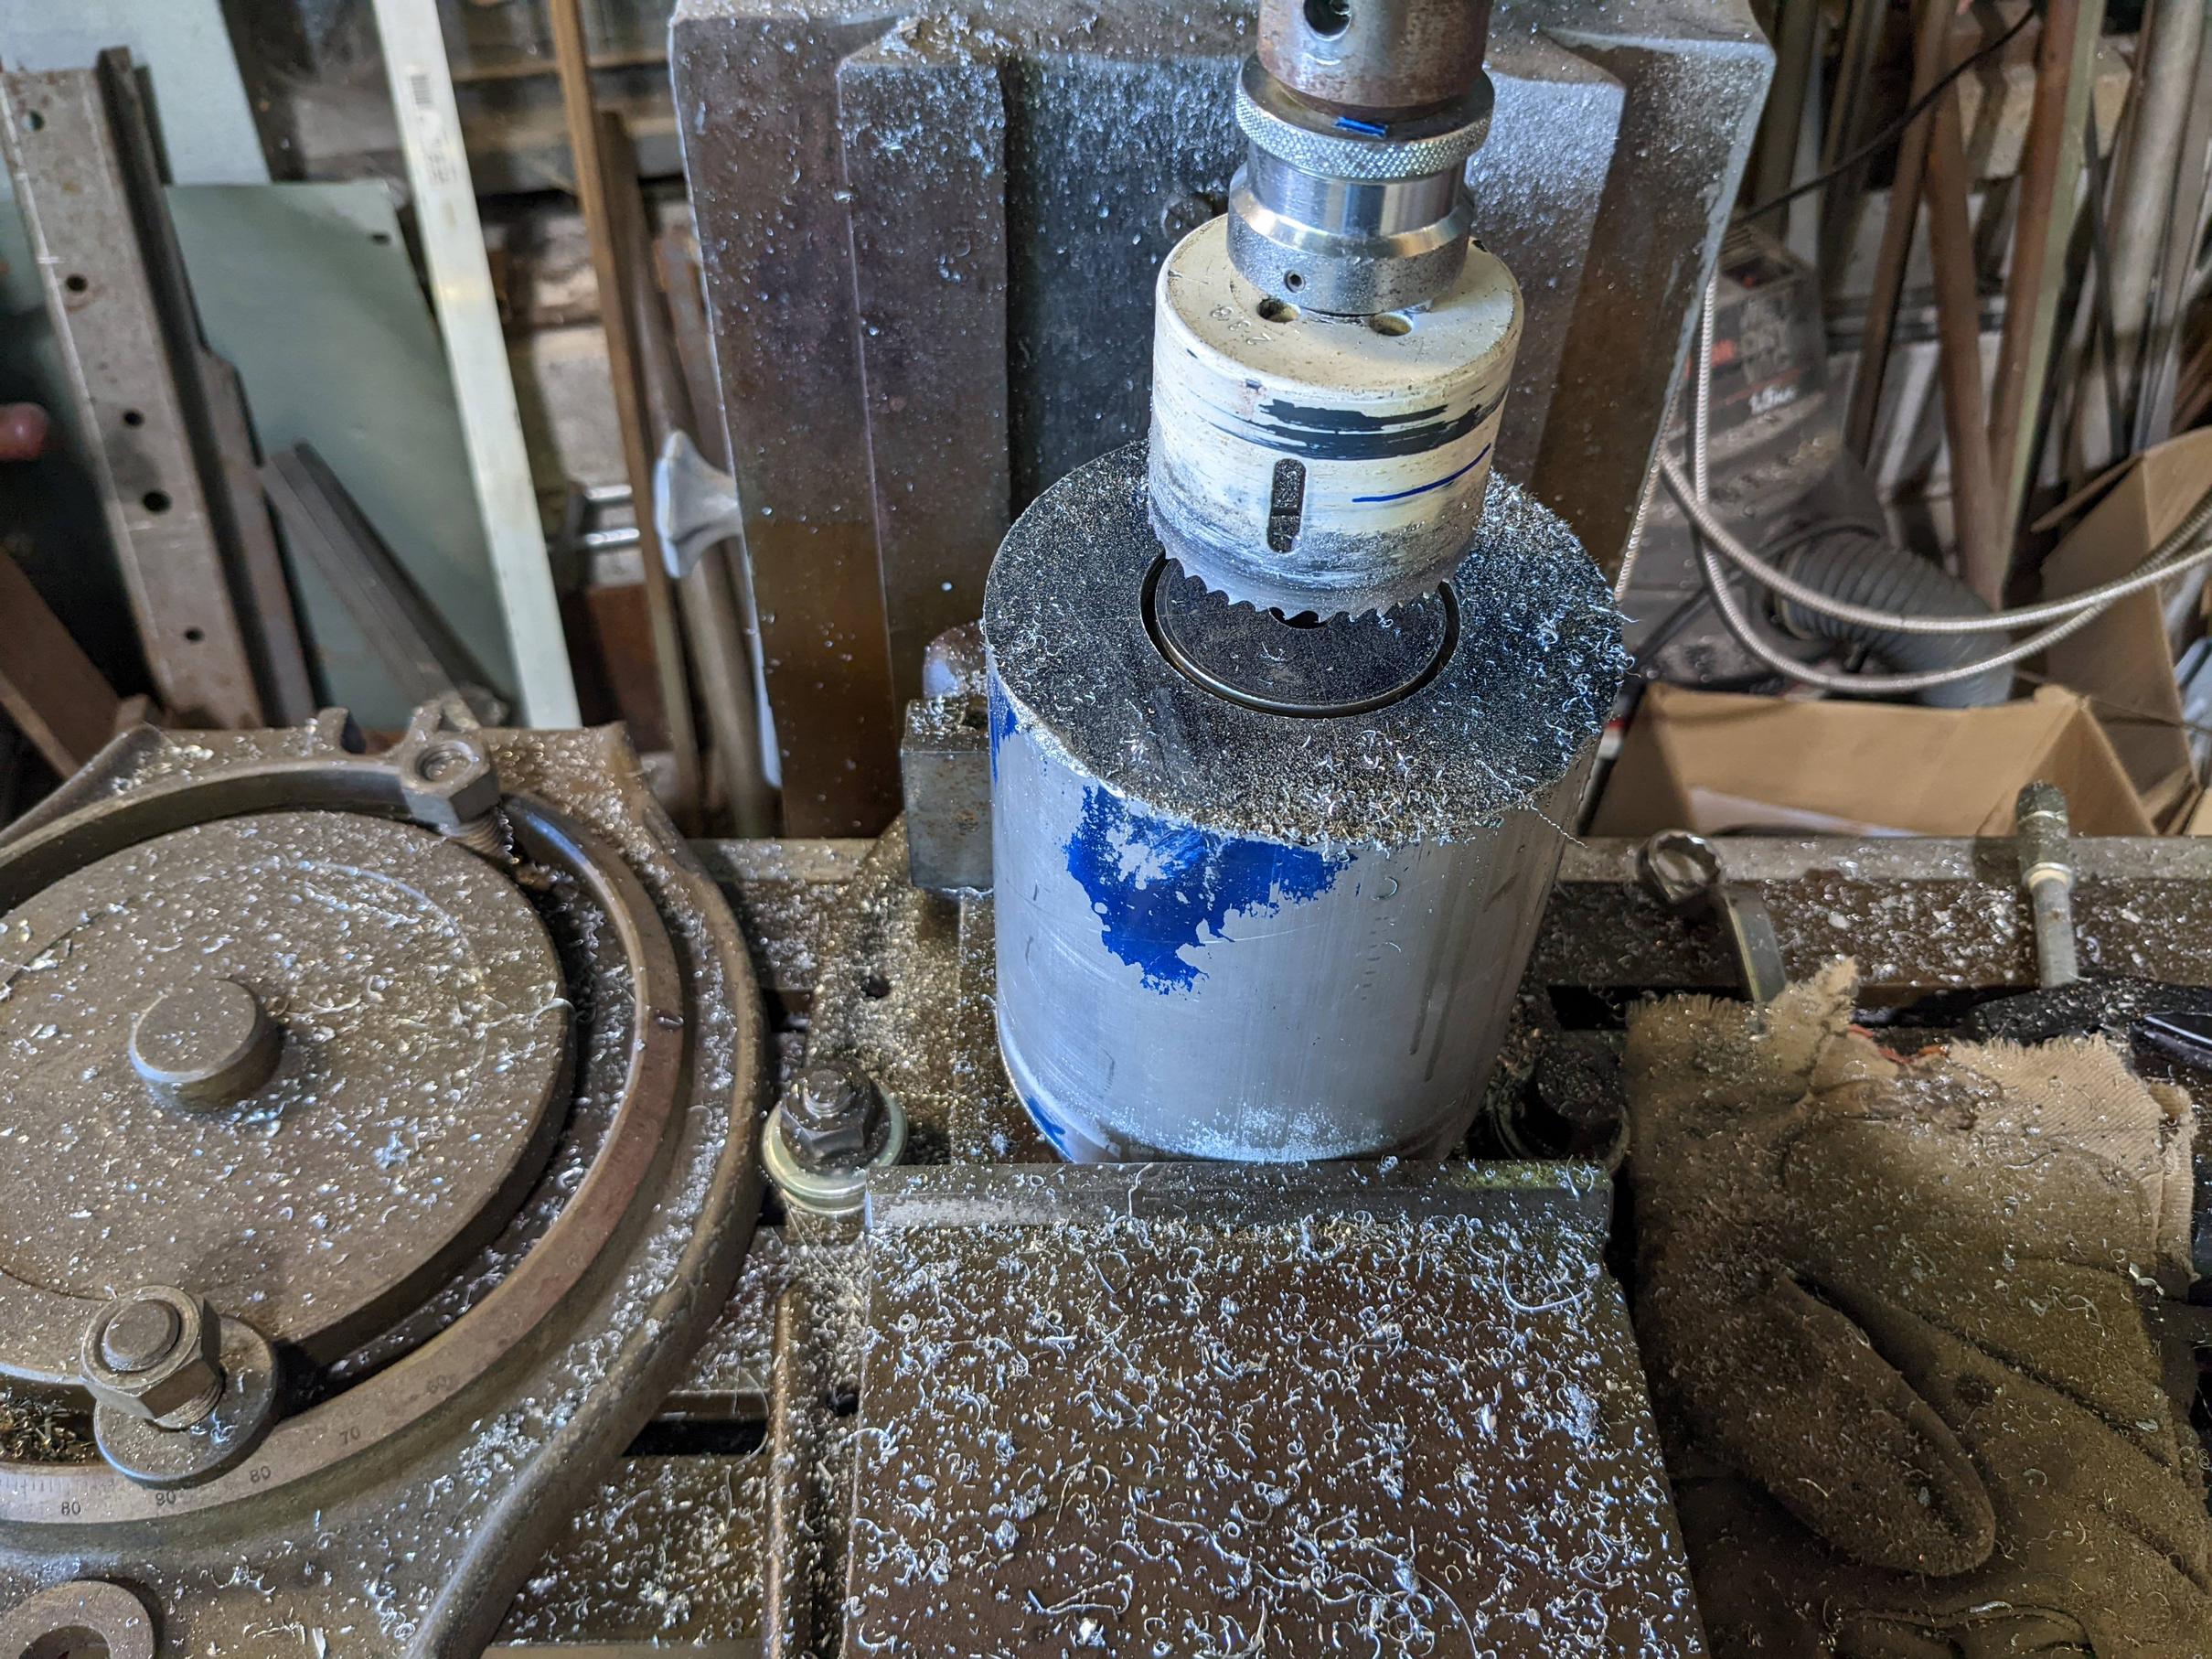
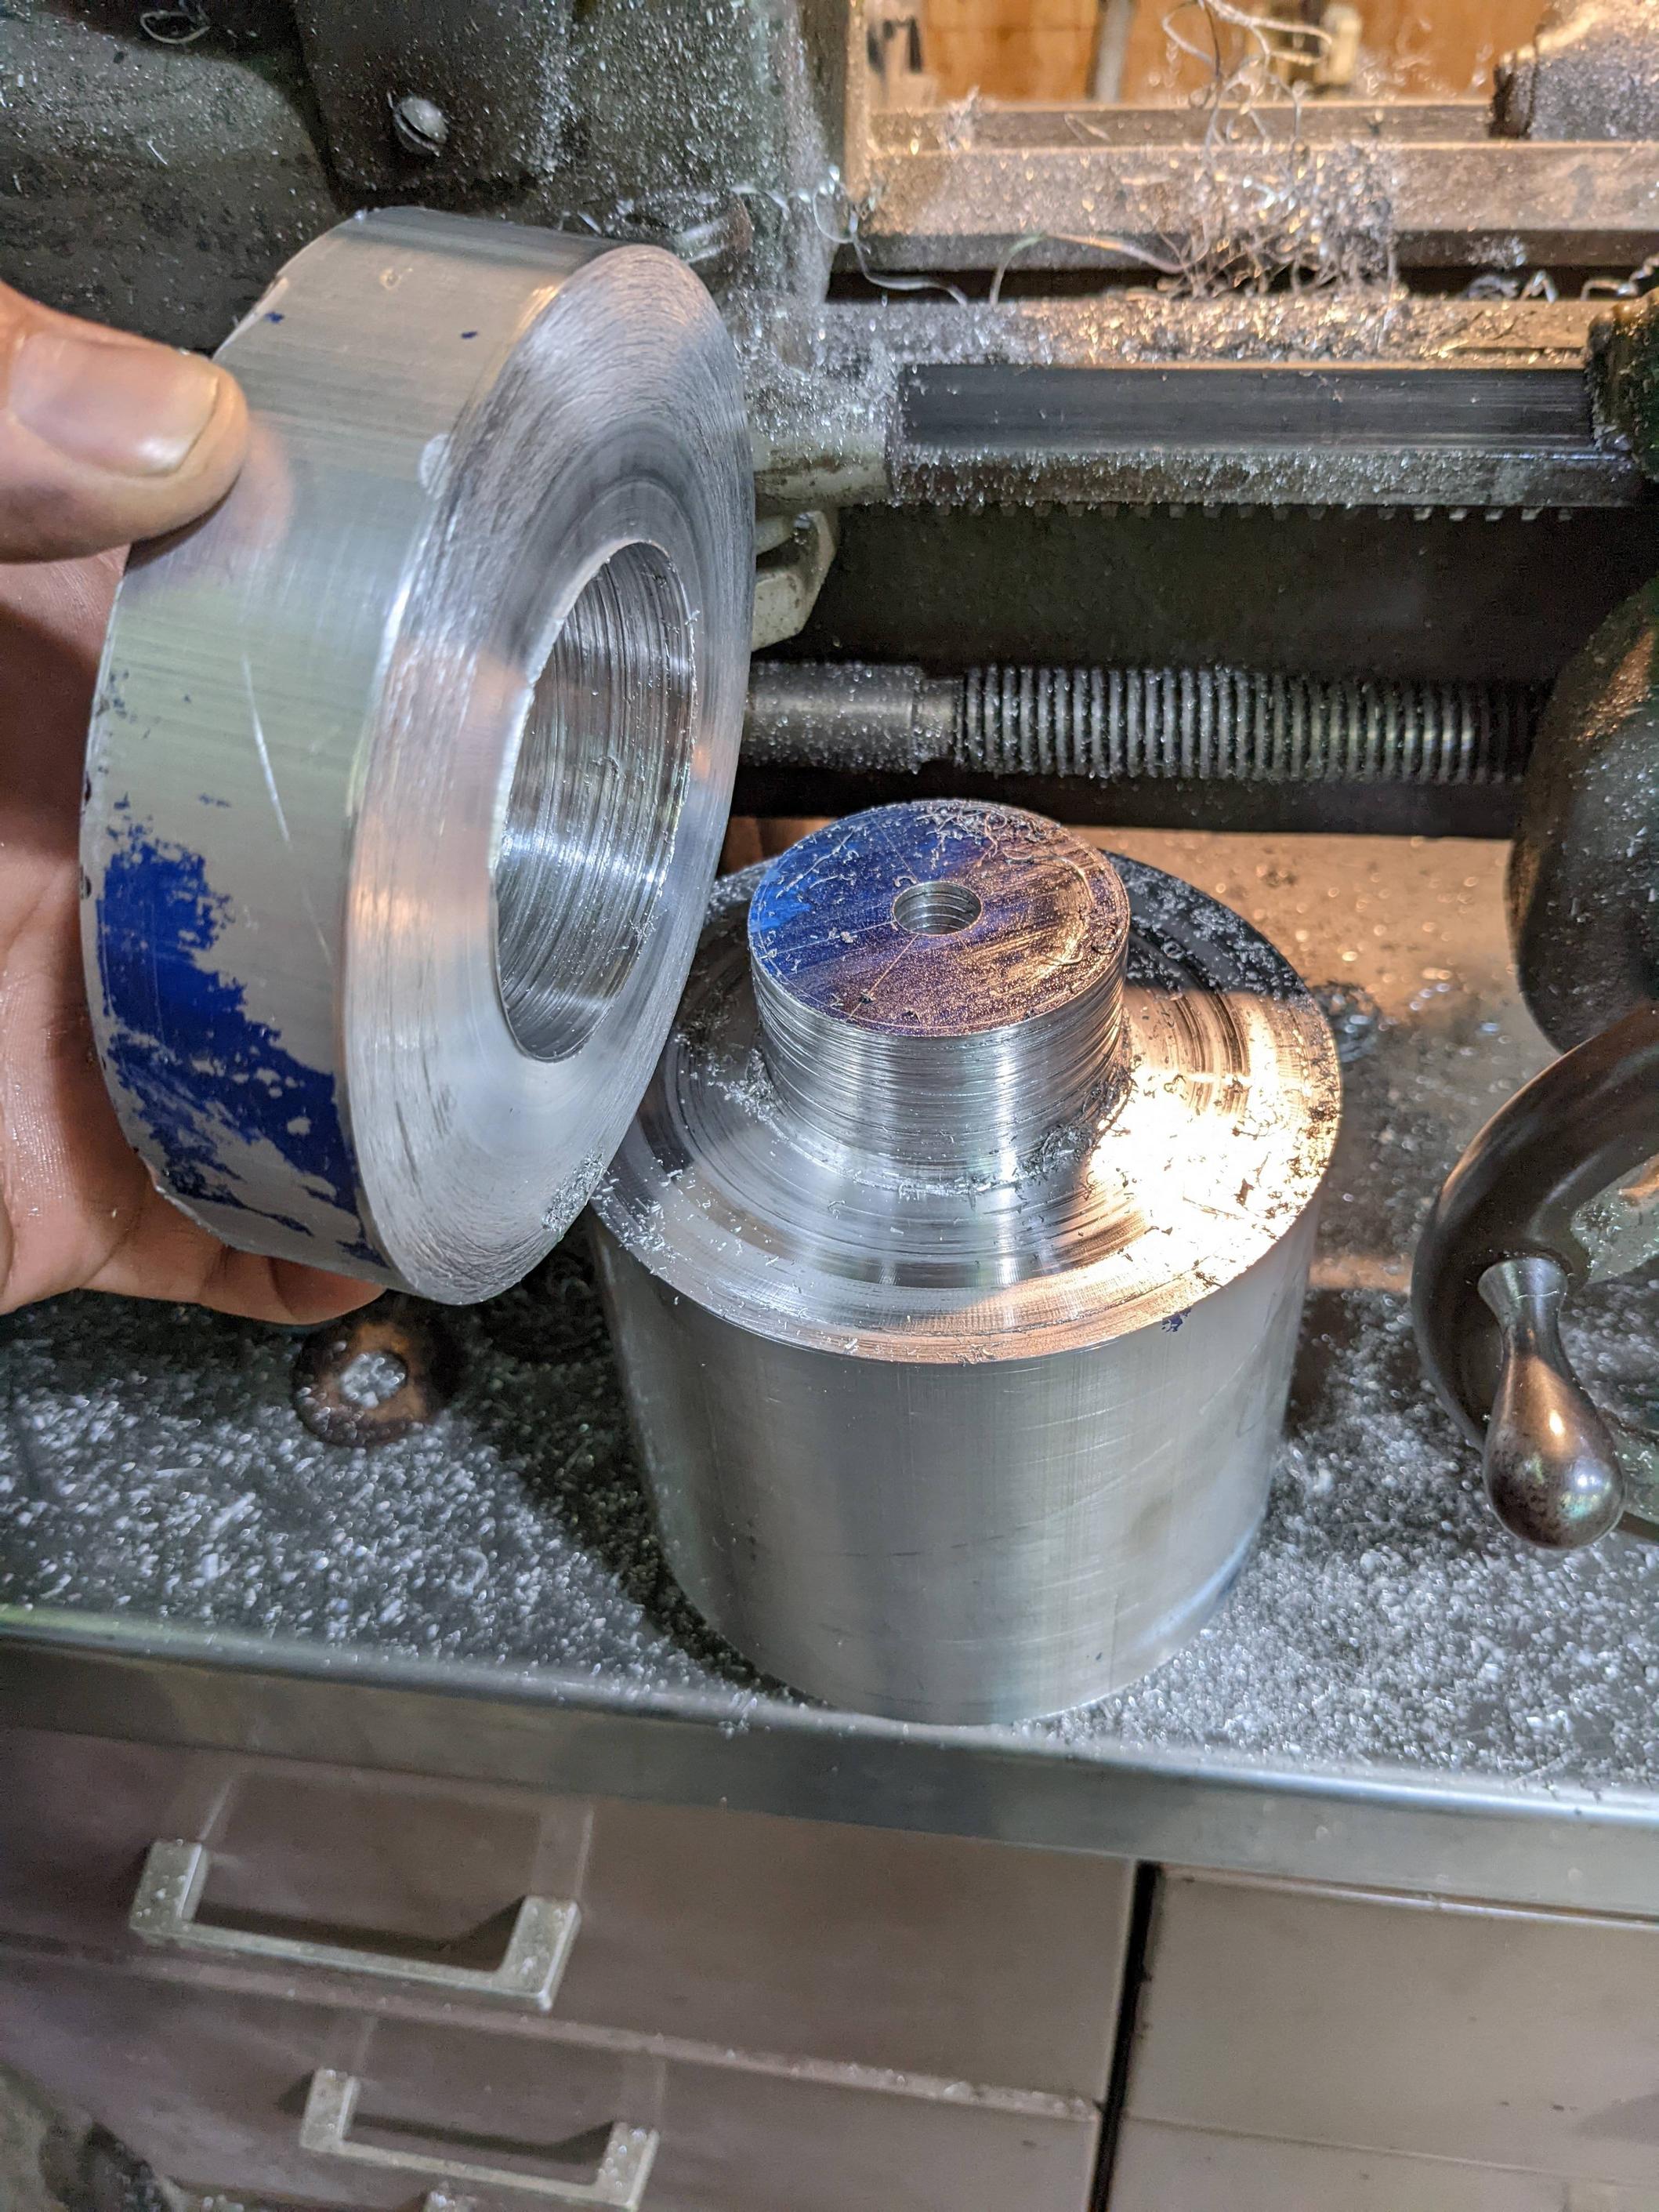
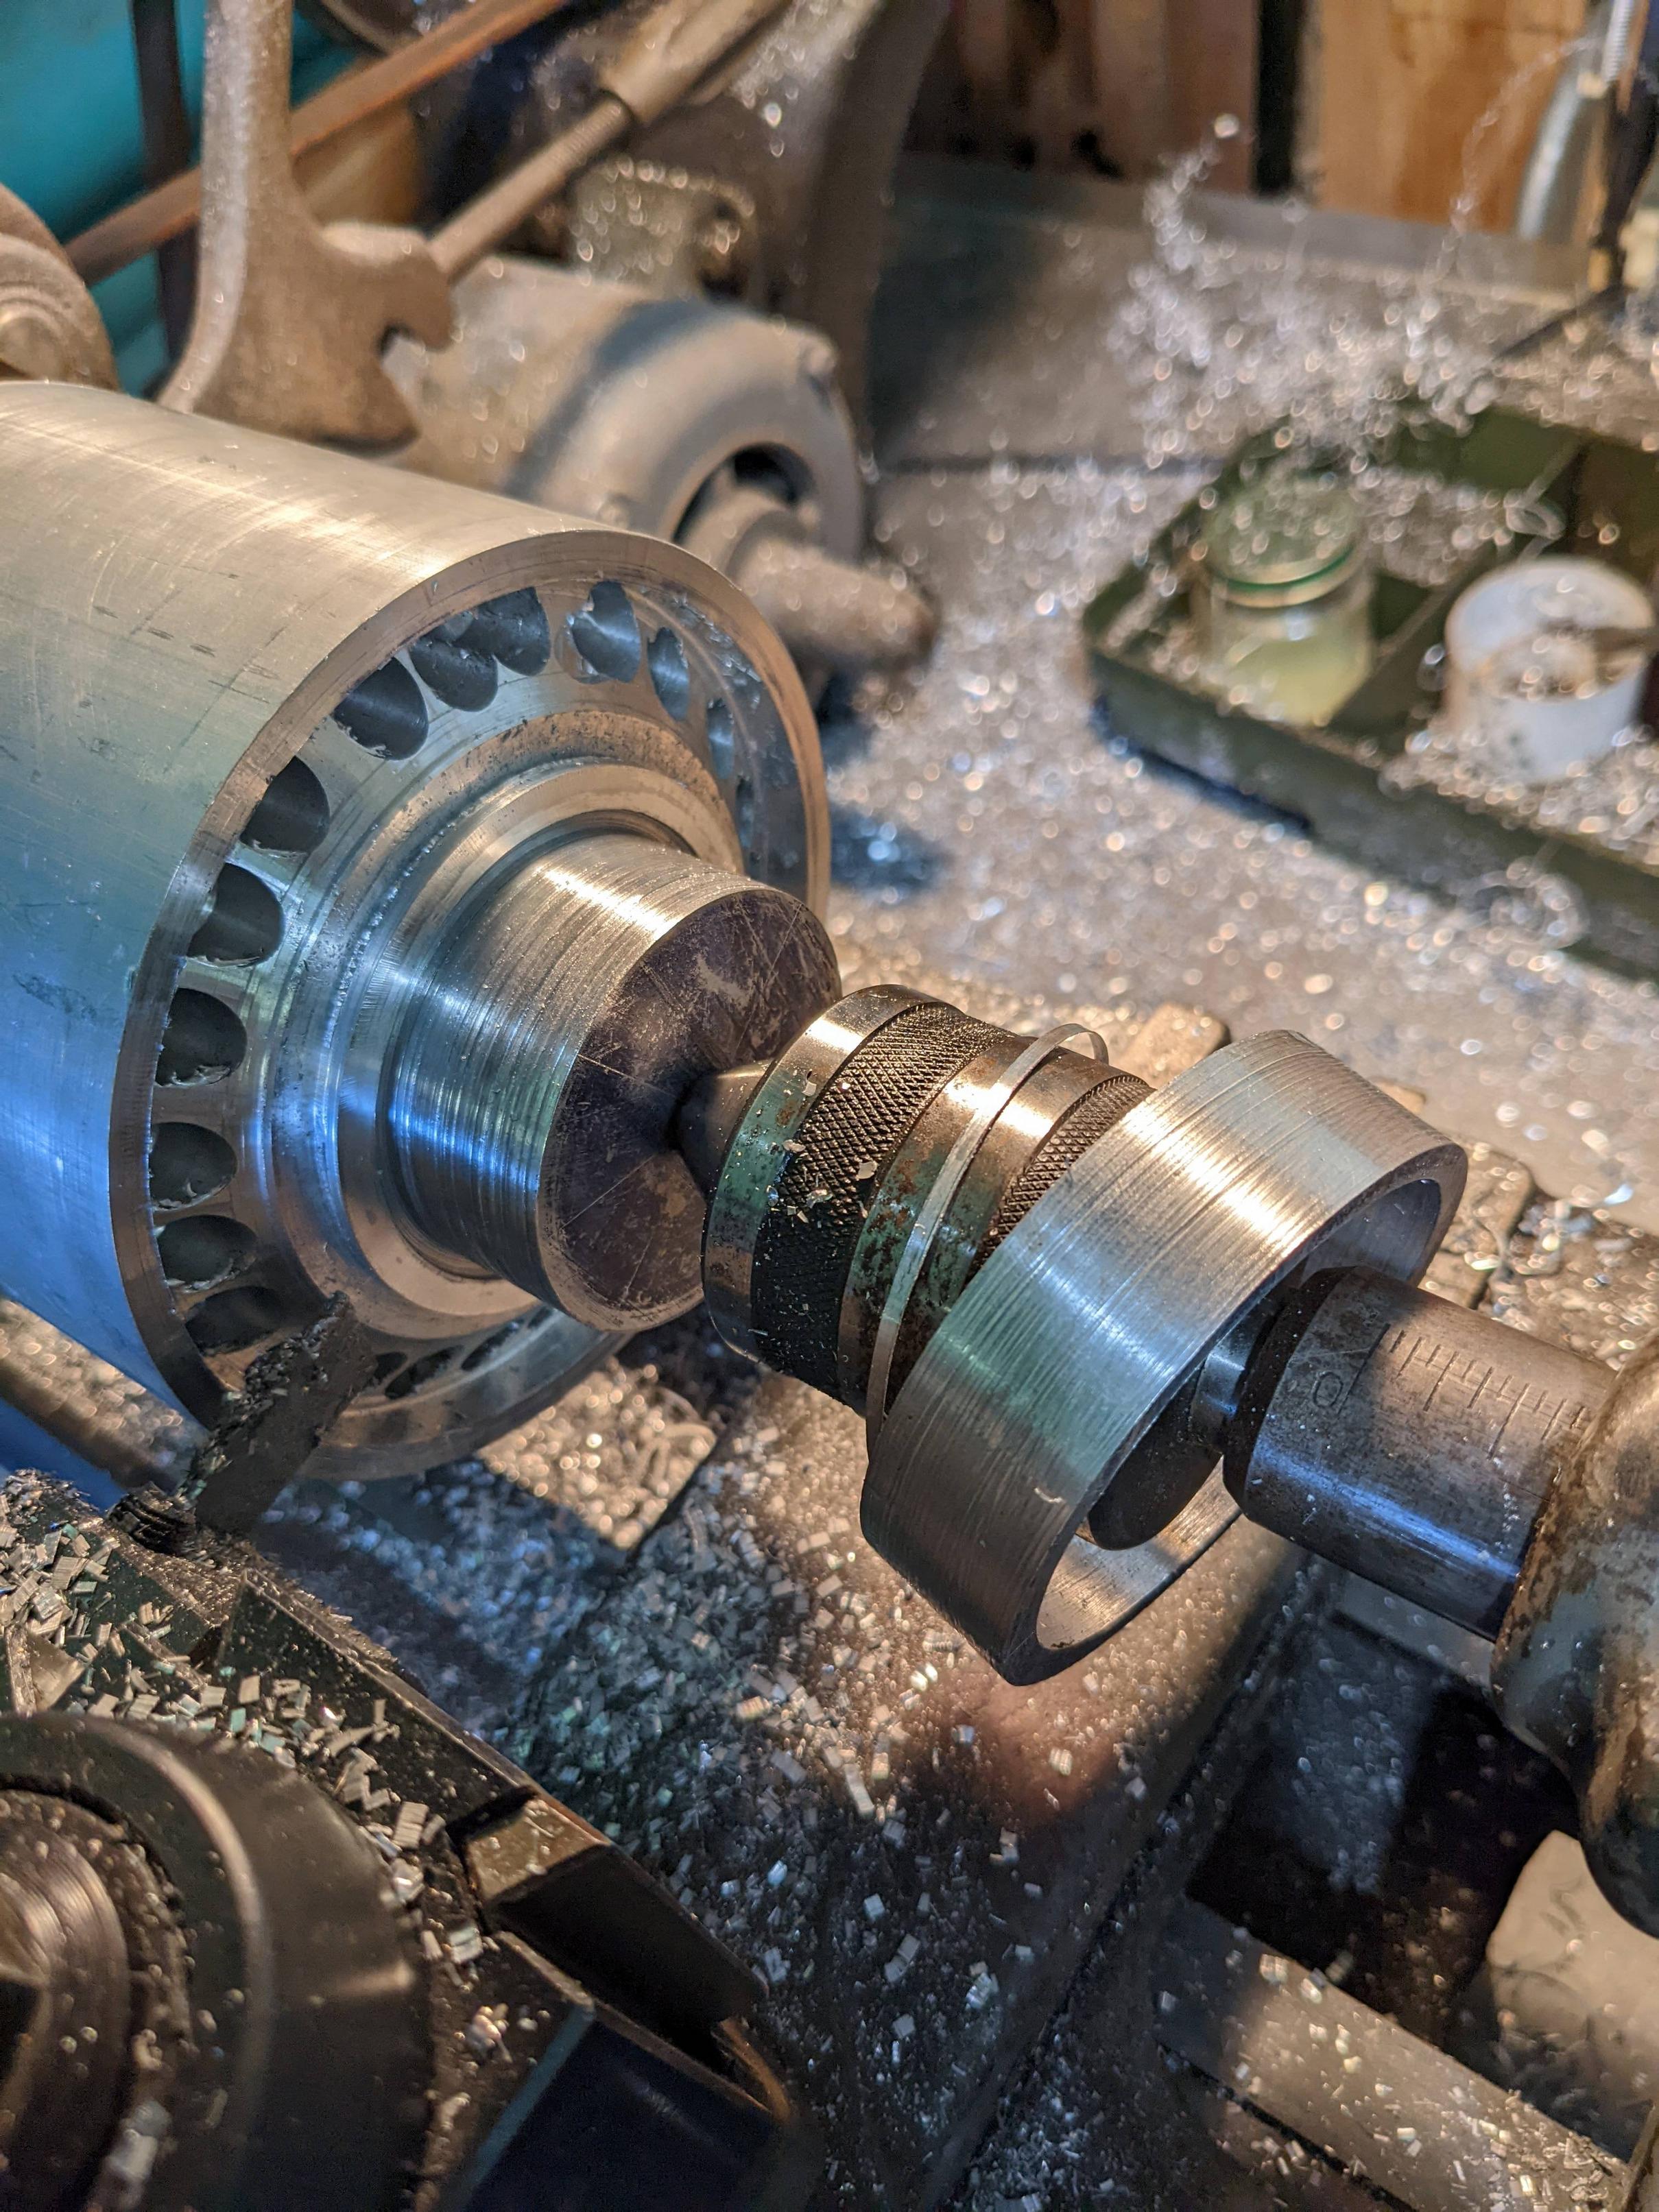
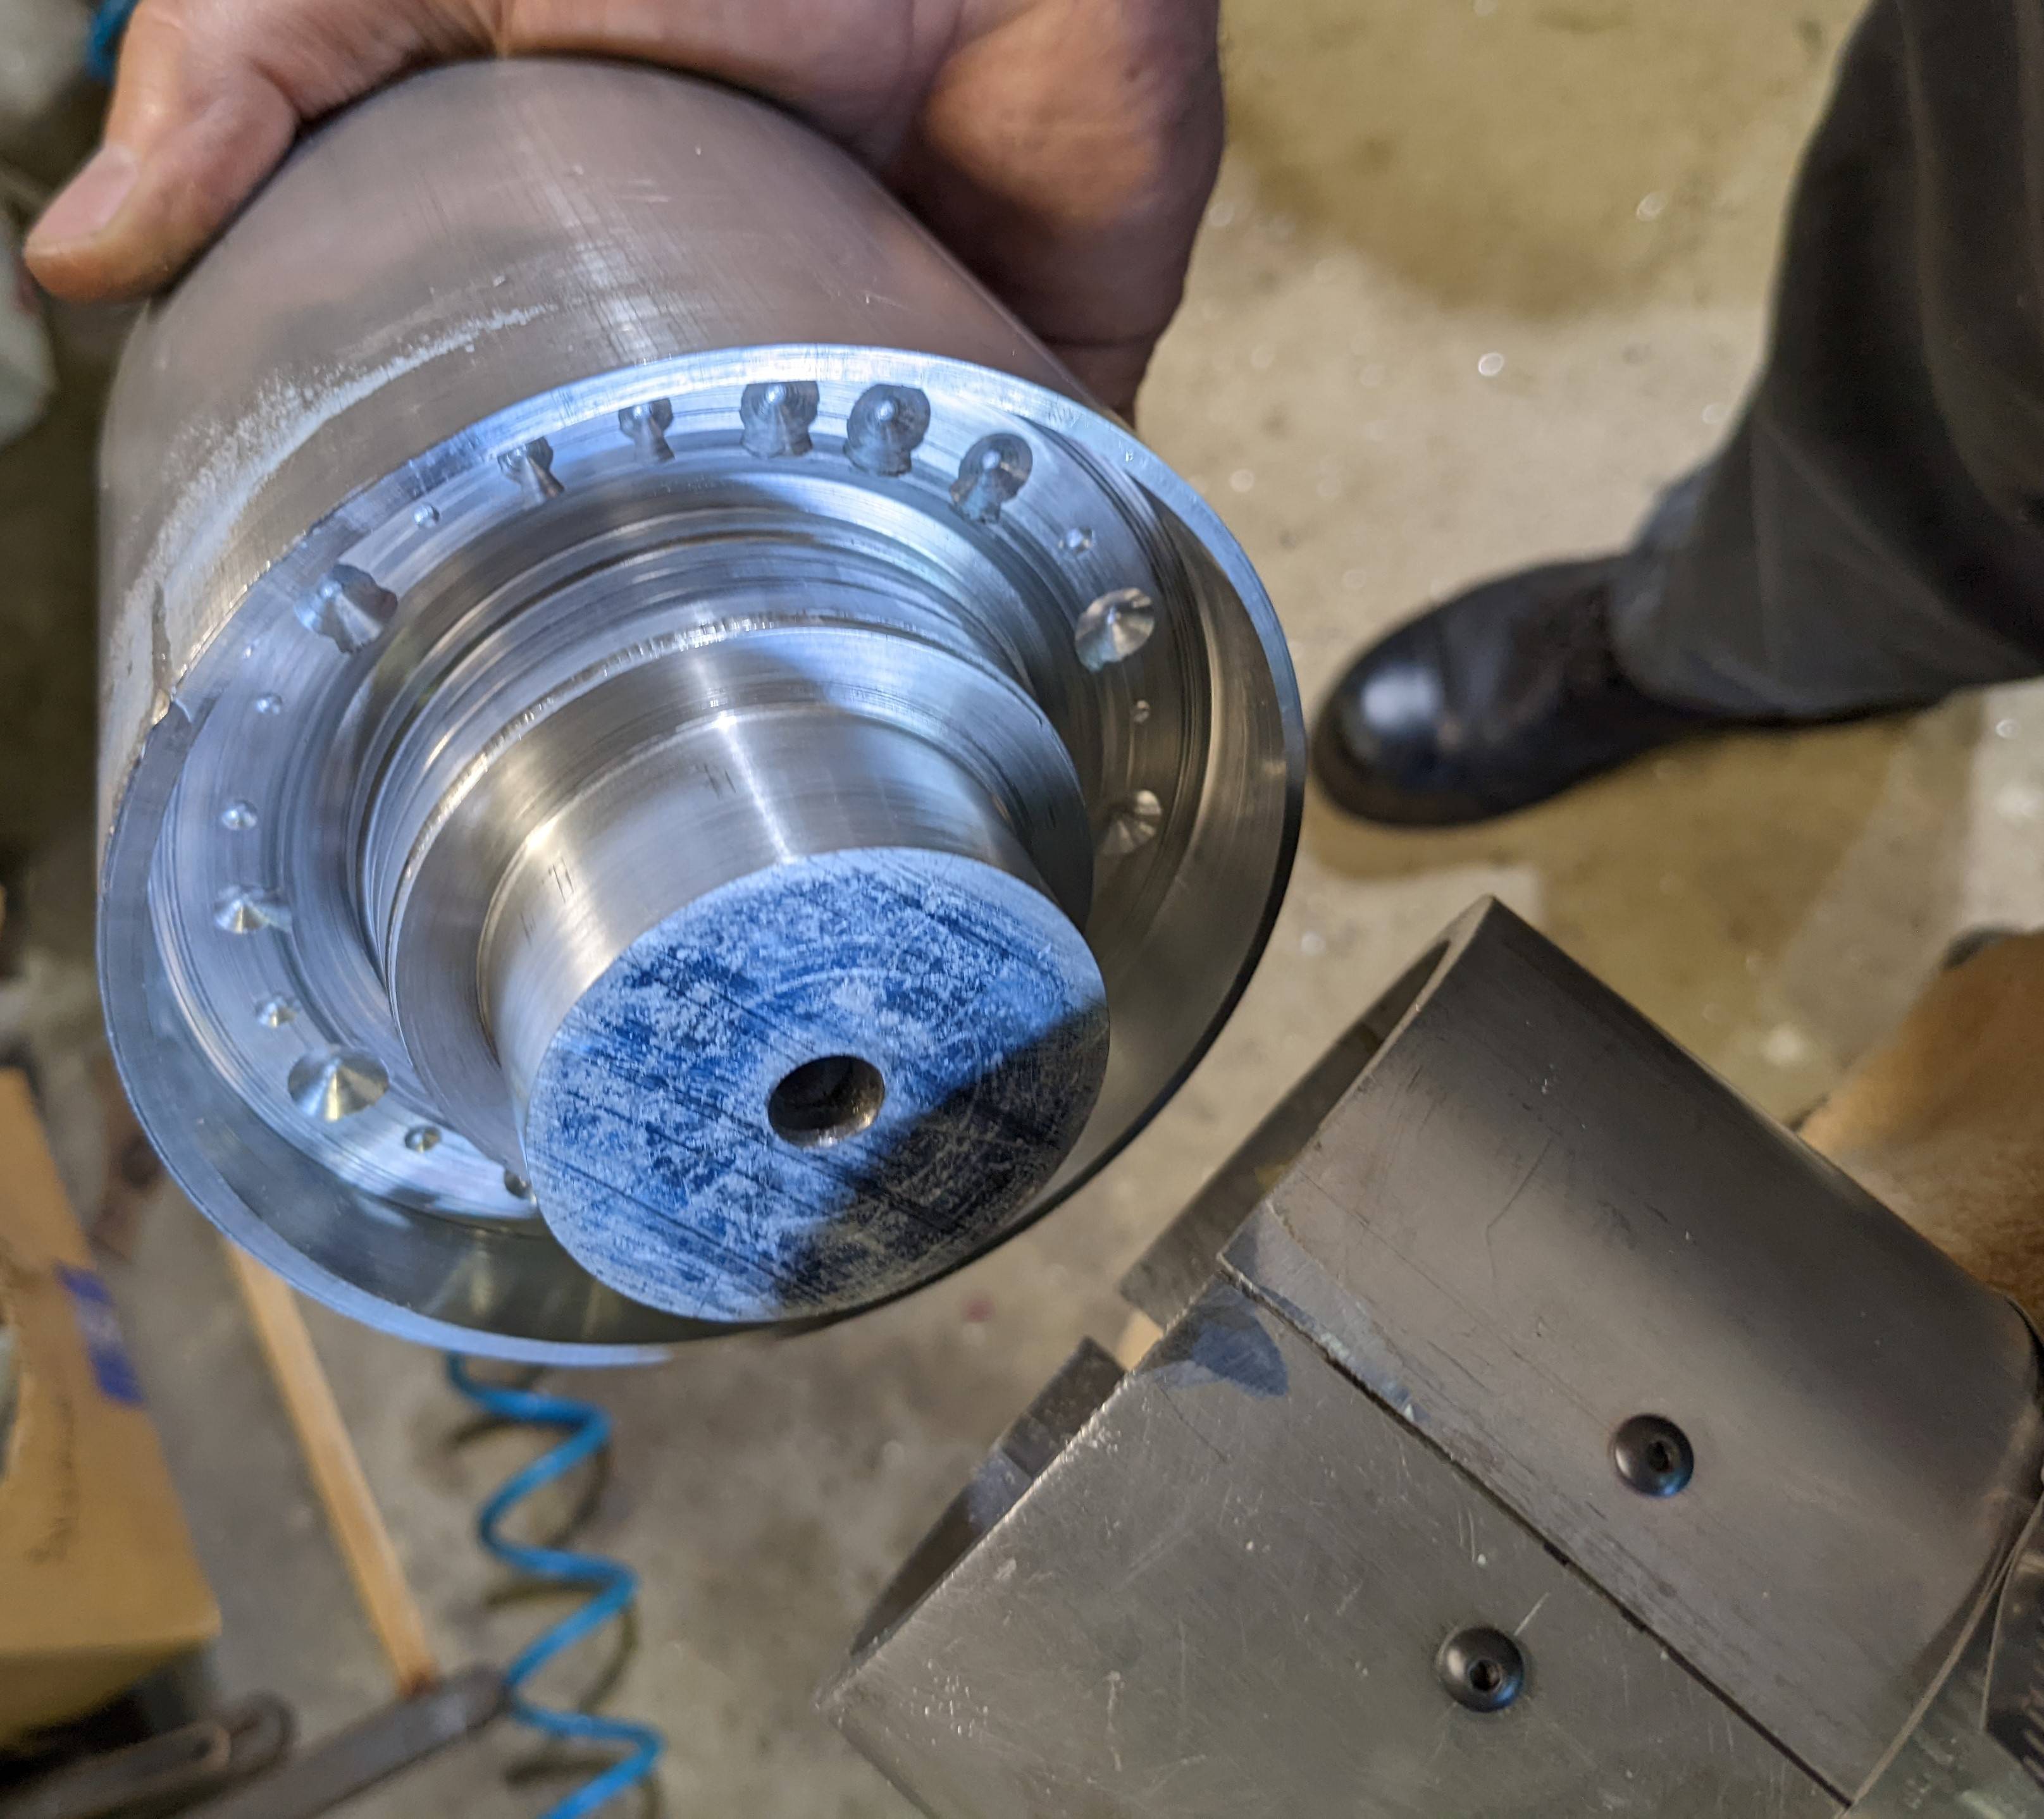
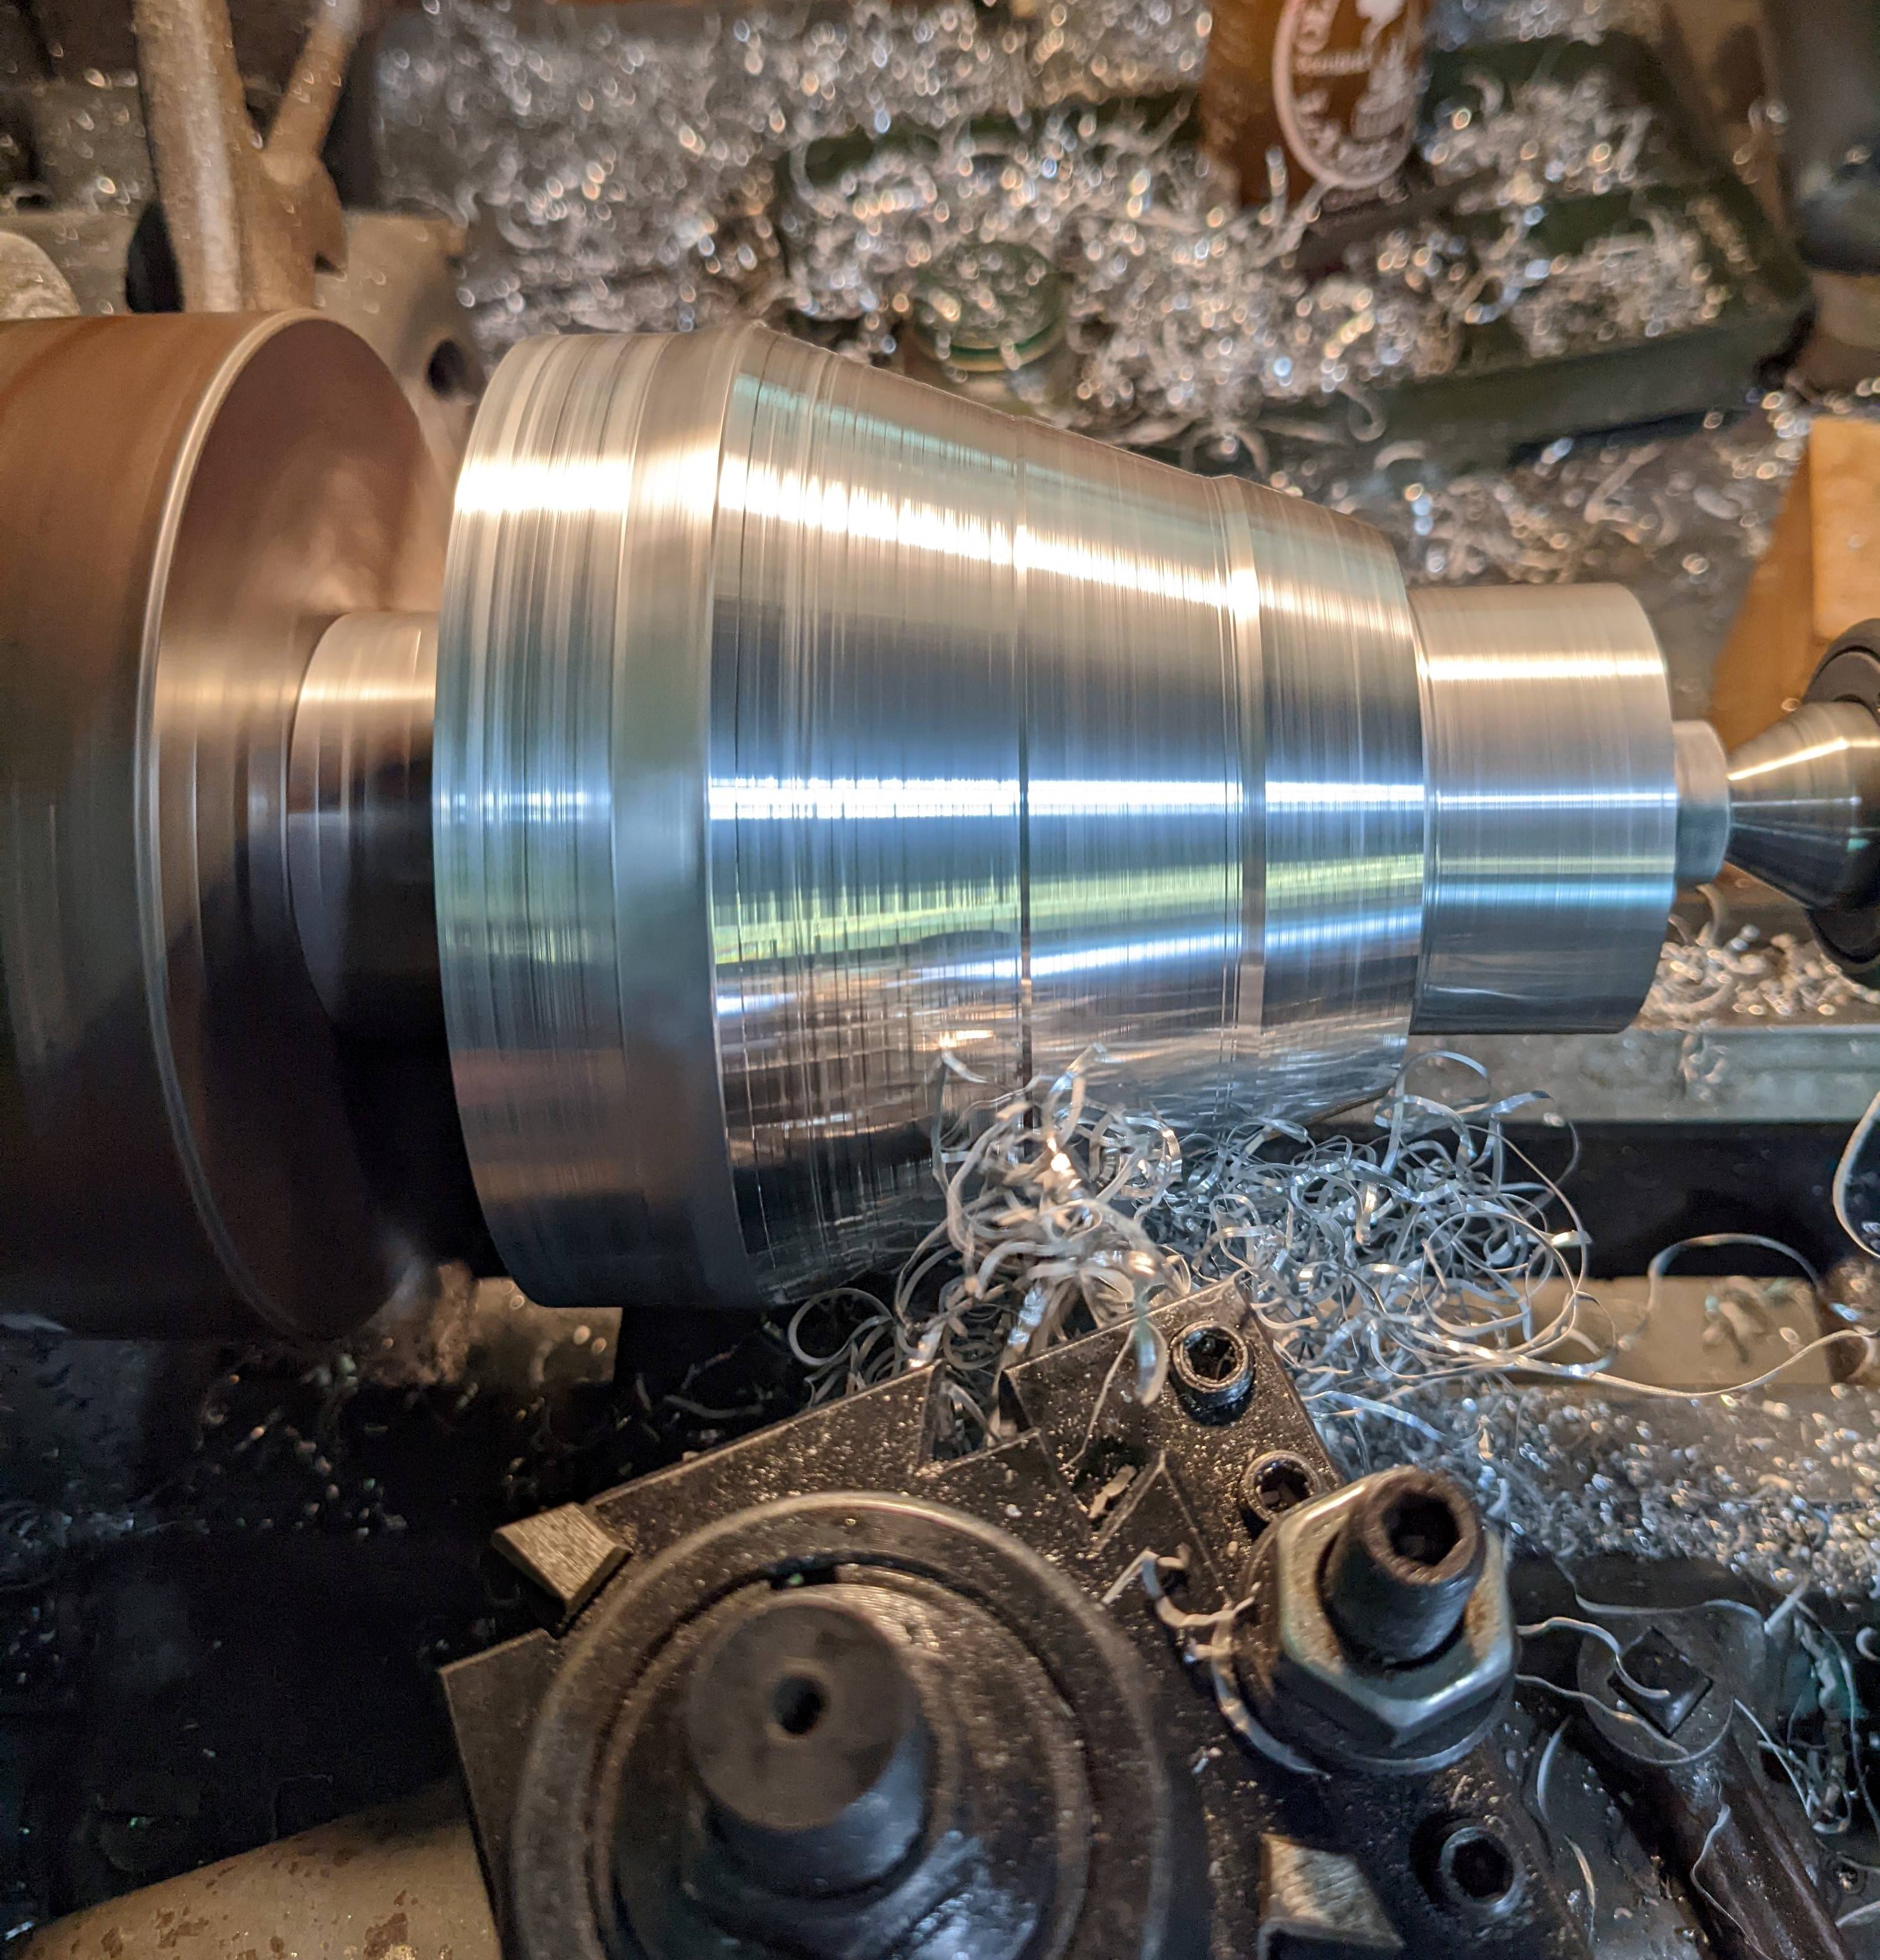
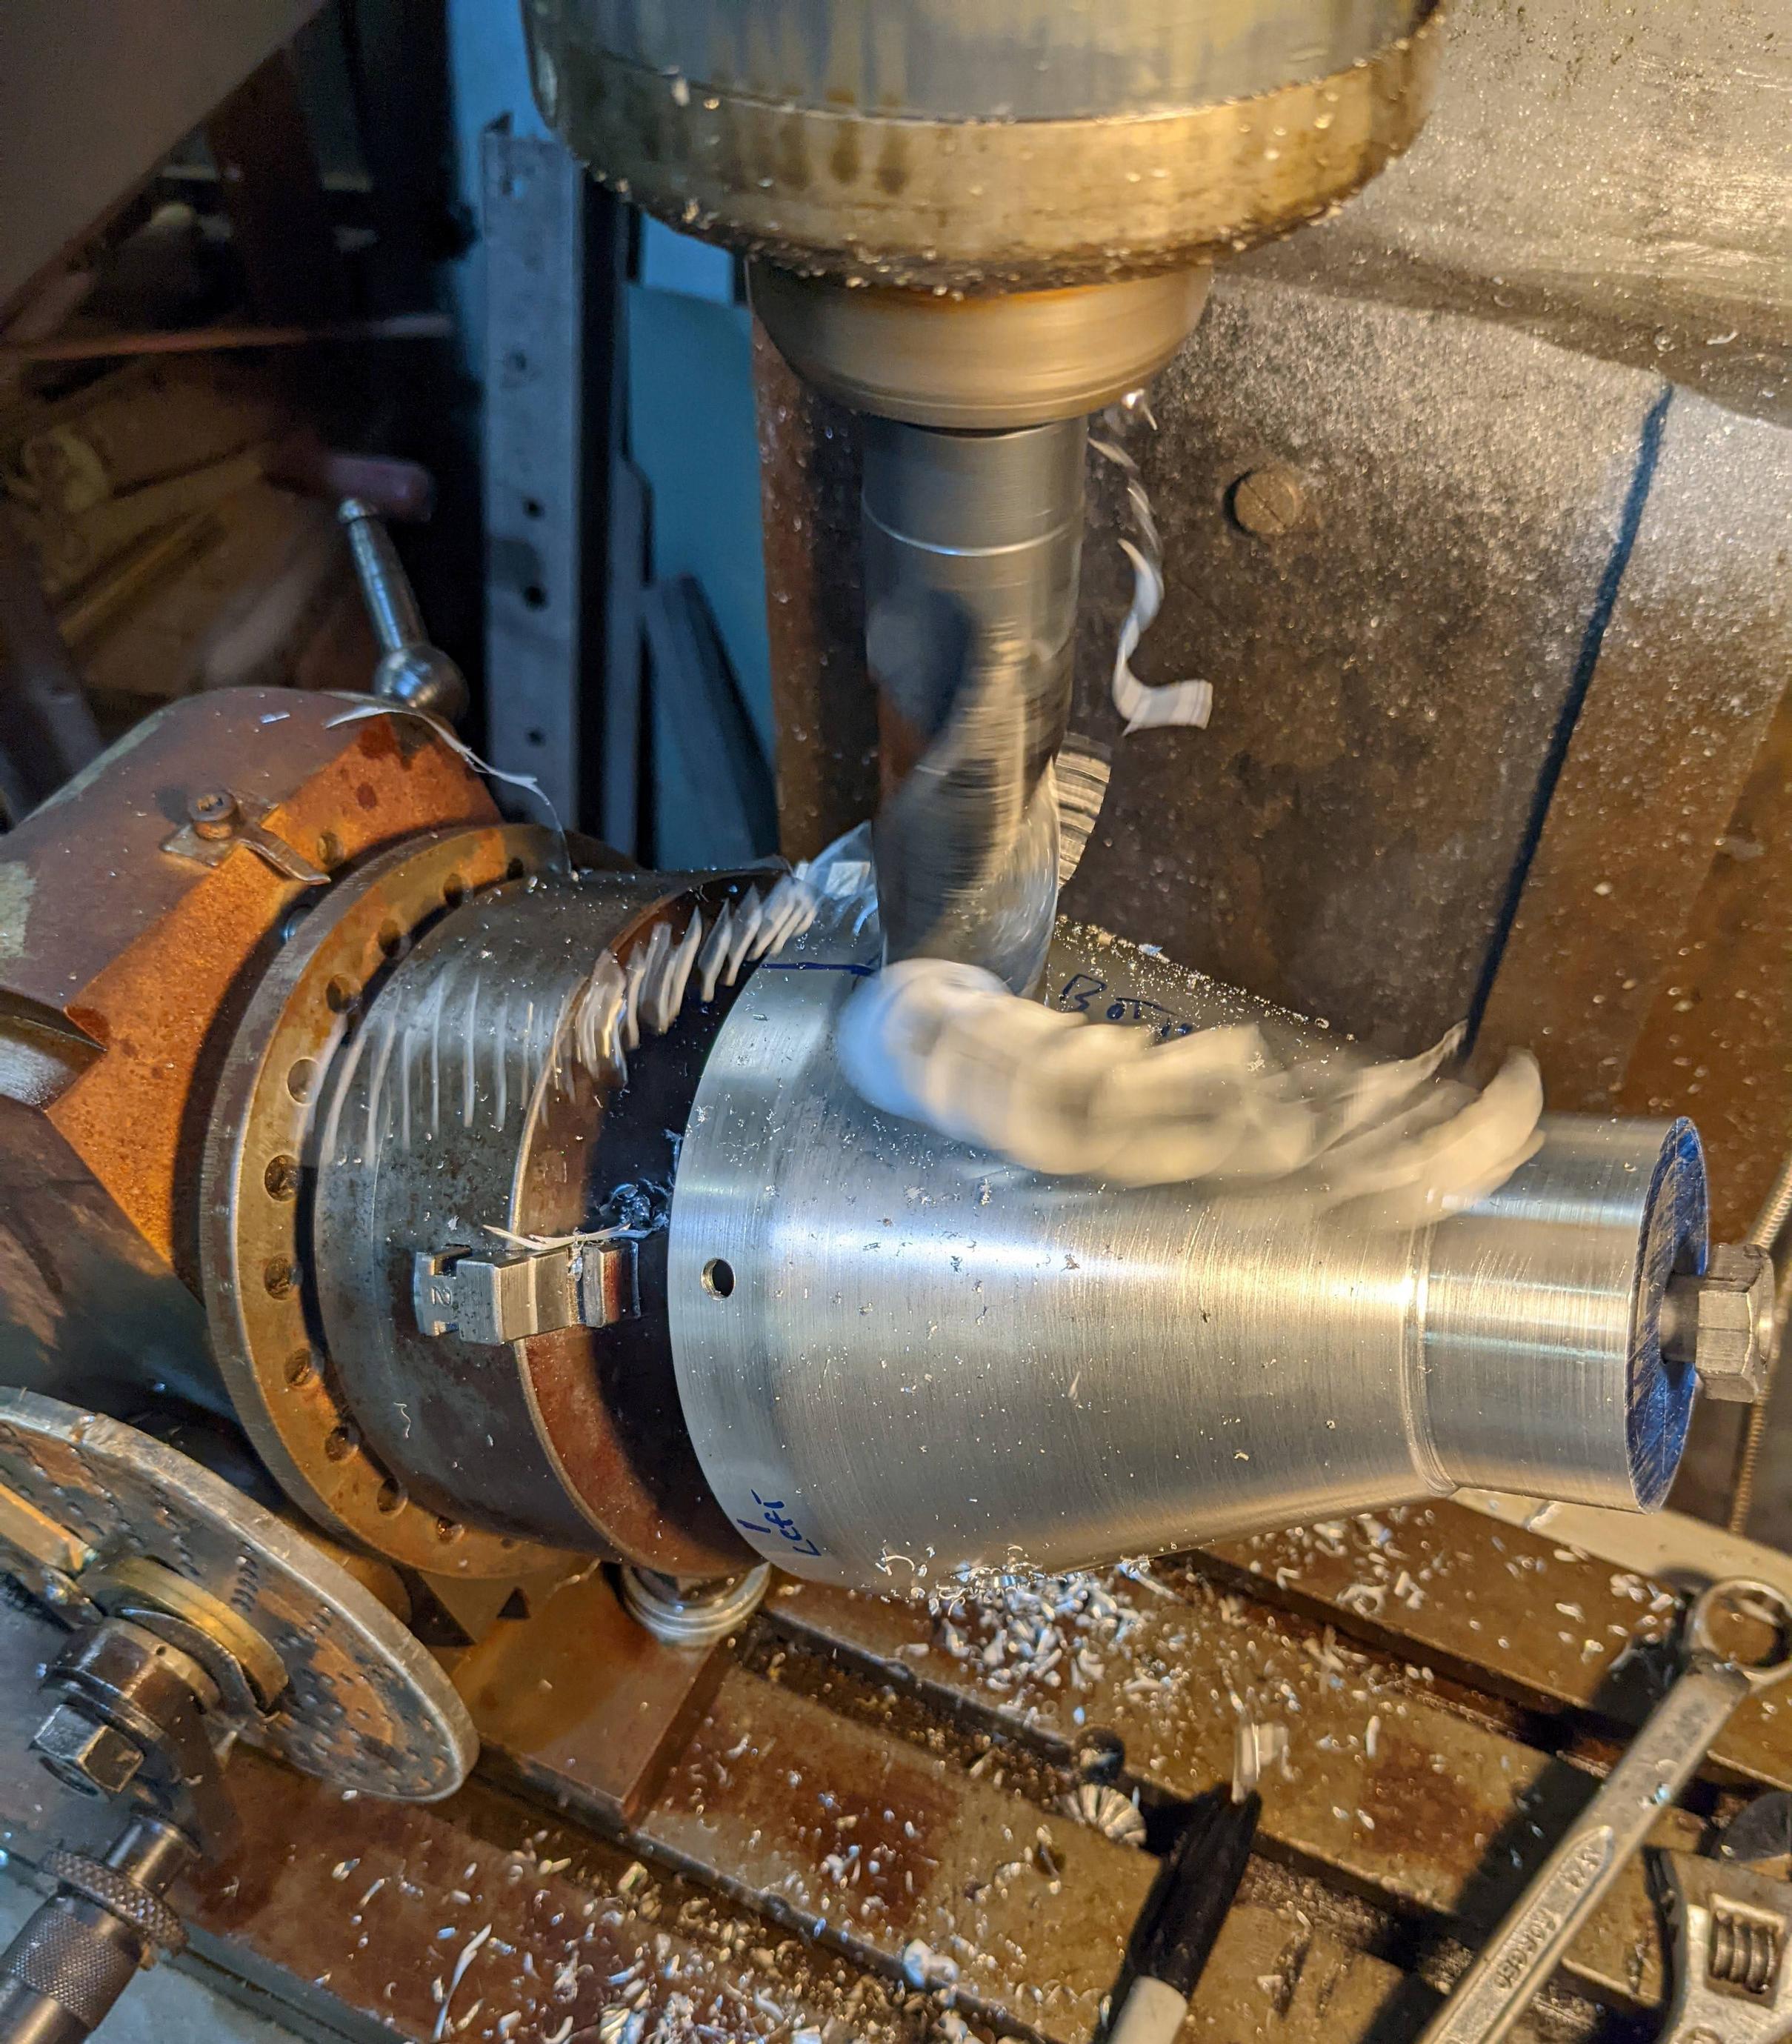
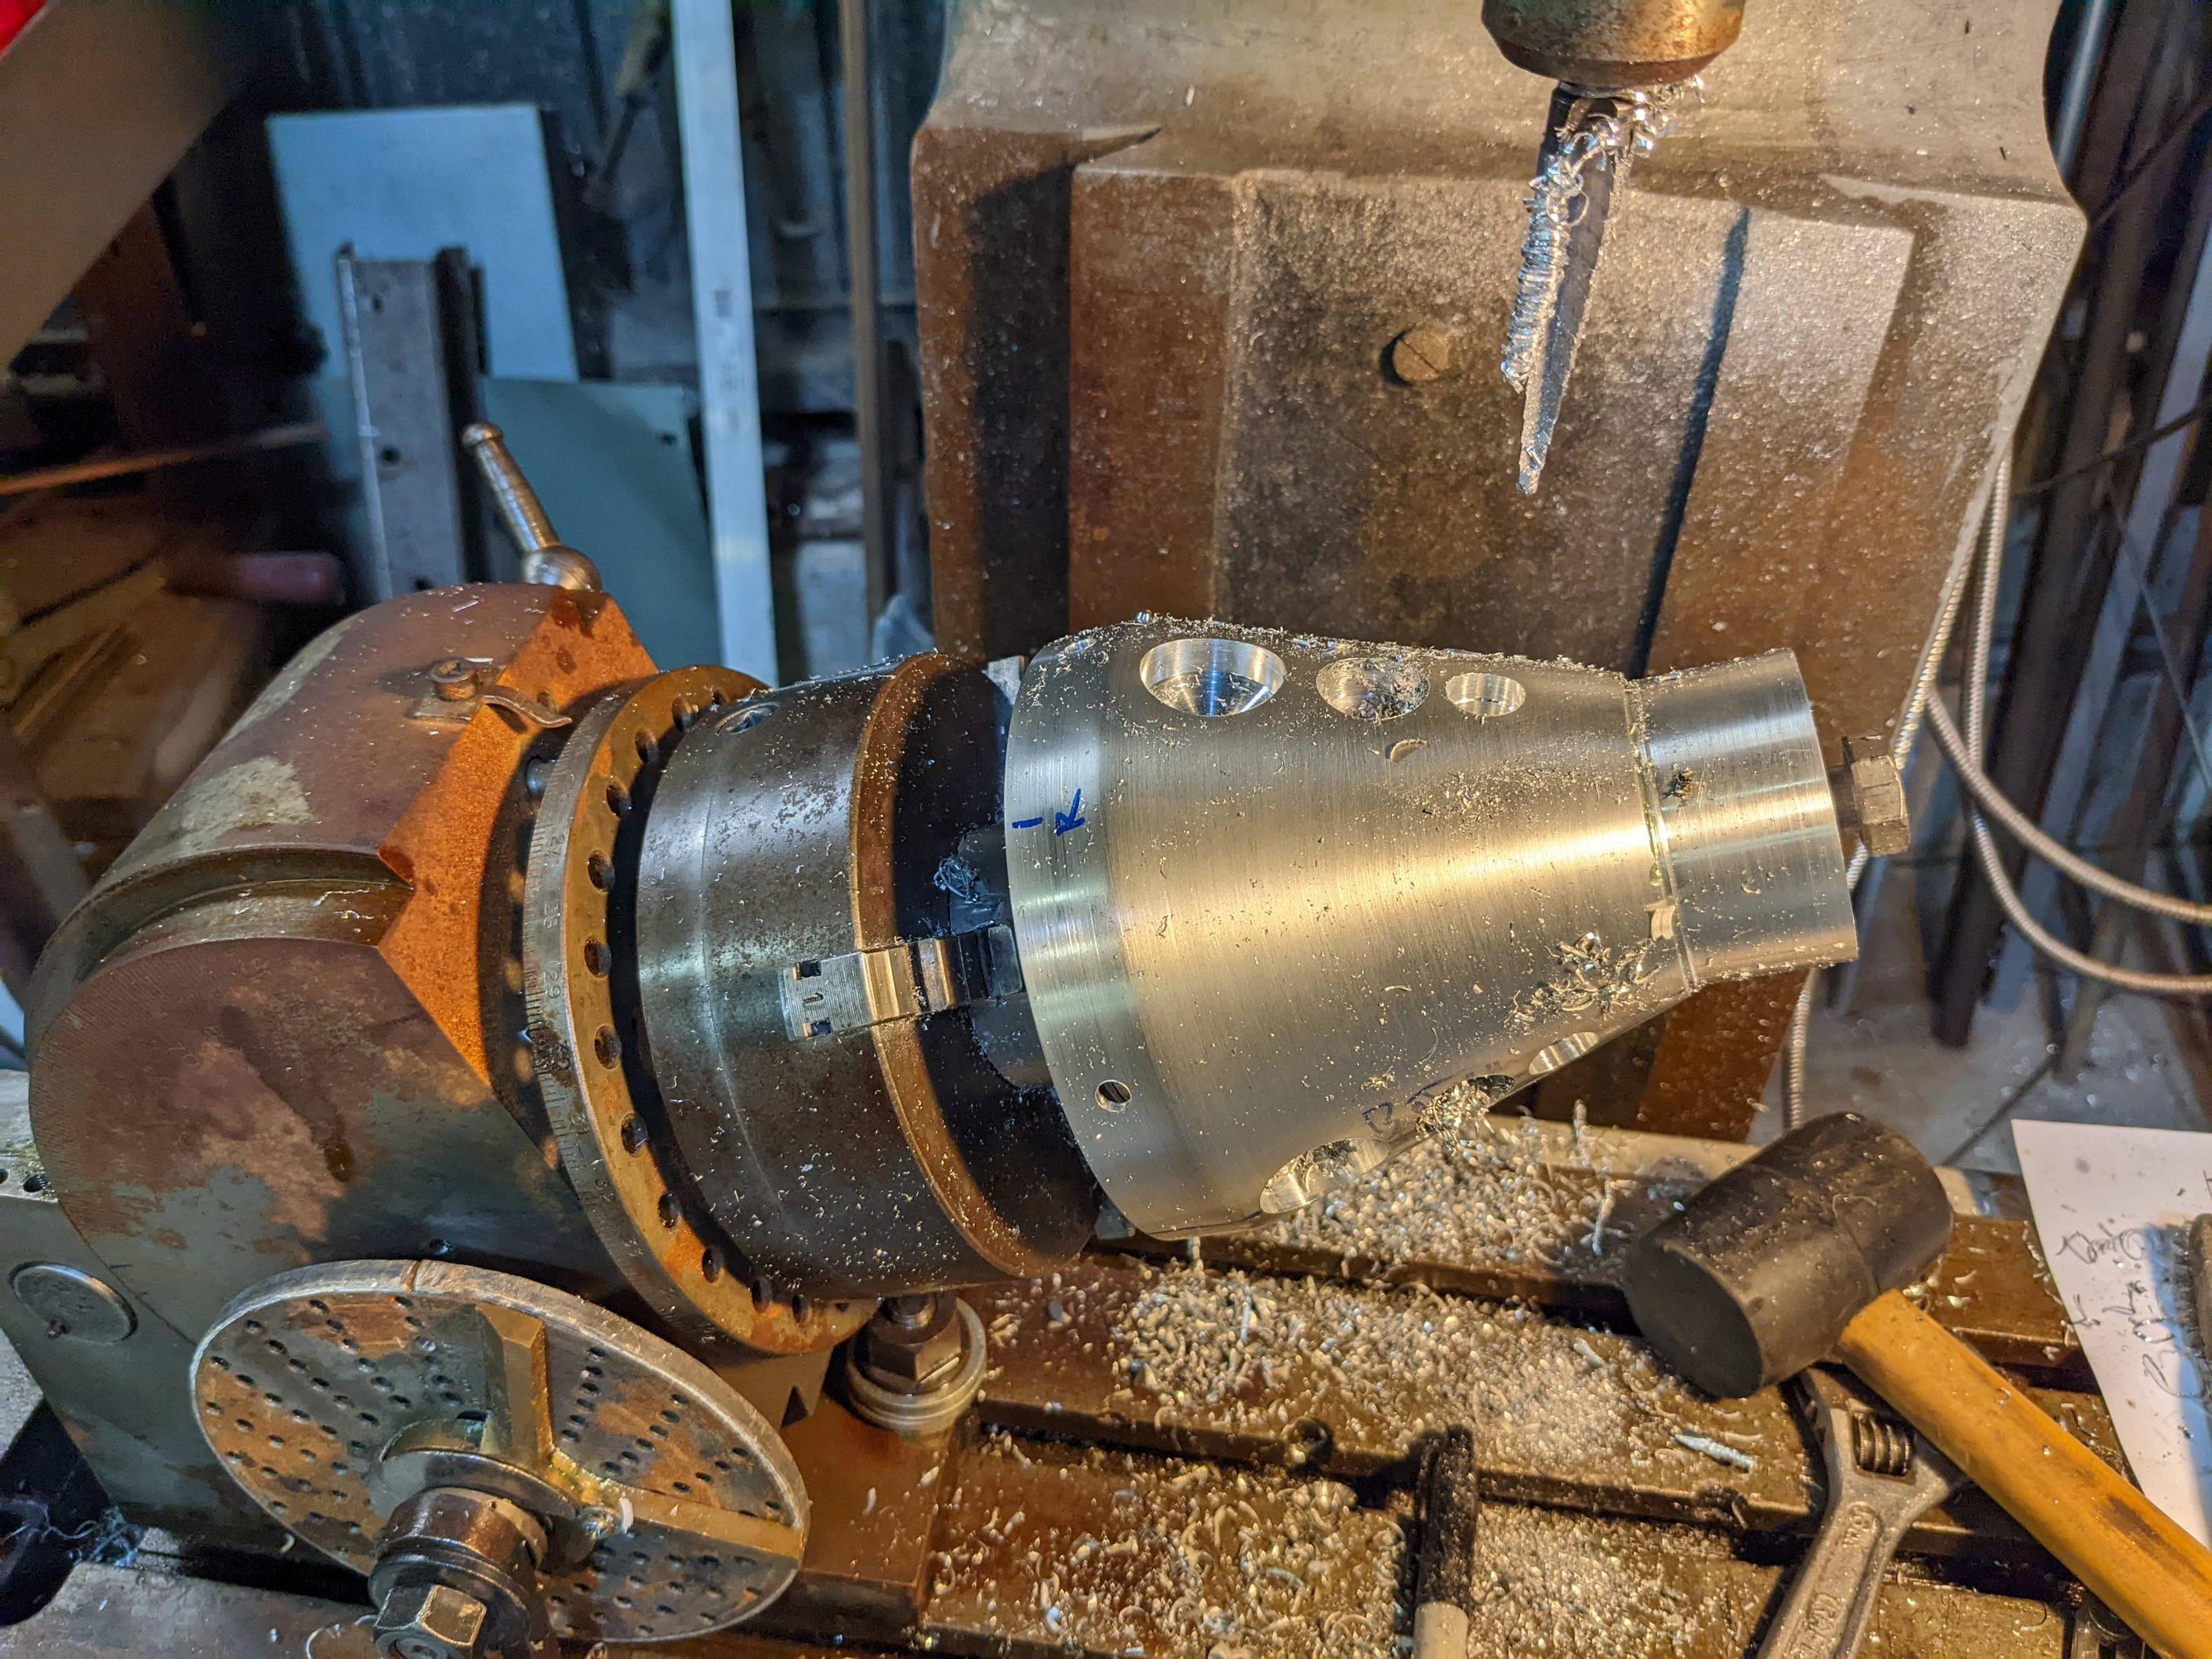
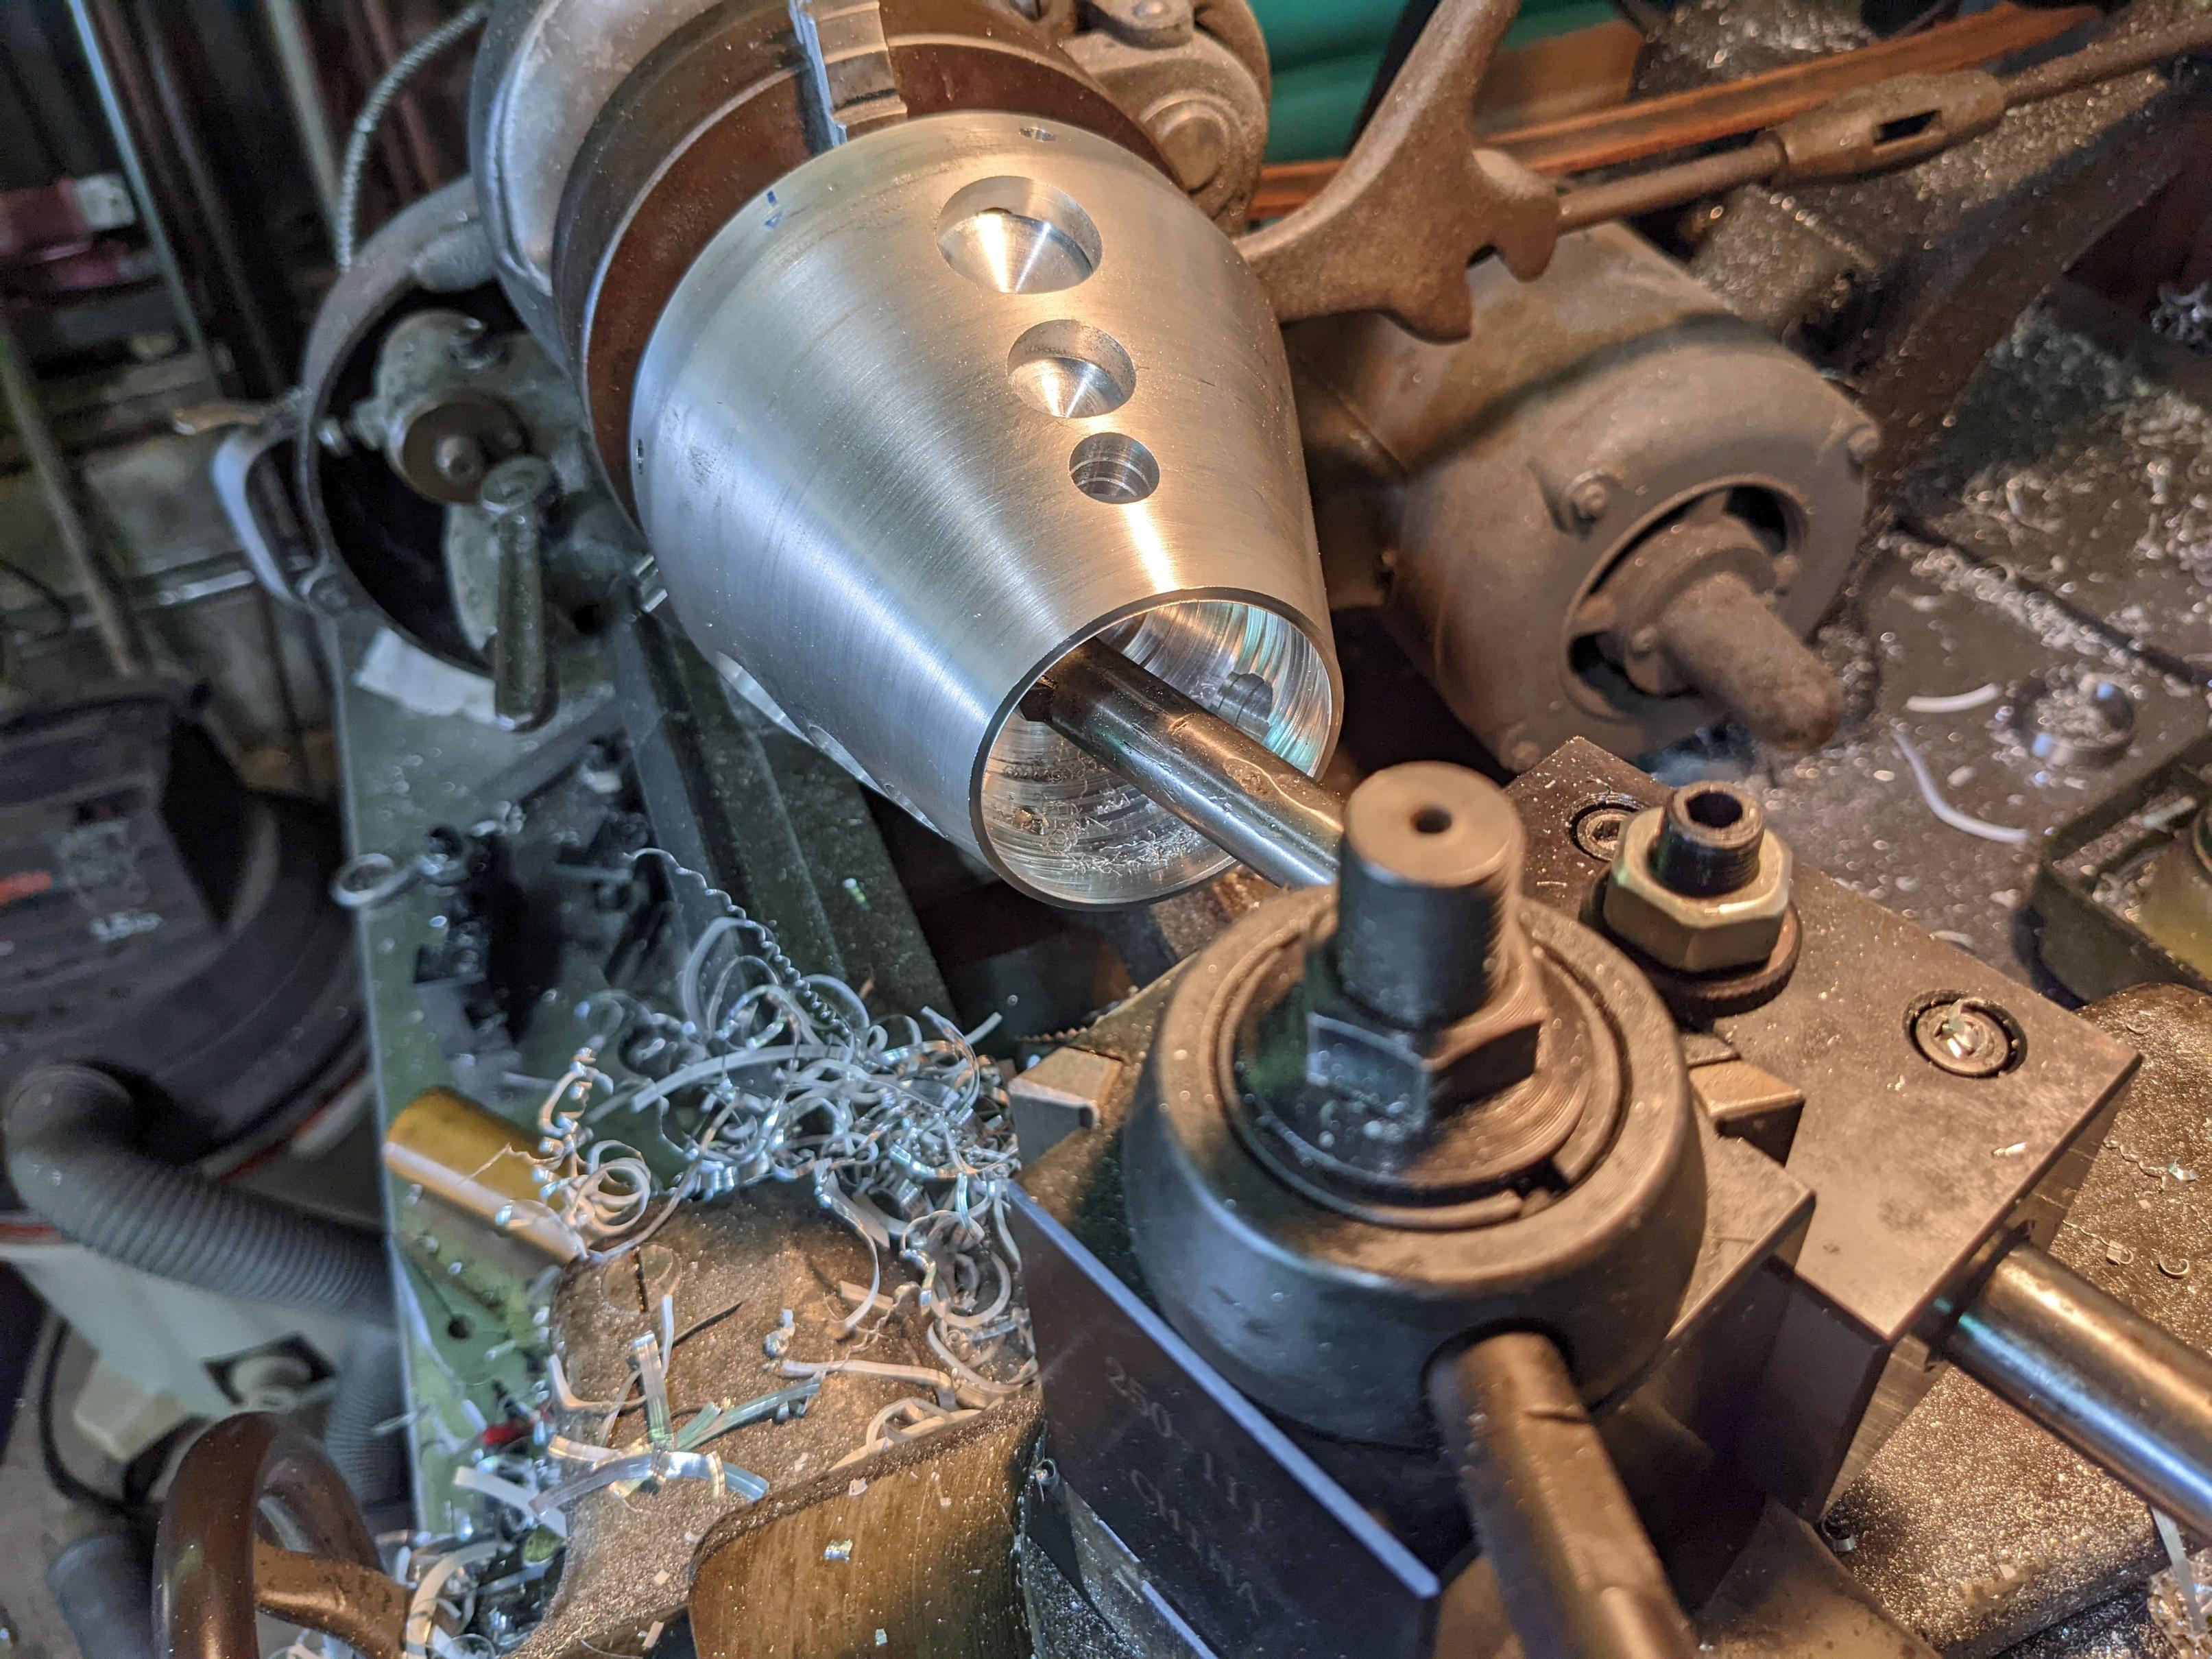
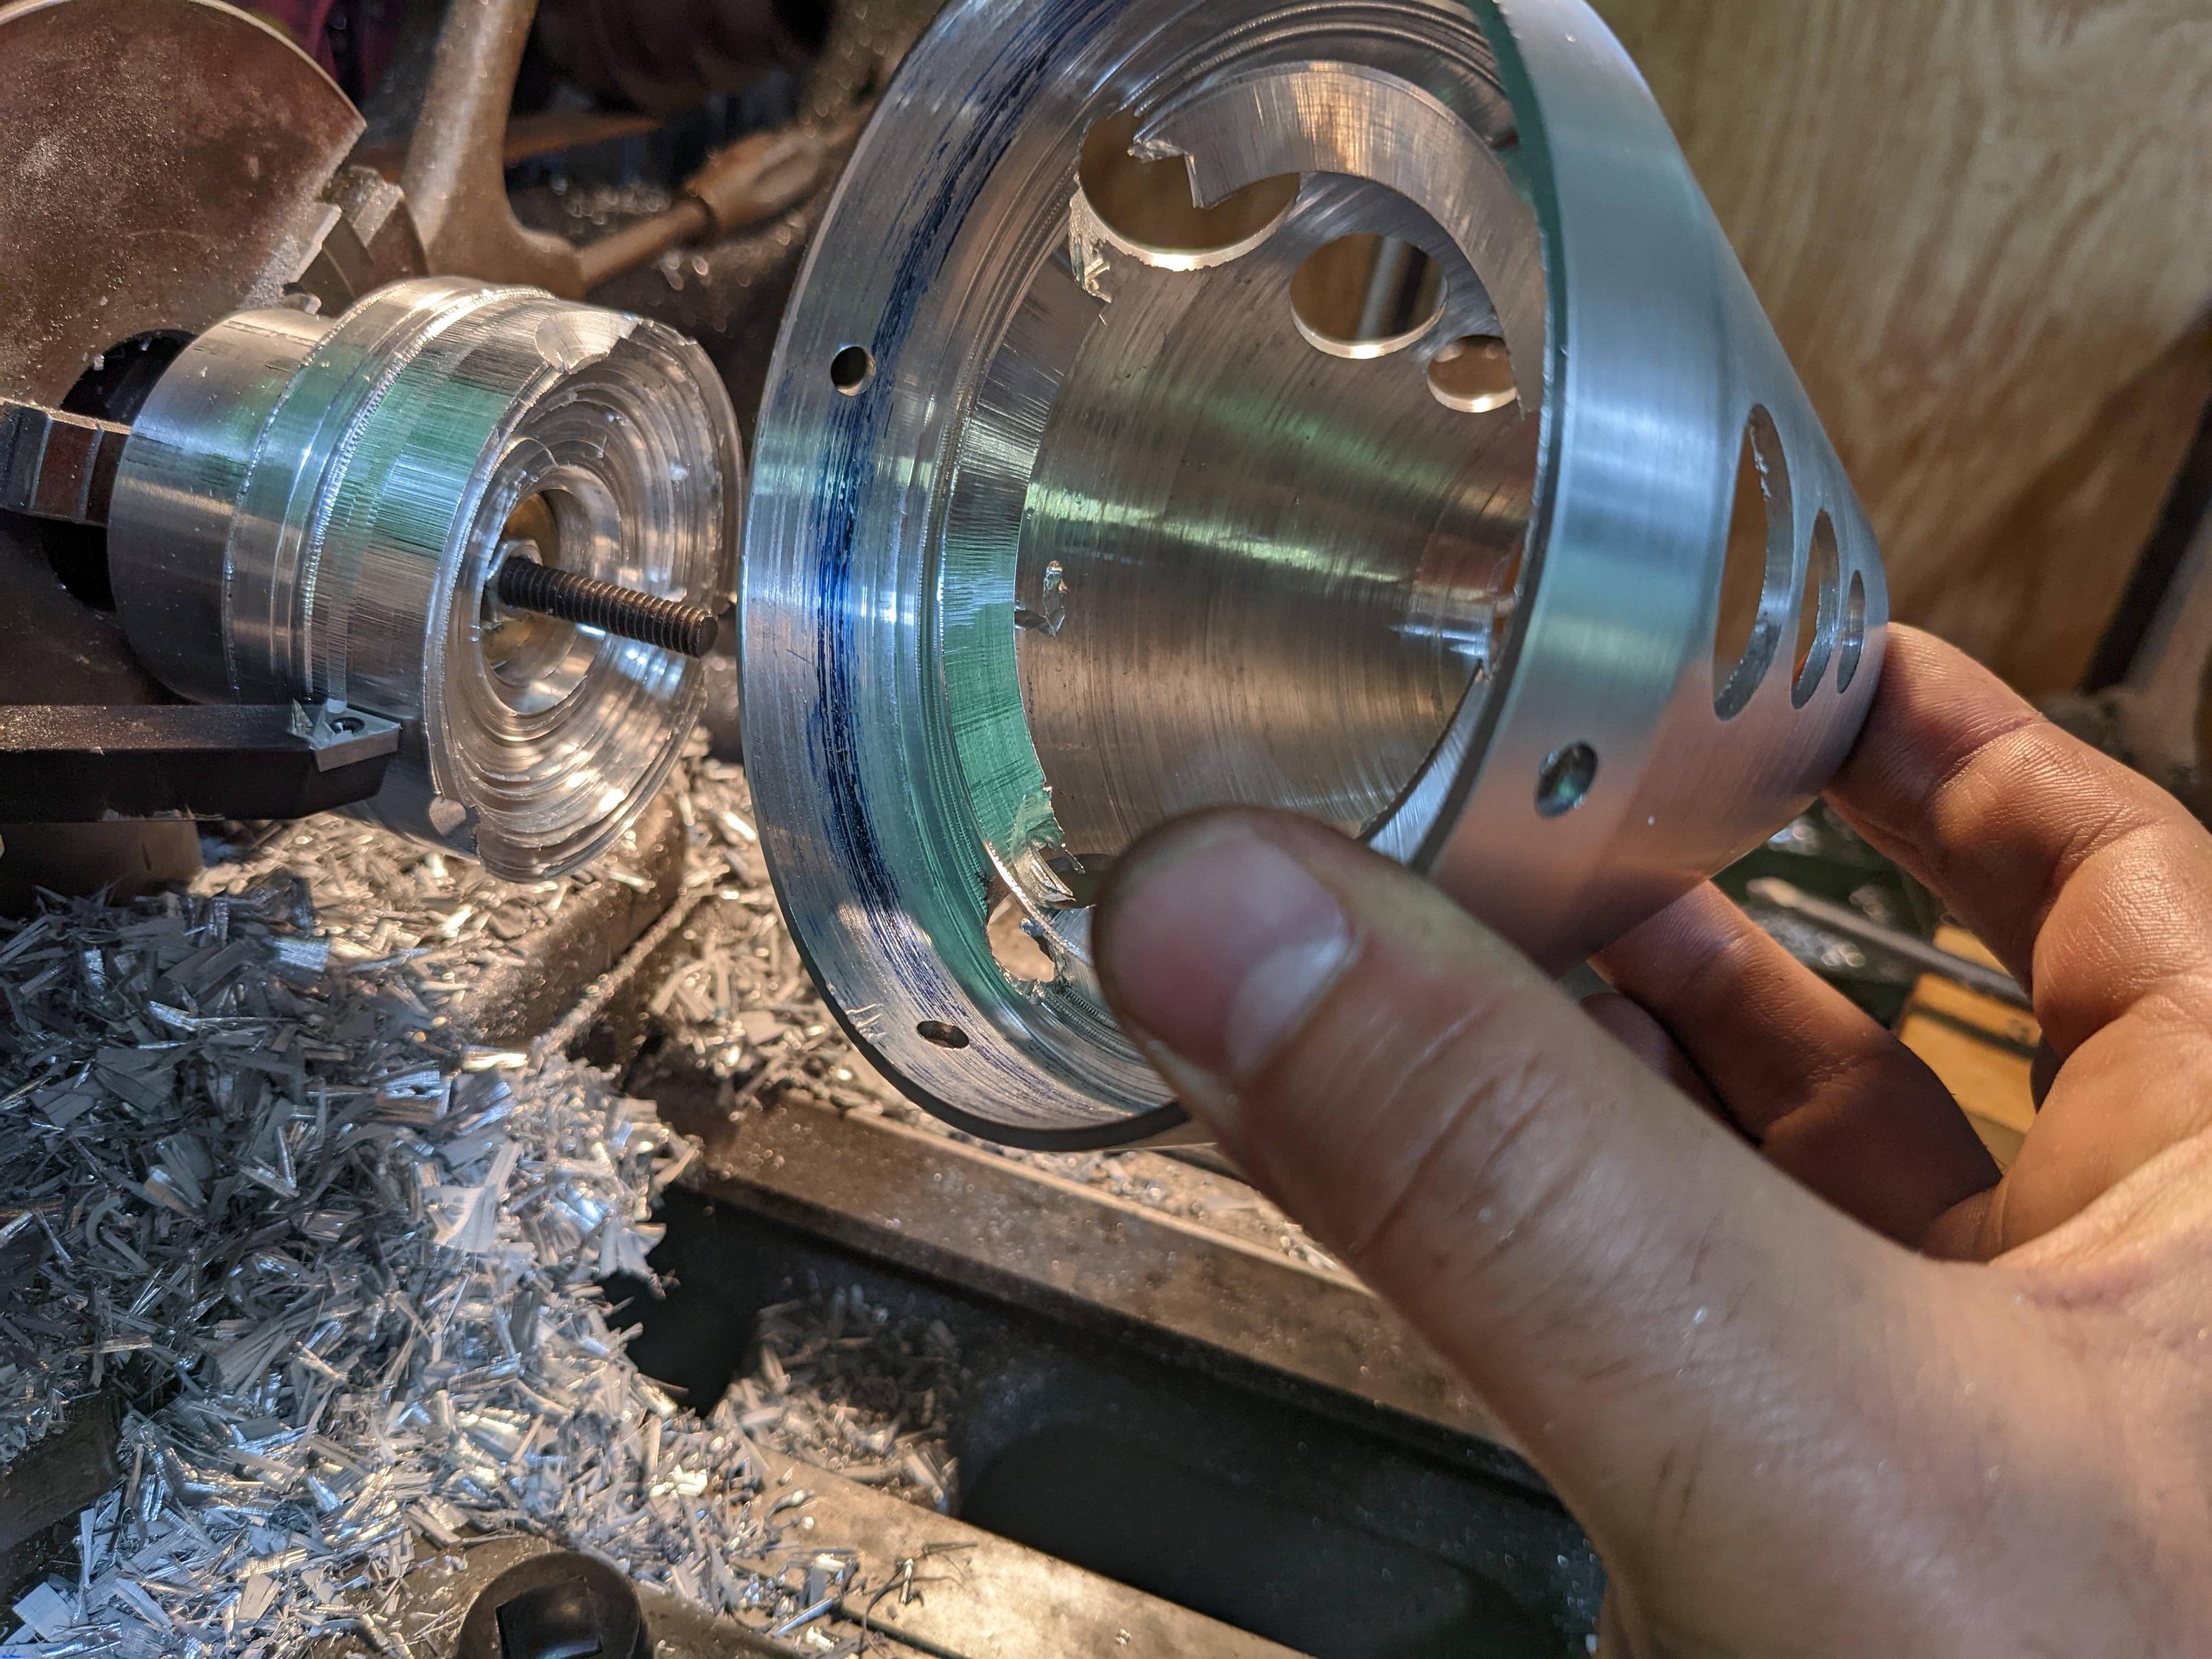
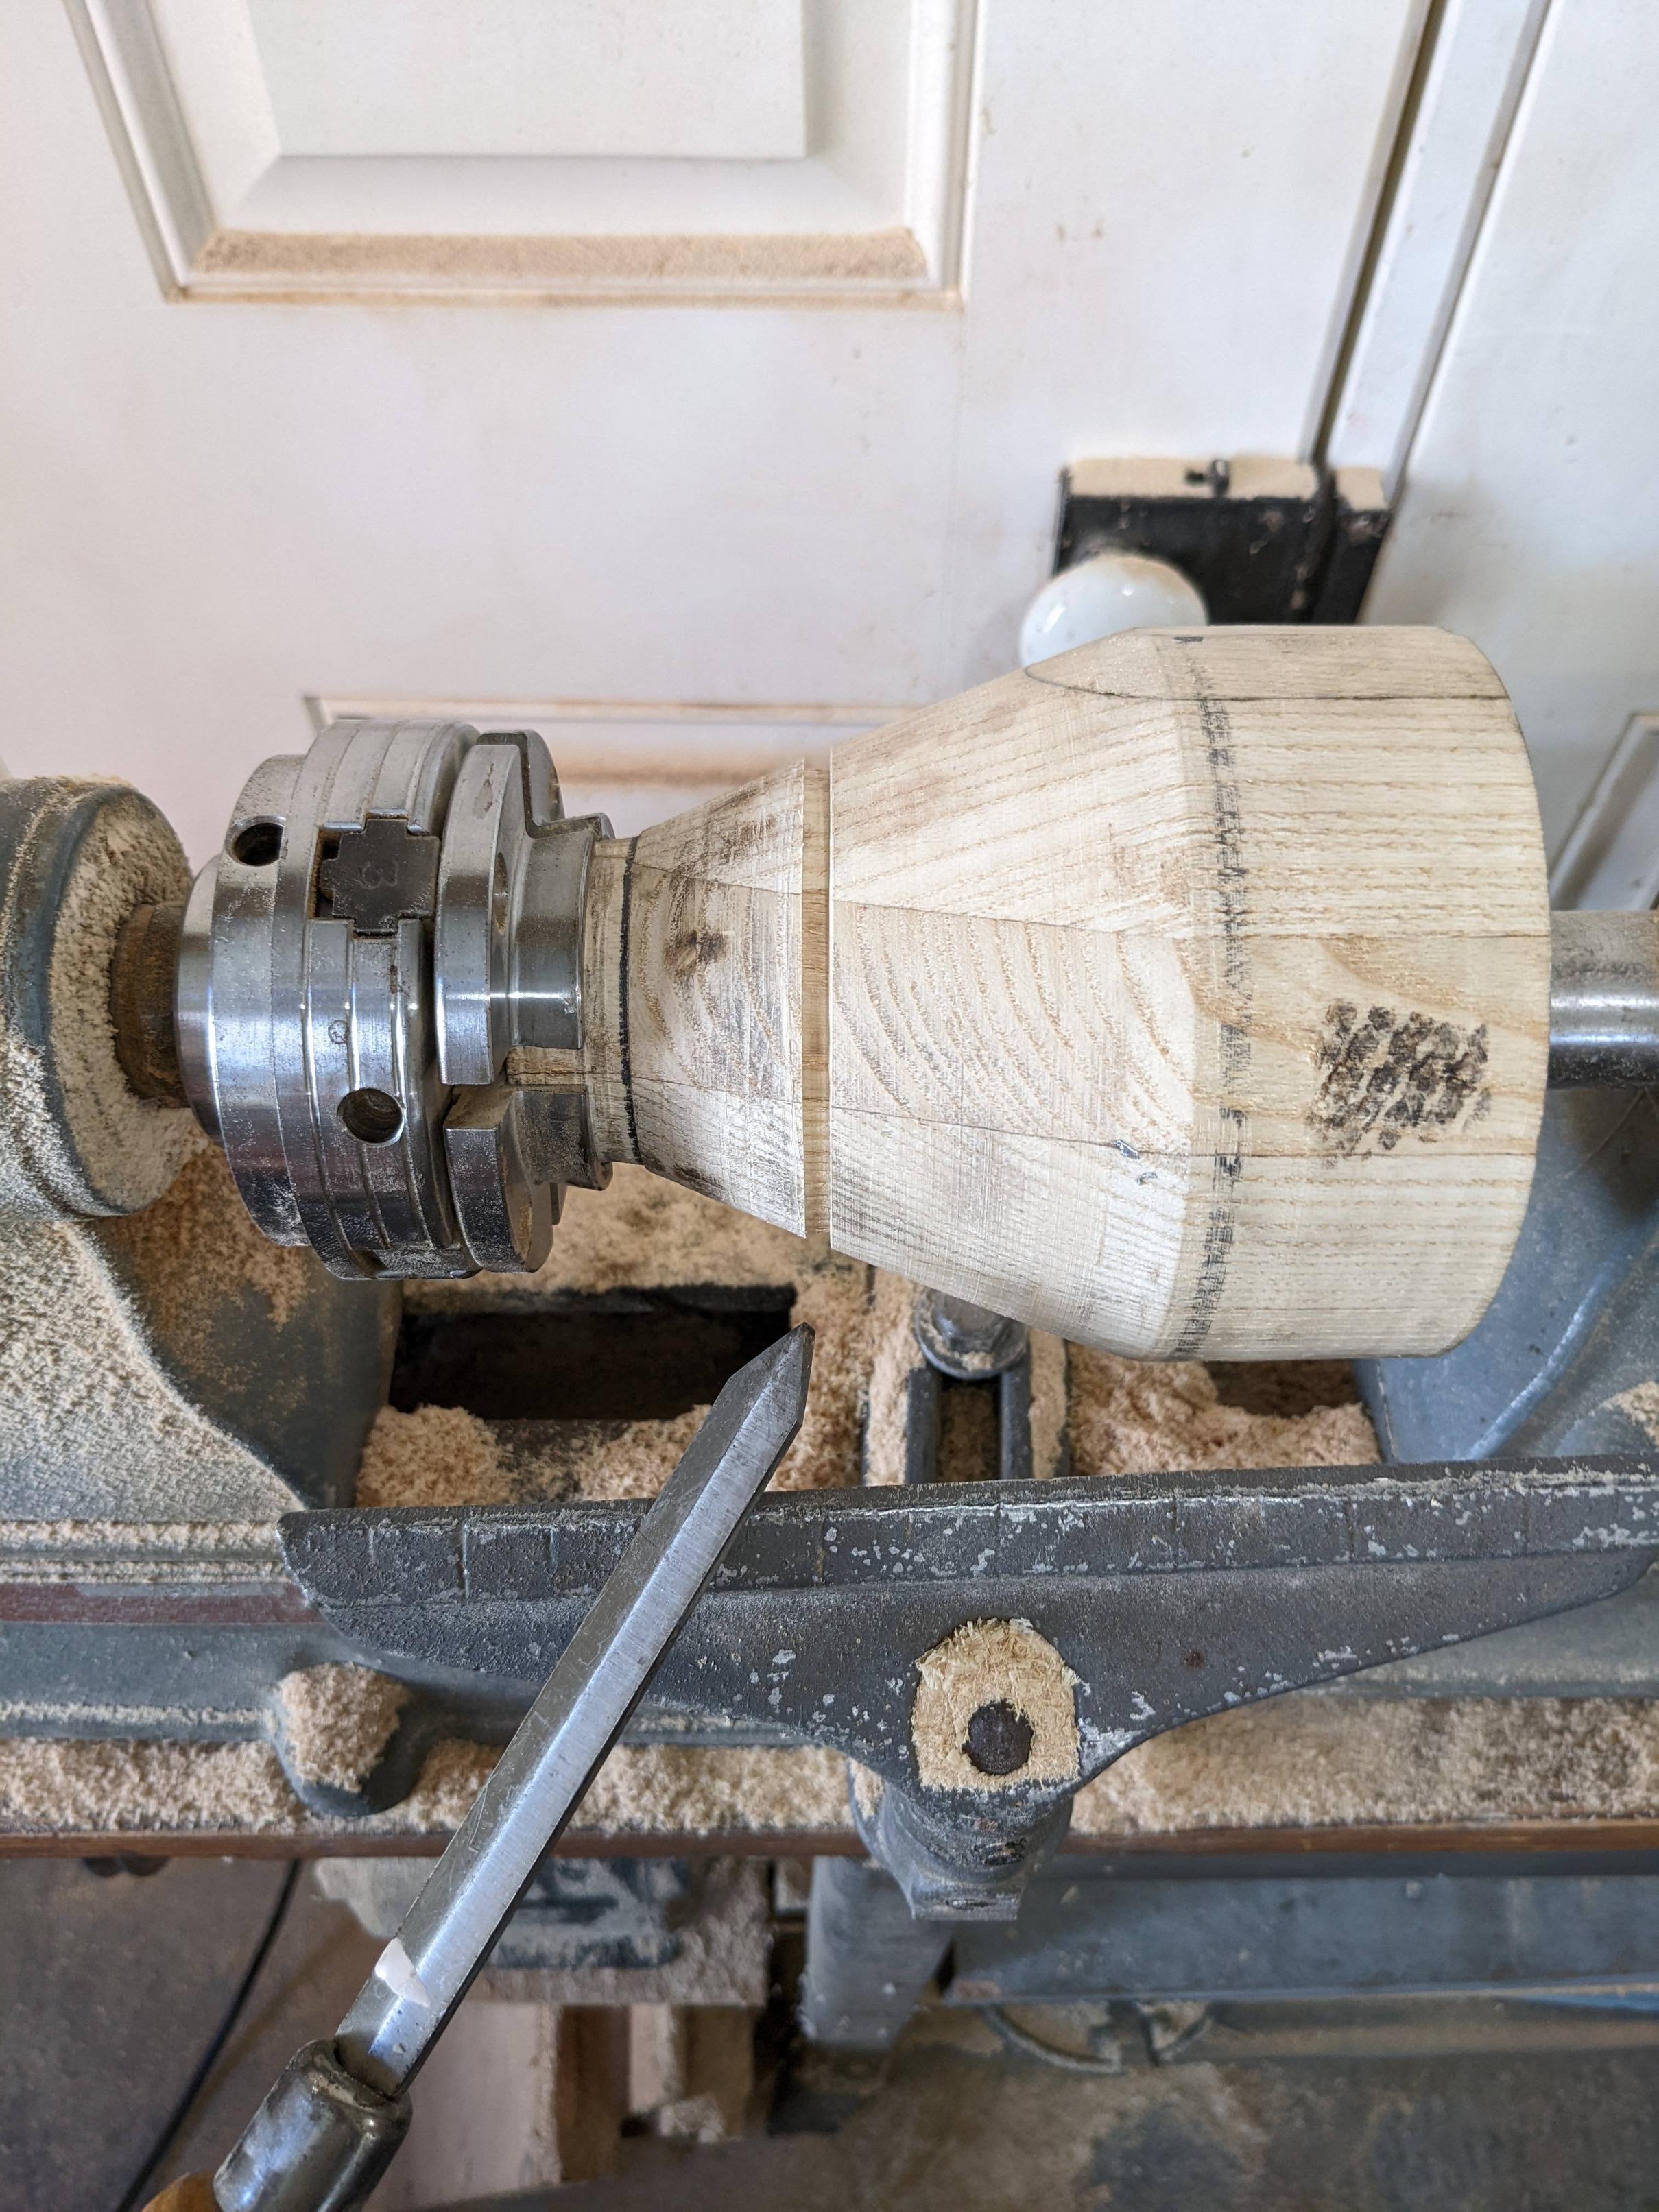
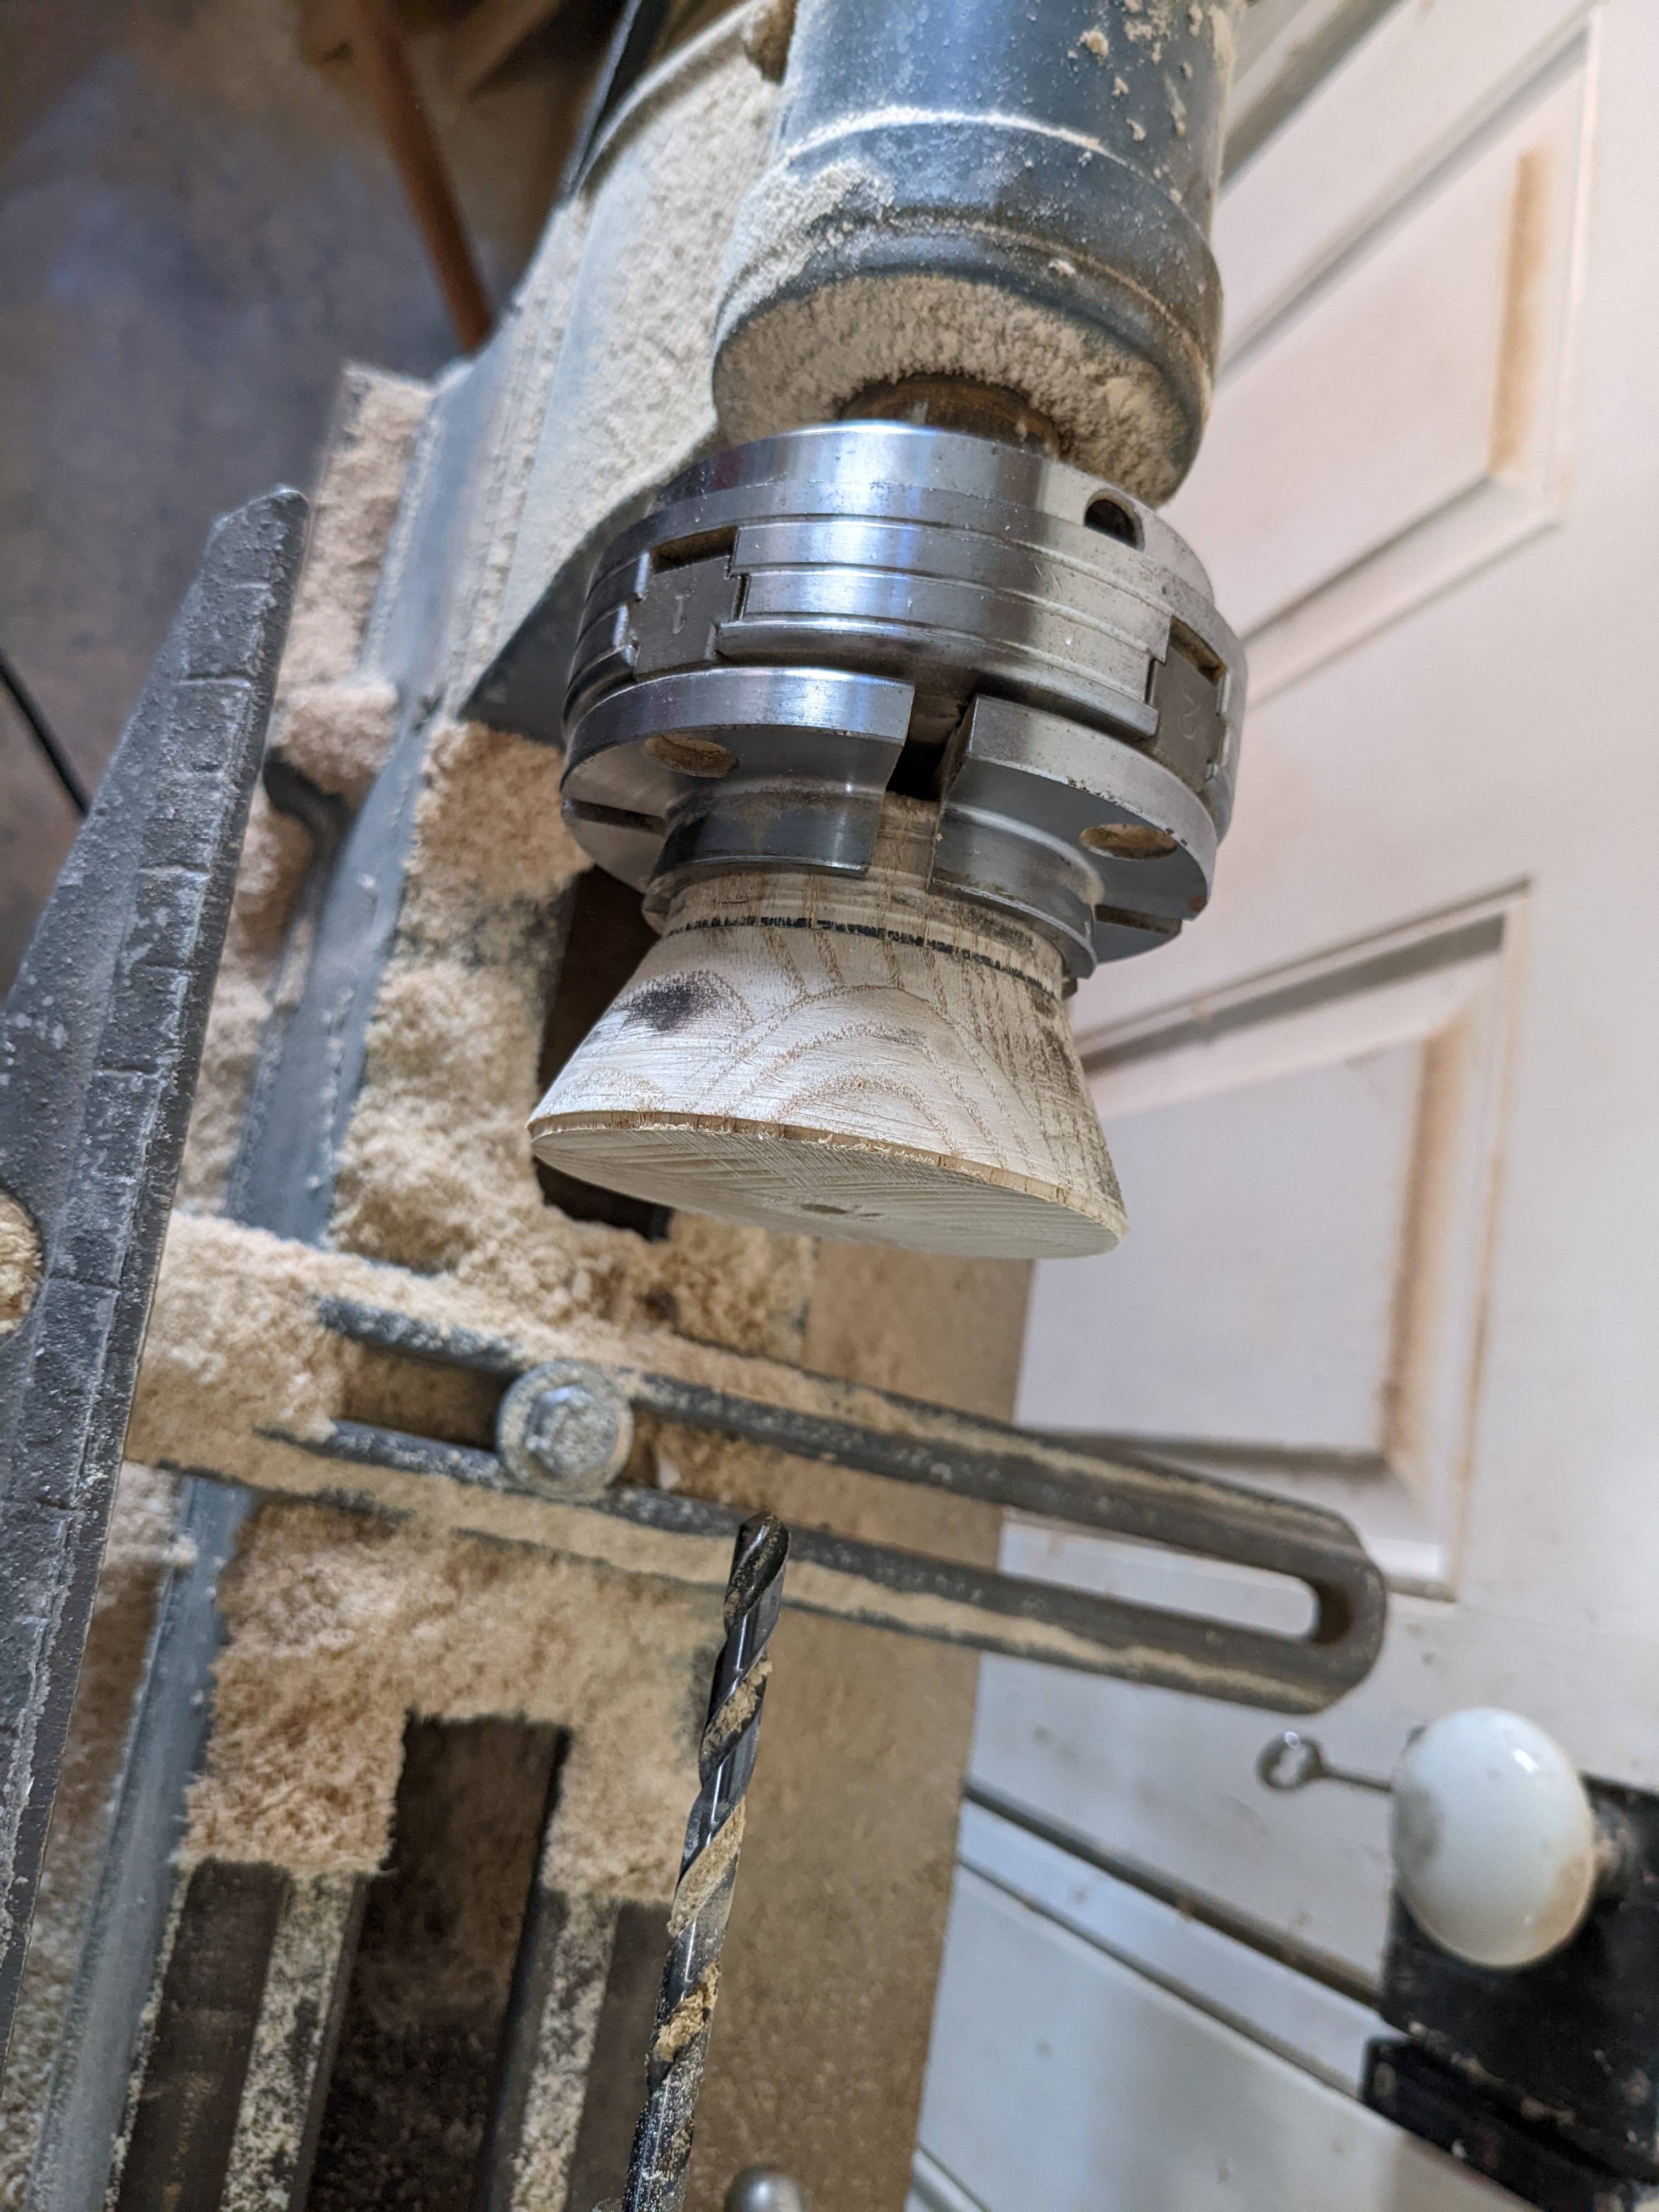
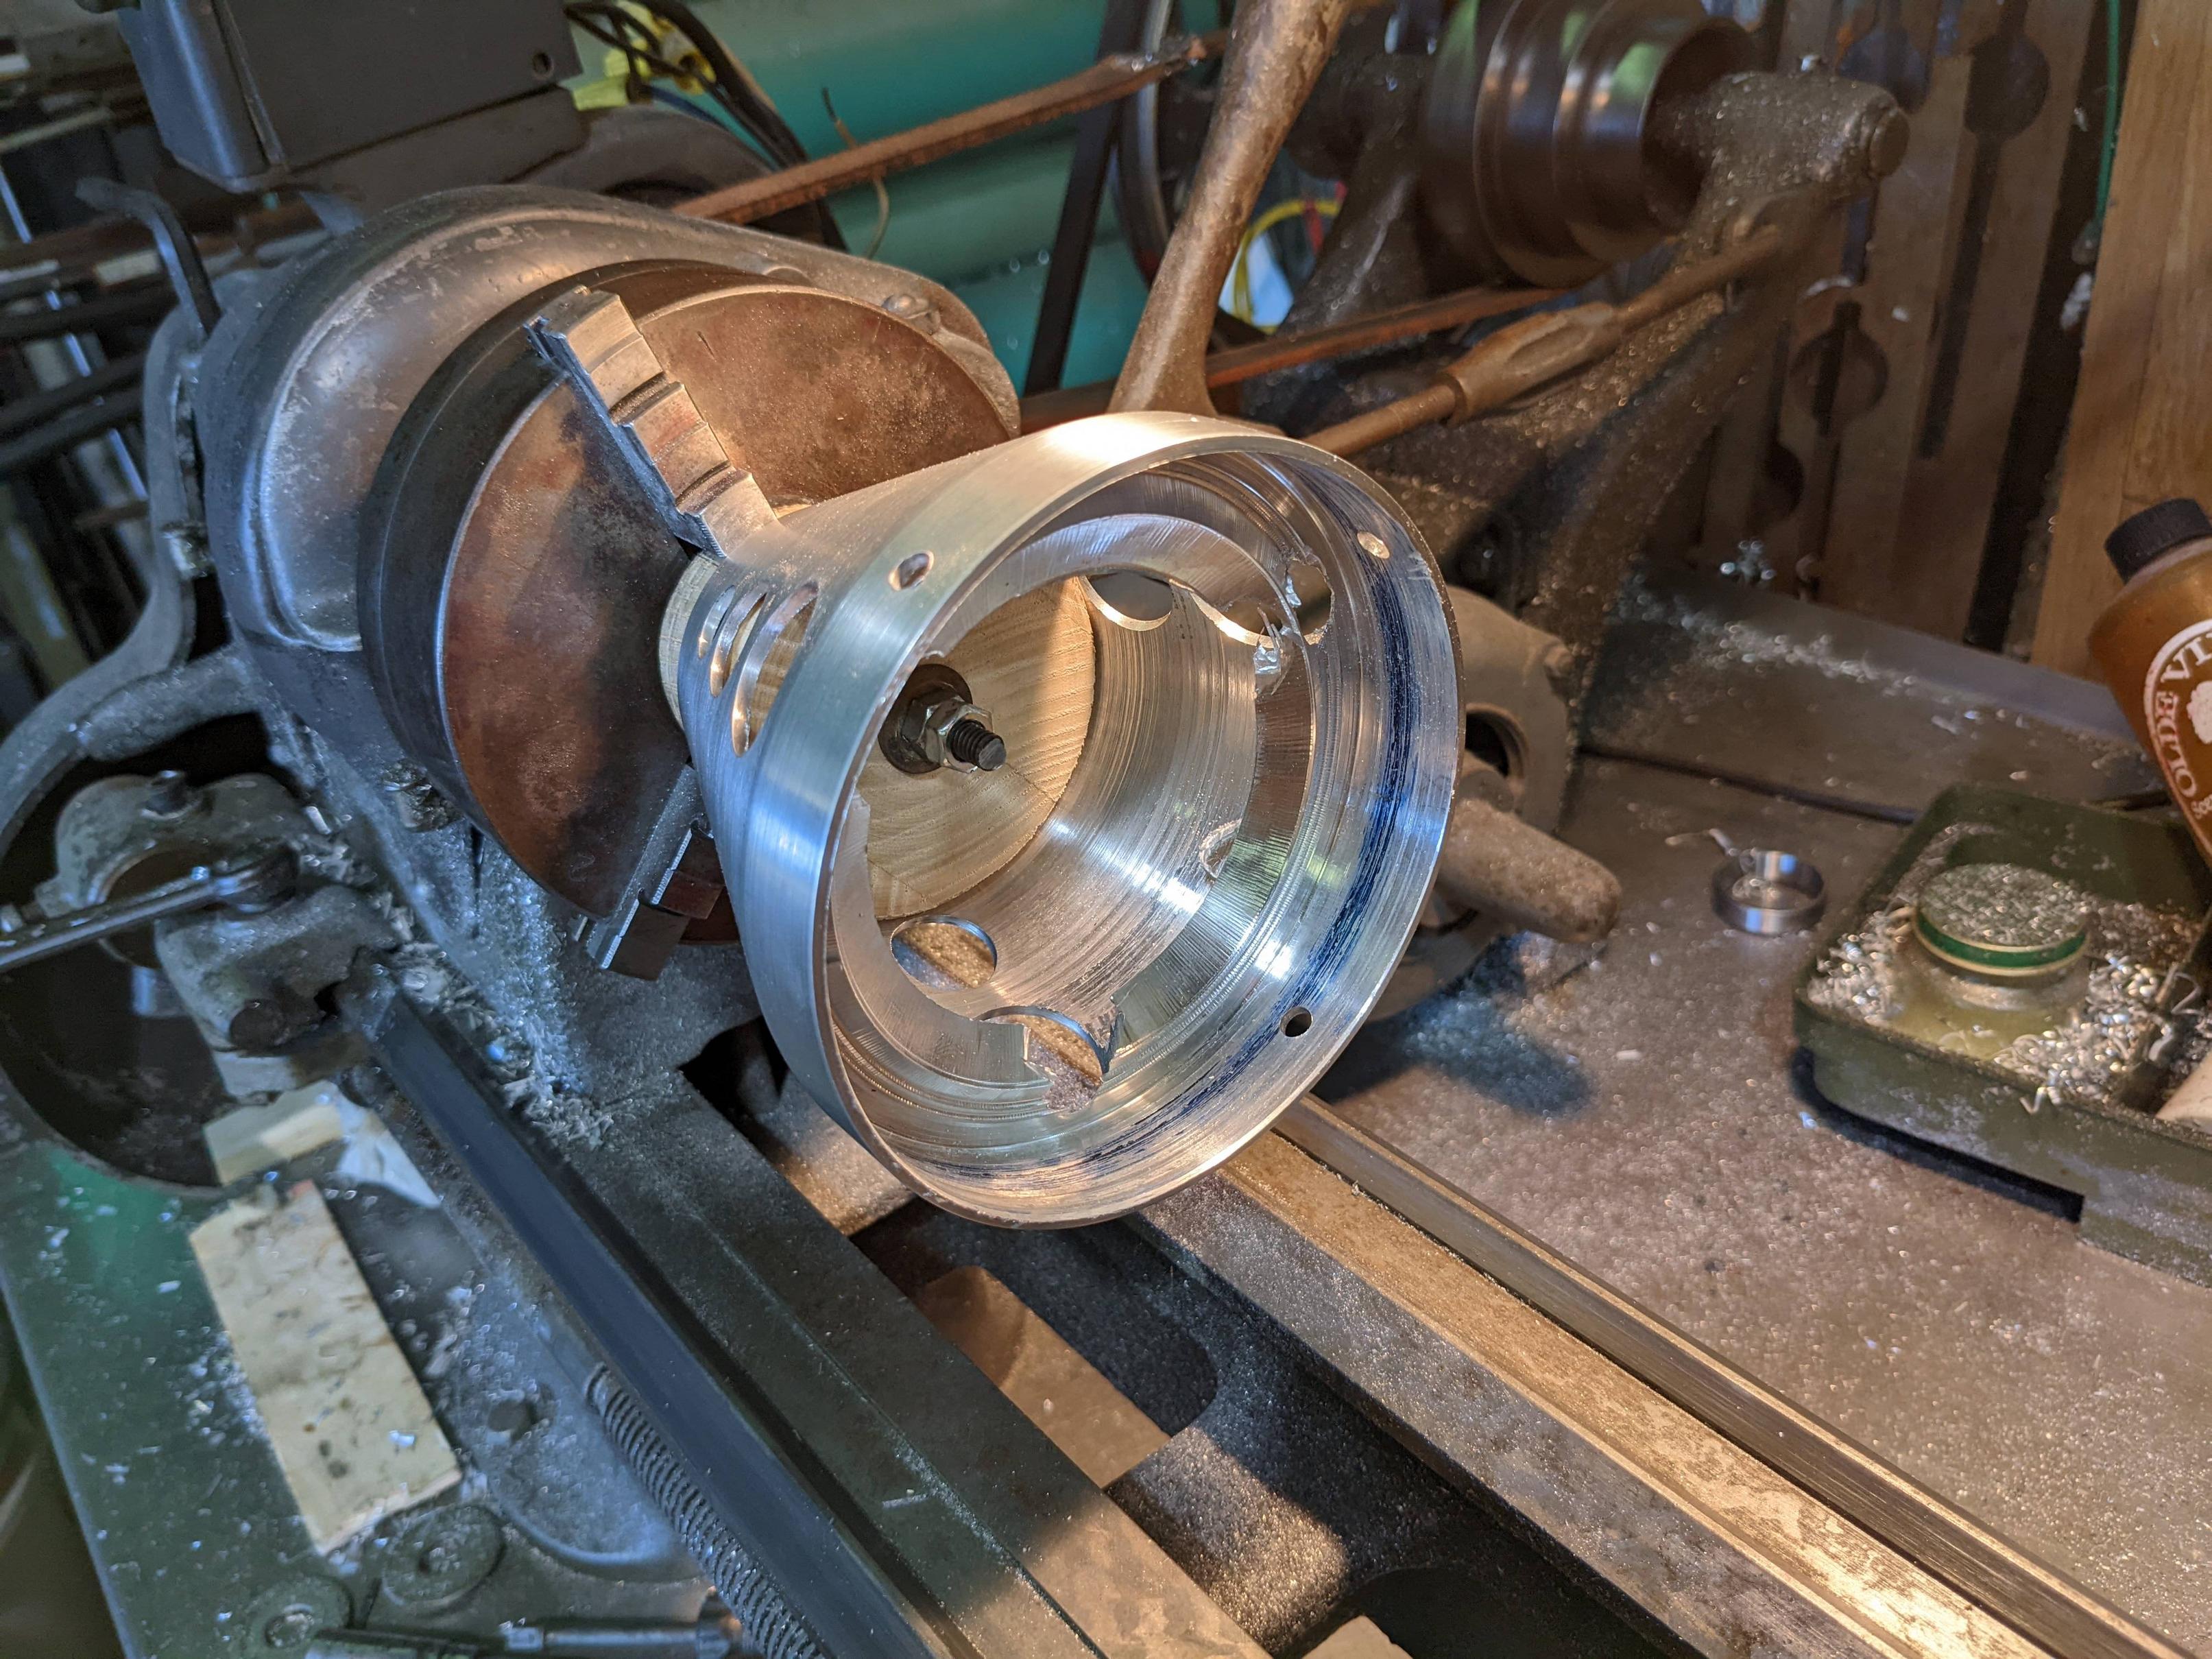
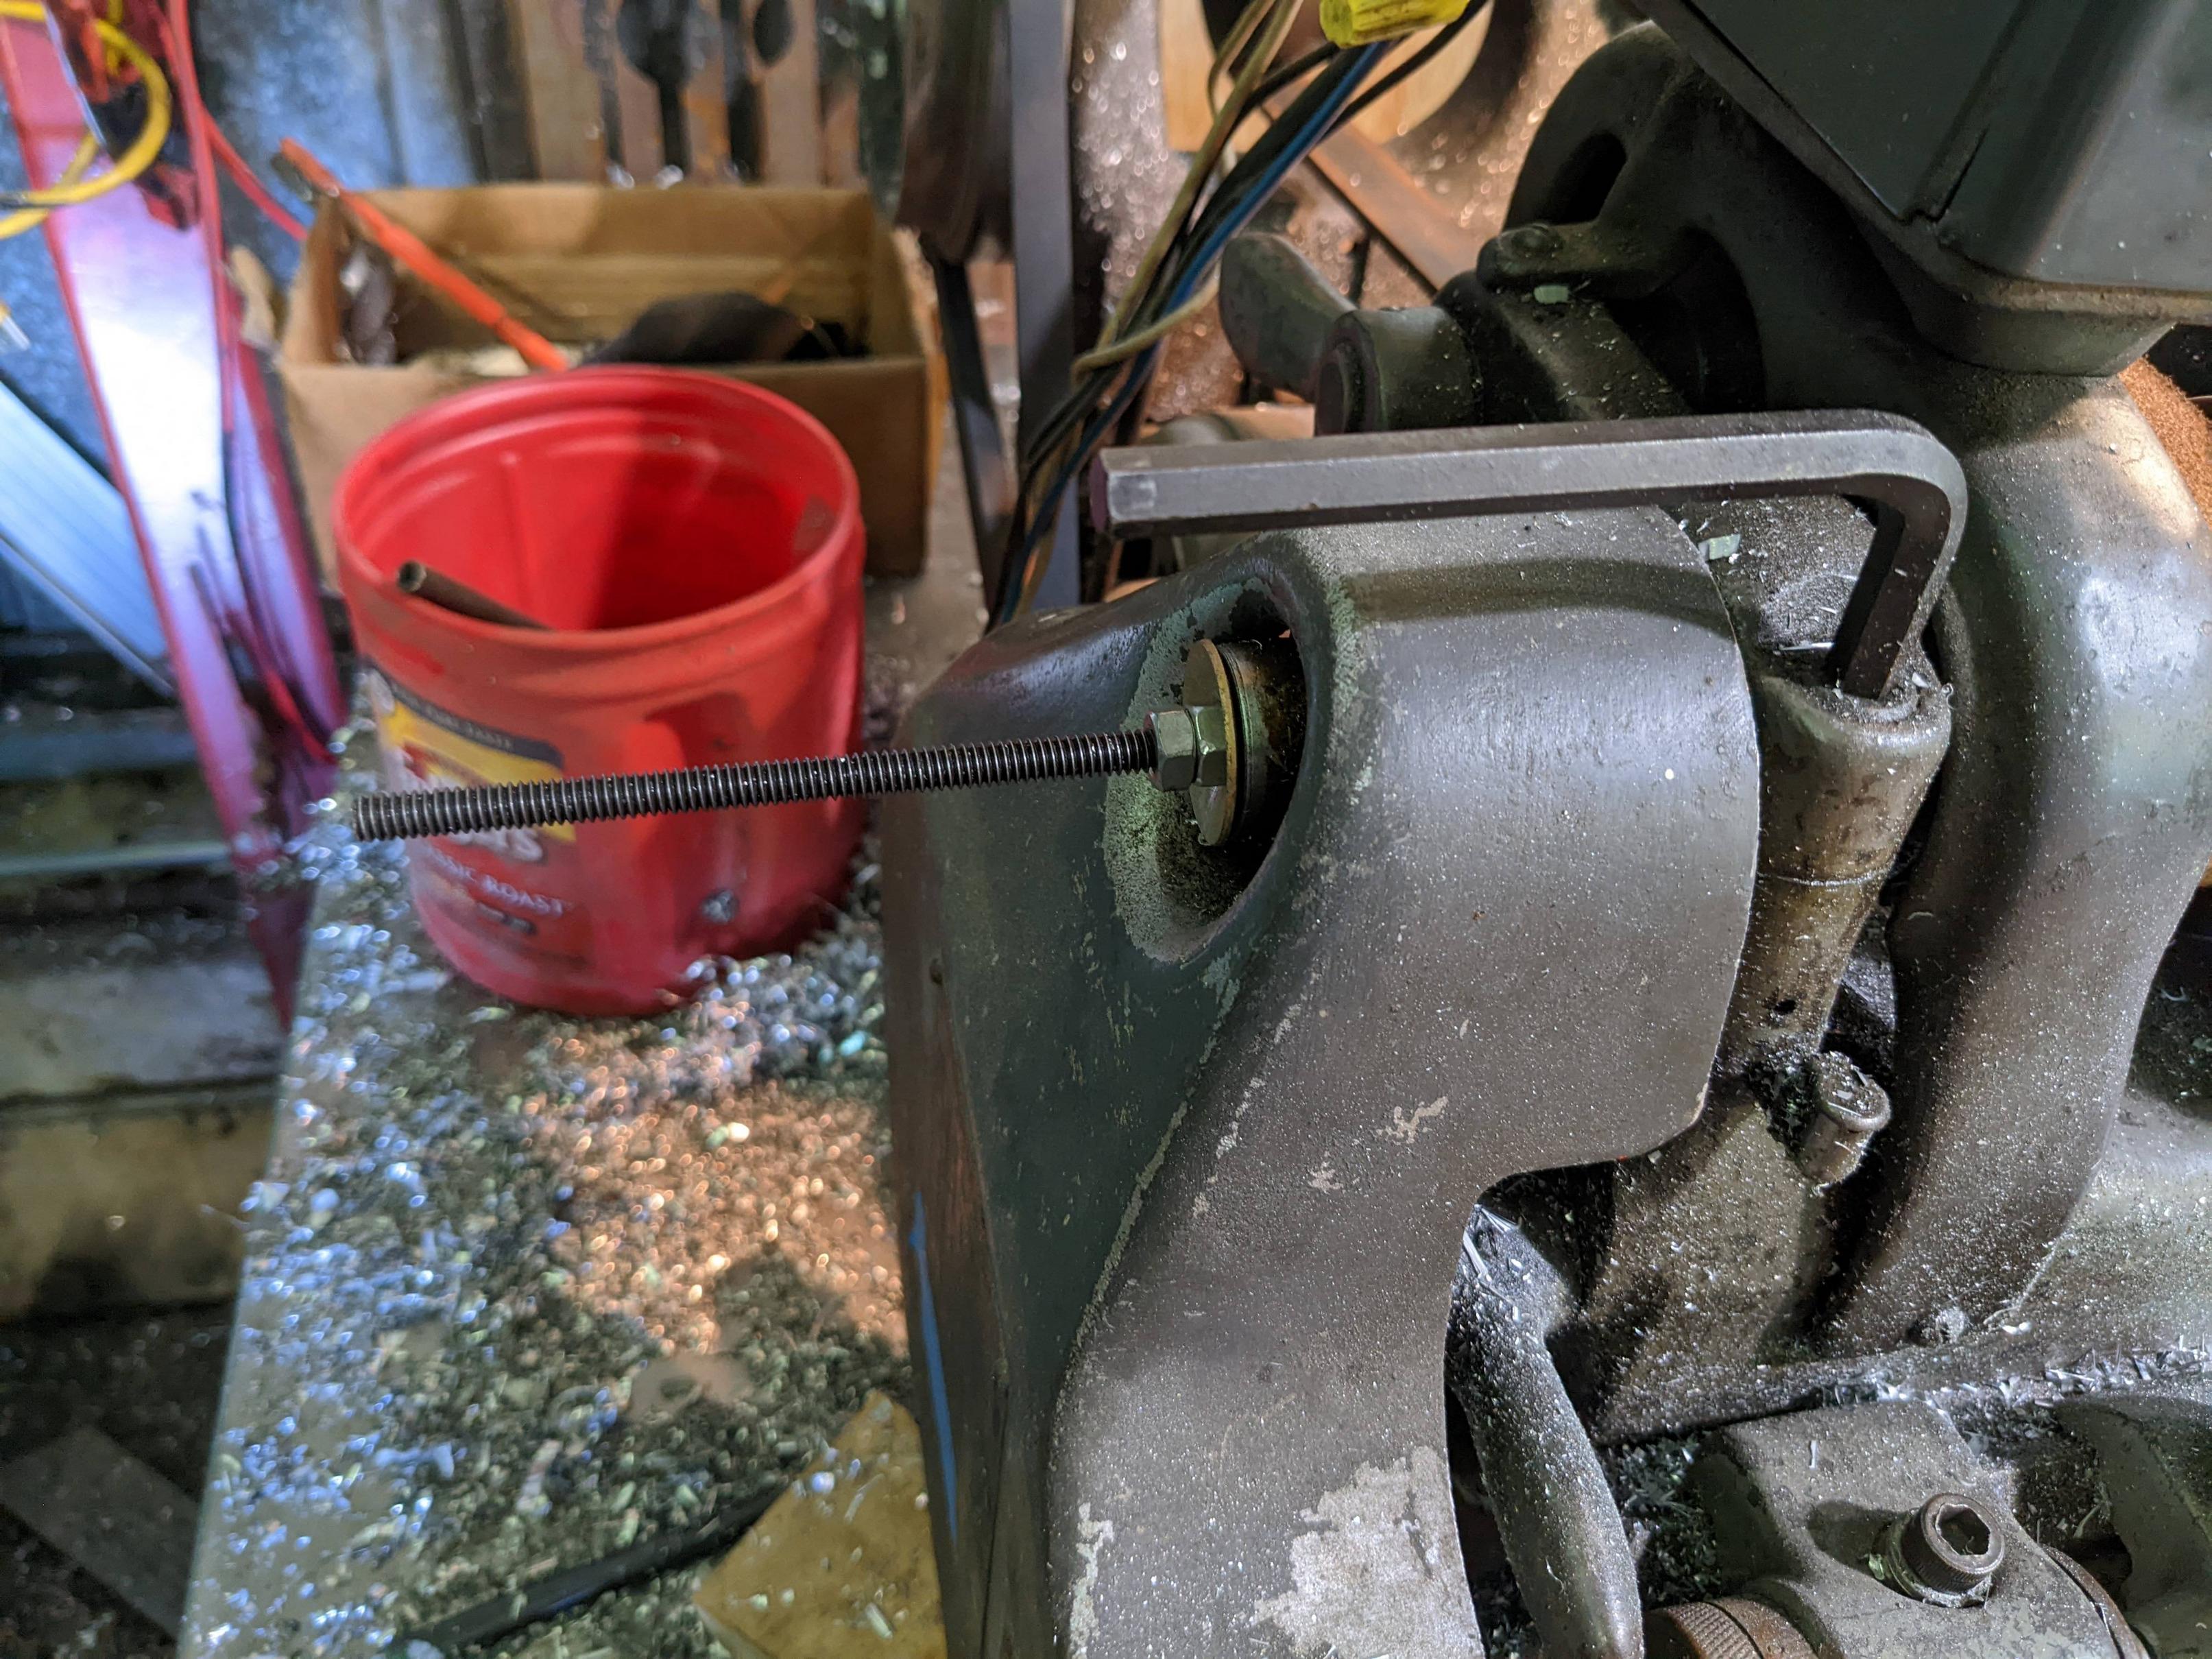
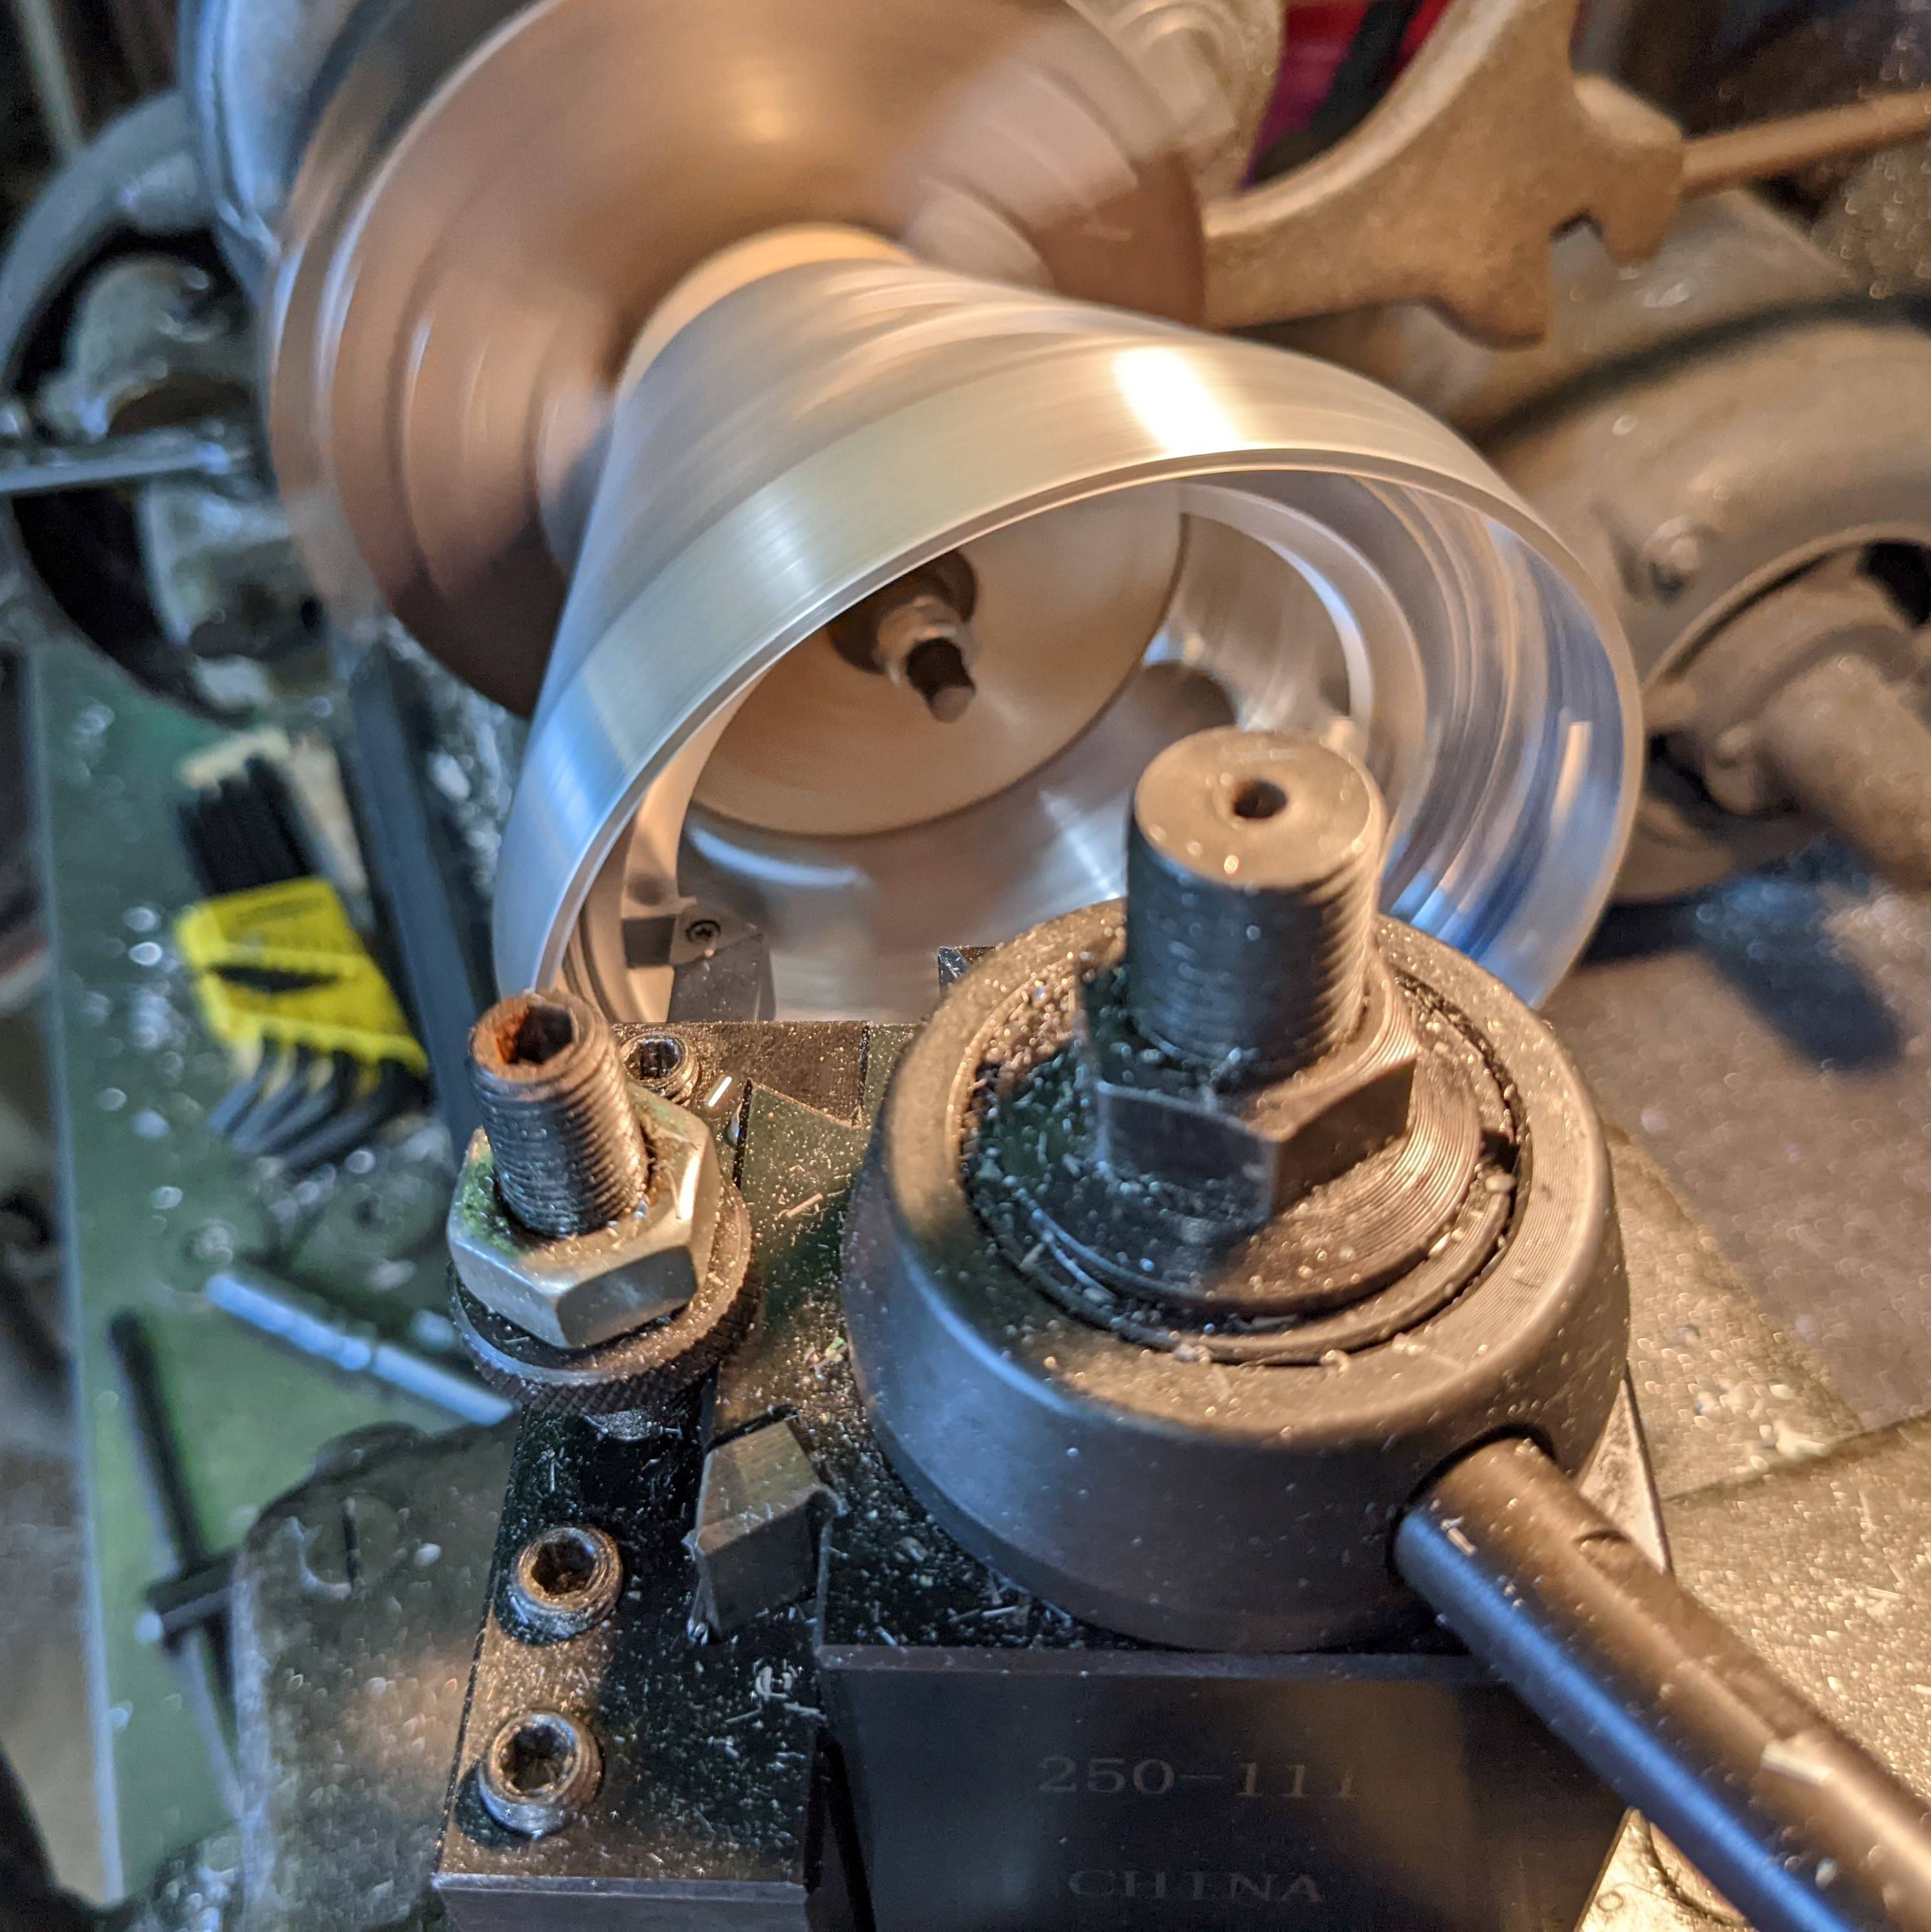
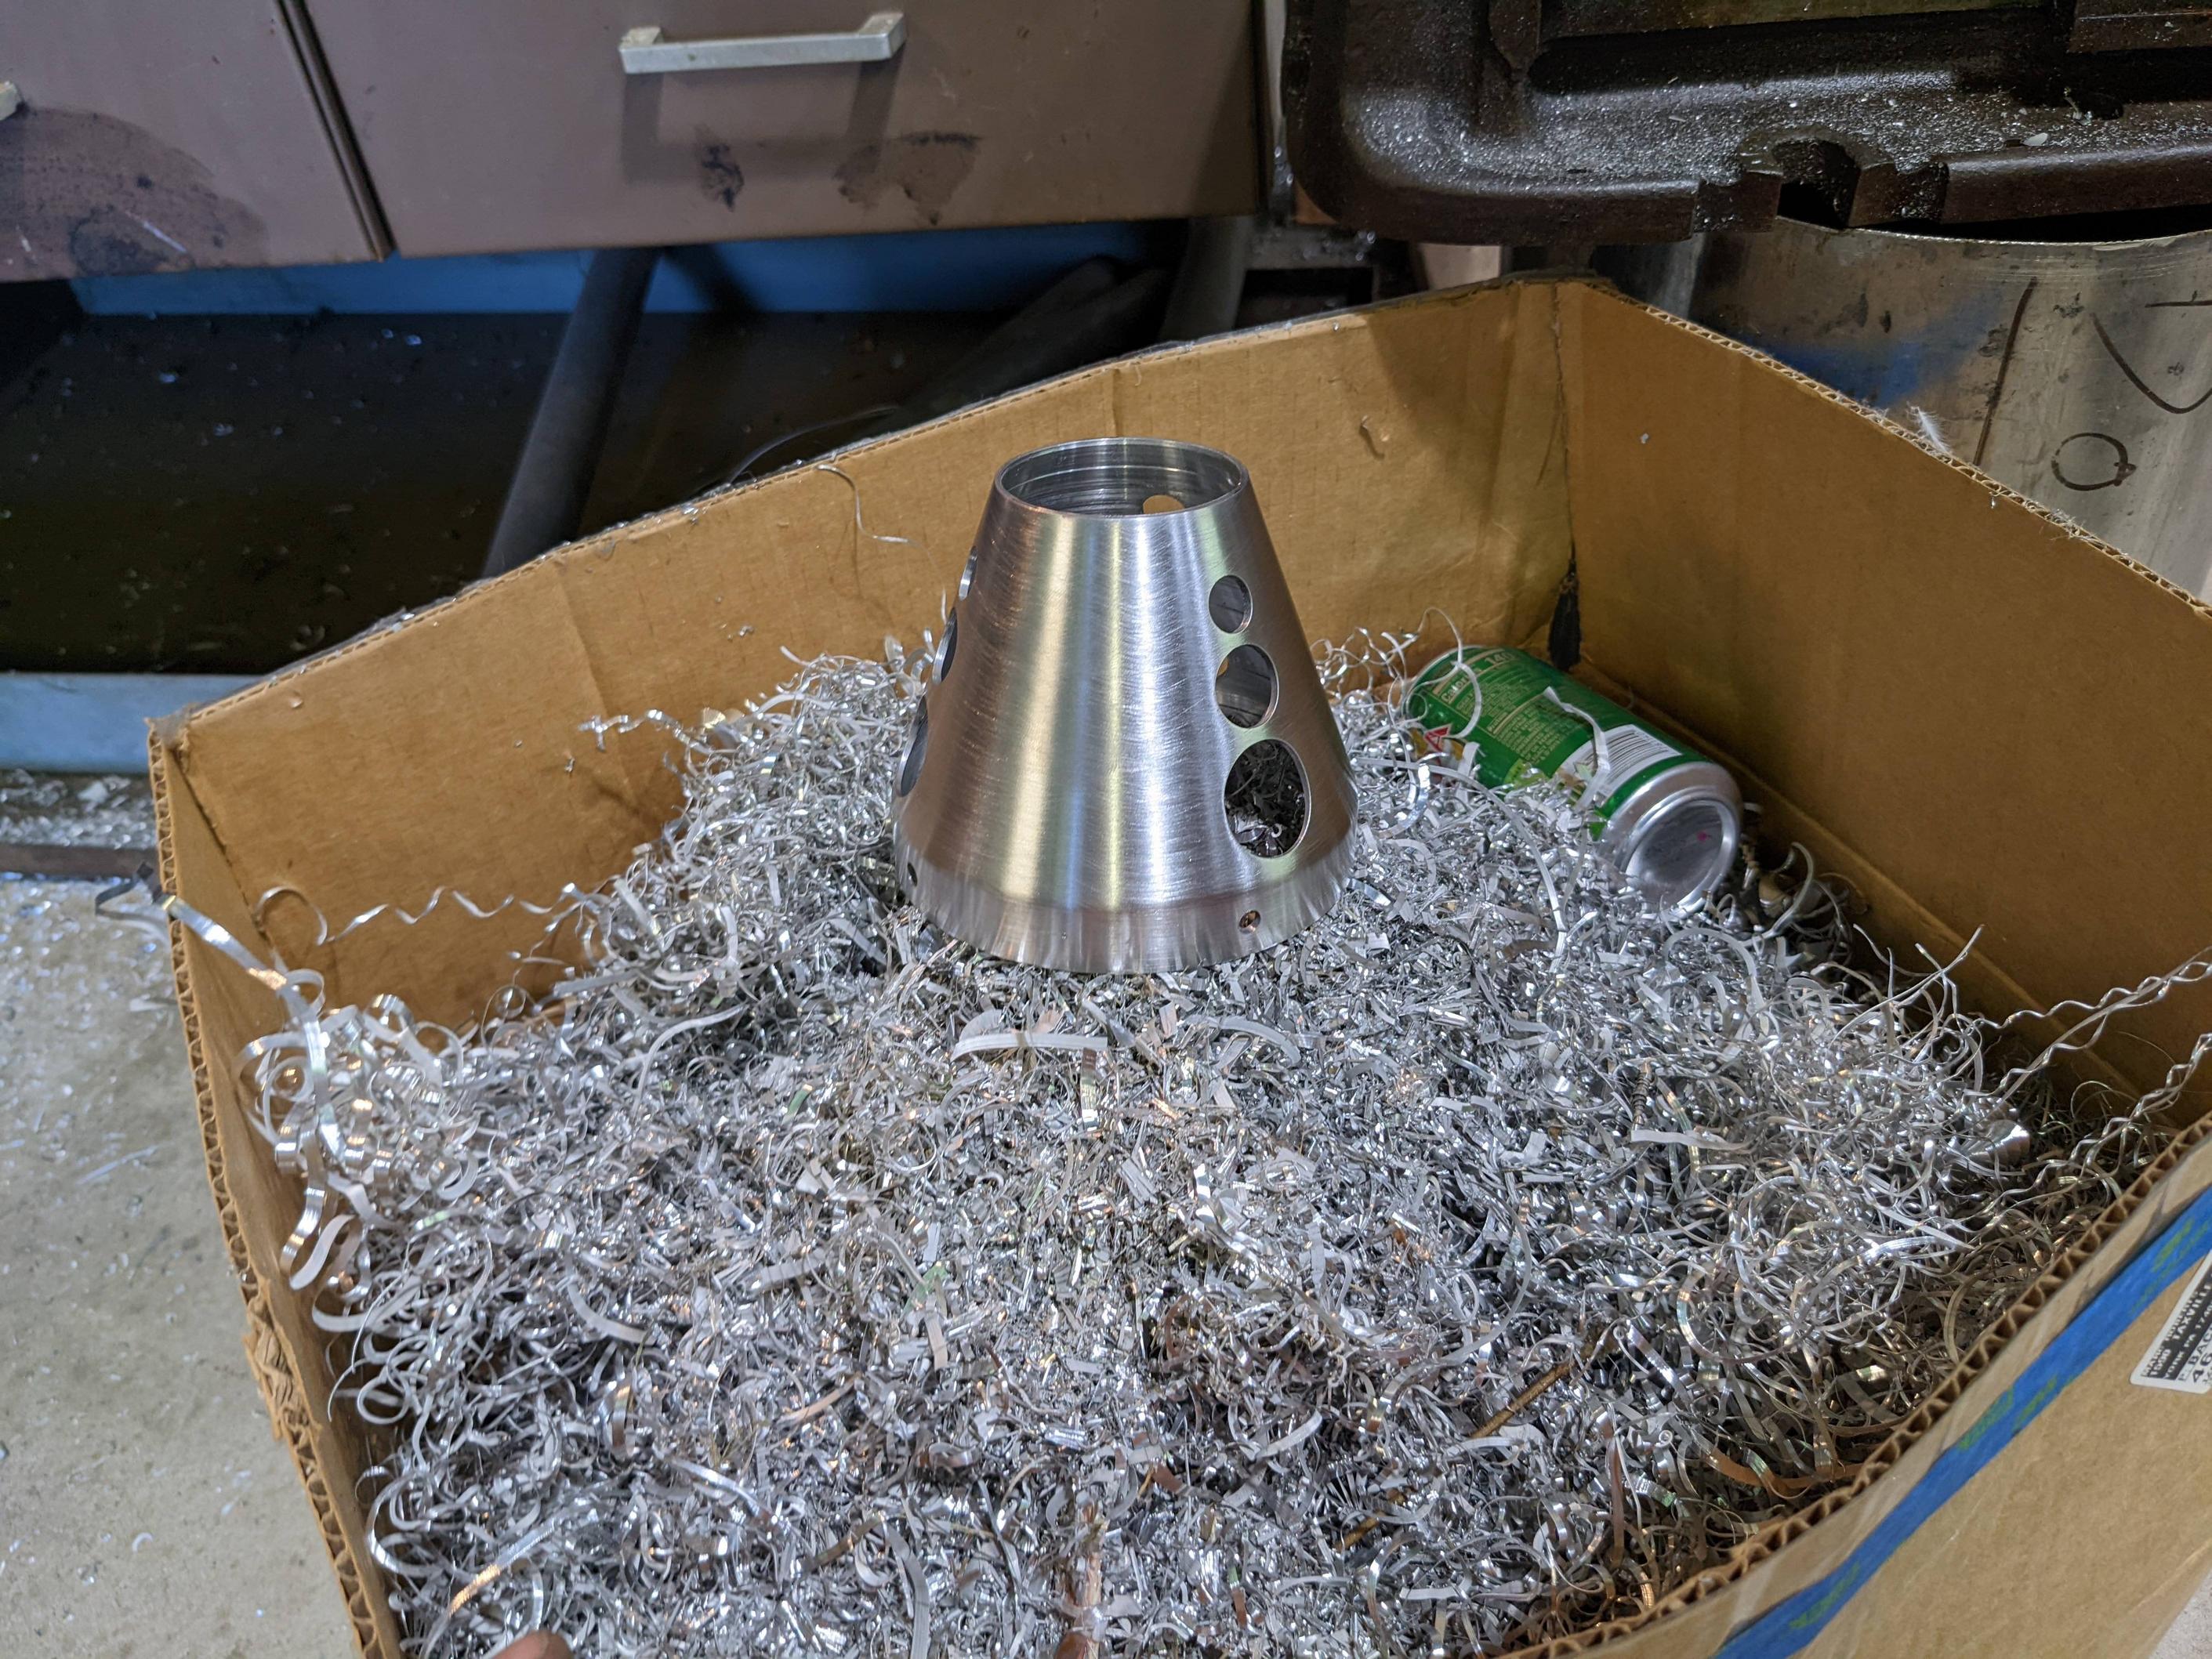
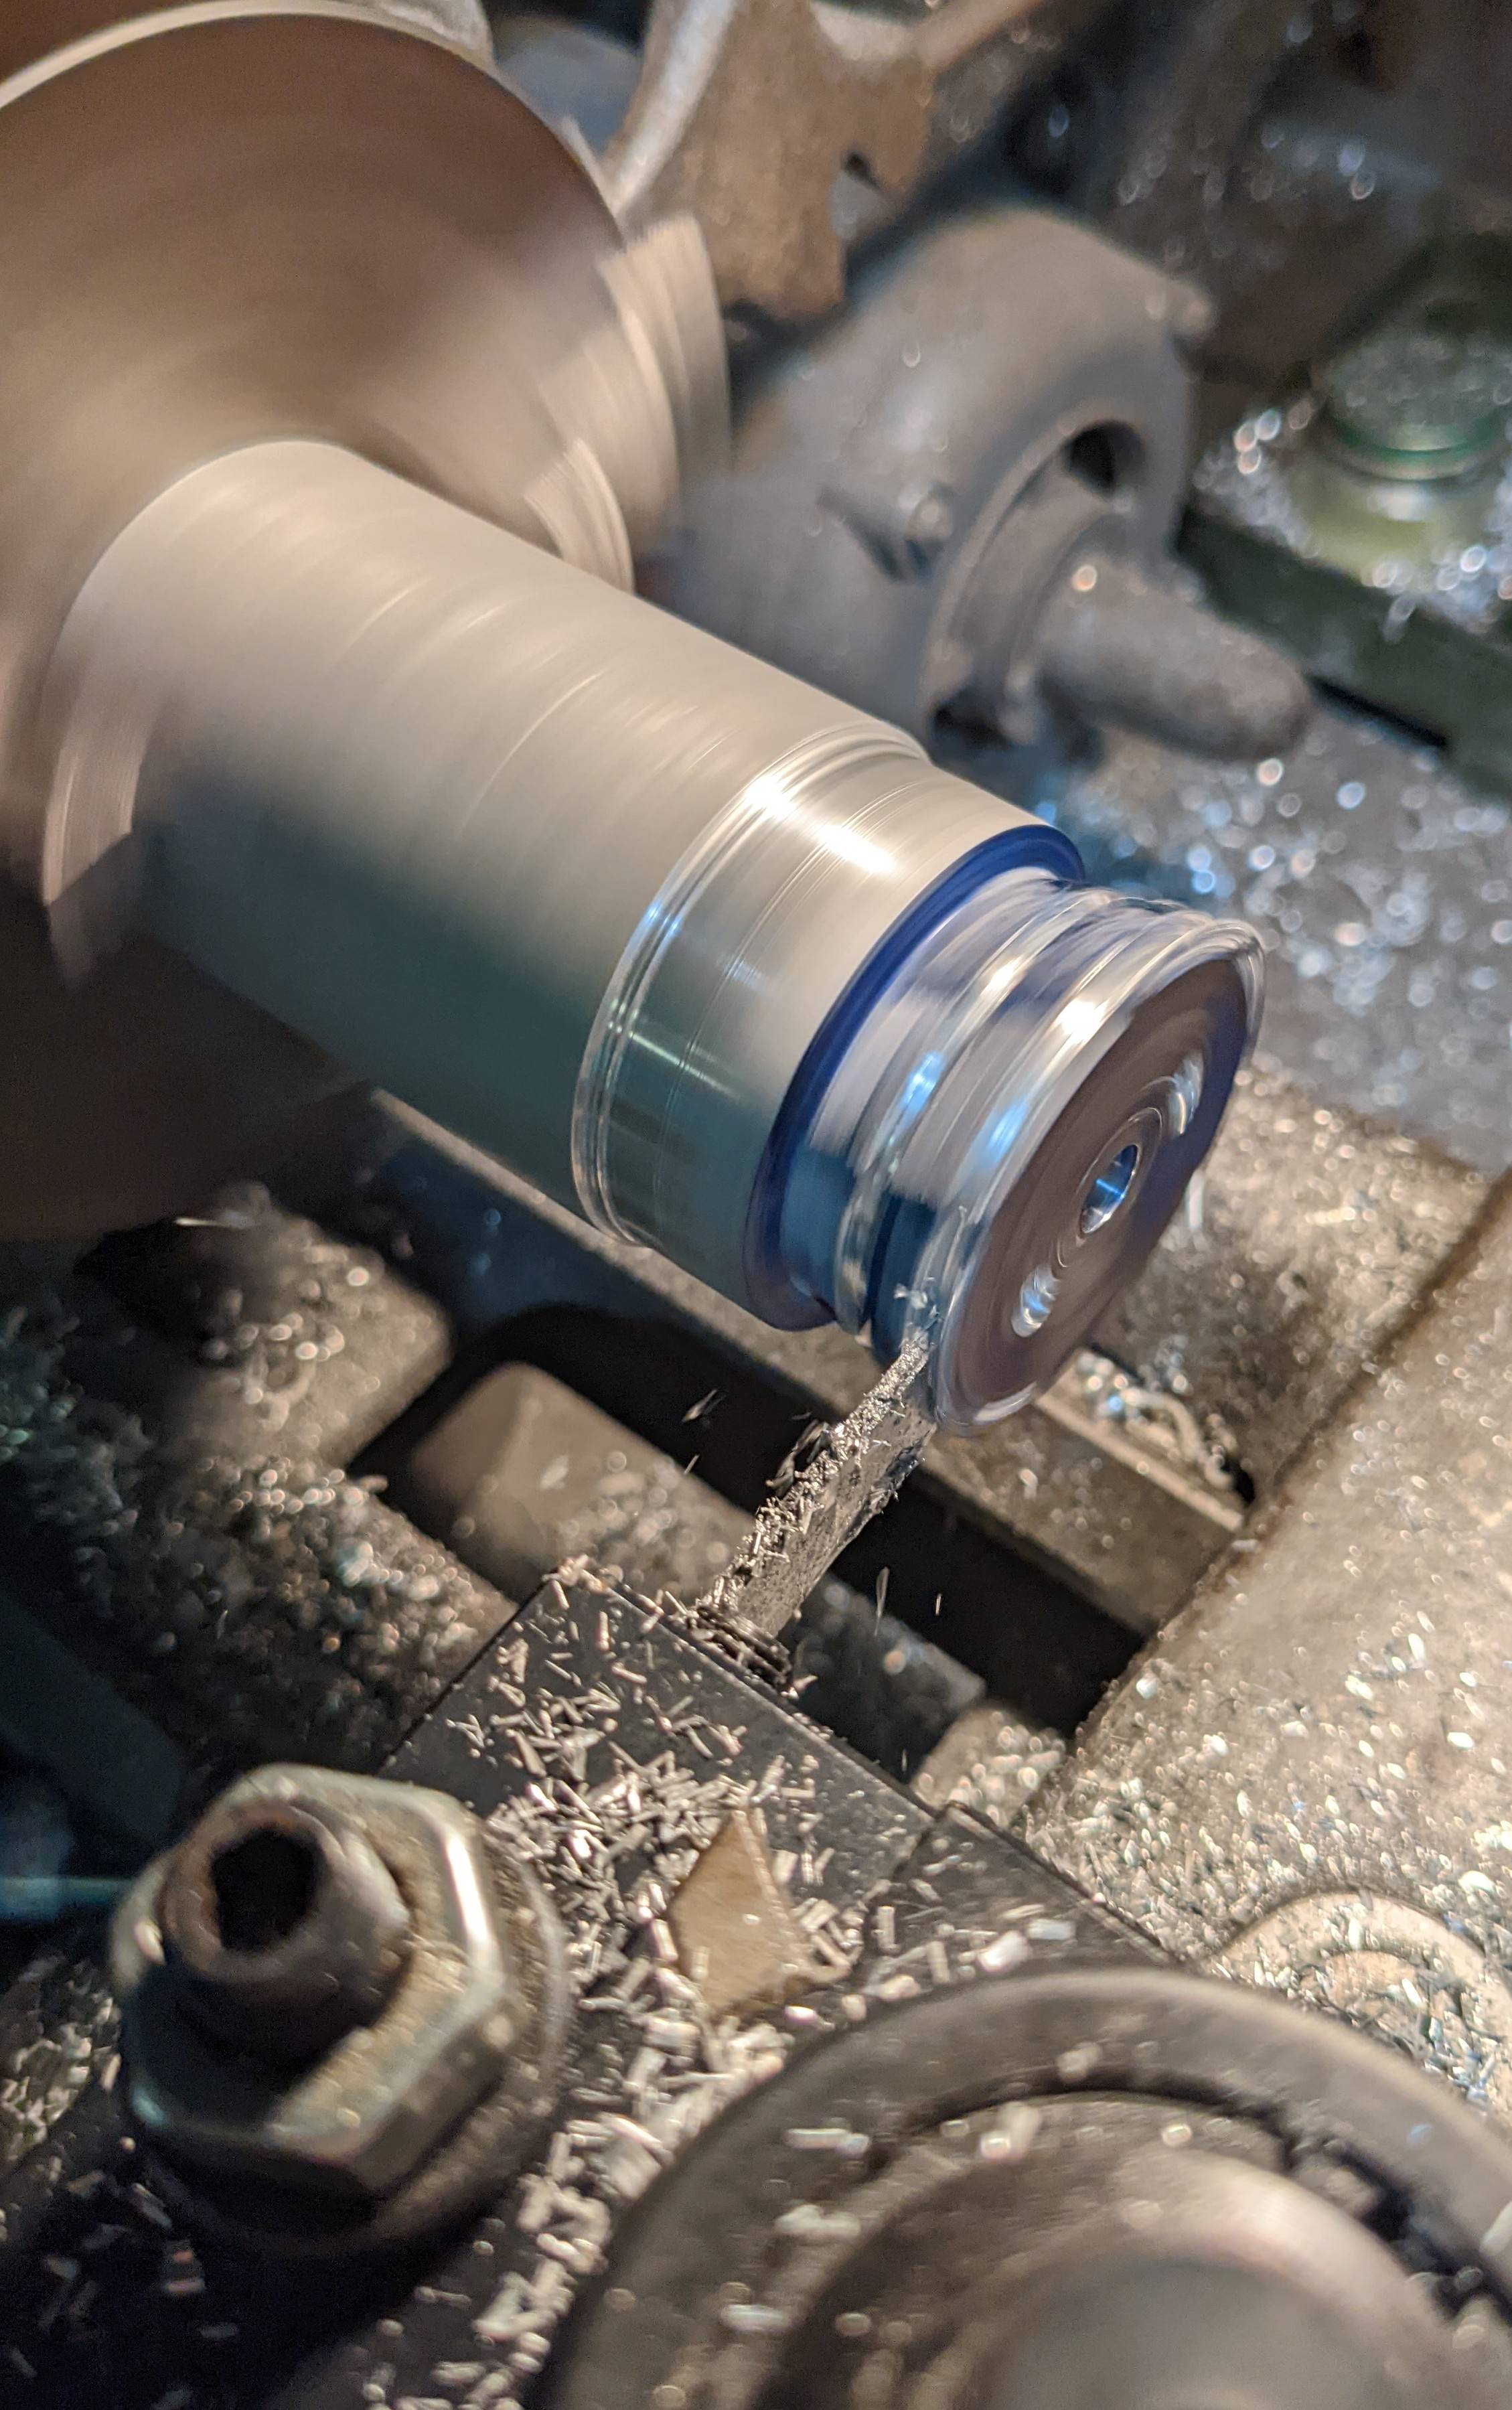
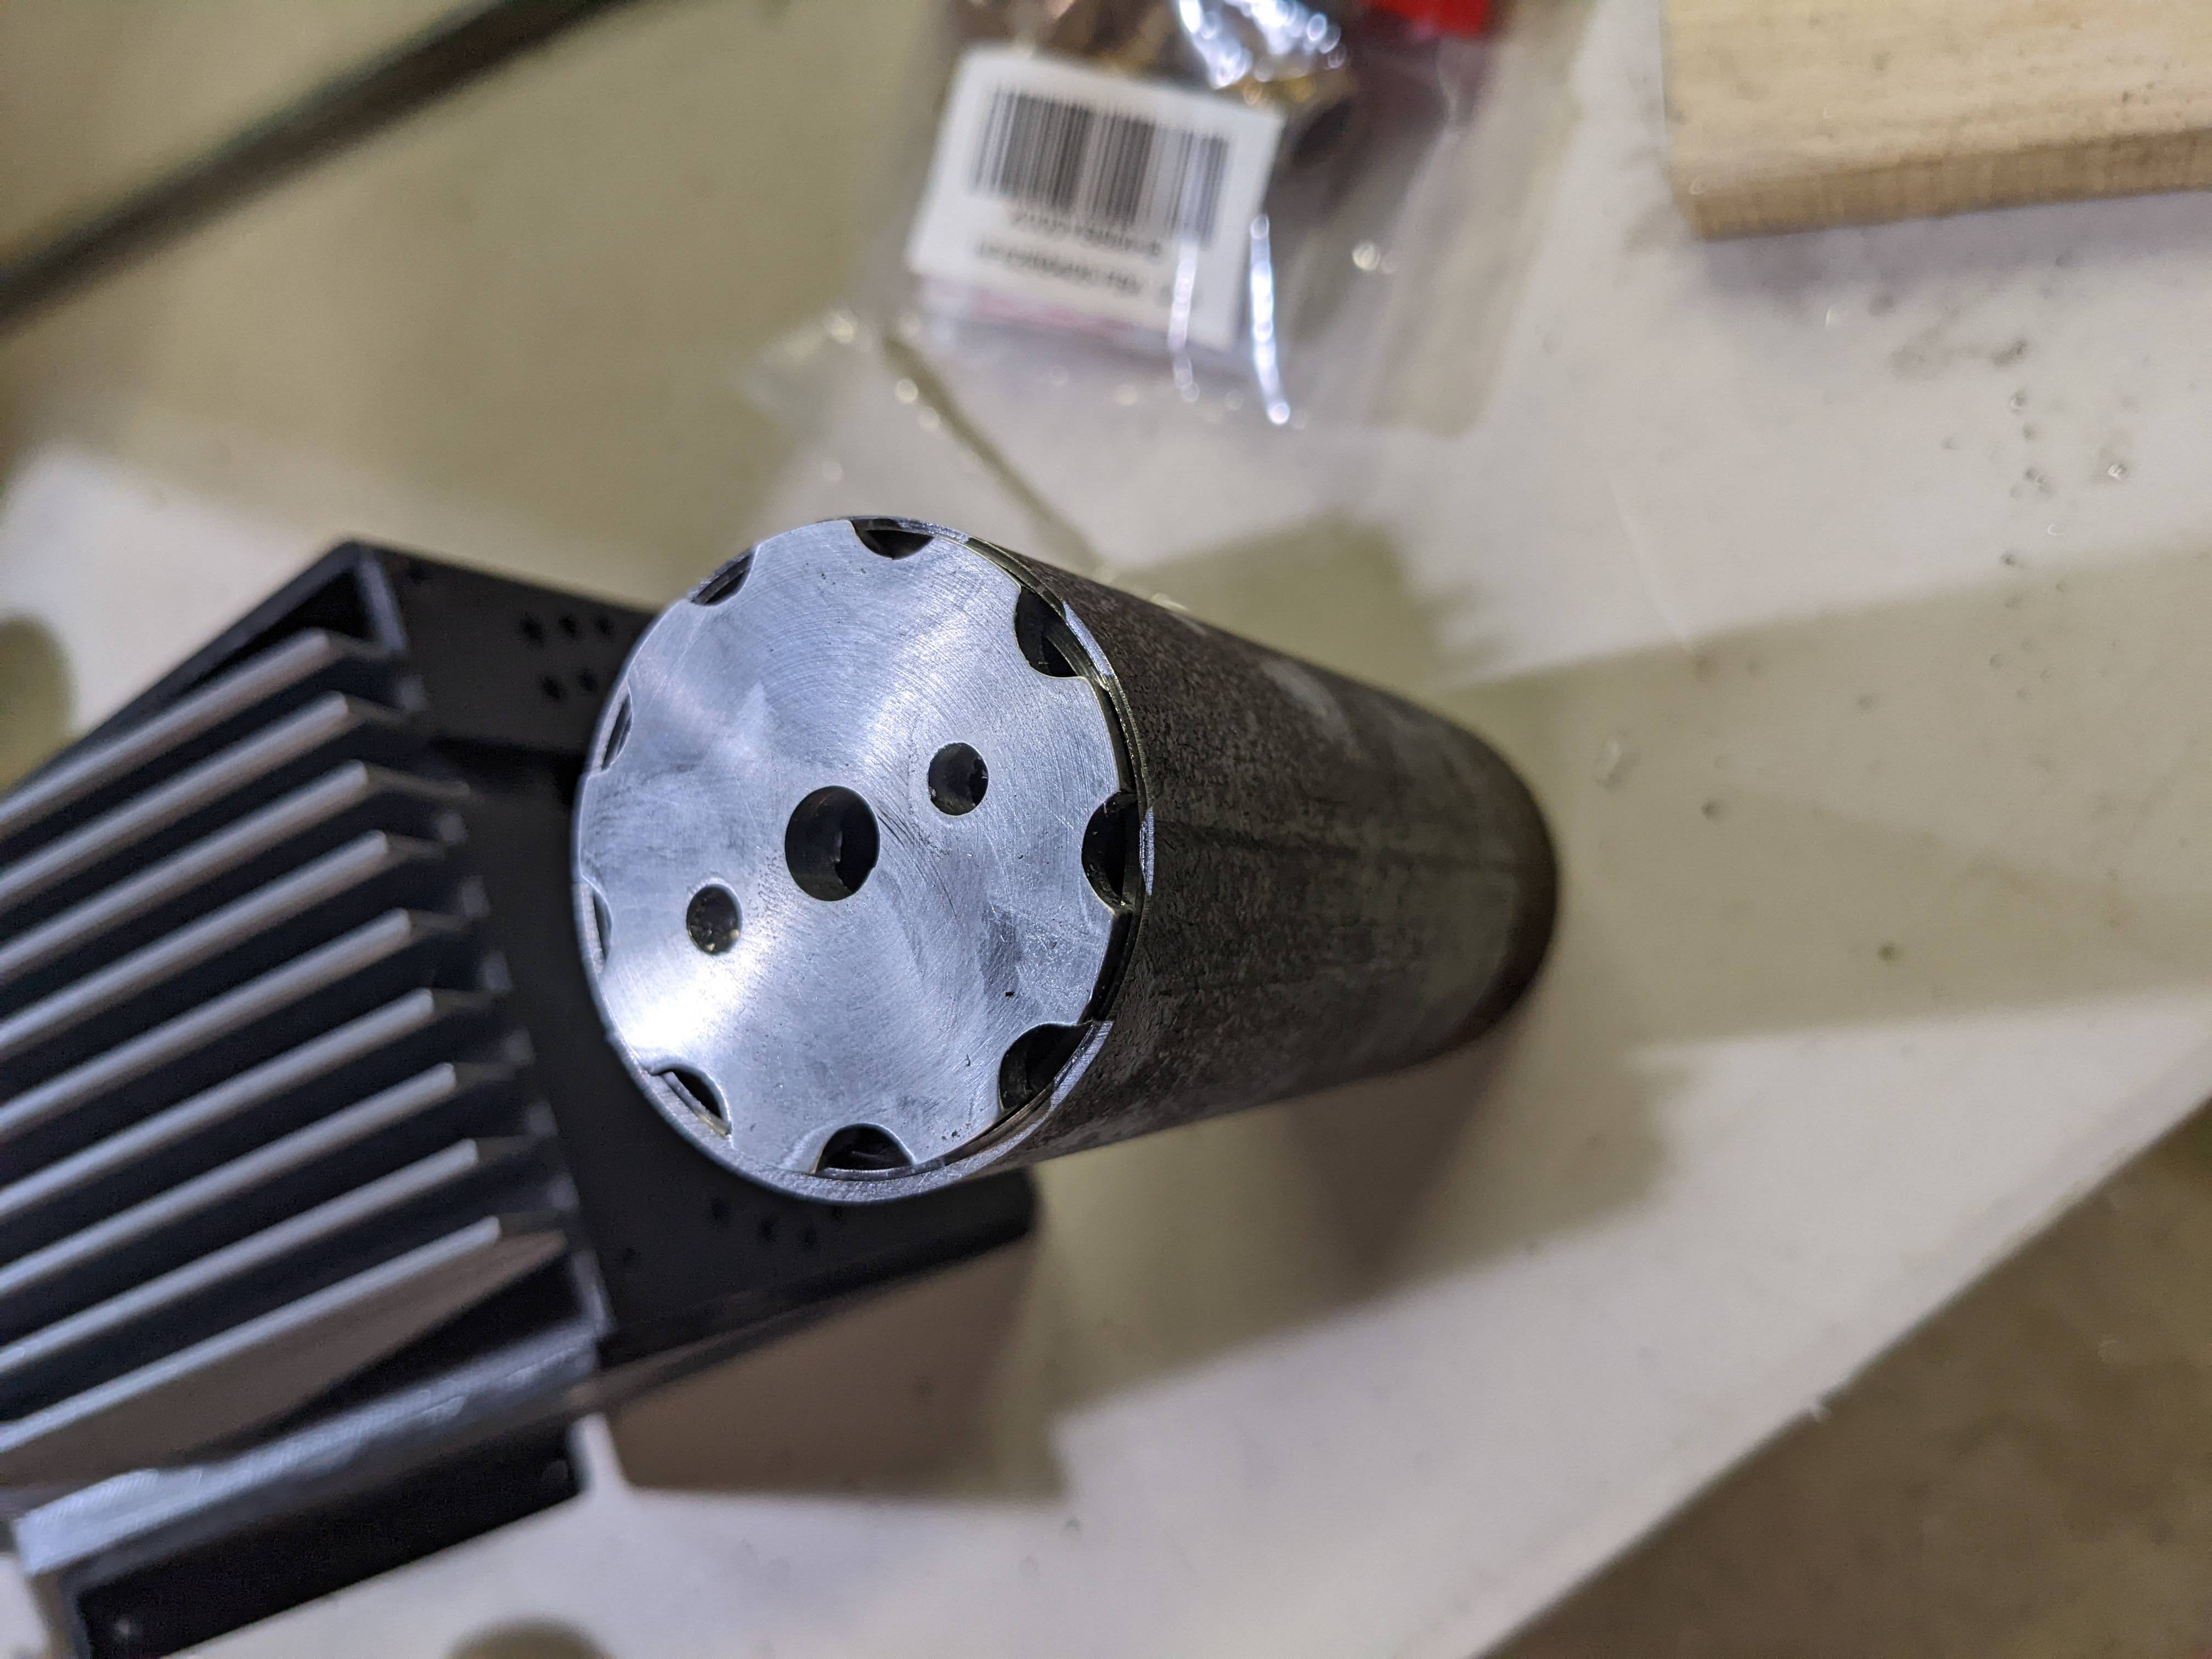
And that brings us to the nozzle… I wanted it to be metal just like the body of the zooka. My first though was to roll a cone, hire a friend who does aviation welding do the seams for me, and then turn it, but I wasn’t happy with the results I was getting. The only roller I have access to is a hand crank unit, and it just wasn’t beefy enough.
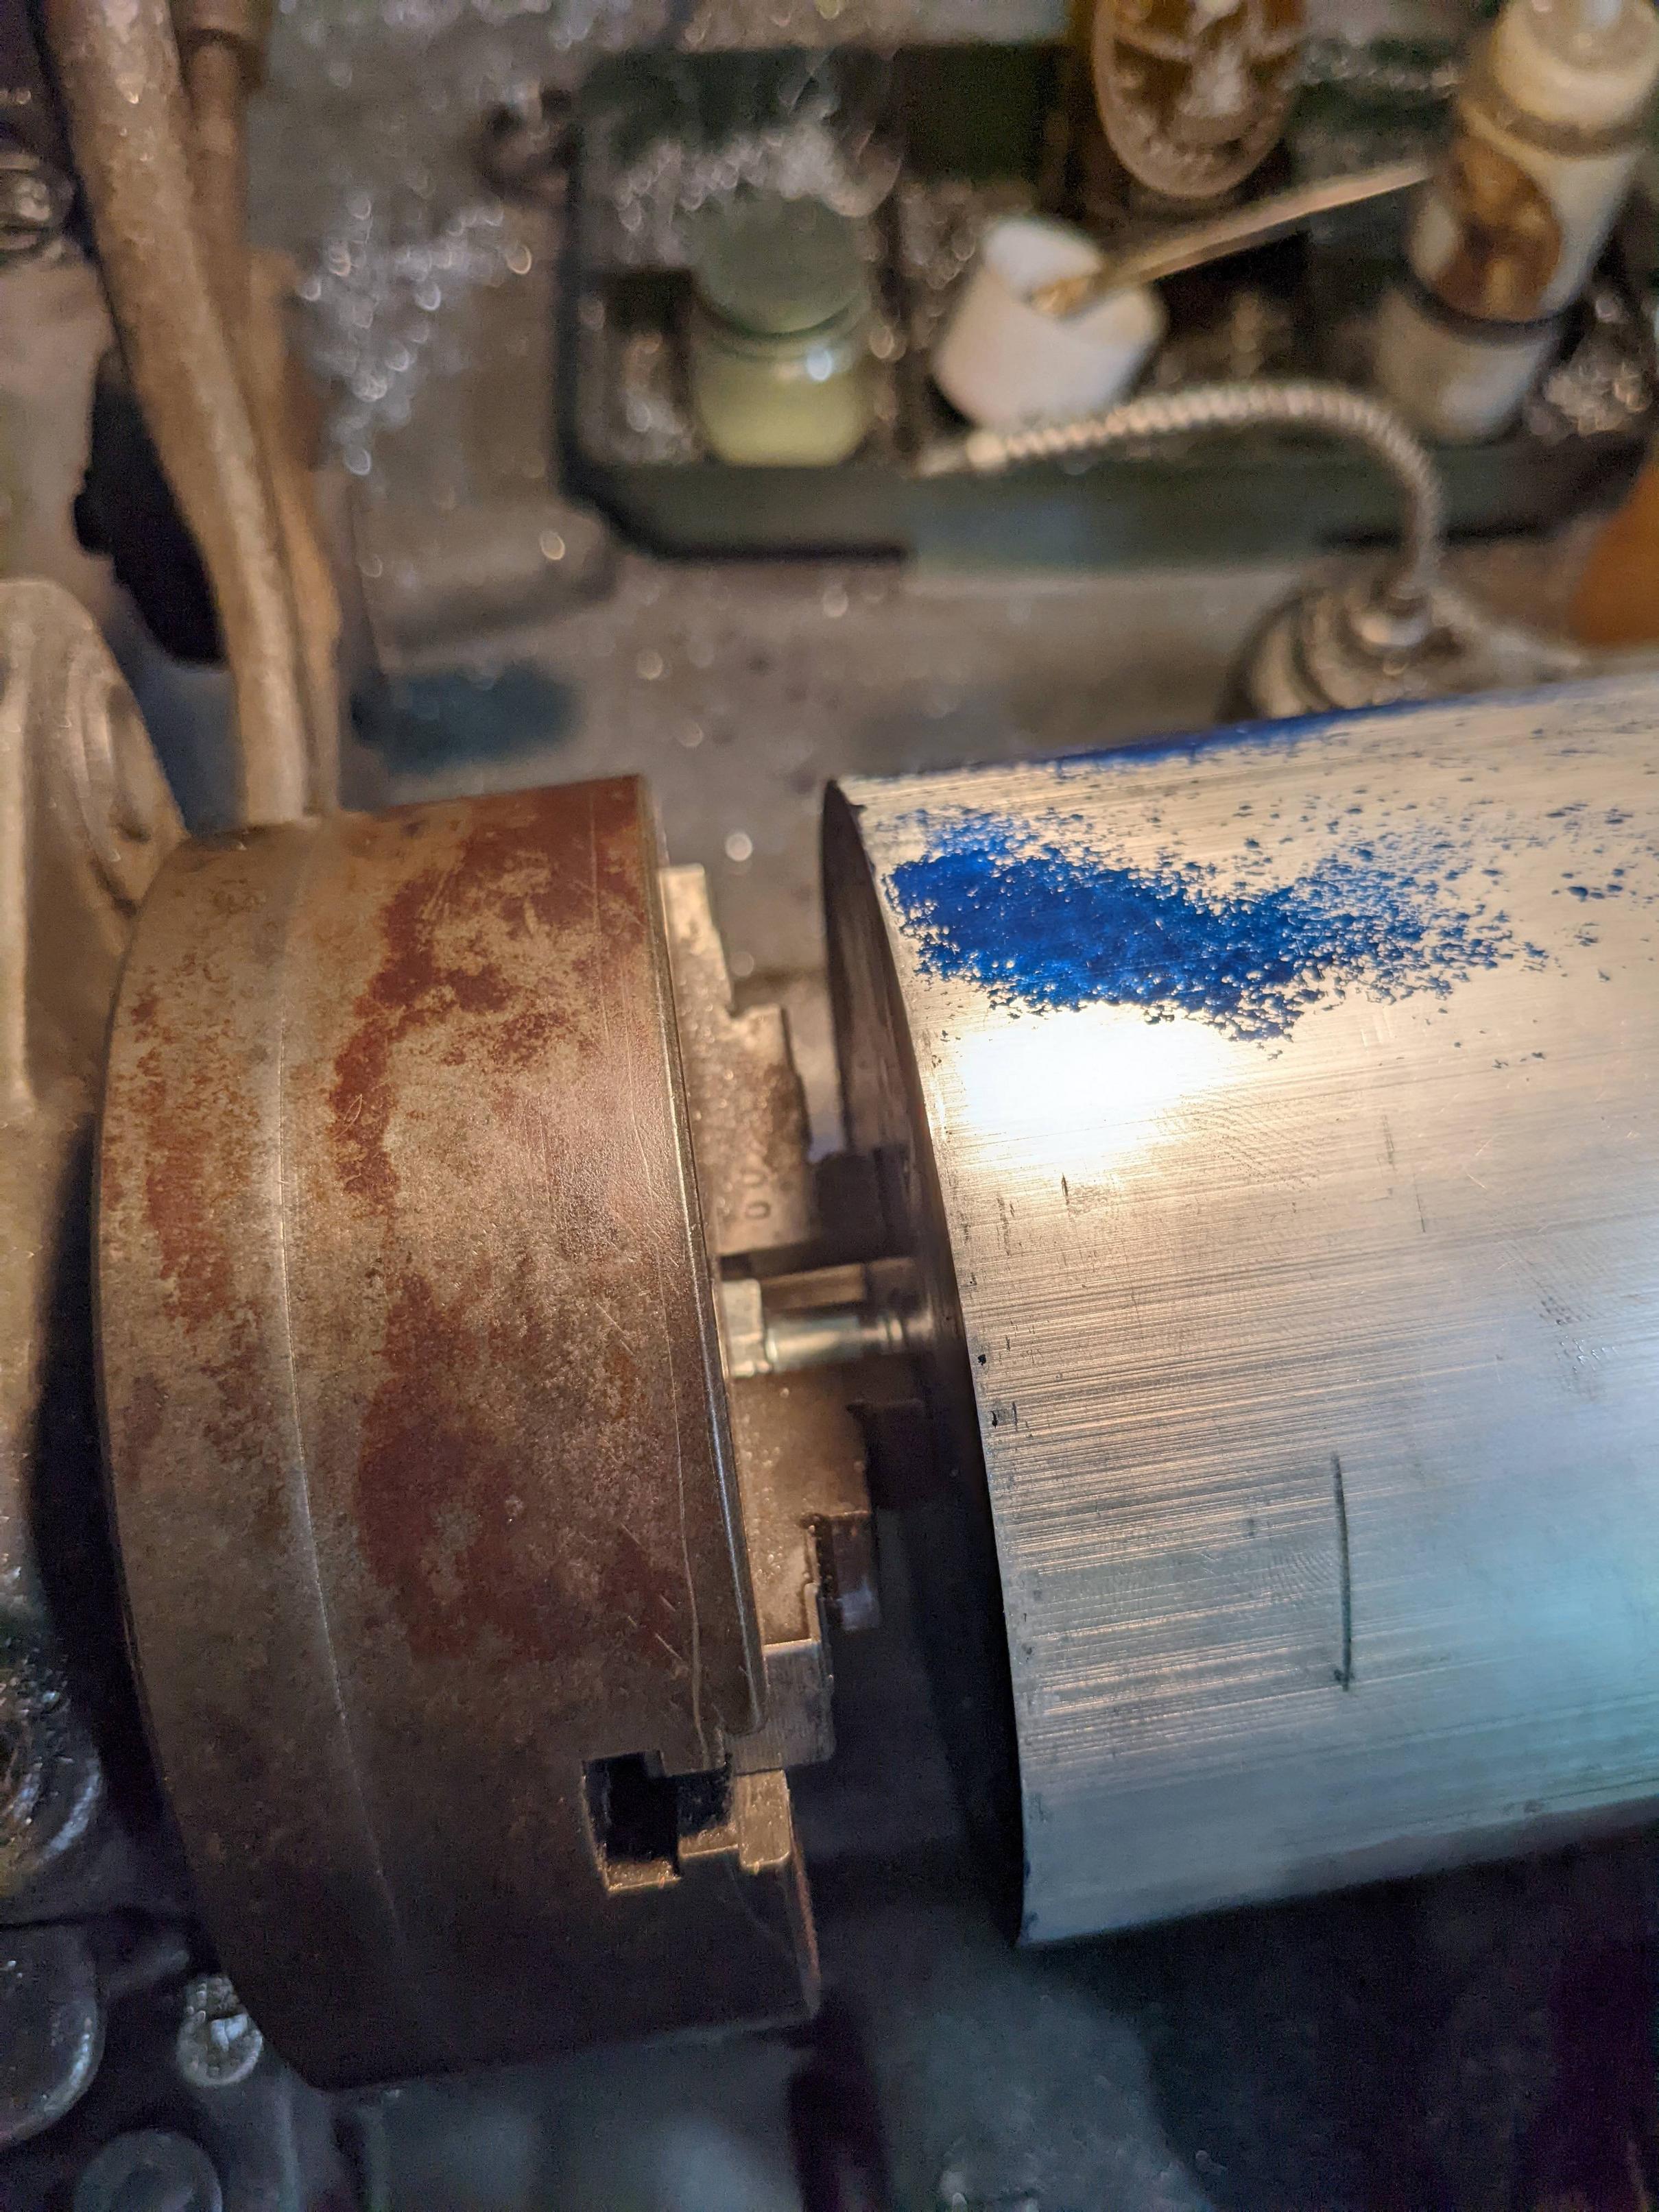
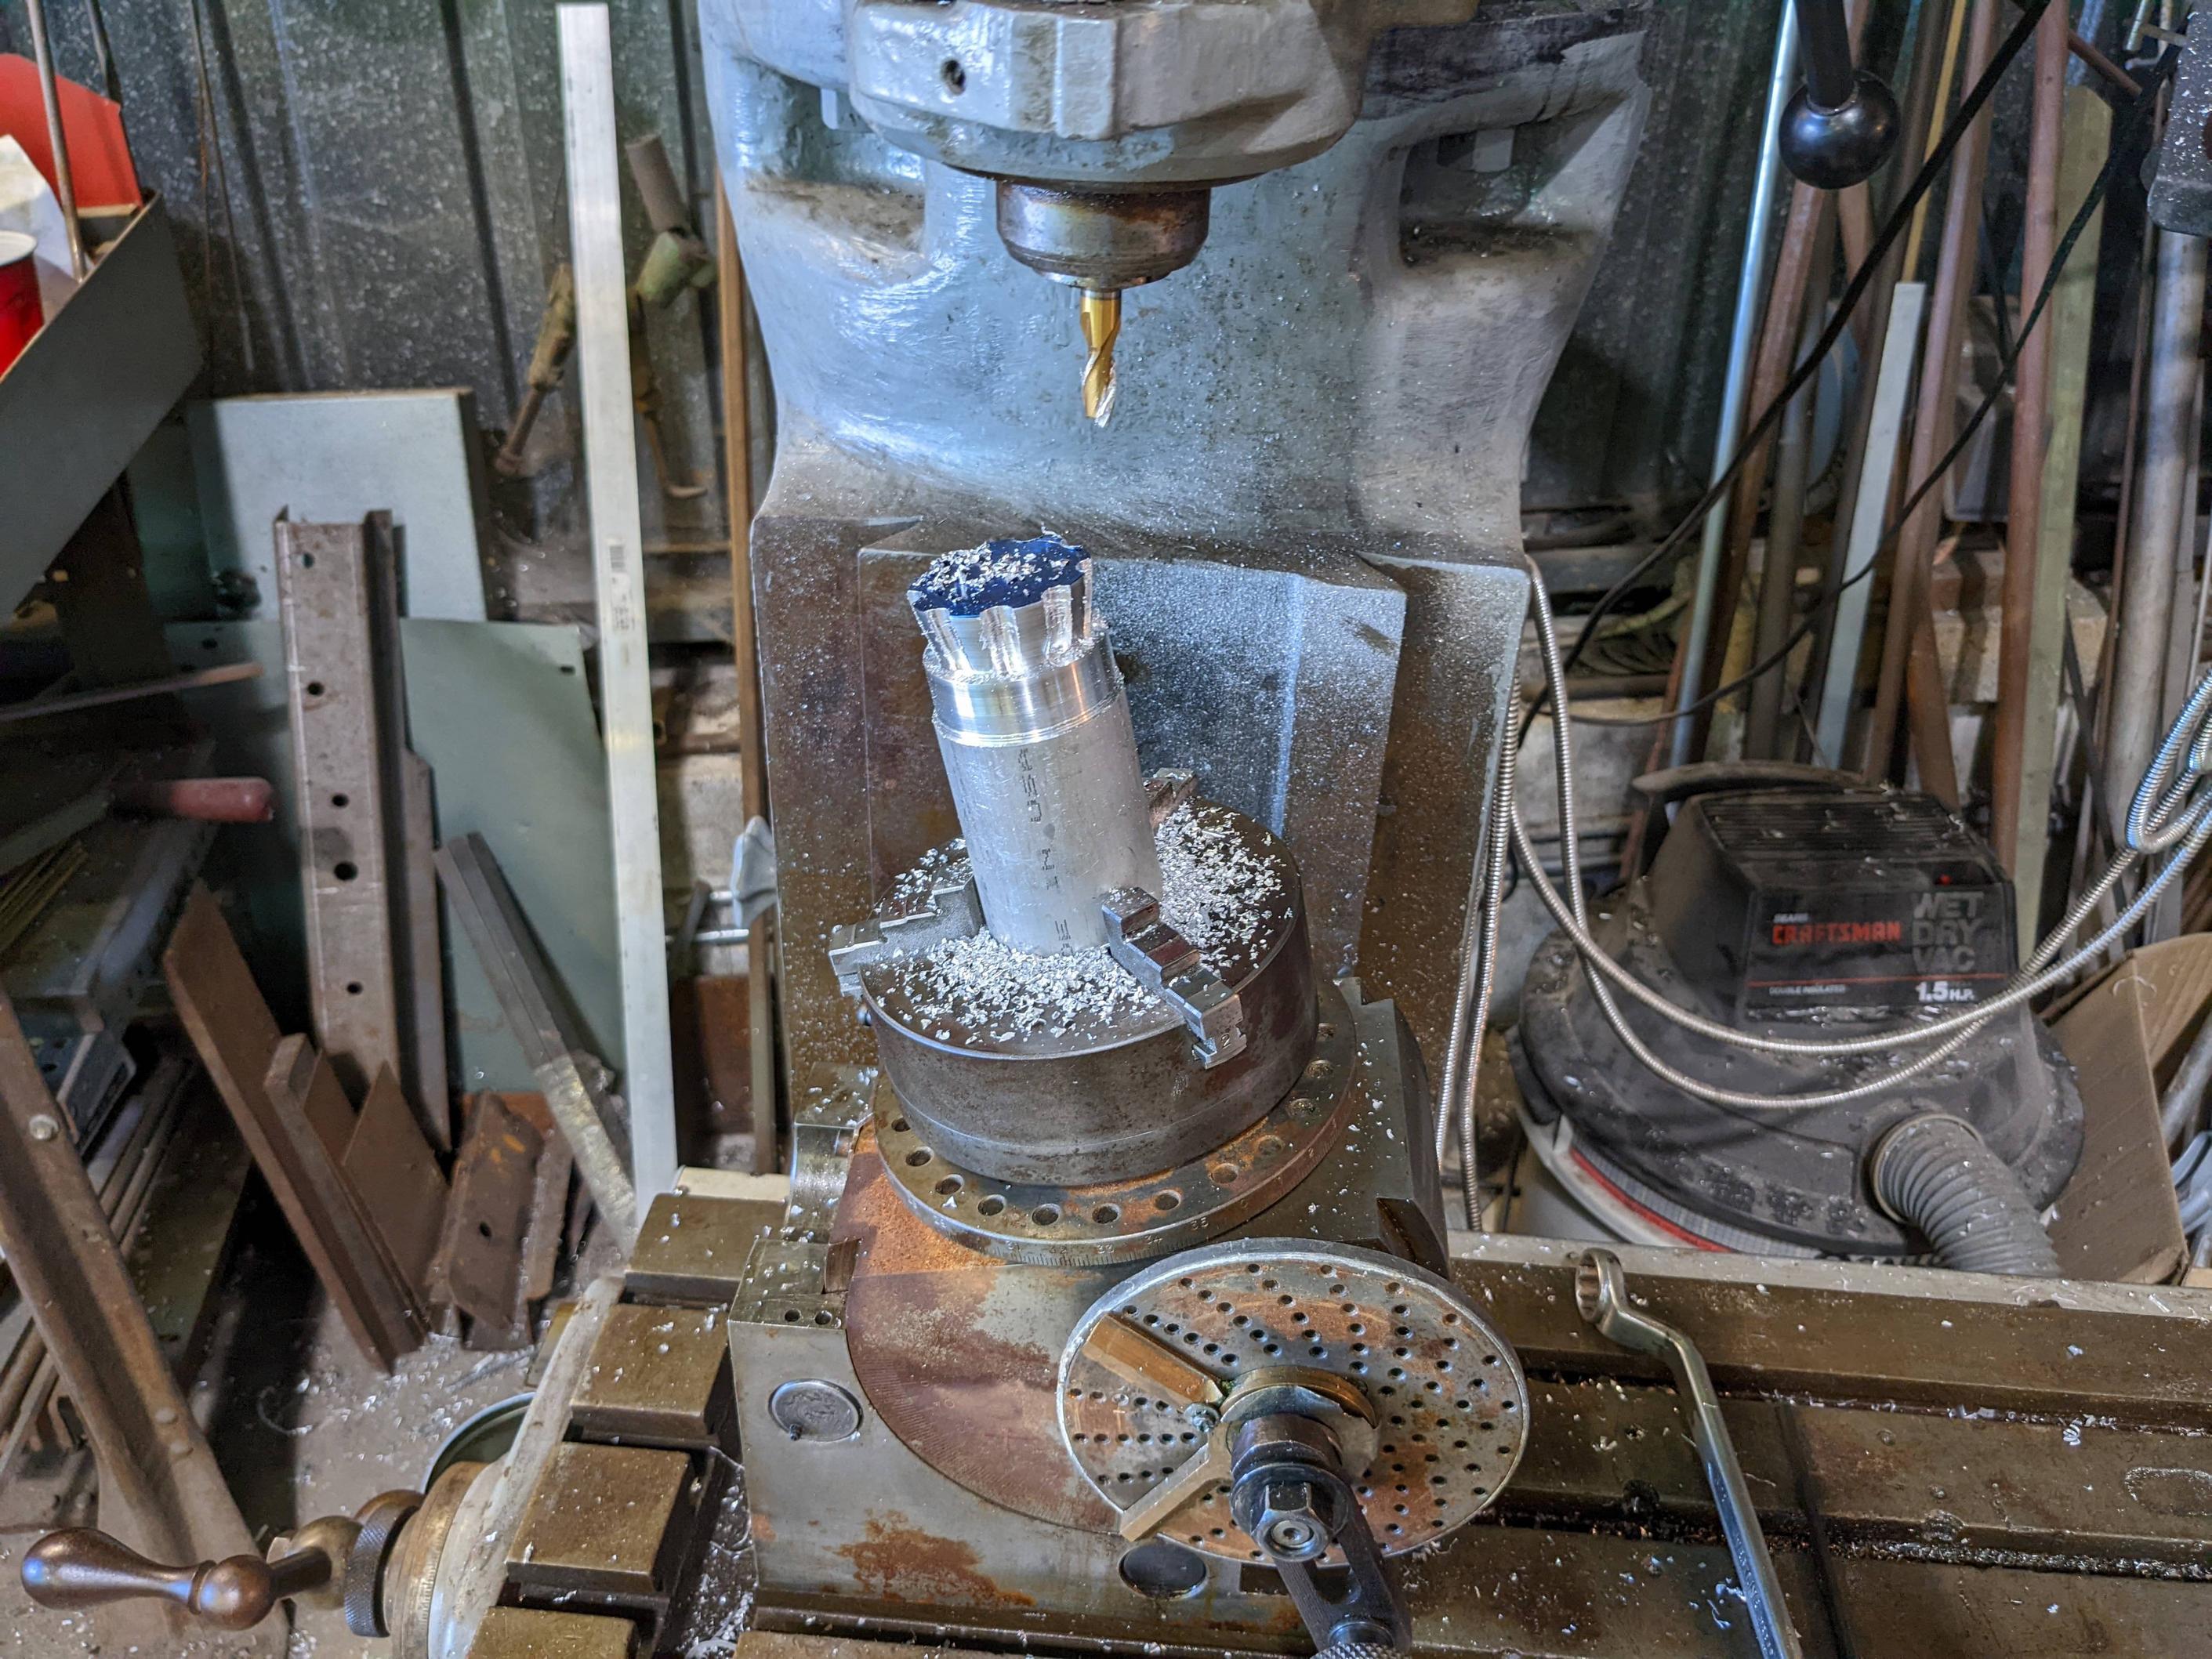
Makin progress. This rotary head was a gift from a friend that was moving hi shop. First time I got to break it out.
Also, I saw this morning that one of this original blowers was put on display at Sony for Ghostbusters day. reeeaalllly hoping a shutter bug posts picks soon. I’ll be your friend forever.
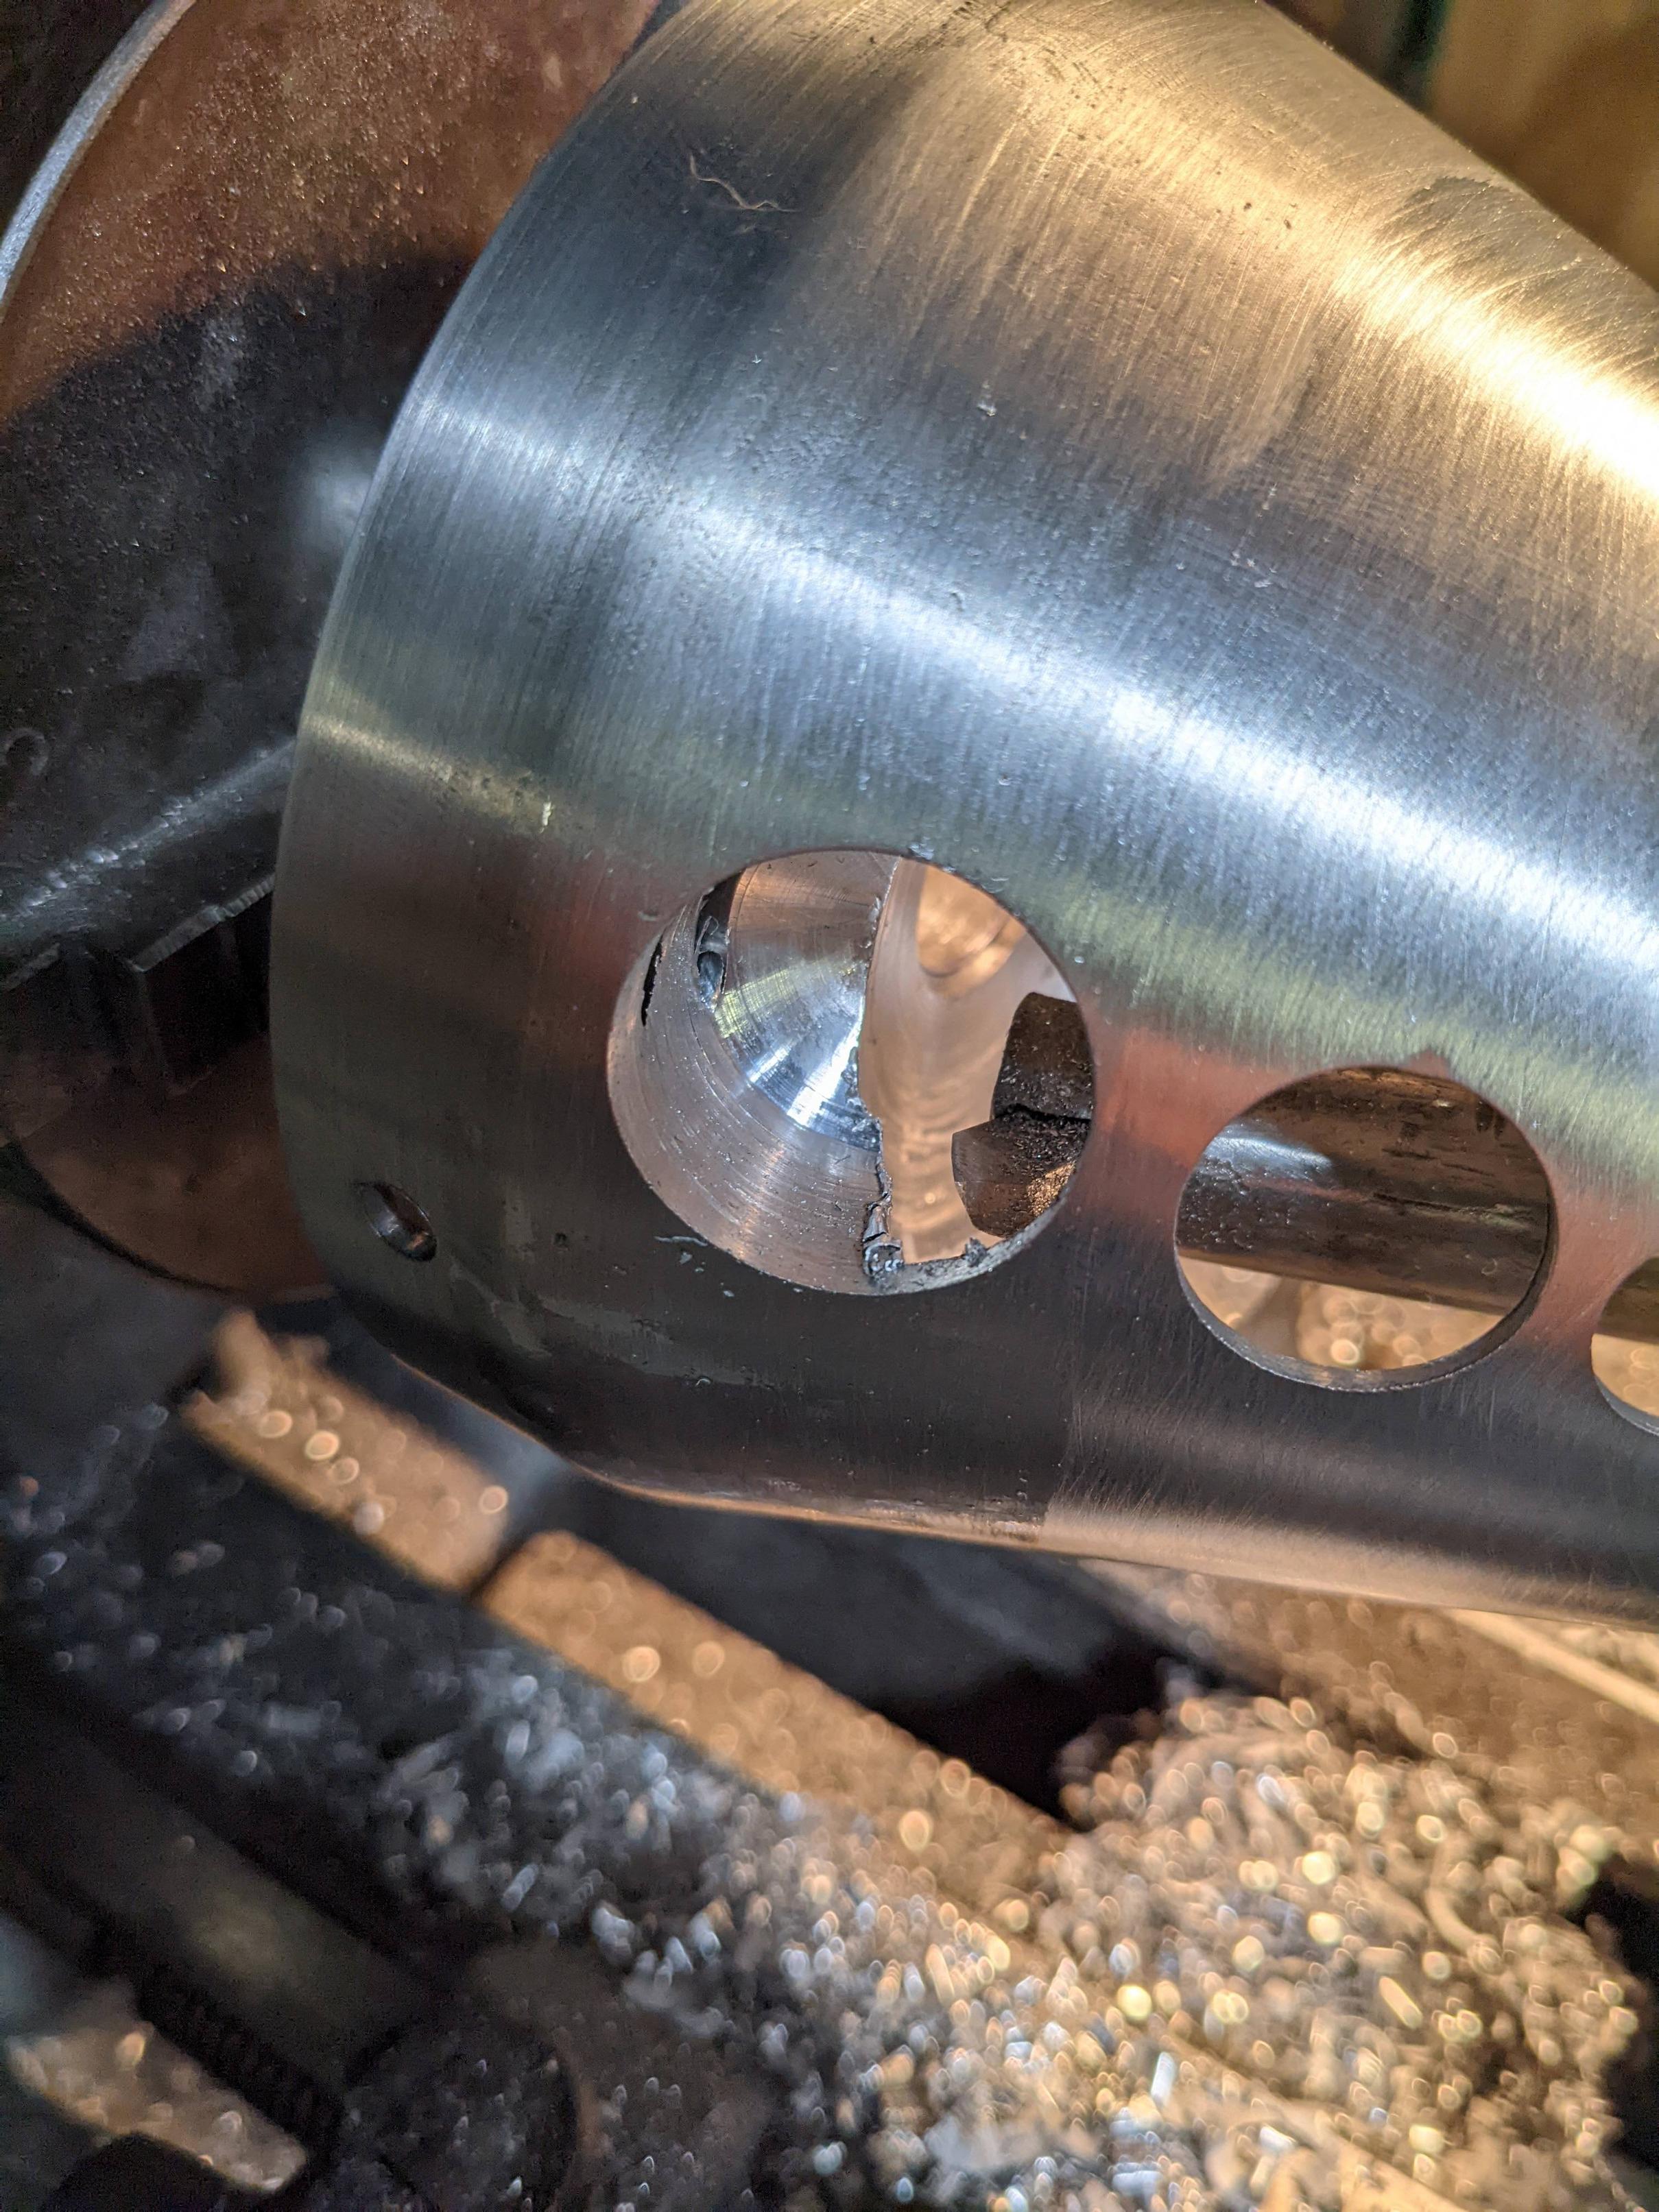
If anyone out there is looking at this and thinking about copying my techniques, be forewarned, that last little bit at the base of the cone is a real b-
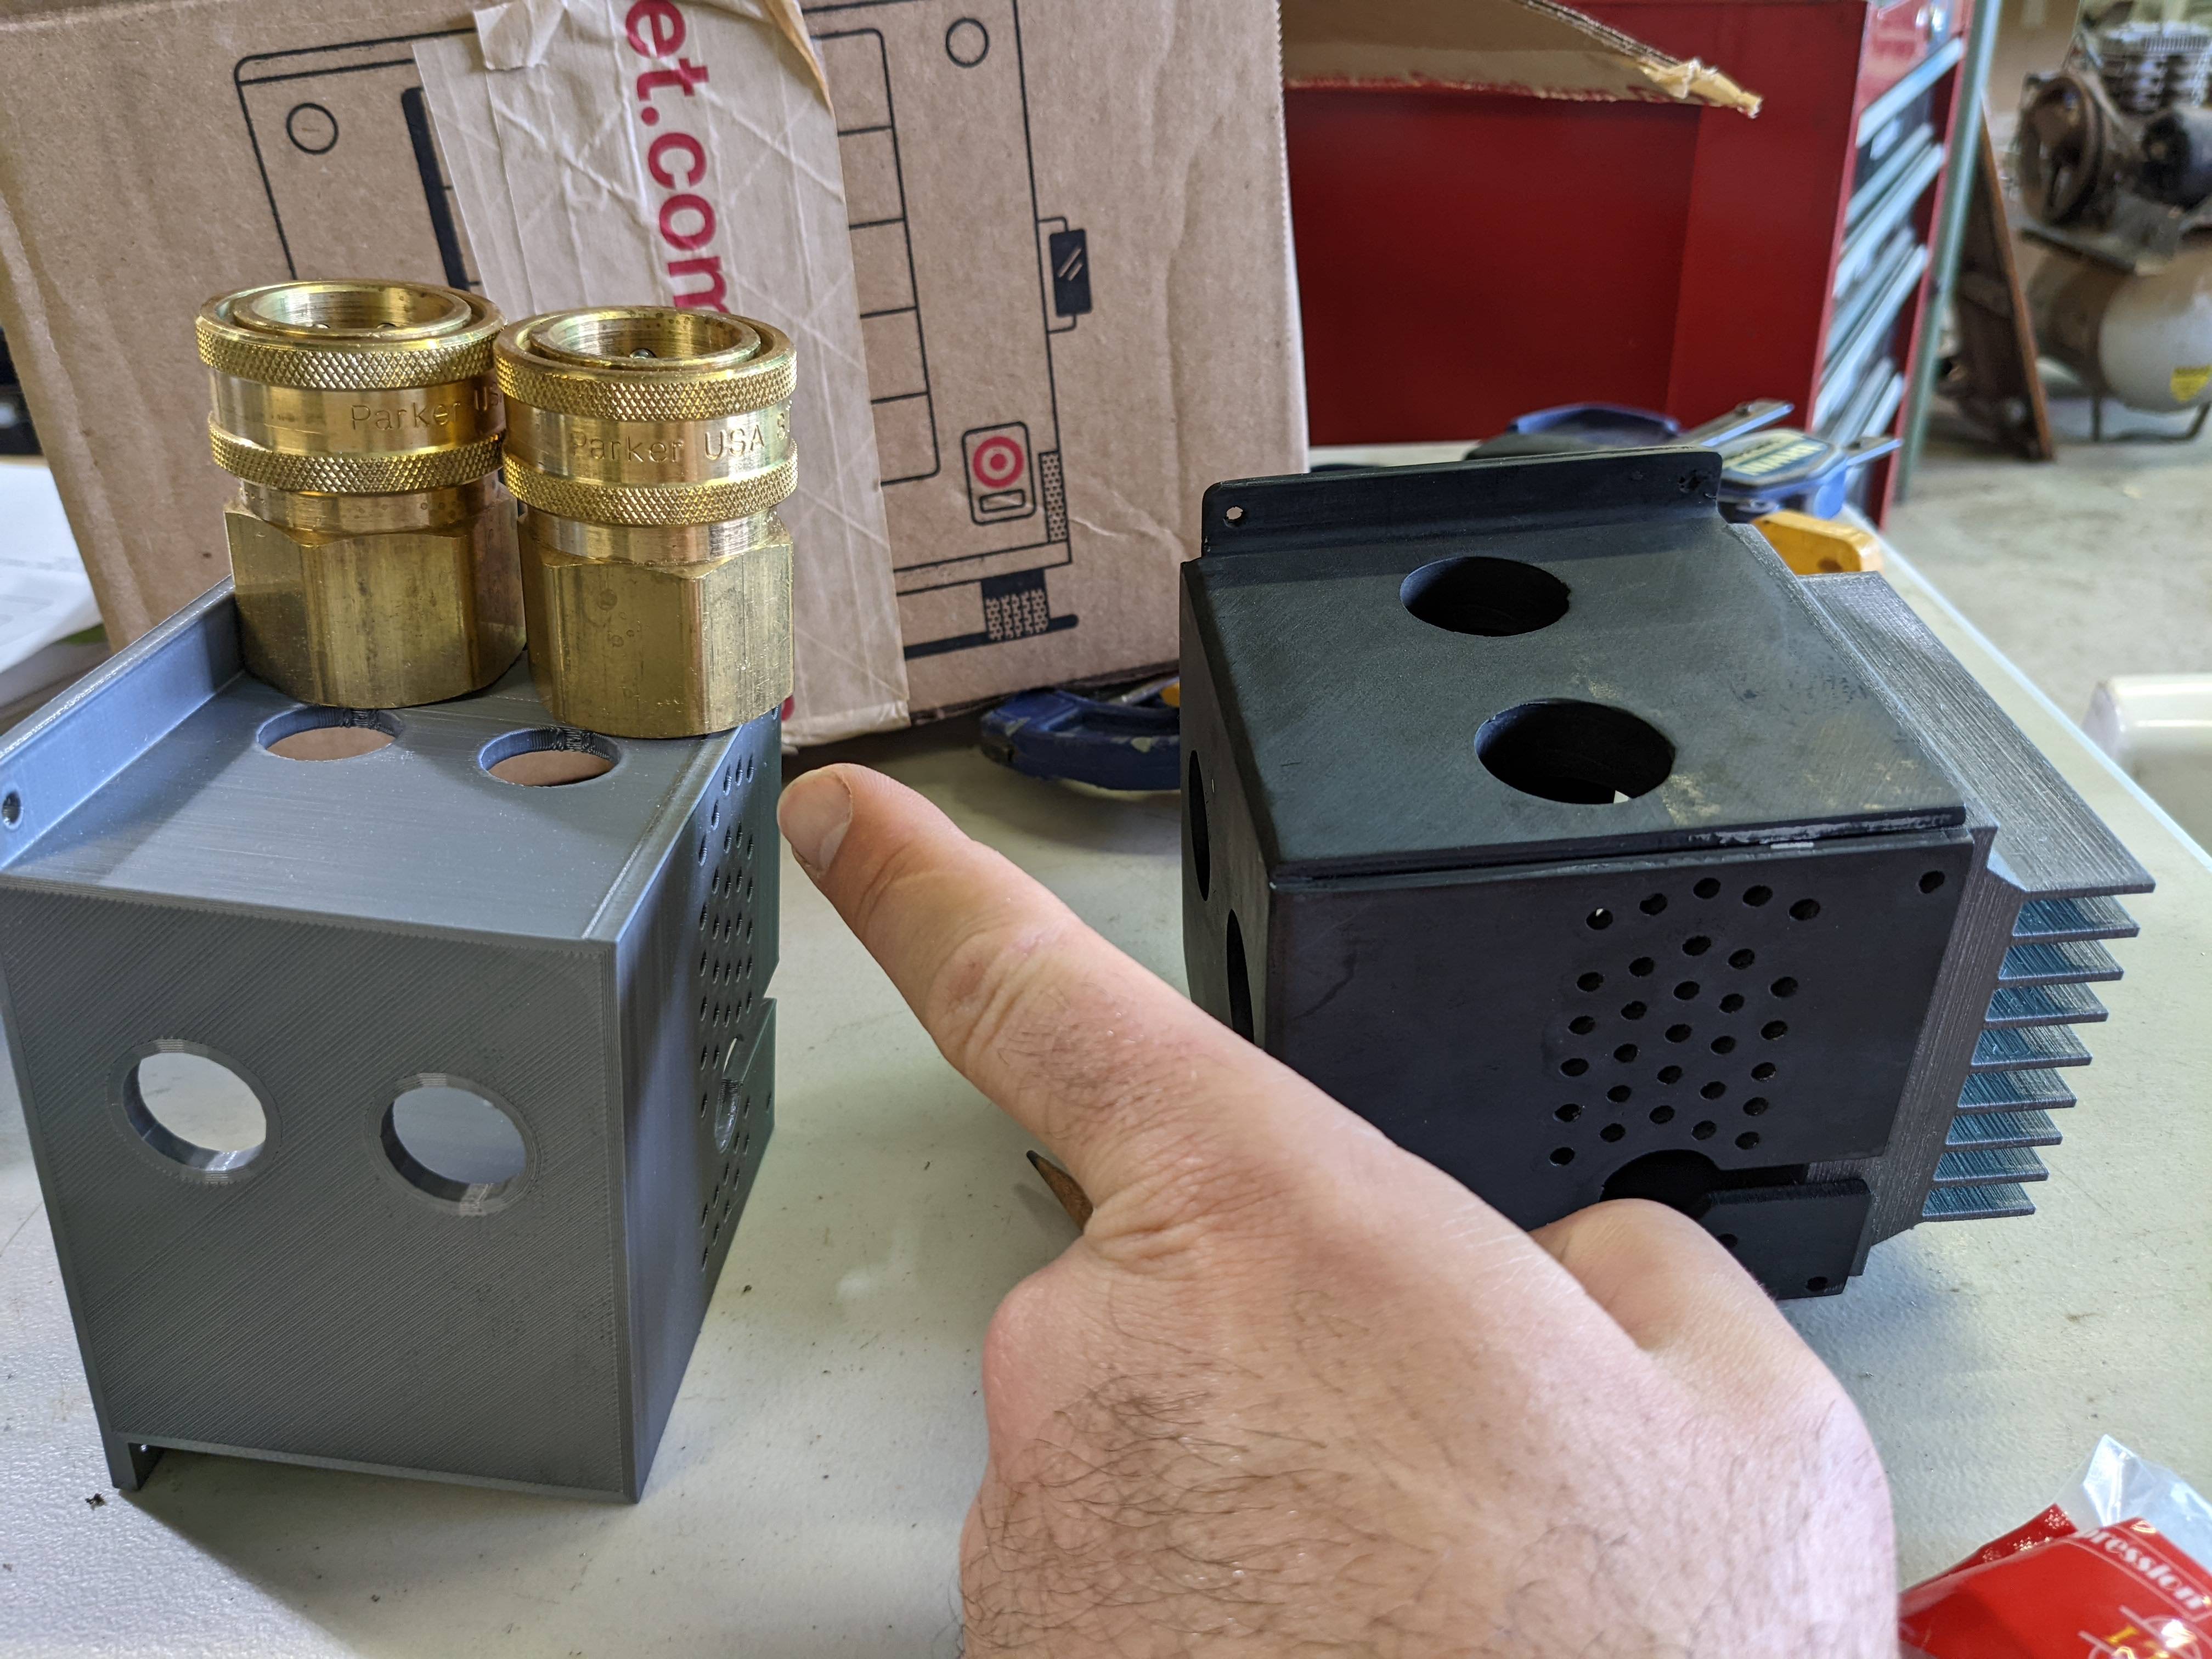
I modeled my boxes mainly looking at the boxes on gEkX’s Slime Time build thread; But the more screen used picks I look at the more I wonder if the real boxes were made out of something thinner.
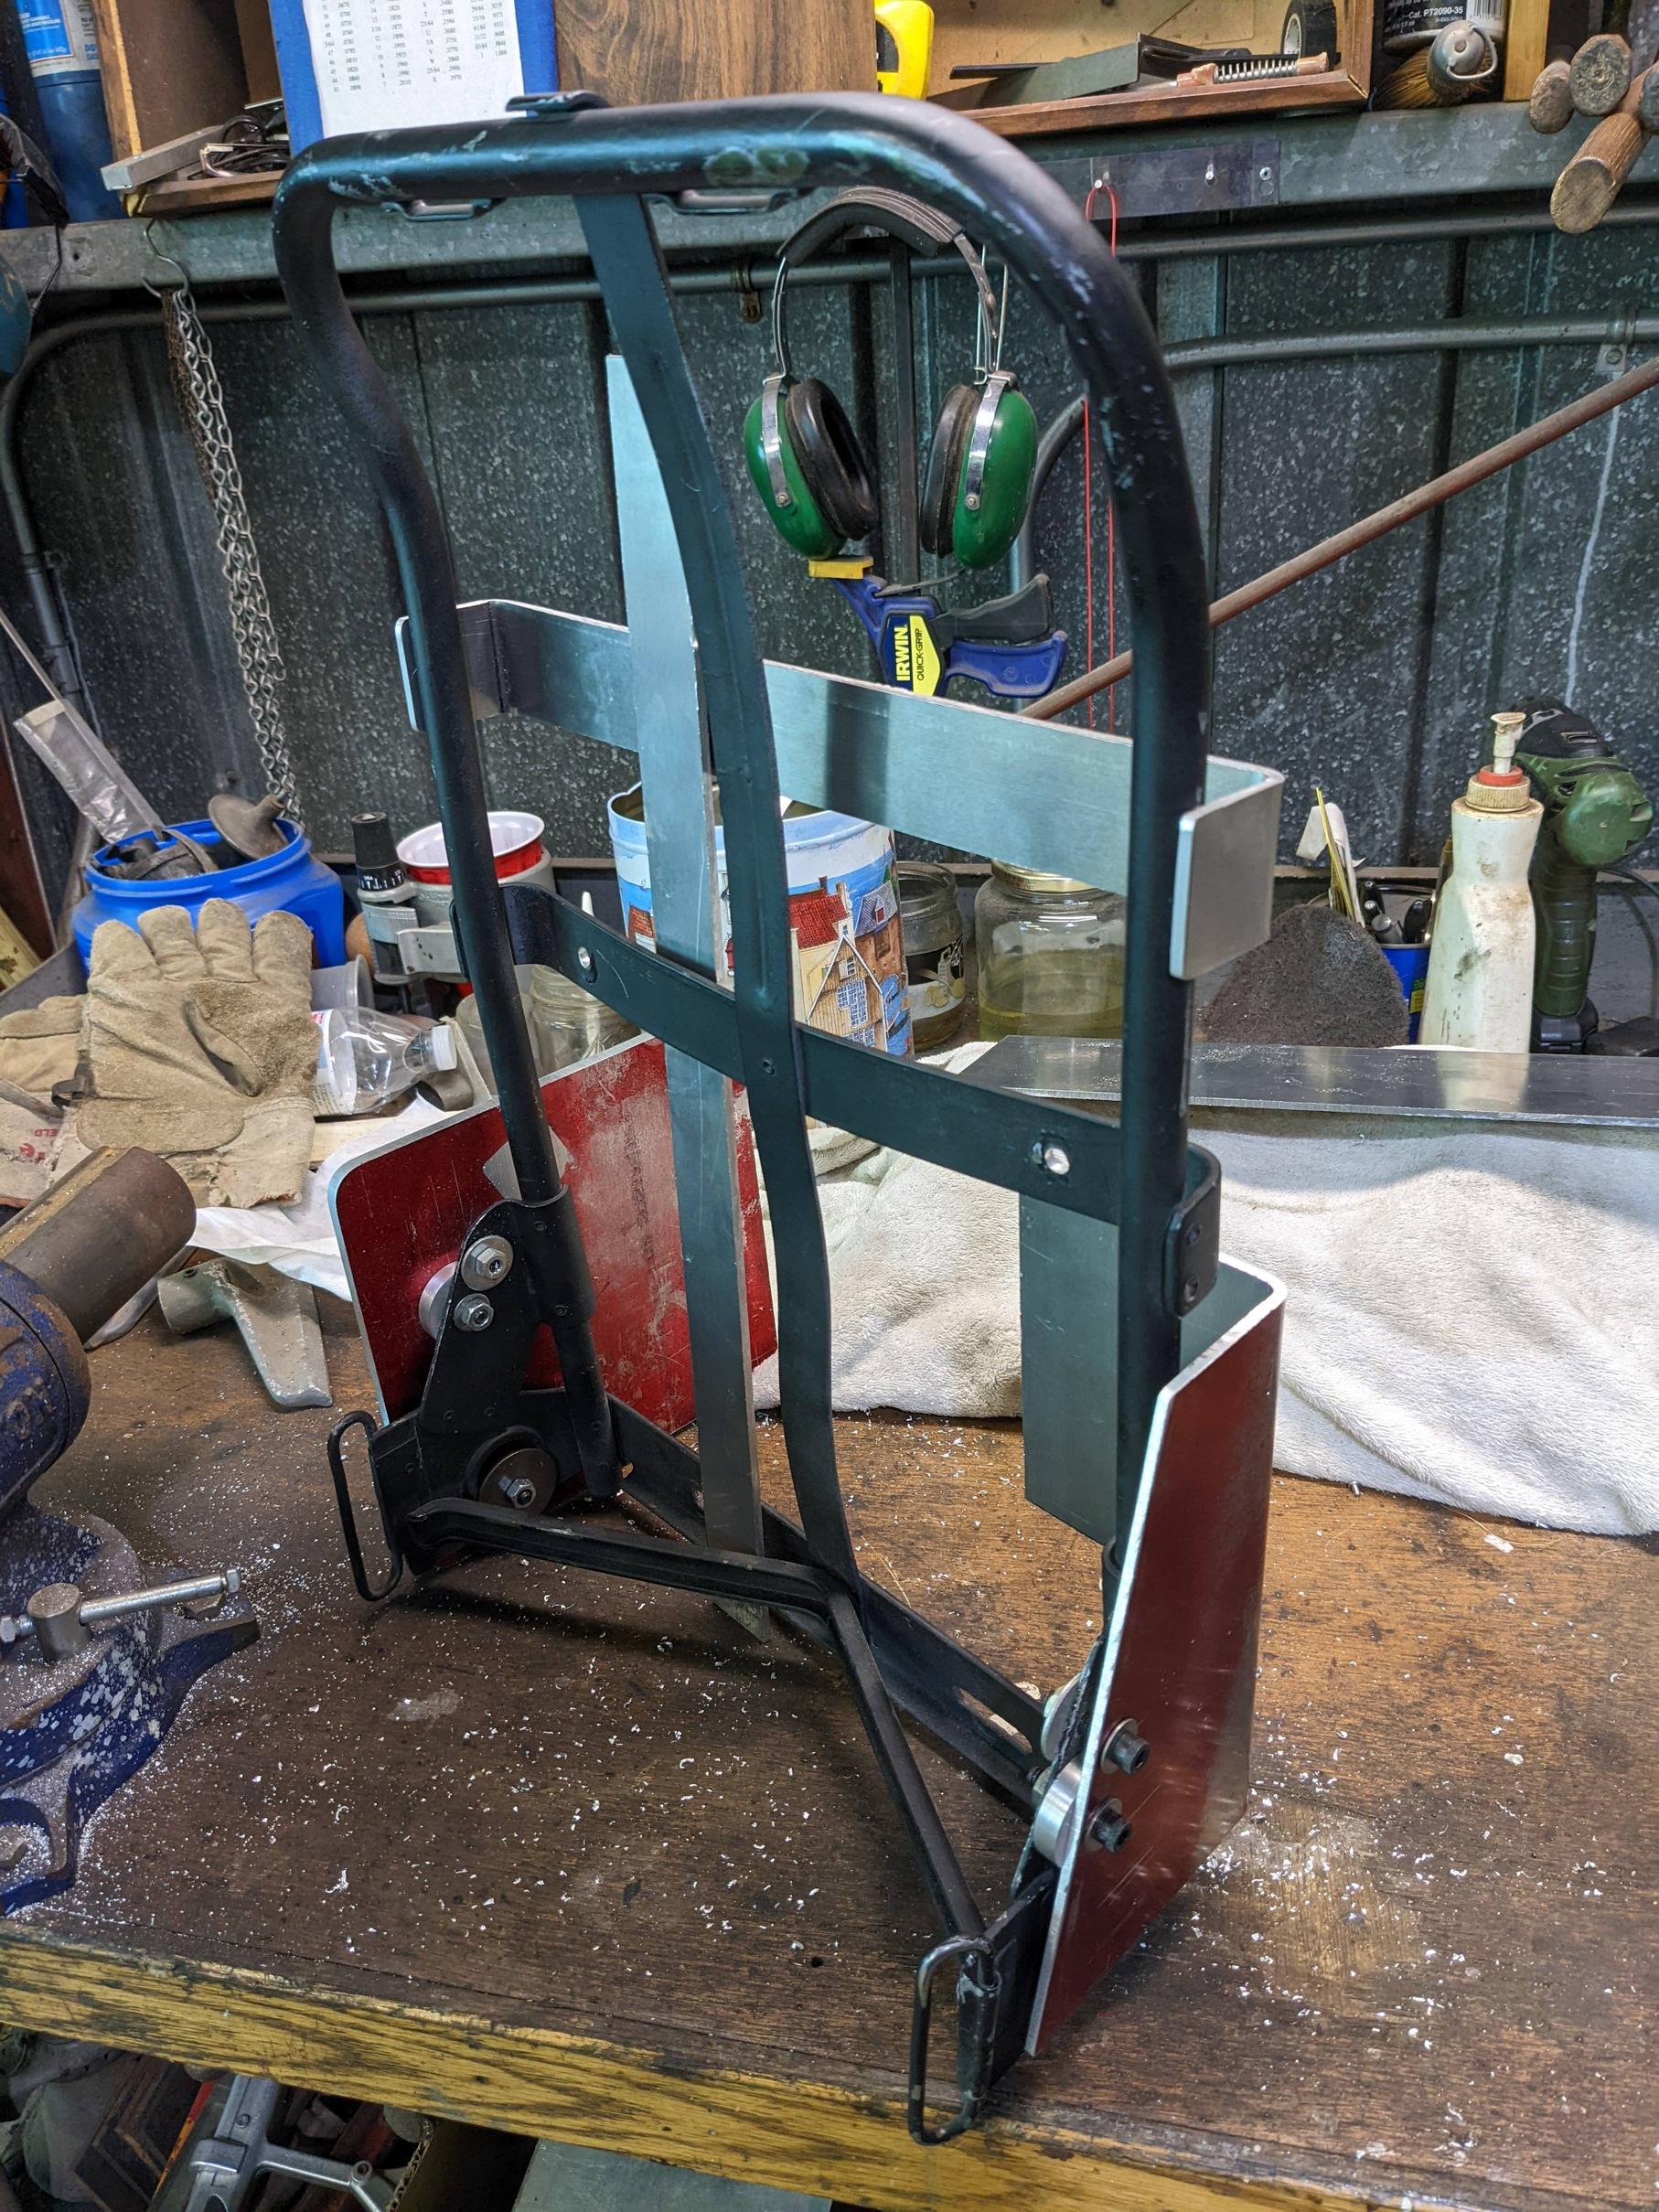
My main tank is right up against the aluminum plate on the right side, and I’ve got about 3/4 of an inch of overhang to contend with. I might resize my box, or use some washers to spread out the two aluminum beckets on either side of the ALICE, or maybe a little bit of both.
My first dry fit on the main tank went much better.
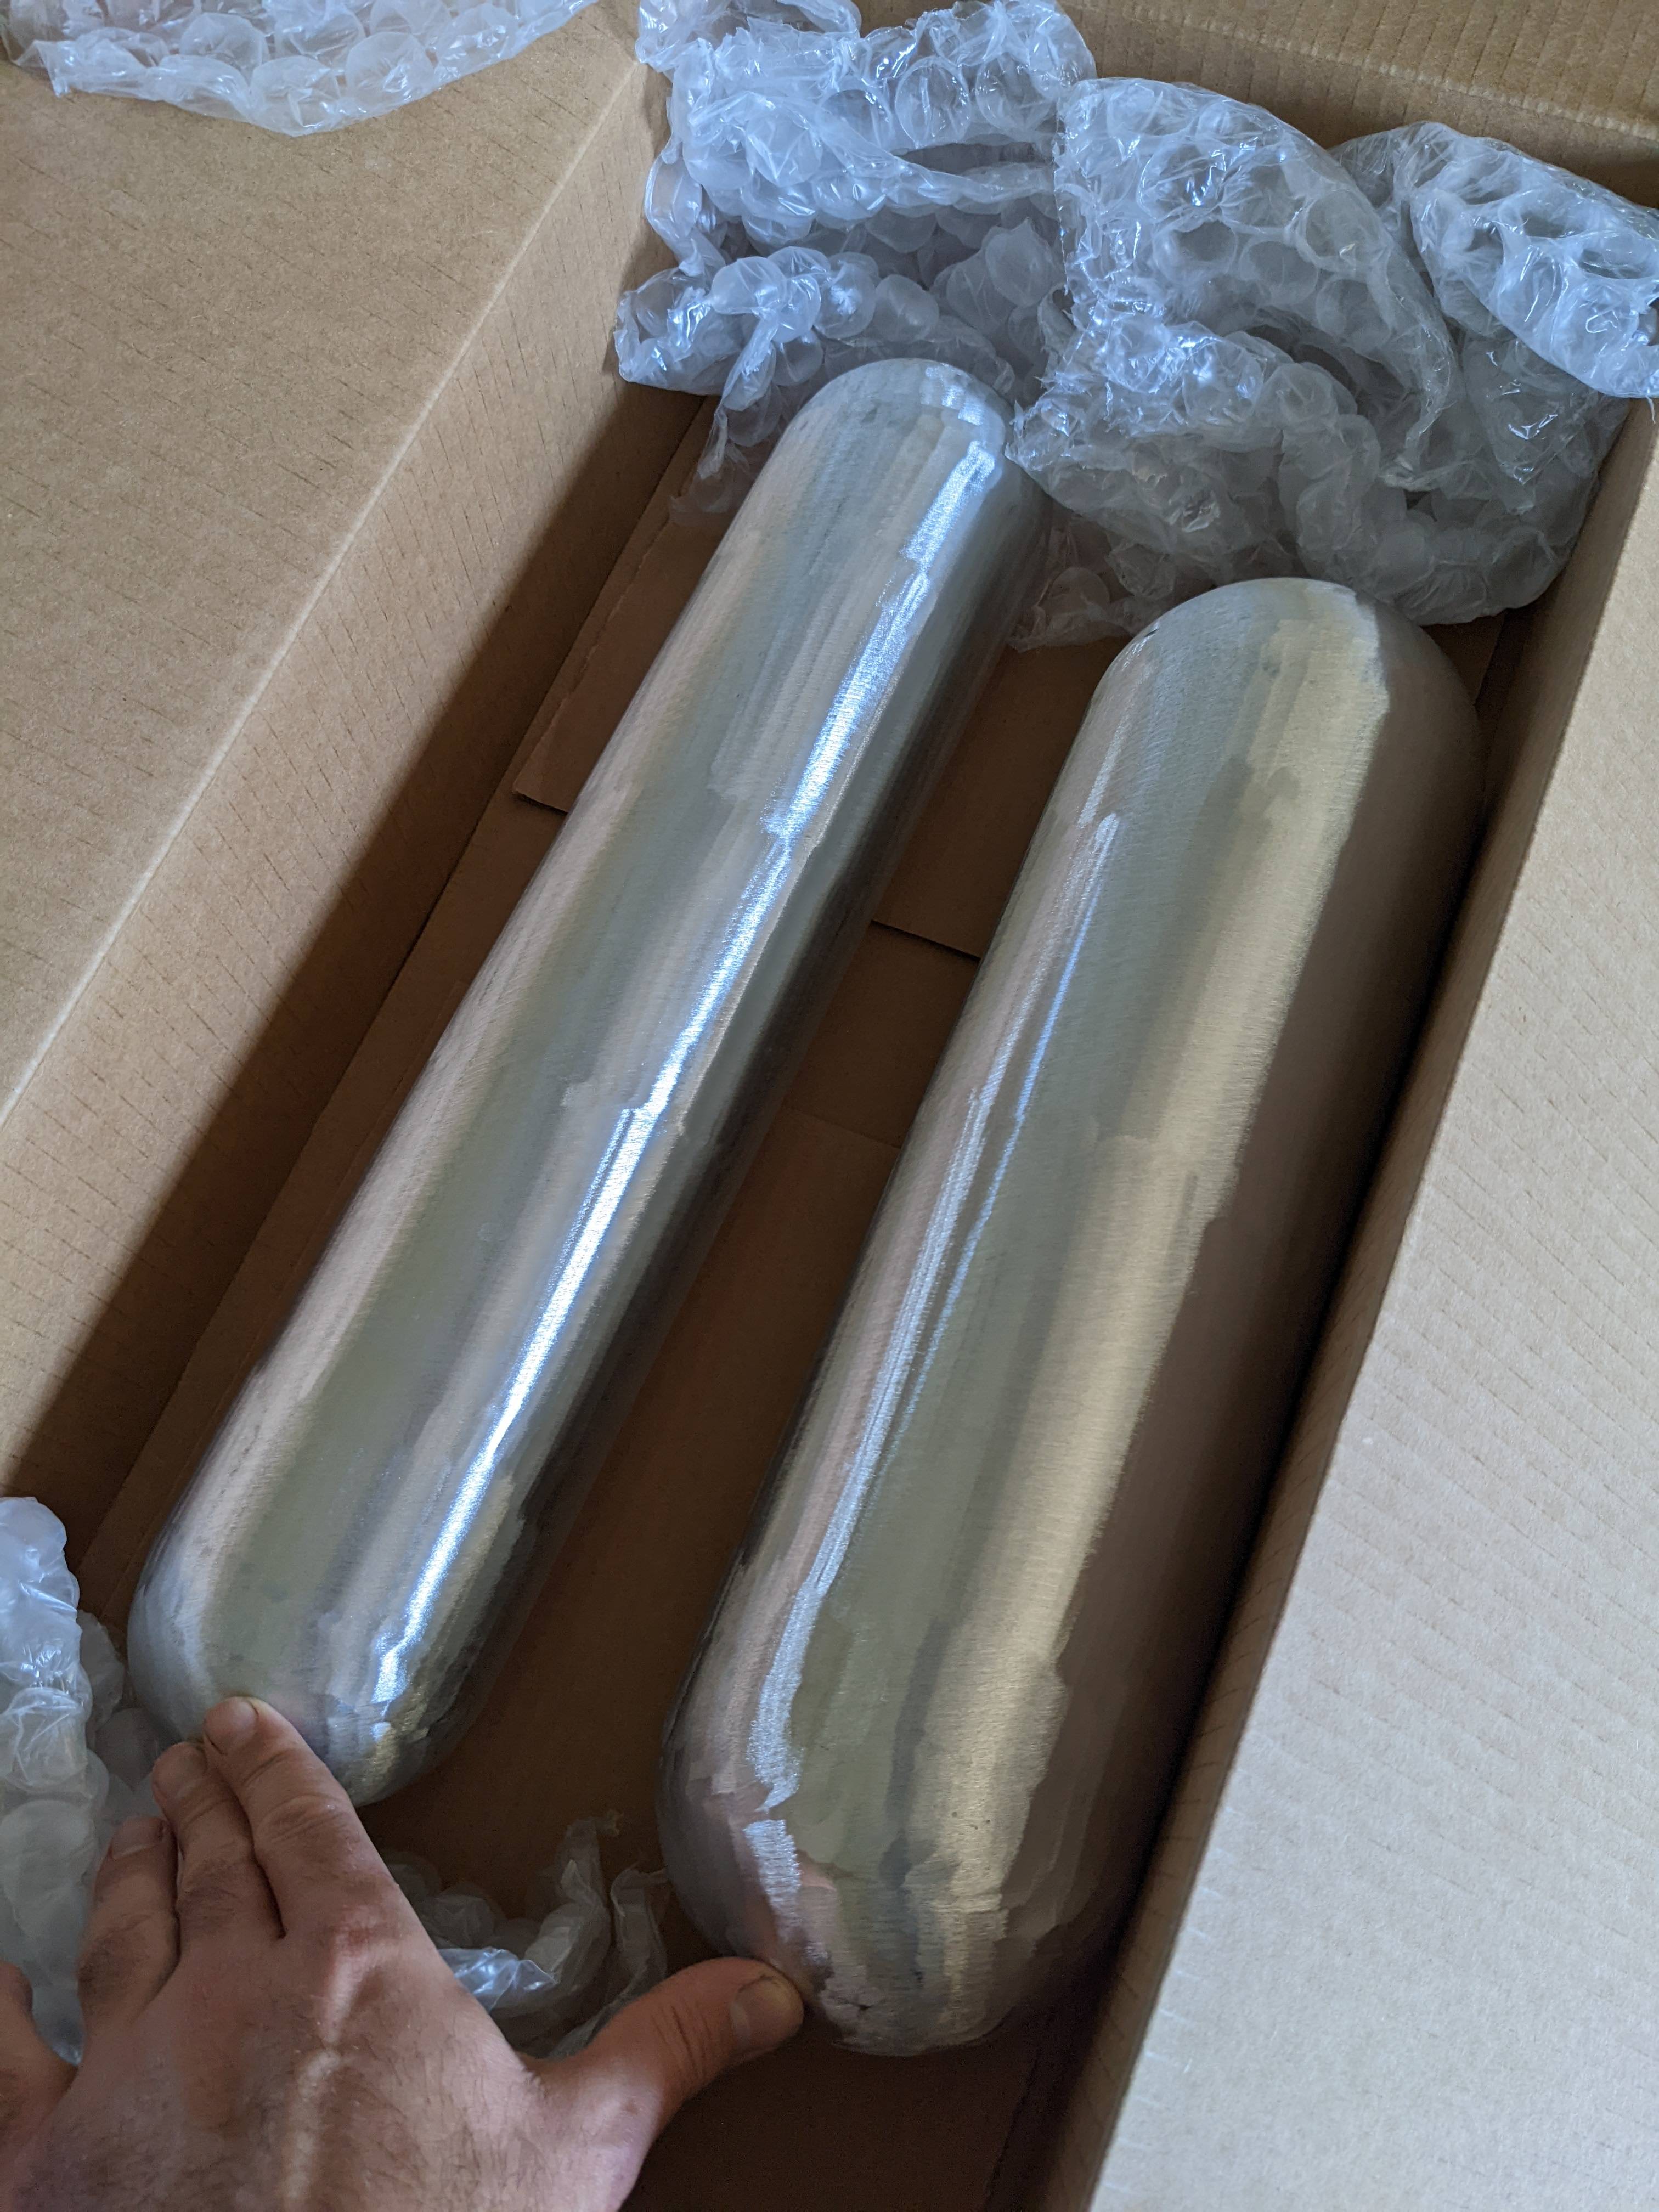
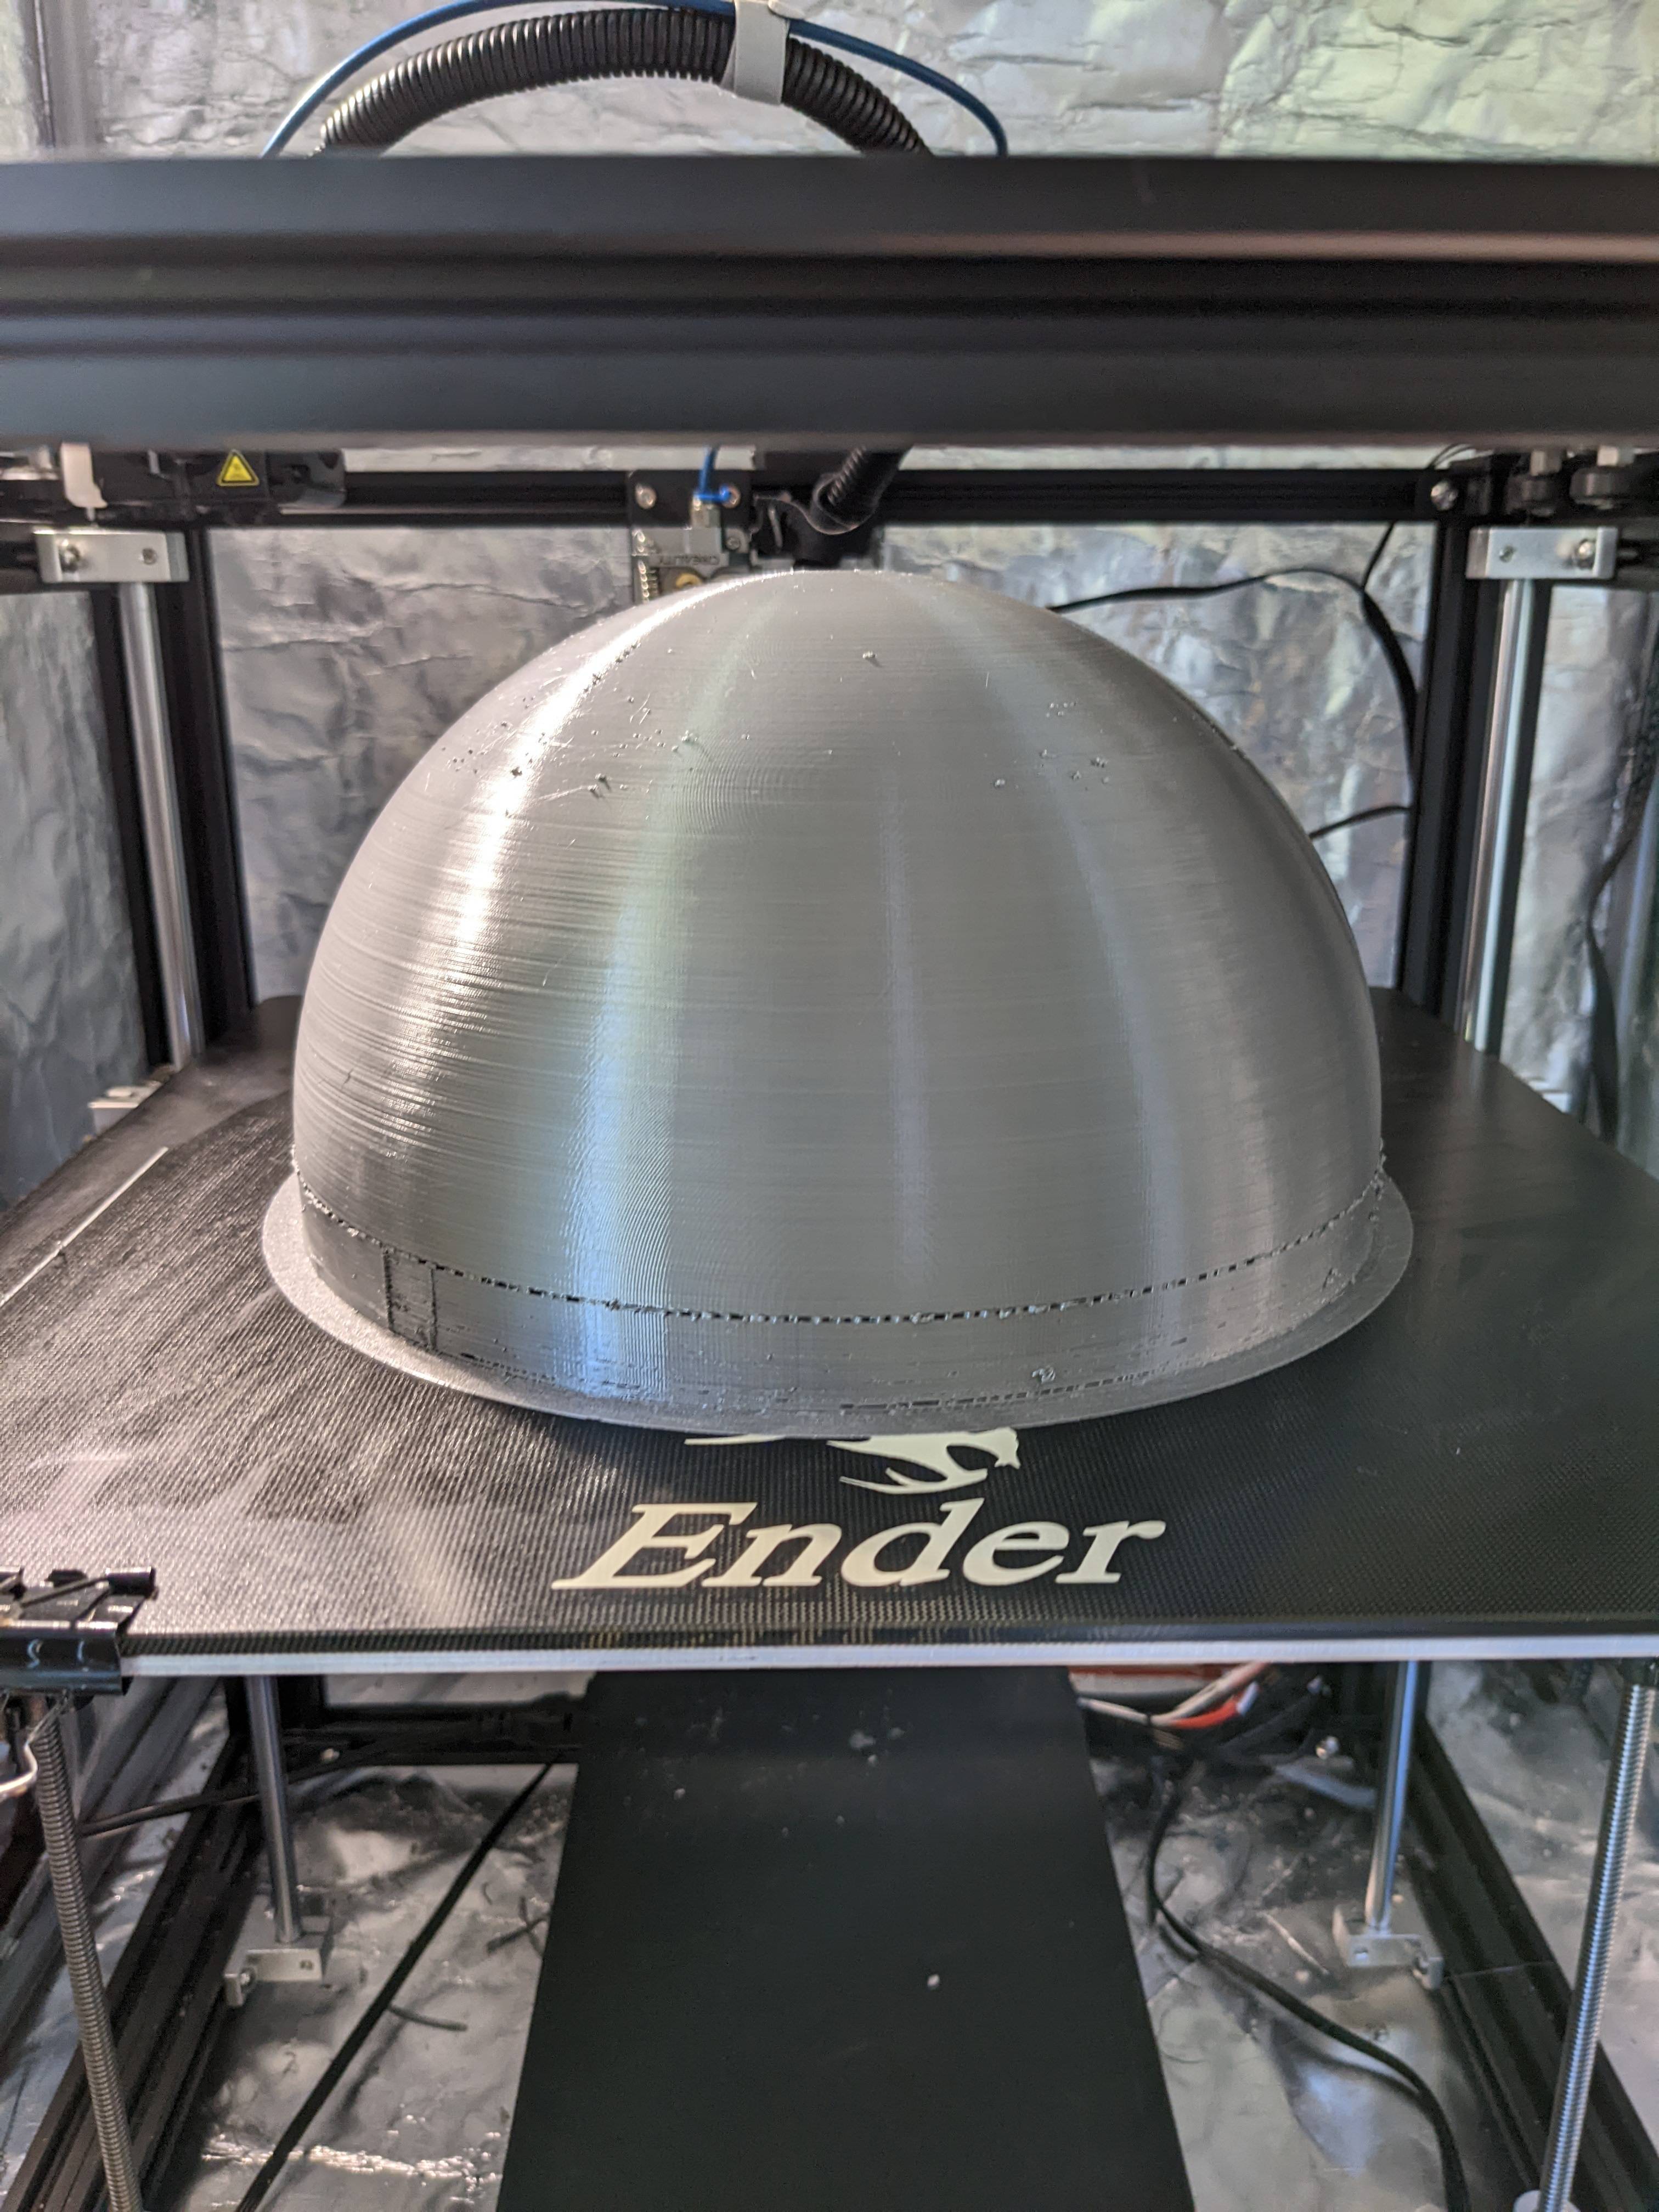
The main tank. you know, that big pain in the butt thing that makes you hesitate every time you think about a slime blower build? My thoughts were: I wanted to go with a 9 1/2 diameter like JANDERSON392 calls for in his plans, (which is a tall order at the pluming supply store), and I waned something that could really take a knock. I think we all know the pain of that dead silence that falls over a Halloween party when the guy with the most elaborate costume breaks something.
so far I’ve printed half in Petg, one dome and one wall section. Now I just have to print them again.
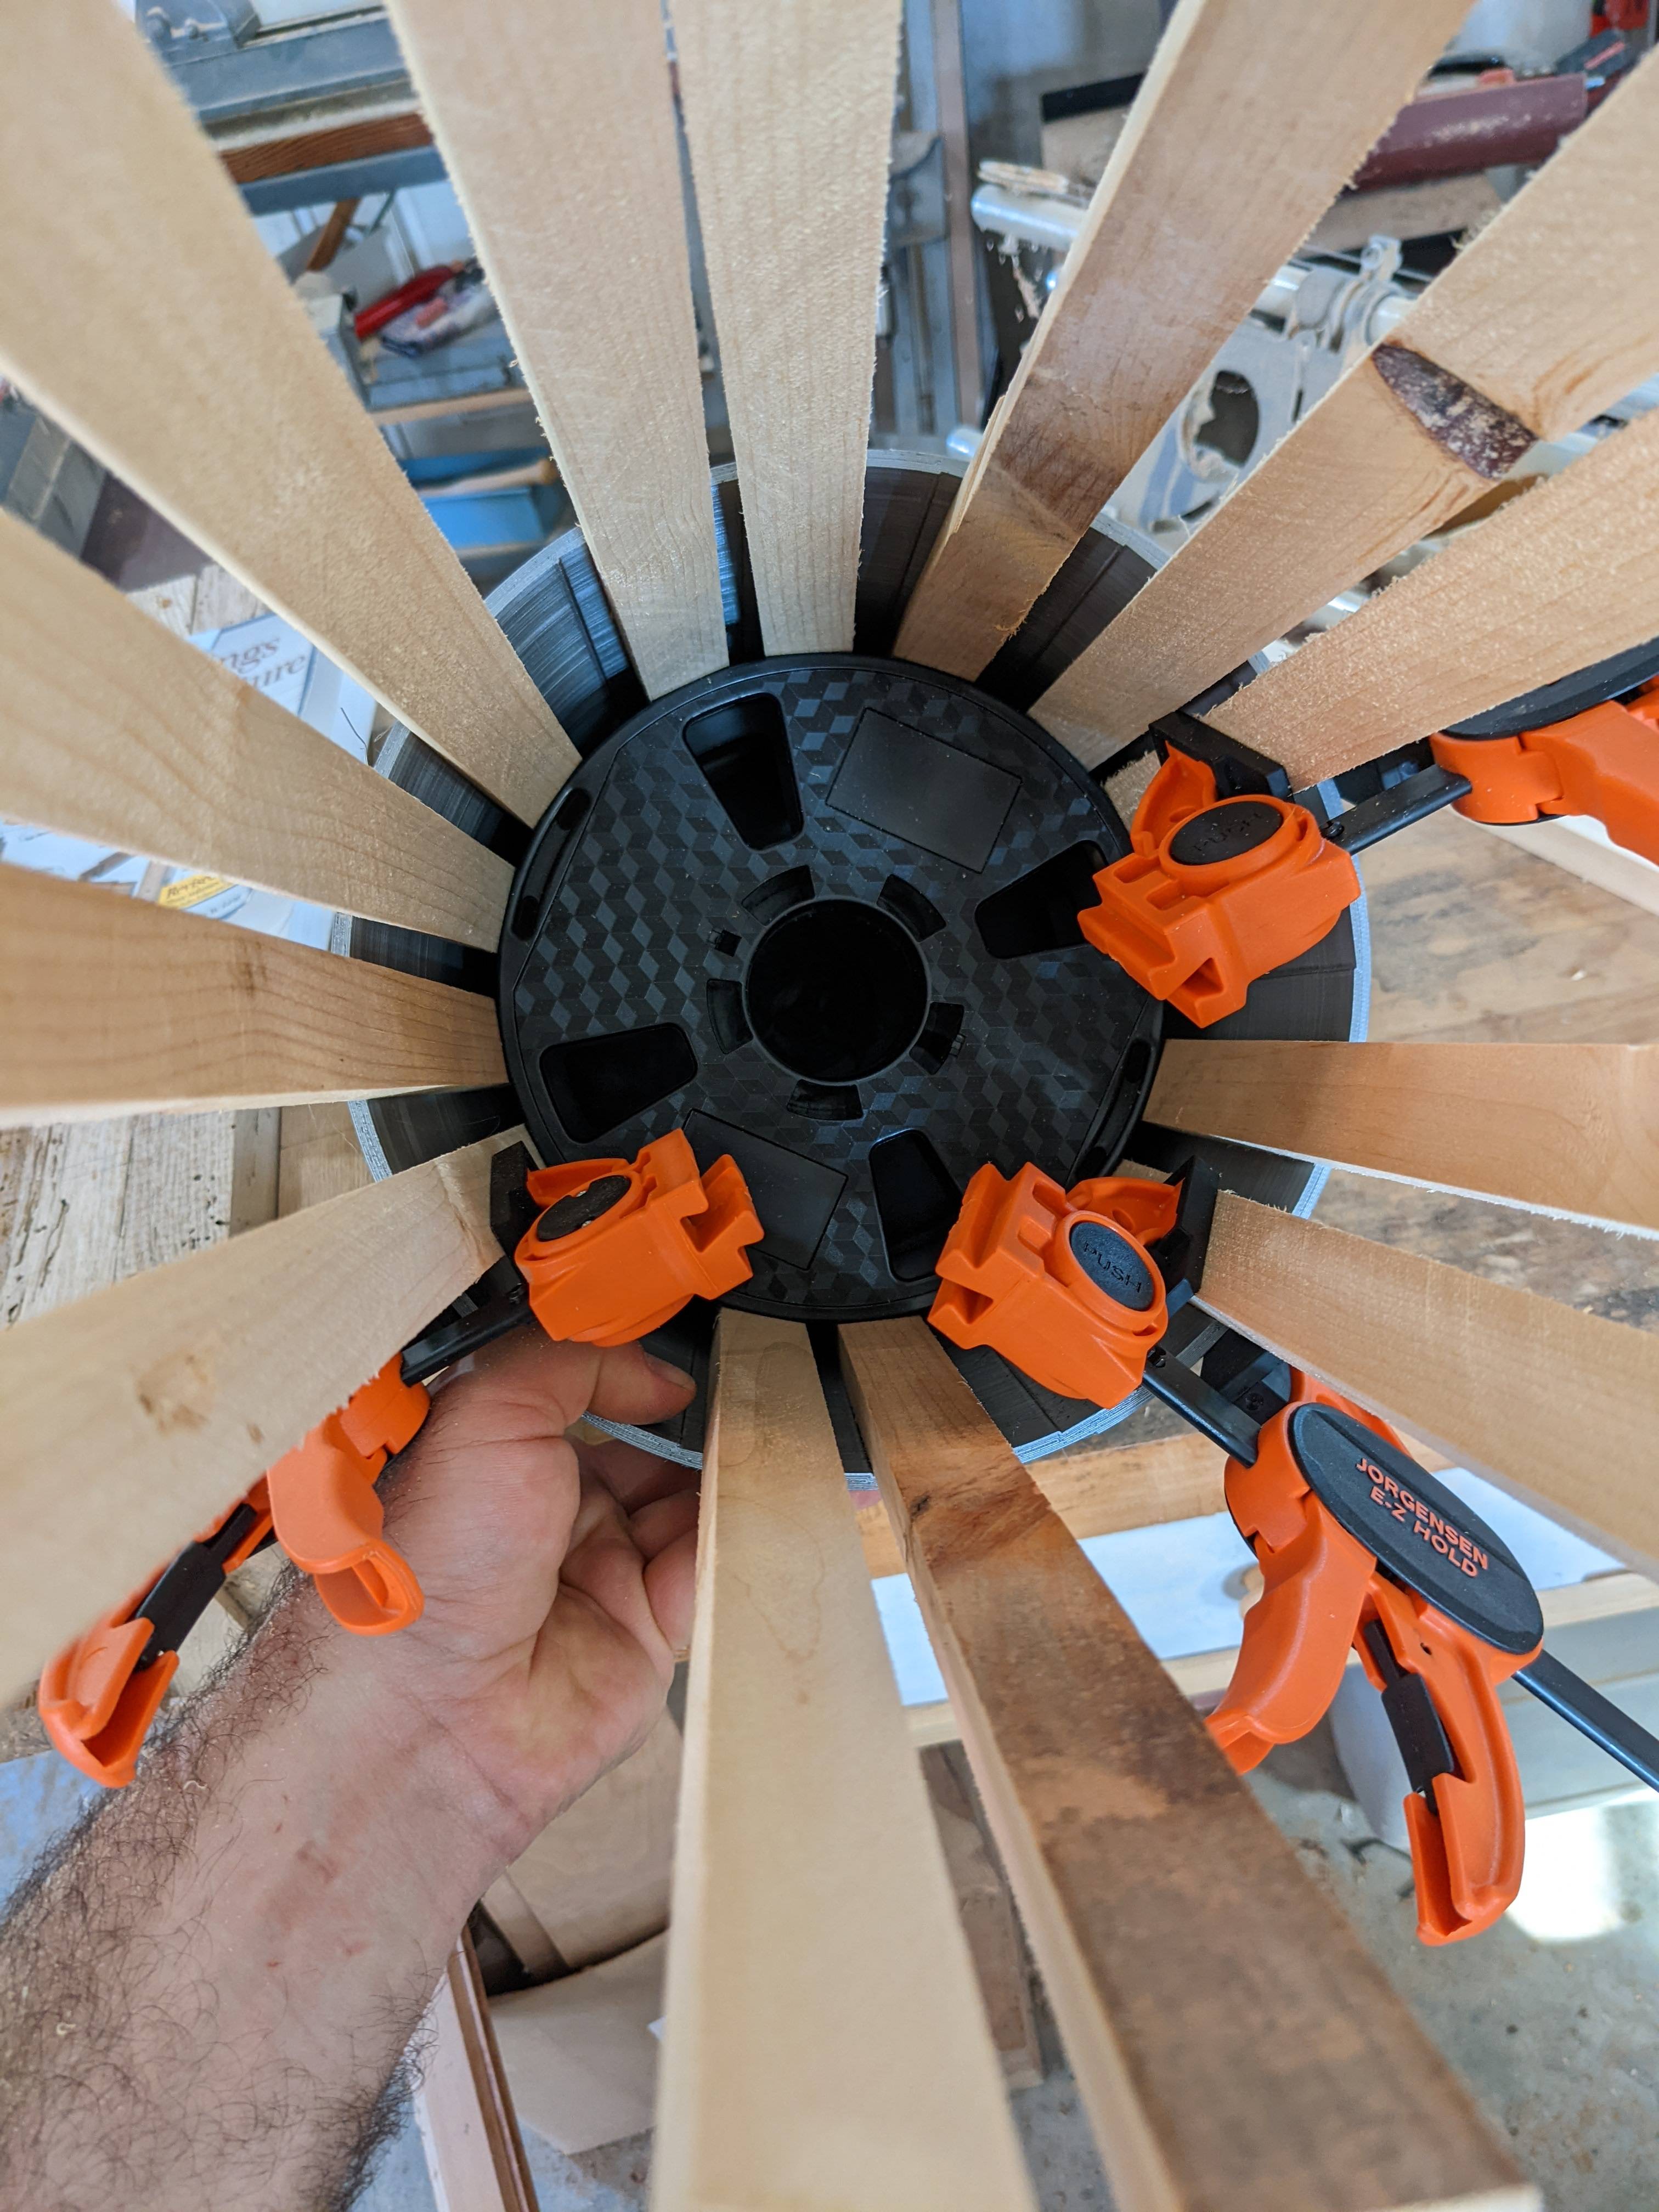
To keep the filament use down to only modestly crazy I modeled flats on the inside. I will glue wooden slats and empty filament rolls with expanding foam on the inside:
At first I thought I might have to put a concave radius on the slats by running them diagonally through the table saw, but with this soft pine and expanding foam I think I’m going to get away with just resawing them down to 11/16 flat.