I’ve decided to make a new topic, just to document my progress here, since my previous built was based on a set of WELDING GOGGLES, but this one is to a more accurate style, the AN/PVS-5 NVG goggles frame.
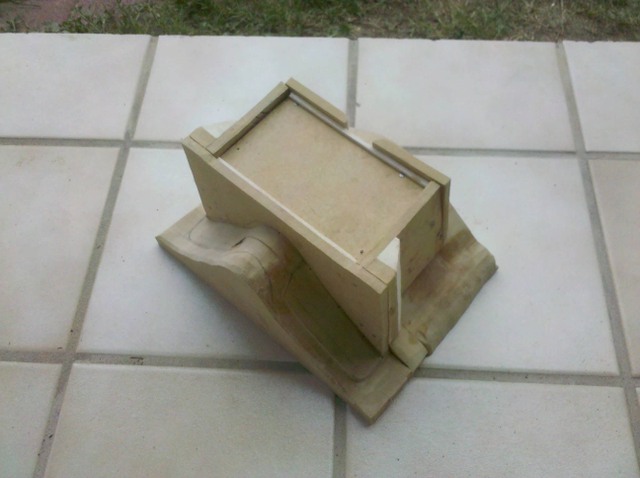
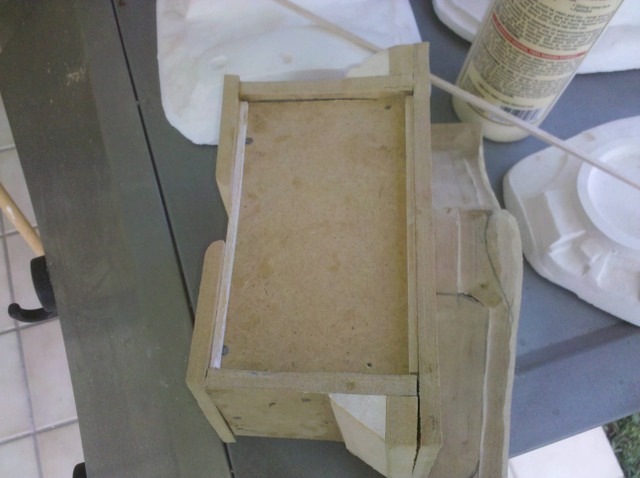
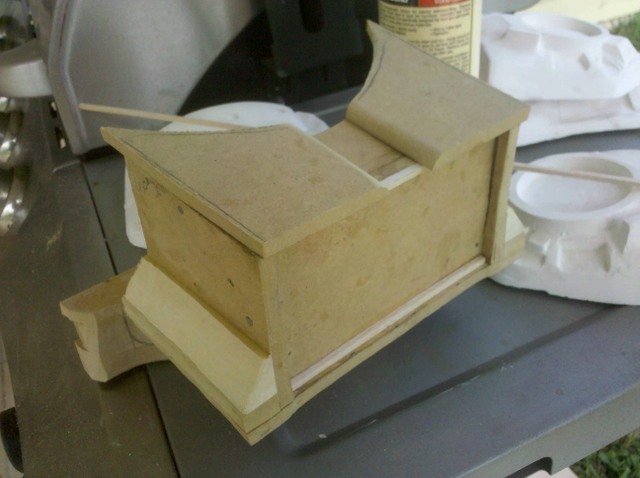
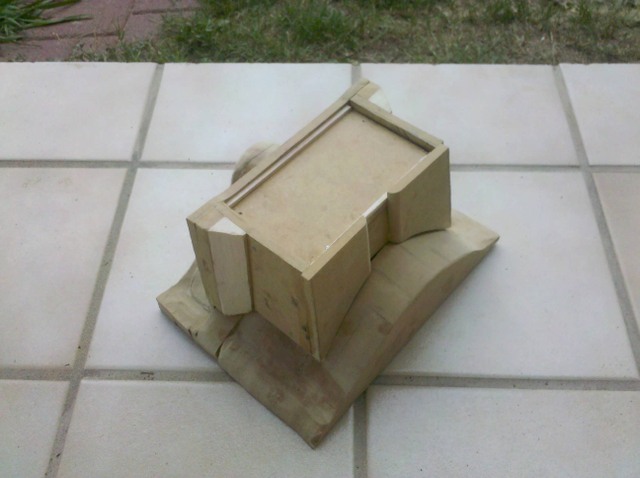
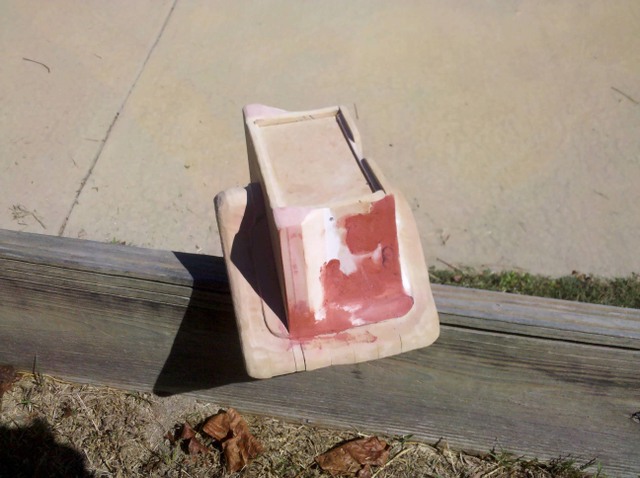
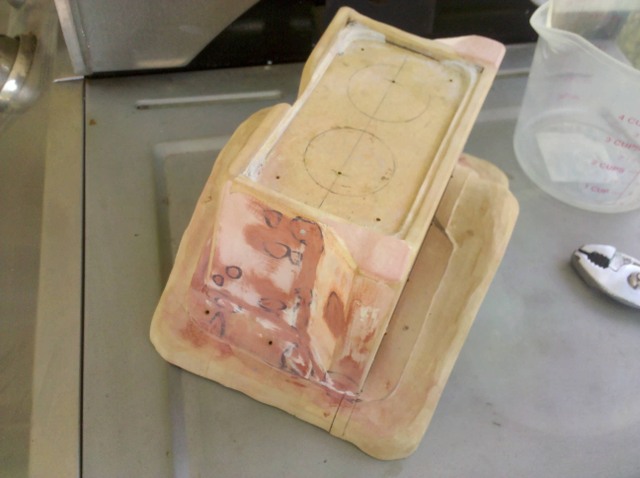
This is the progress so far of the mold I’m creating to make the ECTO GOGGLES vacuum formed PLASTIC SHELLS. I MIGHT move from plastic to FIBERGLASS, once I make a silicone rubber mold of it, but in the meantile, it will be the MAIN "plug for the vacuum-forming machine I have at home.
A little progress today, thanks to the WEATHER for spoiling my schedule.
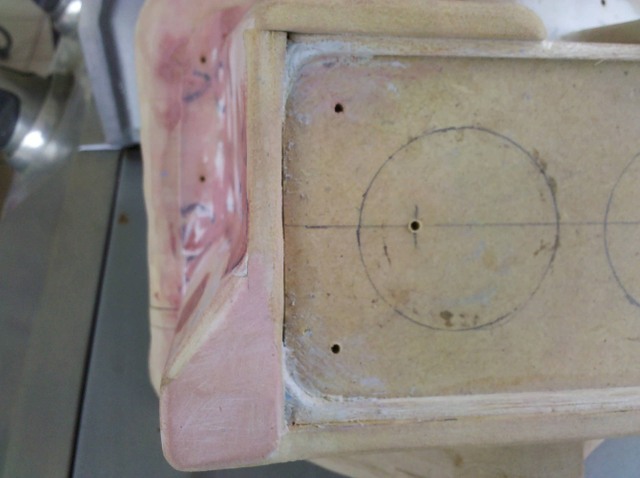
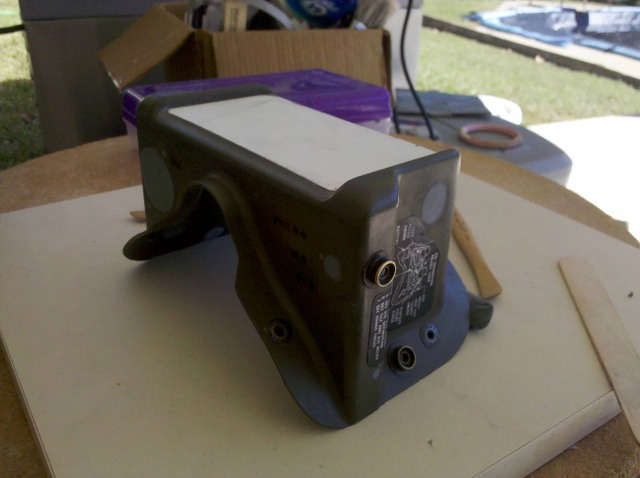
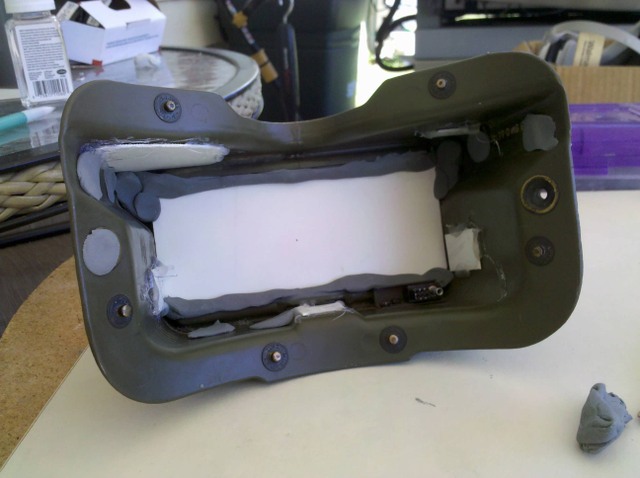
Anyway, here are a few pics of what I’ve done today, namely assembly of the “box”, proper setting, and preliminary detailing of the top and front panel edges where the lenses should go. All I have to do is some more sanding, BONDO applying, and more sanding… to then do the last detailing. It might not be to the exact measure accurately, with a difference of a few less millimeters here and there, but it’s done in such a way to EXCLUSIVELY FIT the vac-forming process, such as done in a “trapezoid” shape instead of an exact “rectangle”
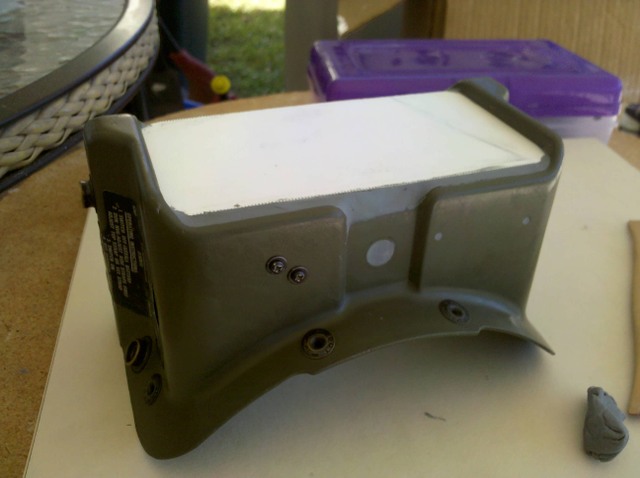
The complete goggle shell should look like these, which I’ve made the skeleton based on almost same measurements and very same process from Coz_UK here on GBFans, with his scratch-built AN/PVS-5 based googles. (These following pics are from his thread, sorry if I did something wrong),
I hope you guys are aware that the finished Google photos aren’t Ecto Vader’s, they’re what he used to work out the proportions of his mould, he hasn’t actually produced a pull yet.
Thanks Kingpin for the clarification; and again folks… the pics of the finished goggles (in grey) are NOT MINE, since I haven’t done a vac-formed pull yet, still working on some things before anything.
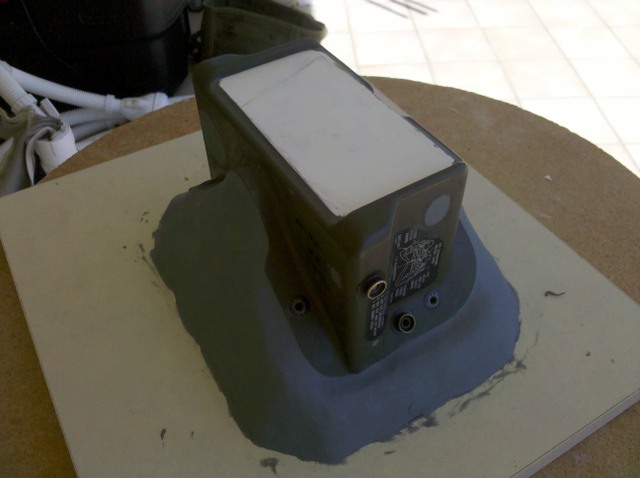
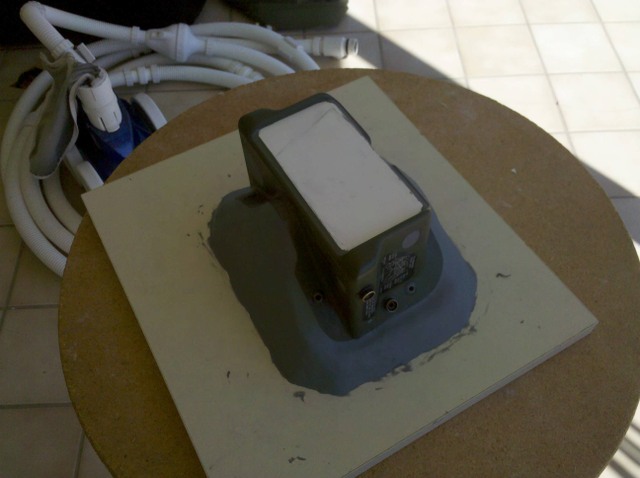
Well, after Dragon*Con, it’s time to go back to work on some things. In this case… back to the vacuum-formed ECTO-GOGGLES project. Here’s the mold after some bondo to cover little imperfections
And now it’s almost ready for the vac-forming table. Just waiting for the grey edges to dry, and it will be DONE! Also, the pre-drilled holes are there for the snaps and the screws.
Can’t wait to see how the first pulls turn out, as this might be the next best option to getting real ones (I’m not as confident in resin copies as I once was due to how thin they are).
Thanks for the kind words and motivation guys, really appreciated.
Unfortunately (from some perspective), after receiving a real frame from Vincenzo’s run (see topic on the FOR SALE section), I’ve just realized in terms of size, that the one I’ve built was a tad BIGGER than the real frame, and some inconsistencies in terms of dimensions. So, I have good news and bad news:
The GOOD NEWS: the project WILL CONTINUE, no matter what, and I’ve just realized some things that I need to fix to make it PERFECT (for a perfect vacuum-form pull, that is).
The BAD NEWS: NOT exactly as planned since I was planning to do a first pull this weekend. I have to now disassemble the whole thing; cut where it should be; add a gazillion pounds of BONDO; Also, it will have to take a temporary (two weeks) back seat until mid October, since I’m working other things at the same time to have ready for the last weekend of this month. I’m really frustrated at this point, since I just wish I’d had the real frame with me in the mold building process… but the fix will be easy, just will take a little more time than expected.
Just don’t loose hope, this is just a small setback, but the project once it’s complete… again… I’ll show you guys and be able to offer pulls, plus greeblies and stickers. All you have to do is add padding and straps. More to come soon.
No worries bud, i don’t mind waiting on a great quality product than to have ya rush into it and not be happy with it. Good luck with the alterations mate
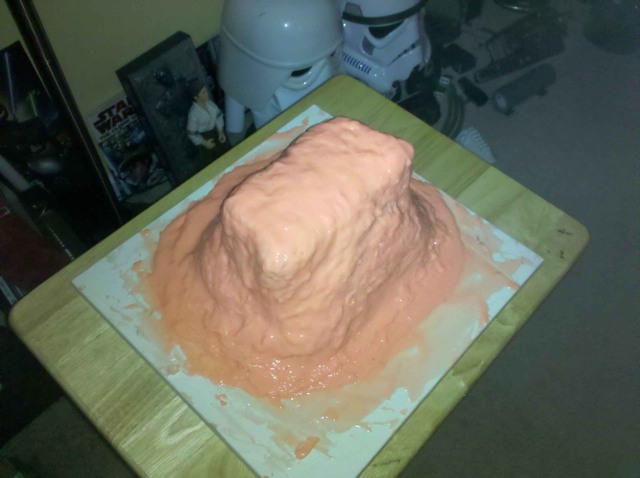
Now, here’s the start of the mold process. I’ve started to cover ALL HOLES. Mainly, the faceplate, which I’m using a custom stencil I’ve done by cutting, trimming and fitting to fit the real frame I’ve got from Vincenzo330, I’ve started by covering ALL HOLES by covering the inside with pieces of HIPS or SINTRA plastic, glue them lightly (for temporary reasons) in place, and using molding clay to cover all holes and indentations. Flatten by trimming excess clay for a flat, smooth surface in all holes (NOTE: Two 2-inch discs added to faceplates after the pictures were taken, and before silicone rubber was applied):
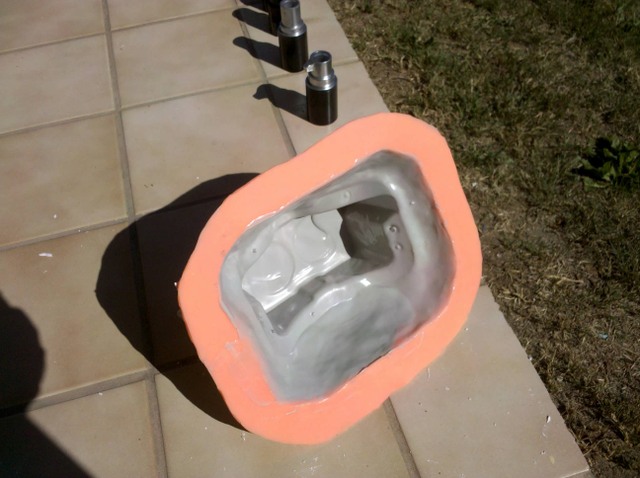
And the main ingredient…the silicone rubber mold cover I need, already cured, and ready to get its supporting shell, which I’ll do that tomorrow, since time and temperature didn’t help me (slower process).
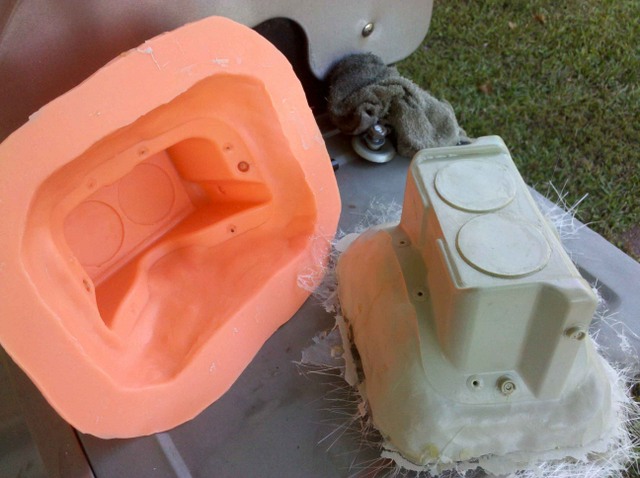
More progress today. I’ve completed the mold, and now I started the 1st “tool” (out of two) for the vac-forming process, which I’m planning on doing two goggles per plastic sheet.
In fact, I could use this very same mold to make FIBERGLASS CASTINGS, which will include the snaps details… but I have to think about this one very carefully, though.
Really excited to see the first vacformed pulls you do! For replicas, I’d personally much prefer a sturdy vacformed plastic shell rather than resin that can shatter.
After applying a layer of fiberglass strands and a wood dowel inside to use as handle to pull the casting from the vac-formed plastic, just in case, here’s the result. As you could see, same method applies for FIBERGLASS castings, but this is what I’m going to use for the vac-forming method in the meantime.
I need to make another casting just like that one, along with the face plate molds (wood) I’m planning to do for the real AN/PVS-5 frames, that way to take advantage of the plastic, more likely will be done by next weekend.