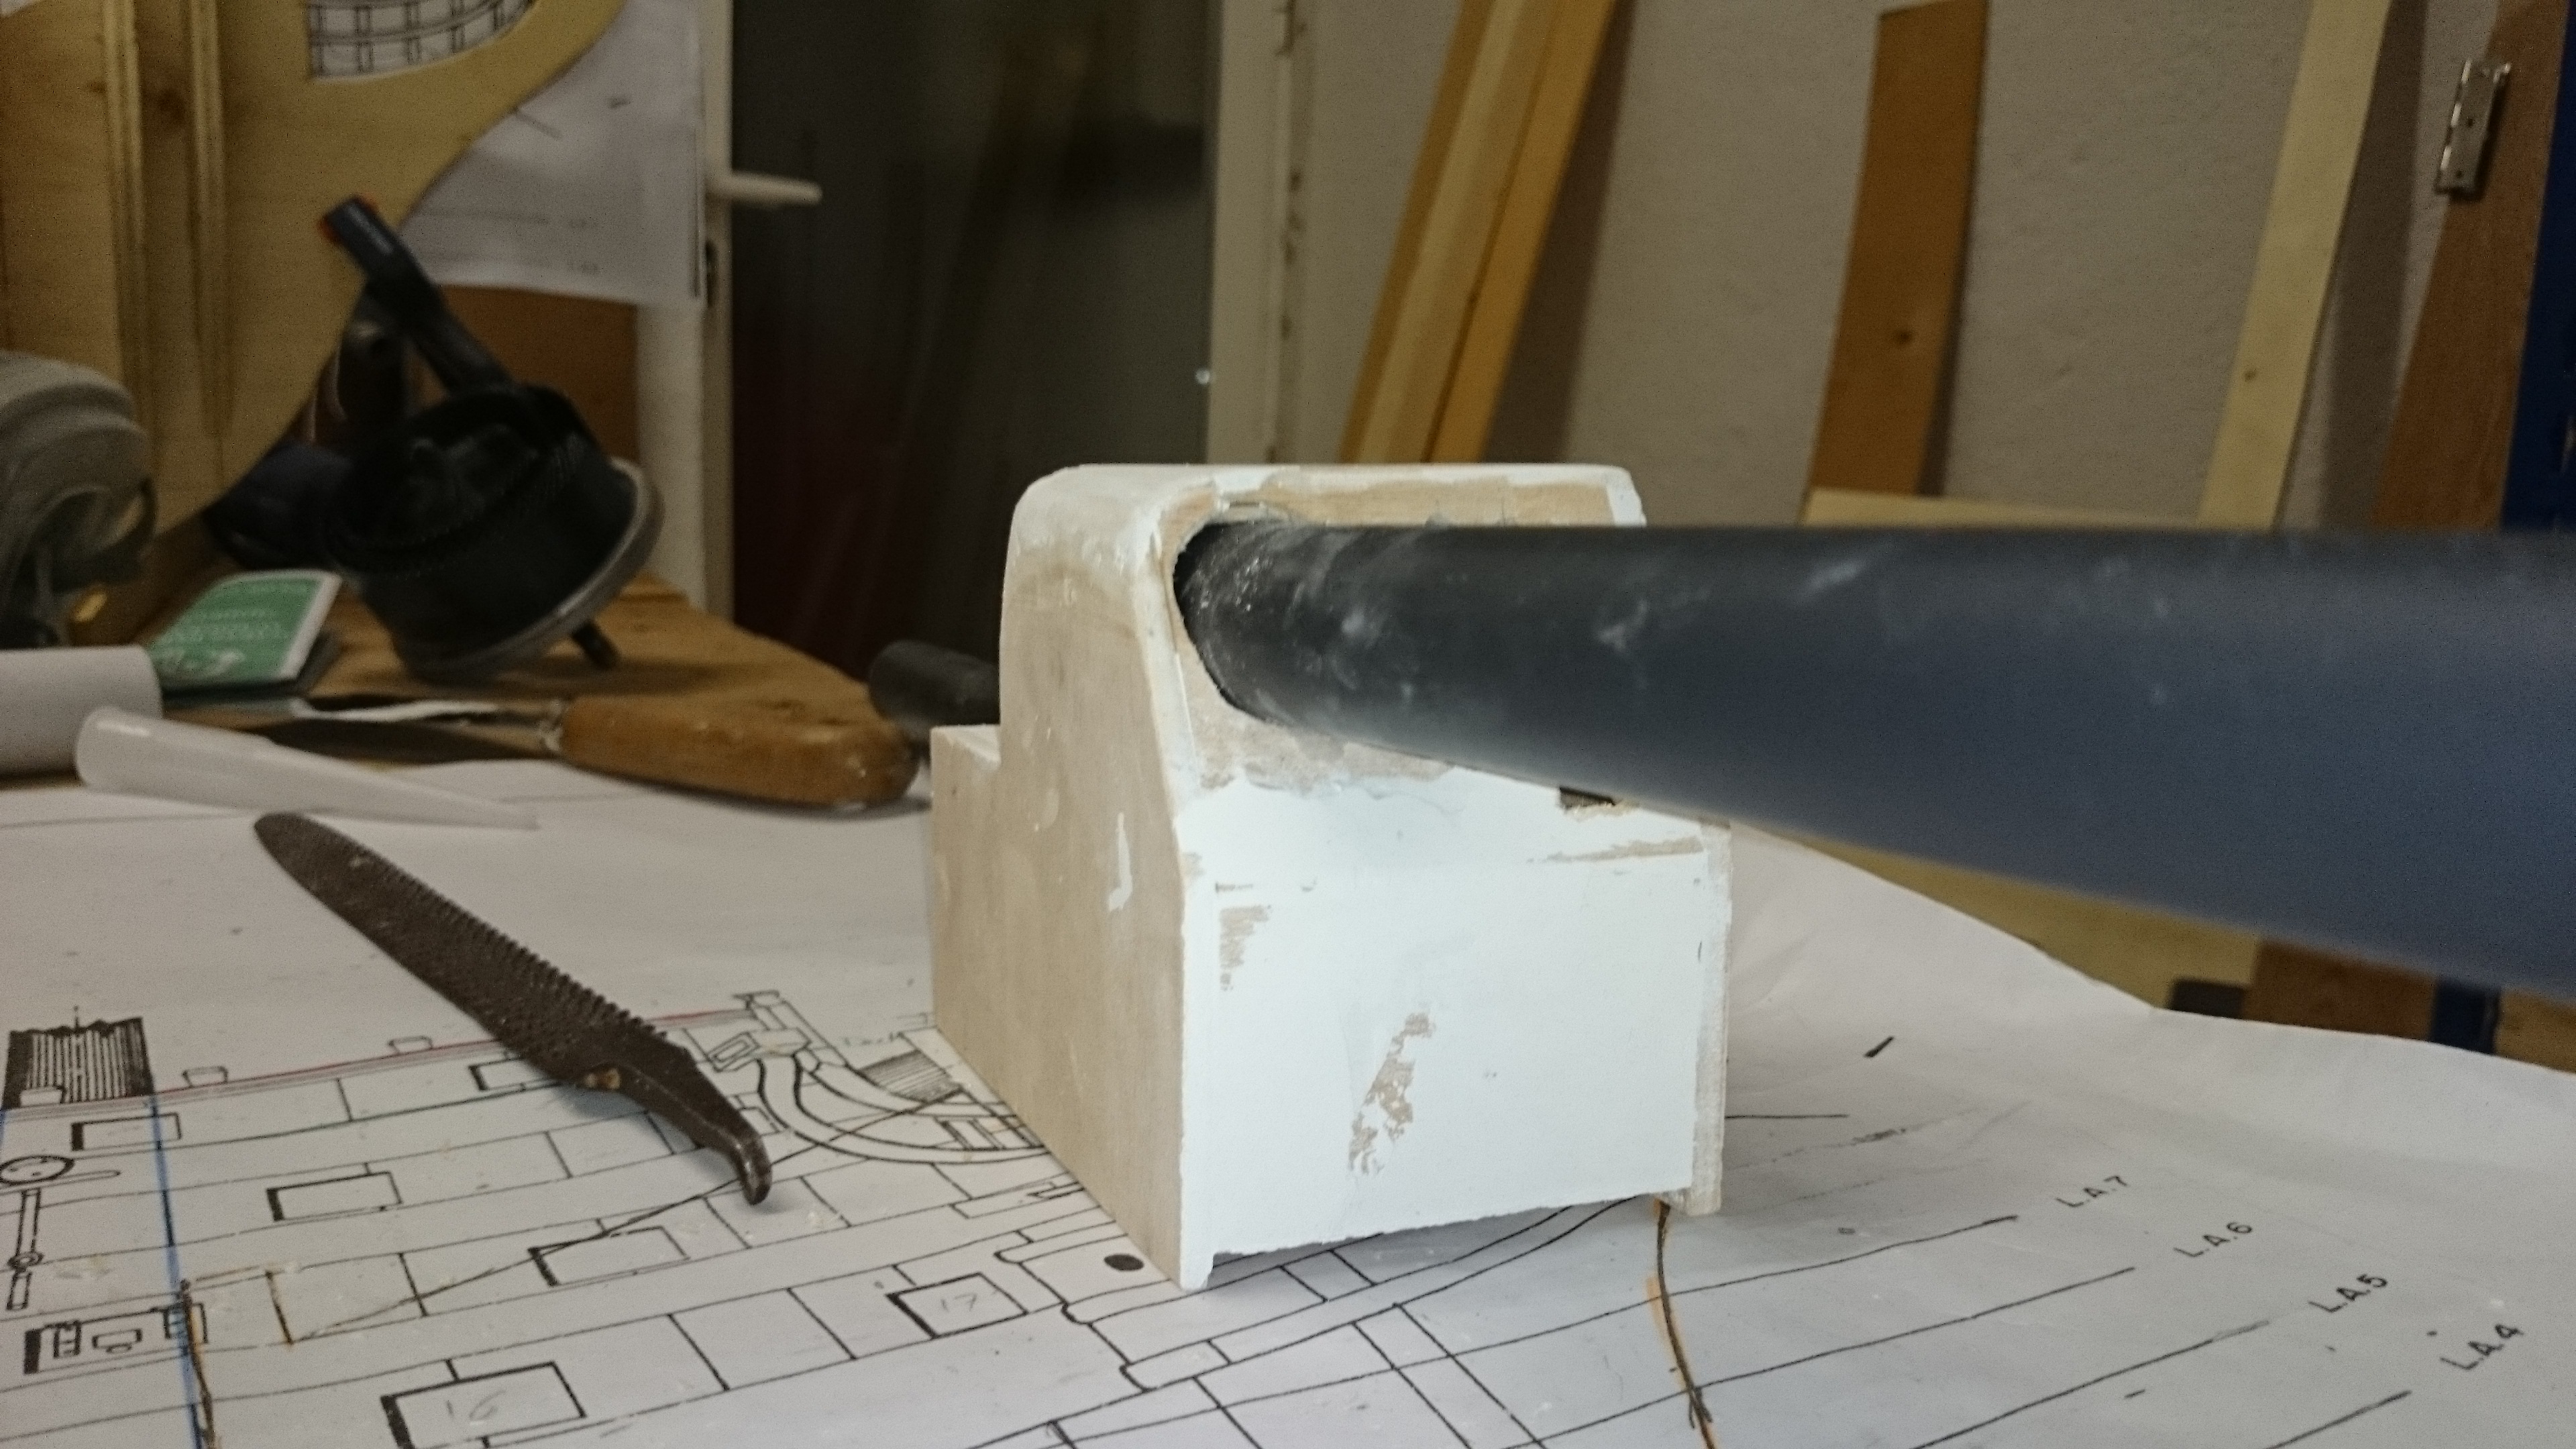
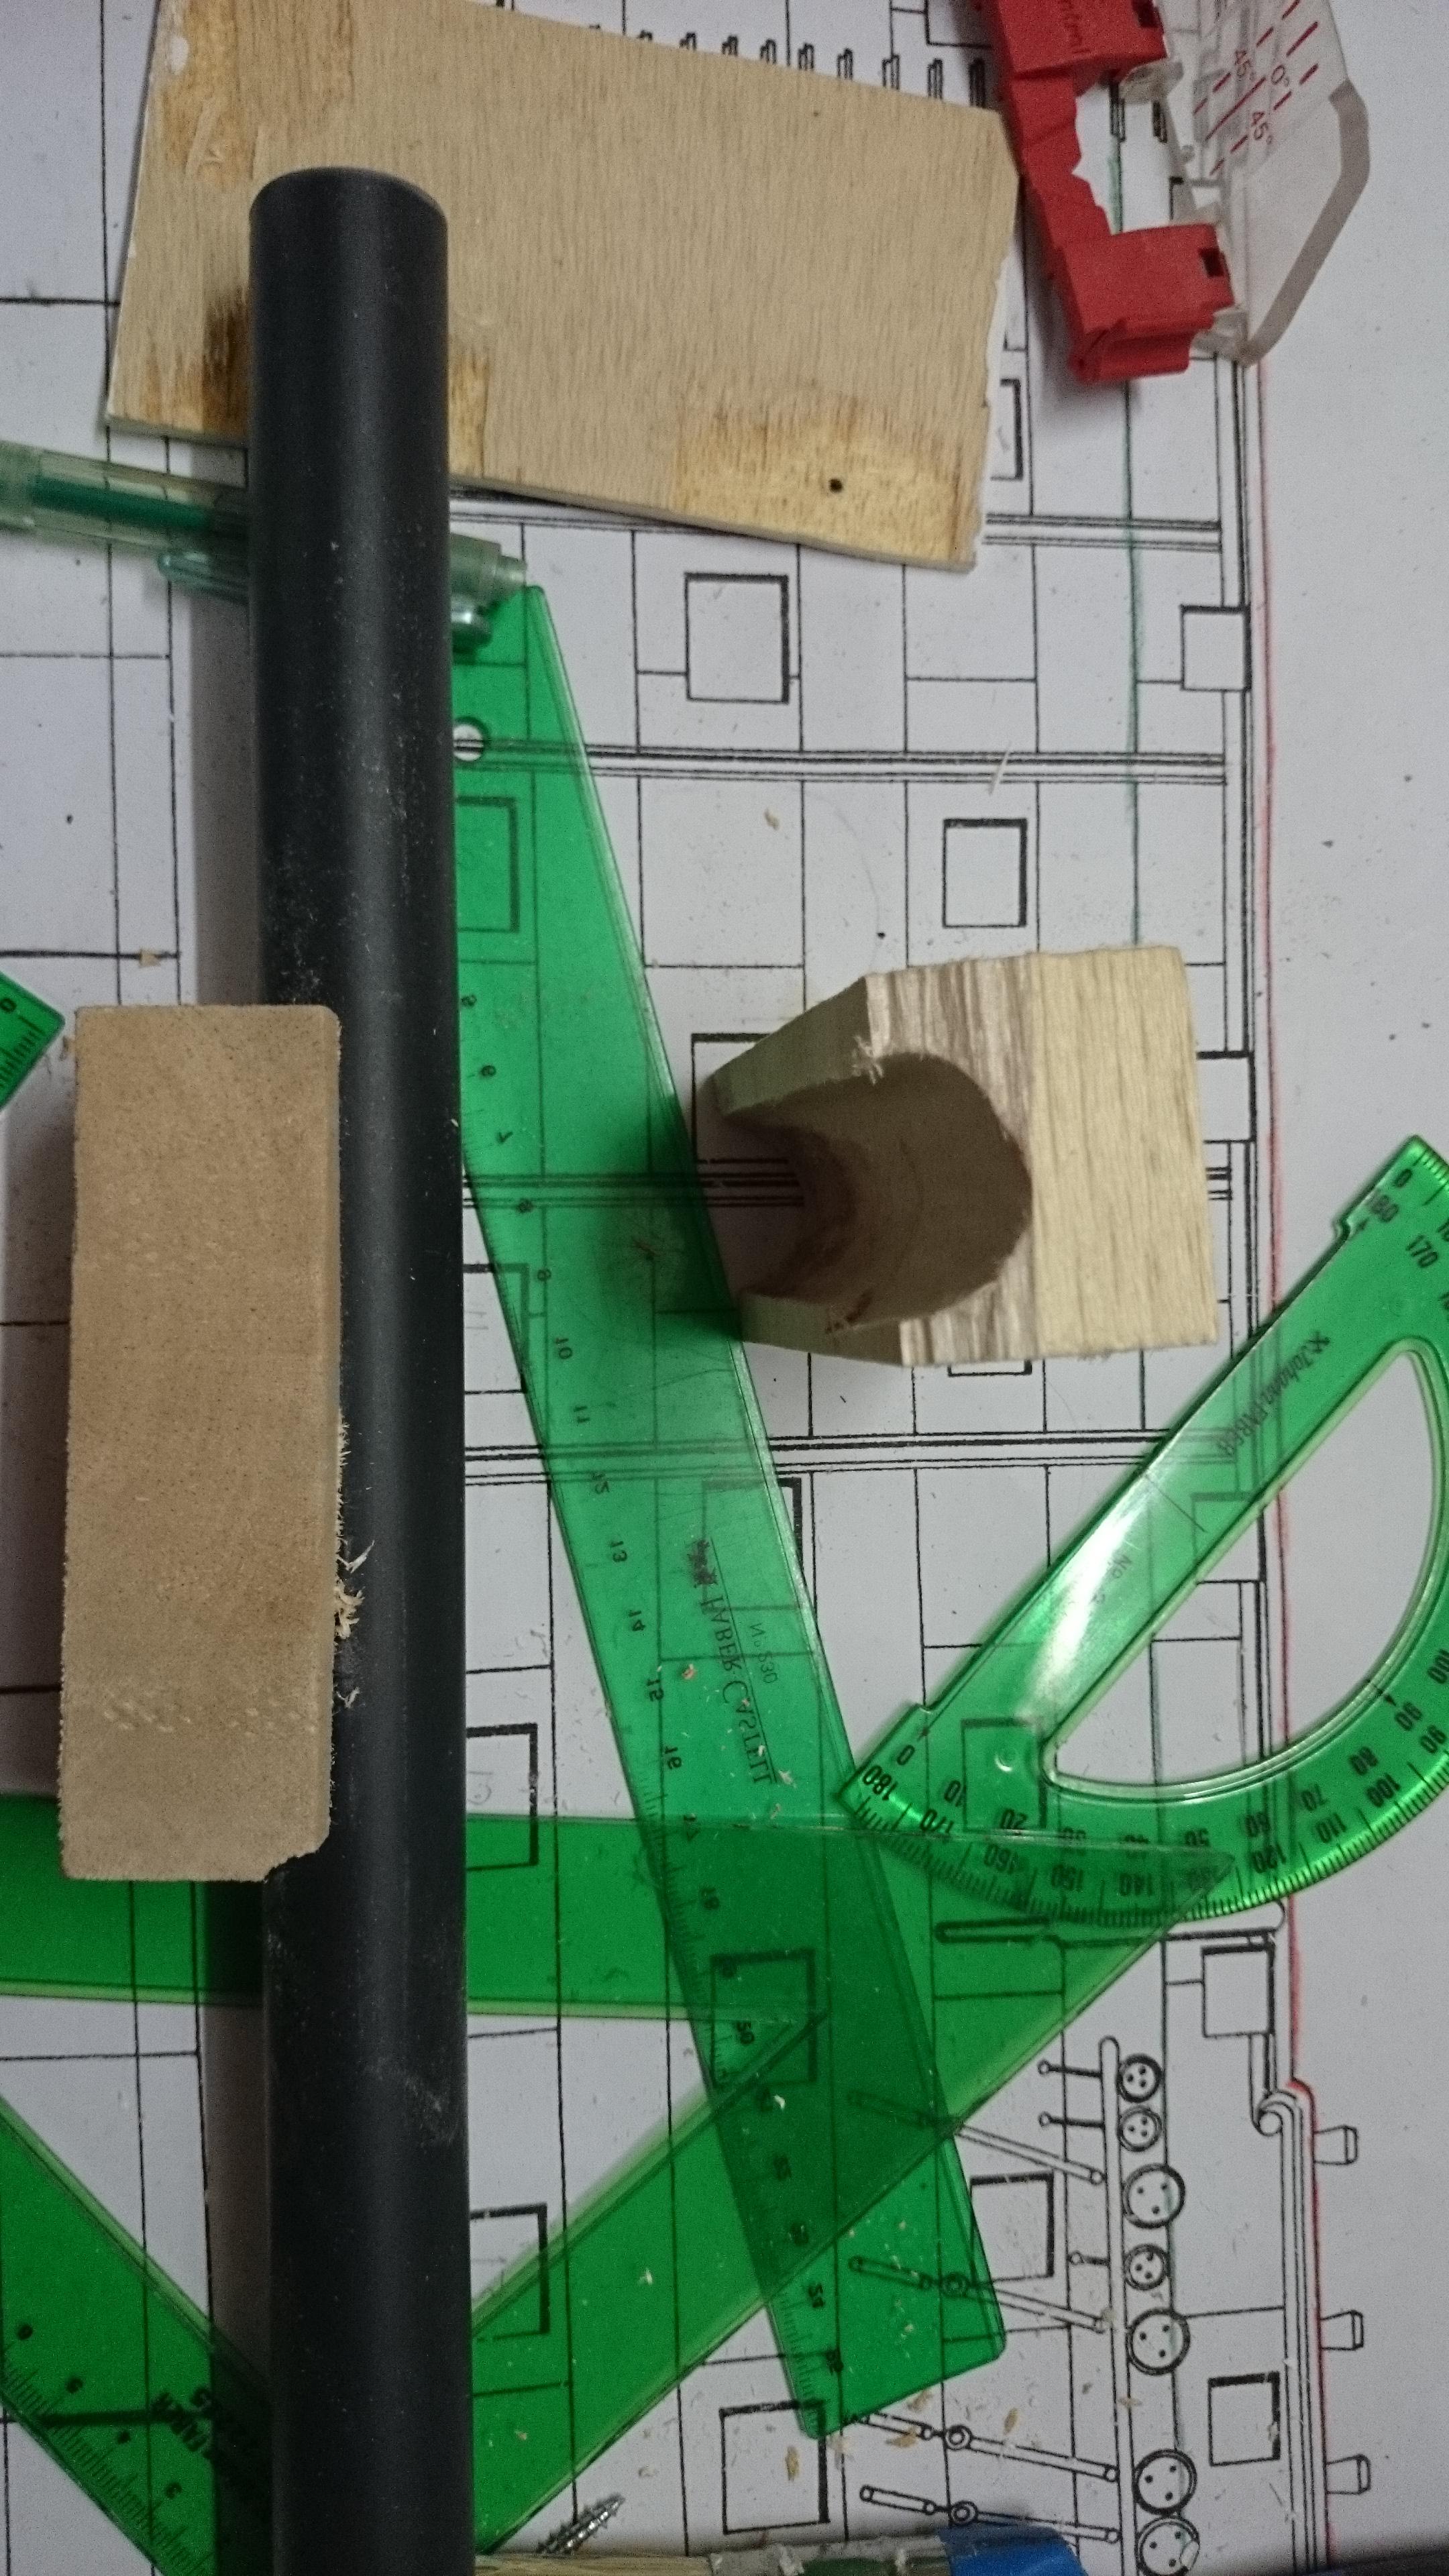
Another scratch build.

Hello,

As the title says, I’m going to try and build my very first Proton Pack, hopefully for Halloween. I’m working using Norms plans, and Stephans plans as well. As I’m not going for movie accurate (because I believe that no two packs are the same, and also gives me the chance to make it unique, in my own way!), Norms plans work best for me.

My budget is small, and so far I have only spent around 20€ in plywood, PVC pieces, and a pair of safety goggles to make my EctoGoggles. everything else I’m scrounging from the left overs of old projects (Tables, shleves, and different projects I built for college). I also managed to find a new Flight suit for 30 €, and its a perfect fit!

I started building last week, and so far I managed to build the motherboard (using stephans plans), the EDA and powercell. Ion arm, attenuator, the Gun mount block and bridge (using norms plans, which means that my mother board is useless!) My gearbox and crank generator are still in the making. I dont have the tools to cut big pieces, so I have to do it the old fashioned way, chipping away, sanding and anything that can do the job.

I’m hoping to have enough time to put lights on the whole thing, and maybe add sound to it. However, going through the posts in the community, I find the setup people use, but not how they fix the different pieces of the pack to the motherboard in such a way that the electronics are still accesible. Say for instance that you have the main electronics board iside the synchronous generator (which is where I intend to put mine, along with the battery), how can you fix the SG back in place so that you can comfortable lift it back up to recharge, or modify the electronic setup? I’m thinking screws in the back of the motherboard, fixed to wodden blocks, but I’m not sure about it.

I would welcome any suggestions to put sound in the pack. I know you can buy kits, but I have no way to buy one just yet. Is there a sound board available that you can use in this case?

I’ll post pictures as soon as I figure out how to!

Cheers!
Not much progress today. Yesterday I used wood filler to finish off the pieces I had built aready. When I came back from work today, I found that it had not settled well. It was cracked and pealed off. Real disappointed in the product I bought. Had to sand everything real good to apply a different product tomorrow.

Will post pictures as soon as I can.

Cheers

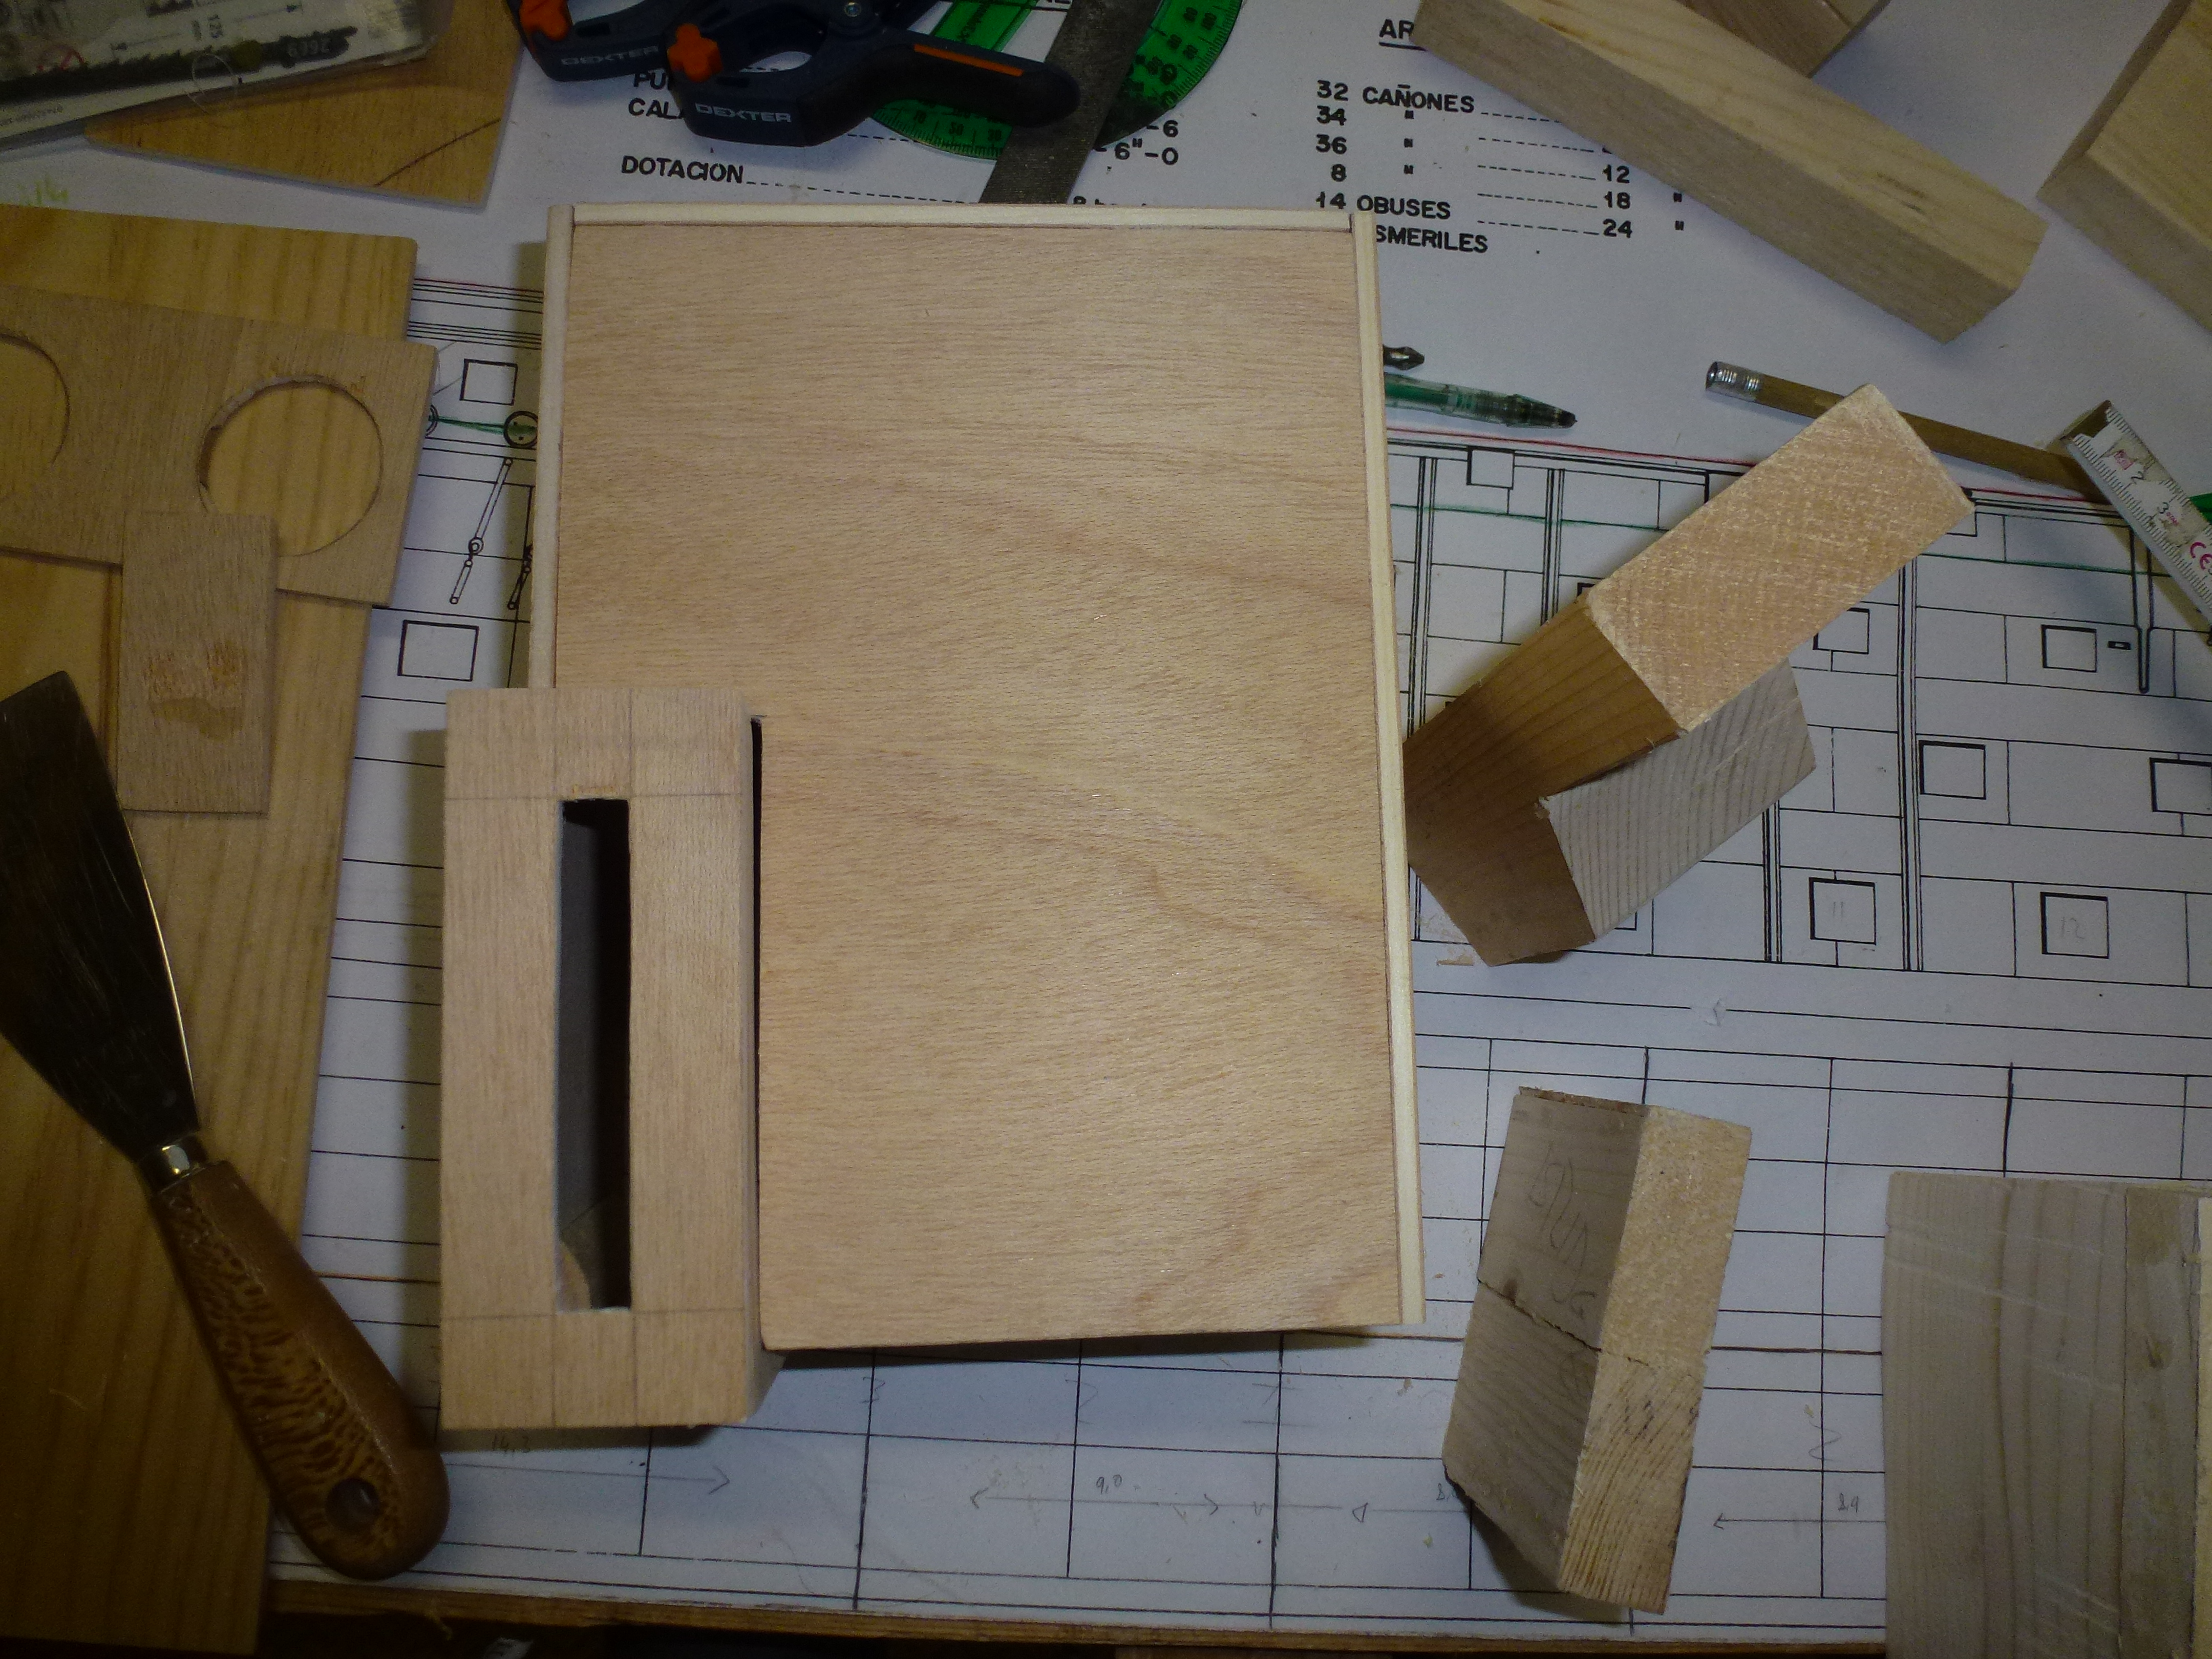
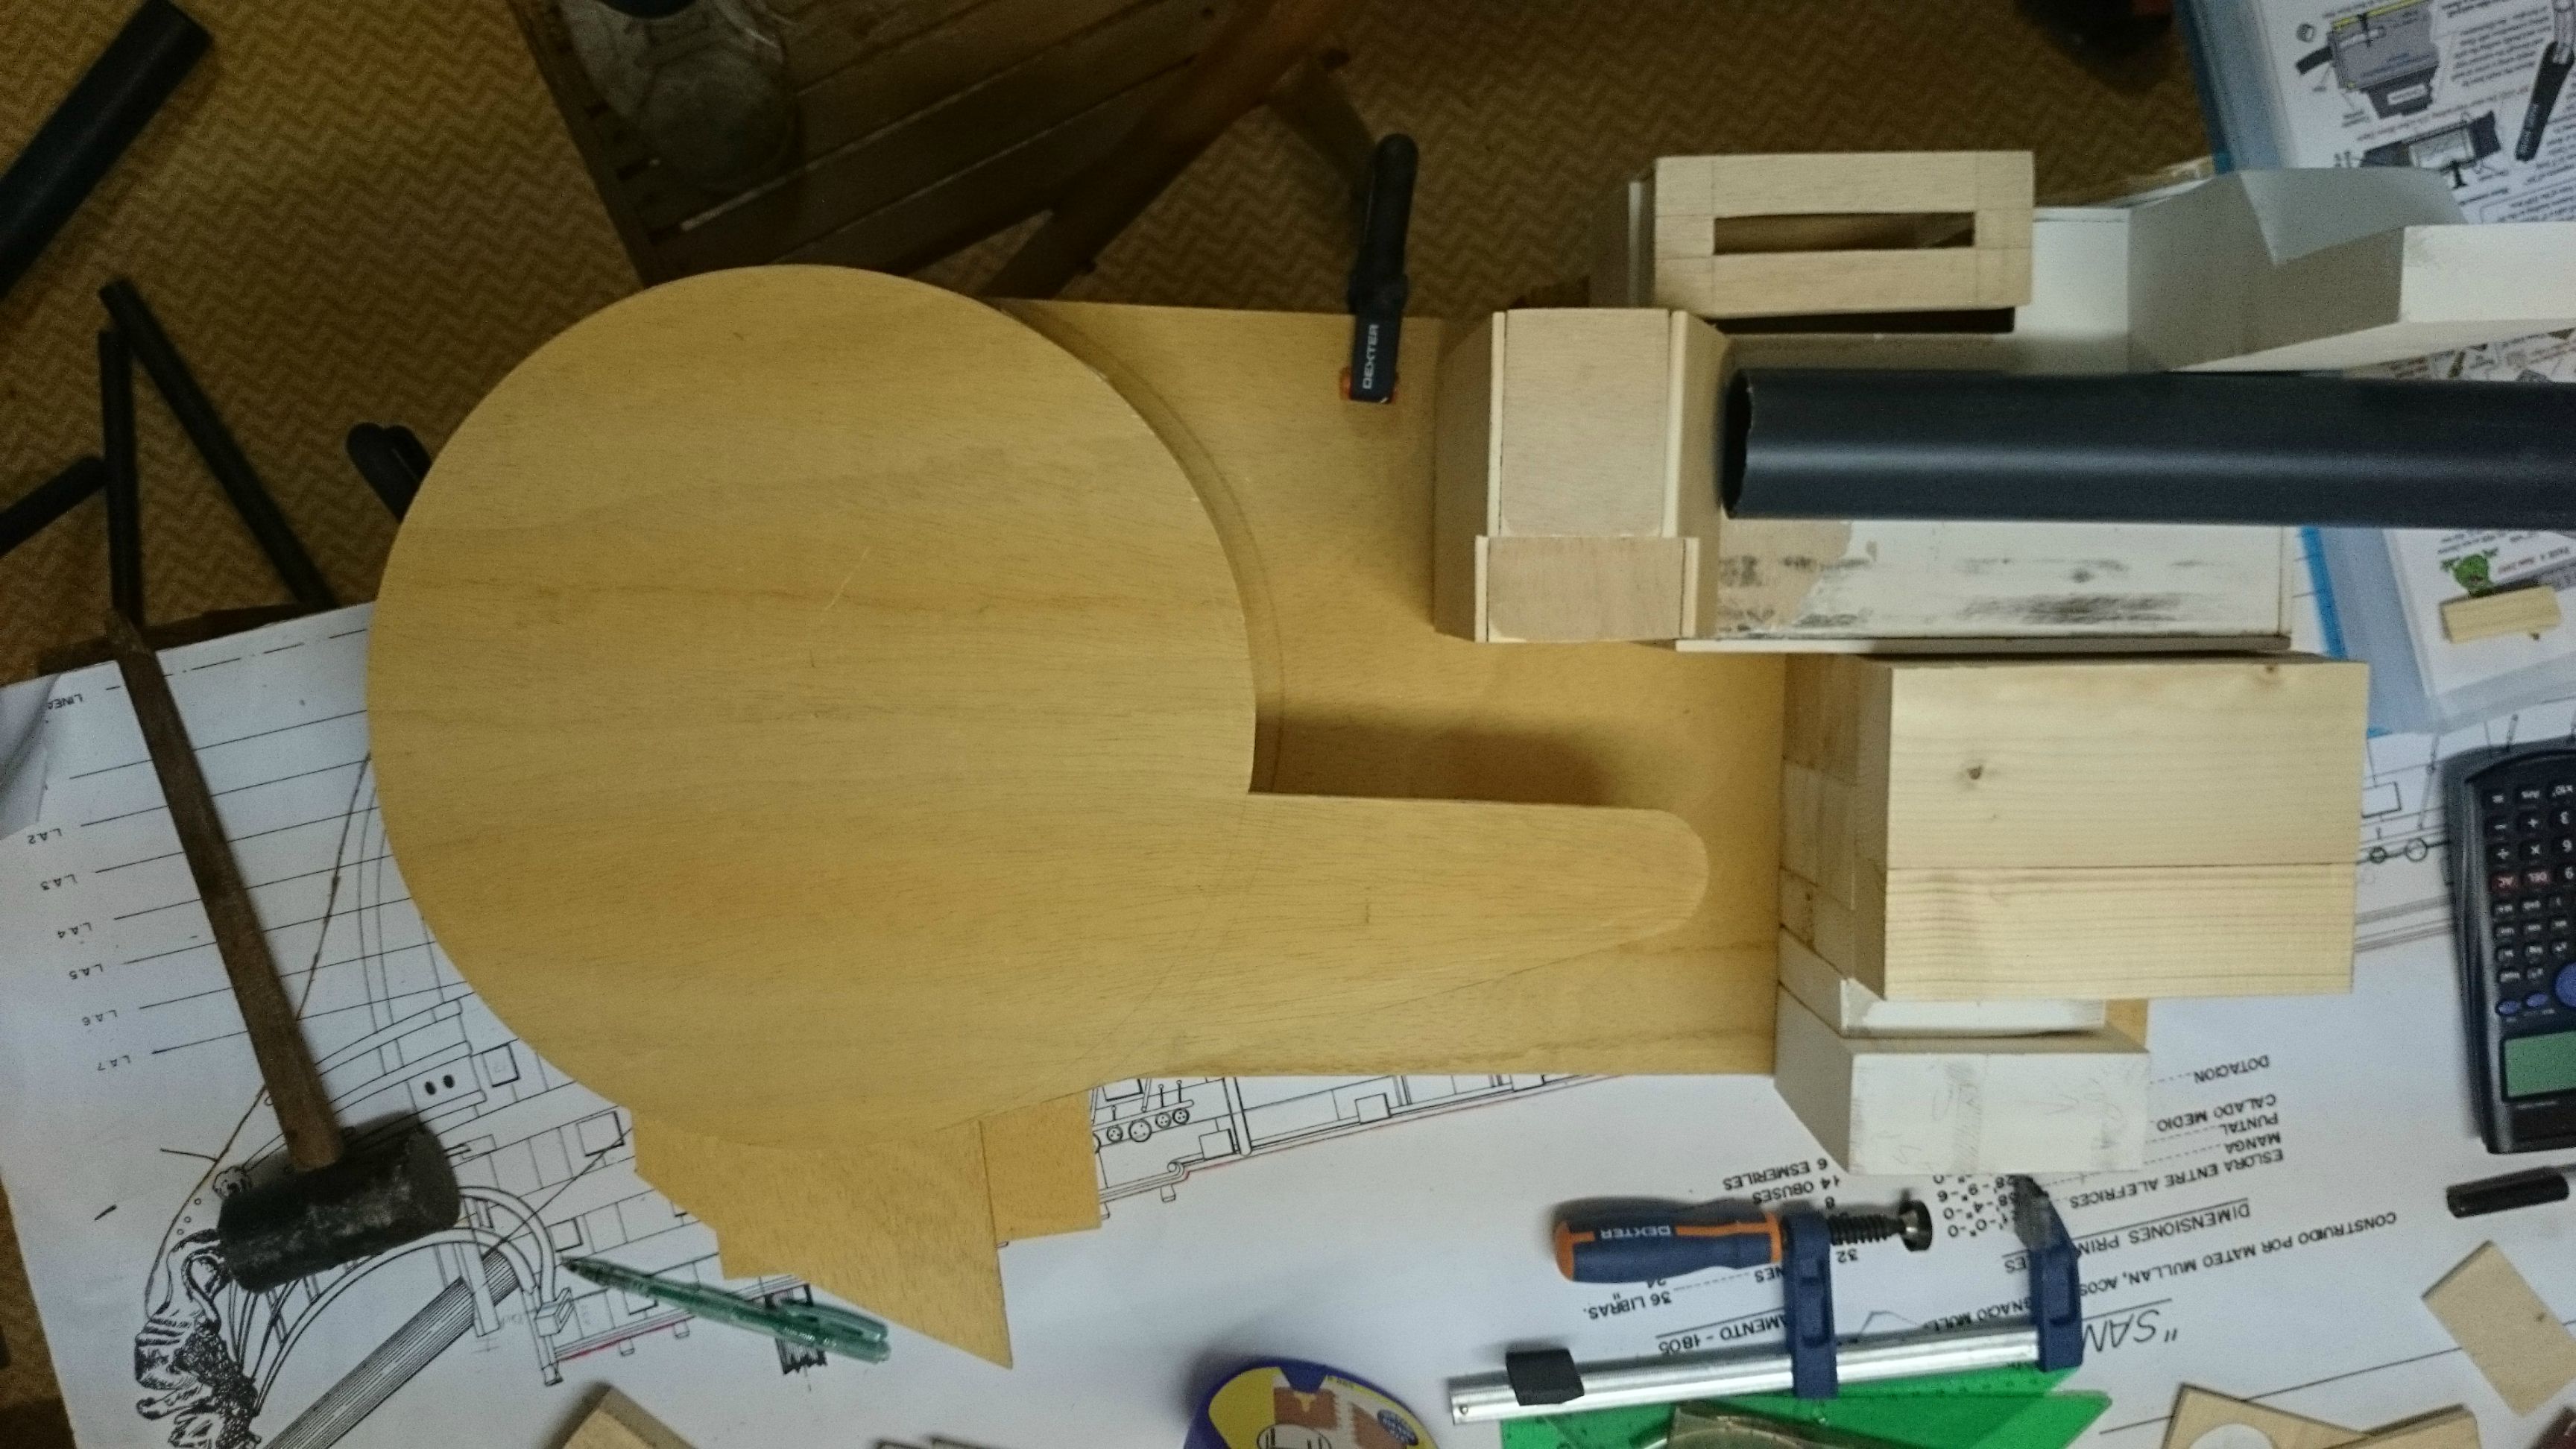
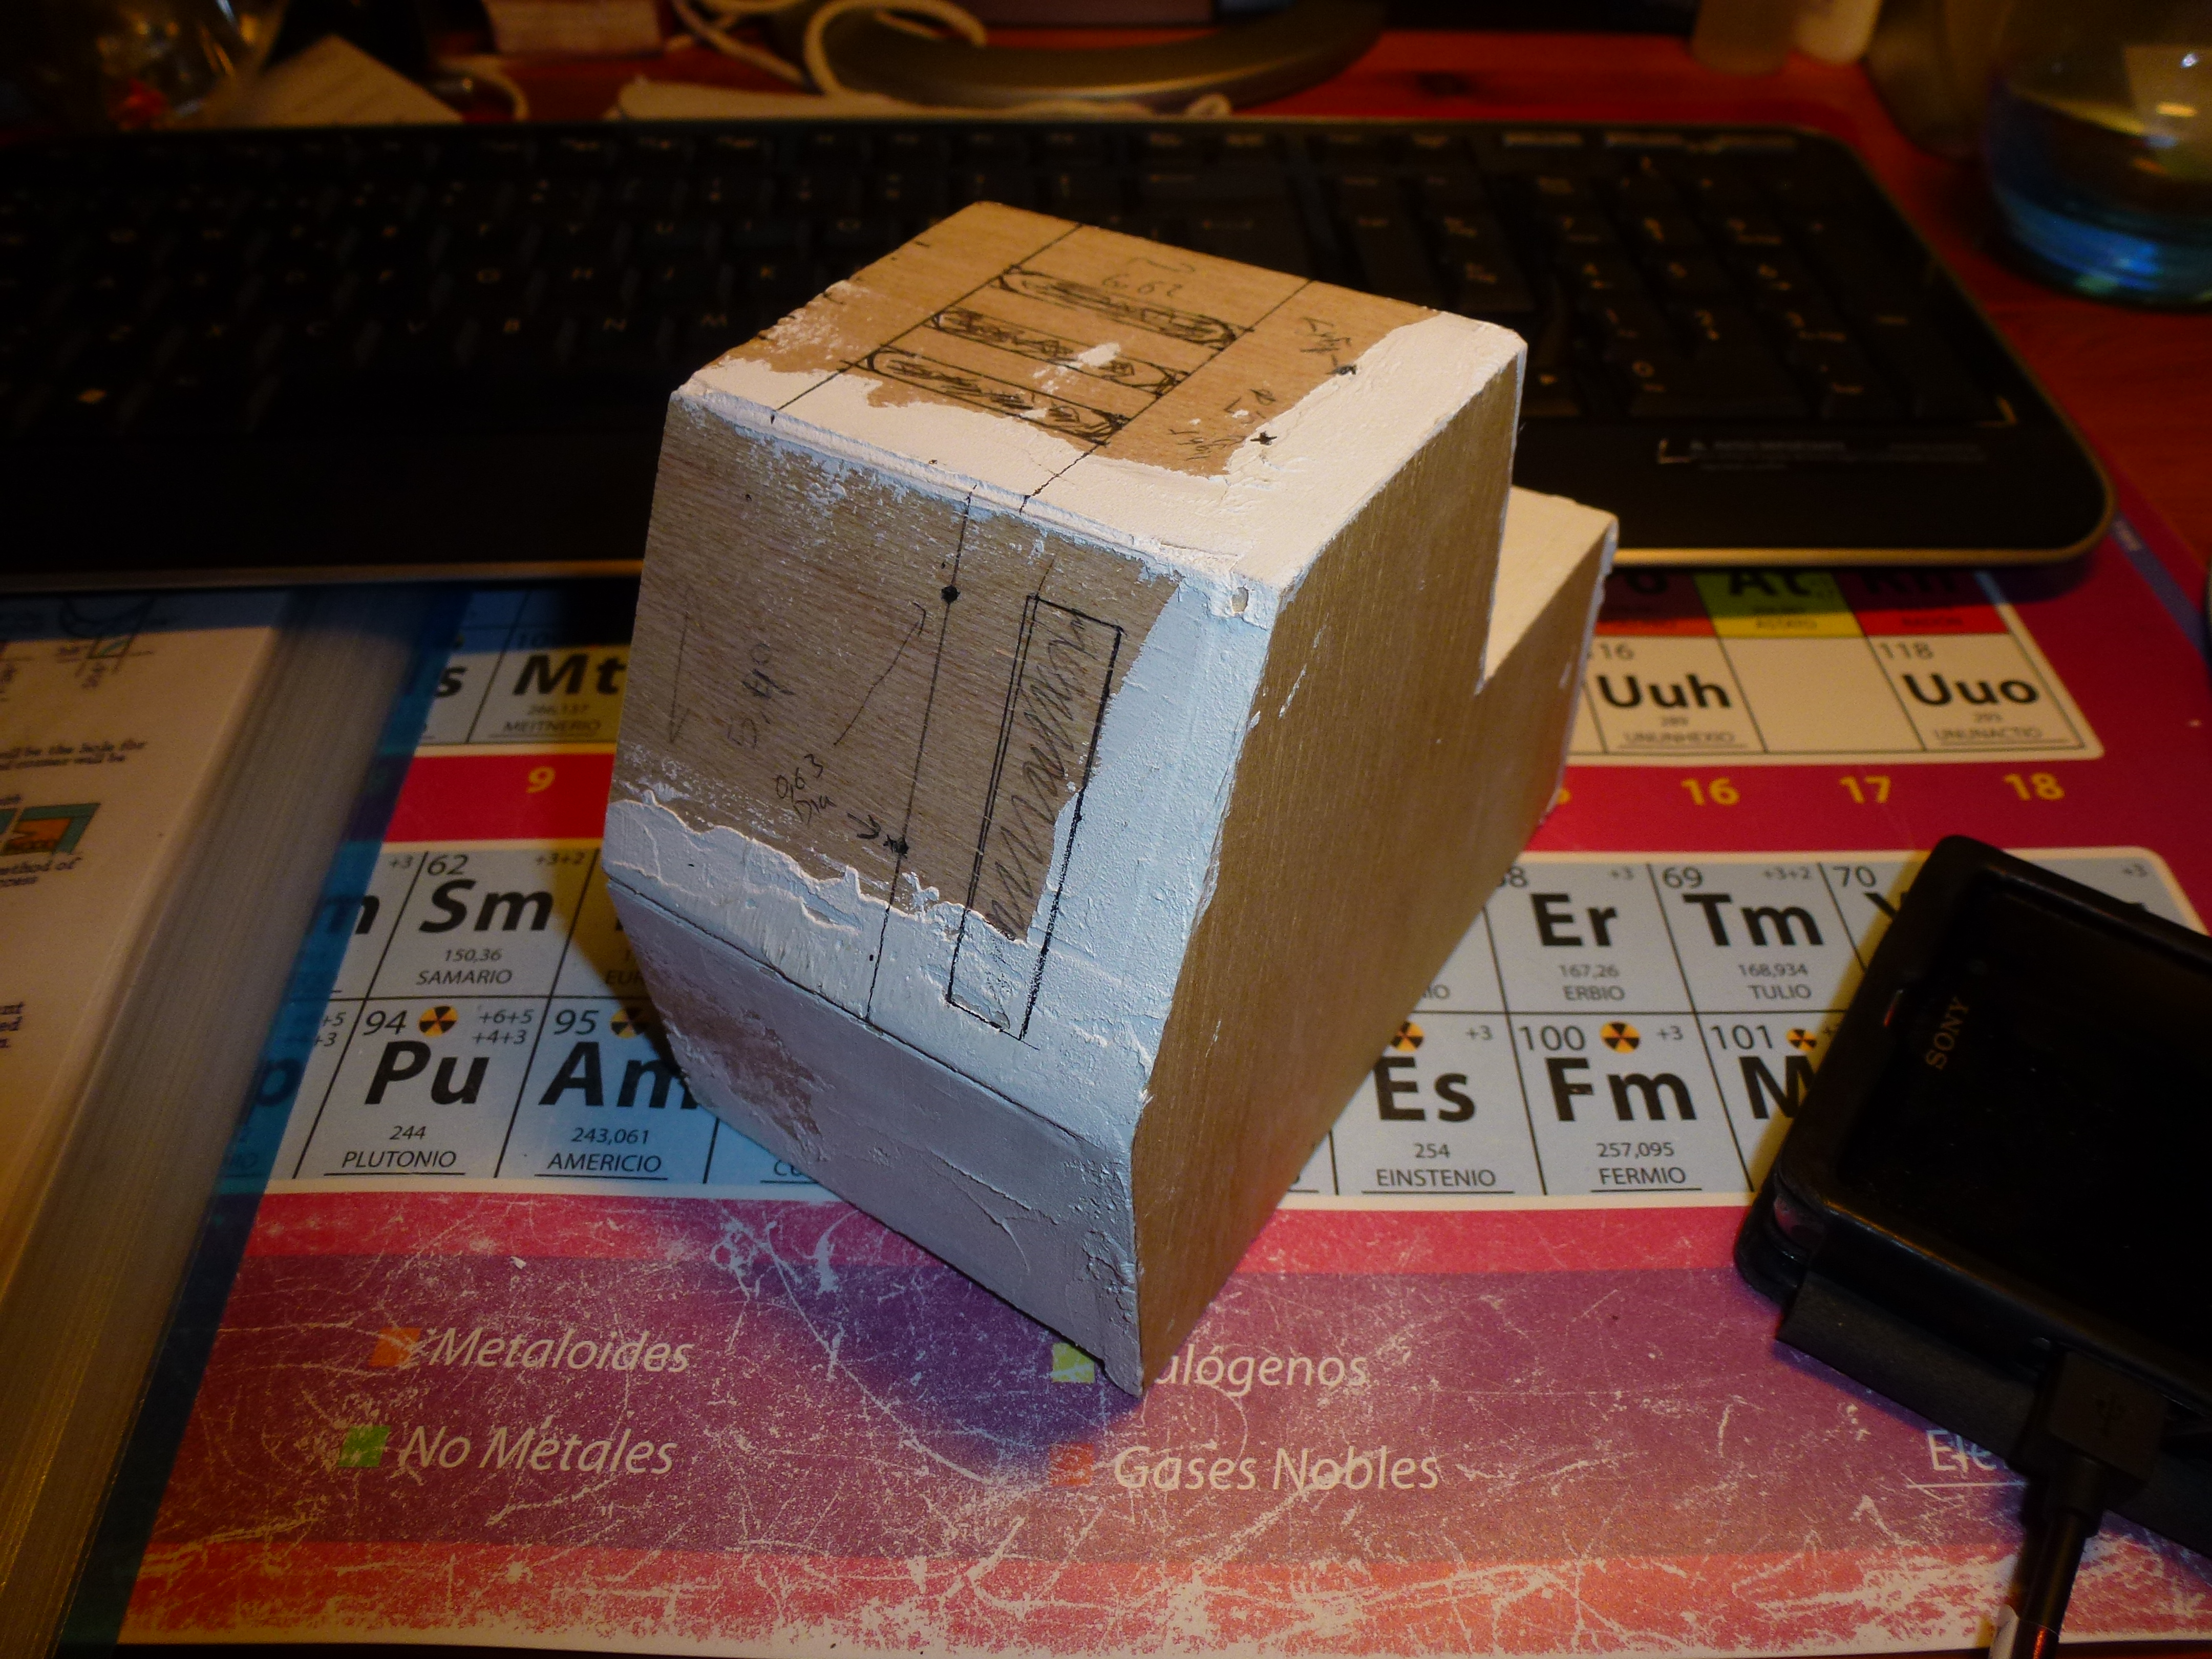
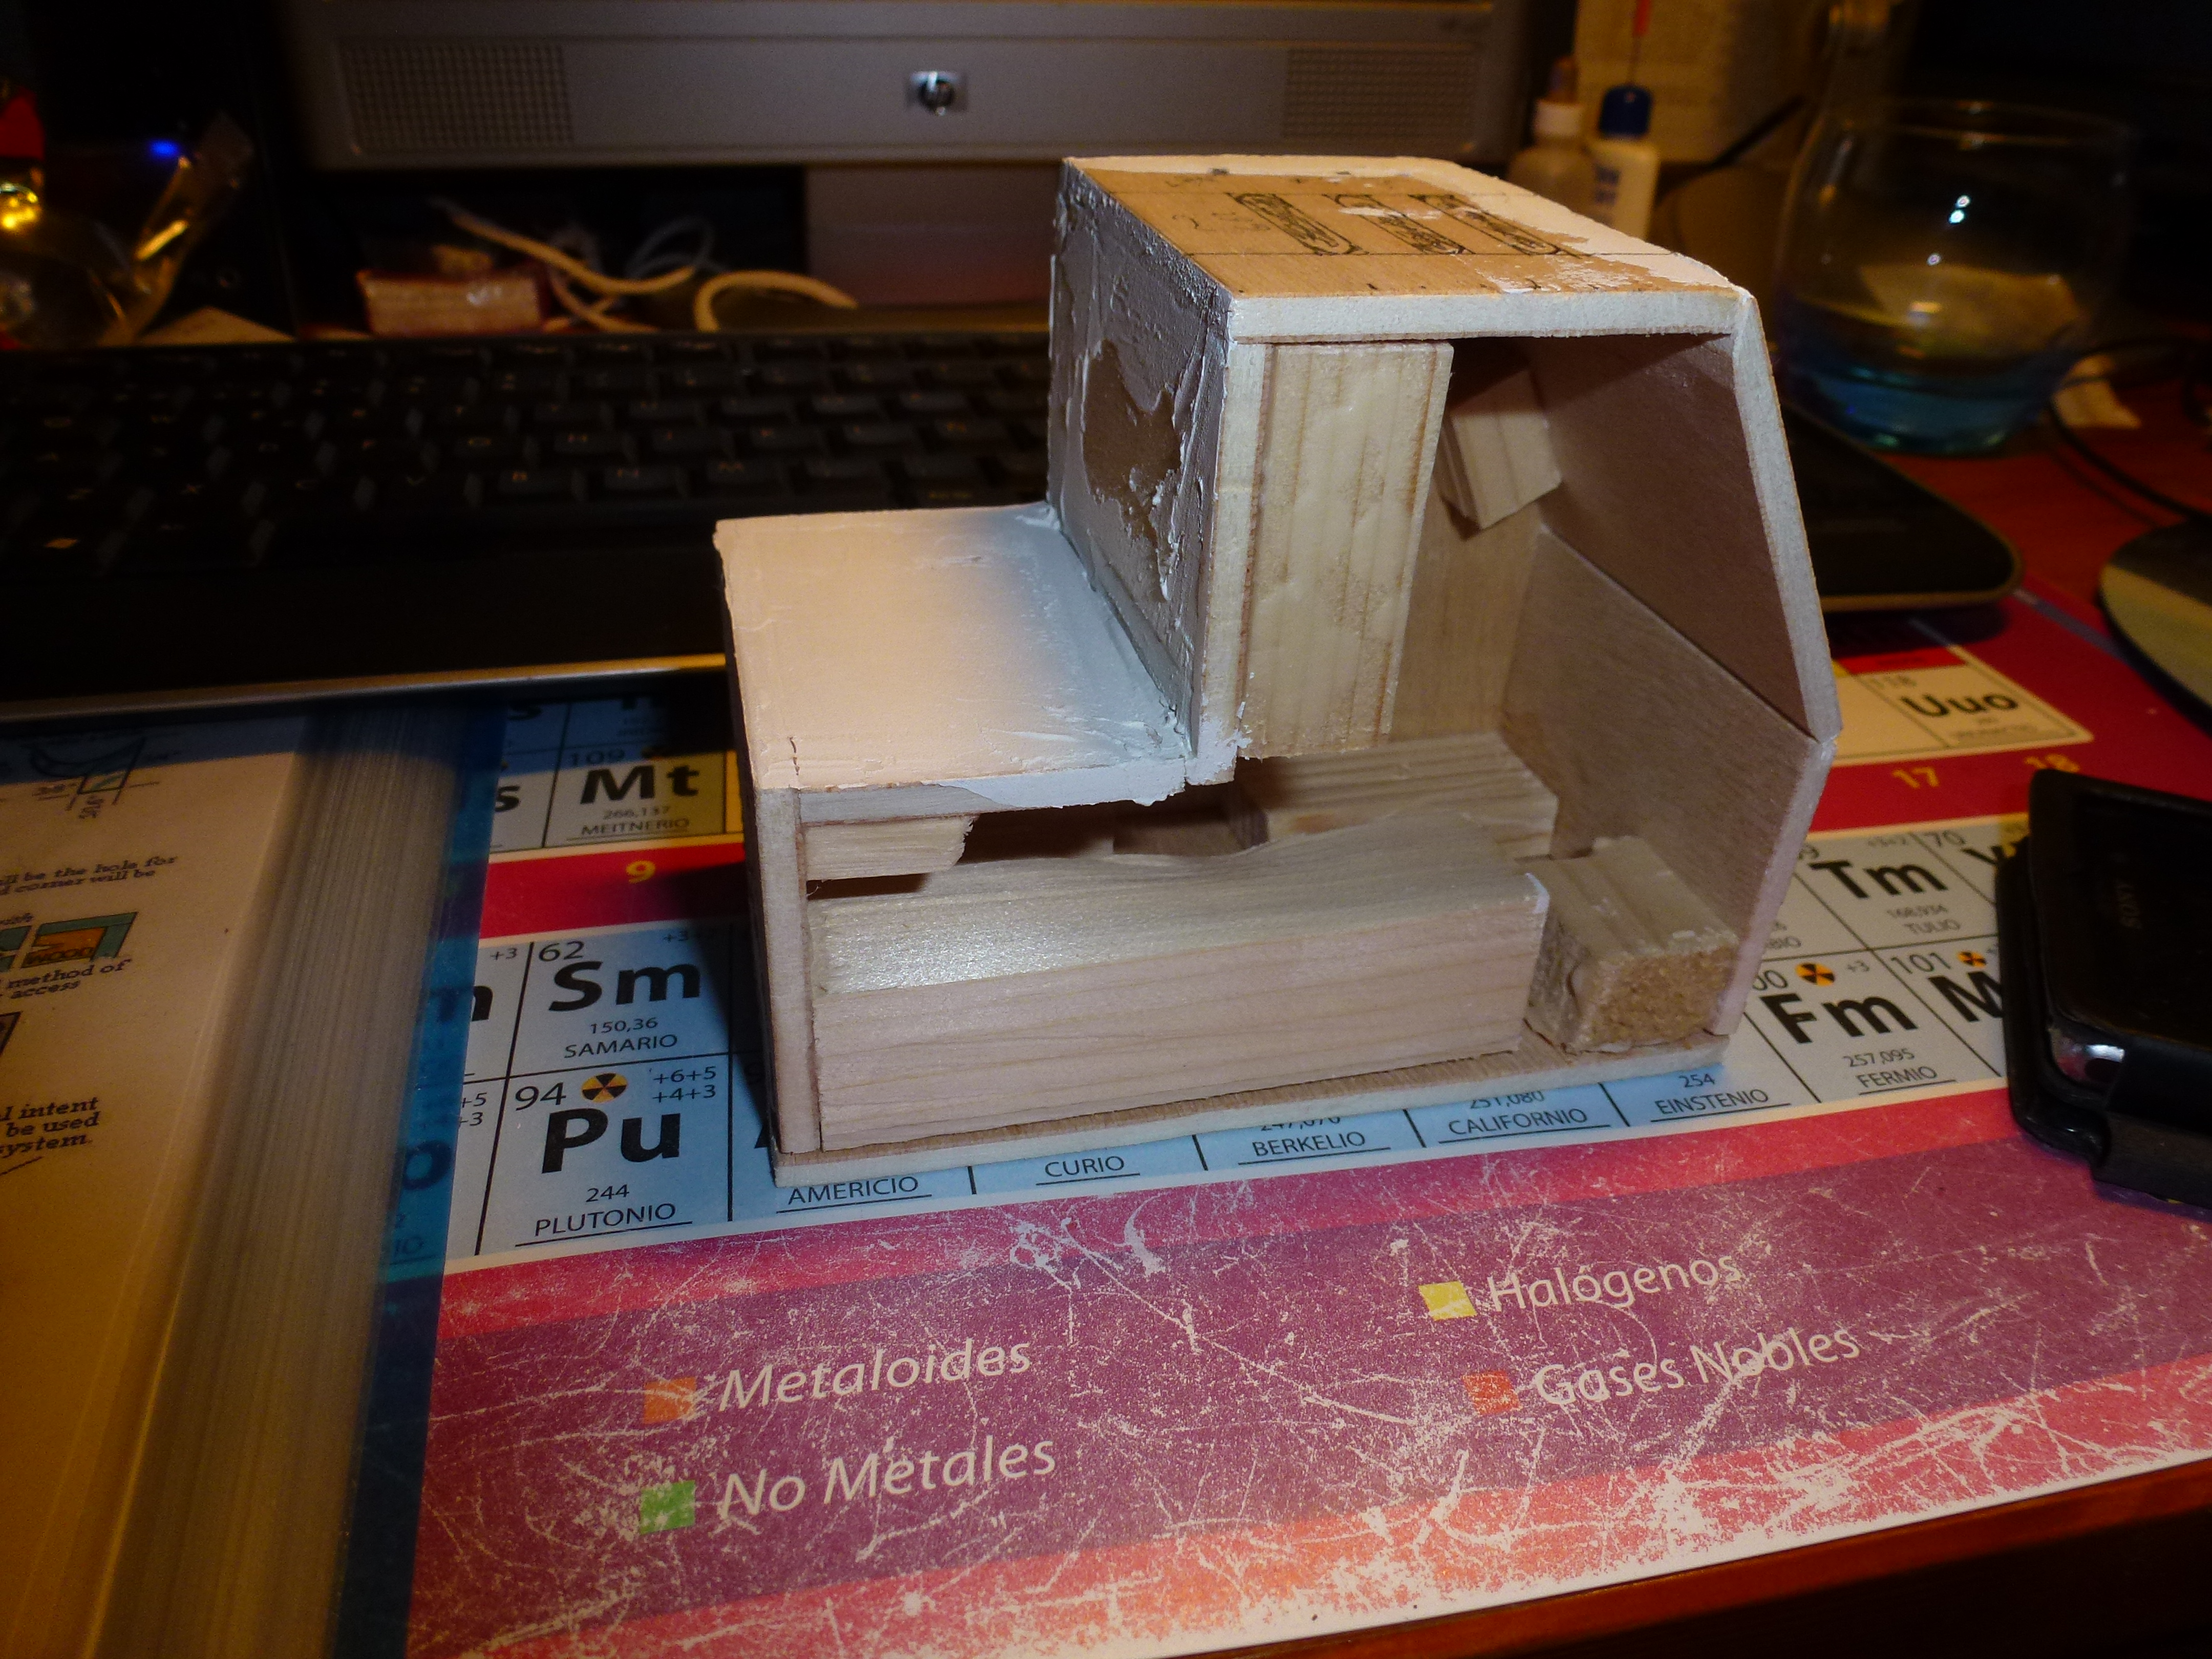
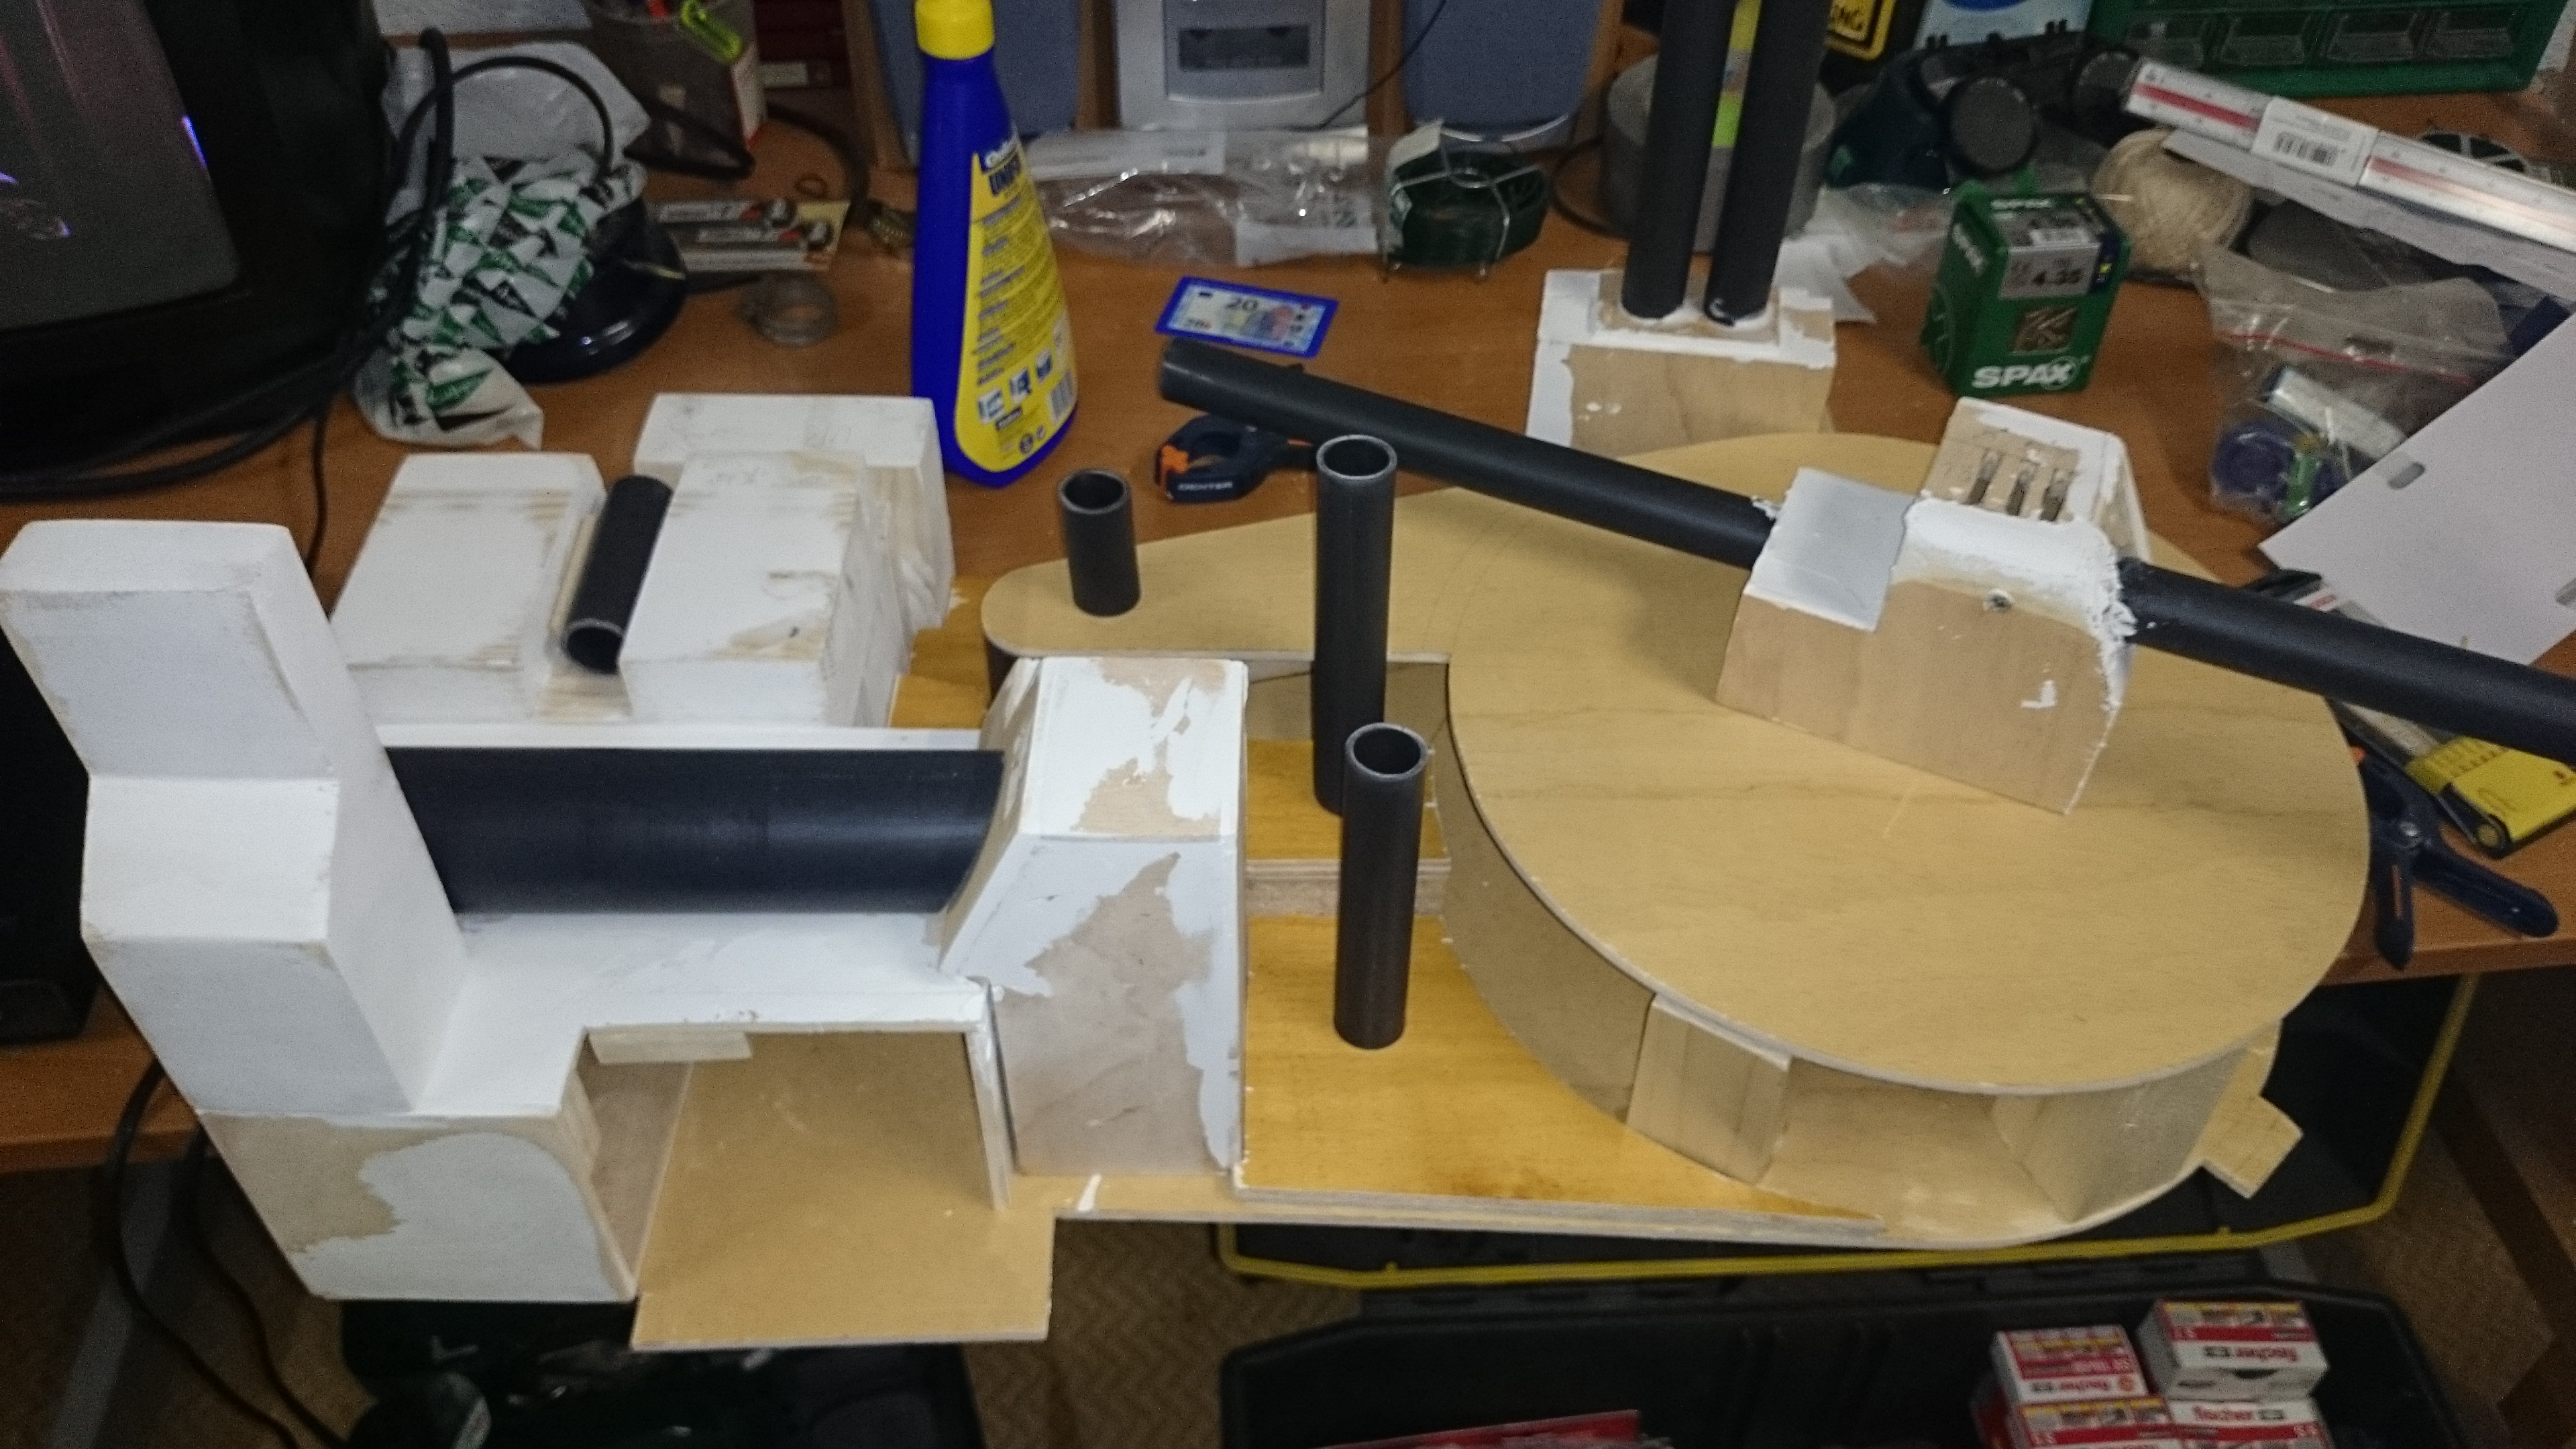
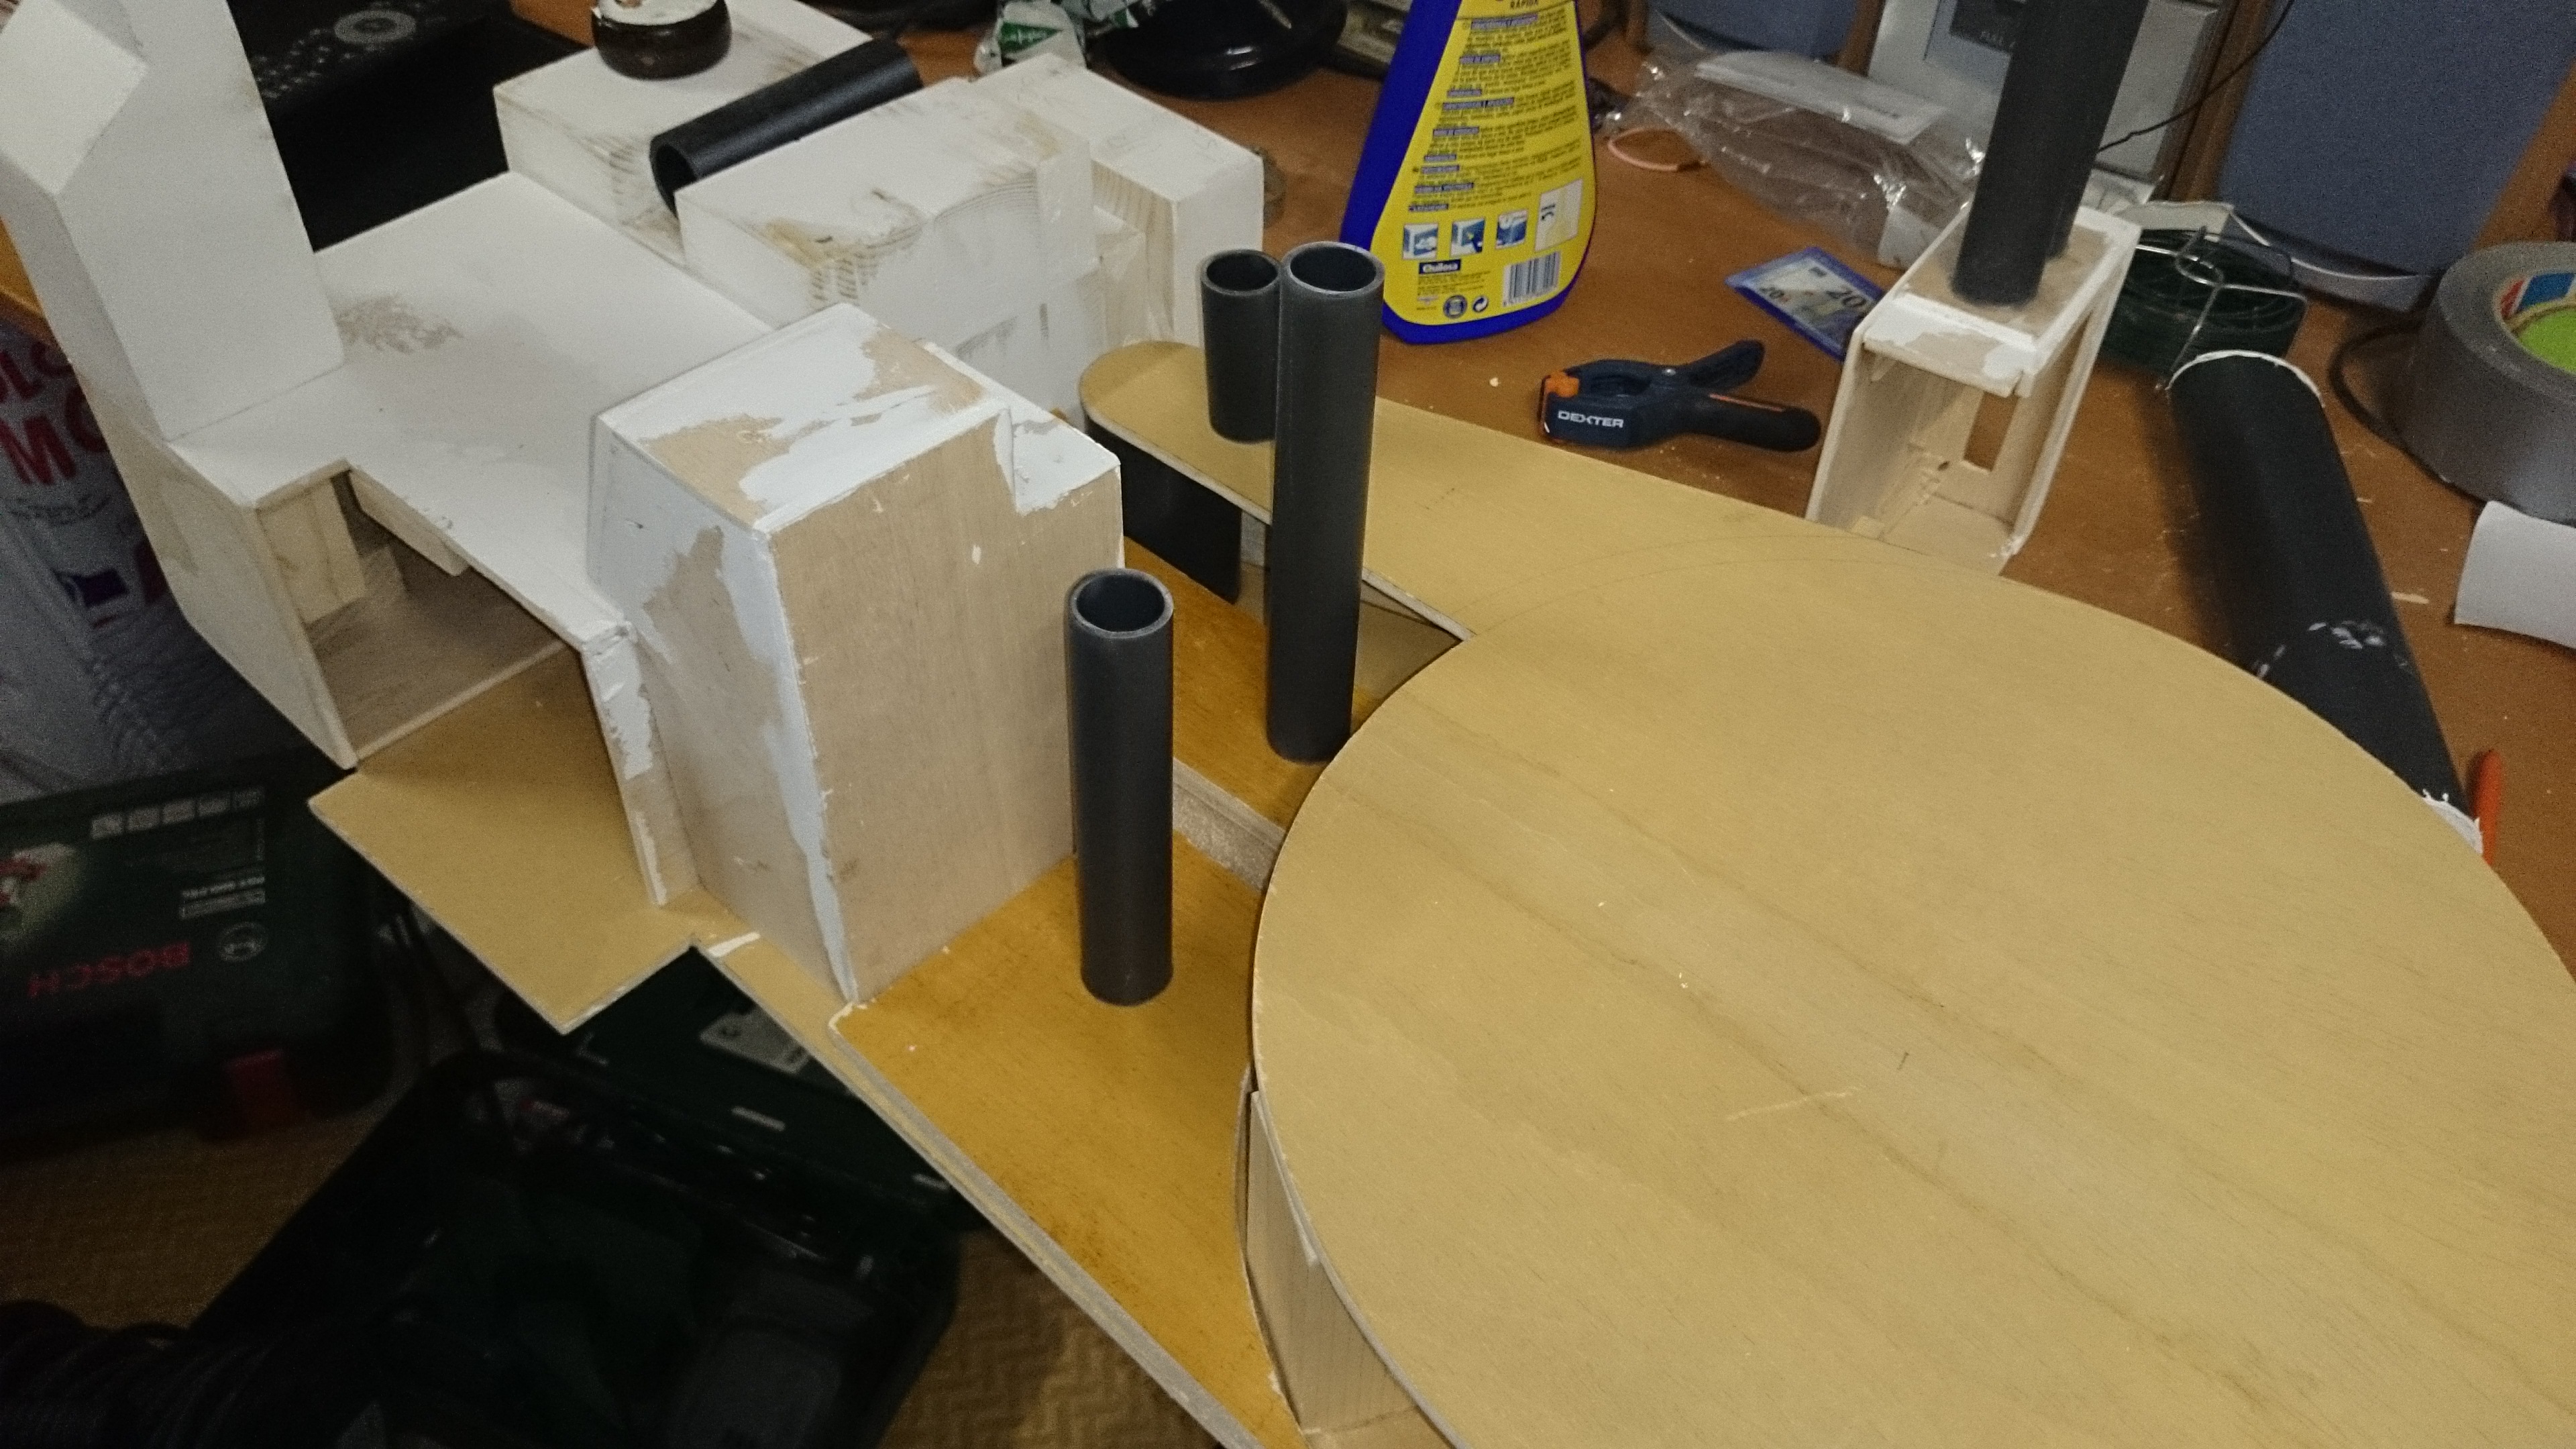
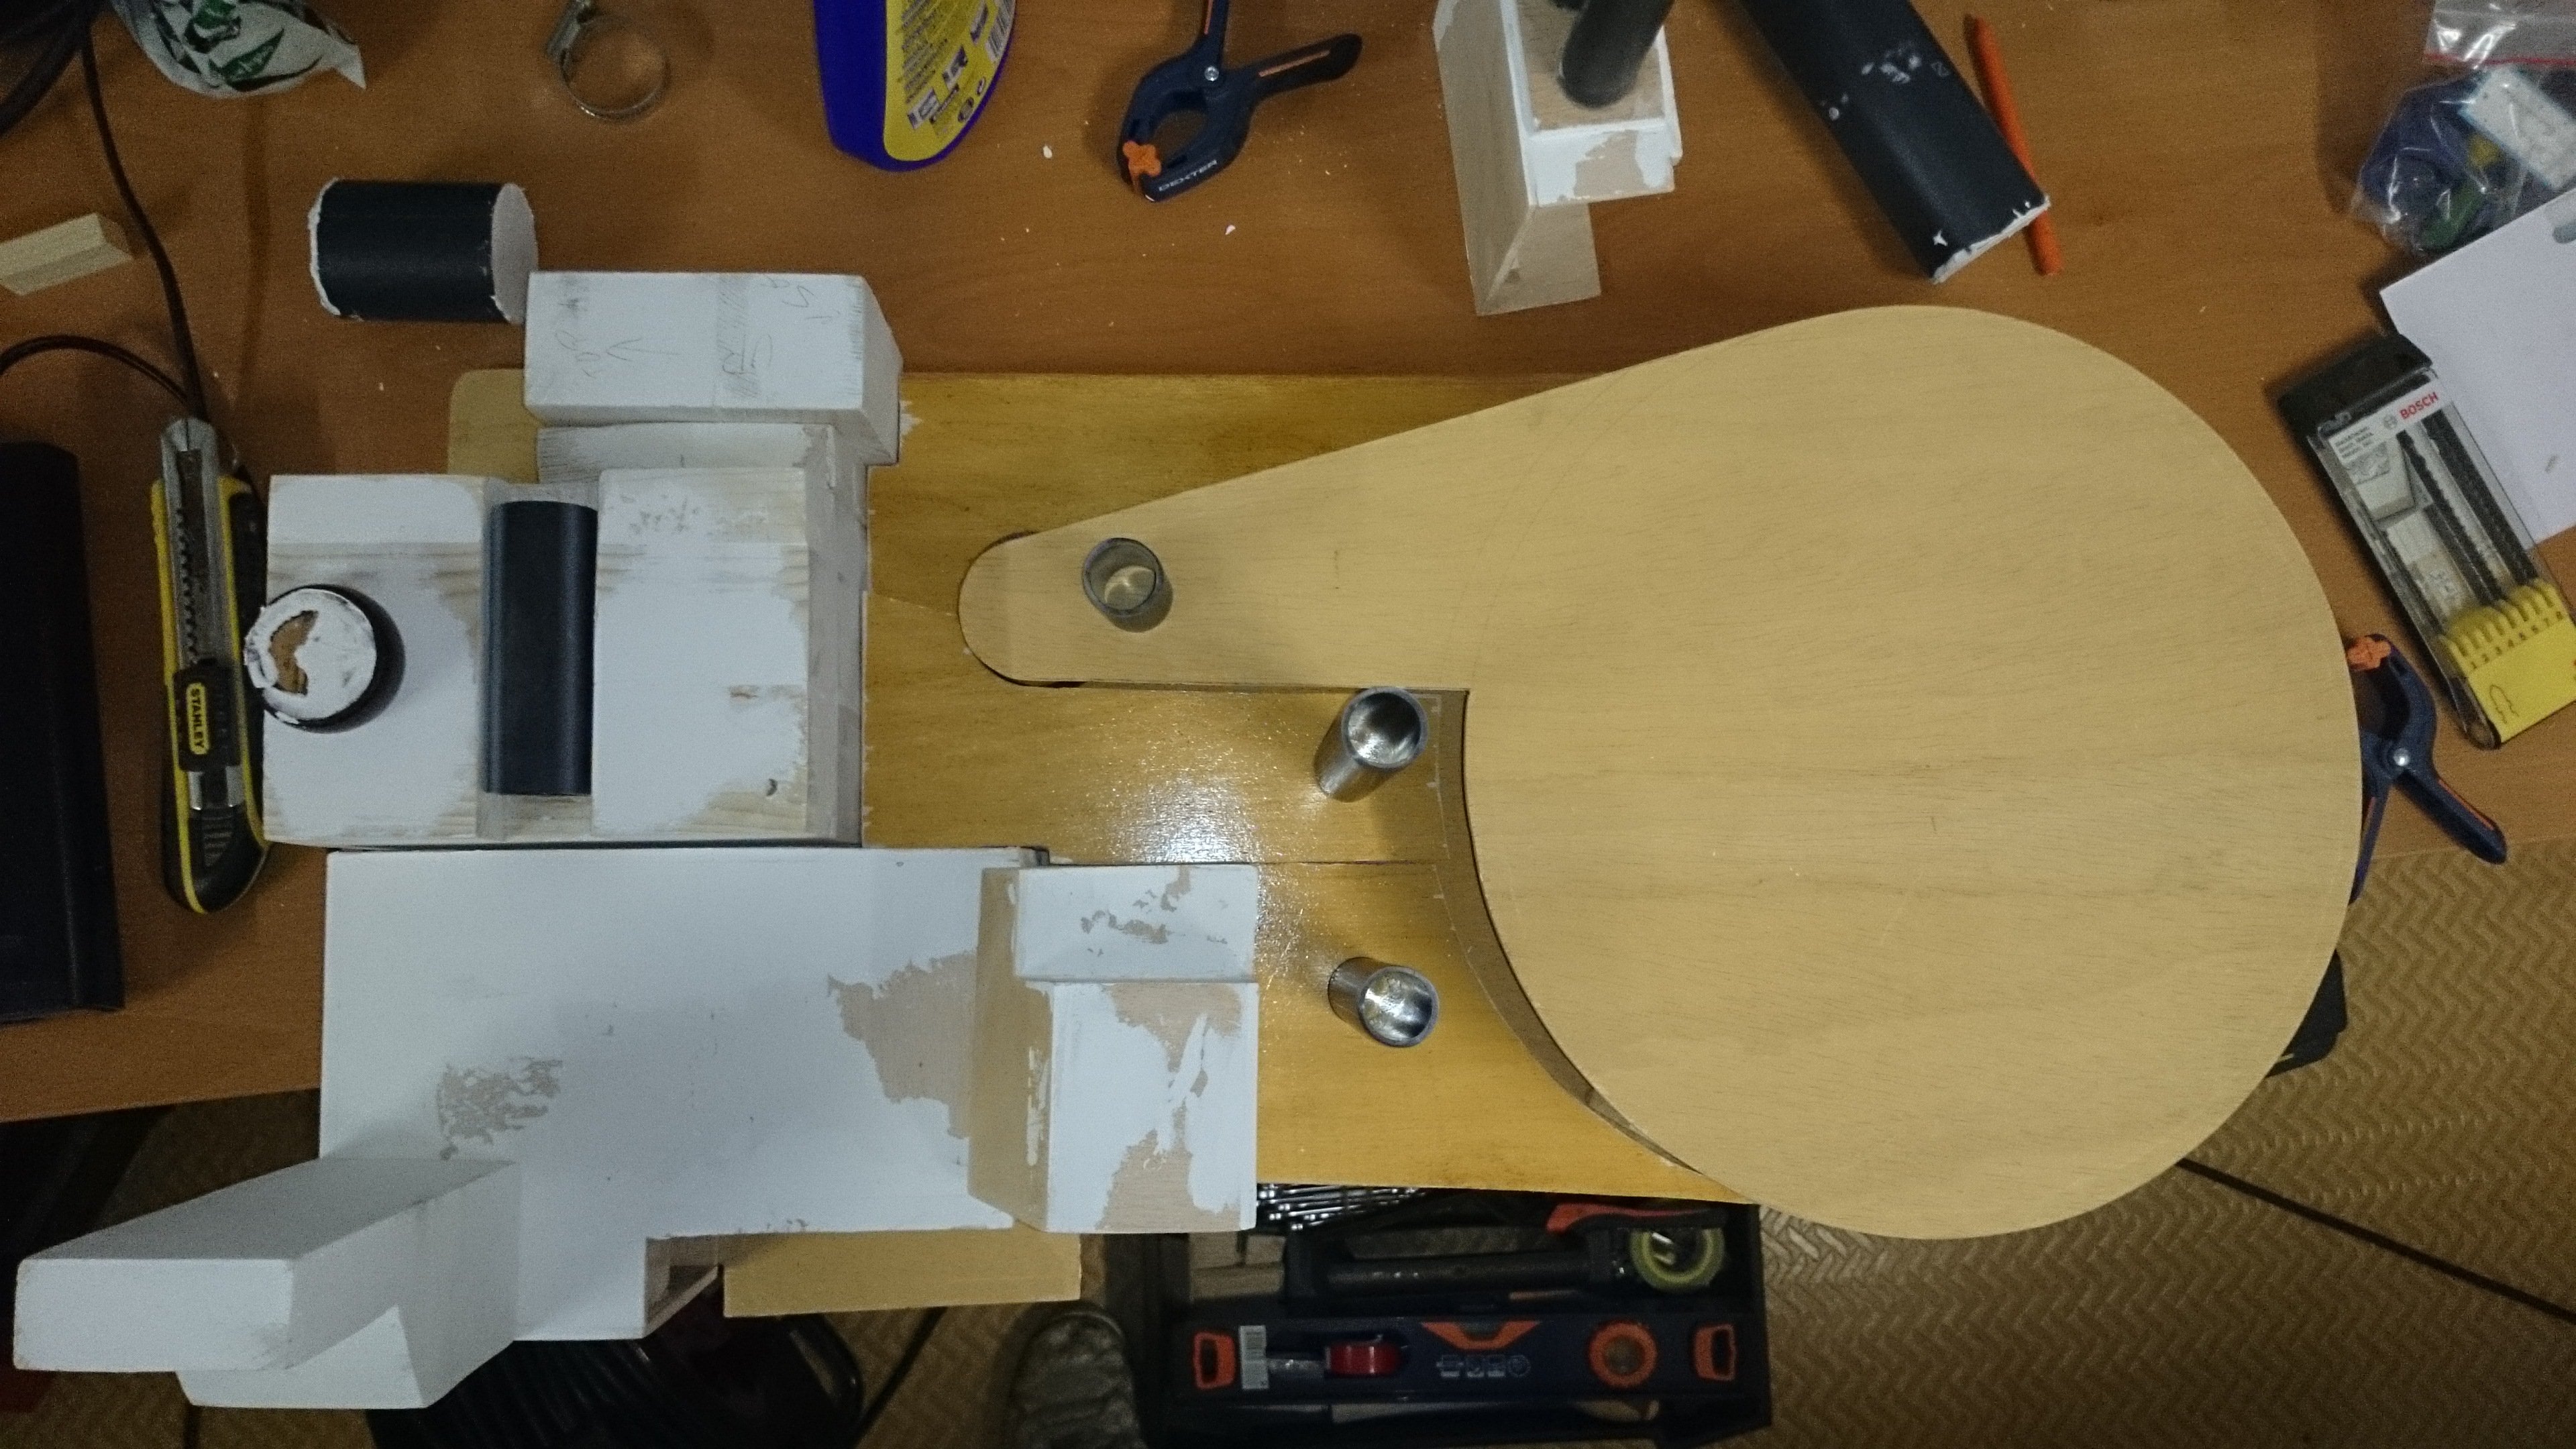
So I’ve made good progress this week, but it’s still not enough!! Remade the motherboard and sincronous generator to the new specs, and laid everything out to make sure it fits…I may have a slight problem with the gun mount, since it seem to stick out about 1 cm, about 0.4¨. Also started working on the thrower, got the main box built and I’ve drawn out the spaces for the lights.

So, on the pictures!

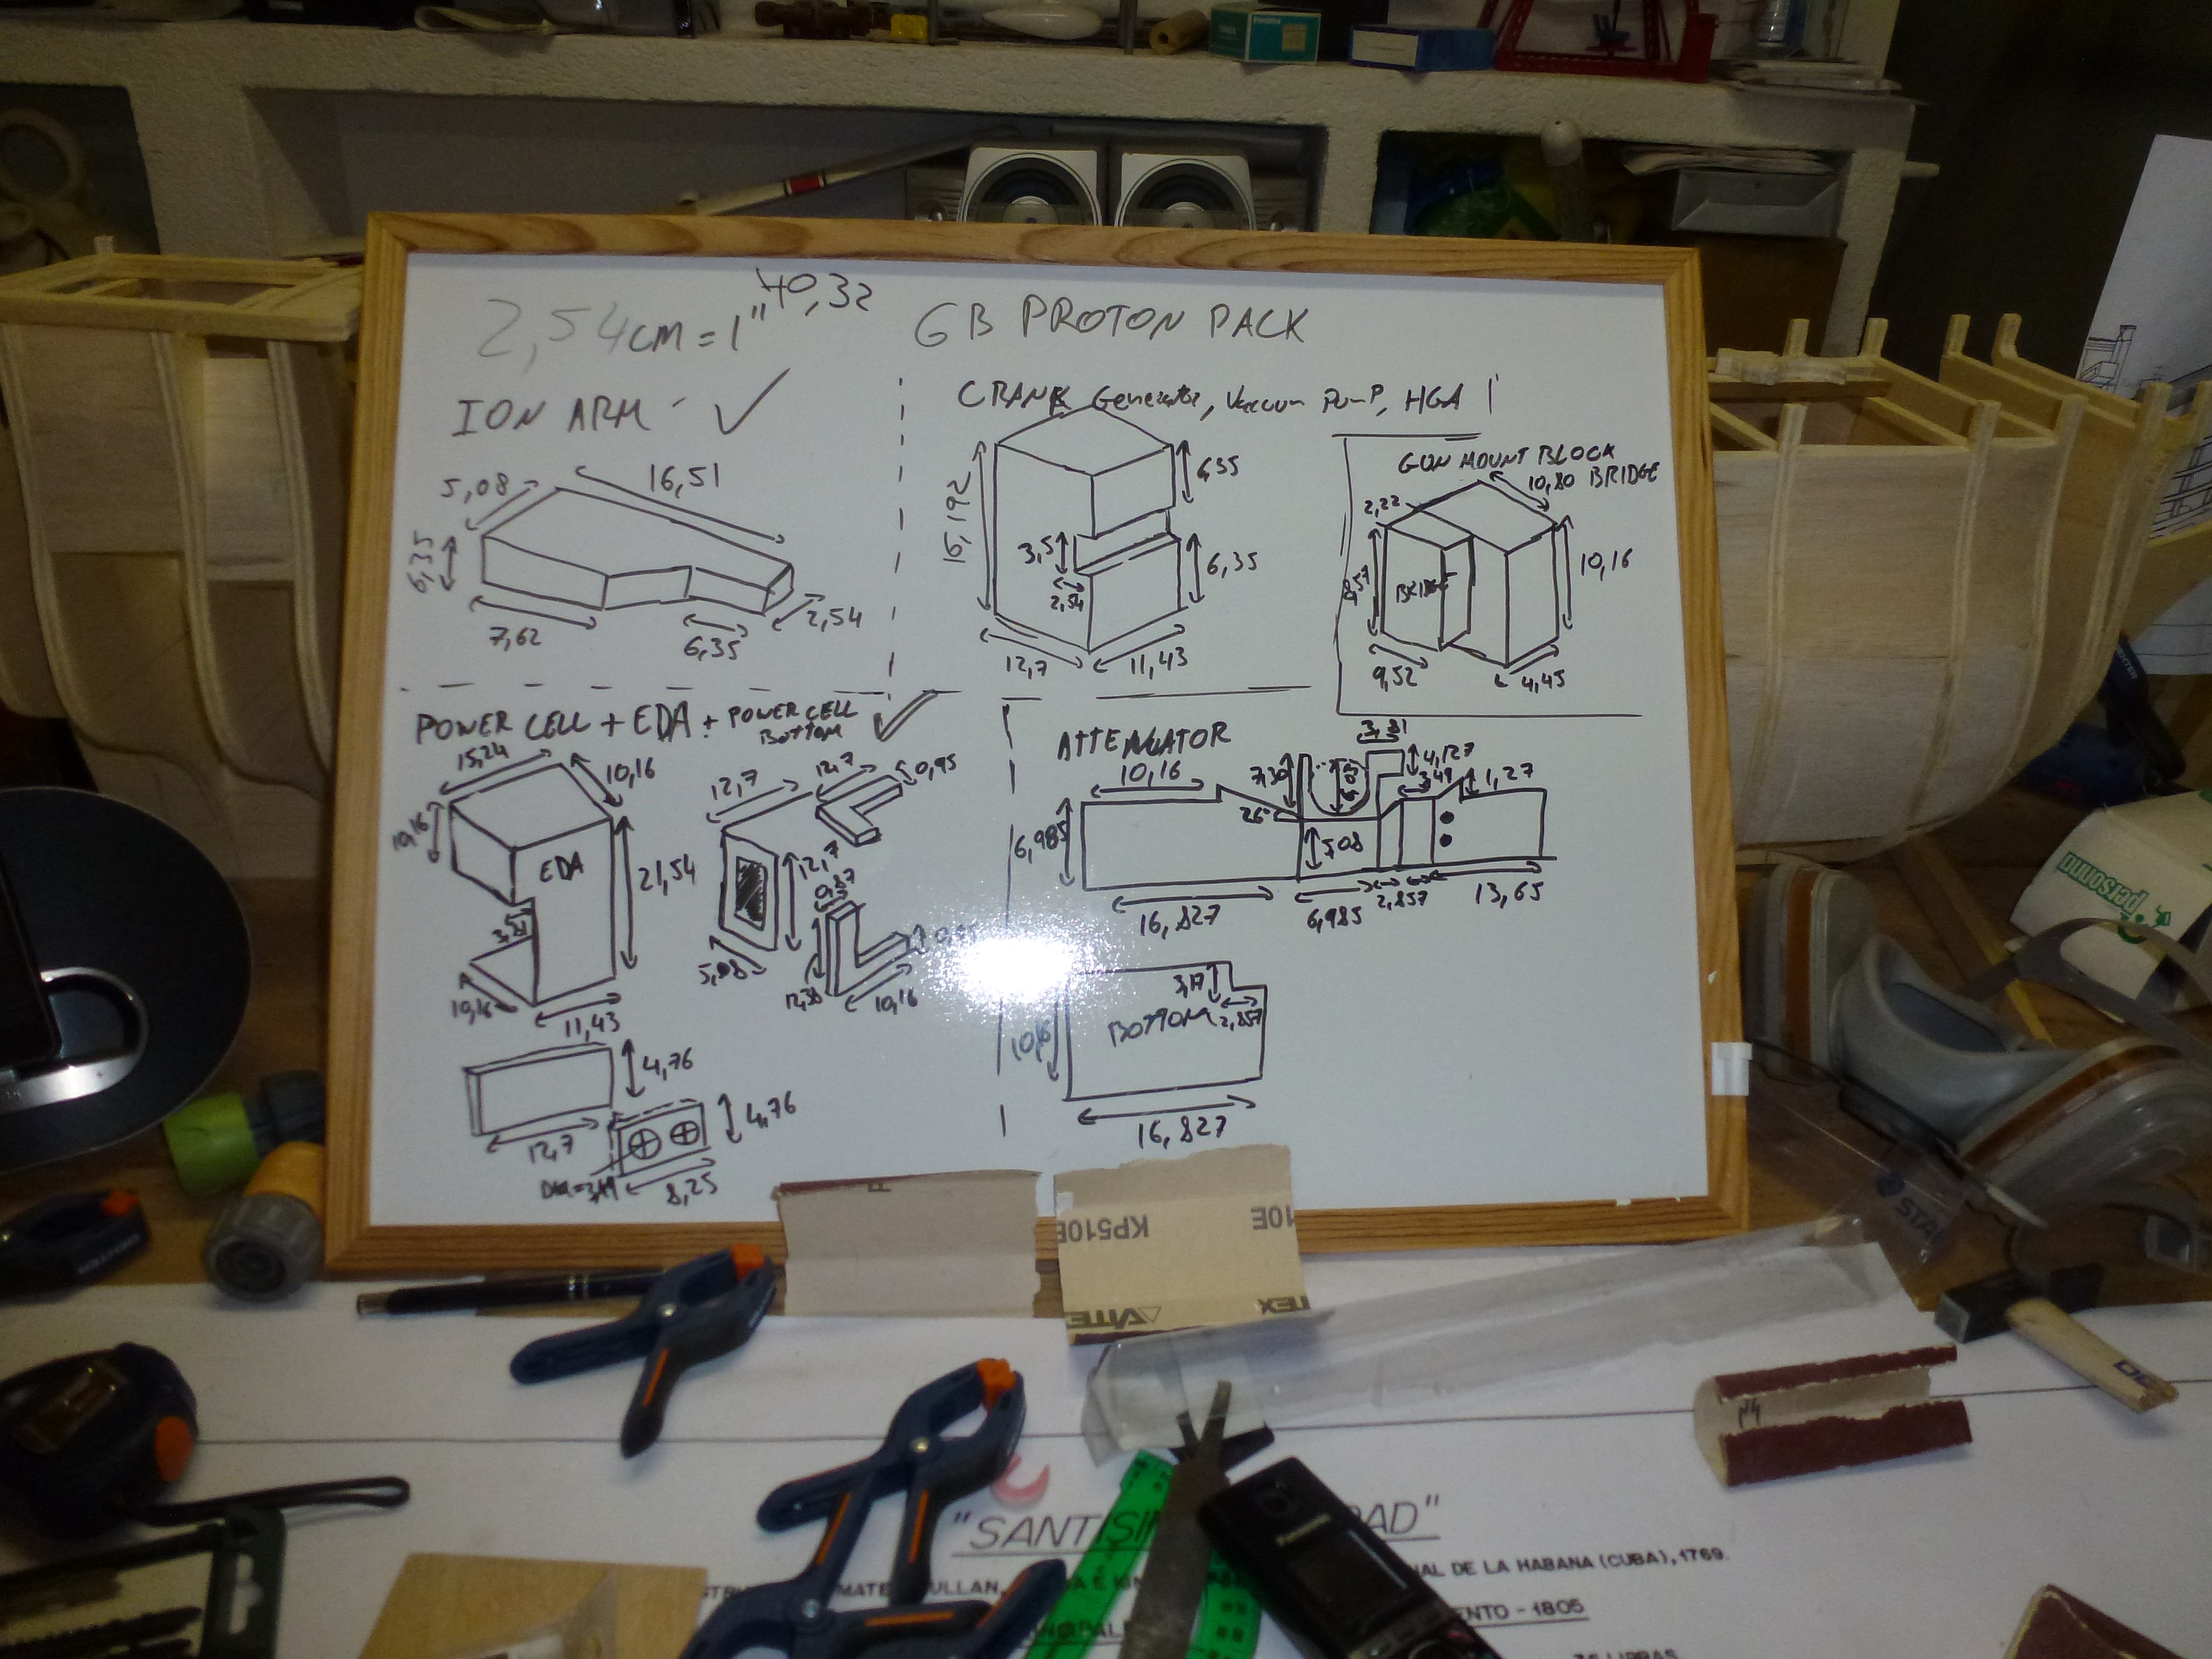
First on with the different parts with the messurements, much easier to follow this way than having papers all over the place!

My EDA and Power Cell…made some adjustments to it, and I still have a few more to make tomorrow

Finally, the result of two weeks hard work! Seriously, I’ve been living in the garage for the last two weeks! Its madness!!

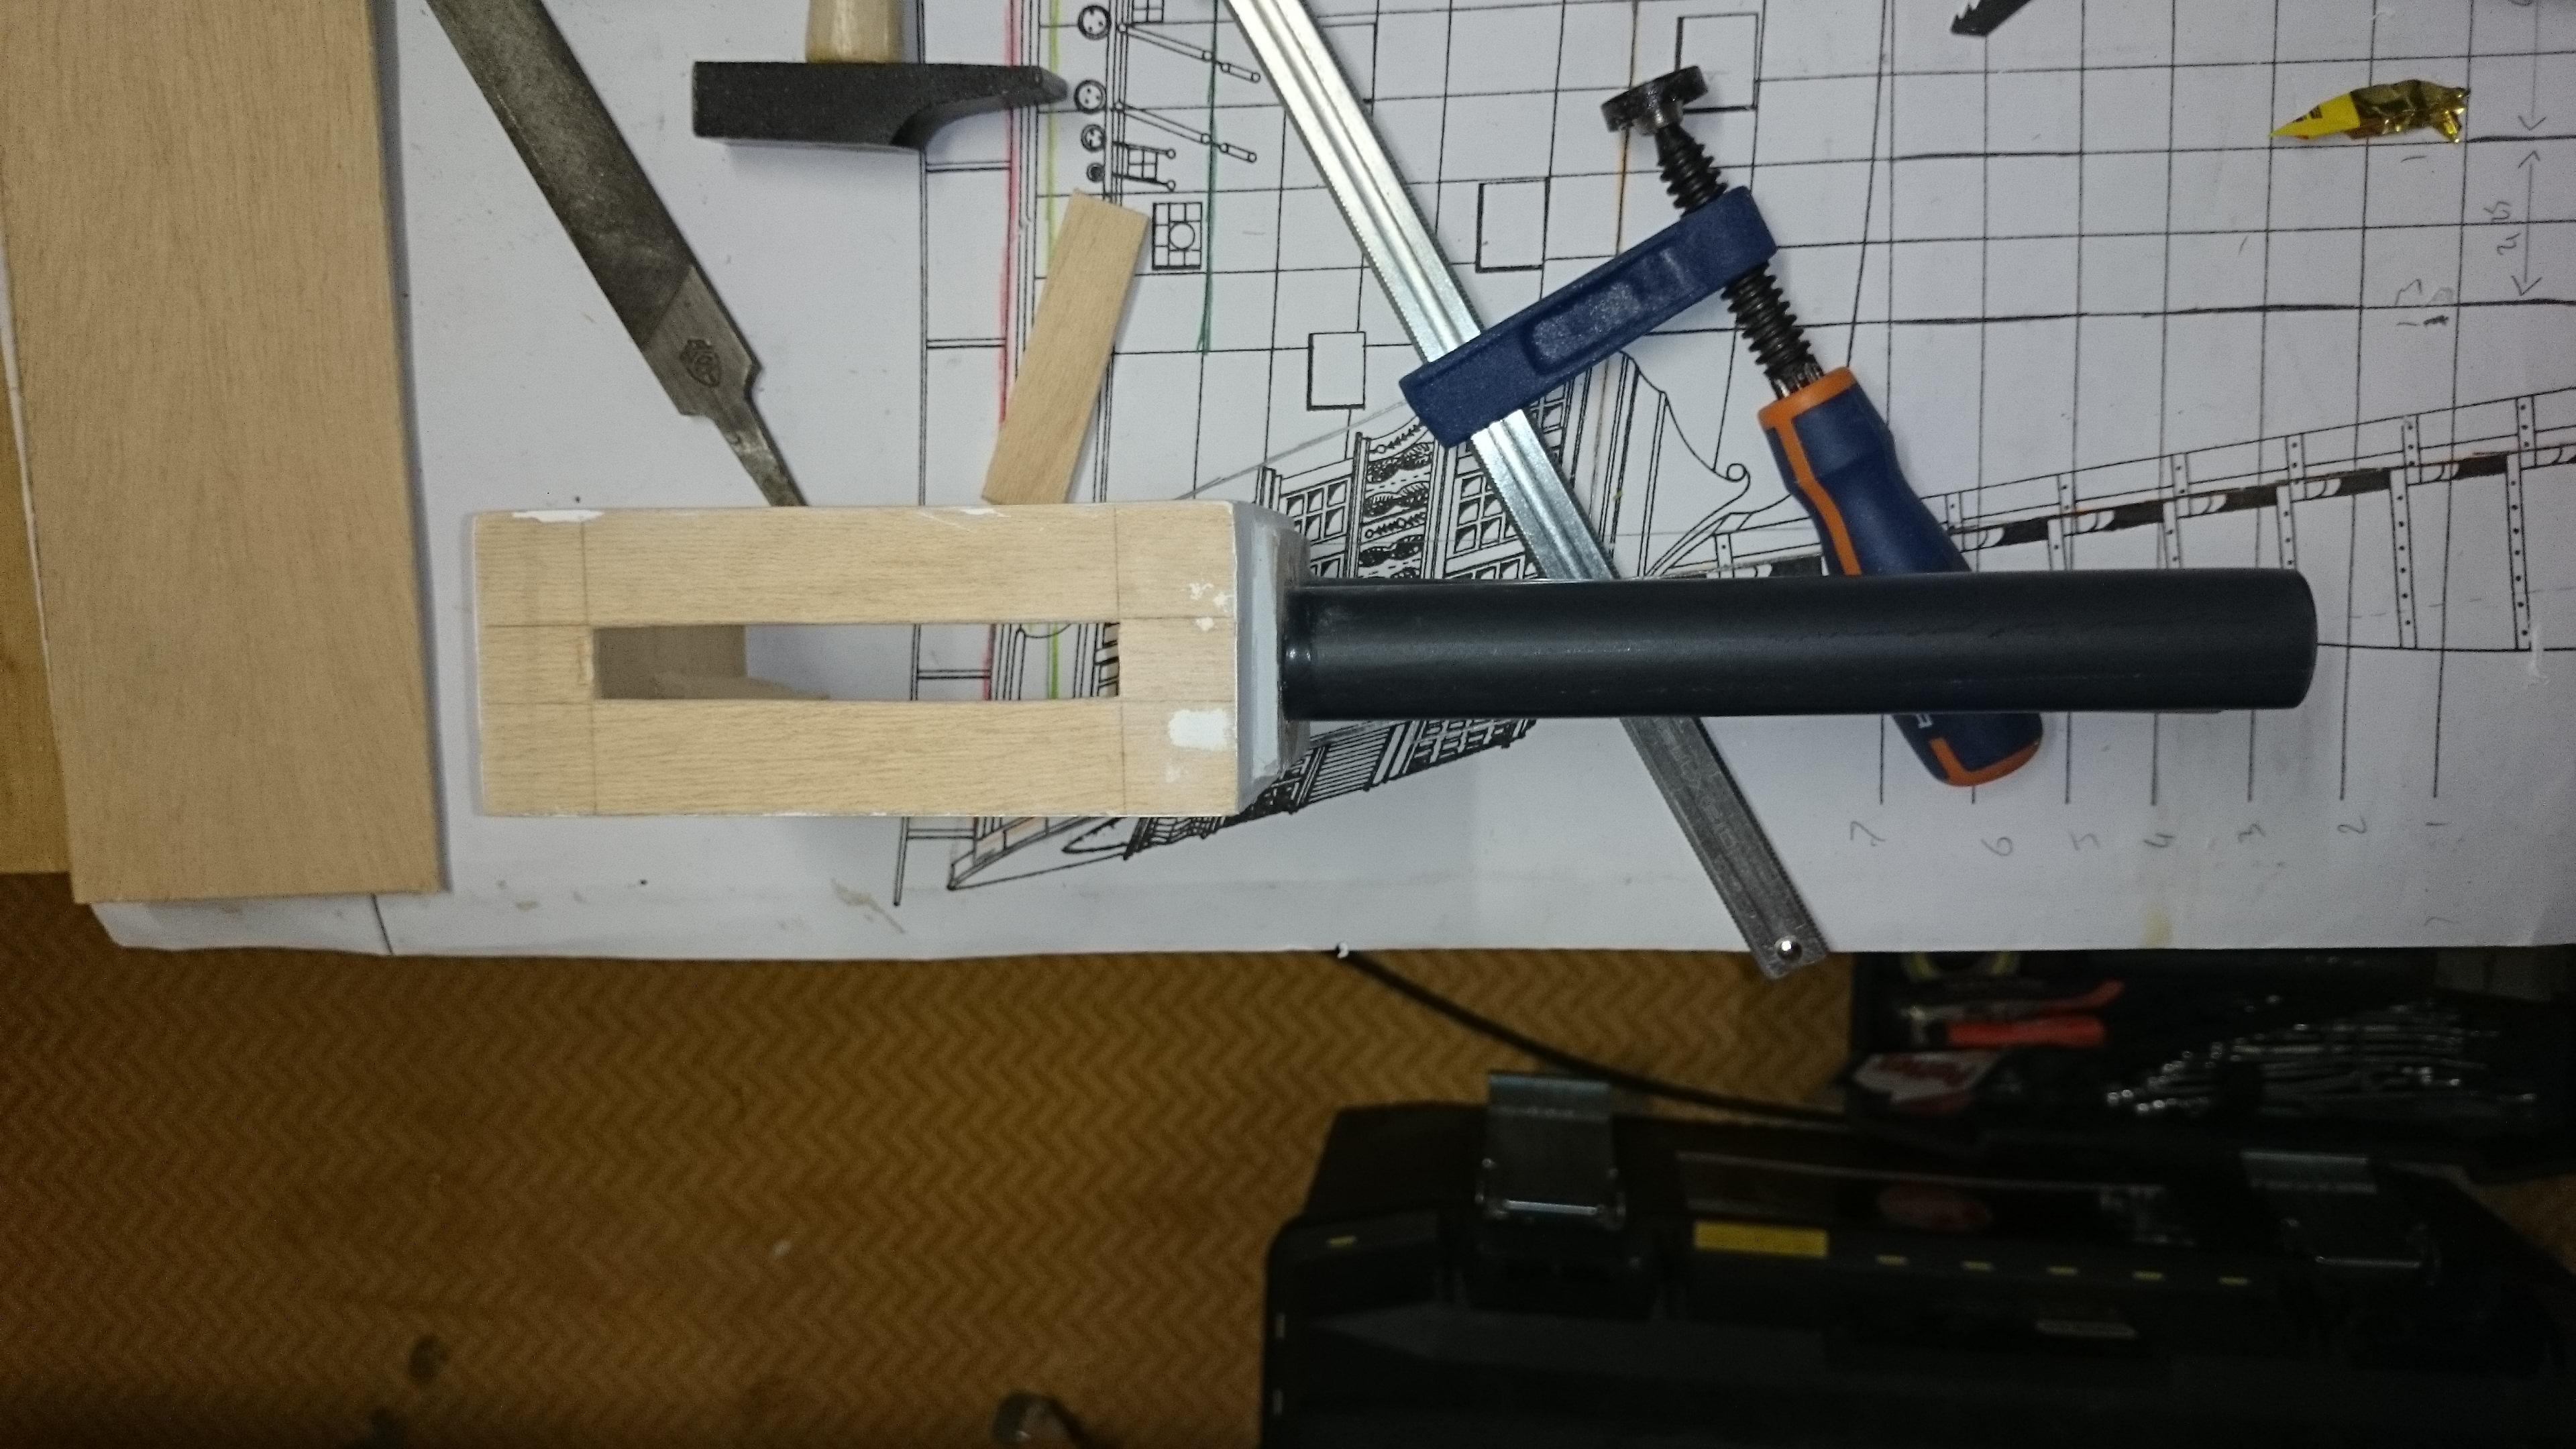
Progress on the thrower:

Hope there is enough space for the electronics…I’m thinking on putting all the boards in the ciclotron and just run a cable to the wand, just so I can keep all the electronics in one place for easy access (suggestions on this?)

One last thing, these are the welding/safety goggles I managed to find to build for my Ecto Goggles…I’ still thinking on how to tackle it…either go with making them similar to the movie, or throw in some imagination into it!

Work to be done is fixing everything in place, and start adding the PVC pipes to the pack. Still hunting for a cake pan that is close to the size I need…can’t believe that such a simple piece of kitchenware is proving to be so elusive!!

Critics, suggestions, observations, all welcome!!

Cheers! :cool:

Looking Good ! :slight_smile: Keep up the good work !!

Thanks ESpengler!

Not many pictures of last week’s progress, I was busy reading all my notes and a few books on electronics to add a few lights to my pack. I still havent found a decent tortilla plate or anything for the cycloton, so I’m going to build it out of MDF. I’ve also been coming every electrical and electronics store in the city looking Dale resistors and the assorted nobs and buttons, with no success. The trouble is, I remeber seeing similar pieces to the brass elbows and hose barbs, but for the life of me, I can’t remeber where.

Anyway, yesterday I did manage a bit of building. Got the cosmetic plates more or less into place, drilled holes to fit the electrical wires for the lights, and I’ve come up with a quick way to get the heatsink for the wand…CPU heatsink. Walk into a computer store, ask for a broken motherboard with a heatsink in it (if you get lucky, you can choose the model!)

As you can see, PVC pipes all in place, so I’m getting ready to paint. Two questions arise at this point. First, I know that if I just spray with black paint, if you look closely at the pack, you can tell it’s wood, but will priming disguise this fact?

The other question, all my lights are going to be powered by a 9V battery, including sound, if I can wangle it. The battery will therefore have to be somewhere accesible so it can be changed on the go. I was thinking of adding a frame and sticking it to the bottom of the sincronous generator, on the outside…doesnt get any more accesible than that!

Priming the wood doesn’t really help a lot with the wood grain look, unless it’s all sanded pretty smooth. For places where it would be obvious on my pack, I used a lot of wood filler for a thin coating and then sanded it off. Another things that really helps is texturing the pack and then painting. That rougher texture really takes the wood look away.

On the battery front, I’d recommend going with a 12V source. You’re going to have problems finding an amplifier circuit that operates solely on 9V and your battery won’t last long either. I think the GB2 packs used an external Makita battery from a rechargeable drill. You can pick up 4600mAh 12V lipo batteries on online that will be a good source as well. Good luck.

Hi Propcicle!

Last night I applied a wood filler that is supposed to seal the pores in the wood (like a pre-varnishing product. I’m hoping it will allow the pack to get wet if it rains). I’m going to test what happens if I just Spray (and pray)…maybe I wont have to do anything else to it. If it doesnt, I’ll go ahead and texture the wood like you suggest

As for the power issues, you’re absolutely right on the 9V battery being useless for the speaker. I was going to use one of the switches on the wand to actually turn the speaker on and off, the speaker having it’s own power source. I did want to link it all toghether, but the mail is going pretty slow, and the parts I ordered to do it are just not coming (not even the patches for my uniform!), so I went ahead with the schematic I had from jackdoud, which uses a 9V battery.

Right now, I need to concentrate on one task at a time. Finish the pack so I have something to wear, then add the lights I have at hand. If time allows and I get the parts I ordered, I’ll try modifying the electronics. To quote Egon, there is a very slim chance I’ll survive this!!

Cheers, and thanks!!

EDIT:

Progress so far:

Side view of all the components thus far…kitchen ciclotron still evading me, afraid I will have to build it from MDF

Here you can see the cosmetic plating, I used 0.5cm thick plywood, and used some leftover balsa wood from another project I have going on

Top view with general disposition of PVC tubes…No luck finding Clippard pieces, although I did find a distributor, they did not answer my messages.

Power cell, with injector tubes glued into place.

Wand after sanding the curve. I will glue the CPU dissipator I found in the scrap heap

The handles for the wand grips. Taking a leaf out of Prop cicles build. They’re made out of balsa (I have dipped them in a solution of water and wood glue. It will make it nice and strong!

I have noticed that a lot of people ask about how to make the electronics for lighting their packs. What a lot of users in this forum say about knowing how to solder is true, you need to know how to solder, although it is not difficult to learn. I think that after I finish my pack, I will consider making a little tutorial on how to read a basic schematic, and the basics of soldering (everything else is practice, I’m affraid!)

So I havent been doing much with the pack since November due a nasty accident I had involving a piece of wood shattering and getting splinters all over my hands (And Venkman tought he had it bad getting slimed!!). But with the weather improving, and finding a Cadillac M-M on sale for the first time in my country, it’s got me to rekindle the project!

I havent done much to the pack, theres a lot of damage control to do, but I have almost completed testing all the lights and tomorrow I’ll have the sound. Heres a wee video for you to see.

There are some major issues with it though…For starters the wand tip lights dont shut down, and the “intensify” button, apart from being faulty (I think, I mean, its a push button, and yet I have to keep it pressed down in order to open the circuit…should be the other way around!), causes the rest of the circuit to go haywire…I’m thinking faulty wiring… :sigh:

https://youtu.be/rvDoybguzDw