ok I finally will be beginning a pack build, Its my first attempt so havnt forked out on an expensive fibreglass shell but the cheaper and less detailed vacuum form pull. it took a while to arrive but its here at last and with some loom too, (thanks studio creations)
the shell is in two parts that I have to put together but im getting excited about doing this
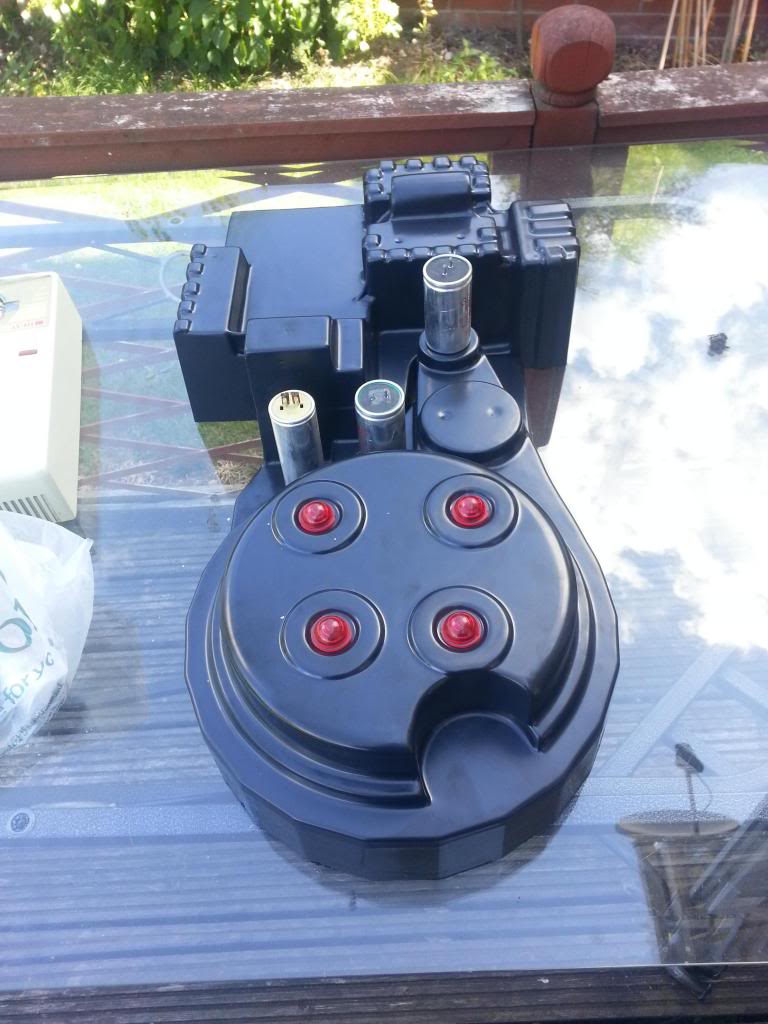
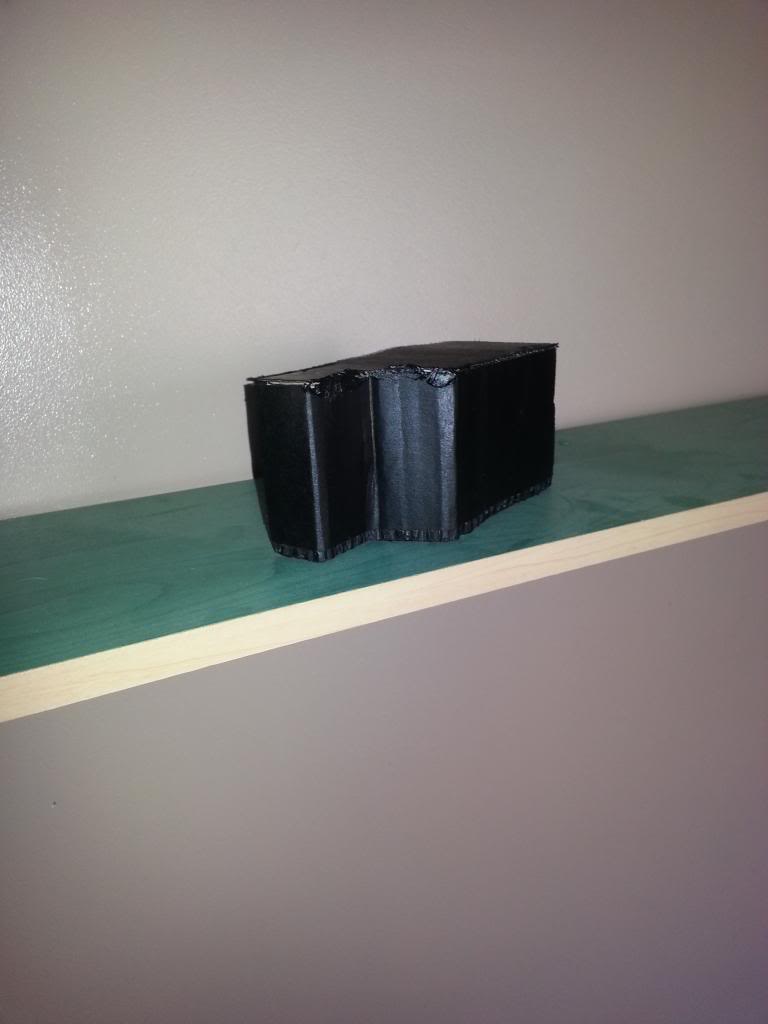
and after getting quite excited and simultaneously bored at not having other equipment to begin work last night, i wondered the house looking for household bits and bobs for reference. The random large bit of whatever where the booster will be is part of a slush puppy machine i aquired when this particular part broke down at the machine at my former workplace. the workman generously let me keep it.
during this period of me rummaging through the house my dad walks through the front door wondering what im doing, i explain and to wich he asks me to get up reference pictures, I also show him Stefans plans. and his words were “well what do need me to make? I could do most of that at work for you”
so guys, it has begun, I already have a lot of the elbows etc made from pvc and shall have the motherboard cut by today all being well, and with my dad so sure he wants to help can can make a lot of the parts at his work looks like this pack will cost me less than i thought and should still look great. updates to come as more progress is made
My pack started with a Studio Creations shell as well. I think it’s the way to go for a first-time build unless you really know what you’re in for ahead of time. I’ll definitely be watching this thread. Keep us updated, good luck and have fun!
ok a lot of parts are being gathered and cut etc. by my more than helpful old man, and i found a good motherboard, made out of an old bed headboard i cut up. steady progress, pics to follow in the next few days
ok, heres a quick update, I gathered a few old light resistors that i thought looked the right kind of size for some parts on the pack, they need trimming and to be stuck on and painted etc. but looks ok, also have got an old part of a water system that when a bit of work is done on it should make a good HGA, at the moment using some old red buttons on the cyclotron, but going to check for some gels at the venue i work at tonight,
ok update guys, between shifts and other errands trying to get some work done. but before that, just checked out Spanakadawaka’s build using a studio creations shell too, really cool.
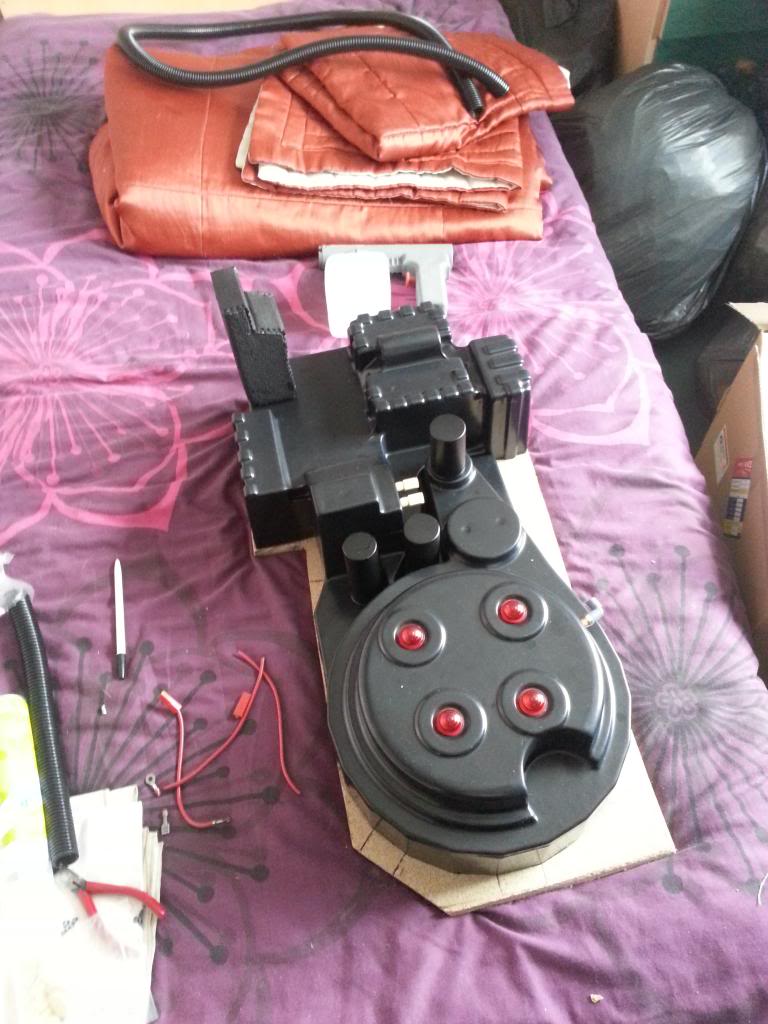
but yes, here we go, have my PPD, HGA, booster, and filter tubes all coming tomorrow, and also the ion arm after a bodged attempt at a cheap do it quick part.
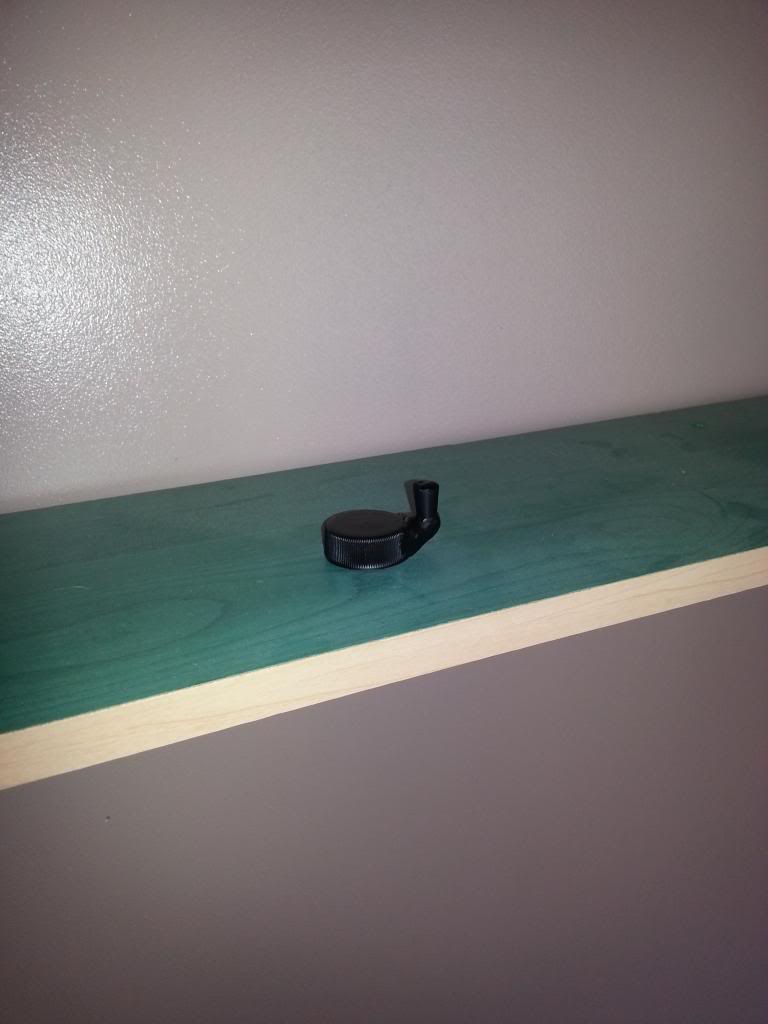
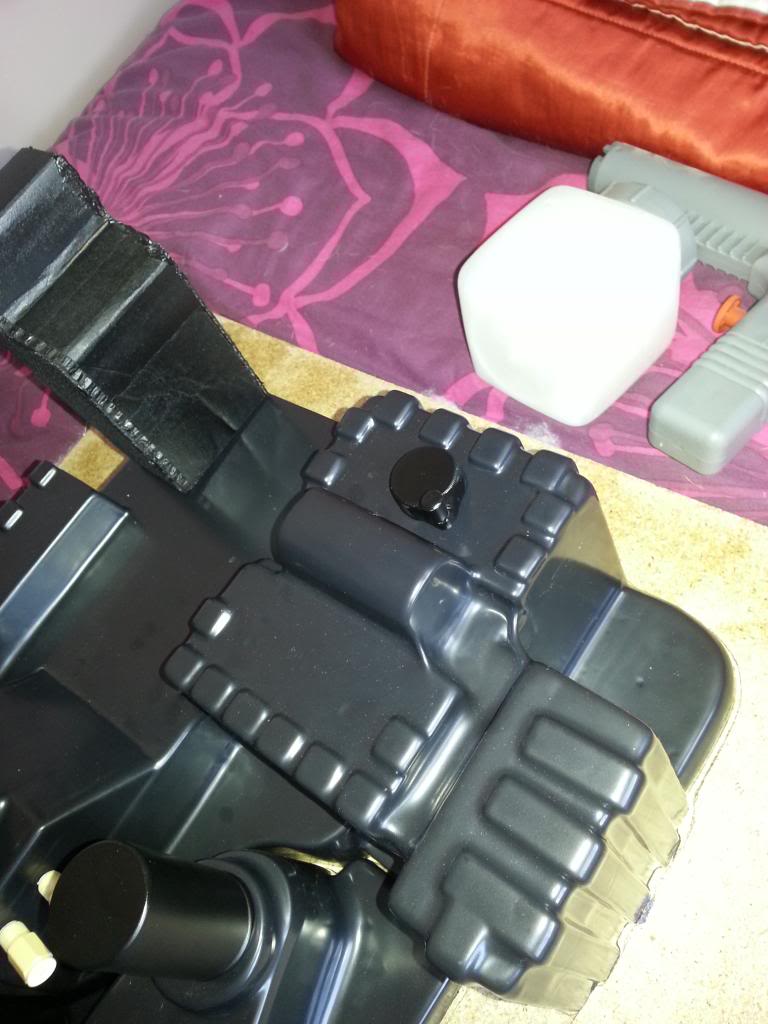
painted some of the parts and as i am very poor man made the crank knob from a bottle top, bit of blu-tac and the lid of a pen cut from the end. heres what we were looking at, (dismiss the terrible ion arm, but at least i get an idea of what it will be like there.
The knob looks really nice. How did you make that guy? I picked up an actual knob for my pack but I think the SC shell is a little off there and it seemed large when I put it on.
A little bit of advice/warning should you decide to bondo the pack halves, the top part of the seam (upper right from syn gen) is a huge pain. Not a lot space in there to sand. I’ve worked on that area a ton on mine and it’s still not smooth. Have patience there for that bit.
its a very cheap way of doing it for the knob, basically its the lid from a bottle of Irn Bru with blu-tack shaped on the end for the extension of the knob and the end of a pen lid cut and stuck in the blu-tack and painted black to hold it all together nicely, i was impressed with how well it turned out tbh. will have more updates this week, going to wait till I’ve made some good progress on this to show you guys.
and thanks fo rthe advice Spanakadakawaka, its all gonna come in handy




](http://s100.photobucket.com/user/bobra_2006/media/pack%20build/20130716_180055_zps61b6a896.jpg.html)
](http://s100.photobucket.com/user/bobra_2006/media/pack%20build/20130716_230723_zps88c0c1e7.jpg.html)