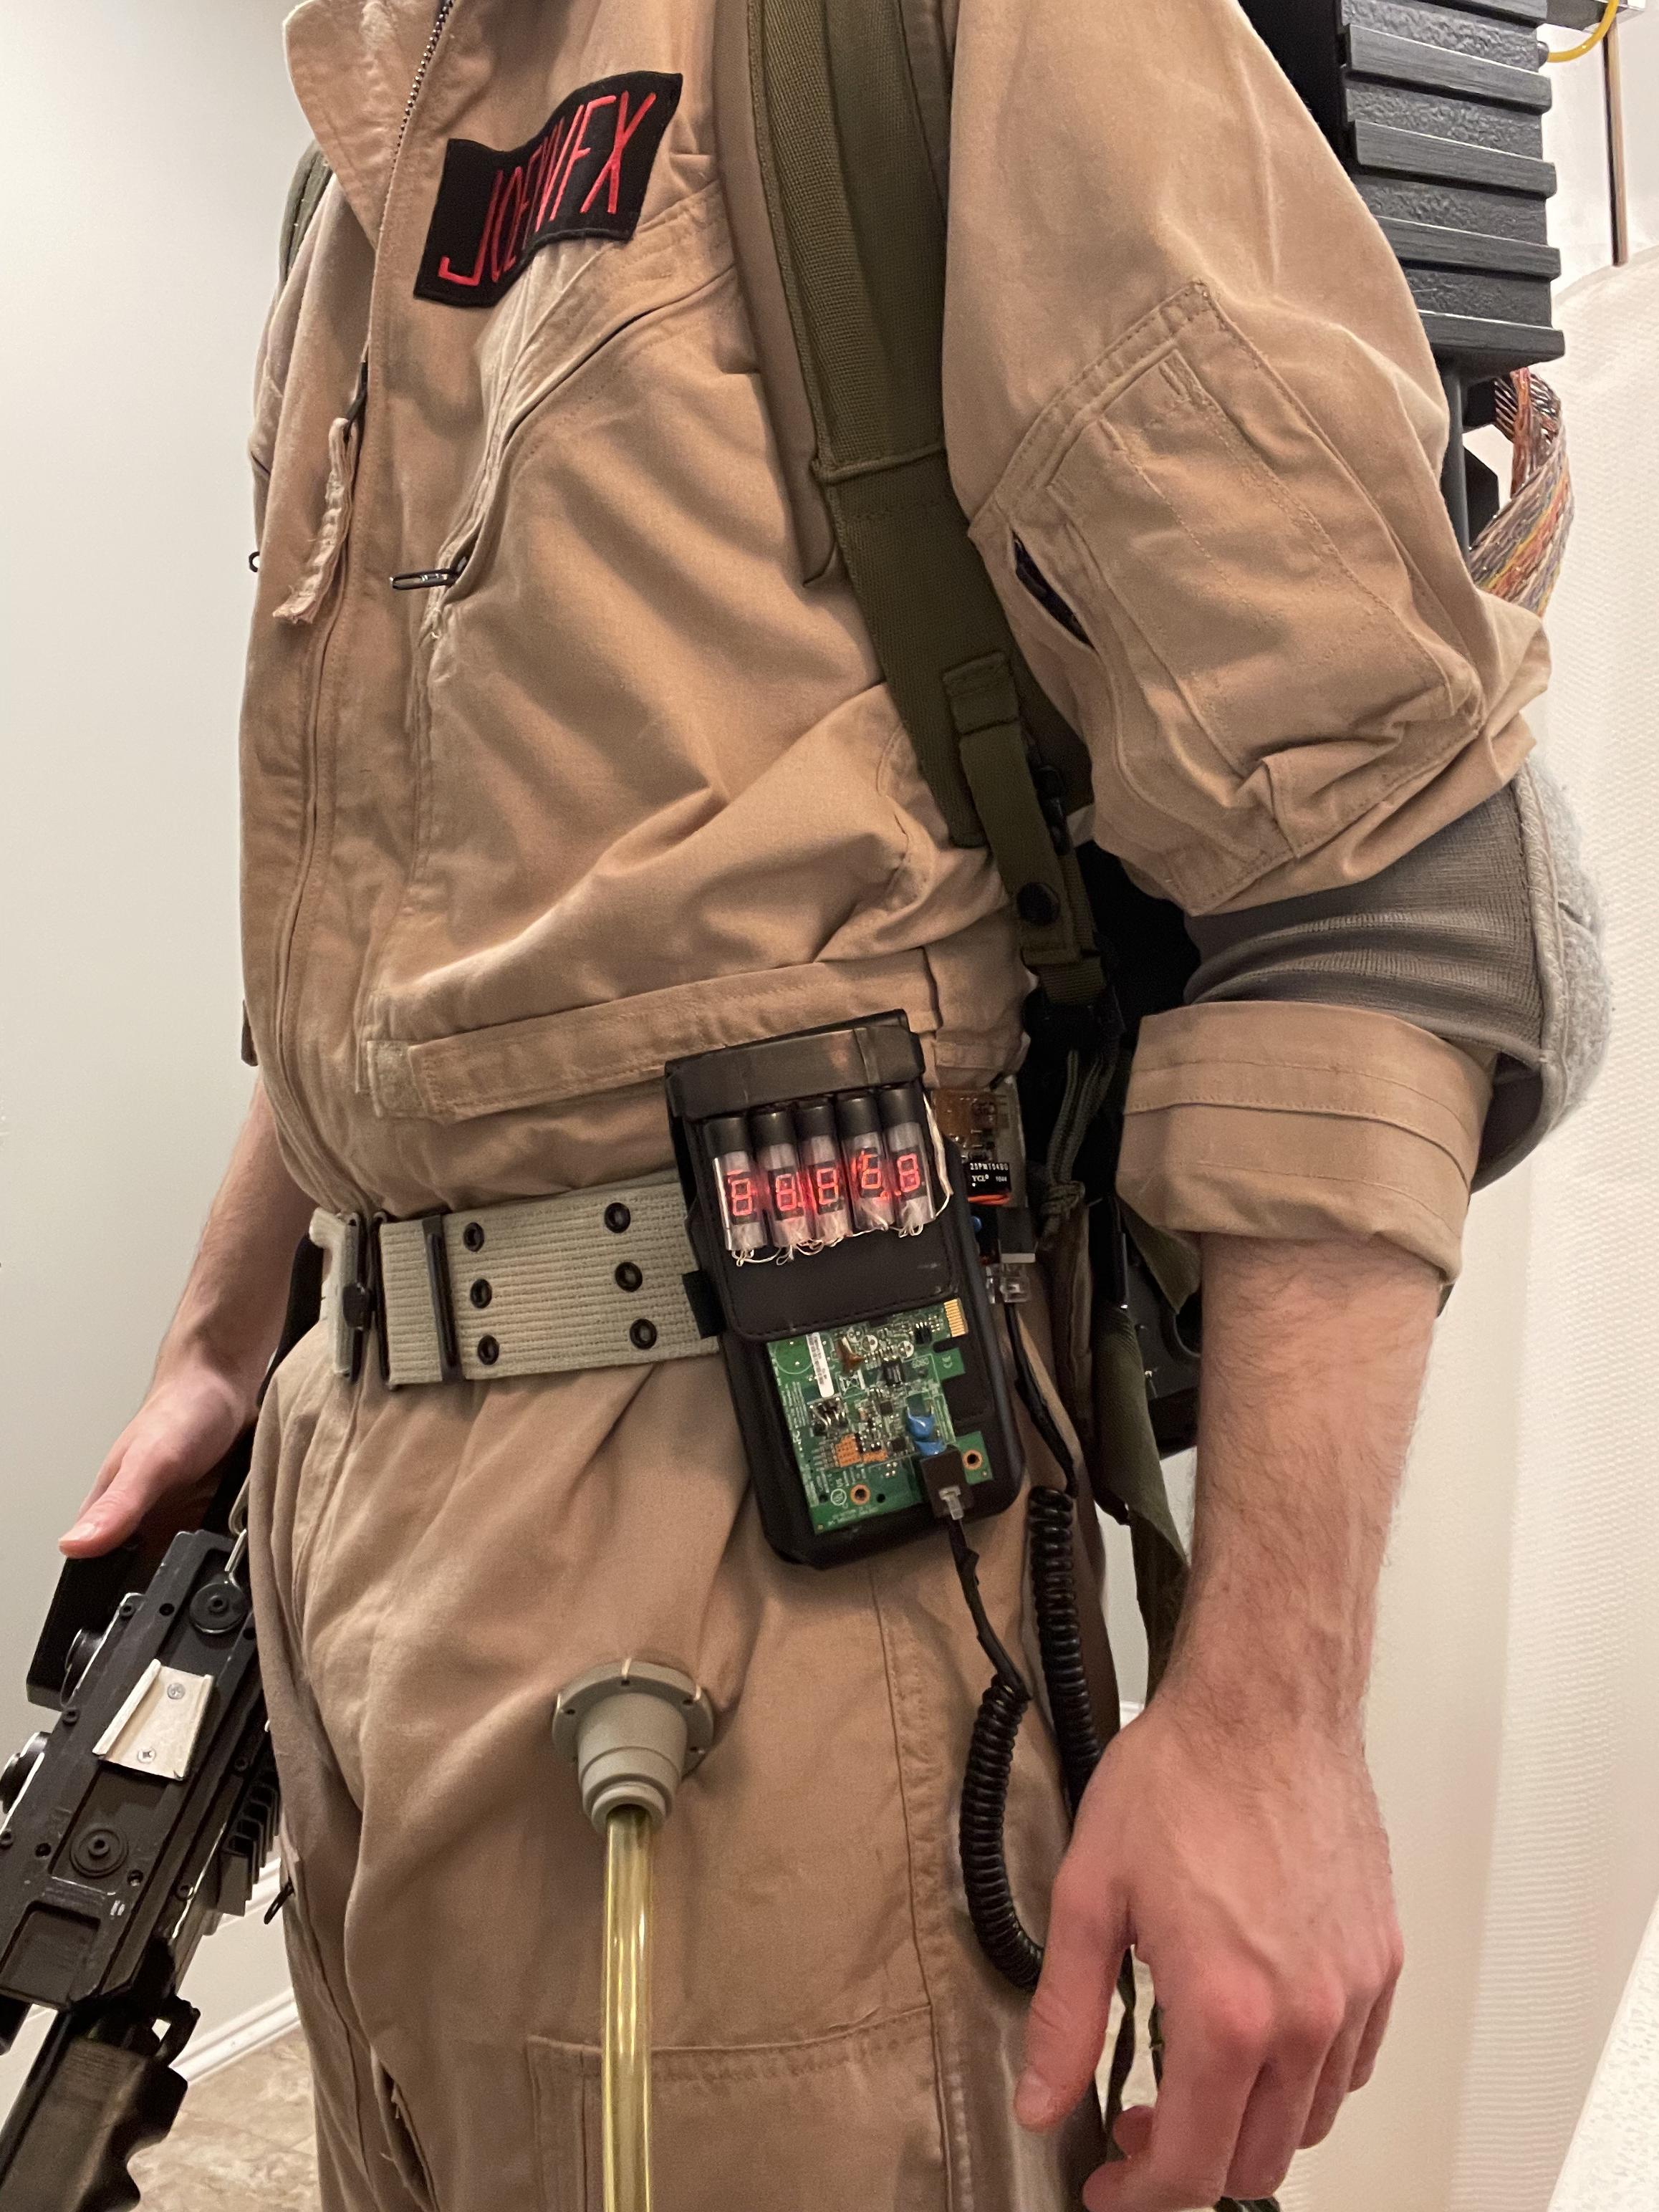
Earlier this month, I had decided I didn’t need to worry about a belt gizmo for my costume this year. I figured there were too many other aspects of the uniform to worry about & it would just be another annoying thing I’d have to keep on my belt anyways.
However, I had an idea for a belt gizmo that turned out far better than expected.
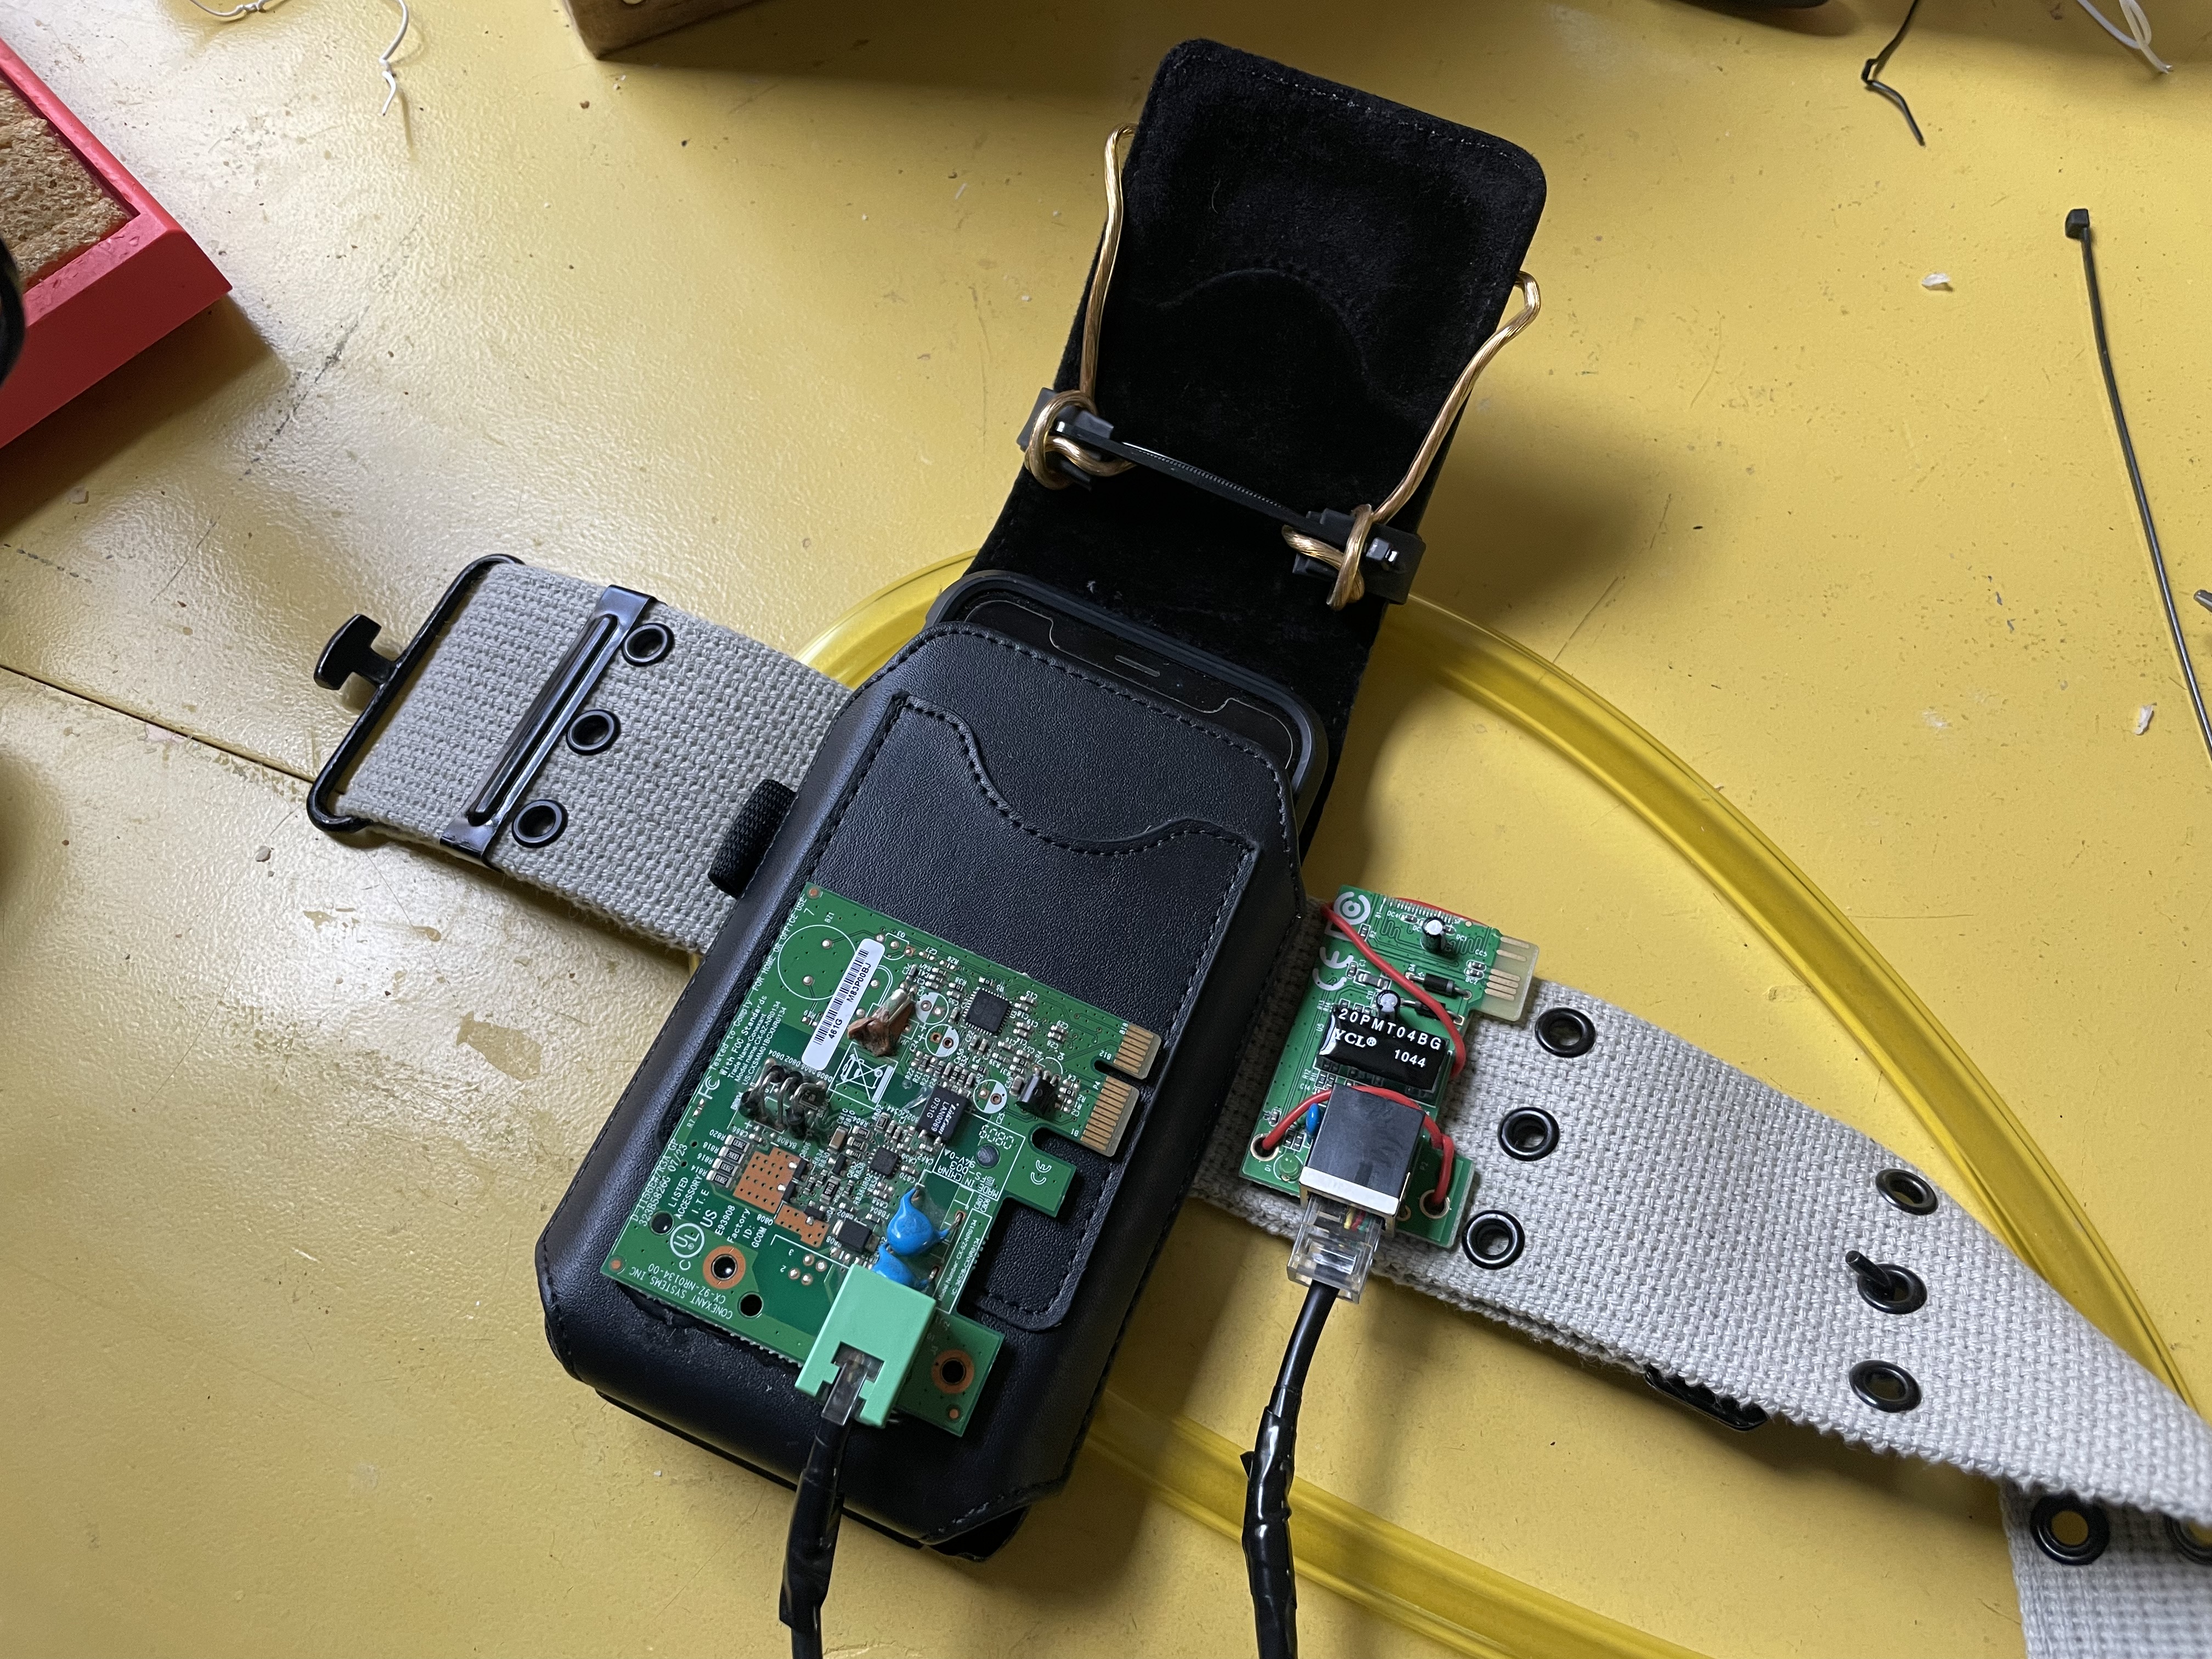
That’s right, no need to open that pesky flight suit zipper every time you need to reach your phone. Just open your gizmo & there it is!
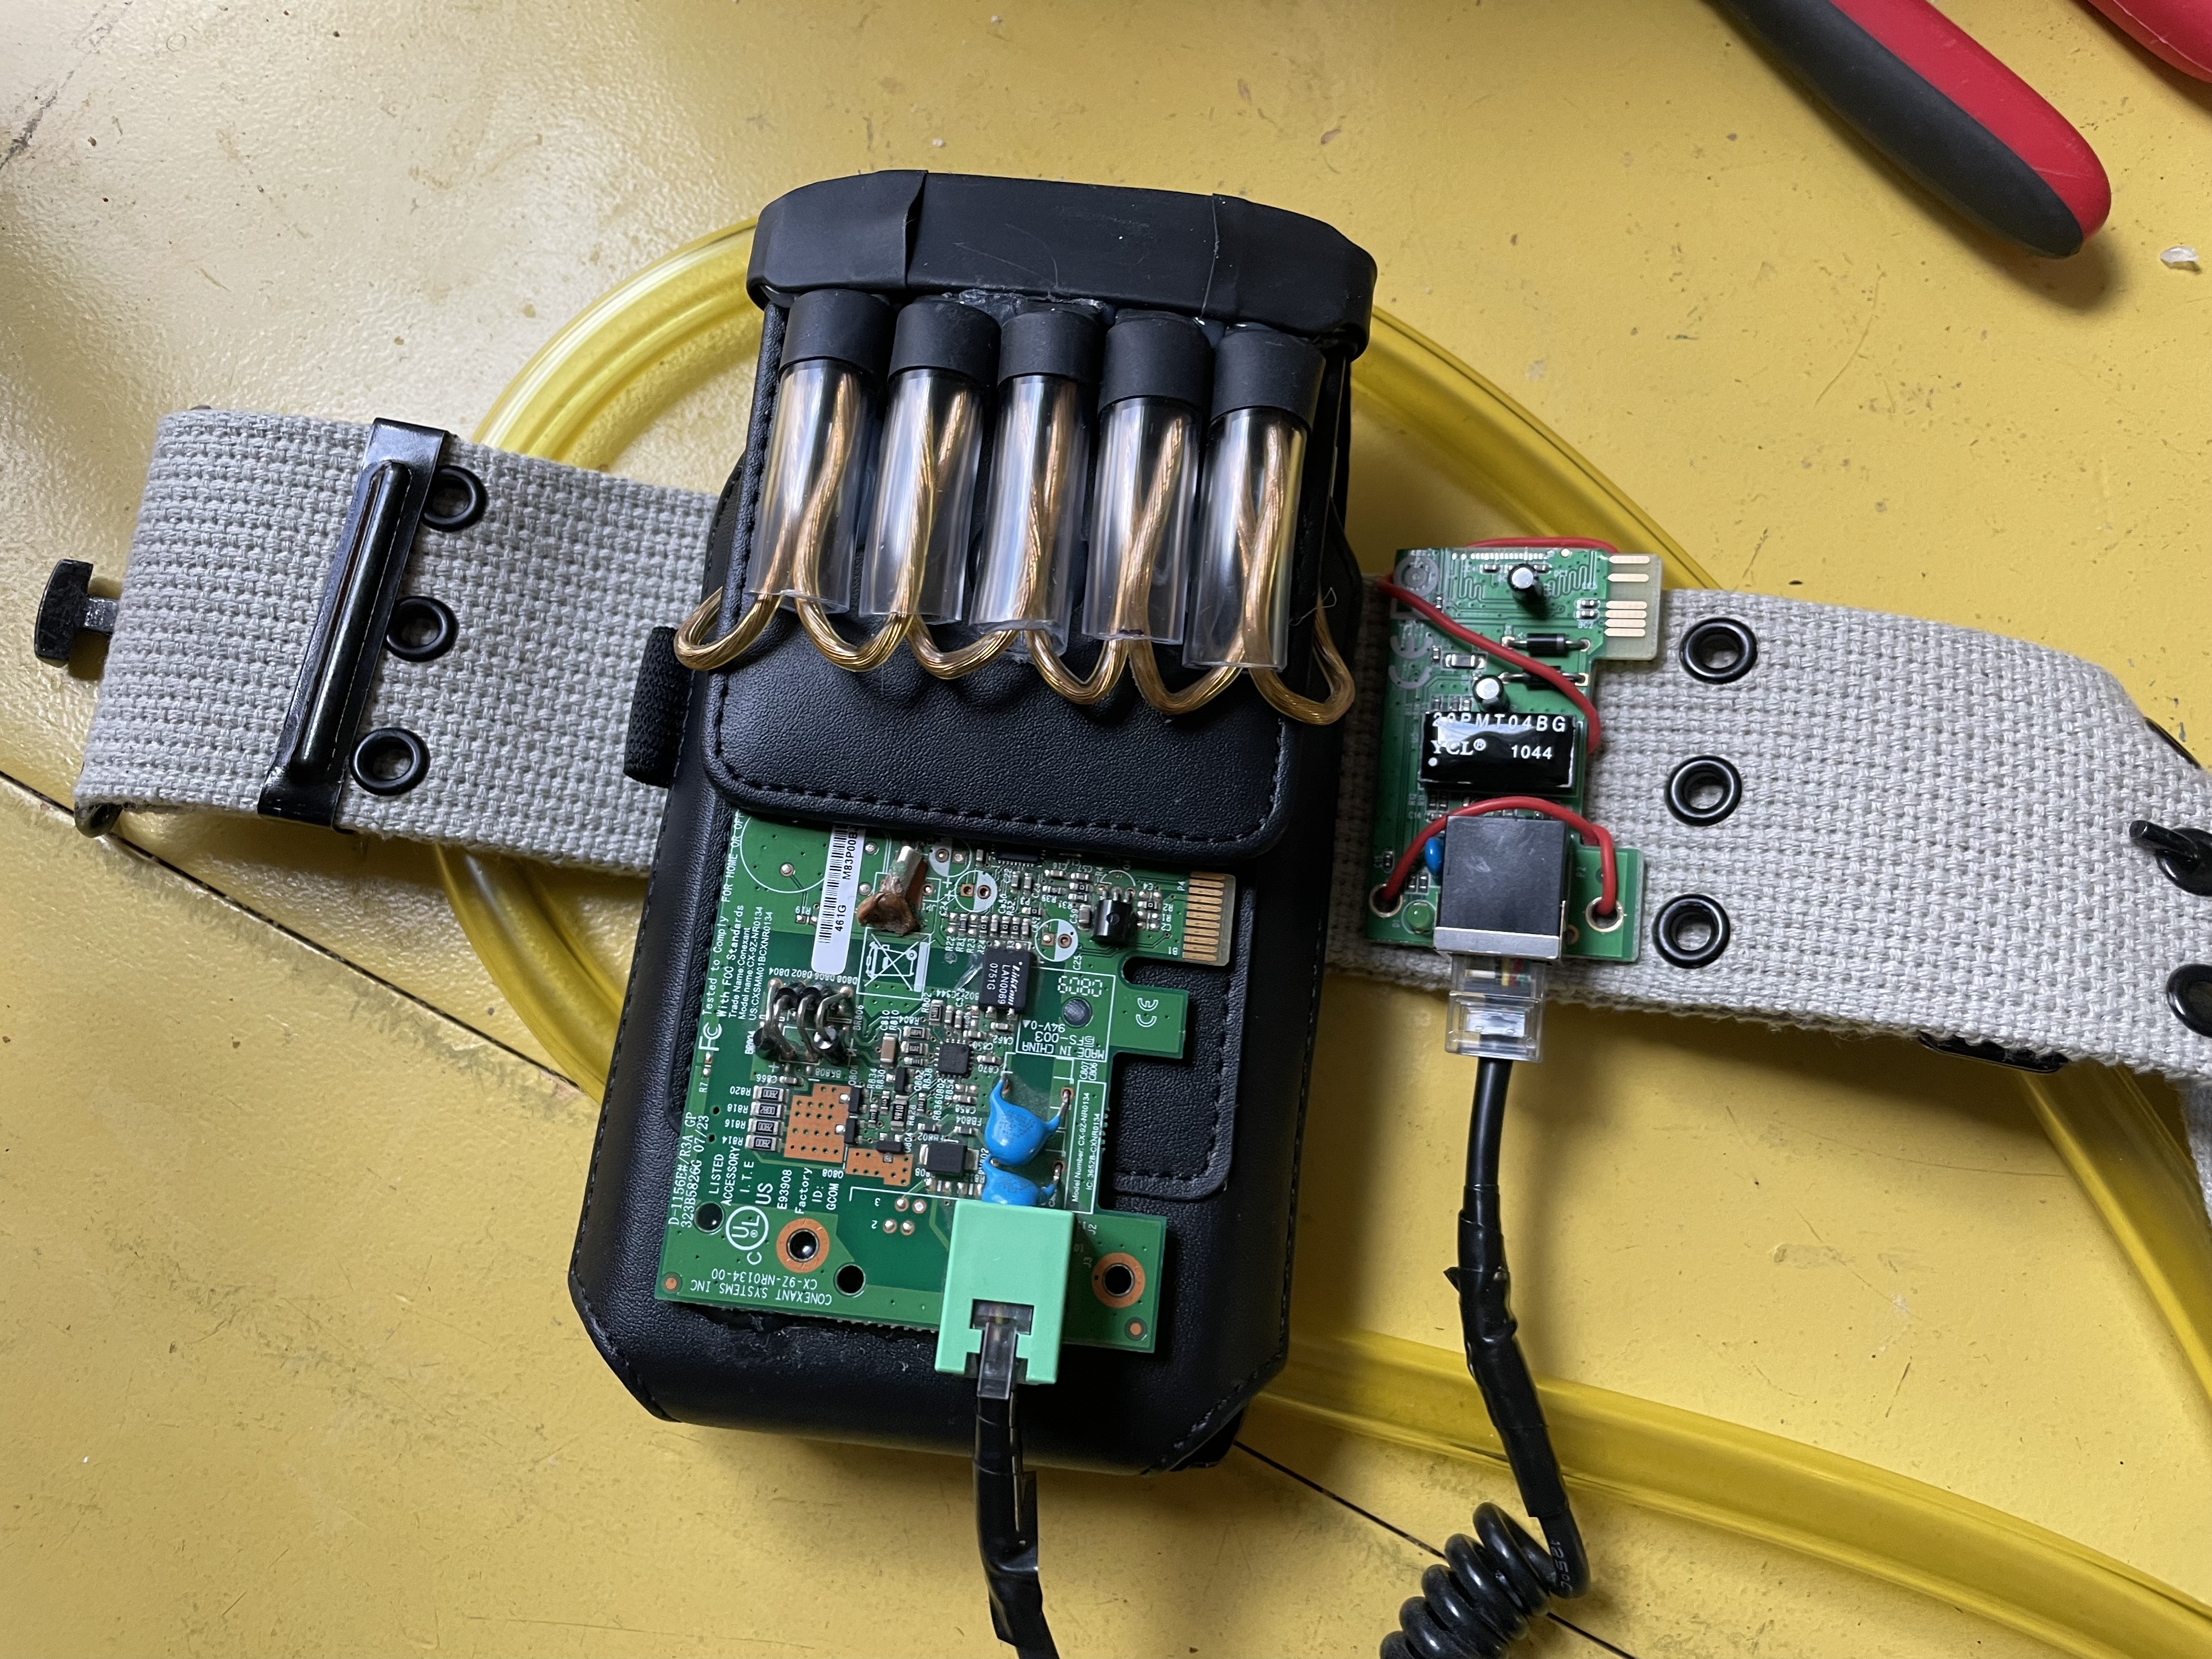
Using a cheap leather phone holster from amazon as a basis, I hot glued an old PCIe card I had laying around & it seemed to latch on pretty well. The magnet from the top flap also helps to hold it down a bit. I used the same method for the daughterboard which is just glued to a clip from an old measuring tape. The phone holster barely fit onto the pistol belt - I had to fold the belt in weird ways & it barely squeezed on. But it does fit!
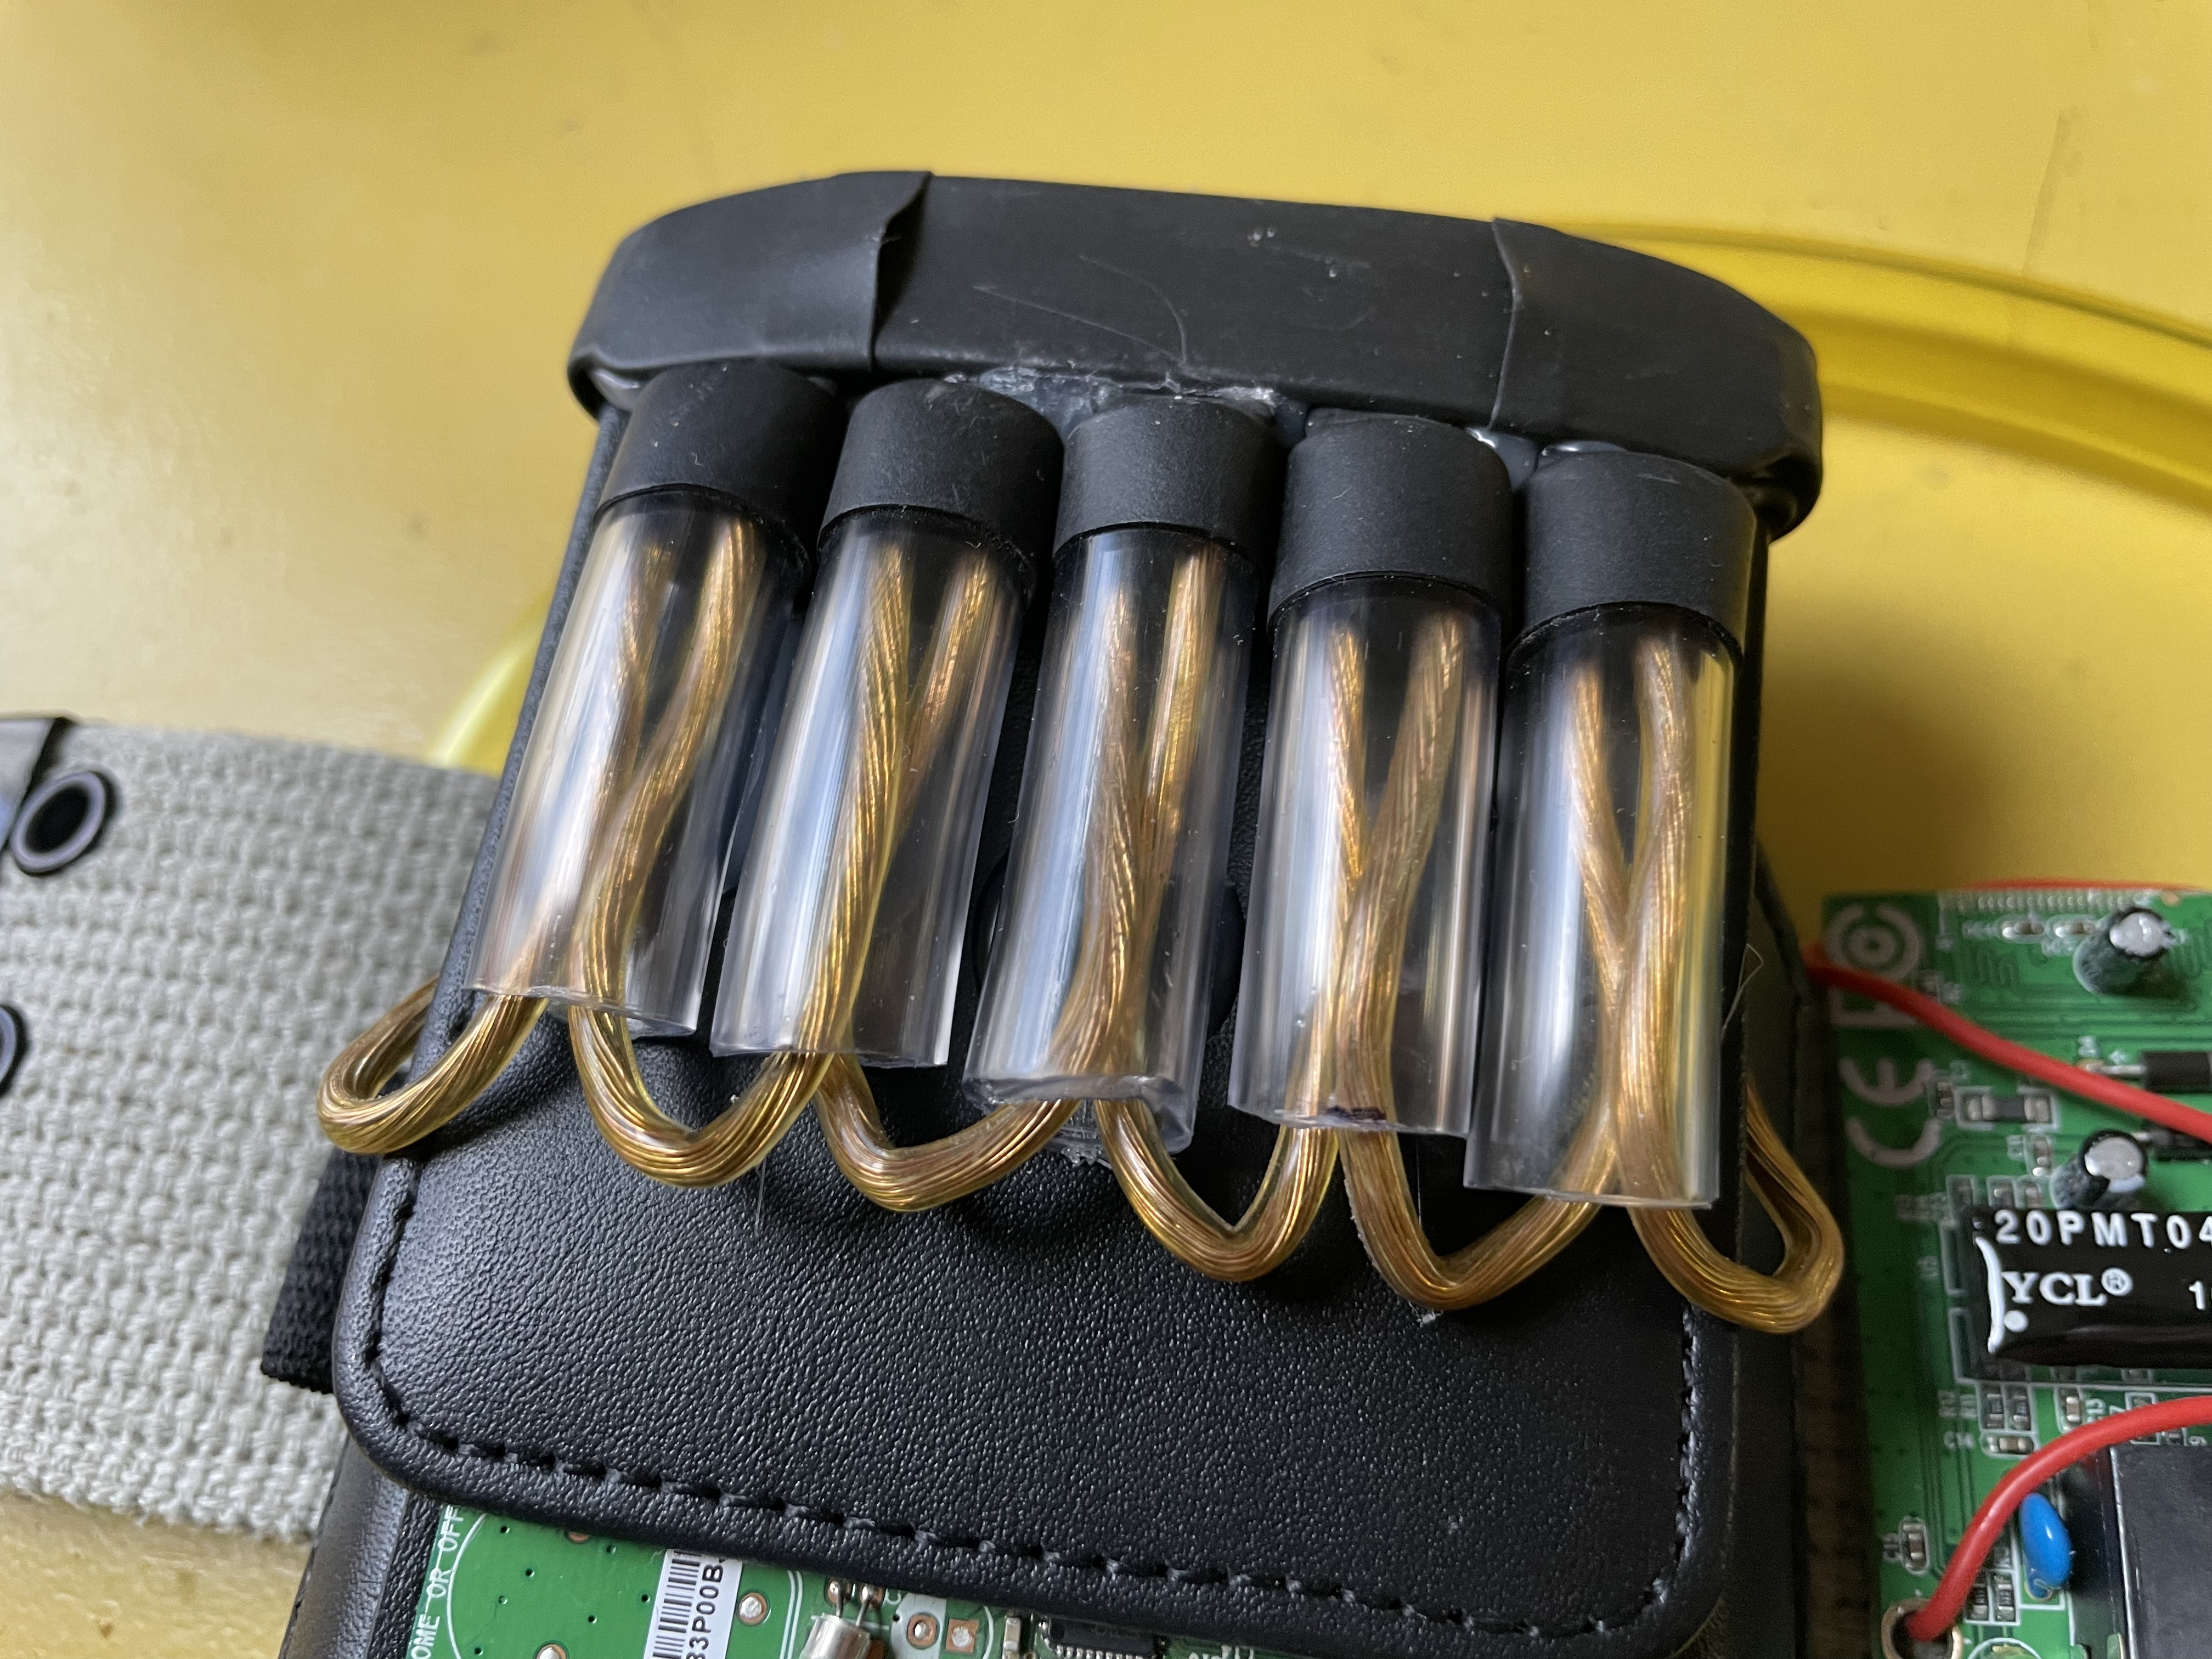
The nixie tube lookin things were pretty easy. Just some bits of 7/16" plastic tubing with heat shrink tubing on the ends, which are sandwiched between two cut pieces from an old credit card (which are also covered in heat shrink tubing). I made sure to leave excess tubing on the ends of the card so I could wrap it around the leather flap & secure it with a zip tie. Then I added some speaker wire to fill the tubes & give it some color. Stunt-gizmo level construction, nice & durable. Hot glue everywhere.
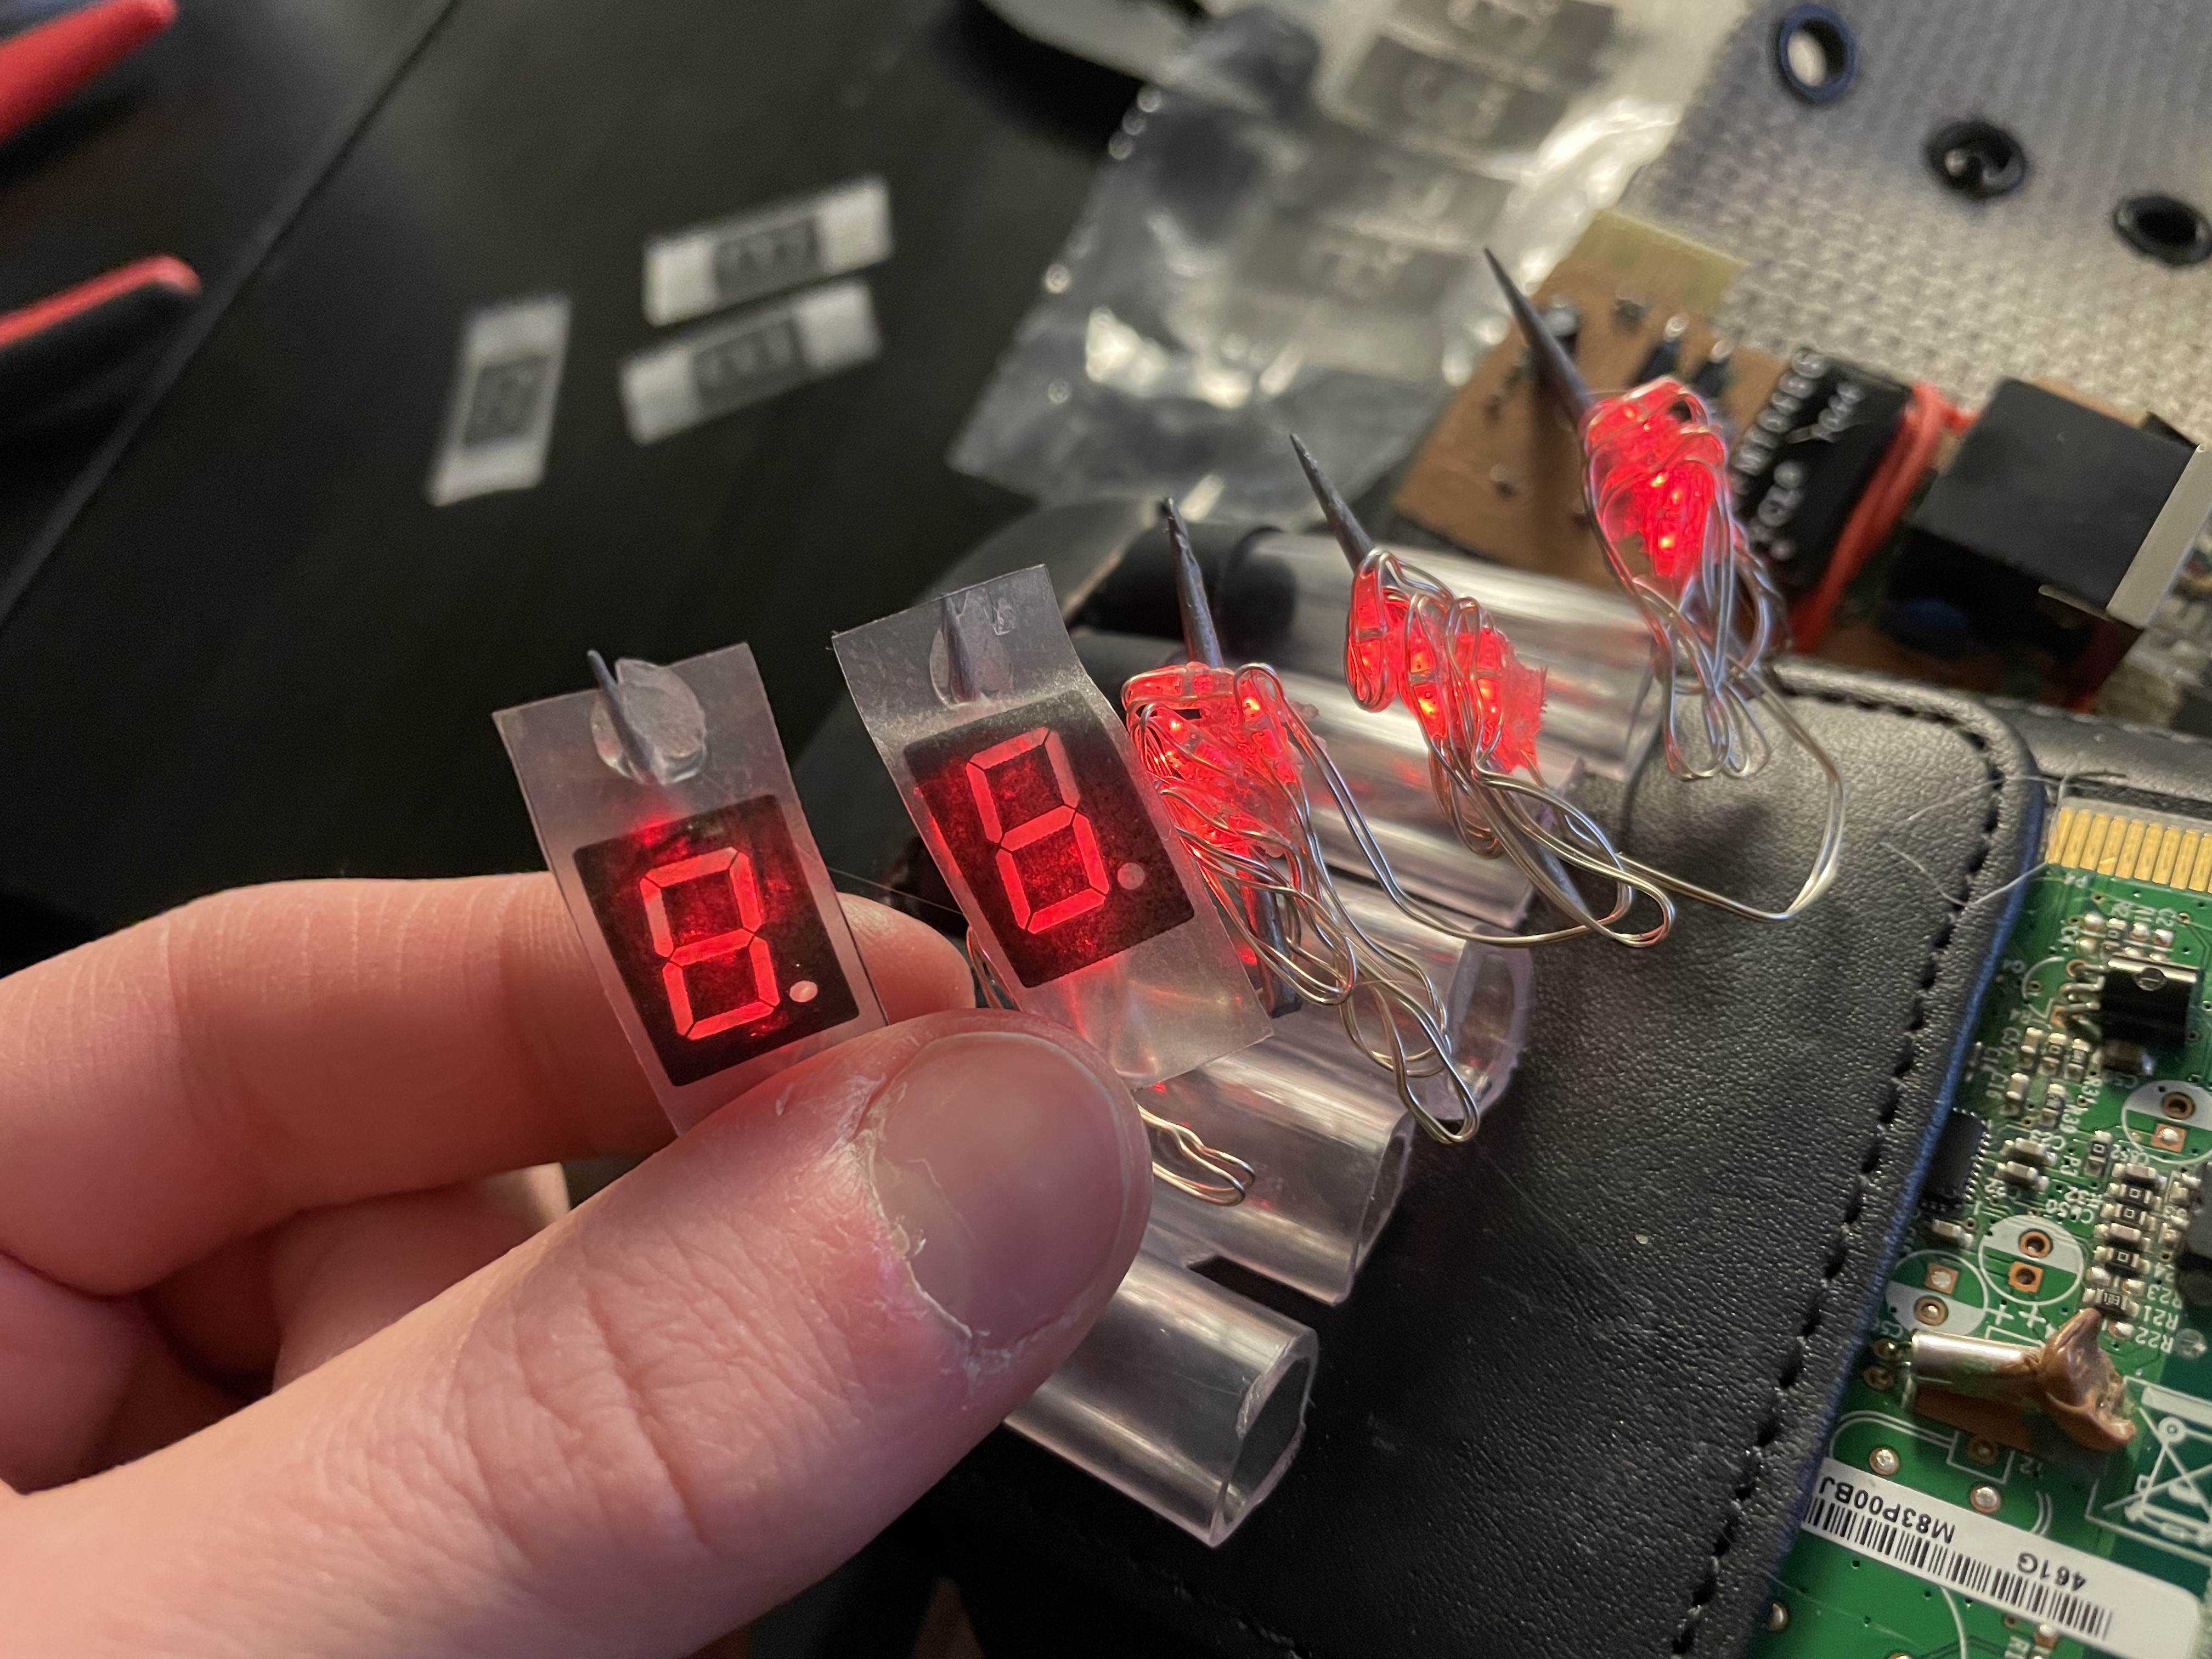
A small update… I added some “fairy lights” to the tubes instead of the speaker wire. They’re just tiny LEDs powered by two coin batteries.
Just randomly stuffing the lights in the tubes looked better than the speaker wire, but I wanted to see if I could make them look more like the 7 segment VFD/nixies. So I printed the digits out on transparent plastic & tried bunching up the LEDs to illuminate the numbers:
The result isn’t all that bad for what it is! Maybe a little crooked on some of em but whatever. It’s a damn ship in the bottle type situation in there.
I’m curious about getting a 3D printer & modeling a small custom piece that would slip into all 5 tubes at once, holding the LEDs in a nice consistent arrangement & having the digit cutouts be actual 3D printed plastic. (But I know if I buy a printer it will rob me of my time… those Q pack files would be too tempting. :sigh: )
Links in this post may be affiliate links. Purchases made through them help support this site at no additional cost to you.
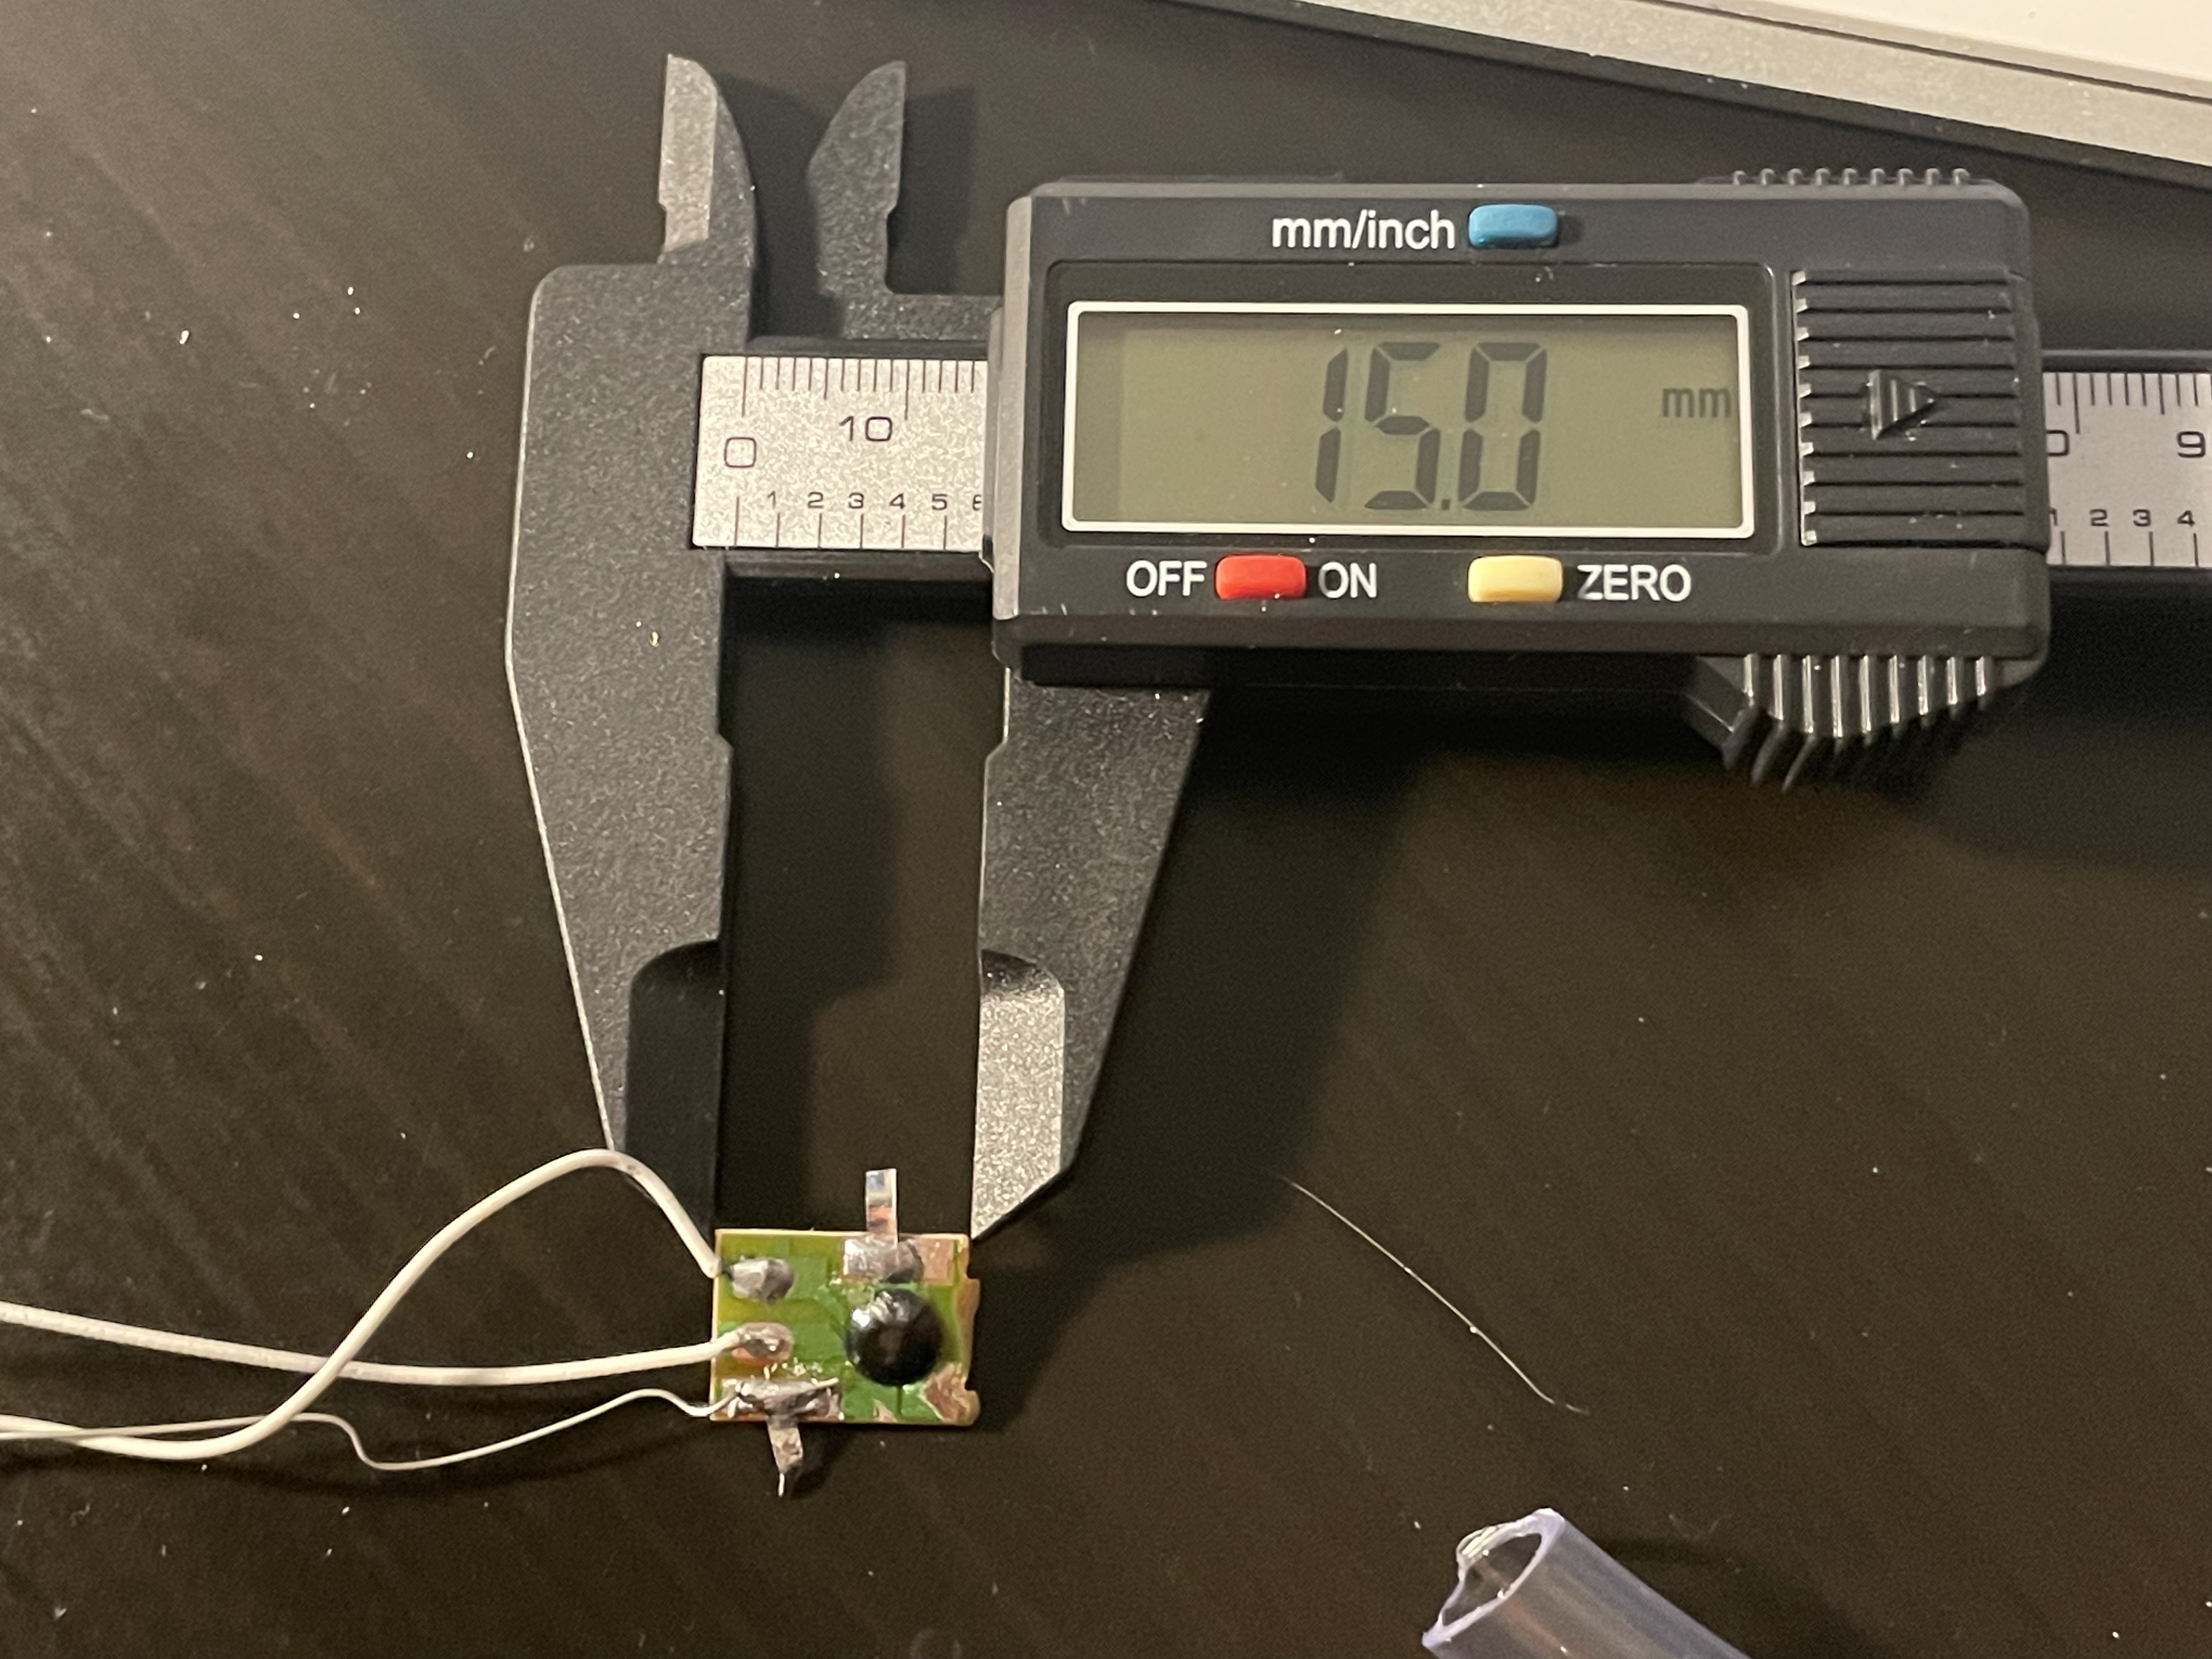
I went to a wedding last year & they had these foam lightsaber things at the reception. If you look up “foam party lights” on amazon you’ll find tons of listings for them. Anyways, I kept mine & realized I could use it for this. When I ripped it open I found this tiny PCB:
(I chopped off the right side of the board that had a tiny button already on it)
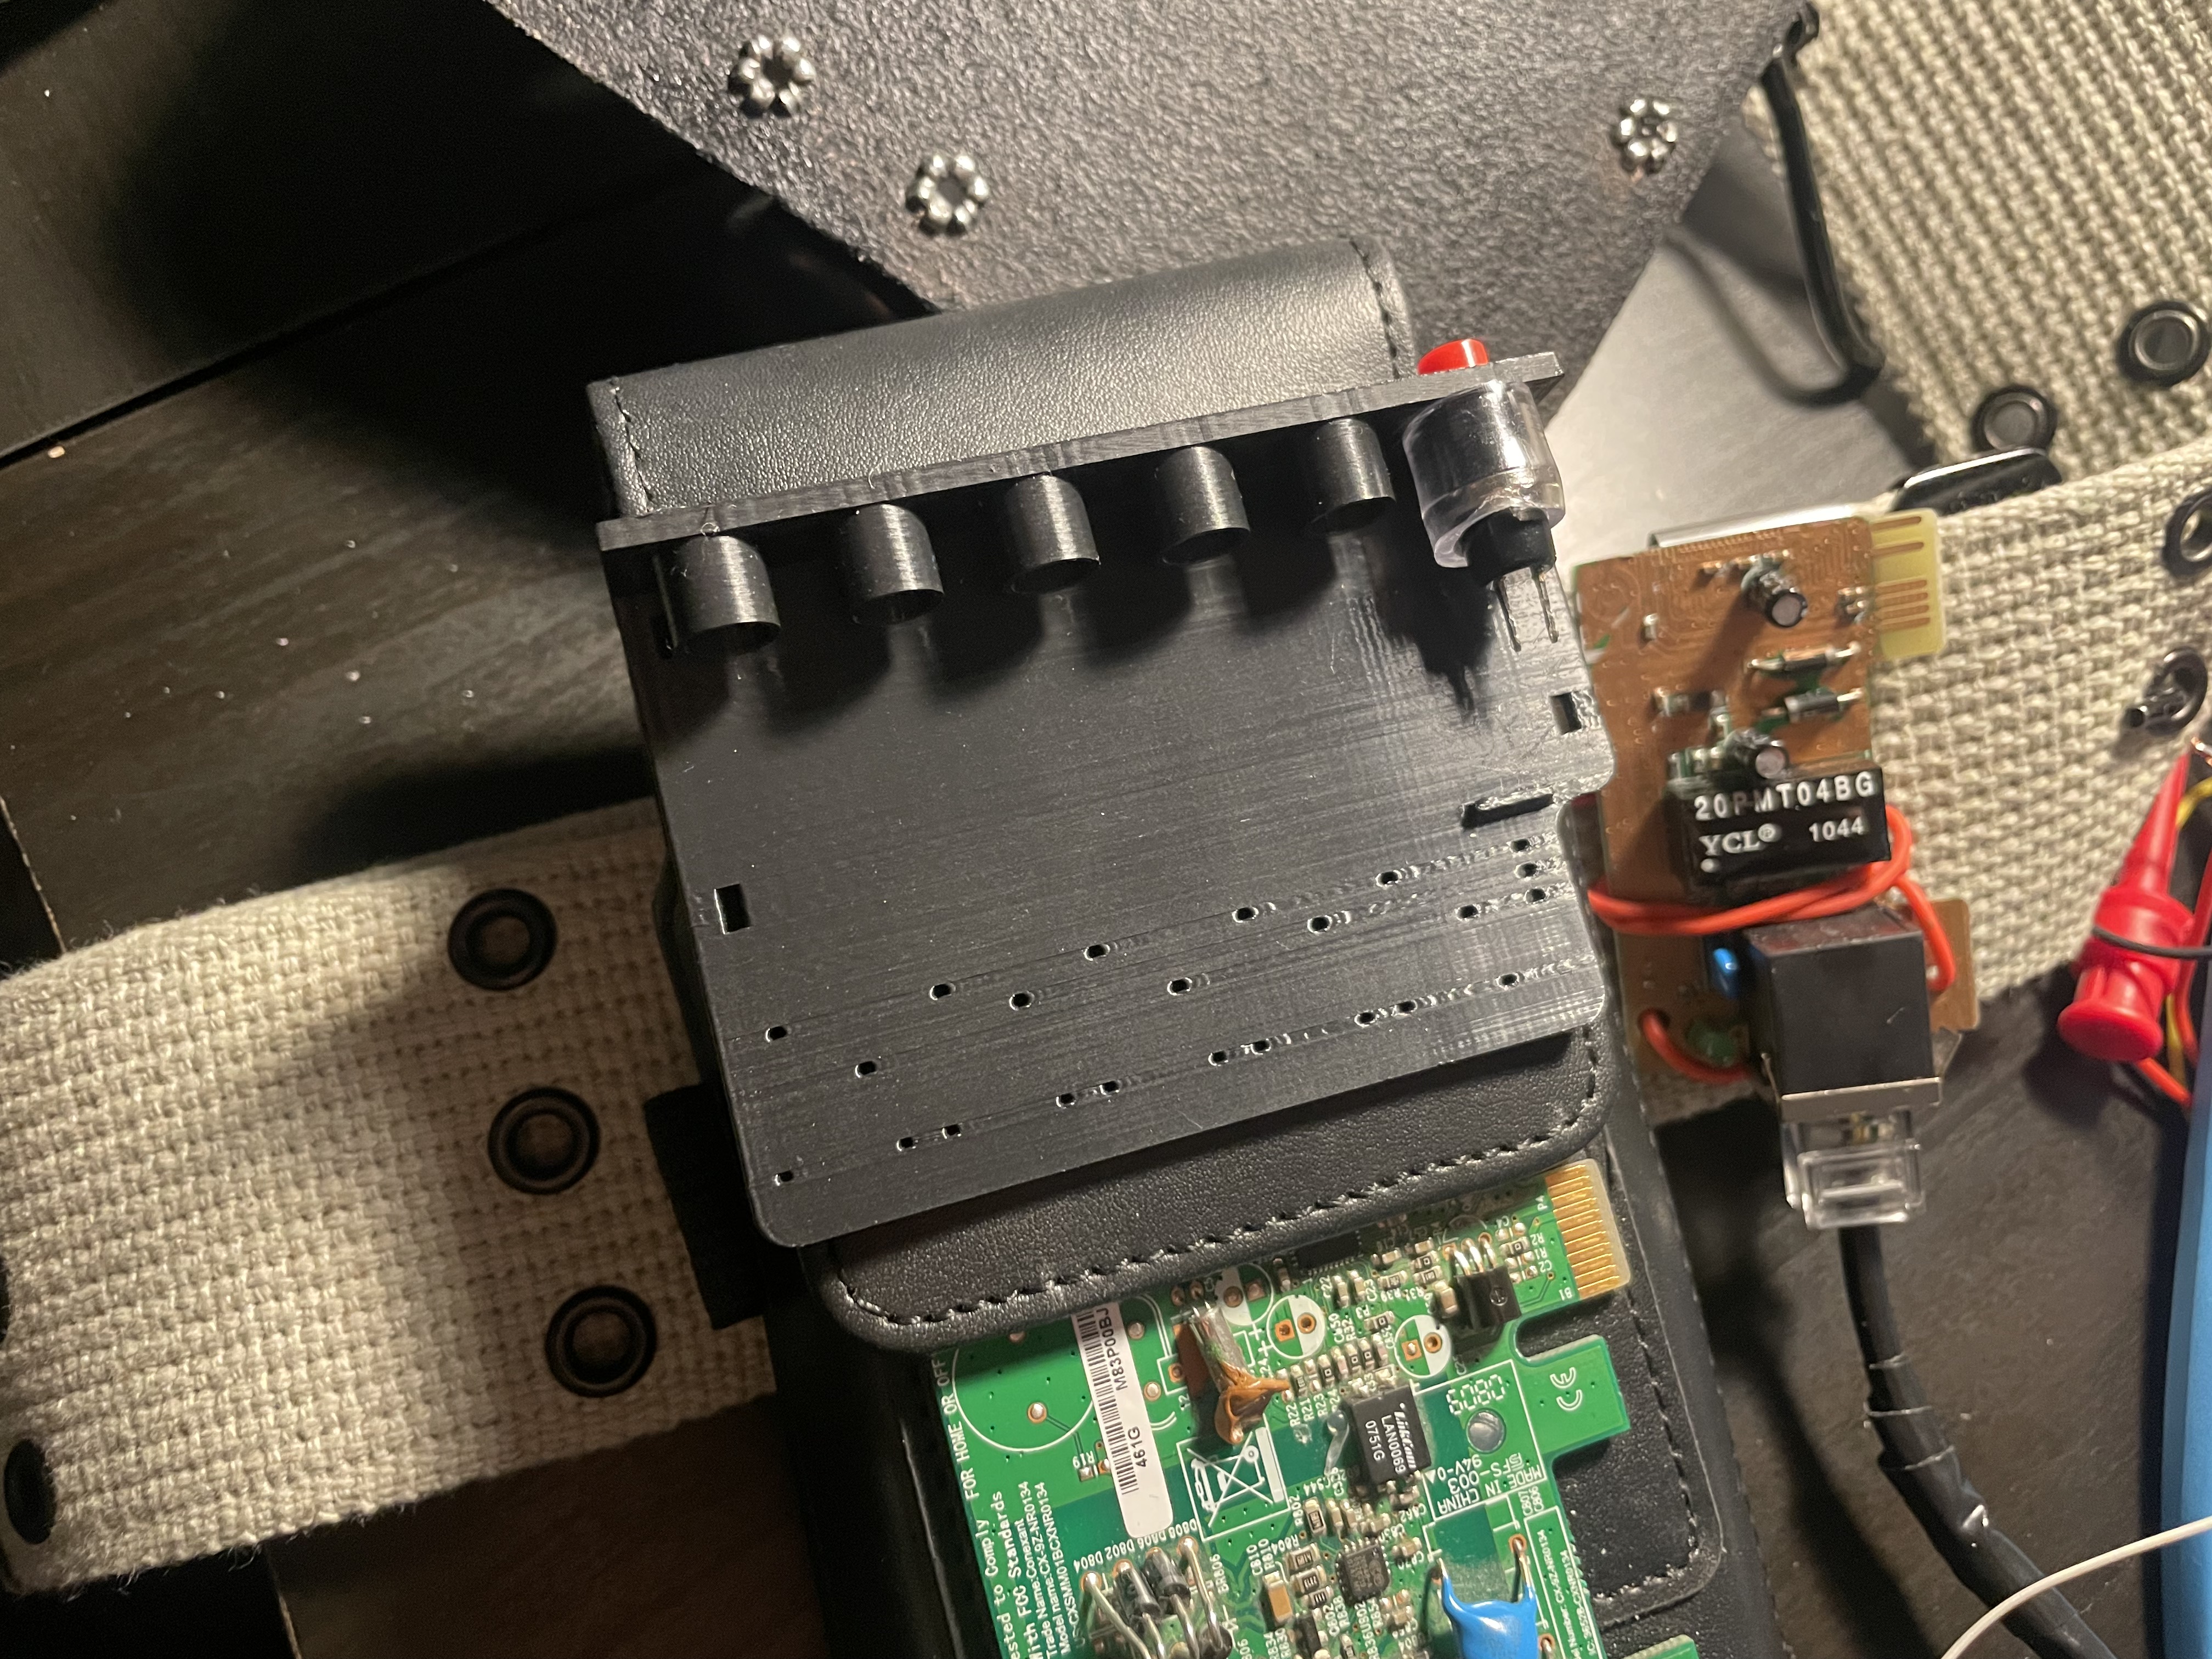
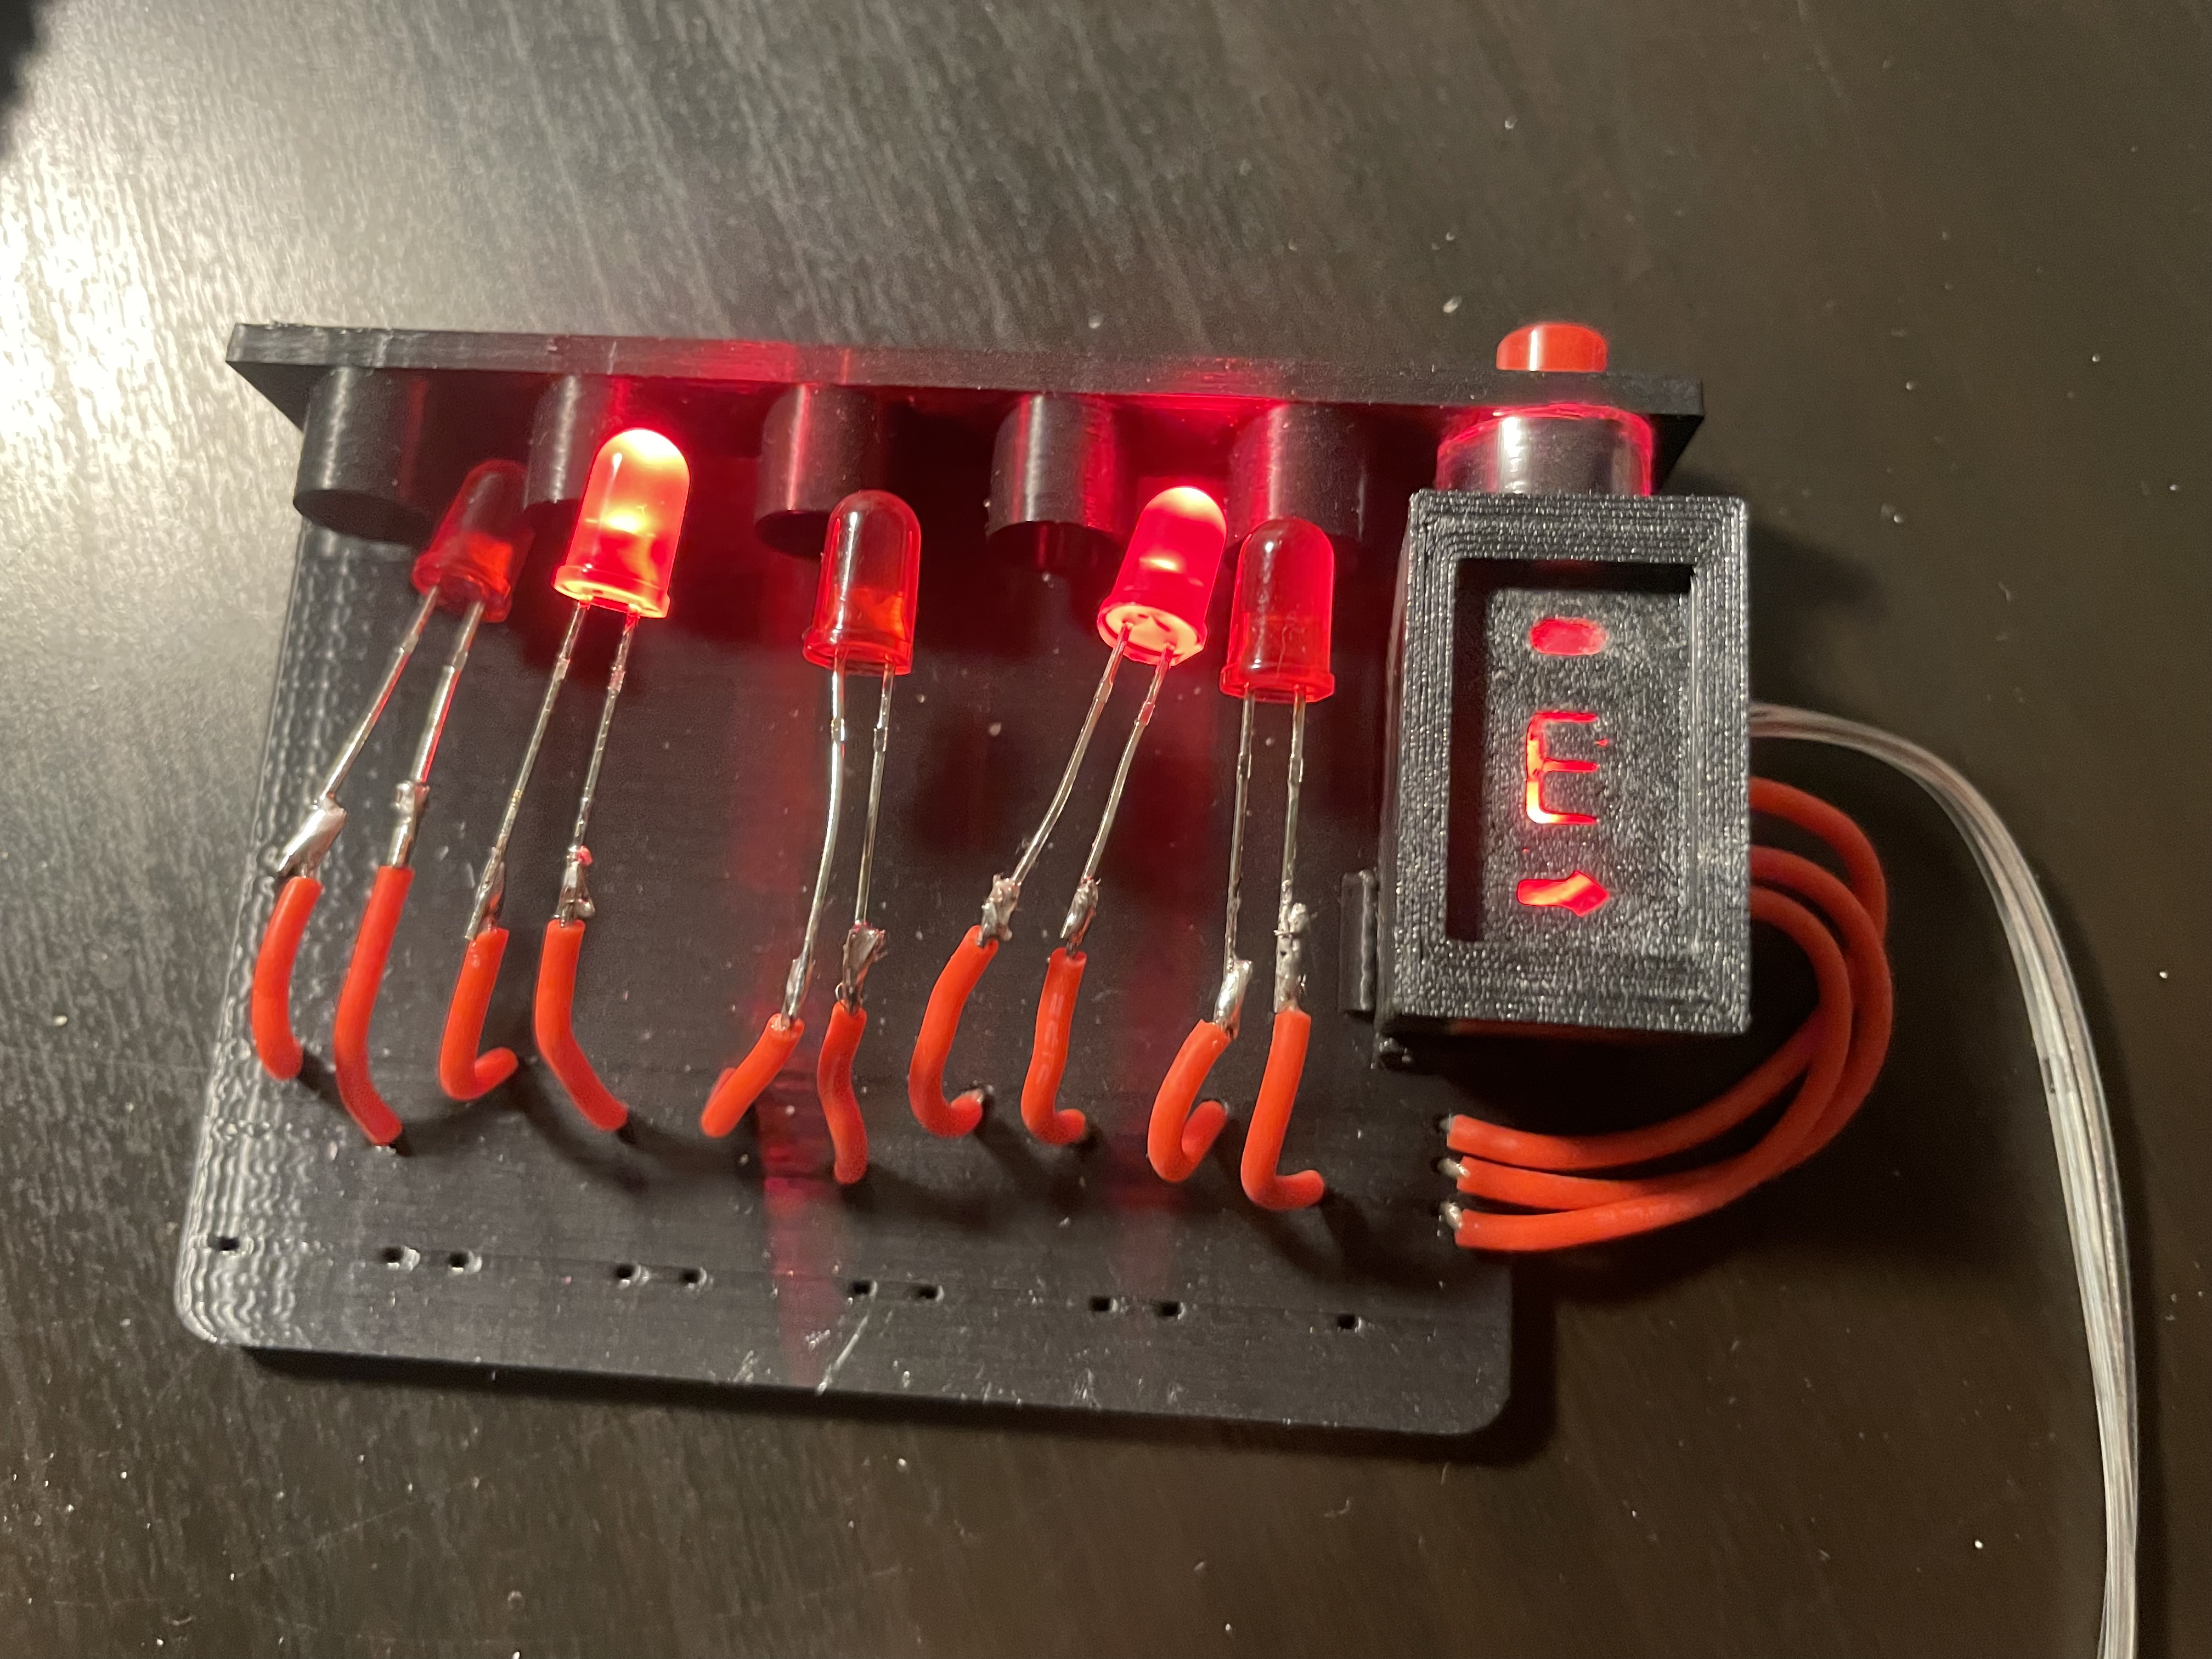
After some tests I wired up my own button & new red LEDs. The board basically has two outputs for the lights so I arranged them to alternate with their flashing patterns. And it seemed to work fine with the battery pack from the fairy lights so I just used that since it was already tucked away behind the flap of the holster.
From there I measured things out & modeled all the parts using blender, using as many reference pics I could find to make a nicely scaled down version of the real calculator board/tube setup. It took a few test prints to get the friction fits working right on some of the pieces.
I am wiring it in place of the faux bar graph on the Matty thrower then covering the numerals leaving the battery level bar graph showing. It should work if you add it for the trap’s bar graph as well.
I’m pretty sure these were the final versions of everything. Lemme know if you have any questions! I took some reference pics while building so I could upload those to this folder if that’d help.