Hi All,
Hi Everyone,
As we approach this year’s Halloween, I’ve decided to get back into improving my current outfit. I have a Children’s hospital visit coming up with some of the local guys here in Brisbane. And I’ve never really liked my existing belt gizmo build (mostly the bad paint job I did on it and the fake nixies), it was a temp build until I could get around to converting my real 808D over. But now, given the scarcity of the 808D’s I cant bring myself to pull my working one apart.
My hope was that I would be able to pick up one of Ecto Labs awesome Belt Gizmo replicas instead, but unfortunately they haven’t been in stock every time I checked across the year. So onto another temporary belt gizmo build, but this time with a better printer and some more effort to get things to look more real (at a glance for the general public).
This was a fun quick project and I thought it came out OK, and I thought the approach I took with the nixies is worth sharing.
I found this project https://makerworld.com/en/models/1801194-belt-gizmo-with-hostler-and-daughter-board#profileId-1920786 where a fellow had worked out a way to project the circuit traces onto the what seems to be a version of the original Mr Kiou model that I note is still available on Thingiverse (Ghostbusters - Belt Gizmo with daughter board by mr_kiou - Thingiverse)
And that is where my journey began this time.
I didn’t want to follow the complete maker world model, I just wanted the mainboard with circuit trace projection.
So I joined the board back up and painted the parts so that I ended up with this painted model.
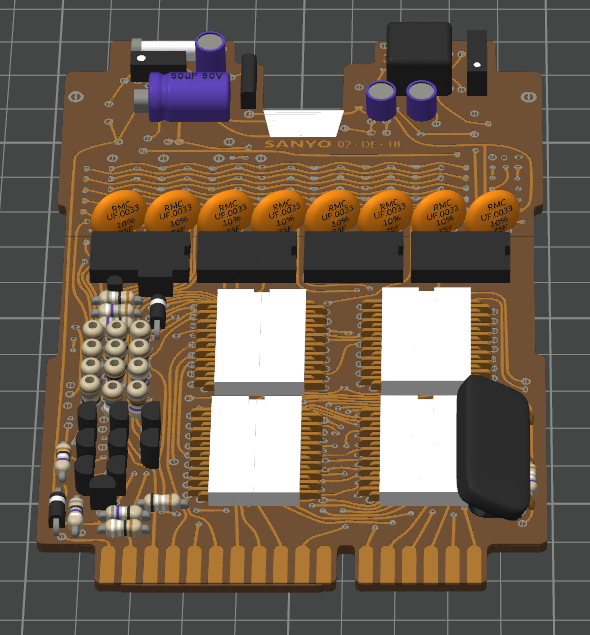
Which mid print looked like this
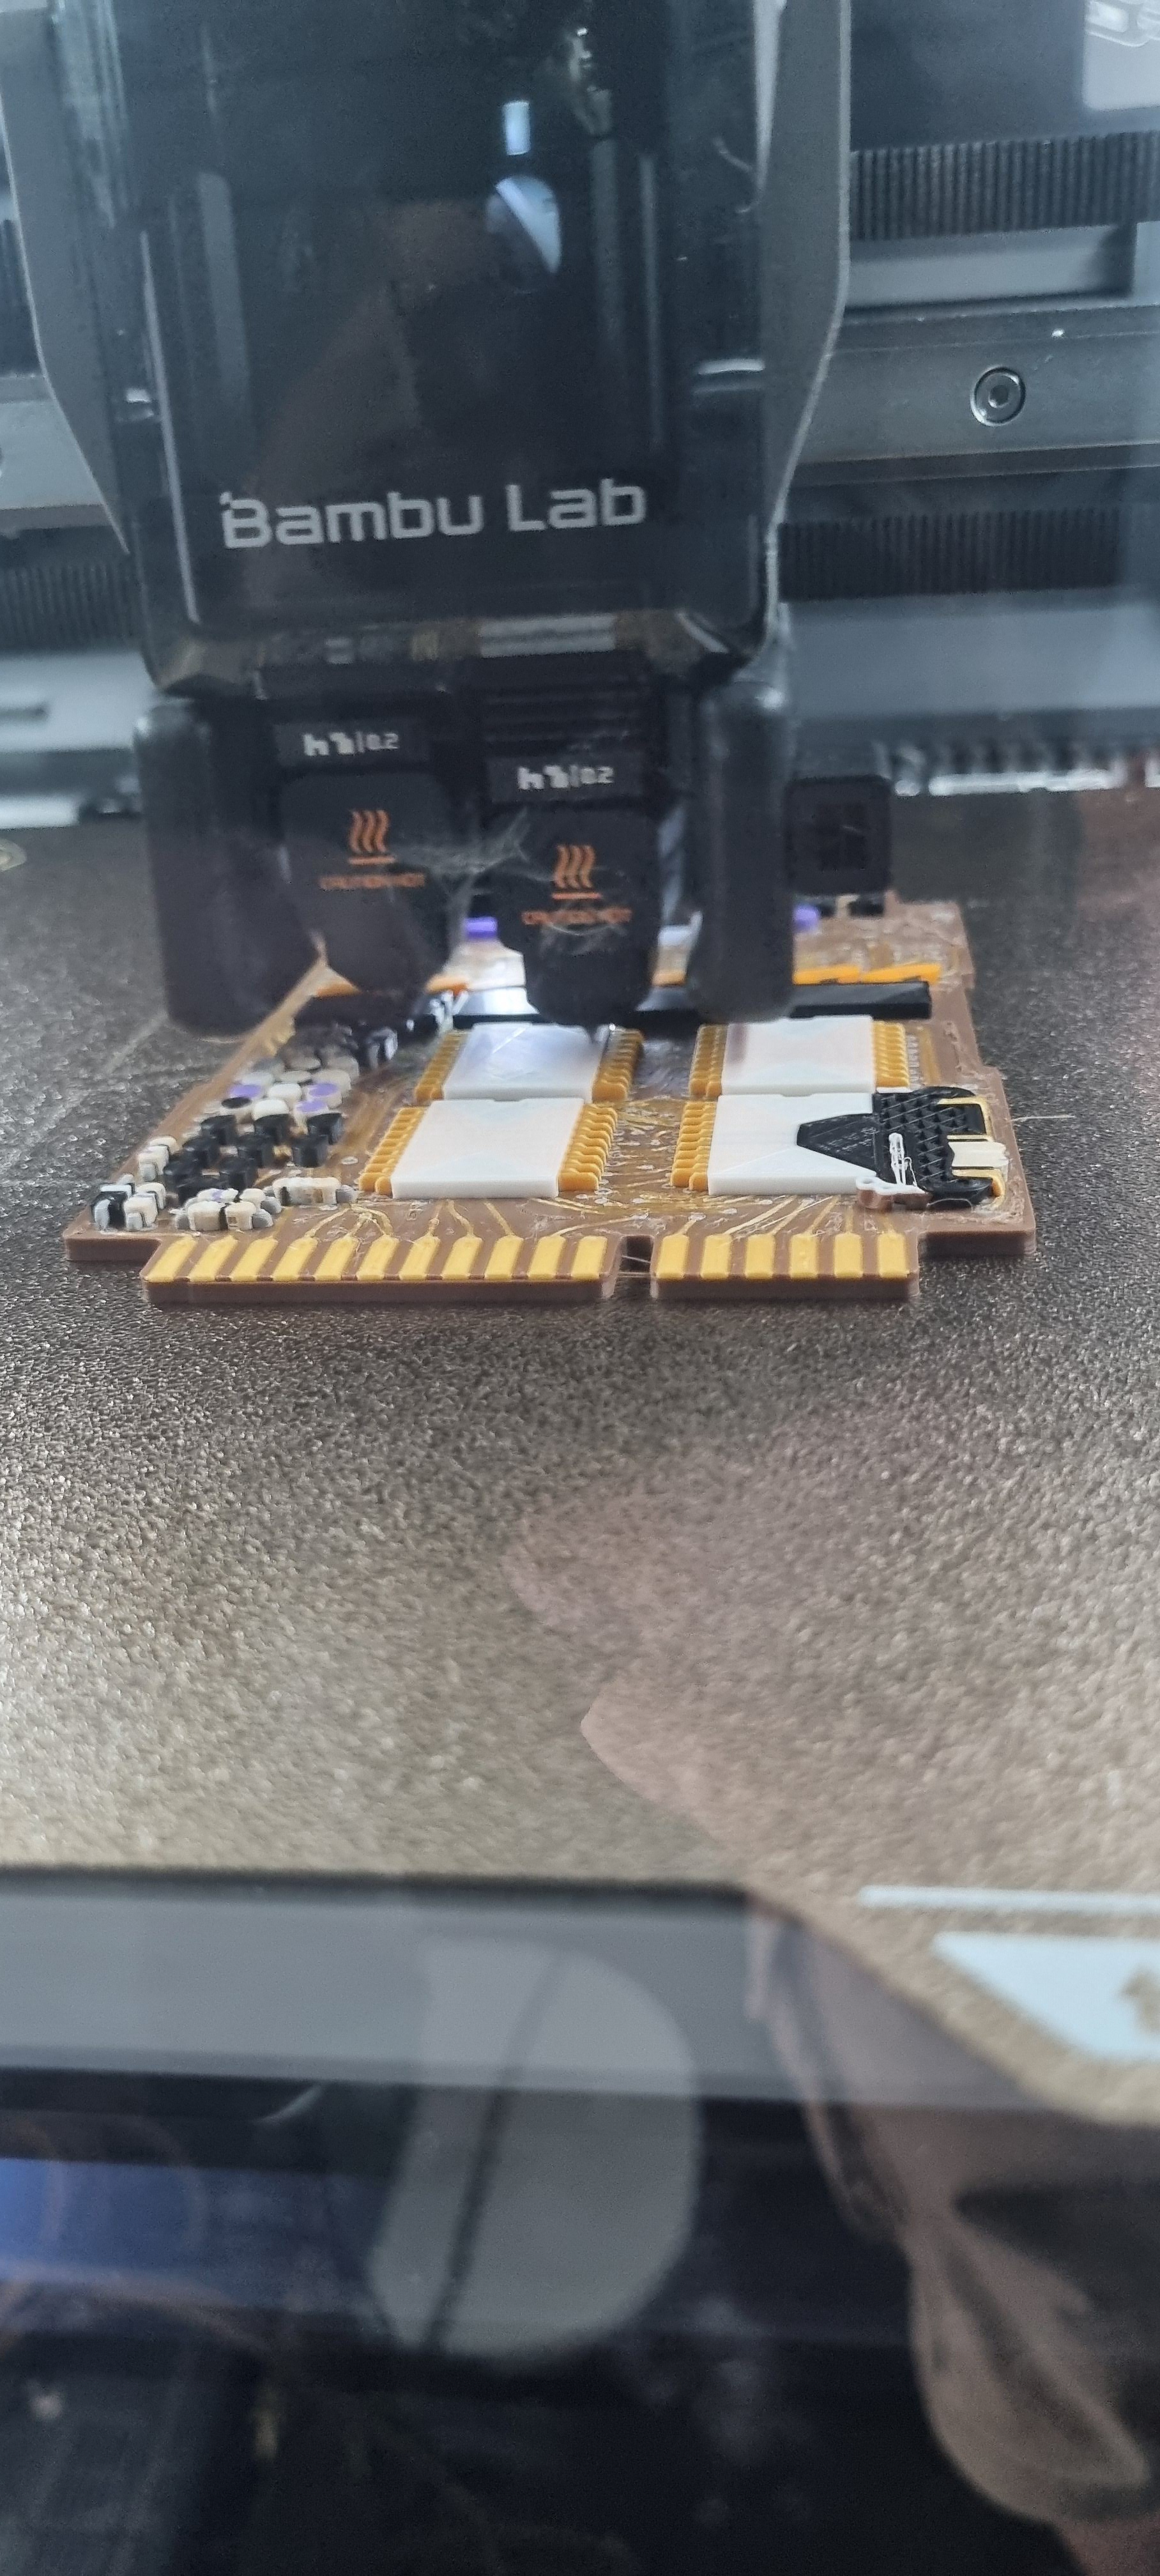
And after a long time came out like this
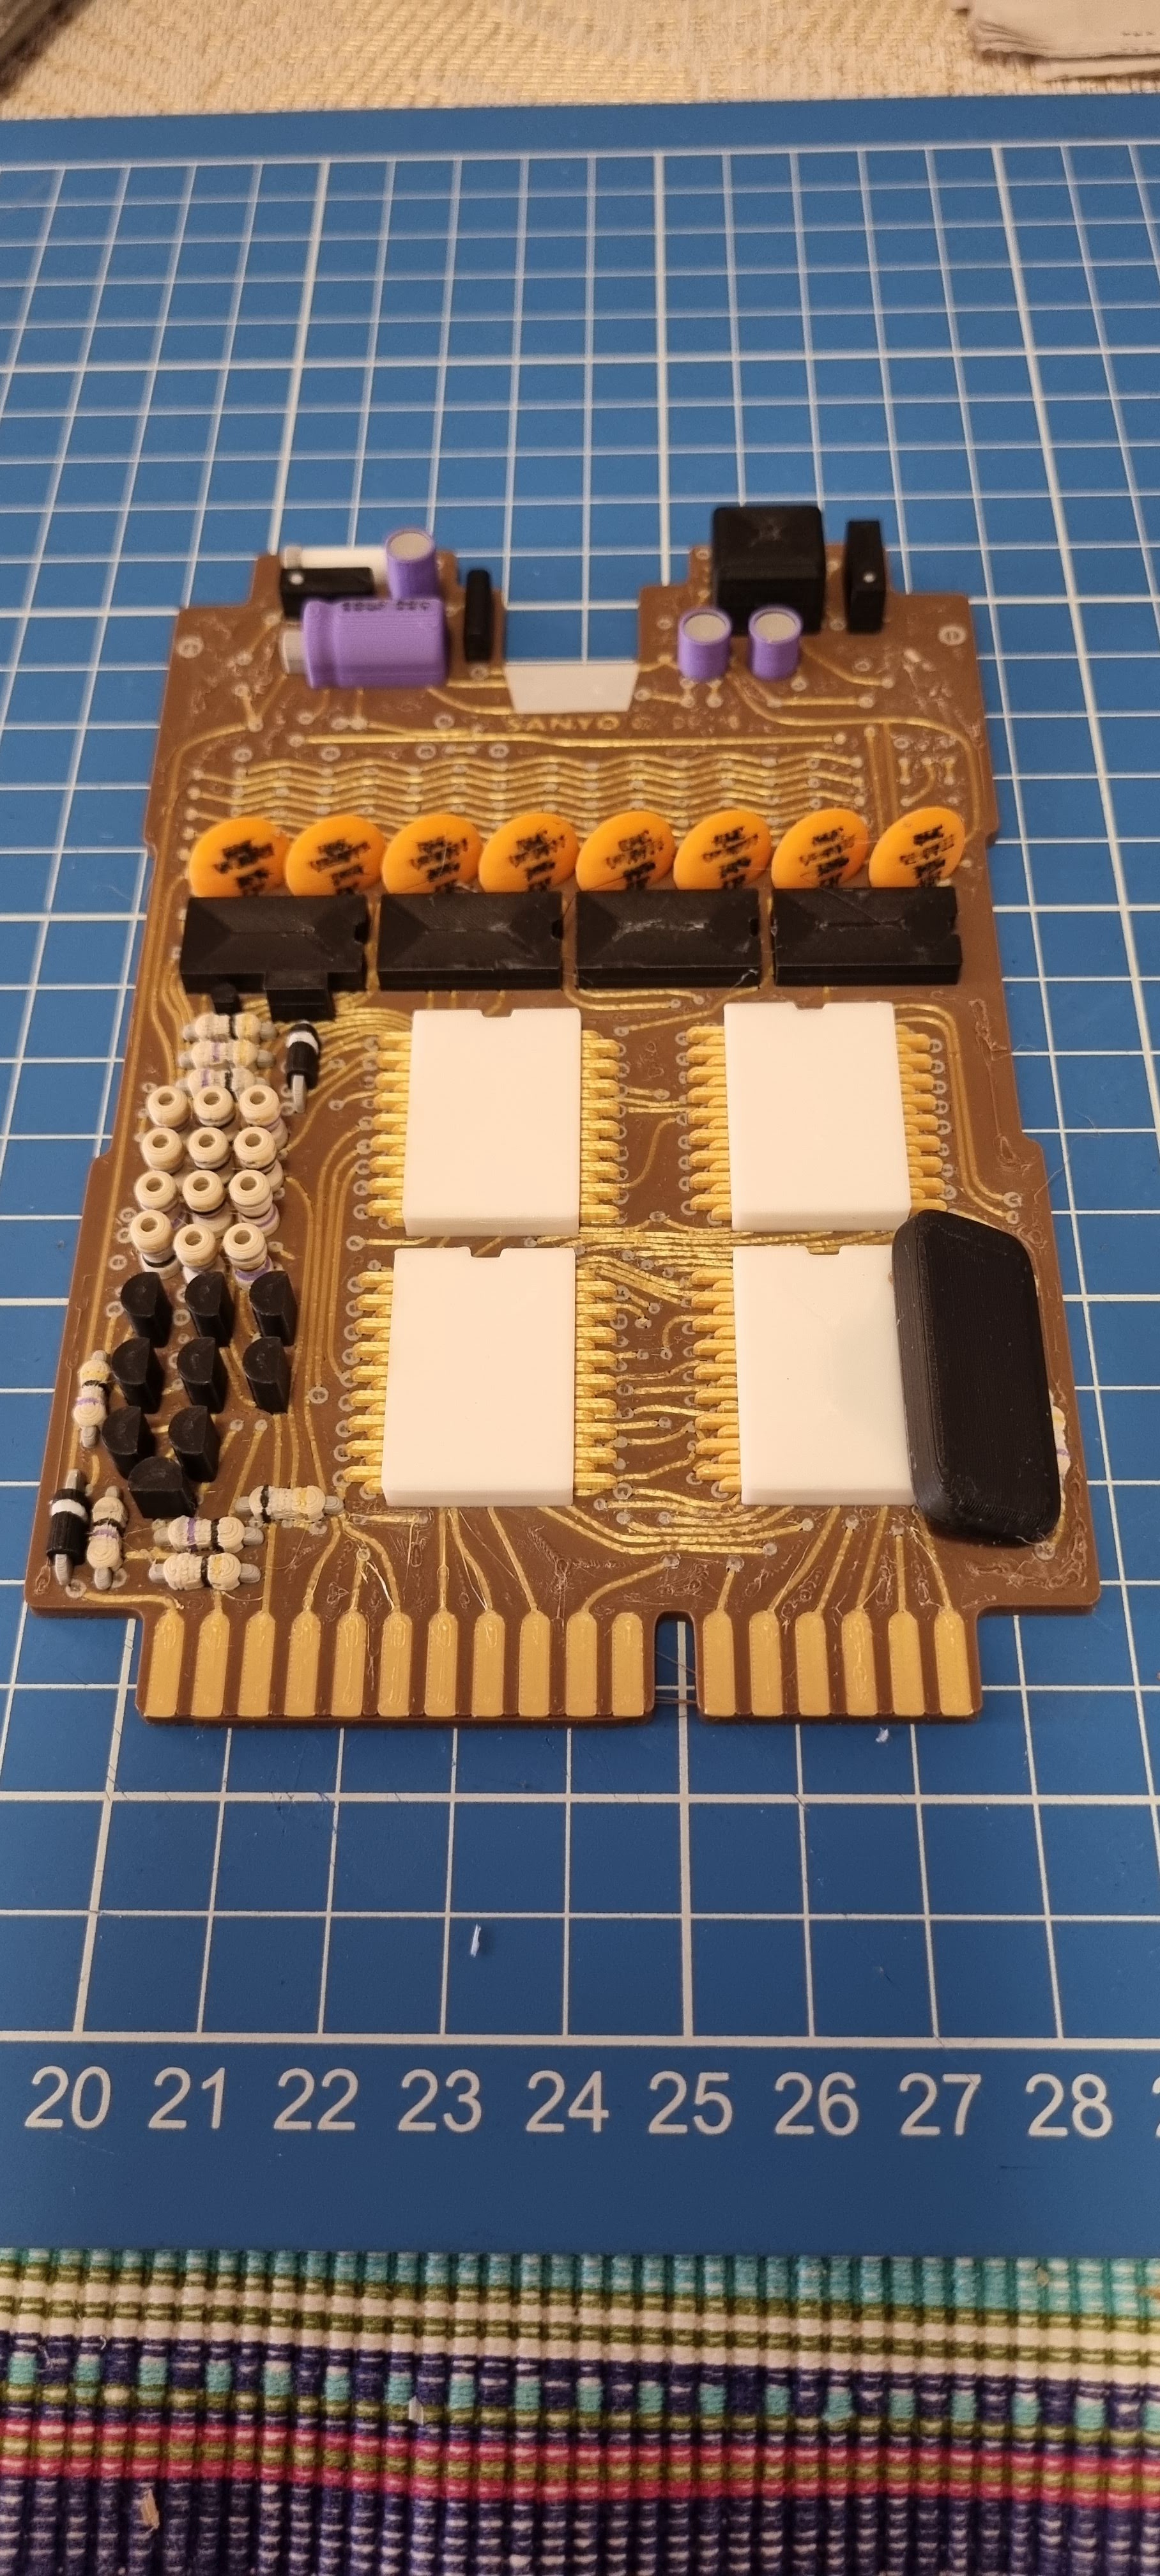
I ended up chopping up parts of the main board to mock up a daughterboard.
I also modified the nixe holder to move the error box down a bit more like the real deal.
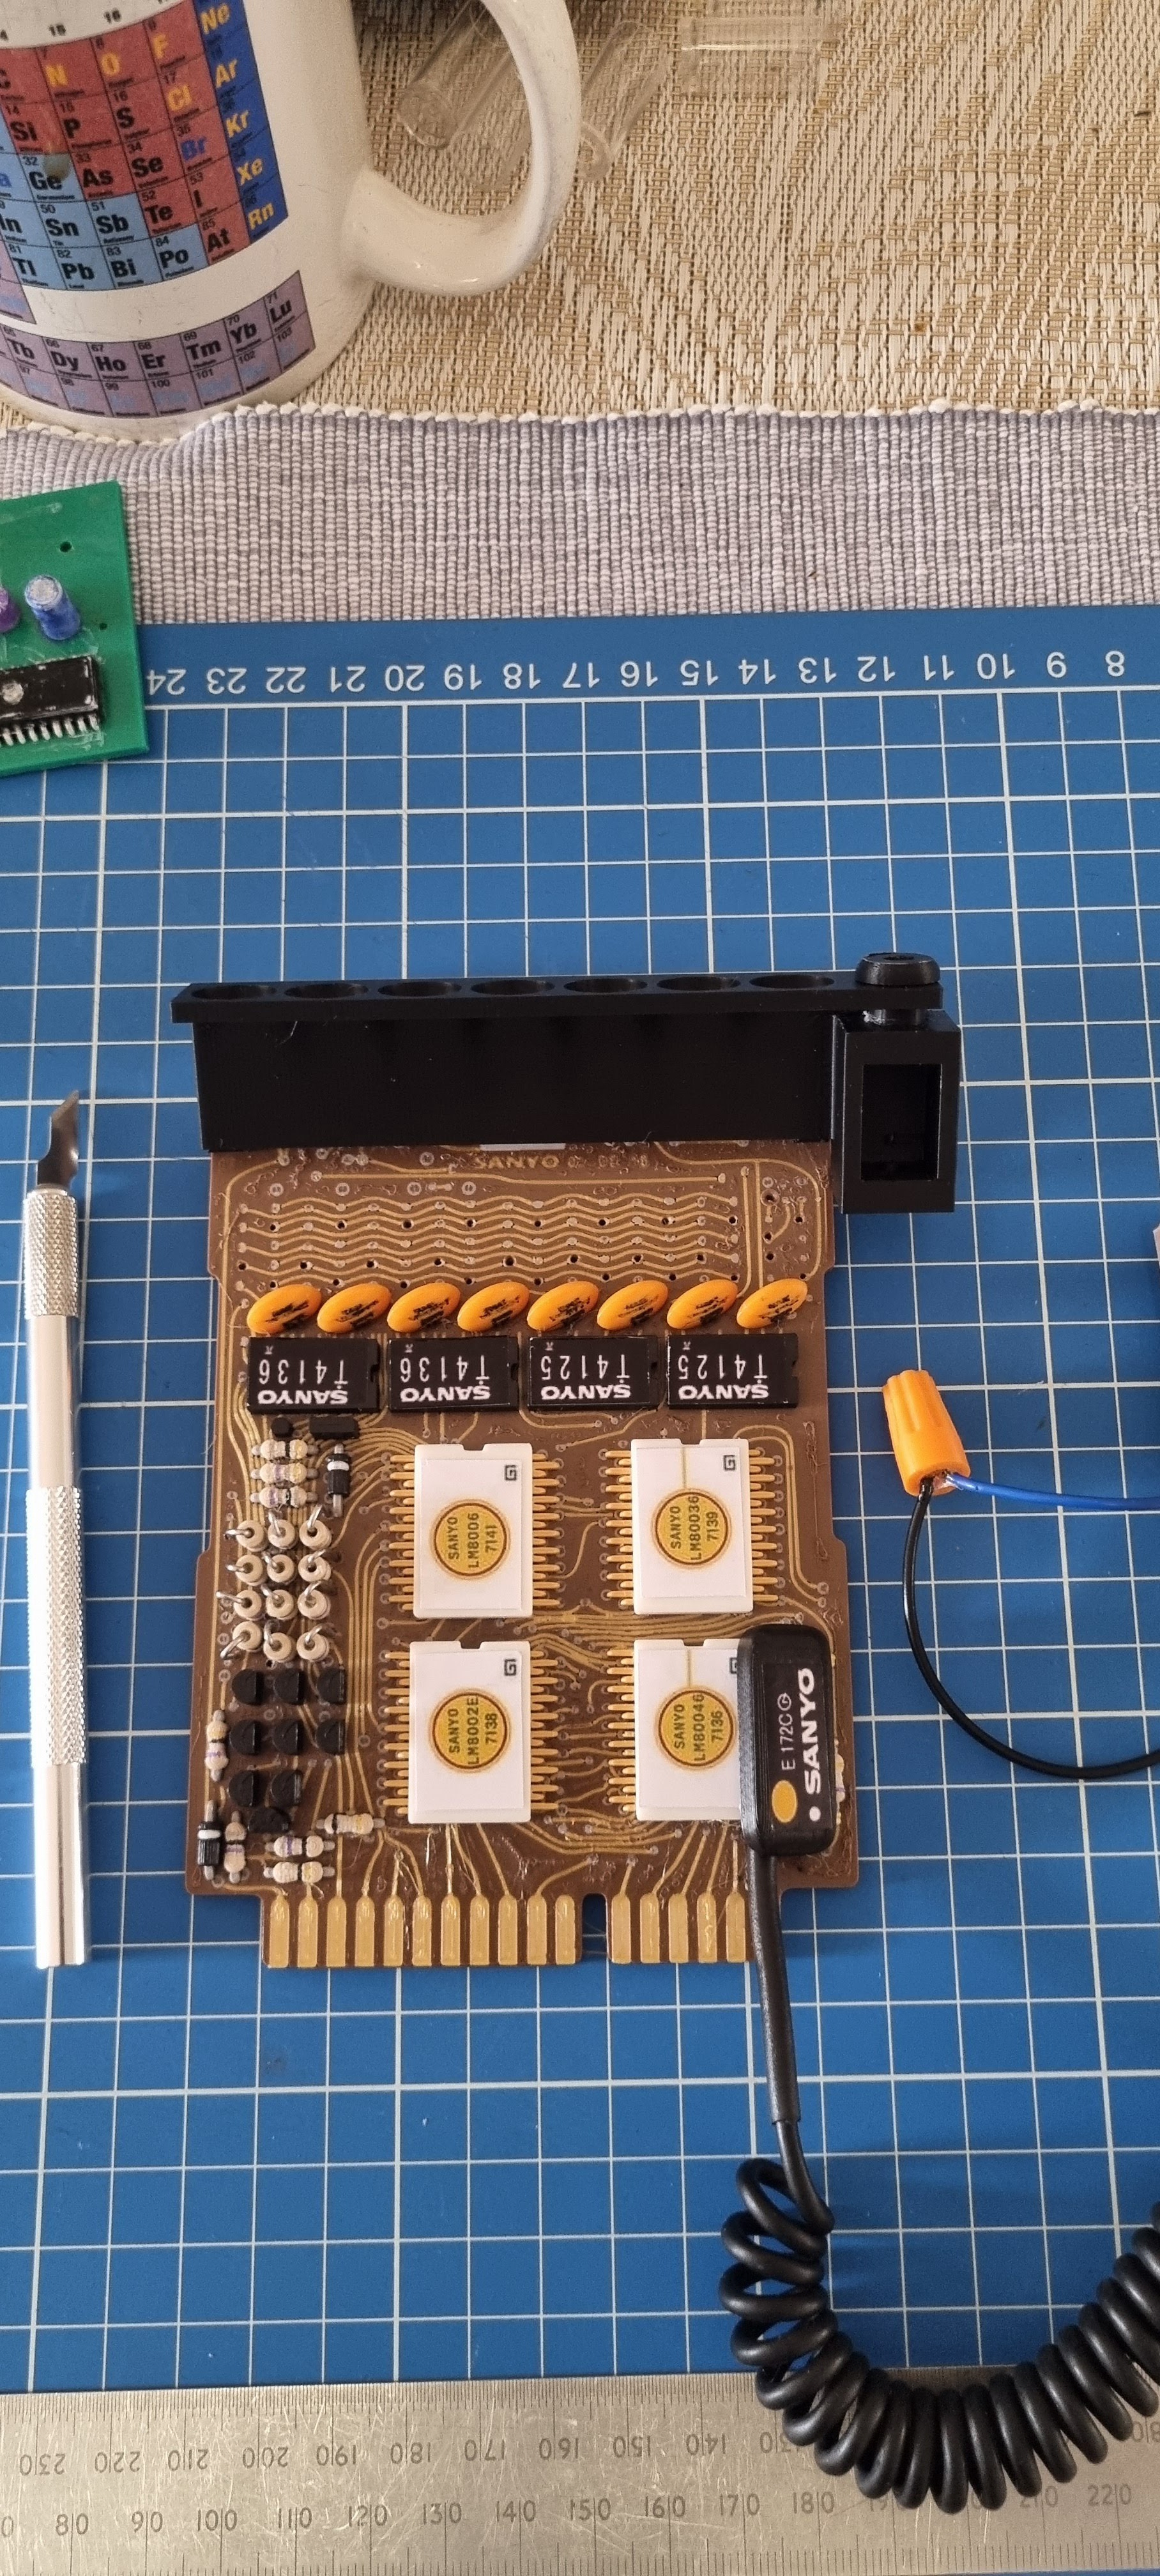
But my biggest issue with my last build was the Nixes, just not looking like real ones. So I ended up putting some extra effort into these on this build.
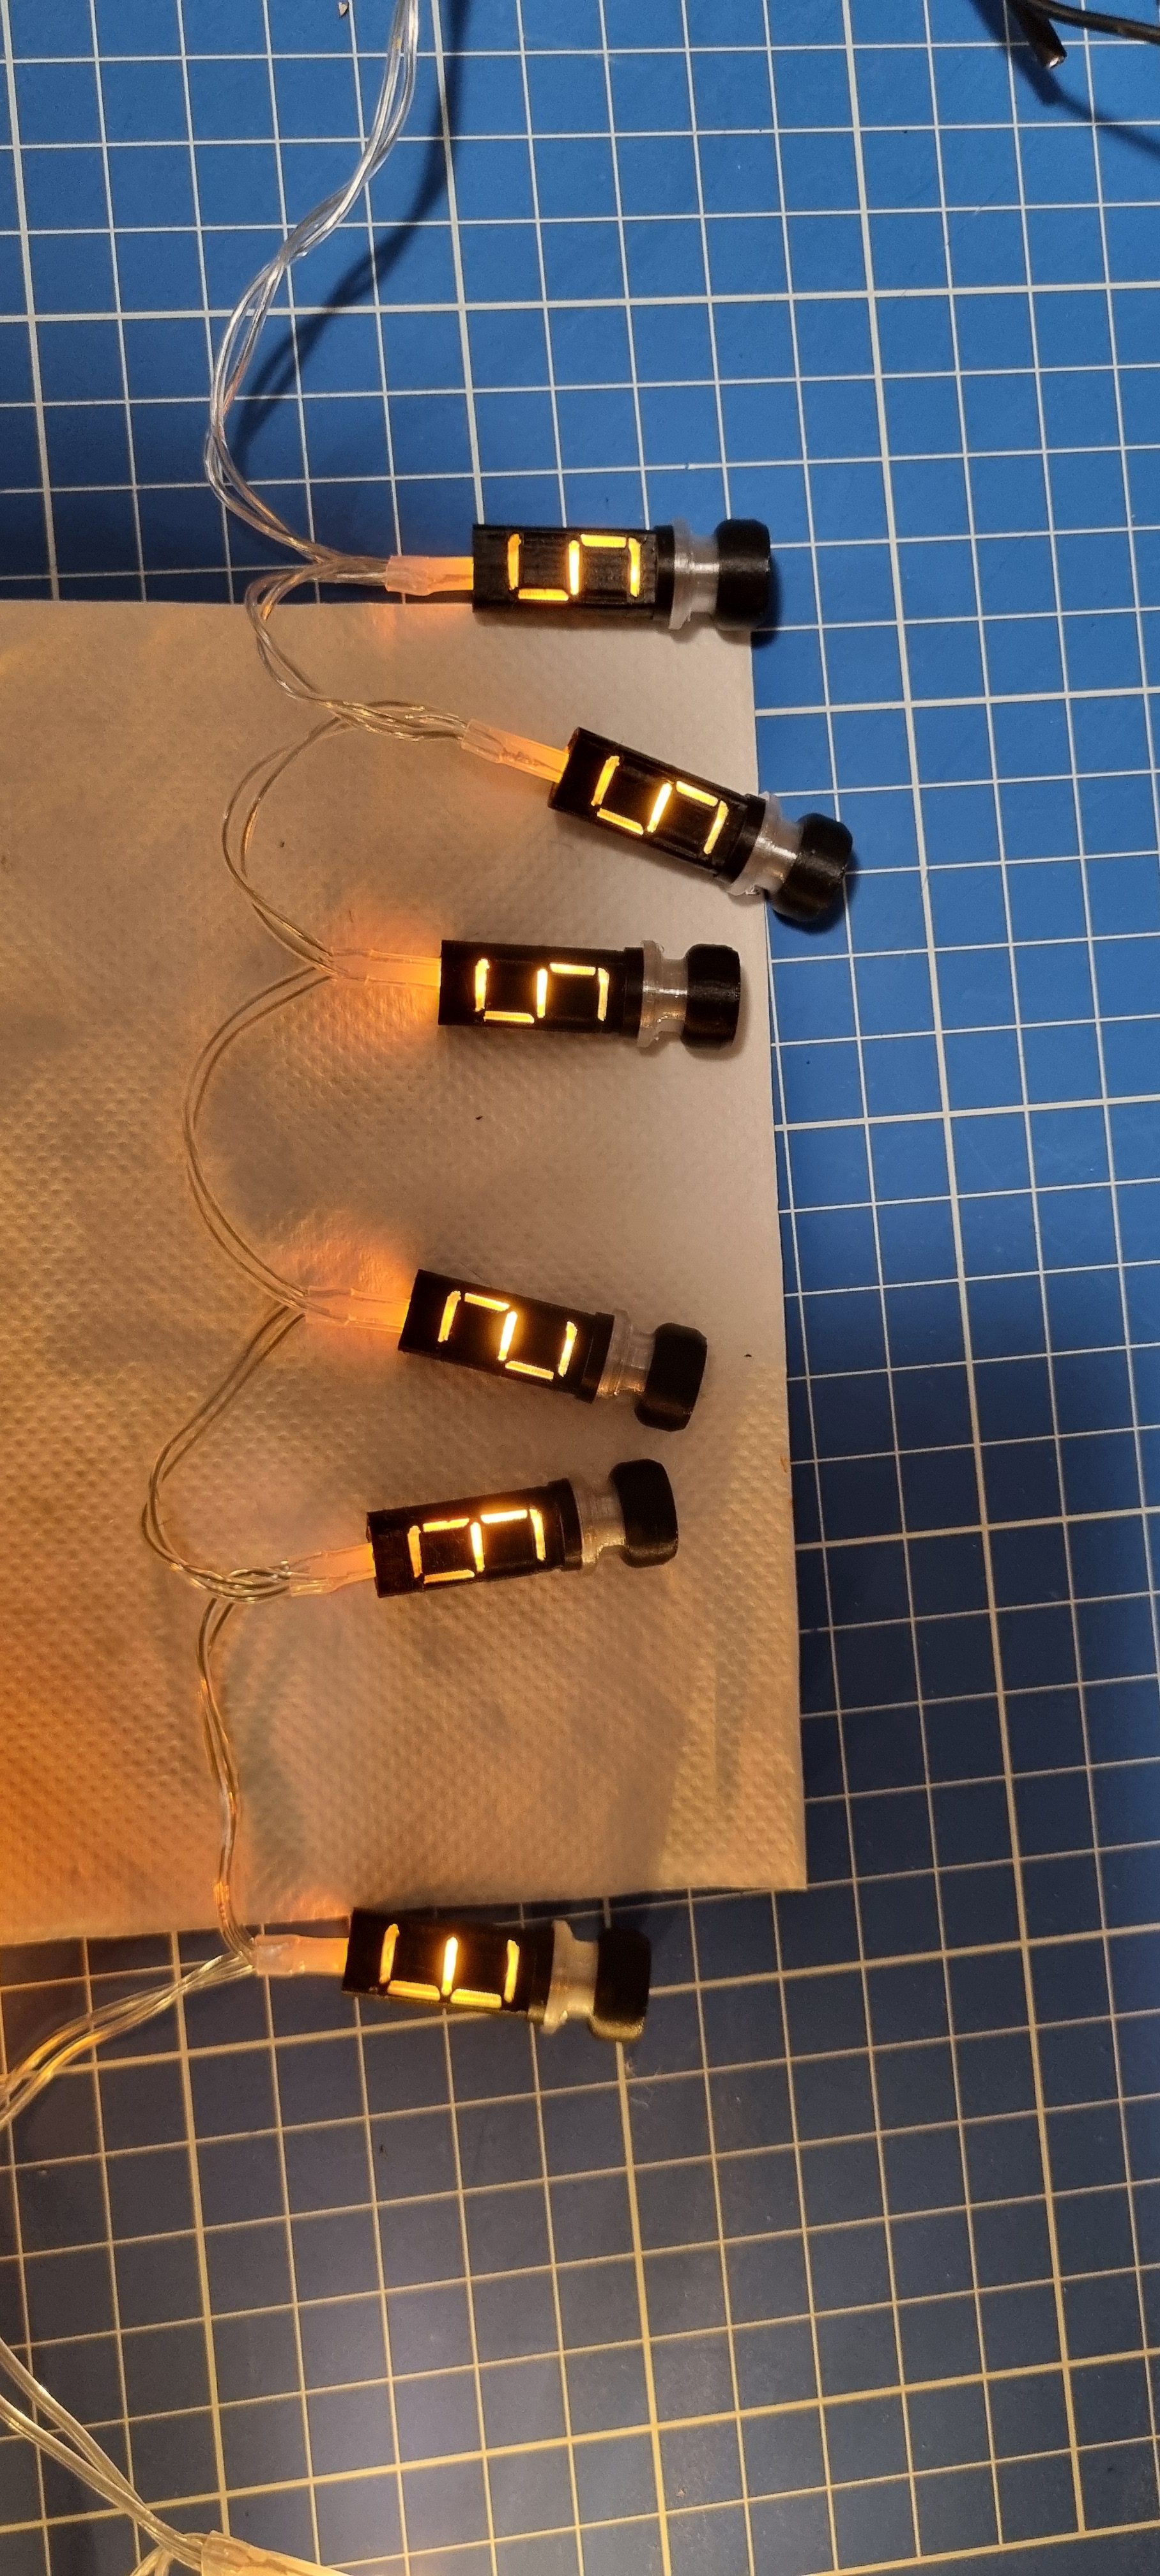
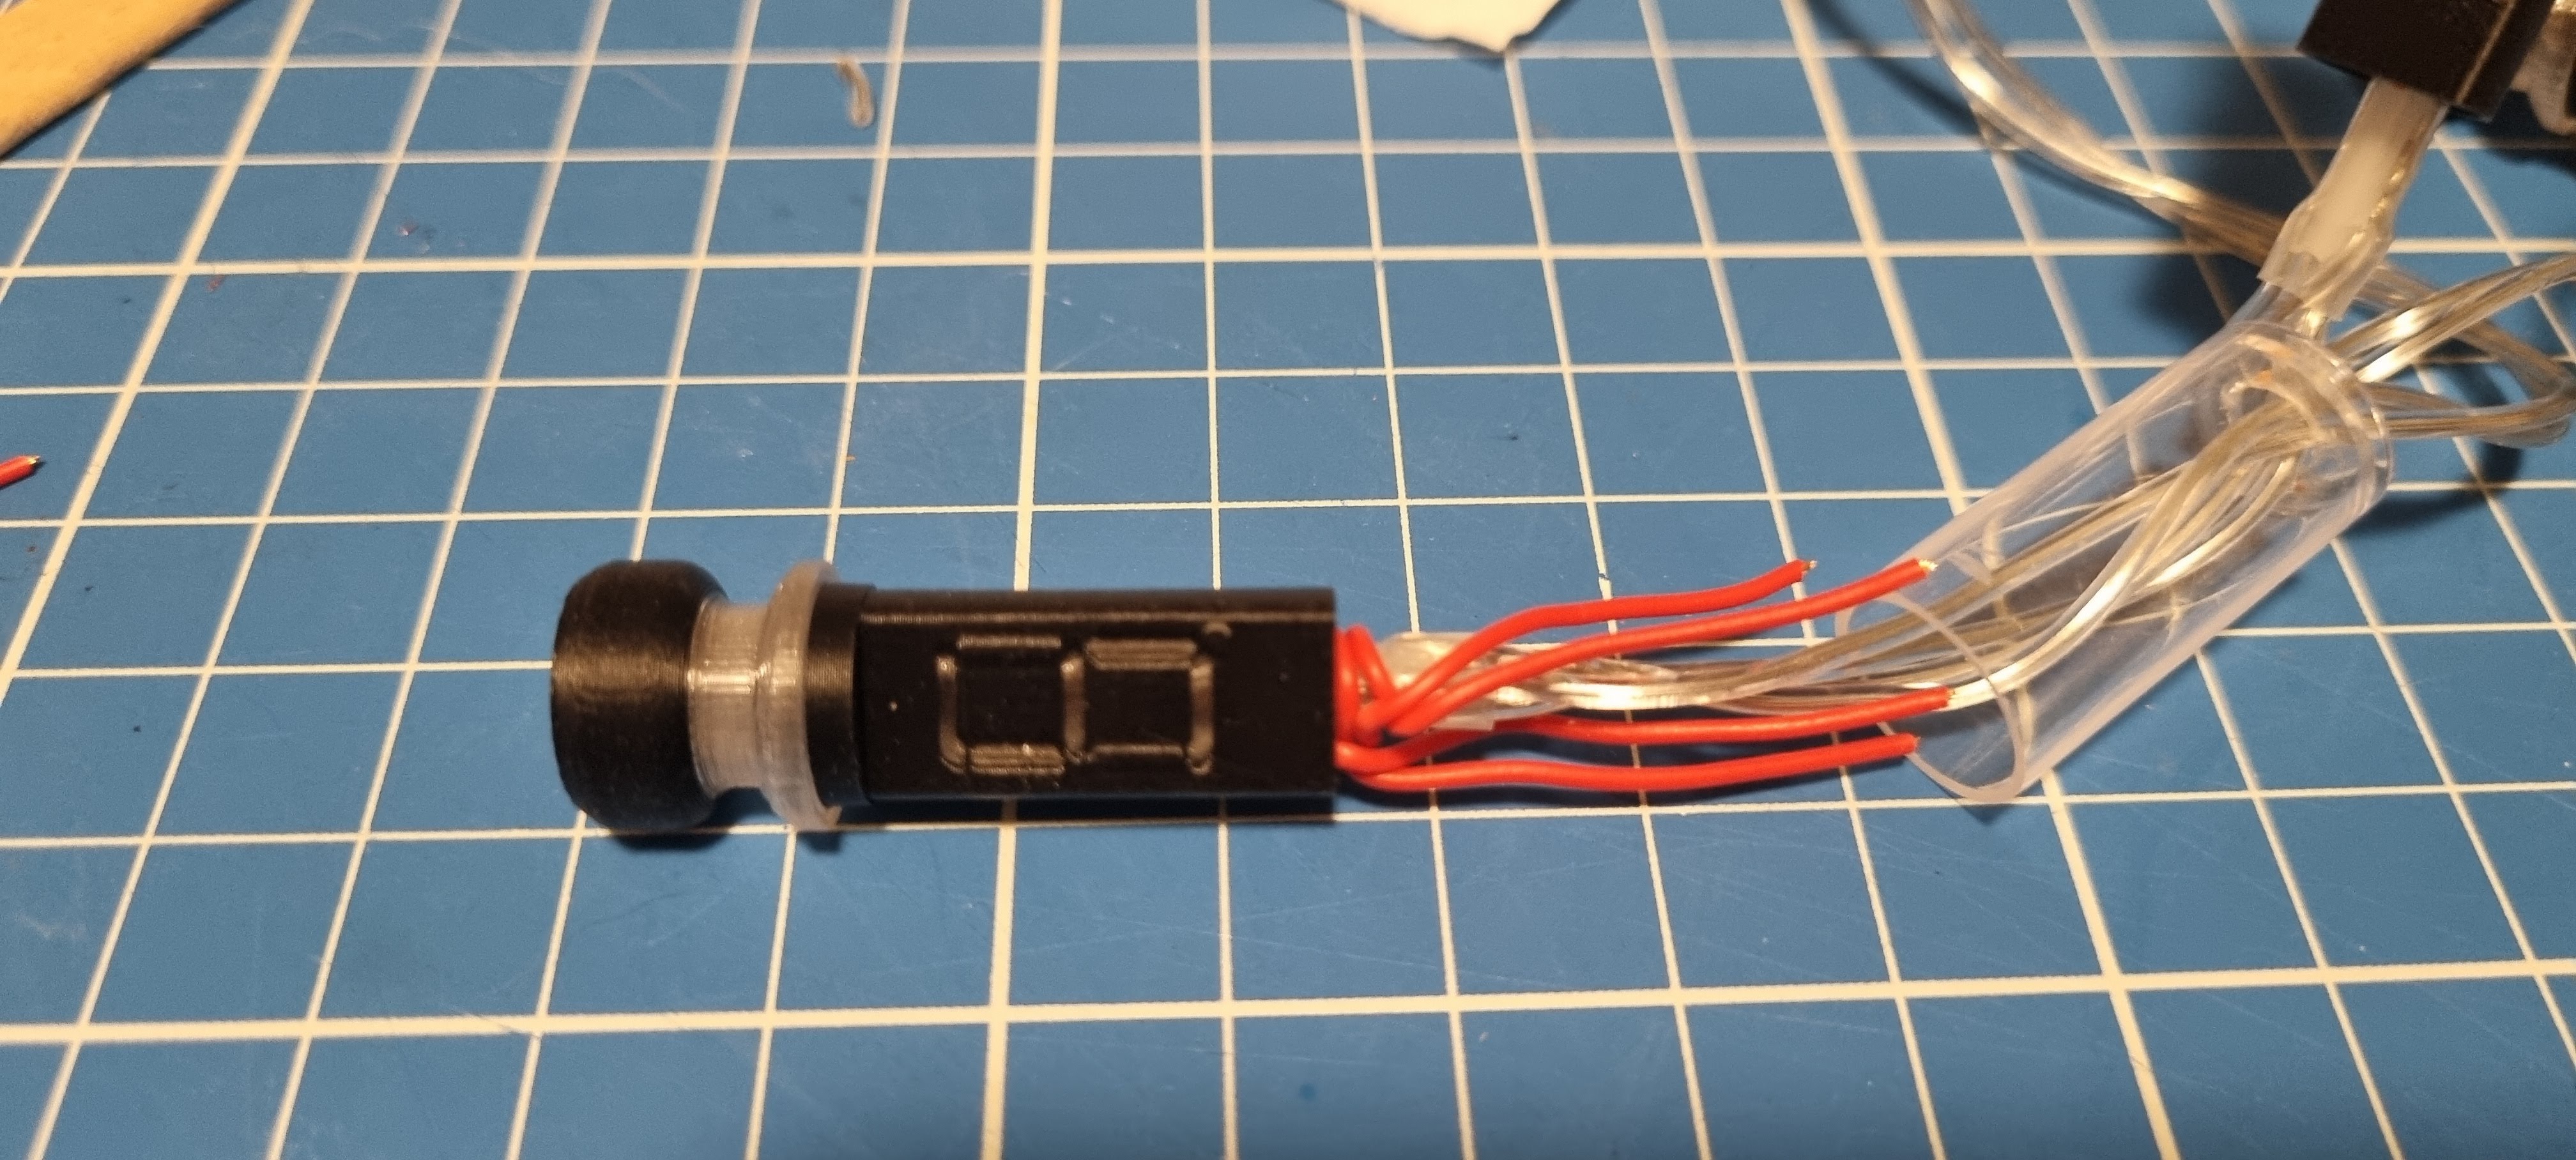
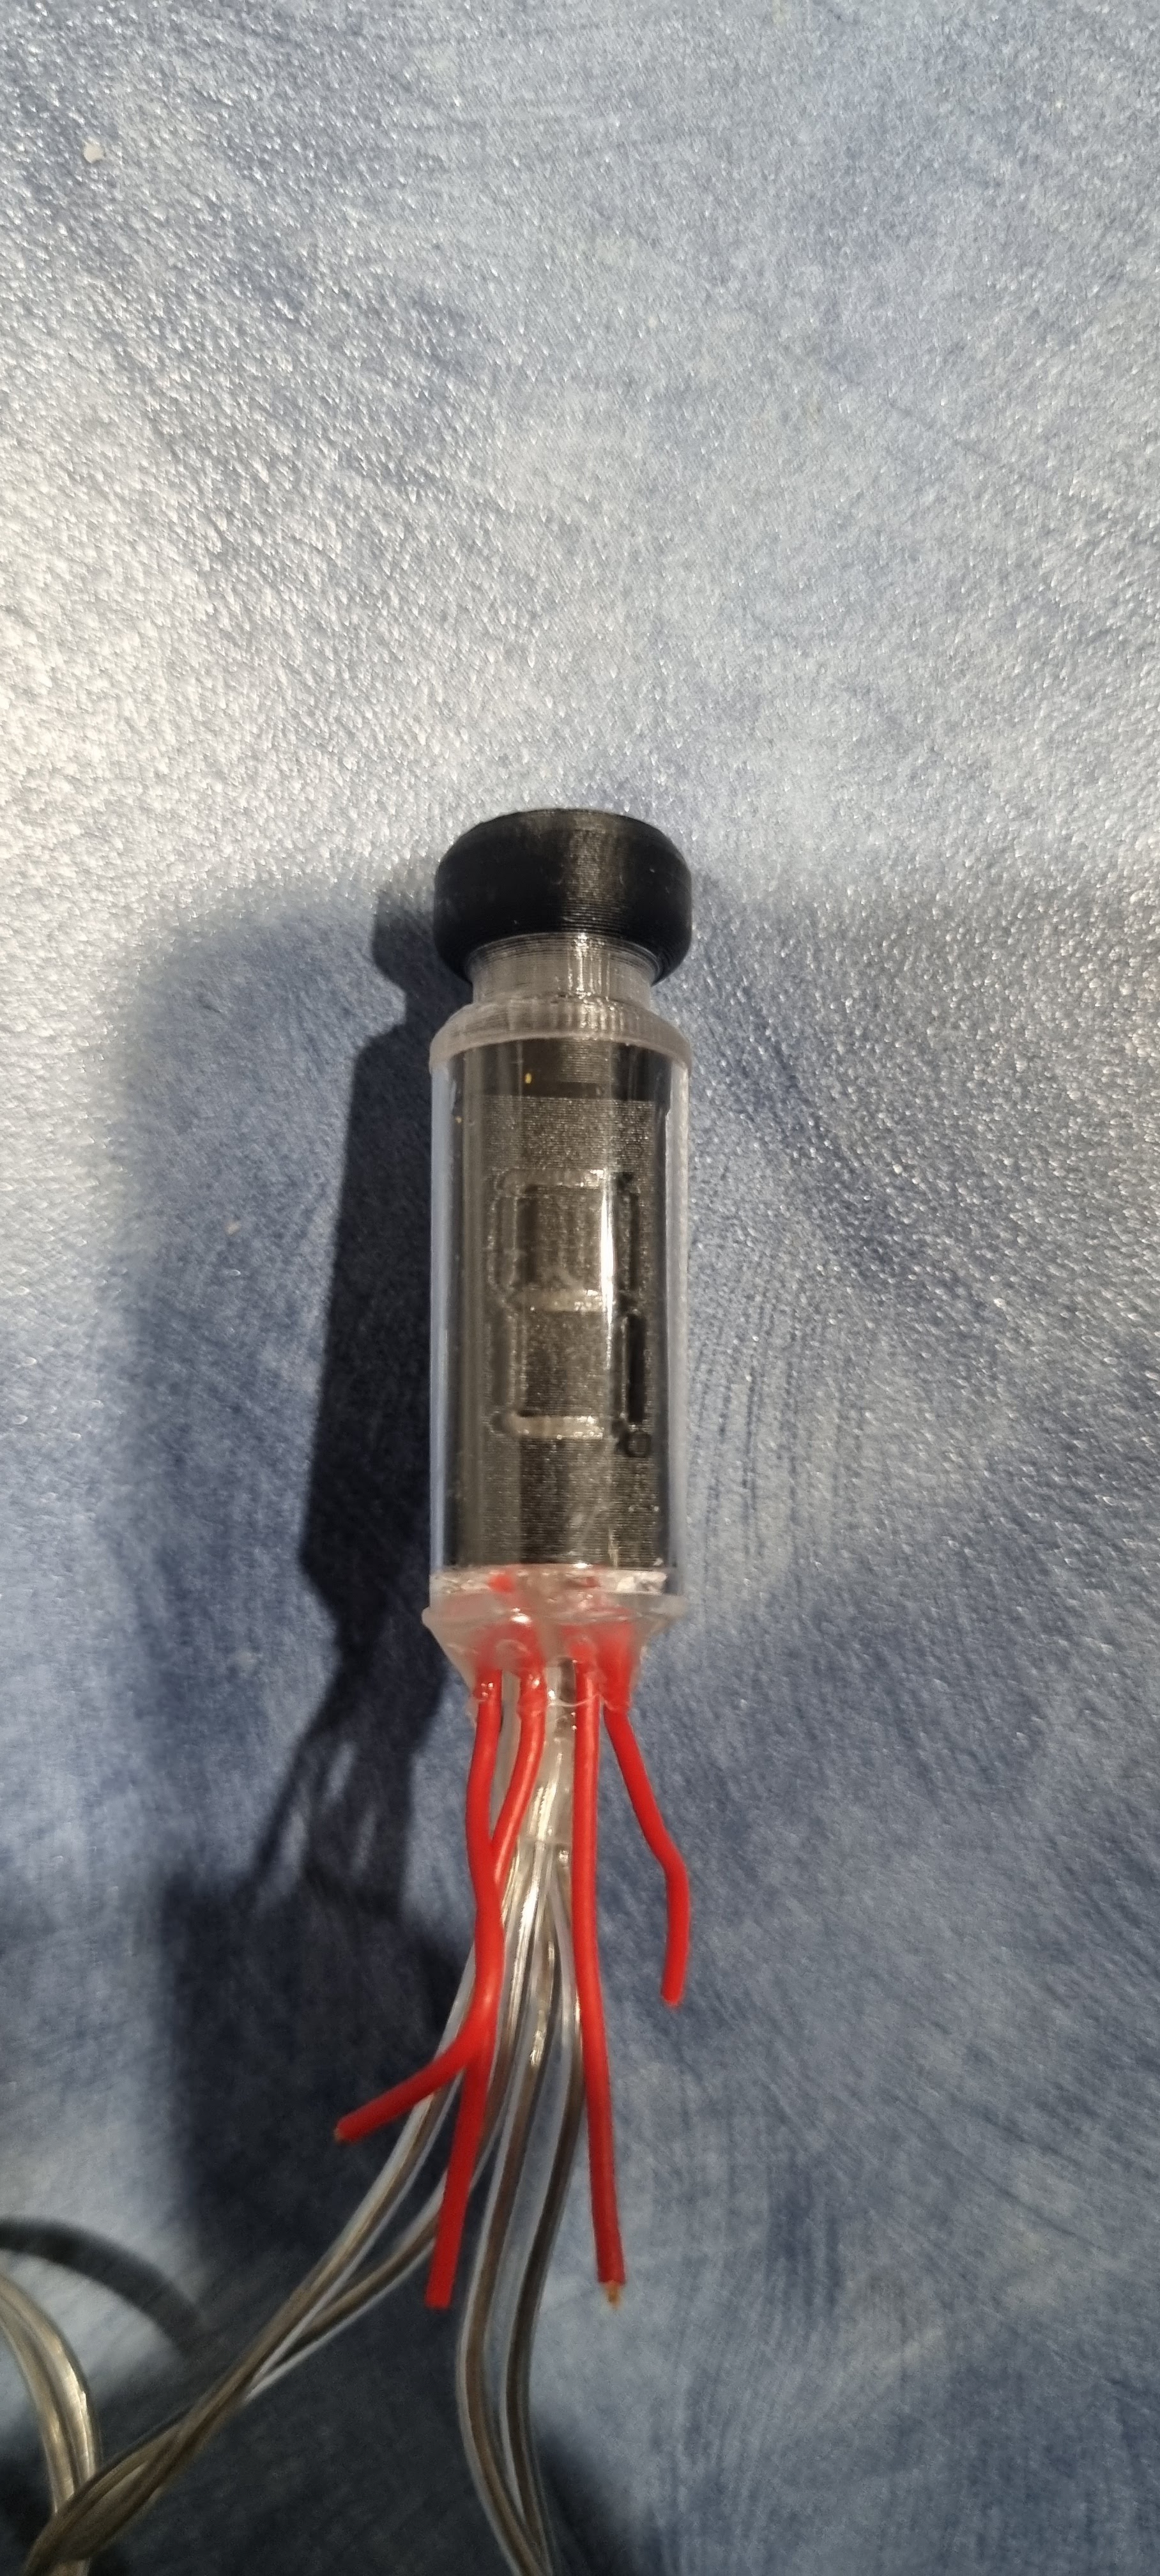
In summary I designed an internal nixie insert that I could print out of black and clear PETG G. I also found some cheap acyrlic test tubes at the local $2 stores that were the right diameter for the nixie glass lens and cut them down.

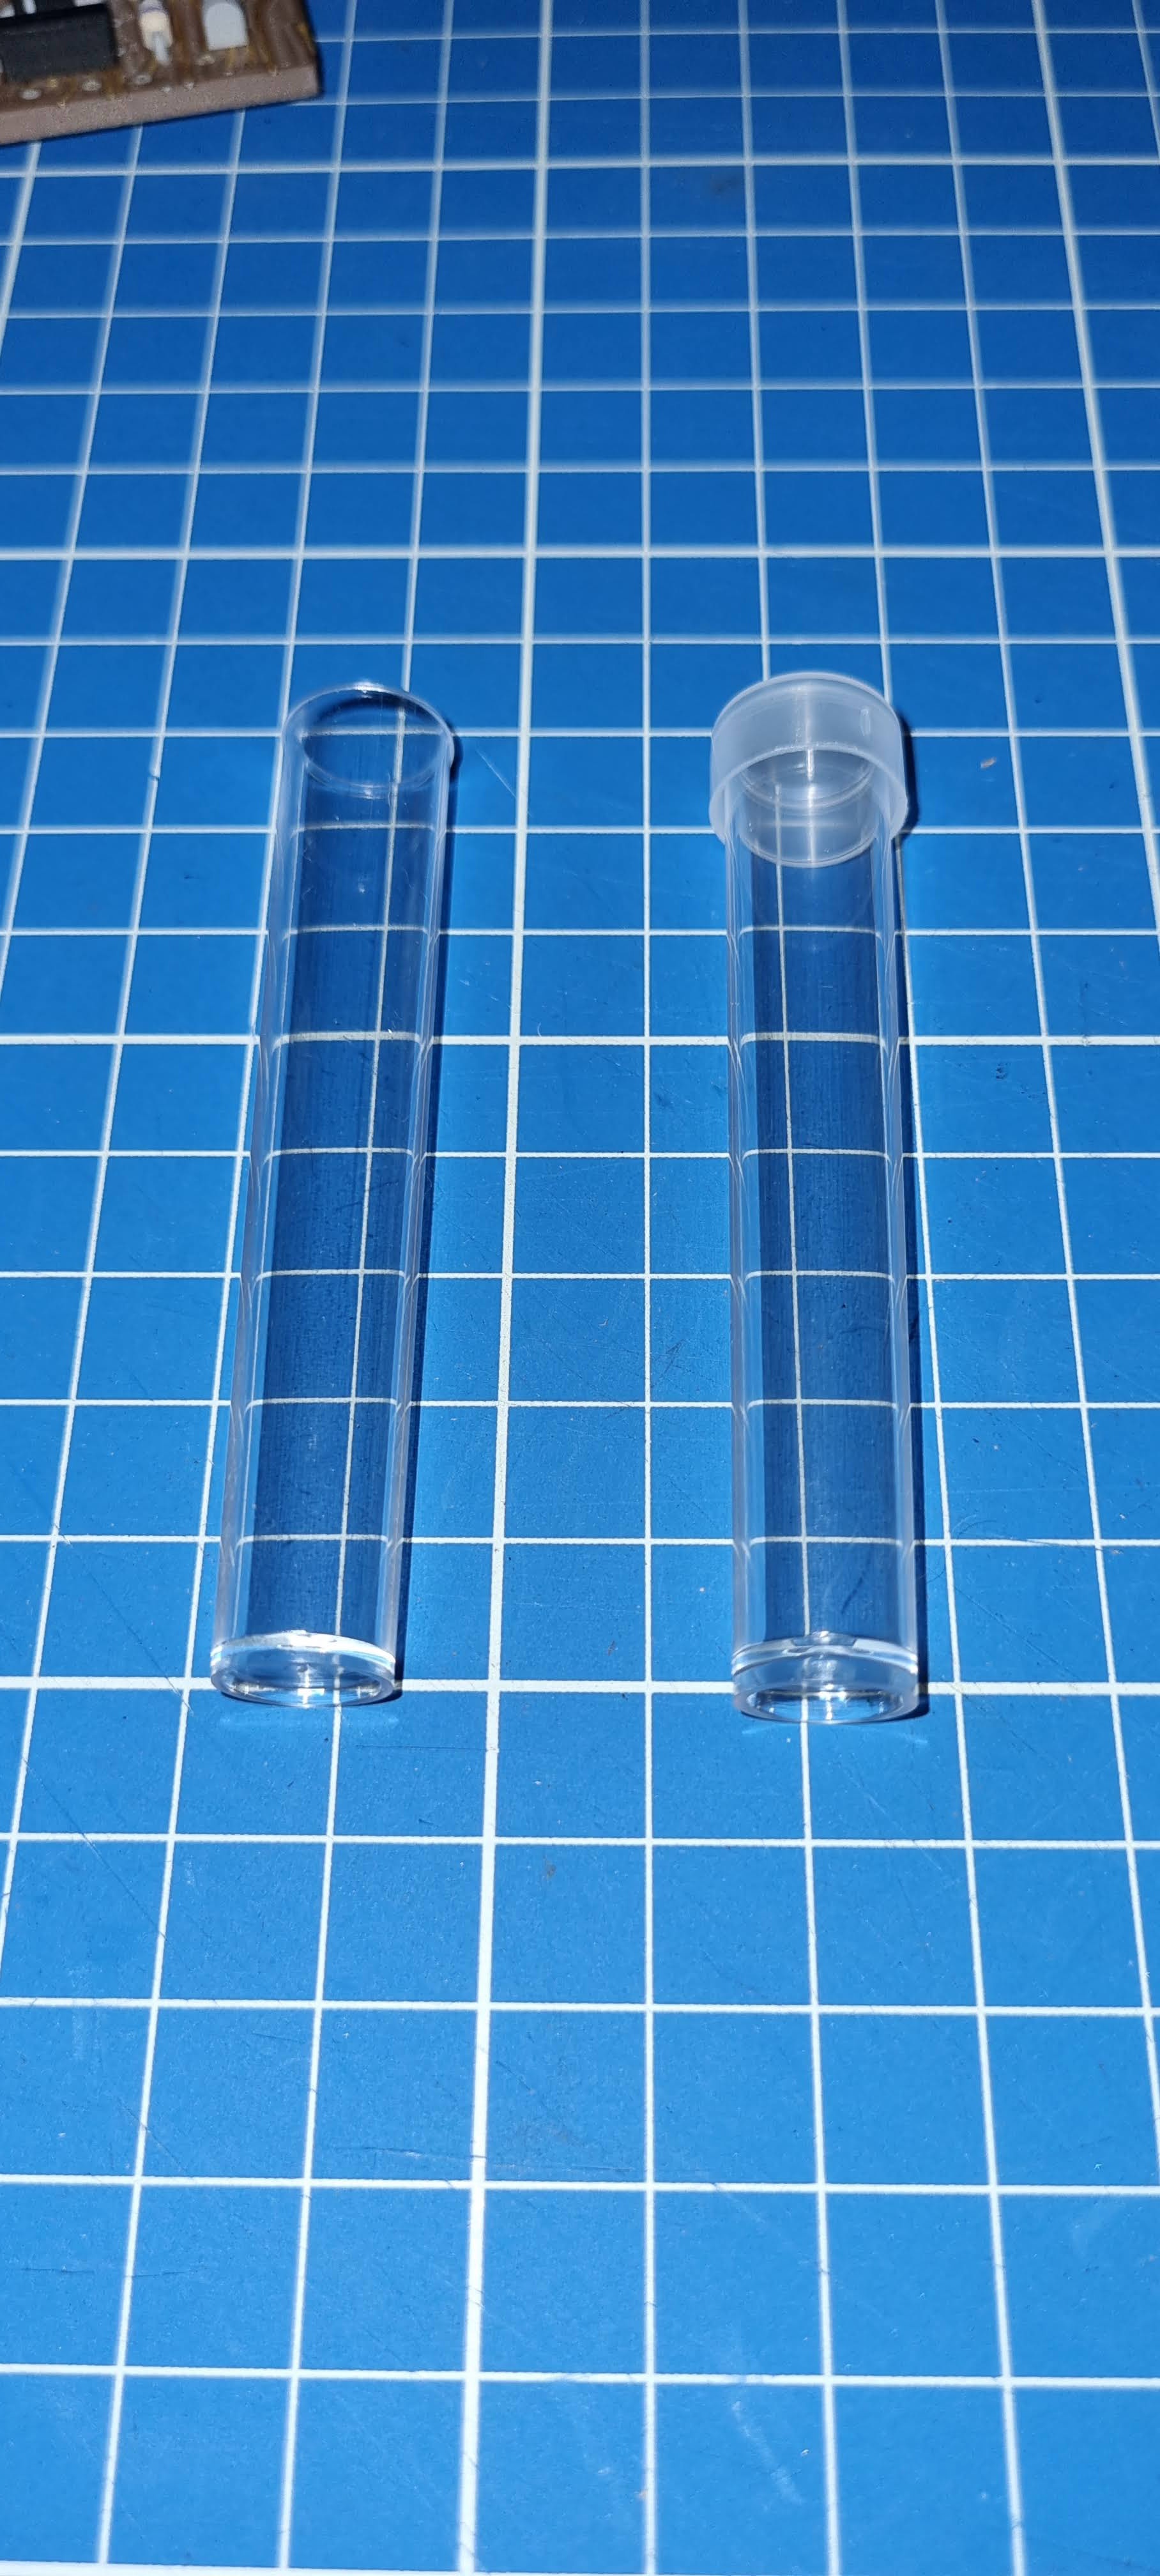
To get them all the same size, I 3d printed up a jig to mark them and then sand the height down to a finished eight.
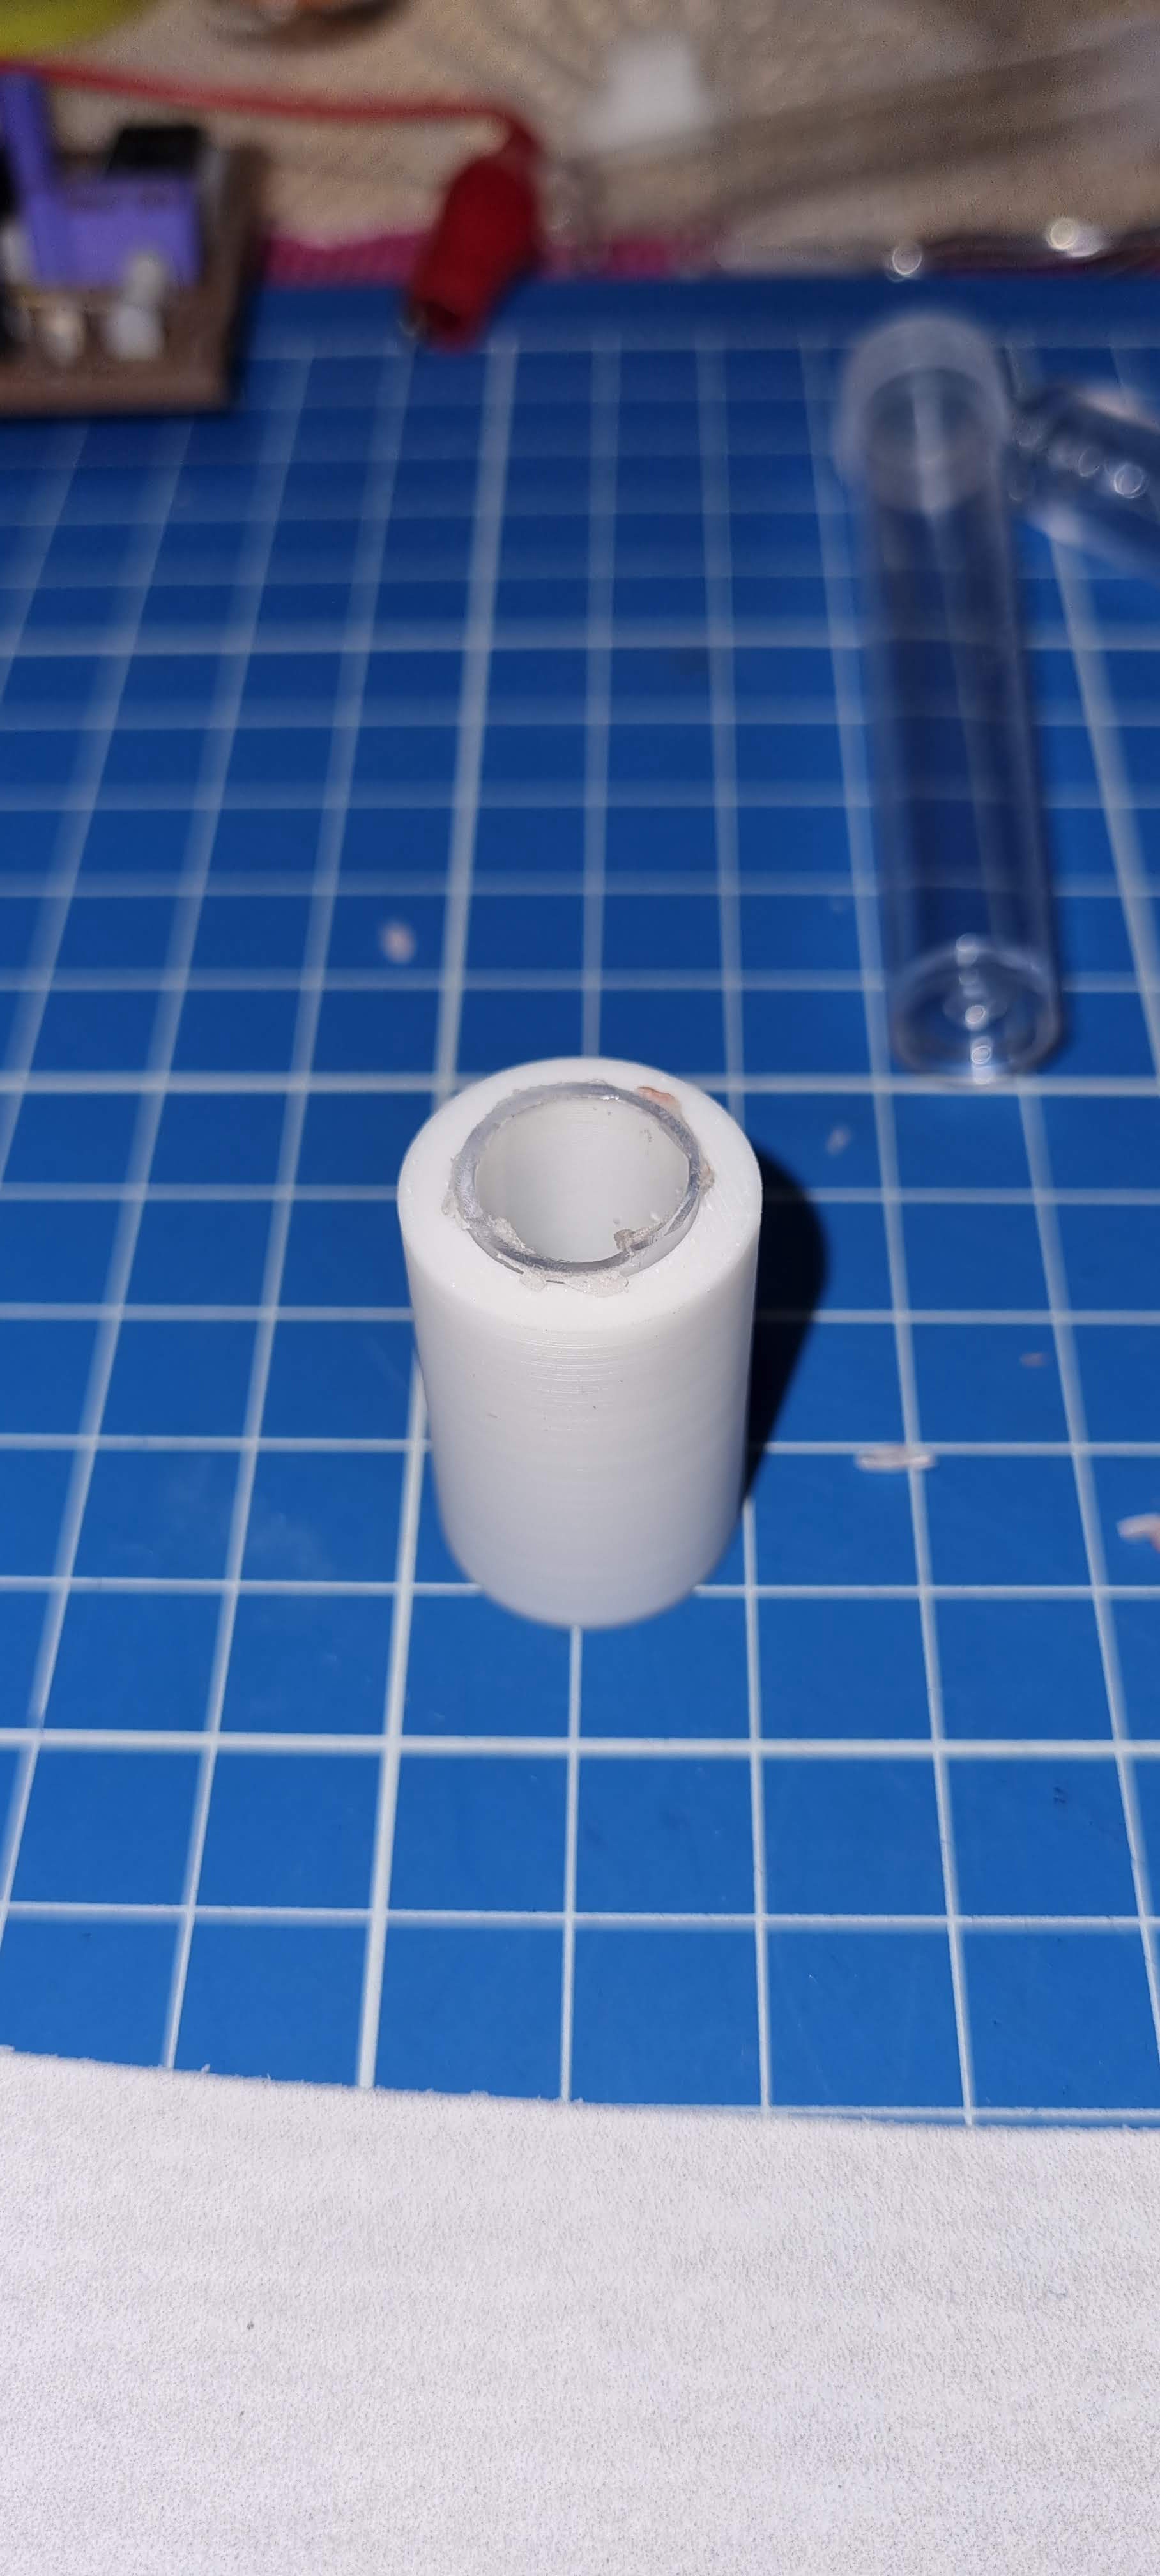
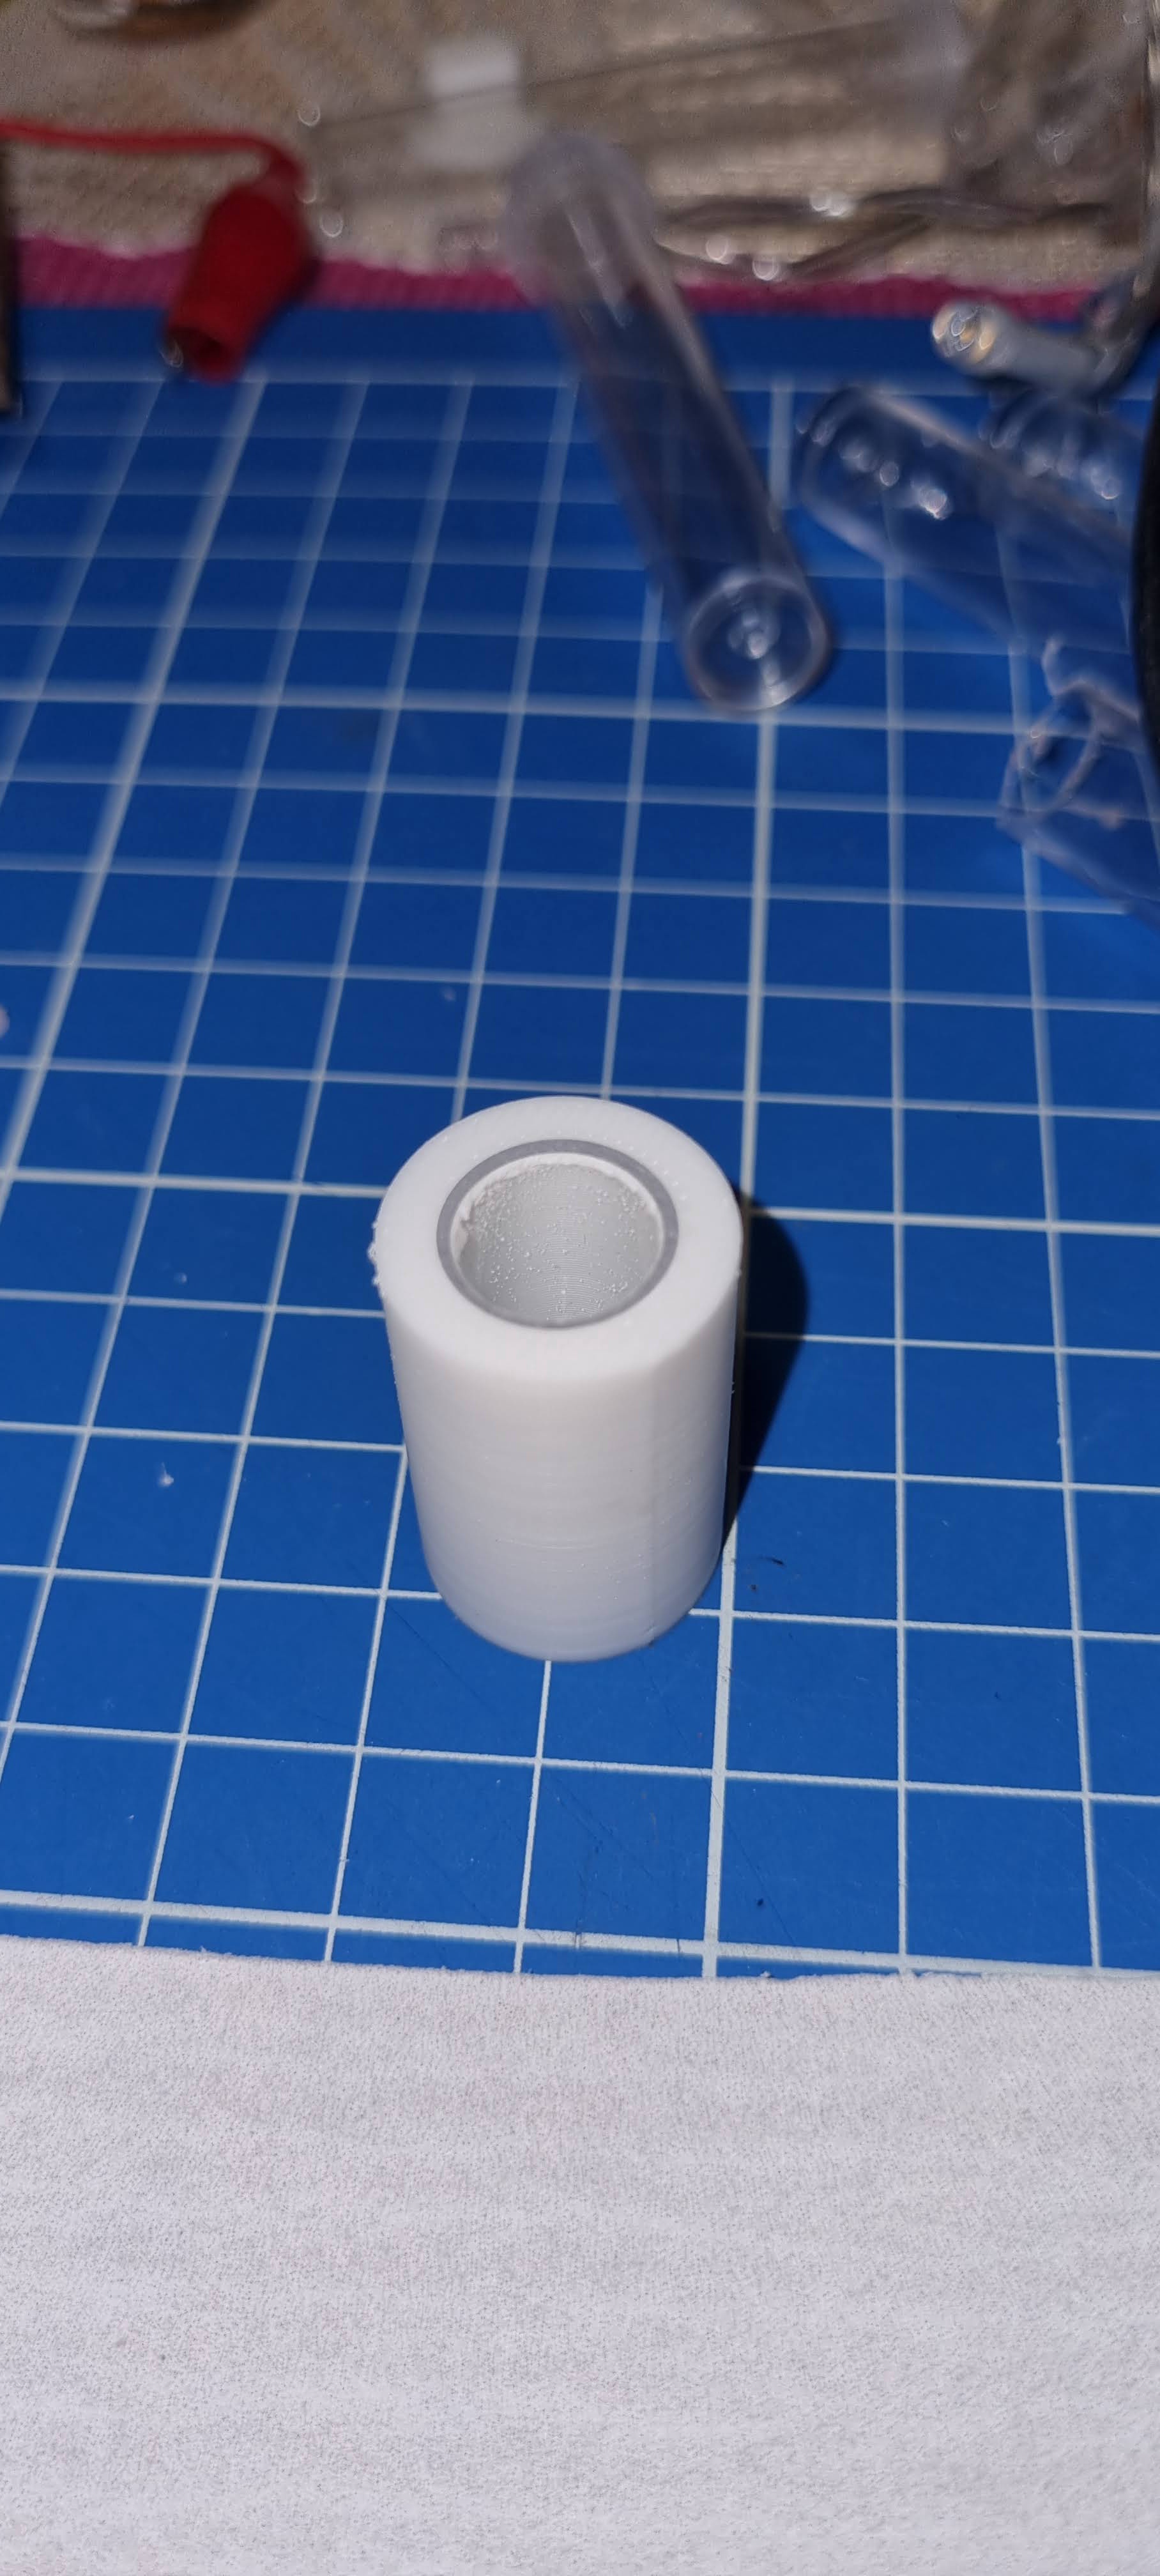
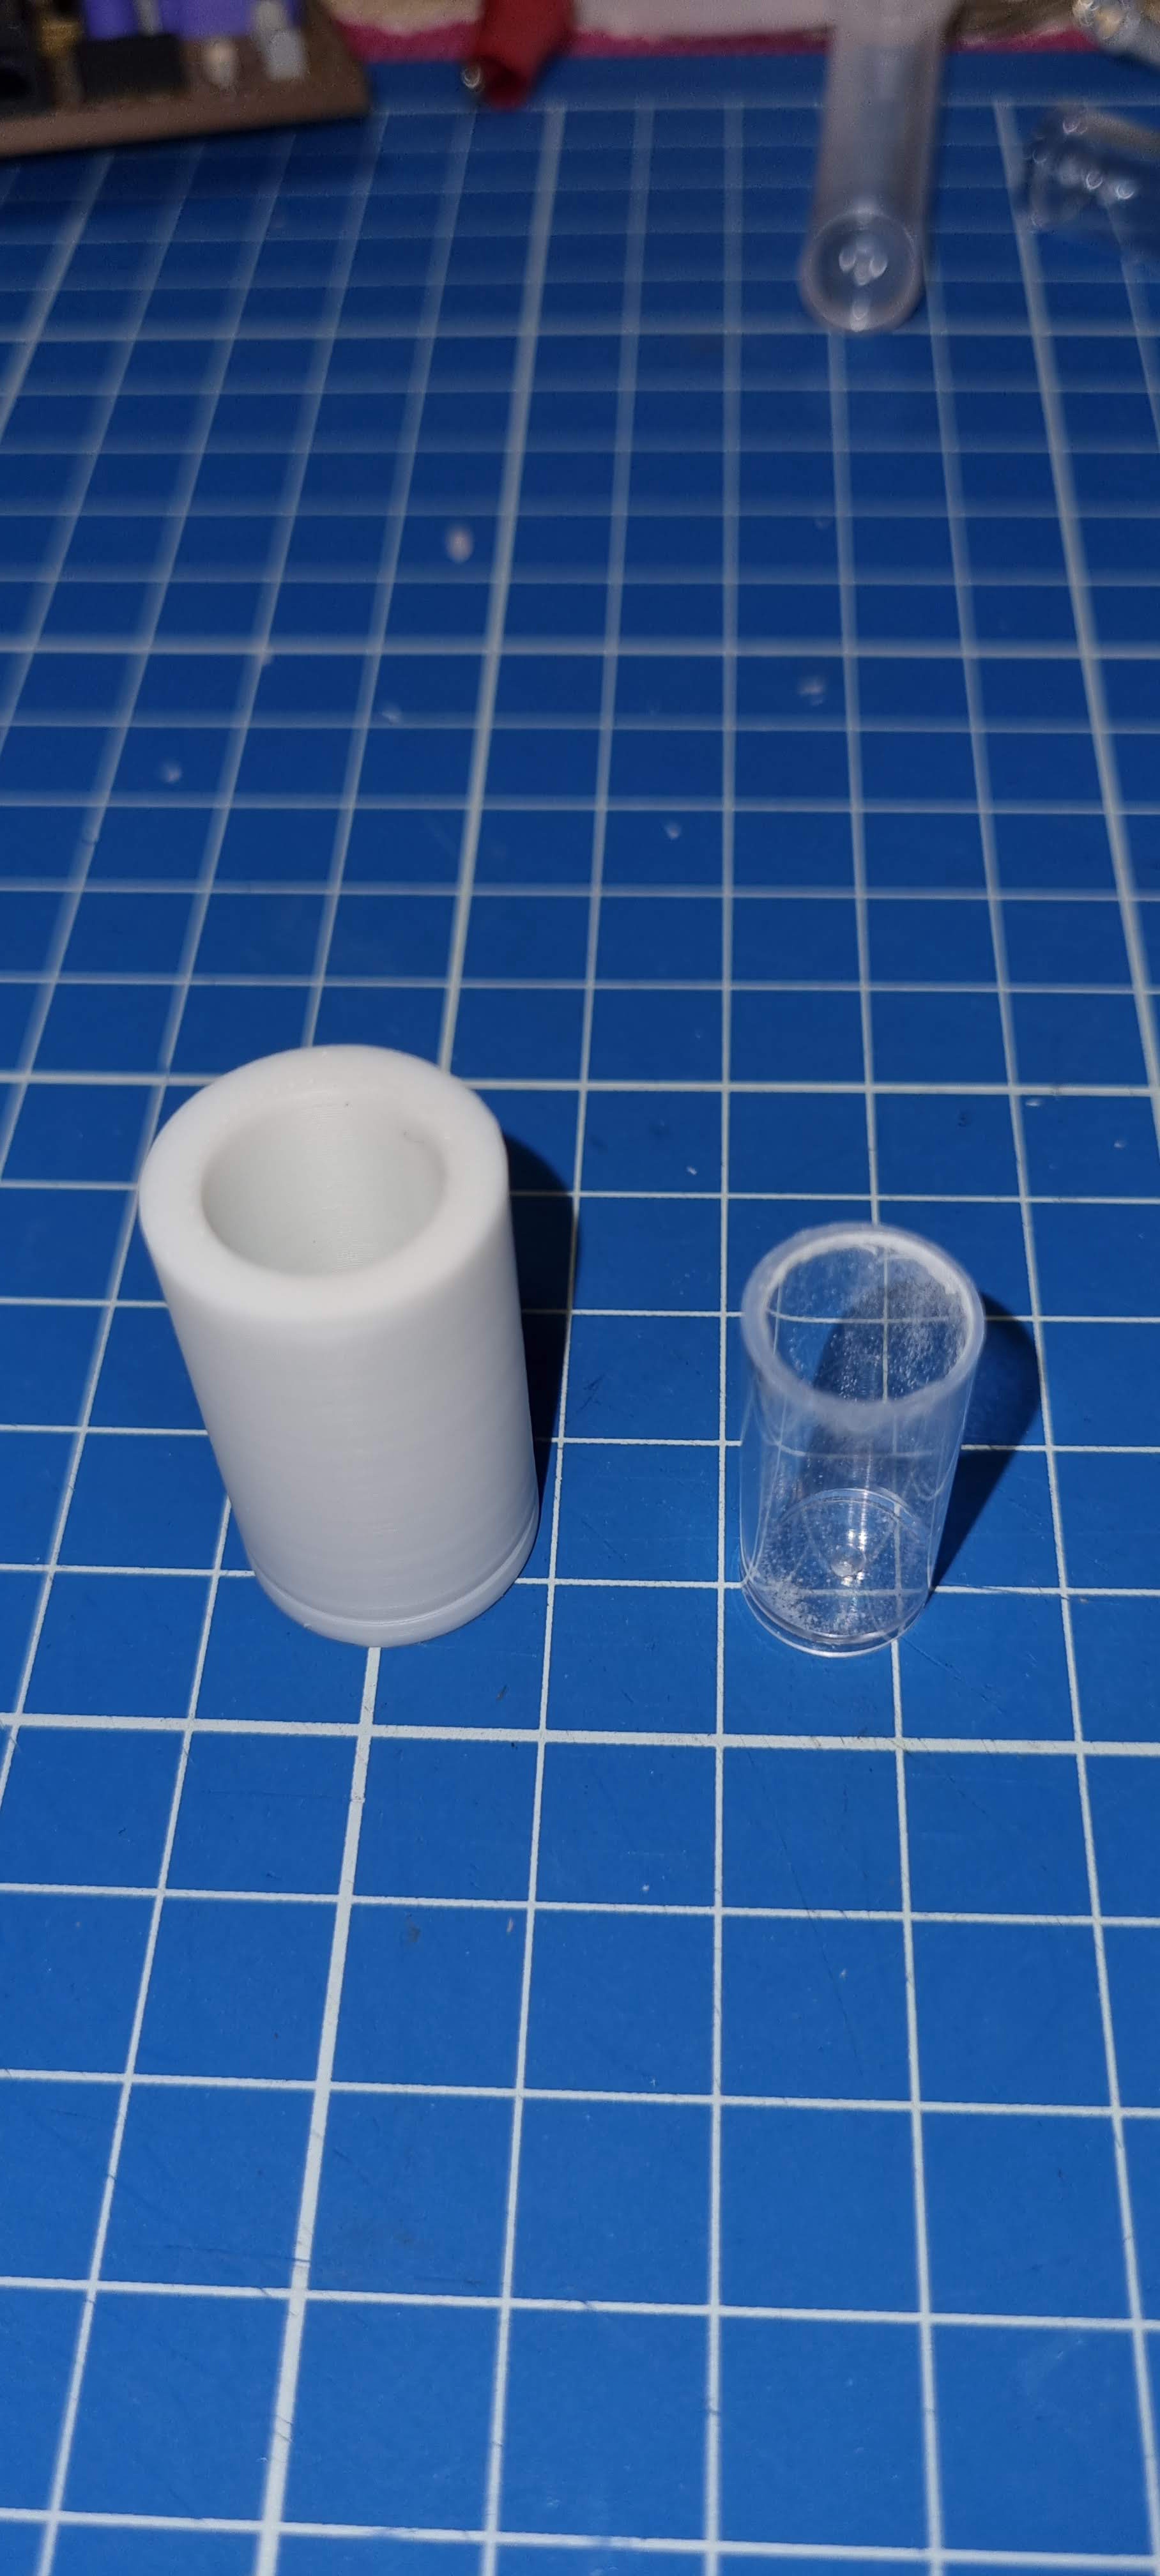
I then drilled a small hole in the base of each which I could feed a cheap battery powered string of LED lights in.
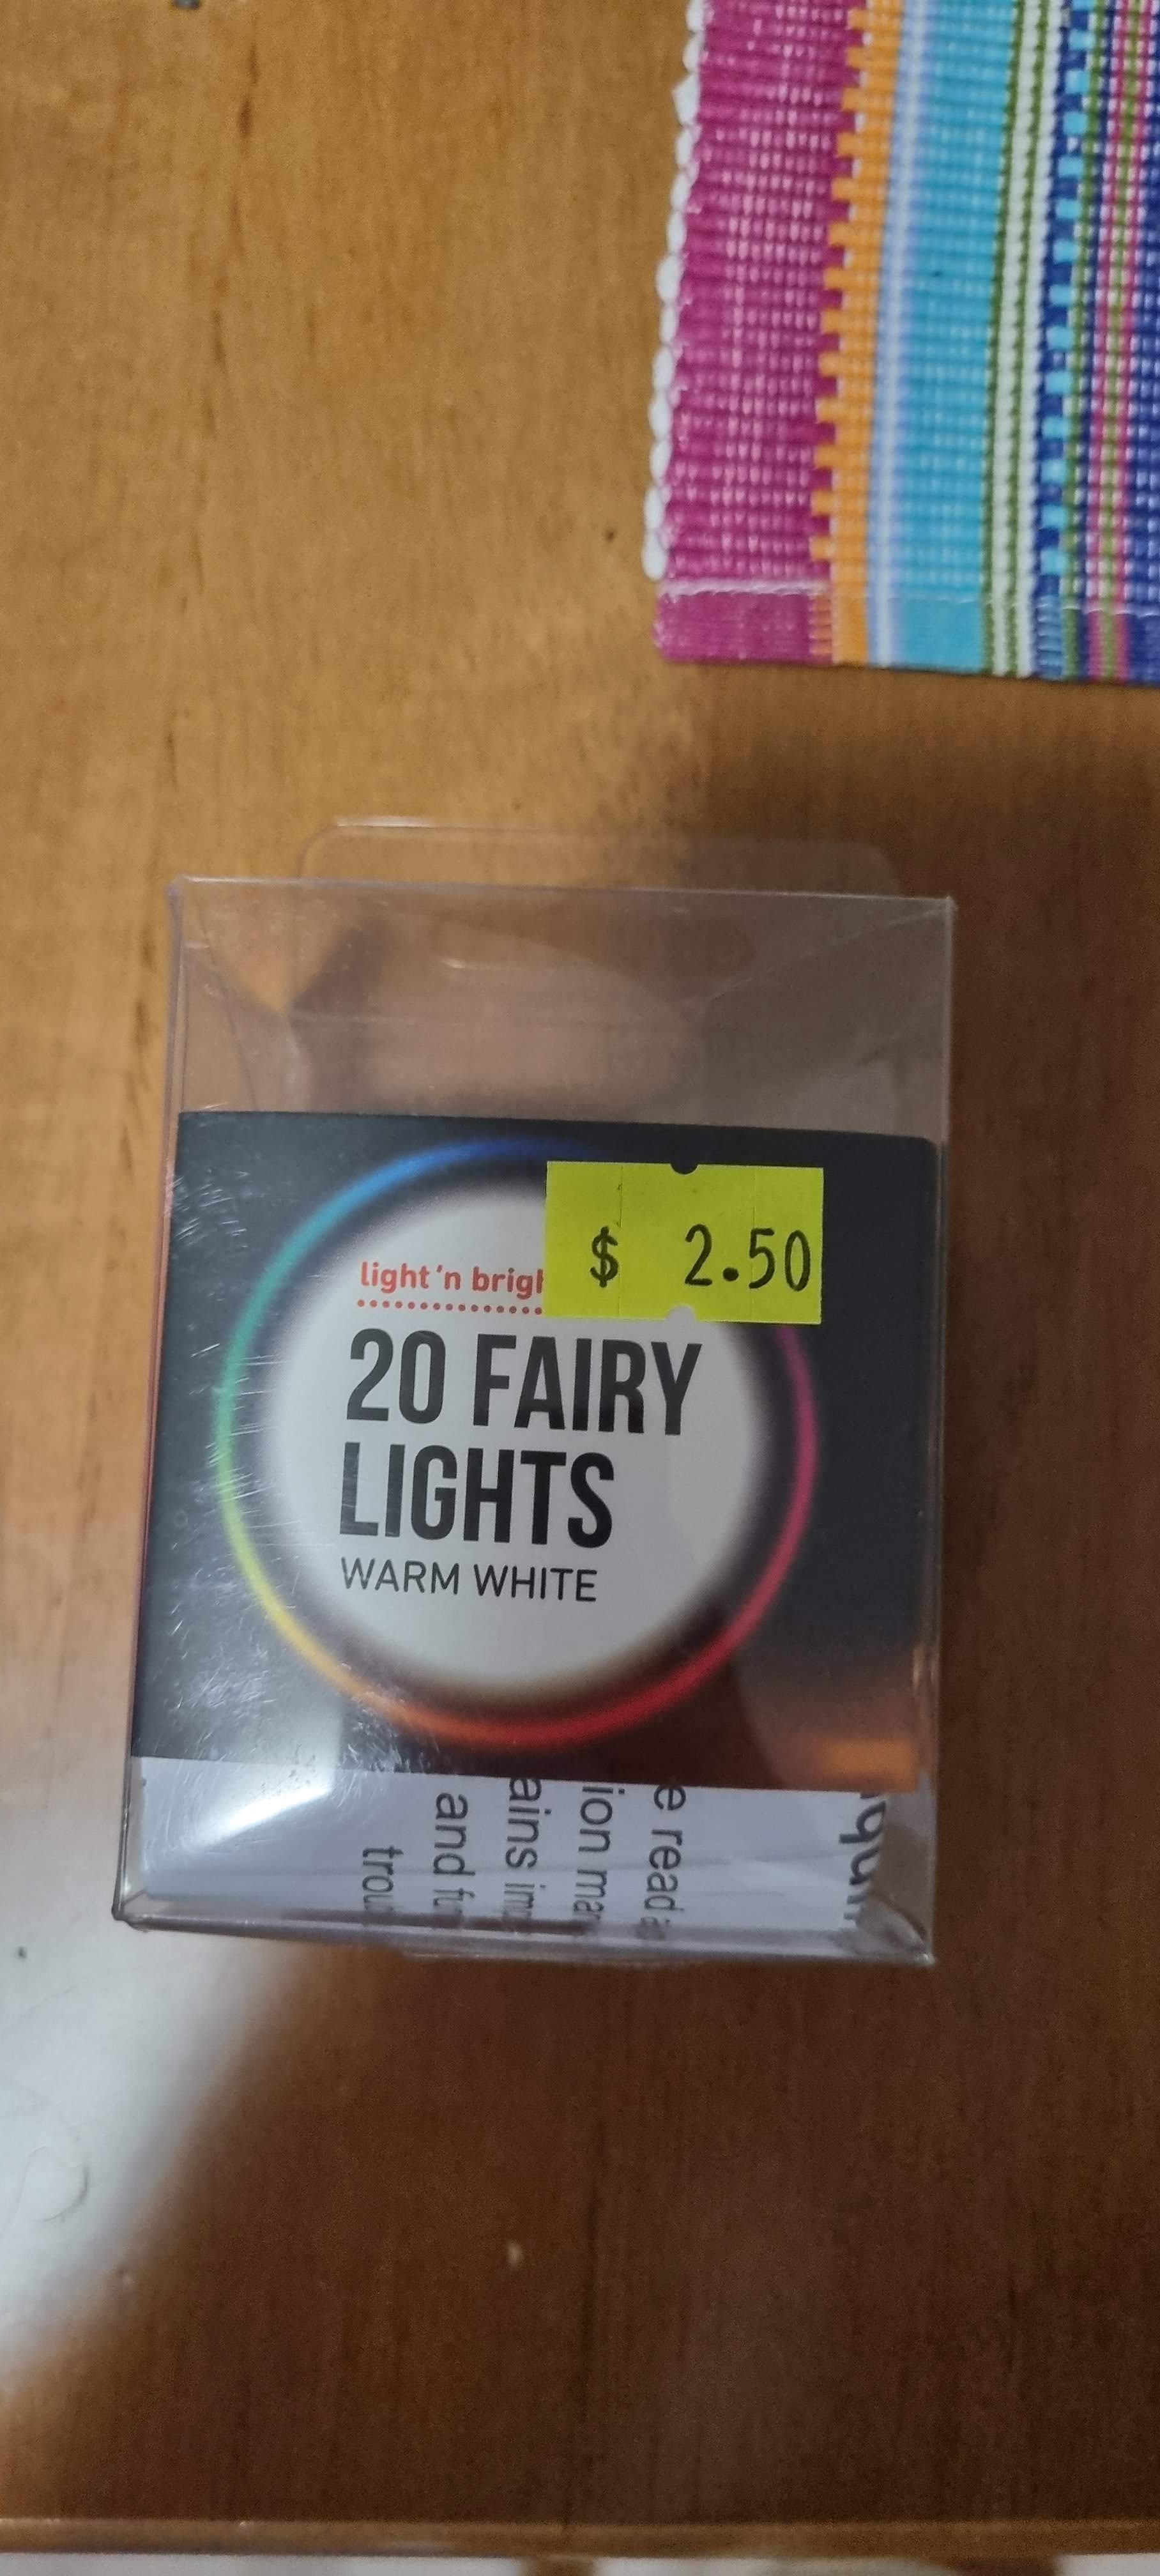
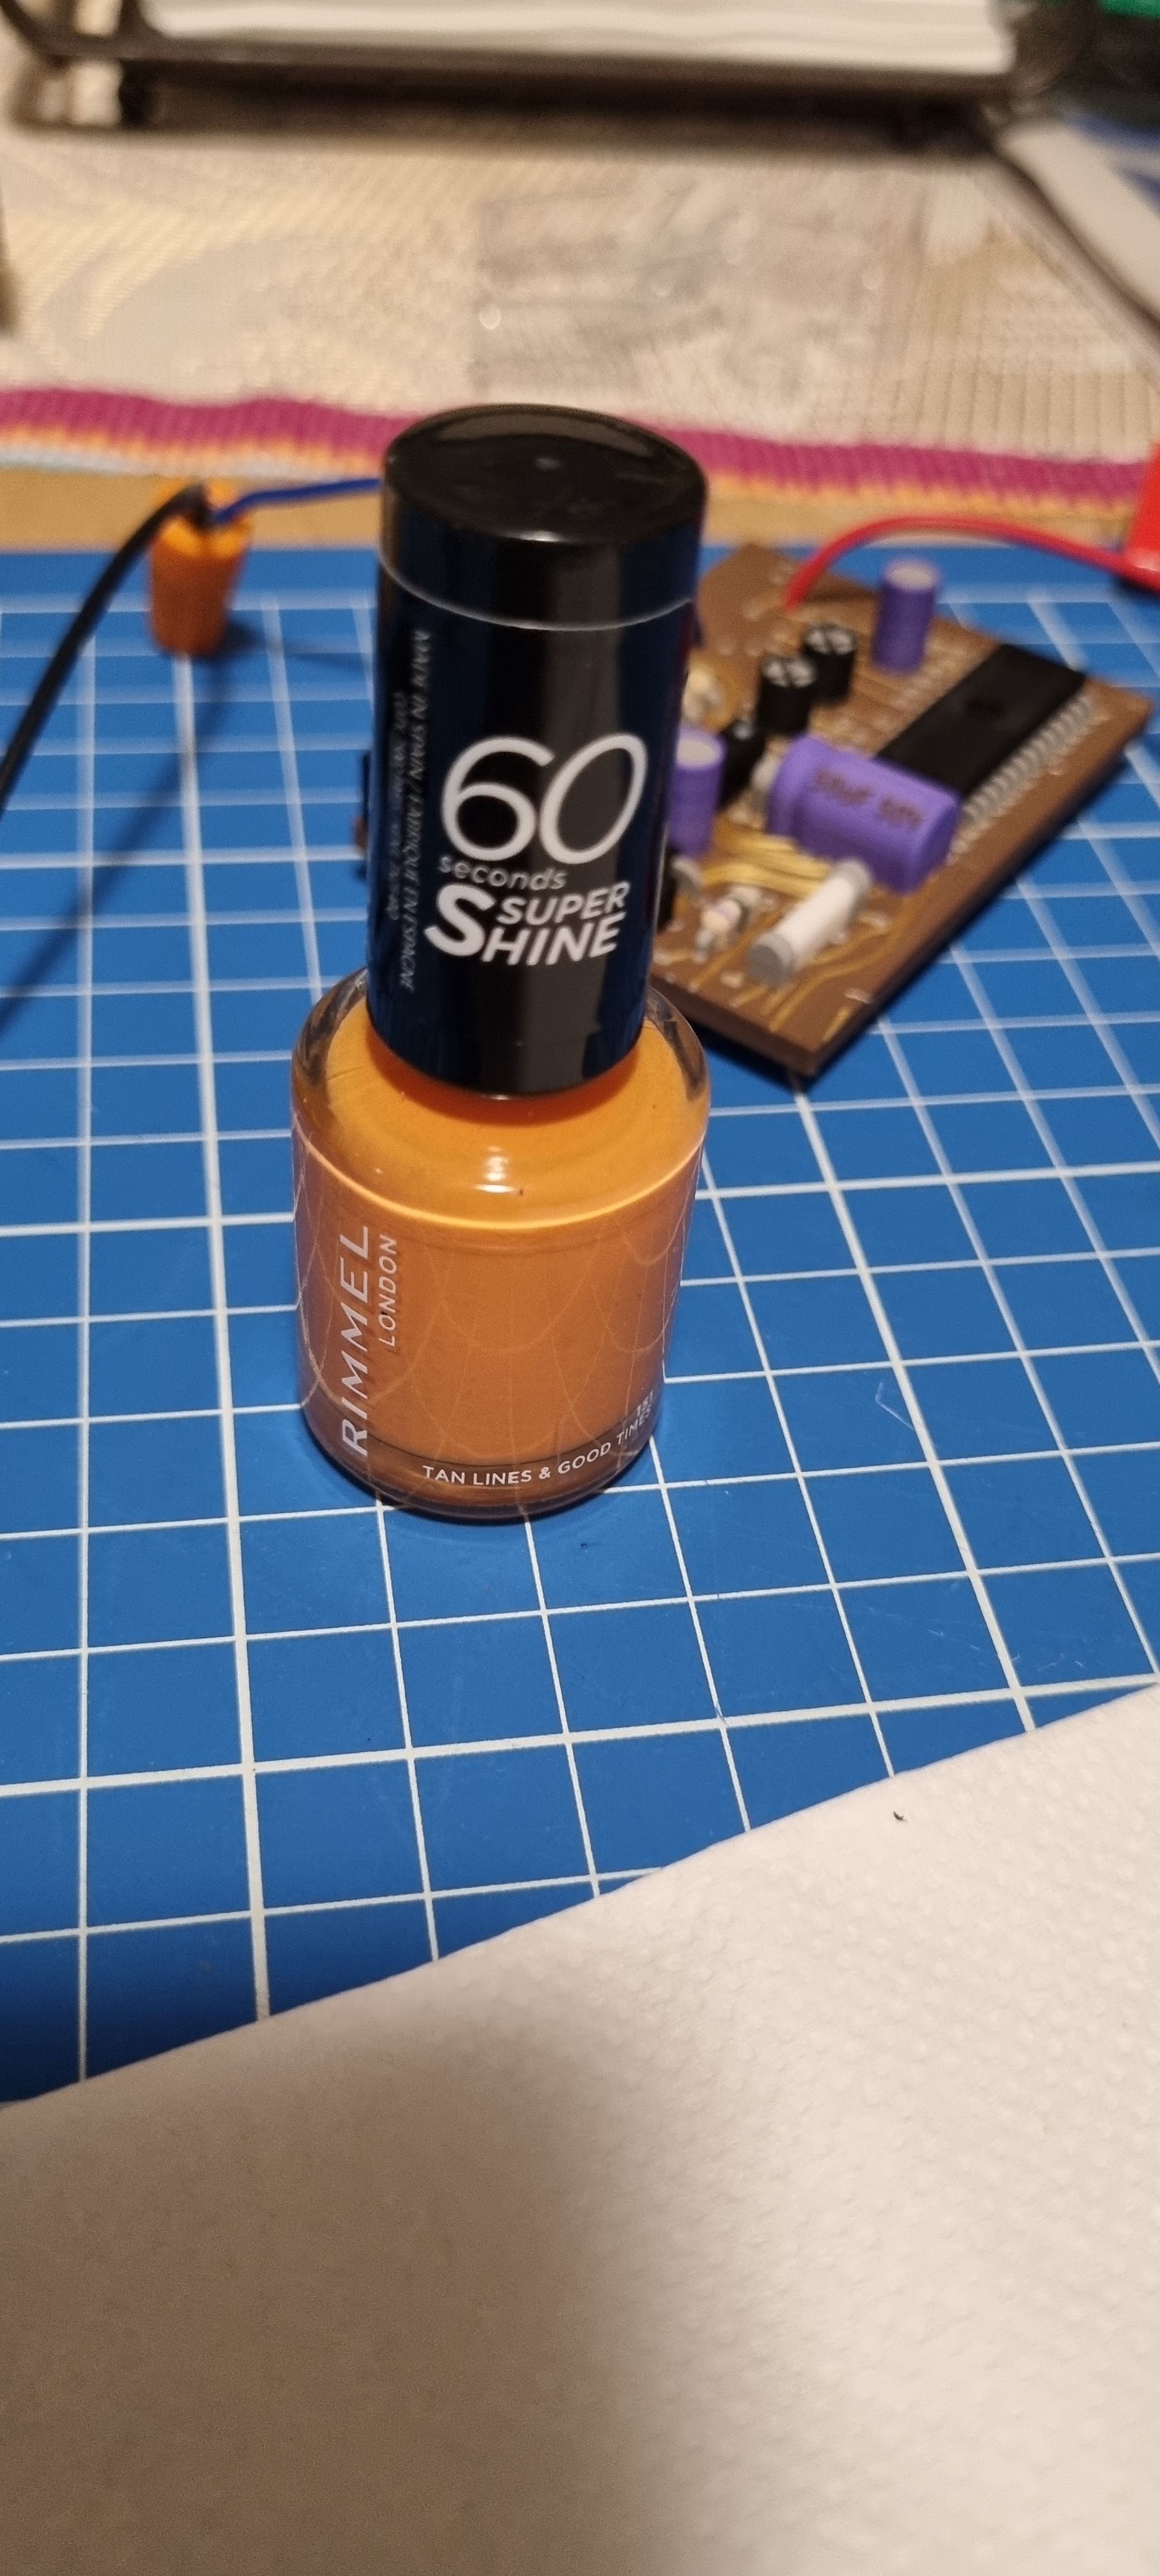
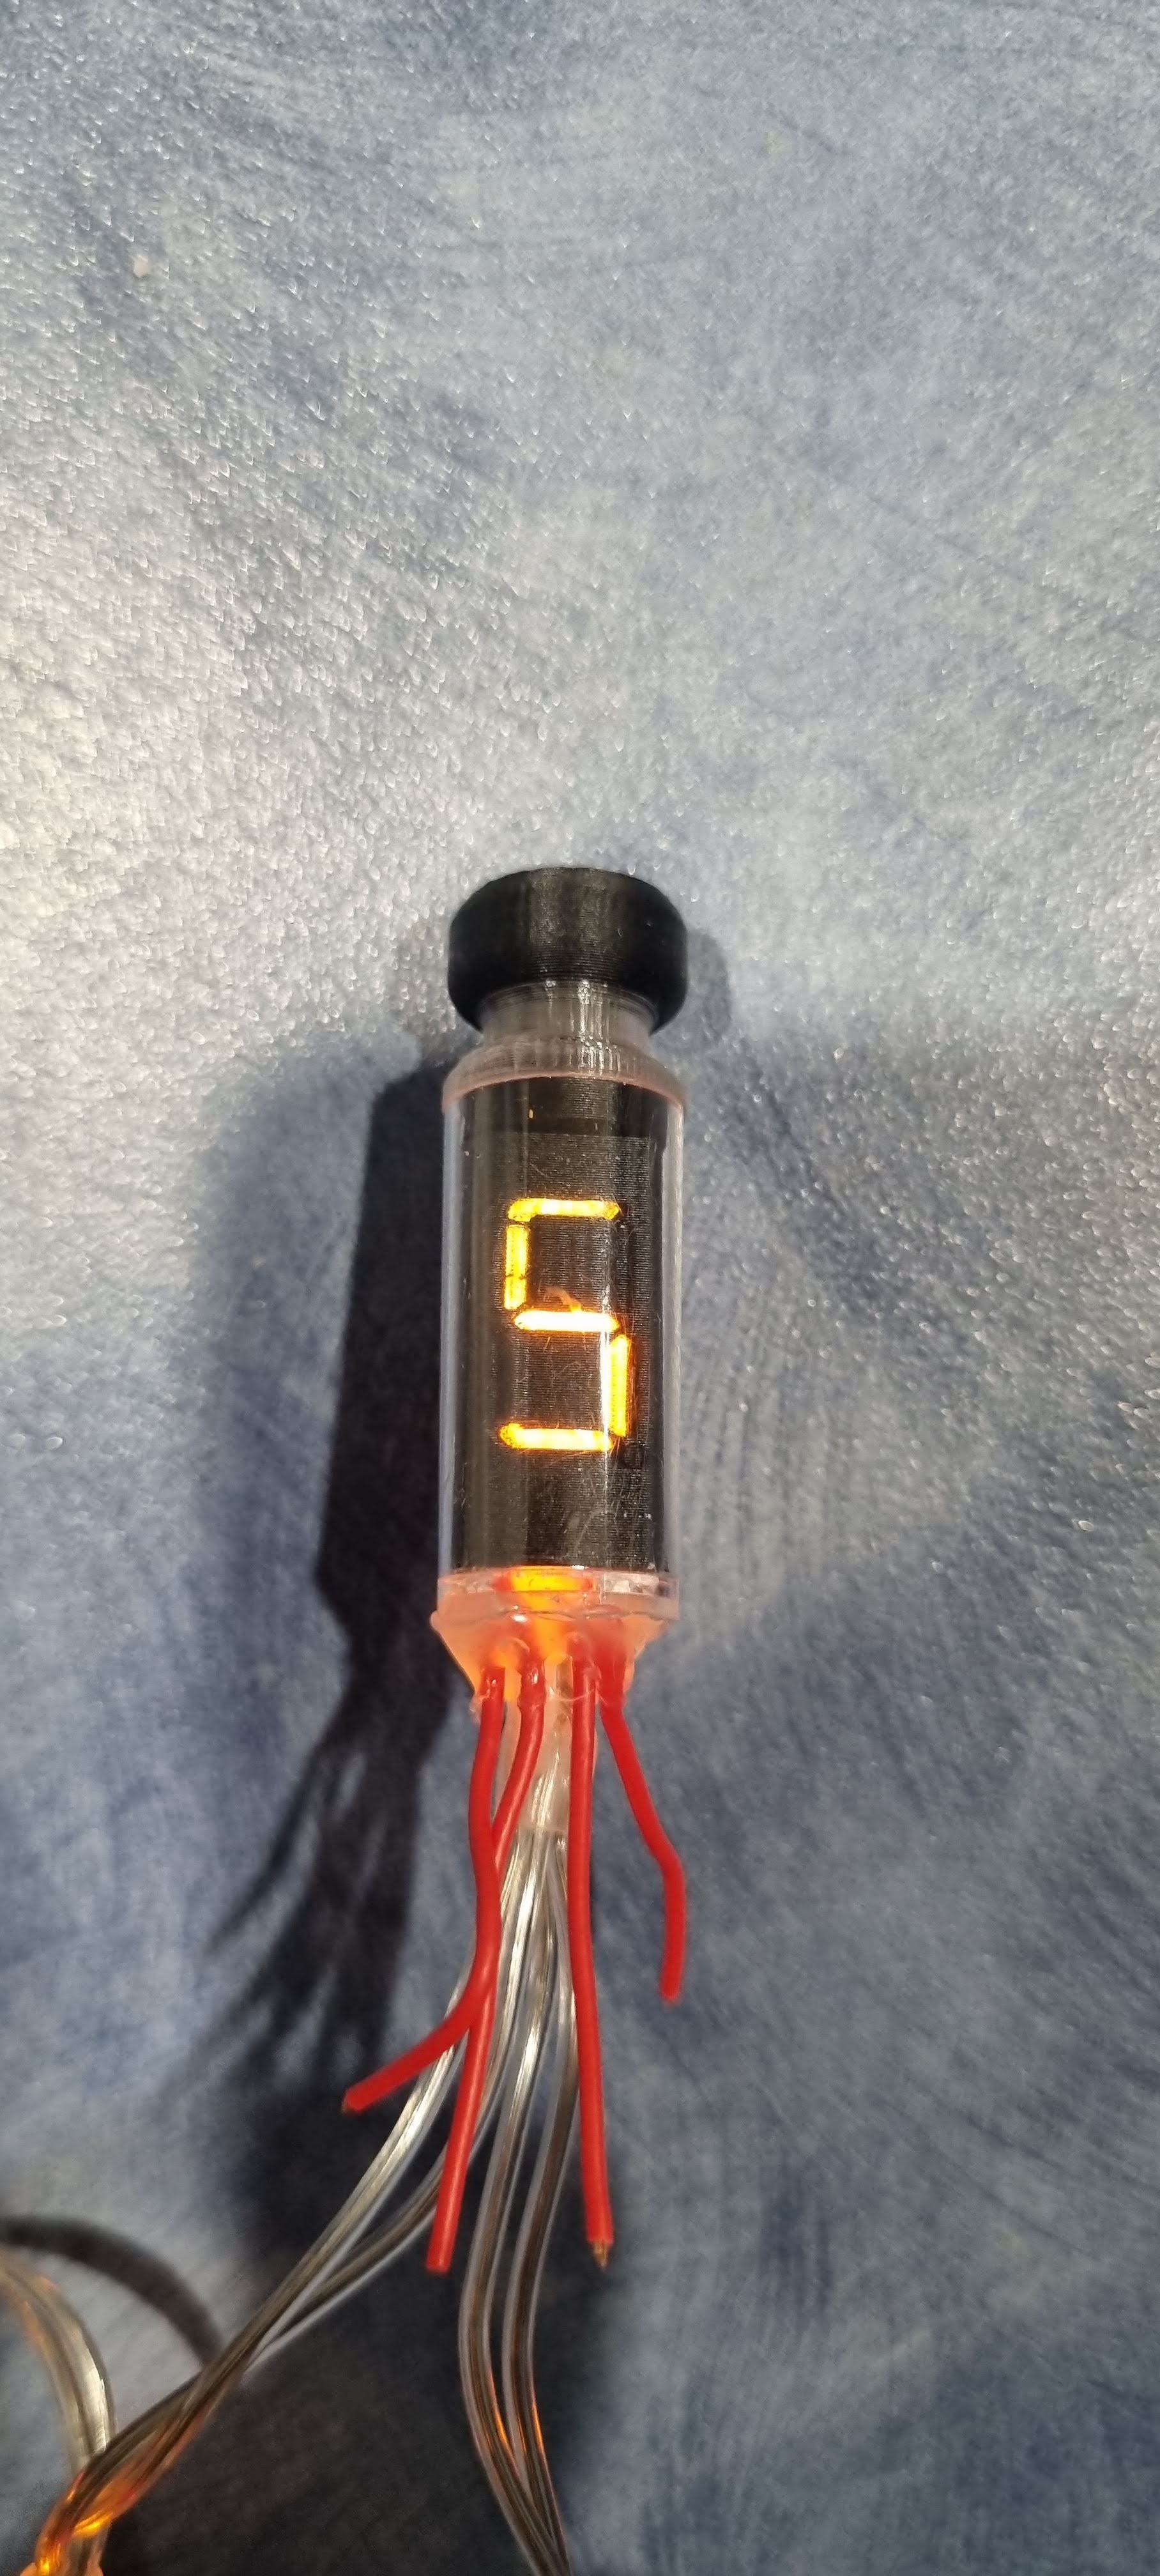
On initial tets sI wasnt happy with teh colour of the leds, so to make them more orange I painted a thing coat of nail polish on each (orange for the numbers, red for the error box)
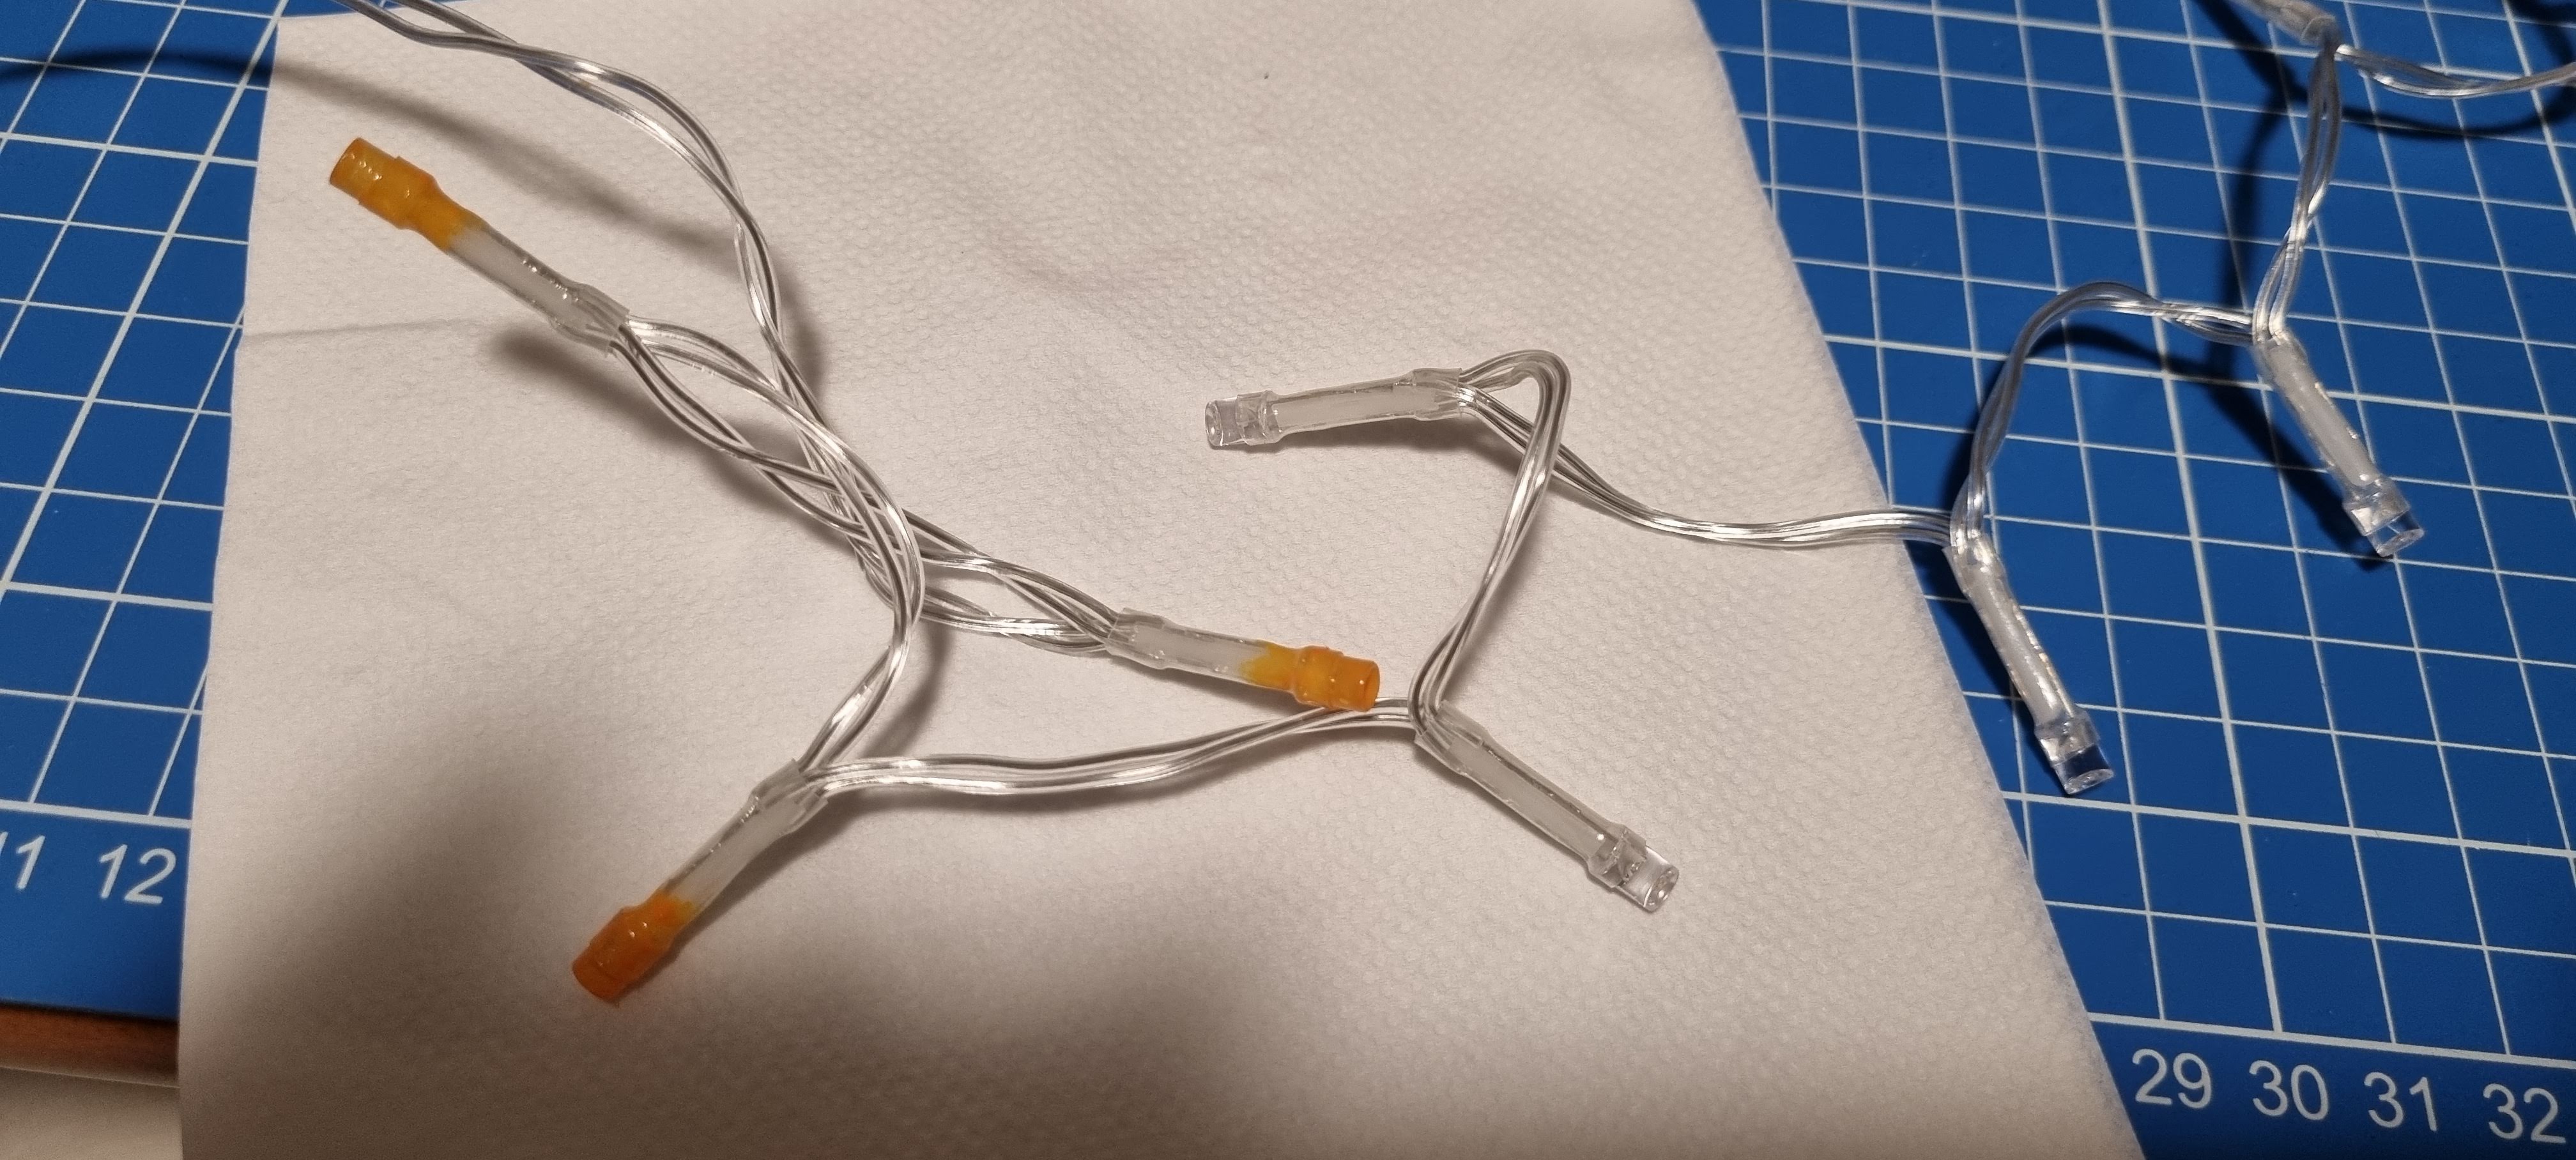
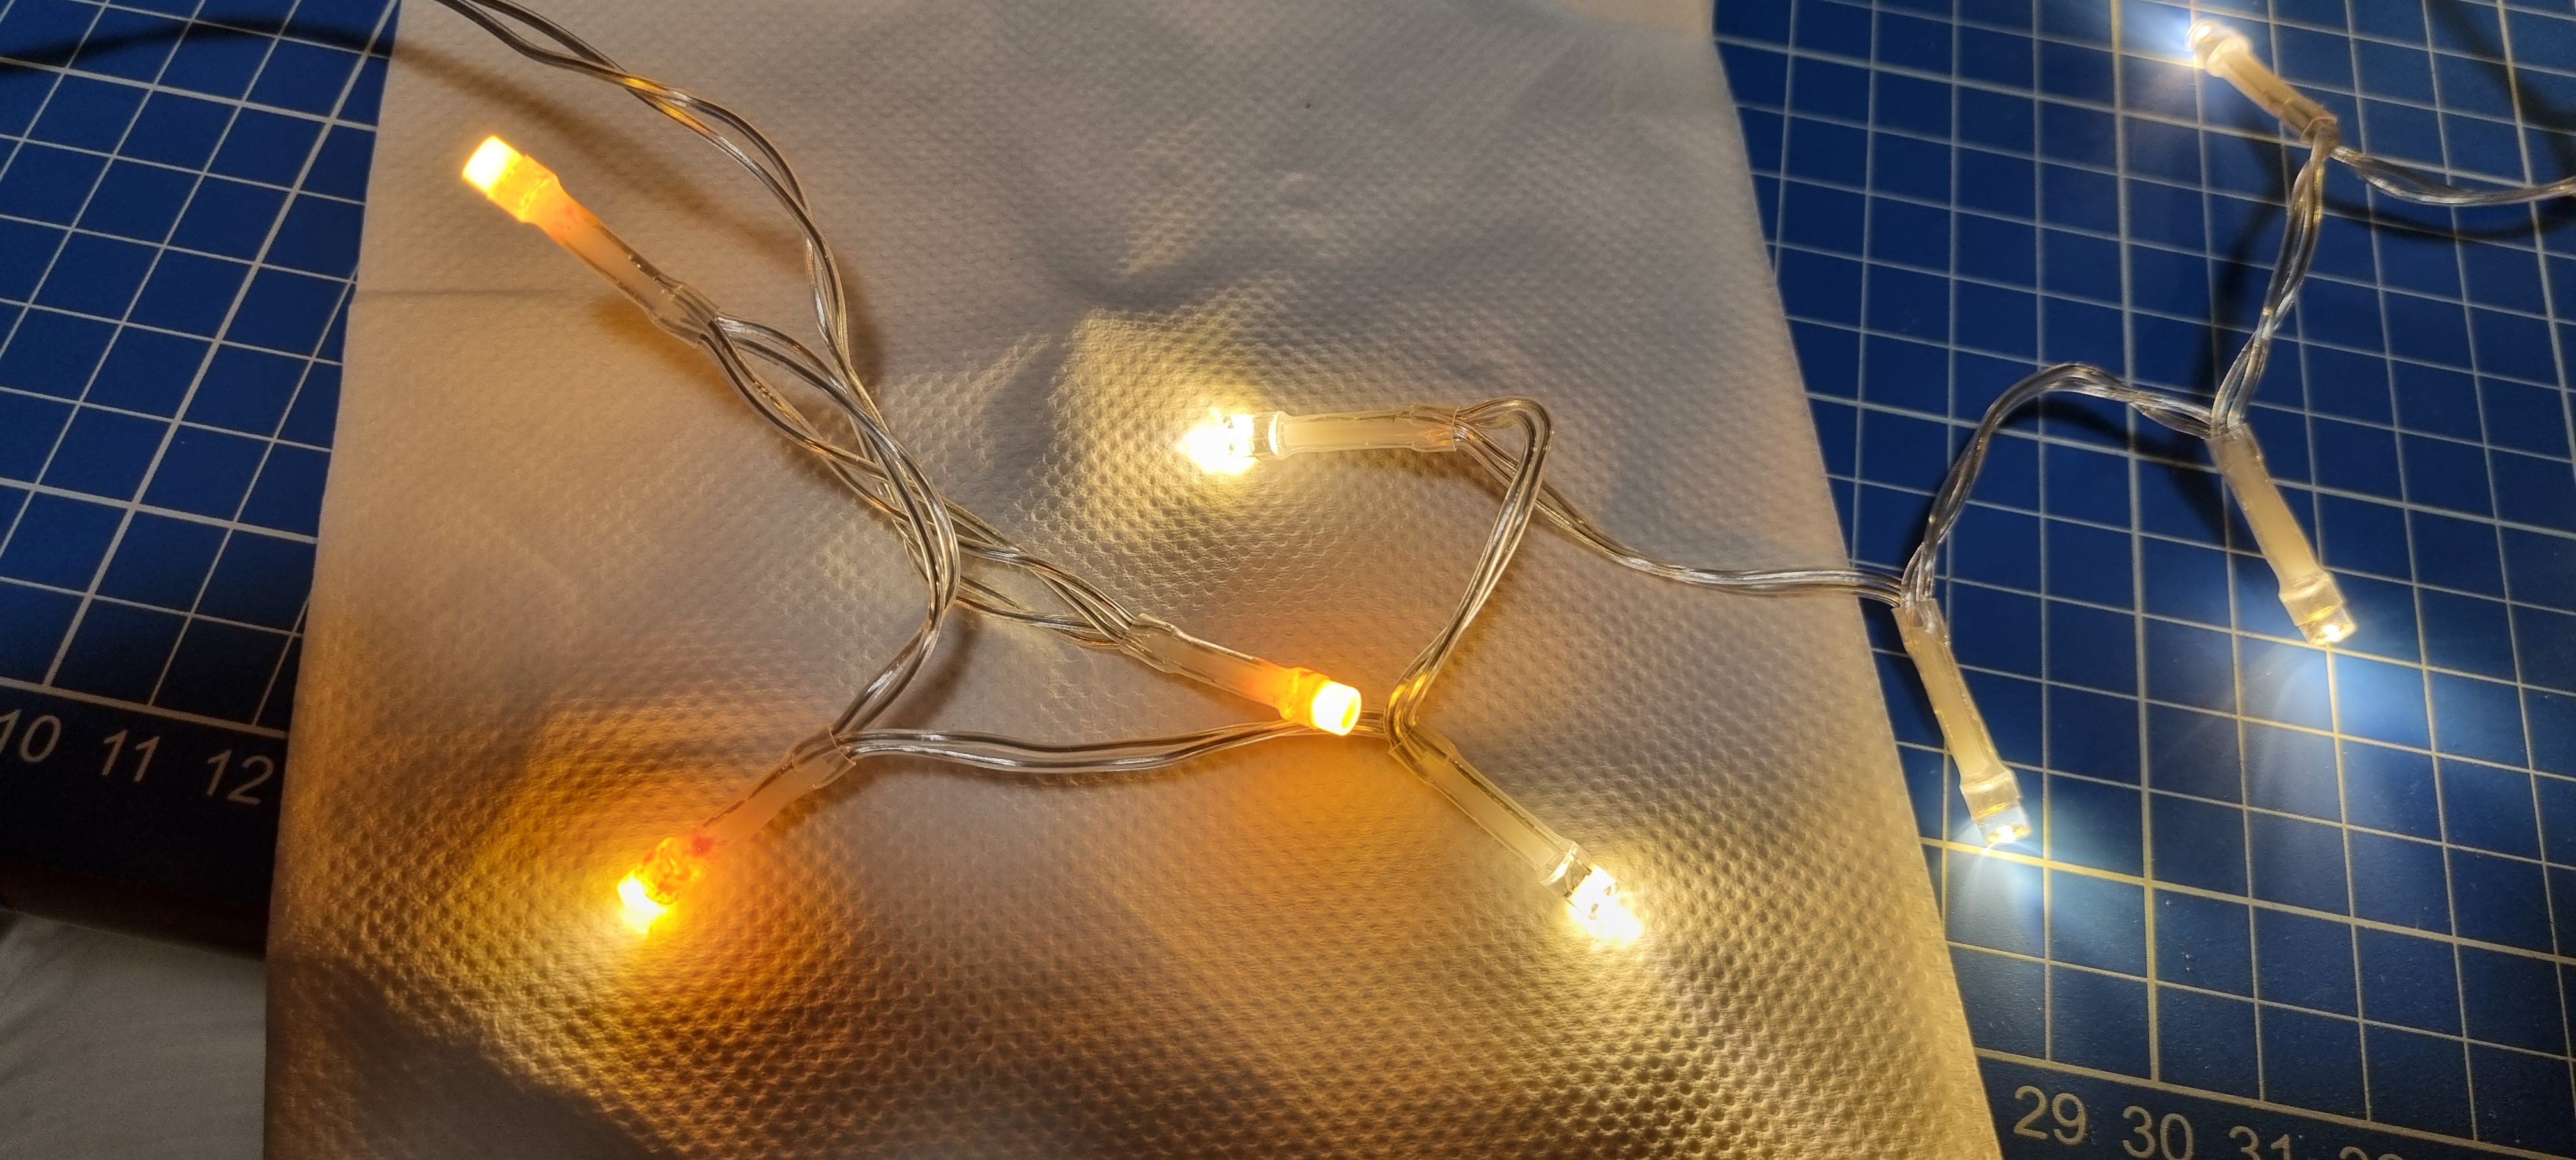
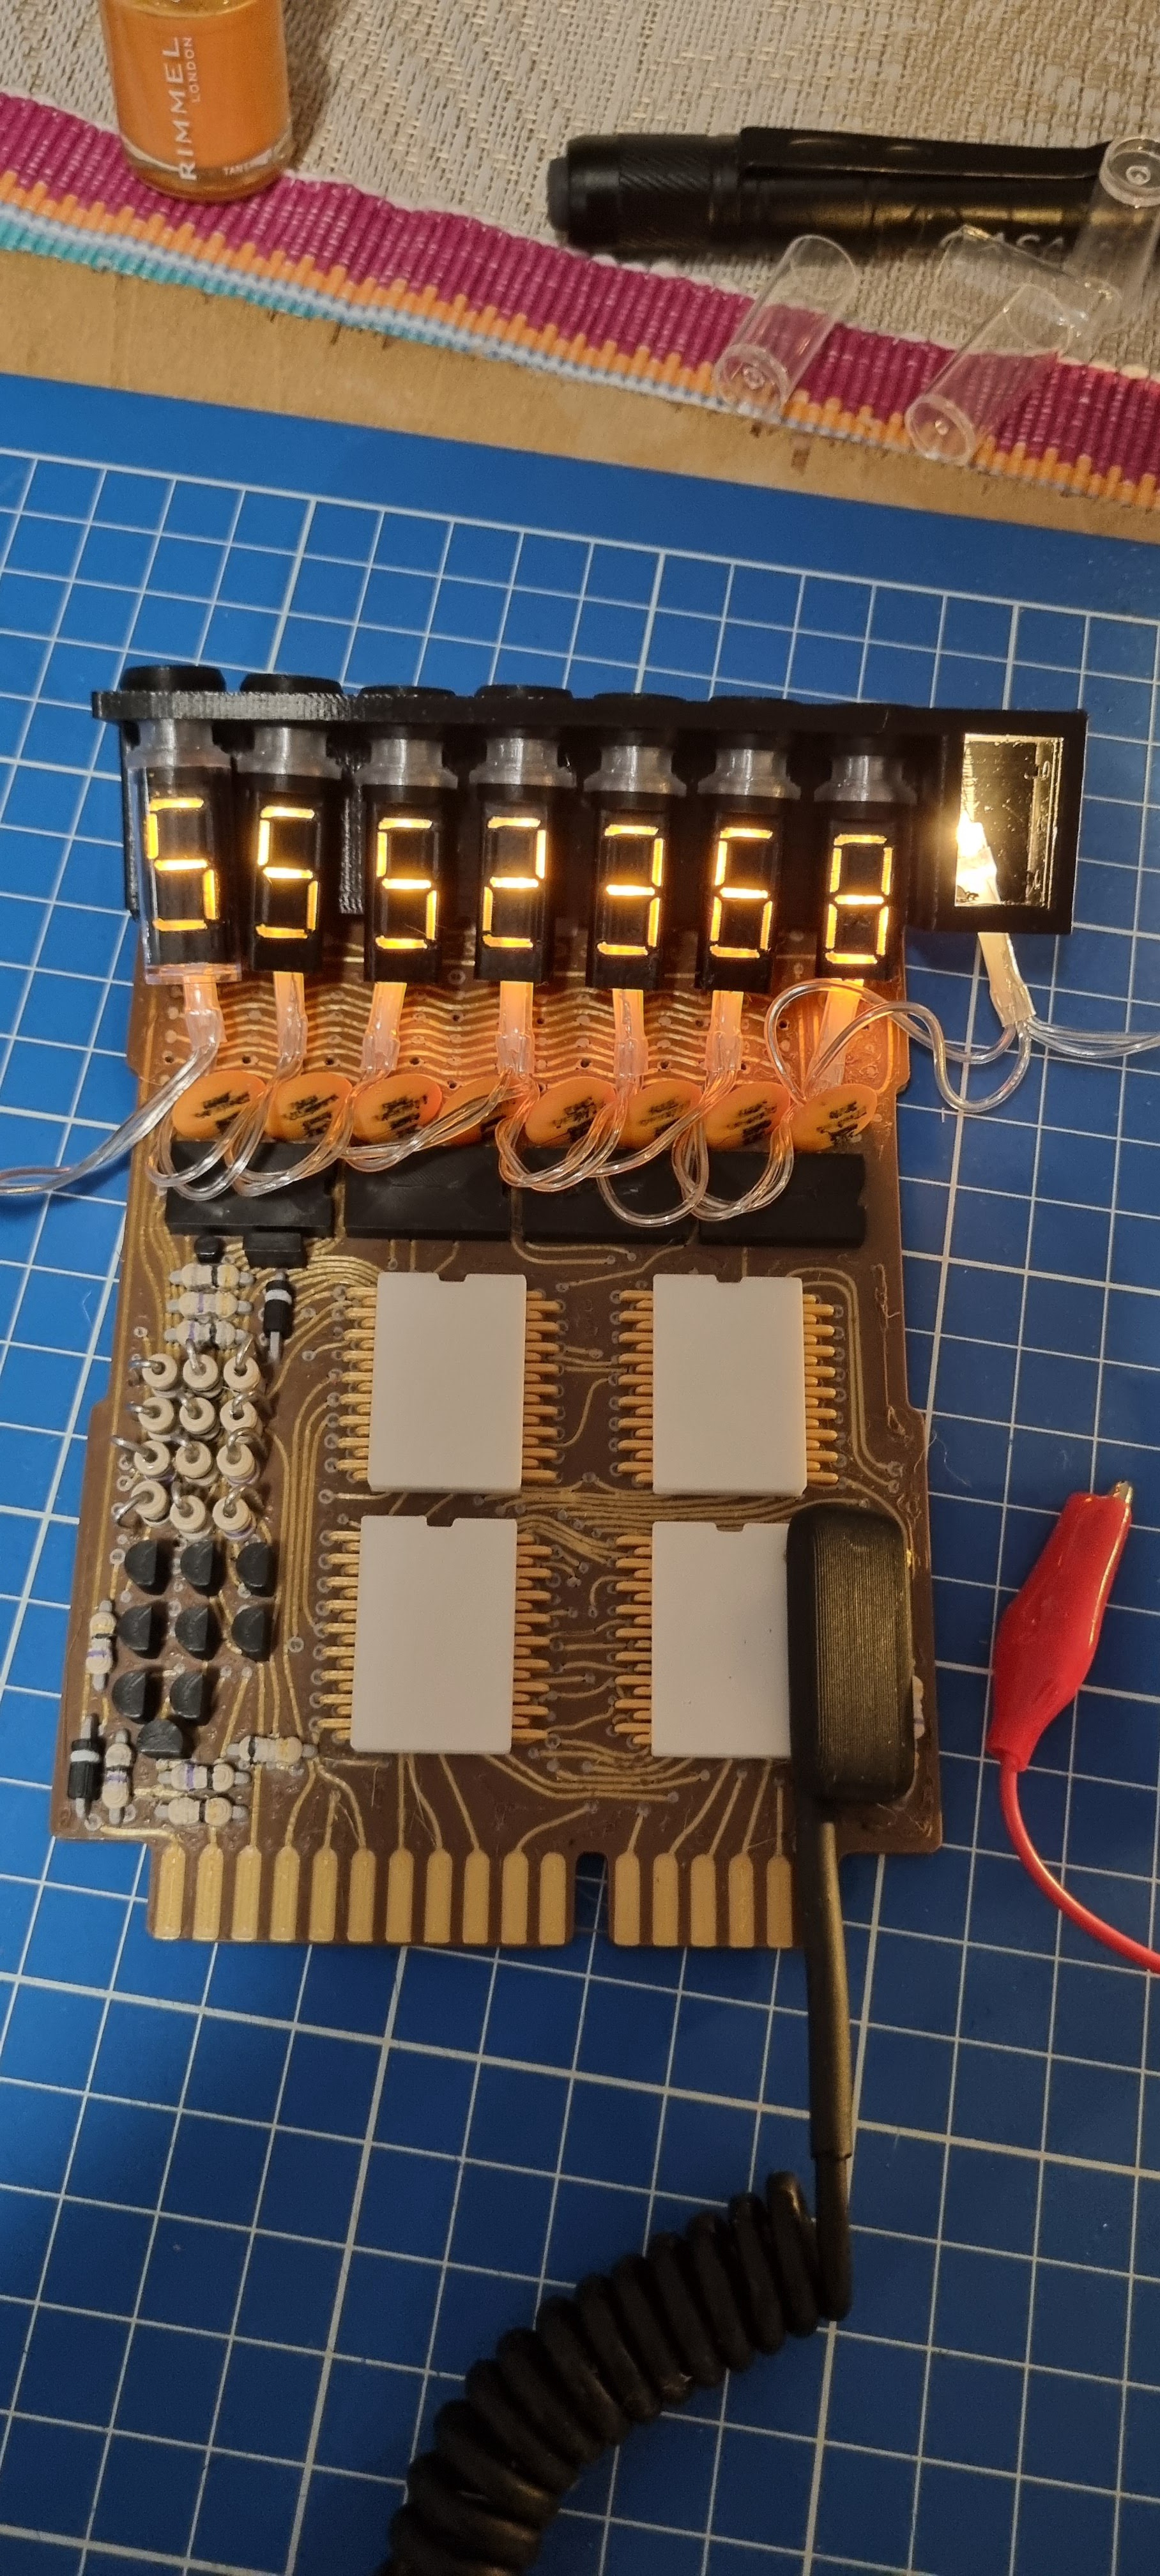
A quick test (In the end wasnt happy with the digit size and make a smaller version)
Added some small red wires to better mock up the look.
Now bringing it all together…
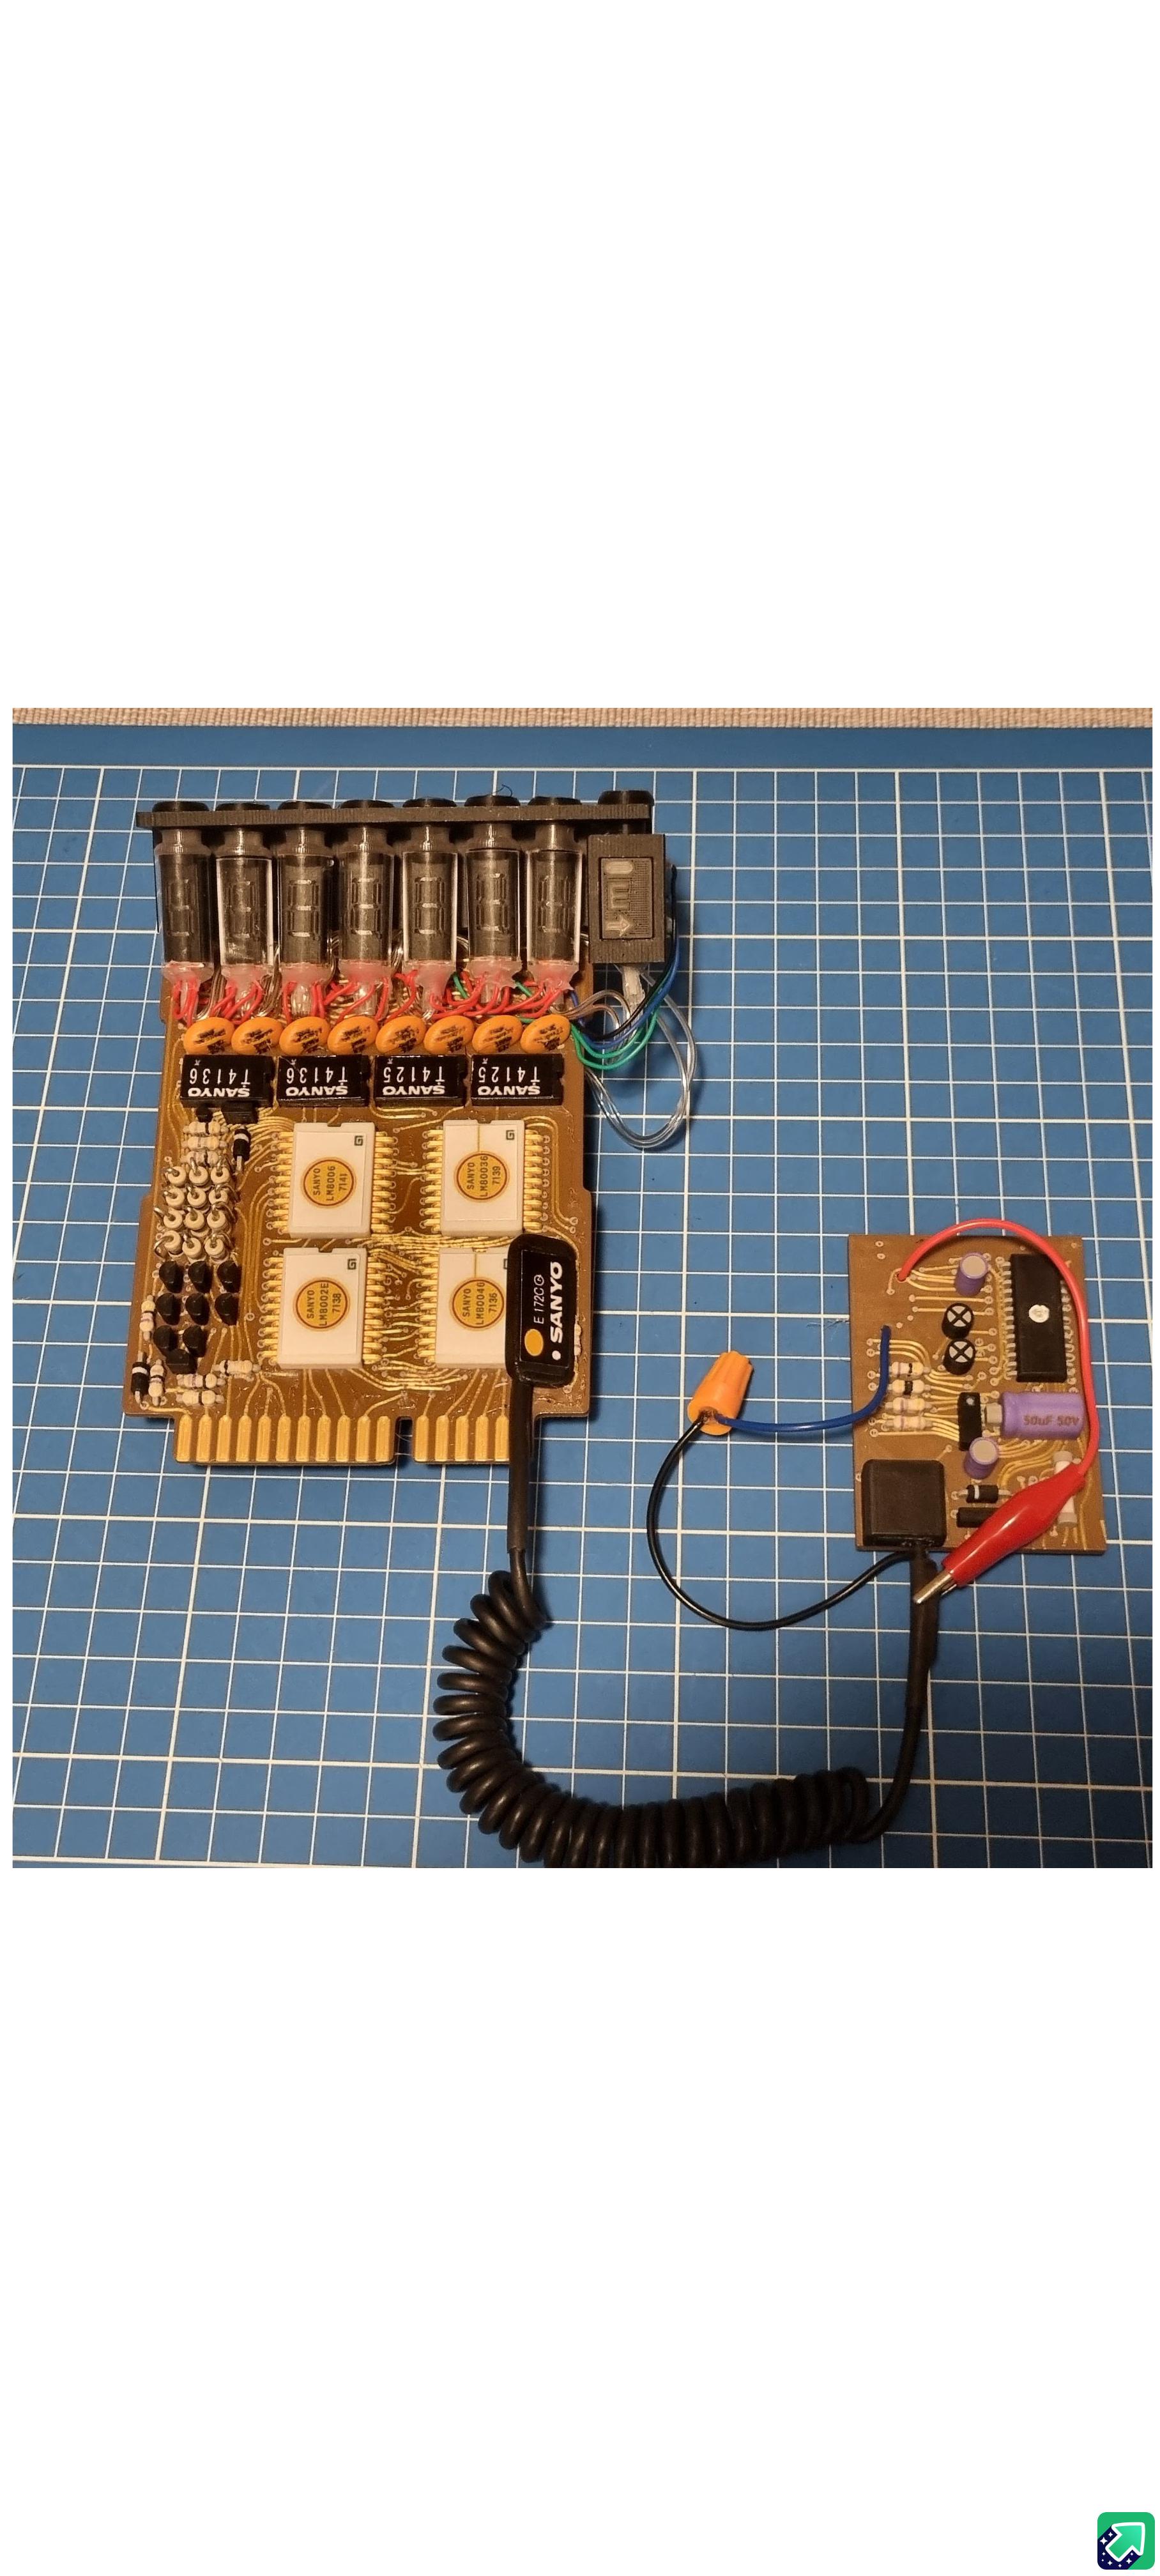
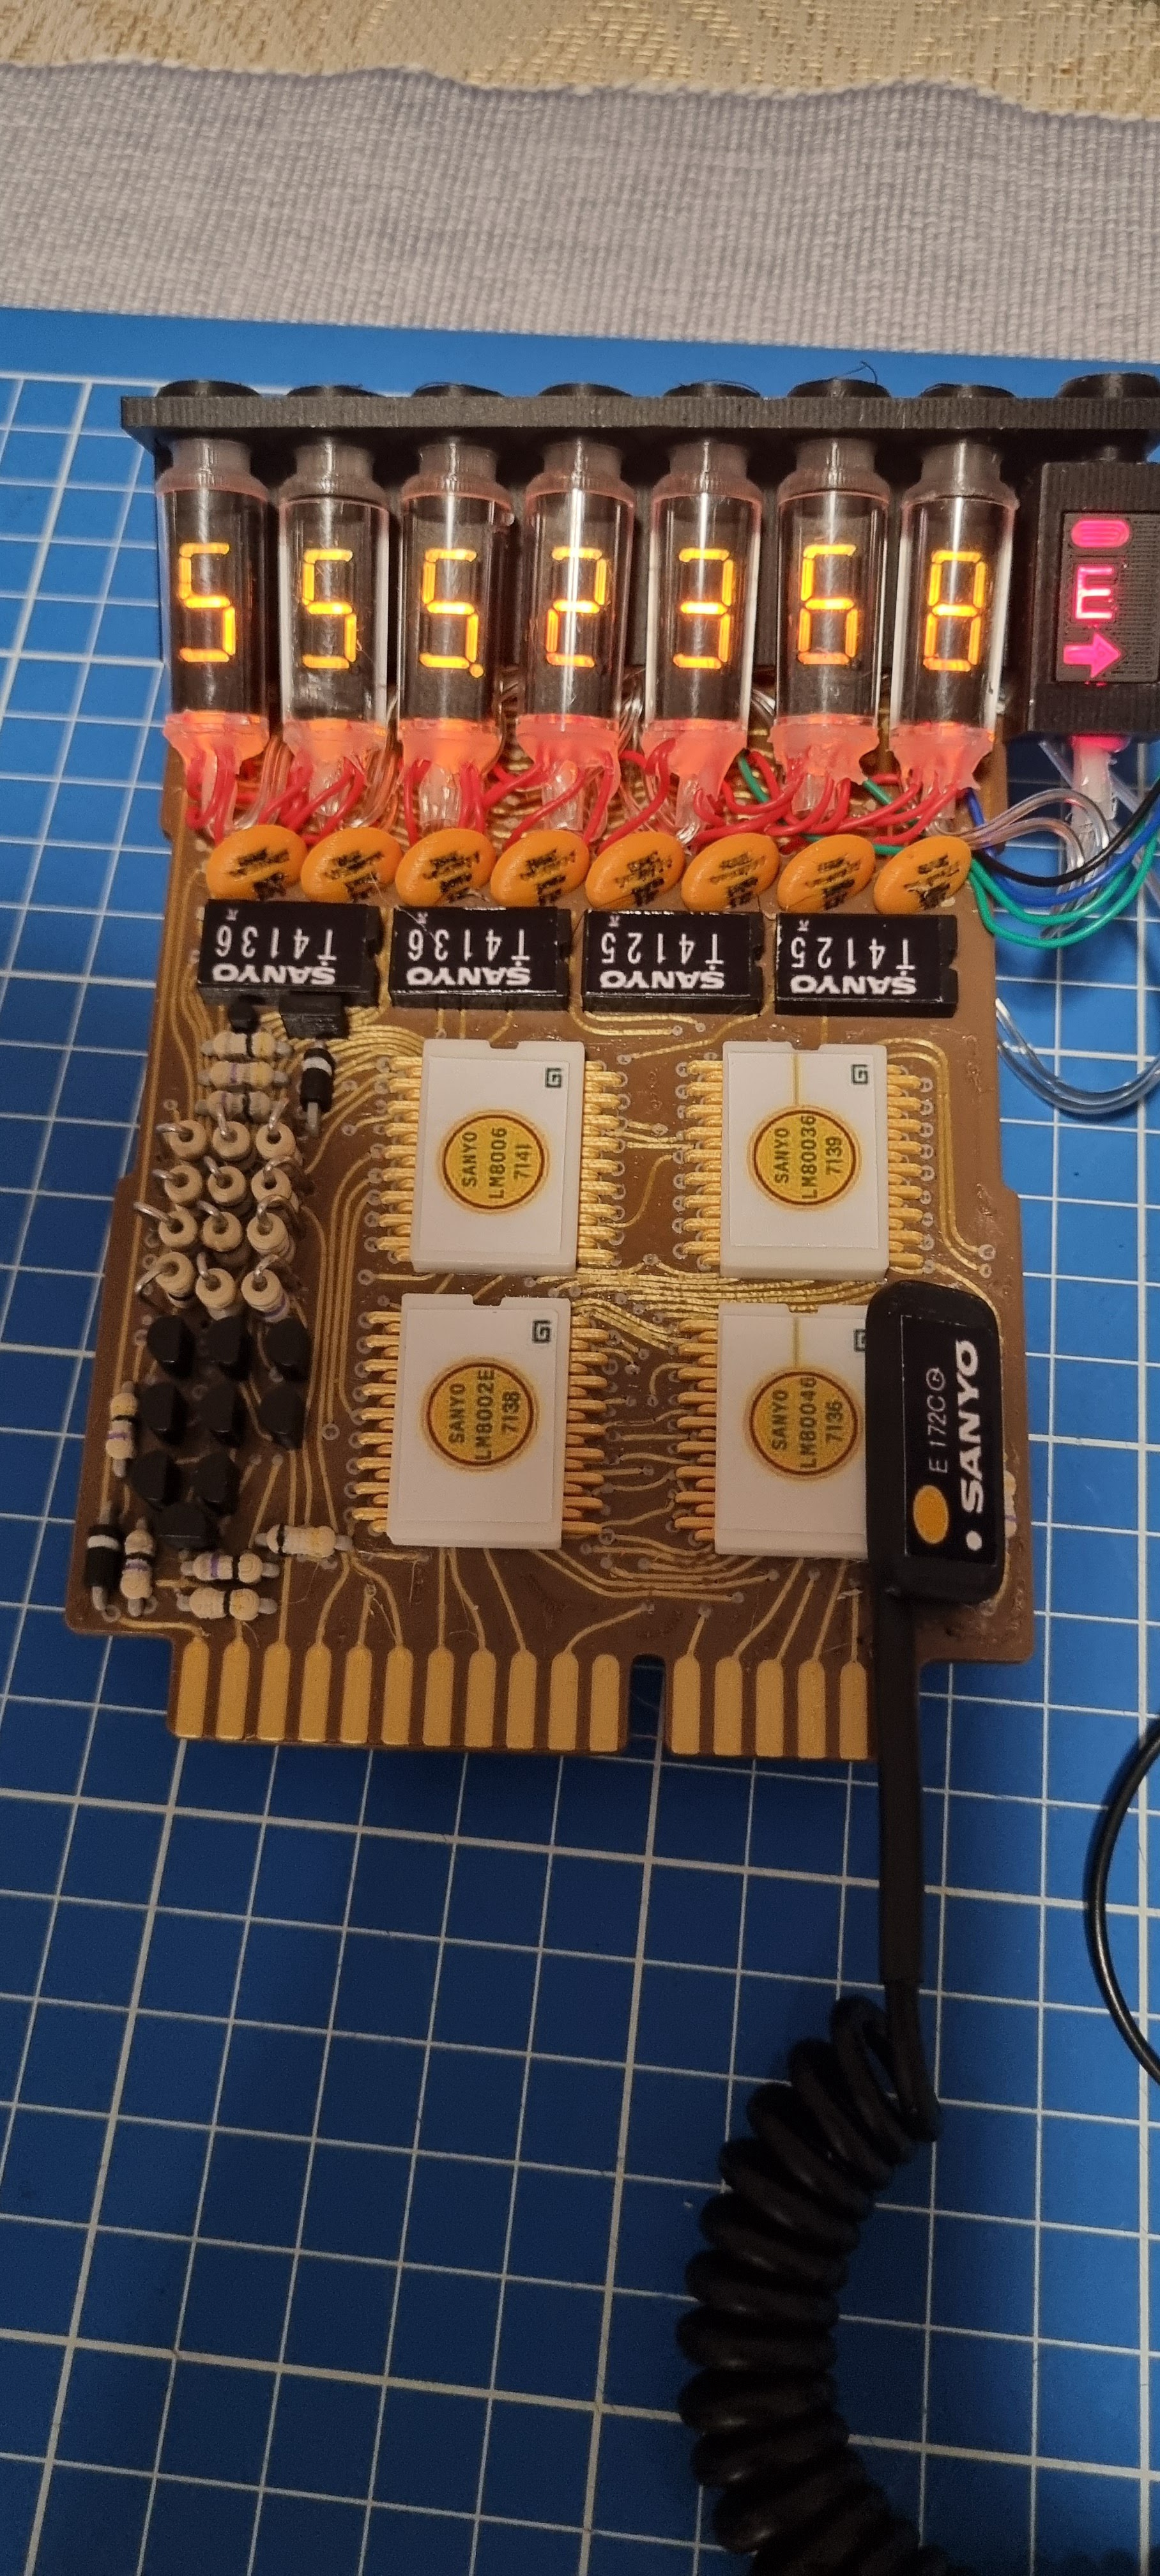
Comparision to my old one.
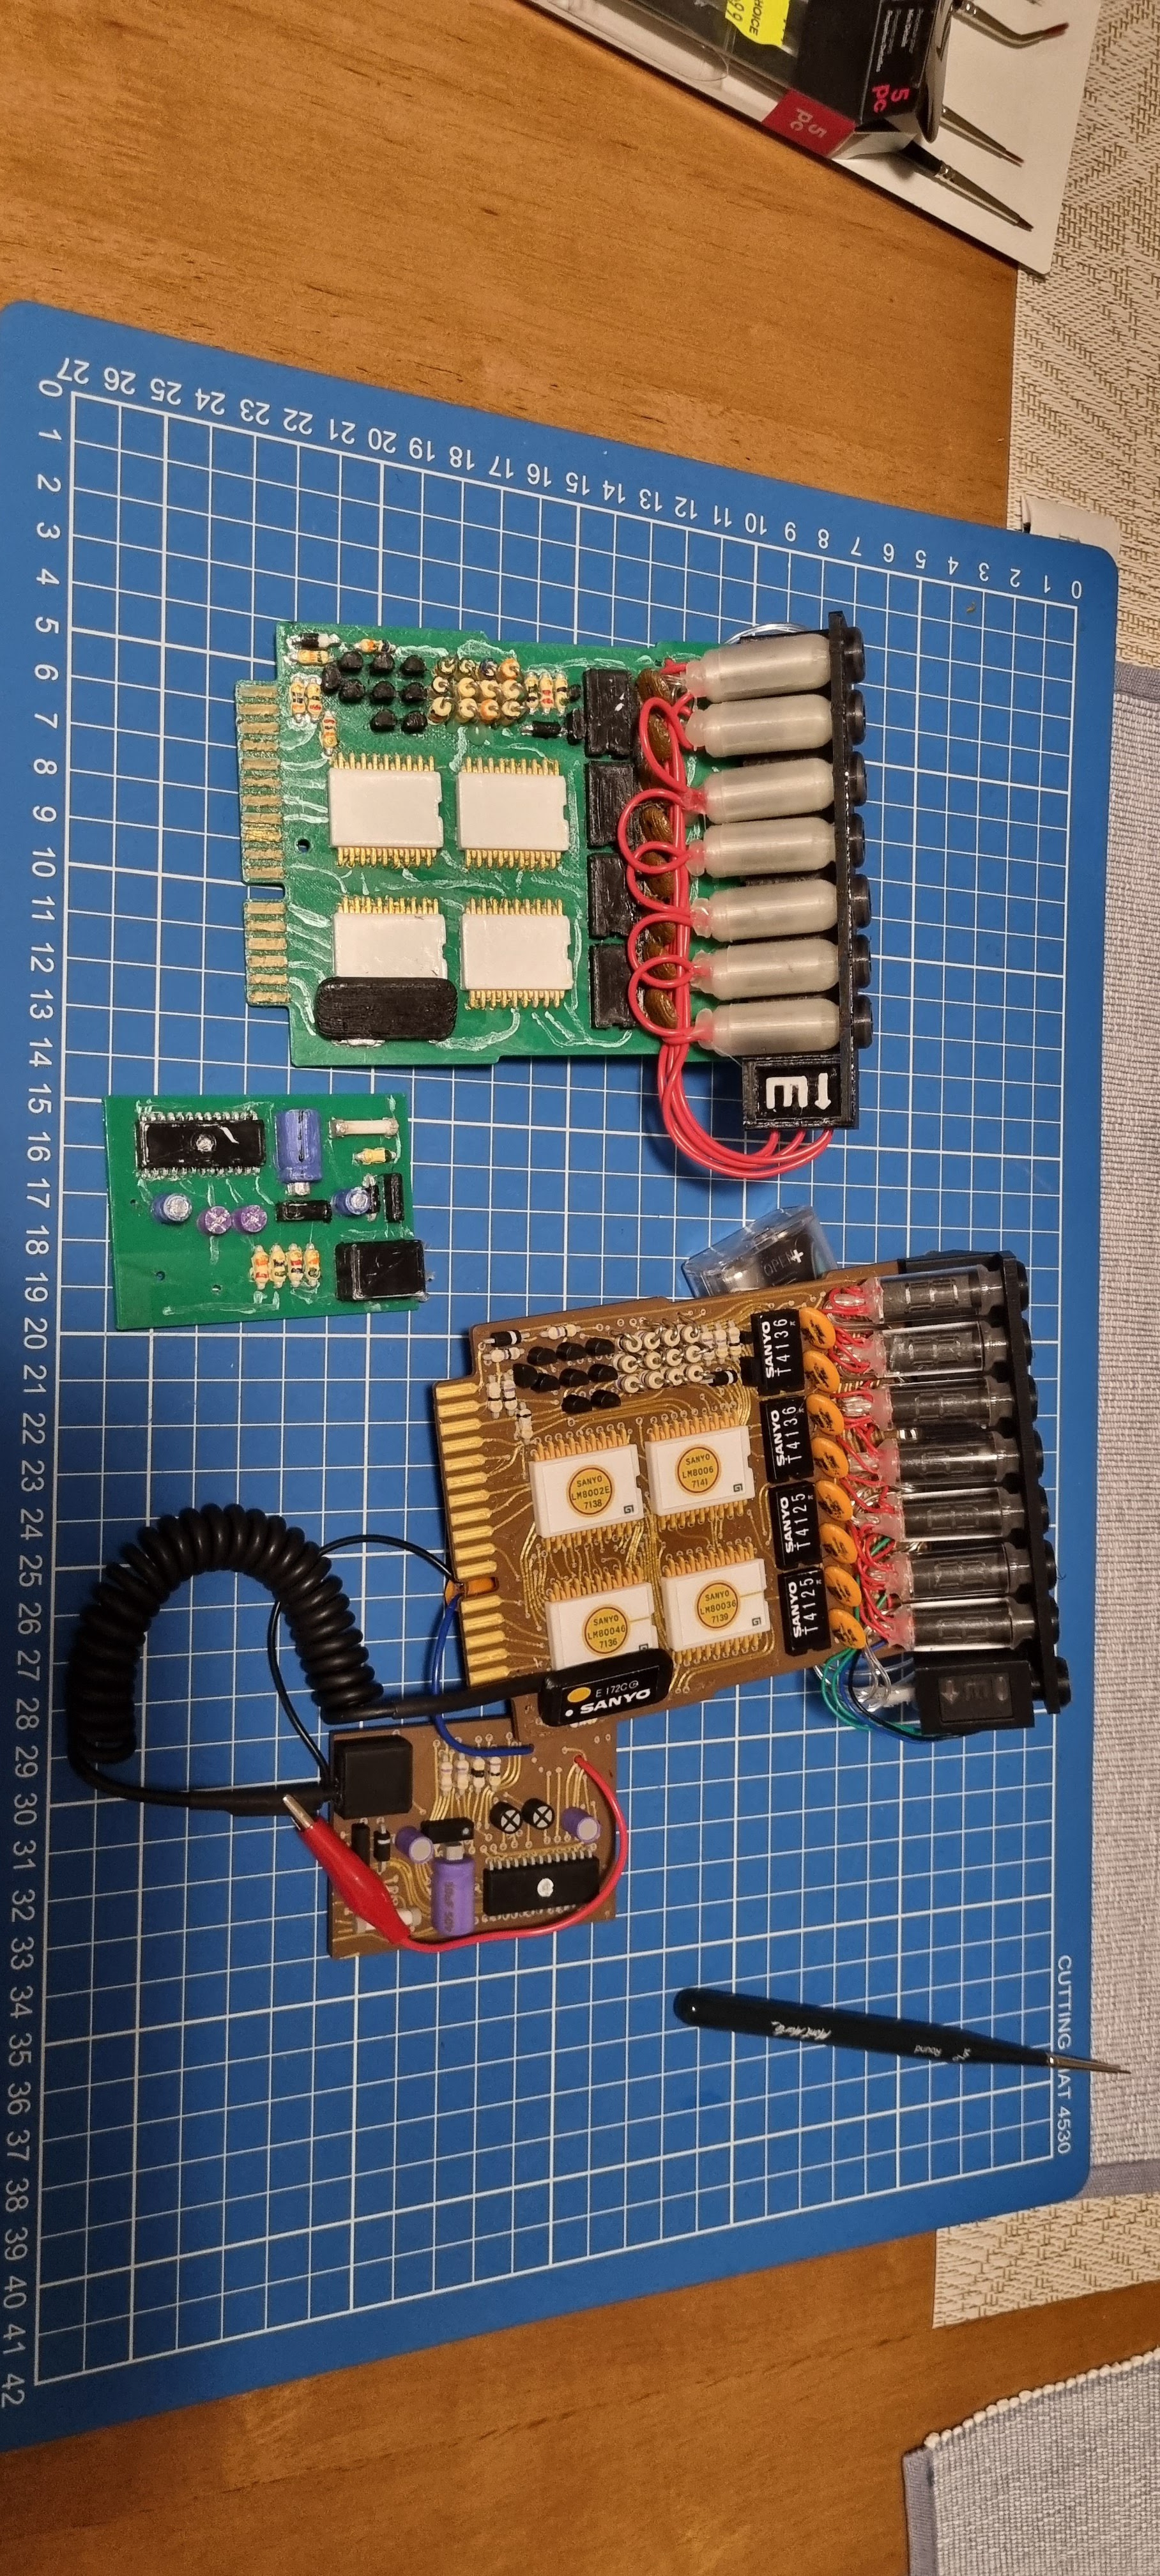
And final look..
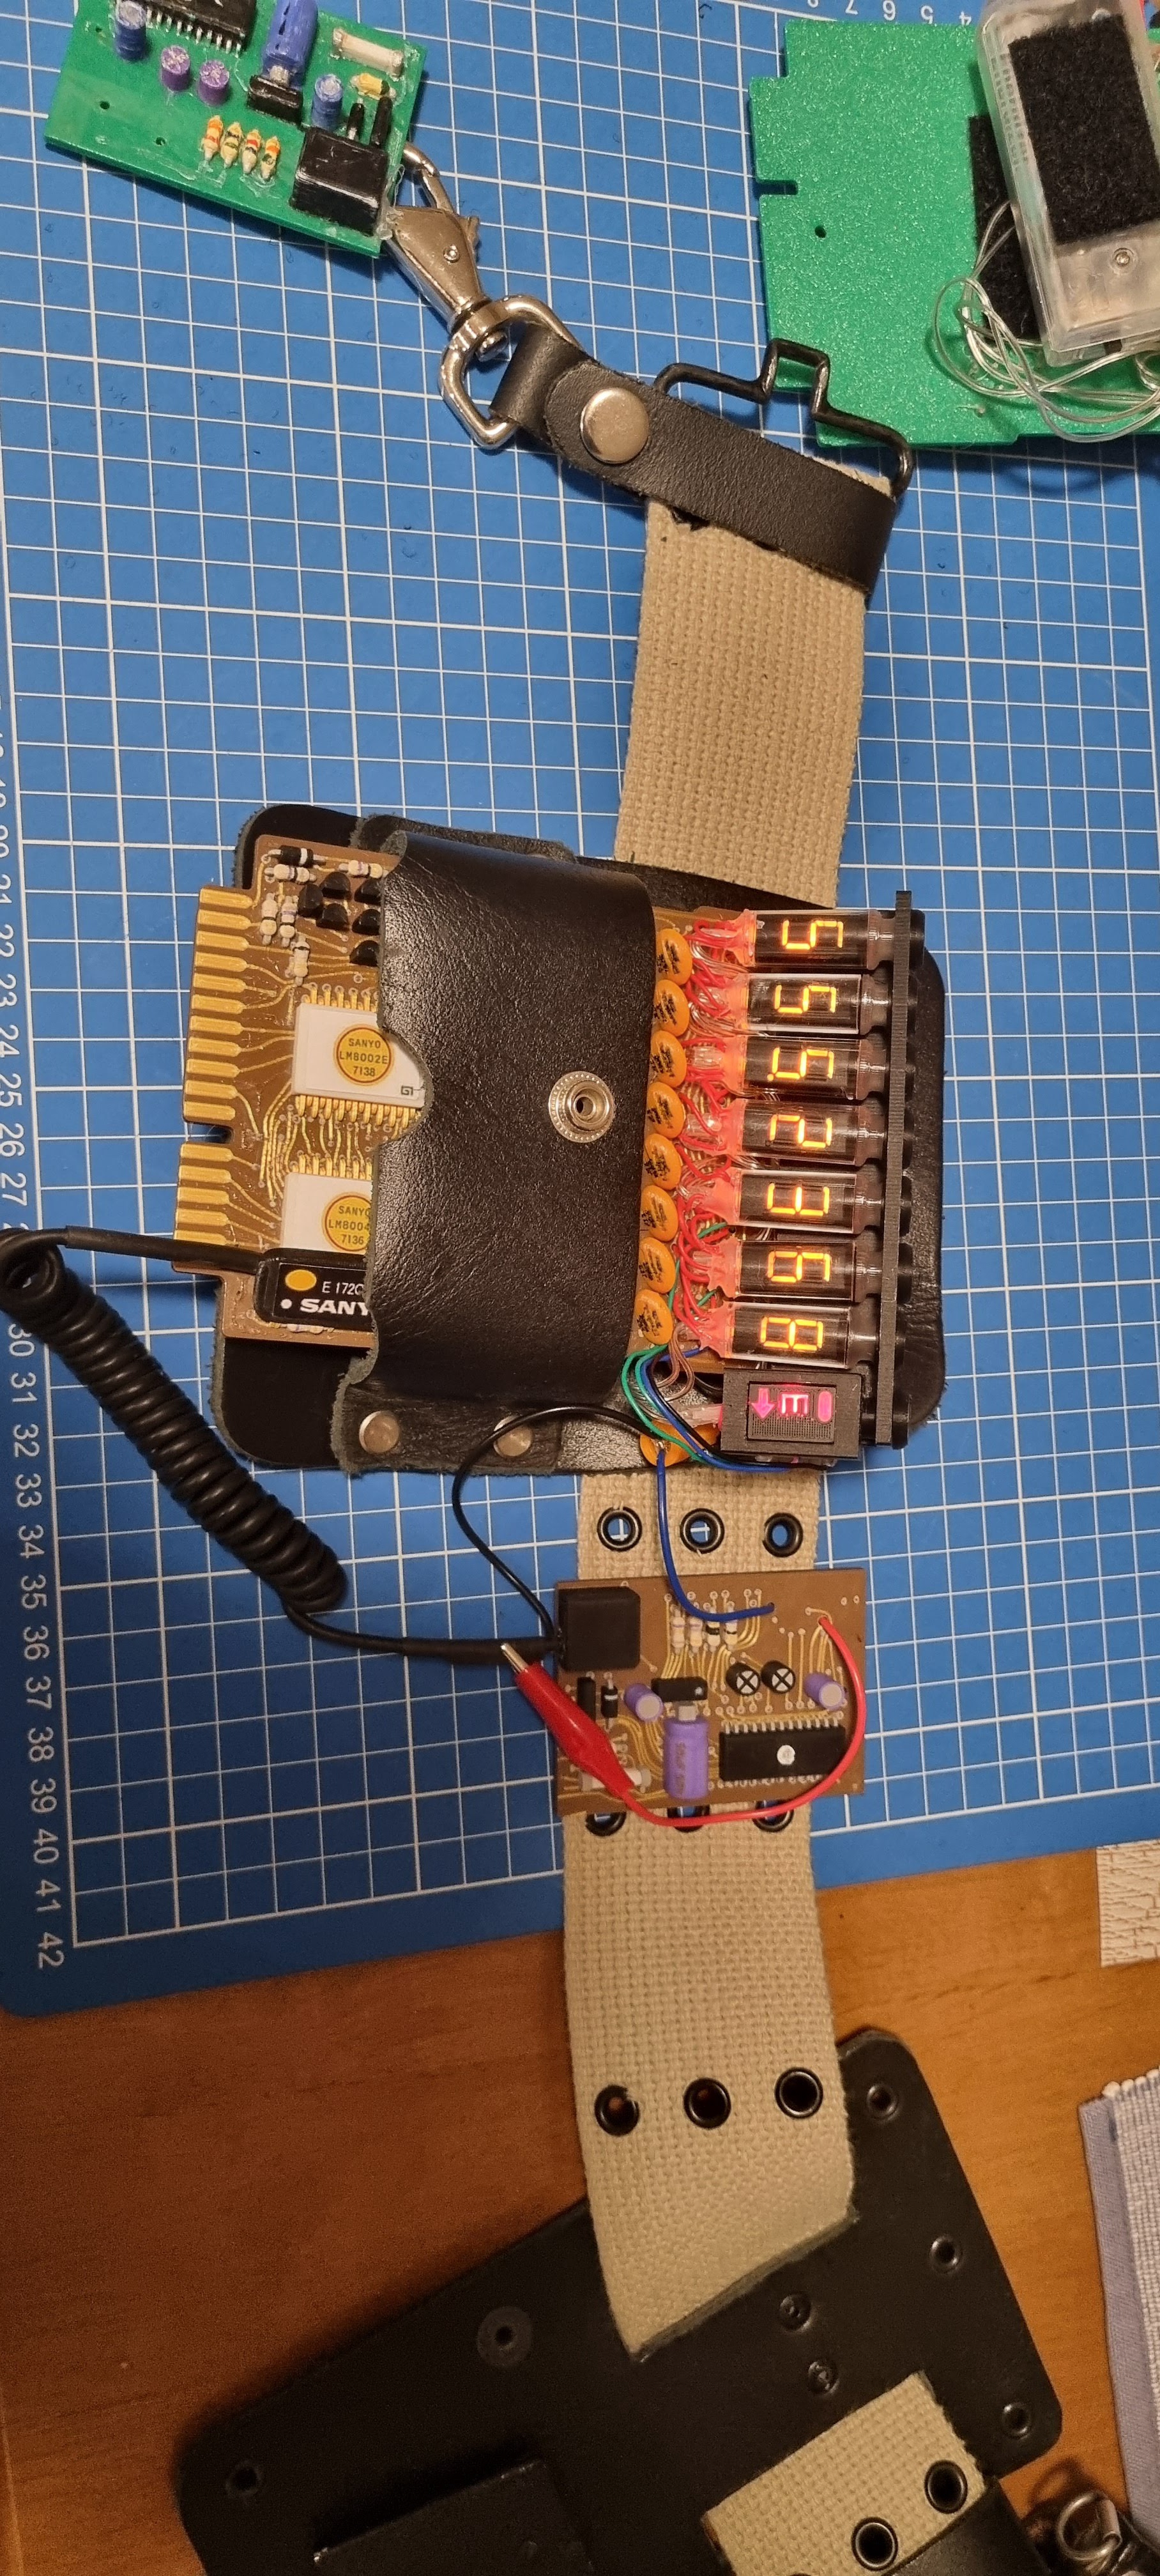
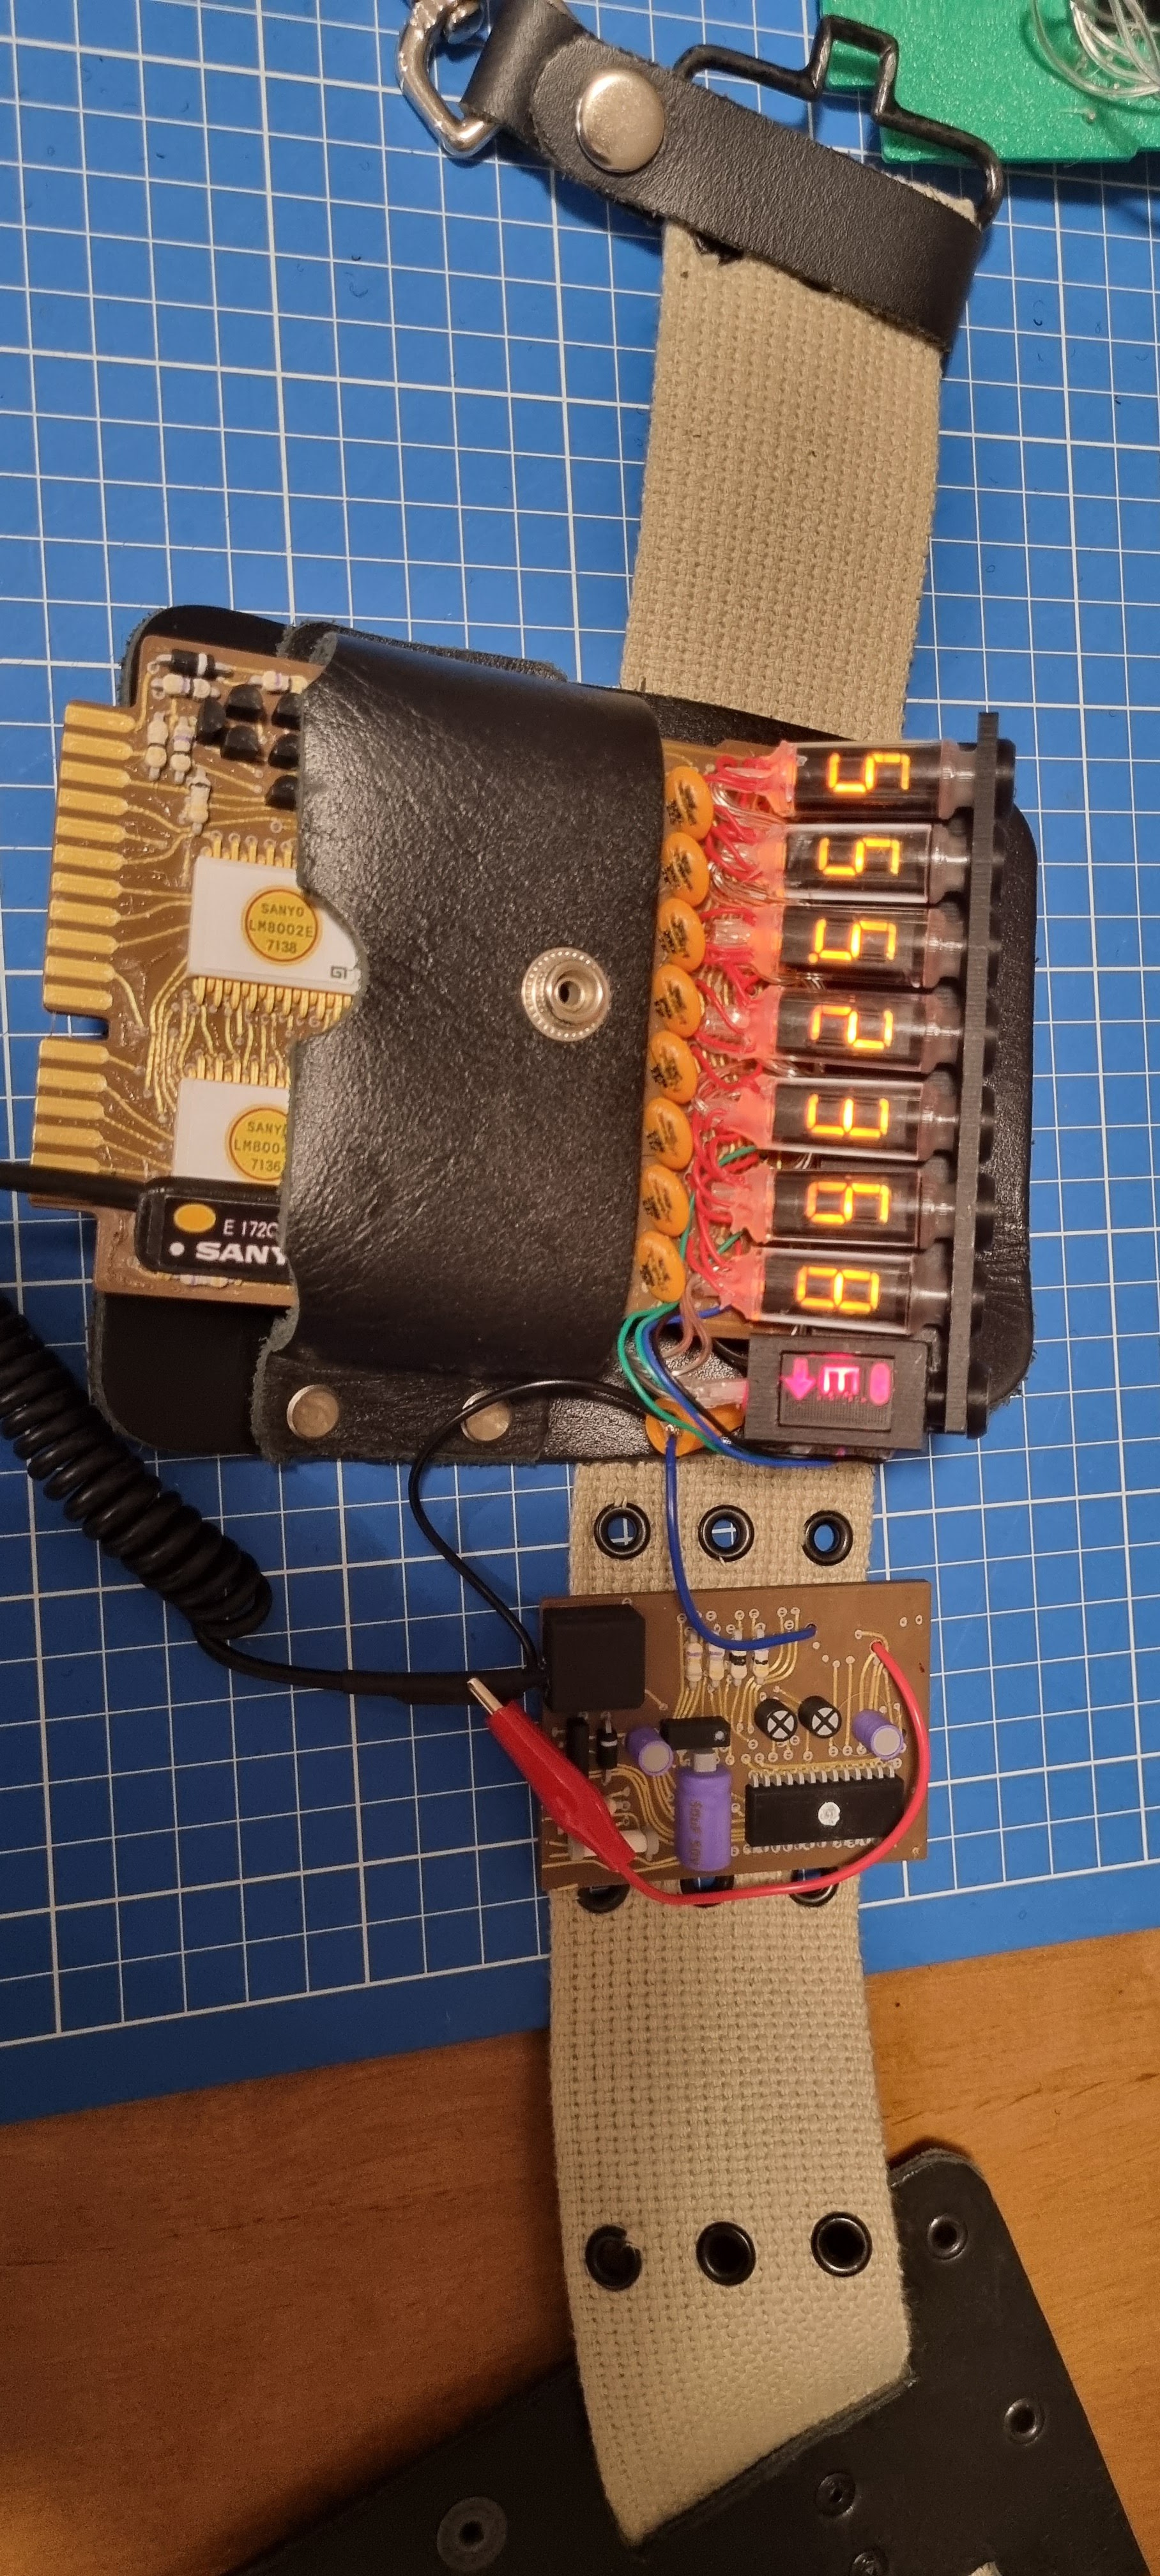
I think it looks better than my older one, and hopefuully its strong enough to deal with real world knocks etc. But it was a fun build and thought it turned out good enough to share with others for ideas if you cant get your hands on the real/replica boards.