BG76's Gareee style pack build

Well, here it goes. My girlfriend and I decided to be Ghostbusters for Halloween.

I’m not a Gb fanatic, but I do love cool gadgets, costumes, and Halloween (not in that order).

I’ve been heavy lurking this website and found great info. I started this costume back in early July, and I thought I’d be done by now.

I’m trying to be accurate while using parts from Home Depot, so it has been touch & go.

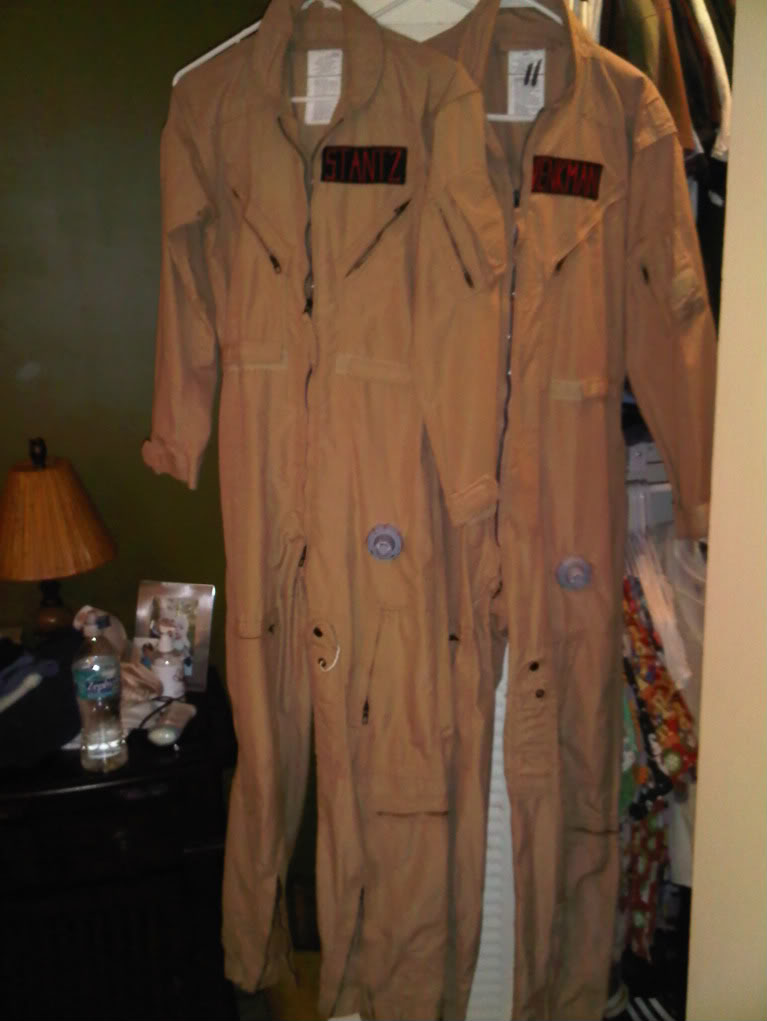
I basically worked from the uniform, out. I started with acquiring flight suits and patches. I’m not into using my last name for the costume, so I ordered a set of Venkman/Stantz tags.

After finishing the uniform, leg hose, hose connector, and belt gizmo, I decided to start the throwers.

In all honesty, I should’ve bitten the bullet and just bought resin gun boxes. It took a lot of work to get them right, and I almost eviscerated myself on my dad’s table saw, while cutting styrene.

Just after my injury.


3 days after the incident.

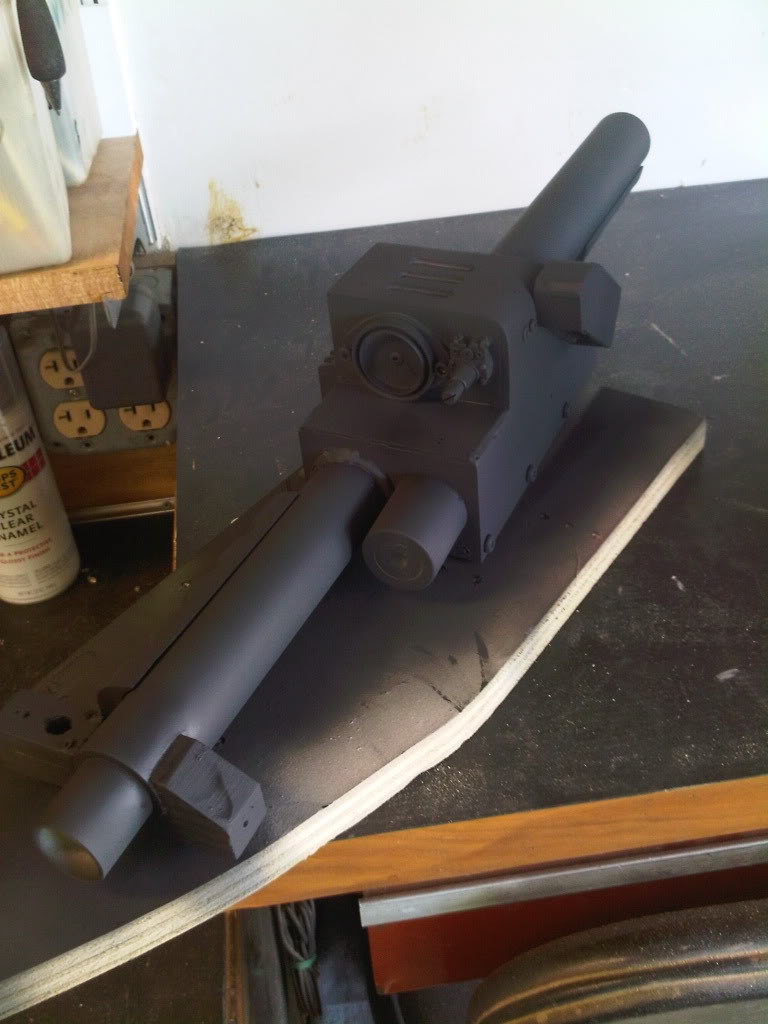
I used mostly a thicker styrene for the gun body. I would use crazy glue to form a quick bond, and then I’d apply gorilla glue for a final bond. I ran out of styrene for a few pieces, and used some 1/8" craft plywood I had laying around.

The only pre-made pieces I bought were the grips and the heat sink. Time is of the essence and both sets of parts were cheap. Everything else, I made or used pieces laying around the garage.

These guns aren’t accurate, but are good for a few hours of work here and there.

Initial mockup with bar graph.
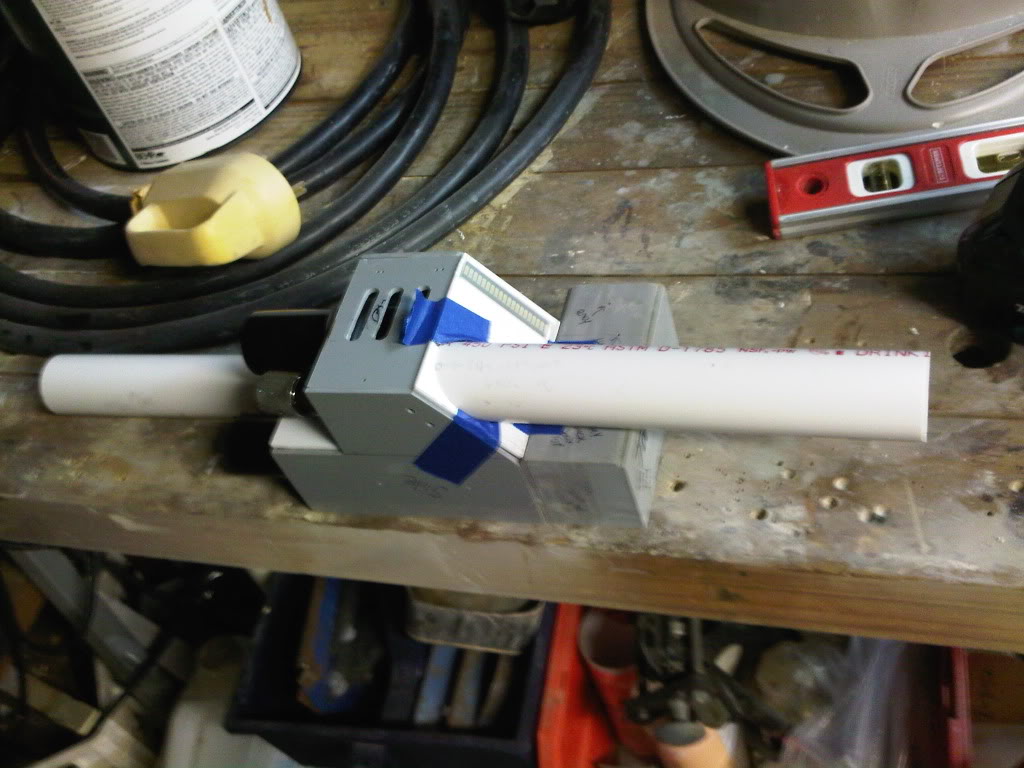
Continued fabrication

I used an old guitar potentiometer and knob for the knob next to the Clippard. I added some strips of wood on the bottom of the housing and attached them with glue and industrial-looking screws.
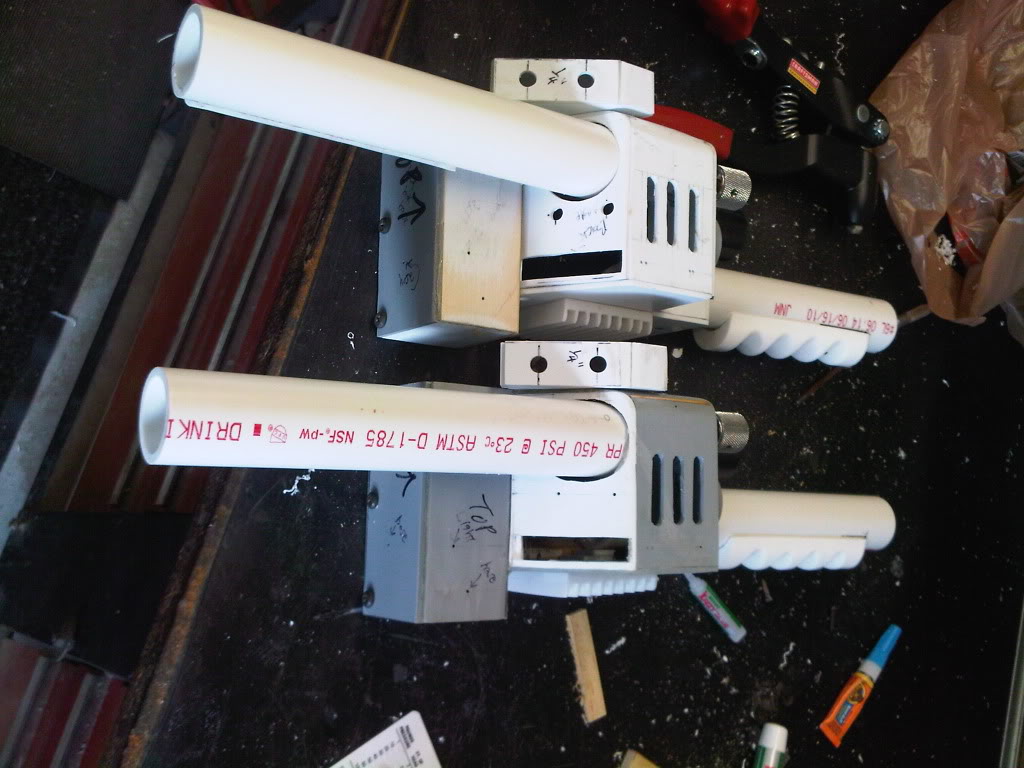
Almost done. The gun ears are installed, and pre-drilled for wiring. I used a 35MM canister for the clippard. The cap is riveted to a piece of styrene cut out to look like a Clippard base. I will snapp the Clippard body on, after paint. I also used a 35MM canister, and trimmed off a 1/2" to make the palm rest. To attach it, I used a large wooden dowel, cut a 1" section, screwed it to the body, and slid the canister over the dowel rod. I then screwed a fastener to the side of the canister to fix it to the dowel rod.

The body is done, so I shoot hot glue inside to fill in any cracks and to permanently snug in the pipes.
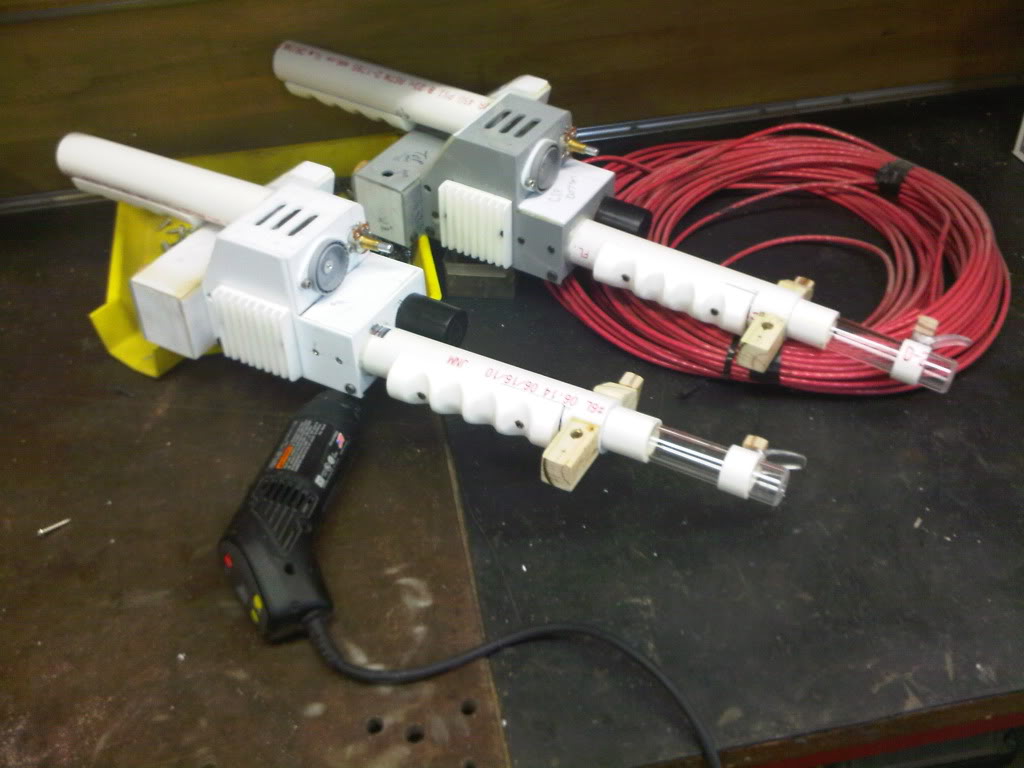
Paint begins as soon as fabrication ends. Looking back, I should’ve removed the grips and heat sink, and painted them separately. Oh well. No time to waste!

I primed the wands with plastic primer. I sprayed the top and bottom twice, sanded, and then sprayed one more coat of primer.

I used that Walmart spray paint for the black. The stuff dries fast and sprays pretty thin. This way the user is less apt to get runs in the finish.

Two coats on the bottom, three coats on top.

I dry brush some silver for an aged look, tomorrow.
I basically have 2 1/2 weeks to get two packs ready. Time is my mortal enemy.

I bought some pre-made motherboard/spacer combo on Ebay. I’m not super happy with it, but I don’t have much choice.

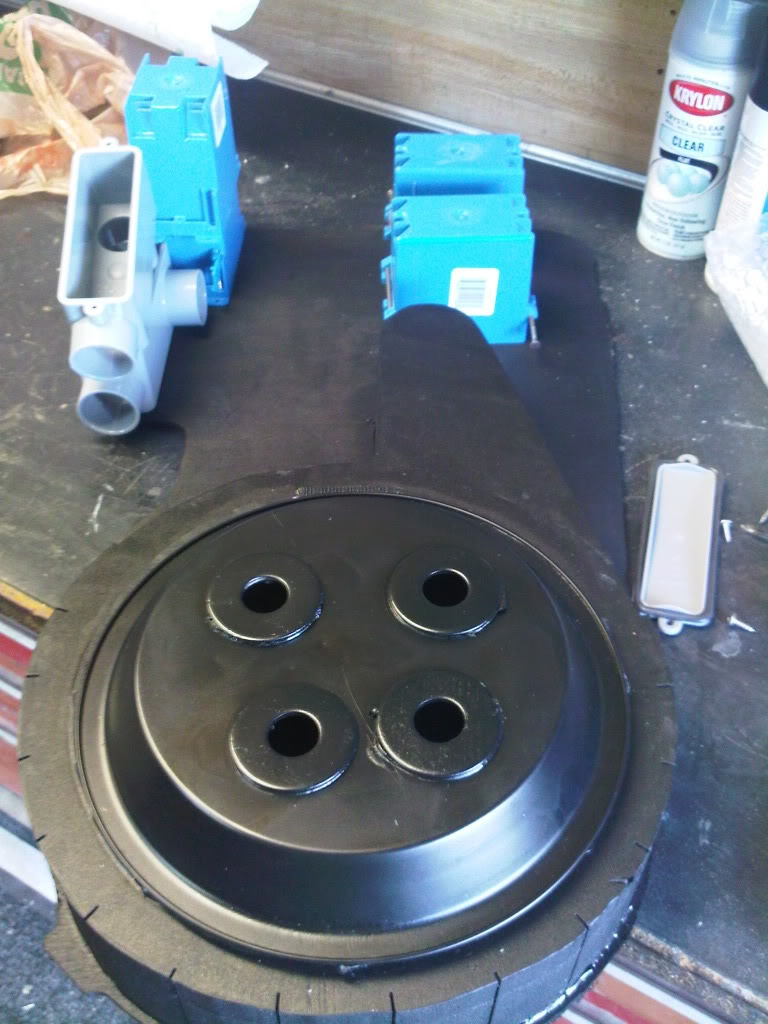
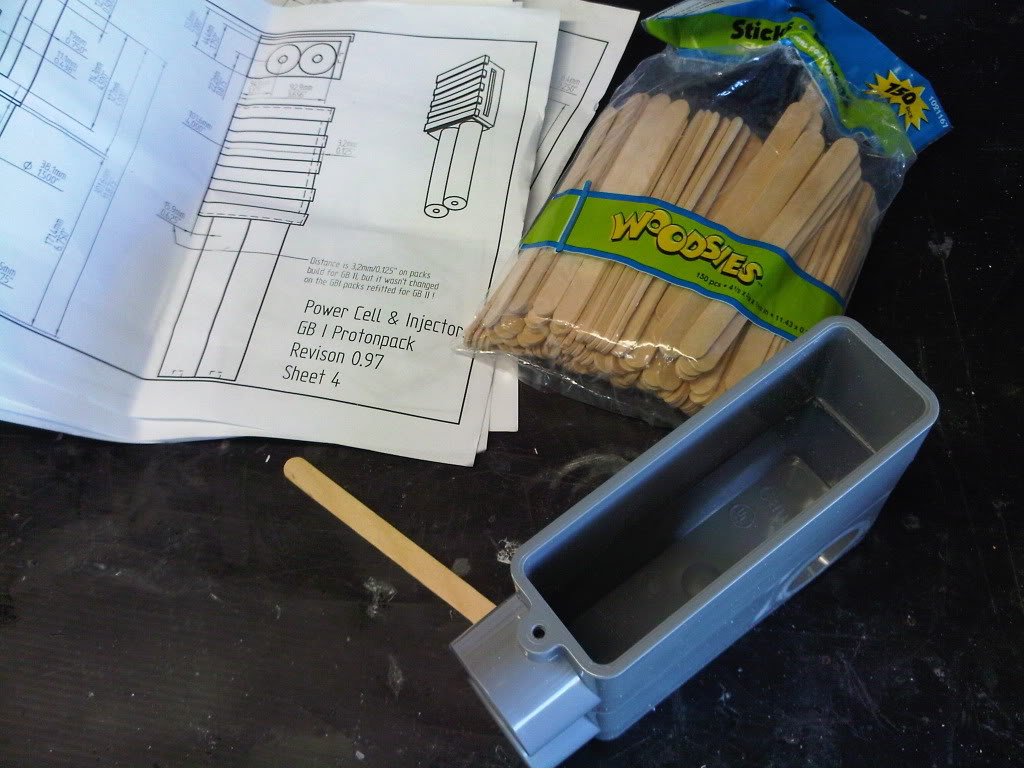
On a bright note, Gareee has really inspired me about accomplishing this task in lesser time. His idea using electrical boxes not only saves time, but weight too. And at $1 a box, it’s a super deal. The boxes already have pre-drilled mouting holes which totally rules!

My only gripe about Gareee’s pack is the width. I mean no disrespect to the Godfather of Home Depot pack builds, but my girlfried is on the small side, and something that wide would lead her into smashing into walls all night. So my plan was to take his idea, but compress it on a normal size motherboard.

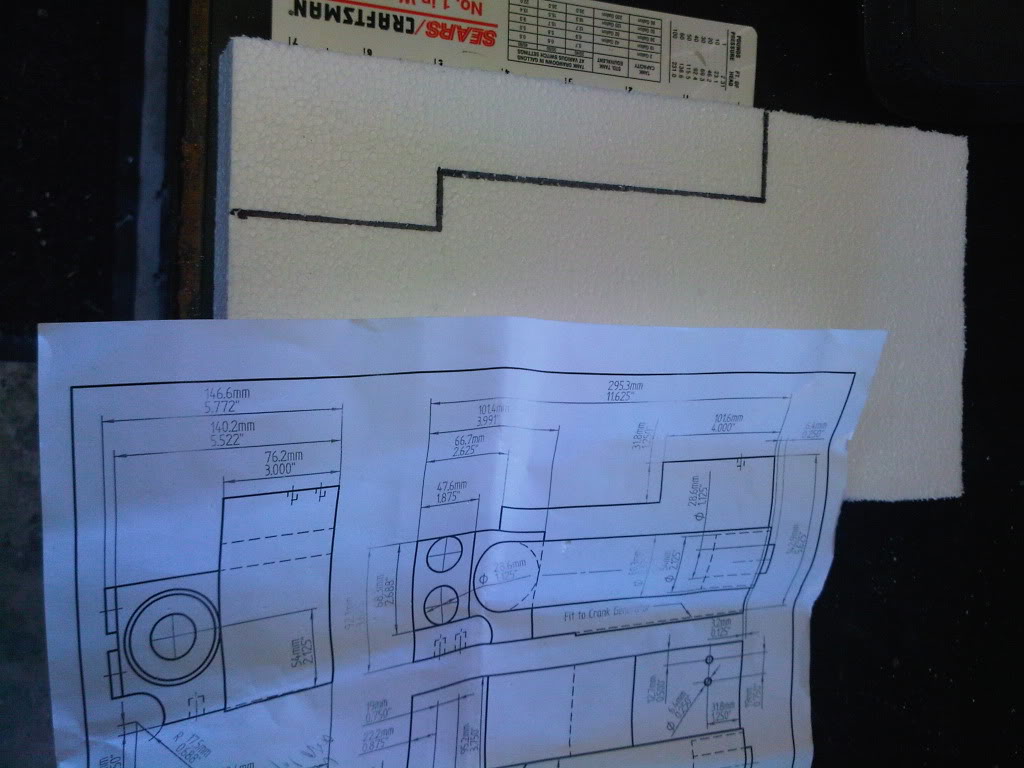
So I go to Home Depot to see what matches Otto’s plans…

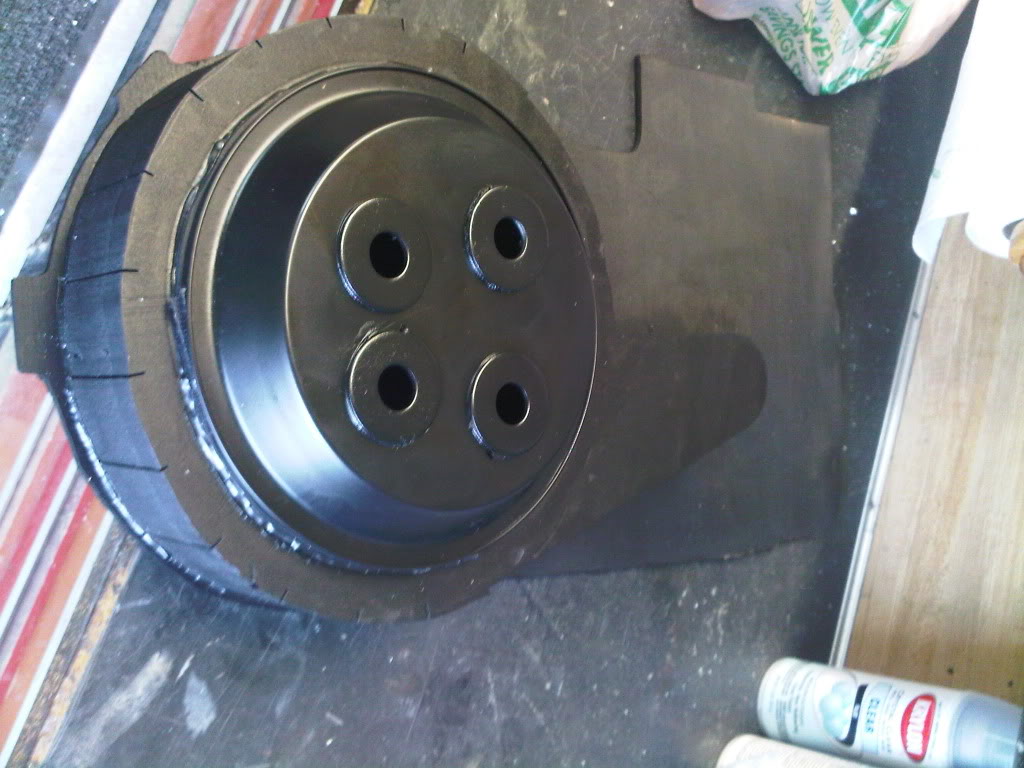
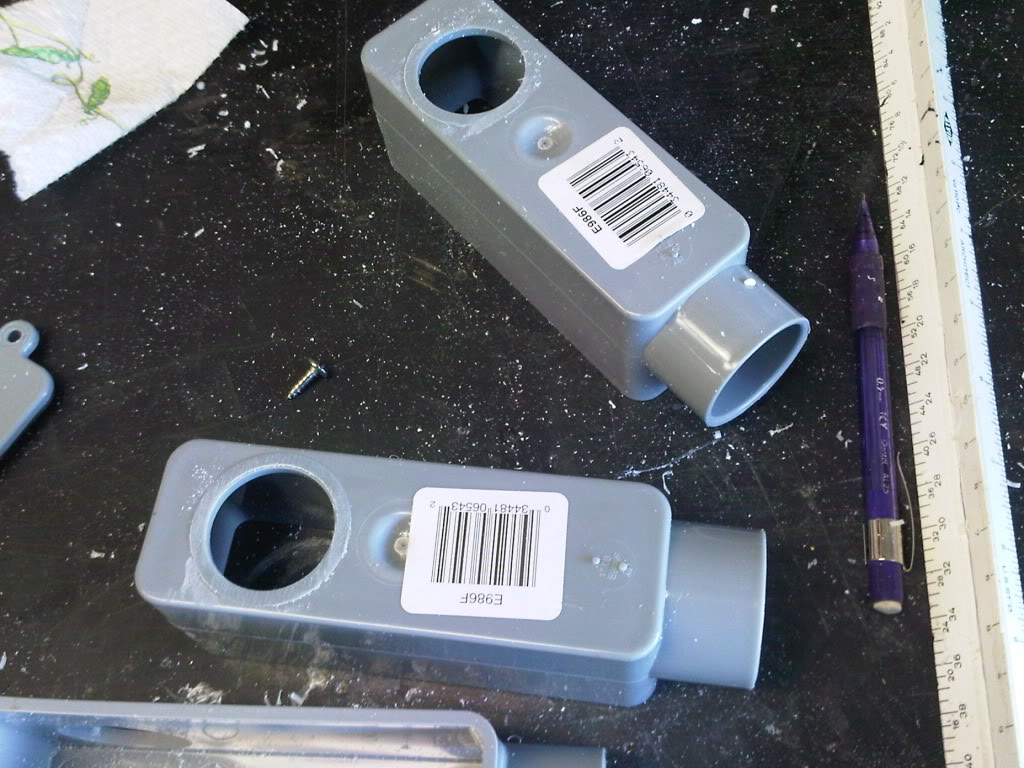
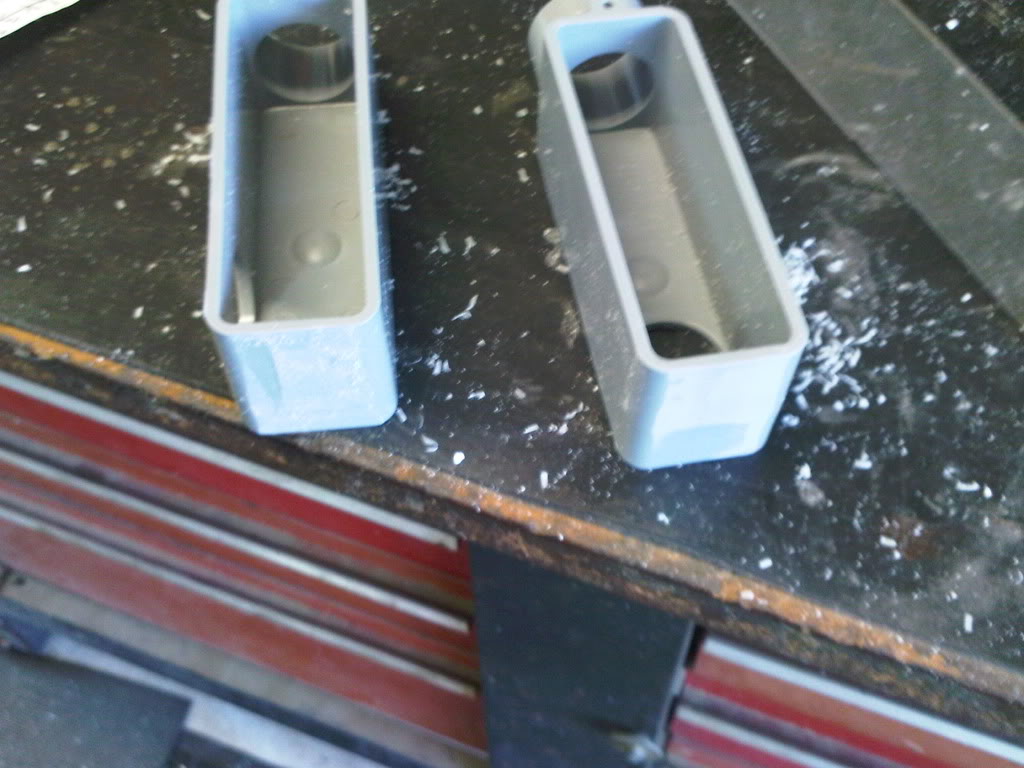
The power cell is my favorite part of the pack. I really wanted to have something much more narrow than Gareee’s version. So, another GB’er brought up how he used these.

After zipping off one of the collars, they stack nicely.

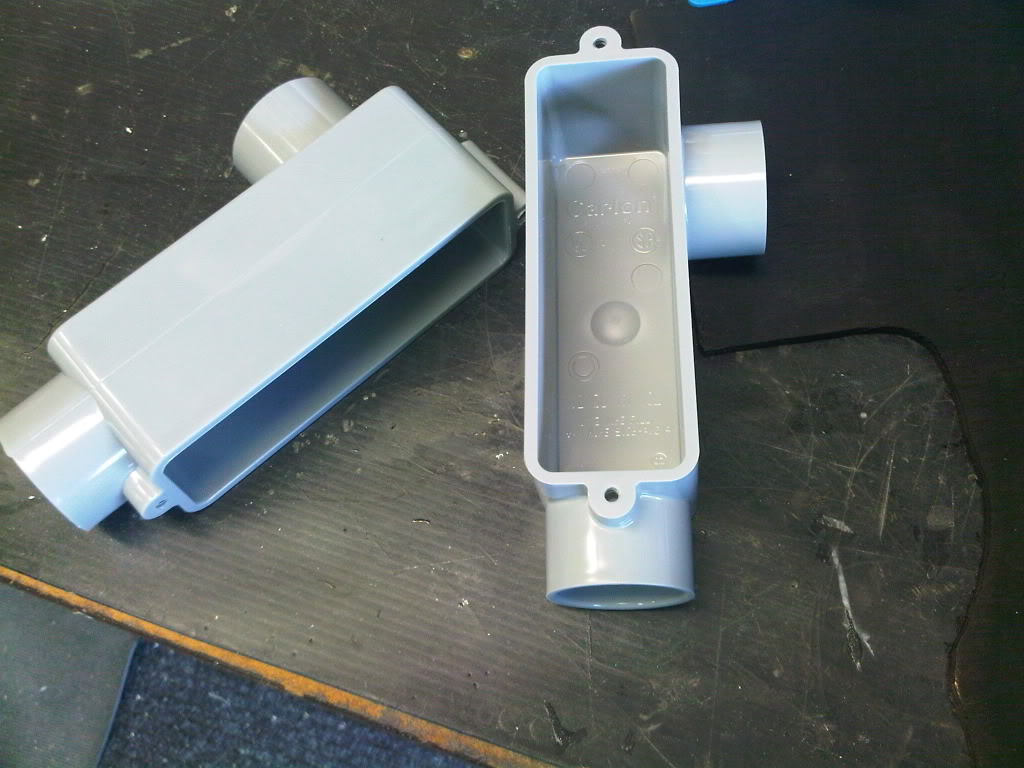
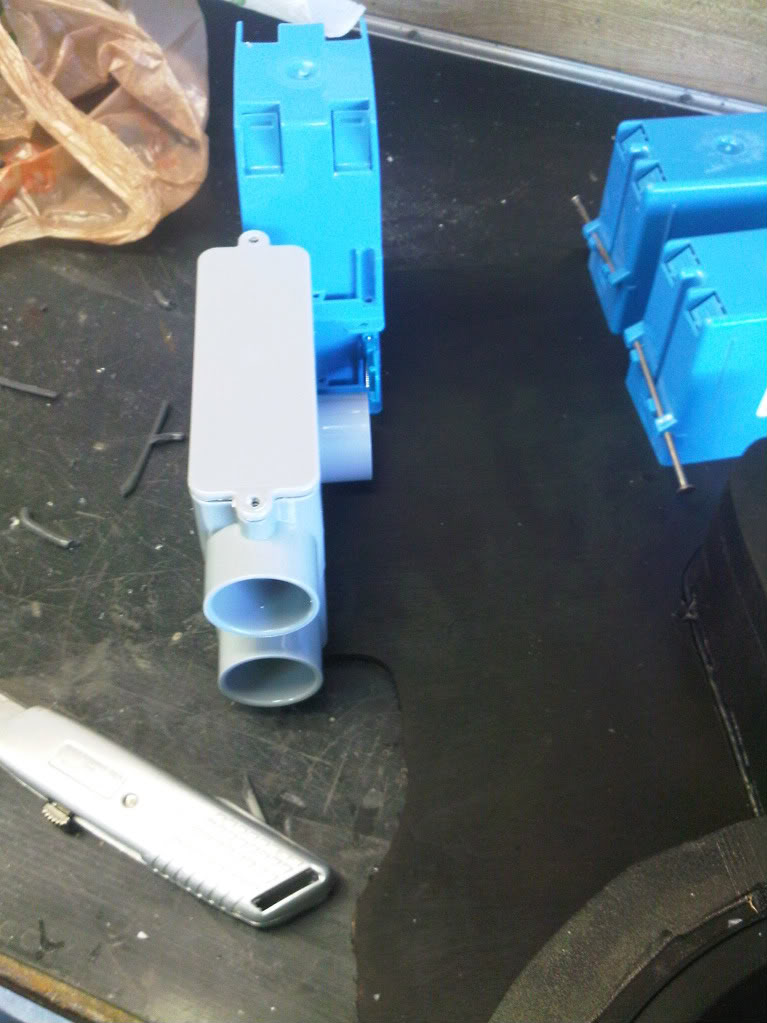
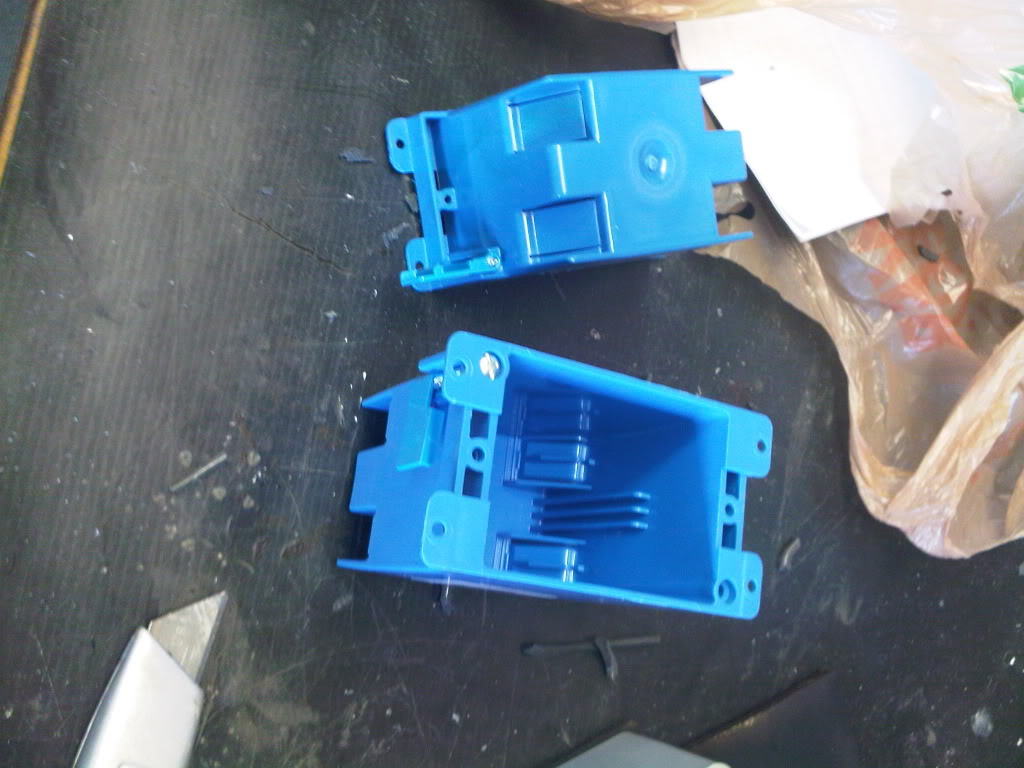
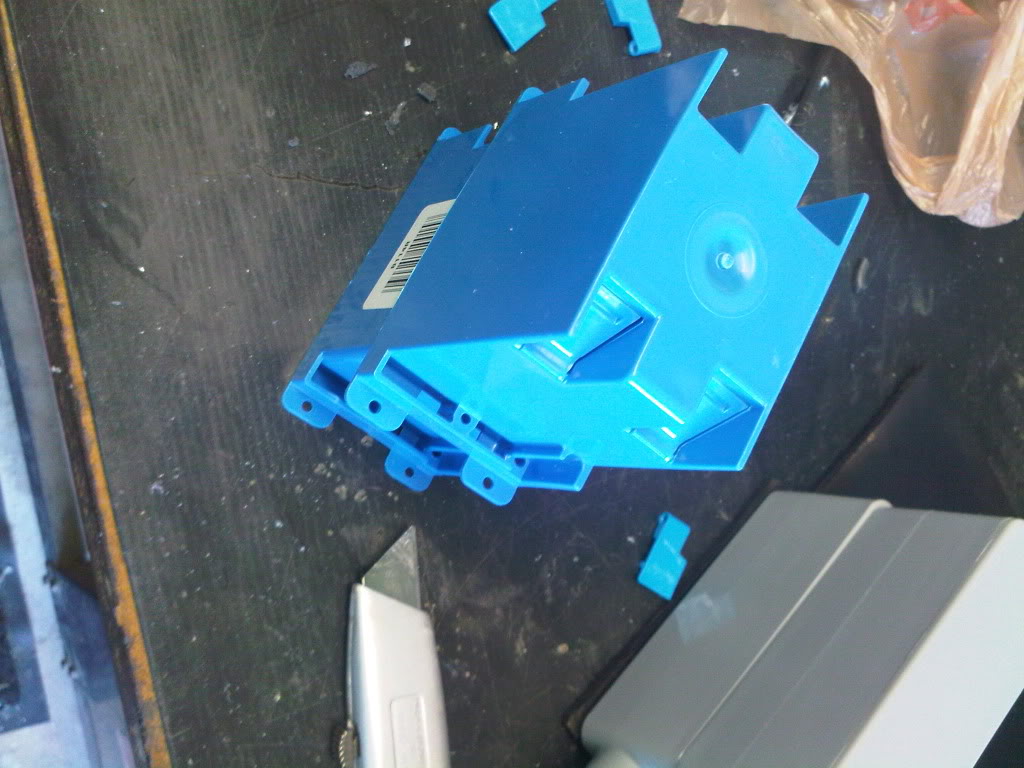
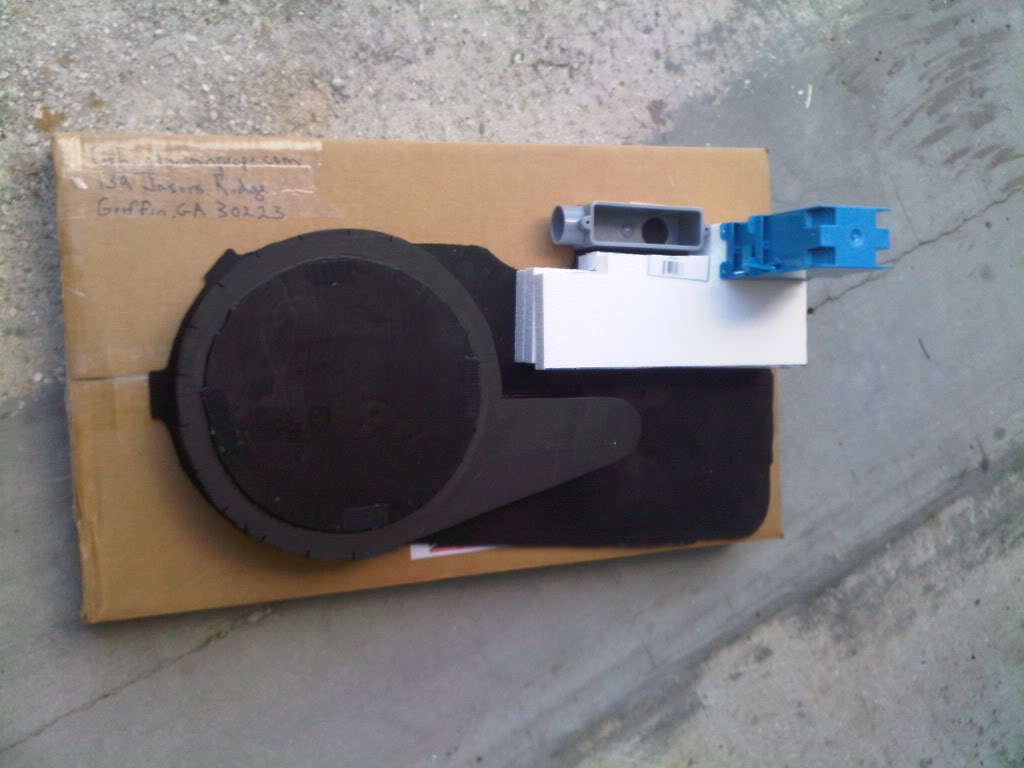
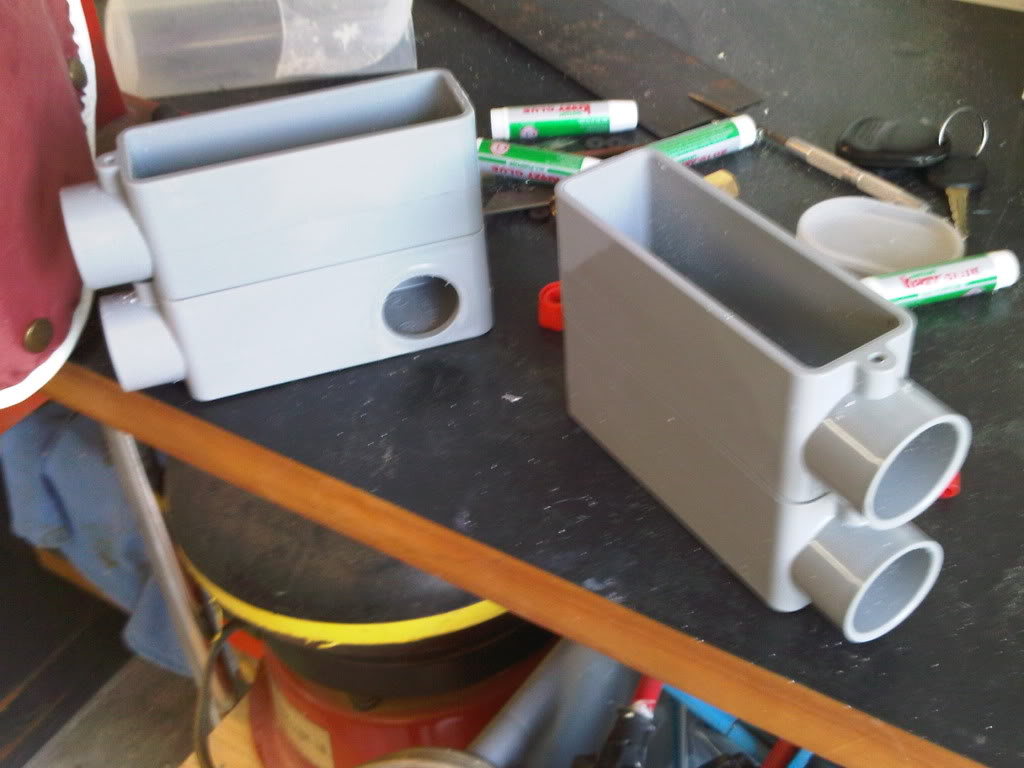
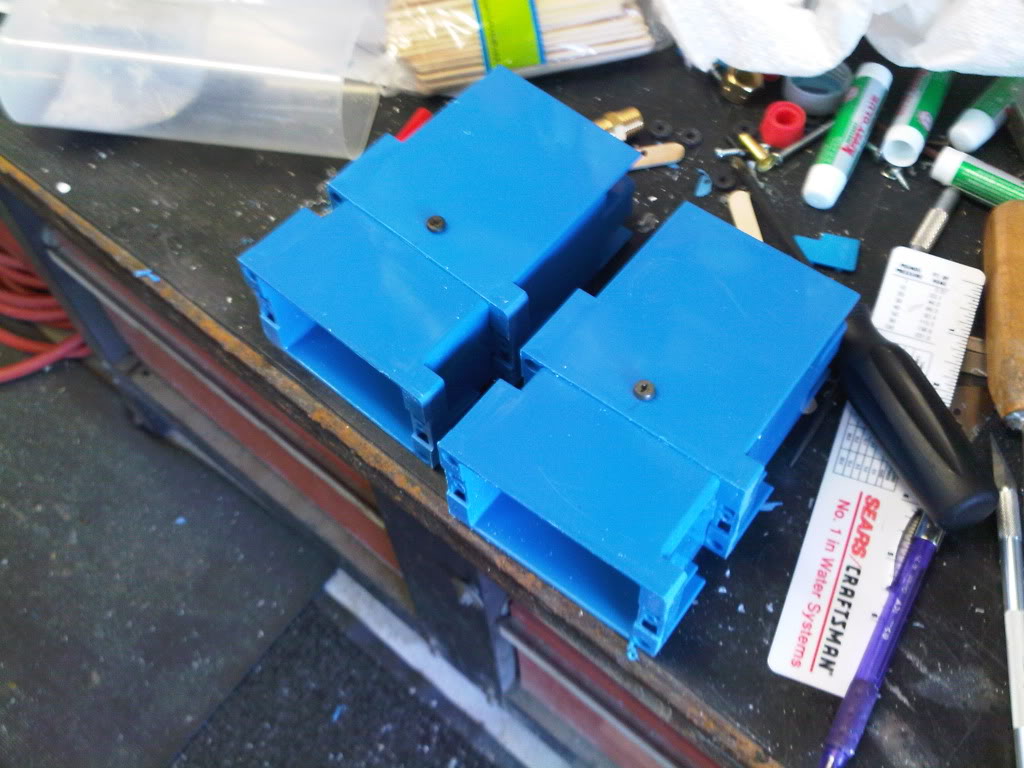
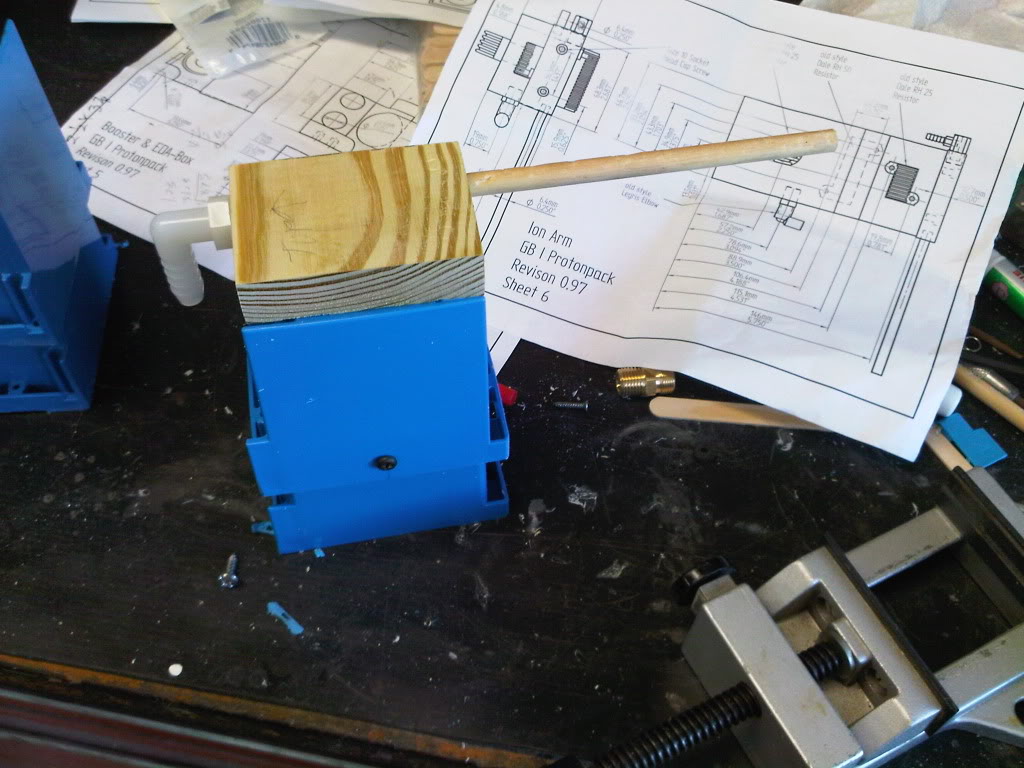
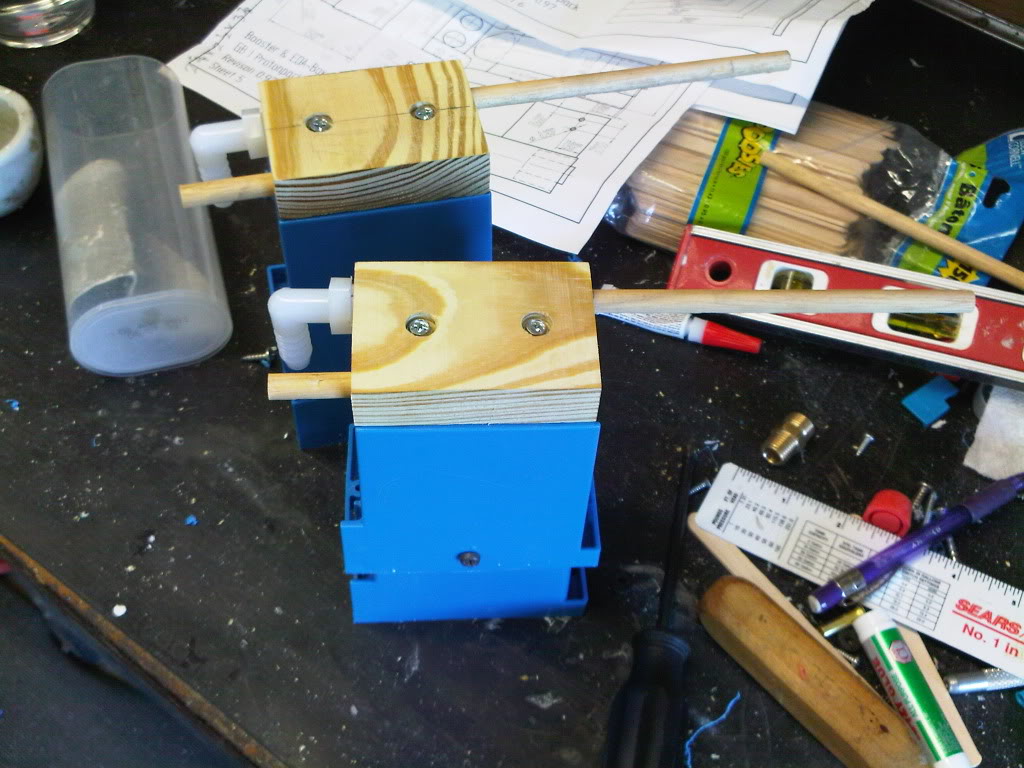
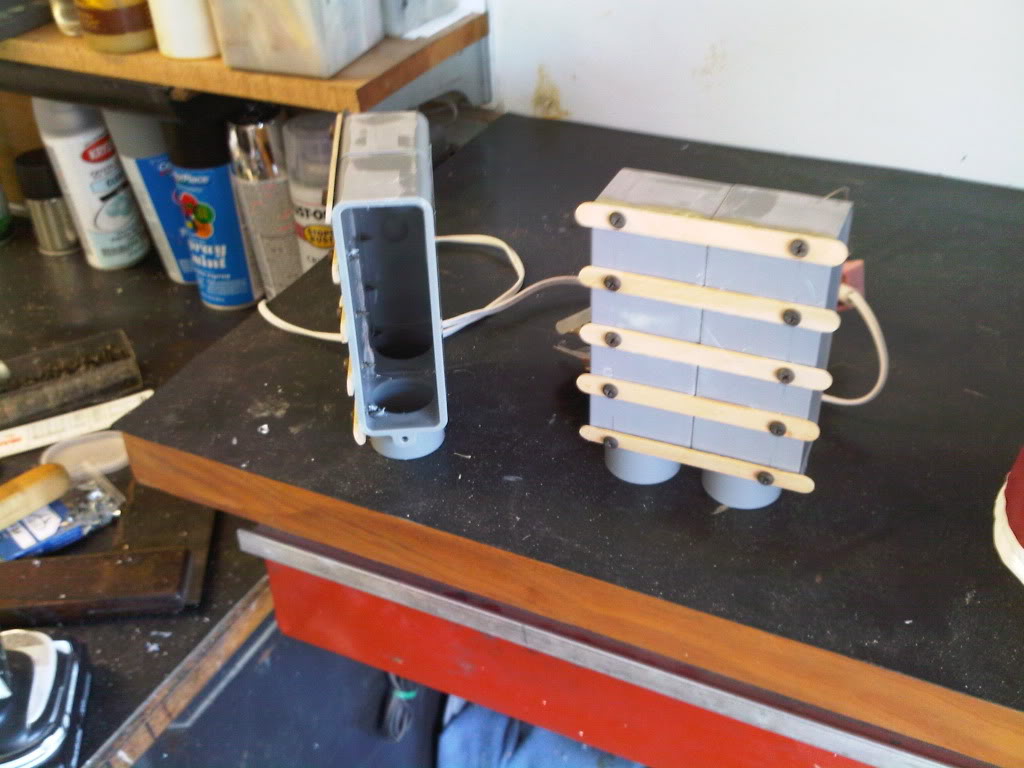
I loved Gareee’s take on the ion arm. I’m taking these costumes on a Halloween cruise, so I needed something light and strong. While they’re not screen accurate, it still works for me. I found these two boxes that happen to stack into each other. I saw the boxes Gareee used, but felt they were a tad too big. Also, I will most likely use the top box to house my batteries. They fit together snuggly, I could lock it together with a single set screw, and the compartment is large enough to accomodate all of my 9V batteries.

Stacked!

Now I’m wondering how the second image violated their terms of use…

The wands look good for a first build.

Your bare chest… not so much.

Maybe the bruise was too graphic? Anyways…

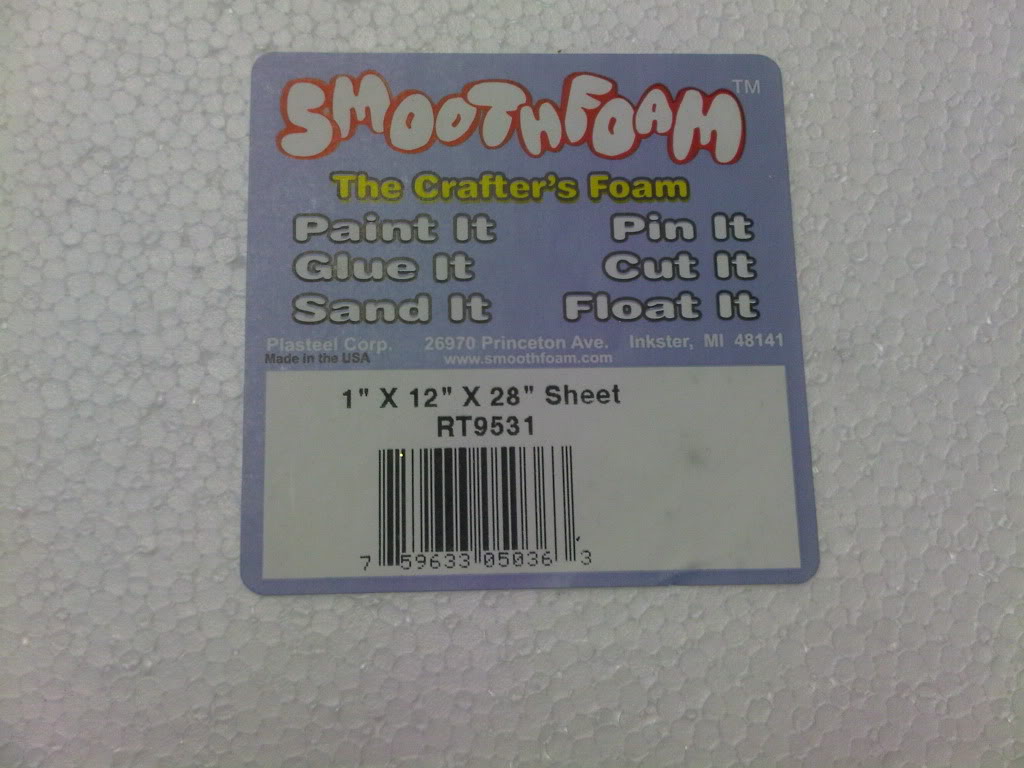
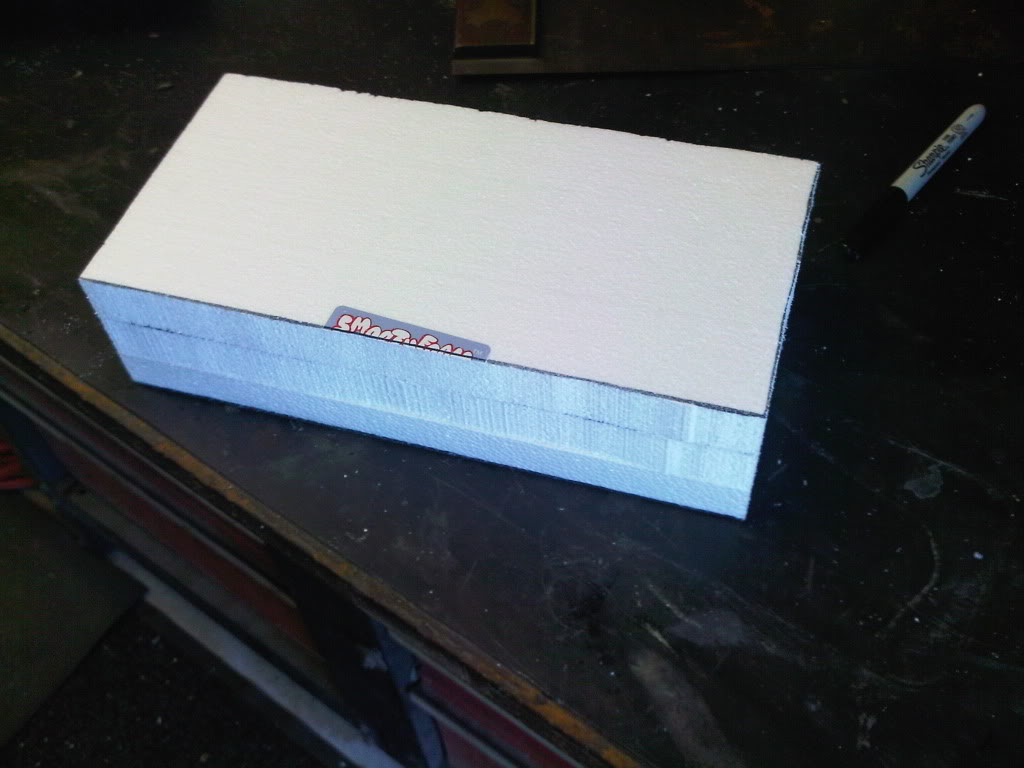
I made some great strides this weekend. Building a pack is tough, and doing two at once is insanity. However, once the process is learned, the second one usually takes half the time. I basically finished up the top, left side of the pack. I used styro foam sheets for my booster and EDA. I’ve heard horror stories of foam melting, so I was less than enthused to be using such delicate material. I saw the stuff at Home Depot, but it didn’t seem like the right foam to use. I also checked out Michaels. They had this foam that was pricey, but it seemed to fit the bill.

I bought 3 sheets at $5 a piece. Luckily, I only used 2, so #3 is going back!

Cutting out the initial booster dimension. 3" thick when the pieces are stacked.

Tracing out the actual shape of the booster.

Dry fitting it to the pack.

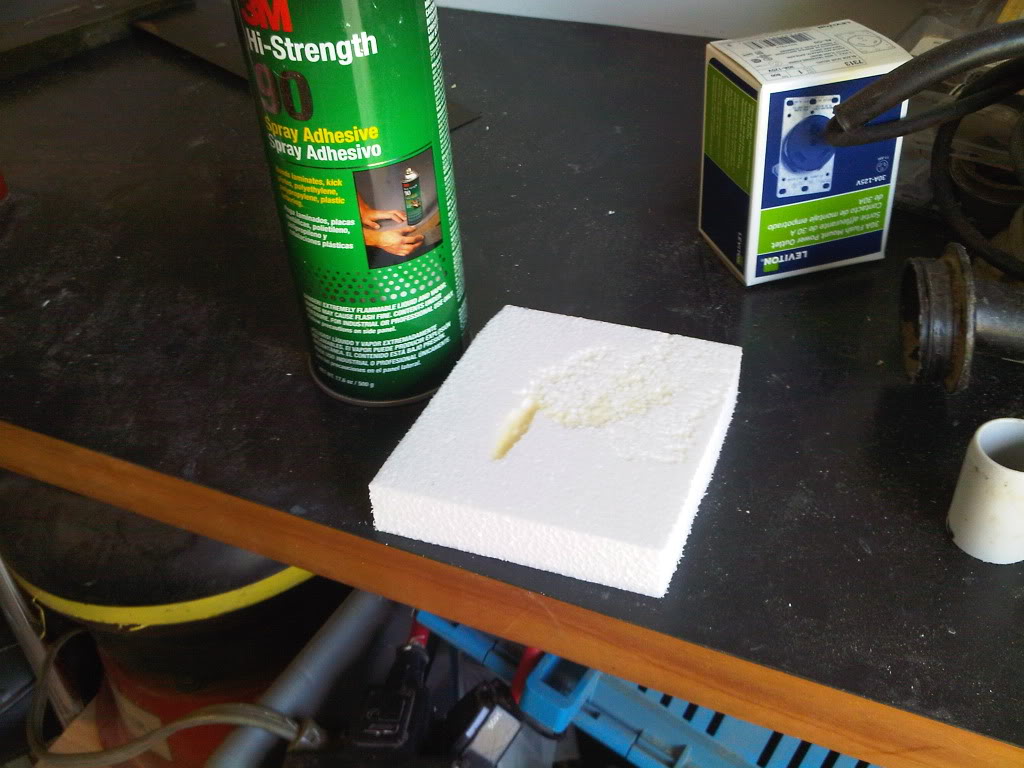
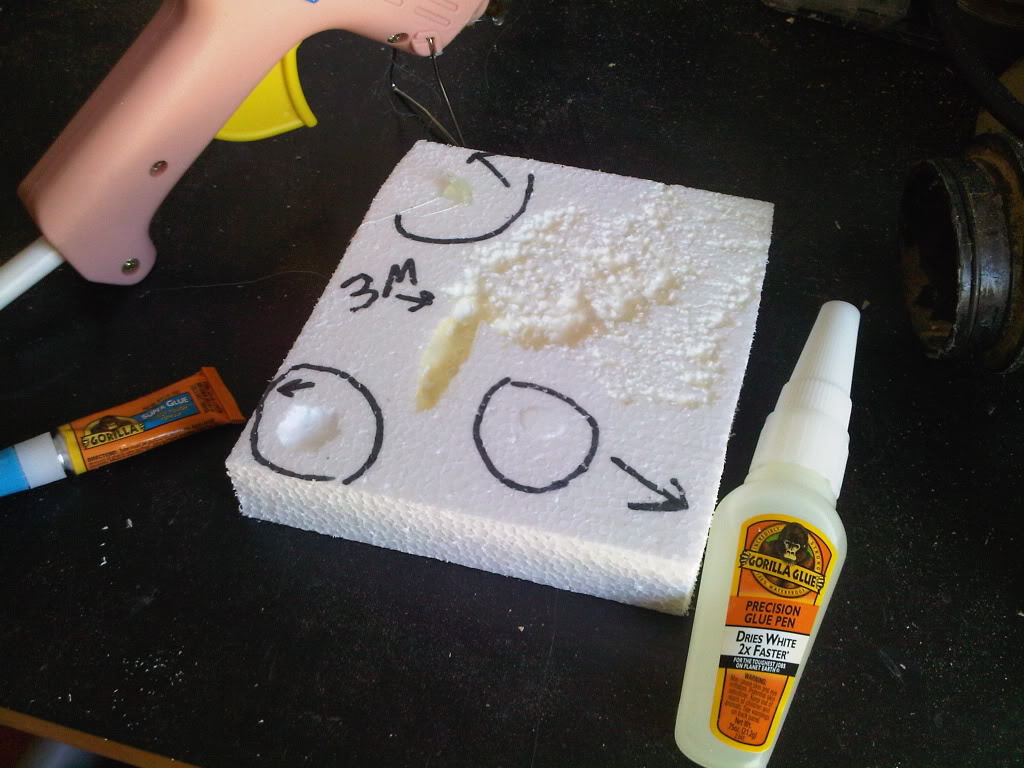
Since I’ve heard how testy this material can be with various paints and glues, I conducted my own tests to see what melts foam.

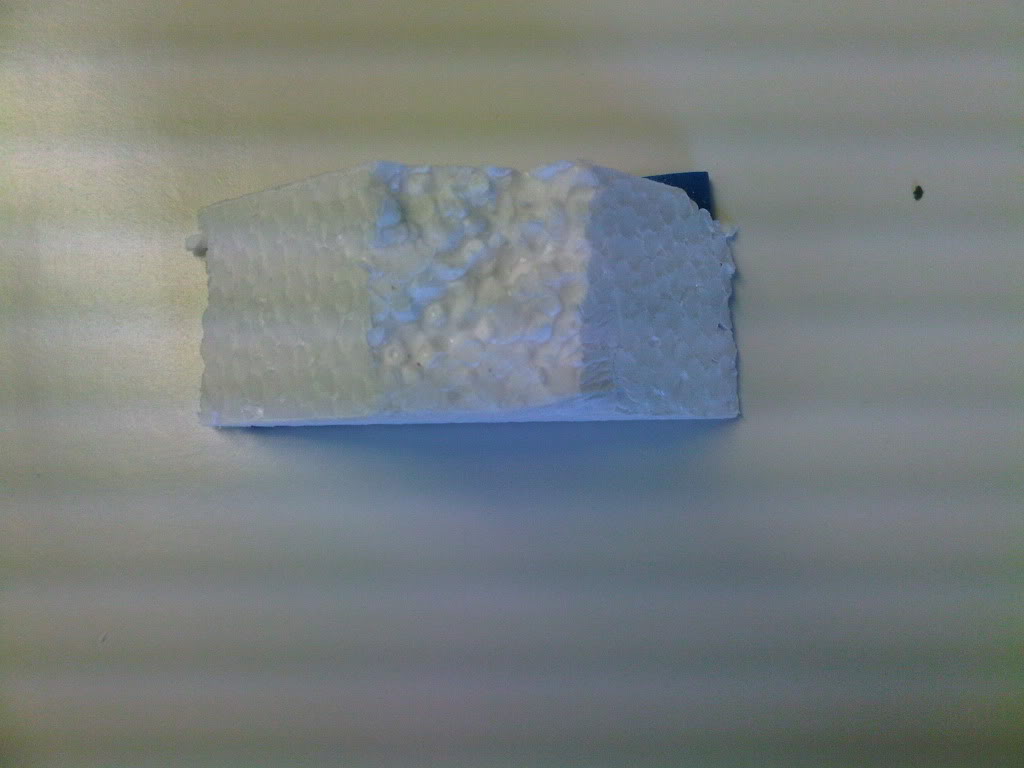
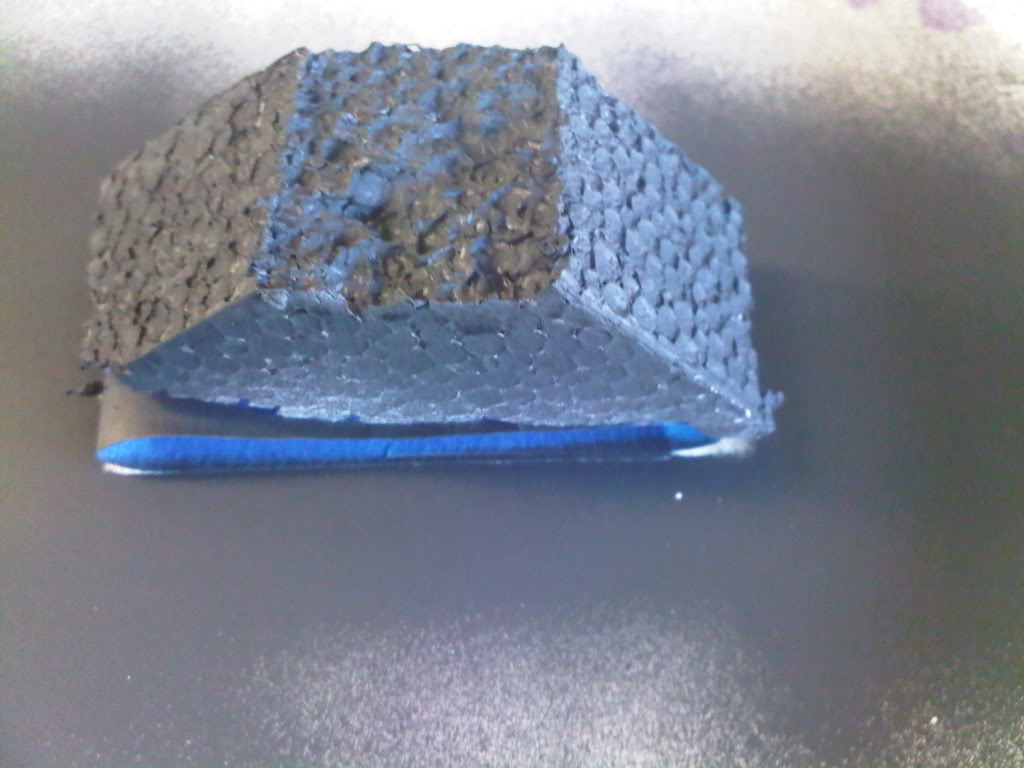
I was very concerened with spray paint, so I cut off a piece and blasted it with Testors flat black enamel, and that cheap spray paint from Walmart.

Piece to be sprayed.

After a nice spray down by both paints. Look mom! No melting!

Pleased that my paints wouldn’t destroy my pieces, I moved on to glues.

Gareee said that gorilla glue and hot glue were his choices. The man is wise.

First up, 3M spray adhesive. I figure this would be safe because it’s used on interiors and such… Wrong!

Next, I used Gorilla glue, Gorilla super glue, and hot glue. Gareee was right. Only hot glue and regular gorilla glue left the test piece intact.

Now, that I had my glues, it was time to put it all together.

The EDA angle degree according to Otto is 130. My chop saw didn’t have that ability, so I simplified it to 45 degrees.

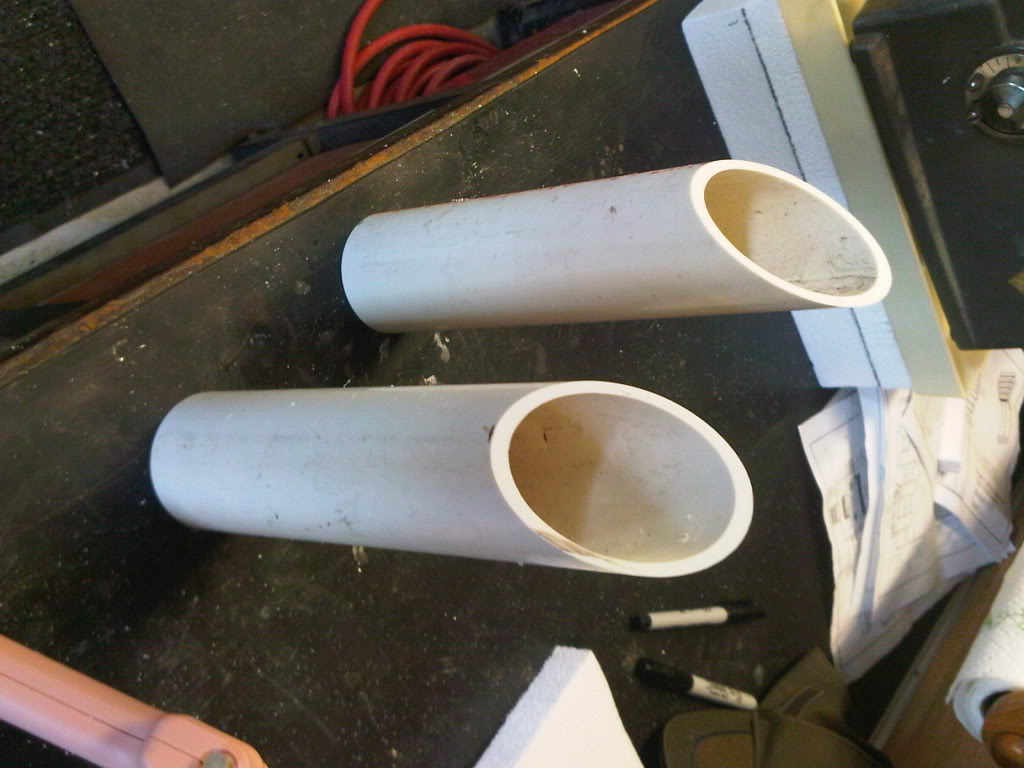
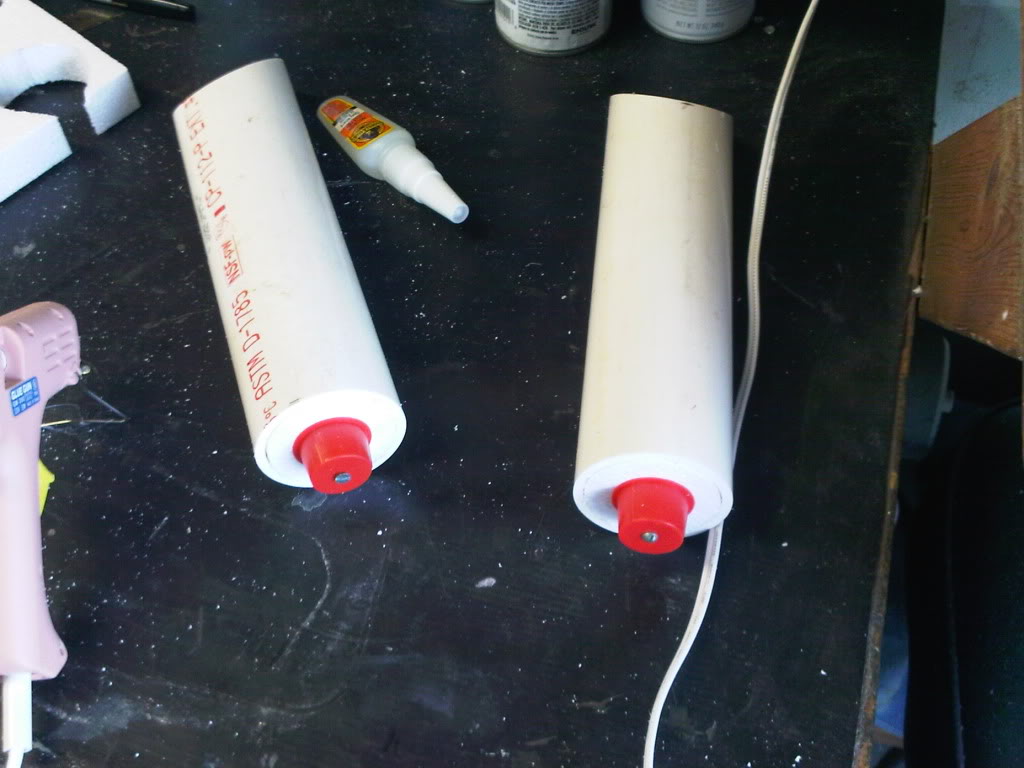
The 2"pipes are cut to mount to the EDA.

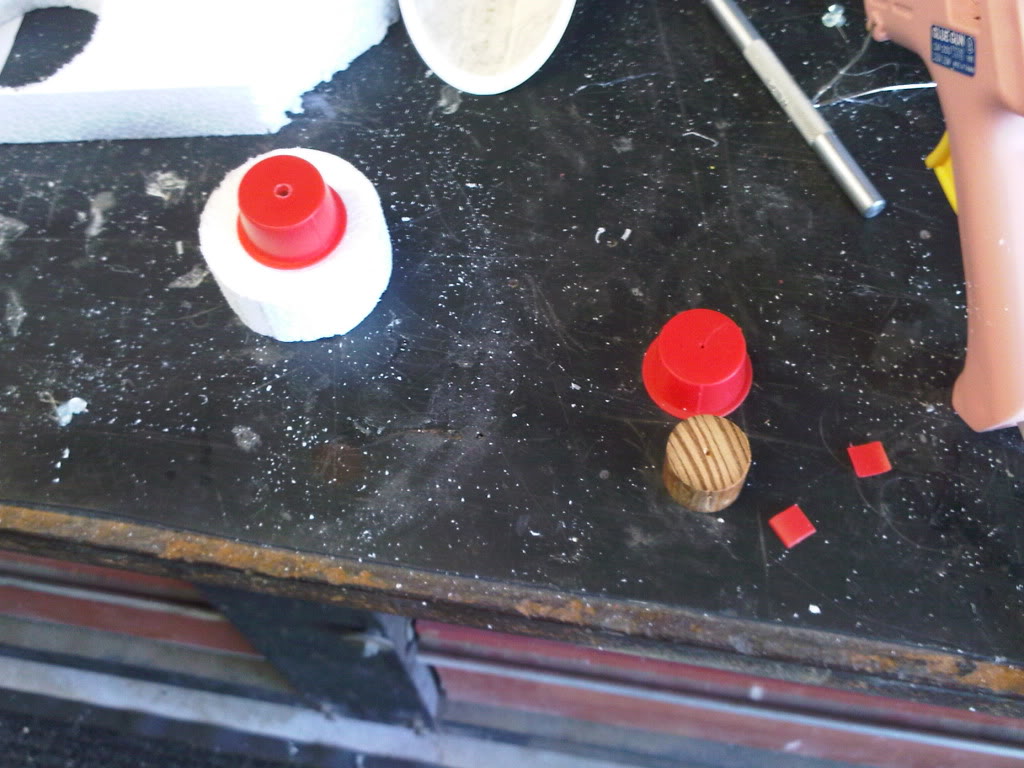
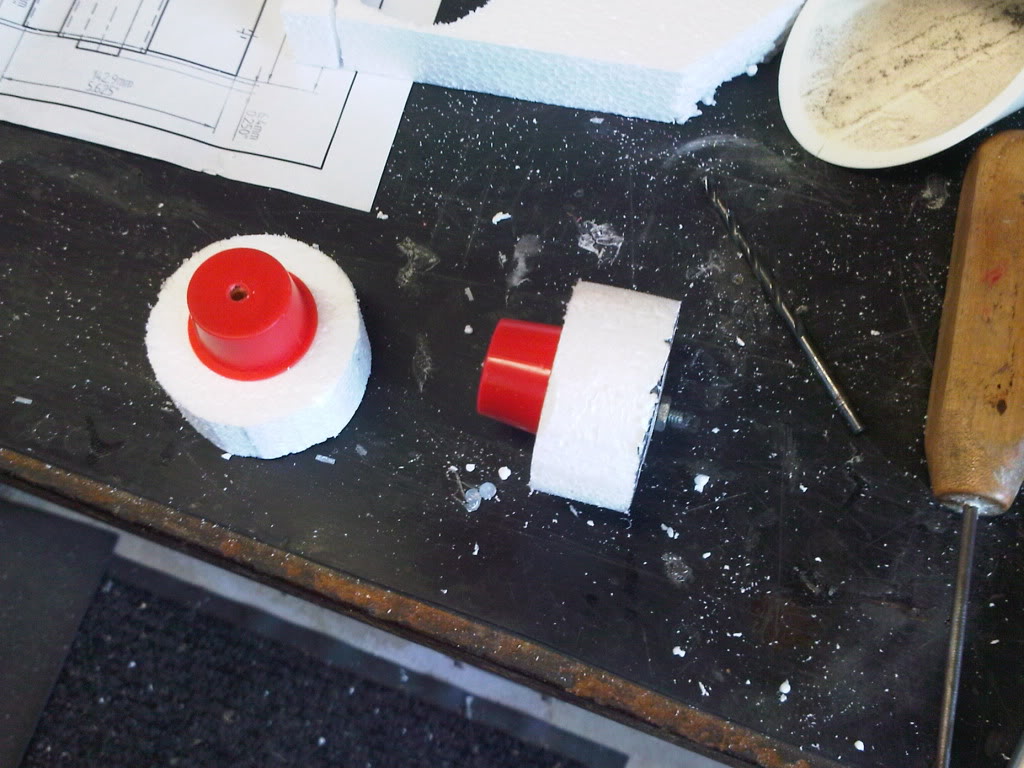
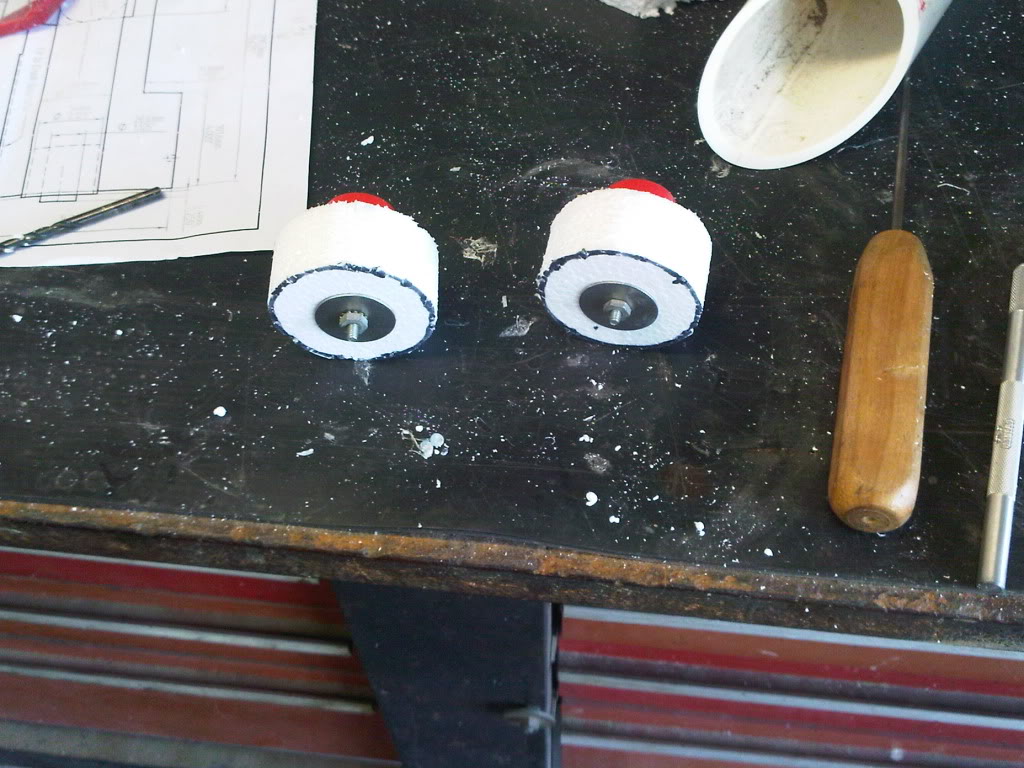
I needed caps for the pipes, but didn’t care for Home Depot’s offerings. Using foam, and finding some caps in my dad’s large caps bucket, I made these.

Caps installed!

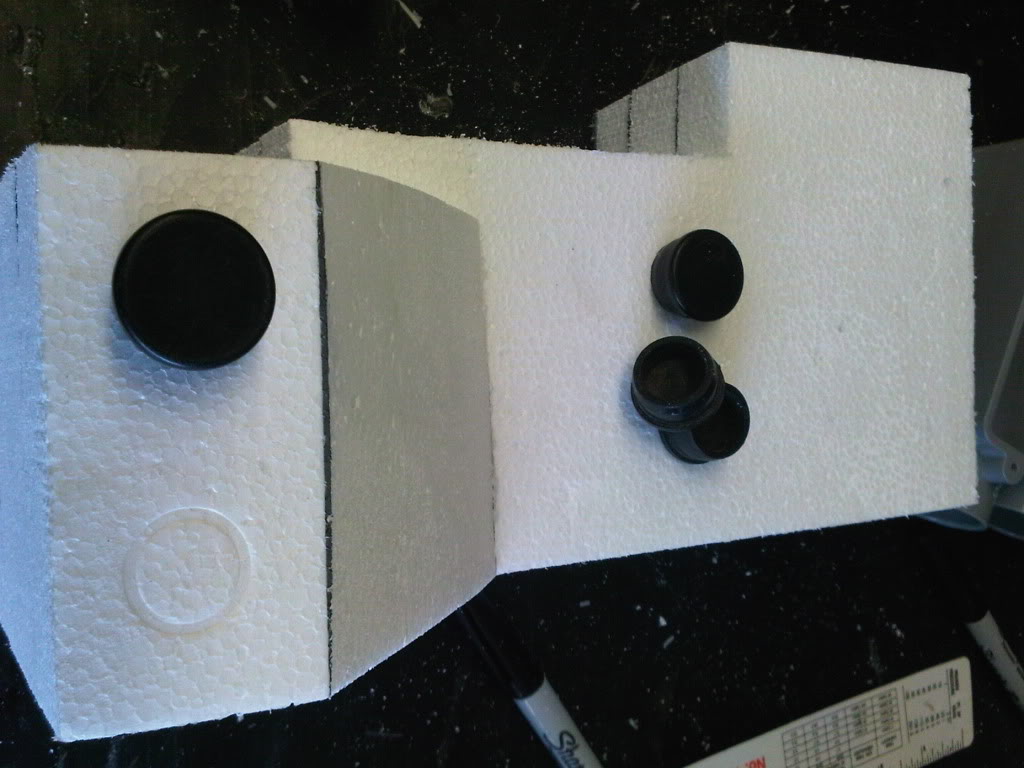
Using the same angle as my pipe, I cut out from a block of the same foam, two pieces that would be my EDA. Using my dad’s table sander. I smoothed out the angles, and it fits!

I also mounted the little caps to the EDA, courtesy of Gorilla glue and hot glue for initial tacking.

I thought about the location of the booster, and the damage potential to the top left corner. I think I will be adding some wood pieces to the top left corner of the booster for added protection. The rest of it is in the middle of the pack, so I’m less concerned. The fill the seams of the styro sheets, I used wallboard joint compound. It just makes the foam a smoother exterior, and is an added layer.

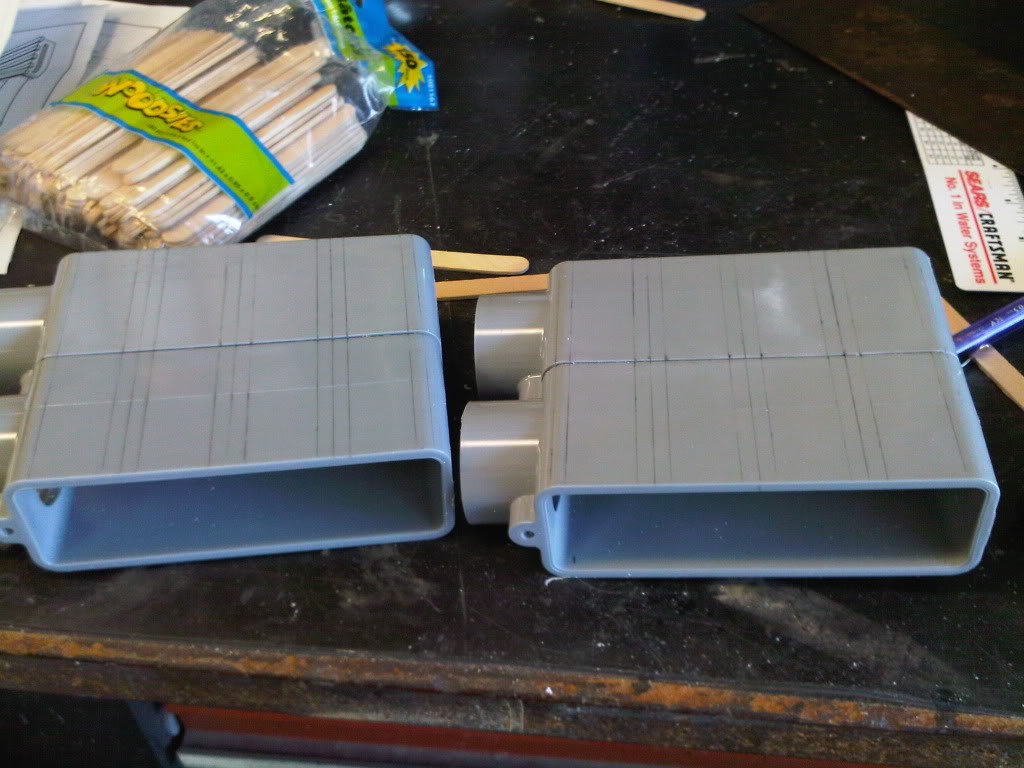
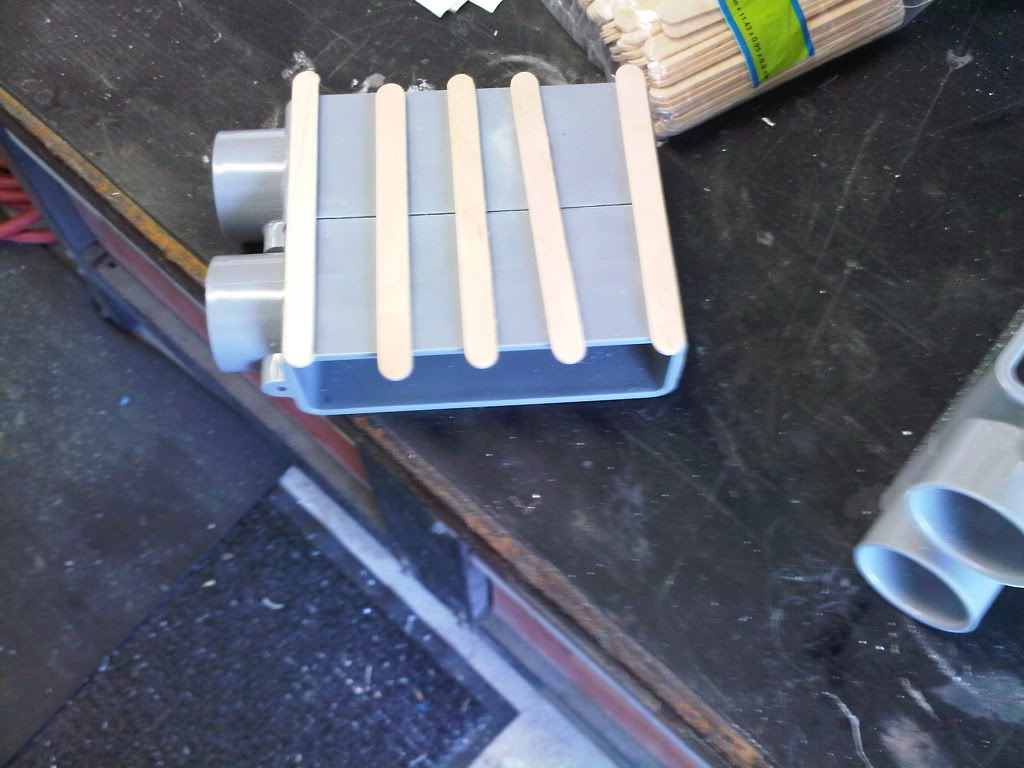
While my EDA dried. I focused on the powercell. I used two 1" pipe junction boxes, cut the collars off, and glued them on top of one another.

Glued!

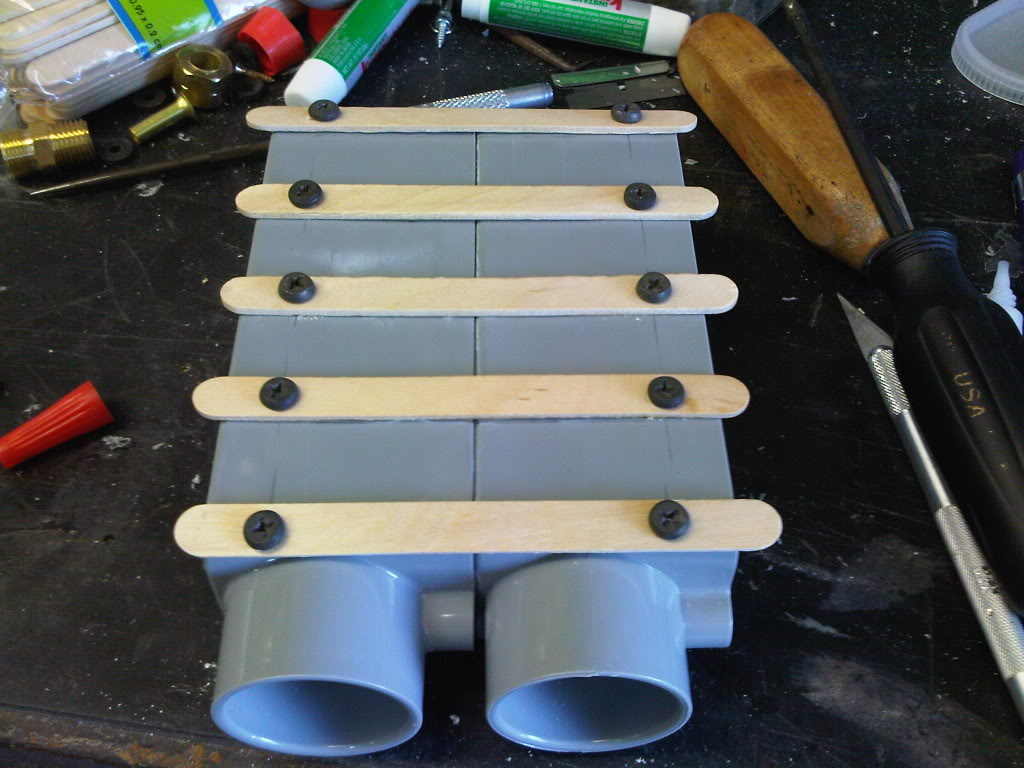
I also wanted to add that ribbing to the side of the power cell, but wanted to make sure it was secure. I tried using countersink screws, but they kept splitiing the posicle sticks. I went back to the industrial screws I used for the bottom of my particle throwers.

I used hot glue on the top corner to back fill the popsicle stick. I also used screws and cglue to fasten the stick to the box.

I then sanded the round tips off the popsicle sticks, and it looks nice.

Next, I turned my attention to the ion arm. I need something collapseable, since the ion arm sticks out so much. Using these two boxes allows me to remove the top one. The top one will be my battery box, so I drilled a lock screw for added security.

I also mounted the hardware on the end of the ion arm.

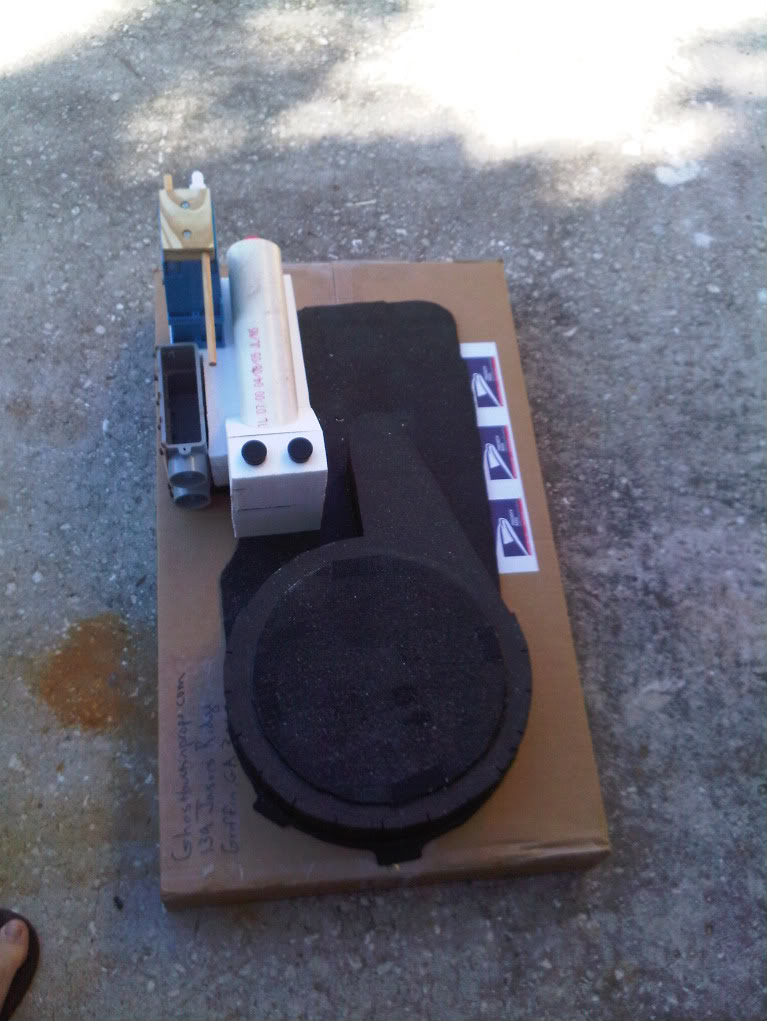
Dry fitting today’s progress.

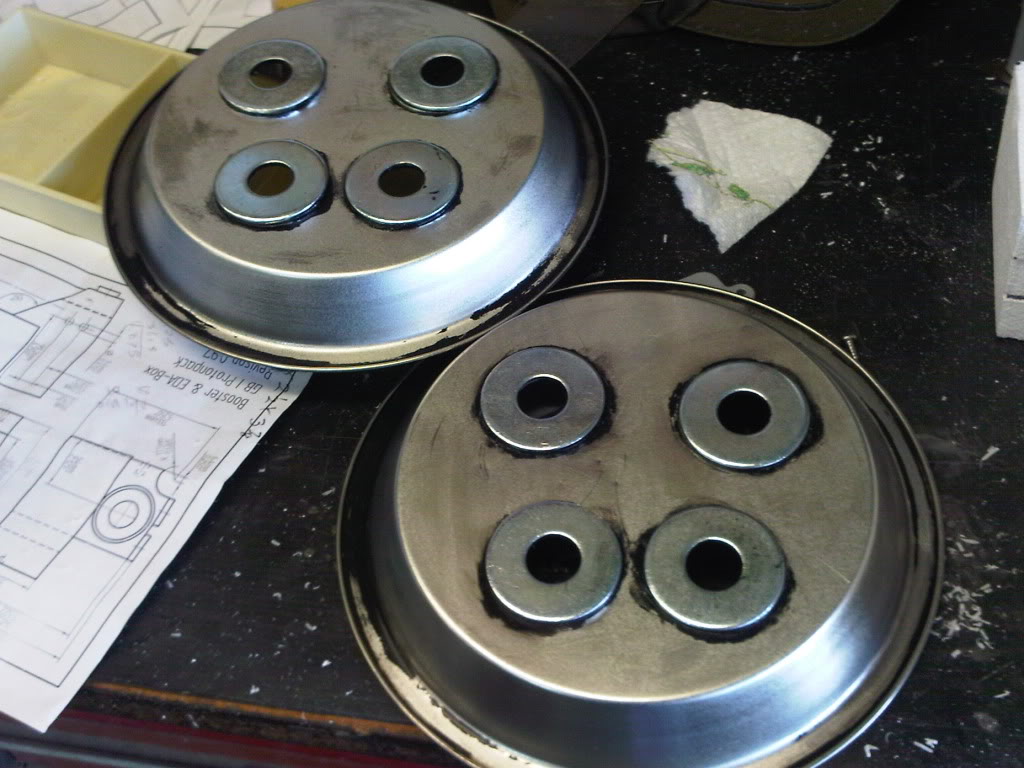
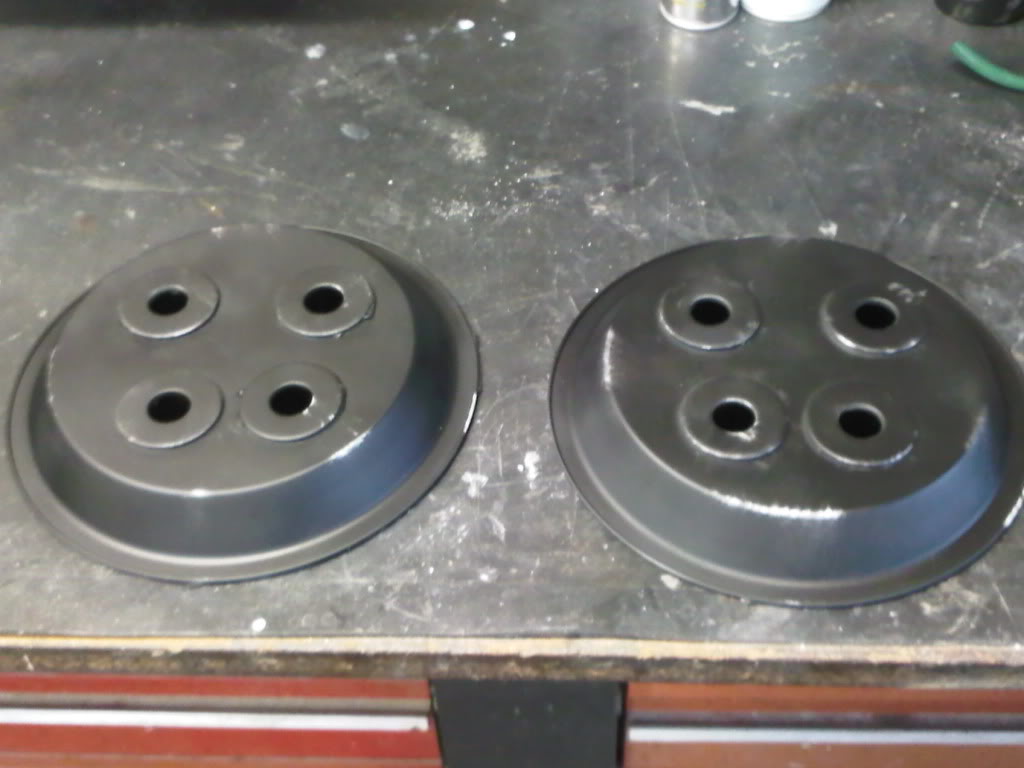
While wiping down the clyo with some alcohol, the pant came off. Once again, going cheap via Ebay bit me in the ass. So I stripped the plates, and will start over, this week.

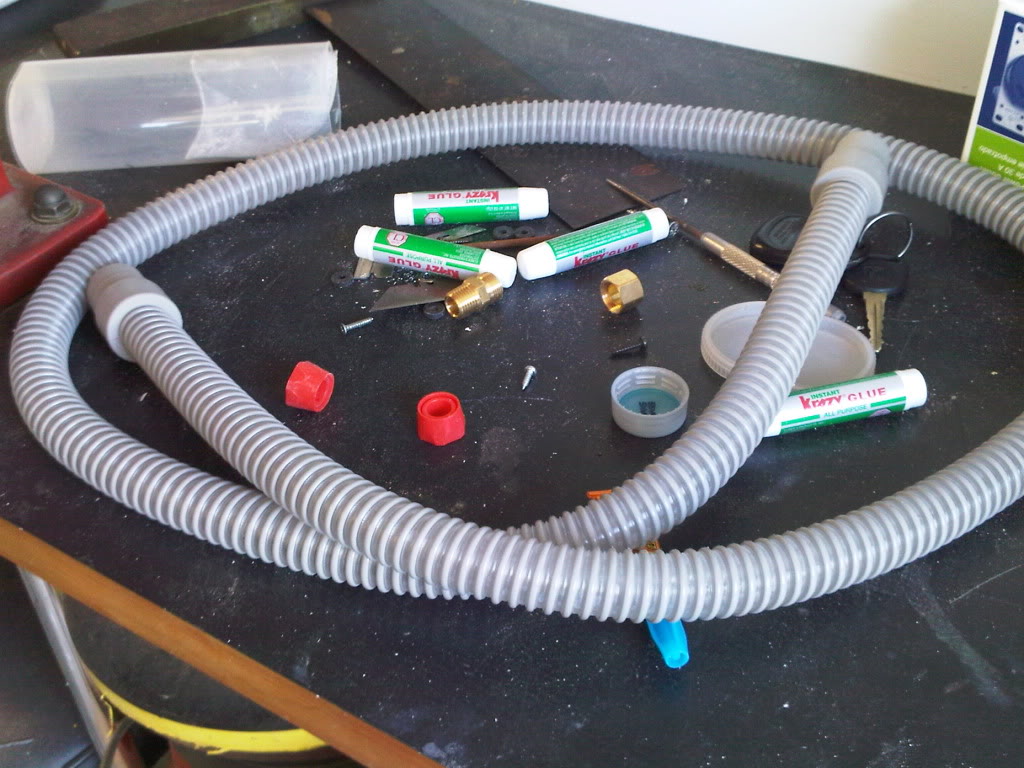
Lastly, I found this hose while walking my dog. This will work great for the hose coming off the crank generator.

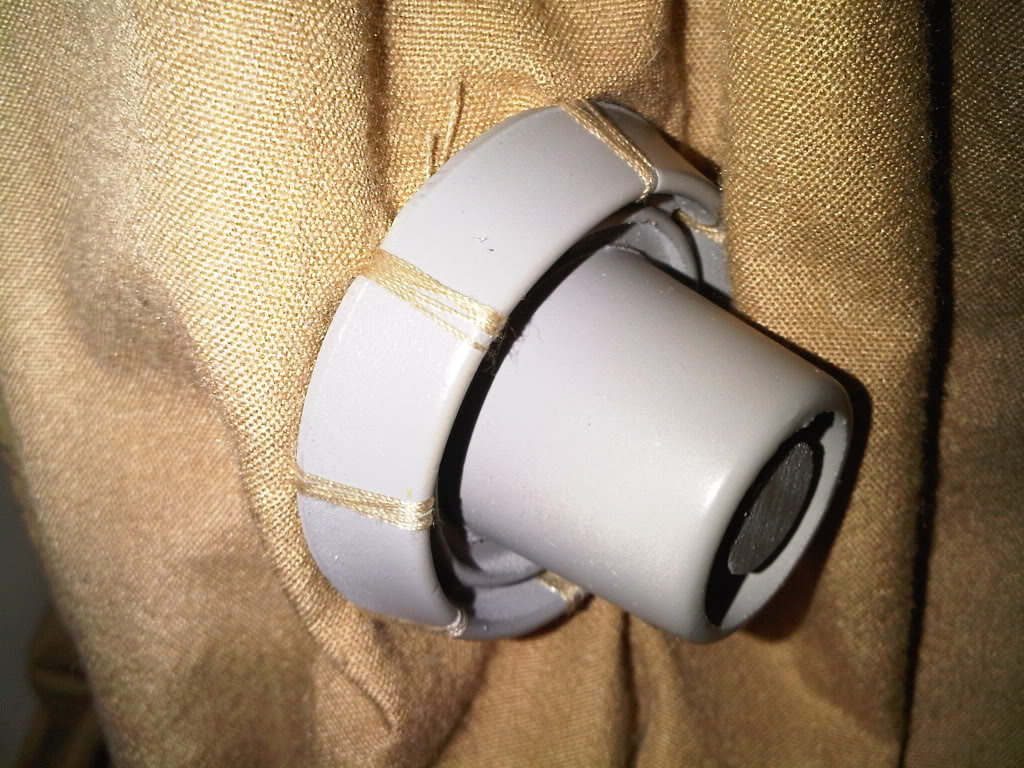
On a separate note, my girlfriend’s mom finished sewing the hose hose connectors I made to our suits. They look great!

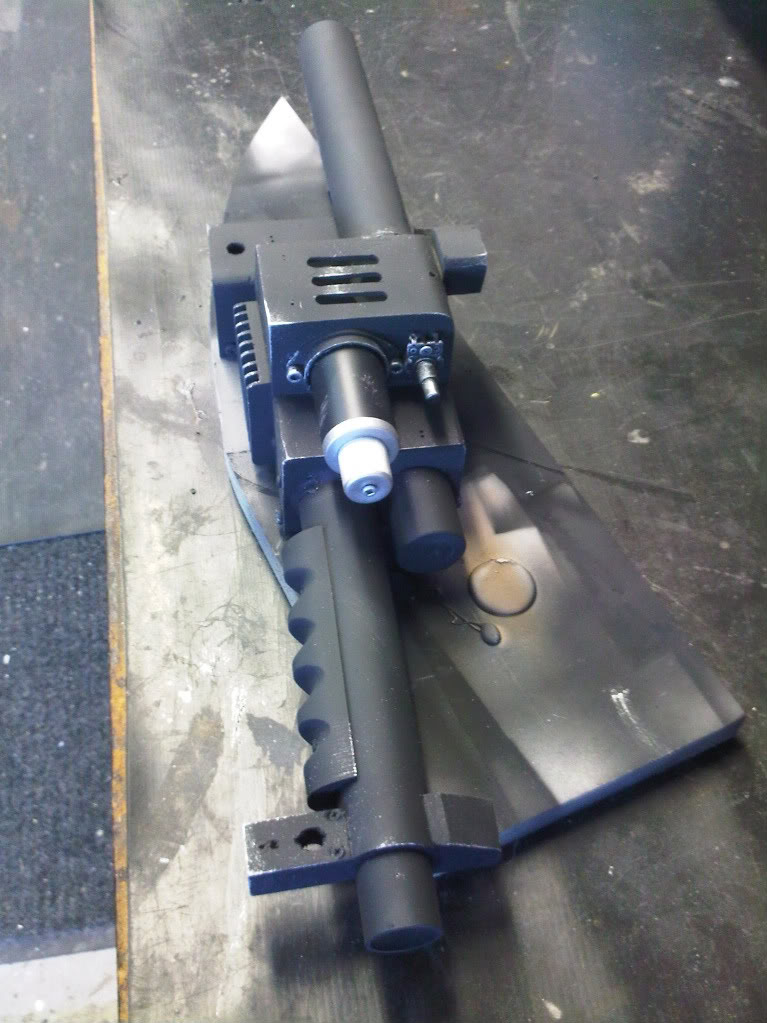
Oh yeah! my throwers are done in paint. The silver drybrushing aged the piece, nicely. Also, the flat clear coat gives it that nice egg shell finish.

I’m surprised the paint didn’t eat those foam bits. You lucked out! The only spray paint I’ve heard of tuntil now that des not eat it is Krylon H2O.. its a water based spray paint.

Looks like you are making great progress! I like the power cell alternate build.

Thanks, Gareee.

If it wasn’t for you, I never would’ve gotten this pack off the ground. I may still hand paint the booster and EDA. I’d hate to see all that work melt. Plus brush house paint would add an extra layer like you said.

Actually that house paint adds a really tough outer plastic skin. They use foam to make alot of those putt putt golf cliffs and such, and coat them with an industrial version of the same thing.

A freind of mine used to work in the prop dept at Universal Studios Fla, and I got a lot of tips from him.

So, you used latex house paint or enamel? I assume latex.

Water washup latex.. lowe’s even carries a small can of flat black as well for about $7.. that has lasted us two years now!

Yeah, thats the same stuff we’re using. We bought 2 cans and haven’t made a dent in the first one after painting 2 packs.

Okay, cool. I will obtain some on Wednesday. On a sepaperate note, I sprayed more of the Testors black on the foam. While it didn’t melt the foam, It doesn’t cover like a latex brush paint would.

I’ve been going home on my lunch hour to get some painting in. I’m basically using any free time to work on this project.

So, I finished priming color coating the clyo pans and crank box hoses.

image

image

Tomorrow, I will add some silver dry brushing for a heavy-use look, followed by a coat of clear.

I also started on the gear boxes. Pics to be posted tomorrow.
So.. you are going to dry brush silver on metal parts? (I did the same at first.. LOL!)

Just hit the edges with… drumroll… sandpaper! Or scrape them with the edge of a screwdriver.. instead of fake metal chips, you’ll have the real deal.

I was going to hit the pans with the dremel, but I have white primer underneath. Anyways, the drybush turned out okay, and the flat clear coat tends to seal everything in and gives the surface a nice egg shell texture.

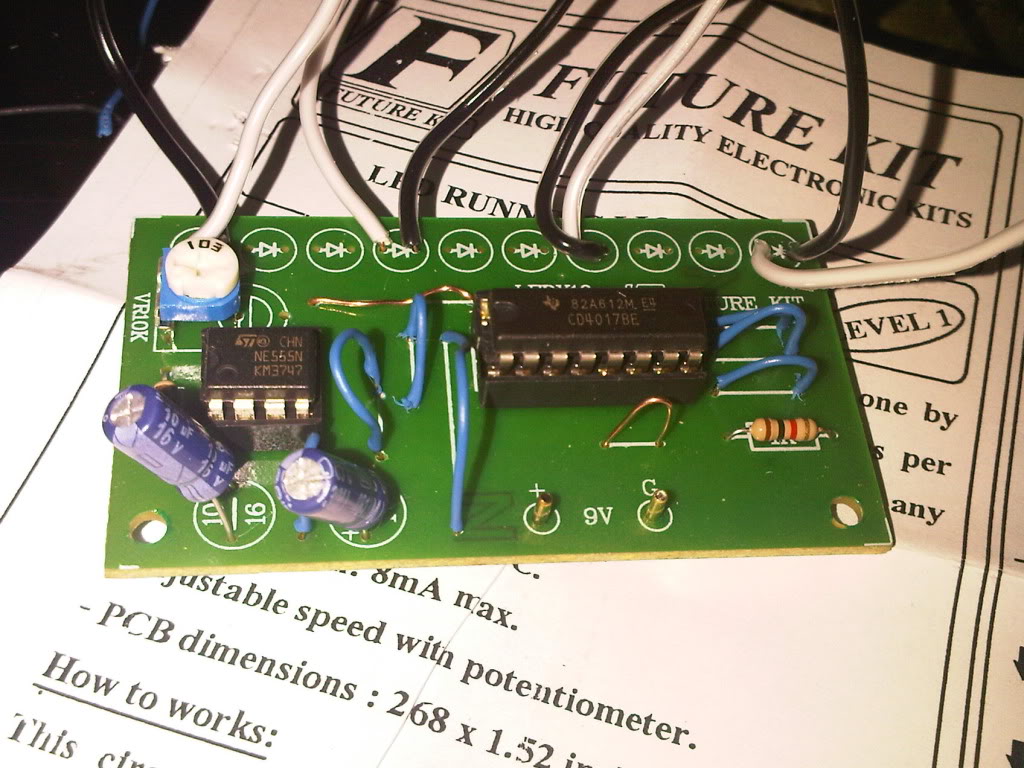
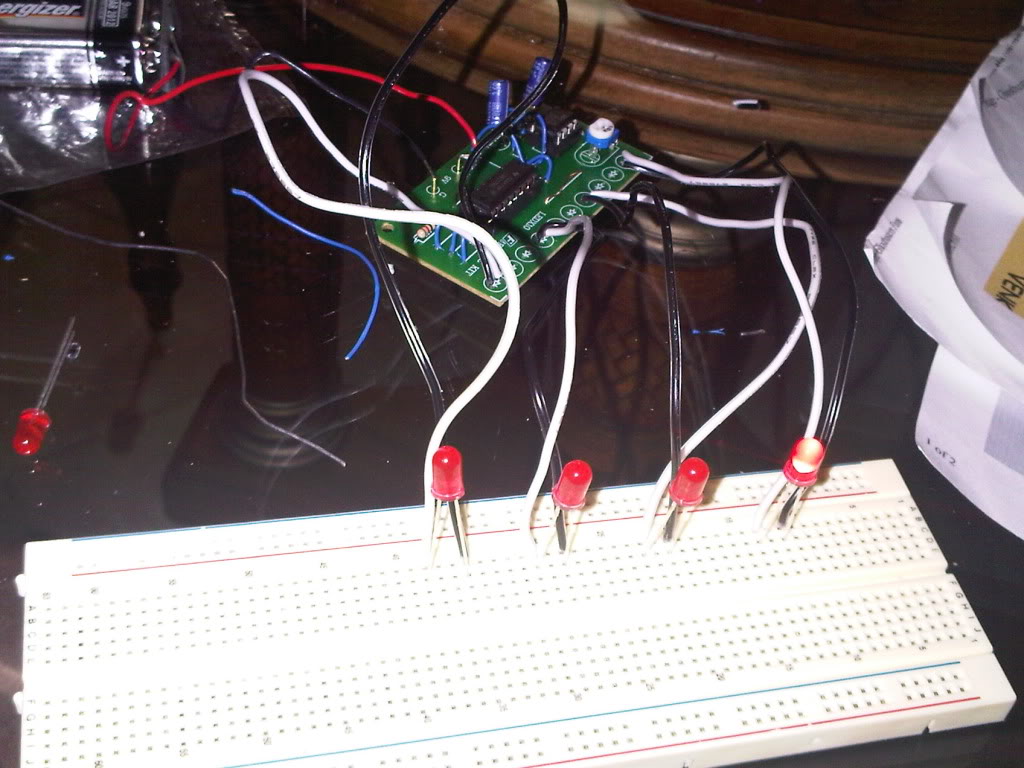
With time ticking away at a frantic pace, I broke gound on wiring up the pack circuits.

I bought 4 of these. Two for each pack I’m making (clyo & powercell)

http://store.qkits.com/moreinfo.cfm/FK115

These are not screen accurate, but they are inexpensive, and relatively easy to solder.

After seeing, Cwkelley75 's post

He has a pause in his clyo sequence. I’m not sure if I wired mine differently, but I didn’t have that problem.

I’m not an expert with a solder pen, but I’ve wired enough guitar electronics in the past to have some know-how. It took me like 2 hours, but they look good.
My only question is which LEDs to use. I have super bright white LEDs and red & blue LEDs. However, I have colored plexiglass for the power cell and clyo. I will be assembling the light housing for the clyos this weekend and will make my determination, then.

I would use the red for the cyclotron.. i just really pops them. I’m also a fan of also using cut reflectors fro the cyclotron lenses as well. if off, they will still pick up light, and on, coupled with red leds, they just look unusual and very striking to my eye.

I also really like the bright blue led look as well for the power cell.

I’m thinking that too. I think the white LEDs may look too harsh when lit. I will find out this weekend and post side by side pics.

I got my plexi glass from this place. $12 for both pieces, and it was plenty to do 2-3 packs. I could probably do 4 if I cut real conservative.

I don’t think its some much as harsh, but the color looks more washed out to me. If you go the reflector route, KC has a build thread here I followed… he picked up one larger red reflector from walmart, and just cut it into quarters with a dremel.

If you follow that, wear gloves, and eye protection! That plastic is VERY brittle, and can send shards flying. I scored the smooth surface, and then just snapped it apart along the scores.

I’m done buying lenses. However, I may score the inside wall of the lens to diffuse the light. Good tip. Thanks!

Maybe just hit the inside with an orbital sander lightly? I’d see how it looks first though. Also, the dollar store flashlights everyone is picking up as reflectors has kind of a “star” light diffuse effect, since its not completely smooth.