Amen to that!
I’m painting it up and prepping it in the event that somehow I have time, but it’s definitely on my, “If I get to it” list.
Amen to that!
I’m painting it up and prepping it in the event that somehow I have time, but it’s definitely on my, “If I get to it” list.
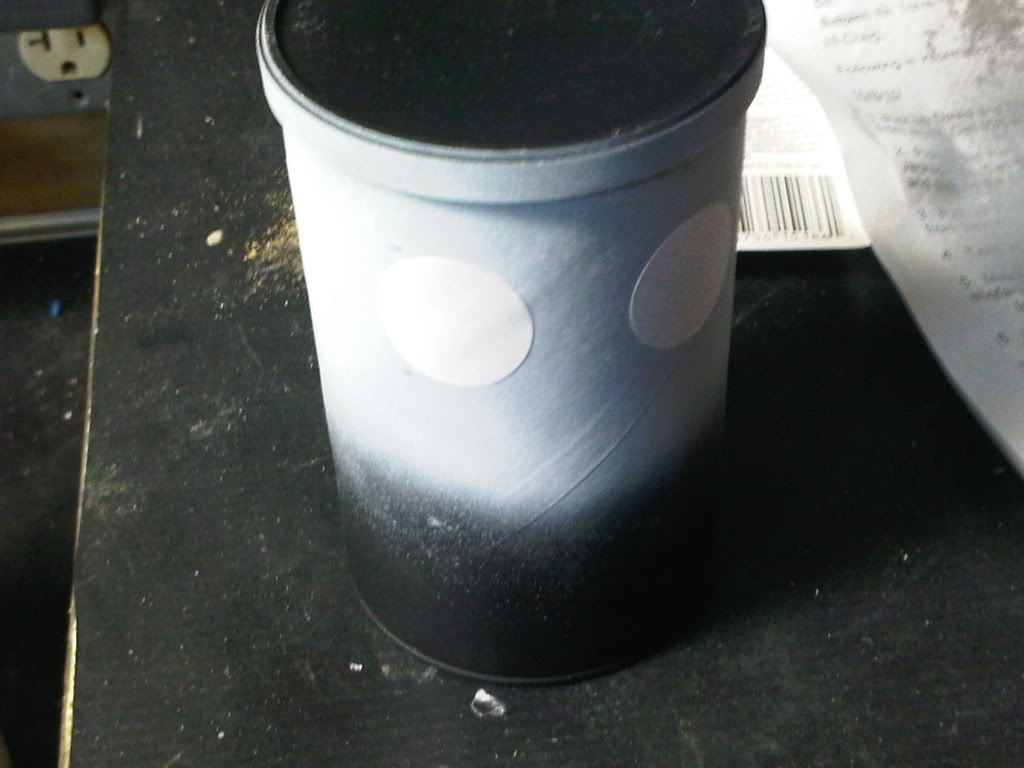
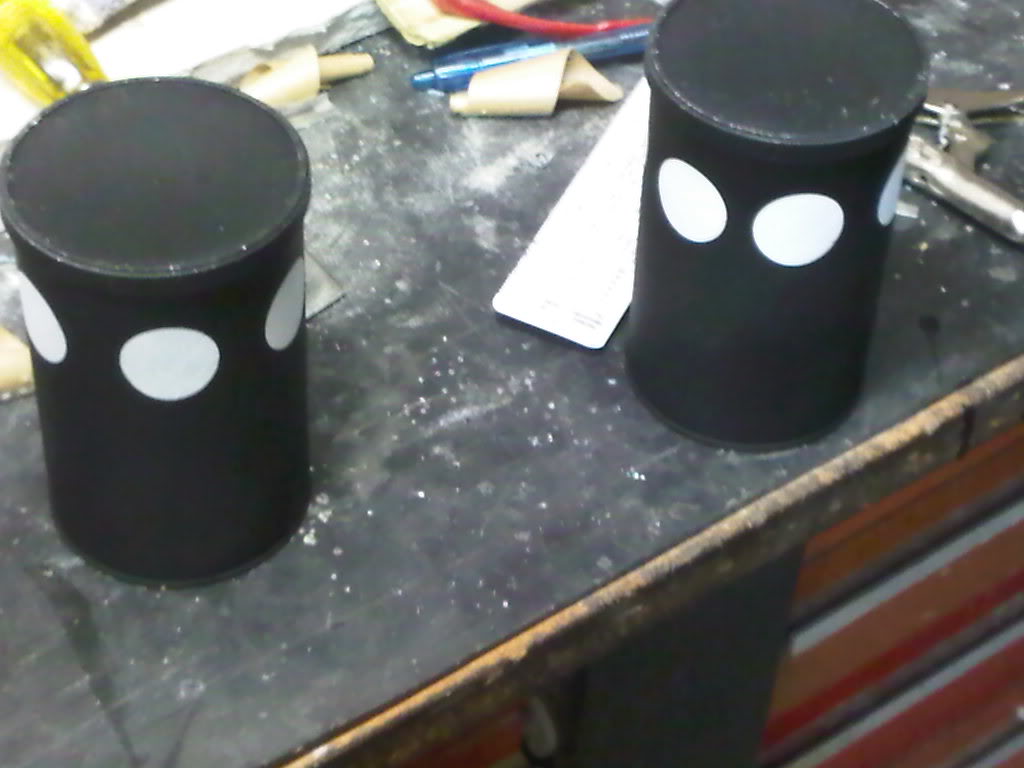
The quickest thing I did with my nfilter is just use the pringles. Eyeball it, but it with scissors then paint it straight. For the “holes” I used some circle labels from Wal-Mart. They sell them as Garage Sale labels. I primed the can white, let that dry, gently placed the labels in the right spots then painted black. Once I had a couple of coats I used an exactly to gently peal up the edges of the stickers and pulled them off. I used a hot glue gun to “weld” them to the pack. It turned out great. Didn’t take long at all either.
If I do get to it, I will do it, but the white stickers thing is out. I can’t waste time finding labels. However, your idea with the labels is freaking great. Thanks for the insight.
No problem. I’m sure it’ll look great either way. Hope you get it done tonight. 
Thinking about Undrtkrbob’s idea, I happen to check my mailroom for these labels. And…

Sweet find! Gotta love all the extra crap that my office has! Yay!
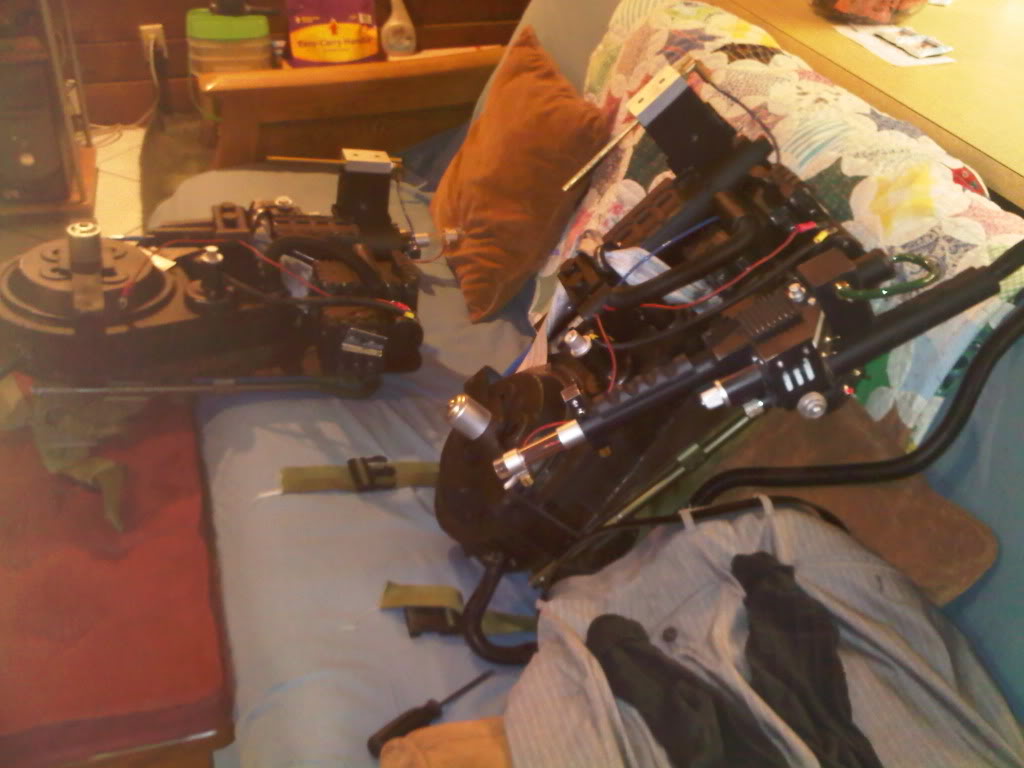
Well, Friday was a marathon in the garage. I started at 6pm, and knocked off at 4am. I made a lot of ground, but did not finish. I’m dissapointed that this is taking so long, but my perfectionist nature makes progress slow at best.
My first mission was finishing paint, and installing electronics.
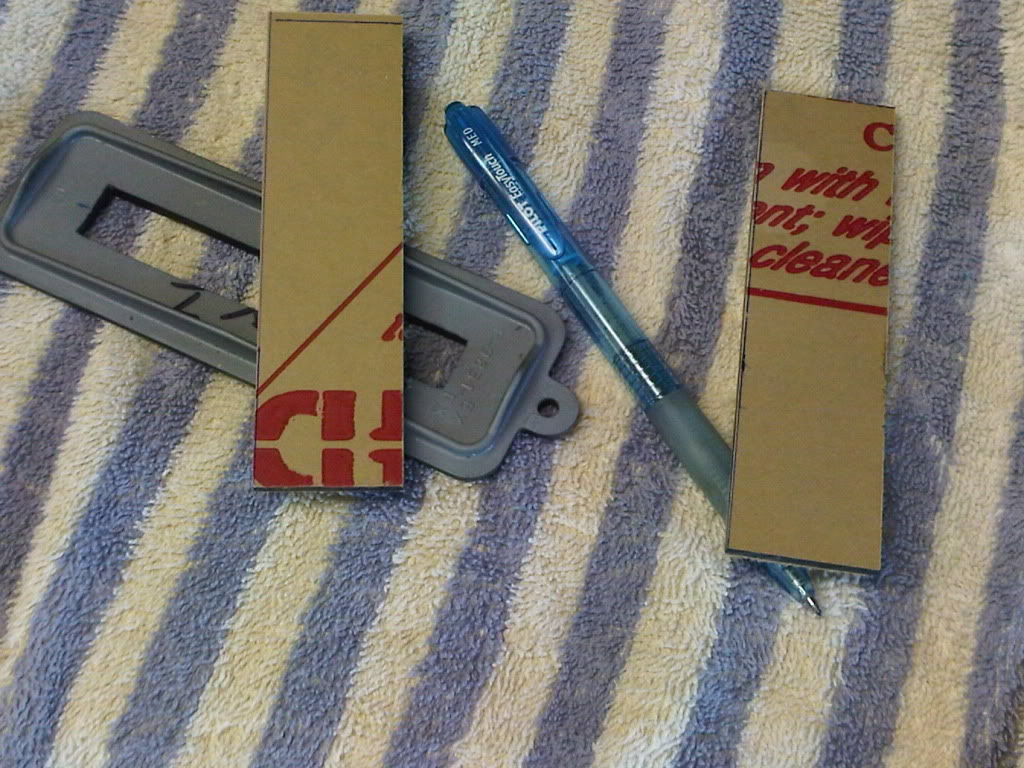
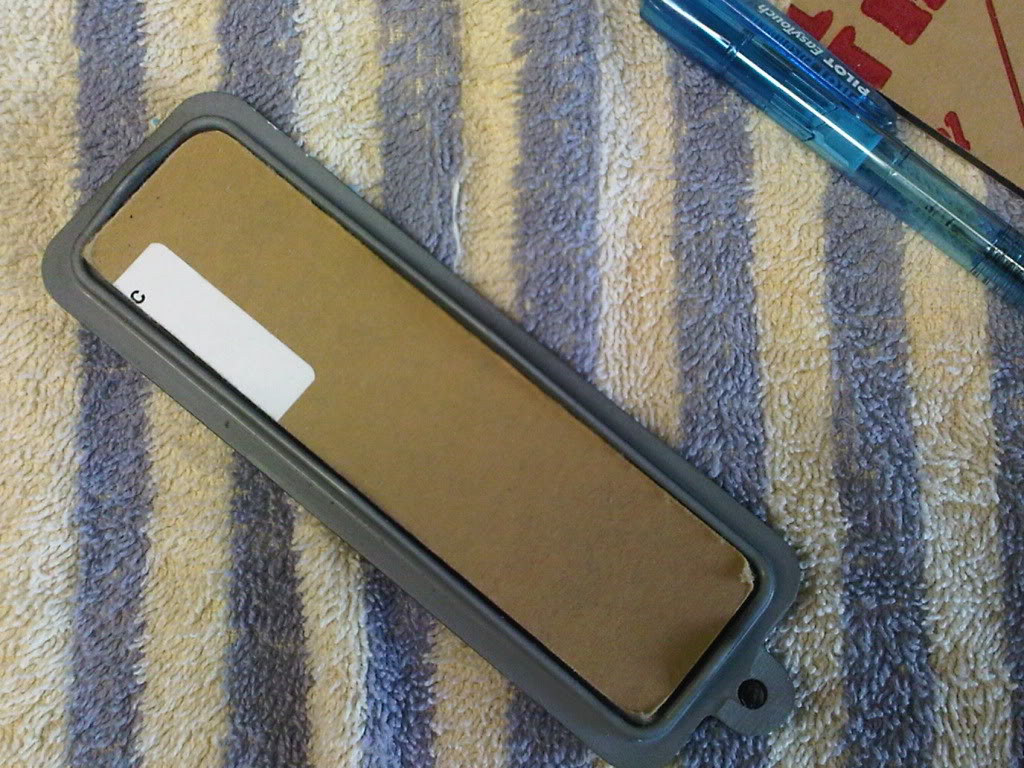
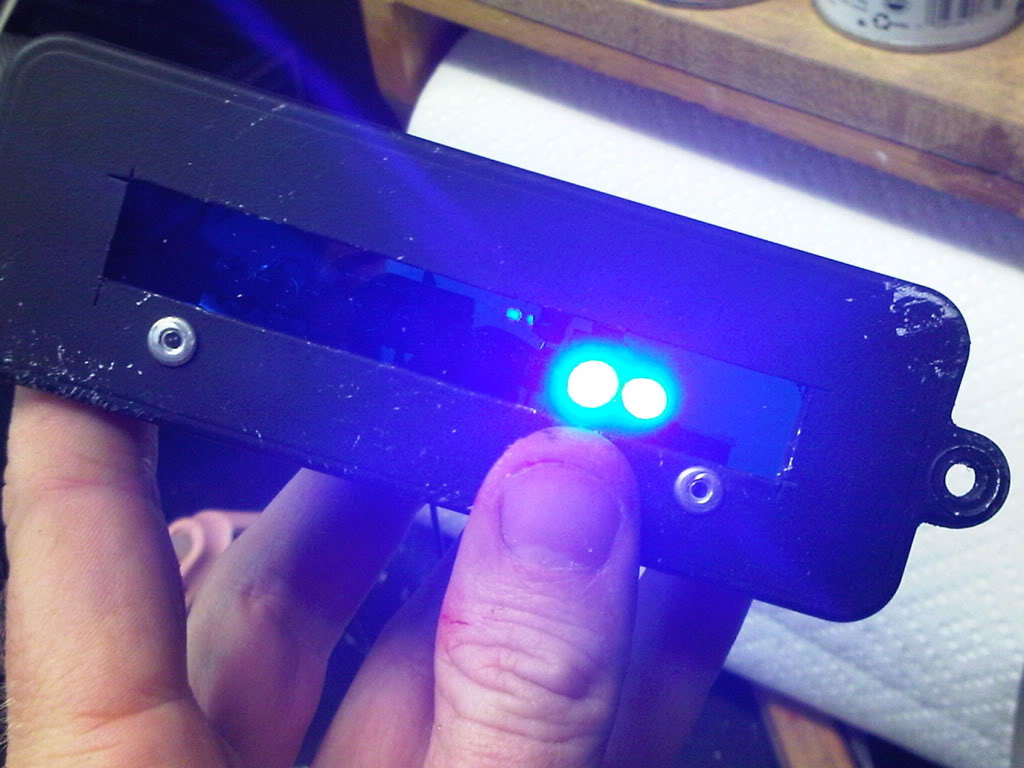
Cutting out the power cell lenses.
Sanding the corners, and now they fit.
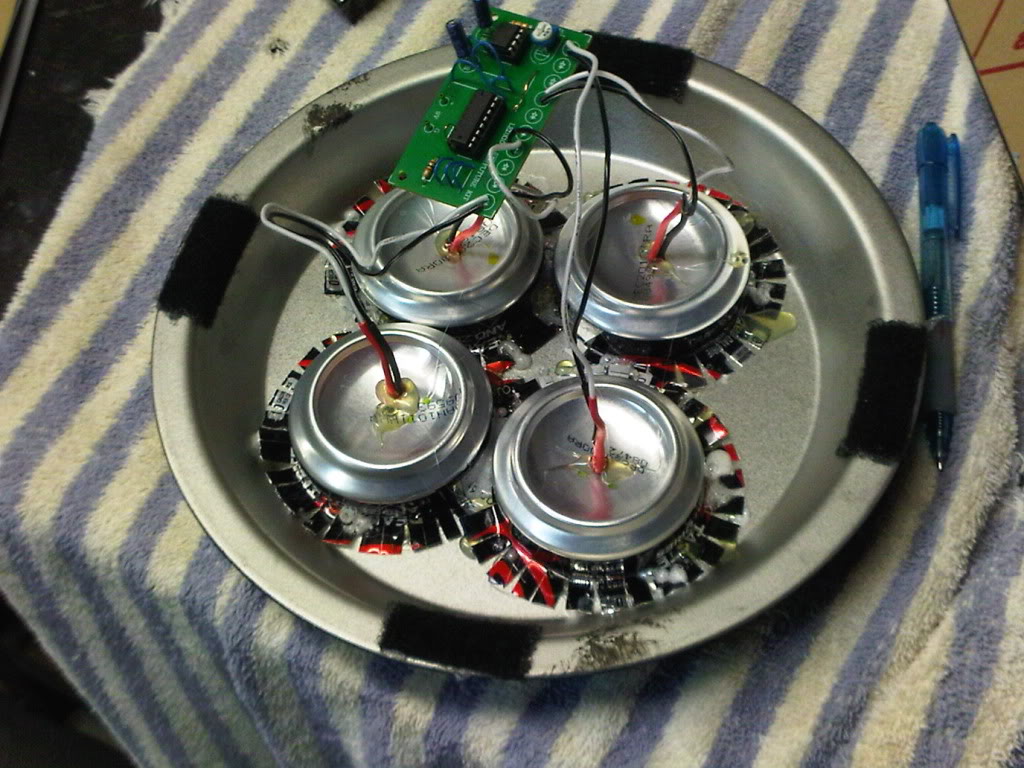
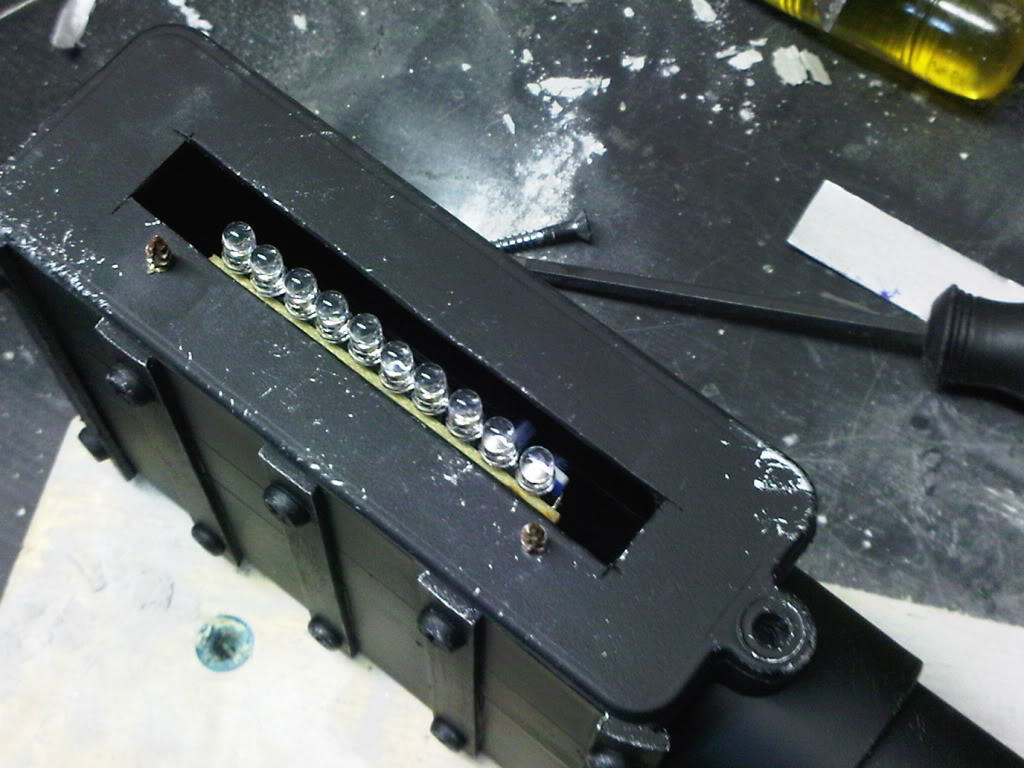
Installing the clyo circuit.
Applying the decals to my N filter.
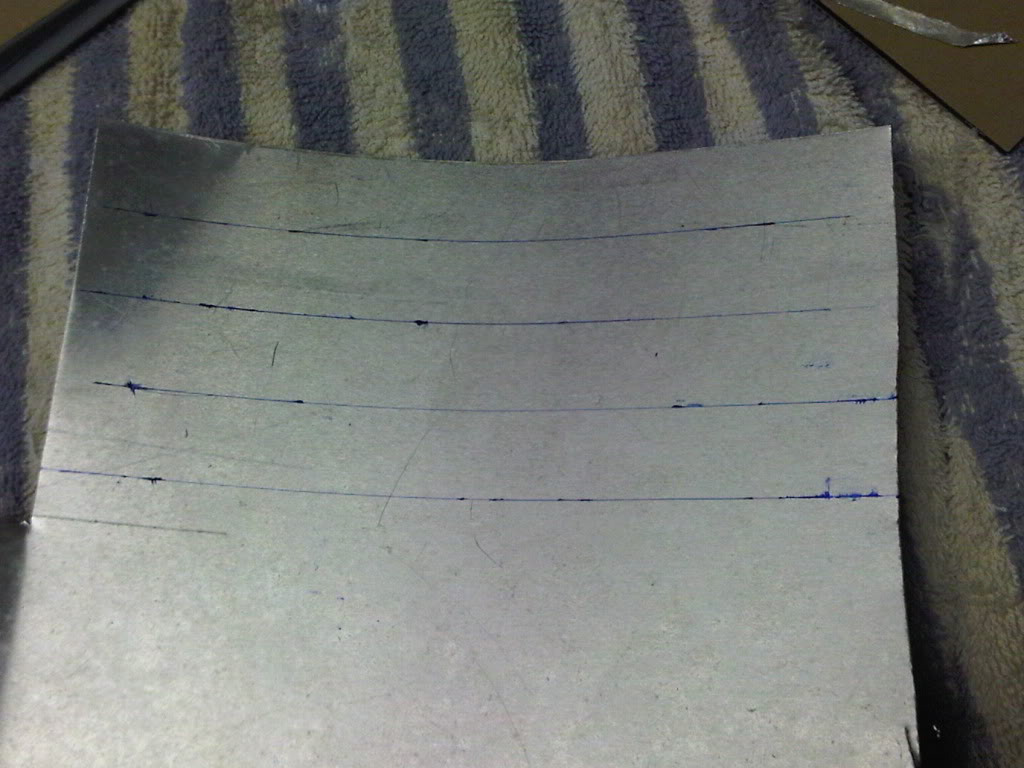
Cutting out brackets for the powercell circuit.
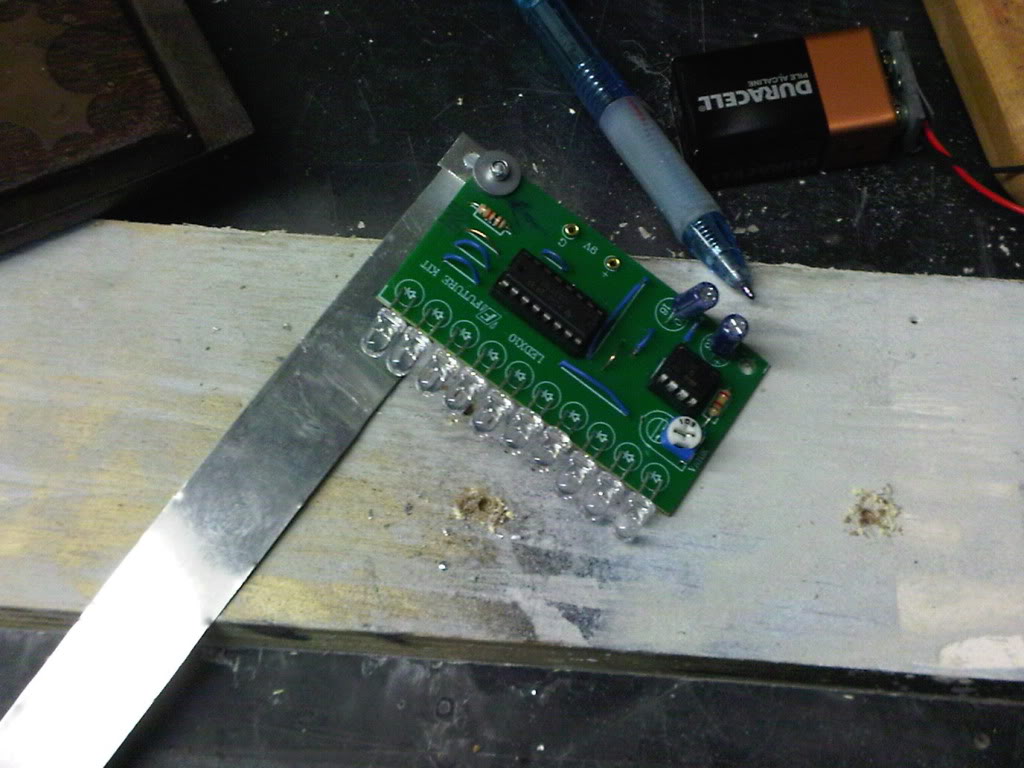
The first bracket goes on via pop rivet.
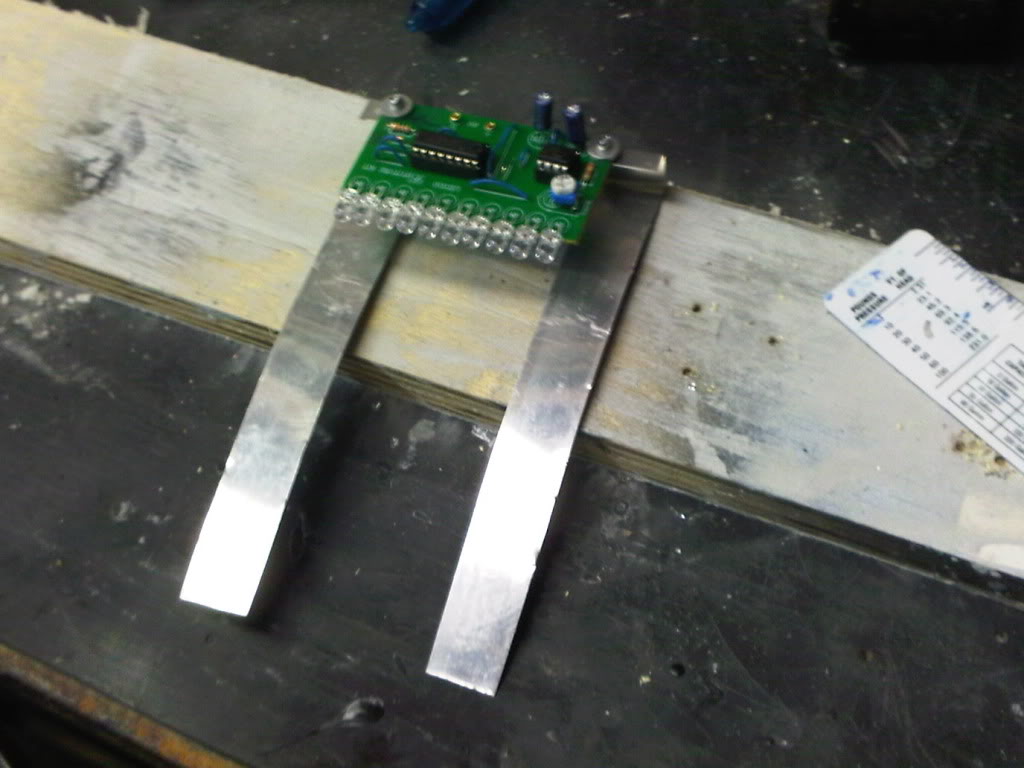
The second bracket goes on.
The circuit is temporarily fitted to the powercell plate.
The circuit is test fitted inside the powercell box.
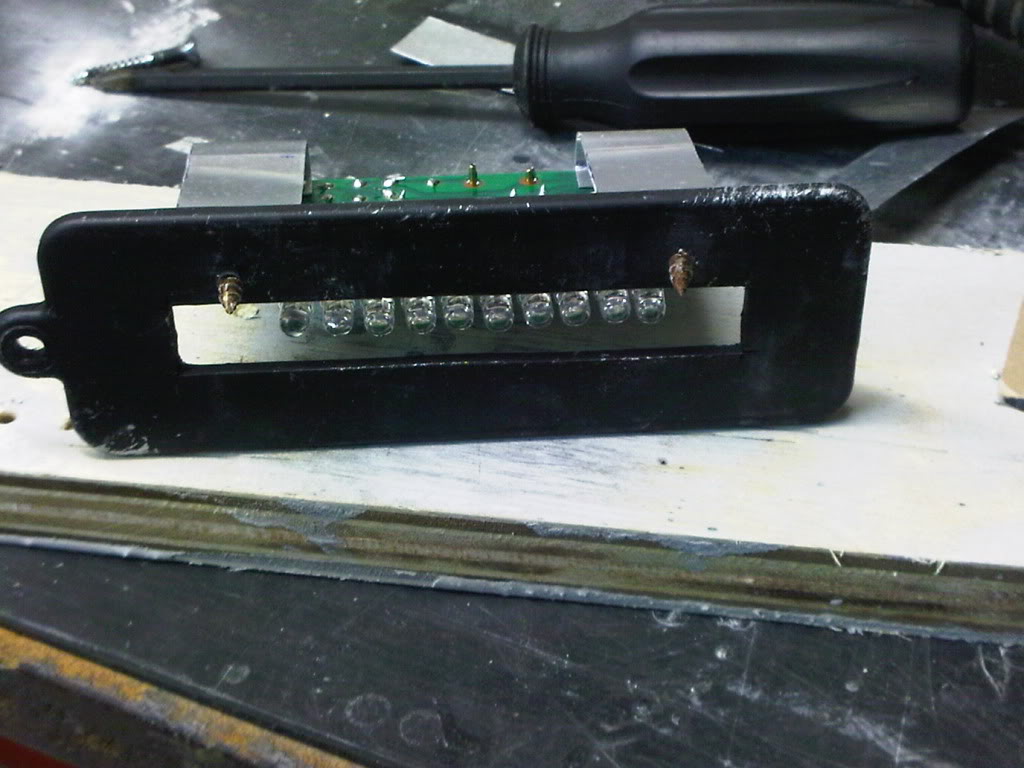
The lens is placed, and the circuit is riveted to the powercell plate. Looks nice!
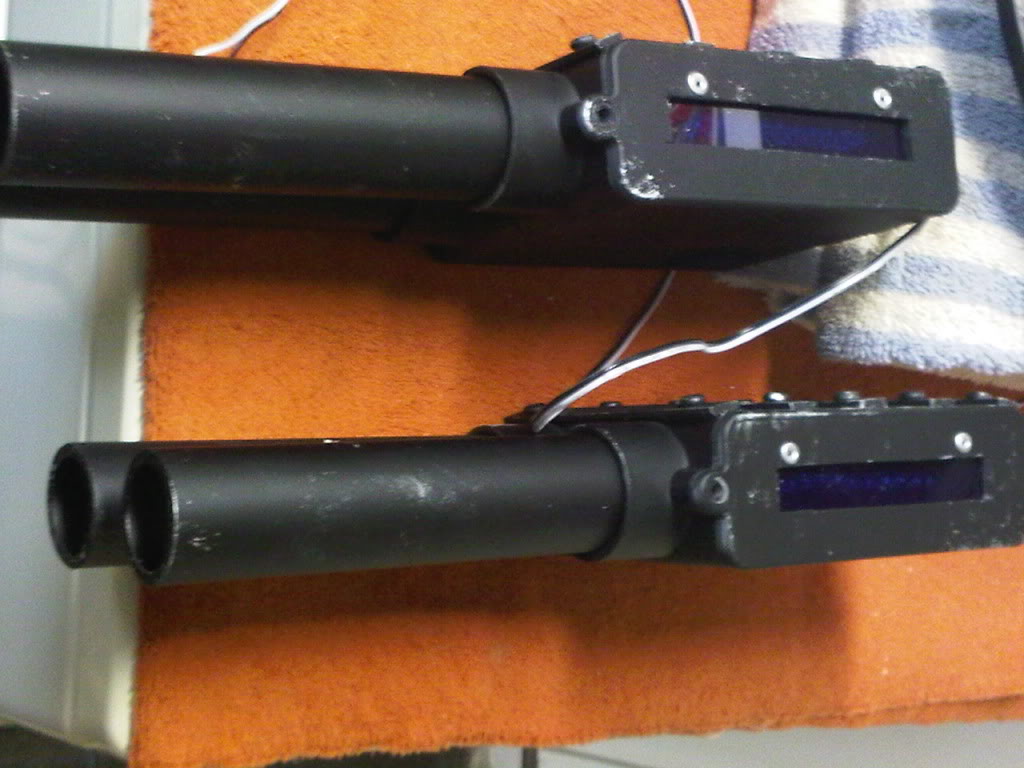
Bothe powercells are ready. I also trimmed the injectors by an inch. They seemed too long.
The N Filters come out of paint. They’re not perfect, but will pass.
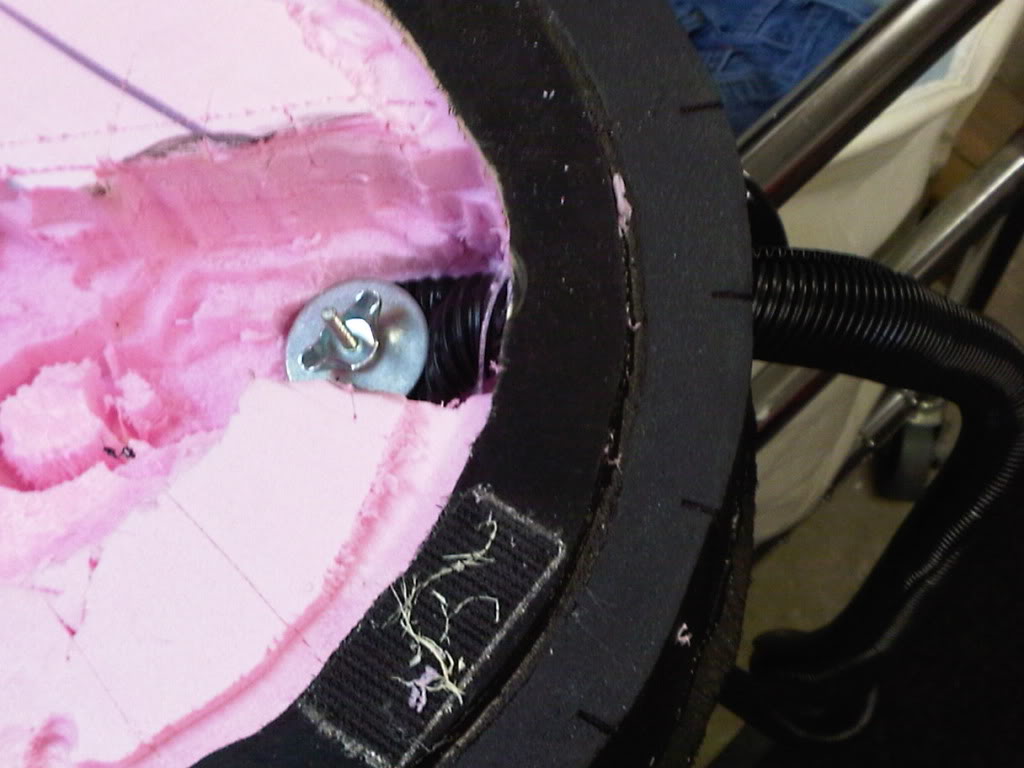
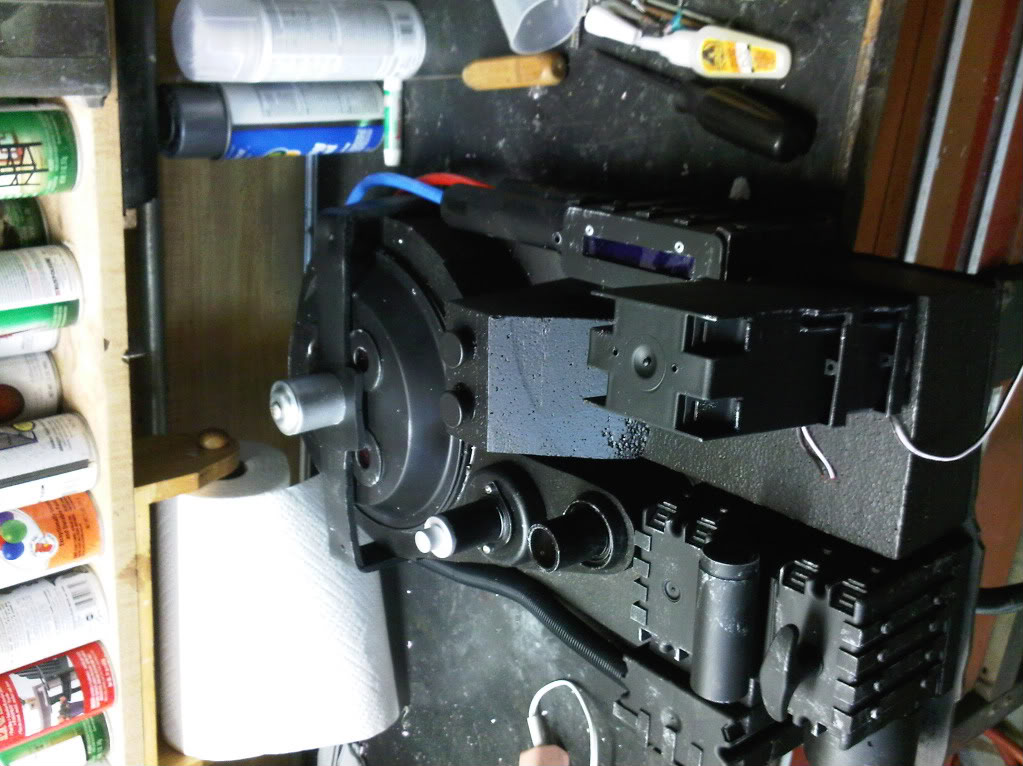
Installing the hose into the sync generator. Not trusting foam and glue alone, I used a 6/32" nut and bolt, and secured it to the motherboard.
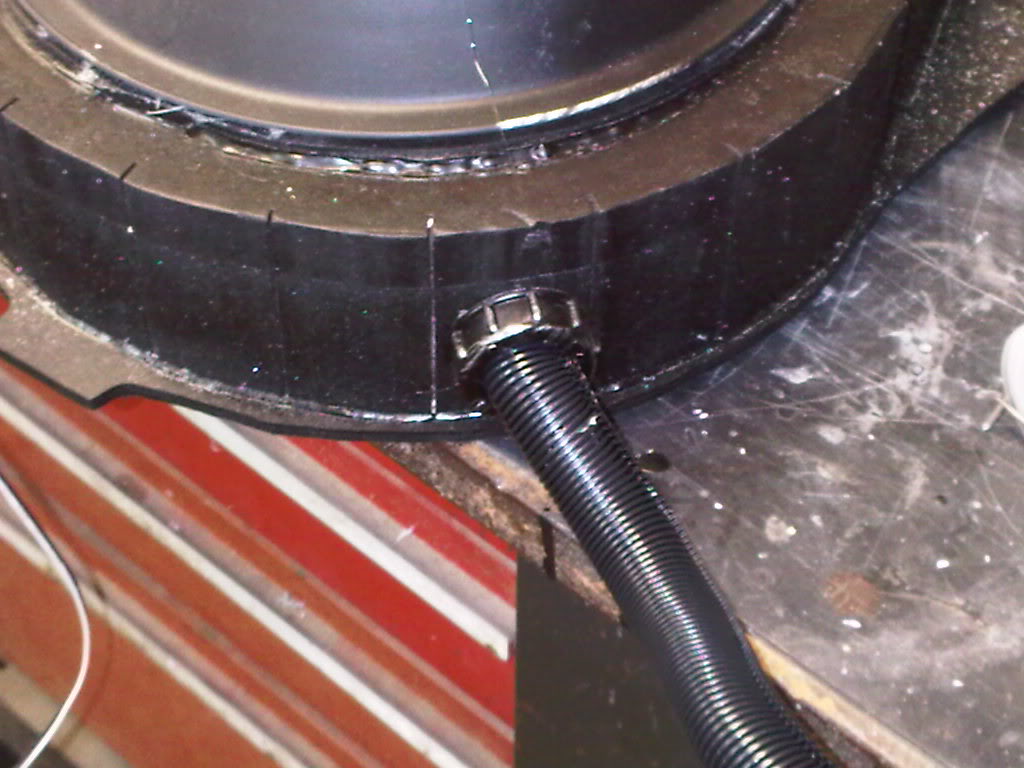
The ■■■■■■ for the hose is glued (hot & gorilla).
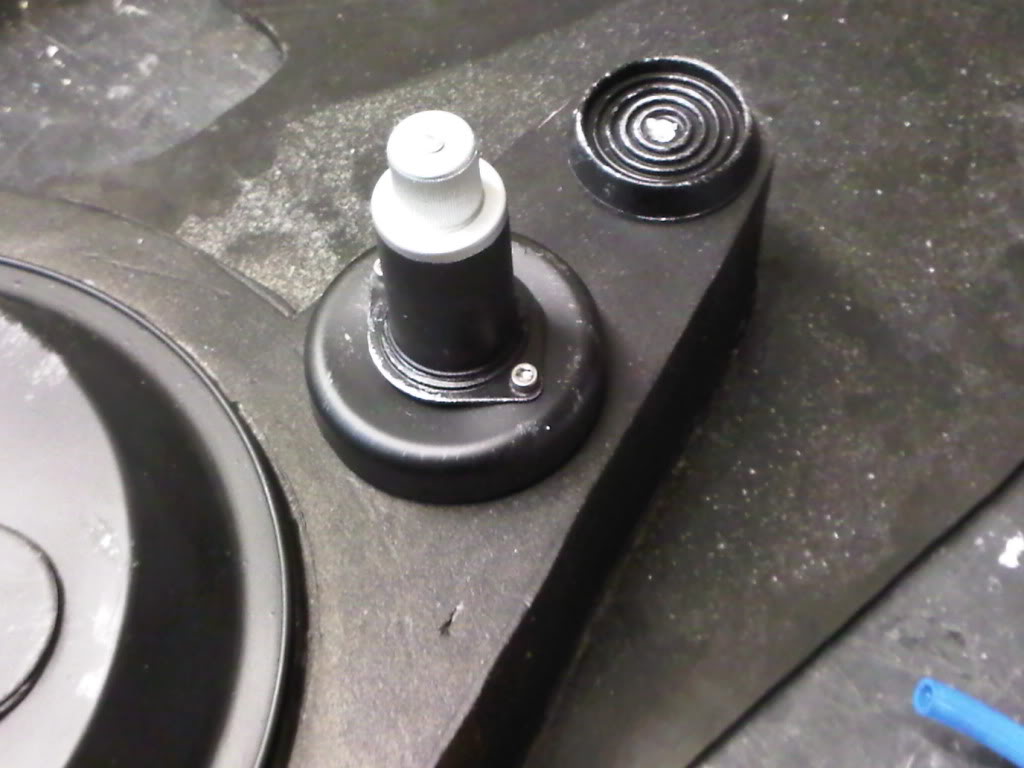
Mounting the bumper to the pack with shock mount.
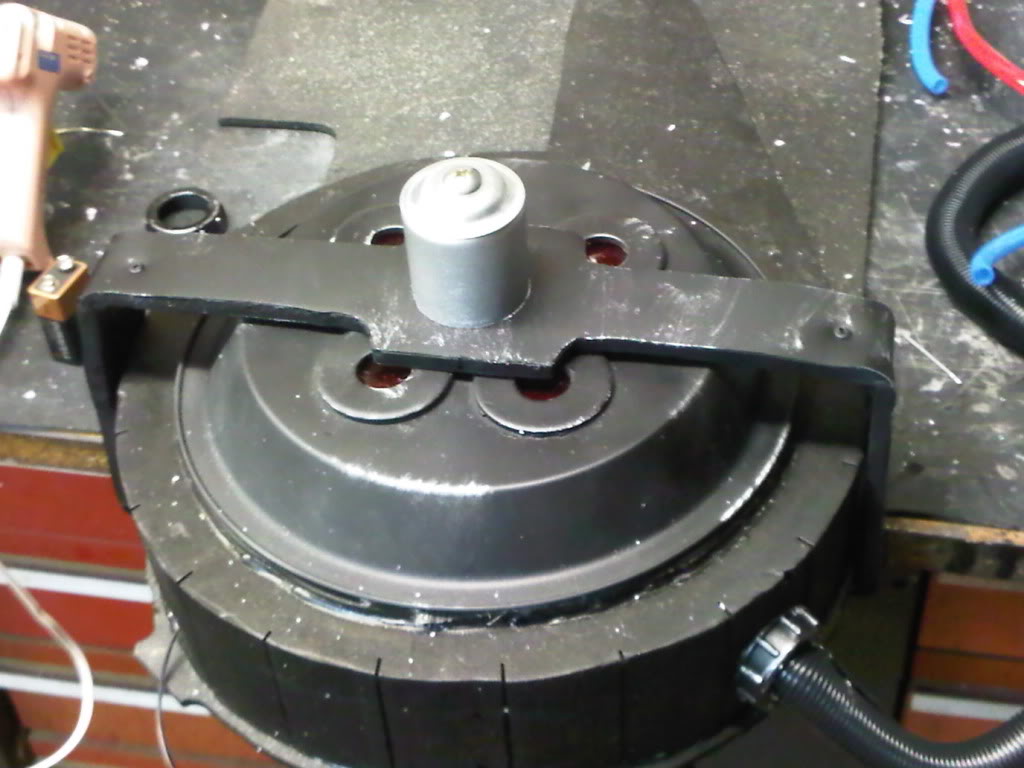
The Clippard is attached to the pack. I used a 4" wood screw and gorilla glue to secure it to the sync generator.
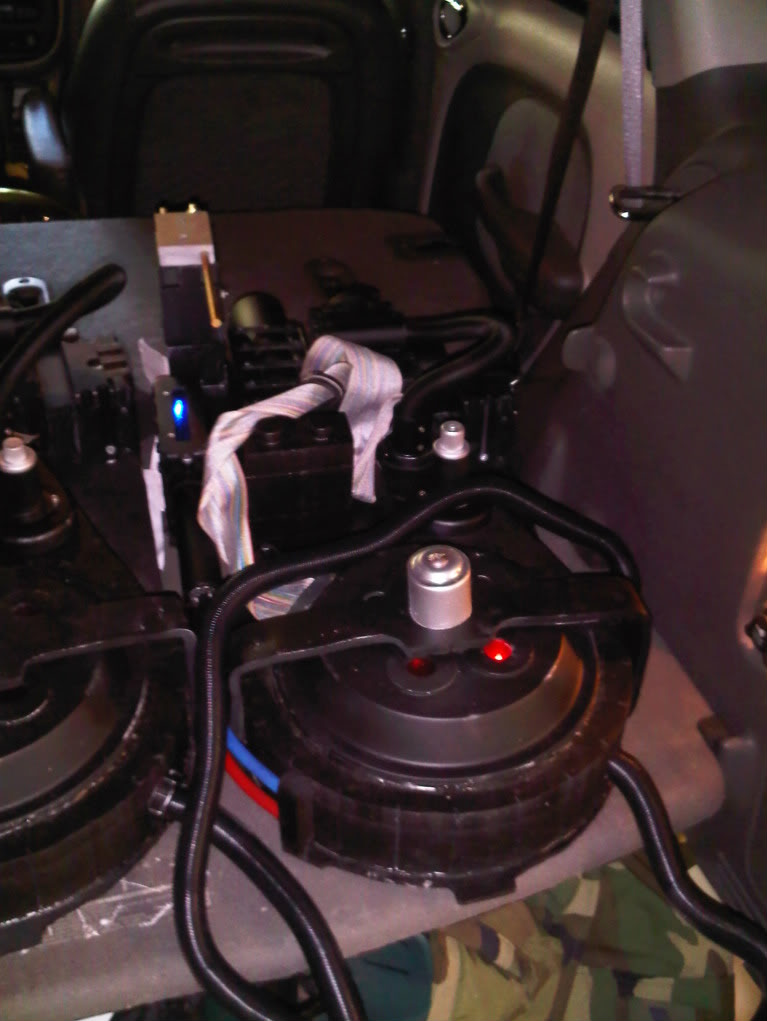
The main components are secured to the pack.
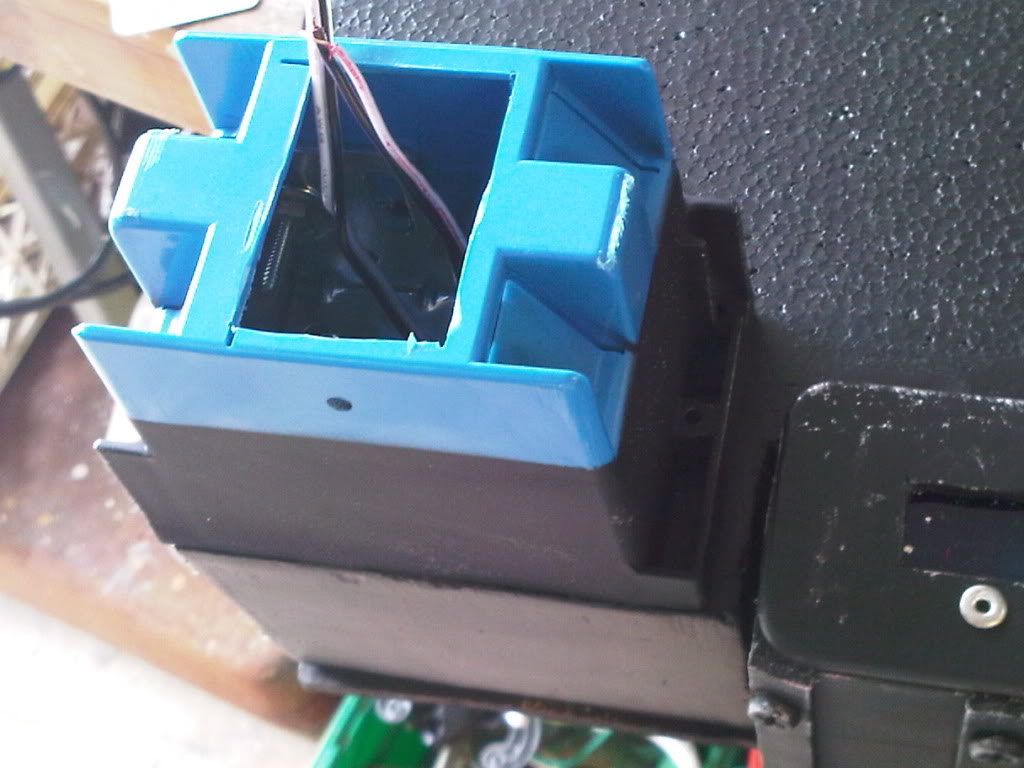
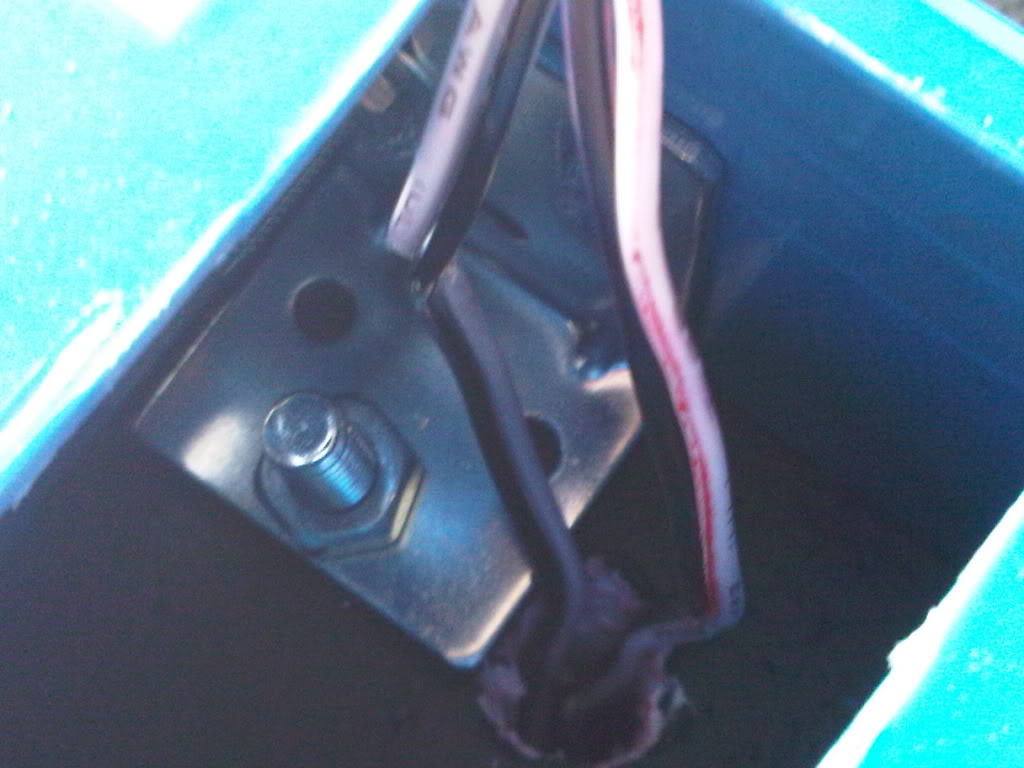
I was worried about mounting the ion arm to the soft foam EDA. To add security, I used an angle bracket, and secured it to the side of the ion arm box. I used a 1/4" nut and bolt to secure the ion arm to the motherboard, through the 3" foam EDA.
A closer view of the bracket with the wiring coming up through the EDA.
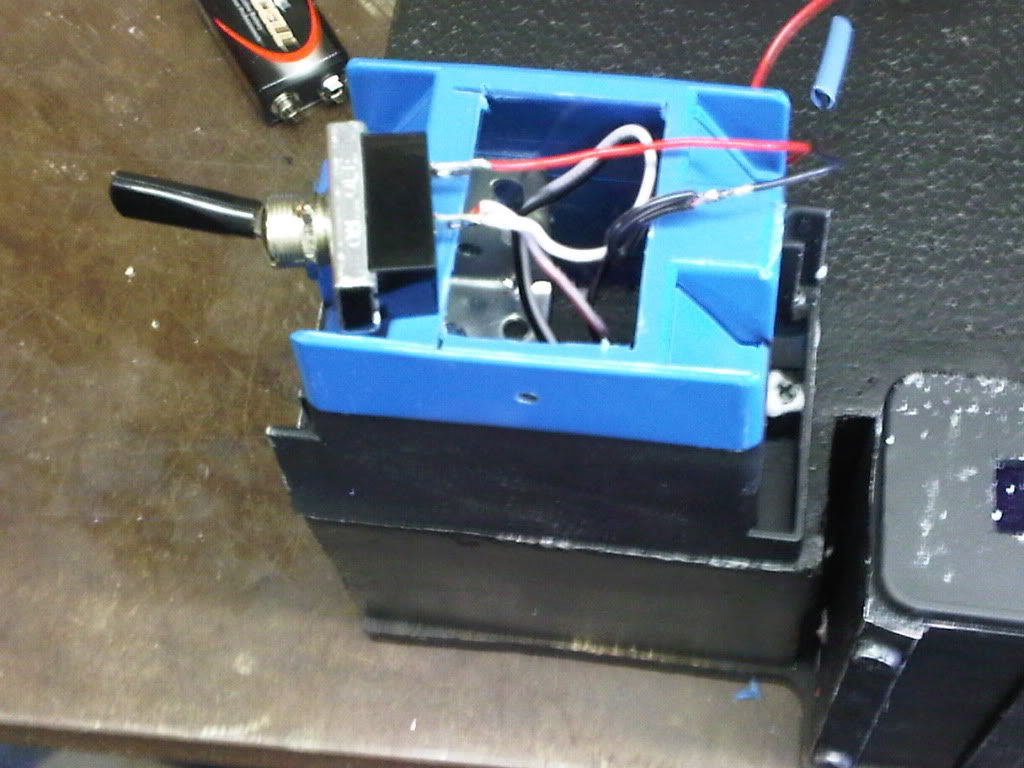
Wiring the pack with toggle switches I had laying around.
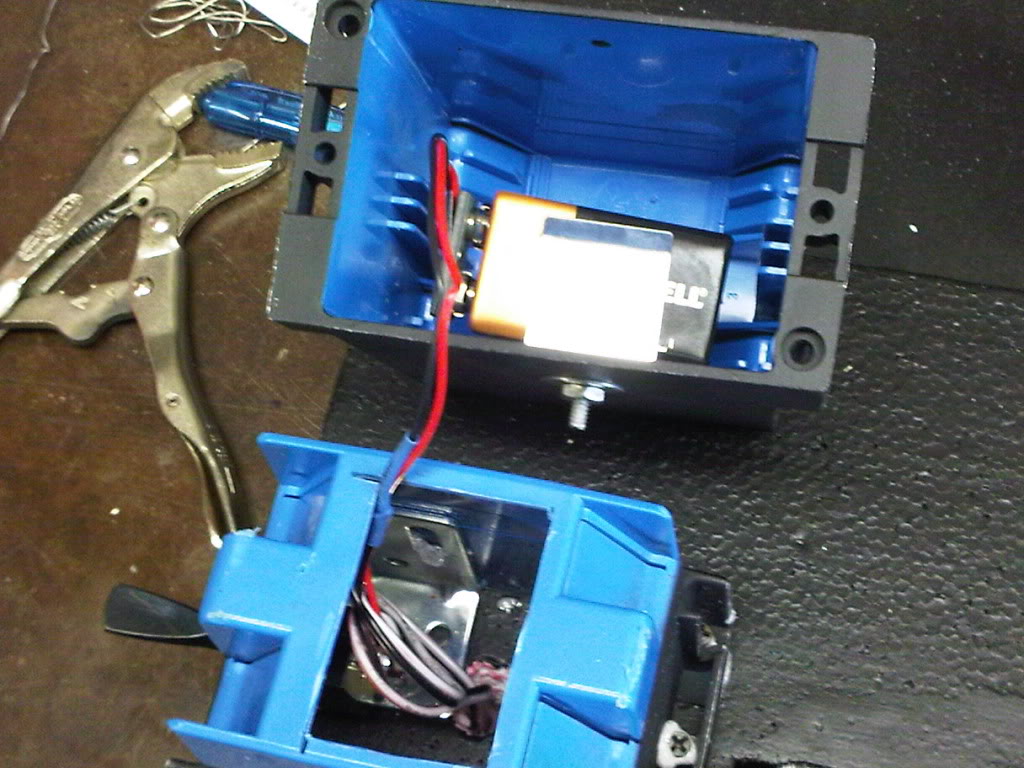
The battery box with battery.
I have to neaten up the ribbon cable, but its almost done.
Yeah there are so many little details that builds take a lot longer than you’d initially think. Looks like things are shaping up now though!
Glad my idea helped a little I know its not the best, but it does the trick.
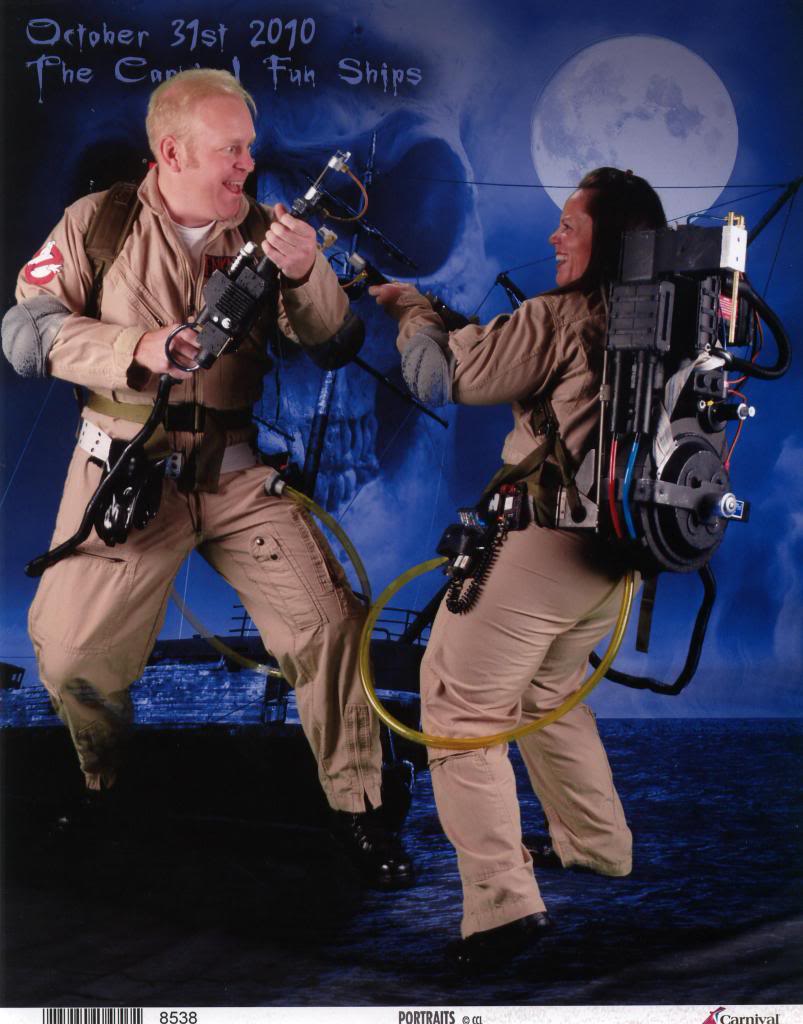
Wow! What a great Halloween.
I just returned from my cruise and wanted to share.
I thought I would be done with this pack by October 22nd, but the build took me all the way up until 2am on the 26th. I was beat, and never did get the N filters installed, but I will add them, before next year’s festivities.
At 2am, I was done, but so were the packs.
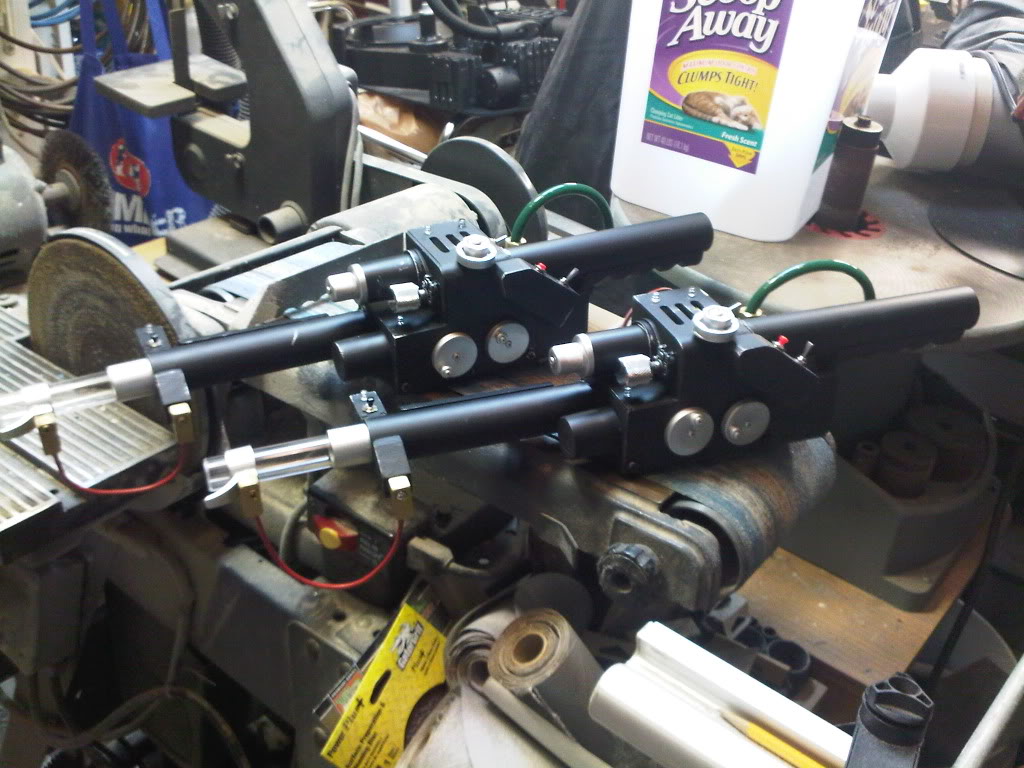
Wands Ready!
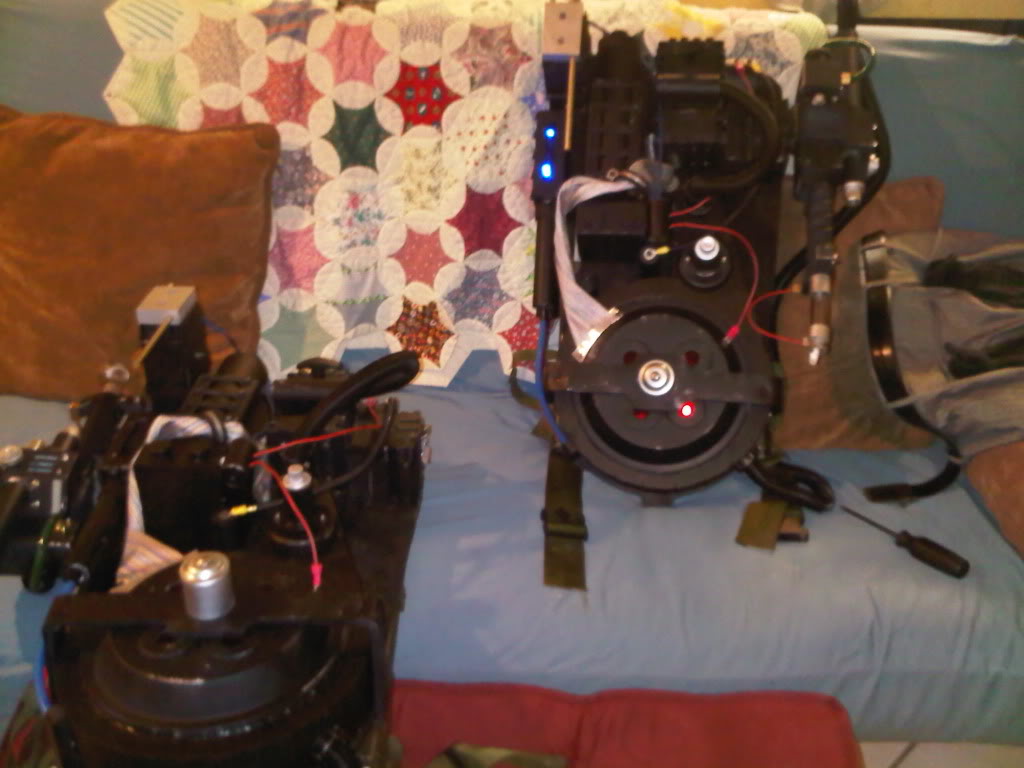
Packs Ready!
Getting them onboard the ship was a huge adventure, but we were successful. We wore them aboard and I packed the wands in a carry-on duffle bag.
I applied the decals when we were at sea. I was surprised that only one of the decals started to peel off.
We ruled the ship on Halloween. People were literally pulling us in all directions for photo ops. Even the ship’s captain summoned us for pictures.
About half the ship dressed, so the costume competition was stacked. However, we ruled the day. The contest had two parts. First, your costume had to be selected to enter the contest via written invitation. Then the audience would judge you in the main theater. We received the first invite…
The contest began with 20 entries who made the invite. After three eliminations via audience applause we were, against a giant pumpkin-headed ghoul, Pac-Man and two ghosts, and Ozzy Osbourne. We destroyed the ghoul and Pac-Man which left us and Ozzy.
The crowd cheered for Ozzy, but literally came unglued for us. It was obvious… we won!
I was in my glory. Three months of back-breaking work, and the adulation from the crowd was worth it. We got a trophy, and bragging rights the rest of the cruise. From then on, everyone on the boat would yell, “Ghostbusters!” when we passed by. My GF, who was not super thrilled about my absence for the past few months was super excited, and very happy for me. This was my greatest costume to date.
Now, I will relax for a few months. I will be re-wiring the guns to have more functions. Also, I will attach the N filters.
What I learned…
If you are married, in a relationship, have a dog, children, or anything that requires spare time of you, start this costume sooner than later. If you want to do a junk pack right, start in March.
Sweating stupid details can really cost you precious time and money. If you’re making a junk pack, have fun with it. Most folks will never know if you’re using “screen accurate” parts.
Junk packs make people happy; especially the mechanically inclined. Telling people your parts are from Home Depot, and showing them how you took electrical boxes and popsicle sticks and transformed them into a gear box is really cool. It shows most folks your ability to think outside the box.
Lights, lights, lights: People could not get over the pack lights. My lights are not screen accurate, but they did the job. Each circuit cost me $5. Not bad.
Latex paint is your layered friend: I used black latex paint for my EDA, and it held up nicely throughout the journey. I bought a foam spacer sprayed with model master paint, and now the pink foam is starting to show through. Foam parts need layers of latex paint.
Trusting glue alone can be risky. I used mechanical fasteners on 98% of the pack, along with glue, and I had zero issues. Even with people bumping into me, and touching the costume, everything remained intact..
V hooks hold the gun nicely. They held the gun from falling out, yet the user could easily remove the gun. I got mine from Zombie amusements.
I just want to thank the members of GB Fans; especially Gareee. You sir made it possible for me to accomplish this project. Your insight helped me immensely.
I also want to thank my father for his garage, knowledge, and tools.
Most importantly, thanks to my girlfriend, and her patience level.
I will post more pics in the coming days.
My pleasure! Its always good to see how things turn out at the end of the journey.
x2 on the latex paint… if you use house paint, and add enough layers, you have nice tough plastic skin. I actually had a devil of a time cutting it when I reworked my sync gen this season.
It looks like your gf is just as happy to be in gear as you are… and that is never a bad thing!
Well, I finally put my costume away for the year. I’m excited that I will have a costume for next year. I will add N filters, better wand lights, and will have a set of goggles for next year. It was fun.
The packs are placed in my costume storage facility.