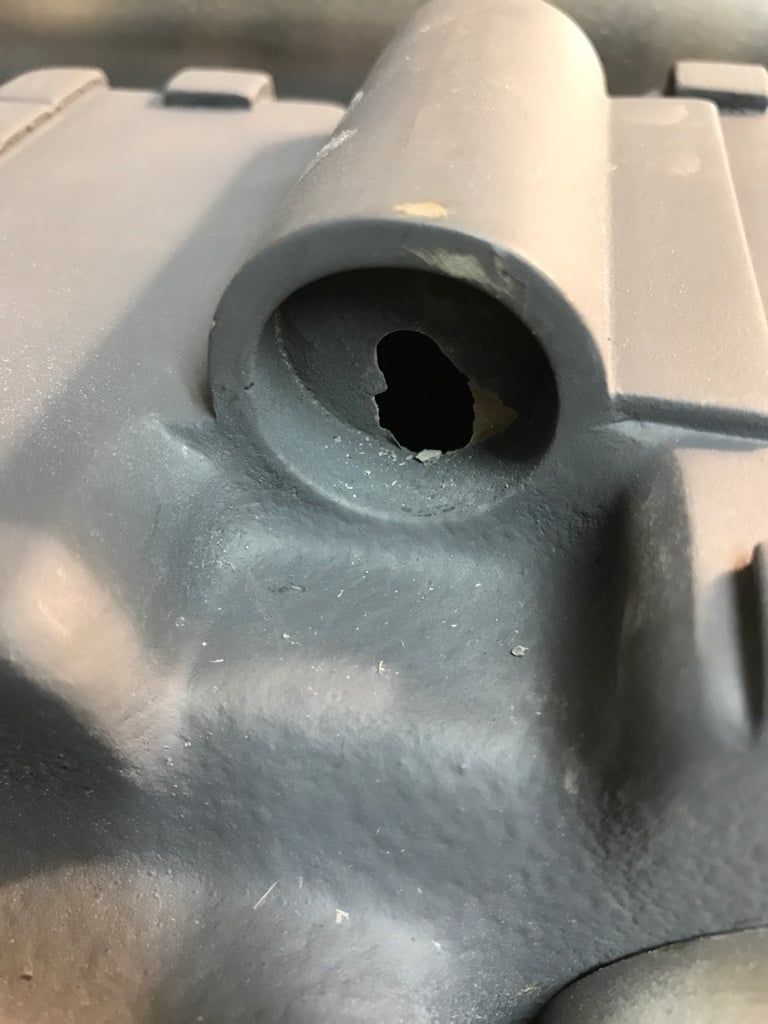
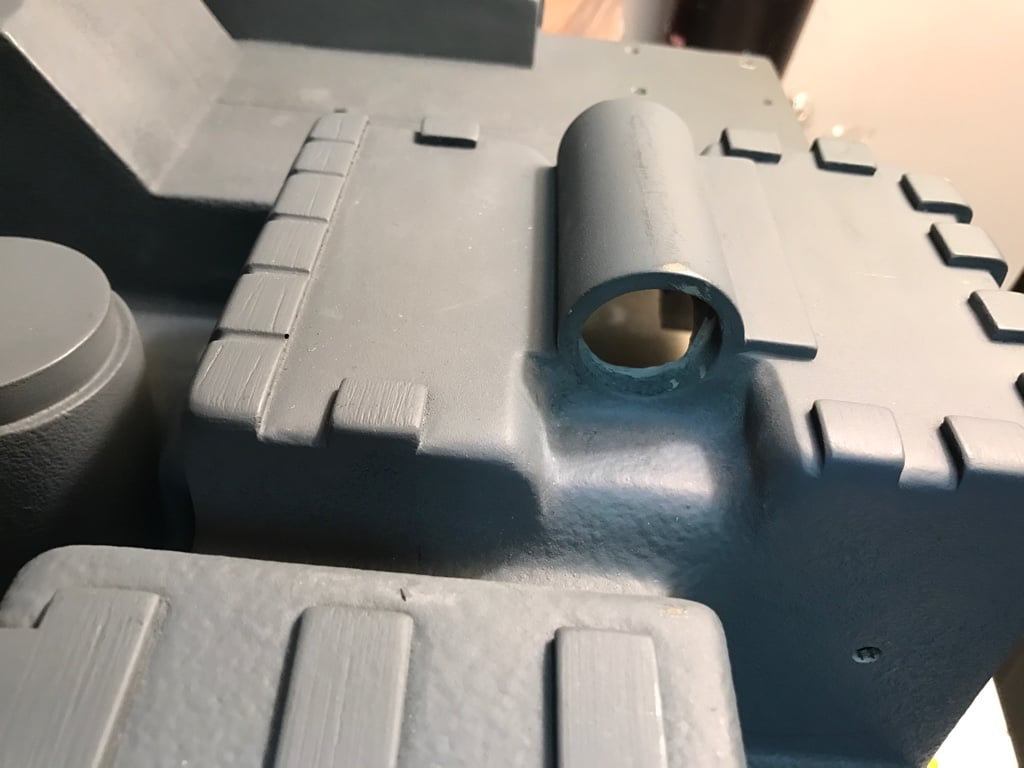
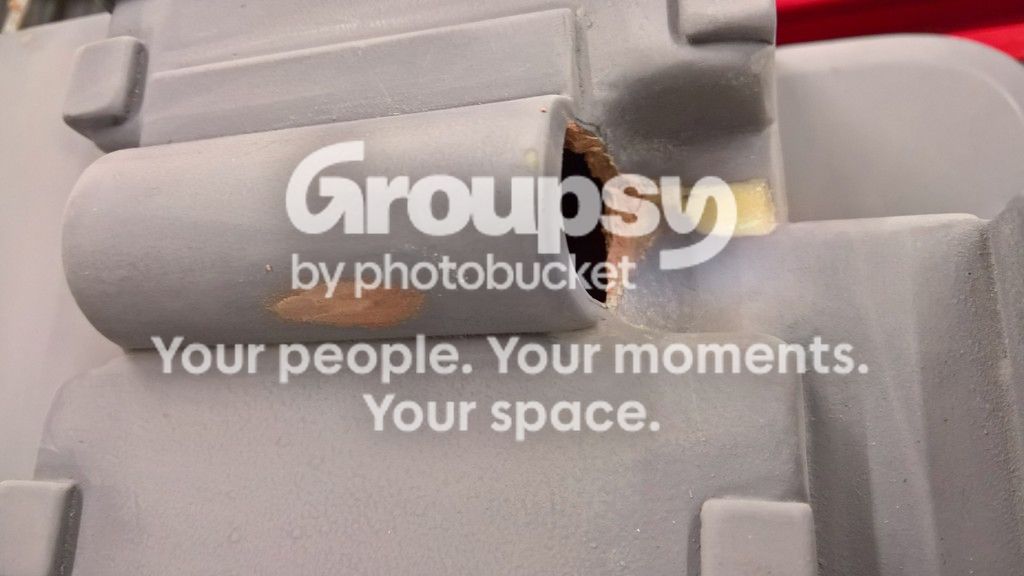
Oh snap. Sorry about the vacuum tube part. Bondo is your friend.
Looking at mine, I’m not sure what to do either… Since I can’t fit my drill there comfortably. I might just pin it down with a short screw, and glue it.
Oh snap. Sorry about the vacuum tube part. Bondo is your friend.
Looking at mine, I’m not sure what to do either… Since I can’t fit my drill there comfortably. I might just pin it down with a short screw, and glue it.
Please learn from my mistakes, lol. Let us know how you proceed!
Did you cut out your mouse hole yet? If so, how did you do it?
I had a mishap drilling my crank gen too!
I was trying to mount a 1" dowel to connect my vacuum line but the inside of my shell wasn’t level. I dremmelled away too much, it turns out. When I tried to drill a hole for the socket head screw it broke away.
Oh no! Did you manage it fix it, Paulie?
Yeah. I ended up drilling the whole hole out. I’m mounting the dowel in the crank gen - I had to dremel a bigger chunk out.
It looks pretty good to me!
Just a bump in the road dude. Bondo will sort that and it will be like it never happened. Get back in the saddle 
Some Black Milliput will fix that up like new.
For the hard to reach spots like the vac pump and straights, it’s handy to have one of these flexible extensions to use with your step bits…
Thanks for the tips Venkman’s Swagger and bishopdonmiguel!
Don’t worry, I’ll get back on it as soon as I can. I won’t be able to work on my pack for the next few days, though. I will be travelling for work. I should be back at it next week.
Man, I thought I was thorough when I built my pack - this makes it look like a rush job! Super impressed by this, definitely will keep reading this and watching your progress!
Wow, thanks! I’m definitely looking forward to your advice!
Mouse hole?
Yes, I’m referring to the hole at the bottom-right of the synchronous generator. It is for the loom that goes to the thrower.
Ah, yep. Cut it yesterday.
Mounting the PH-25 resistor to the ion arm
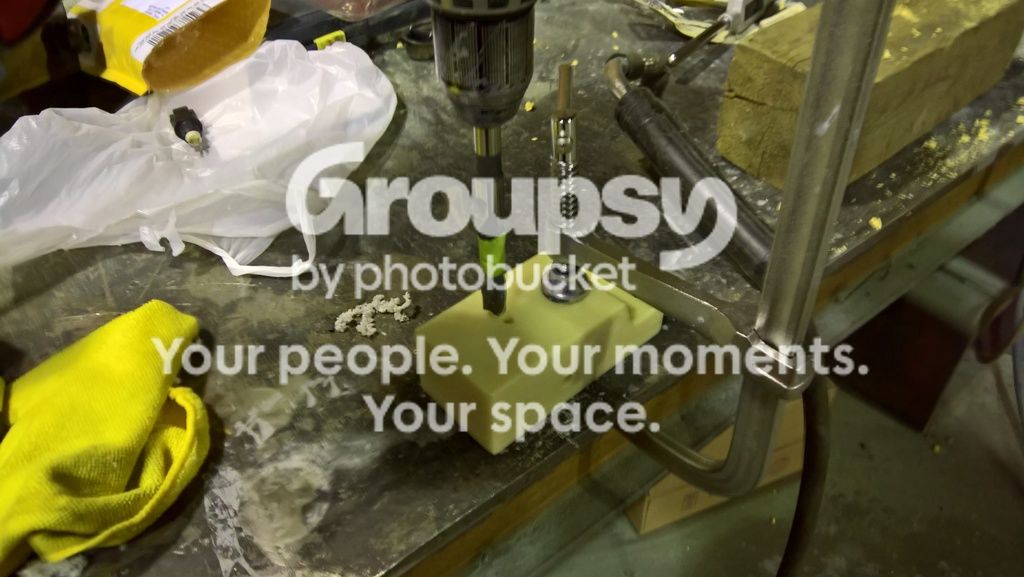
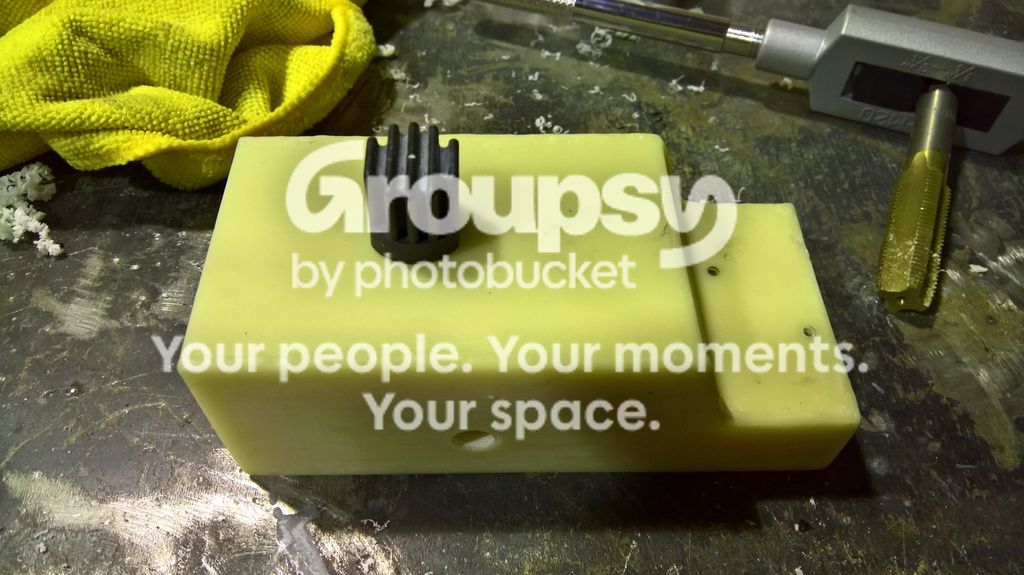
Today, I went and picked up a 9/16" drill bit and a 5/8-11 NC tap in order to mount the PH-25 resistor to the ion arm. Both of these are massive, so I had to go to Edmonton Nut and Bolt to purchase these items.
Trust me, they weren’t cheap… It would have been much cheaper (and easier) to cut a hole and glue the resistor into place, but I preferred to screw in the PH-25 just like the other resistors on the ion arm.
Unfortunately, I didn’t have access to a drill press. I measured the length of the hidden portion of the PH-25 (the prongs all the way to the end of the threads) to be 32 mm (1 1/4"). I then decided to add a couple of millimeters for a desired hole depth of 34 mm (1.34"). I then measured 34 mm onto the drill bit and marked it with some green masking tape. As I was drilling, this green tape indicated to me when to stop.
Like always, I drilled a pilot hole before using the larger drill bit. The 9/16" bit had a lot of bite, so I really took my time. I reversed the direction every so often to help the drill bit discharge the resin waste.
In the end, the hole and the tap worked perfectly with the PH-25 resistor:
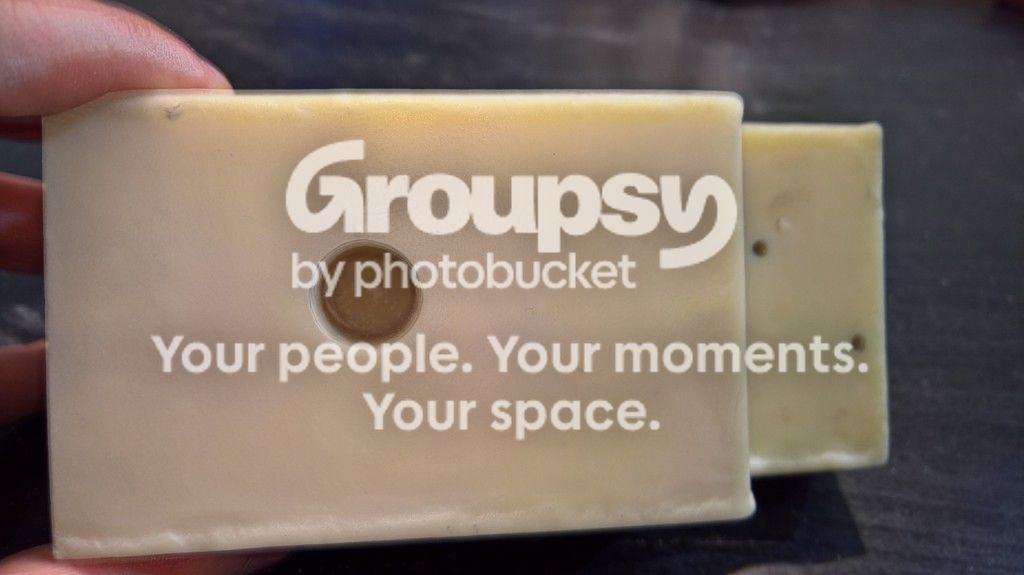
Here is a photo of the tapped hole itself (I took this picture back home as I was sanding the ion arm):
Now here is a question. Should I keep the nut on the PH-25? Or should I mount the PH-25 onto the ion arm without it?
Fixing the crank generator tube with Bondo
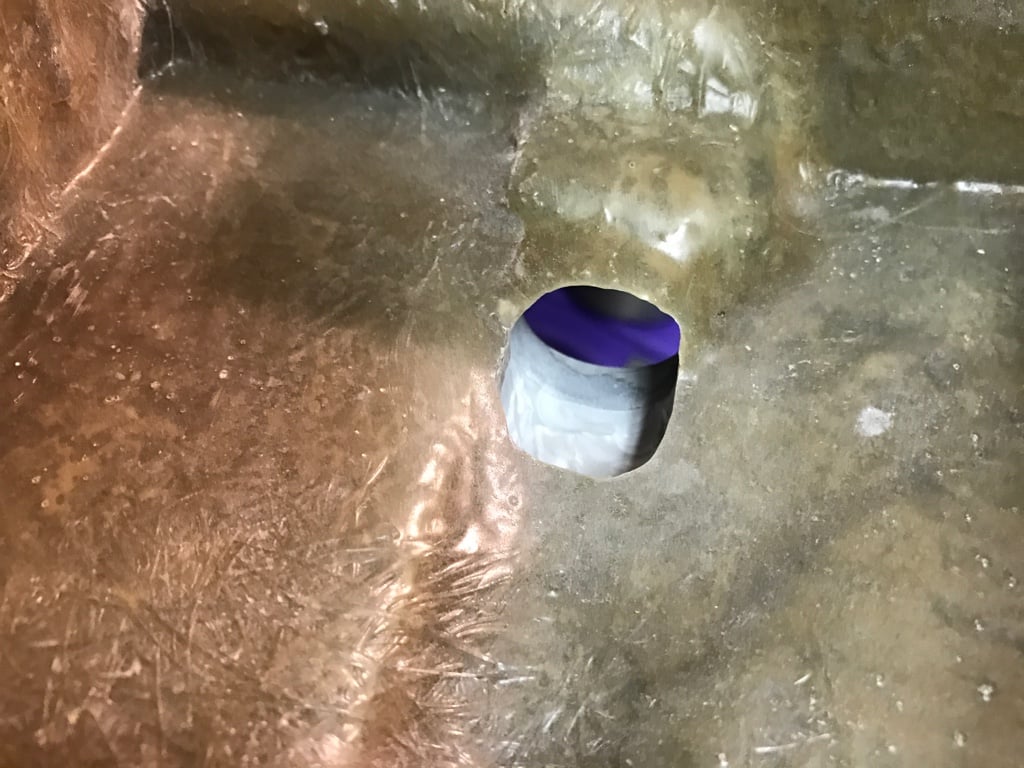
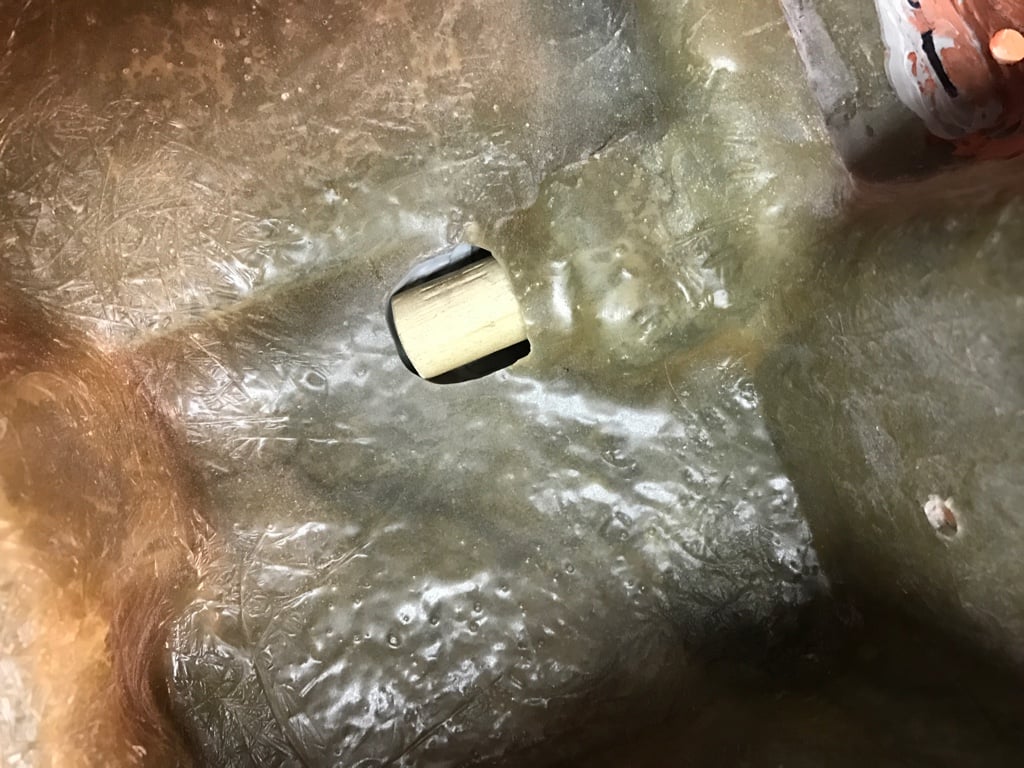
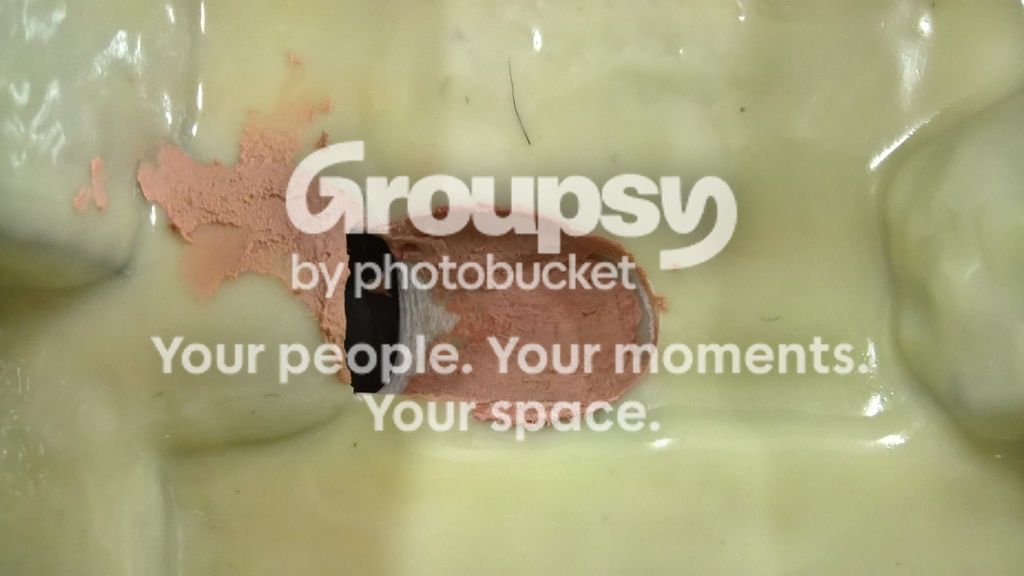
Remember the Dremel massacre from last week? It was time to fix it up with some Bondo. This was my first time ever using this product.
Here is a photo from the inside of the shell:
And now from the outside:
I didn’t have the chance to sand the Bondo repairs today, but I should get around to it tomorrow.
Sanding the shell and resin components
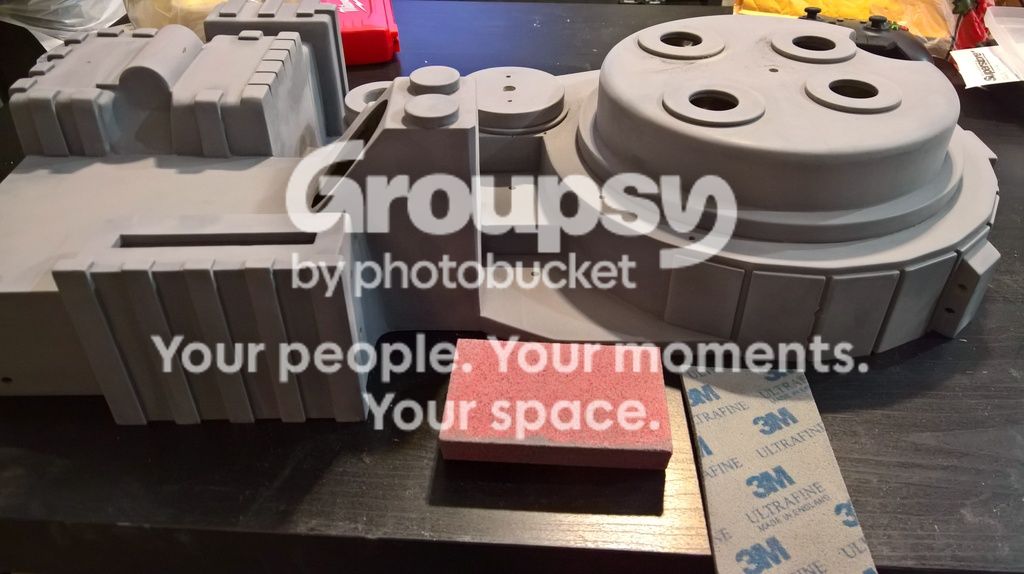
In preparation for painting later this week, I used a 800-1000 grit soft sanding sponge over the shell and resin parts. I also used a coarser 80 grit (medium) dual angle sanding sponge for certain areas on the pack shell.
You’re probably thinking, “why is Mario already thinking of painting when he hasn’t mounted the ion arm and the booster tube to the pack shell yet?”
Well, that would be a great question. As you will see another day, I planned it this way. My method for mounting the ion arm and booster tube is rather permanent, so it would be difficult to paint these parts once they are mounted.
Yes, painting those two parts first is a must. Make sure and get a damp cloth and wipe down the shell before painting, get rid of the sanding dust, and will give you a nice clean surface to start 
Thanks for the tips, OCP_Model-001! I was thinking of giving the shell a bath, but perhaps that is overkill?
I give my shells a bath before painting. It may be overkill but it does get rid of any dust etc
Also any release agents that were part of the casting process you’ll want to wash off. It’s a good idea to bathe it. Just don’t be weird and get it with it…
It’s always the quiet ones…