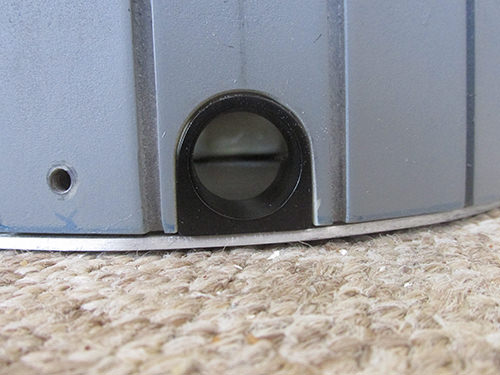
H2Ghost's Proton Pack Build (Pic Heavy)

Hello folks, and welcome to my Proton Pack build thread! This is going to be a slow-burn kinda build as it’s my first attempt at prop building and I want to do it right. Also, I’m still putting parts together. My shell and motherboard are from BenofKent Props.

Ben included some very nice resin parts but I want to replace them with aluminum parts so those will end up being sold off at some point. I’m going for a GB1 build with an “accuracy vs. personal preference” caveat. Even without a full assortment of pack parts I can still pick at things so let’s get started!

WE HAVE THE TOOLS, WE HAVE THE TALENT!

PROTON PACK

1 x Alice Pack Frame (GBFans)

1 x Mother Board - BenofKent

1 x Pack Body - BenofKent

1 x Ion Arm

1 x PPD - On order from FreekyGeeky

1 x HGA

1 x HGA Label - FreekyGeeky

1 x Vacuum Tube - FreekyGeeky

1 x Beam Tube - Freeky Geeky

1 x Bumper

1 x Shock Mount Bellow

1 x Booster Frame - BenofKent

2 x Injector Tube

1 x Gun Mount Bracket

1 x Shock Mount

1 x Ion Arm Assembly

2 x Alkon AQ68-P Male Connector

1 x Clippard Valve R-331

~~3 x Clippard #11752 Hose Barb[s] - GBFans Shop

[s]3 x Clippard #15090 L-Fitting[s] - GBFans Shop

1 x Raytheon Crank Knob #MS91528

1 x Spectra Ribbon Cable

[s]1 x Dale RH-50 Resistor (Long)~~ - I haven’t been able to find a Dale RH-50. I was able to track down a Sage M50W so it will have to do for now.

1 x Dale PH-25 Resistor - GBFans Shop

1 x Sage Resistor (Short) - GBFans Shop

3 x #3109 Legris Gray Elbows

2 x #3175 Legris Brass Straight Male Connector

~~1 x Ribbon Cable Clamp[s] - GBFans Shop

5 x Hex-Head Screws

1 x Ribbon Cable Plate Set

[s]1 x 5/32” Red Tubing 5 Feet~~ - BenofKent

1 x ¼” Blue Tubing 3 Feet - BenofKent

1 x ¼” Red Tubing 4 Feet - BenofKent

1 x 5/32” Yellow Tubing 2 Feet - BenofKent

1 x ¼” Split Loom Tubing 3 Feet - BenofKent

1 x ¾” Split Loom Tubing 7 Feet

1 x Set of Red And Blue Theater Gels for Cyclotron and Power Cell. - BenofKent

1 x Set Of Labels - Ben included some very nice vinyl labels in his kit. I’d like to find metallic labels, though.

1 x Loom Clamp - Bionic Moon Labs

PARTICLE THROWER

1 x Particle Thrower Body - Thrower parts on order from CPU64

2 x Handle Pipes

2 x Grips

1 x Rear Instrument Bar

1 x Front Cylinder

1 x Rear Cylinder

1 x Trigger Tip (Speculated to be a gun trigger, but I doubt it ever was)

1 x Forward Knob (Next to Clippard)

1 x Stream Adjuster Knob

1 x Bottom Cosmetic Knob Large

1 x Bottom Cosmetic Knob Small

2 x Double Disk Drift Velocity Knurled Knobs (On left side of gun)

1 x Clear Acrylic Tube

1 x Clippard Valve R-701

2 x Clippard #11752 Hose Barb - GBFans Shop

1 x Gun Heatsink

3 x Toggle Switch

2 x Button Switch

3 x Light-White

1 x Light-Orange

1 x Light-Red

1 x Light-Grill (This is a white light.)

2 x Nycoil Banjo #55020

1 x Orange Cap

1 x ¼” Green Tubing 1 Foot - BenofKent

1 x 5/32 Red Tubing - BenofKent

1 x Set Of Labels - Again, Ben included a set of vinyl stickers. I want to get some rub-ons for the build, though.

Electronics

1 x Power Meter Light & Cyclotron Light Kit

1 x Particle Thrower Light Kit

1 x Sound Kit

1 x 12V 9800 mAh Battery Pack

1 x WandTip Expansion Kit - Spongeface

1 x White Strobe LED - Spongeface

2 x Speakers of Some Kind

Other Parts

1 x XLR Deluxe Spengler Plate - nstevic01

I’m probably missing some pieces on this list so feel free to let me know if I am! Constructive criticism is always welcome in this build.

Let’s have some pictures of the parts I already have! As you can see in the pics, I’ve already started measuring stuff out. More on that shortly.

image

image

image

image

image

More bits and pieces:

image

image

image

image

image

image

image

image

image

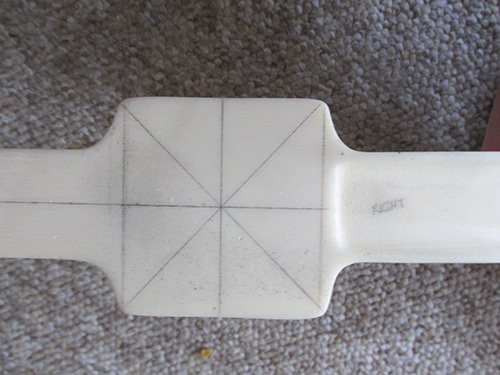
Now, about those measurements. Due to my innate paranoia and lack of confidence in my ability to properly measure things I’ve started making templates in Adobe Illustrator. This is what I have so far. They’re a combination of measurements from Stephen Otto’s plans and measurements from my BenofKent shell. If anything looks off, please let me know! I’ll post a pic once they’re all taped to the shell.

image

Alright, now that Christmas is out of the way I can get back to work. Got a better drill and some bits (including step-bits which seem to be highly recommended for this project).

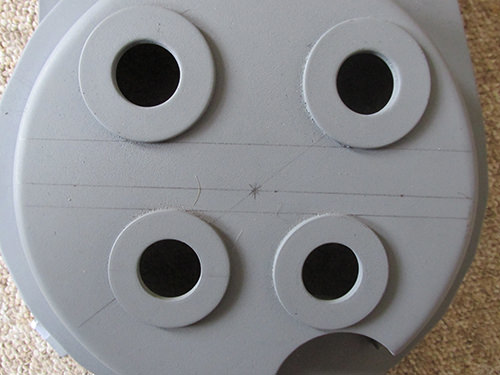
I’ve cut out my templates and taped them to my lovely shell:

image

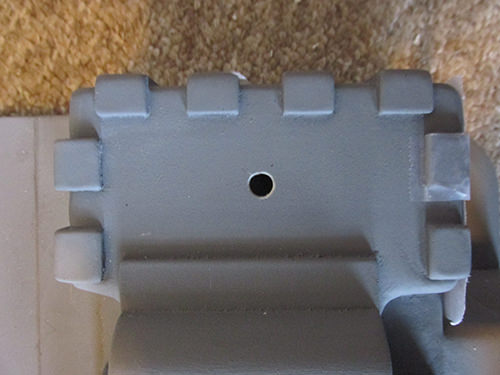
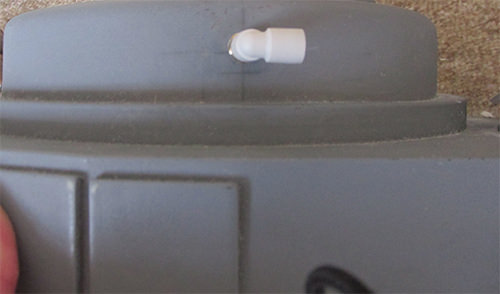
Do these holes look to high up? It’s kind of hard to tell the exact location on the plans and photos I’ve found.
image

image

image

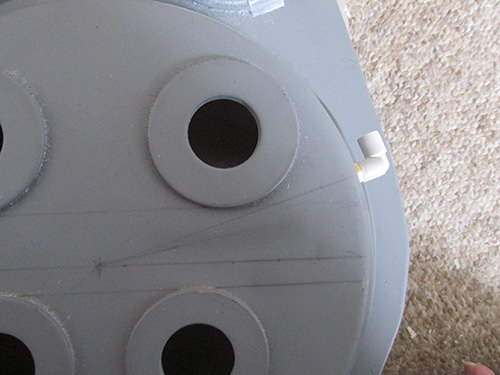
I’m questioning the hole placement here too. Do they look right to you guys?
image

Non-template measurements:

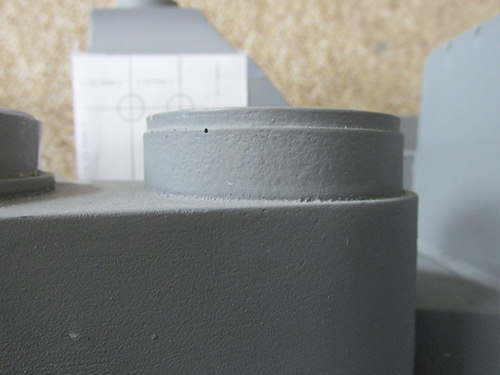
Now here’s a question: Ben’s shell comes with a lip for the vacuum line. The idea is that you push a tube into the hole at the top which gives you the look of the Aluminum Welded Vacuum Line part. Personally, I’d rather just have the whole part as opposed to just the illusion of the part. Do you think it would be wise to sand that lip down, strengthen it with bondo or something and then add the actual part? That part of the shell seems to be a solid piece but I don’t want to jack the shell up by trying to be clever.

Small update. I’m going to guess that I’m doing okay so far since no one is leaping through the screen to stop me!

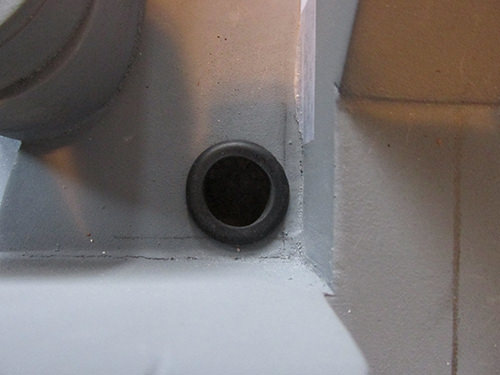
That said: I may have effed something up. I drilled the hole for the ribbon cable but I think I ended up drilling it too close to the edges of the PPD/Crank Generator. Canparahas his (?) cable hole in a similar spot so I may just be panicking for no reason. I added a rubber grommet to the hole to give it more of a “finished” look.

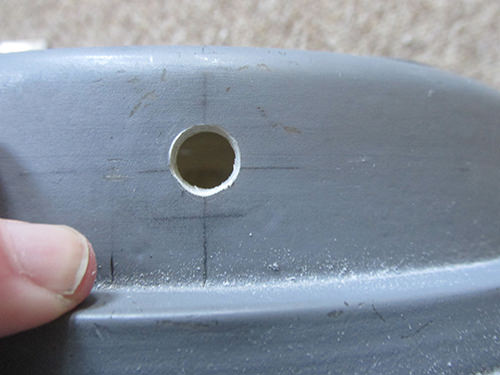
I also drilled the hole in the crank generator. Nice and slow and in reverse. It took a long time but it worked well. I want to add a potentiometer to control the sound when the time comes. I need to add that to my shopping list.

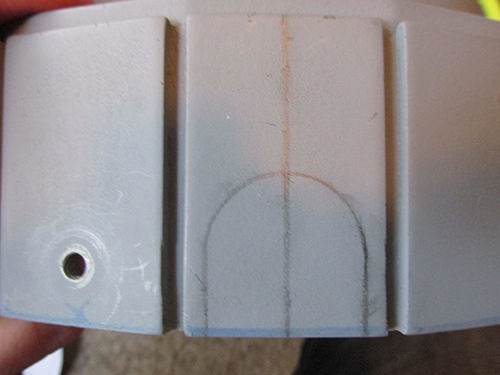
I’ve also marked the spot for the loom clamp mousehole. This bit of drilling has me nervous but my step-bits have come in and I have a Dremel to slowly clean it up.

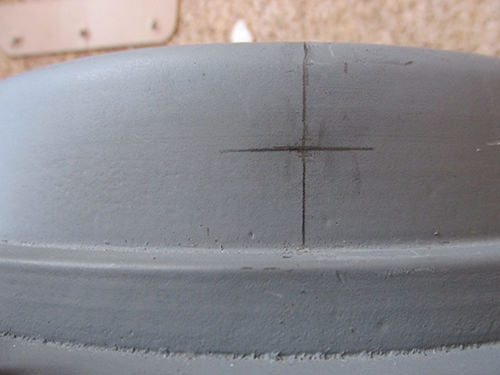
Lastly, for today, I marked the spot for the legris elbow on the cyclotron. 16 degrees from the center of the cyclotron and 17.25 mm from the top of the ledge. That seems about right from what i can find in plans and on build threads.

If anyone sees anything hideously wrong, please feel free to shout out.

So this came in the mail today. It’s from the GBFans shop. I’m going to try to find the proper straps for it. The only thing that bothers me is that there aren’t any holes in the bottom frame piece so I’ll have to measure and drill hole points into it. It’s not a huge deal but for a noob like me it’s intimidating.

image

image

Strong start dude. Doing great

Loving it so far! Keep it up.

Oooh, nice to see one of Ben’s kits get a full pictorial treatment! Lookin’ good so far, man.

The placement of the loom clamp often has at least a partial overlap with the L-brackets. Before you cut the mouse hole, mark the motherboard and test fit the loom clamp in the approximate location to determine if you might have this issue. It’s usually addressable with some minor modification of the clamp. Or you can mount the clamp a bit father into the pack where there’s clearance and reduce the height of the mouse hole to 1”, just enough for the loom to fit through. The latter results in a more accurate looking pack as the original loom just passed through a rough hole I believe.

Thanks! I was really worried about my abilities to do this but it’s going good so far. The electronics will be my big challenge, I think.

Thank you! I’m having a lot of fun with it.

This thing is a tank! I’m doing my best to take pics as I go along. I haven’t seen a lot of threads will Ben’s shell.

I’ve studied the ■■■■ out of your build thread so I was sure to do the test fittings and mark the loom. I know the basic round mouse hole is more accurate but I really like the way the loom clamp looks. Your build thread has been a huge help.

New Years Eve work update!

I took a trip up to Lowe’s and got some extra bits and bobs I needed. From what I’ve read, these are considered correct. Please let me know if I’m wrong!

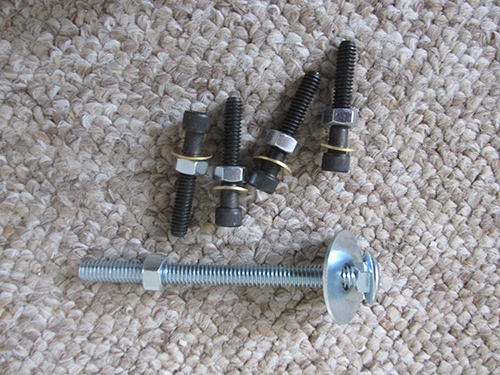
4 x 1/4-20 x 1 - 1/2" socket cap head screws w/ hex bolts and brass washers for the bumper.

1 x 5/16 x 4" carriage bolt w/ hex nut and washer also for the bumper. The nut is to just hold things together until the Shock Mount is available in the shop again.

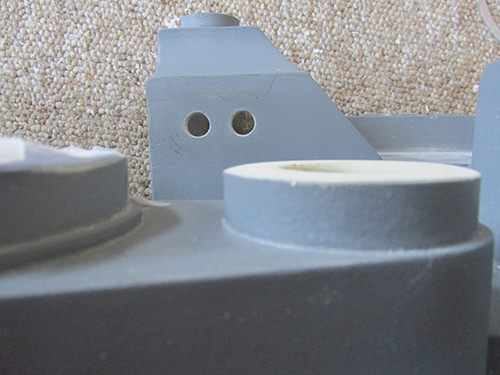
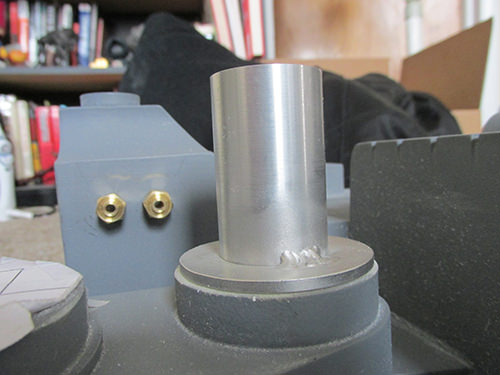
Holes in Shells: I talked to Ben and he told me that there’d be no issue sanding off that extra ledge on the vacuum tube shelf so I did just that. Worked out just fine. I also drilled the holes for the straights and somehow managed to get them almost perfectly level with each other. Measure 376 times, use templates, drill once!

The dry-fitted parts:

The vacuum tube is just bolted on for dry fitting purposes. My plane is to steal bishopdonmiguel’s magnet ideafor the final fitting.

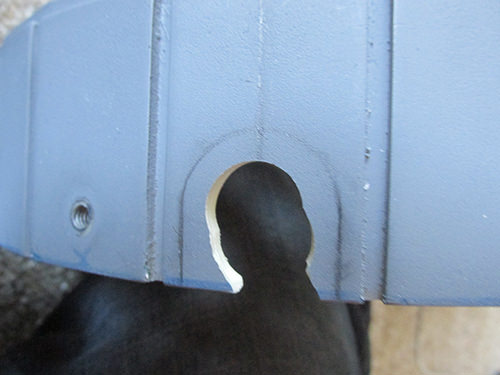
Mouse-Hole Time: I had the spot for my Bionic Moon Labs Loom Clamp traced out. Now, I was worried about this as it was my first real attempt at a large hole in my shell.

I used my step-bits to drill a starter hole in the center. I got a little too cocky and tried to drill a second hold to cut out some extra shell. This was a stupid idea. It chipped a bit when the drill went mad but luckily it was still within the “cut-out” zone.

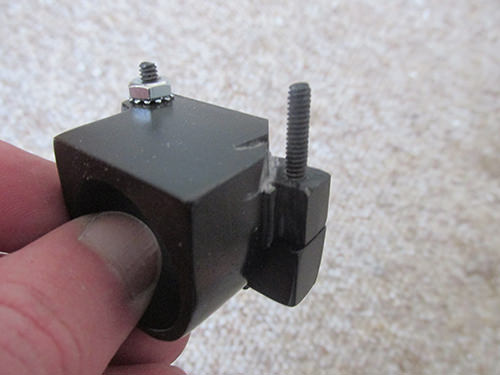
As Bishop mentioned, I had to adapt the loom clamp because of the motherboard bracket. I mangled the ■■■■ out of the poor thing but no one will ever see it so I’m not worried. It’ll fit perfectly once mounted to the motherboard.

I slowly shaped the hole out a bit at a time using my dremel. I also wrapped some sandpaper around a ruler and around a large gromet I have that just happened to match the circumference of the arch of the loom clamp. After an hour of futzing with it, it came out just about perfect! I did oversand on the lower right hand corner which left a little gap. I may go back and bondo it to fill that little hole depending on how spazzy I’m feeling at the time. It’s one of those things that only the most picky of observers would notice but it will most likely drive me mad if I don’t fix it.

Lastly for today, we have the cyclotron legris elbow. I’d like to find the vintage parts for these but I’m not going to hold my breath.

You got mad skills my friend. Great work.

Wow, looking good!

Fyi; bumper is upside down in that pic above

Thats a china KO alice frame. Ive gotten those before, the metal is much cheaper than a military grade one. I would reinforce the horizontal slat with an Aluminium slat or something. They snap after a while.

^^^

What he said. Seriously.

I only speak from experience. Everything on the gbfans shop is great except the alice frame which is this one:/

Ive had 3 snap on pack builds. And its not a pretty sight when they finally let go.