I may just go ahead and track down a proper vintage one then. I don’t want to put so much effort into something just to have the frame break on me. I’ll just e-bay that one or something.
Yes totally a good idea
And make sure it says US military grade
These comments about the GB frame are disconcerting- I have been awaiting the arrival of a frame since September.
The shop review shows 5 stars, so I was not anticipating a quality issue.
I appreciate that you have brought up the problem; I will probably go ahead and reinforce as suggested.
However, if this is a common issue, people really should let the shop master know as then, (1) a decision can be made regarding a finding a better frame, or (2) offering a premade structural reinforcement piece
The solution is quite easy and doesn’t cost much. Mat posted details in his build thread and I think I linked to that in my build thread. Basically, drill out the rivets on the center support and replace with thicker flat steel bar from Home Depot then paint. Takes about 30 minutes. Best to do early on in your build. There are also a few other safety features that I recommend at very end of my build thread.
I second that. 
Thanks for the guidance- it is much appreciated!
Alright, update time. A few days of frustration with the build but I think it came out okay. Anyway, here goes:
Frustration 1: Somehow, I don’t know how…I don’t WANT to know, but somehow I managed to completely off-center the hole for the cyclotron bolt. I had everything lined up with the bumper holes on the side, everything was level…still effed it up by like 1/4th of an inch.

Brilliant. But not the end of the world. I filled the hole with a JB Weld putty, let it harden overnight, re-drilled it CORRECTLY this time and voilà, it’s all level and centered and happy.
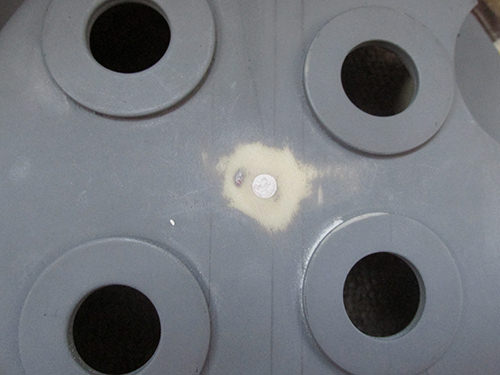
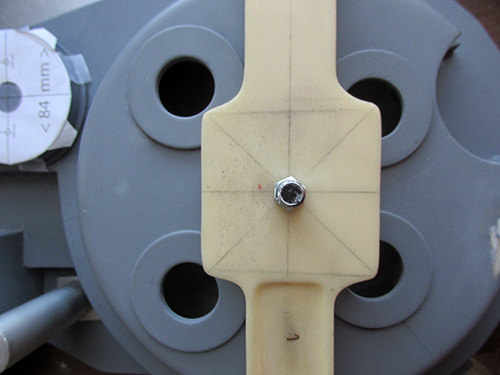
Side Holes:
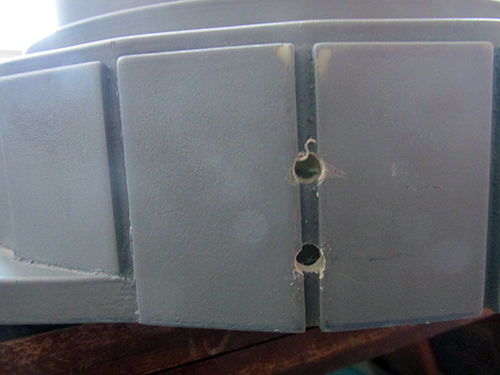
Bumper Attached - You can also see where I drilled the holes for the side-nub thing. That was a scary process but it came out okay.
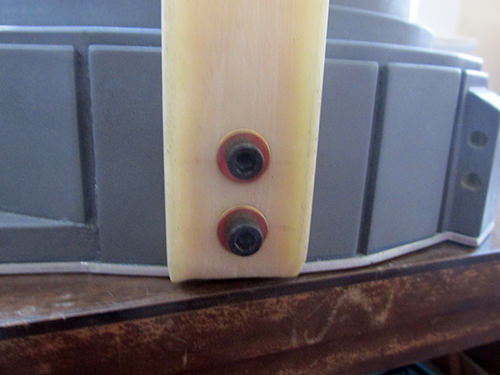
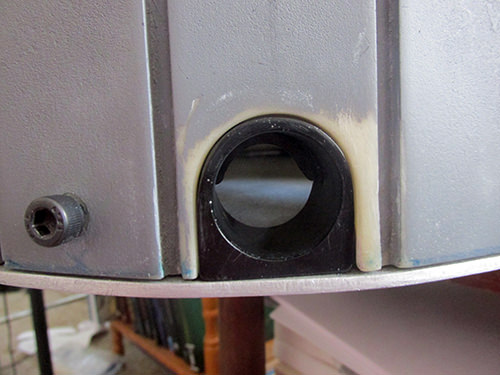
Frustration 2 - The Friggin’ Loom Clamp: Okay, look, it’s a lovely piece and the troubles I had were not due to manufacture but if I had to do this again I would just drill a damned hole and stick the loom in.
Somehow I failed to notice that the hole wasn’t centered. I have no idea how I did that. It doesn’t really matter in the long run because i’m not going for 100% screen accuracy but it OCDs the hell out of me.
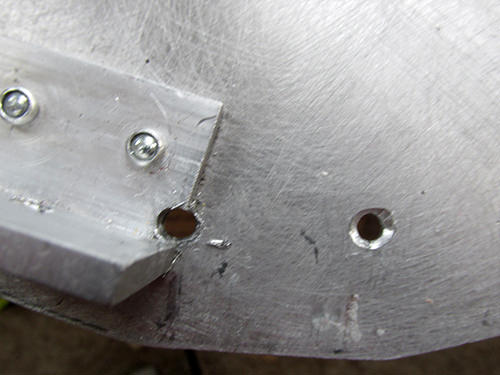
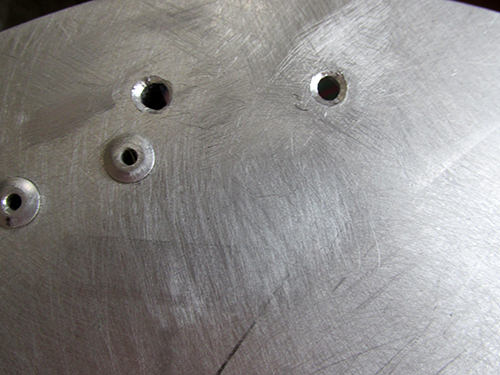
Thankfully the placement didn’t interfere with the rivets of the bracket. My drilled holes are ugly as sin. I really need to get tougher drill bits for the rest of the hole work in the motherboard.
Here it is installed. I futzed with it for hours and I’m not sure I actually improved the look. I’ve completely lost the plot on this part so I’m just leaving it alone.
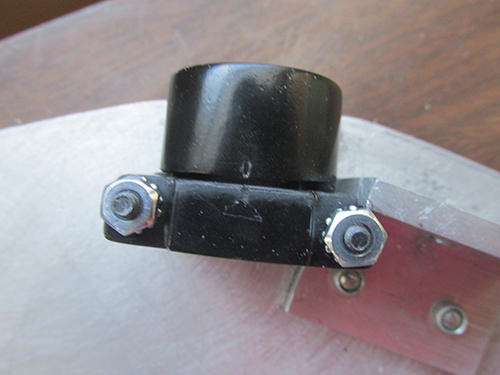
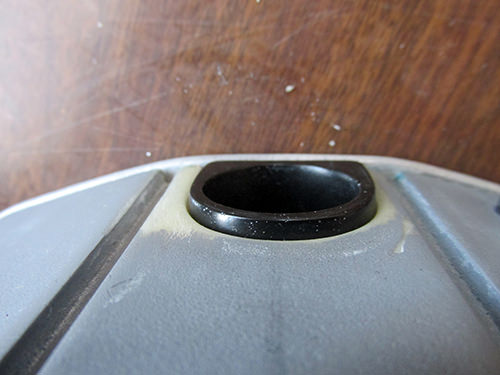
When your shell is all painted, it’ll look great. Agree an internal mount is probably a better option which is why we created the “shorty.”
Yeah, I should have gone that route but, like you said, once it’s painted it’ll look great.
You know this already but I will say it anyway. Your build is turning out great because you have a high attention to detail. You’ll wring your hands over every mistake but in the end, the pack will look fantastic and you’ll forget about the little mistakes.
EMBRACE THE OCD! [emoji16]
Haha you are not wrong! The thing that’s tripping me up is that I’ve done a lot of vector illustration and I’m used to being able to get everything spot on to the millimeter which just isn’t really possible for me in the physical realm. Once I get this beast done I’ll have long forgotten these little bits I’m stressing over!
The bits that pee you off most when building often tend to be the bits that you love the most when you’re all done. Like Bish said, this is turning out great
Update! New bits!
I went to a local military surplus shop and found a proper Alice frame. It has all the military markings on it and weighs about twice as much as that other frame. Much tougher, much better.
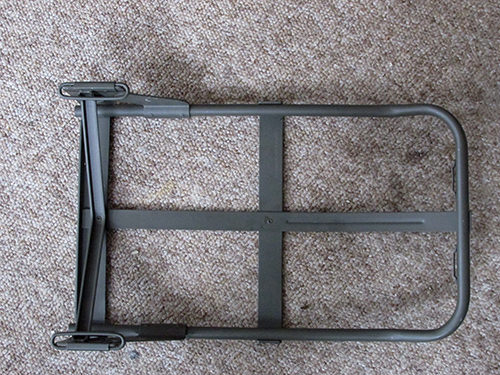
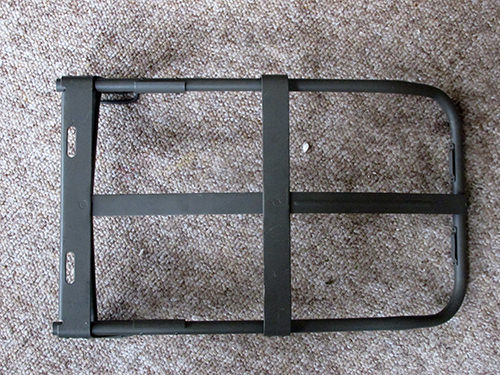
I also got some nice Nick-A-Tron spacers. I really need to go back and update my shopping list.
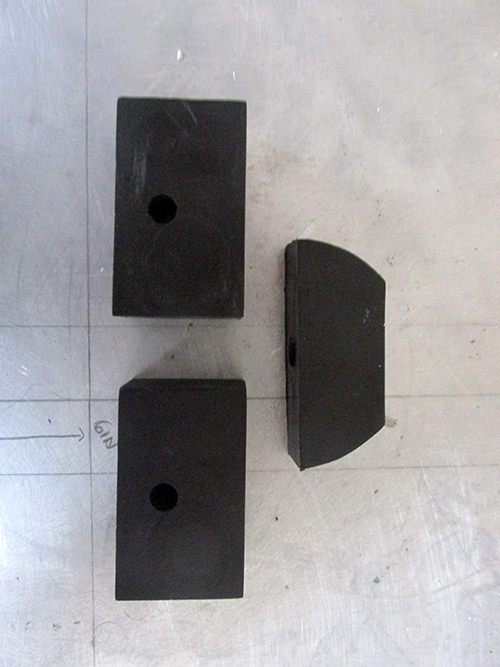
I’ve started going in and making measurements for the frame holes based on Stephen Otto’s plans.
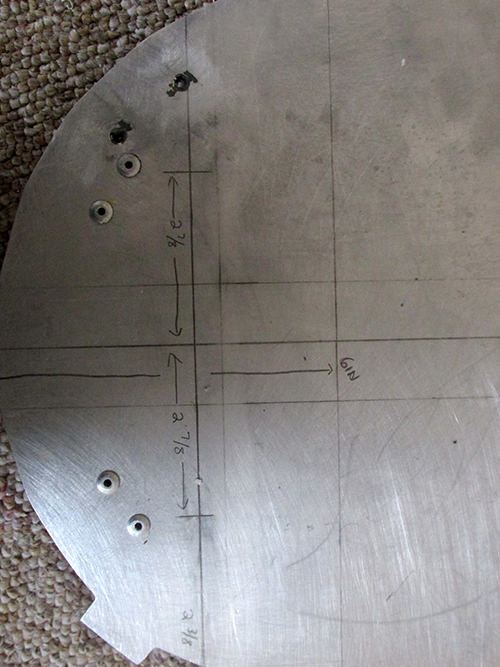
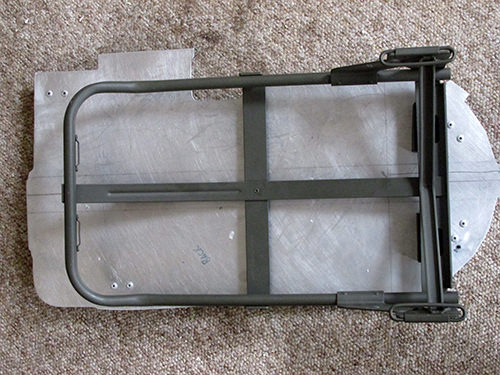
This is the “dry” layout of the frame on the motherboard. I’m going to go back and double-check my research but I think it looks about right.
Don’t sweat it, every pack has at LEAST one foul up, I cannot tell you how many foul words were said over my hero build. Everyone is looking great!
Your Pack is Turning out great! 
Thanks, guys! I appreciate the support. Even stressing the little bits this is still a lot of fun.
Update: The frame is attached! This went much more smoothly than I had expected and I’m happy with the results. No, really! It’s attached with carriage bolts, spacers and wingnuts. There’s a little bit of a space between the motherboard and the upper spacer but I think it’s just because it isn’t fully tightened down and because the spine of the frame isn’t straight. I might go in and try to straighten it some or I may just leave it be.
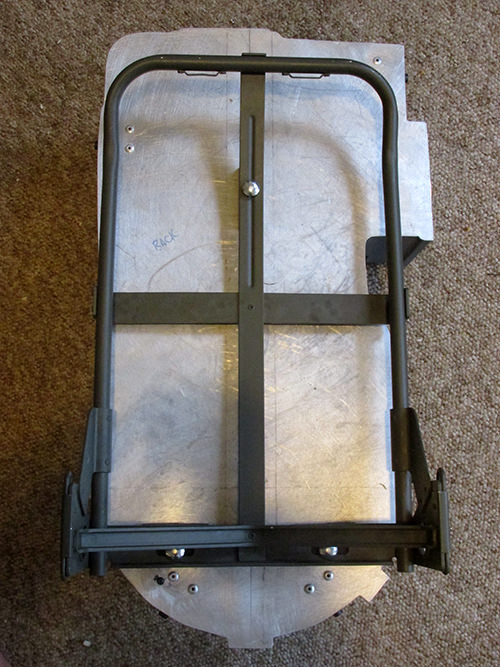
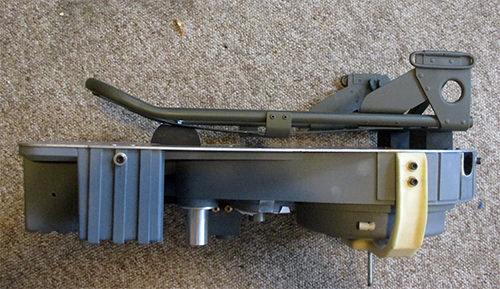
'tis a hefty beast already so when the time comes I’m going to make sure everything is properly tight and secure the pack straps with rivets and or zip-ties.
Story Time:
Years ago, a chubby version of me got to meet Ernie Hudson. I was super-hungover due to an ill-advised night out with a girl I used to go to school with. I stood in line for four hours in front of a guy carrying a door from the Dukes of Hazard car who talked about nothing but the Ghostbusters flight suits. For four hours. Anyway, I get up to Ernie and ask for a picture and an autograph.
I’m fanboying out so hard that I can barely say a word but somehow we end up in a conversation not about Ghostbusters but about how Dennis Franz had died and what a shame it was. Dennis Franz who was, and is still, alive. I spent my 10 minutes with Ernie Hudson talking about the death of an actor who wasn’t dead. :sigh:

Your pack looks great so far. Being OCD is a good thing when it comes to building props 
Updates! I’ve had some time (and money) to spend on my pack so I’ve done some updates.
New bits:
Potentiometer - Amazon
PPD - Freeky Geeky
Beam Line - GBFans
Ribbon Cable Hold Down - GBFans
N-Filter - GBFans - This thing did not fit my pack at all. It was 1/4" too big. My shell is fit to Stephen Otto’s plan so it should have been 2.75 in. I messed with expanding the area to fit it but I realized that it there would be a massive overhang. I’ll fix that when the final piece ends up being bondod on. Blargh. My fault for not checking the size listed on the site. I’m either going to see if I can get a 2.75 in. N-Filter or a may just use the resin part Ben of Kent included. I dunno. I’ll figure it out when I’m less annoyed. Another part for e-Bay, I guess.
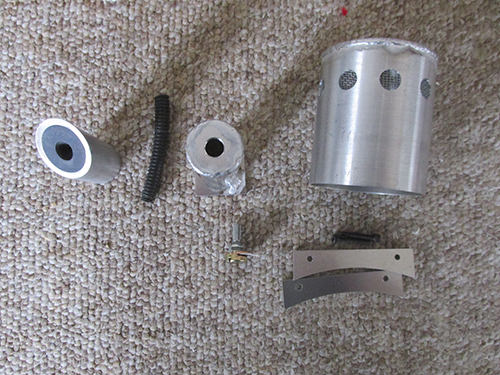
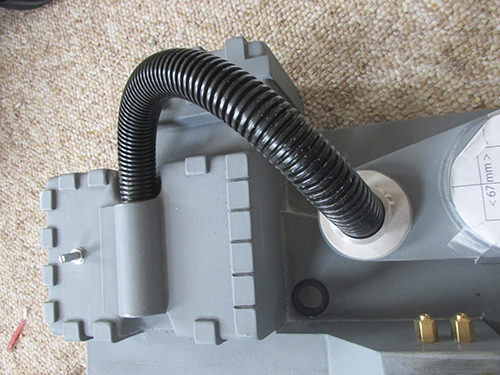
On a brighter note, I got a length of 3/4 in. hose to test fit the clamp. Looking at it now, I stressed the millimeters the clamp was off-set WAY too much. With the hose installed it doesn’t bother me at all. It kind of looks like it’s meant to lean “up” a little.
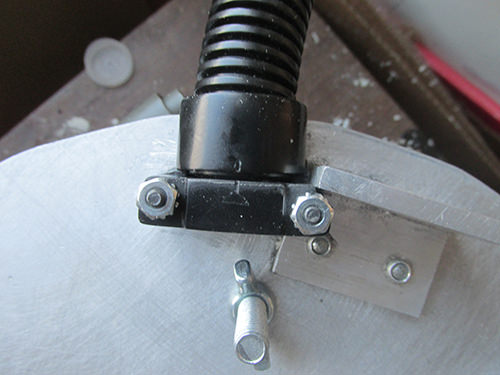
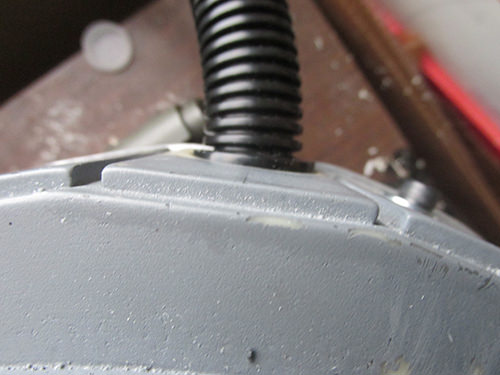
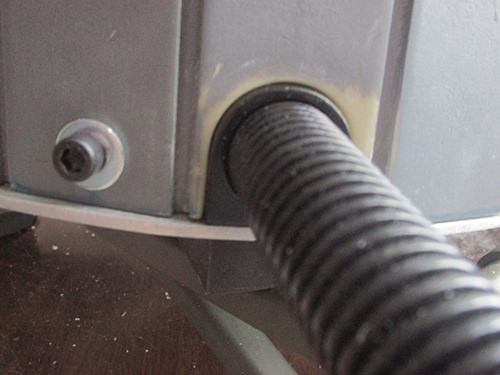
Dry fit for the vacuum line hose:
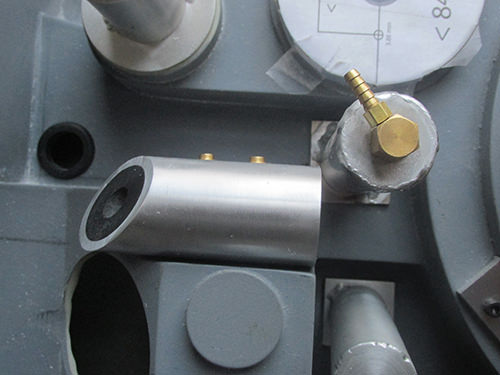
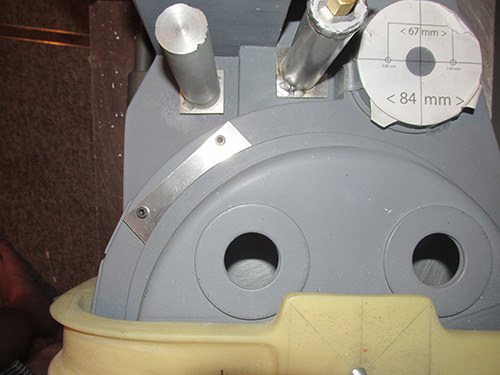
Drilling the holes for the PPD was a pain in the butt but I figured it out. You can see the beam line attached and the brass bit installed.

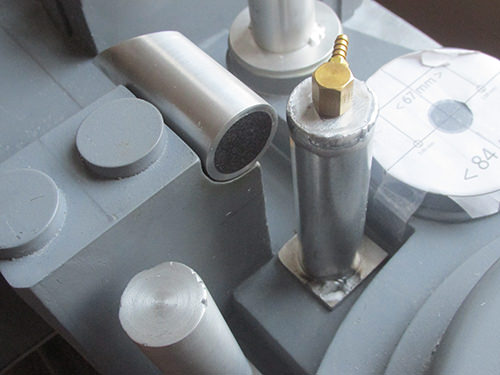
The Potentiometer. I like this part. My knob is on order from Bionic Moon Labs and I can’t wait to get it installed. I need to remember to put something in between the prongs. I remember posts mentioning that the knob might squish 'em.
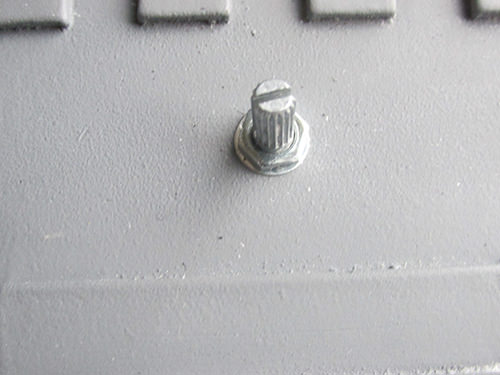
I eyeballed where the ribbon cable clamp was supposed to go based on the Omni cover and some other reference photos. I kind of rammed through this part. I’m getting more confident in my abilities. I’ve also been watching Adam Savage on his Tested channel and finally realized that stressing the little things is a good way to drive yourself mad. Plus, paints and lights and such “hide the crimes” as he says.
Work looks great as always.
Definitely put something in the potentiometer shaft gap. Those are designed to act as a push on “spring fit.” If you use set screws with these the fork will compress and the knob may loosen. You can put a piece of flat metal in the gap or fill it with an epoxy like Milliput.
The BML grey crank knob has functional set screws. The Shore value of the resin used is sufficient for tapping and holding threads, just don’t over tighten as the material is not as hard as the authentic milspec knobs.