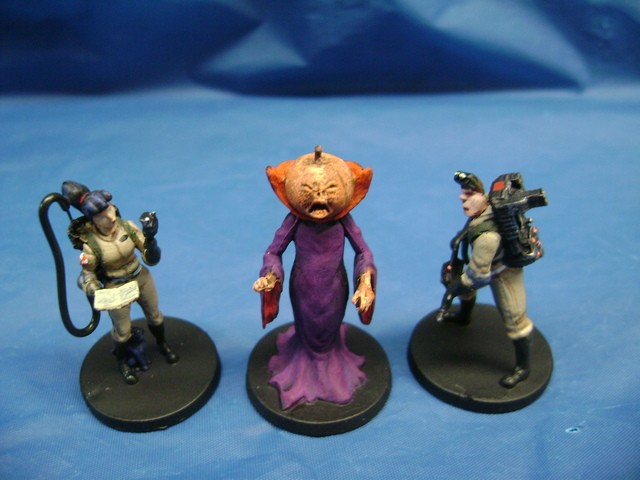
Cryptozoic Entertainment Board Game Figure Paint-Ups

Ghostbusters the Board Game by Cryptozoic Entertainment - almost all of you know what it is. A lot of you purchased it and a few even played it… but have you done anything else with it?

I’m painting the figures from the Game and will be putting them up on this thread as I go along. If you have already done this or plan to, I welcome you to share some pictures of your handiwork.

My first Paint-Up is the Taxi Cab Driver. Being a half Corporeal and half Ethereal Figure had me thinking whether to paint the entire figure, part of it or try to keep it as transparent as possible. I started with transparent, so I dipped it in Clear Acrylic which gives it a glass like look.

image

I tried some Transparent Acrylic Paint colors , but the results were not that great…so on to Solid colors. I chose to paint his top half only and left the bottom clear.

image

I’m unsure if I’ll leave the Base as is or paint it Black… anyway, only 7 more to go. After these, I’ll do some Busters.

image

image

Excellent! I need some good inspiration, I’m just about to attempt to paint mine. Awesome idea for the taxi drivers, I wouldn’t have thought of that.

Hey Jay,

Upload some pics when you get going.

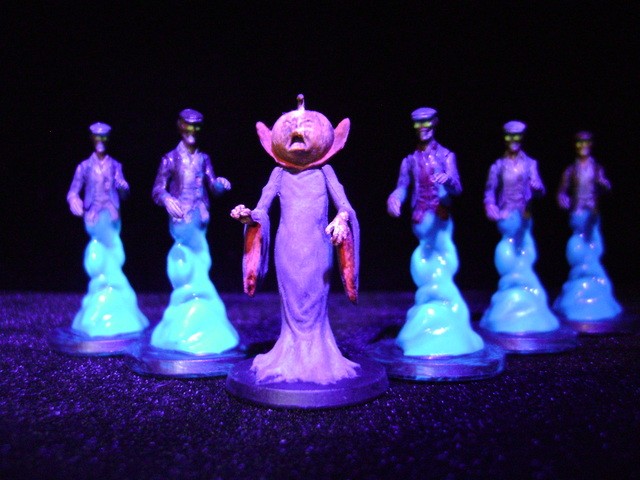
I did up the other 4 Blue Cab Drivers. 2nd one done up the same as the first…only difference is I painted the Base on the First one. Think that’s the way I’ll go with the rest of them.
image

Ghost Twins are nice, but I figured that I’d change it up a bit on the next three.

image

A bit of touch up needed here and there, the Eyes and Teeth on some are buggin’ me, plus painting their bases Black and I’m done with them. I’ll leave the Red Drivers for later.

image

I purchased the 2nd set of Grey Busters with the idea of painting one set in “Movie Colors” and the other in “Comic Book Colors”. Once I got hold of the Figures, I was disappointed to see how soft the details are. As far as Game Pawns go, they are above and beyond expectation, but as Painting Miniatures they leave much to be desired.

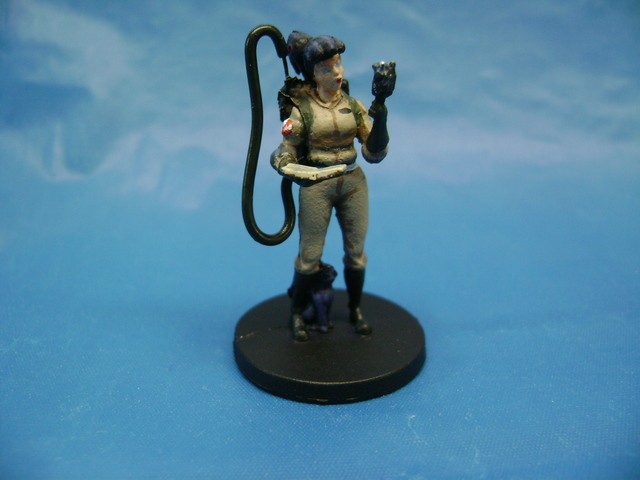
First Buster to be painted is Kylie. Not only is she my favorite Character from the Comics, but the worst Figure that Crypto has made. They omitted casting the Hose connecting her Thrower to her Pack, so I had to add one onto the figure.

image

Instead of working from dark color to light, as you would on most Gaming Minis, I painted the Median Color first and then added the Shadows and skipped the Highlights for now. Having the Stat Card and Comics helped me to paint in some details like the Straps. As you can see, I have a lot more to paint before she’s done.

image

For those not familiar with Gaming Minis, here is a shot of Paranormal Investigator Janine standing next to Kylie. The details on their sculpts are usually deeper and make painting them much easier.

image

If you haven’t seen these figure before, you can find them here.

http://www.gbfans.com/forum/viewtopic.php?f=37&t=37734

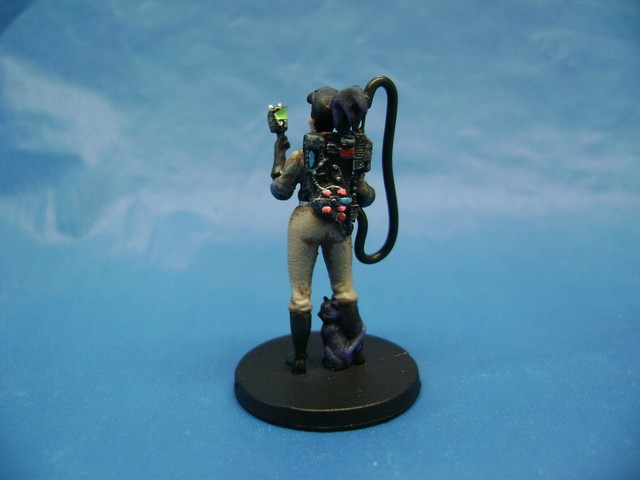
Done with this rendition of Kylie. In real life, the Figure looks pretty good but not so much when magnified in the pics. Finished up her Uniform, gave her eye shadow, blue highlights in her Hair and on her Cat.

image

Dry brushed her Meter and Proton Pack w/ Silver, Painted in a few Labels and made the “Lights” fluorescent.

image

This is a bad time to start reading the instruction manual.

image

Think I’ll try Ray next.

Having worked out some of the painting 'kinks" with the Cab Drivers and Kylie, I’m ready to do up the other figures. Here is a step by step using Ray.

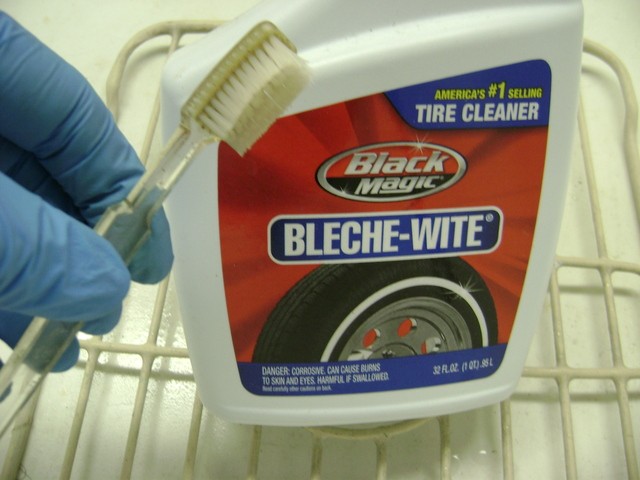
Put on some Neoprene Gloves, grab an old Toothbrush and give the Figures a good scrubbing to get all the Oil off them from being handled/played with. I use Bleche-Wite to clean mine. You can also use a good Dish Detergent that cuts grease.

image

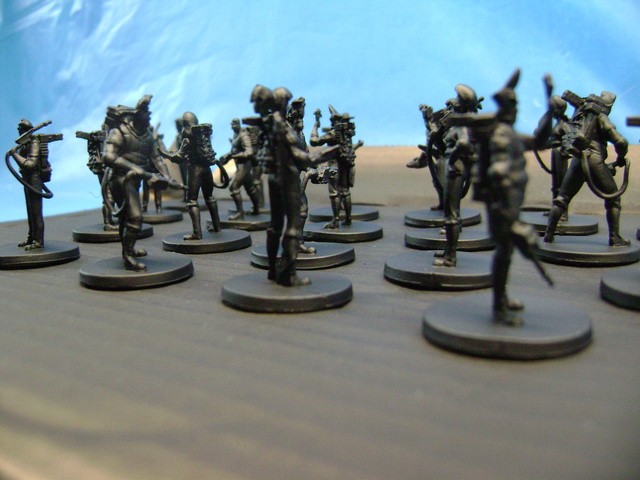
After they dry, I stick them to a piece of cardboard and spray them with Primer. I use Citadel as it tacks well and lets what little detail there is show through.

image

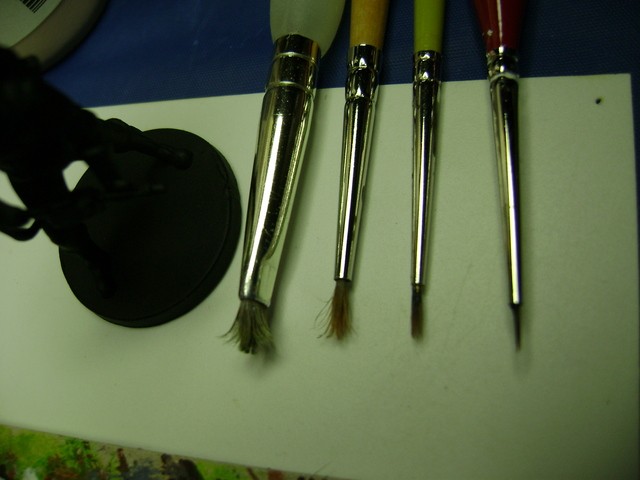
These are the Brushes I’m using, the smallest is a five- ought.

image

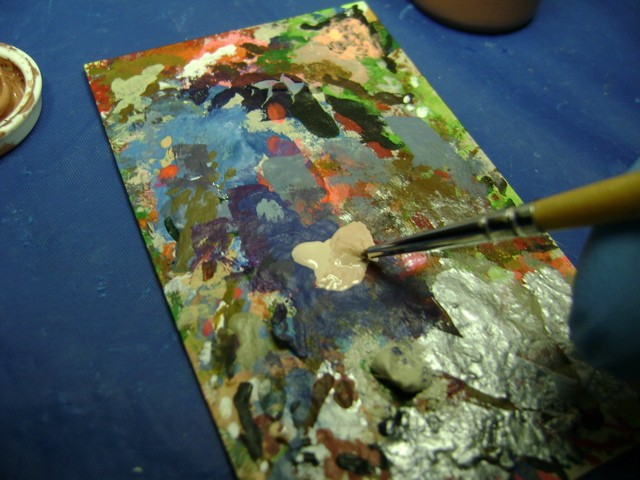
As far as Skin Color goes, I don’t like any that come straight from the bottle so, I’m using a mixture of “Ryan” and “Khardic” Flesh made by P3 . The Citadel “Karak Stone” will be for his Uniform.

image

I start with a brushfull of the lighter Flesh tone and add some dark until I get the blend I like. Yes, I wear the Gloves when I paint. They keep any oil from my fingers off the Figure and I don’t have to scrub up as much when I’m done painting.

image

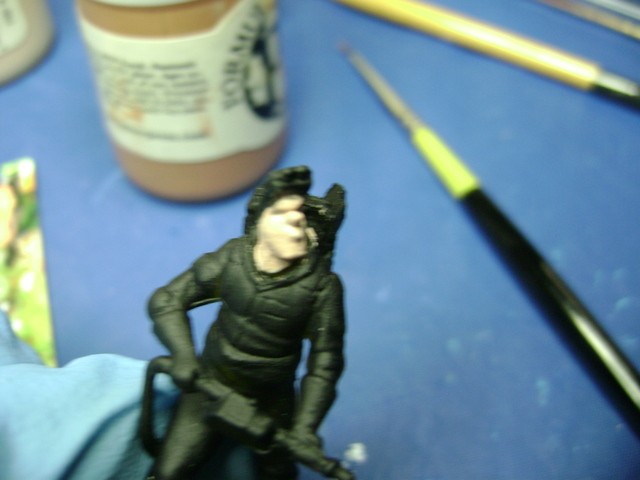
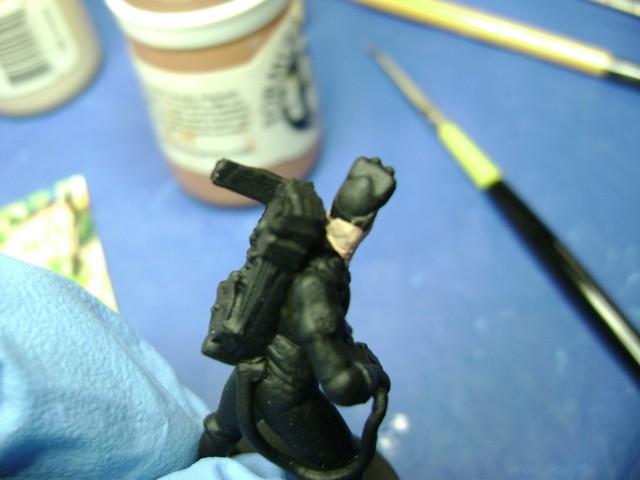
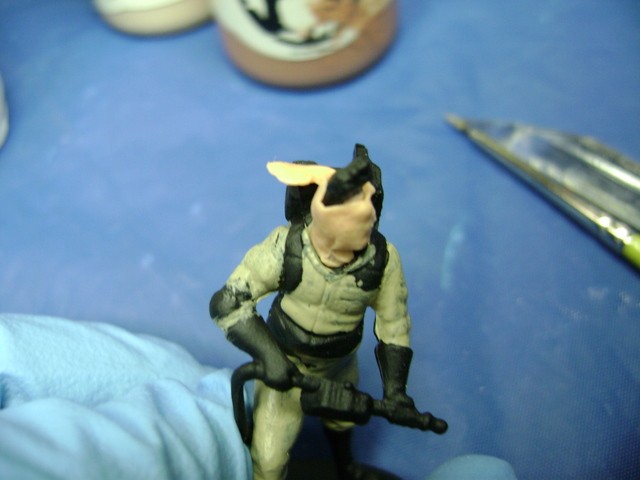
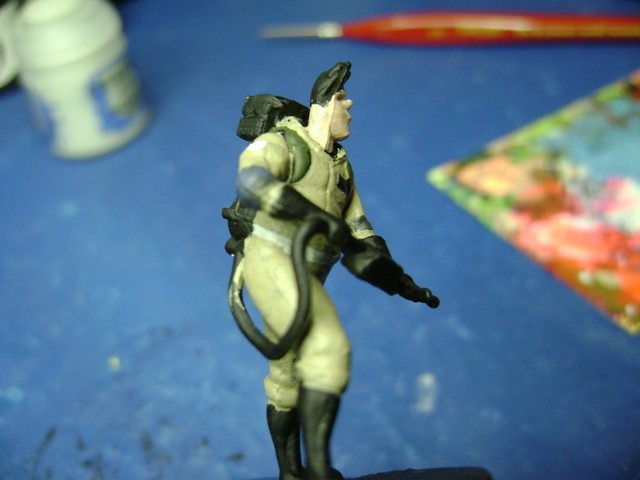
I paint Ray’s Face and Neck, trying not to over paint anything else. Normally I would not care, but the Detail lines on these figures are so shallow that they are easy to fill in with a coat of paint. You have to treat these like a “paint by number” picture.

image

image

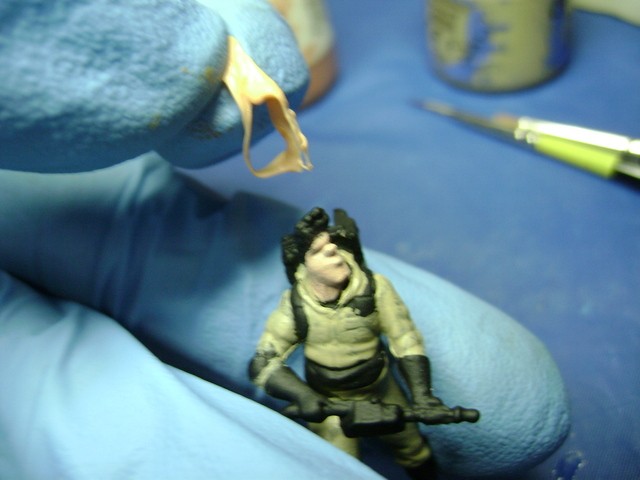
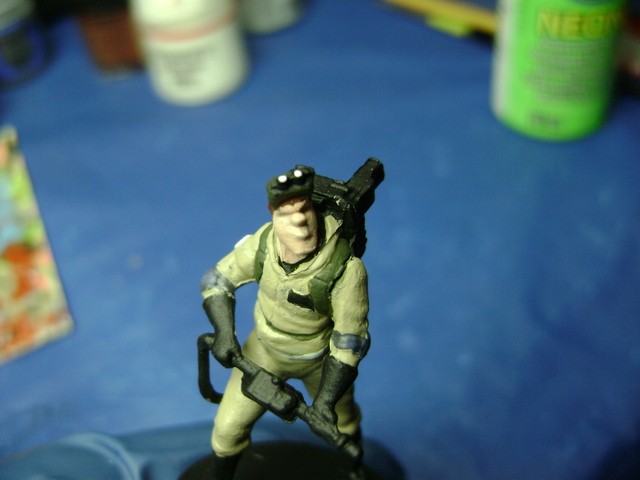
I put some Putty on Ray’s Face to protect it from over painting while I do his Uniform with the “Karak Stone”.

image

I paint up to but not over his Gloves, Boots, Pack, Pads and any other detail lines I want to be other colors. Not the easiest thing to do, as I see that I painted over one Pad Band, otherwise not too bad. I take off the Putty and have a nice separation between Ray and his Uniform. I see that I’ve missed his Belly Bulge so I’ll have to touch that up.
image

Next week I’ll add some shadow and color in some details. Any questions or comments?
I wouldn’t have thought of covering his face. What is the putty you’re using? Anything special?

Don’t be Silly, it’s just Putty. :smiley:

image

Then again, I’m guessing everyone knows what Silly Putty is.

Wah wah. Lol, there seems to be not enough cartoon news print faces in your putty!

Just checking, didn’t know if there was a special kind. Looks like a trip to the dollar store is in order! Looking forward to more tips!

More tips coming up, but first, let’s take a bathroom break.

image

First one done in traditional Blue. Being there are five of these, I’ll do each one a different color.

image

The details on theses are cut in deeper so they are easier to paint up.

Back again with painting up Ray.

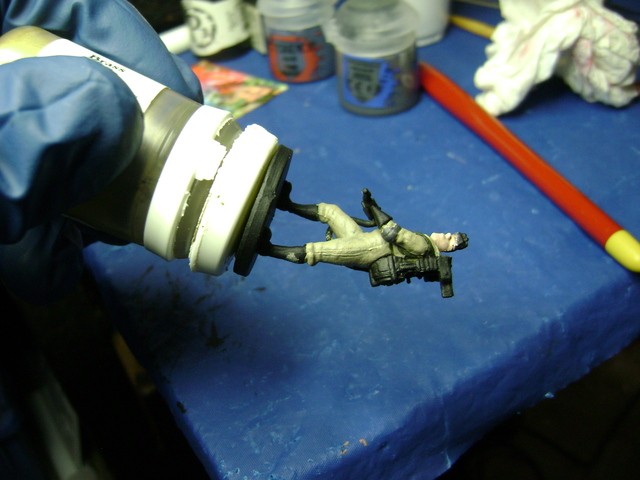
Todays tip is to mount the Figure onto something to make it easier to hold. Here I’ve taken a glob of Museum Putty and mashed it on the bottom of the Figure’s Stand. I then pressed this on top of a Paint Pot that I’m not using.

image

This allows me to twist and turn the Figure without touching any parts that I have just painted. I like the Putty because it holds well but can be cleanly removed when done.

image

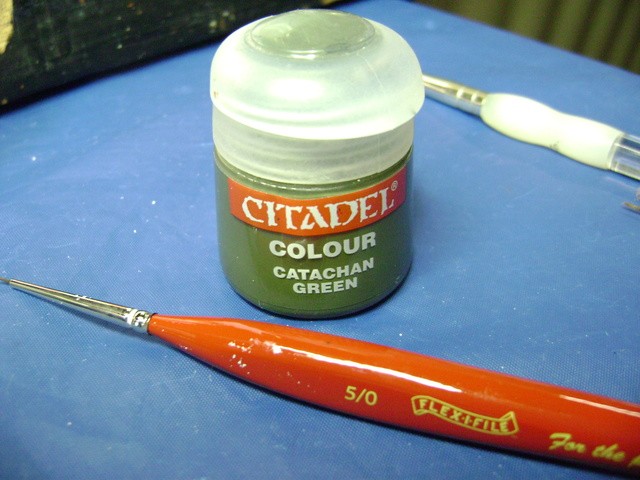
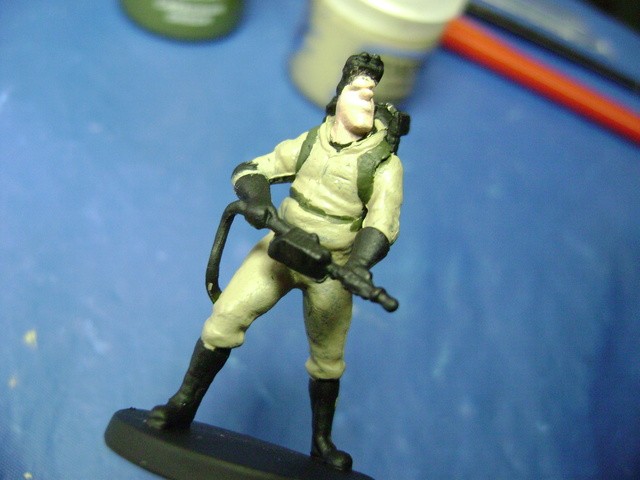
The Straps get painted Catachan Green.

image

image

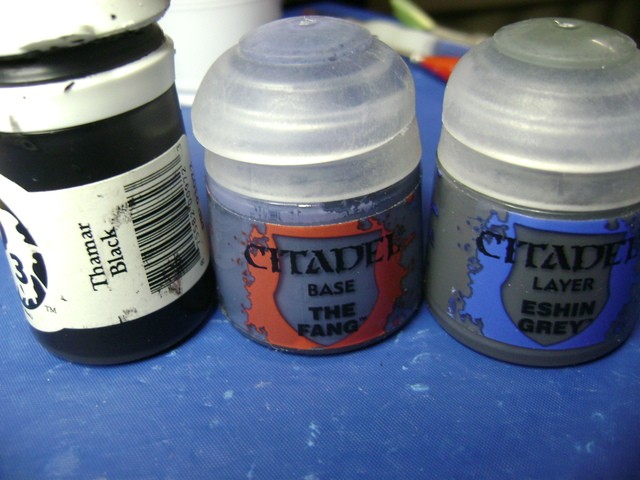
The Name Tag is done in Thamar Black and the Elbow Pads first in Eshin Grey and The Fang.

image

Still usin’ that Silly Putty to mask off sections.

image

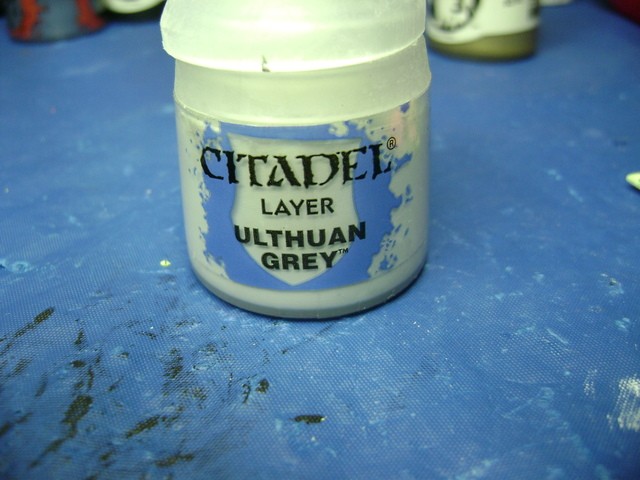
I like Ulthuan Grey for his Belt.

image

image

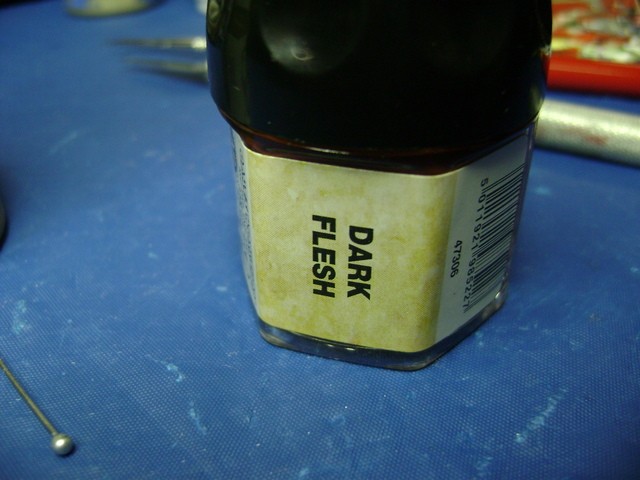
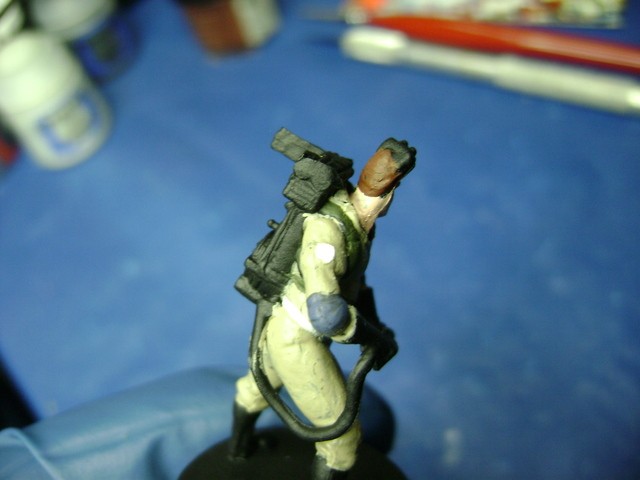
Being a way old Pot of Paint, I’m using Dark Flesh for Ray’s hair.

image

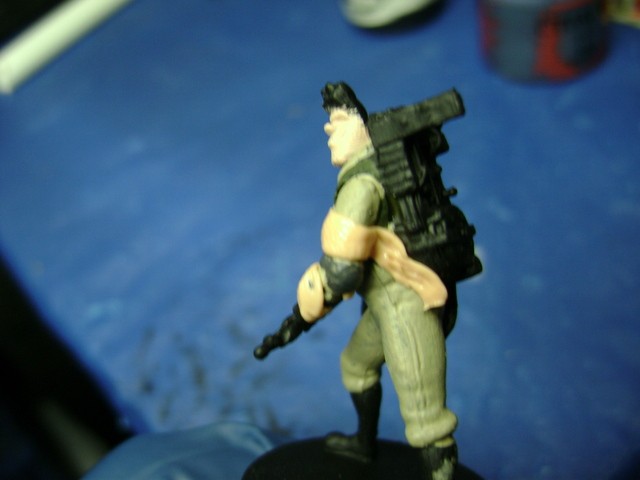
Masked off the already painted areas.

image

image

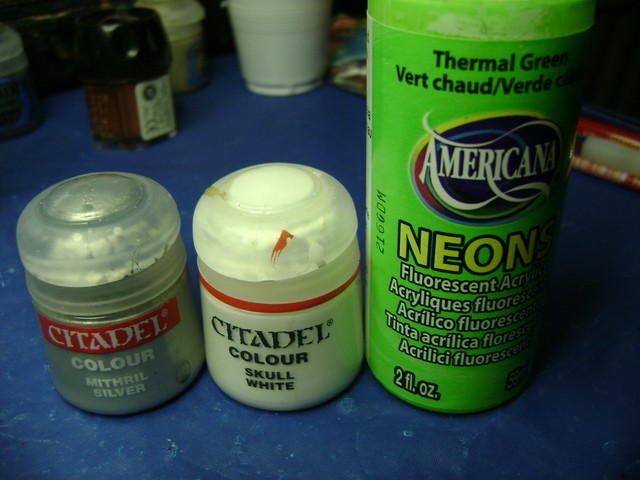
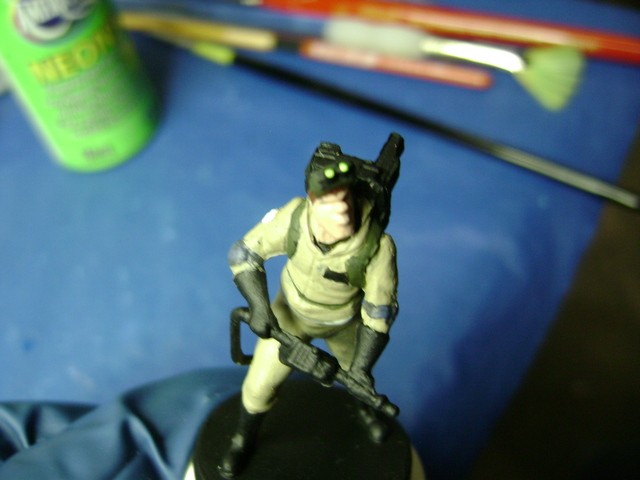
Last bit for this time, Ray’s Goggles. Catachan Green for the Body and Strap. Mithril Silver, Skull White and Thermal Green for the Lenses.

image

The “Glass” portion of the Lenses get a coat of white first.

image

Then they get a coat of the Thermal Green. Giving them the undercoat of White makes the Fluorescent Color pop.

image

Next week we delve into the shadows… no, really. Meanwhile, please leave some comments or questions.

I’ve been enjoying the updates Capt, with all of the tips & tricks. I used to build model cars years ago, and I can see how many of these things could have come in handy.

Hey E-1 Fan!

Glad you like 'em. After all these years, I’m still learning new tricks and I’m happy to share them.

Another Bathroom Break -

I gave “Ol’ Blue” a coat of Clear Acrylic on his Tongue and Eyeballs, just to juice him up a bit.

image

Then I did his Irises and Veins with Clear Red to top him off.

image

“Looks like we need to call a Plumber.”

image

Let’s get Ray done. I’ll use these paints to do the Shadowing and make the figure a bit more Dynamic

image

Normally, I would have done Ray’s uniform in Graveyard Earth first and then Dry Brushed the Highlights with Karak Stone. Being his Figure has faint Details, I’m painting in the Shadows.

The Reikland Fleshshade is a pre-made Wash that I would use over the entire Face area. It puddles in the creases to form it’s own shadowing. Being that there are not a lot of creases, it would color his whole face area. I’m using it like a regular paint this time. Here I’ve shadowed his Face and to pick out some Detail of his Uniform, I’ll go over the shadows on the Uniform with Graveyard Earth to darken them.

image

image

Blood Red is used to pick out a representation of the No Ghost part of his patch.

image

image

Tip of the Day is: Keep hydrated while working, but don’t over do the Caffeine and Sugar as your hands will shake and the paint won’t dry fast enough.

image

Next is one of my favorite colors and a hold over from my Model Railroad days, Oily Black.

image

I use this for the Boots, Gloves and Hoses on my GB Figures. It doesn’t have a High Gloss but more of a Sheen, just like Oil, go figure.

Again with the Silly Putty. I use my Knife to tuck it between the Hose and the finished Uniform.

image

Glove and Hose on Left Side of the pic are done in Oily Black to show the difference.

image

All done with the Oily Black. His Pack and Thrower are last on the list.

image

Silly Putty for the Mask. This should be 2nd nature by now.

image

Dry Brushing of Mithril Silver to pick out the details and Edges of the Pack.

image

Pack Labels are done with Mephiston Red and Calador Sky while any “Lights” get a spot of Skull White.

image

image

image

The “lights” then get lit with Neon Blue an’ Fiery Red Fluorescent Paint.

image

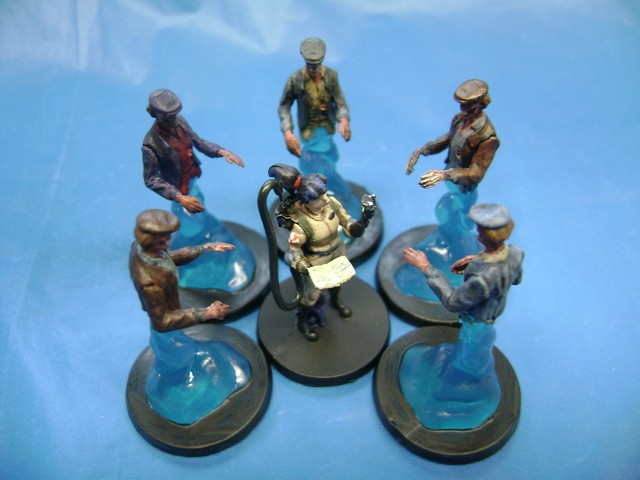
The Thrower get the same treatment and Ray is done. Here he is joined by Kylie and her Cat.

image

image

Group shot of all Characters done thus far.

image

Any questions or comments? More Ghosties next time.

No questions or comments? What in the Samhain is Going on?

image

image

Just dropped by this thread and my god these are awesome. You must have a steady hand and an even steadier patience Cap

This thread never ceases to amaze me… now I’m really annoyed I didn’t get the retro pack for the gb2 game so I could paint them myself!

Hey VS!

Only the patience part. :lol:

This time round, Ol’ Blue gets a new Friend.

image

Hahaha I disagree! Immense job