Unreal. It looks like a totally different figure.
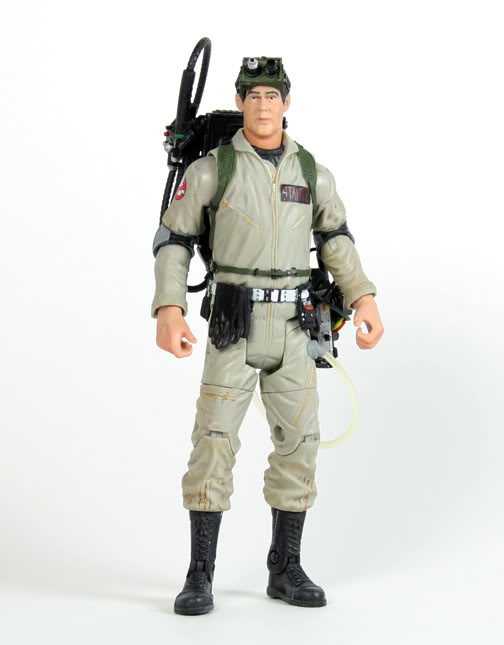
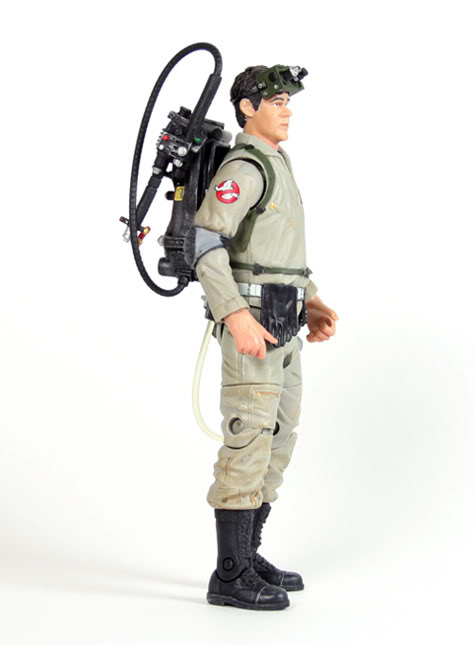
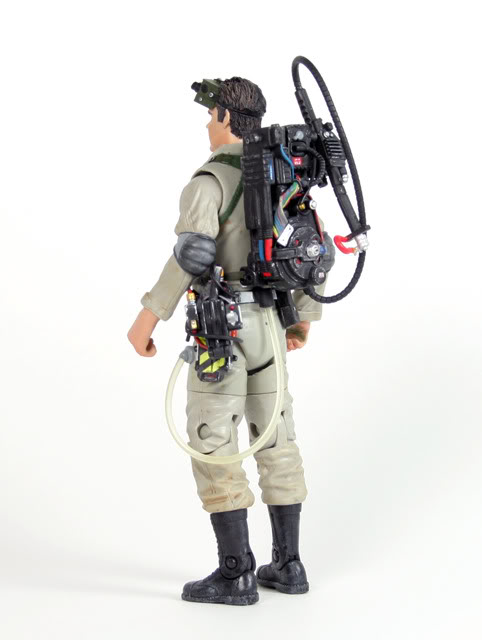
AMAZING! can I pay you to do the same thing to my Ray figure?!
Talk about a world of difference! Outstanding job!
So, it’s been a few months since posting any new progress, but I think I finally have something worth showing, lol.
First of all, HUGE thanks to Captcyan for all the insight! There’s was a lot of little detail work that I really wanted to do but didn’t have any idea how to go about it, so yeah. . .thanks man! CanNOT thank you enough!
Onto the pics and whatnot, lol.
There’s still a TON of stuff that needs to be done, and working along on all four at the same time has really slowed things down, but I think it’ll be more efficient in the long run.
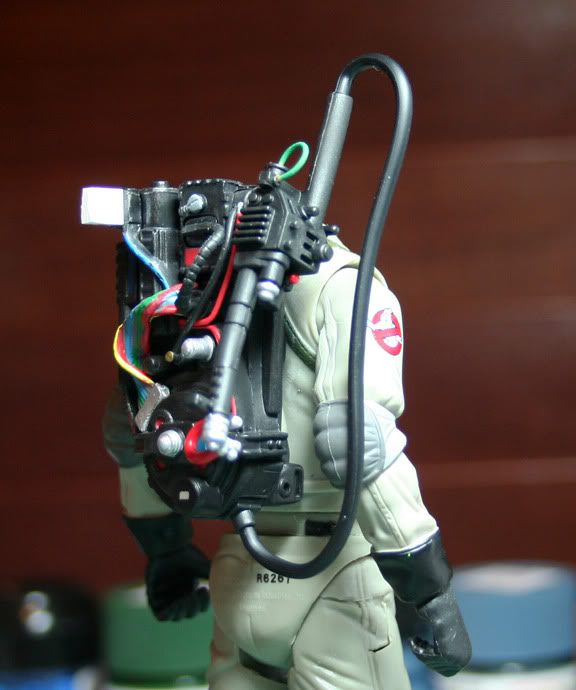
First up, is switching out everyone’s pack hose. I accidently snipped one off, so decided it’d be better just to find something else that worked and was I came up with was a black hose that had a wire running through it to allow for it to be posed. This will not only allow for a more natural looking hose when the thrower is holstered but also be a lot less strain on the throwers themselves. Now I know the tube doesn’t have the correct ribbing, but that was a detail I was willing to overlook. Also in the pic is the additional red wire that runs to the top right of the pack has been added and also I’ve started on a longer Ion Arm. I tested it out and I should be able to get a scaled ‘ion rod’ attached too!
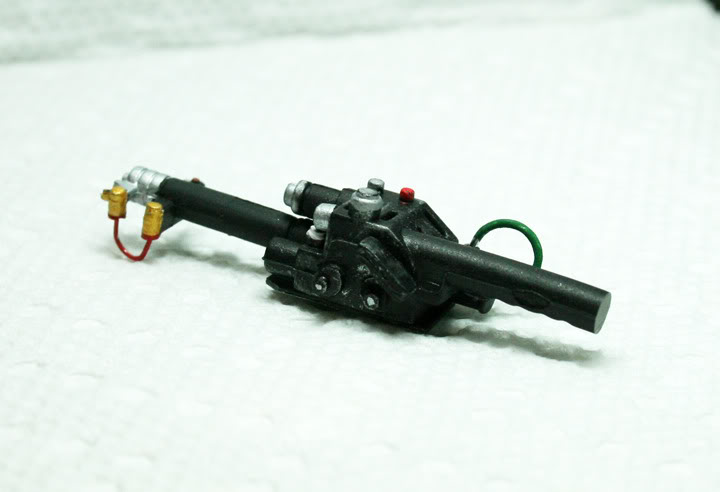
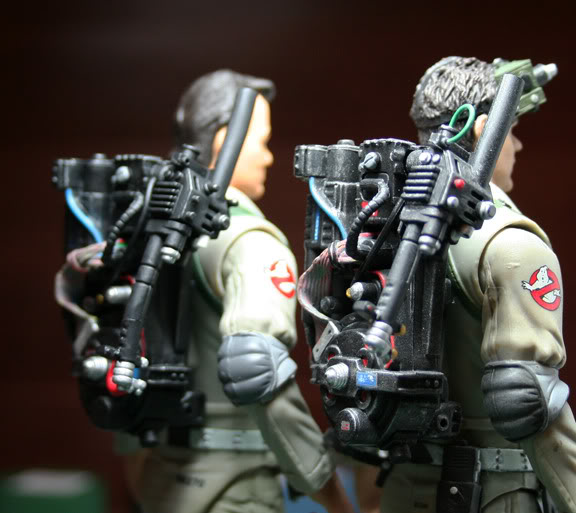
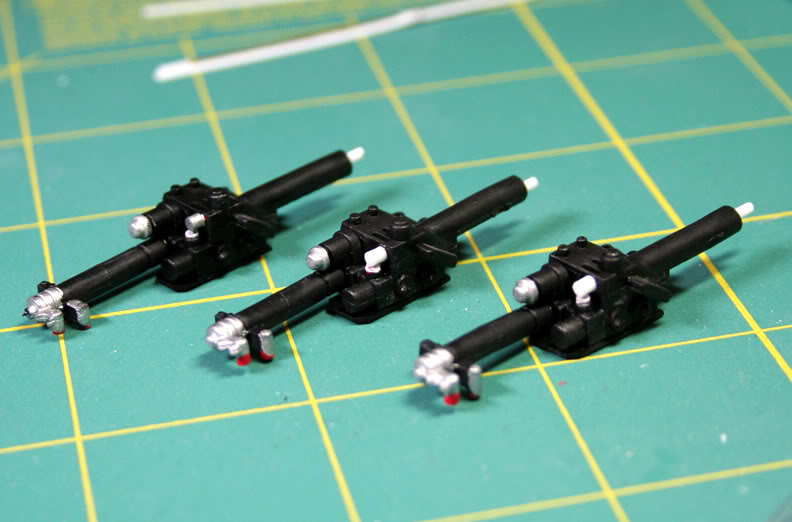
Next we have the proton gun itself. It always looked a bit off to me and when I started comparing it to screenshots I noticed the thrower’s length is way too long, lol. I shortened both the handle and wand, and then added both the green wire and red wire to the tip. Some additional details can be seen on the side of the thrower that have been added too that were MIA. Will be doing this to all the guy’s throwers, right now all I have done is Ray’s, but I’m debating working in some small switches to replace the ones I removed. Will also be adding grips to the handle and wand to give it a little more bulk:)
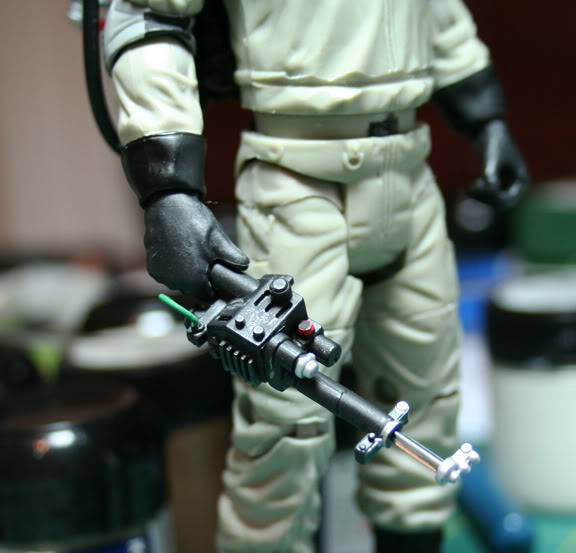
I’ve also been tinkering with making the extended wand tip for the GBs that will be holding their wands. I used a small clear acrylic rod and it worked out pretty well. I’m going to see if its possible to use styrene for the last metal ring to make it a little more authentic. We’ll see, lol.
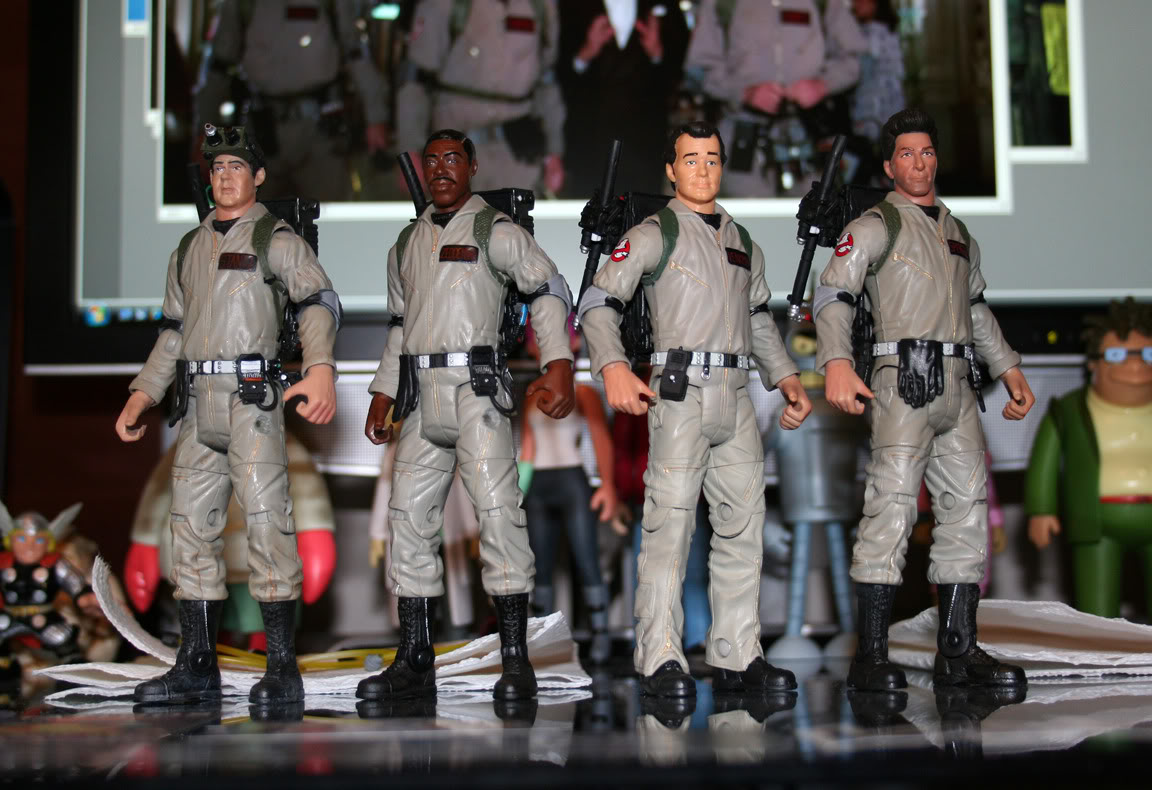
And last, but not least is the GBs themselves!! A lot left to go on these guys. Have to file away the area for their waist straps to sit in (thanks to captcyan!) Also snagged three yellow leg hoses off some extra venkman’s for each one to have the correct color. Always bugged me I didn’t swap out Ray’s clear one the first time around~ Will also be tweaking Egon’s glasses a bit, as well as redoing Peter’s belt to reflect him not having gloves anymore. My plan is to have my GB1 set without gloves, wands holstered. Then sometime down the road have a set of GB2 with gloves, holding the wands. Should look cool!
Ray’s hair looks damn amazing!
Hey Mereel,
Nice job you did reworking the Throwers. The acrylic extension is excellent!
Also, thanks for the mention(s). When I stop making stuff for other people, I’ll have to do some work on my own figures. 

looks like after the Rookie figure is all done and looking pretty on my shelf, I’ll be commissioning Mereel to fix my other figures…
Awesome work, the wands are looking great!
Any updates here?
Agreed, if the Masters can have interchangeable heads than so should the Ghostbusters.
Nothing like a massive SNOW DAY to free up some time to take some progress pics, lol.
Still a lot to do, but I’ve been able to start working on some of the individual stuff for each Buster. Venkman I’ve started on first:
Venkman’s belt finally coming together, I’ll still need to tighten up all the paintwork but it’s fun seeing all the bits and pieces on there:)

Venkman’s proton pack getting some additional detailing as well as his new ion arm!
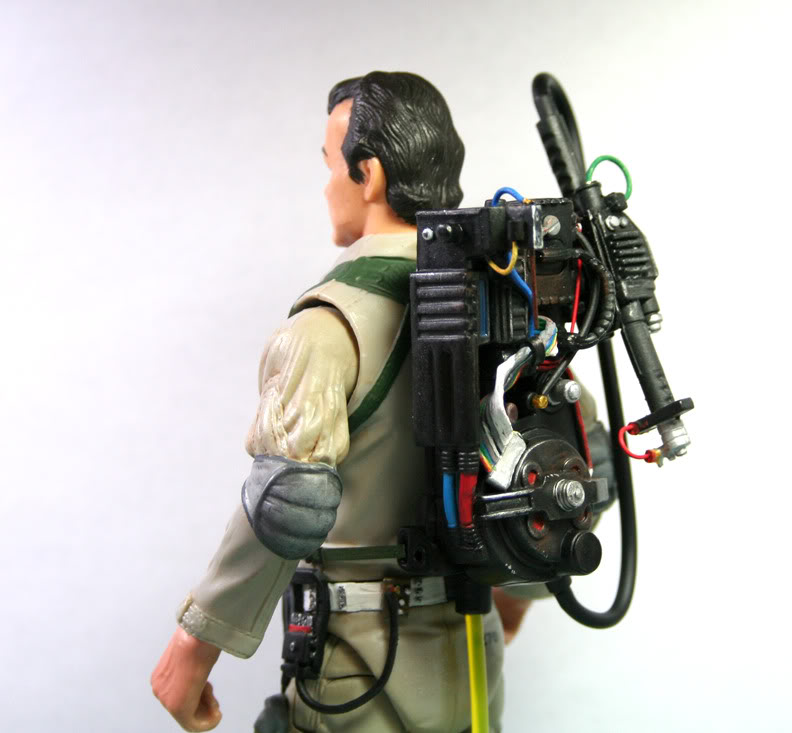
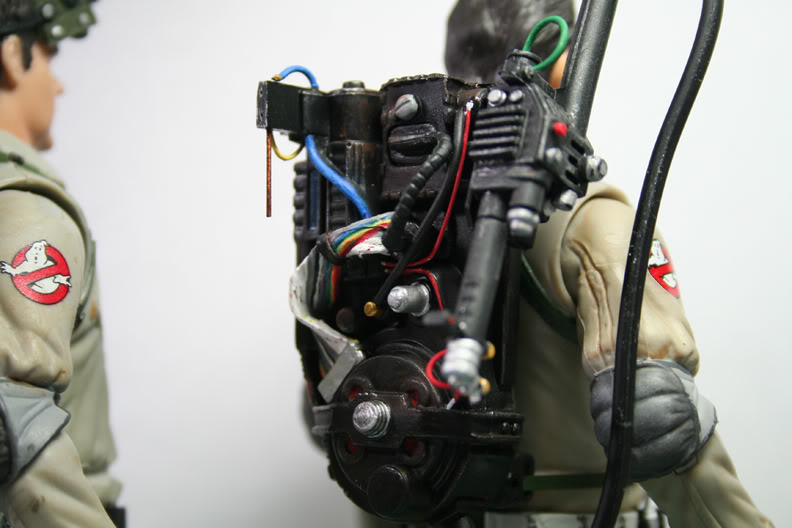
And some shots of other ‘in progress’ pieces (ion arms, waist straps, throwers)
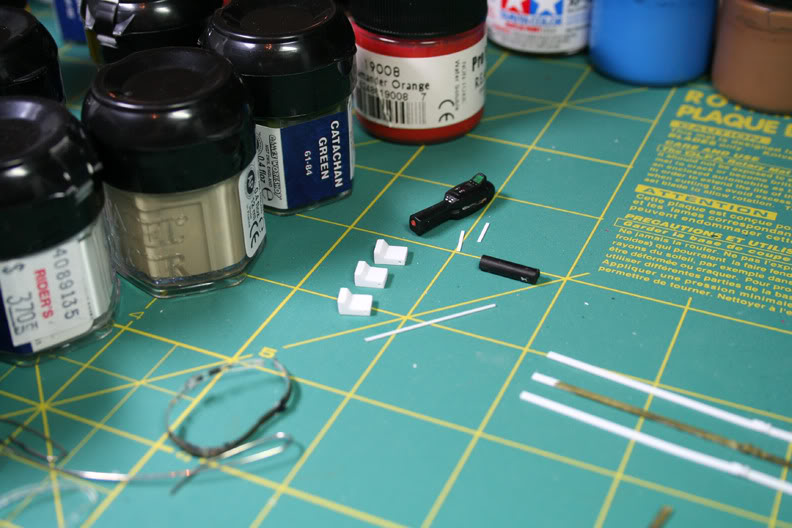
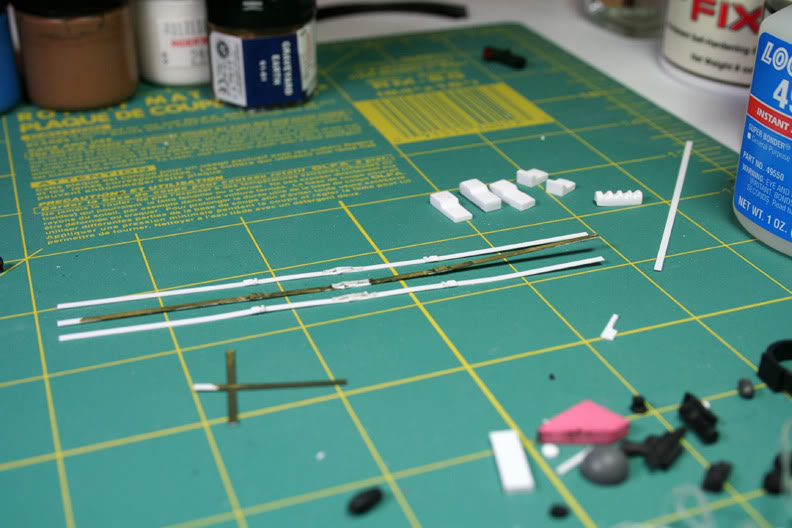
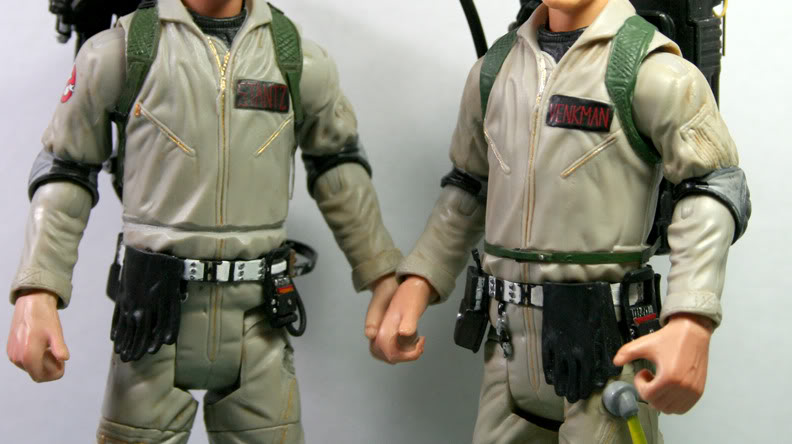
A comparison shot of Ray and Peter~
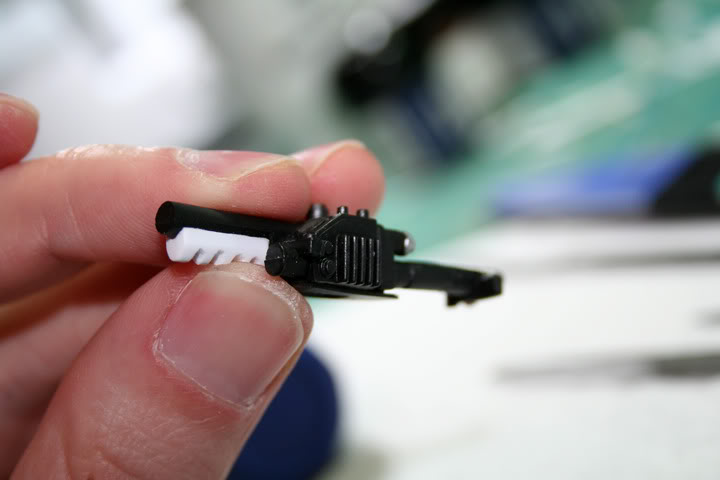
And finally my first attempt at thrower grips. It took probably three more tries but I think I’m finally happy with how they look now. When attached, the wands will no longer be useable, but my plan is for my GB1 guys to have their wands holstered since they’ll be without gloves. The finished grip has since been sent off to be molded:)
Still loads to do, but I’m getting there!
Great update! I see you cut in the Kidney Straps, groovy. I’ve got questions.
Did you cut off the wings to the PKE or did you scratch build a new one?
The Red Wire going to the Cyclotron looks thinner, did you black it out and put a real wire on top of it or did you just paint it thinner?
Will you be drilling out side holes in the N-filter and giving it a Red Stripe?
And are those Radios hanging out by the Thrower Grip and Ion Arm Extensions?
Thanks Capt!
Your method of cutting the groove for the waist strap is such a HUGE addition to these guys, I can’t say it enough!
The wings I cut off of the PKE, and had them glued down but I didn’t like how they weren’t as flush as I would have liked so I’m probably going to just use thin styrene and make some.
The lower red wire on my Venkman actually came unpainted, lol, and so I had to go in and paint it myself. Probably why it looks a little thinner than Mattel’s stock job. I meant to use a slightly thicker guage wire since this was sort of a pain in the butt to bend and not kink, etc but forgot and used it anyway, lol. So looks like I get to do the others in this same guage. . .yay. lol
I actually was planning on just painting the holes on the N-Filter but I like your idea MUCH BETTER!  Definitely gonna add the red stripe as well:) Will probably be one of the last things I do as I (for whatever reason) have a tendency to rub paint off when I’m working on adding pieces to the figures themselves.
Good eye! Yup, those are indeed radios, when I’ve needed a break with the GB1 guys I’ve been trying out some things with some of the other equipment. Hopefully I’ll have another decent update in a week or two, lol.
The N-filter idea was not mine. It was joeghostbuster who came up with it. I was supposed to do it to the Rookies Pack, but it slipped by me. :oops: Figured I’d suggest it to you to see how it would have come out.
Great, I really like watching the steps that go into making these customs it makes people like me appreciate all the hard that you guys put into them.
Ooooh, looking nice! When I ever get some, if ever, ima attempt to do the same. :crunch:
Damn, this is making me want to work on mine! Not enough time for all of my projects! Keep up the good work; looking forward to more updates.
Thanks again everyone for keeping this thread alive, lol. I think I finally have enough done to post another update. Still a ways to go, but it does feel like it’s getting closer to the end!
Few tweaks: Repainted the belts a color I’m finally happy with (not quite grey, but definitely not white either) and also redid Mattel’s shoddy elbow pad paint app. Don’t know why it never occurred to me before to clean them up but anyway, glad I did now:) Also added the leg hoses, and finished the washes for all the jumpsuits and weathering for the boots.
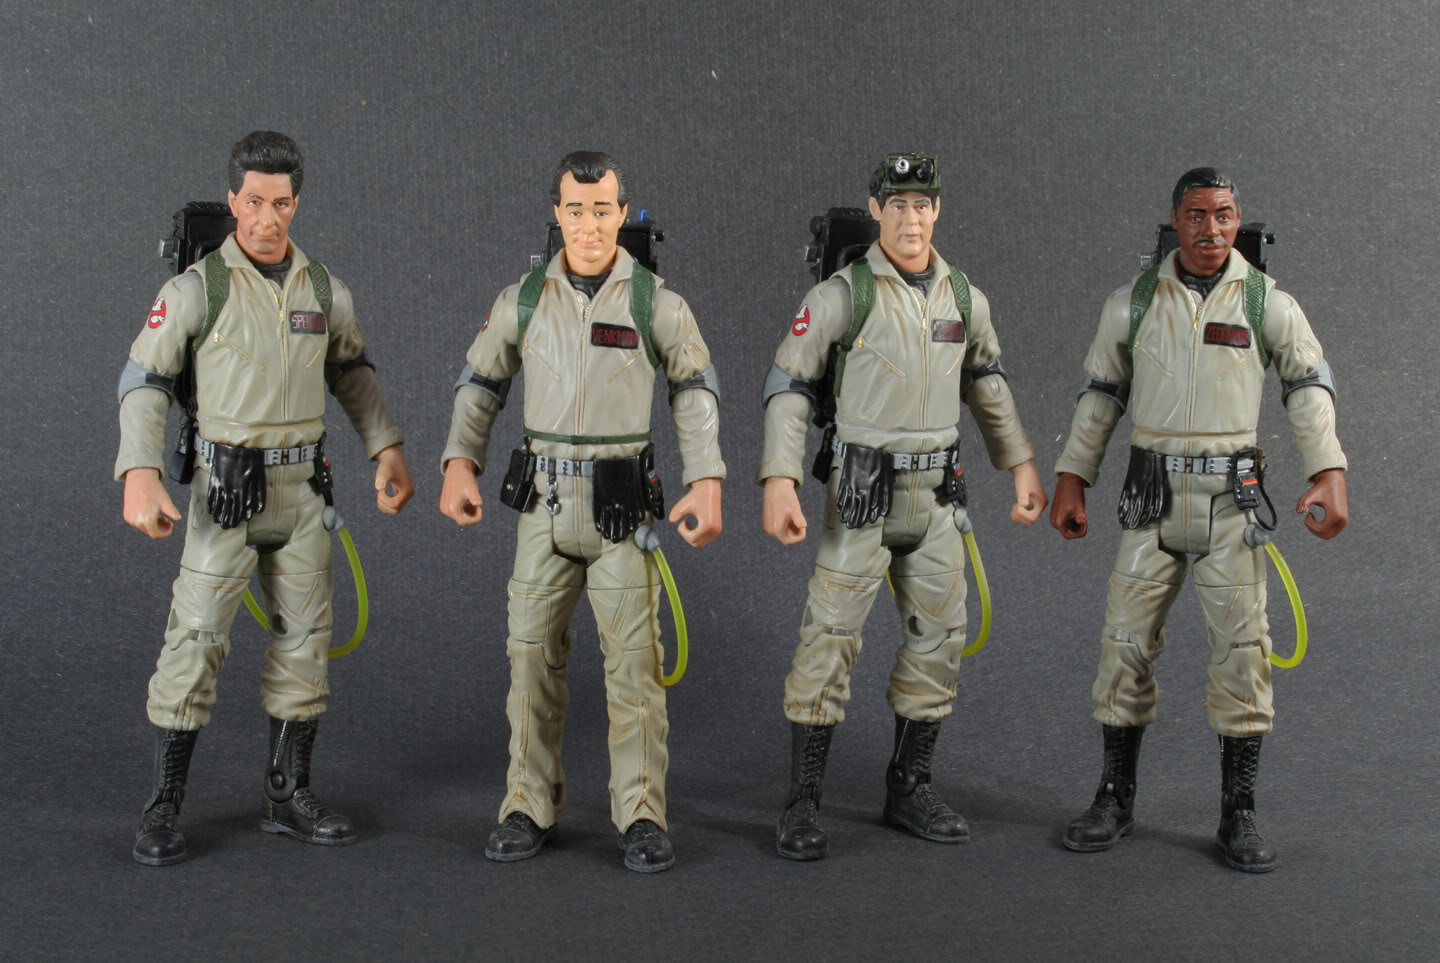
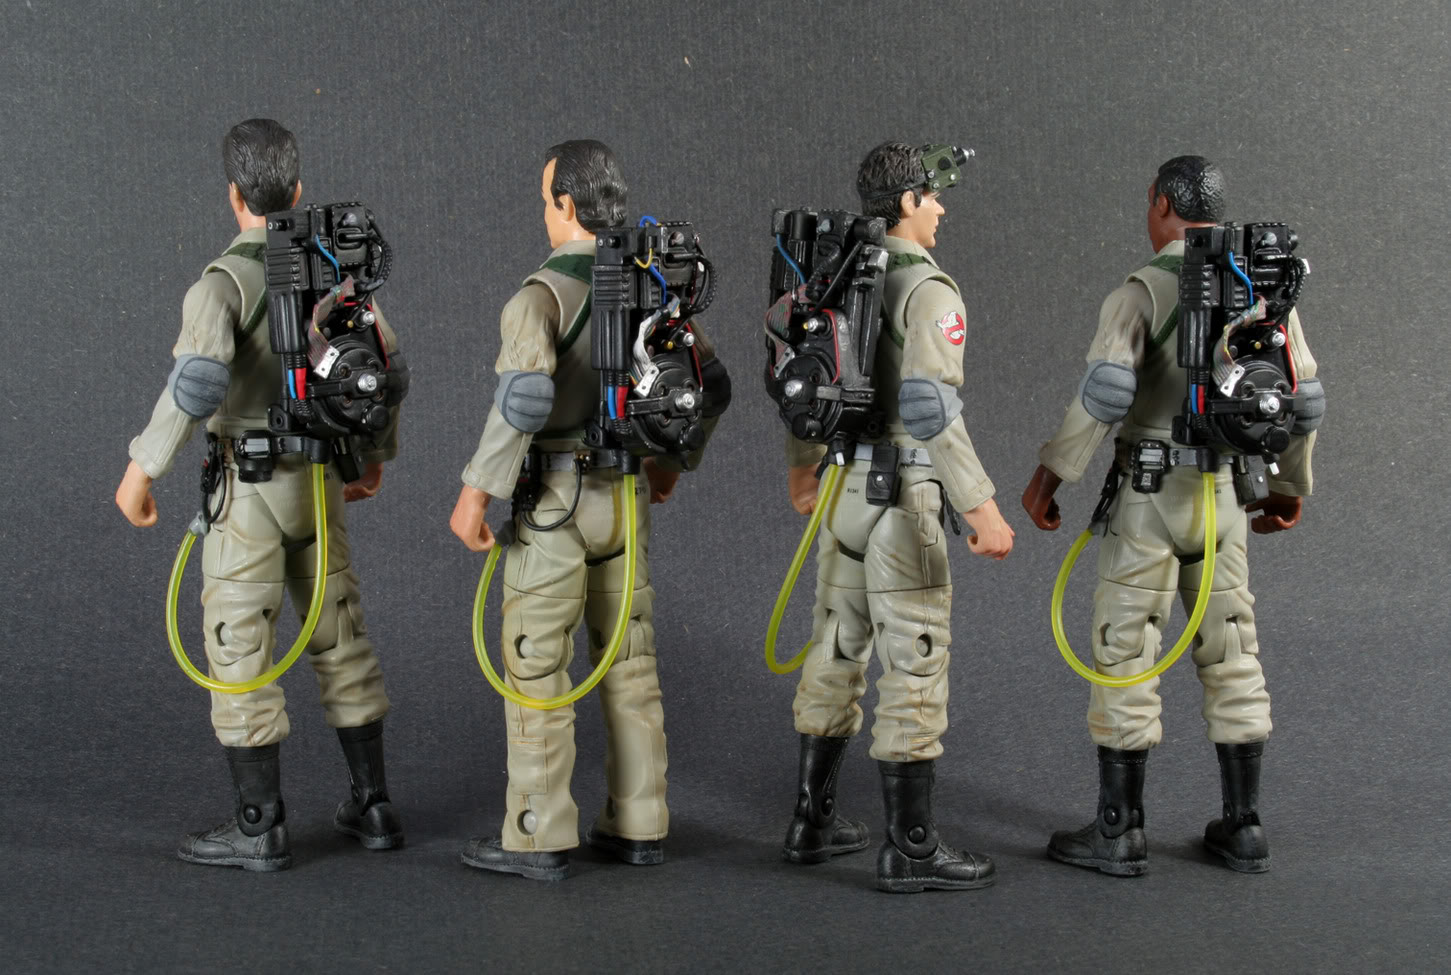
I forgot to take a pic of the three remaining waist straps, but they’re finished, just waiting to be attached once the belts and pack weathering is done.
Also added the 4 bolts to the side of the pack, and the bolts for the silver clamp on the ribbon cable.
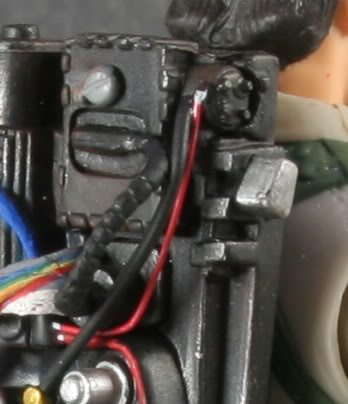
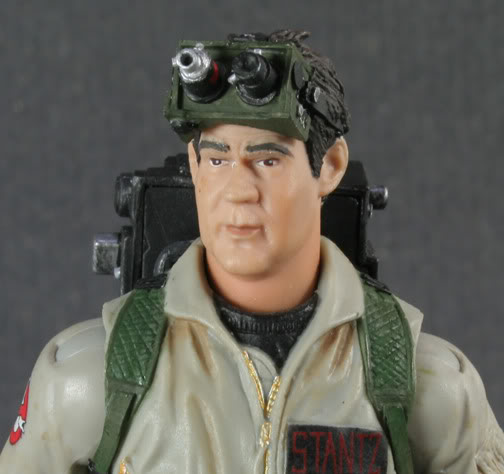
After seeing captcyan’s goggles have the silver knobs, I went ahead and gave it a go and added some to mine too (as well as hollowed out the lenses a bit to make them more accurate.)
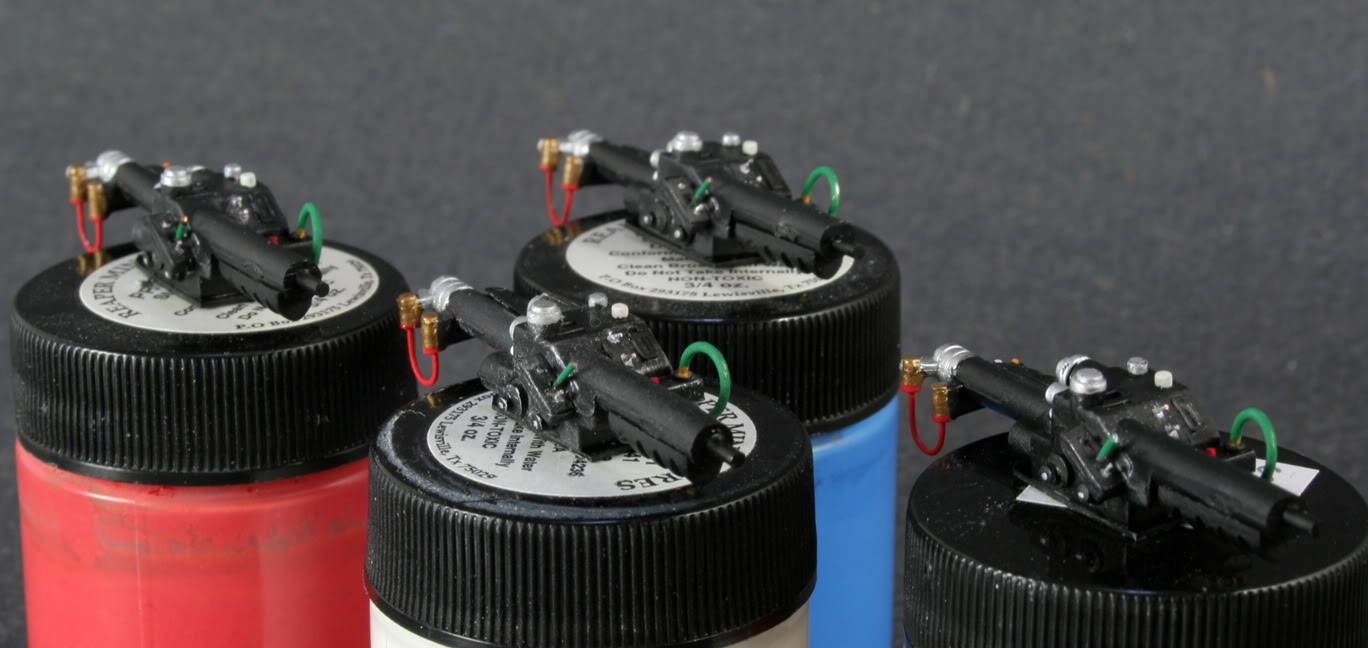
And finally, the proton throwers. These have ate up just about any free time I’ve had to work on these figures but they’re finally assembled!! They still need to be weathered but I’m super happy with how they turned out. A HUGE thank you goes out to the one and only captcyan who helped me out by molding and casting my thrower grip so I didn’t have to make 8 from scratch! They turned out perfect!
Also, one cool thing is the recessed area mattel used as the ‘power bar’ section turned out to be really useful once a small, clear piece of plastic was placed over it. I left the recessed area unpainted since I wanted the pack and wands to look like they were not powered on, but you’d easily be able to paint the recessed bit and then see it through the plastic on top-I thought it was really cool!
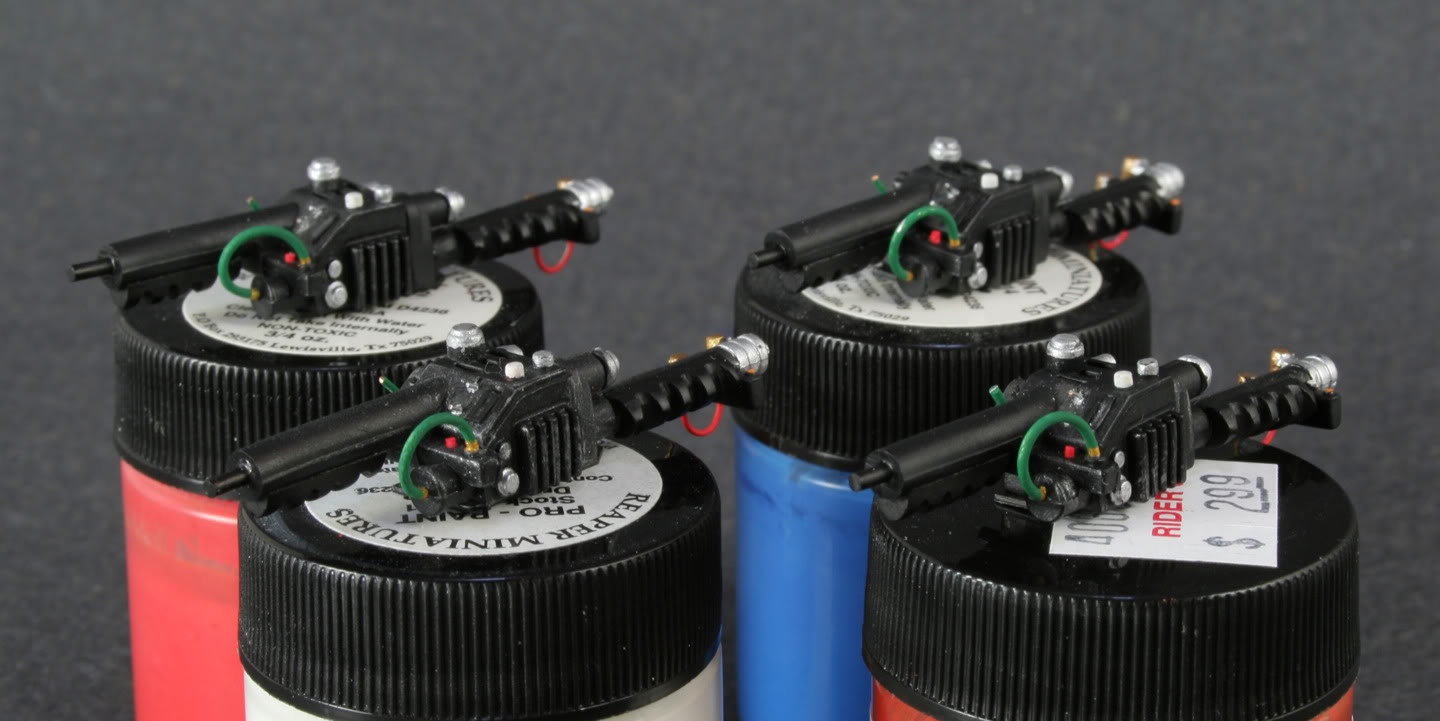
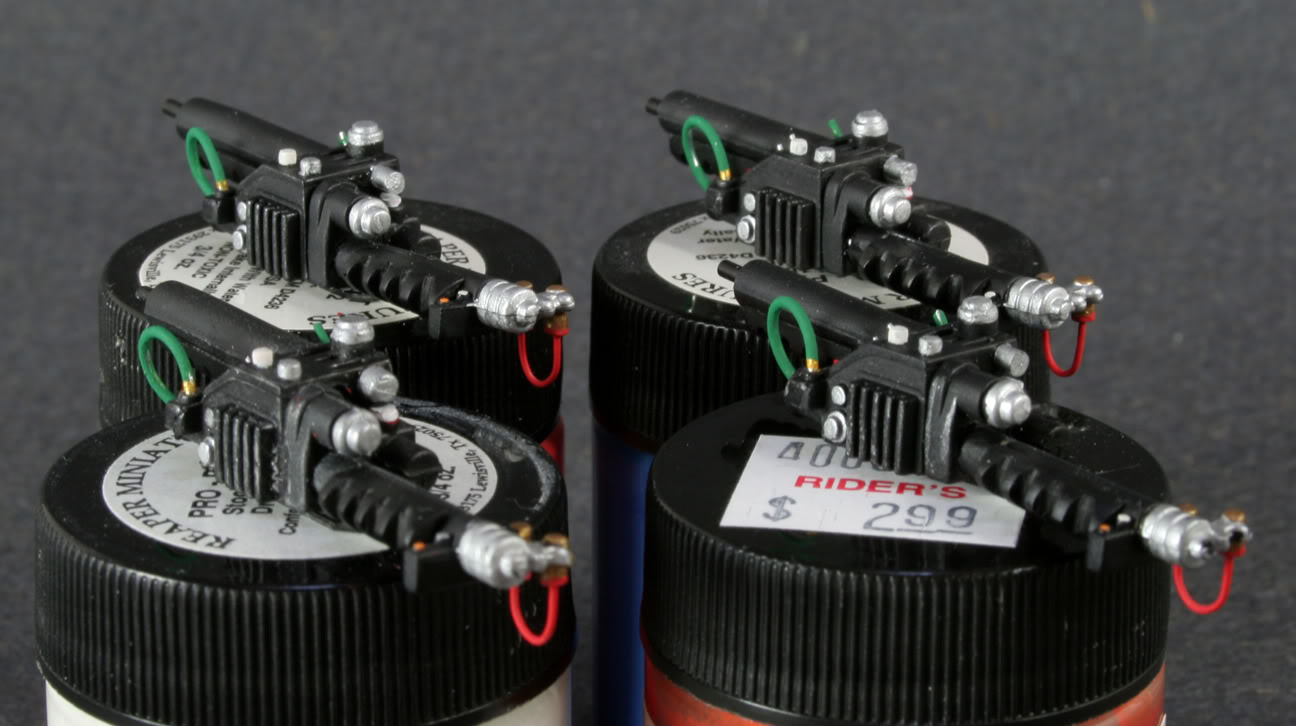
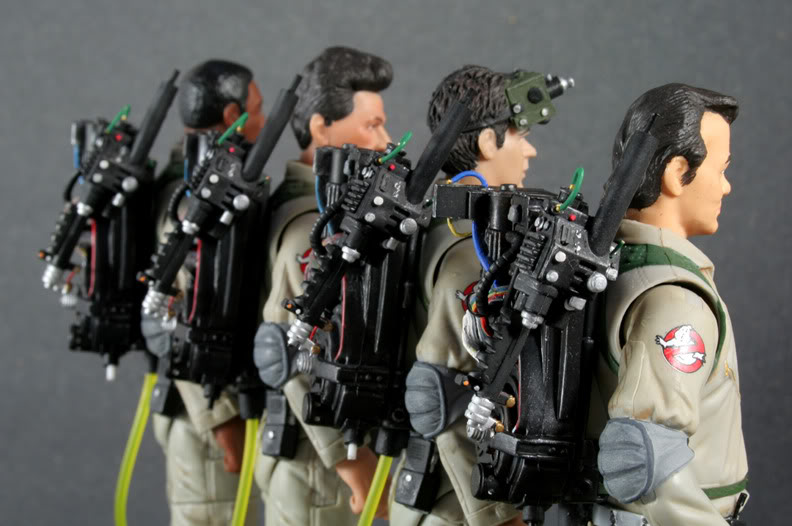
Also, went ahead and tried drilling holes for the n-filter (a captcyan / joeghostbuster idea) and it worked out great. I wish I would have painted the red line on FIRST which would have made for a better guide on where to drill the holes, but I didn’t think of it until afterwards. The holes aren’t too uneven, just at times aren’t quite where they should be, ugh.
Not too much left to go, fleshing out the pack and straps then weathering everything a bit more is next. I plan on giving the packs and equipment the same decal treatment captcyan did, and for the most part know what decal goes where, but was there any guide online that points out the location for each label? I’ve tried looking through various ‘Proton Pack’ build guides, and used ‘search’ but couldn’t find anything, per say. Anyway, hopefully it won’t be another month before I have another update haha. Thanks for looking!
I am in awe at all the little details that’ve been represented in such microscopic scale… the bar is officially obliterated.