D-42 shell build (PIC Intensive)

So I’ve been bored since Halloween and decided I’d make up a few more packs using mostly the additional parts I had laying around from my first build. I’ll have close to enough to build one full pack and two partials but this also gave me a good chance to document the entire build in one thread with new pictures.

You can find all my pictures here http://picasaweb.google.com/bill.warner/MultiBuildDocs#

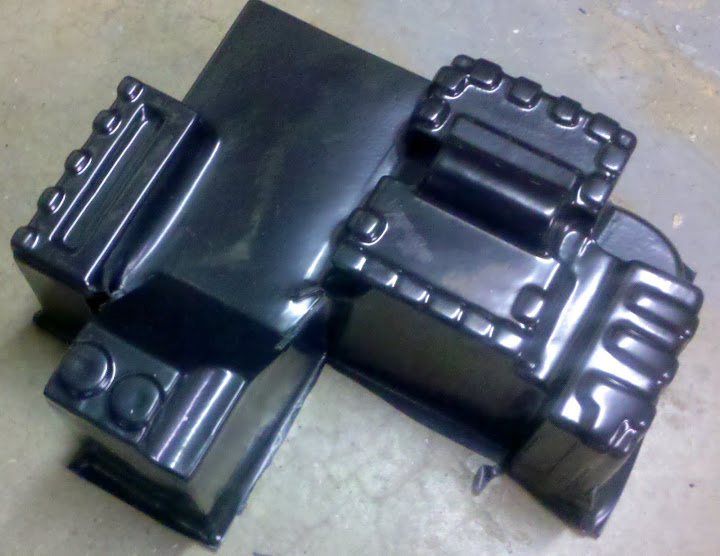
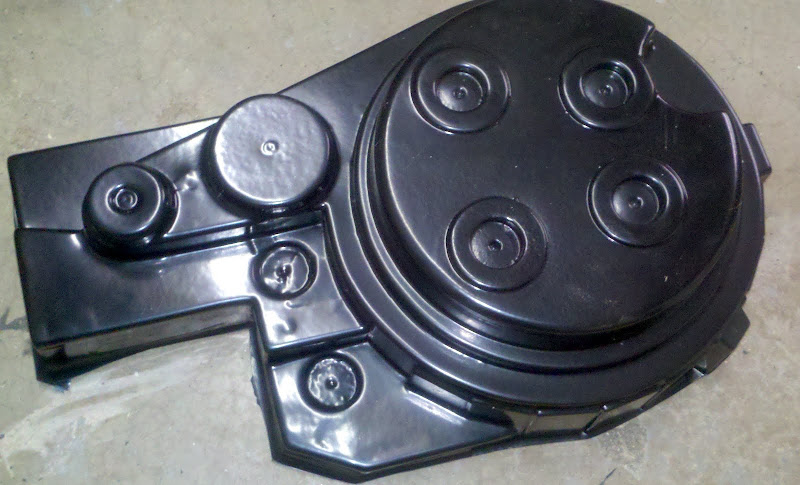
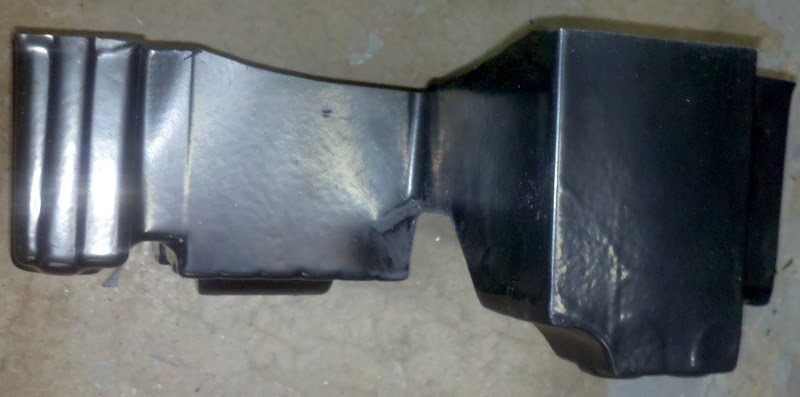
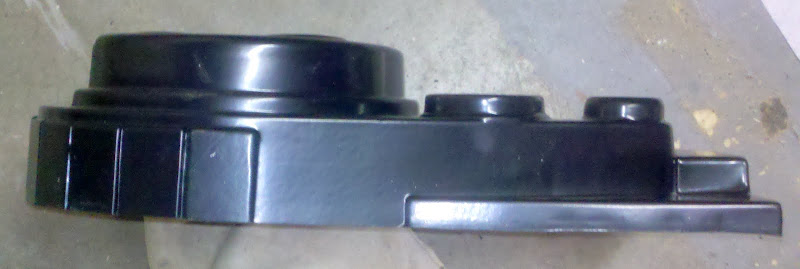
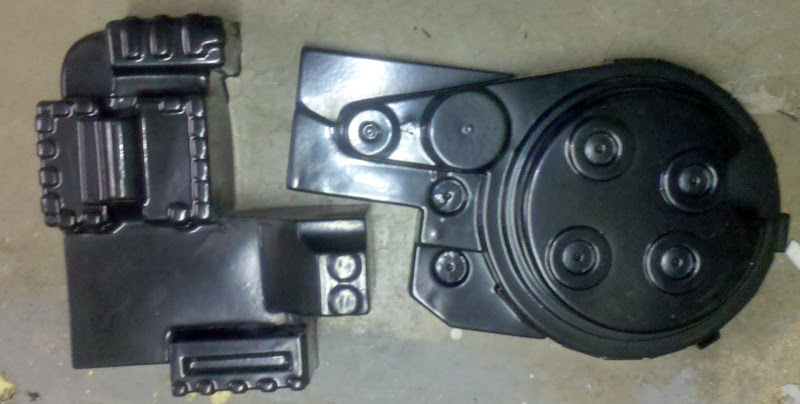
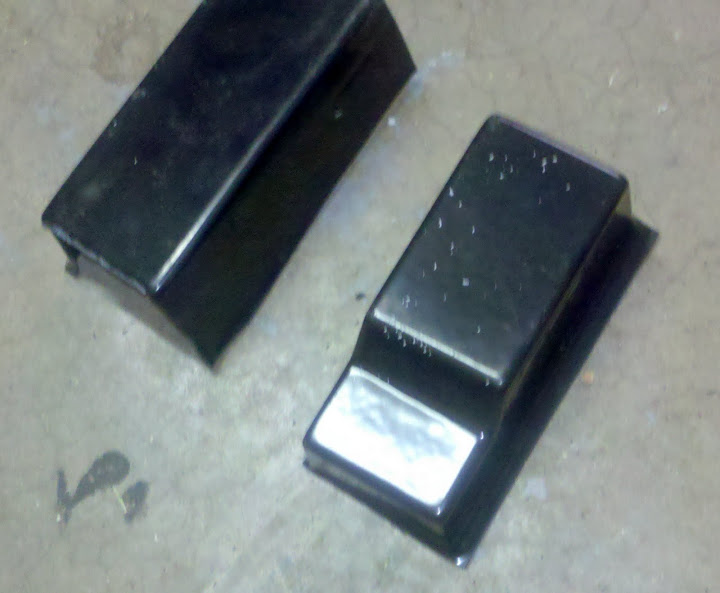
So first off I had to pull the parts. This is fresh off the vac table:

image

image

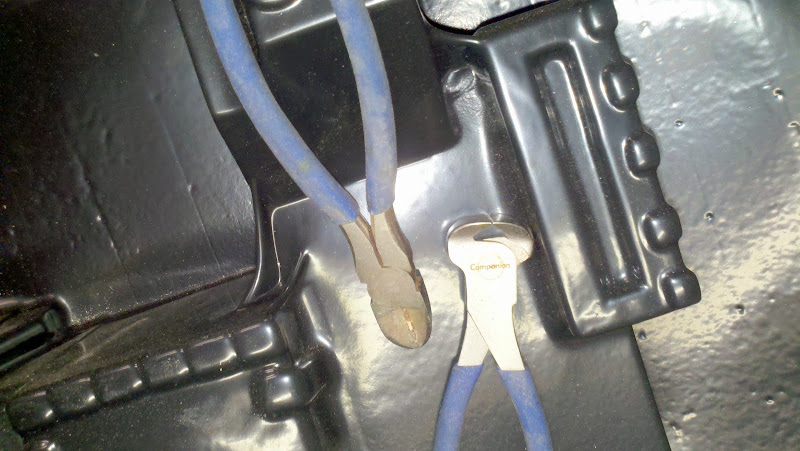
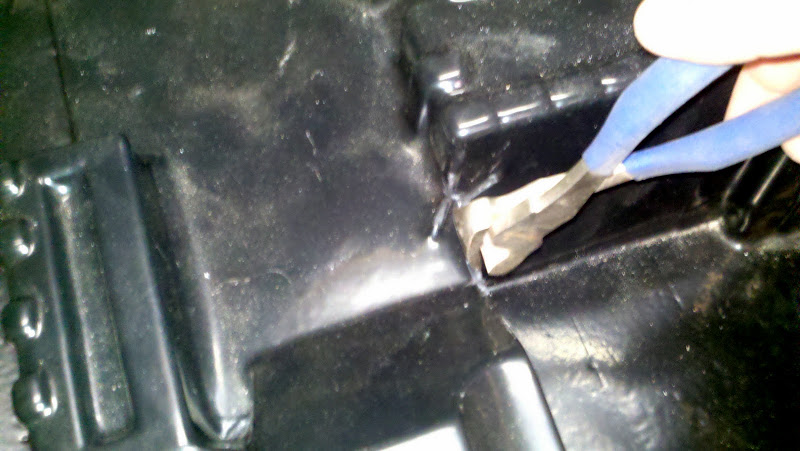
Using these I wanted to clean up the webbing that showed up. I used some different nippers and diagonal cutters to cut everything flush:

image

image

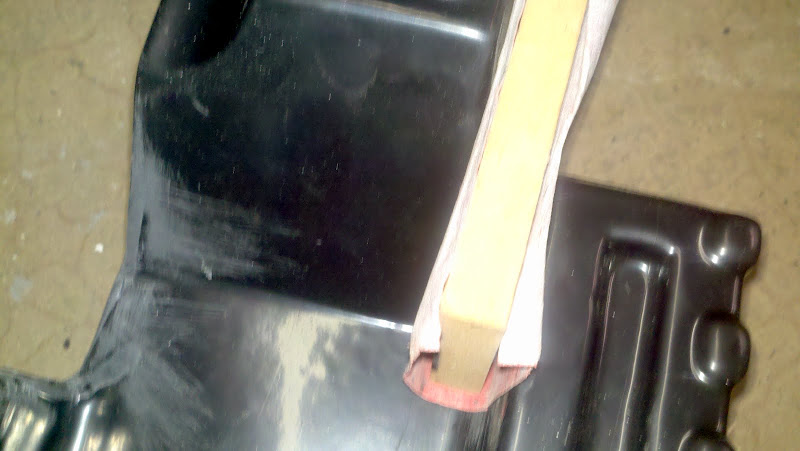
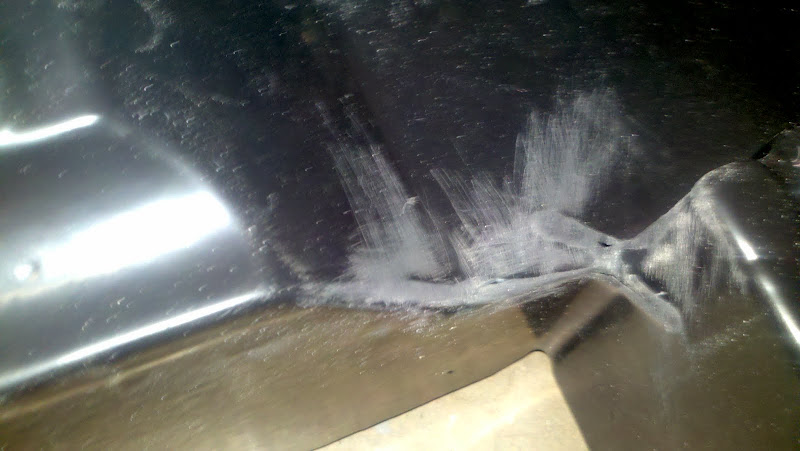
Then I sanded it all flush and clean so that paint will hide the rest of it nicely Sometimes you may want to fill in any gaps that come from this. You can easily do this with either bondo or JB Weld depending on the size.

image

image

image

Then ruff cut everything out:

image

image

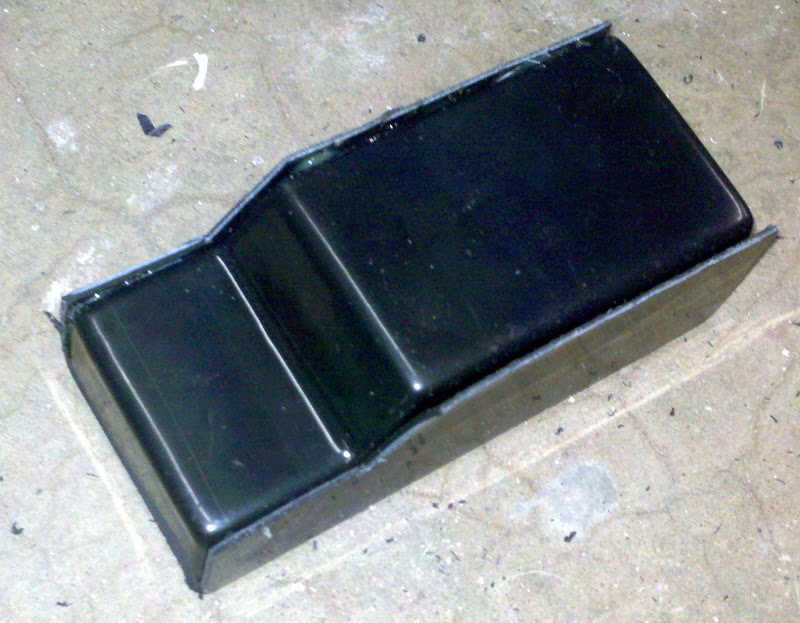
Then trim it all to size with some tin snips:

image

On the part that glues together I trim up a little higher. It gets rather thin in this spot but turns out ok when glued to the bottom half.

image

image

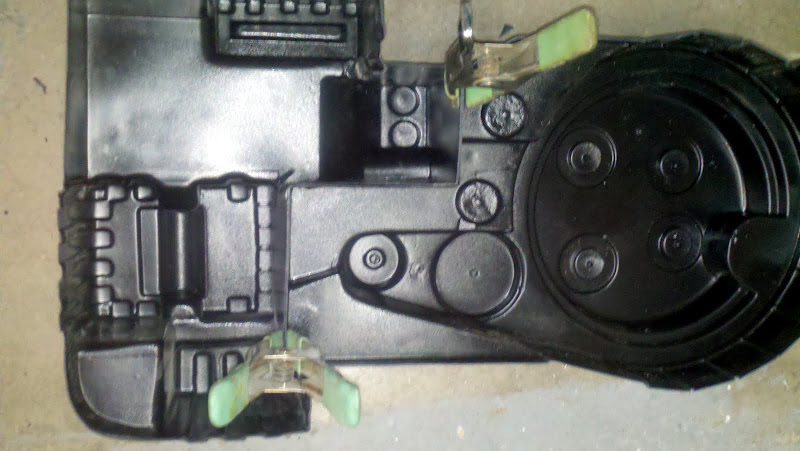
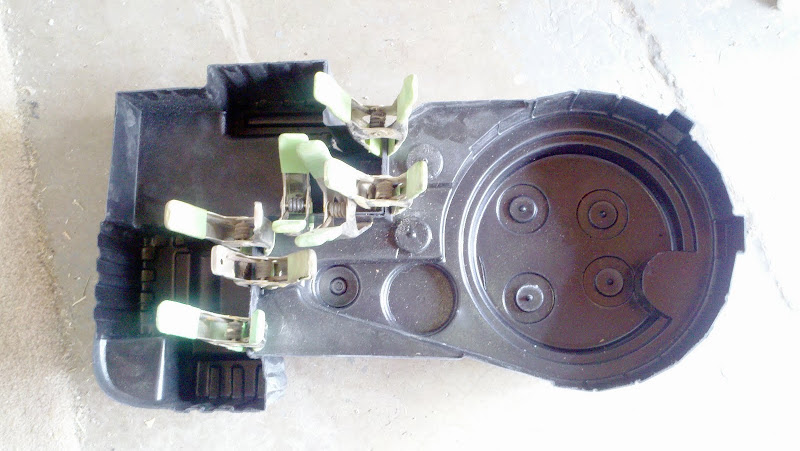
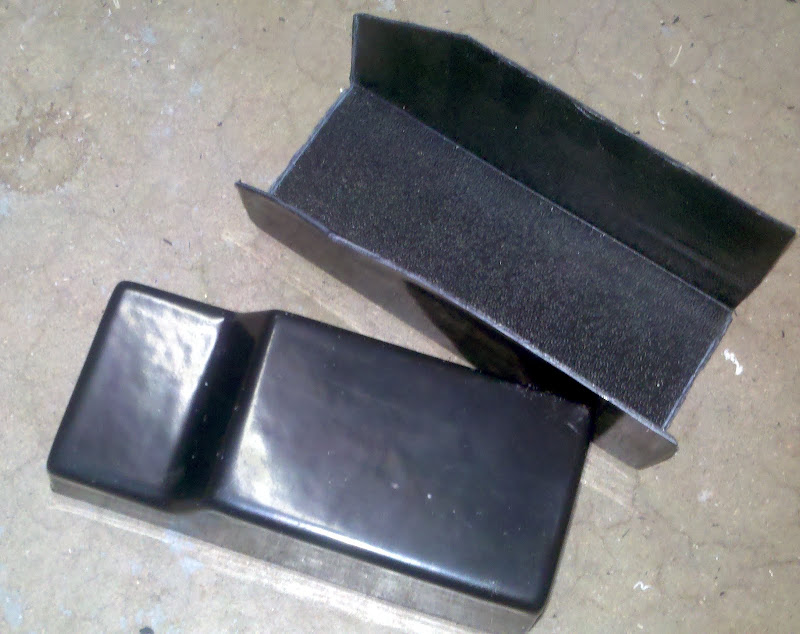
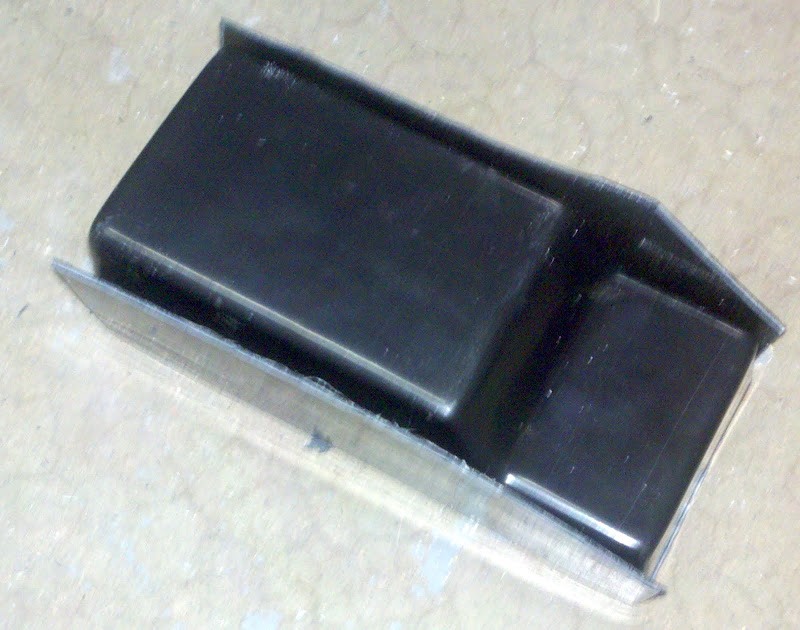
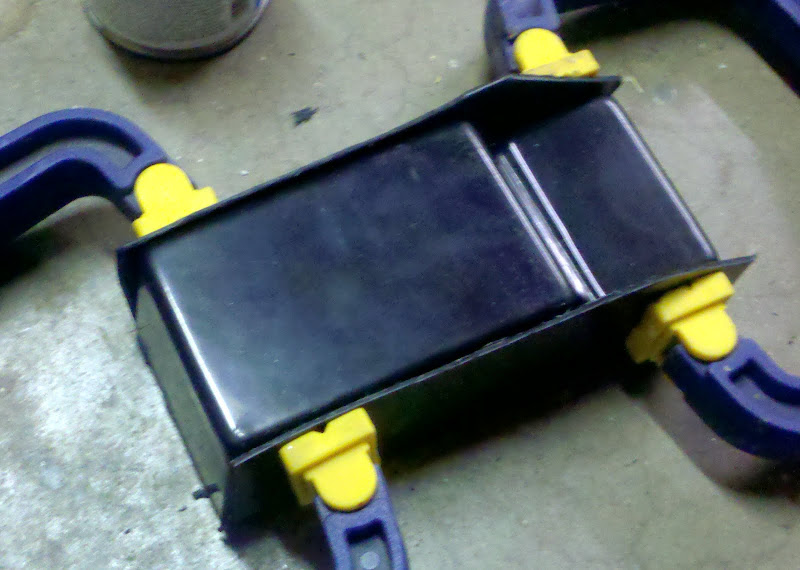
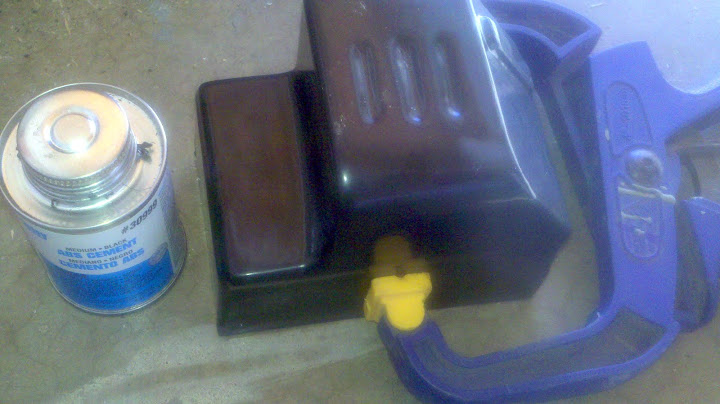
then size everything up, and glue it together with ABS glue:

image

image

image

I then rub down all the ABS with a paper towel dampened with Goof-Off. This helps paint to stick much better.

image

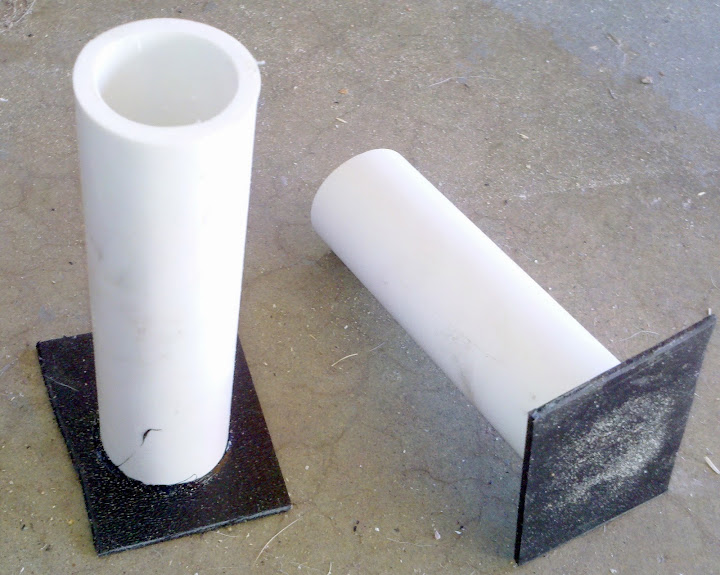
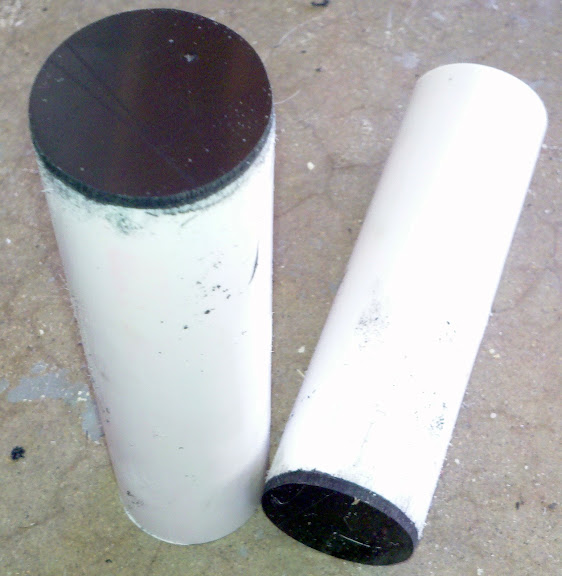
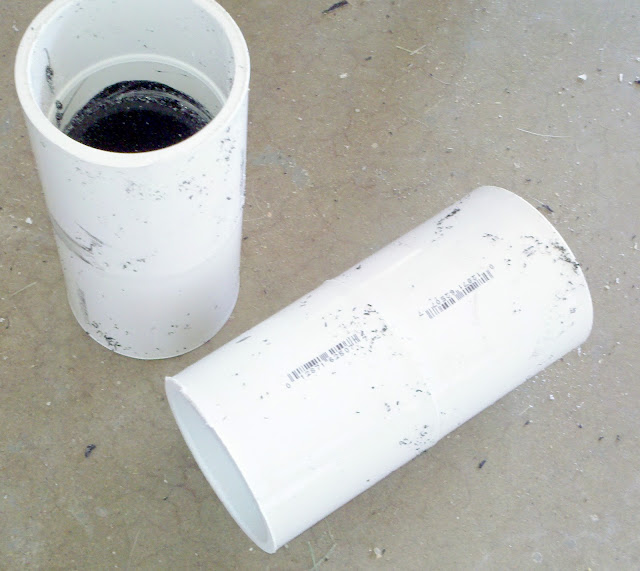
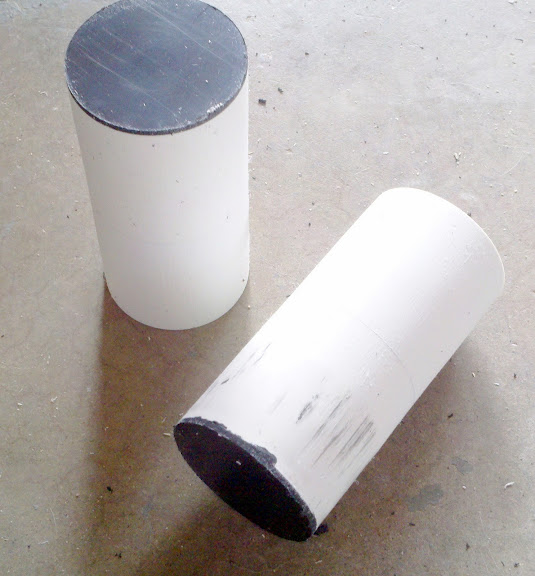
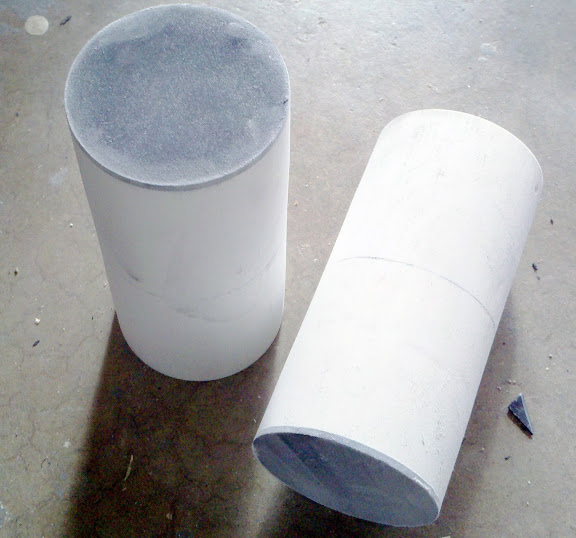
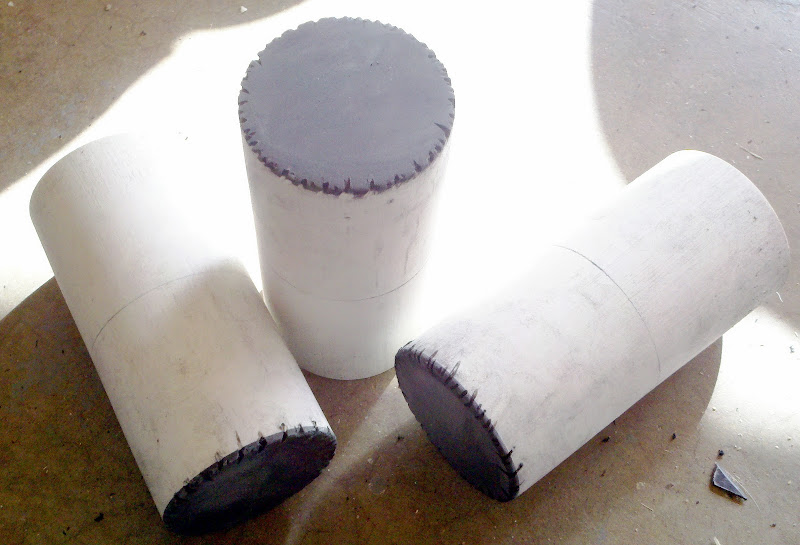
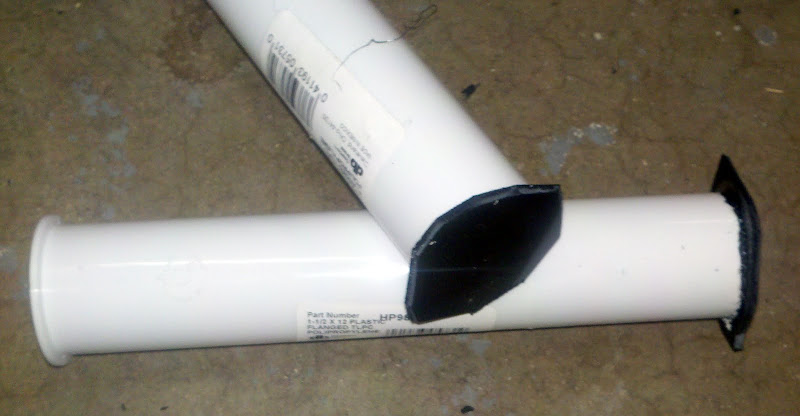
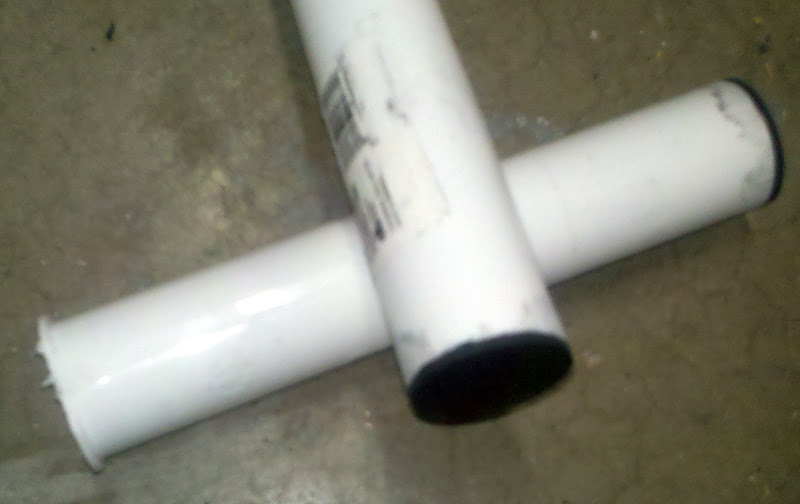
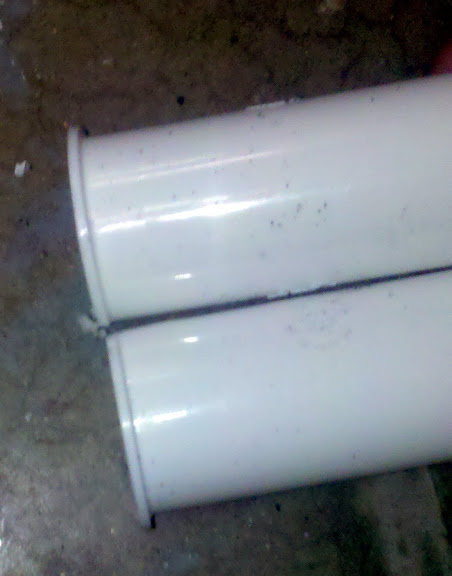
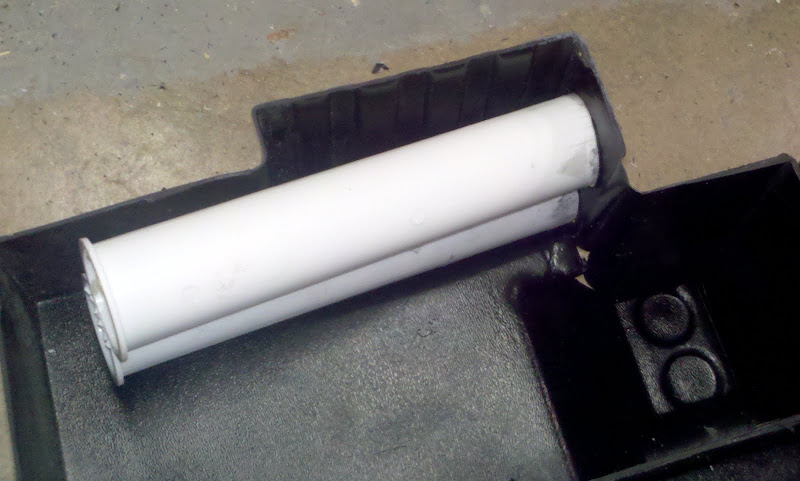
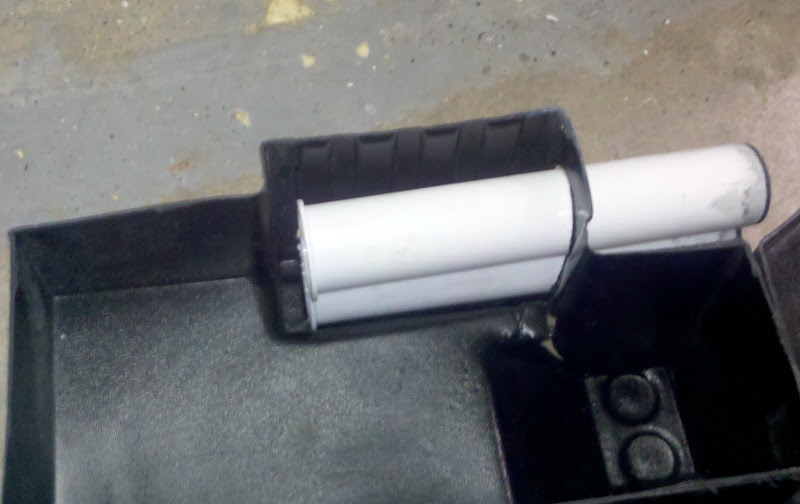
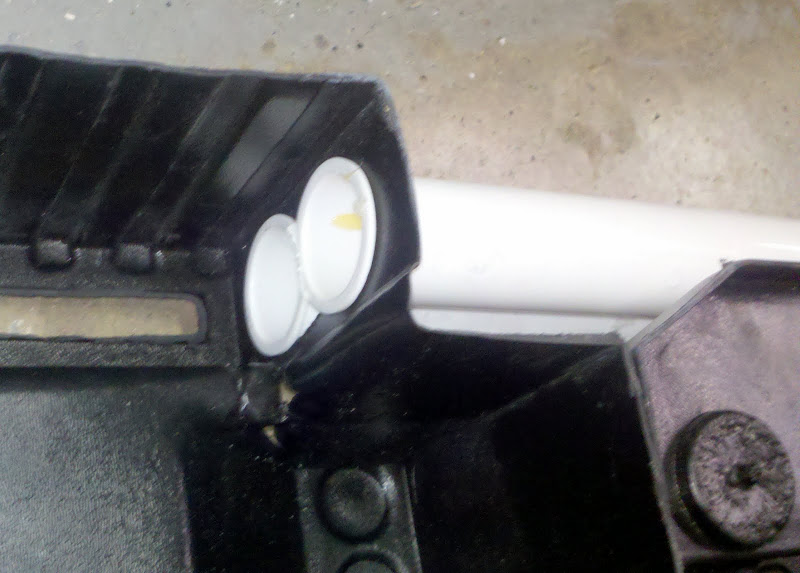
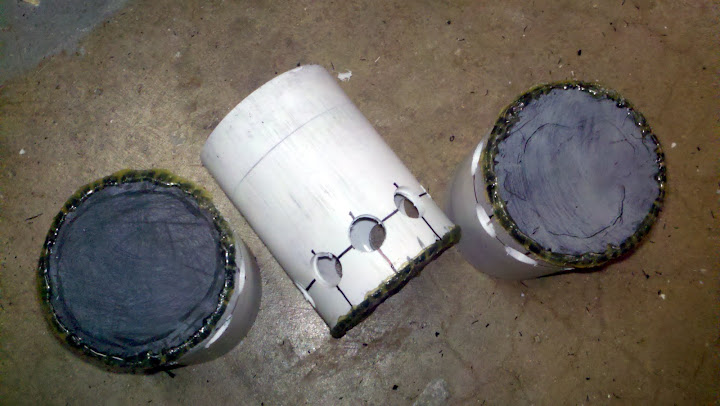
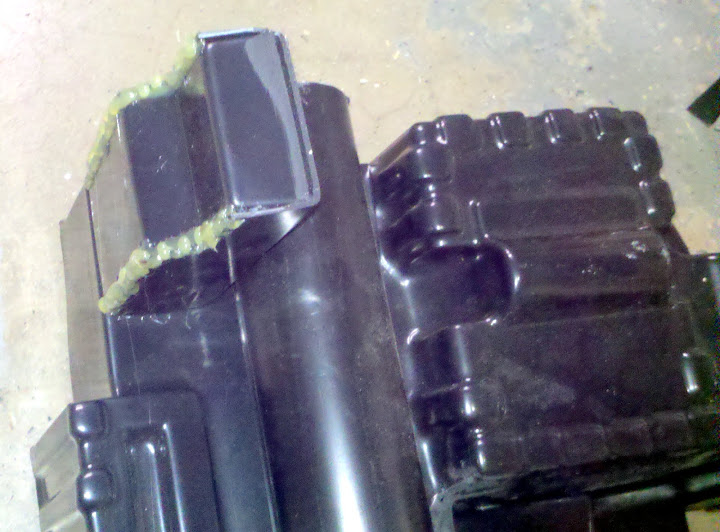
So then I used some of the PVC that I had around and cut them to length and ABS glued some ABS squares to the end of them:

image

Then rounded the ends once the ABS glue was dry

image

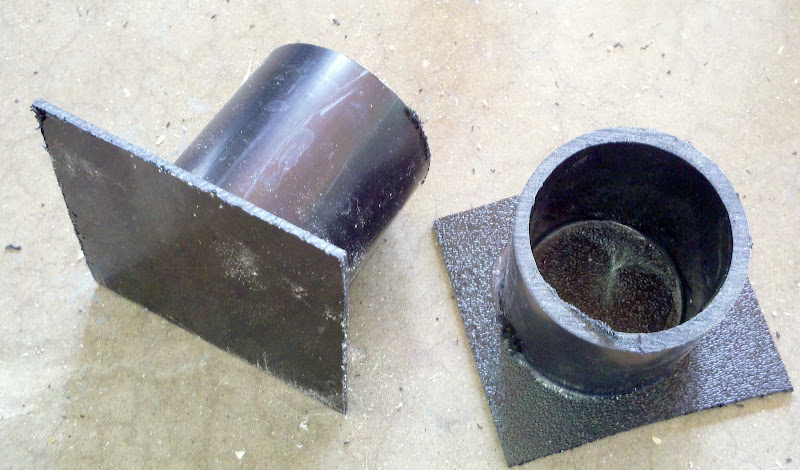
Similar for the HGA:

image

image

image

image

image

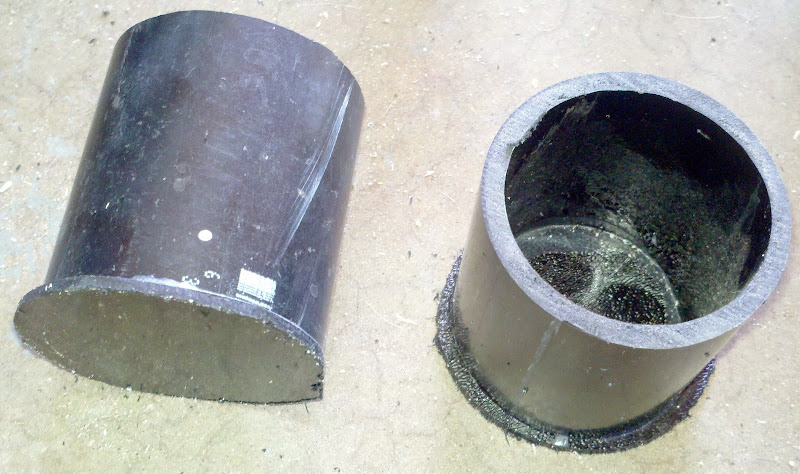
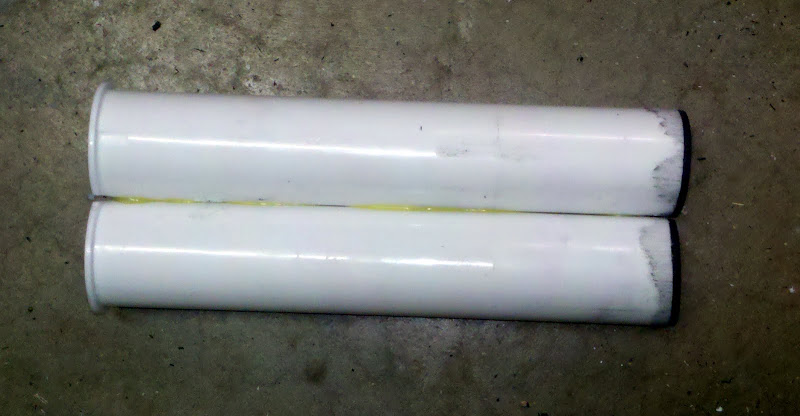
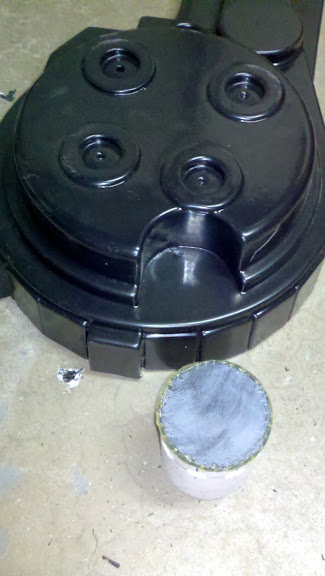
Then for the N-Filter using two of the PVC Couplers glued together then capped in the same fashion:

image

image

image

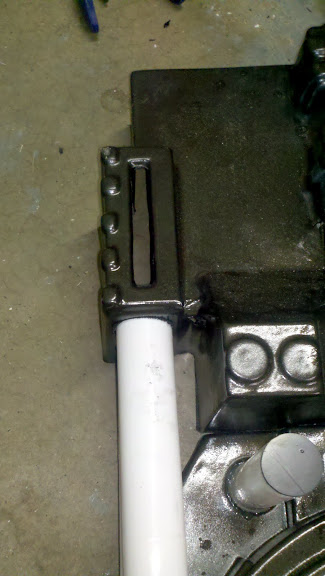
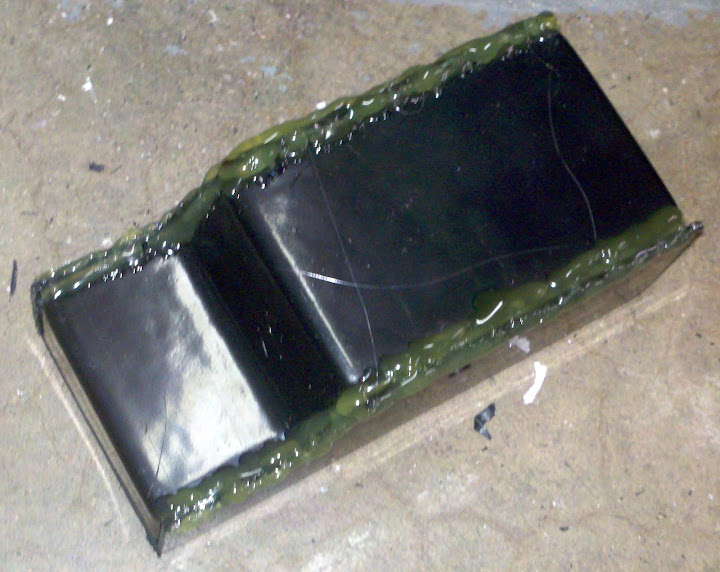
Played around with a weld look. Not 100% happy with it so far, may add some hot glue to it to add a little build up.

image

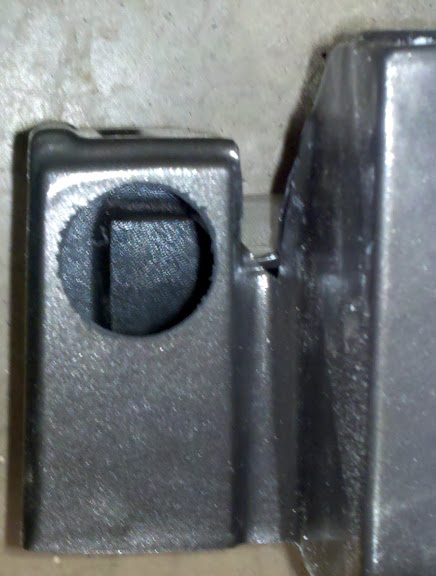
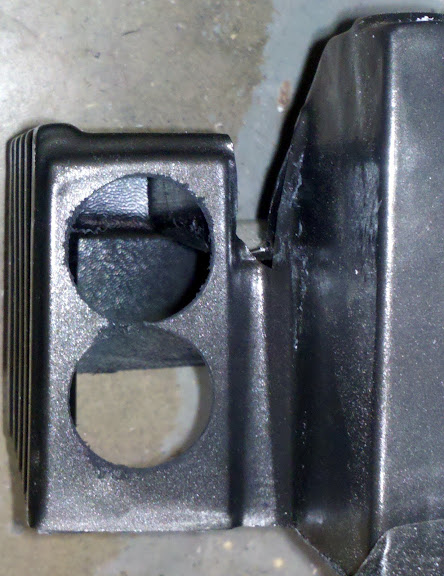
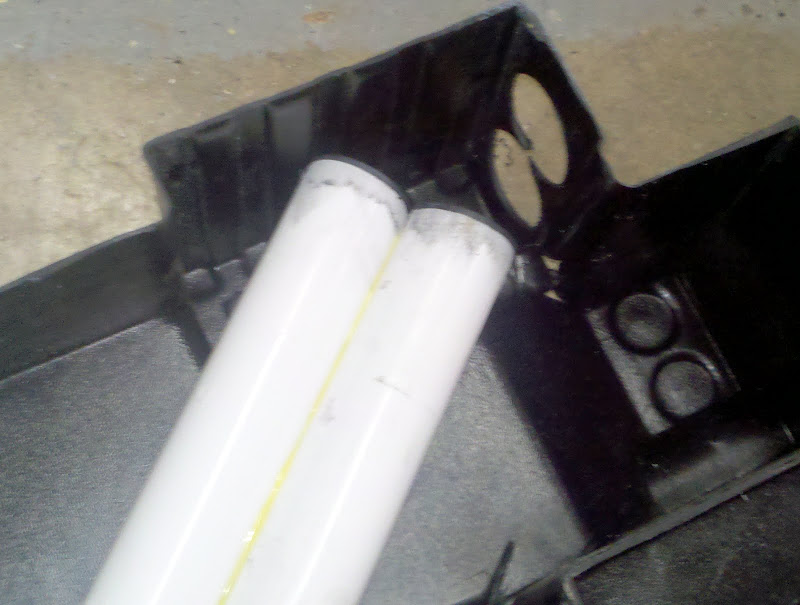
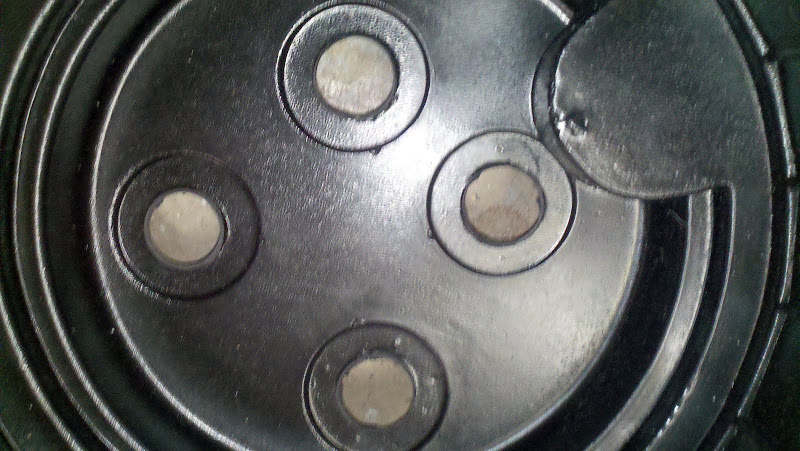
Then I cut them to length, marked and drilled the holes.

image

Also cut the boosters out and had 3 ready to go:

image

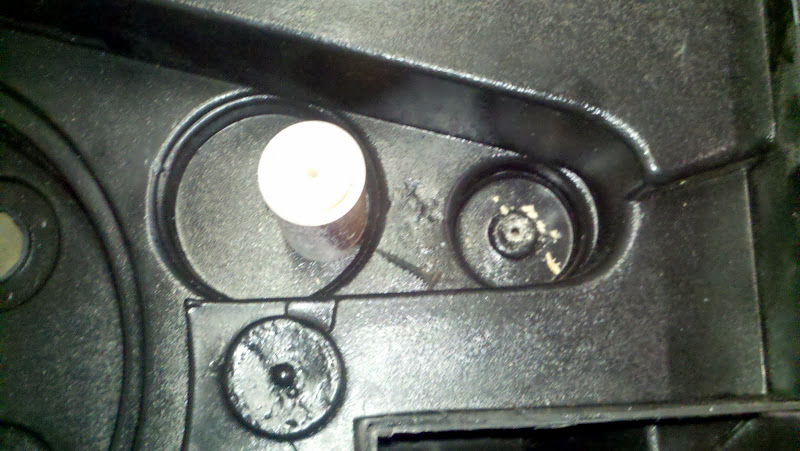
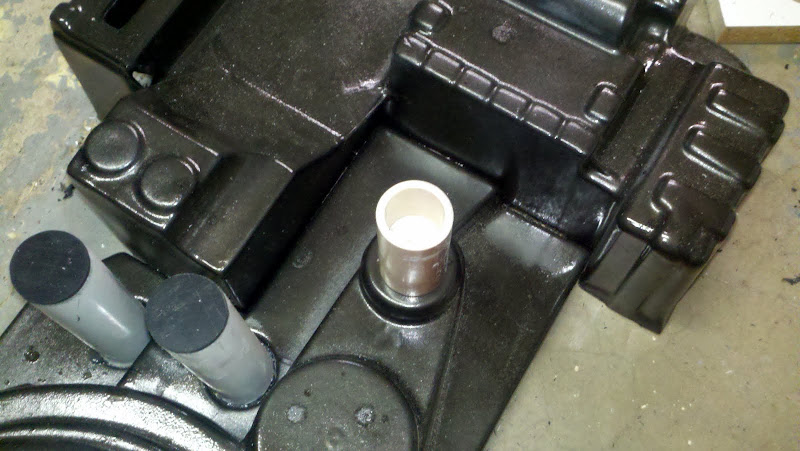
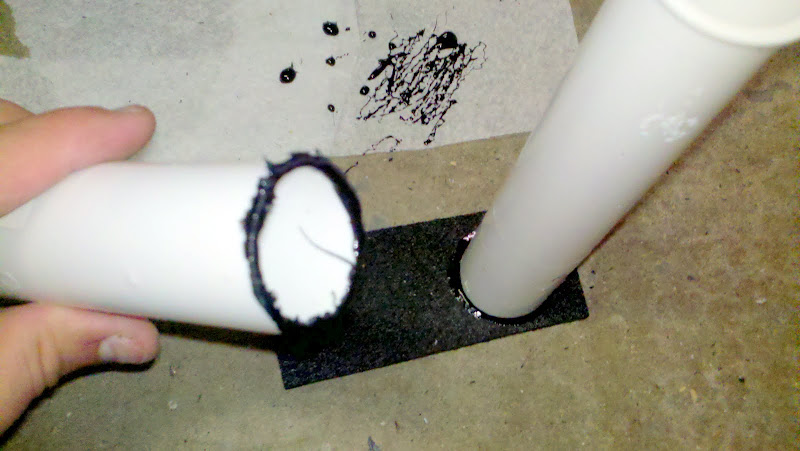
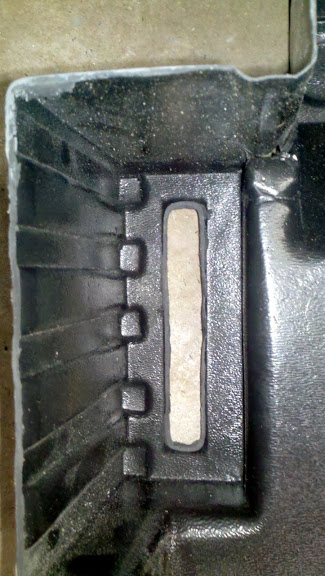
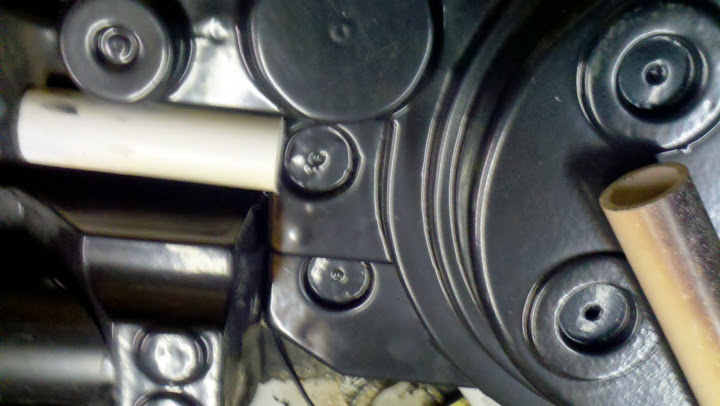
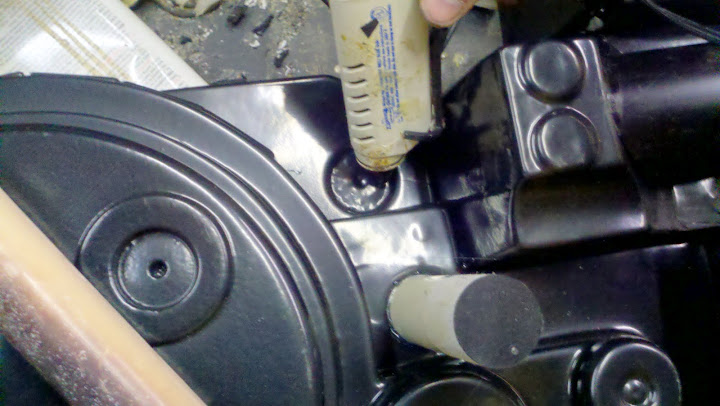
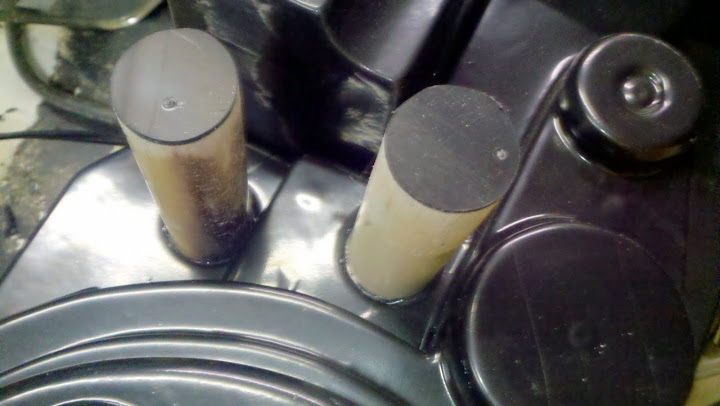
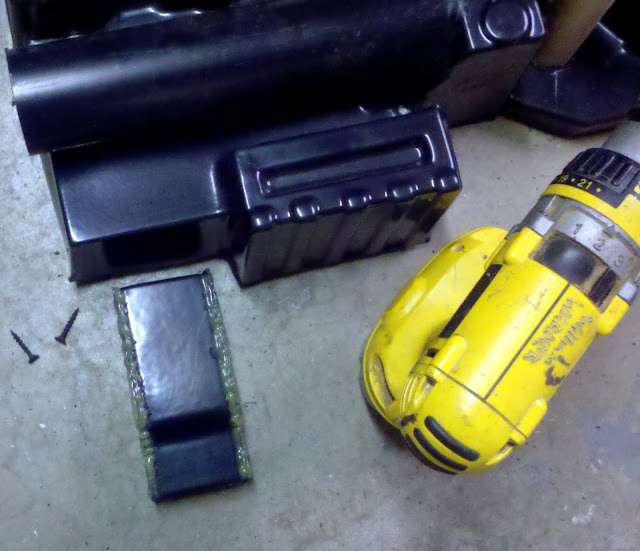
For the tube that goes above the clippard, i didn’t really do the vac mold 100% right here or it’d be easy to hotglue in with high temp hot glue, so for this one I actually use a dowel plug and screw:

image

image

image

image

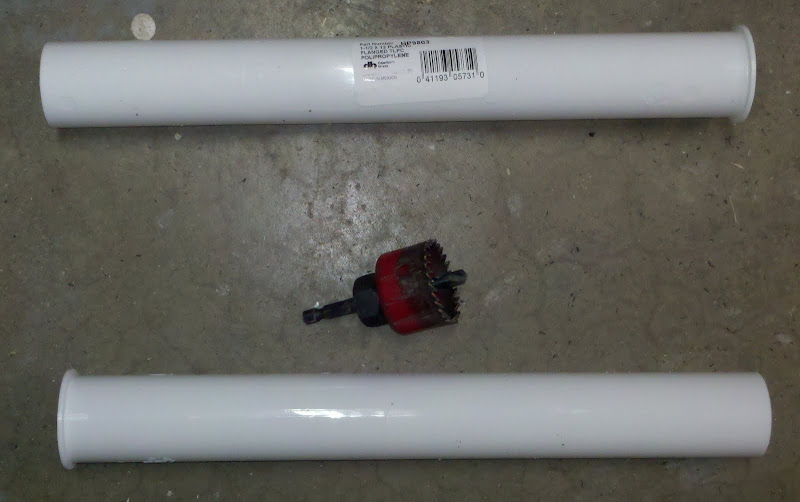
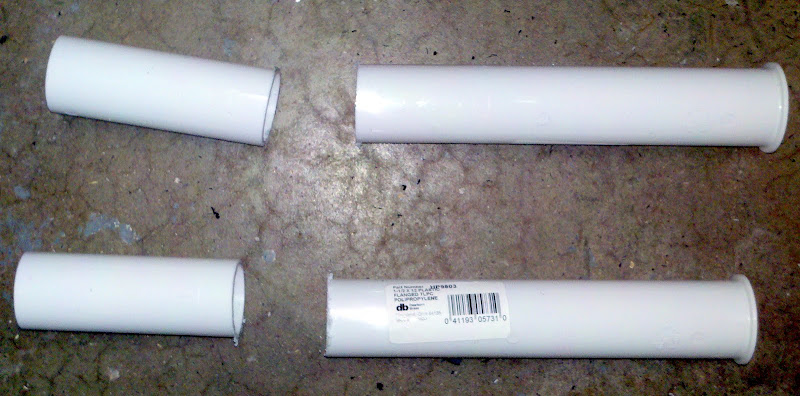
The injectors are from the sink isle at home depot:

image

image

image

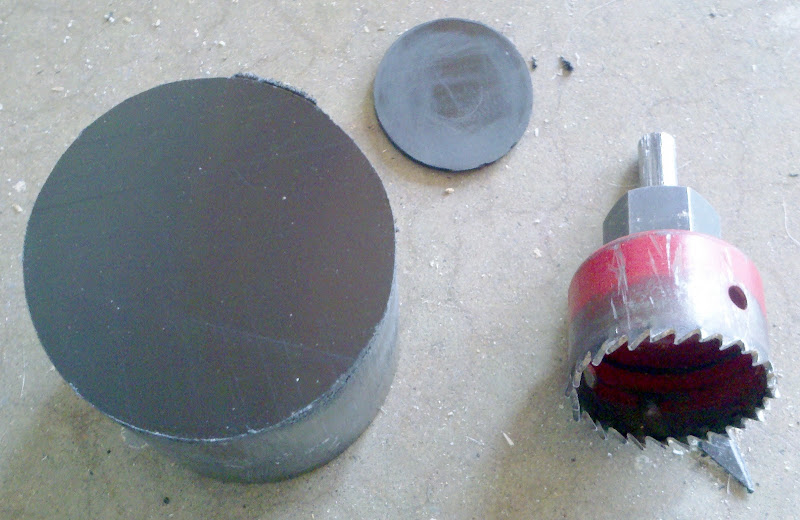
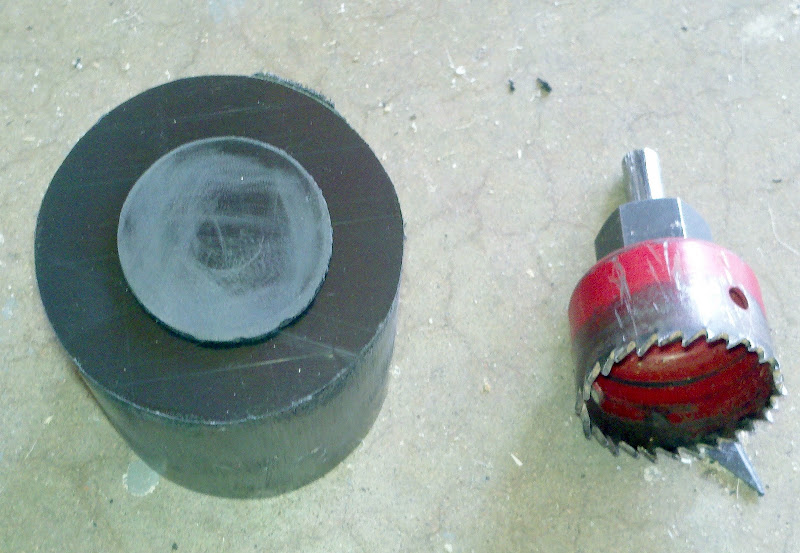
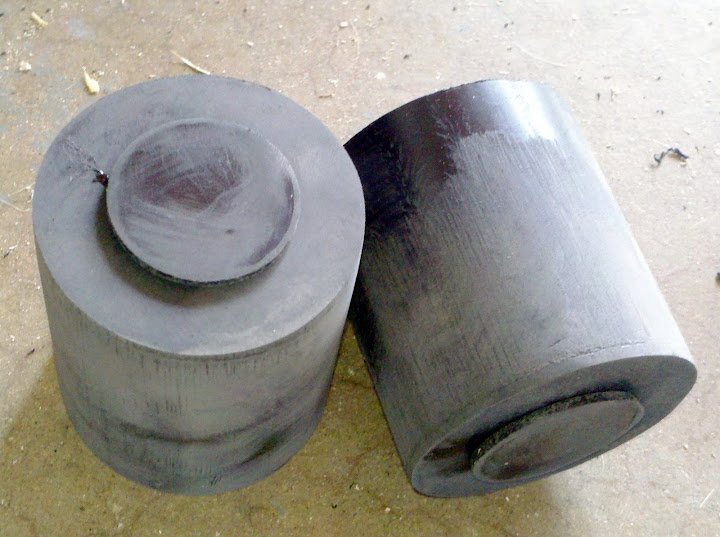
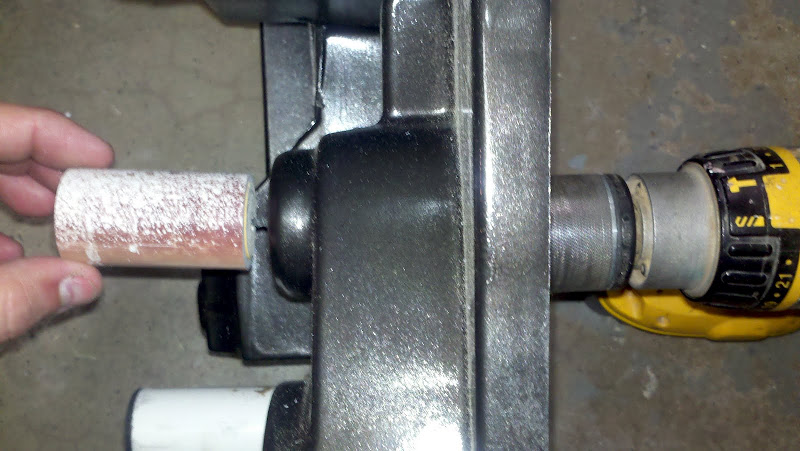
Using my hole saw again:

image

image

Also trimmed out the required holds for lighting:

image

image

This is as far as I have gotten up until now. More updates will come as progress is made.

I will be following this thread really close as im currently building a pack using one of your vacformed shells that i got off you on ebay.

Im using fairly similar materials as you are for the parts.

here is a link to my build.

http://www.gbfans.com/community/viewtopic.php?f=2&t=22634

The vacformed shell is a really nice place to start and cheap compared to the resin shells.

Great looking build!

Very nice. Giving some props to the vacuumform packs out there.

Cheers

Sebastian

Another update time:

Working on the injectors:

image

image

image

Hot glued together

image

image

image

image

image

image

Here is my clam shell vac formed ION Arm:

image

image

image

image

image

Hot glue for the weld lines, just needs some paint now.

image

The Nfilter attachment again with some 3/4 drywall screws.

Went back to hotglue welds. They just seem to look more like a weld. I wait for the glue to dry then swirl it with the tip of the hot glue gun a little.

image

image

image

image

Pack is looking good. never even thought of using a glue gun to produce the welds.

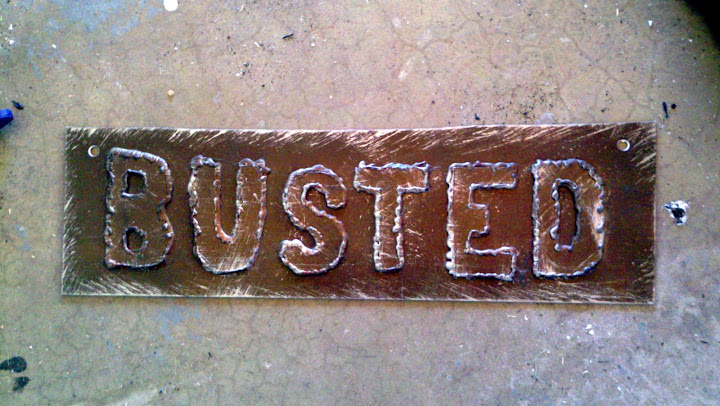
This was my first prop that I used the hot glue for a weld lookalike. The first time I’d seen it someone was making a quick stage prop and used hot glue and paint and I thought wow that was good results forsomething so obvious and easy.

image

This was for halloween last year. ended up just using it to point out chicks with nice racks, calling them “Busted” :slight_smile:

was a great time.

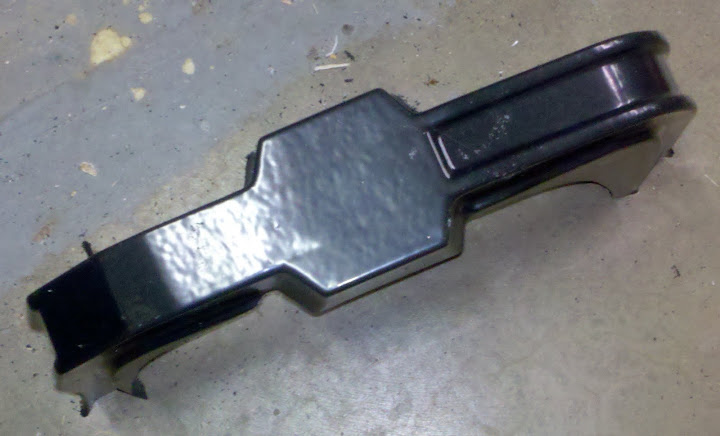
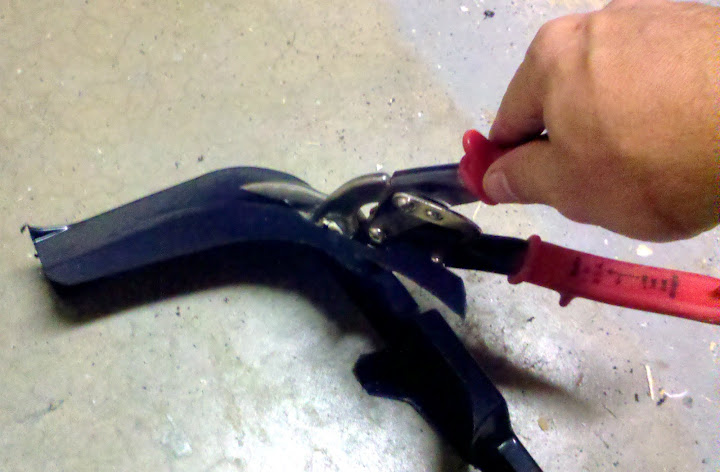
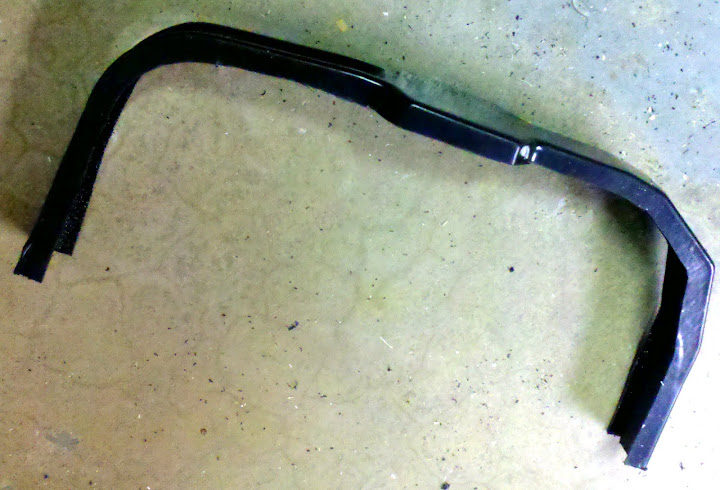
Bumper

image

image

image

Filer Tubes

image

image

image

image

image

ION Arm attachment

image

image

image

1 Like

Beautiful work. never thought a vacuumformed shell would look so great

Sorry I haven’t updated in a while, been busy getting shells for people and work. stupid 16hour day yesterday.

Vac’d shells can become BEAUTIFUL packs! Here is the last vac pack I made back in 2005 using a Javamonkey upper module and my own vac’d spacer.

![image](http://www.gbfans.com/images/pb/StargateSg7/MidOhioCon 2005_IMG_0228.jpg)

Looking great so far D-42!! Keep up the good work!

So, haven’t done much work on the pack, but I wanted to try to get one of my vac shelled throwers together. Here is the start of that project:

image

image

image

image

image

Should make for an easy base to add electronics and light kits too.

So, in a shed in my friends back yard, with boxes marked tools, dishes, toys, etc… there is a lone box marked “portable particle accelerator x3” After losing out on the first house, second house, third house, second house again, we are now on our fourth house. Luckly this one requires little more than some paint to be ready to move in, and includeds a nice ~1000 square foot shop. It’s in short sale right now so we are looking at 2-6 months before move in.

I hate not having my tools readily available and my projects packed up.

Does anyone know if this will work with a mmm motherboard?

As long as it is made to spec with stefan’s plans or at least very close.
Any updates on this pack?