I recently went on a journey trying to dye a Propper flight suit. Turns out, you really can’t strip or dye their suits. My guess is the polyester they use is colored long before it is made into fabric, and there is little altering that. If you want to read up on all my steps and (lack of) results you can find that here. Dyeing a Propper Flight Suit
Anyway, I switched to the classic Tru-Spec and really like my results and wanted to share them. Unlike a lot of recipes from the past my goal was to take a Navy suit, strip it with some blue remaining and color is using RIT’s Charcoal Grey dye. Before Rit made this we needed to blend blue, Kelly green, black and grey.
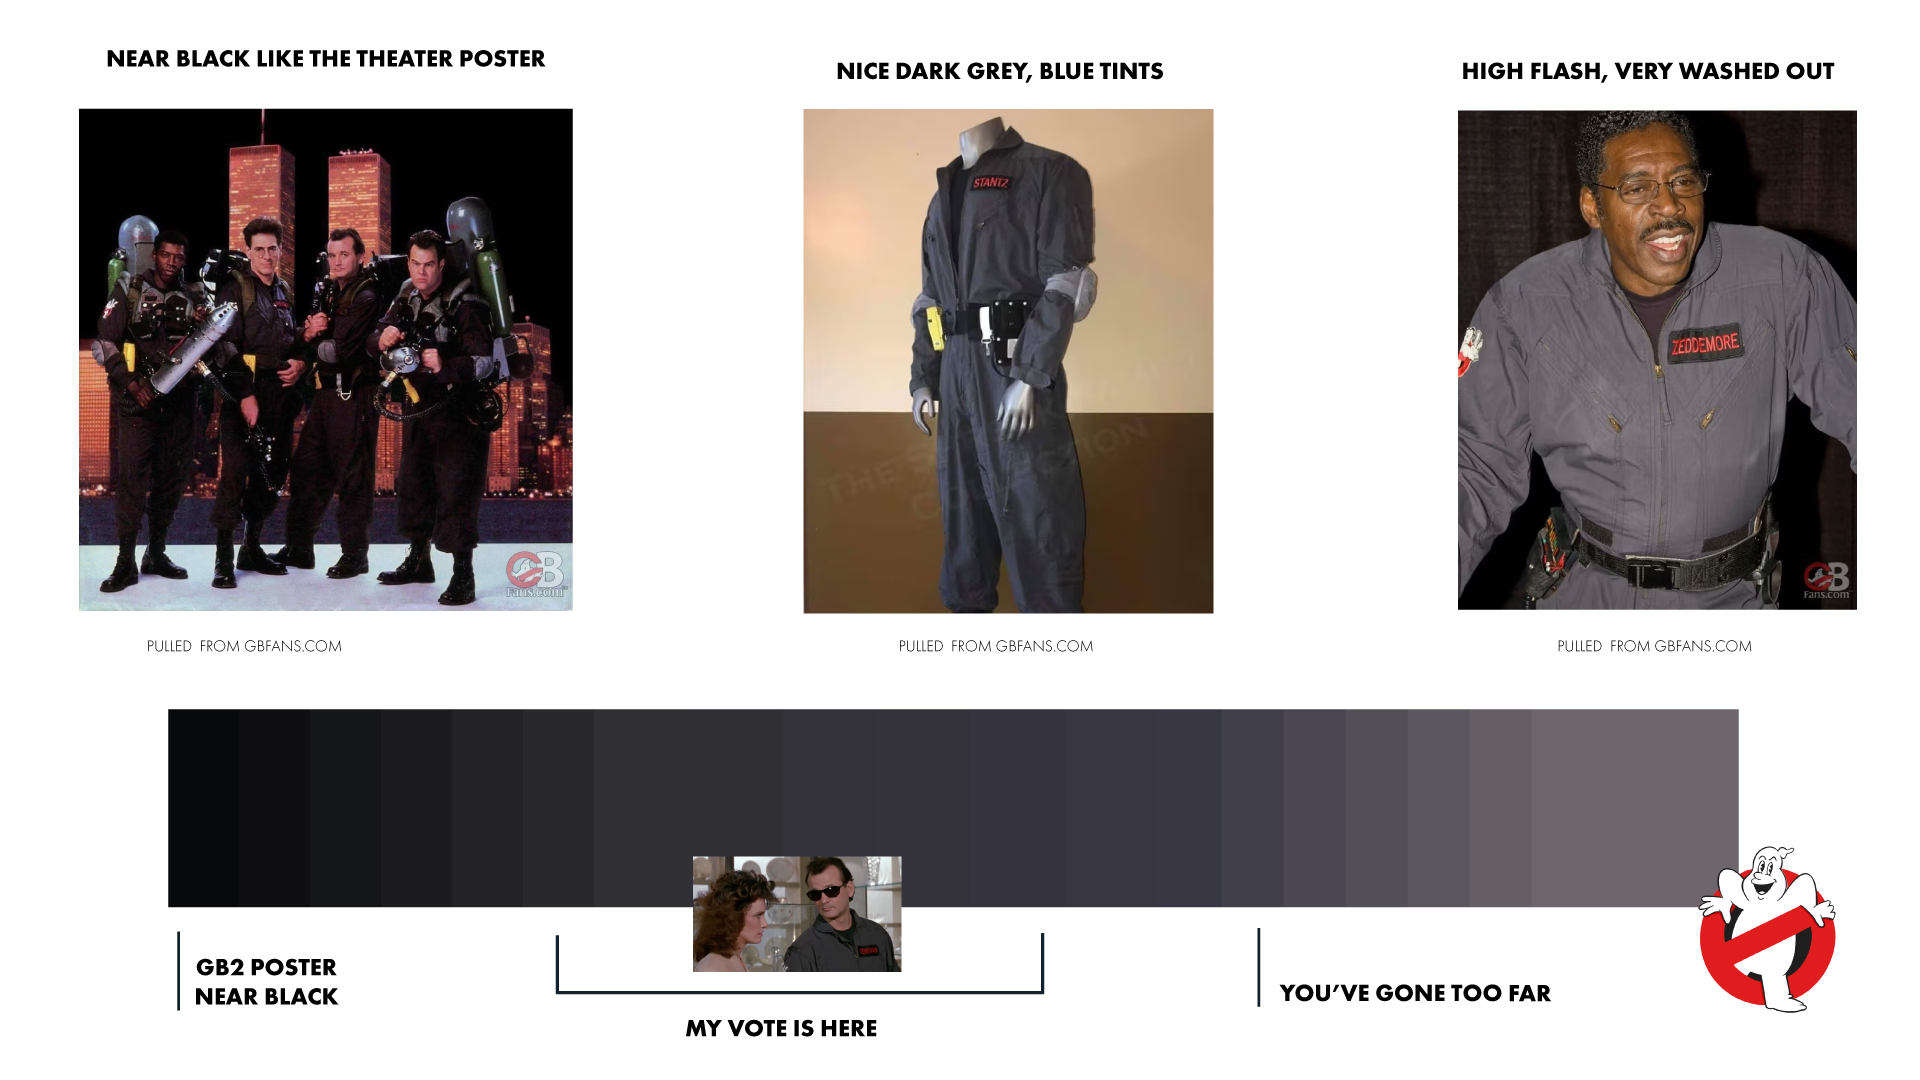
I also think people tend to go too light with their suits, and have almost solid grey suit in most lights instead of this darker grey indoors and blueish tone outdoors. Here is a visual guide of where I was hoping to land.
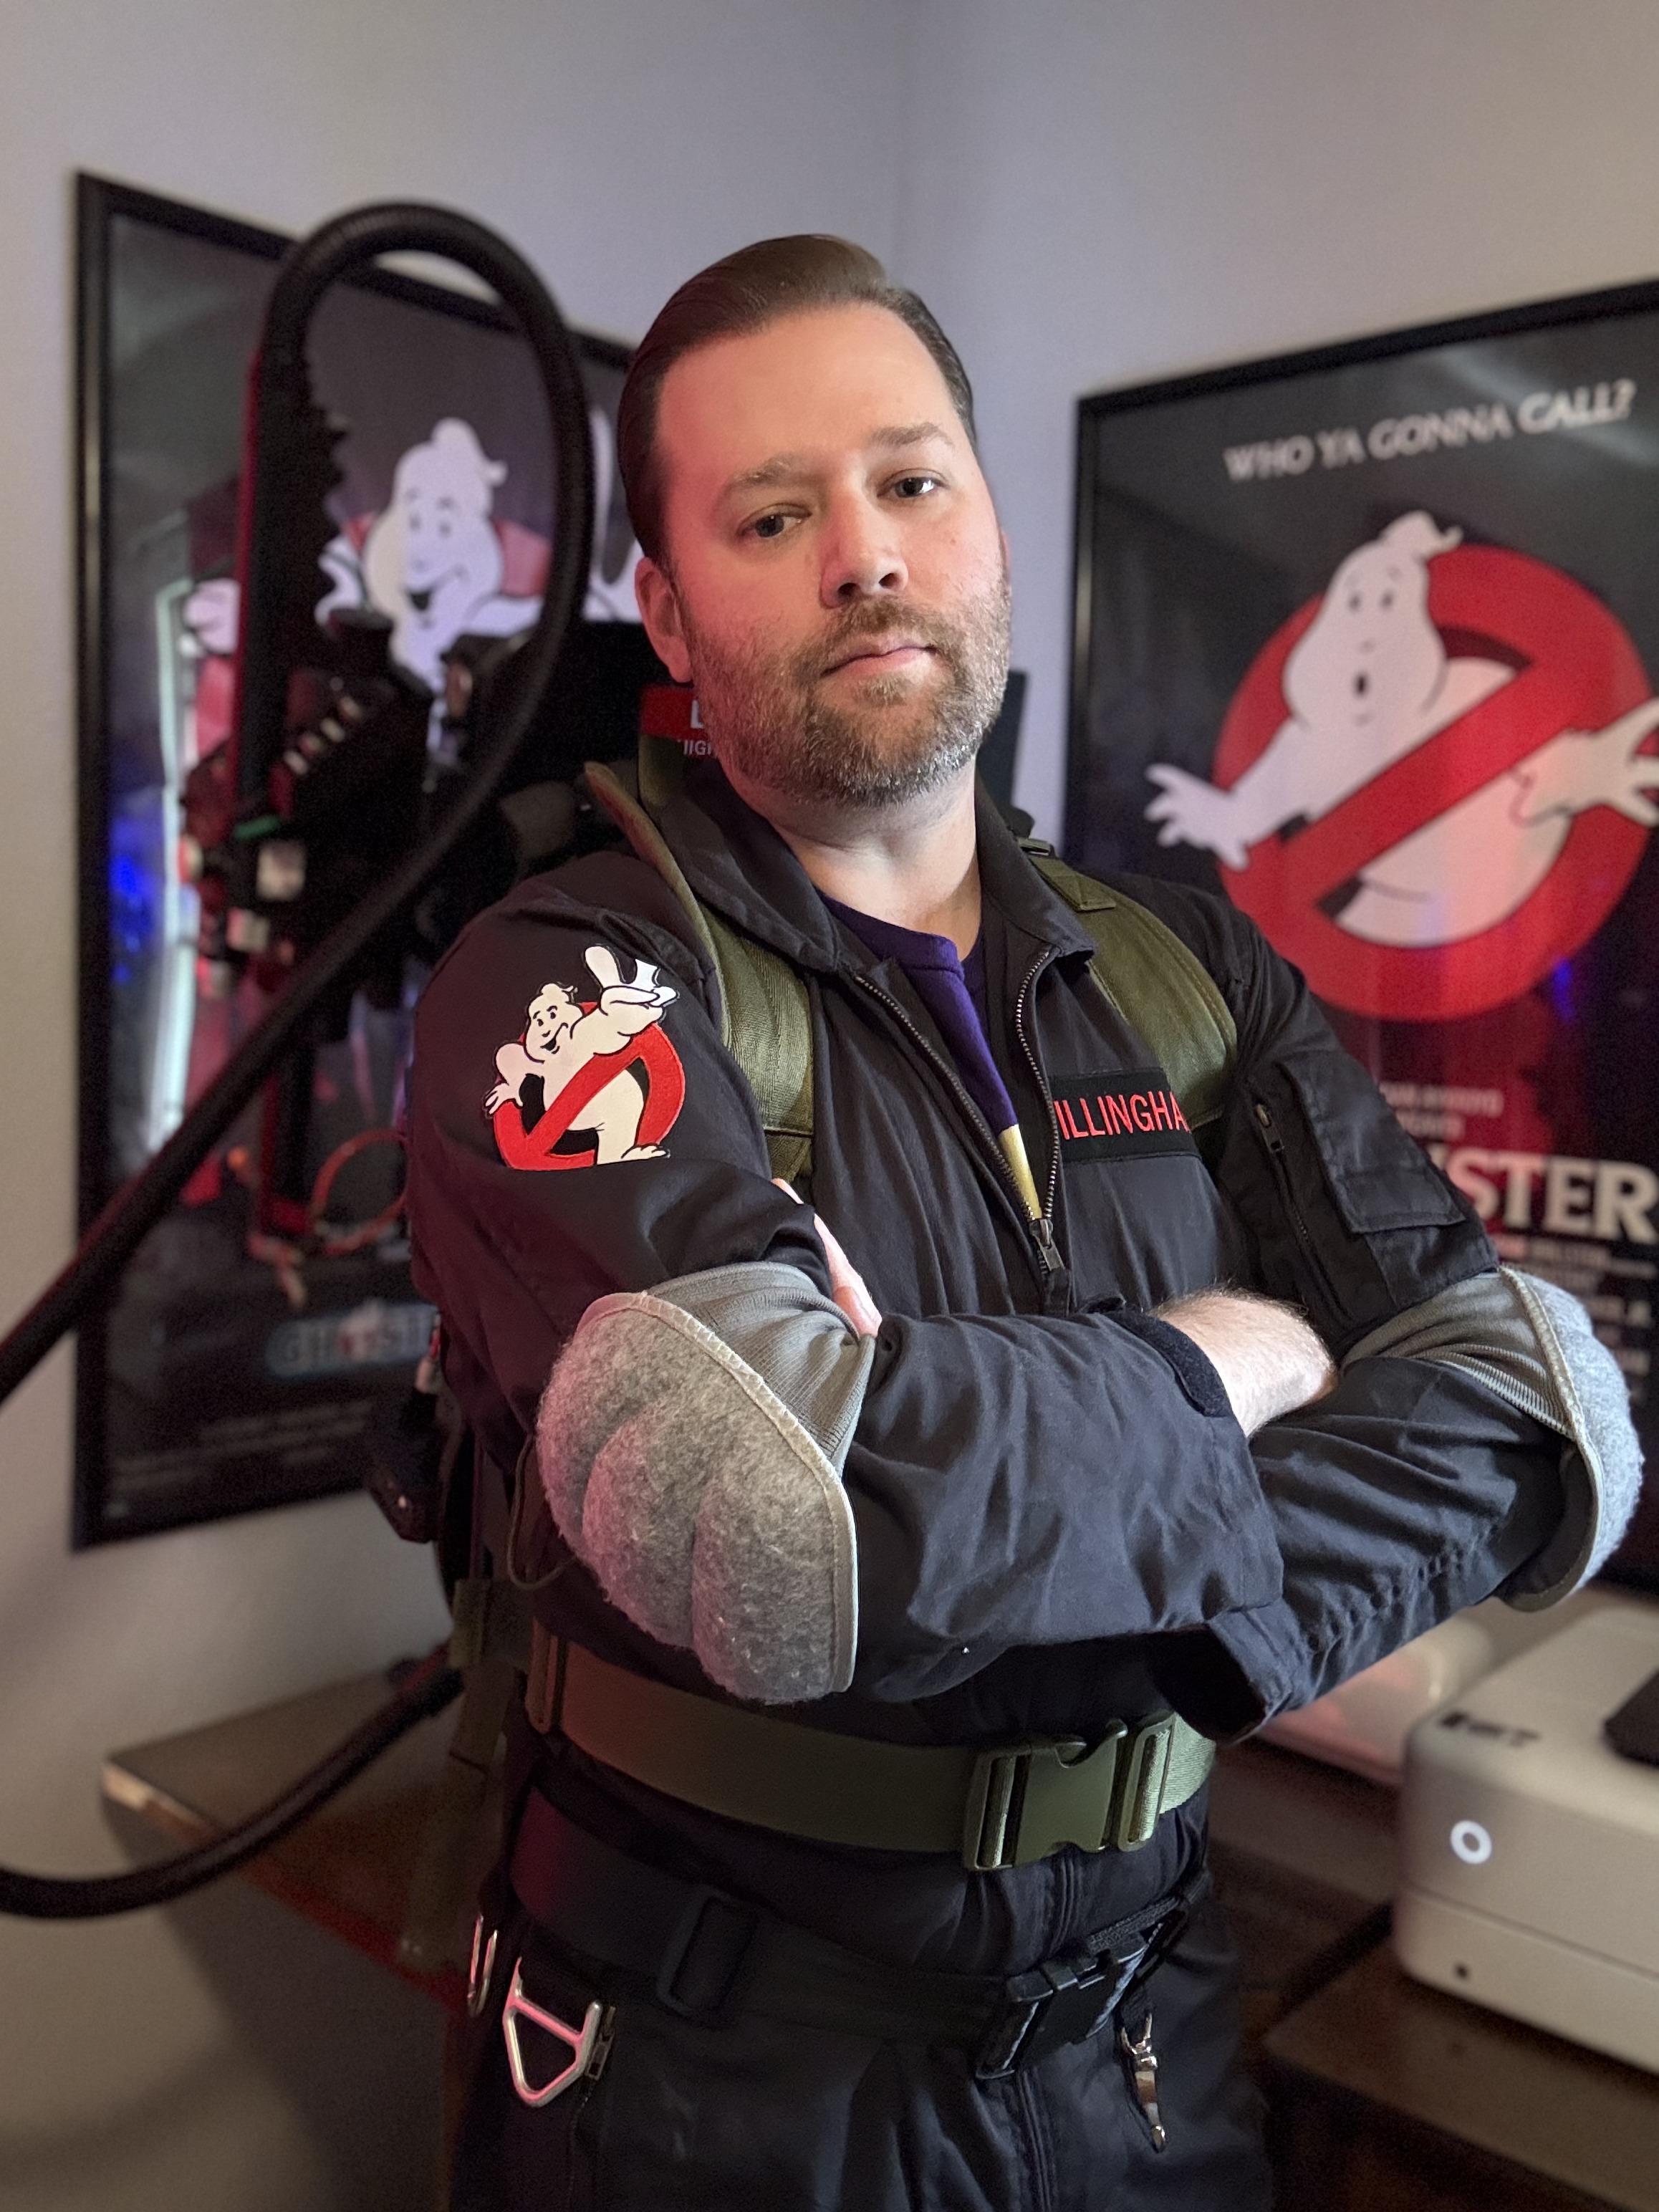
Here is my result. As you can see it shifts from dark, to blue tints, to more grey with different light. Might be a touch too dark, but I’m happy with it and it has room to fade in the wash a few times.
\
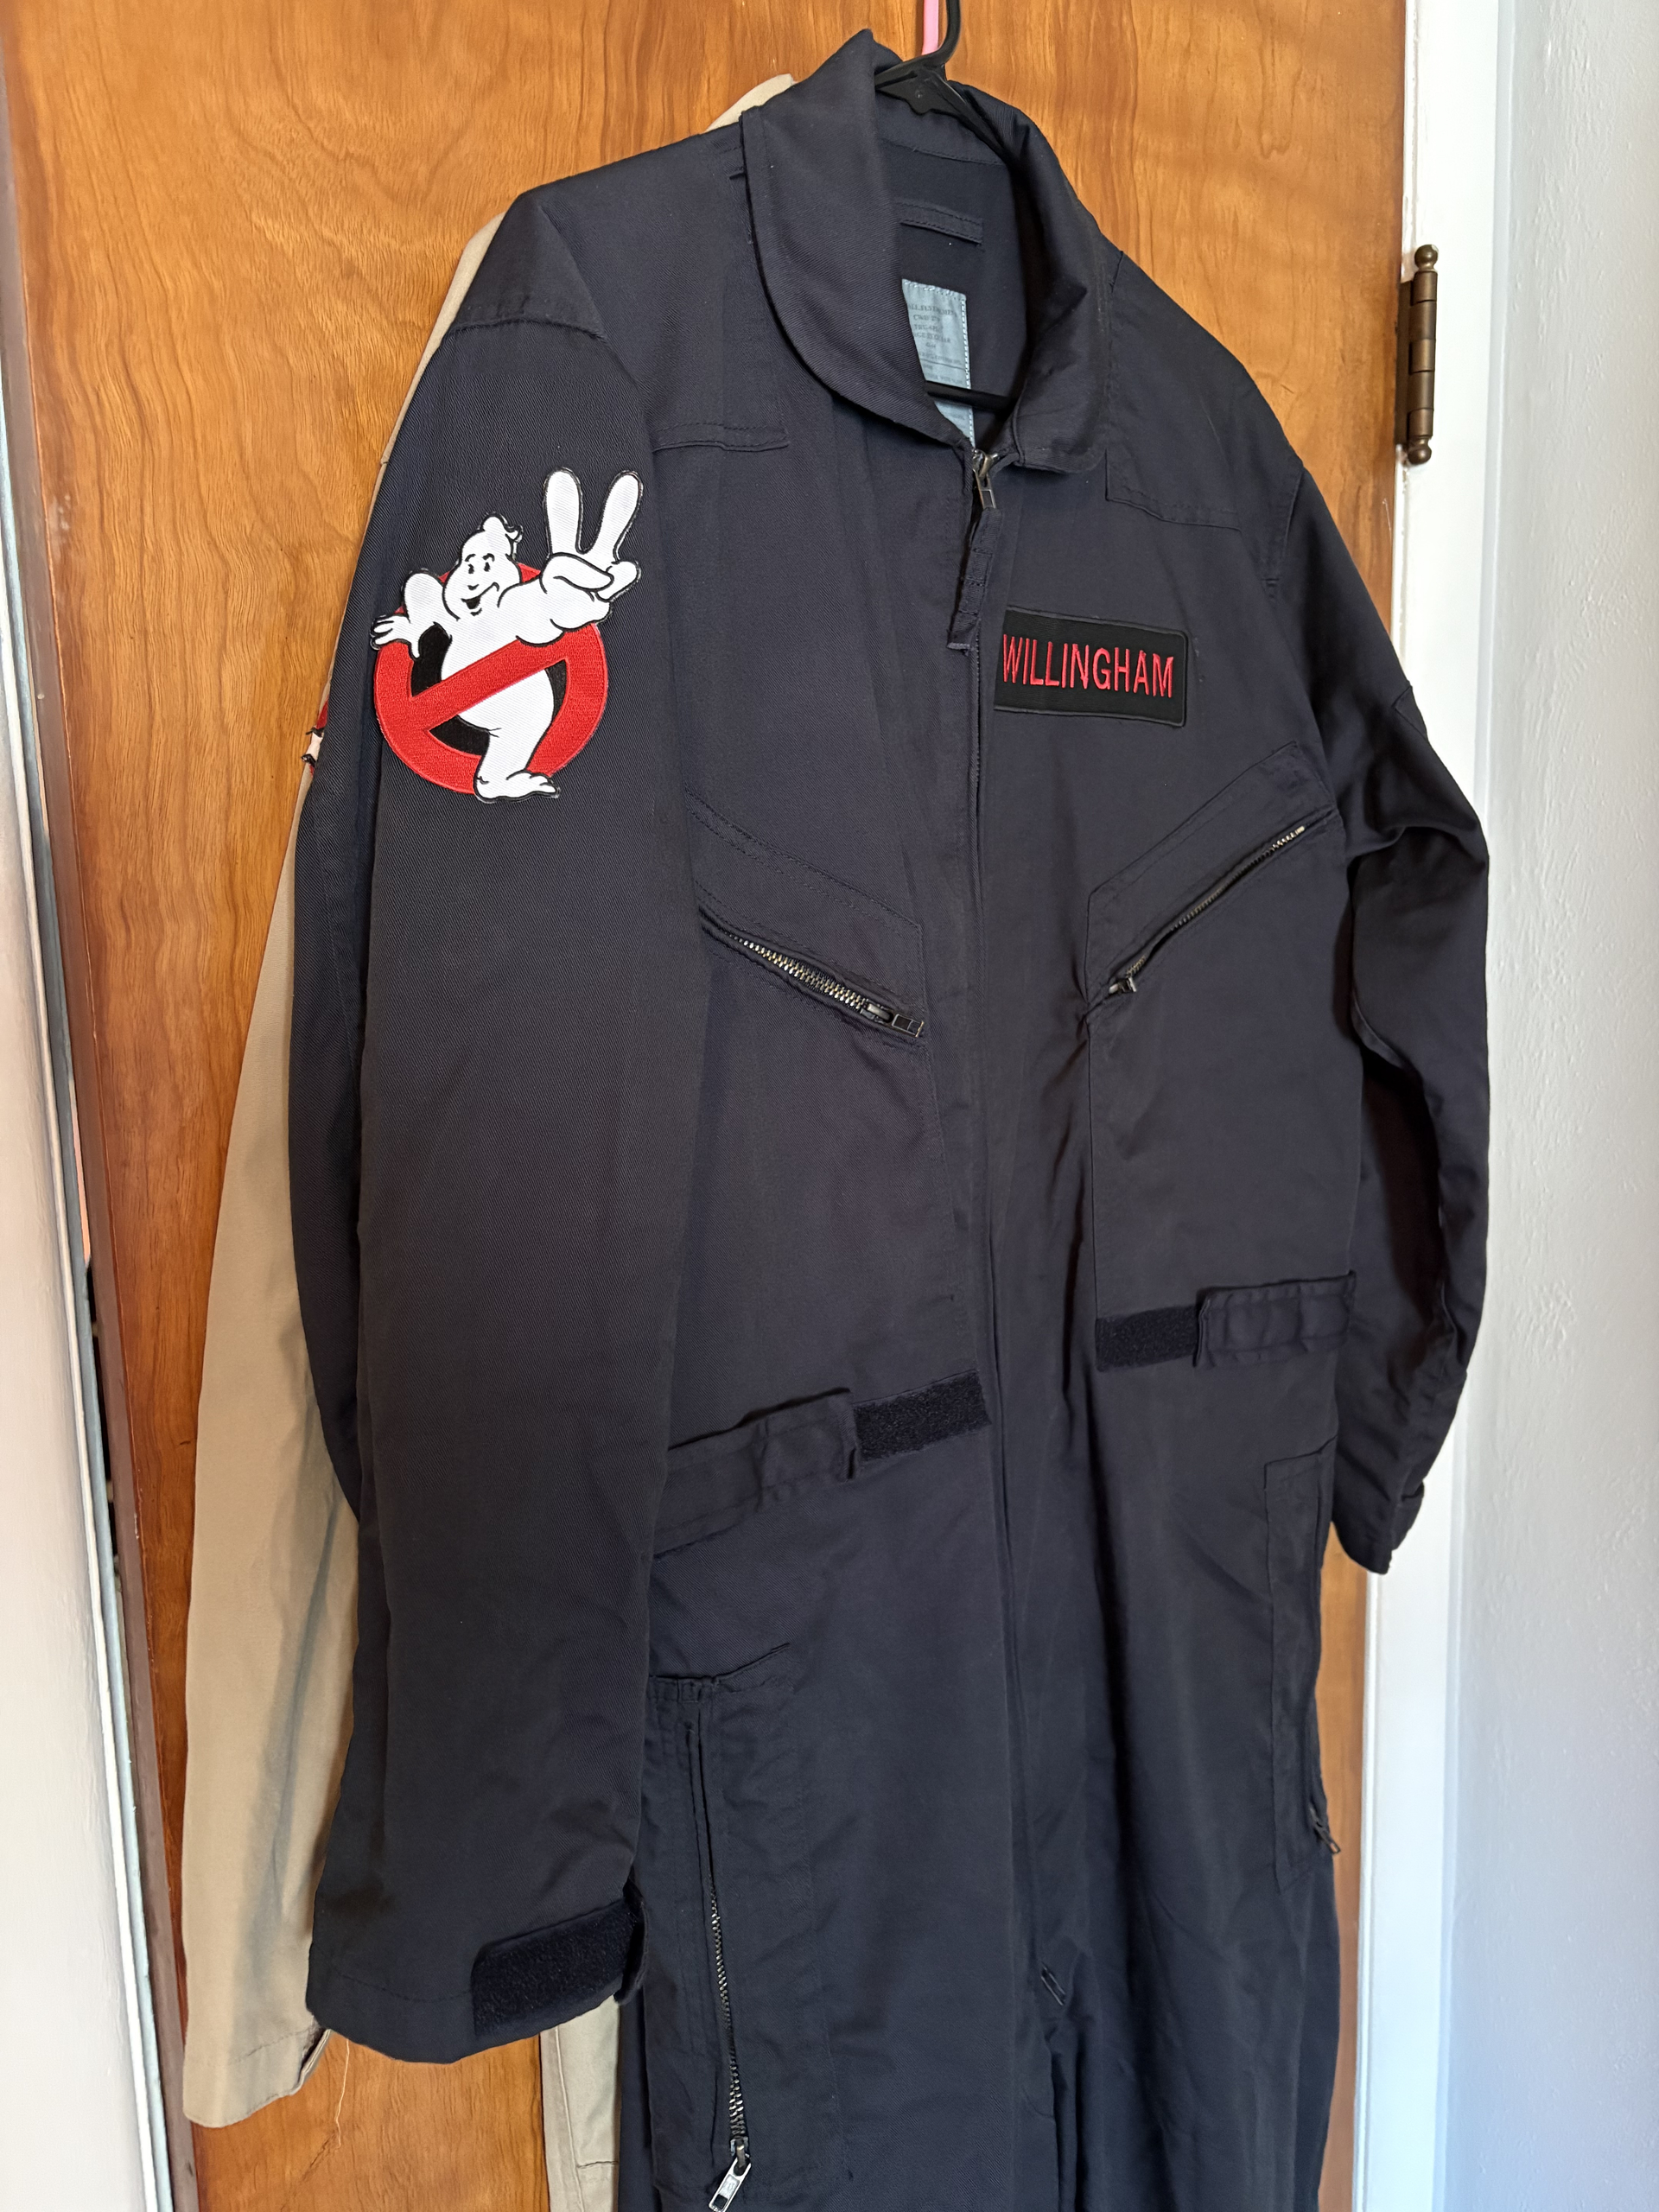
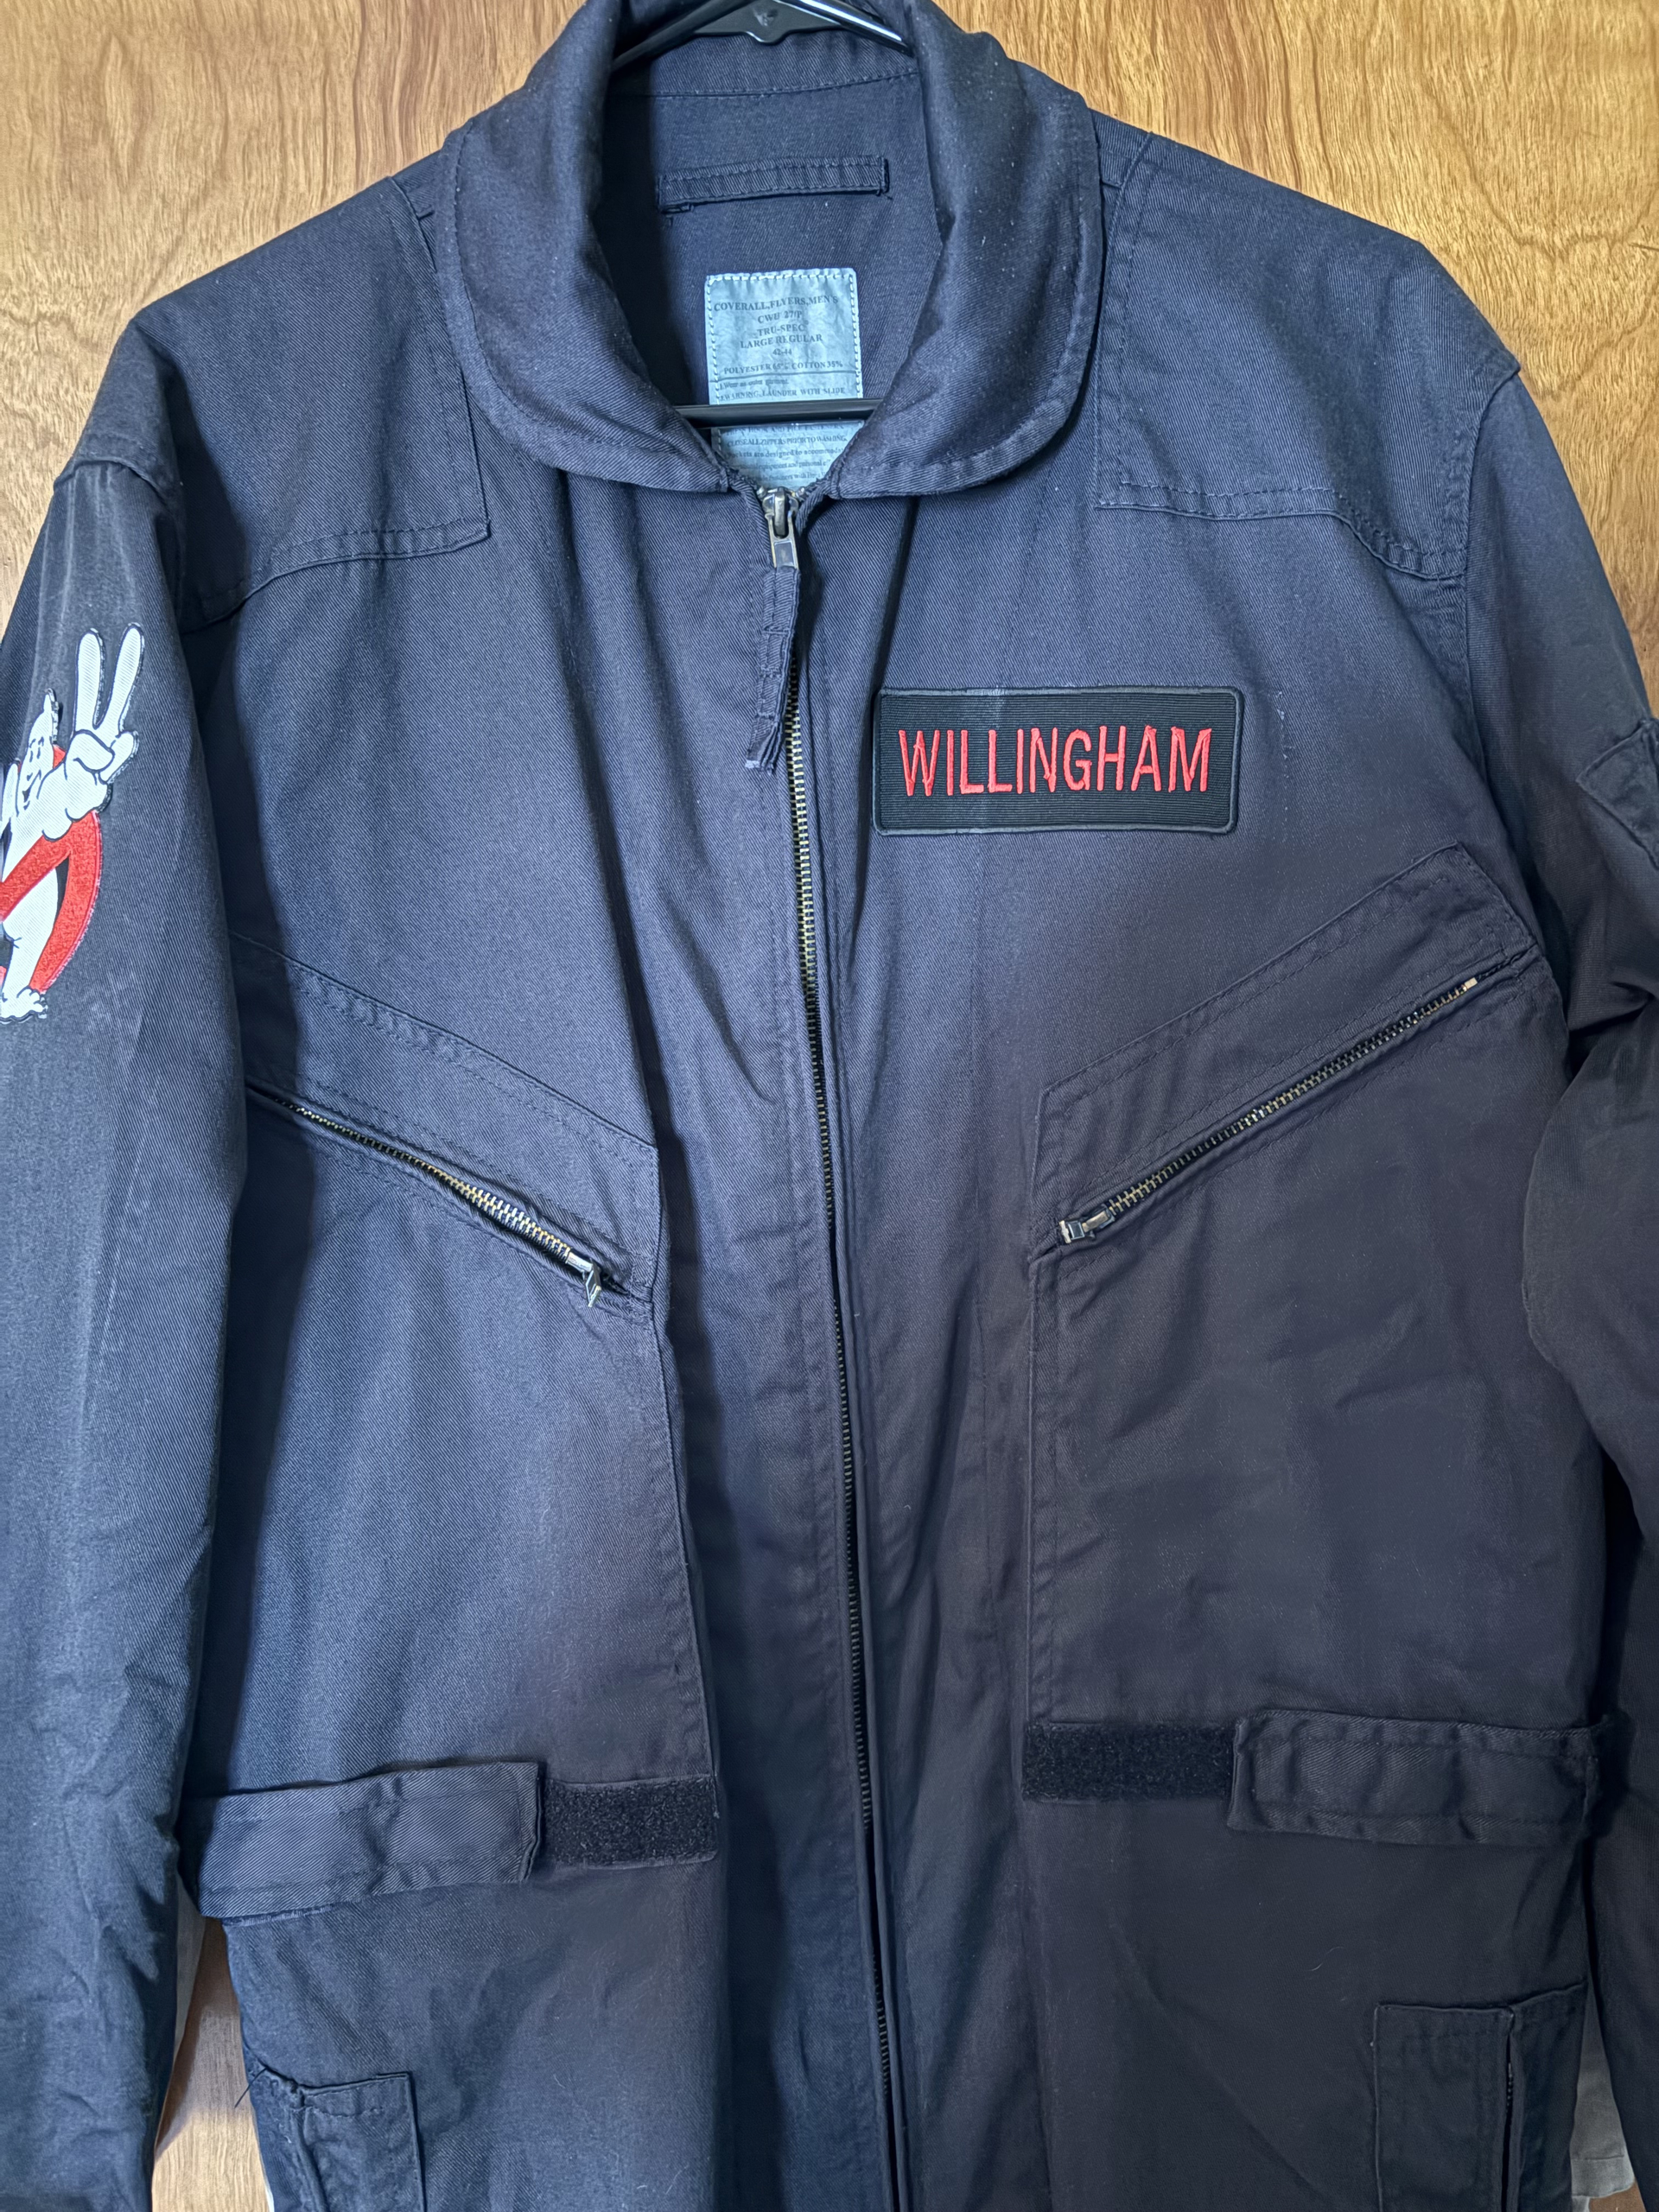

For more context and photos of the process and suit, I have a more detailed post here Tried and Tru-Spec
Now for the full tutorial!
Supplies:
- Rit Proline Color Remover (1 lb bag) or 4 to 6 of regular Rit Color Remover.
- One bottle of Rit Charcoal Grey
- One bottle of Rit Color Stay
- A large tub or bucket - Must hold 4 gallons of water and the suit.
- Stock pot to boil water
- Rubber gloves
- Something to stir with
- Detergent, bleach, and laundry whitening agent (like Oxy Clean)
Step 1: Wash and dry your flight suit.
Using the hot setting on your washer, a detergent of your choice, and some whitening solution (like Oxy Clean), wash your flight suit and dry it. The goal here is to loosen up the fabric and remove any other chemicals on it. Just trying to let the color remover work without anything getting in the way.
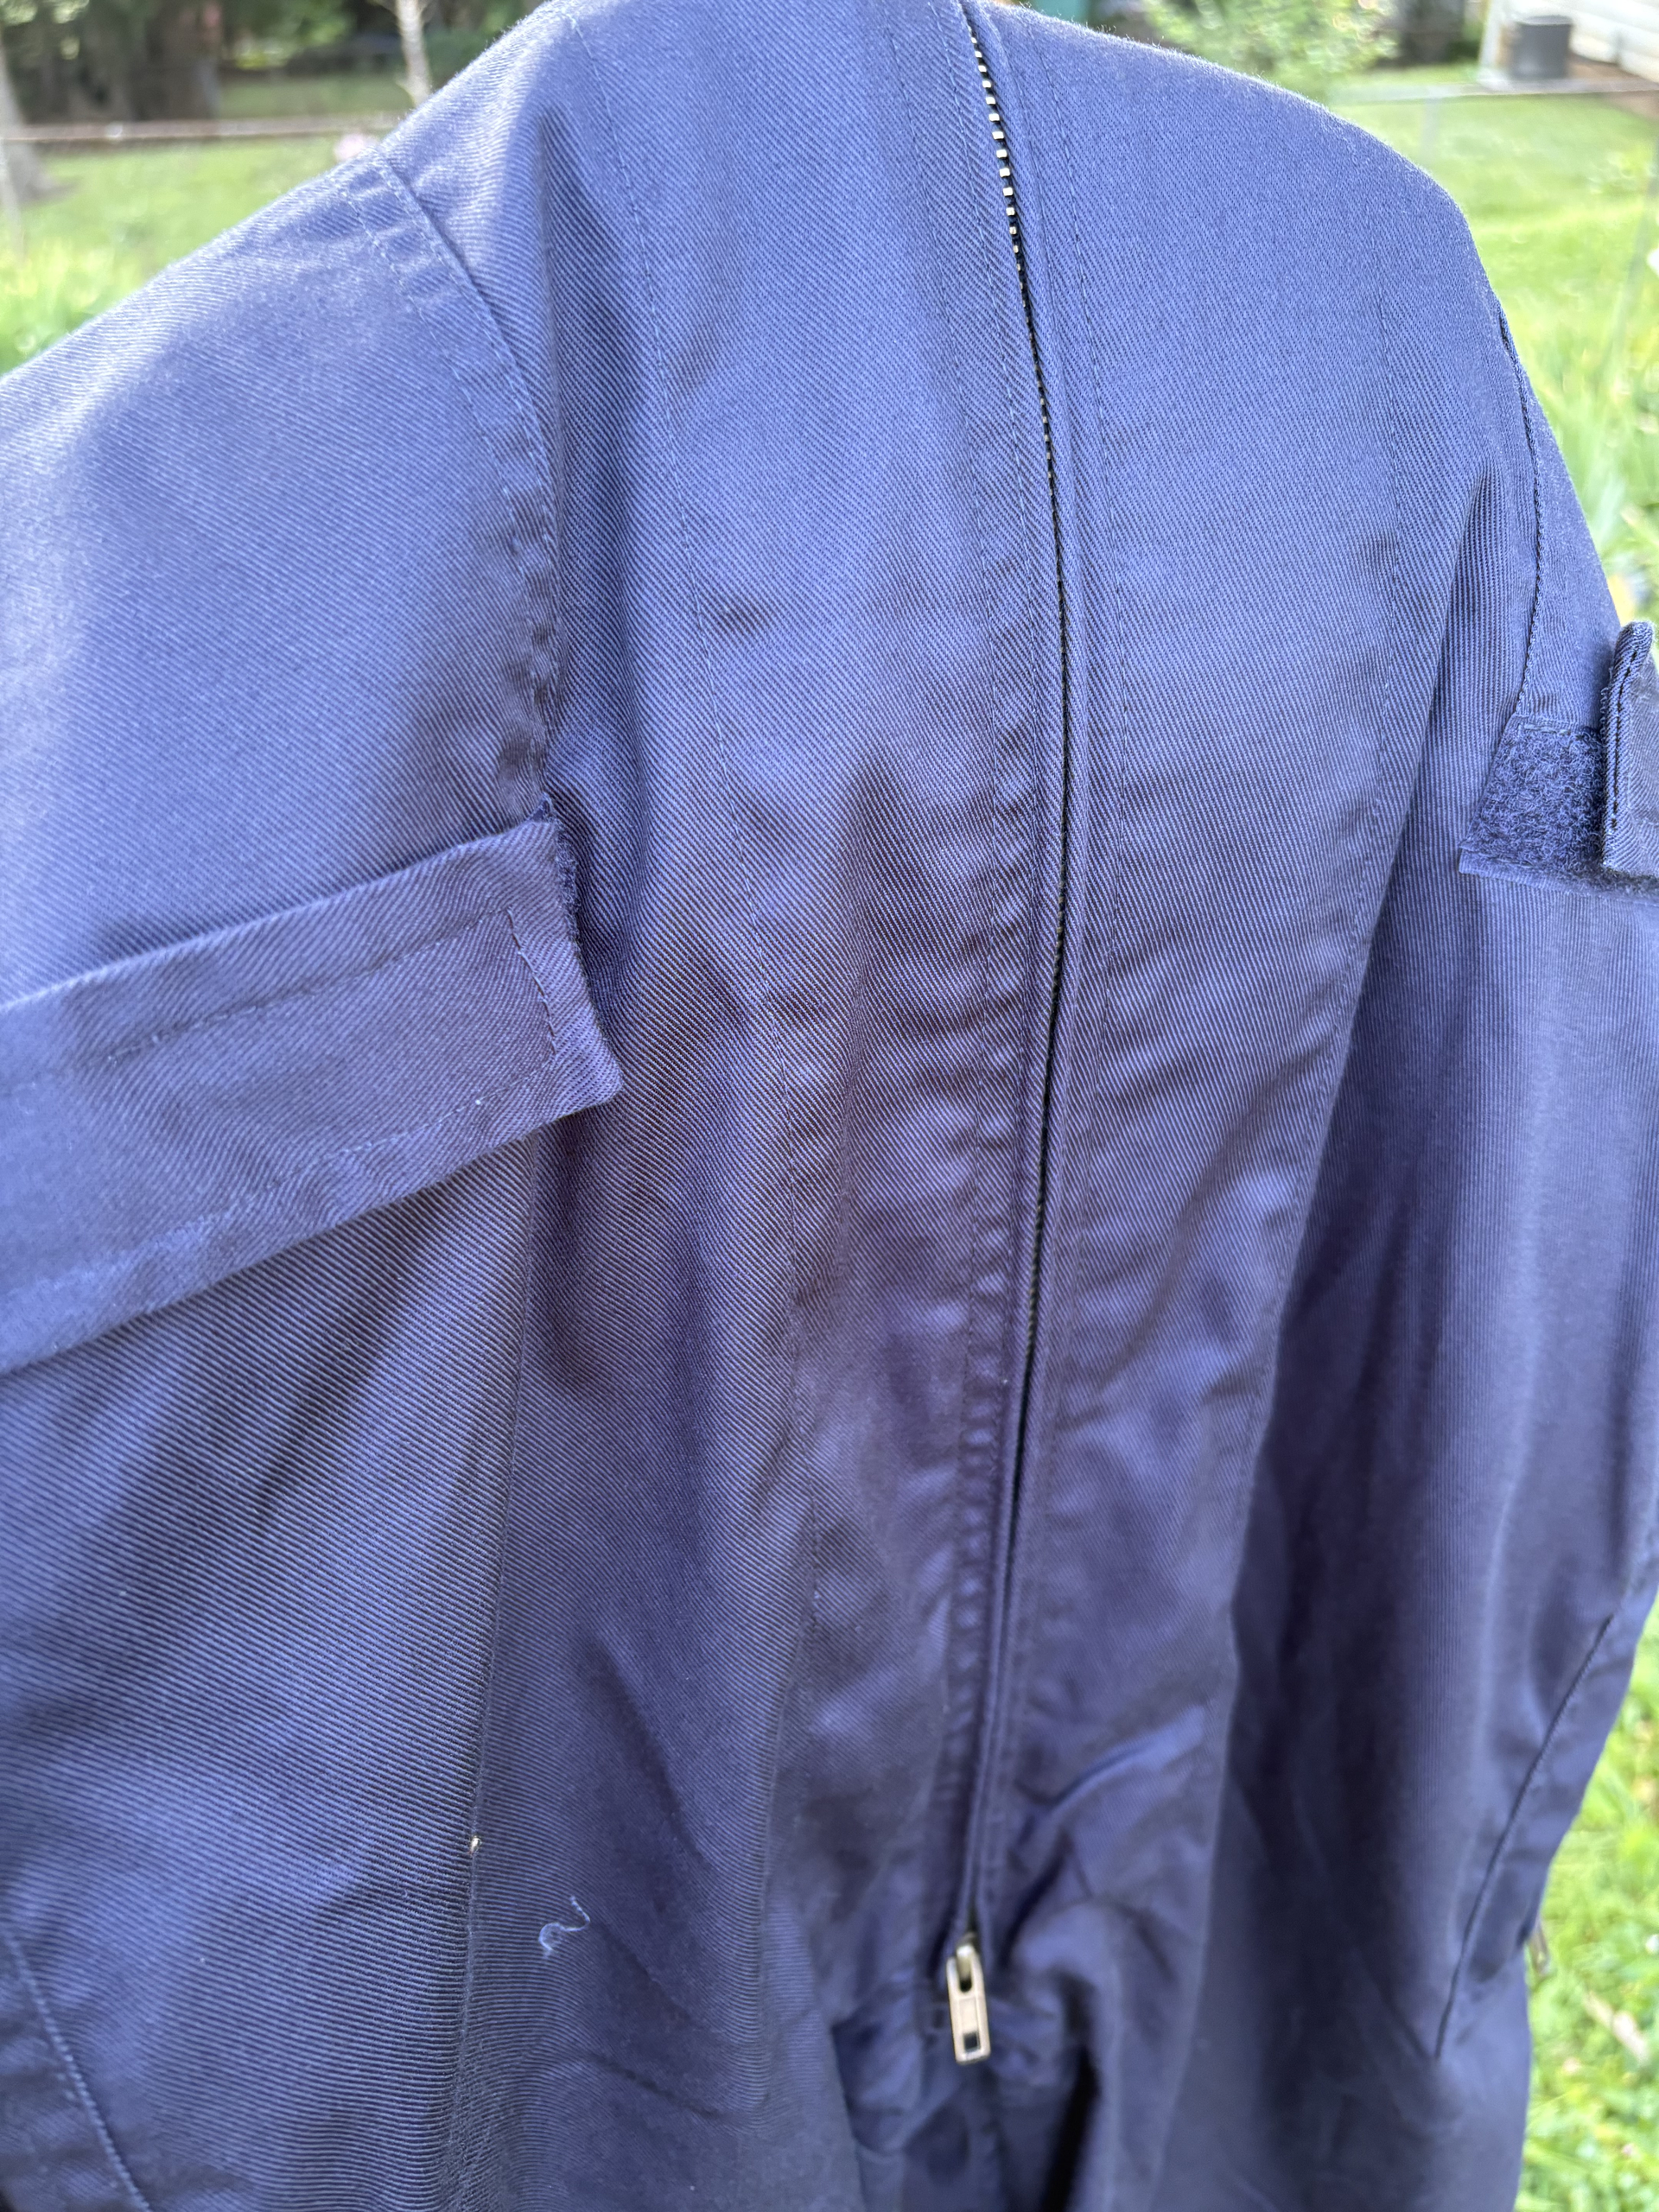
Color of the suit in the sun before we start the strip process. Just to show how blue it is. It was pretty dark inside, it actually starts pretty close to where you need to be, it’s just too blue.
Step 2: Color strip
Outside in a bucket or plastic tub that can hold about 4 gallons of water and your flight suit, add 4 scoops of Rit Proline Color Remover. Then boil your 4 gallons of water (I did two 8Qt stock pots). It does not need to be a full or rolling boil; once it’s bubbling, it’s hot enough. Very carefully take that water to your tub and pour it in (take care not to breathe the vapor), and mix any remaining color remover into the water. Now slowly dunk your suit into the water, and stir it until it is well coated. There will be some trapped air, and you’ll have some fabric floating; that is fine. Every 15 mins or so, go stir it up. I left my entire suit in the bath for 1 hour.
After that hour, when it is cool enough to put your hands in the water, put on some rubber gloves and really get in there and agitate the suit. Give it some good squeezes and stir it up for a few minutes. Then pull the suit out and squeeze out as much excess water as you can. Set it aside on something that the color remover won’t ruin. Your water should hopefully be anything but clear; mine was surprisingly a classic Gatorade yellow.
Step 3: Wash and Dry
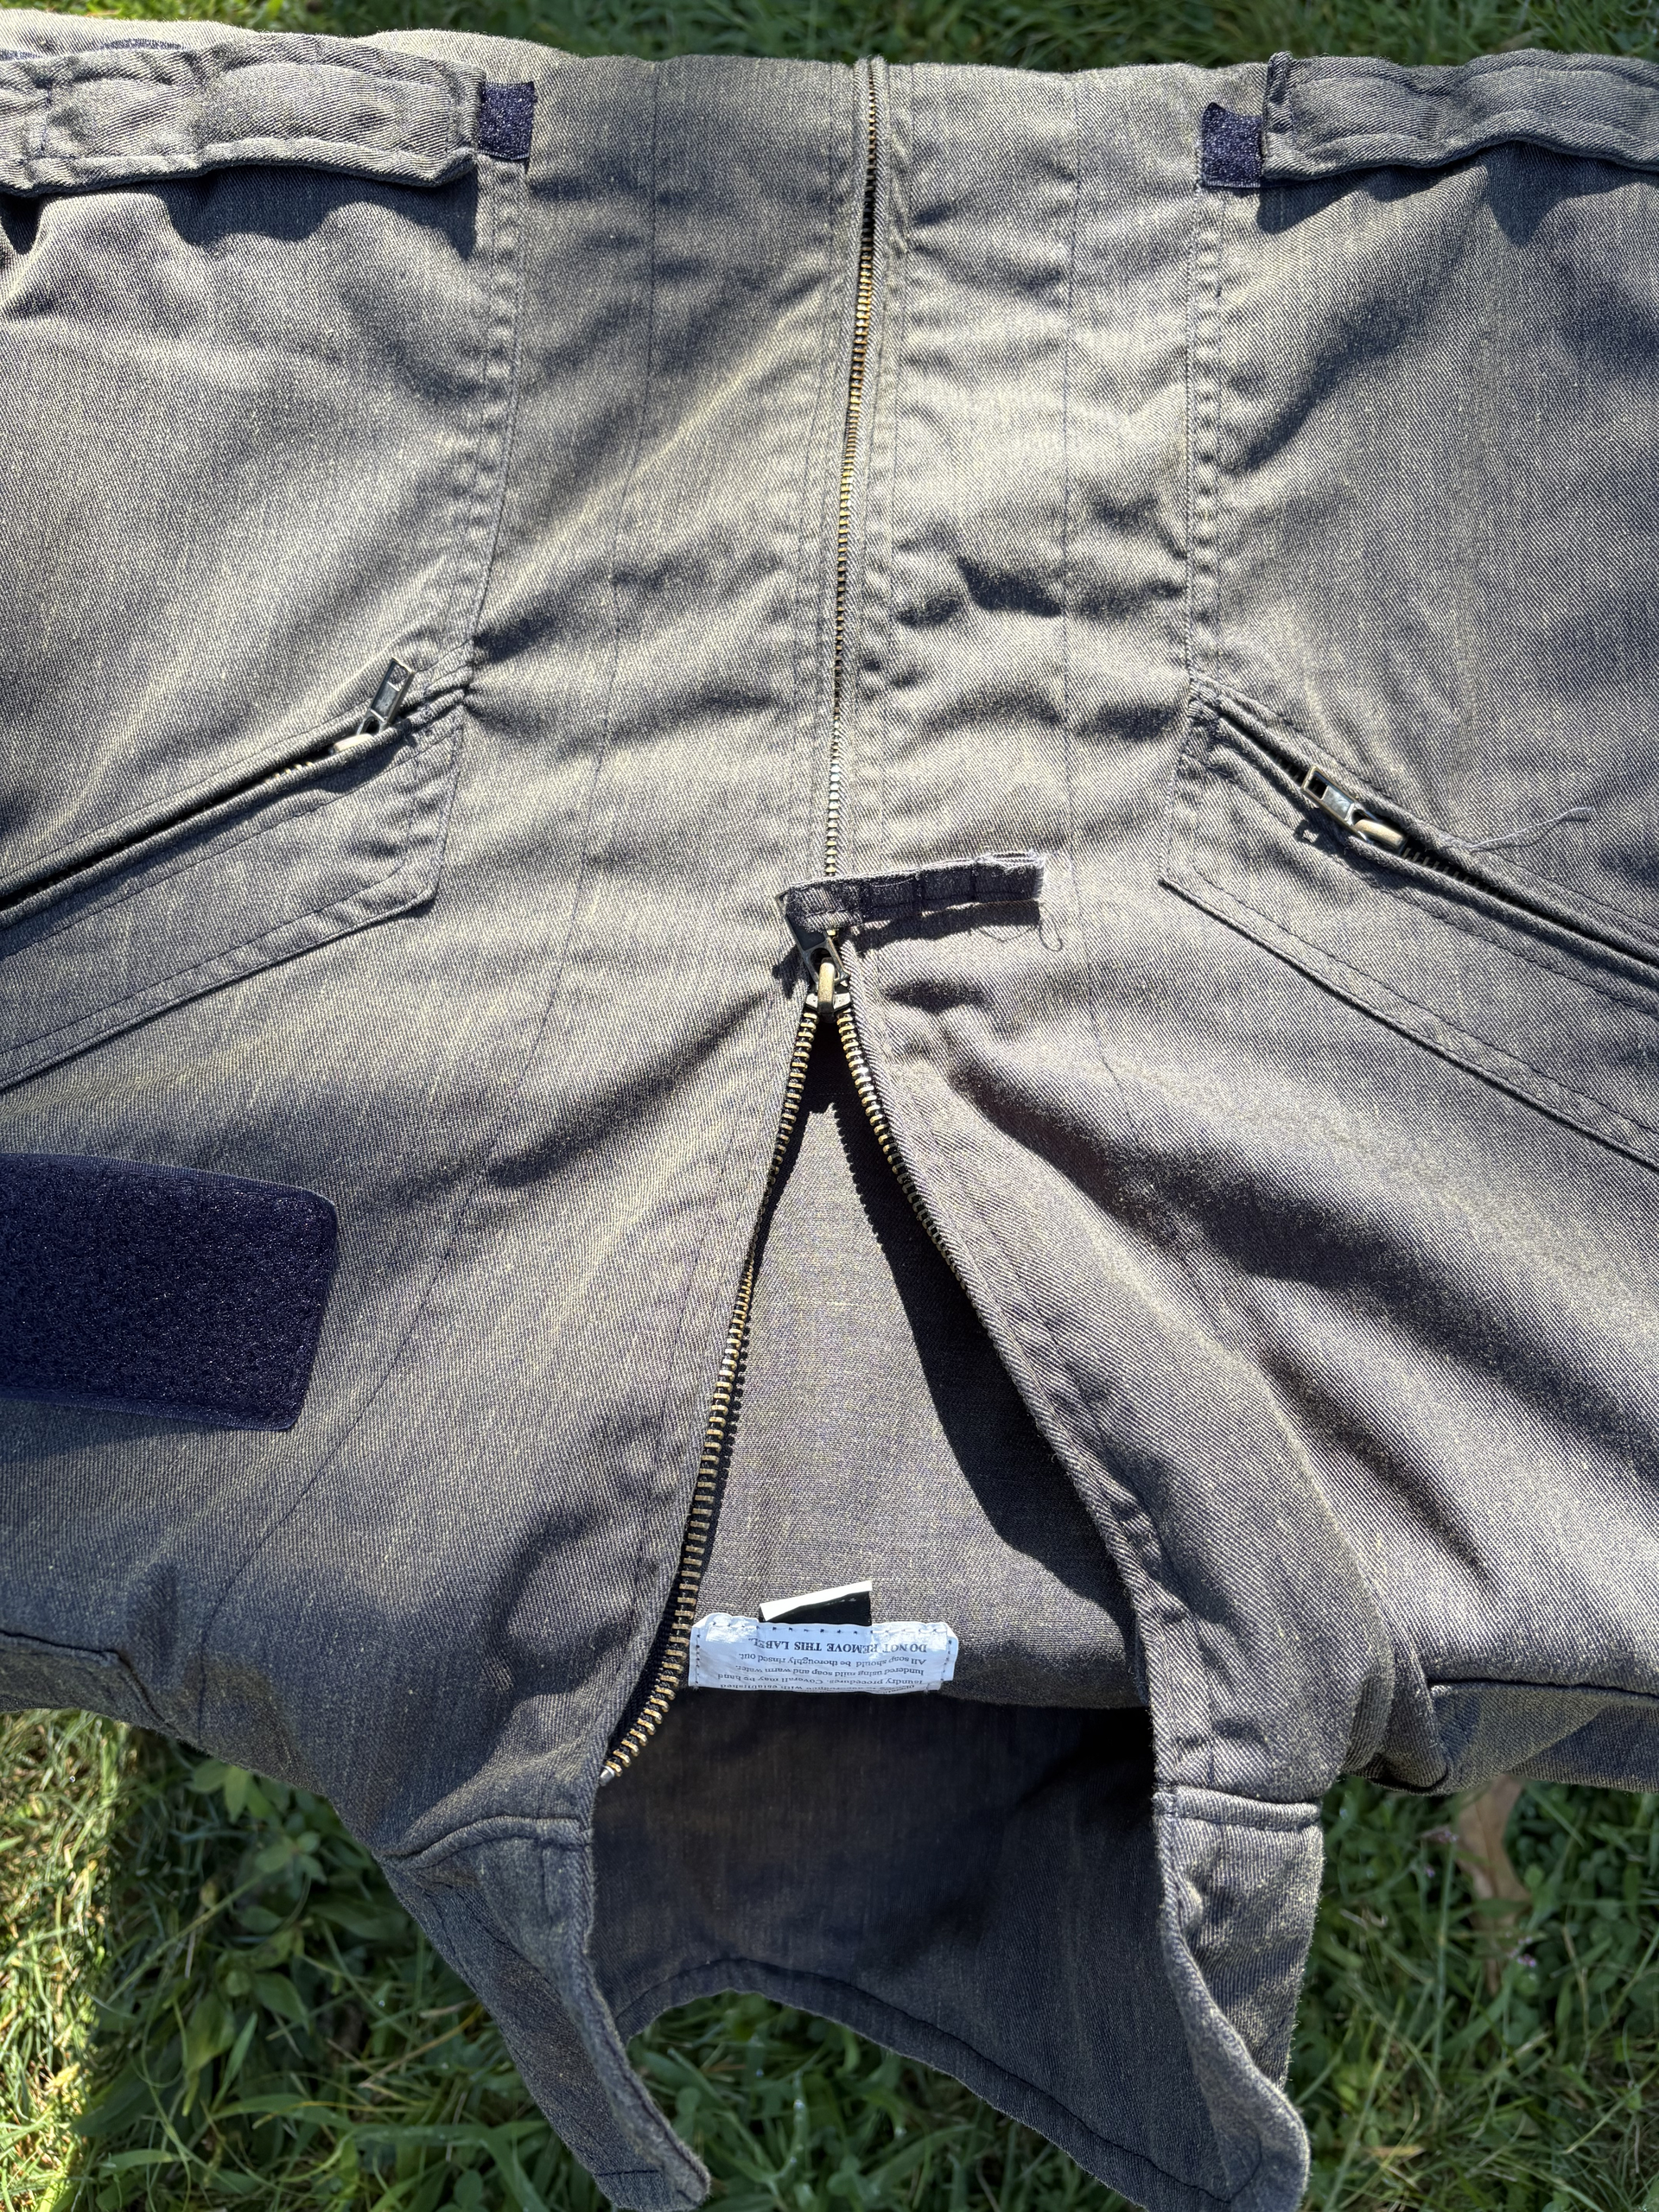
Throw it in your washer on hot again with the detergent and whitening agent. You’ll also want some laundry bleach; mine was concentrated, and I used about a 1/4 cup, just did a quick pour into my washer’s bleach reservoir. You don’t want to overdo this; we want some color left. Don’t do more than half a cup. Once the cycle is complete, give it a dry, and you’ll hopefully be left with a suit that is a medium gray with some hints of blue left in it, almost like grey acid-washed denim (but not splotchy).
Step 4: It’s Dye Time
Okay, once again, boil 4 gallons of water. Add that to your bucket/tub and then dunk in your suit and stir it up to get it well soaked. Then push it aside, shake up your Rit charcoal grey dye, and add it to the water. Stir, stir, and stir some more. Get as much air out as possible, and we are once again going to leave it for about an hour, stirring occasionally and, once you can get your hands in there, agitate it with some gloves on.
Step 5: Make it stick.
If you have a second bucket or tub that will fit the same 4 gallons and your suit, fill that with the hottest water your tap will give you and add an entire bottle of Rit Color Stay. If you don’t have a spare tub/bucket, grab your suit and let the excess run off, then give it a very light squeeze while pulling it out of the bucket. Set it aside, dump your tub, then fill it with water and Color Stay. Dunk the suit in the water and stir it up, keeping it in and stirring it lightly on and off for about 15 to 20 minutes or until the water cools off.
Step 6: Wash again
Once that is done, pull the suit out and let the excess run off again, then give it a light squeeze. Dump the tub and use it to carry your suit to the washer. Wash it on cold and with a small amount of detergent, then, of course, dry it.
You’re Done!
Hopefully now you have your very own Ghostbusters 2 charcoal grey suit. It may not be perfect, but you should have something nearly screen-accurate. As I mentioned at the beginning, it is unlikely you’ll ever have something 100% the same as the film. Not only does the original fabric reflect light in many interesting ways, but dyeing a polyester-cotton blend will never be the same as the original cotton ripstop fabric. Happy bustin’!