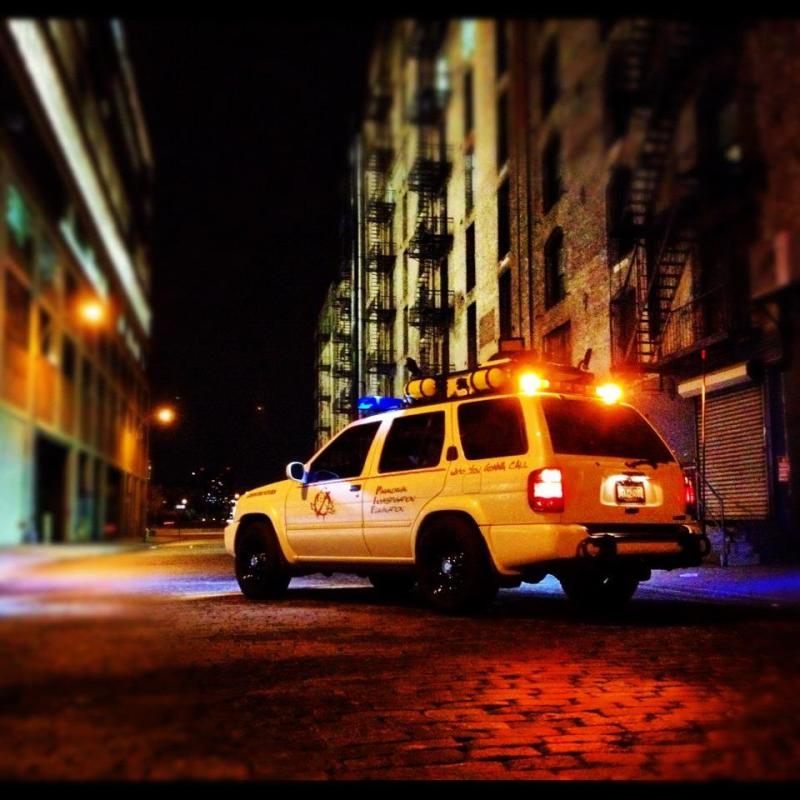
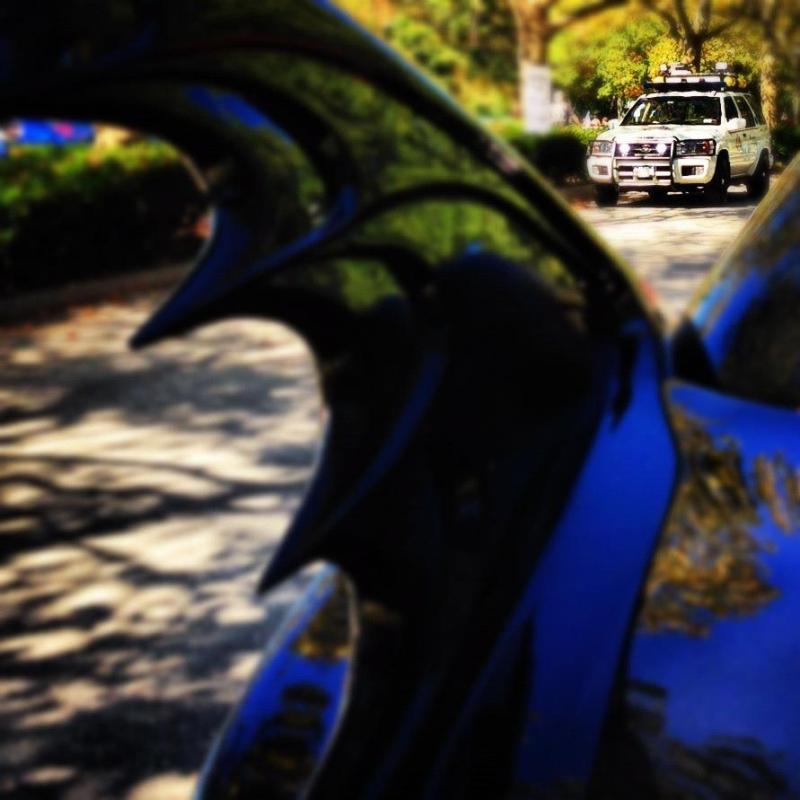
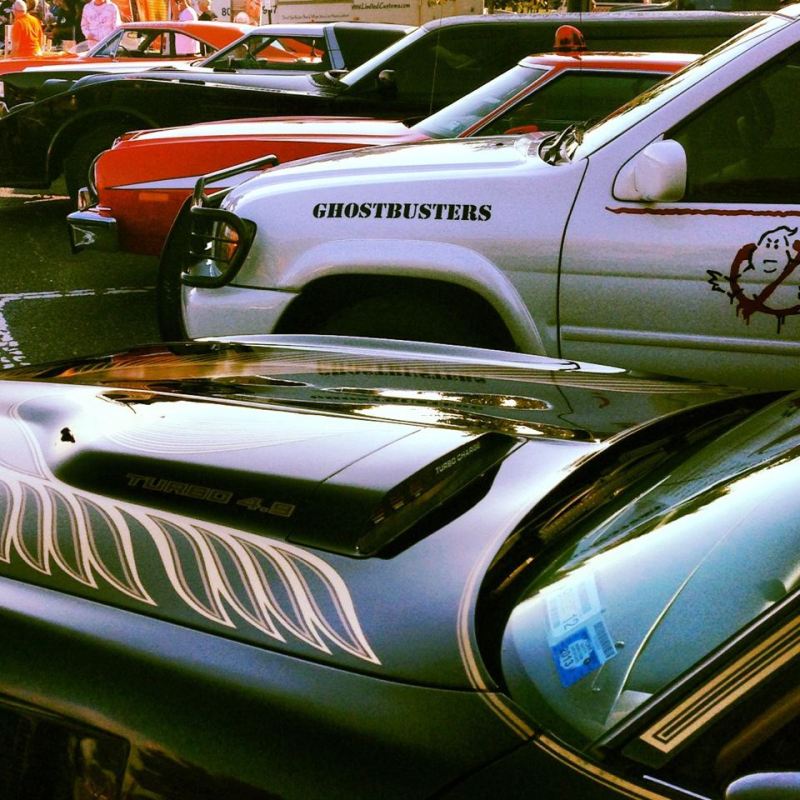
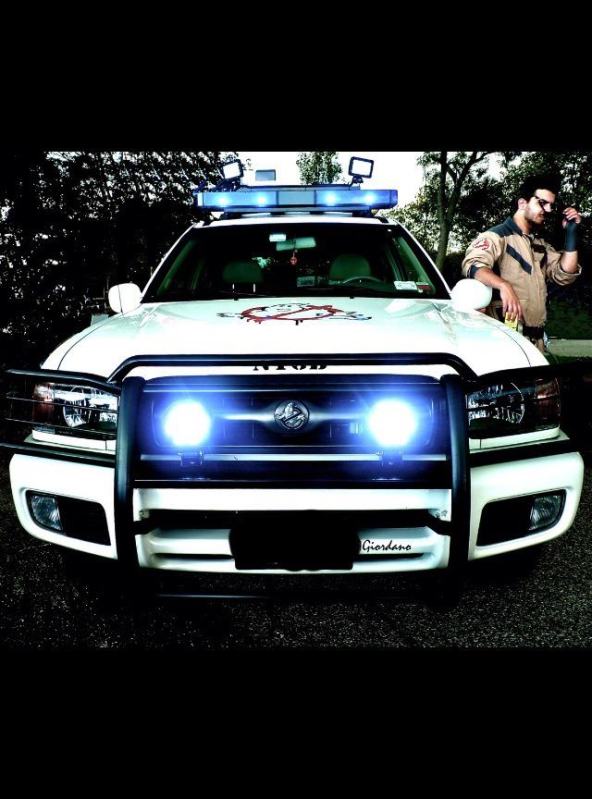
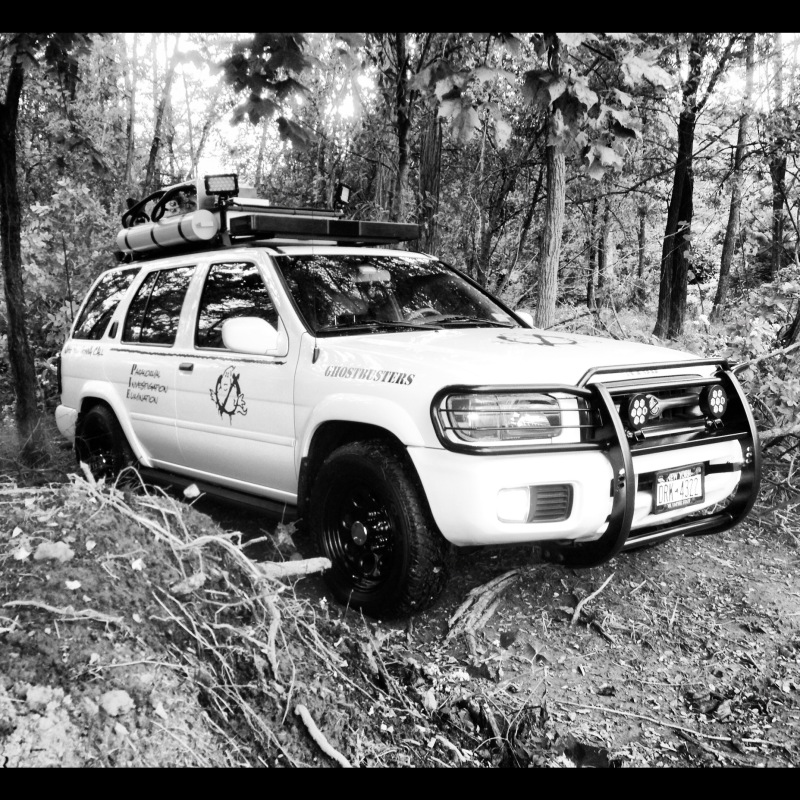
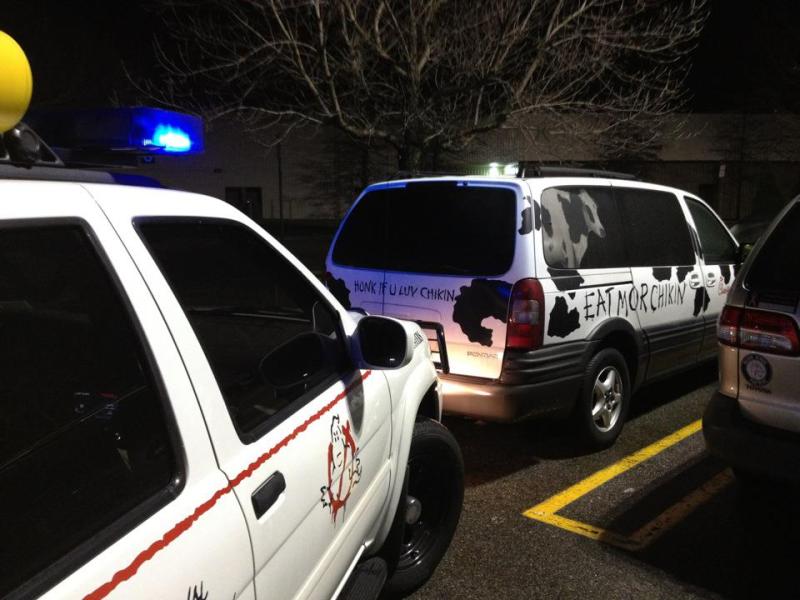
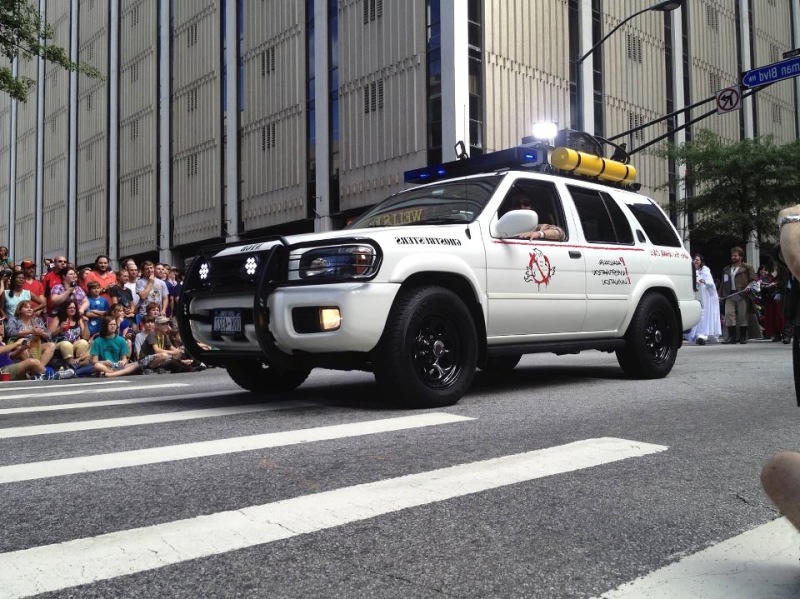
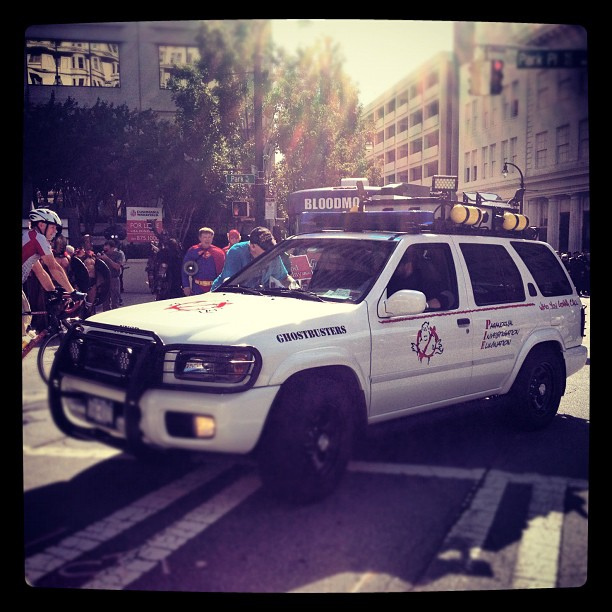
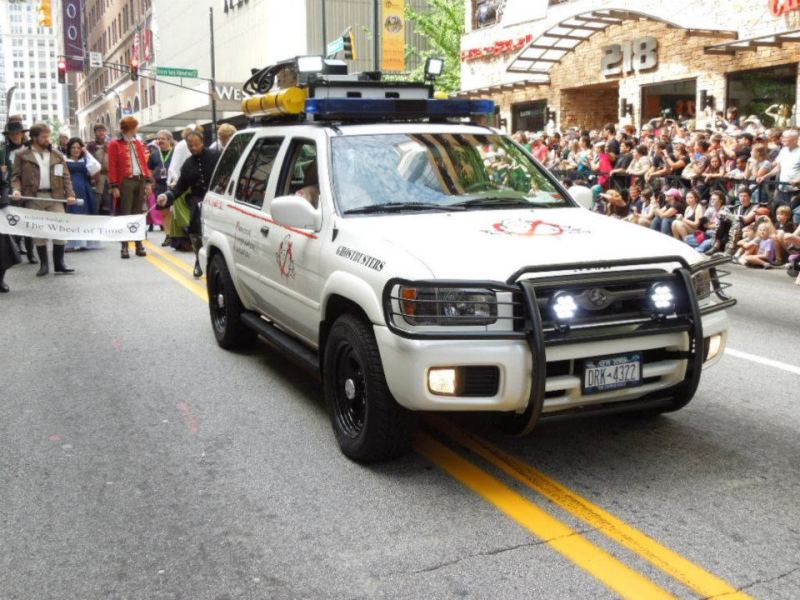
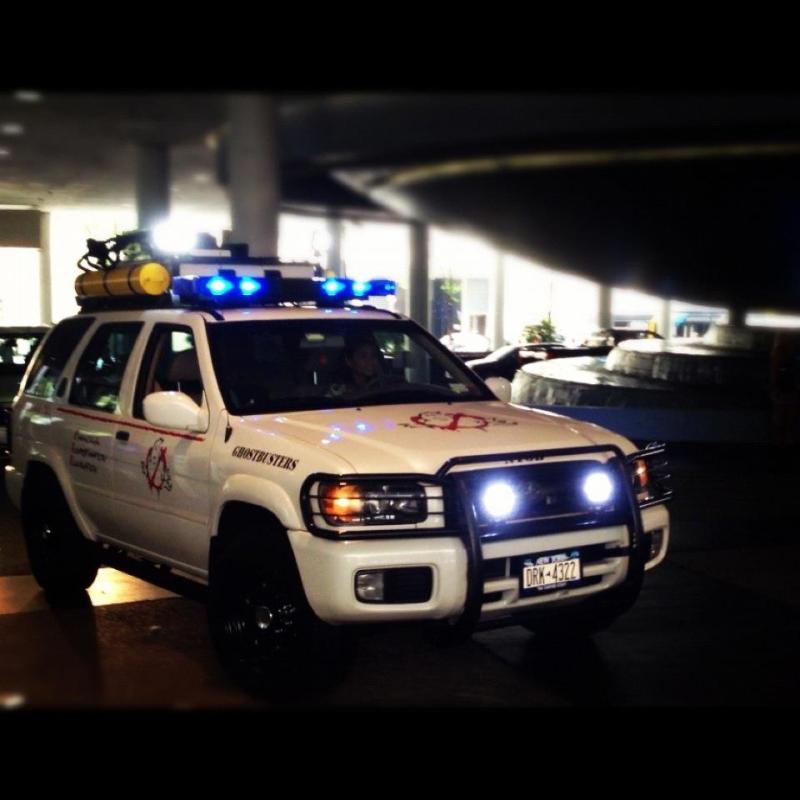
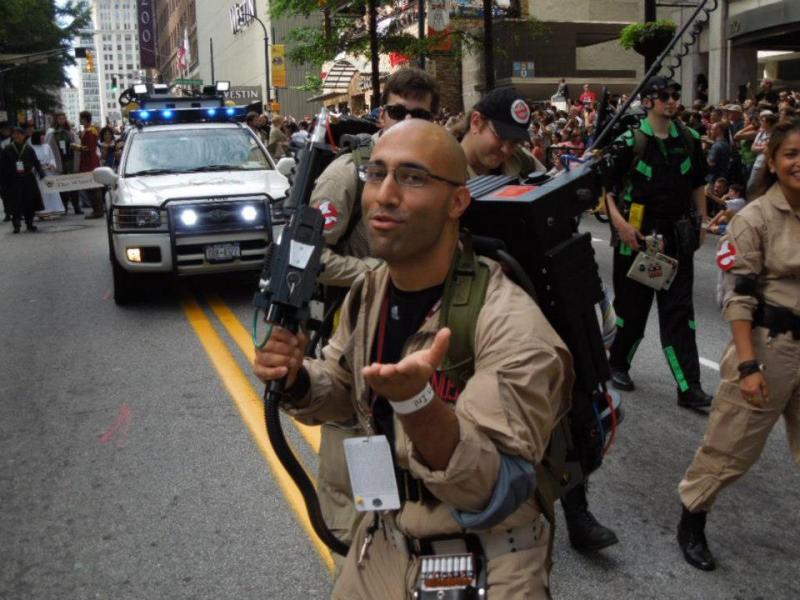
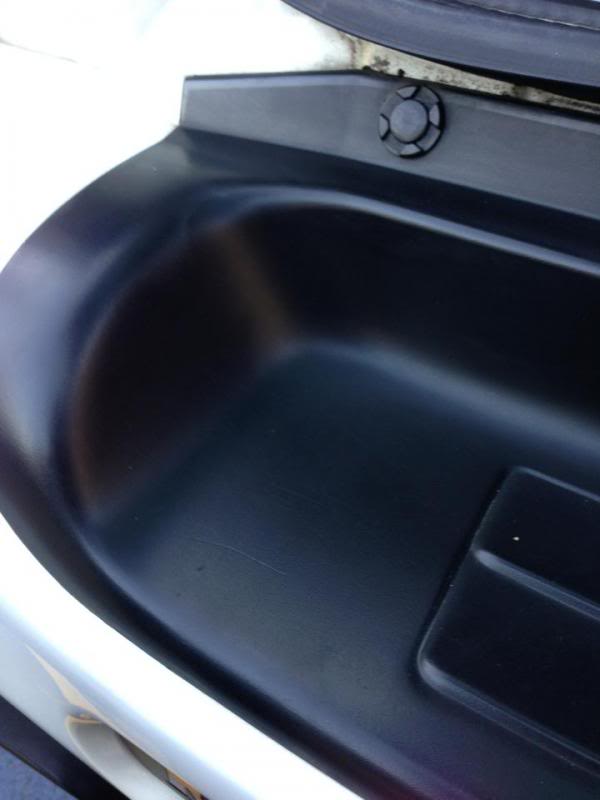
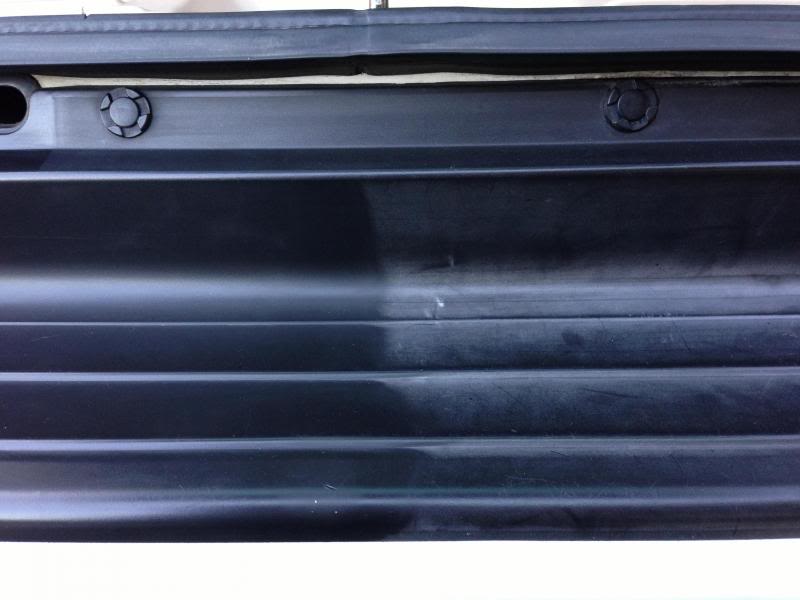
Extremely sorry for the delay in posting pictures of the truck of its final state for the season. I have some pictures from dragon con as well as random car shows etc. I had an amazing time riding around in this thing and the perks weren’t bad either. The truck is not 100% complete. I made a list of things that i will tackle once the spring rolls around. enjoy!
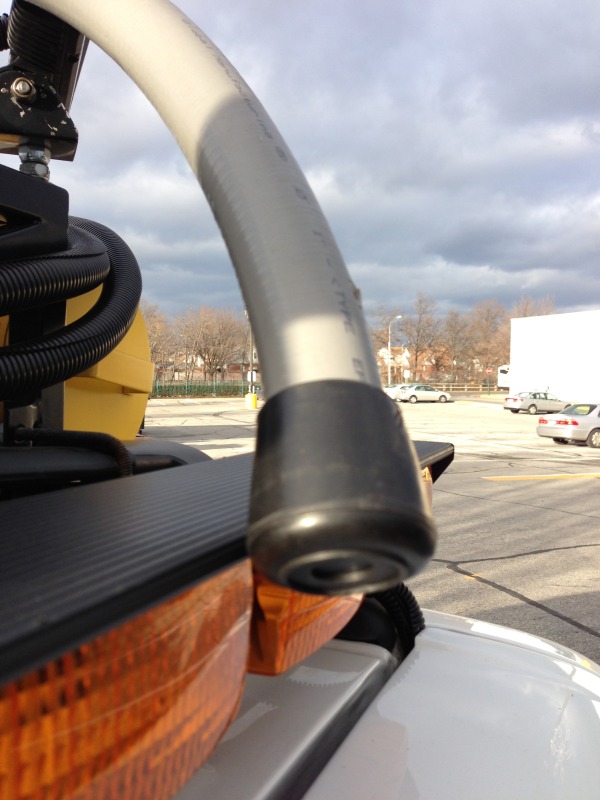
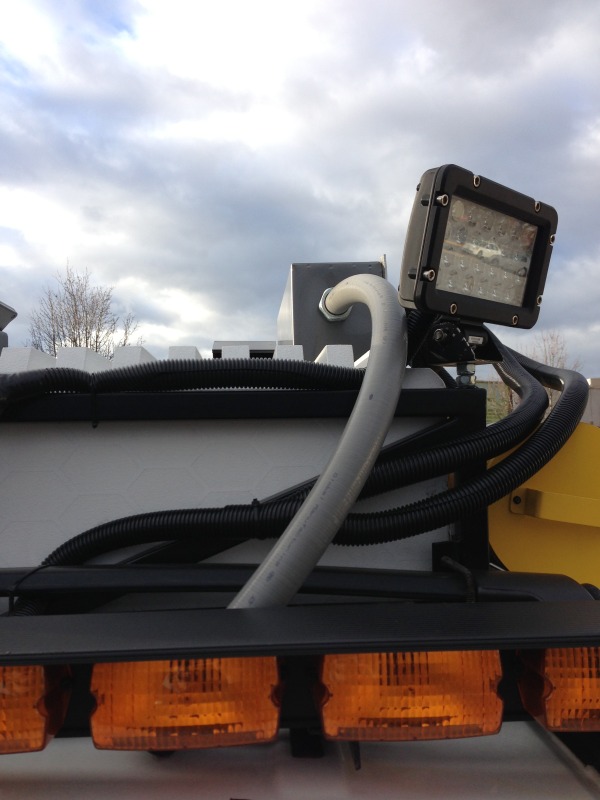
I forgot to mention a minor update with the rack I did right before halloween. I couldn’t come up with a way to add the metal bracket without drilling holes on the side of my truck. so instead I just cut a smaller piece of hose and put a plug on the end of the hose and tucked it behind the rear light stick.
Oh hey I forgot to mention one really cool add-on to truck. My lovely girlfriend bought me a Viper Smart-Start for my birthday. It has a ton of really cool features. One being that i can start my car anywhere in the world … just as long as i have cellular service.
Hey guys, This is nothing to really write home about. But I did do a couple of things to the Ecto since the weather is getting better.
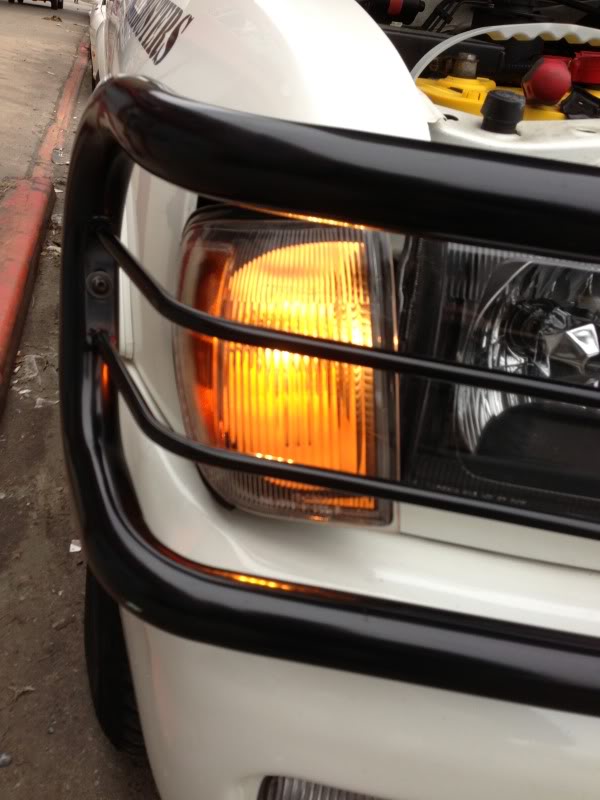
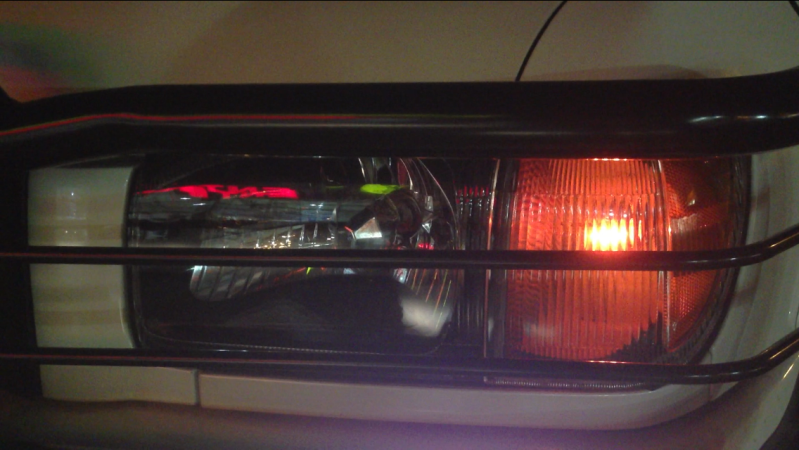
First off, I switched out the stock bulbs for the pathfinder. Cause the after market headlights had a deep almost orange reflector for the side blinker and the stock bulbs was an off yellow. It just made it look cheap in my eyes.
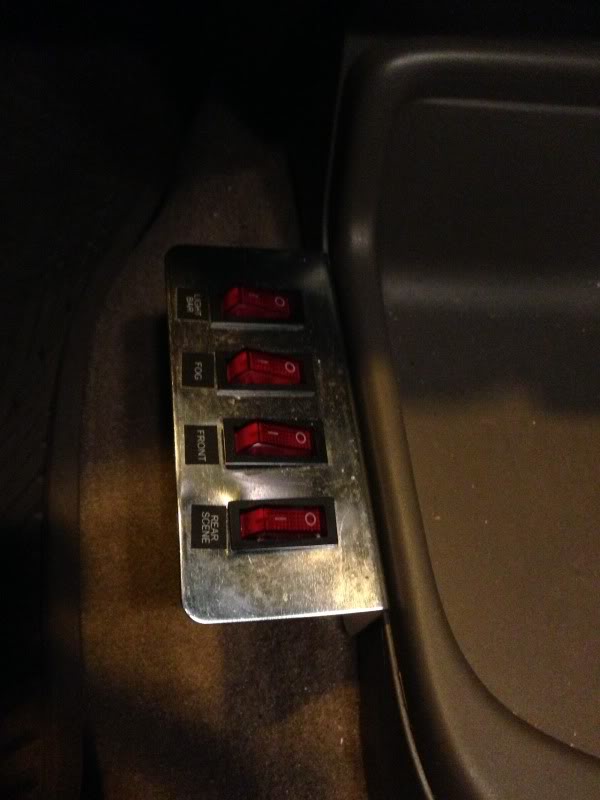
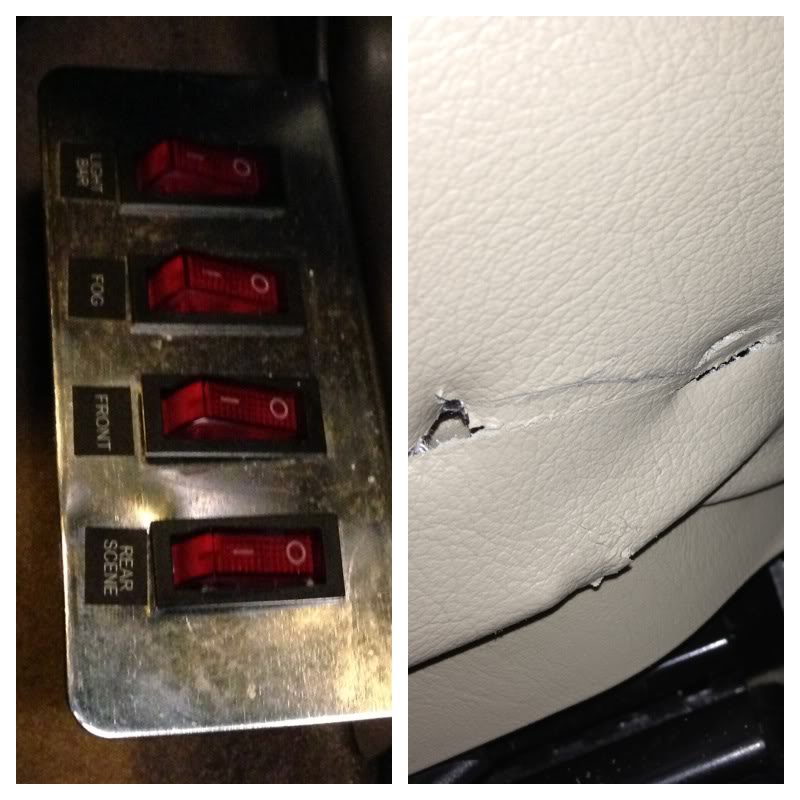
Sorry for the dark photo, but this is all I had to show where my switch plate was before I relocated it. I had to do this cause when doing a recent install on the truck I had to move the driver seat forward and by doing so I ripped a hole in my chair. I got upset and figured out a new location for the panel.
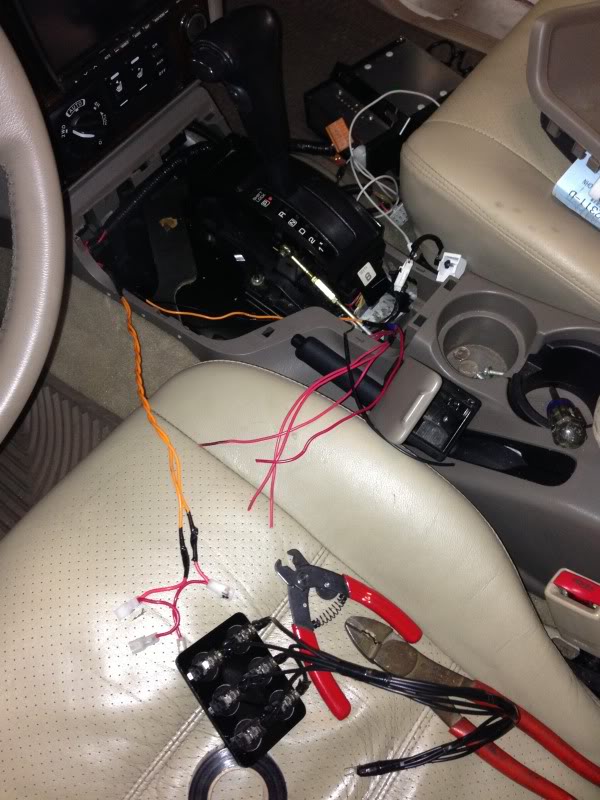
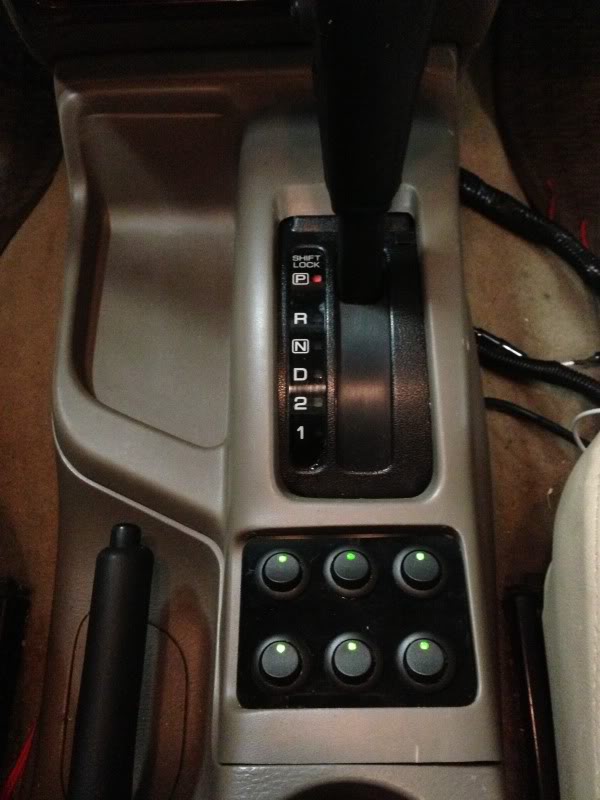
I took a piece of black plexiglass and some stock looking switches to match, and made a new switch panel. I then took out my ash tray and cut to fit. I am very happy with the result and the over all flow.
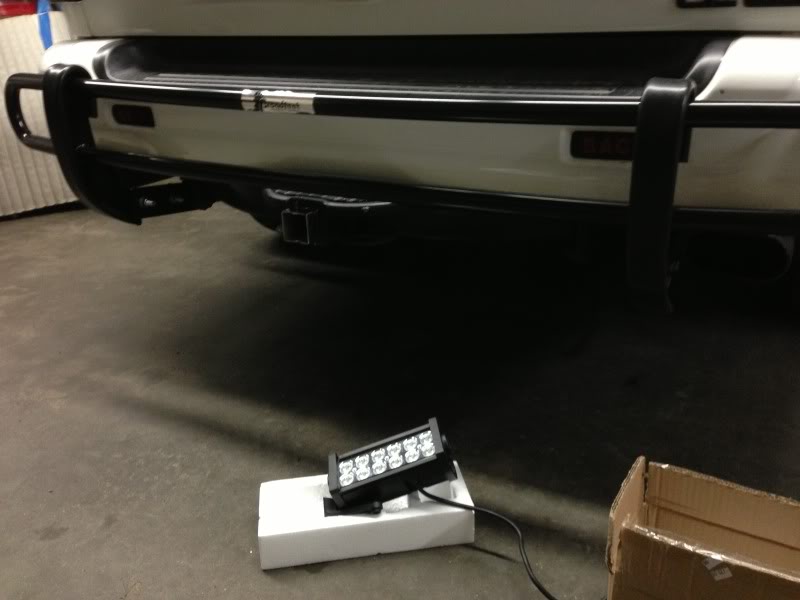
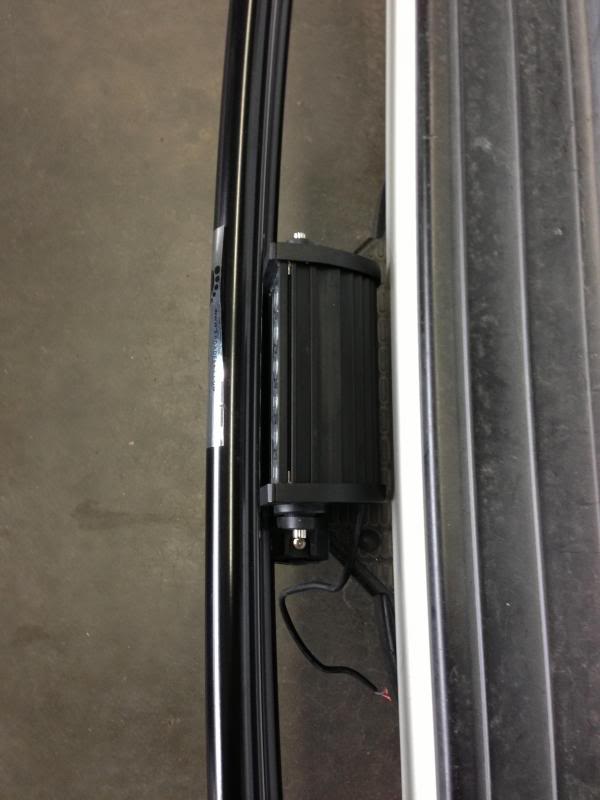
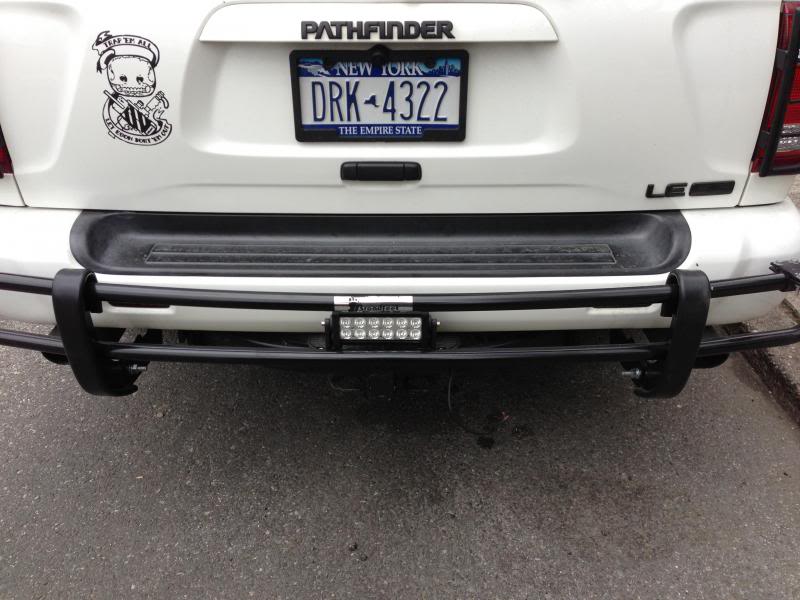
Next on the list. While I had my car parked on the streets of manhattan someone dented my rear brush-guard. I had to get it replaced and the new one is longer and has a curve to it. At first i wasn’t feeling it but then I realized I was able to add a spot light that I didn’t have the space for before.
Now I installed this light for two reasons. One because my reverse lights are dim as hell. Second so I can flash back at the people who high-beam me on the road
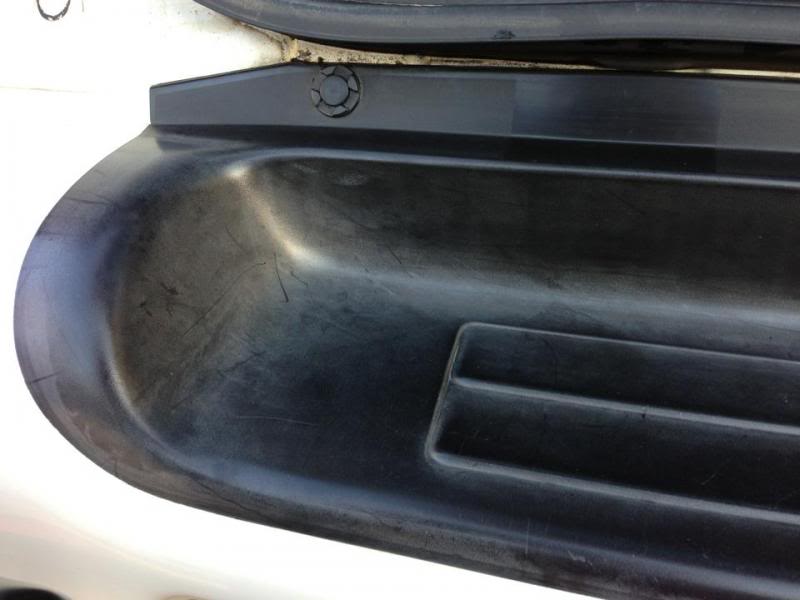
Last thing on the list. Ever since i got my truck I never really gave any love to my door jams. I know its one of those things no one will notice or care about for that matter. But they were filthy. So I spent about a week clay-baring all the jams.
Just posting the rest of the mods done to the car.
Here is something I hope helps anyone out there that has faded plastic trim on their car, and is tired wasting money on products that fade over a short period of time. I saw a video online on how to restore plastic trim on a vehicle using a heat gun. It is a very simple process and the outcome is fantastic.
I went ahead and did the rest of the trim on my car including door handles,mud flaps, and that area where the wipers are. All in all it took me about an hour.
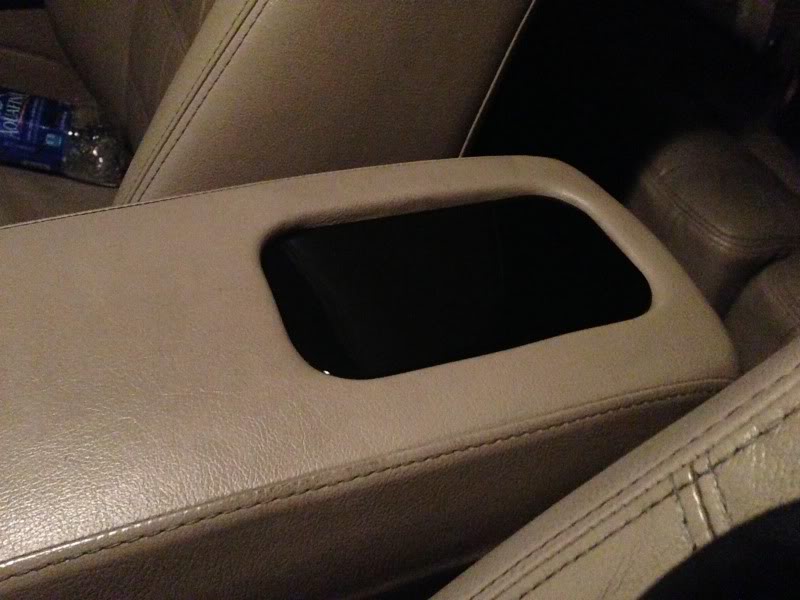
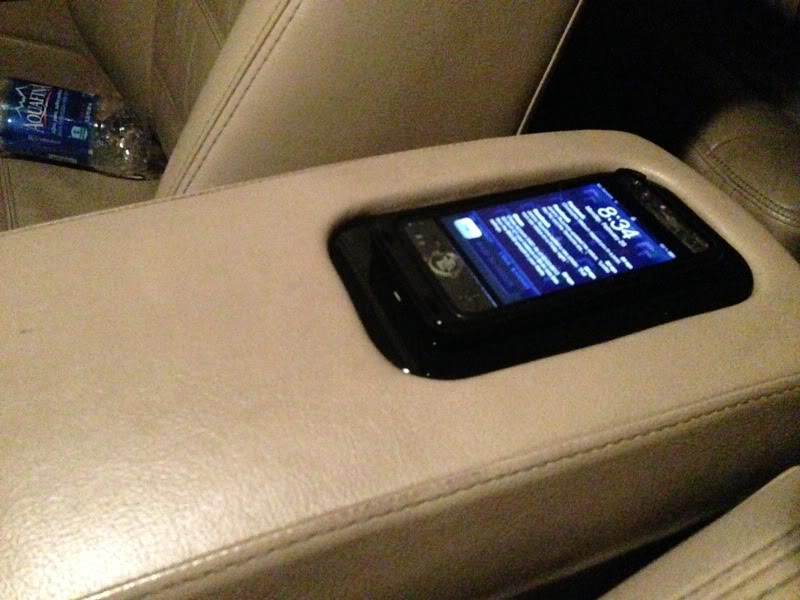
Next, I custom fabricated a space to hold a Duracell Power Mat in my console. Its no trap, but I’ve been wanting to tackle this idea for about a year now, and I’m really happy with the result.
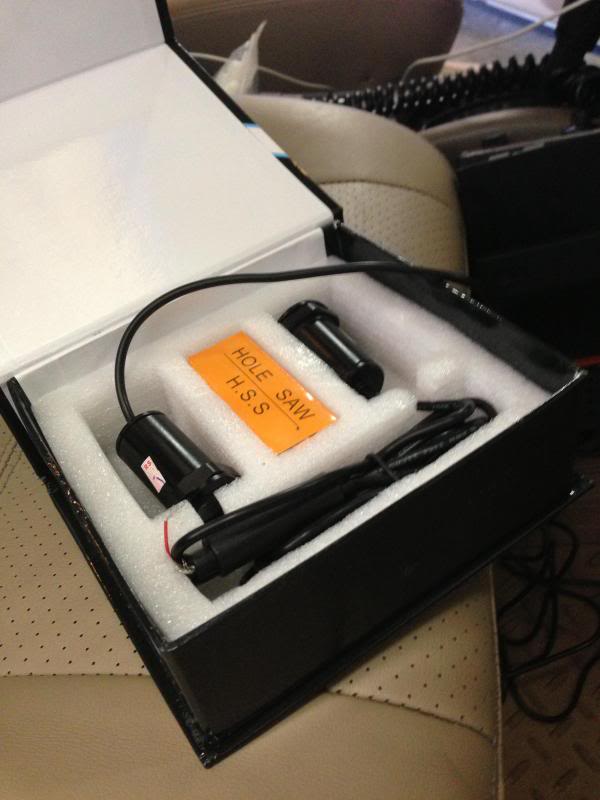
Last modification done to the ecto. I stumbled across these courtesy led door lights online and had to get some. I wanted something custom and so I called a few companies, and found one that was willing to work with me. Now I have to admit I was going to be cheesy and get my logo, but then I spoke with Tillson and he talked me out of it. We agreed on a caution stripe. Hope you guys dig it.
I have to say that this has been one of the must frustrating, yet satisfying, builds I’ve done. There hasn’t much of anything going on, cause I’ve been too busy trying to debunk an over-heating issue with the truck. That problem is solved, and now it’s time to buckle down and get to work.
I had to scrap the original roof rack frame. The weight of the frame(stainless steel) was too much for my truck to take, on top of all the other stuff. So I decided to build another one entirely out of aluminum. The main body is complete, and a lot of first time errors have been corrected. One, or should i say, two major upgrades on the rack itself is the front extension. It has similar support arms which are shorter due to the lightbar having to be attached to the frame and not the car itself. I also added the mounting plates for the siren and propello-ray, which I am really ecstatic about.
The initial design of the car was brought to life last year, but i felt as if there was a lot of unfinished business to attend to. So besides the rack, the layout of the decals will change. Oh and don’t worry, PIE ain’t going anywhere. Everyone loves pie.
I would like to thank a good friend of mine Mr. Burkit for selling me his siren. He gave me specific instructions NOT to paint it. I couldn’t resist. I started off with a break down and cleaning of the inside. I bagged all the original rusted out hardware, and replaced them.I managed to pull out a few dents which was fun. I cleaned and polished that thing every which way till Sunday. I then went ahead and gave it a little accent with some black. Enjoy!
I can’t take credit for the welds, as I was not responsible for them. The gentleman is teaching me, so in the future I can make my own repairs/pack parts. For now, I’m just cutting up the material, and grinding the welds down.
How did you resto the siren? I used the tin foil magic on my propello ray and now it looks like it came right out of the factory box. Though I have heard soda does a better job.
A friend mention the diet coke and tin foil trick, but I was already reassembling it. I’ll try that method with the propello ray. With the siren I just did the same thing I did with my GT performer. It was a mix of steel wool, brillo pads, and meguiars chrome polish. One tip i got from a friend(professional detailer) when using the polish you get a much better shine when you use the special microfiber towel thats meant for metal. I tried it with a standard microfiber towel just to see if he was bs-ing me, and he wasnt. You can really tell the difference. i picked it up at auto-zone.
You unveiled this car a year ago, you live IN New York, and the pictures in this thread are of parts, a car show, Atlanta, and you parked in front of a Chik-Fil-A.
As someone who has an Ecto but lives more than 30 hours from where I’d love to be with it, this is unacceptable. I hereby motion that Fernando needs to take pictures of his car at the following landmarks and have them presented in this thread before the end of the year or we all come together and bury this thread for eternity.
Crossing Brooklyn Bridge (get someone to stand on the walkway and shoot)
Men in Black HQ
Montauk Project radar
Abandoned car in Hunts Point (if possible)
Manhattan Municipal Building archway
Somewhere with Statue of Liberty in the background (probably Flag Plaza, NJ or similar)
Smallpox hospital on Roosevelt Island
Plaza Hotel valet
Washington Square arch
Entrance to the Heavy Ion Collider on Long Island.
Call me crazy or insensitive, but if I lived there, this is ALL I would be doing with my free time until it was accomplished. I’m sure I’m not the only one who thinks it terrible that you live there and are denying us these awesome images and the stories that will inevitably come with the visits to these locations. The LI guys never did it, now it is your time!
I gladly except that challenge. We spoke once about going around and taking these types of photos, and how it would be pointless if i were to update the vehicle and have to revisit the locations again. I guess what i’m saying is, I’d rather do it once and make sure its as good as it gets kind of a thing.
Another awesome upgrade is this sweet propello ray that Adam was kind enough to part with. I love this thing.
After a chat with Kevin, I realized that 95% of the people who see my car won’t really know what’s what when it comes to being authentic. All they look for are logos, lights, and rack with some stuff on top. So this time around I didn’t beat my self up about trying to stay as true as possible, and rather whats best down the line. So i went with a “MOBO” style roof rack and ditched the traditional wood box. Every piece of equipment will bolt on and off with ease.
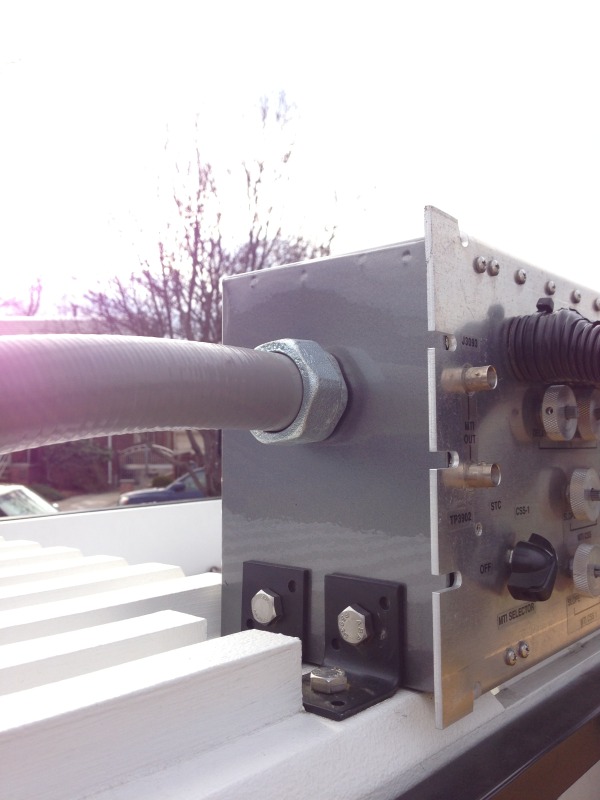
For instance, here are the mounting brackets for the TI box.
Here’s my new fan box. Note-I was going to grind the welds off, but after a talk with Matt I decided to leave them on. The fans love the welds.
Here’s a side by side with last year’s box. Man, the elements are brutal.