Hey, folks. I figured since I’ve been using this forum a bunch for my own Halloween build that I’d post the progress I’ve been making with my own, though fairly budgeted.
I’ll be posting a parts list with links below in hopes that it might help others, and I welcome any constructive criticism since this is my first replica prop build too.
So here it goes; wish me luck, forum. :love:
Latest Update:
Oct. 4th, 2016
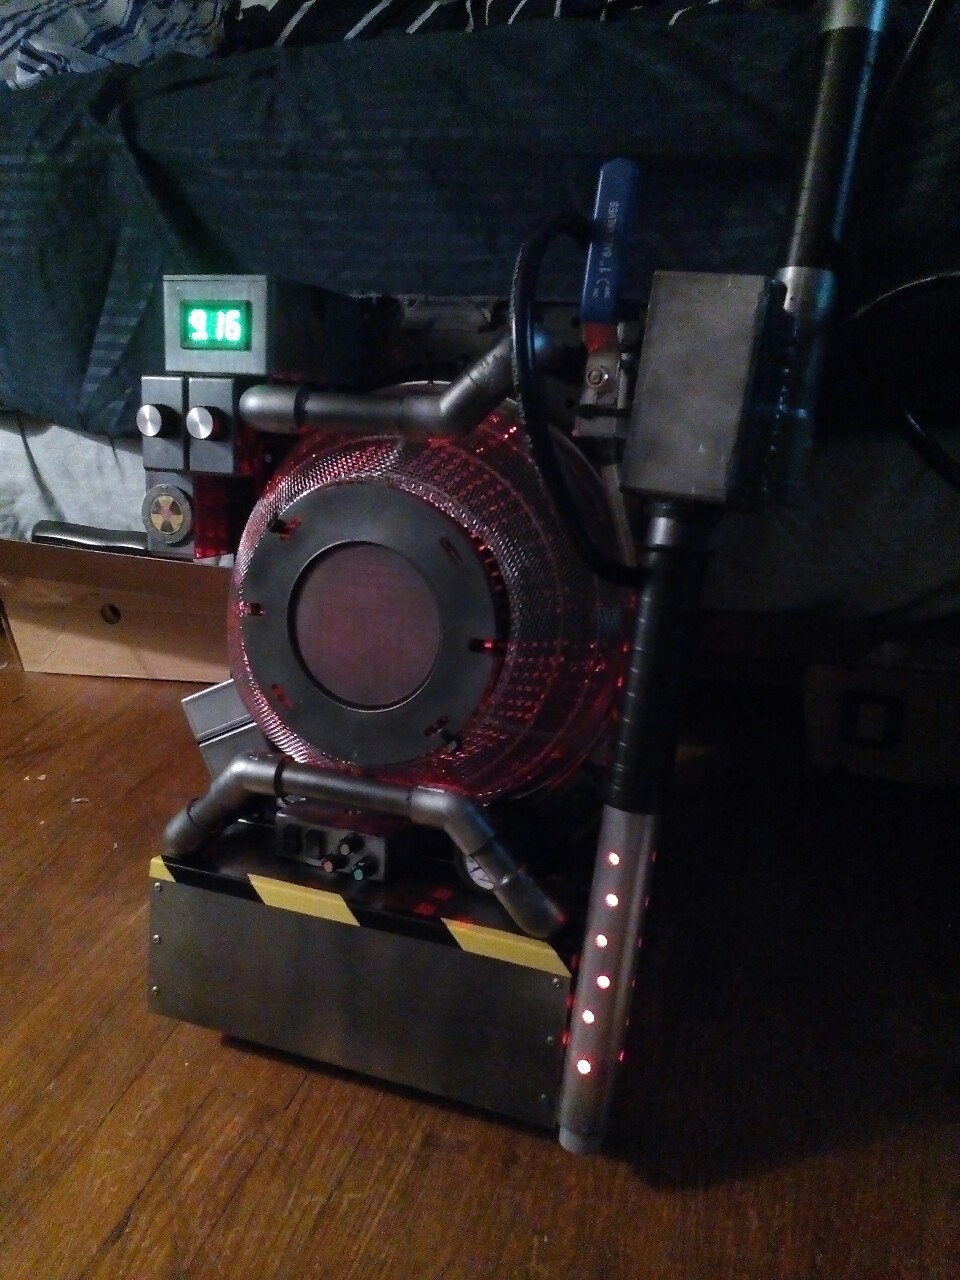
Thrower completed; everything at 100%.
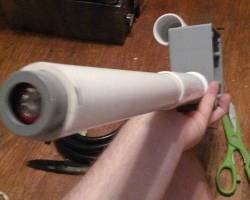
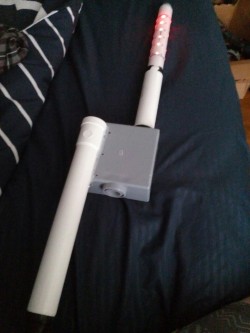
Finally had a chance to paint the thrower and make some grips. With everything together, I feel good about it. I took into account that this will be sent on a long journey for its use and show, so some details and the like will have to remain absent to avoid too much damage in transit.
Overall, I’m pleased an I had a lot of fun. It wasn’t to extensive of a build, but it’s a tiny bit impressive from a flashy standpoint, and it’s motivated me to maybe start a future GB pack; maybe even joining the local GB division.
Regardless, I’ll leave this thread here for anyone else who wants to try a junk or Halloween build for fairly cheap and little hassle, and I’ll show it in action come the time.
Previous Updates
[spoiler]Sept. 30th, 2016
*Pack is completed! *
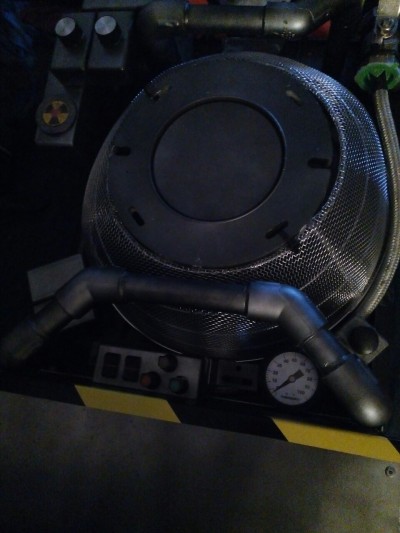
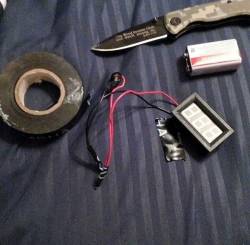
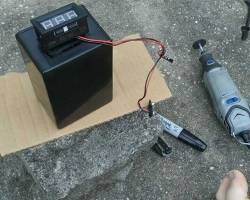
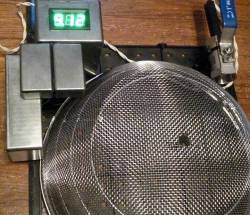
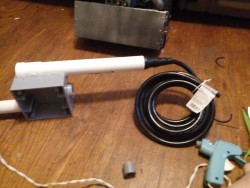
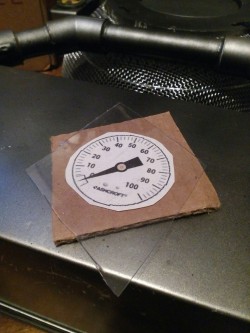
After moving the box under the cage over, I built a custom gauge readout from an old Axe spray cap and some scraps I had laying around (See work photos, below). Then a few touch-ups here and there, I finally installed a blu-tooth speaker in the box housing allowing music to thunder from the inside.
Once the weather clears in my area, I’ll head outside to paint and detail the thrower. It’ll be quick work, but I’m excited to have everything at 100% on the pack, though not entirely screen accurate (Lol), it was a fun pain in the ass to cobble together. :love:
Additions;- Gauge Readout
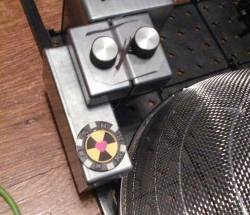
Another Box o’ Knobs
Blu-tooth speaker
Caution tape & paint touch-ups
Sept. 28th, 2016
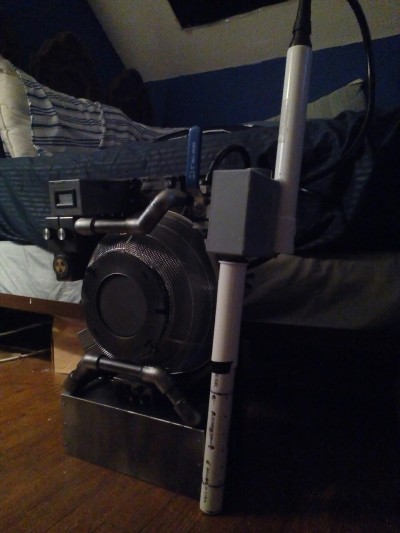
The gun is now nearly completed and attached. The entire thing is mobile, stable, and holster-able. I’m surprised it all came together so easily, just an evening of work after a visit to Lowe’s, and I’m very pleased with the results. I’ll paint everything up to par and add more detail soon, but this stopping point is very gratifying.
Additions; - Boxes, switches & knobs below cage
Sturdy magnetic harness
Hose length attached; pops on & off for convienience.
Entire wand assembly; built and fitted
Sept. 25th, 2016
A good bit of tinkering was had and good resting point was found. There is still some work needed between the toolbox and the cage; my plans include adding some more boxes and detail, prop wiring, and a Blu-tooth speaker for music. As for the wand, it’s still in the air, but it’s nothing a trip to the hardware store won’t fix. :mrgreen:
Additions; - Tubes Painted/Installed
Braided hose
Orange backpack straps (Very comfy wear, actually.)
Wand mock-up fleshed out
Temporary magnet system installed for holstering.
Sept. 23rd, 2016
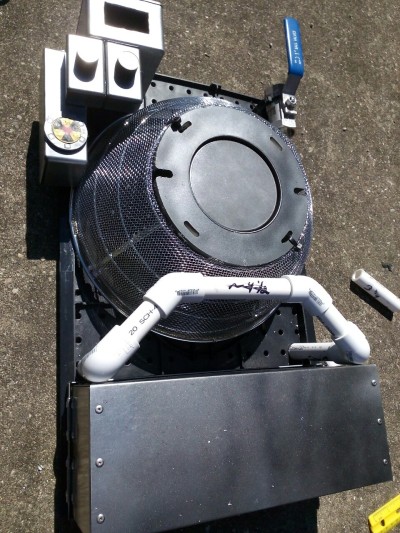
Added the tubing around the cage, and since I really enjoy the LED readout where I mistakenly installed it in the beginning, I re-routed everything under the CPU boxes; making it more compact up top. Soon it’ll be painted and fixed to the board permanently. Not bad for eyeballing it. 8)
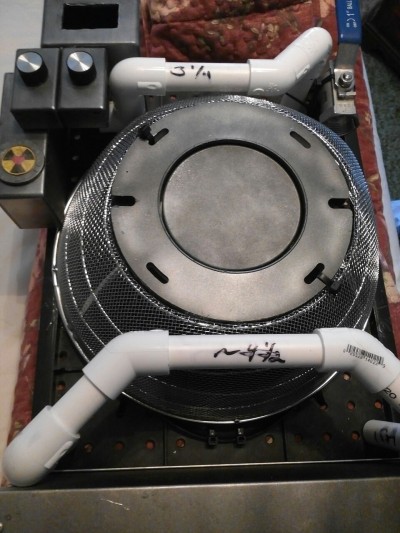
Sept. 22nd, 2016
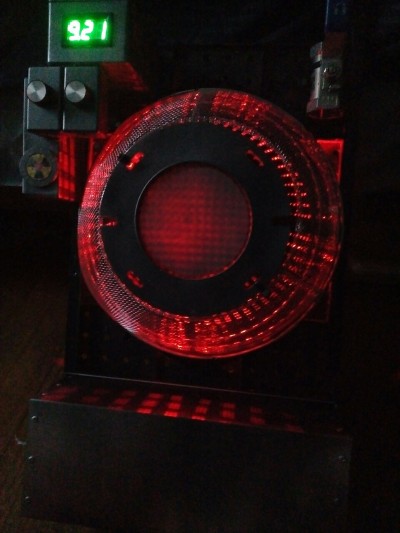 [/spoiler]
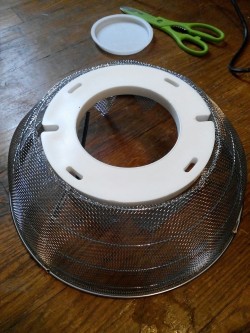
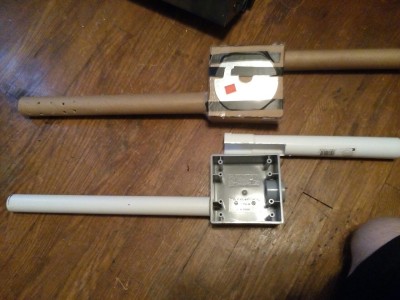
Work Photos
[spoiler]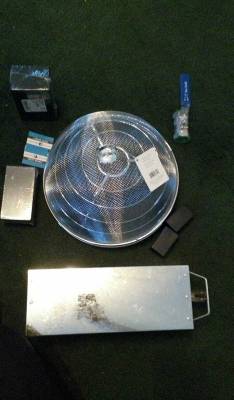
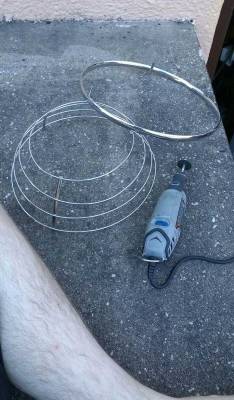
 [/spoiler]