First pack build (pic heavy)

Well I’m in the middle of my first pack build with a buddy on the forums (ketchupkyle) and decided to start documenting it.

We’re trying to do as much from scratch as we can with the limited tools we have (so be nice Lol). That includes electronics from schematics found in the forum builds (shout out to jackdoud for all the particle thrower documentation on his website!), programming sound chips (mostly done that part) and of course lots of wood work, fibreglass and bond.

I’ll start off with the booster frame. It took many trips to home depot among other hard ware stores to finally come across this door stripping. I was unable to find v groove matting anywhere other than massive rolls online. image

image

Got it cut down to size and added some Dixon ticonderoga pencils (not vintage).

image

We managed to find some backer board that looks pretty good.

image

So here’s the frame with the strips and the base (cut from MDF).

image

All in all we’re pretty happy with the way they turned out! Here it is all primed up and ready for a coat of black!

image

For the particle thrower we decided to go the route of pepakura. Neither of us has ever worked with fibreglass, but there’s a first for everything and if there’s anyone out there thinking they can’t do it you’d be wrong. We really expected the worst but it was way easier than we thought it’d be! Just remember to always use a proper respirator and do it in a very well ventilated area.

Here’s the start with some card stock. We used Elite’s plans for the box and printed them in a way that was easier to fold and tape.

image

image

Here it is after the fibreglass with grill and light bar cut out.

image

image

Here’s it is after drilling out some holes and sanding

image

and then after some bondo and primer

image

Well that’s it for now. I’ll try to post more of the thrower this week end and the electronics too!

Your off to a great start. Looking forward to seeing more.

1 Like

Agreed, very nice start. Keep it up.

First off thanks for the kind words and support. This is a great community for sharing info and I couldn’t have made it this far without everyone’s help on here!

As I said in the first post, our goal was to try and do as much of the build as we could from scratch. So that meant I had to tackle all the electronics (lights and sound). Once I had found the schematics and ordered up all the necessary parts it was time to build!

I ended up doing the Particle Thrower circuit first. All of the credit for the circuit goes to jackdoud and here’s a link to his build for anyone wanting more info or the schematic. ■■■■■■ Plastic's Proton Pack Thrower Lights

Well let’s dig in! I started everything on a breadboard to make sure I didn’t mess anything up and believe me more than a few stupid mistakes were made. Lol I was actually getting close to defeat before I found a bad connection that was blowing up the transistor in the circuit. After that it was pretty well all smooth sailing though.

image

image

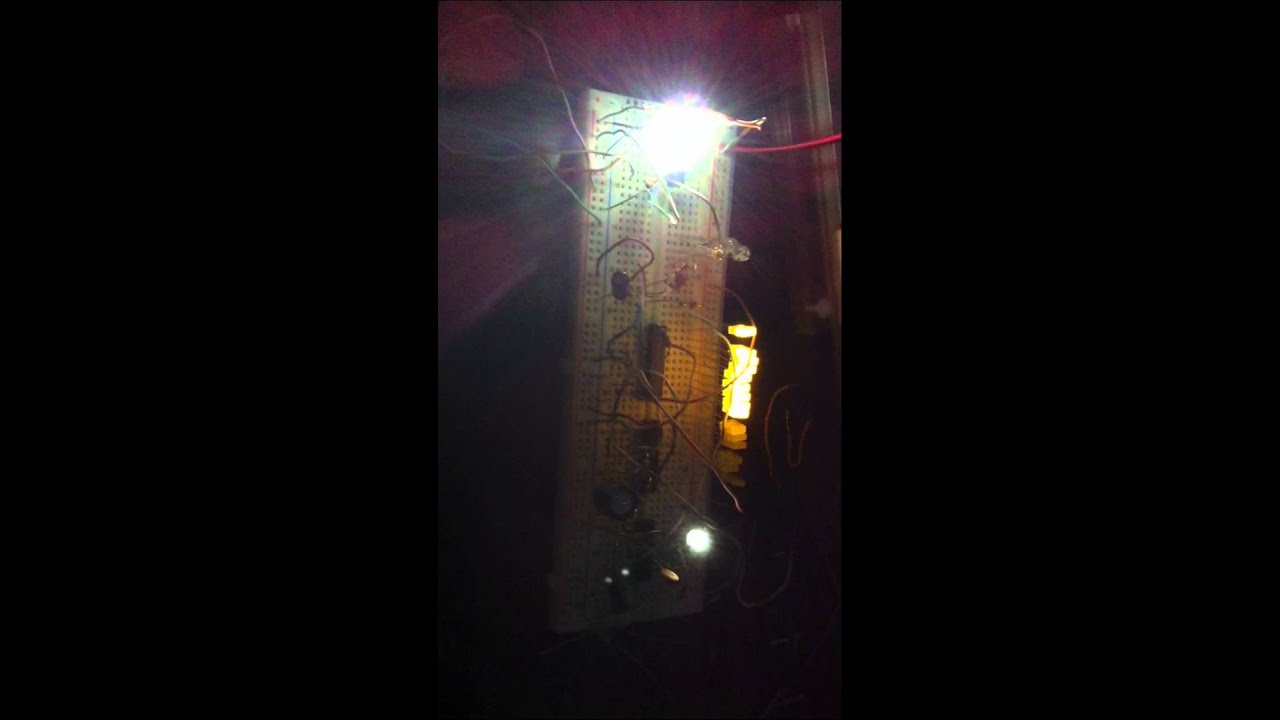
Here’s a clip of it in action. Just a quick side note, that for the breadboard test I didn’t solder the connections on the switches. So the grill lights kinda flash, but it’s just a loose wire on the switch.

After the successful circuit test it was time to get soldering! I just used a perfboard and wired everything point to point and here’s what I ended up with.

Without the IC’s and almost finished

image

With the IC’s

image

The back

image

and finally all cut out and ready to get installed!

image

Now on to the pack lights!!

I got the schematic from this posting How to create your own Proton Pack lights, from scratch! - Tutorials & Guides - GBFans.com here on the forums. I used the updated version by jackdoud on page 3. Here’s a link to his much cleaner build ■■■■■■ Plastic's Proton Pack Lights

I’m gonna start this part by informing everyone that my impatience really got the best of me on this one! I only own a couple of breadboards (you really need two for this schematic) and wasn’t finished with the wand lights. But I just had to start on the pack lights, I couldn’t help it.

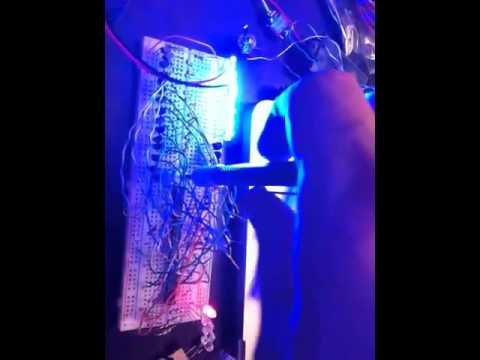
So here’s the insane breadboard test I did and to be honest I’m actually kinda proud of the fact that I pulled something this ridiculous off! Lol

Top view

image

Side view

image

Sorry that actually kinda hurts to look at, but I figured hey I’m documenting my build and yeah that really happened, plus it’s what got me to this point.

An actual circuit board.

image

image

Hmmmm It looks like I’m missing some pics of the finished pack lights and don’t have the boards with me at the moment. I’ll have to post the finished product once I have it in front of me.

But before I go here’s a video of the breadboard test for the pack lights.

Well I finally got around to retaking some pics of a few parts and also got more work done on the packs too!

First off here’s the finished Booster Frame (minus the mounting holes)

image

I was able to find a couple pics of the Crank Gen build. We cut out the parts from card stock and then fibreglassed them. The pic is after a coat of bondo and primer. Sorry the first pic is a little blurry.

image

We used strips of MDF for the fins and some bondo to round them out. This is still kinda rough and needs a sanding but they turned out pretty good.

image

Below is the Power Cell. We were initially going to use MDF, but decided fibreglass was the better route. You can see the card stock glued together on the left (We found that gluing the card stock seemed to work better than using aluminum tape when it came to the fibreglass part.) and the MDF on the right.

image

Here it is with the fins.

image

and lastly with the injector tubes.

image

We ended up attaching all the tubes to the pack using pvc plugs and pvc cement of course. They ended up being pretty solid and here’s and example of how it worked. Pretty straight forward really.

image

image

Well I’m gonna leave it there for now, cause it’s getting kinda late. But I’ll throw in one last pic of my particle thrower progress. I finally started drilling more holes for the clippard and filled out some others ones to fit the hat lights and what not. I also did few more rounds of bondo and primer. There’s still a ways to go, but I’m getting pretty excited!

image

Thought I’d post a small update from yesterday’s work.

We got a bunch of parts fixed together on the packs and it was time for some primer to help find the problem areas.

image

and here’s one of them after the primer had a chance to dry. It’s really starting to feel like things are coming together!

image

I also had a chance to properly mount more of the particle thrower parts.

image

image

I still have to mount a few more parts and drill a few more holes, then it’s time for the handles. I’m also not sure what I want to do about the bar graph lens. I’ve come across a few good options in some of the builds on here and have some of my own ideas, but haven’t settled on anything yet.