Yeah I would like to add lights, I e-mailed proptronix on here about a set but I can’t get them till I get paid again next month I think it may be too late in the day for deliveries now so hopefully the frame should be here tomorrow
For your bumper question about the plate, here is what I did.
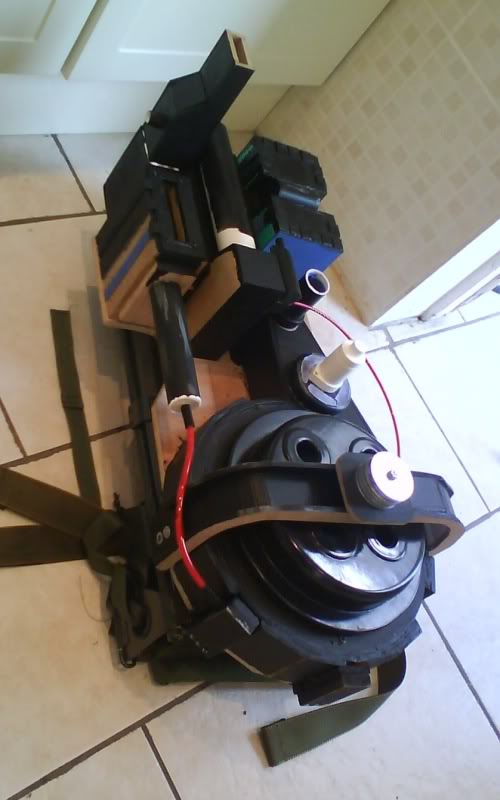
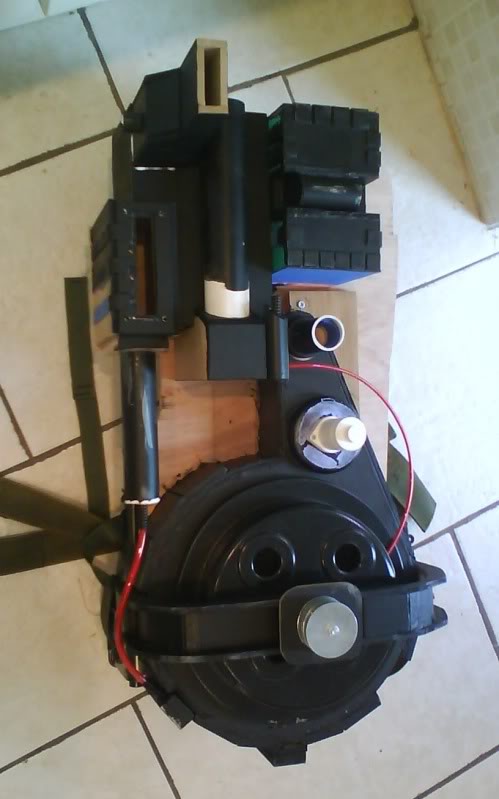
My bumper is made out of .125" thick styrene. As you see in this picture of me building my bumper, I notched the top of the bumper and glued the top of the center plate on there. I then went and put the sides of the center plate on there, and filled the rest (pretty much the bottom of it) and the seams with bondo and sanded it down smooth.
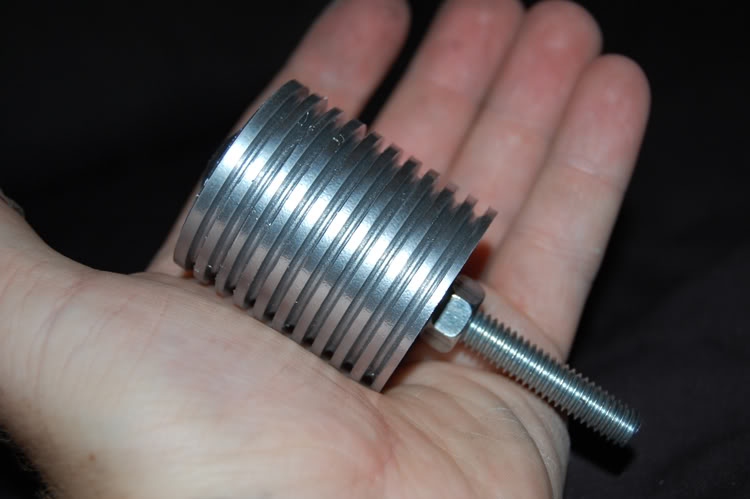
As for attaching the shock mount, I used the washer method and have a long bolt going through the shock mount washers and the bumper and has a nut holding it all onto the bumper. That way, the whole center plate of the bumper is holding the weight of the shock mount, not just the front of it. The way my bumper sits on my pack, there is about a 1/4" space between the cyclotron and the bumper so there is more then enough room for the bolt to go all the way through the bumper and have a nut on the other end to hold it on.
And you may be asking yourself, “mburkit, how does that whole paragraph you just wrote look in person?”.
Why thank you! Work on the pack has somewhat slowed thanks to the Alice frame taking such a long time to turn up, man I’m annoyed, I just want to get on with it! Yeah I may go for the washers route although I’ve seen a nice looking replica one on eBay so not sure yet… Thanks for the reply
Check my wip thread out for a lightweight good looking shock mount. And that block on the bumper is actually as think as the bumper there.. I made a similar mistake on ours, making that square plate thin as well. (Though I do kind prefer the thin look, though inaccurate.)
Yeah, the center plate is as thick there as the rest of the bumper. I made the sides of my plate out of styrene as well, then filled the rest with bondo body filler and sanded it down. The picture I provided was just me half way through the build. I wanted to show how I made the top of the plate flush with the top of the bumper.
To be honest, the bumper is probably the hardest thing to make on the pack. It has such an odd shape. I was actually scared to even try it, that’s why I waited til everything else was done to do it.
I agree about the bumper being hard to make, I used a template I blew up of Stefans plans and just worked from that In other news though, the Alice frame has arrived!!! Yay, I can get back to work now
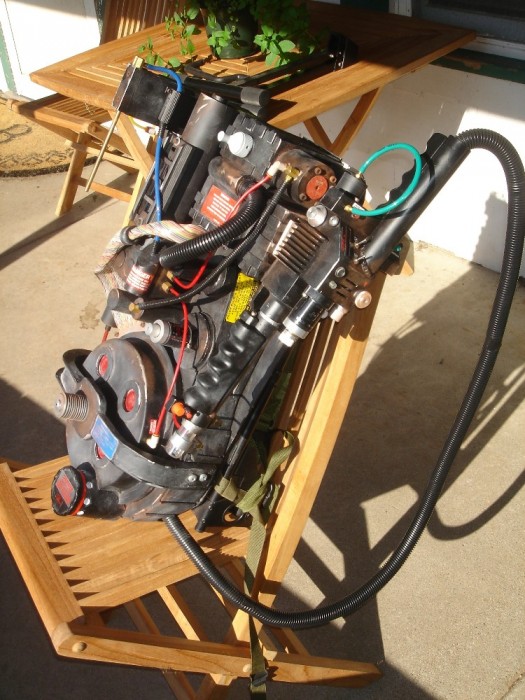
I’m going to change the shock mount, maybe make another from washers or buy a replica, not sure yet. Comin’ on though So far I’ve made as many of the pieces removable just so it’s easier to change out LED’s or get to the electronics or change out batteries and what not…
I really strongly suggest loose that shock mount it throws it for me the whole thing looks cool apart from that and maybe you might want to replace the bit that attaches to the bottom of the booster tube the bit near the pdd discs come on guys help me out whats it called ?.Bob Wobbaz has this shock mount on his pack and there available from ebay.com
Cheers Elwood, why replace that bit? Does it look wrong or just weird, what’s up with it lol The one I did for the original pack was slightly wider than the new one but it does look sorta slim in the reference picture I’m working from hhhmm yep, I’m gonna have to put off buying anything new for the pack till next month now, bills to pay n’all that ■■■■, who want’s to give me free things?
Oh I see so you mean the part with the blue wire coming out (lol this is getting more technical as we speak!) It kinda looks ok to me but then again it could need some readjustment. I think it is slimmer but that’s because I pulled it off of some stationary thing, I think it was a pen holder!
How far from the bottom of your pack does the bottom of the alice frame sit? I tried my pack on and it seems to be quite far off my back, bit odd, can’t really figure out where exactly it’s supposed to mount. Your PVC pipe and twine sound like a good idea, I might give that a shot
 I think it may be too late in the day for deliveries now so hopefully the frame should be here tomorrow