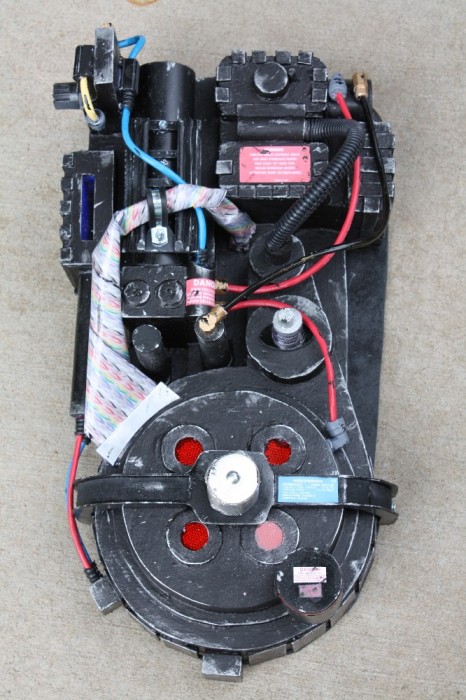
My 9 year old son wants to be a Ghostbuster for Halloween this year. We bought him the kid’s version of the crappy jumpsuit, but we’ll replace the inflatable pack with something a little more “juicy”.
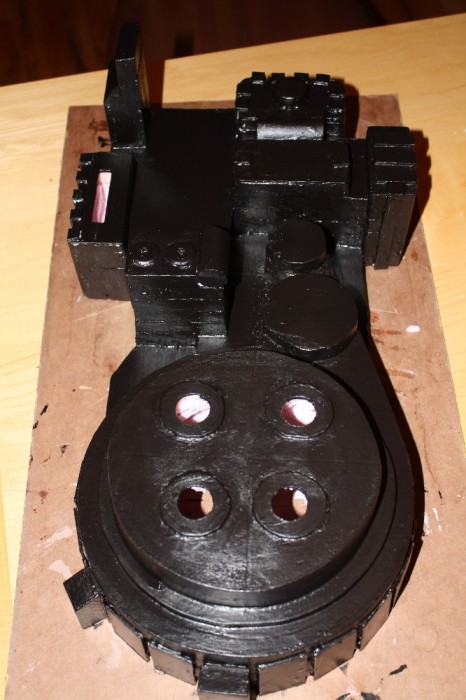
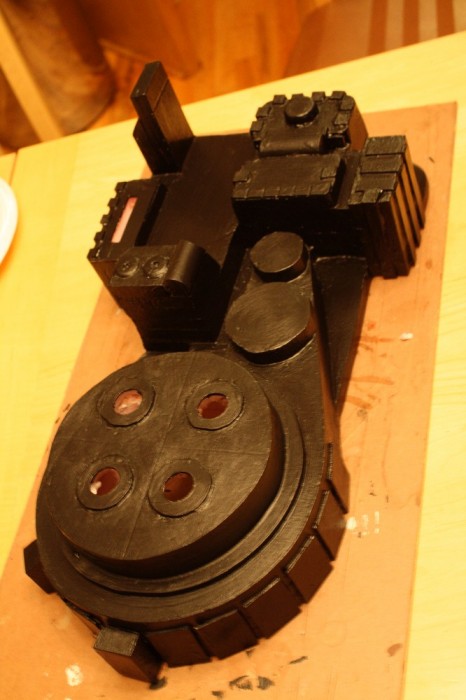
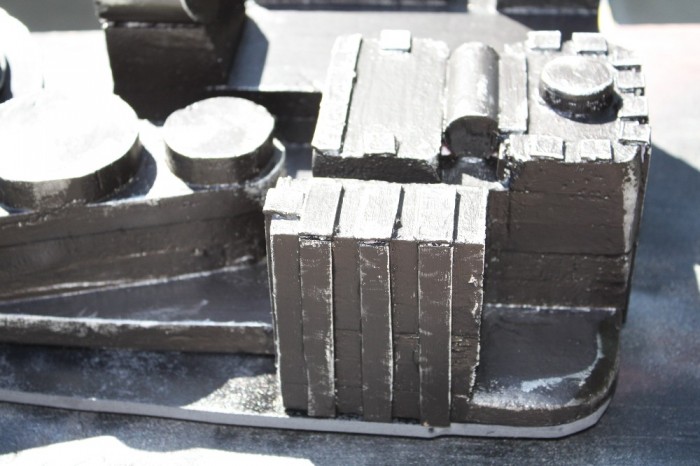
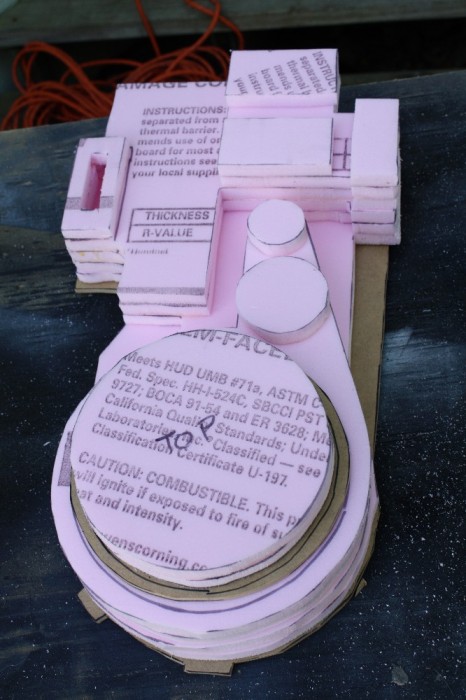
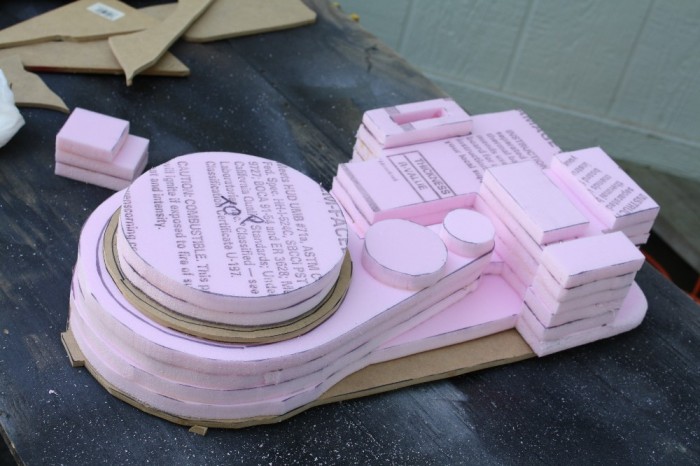
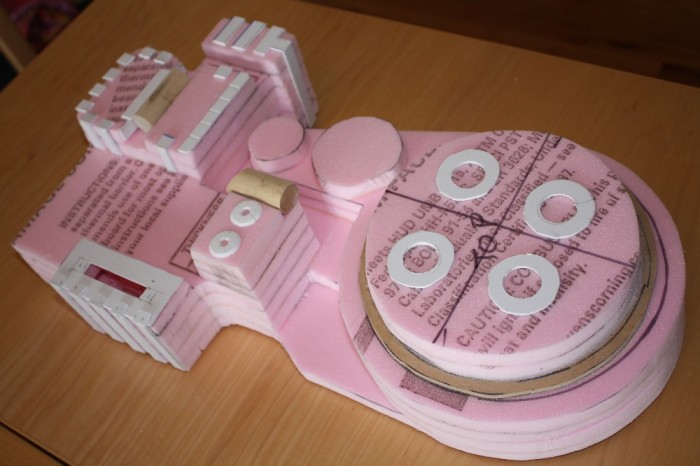
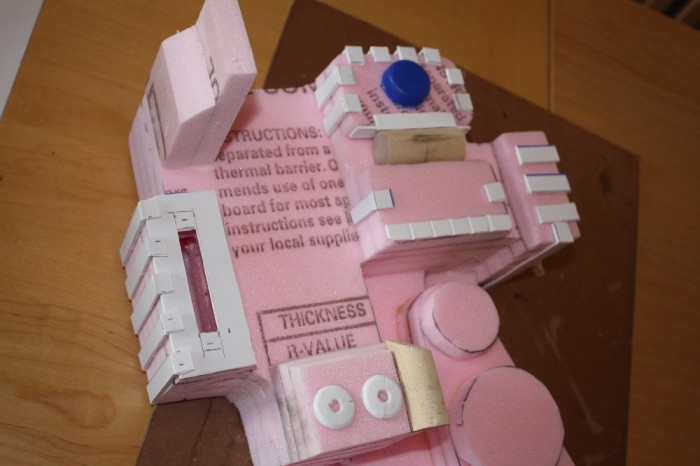
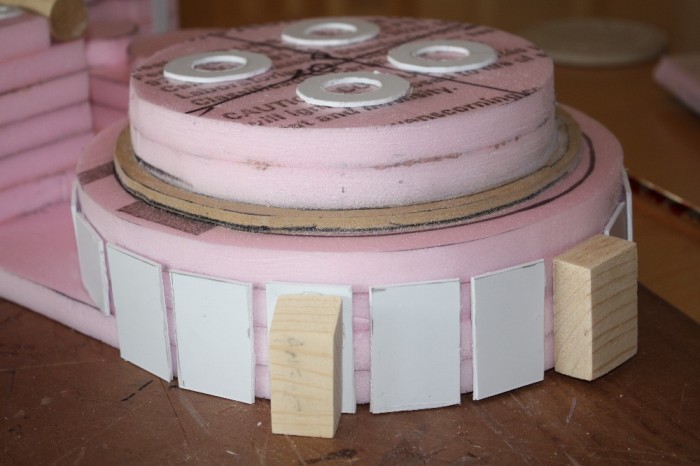
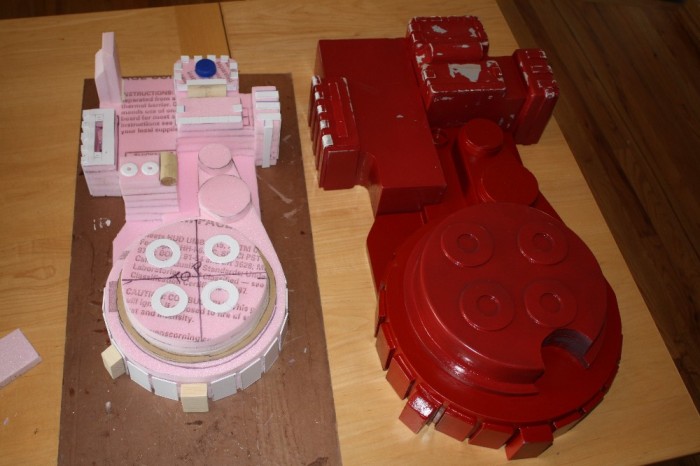
The pack is made from the same housing insulation sheets (polystyrene) I used to make a couple of packs a few years ago. I’m building it in layers, then sanding the edges to get a consistent surface.
I expect the pack is going to take a pretty good beating, so I’m not going for ubber accuracy (the other kids won’t know the difference) and if it gets demolished it won’t represent gobs of my time. So far the pack’s taken about 3 hours.
Remember these old brown leather backpacks that we wouldn’t dare go to school with? My pack was this, with a whole lot of cardboard parts taped to it. I would’ve given half my Transformers collection for a pack like this.
Love it! I think I remember Alkaline pouring wood glue over his foam buck to make it solid, you might try that on some of the edges to make it a little stronger, like you said it’s probably gonna take some abuse.
You get a sheet of that for about $14 I think. Thats what I used for half our packs, and I still have about 1/4 of it left.
To put a thick durable skin on it, paint it with a number of coats of flat black water washup house paint. The more coats you can get on, the better, and you’ll get a very thick plastic skin on it.
Sand it VERY lightly! Its easy to over sand it with even a fine grit with an orbital sander.
Make sure you also remove all those plastic protective sheets off the fronts and backs.. I missed one when I was building our packs.
You can fill it with elmer’s wood putty if you need to fill any area on it. For connections, when I ended up doing was cutting a squareish hole, a matching piece of scrap wood, and predrilling connections holes in that. Glue the wood bluck into the hole, and you have a secure point you can screw connections on.
You can do the same thing to the back, and bolt it onto a plywood motherboard if you want. If he is going to hanve a gun to hang on it of any kind, I’d replace the gunmount block with a cut of a 2x4.
Yes sir.. I brush foam with wood glue to seal and protect it. Then, I use bondo to make everything nice and smooth. I would coat all foam with no less then 3 fully dried coats before attempting to apply bondo or you might not like the results
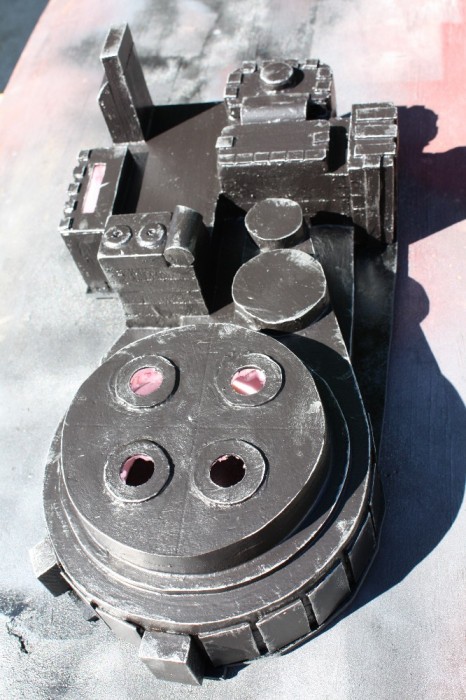
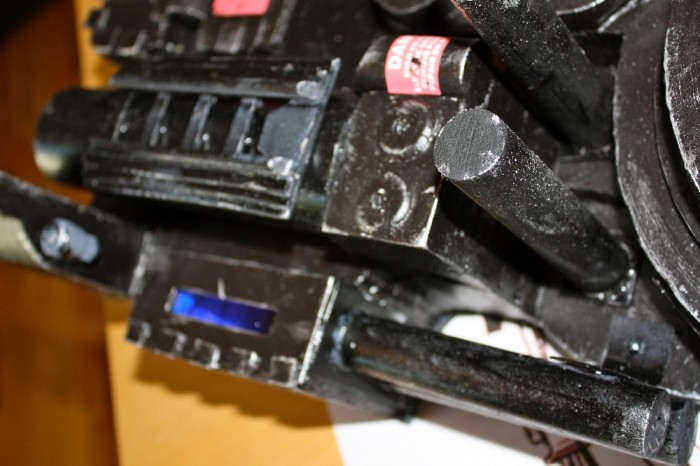
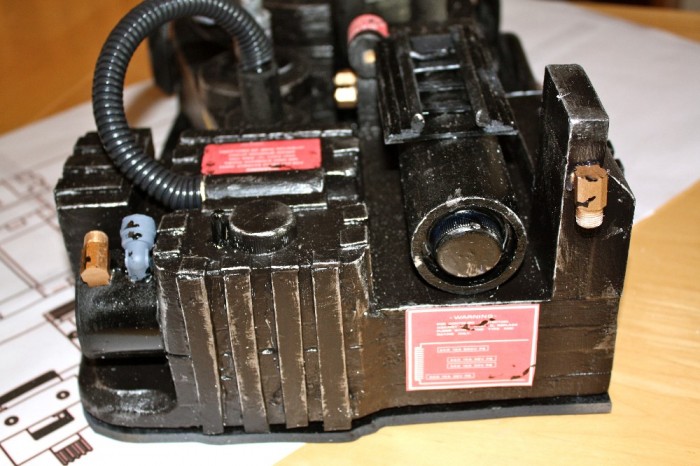
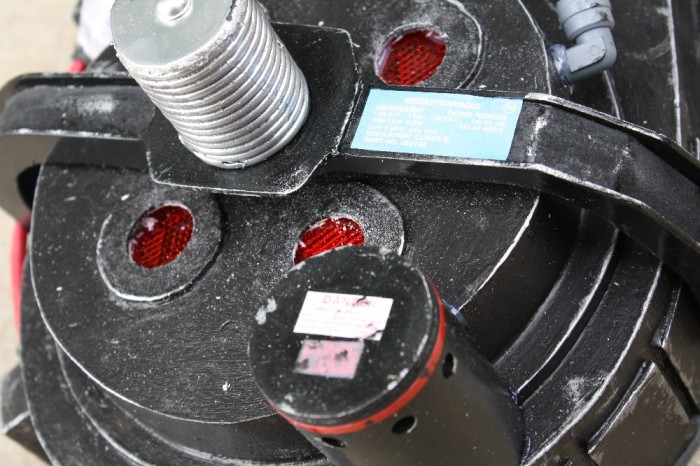
Paint and weathering has been completed. Because the pack is foam it can’t be spray painted; a chemical in spray paint will cause the foam to boil and melt (see Gareee’s posting for how he painted his pack).
I applied several layers of shellac to smooth out the surface and toughen the “skin”. Based on Vincenzo330 suggestion, I also painted a layer of wood glue to harden everything.
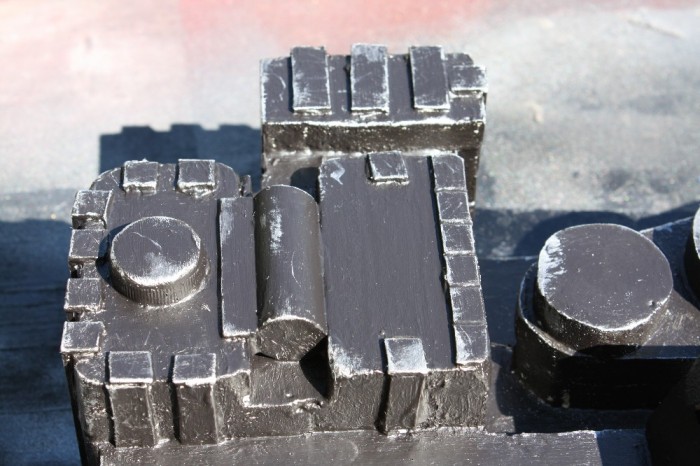
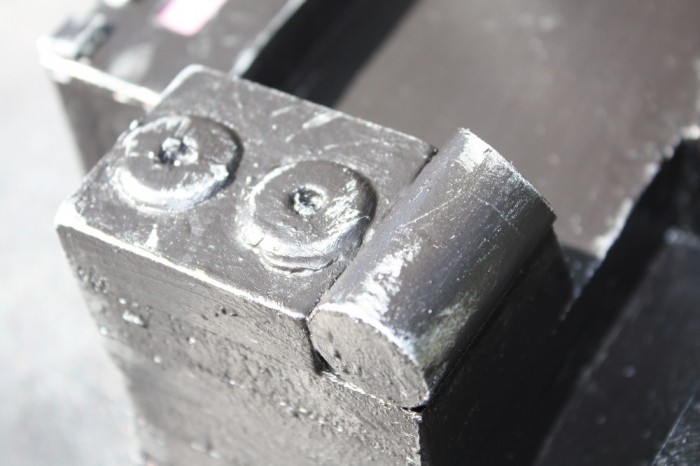
I coated the pack with several thin layers of black acrylic paint using a small bristle brush to get into the small areas and a foam brush to avoid leaving brush marks (using spray paint is so much easier…)
Once the pack is painted its easy to forget its made of foam. I built it out to be hollow so lighting can be added (I’ll probably just use a glow stick or some battery operated flashing halloween lights).
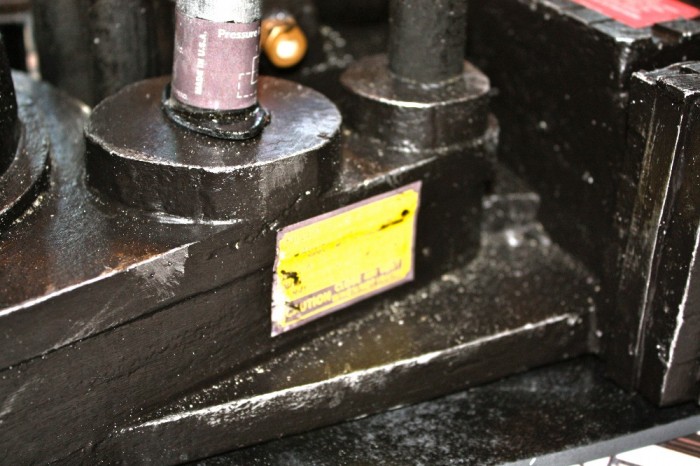
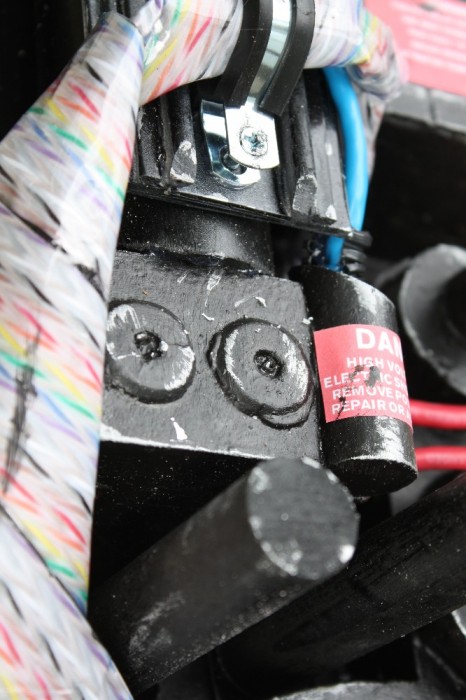
I’ve simplified my weathering techniques -I used to use a bristle brush but have found that a small amount of metallic model paint applied with a napkin does the trick.
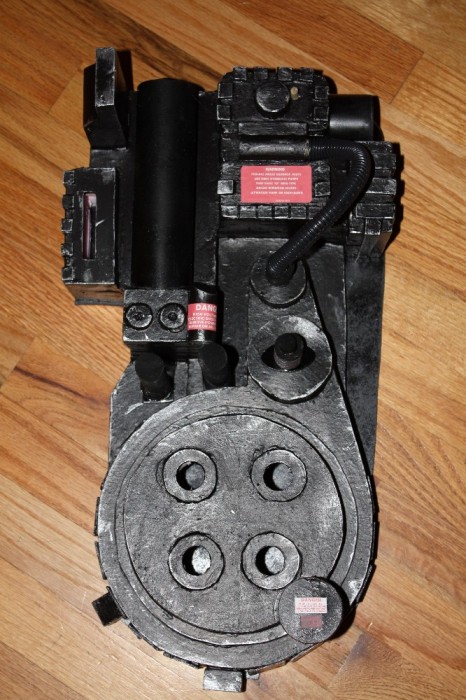
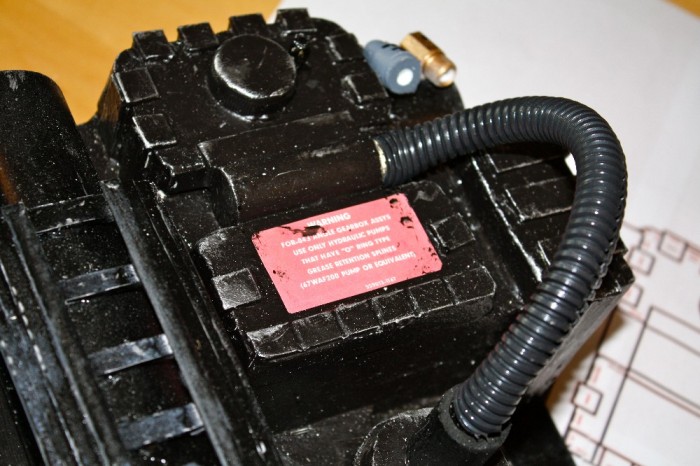
Next I need to add the tubing and labels. I’m hoping to find an alternative to PVC because I want to keep the weight down. Anyone have any suggestions?
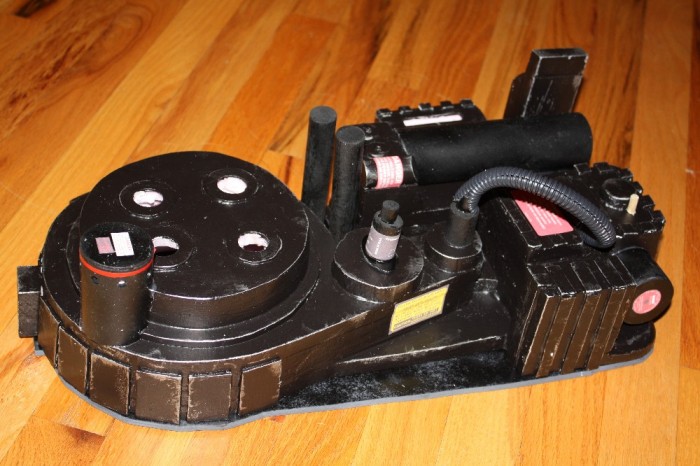
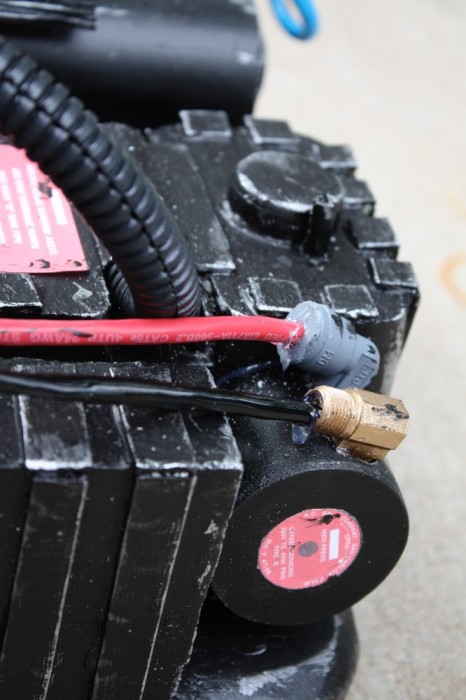
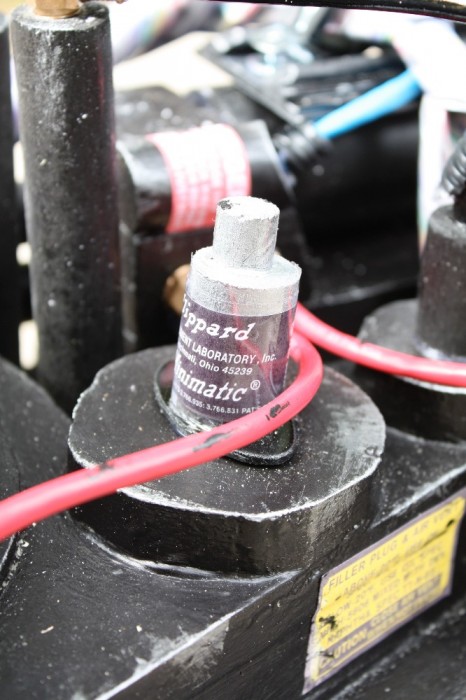
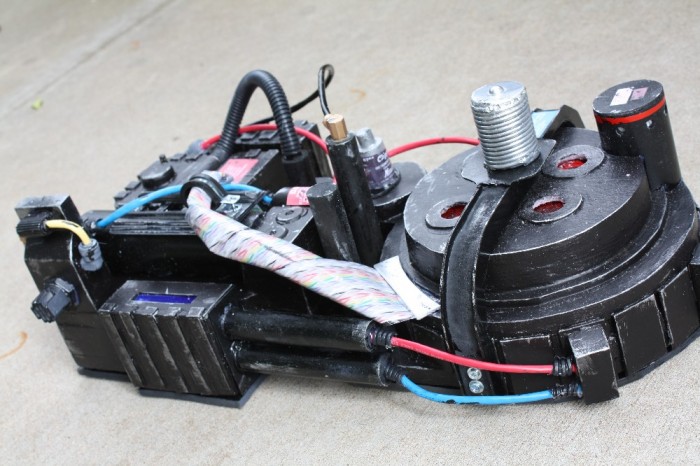
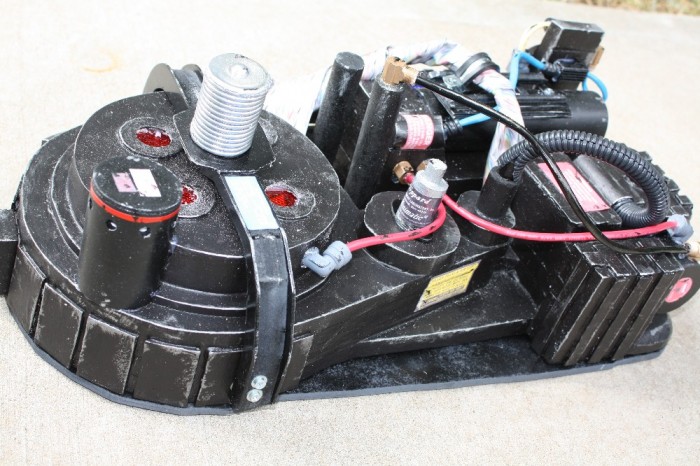
I’m still tweaking my vac-form setup, so my son got the benefit of my wait for the hardware store to open tomorrow. His pack received tubing, clippard valve, labels and a little bit of hose. I figure one more evening and I’ll have the pack put to bed.
What I haven’t yet figured out is how he’ll wear it. I’m toying with the idea of bending small-diameter pvc into something that resembles an Alice frame. Or I might butcher a Walmart book bag for the straps. Anyone got any suggestions?
I’m trying to keep the pack light so it won’t be to tiring to wear. Currently its a hair under 3 lbs.
I’d go the pvc “alice” frame route.. since its designed to make carrying things on your back comfortably, I doubt we could find anything better then that. Maybe there is aluminum tubing you could bend intop a alice frame shape, and hold together with duct tape? You could even make foam shoulder pads and cover those with duct tape as well.. and many places have it in a lot of colors this time of year. (Michaels has a bunch of colors available)
That looks awesome!
You could use on of those walgeens flashing wands like we use in our guns as the base of his thrower as well.
All the elbows and barbs are installed (there was no easy way to scale those down to size, so they’re 1:1 scale). The barbs and elbows are resin castings. The shock mount is a 3/4" dowel wrapped in speaker wire and spray painted silver (thanks for the great idea Gareee).
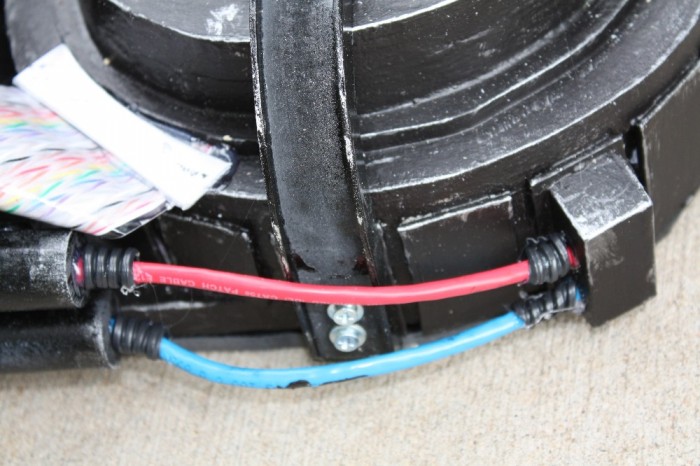
Should have the wiring and ribbon installed tonight, then I can attach the motherboard and move onto the thrower.
I was always envious of the kids who had the blue plastic Real Ghostbusters packs. I would have killed to have this when I was a kid. Killed. Can’t wait to see what you do for the thrower.
Yeah, I hear ya about the heat.. our whole house ac died the day after we got back from dragoncon. It took them 2 weeks to figure our our coils went bad. (About $900 repair bill there!) Our lucky streak this year continues.
The pack looks great! Its also nice to see some weathing on labels. Everyone weathers the packs, but leaves the labels pristine. I watered down gloss black acrylic paint, slopped some on, and then wiped the majority of it off to get some grease looking stains.
I hope he appriciates all of dad’s hard work!
You should gear up with him, and have your wife take some “busting” action shots along with you on Halloween, or earlier at some haunted house attractions. I’ll be happy to add some photoshop effects to them for you, if you like!
Next thing you know, your wife will want to either be Janine, or a female 'buster!
I’m making a pack for my kid too. For the alicepack I used a kids lawn chair. It all ready had the curve in it But i had to cut it up in for different sections. We welded it back together and it looks good but I’m not done it yet. As for the gun you can get the small project boxes from radio shack. I used two of those boxes and cut the top box in half. It worked well for me. I can post pictures let me know. Great Job so far.
KC, what percentage did you change theveiw on the PDF image of the plans to get it to be 3/4 size. Also does any one know if the 100 percent is 1:1 ratio in stefans plans or do I need to change the percentage on that as well?.

 I would’ve given half my Transformers collection for a pack like this.