The plans themselves don’t necessarily scale properly. I took each major component, pulled it into an art program (Gimp), then cropped it so the sides and top of the object we’re to the edges of the canvas. Then I resized the canvas to the measurement specified in the plan. Once I got it to 1:1 scale I resized it to 75% to get the kid-sized version.
I rescaled mine in illustrator. I took each page and overlayed it so everything would fit right. If you want the file let me know.
If you are willing to share the plans of the scale and measurements, please do. I’m about to start on one for my 6 year old nephew and it appears the standard size is just too big.
Thanks!
His damned bumper looks better than mine. Grrrrrrr!!!
If you want them i can send them to you. The measurement aren"t on there but you can print it out a measure it. That’s what i did. Send me a pm with your emai. I’ll post pictures of the gun also when i get done work.
Same here… great pack you got there.
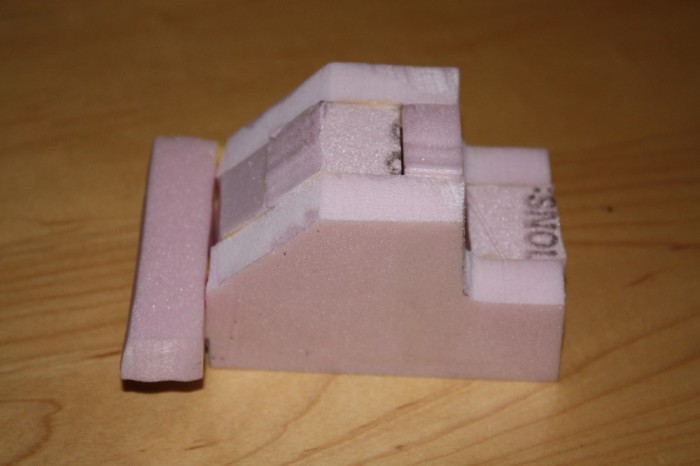
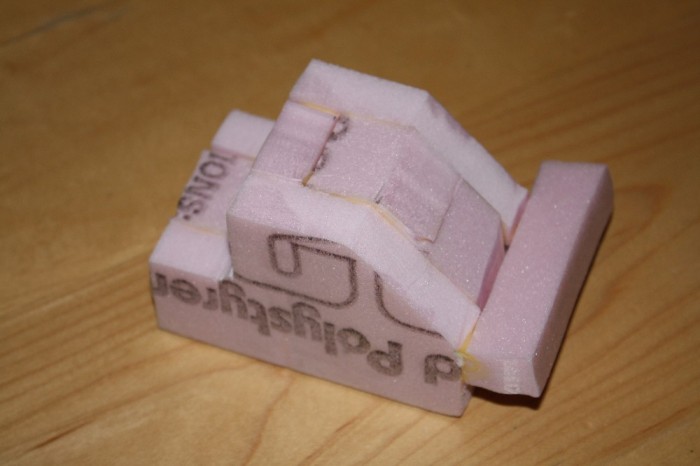
I did a little more work on the gunbox: several coats of Bondo (with lots of sanding in between) and a couple coats of primer. I think some spot Bondo glaze and wet sanding and I’ll be ready to start adding the rest of the pieces.
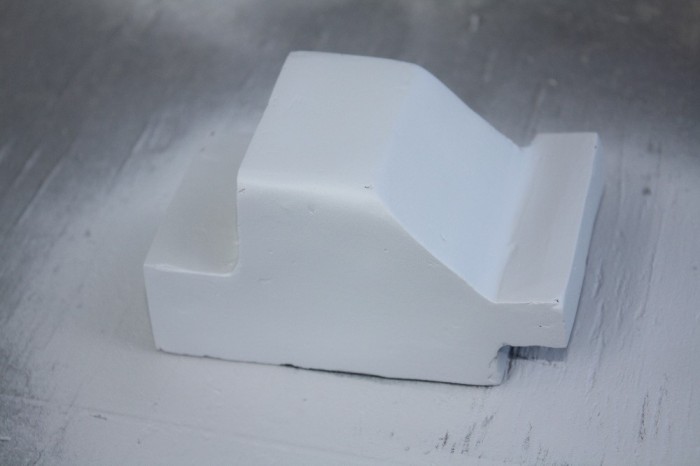
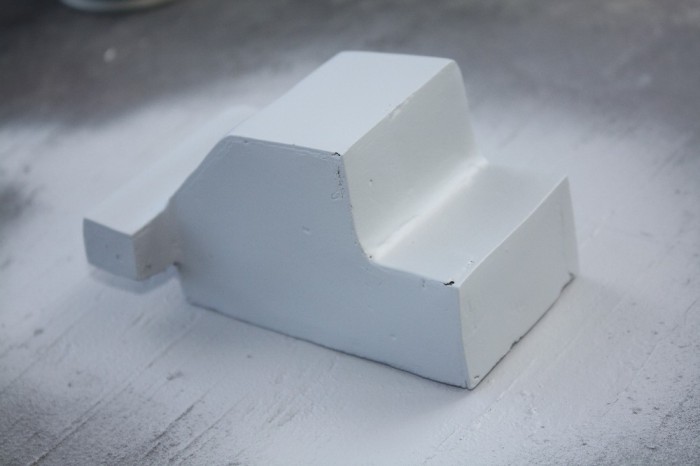
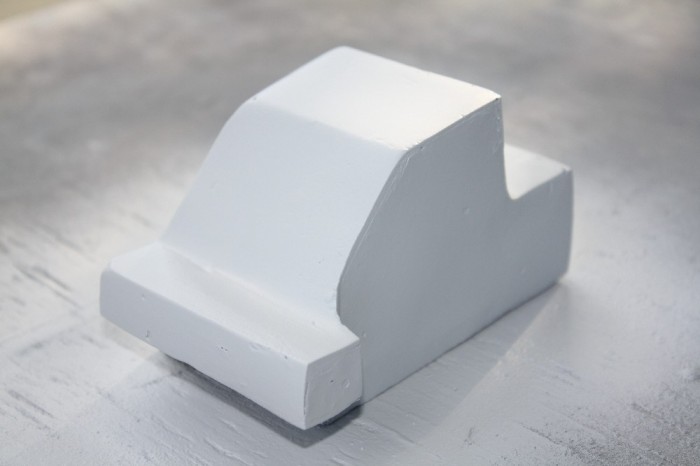
Wow - been lurking here for a while and decided to sign up just so I could say what a great job. :crunch:
Thanks D_rock, and welcome aboard.
I wish I still had my pic disks from 10 years ago we used xps foam for our spacers.If you give them about 6 coats with mod podge it will seal the whole thing and then you can spray paint it!
Maybe you could include him in building at least the gun? Have him paint the black paint, or apply the clippard sticker? Then he could also have bragging rights as to helping Dad work on it.
Wish I 'd thought about that alot earlier.
Maybe you could come up with a belt gizmo project for him that you could could work on together? It could be cardboard with hot glued edges, sealed with acrylic black paint, a printed label on styrene or plexiglass for the circuit board, and craft foam with labels for the for the chips.
Good thoughts Gareee -thanks.
The thrower’s done. It’s a more simplified version with no plan for lights or electronics. My son helped with the painting and glueing of parts. It’s a total trust factor to hold the piece and let him apply hot glue to it -call it a bonding experience 
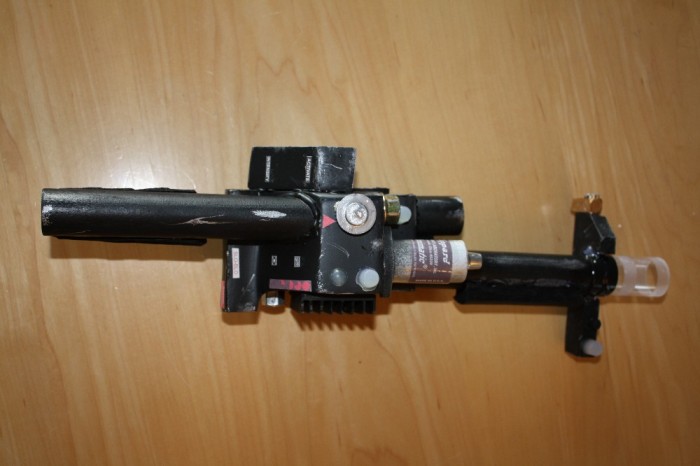
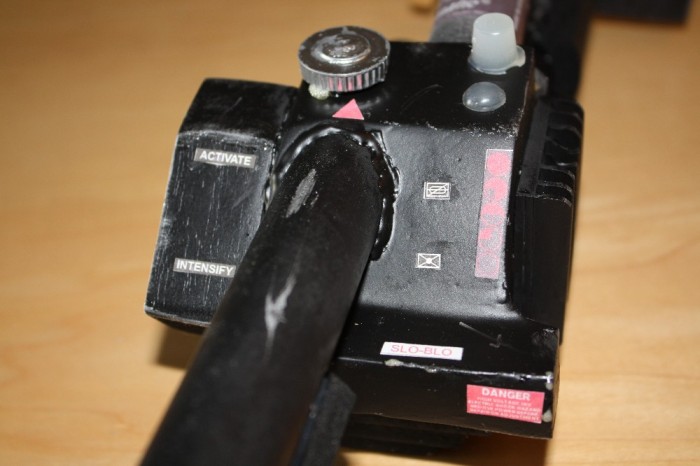
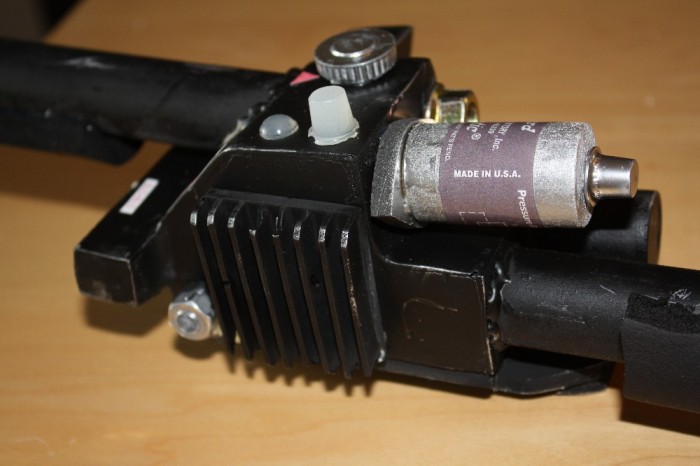
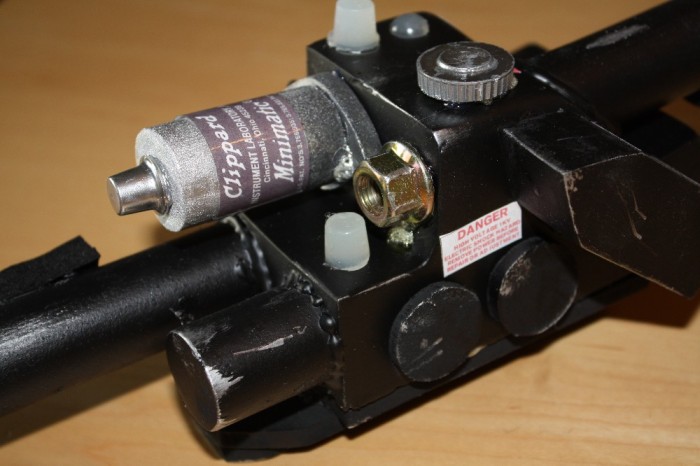
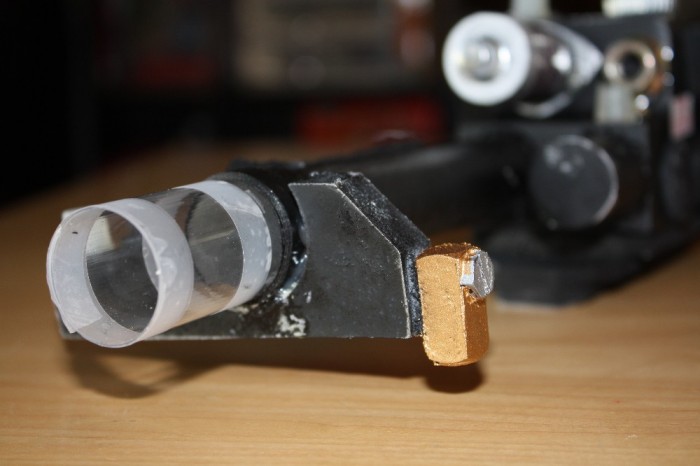
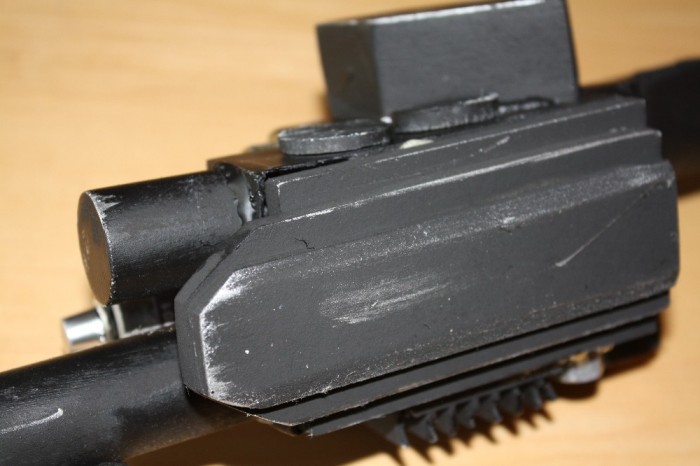
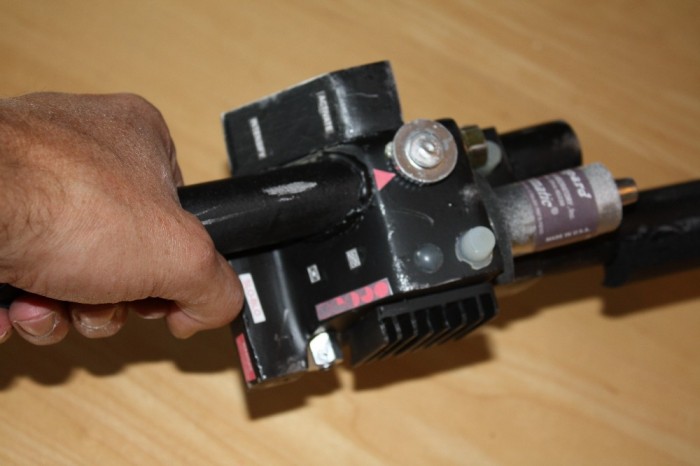
Just need to get the makeshift alice frame complete and attached and he’ll be ready to roll.
Man that looks good. Great work on sharing the build with your kid. I hope my thrower turns out half this good. I have to admit the thrower seems like a daunting task.
Please do post. As a newbie to this, please forgive my ignorance, but what did you guys use for the bar over the cyclotron. Is that the shock absorber?
Thanks for posting all this helpful info guys. A project for my boys should help me wade into shallow waters of pack building before I try to build one for myself more seriously.

Thats the bumper, though not listed in Norm’s pic.
Who would have thought a name was changed in the last 11 years since Norm’s plans were finished!
Damn, that’s a pretty awesome looking pack and wand!
What did you make your bumper out of?
What are you using to latch the gun to the pack?
And who would have thought that clarifying a part name not listed in a reference pic hosted here for the benefit of a new fan to the site would get a unnecessary snippy response from the site owner, when someone takes the time to help out a new member here?