Fully 3D Printed Trap - Files Available

Hi all,

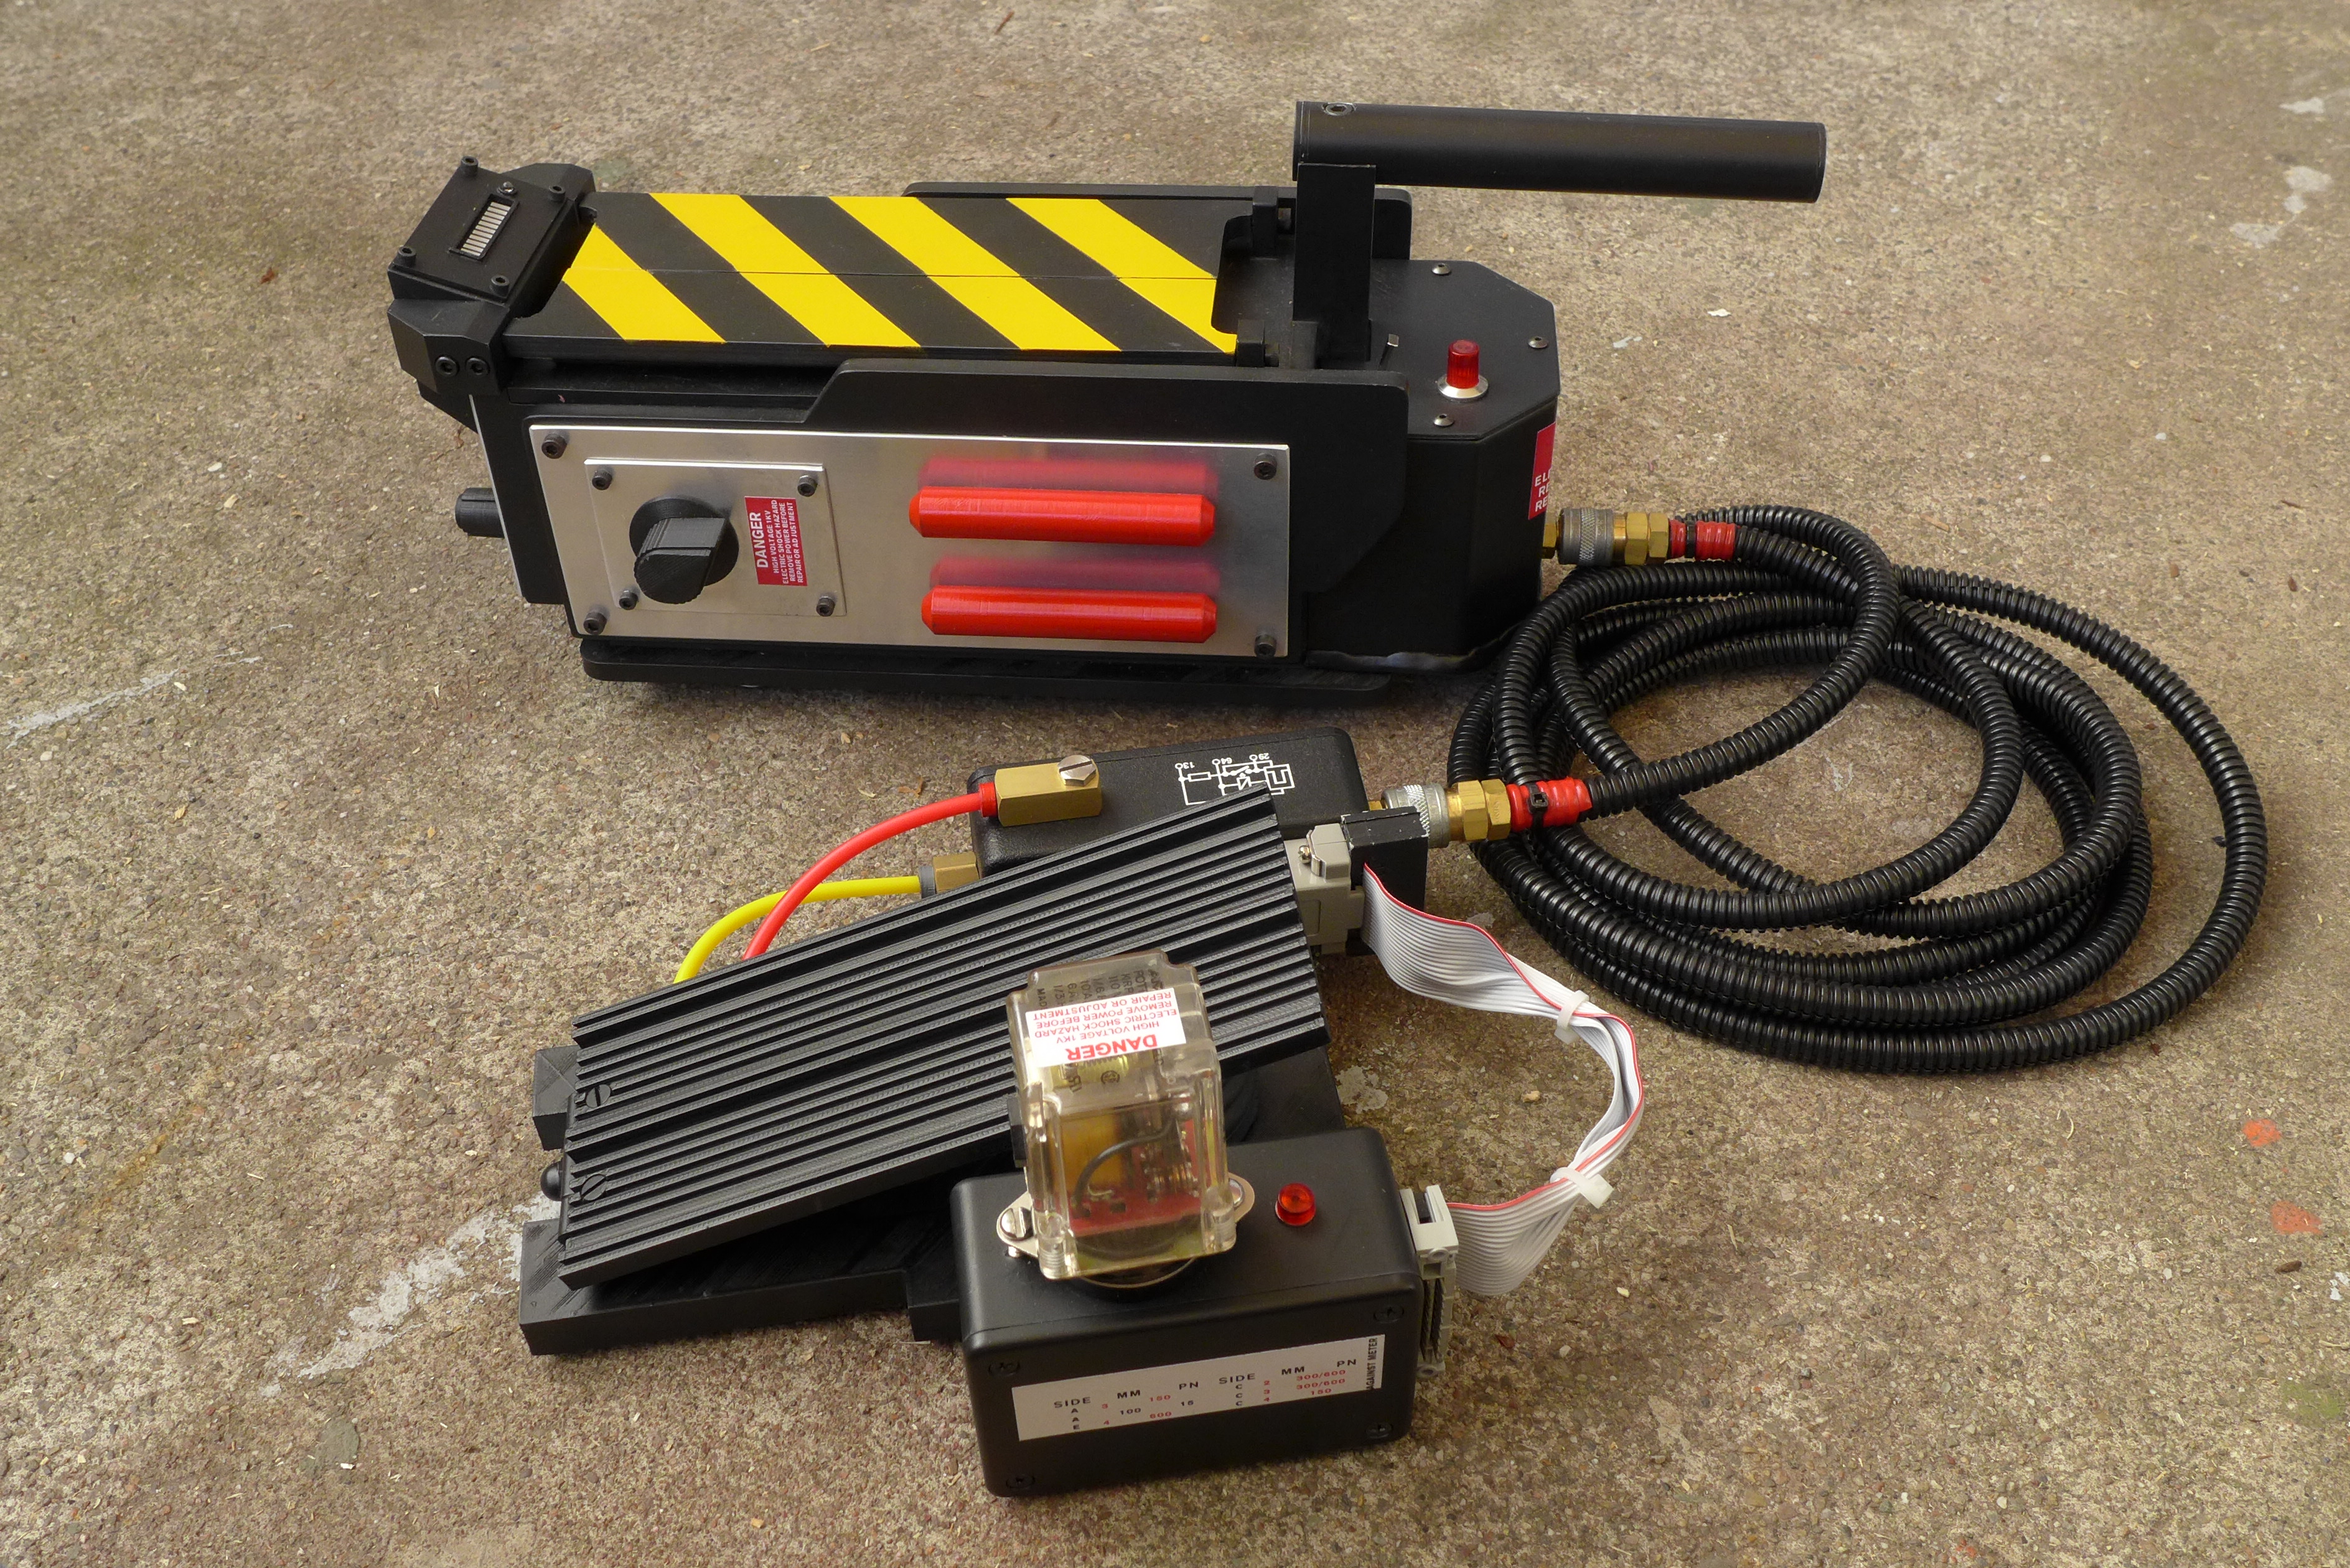
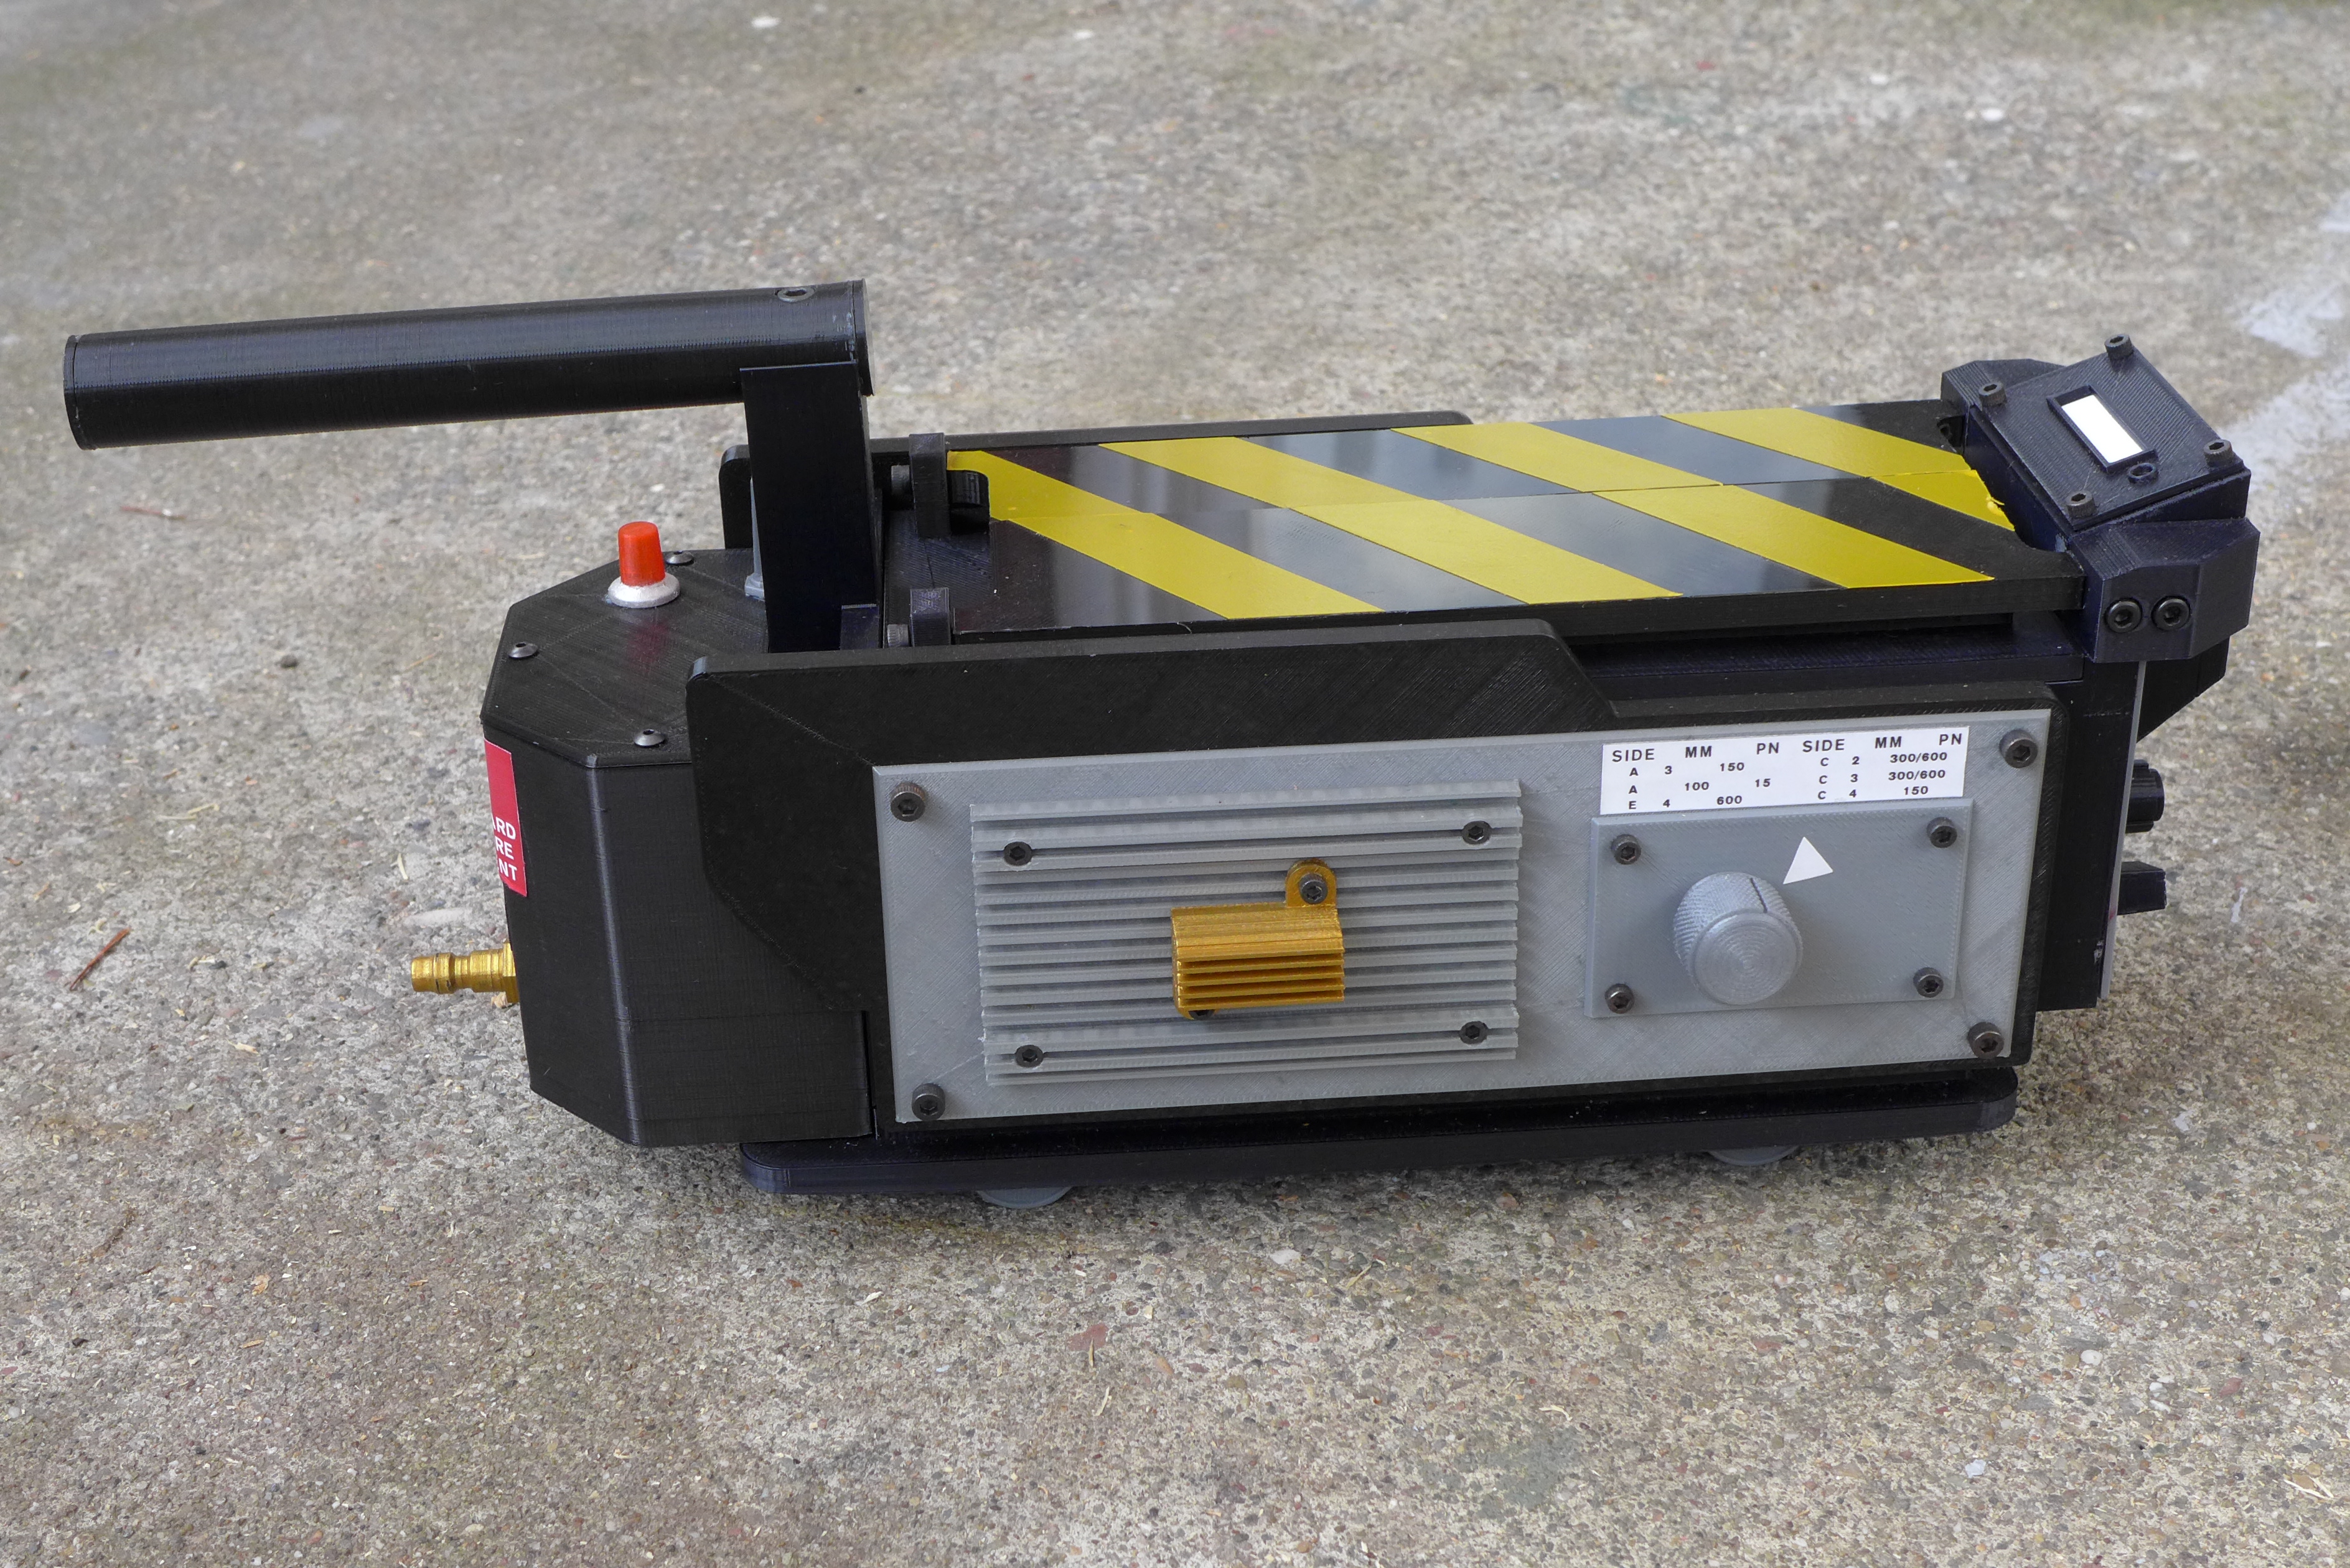
I have been lurking around here for a few months while I worked on a fully 3D printed trap and pedal, it was revealed today and files are available. It’s a hybrid GB1 /2 trap as I used overall dimensions of 2 but features from 1 such as the red rods and protruding cartridge.
This could not have happened without GBfans - so much good stuff here. I also have to thank members here who helped me out whether they know it or not:

Sean Bishop & Stefan Otto for posting great plans - they were my starting point and a good reference

Jack Doud for sending me the Terminal Reality SFX which I couldn’t find anywhere

Demon Vice Commander & Hprops for the great labels
image

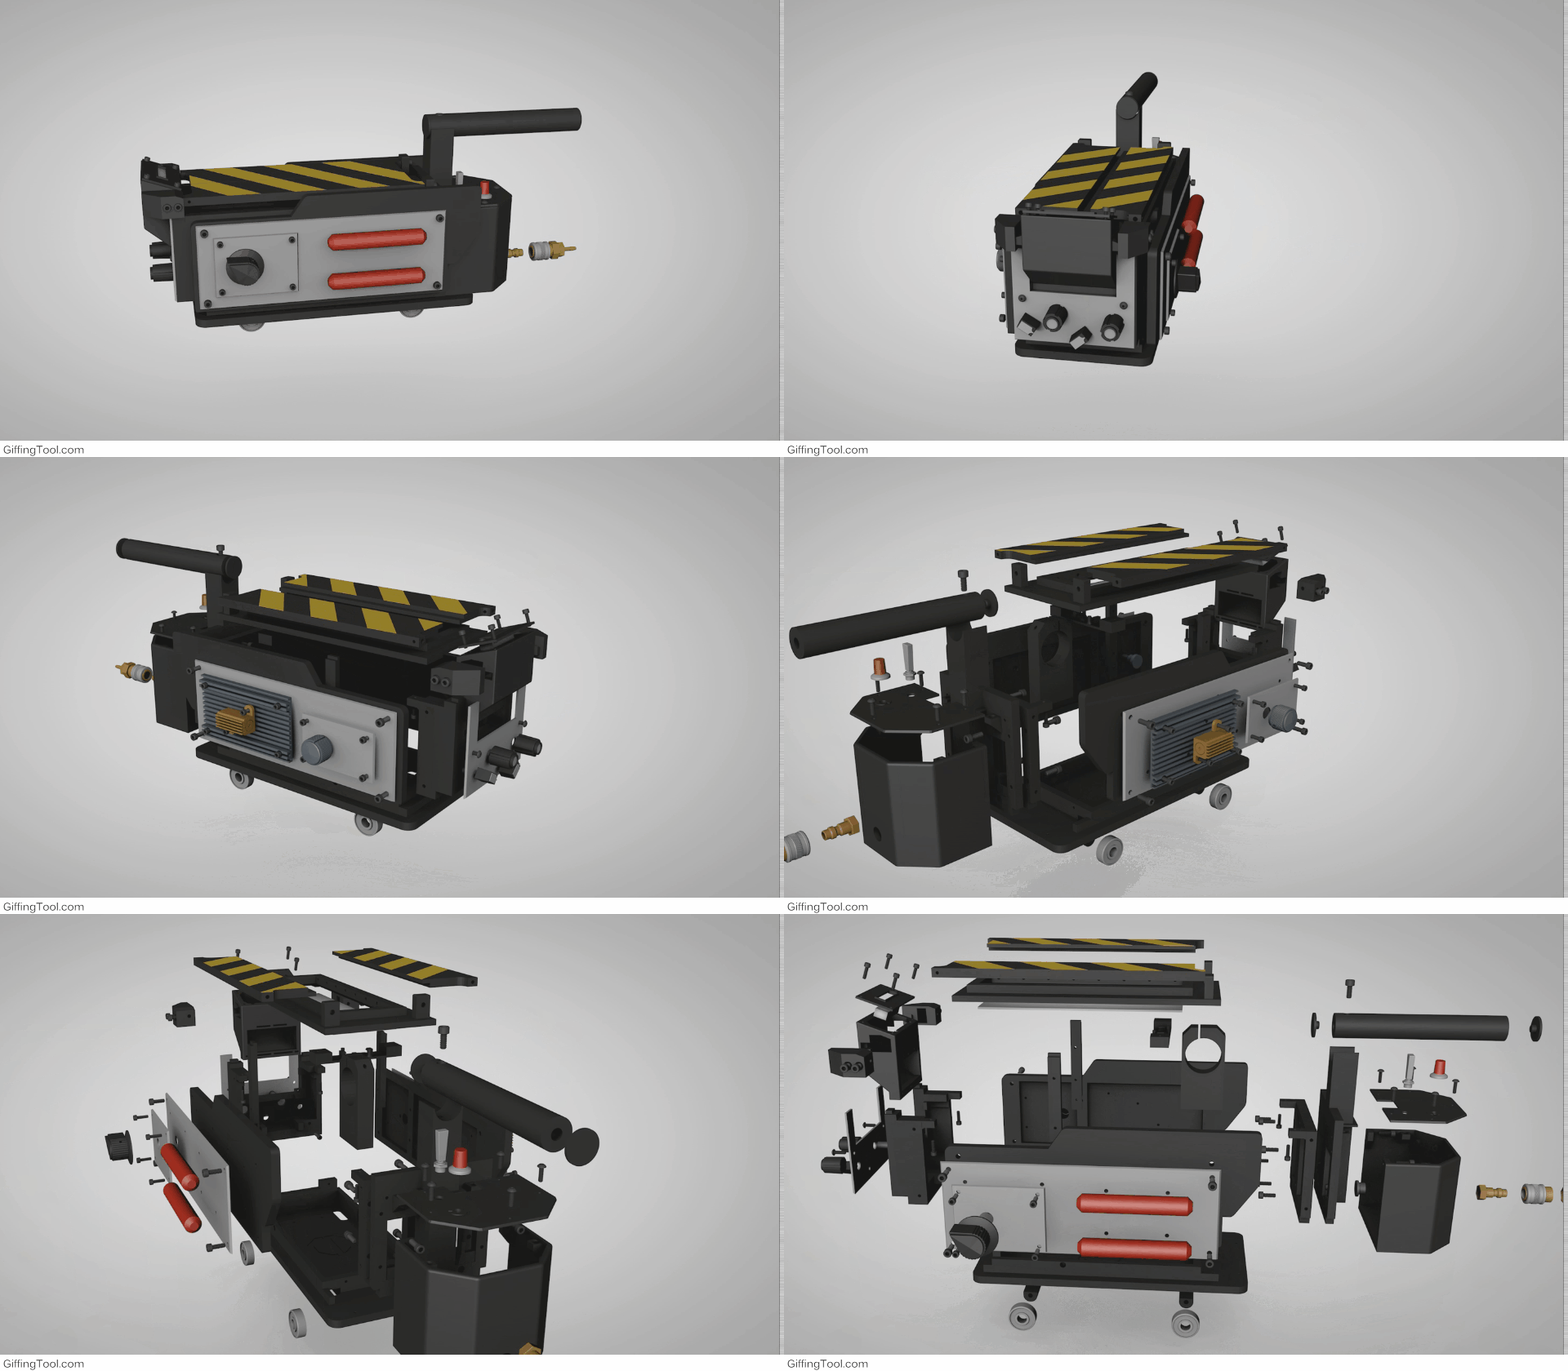
There are other 3D printed traps out there, but they usually have the side panels, etc modeled as one big piece which doesn’t print well and makes it hard to paint. Each part is separate which means you can get a good looking trap just by printing in the appropriate color. I haven’t seen the pedal 3D printed, so I did that too - it’s trickier since there are more pieces that simply can’t be printed like the relay, ribbon cable, etc. but I modeled as much as I could. I decided to use real hardware for assembly for aesthetic reasons, strength and to make the trap good for modding.

Files are available under a Attribution - Non-commercial - Share Alike Creative Commons license.

Trap Files: Ghostbusters Ghost Trap (1984) by countspatula - Thingiverse

Pedal Files: Ghostbusters Ghost Trap Pedal (1984) by countspatula - Thingiverse

Print guidelines and basic hardware are listed in the file downloads.

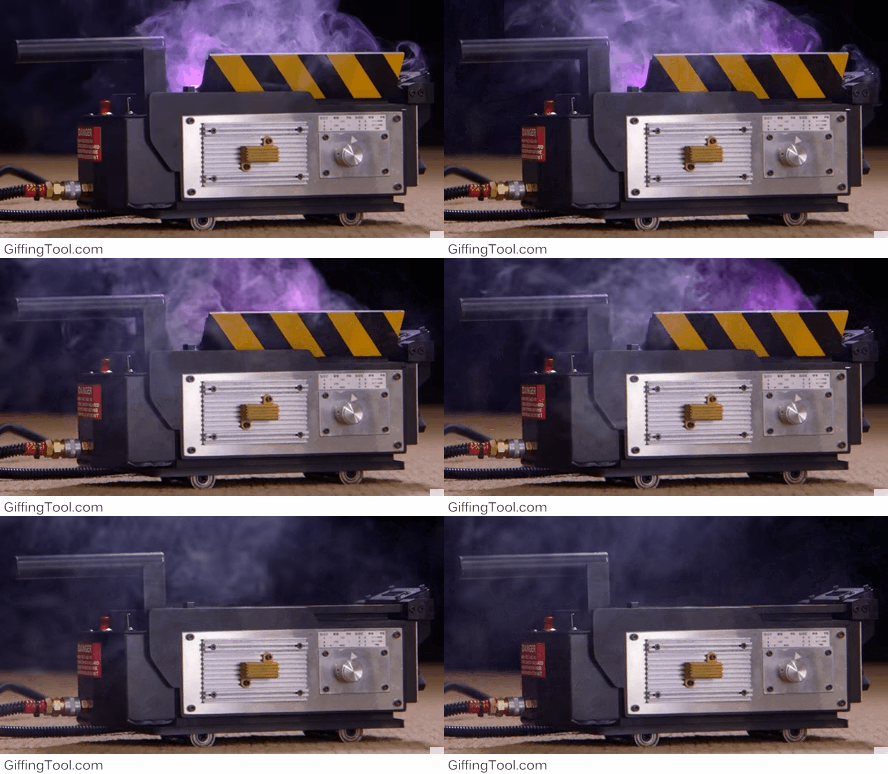
My final version of the trap and pedal is 3D printed but with as much real hardware on it as possible. I designed everything so that real parts are easy to substitute when possible. For example, the 3D printed ‘aluminum’ plates are 1/16" so they can be printed and used as a template to make 1/16" aluminum plates. The side panels are 1/4" so 1/4" MDF could be used, etc. I installed full electronics, light, sound and smoke, I will be detailing all of that later. It runs on Arduino, a bunch of Adafruit parts and e-cigarettes. I selected all the components and wired it, but I’m not a great electronics guy and/or programmer, so my friend Jeremy Williams (creator of Game Frame) did all the programming and helped with hooking everything together.
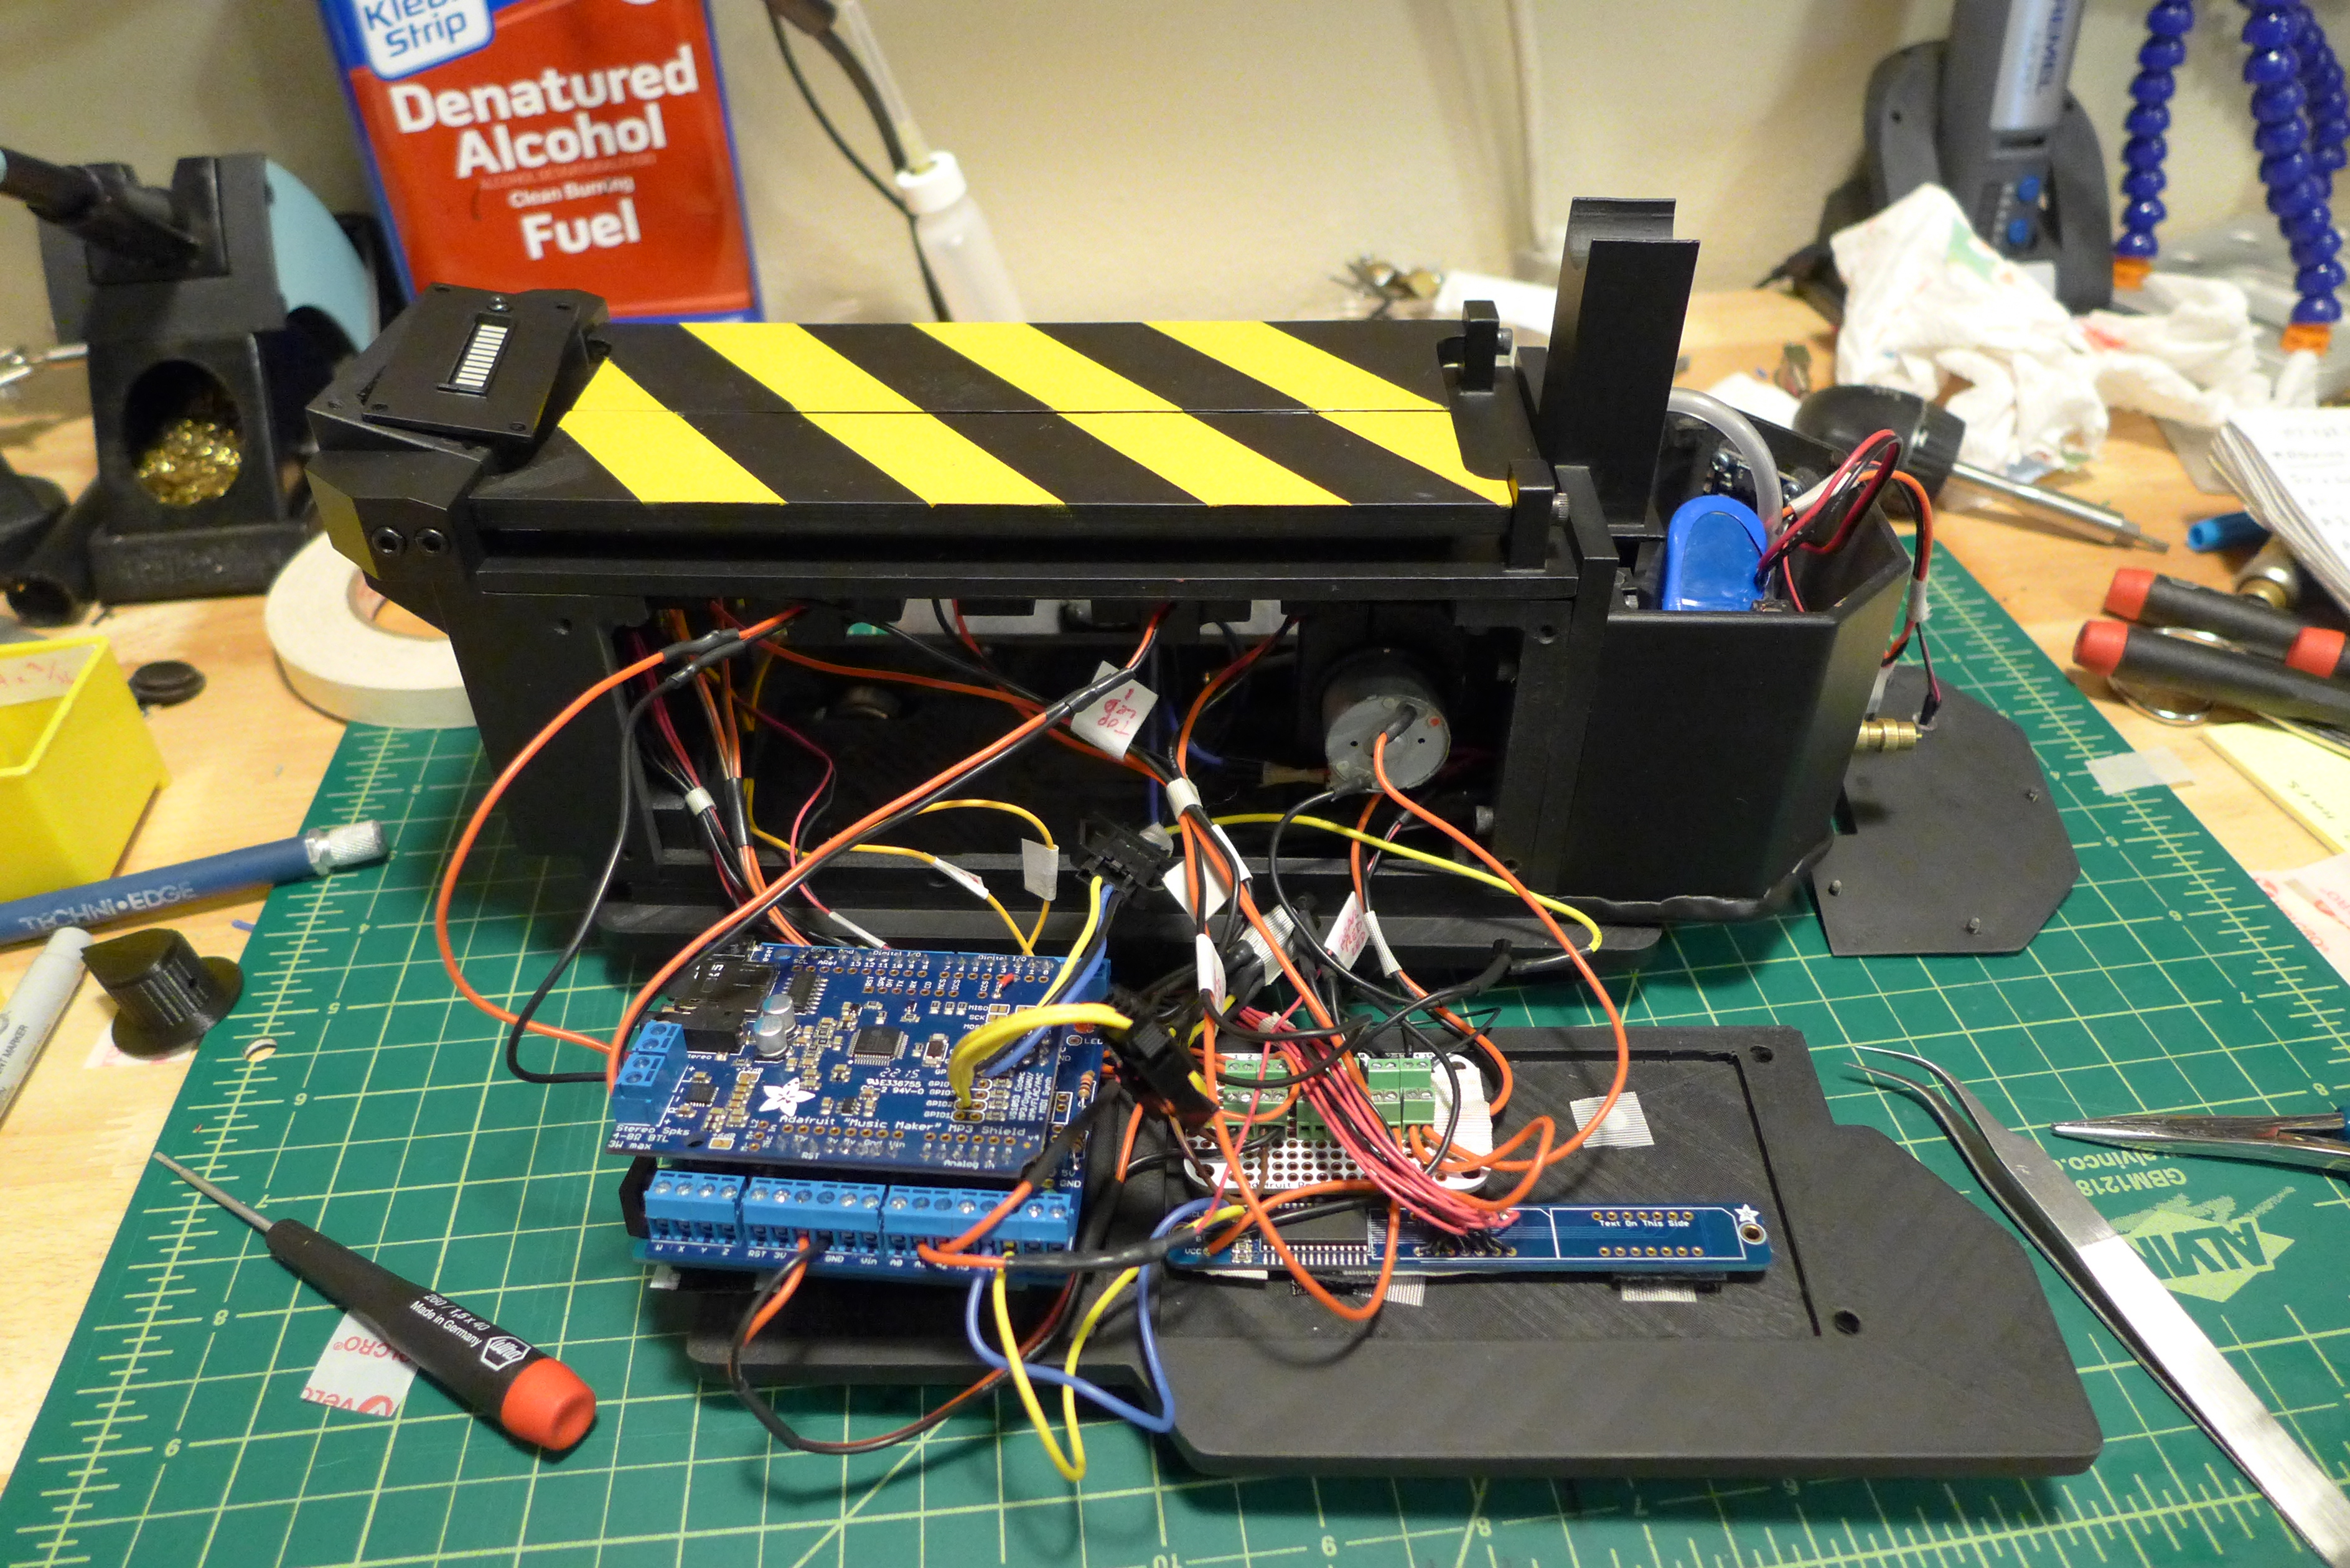
image

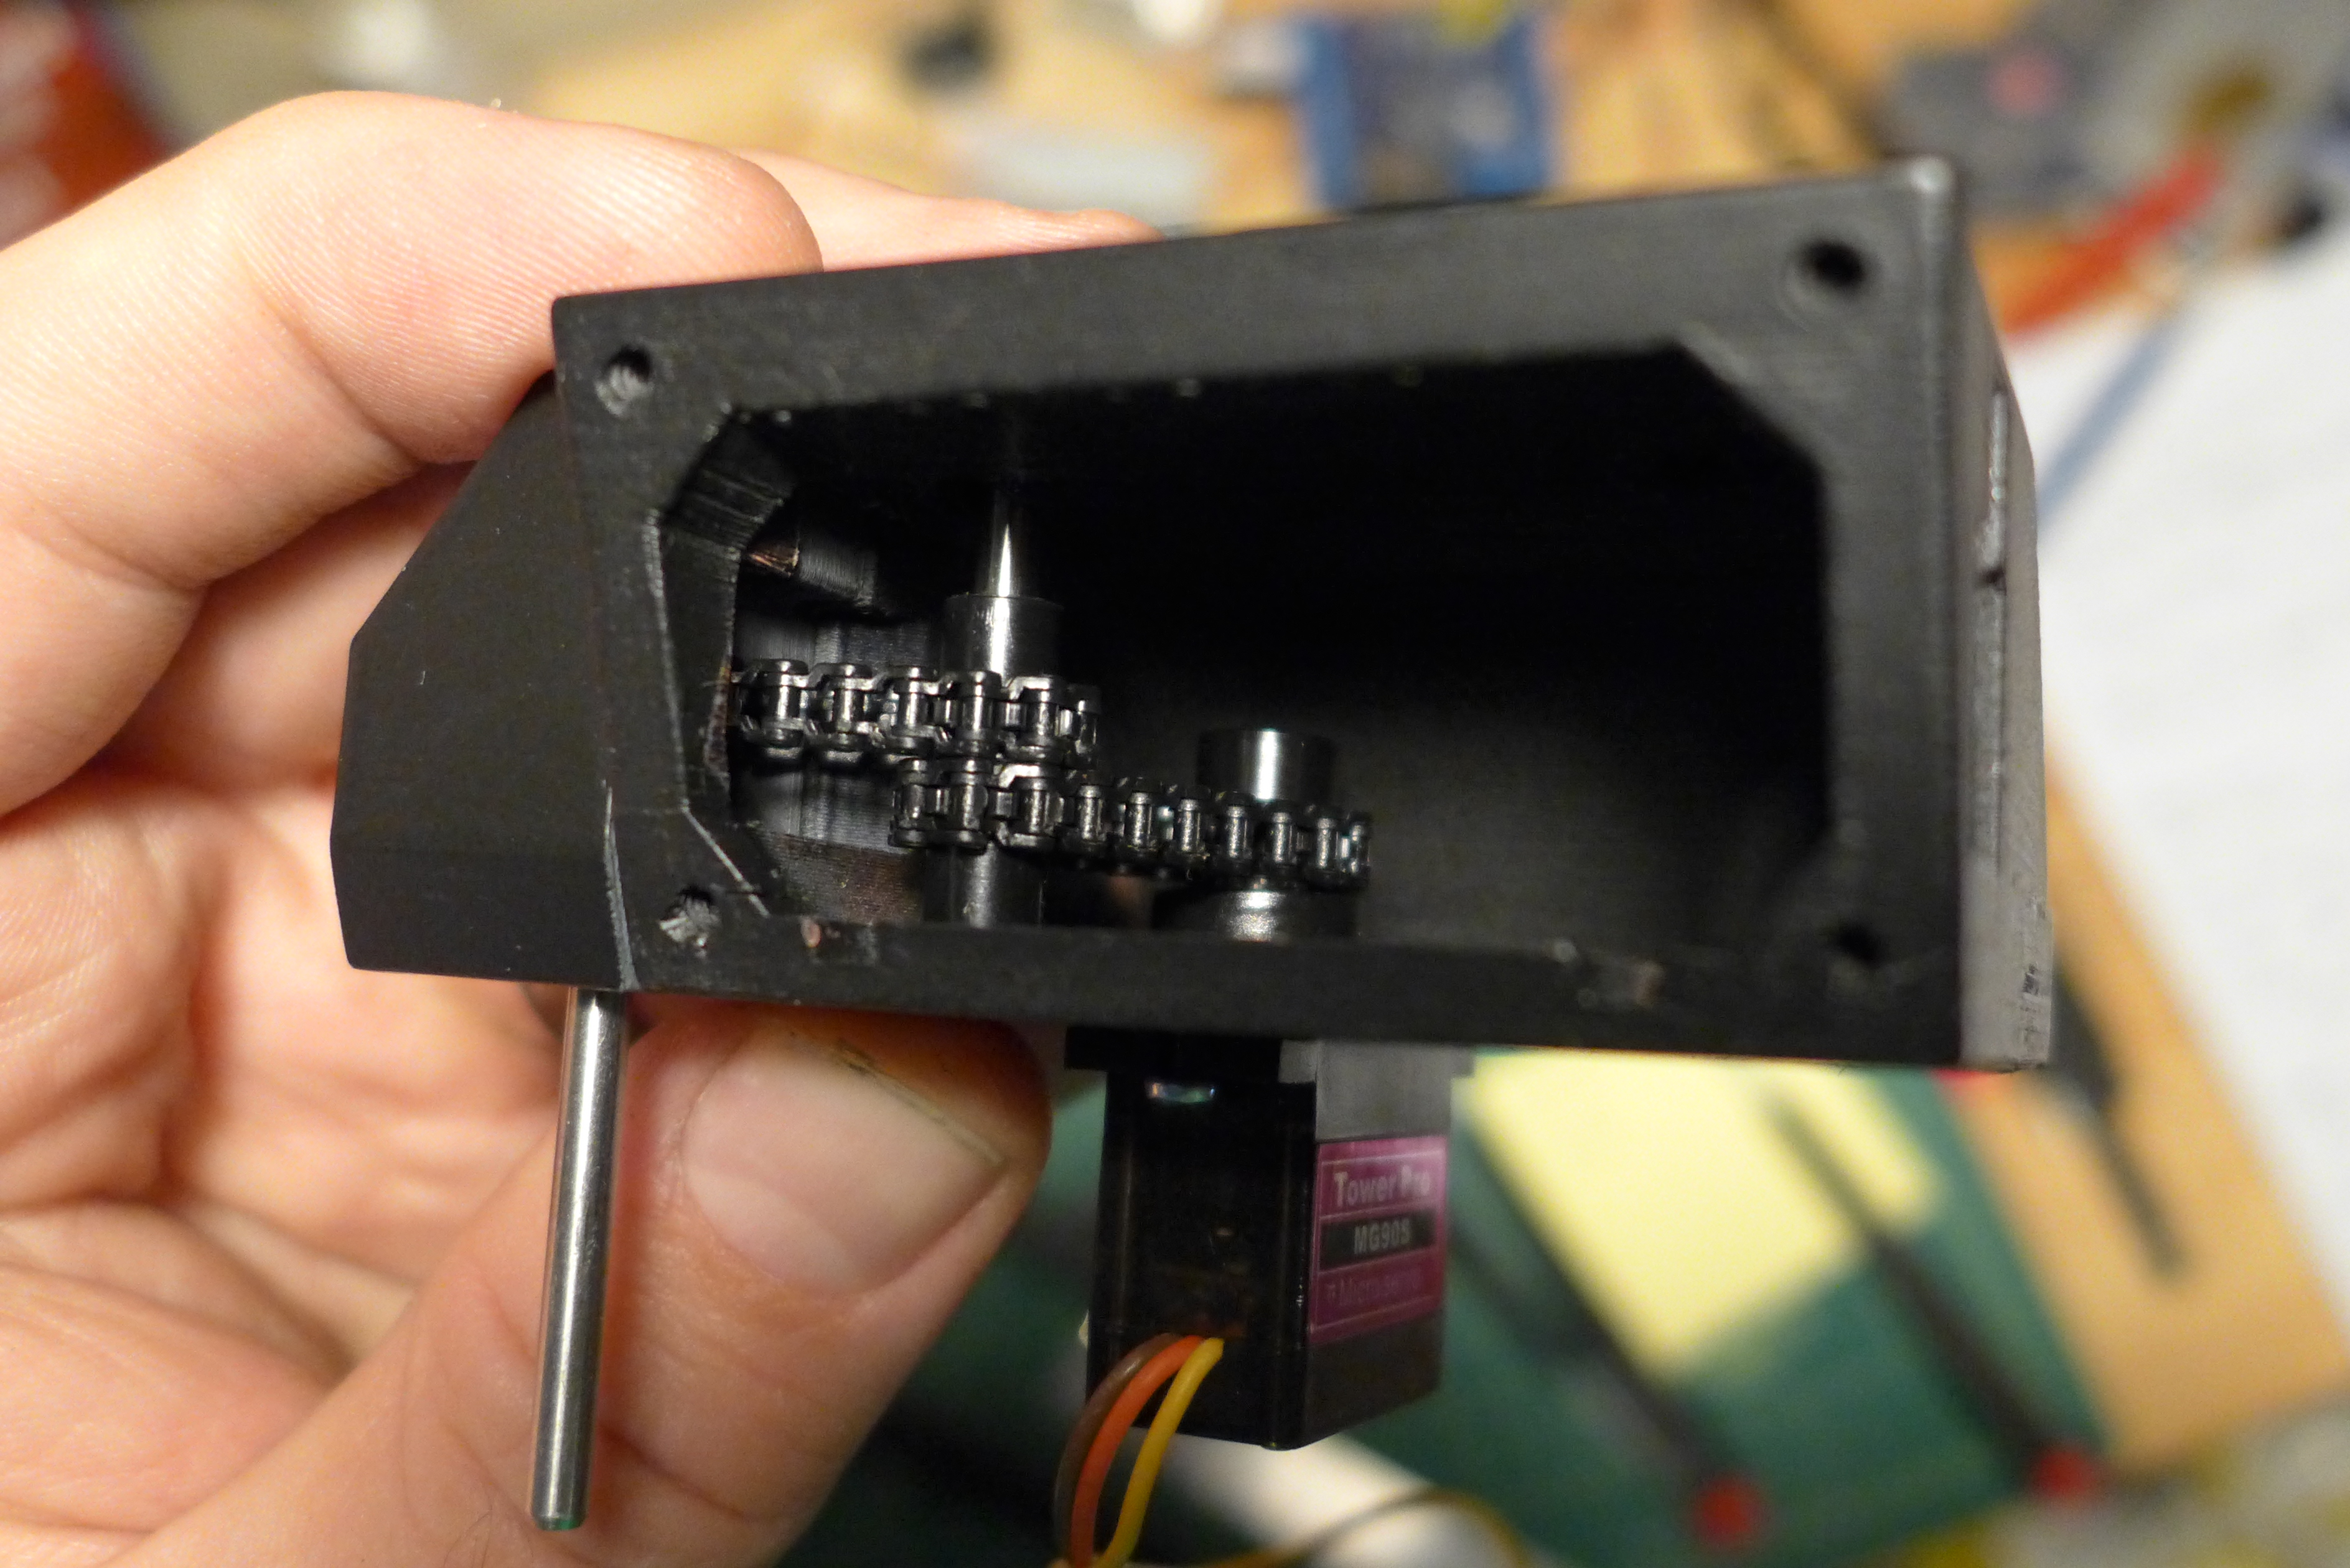
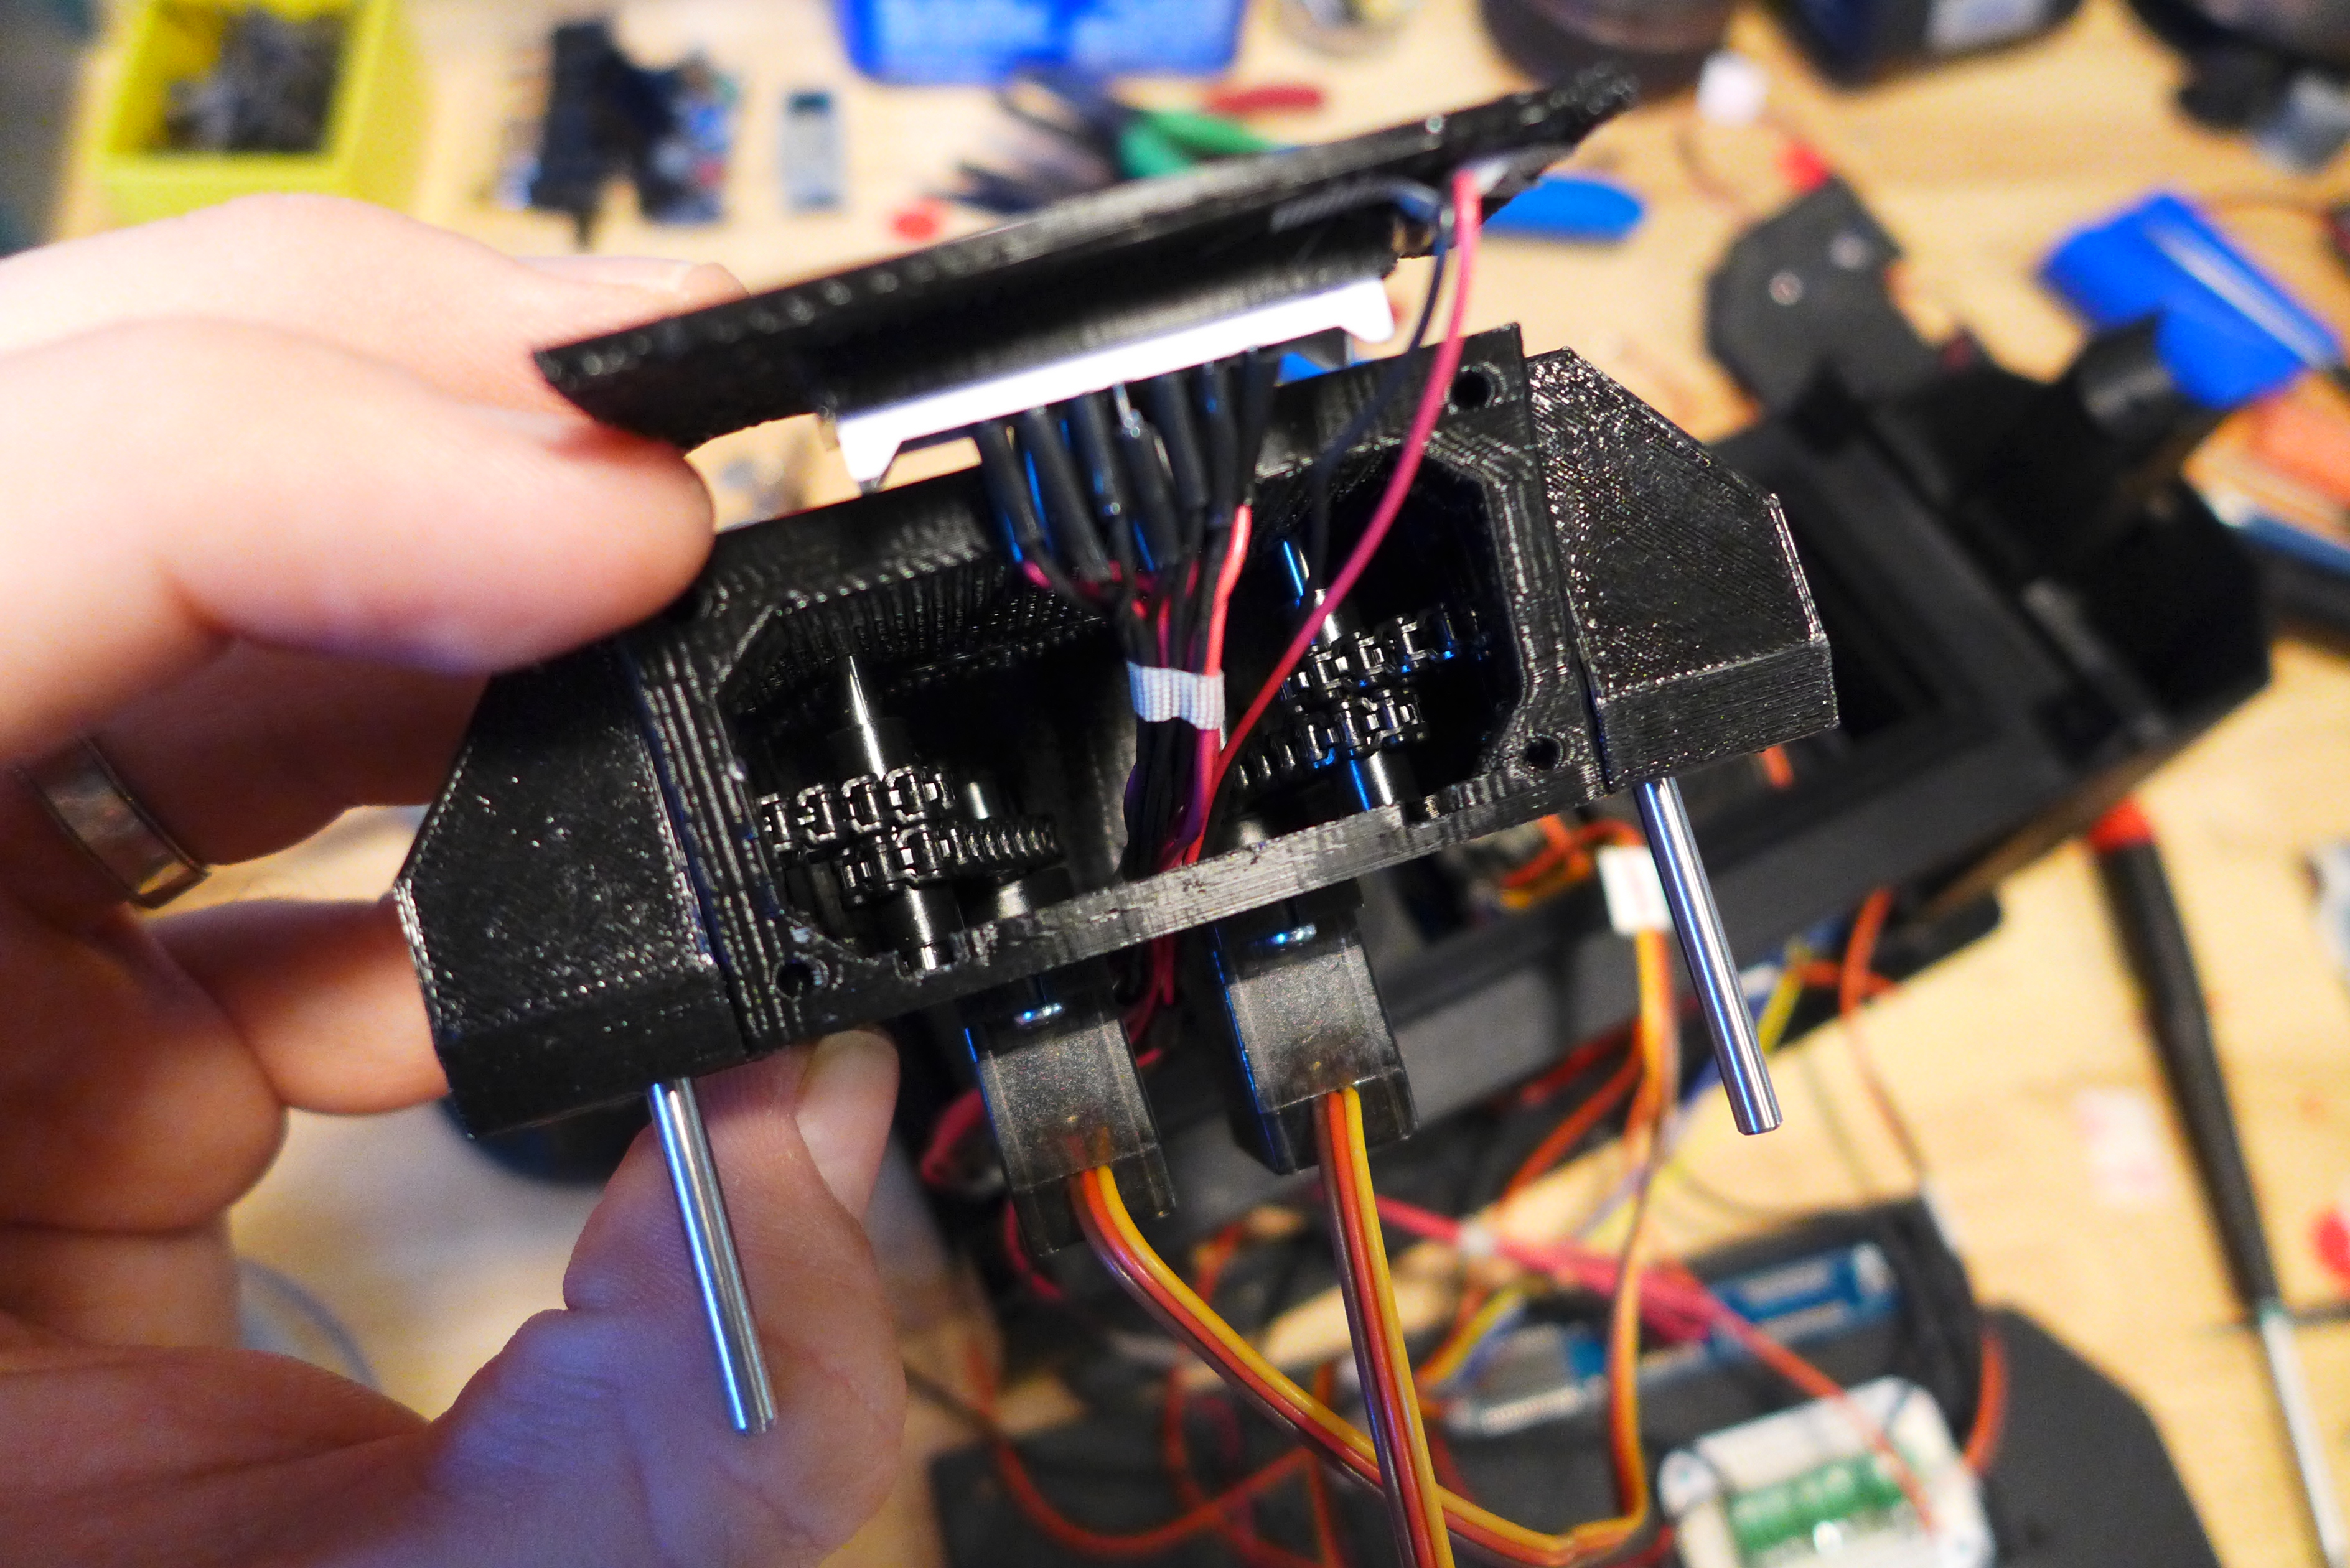
It uses a servo chain drive for the doors
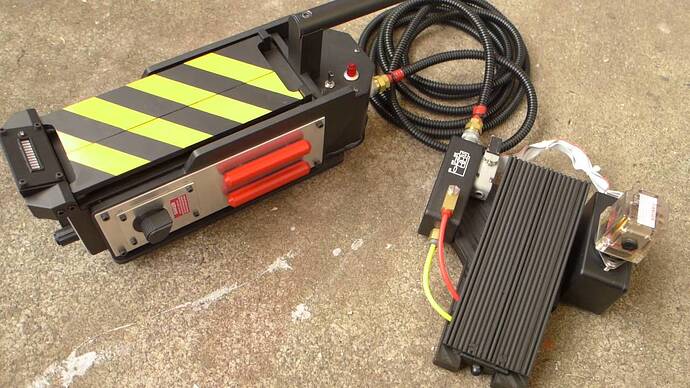
In action:
I write for Tested.com and will be posting videos and articles, I’ll provide more pictures and info as we go:
want want want want want.. Awesome job! Thanks for sharing the files as well.

Awesome work and you’re very cool for sharing your hard work with the community, thank you. You did an awesome job on this man!!

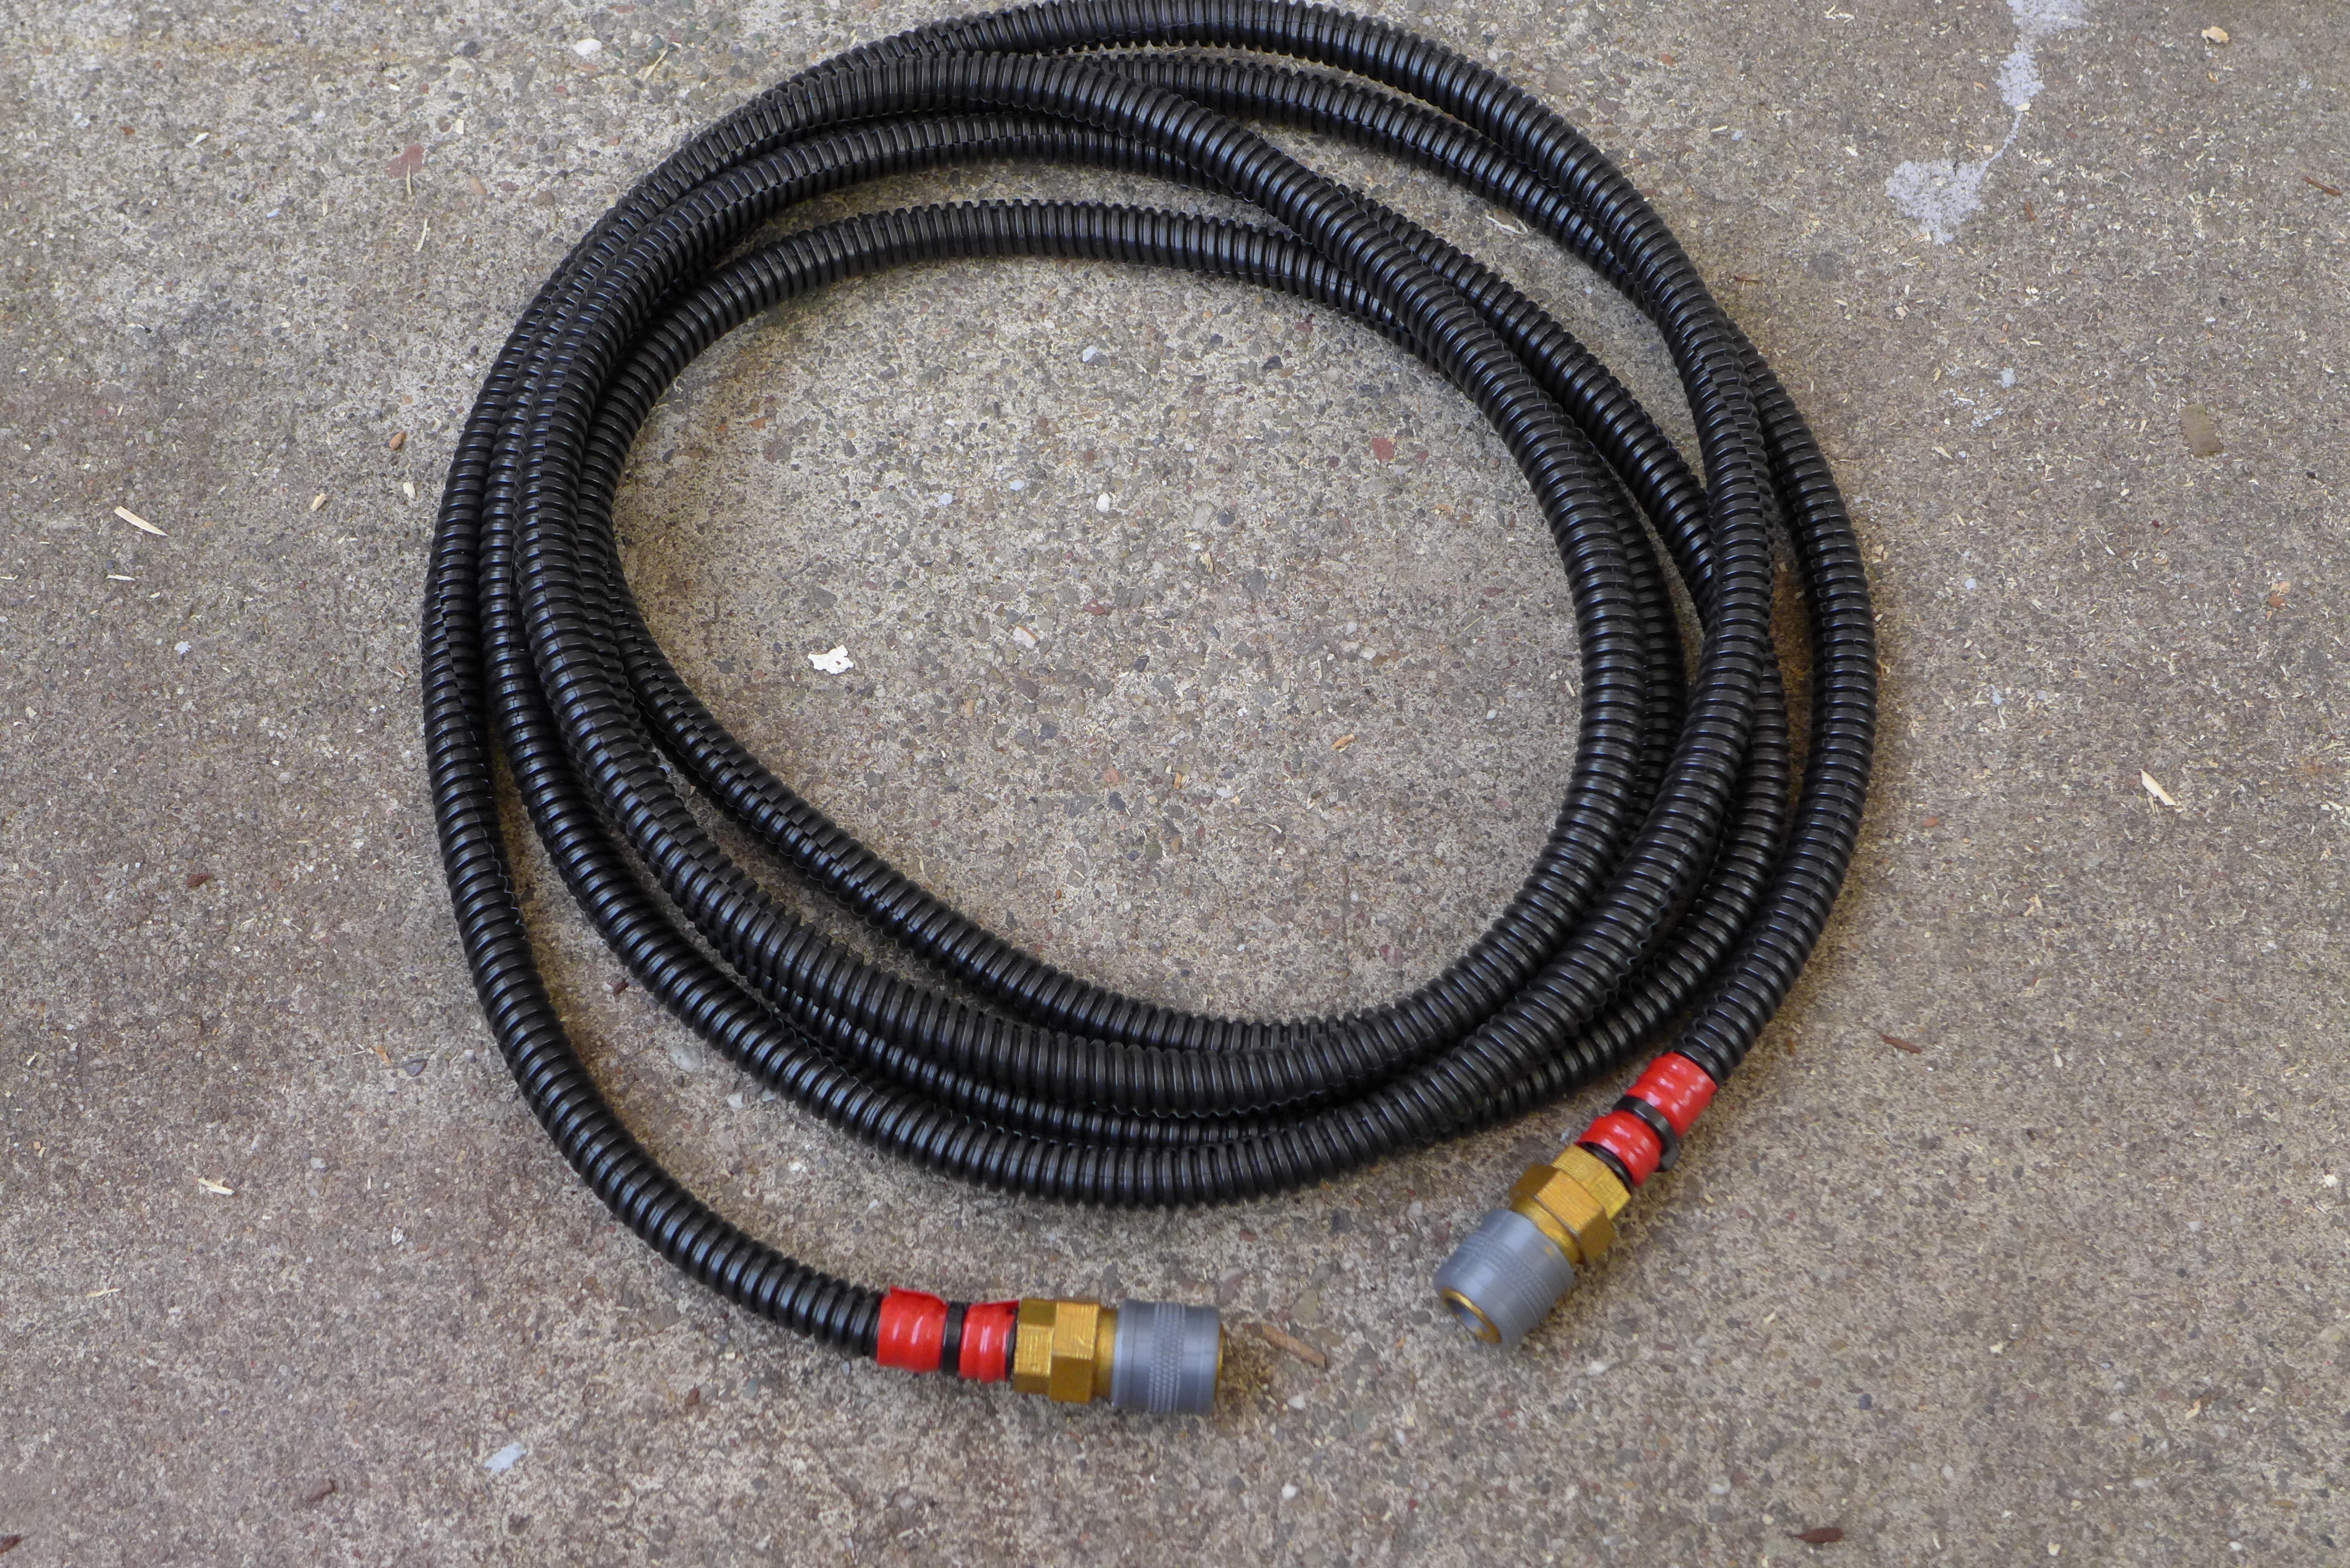
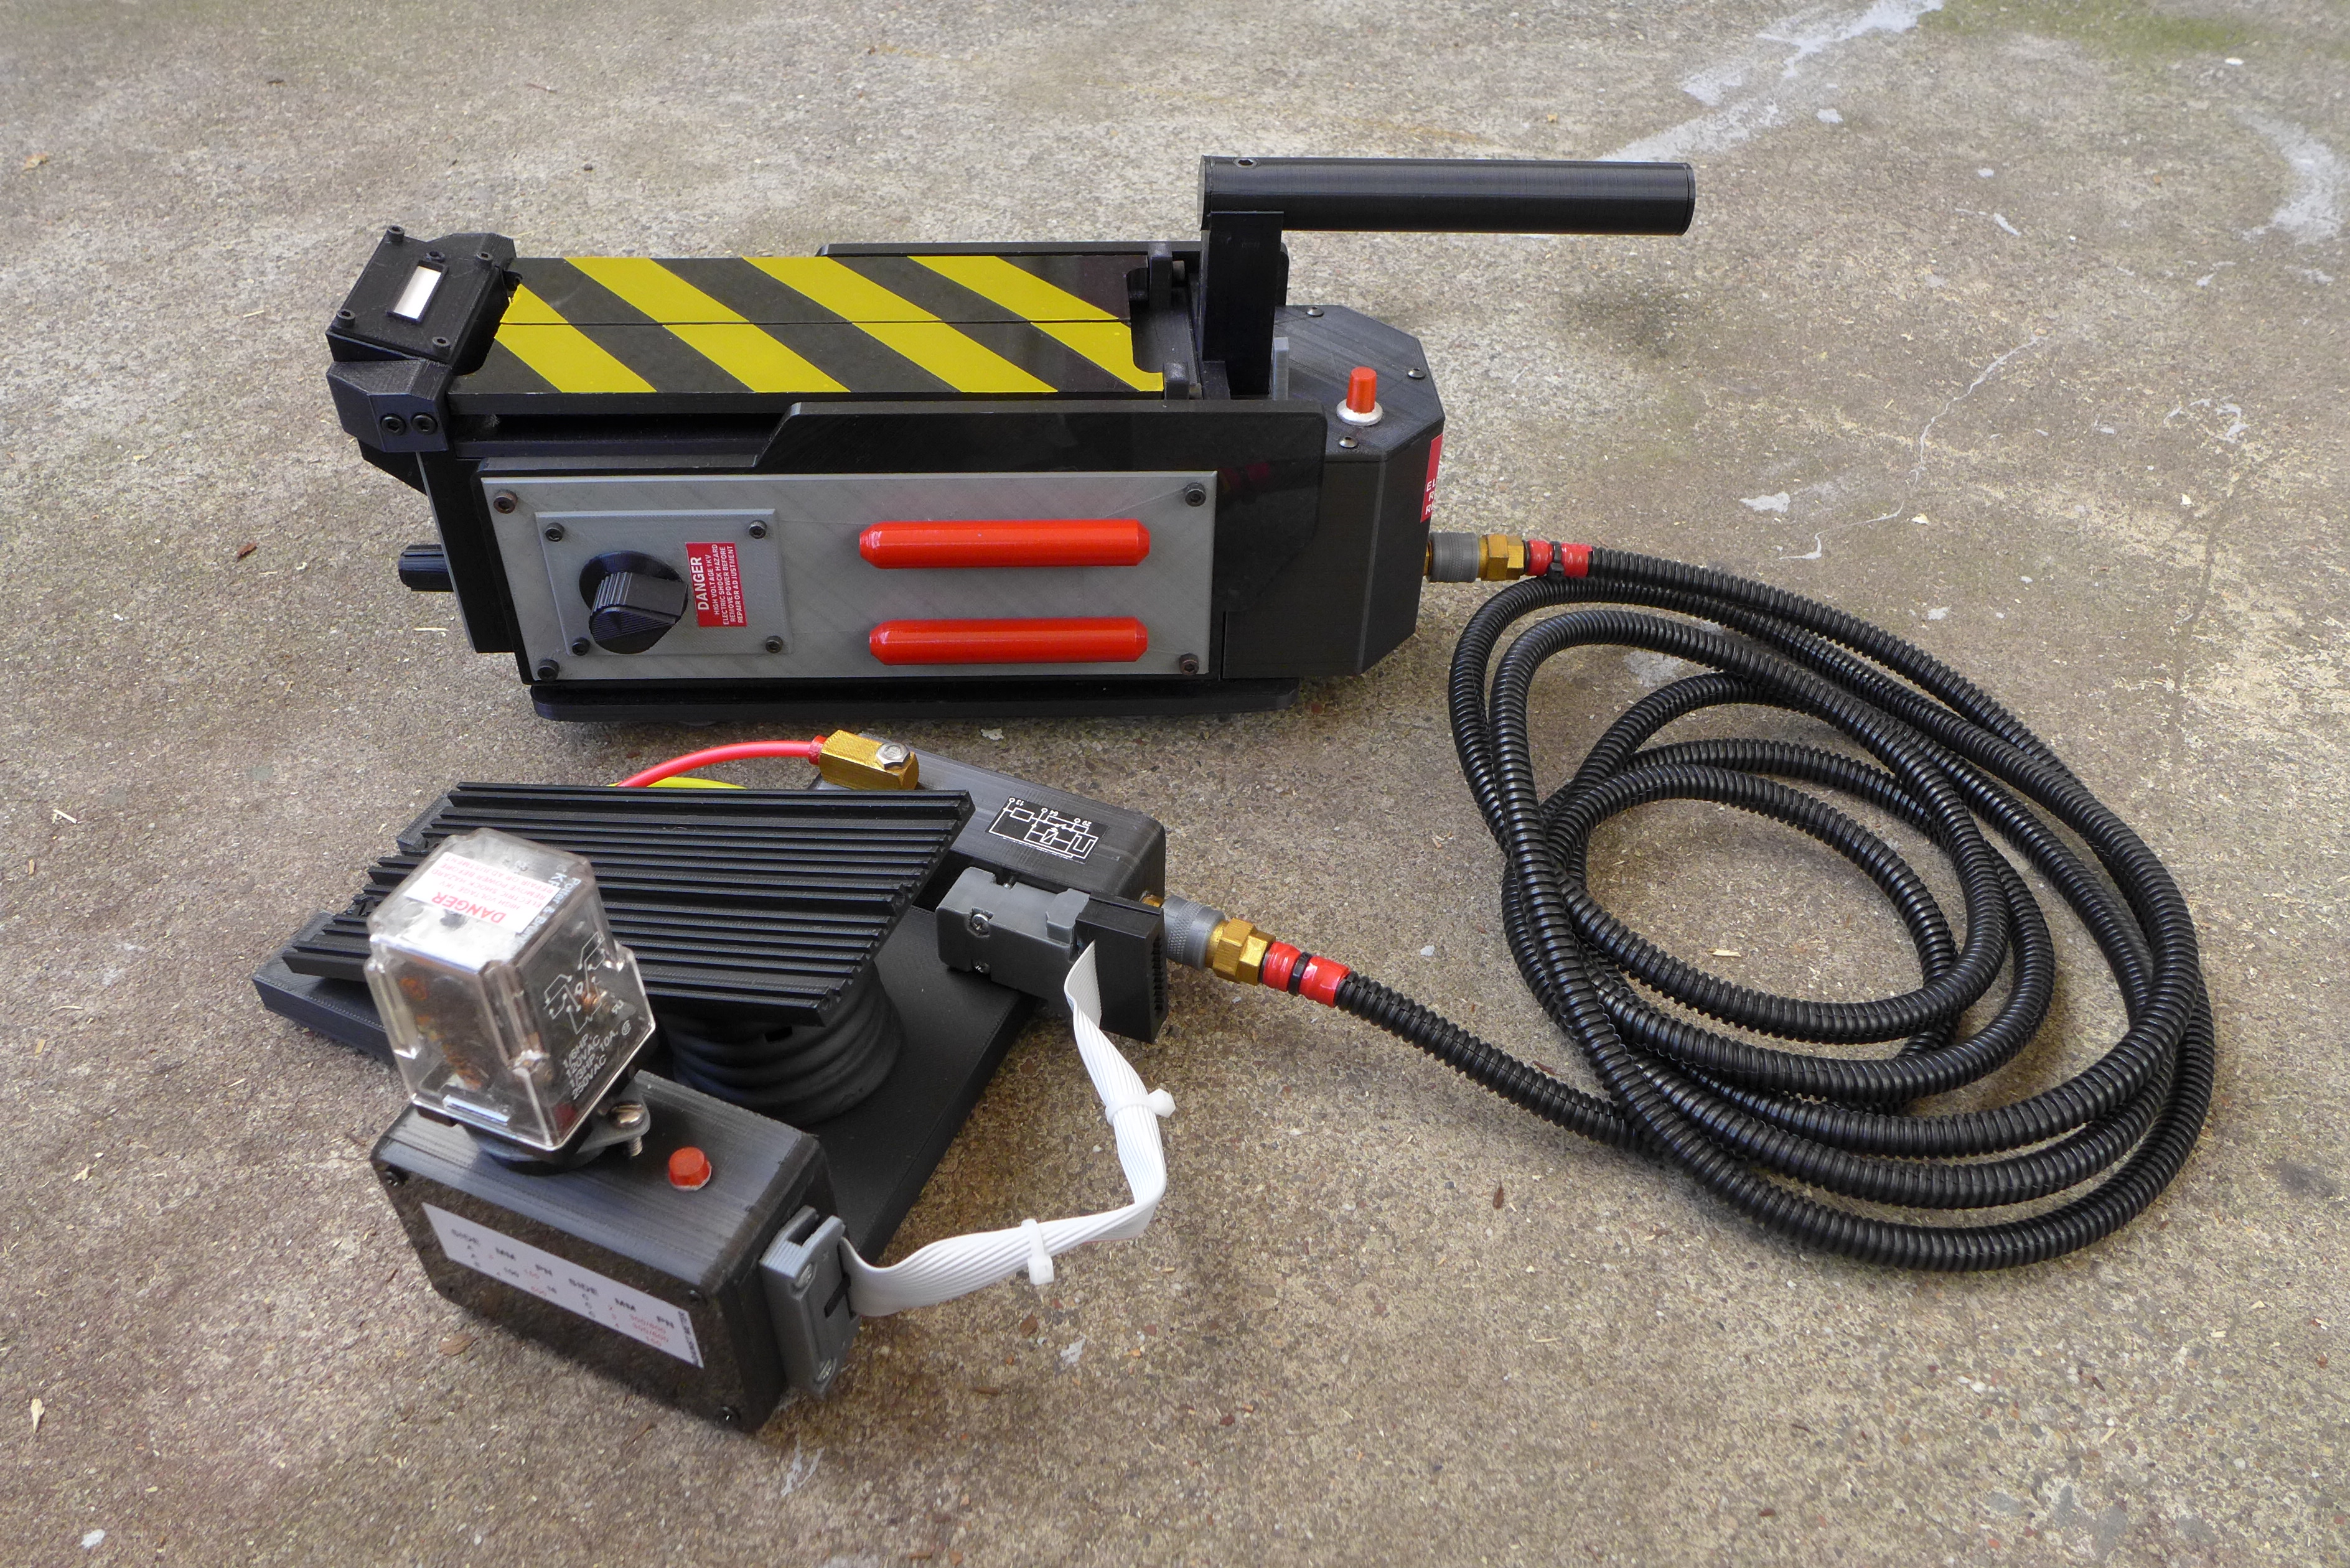
This is the trap and pedal fully (as much as it was possible) 3D printed. The only thing painted were the rods and ‘brass’ parts. Trap is fully printed except for fasteners. Pedal is needs a lot more real parts such as relay, ribbon cable, hinge, bellows and tubing. But even the relay socket is printed.

Even 3D printed the Foster connectors, they have magnets to hold them in place:

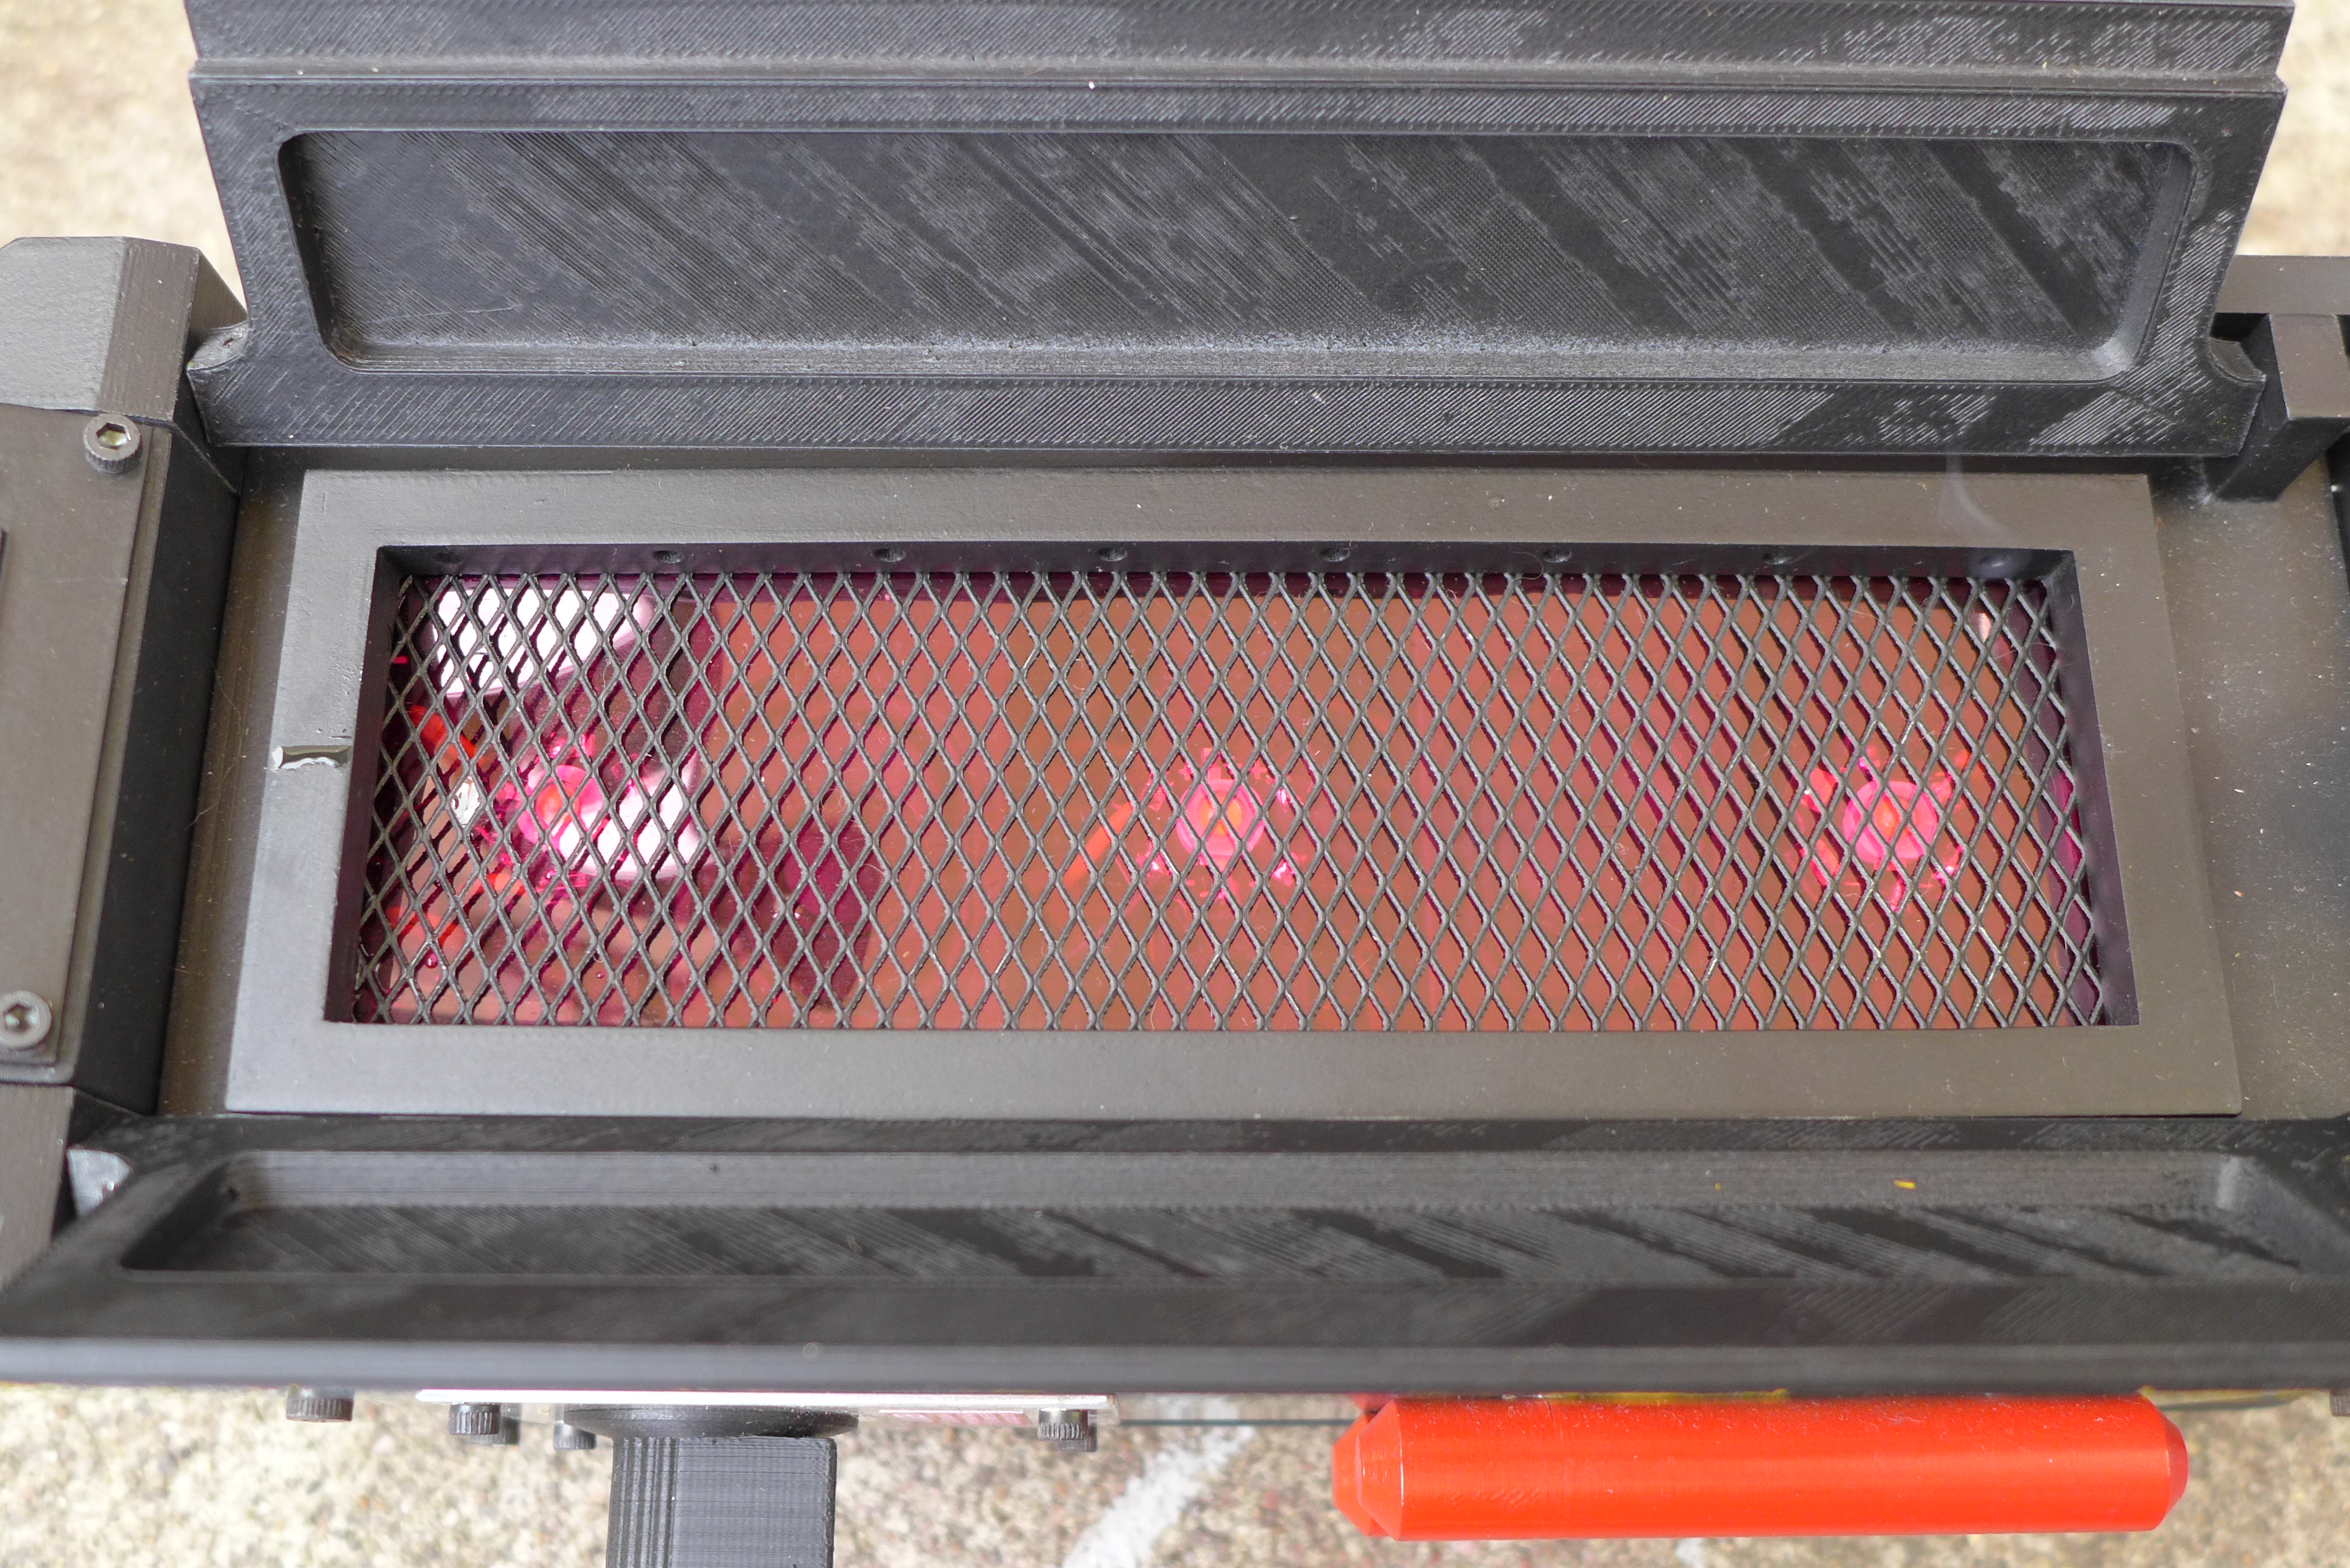
Close up of Deluxe trap opening. I used wire mesh just for something interesting. Used lighting gels to get correct color and 3 high intensity LEDS that alternate flashing. You can see the smoke outlets around the edge. Since it was 3D printed I was able to embed a pipe that goes around the inside lip.

How did you like the dremel 3d printer? I don’t know many using it yet. Looks like your prints came out pretty solid, how much finishing work did you have to do? PLA I’m guessing?

I just watched the video on this. Amazing work!

Overall the Dremel was a nice printer for the price with a few caveats. I was able to fit all parts on the print bed, it did a nice job down to .1mm layer height, etc. I had a lot of problem with the Dremel filament quality-wise and would recommend using 3rd party. This requires adding a spool holder to the top which is easy via Thingiverse. The original software needs work as it didn’t even generate supports which is crazy. They are now working with Autodesk to use their Print Studio which does do supports. I really like the touch screen which would also display a 3D render of the file. Not as quiet as some printers, but overall it was great to use.

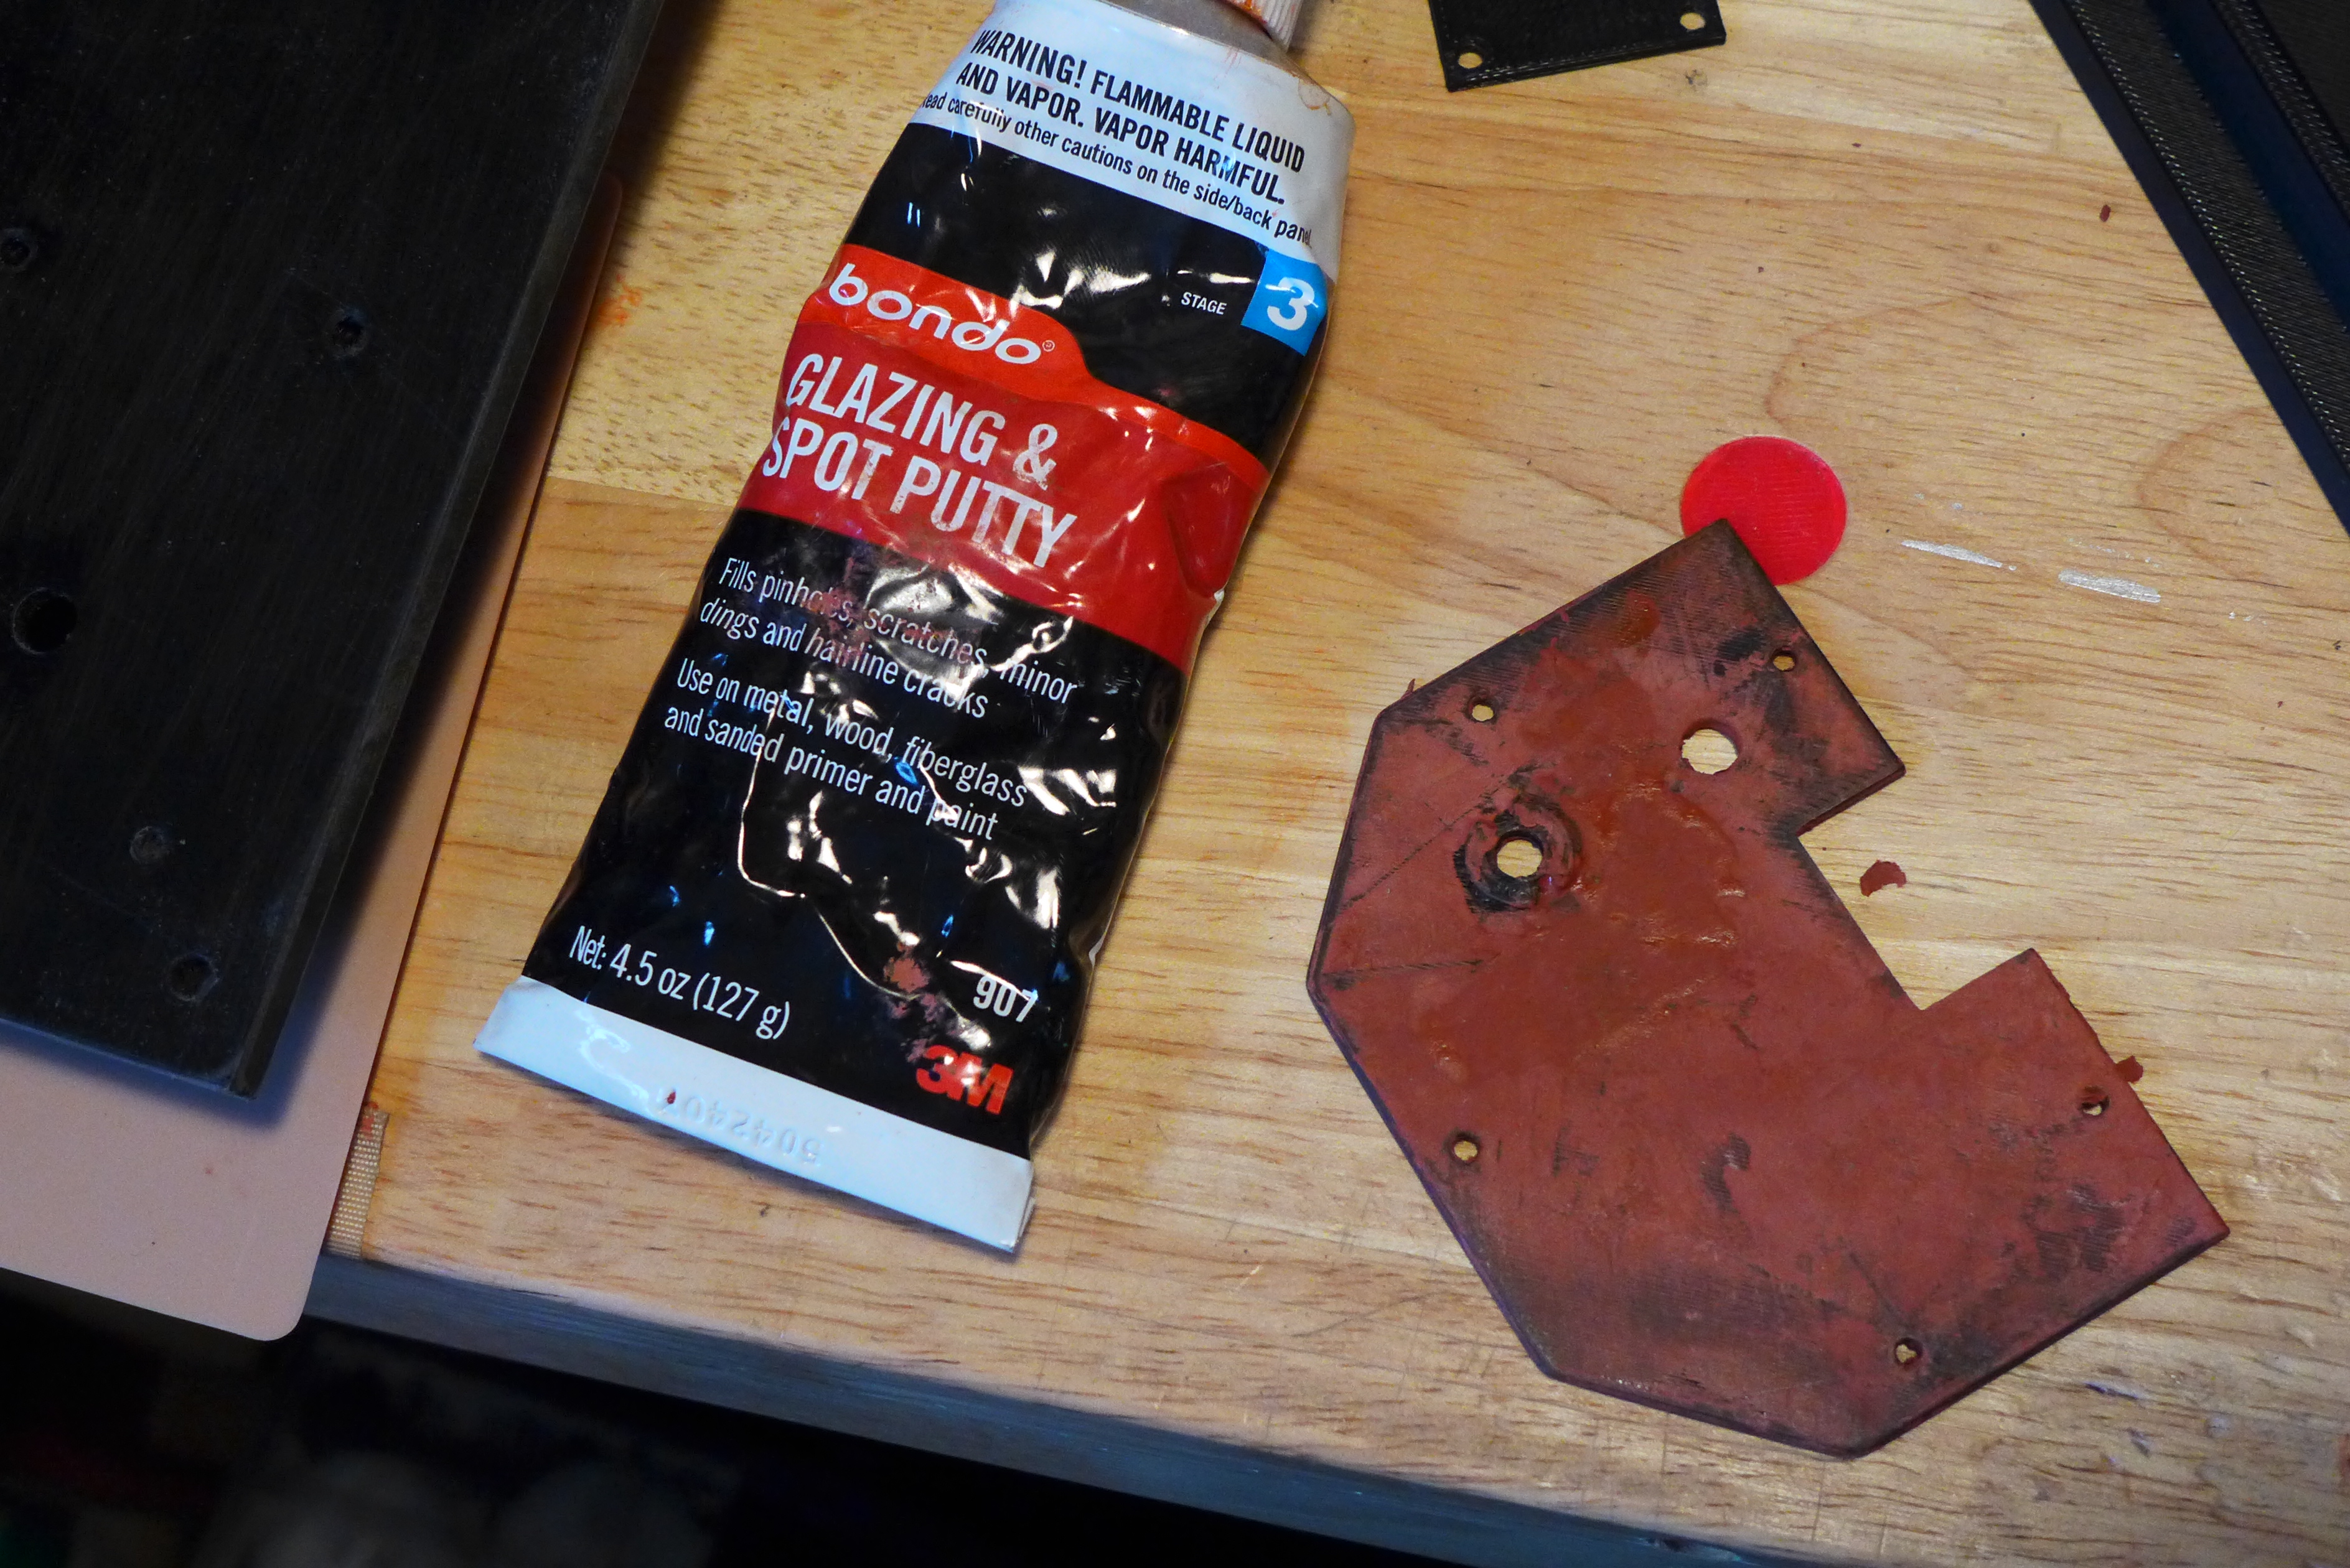
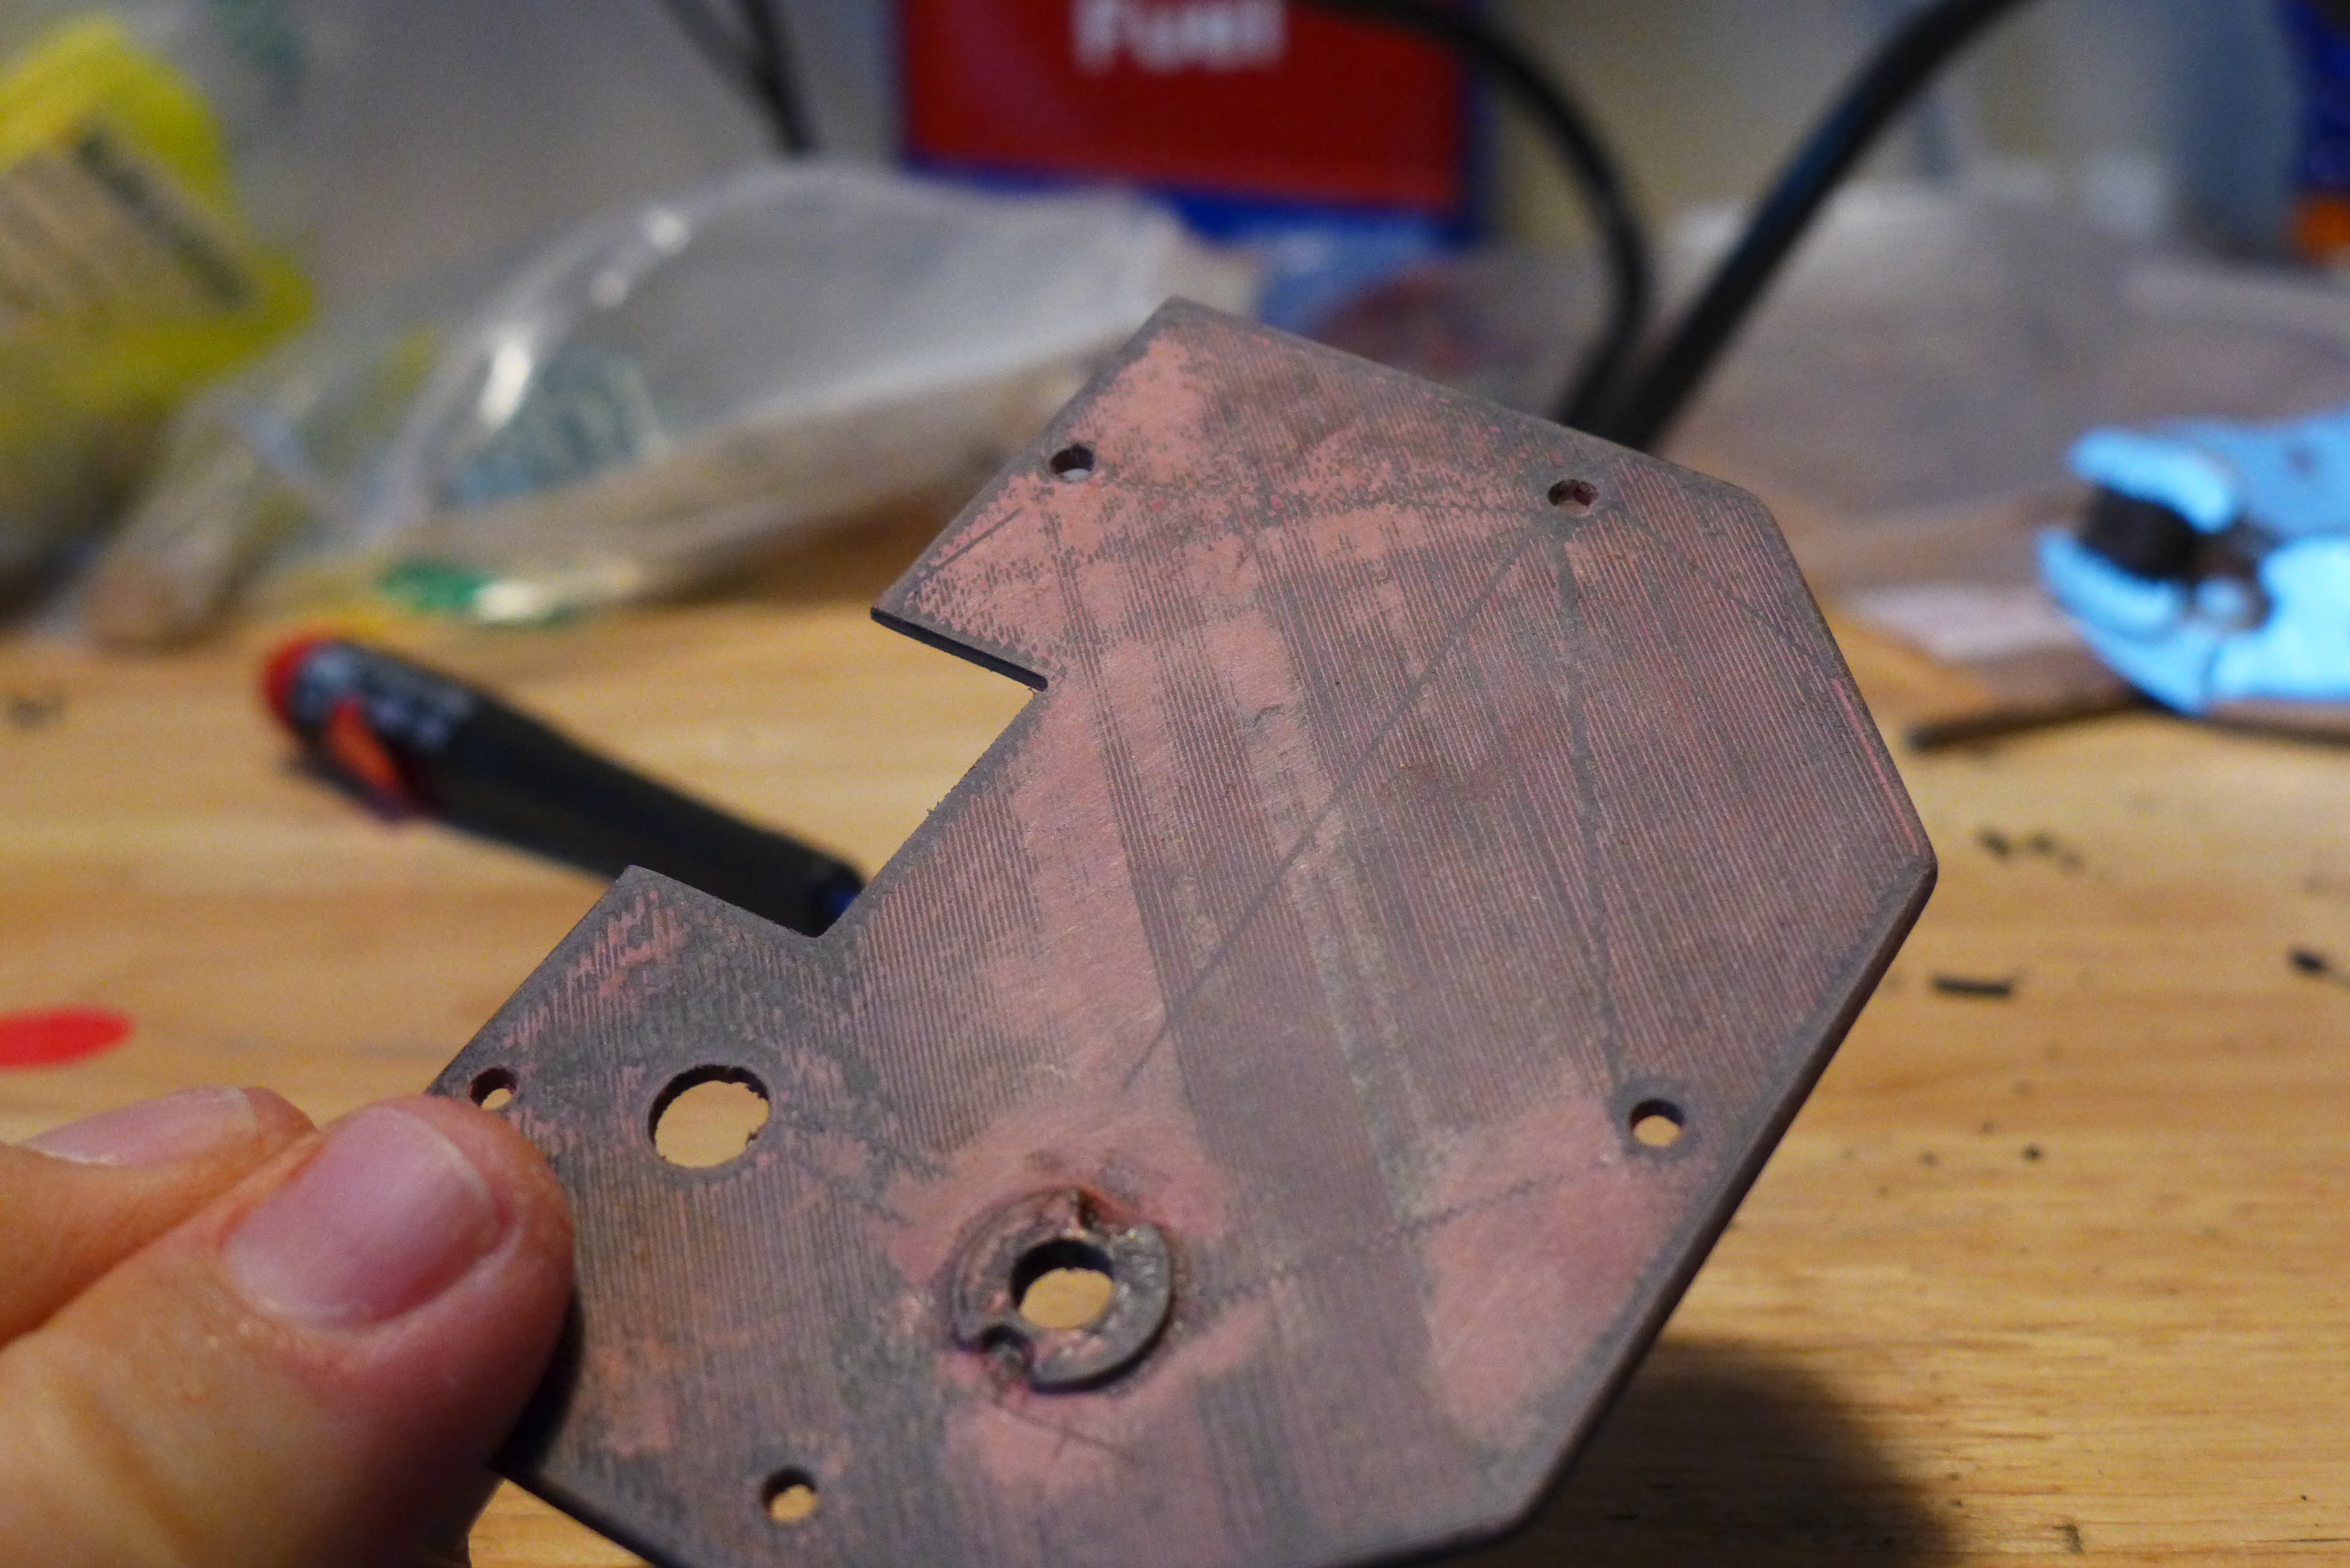
Everything was done in PLA which was new for me since I usually do ABS. It does a great job for mechanical and nut and bolt stuff and the PLA was a bit irritating since it’s a lot more brittle. In the end it worked ok. I hate finishing work but found a workflow that I was ok with. Used Bondo Glazing and Spot putty which goes on real thin - perfect for hiding print lines. It dries super fast and sands easy. I also used epoxy putty to simulate the weld on the rear box - think I made mine a bit too thick.

I could have taken more time with this piece, but you get the idea.

Thanks for the detailed response! I thought your parts looked way to good not to be finished. I’m always worried about the longevity of PLA. Do you think it’s well suited for a project like this?

Nerdgasam

Can’t wait to read more about the guts of this thing! Inspiring me to build one once everything else is finished!

Thanks for the awesome video and for the generous offering of the 3D plans! I think you’ve solidified my decision to buy a 3D printer!

Can’t wait to see the followups!

Out of curiosity, what slicer did you use?

Sean! Love your work! Great video for tested. Wonderful print!

This came out amazing! Great work! I dont own a 3D printer, but thanks for sharing the files

Mostly Simplify3D which worked very well on the Dremel and MakerBot 2X. I have been having trouble getting it dialed in for the Ultimaker 2. The customizable supports in S3D were great.

So who would be kind enough to print and ship? I’m in GA.

This right here makes me want to get a 3D Printer. Its been along time since I’ve posted here and made something. This makes me want to get building again!

Excellent job! I really like the opening mechanism you came up with in the trap ears. Very clever!

Great stuff, many thanks for sharing!

Thanks, that took the longest and most tries to get right. I really wanted to keep the mechanism hidden and this worked out well. Here’s some more picts:

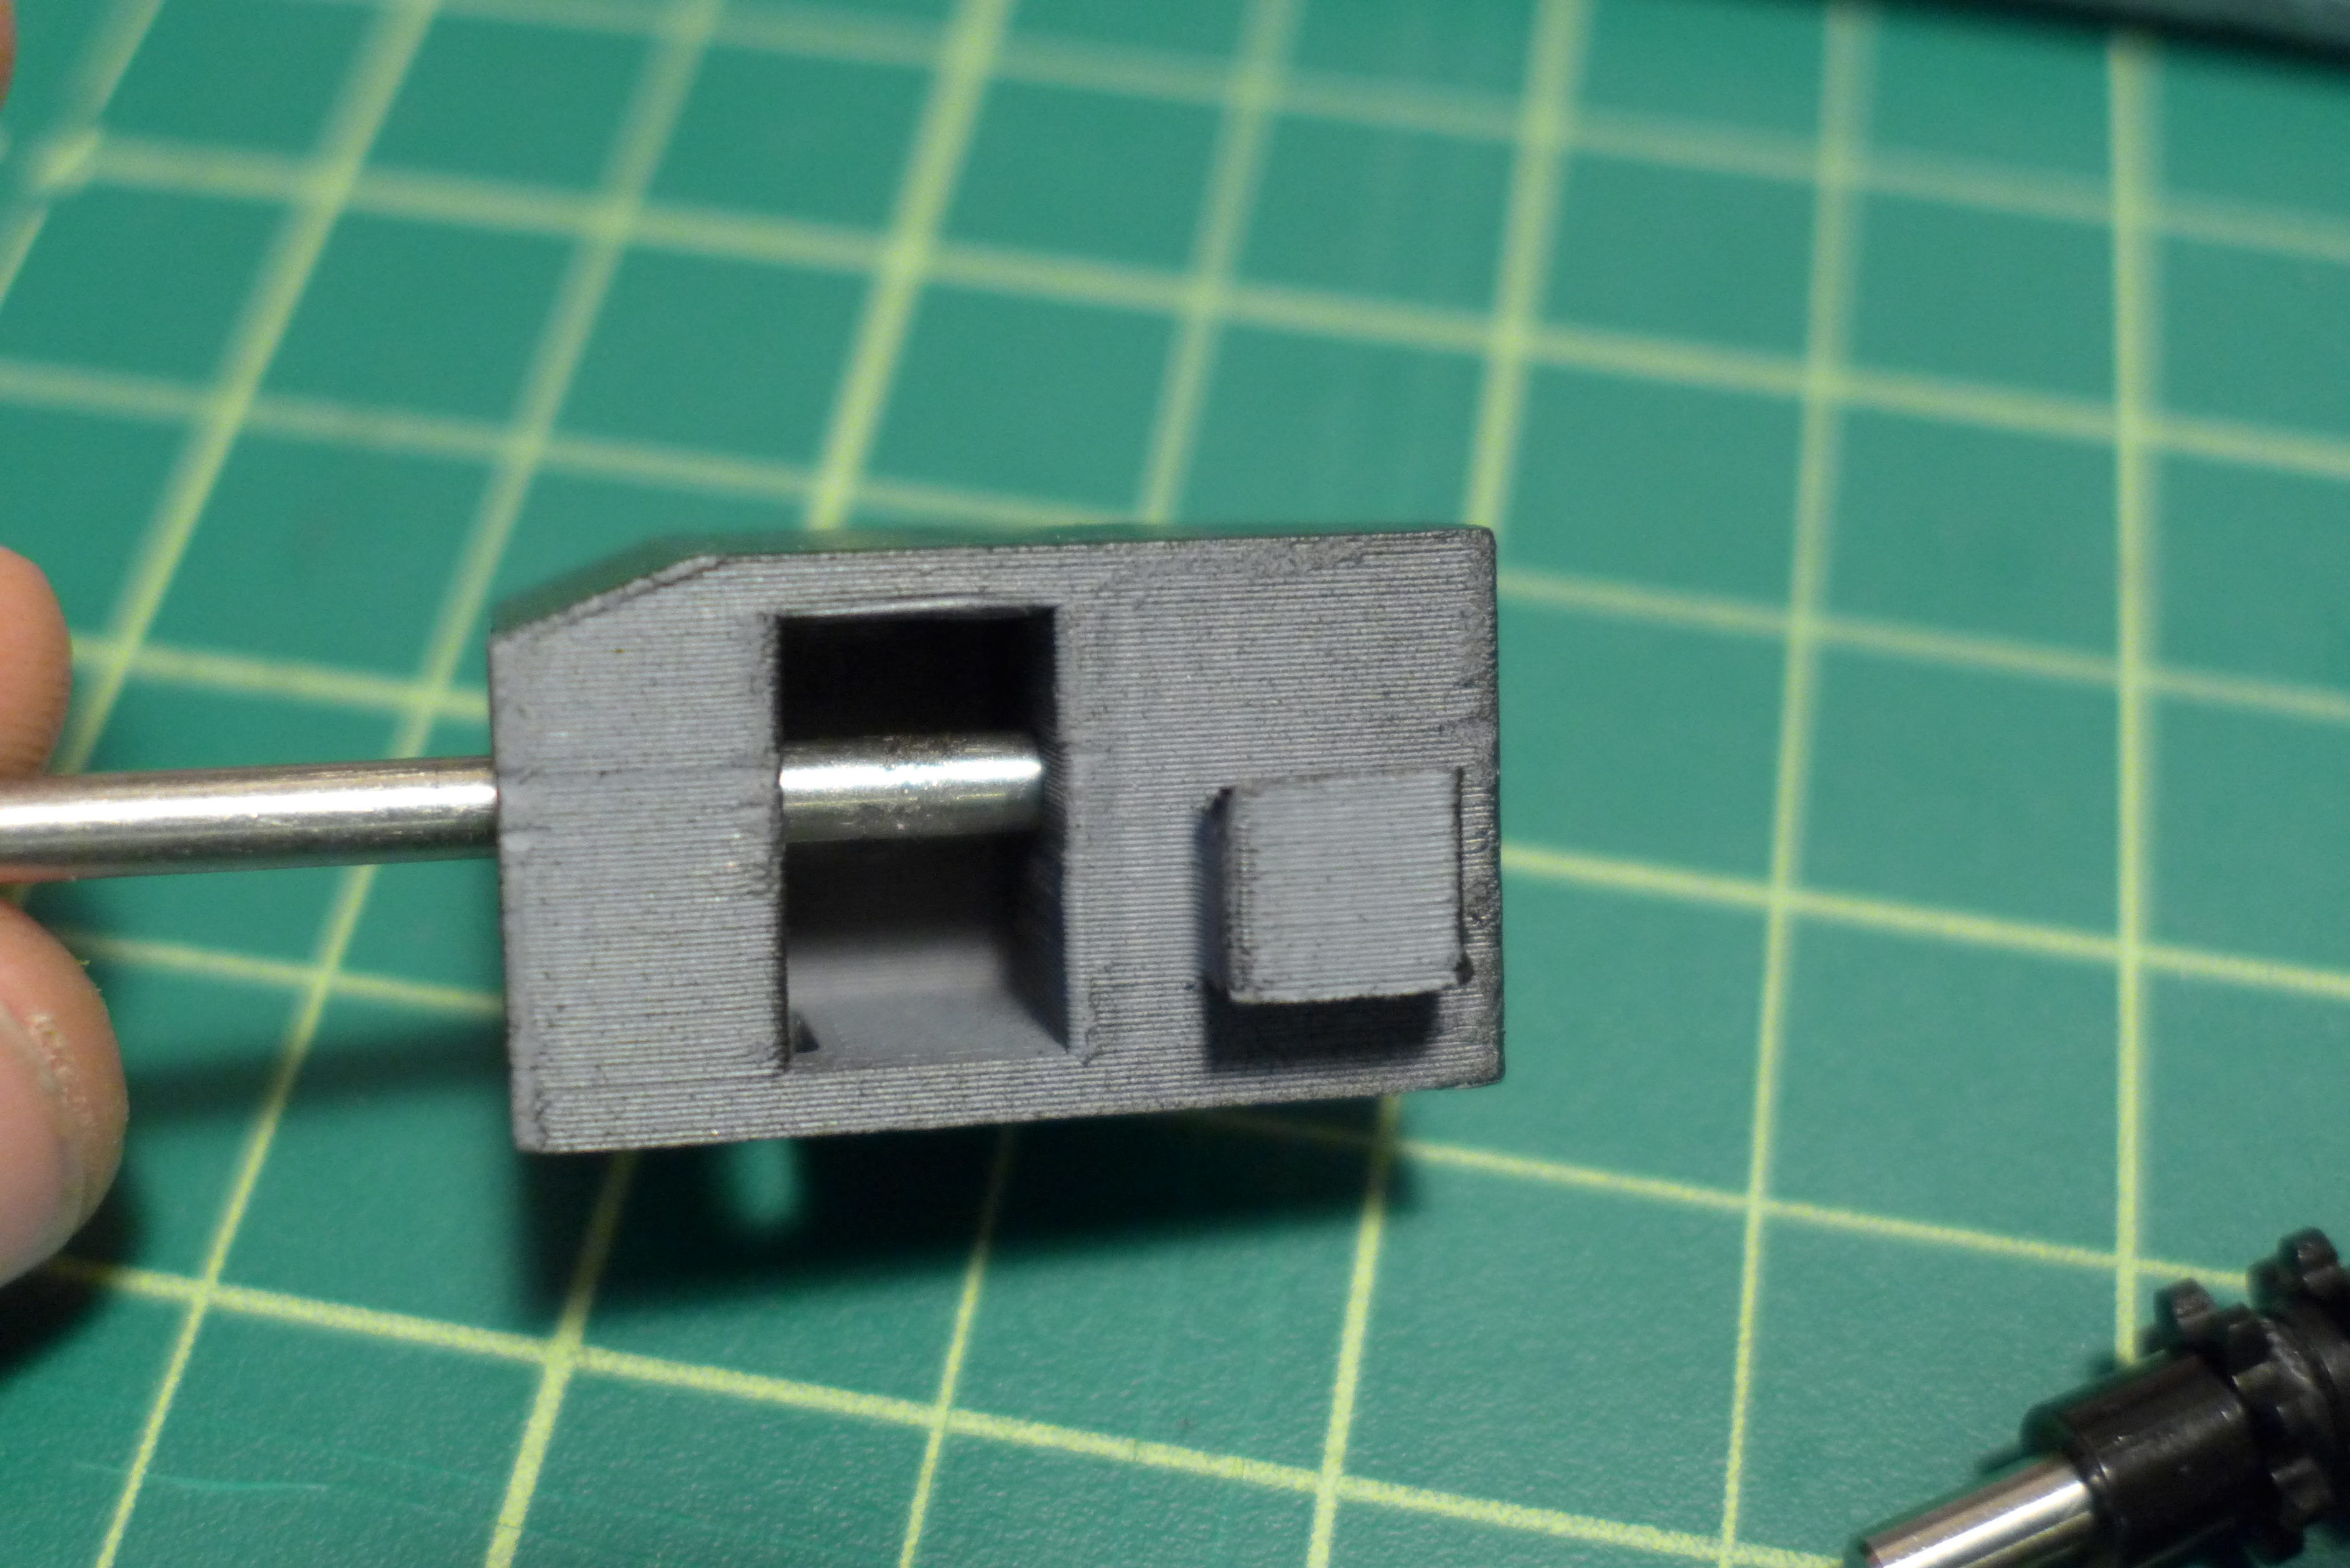
The wings/ears are dovetailed to fit into main body

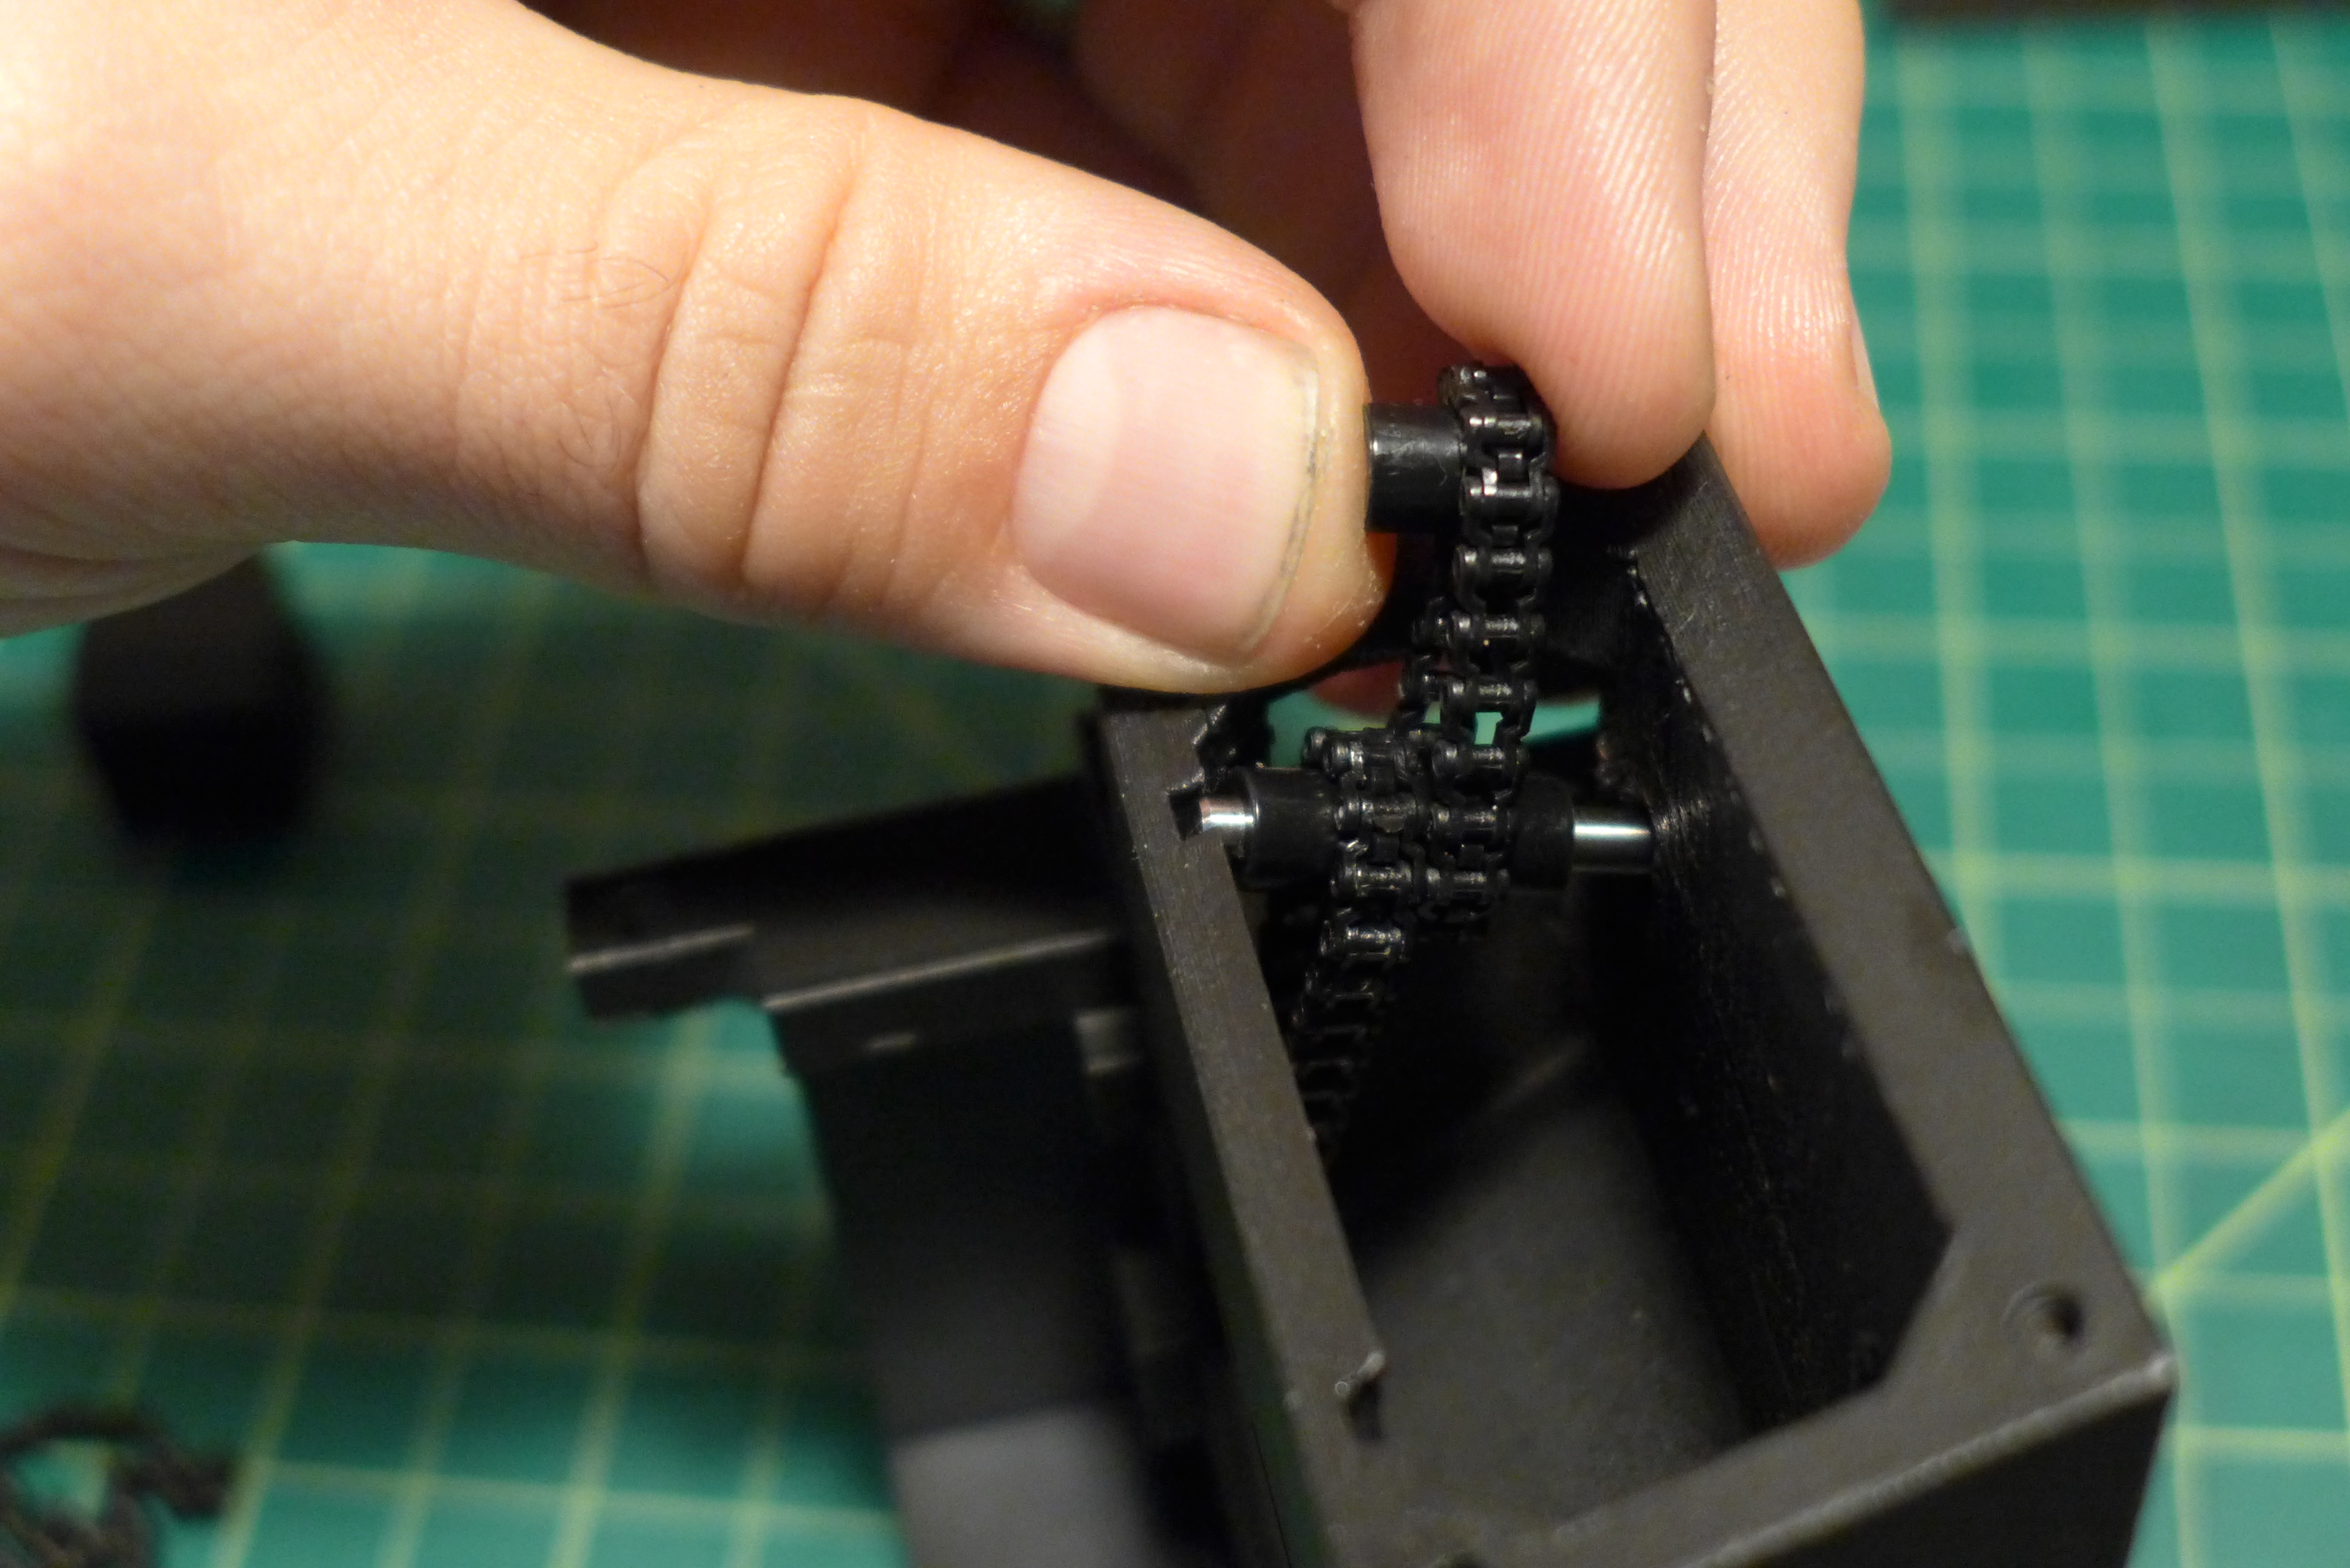
Used mini chain and sprockets. There wasn’t enough room to make a direct connection to wing gear so had to use a transfer setup.

Slide the wing in, then pop the gear in. Very tight space, is kind of a pain

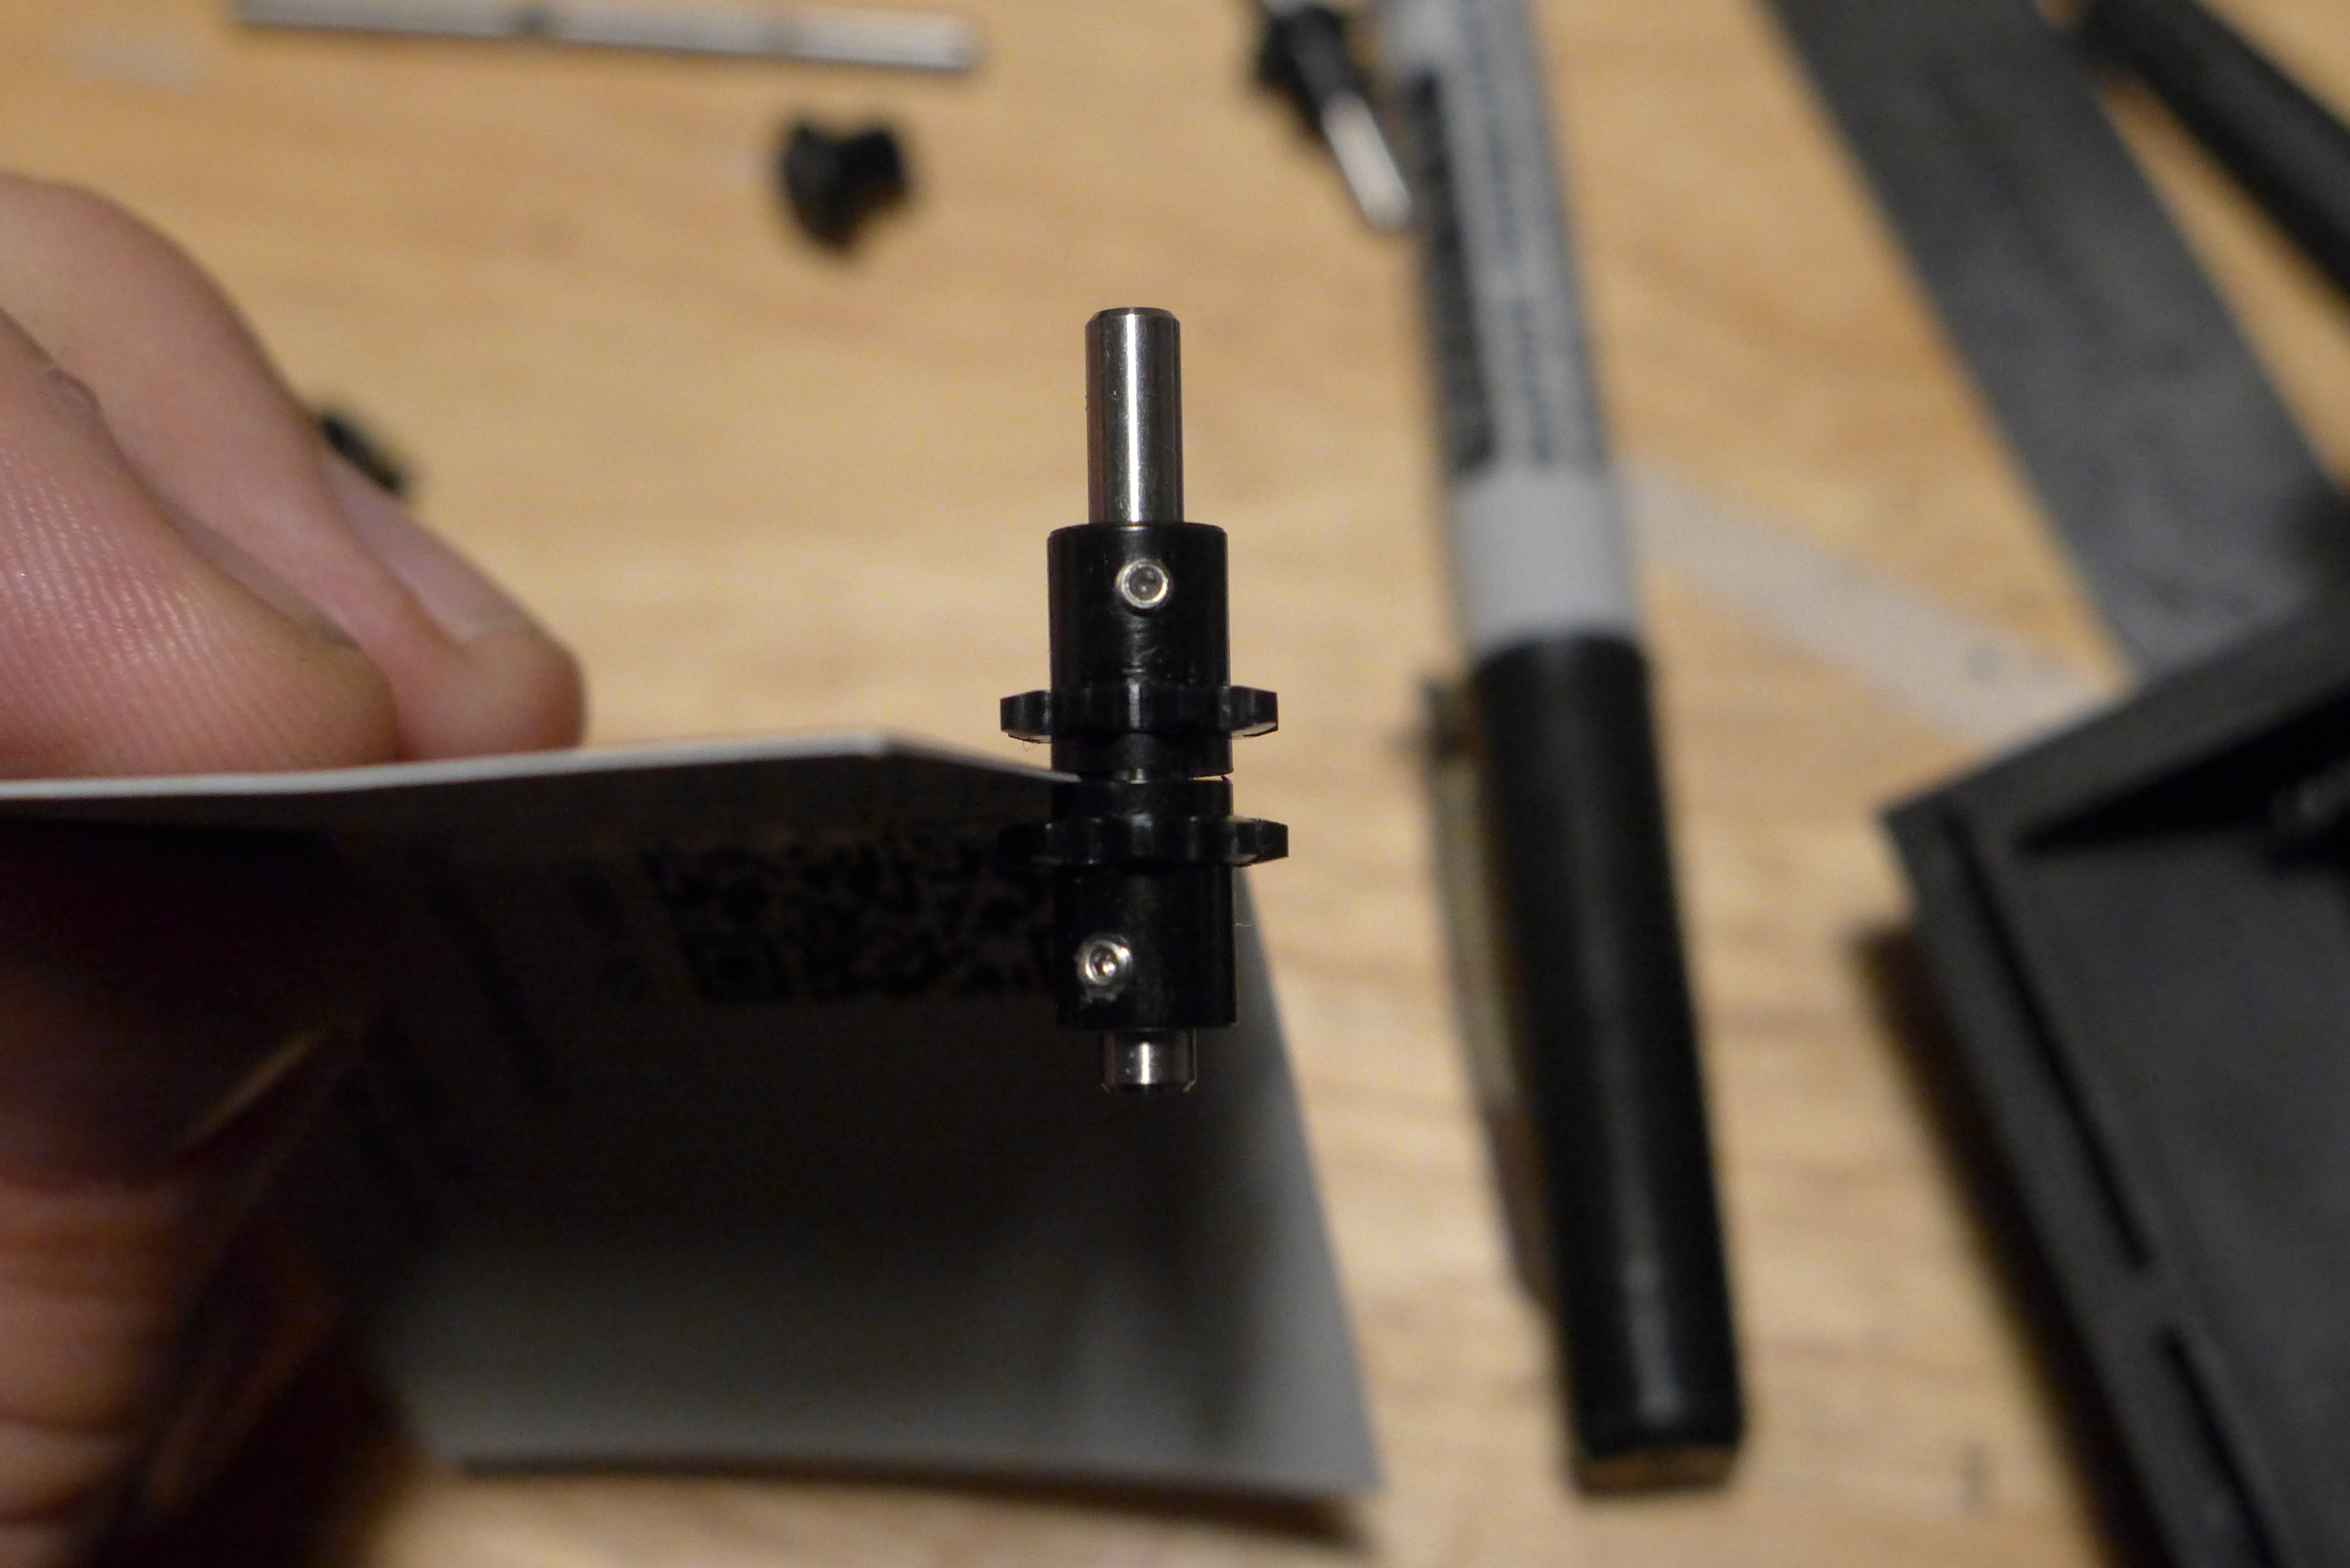
Grind flats on shafts - there are set screws in the doors.

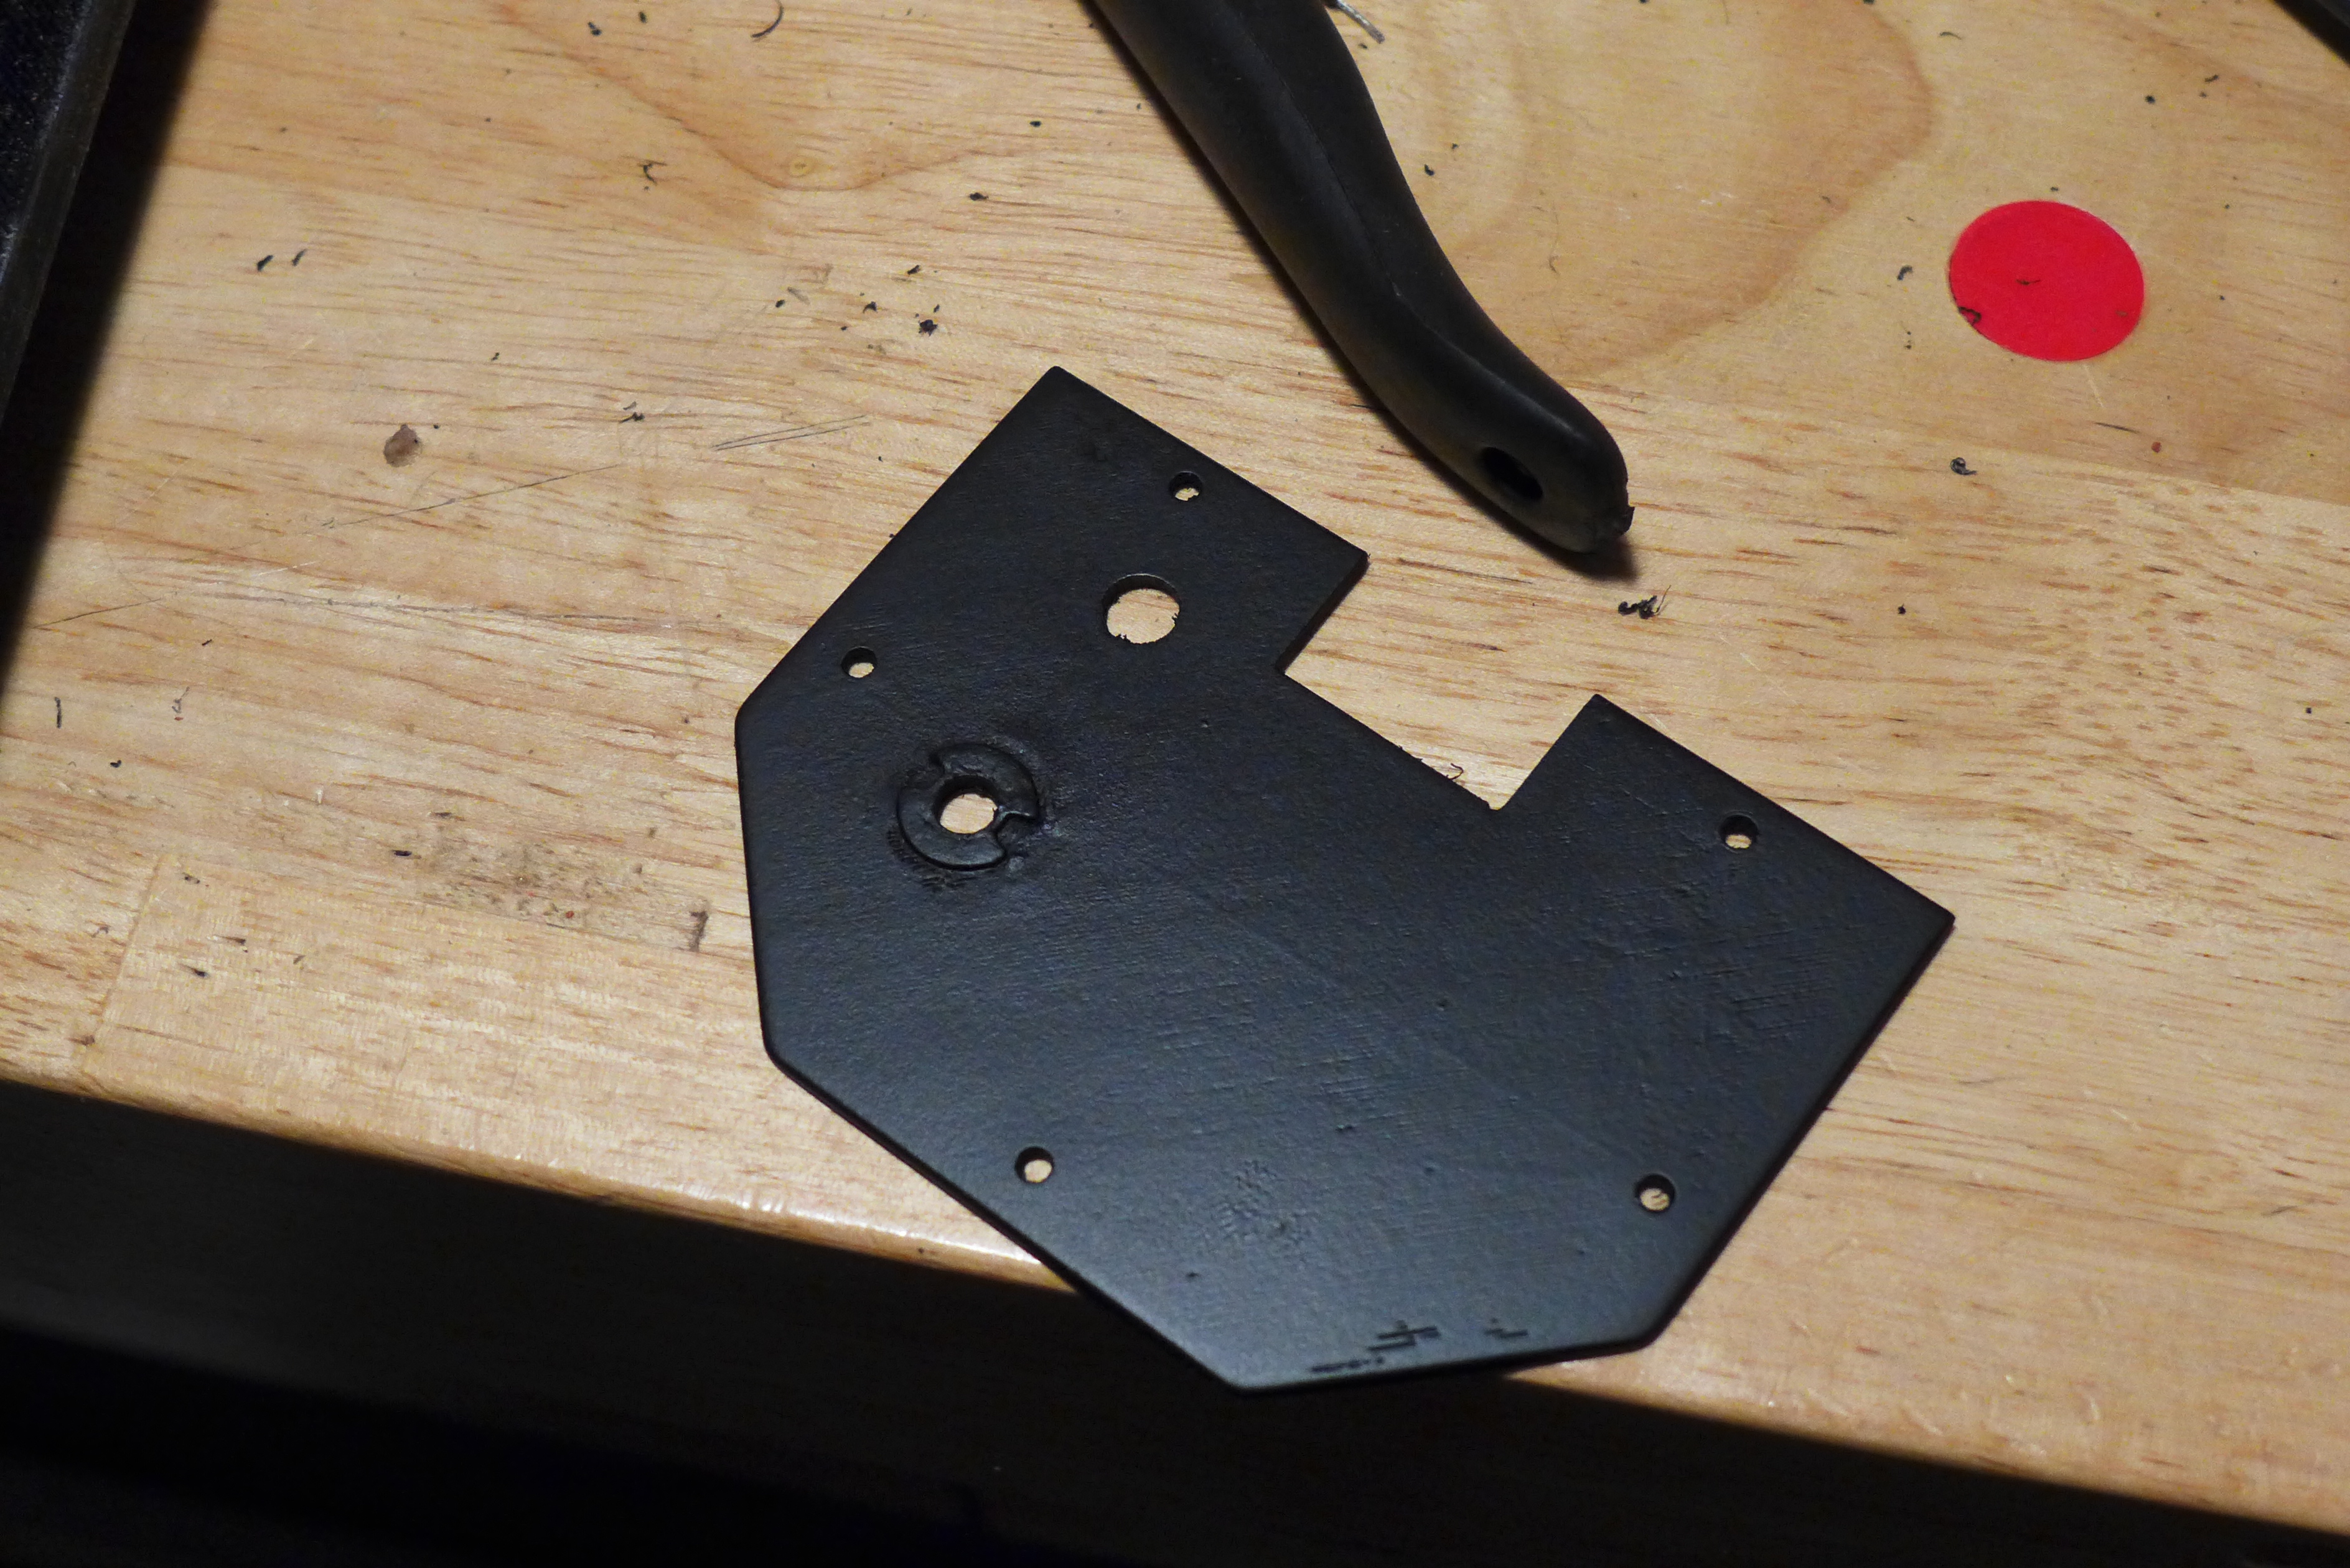
These were press-fit sprockets and everything was working great - until every single one of them started slipping. Had to disassemble and hand drill tiny set screws. Thought about glue/loctite but the way this goes together makes it hard to do without getting glue where it shouldn’t be. The setscrews also allowed for adjustments and service.

Testing: https://youtu.be/YFKtNePIOts?list=PL_84fpLCJXEufga8Vx1Ru8Aslg5U-oEvJ