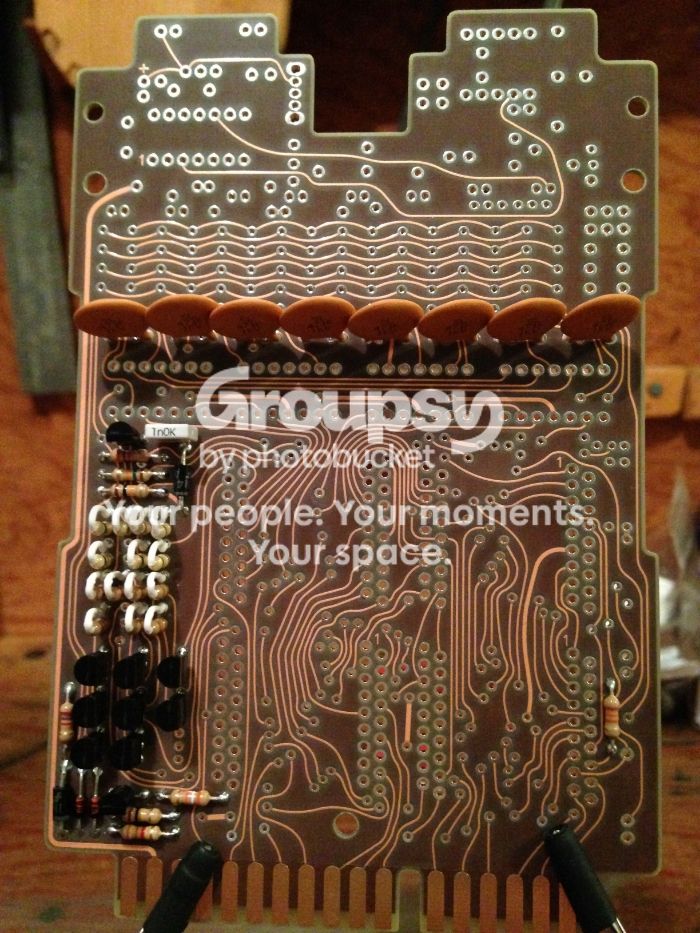
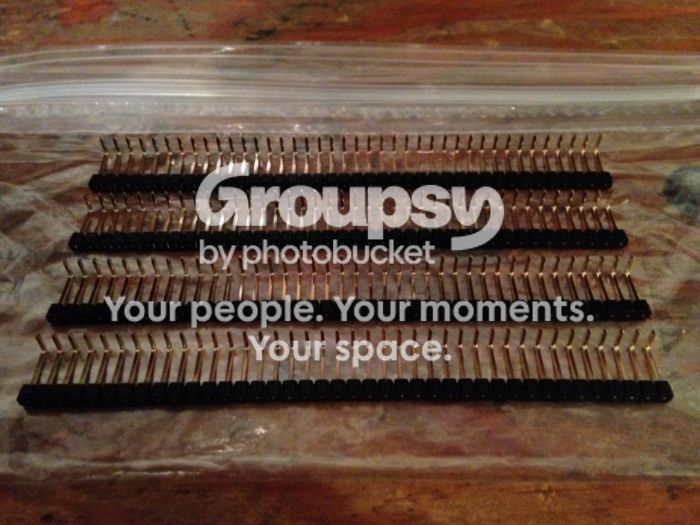
I thought it would be good to try doing smaller, more frequent updates, so in that spirit, let’s begin…
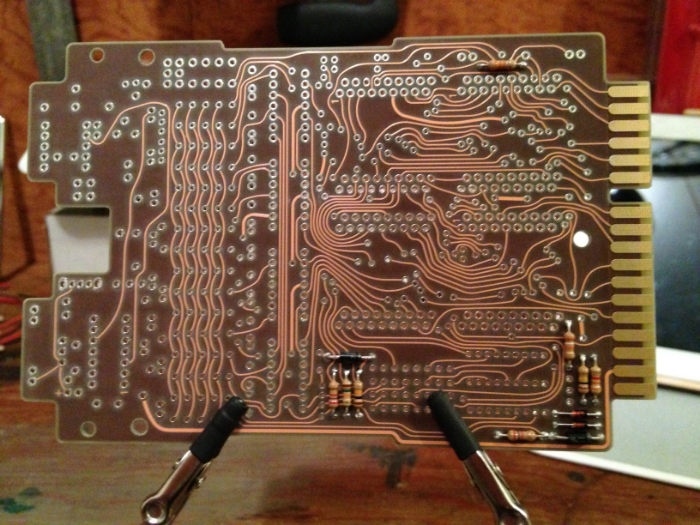
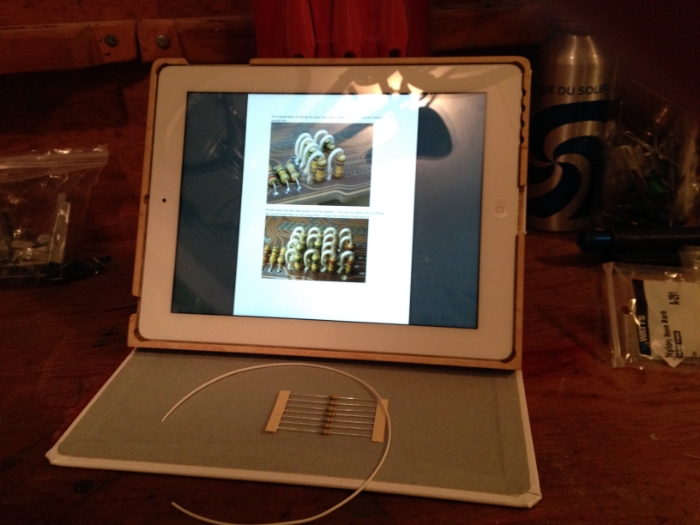
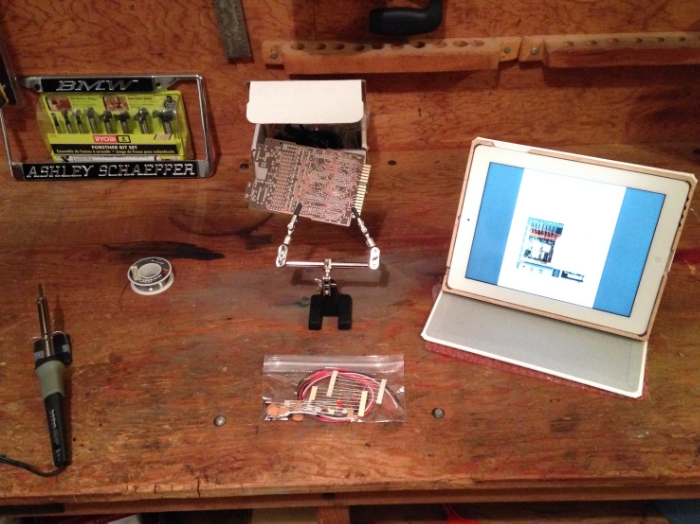
I’m using Spongeface’s Belt Gizmo kit, as noted above. I’ve looked at some build threads and read the instructions a few times and I think I’m ready to give it a shot. Here is my workspace all setup and ready to go…
I’m going to see how much I can get done in the new couple of days here… maybe all of the BP stuff. Those capacitors are so small, though… we shall see
Just some advice coming from somebody who actually has been to a soldering school - clean up the two metals to be bonded with isopropyl alcohol, then apply some soldering flux for even heat transfer… makes a perfect, shiny bond! Make sure to clean off any risidual flux (it can get sticky)… However, the Navy has always been my supplier, so I don’t know what stores to get the stuff to suggest to you… Don’t know how well this advice will work on Spongeface’s kit, but if it works for circuit cards used in military weapons systems, it should work this application!
Thanks, Phil. I’ve done some soldering projects over the years, but I’ve never tried cleaning up the two surfaces with isopropyl alcohol… it makes good sense and I’ll give it a shot.
Yes it is There is a link to the kit in my first post.
Thanks, Bishop Don! It will be my first piece of “real” GB equipment, so I’m pretty excited.
I use 40/60 solder on my electronic projects, since it’s a printed board it should work. For my build I’ve finished the daughter board and now working on the mother board. I got both boards from junked out calculators from thrift stores.
LOL… I know what you mean… Just a little uncertain about the best way to get those things installed correctly. I’m going to try doing one or two tonight and then I’ll be in ‘the zone’ and won’t want to stop
Thanks for the props, Hoot. I used two layers of shrink tube on each side of the clip and it still provides a nice firm grip. It’s the first time I’ve used one of these things and I like it. Easy to move, flip, turn around and stand the board you are working with.
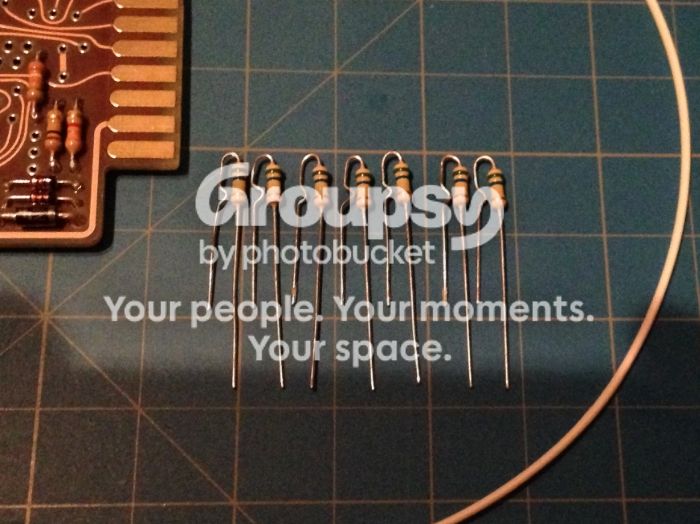
Shrinking those tubes was fun. I cut sections of tubing just over 1cm in length for these. The instructions recommended 1/2" sections, but that seemed too long.
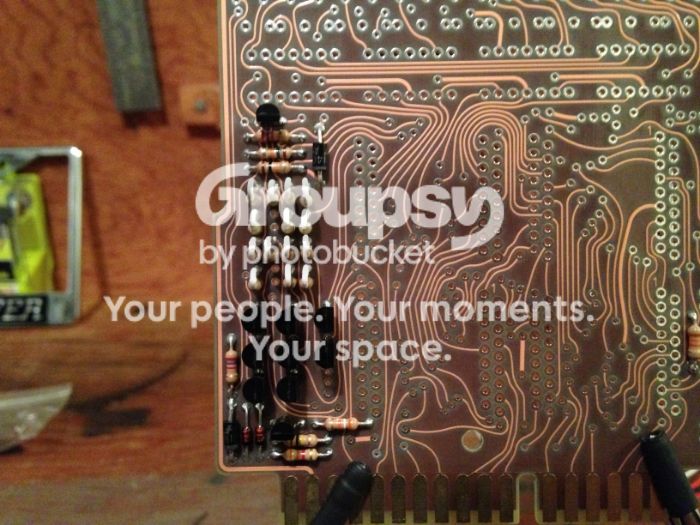
I’m feeling more confident with this section complete and I’m looking forward to the transistors, while trying not to think about the IC leg pins that await me.
I’ve really enjoyed it so far… my favorite part is how solid the components feel after they are soldered to the board… very cool!
That Gizmo is looking great! I just got my kit from spongeface and wanted to track my build along with yours. But I got so involved in the assembling the awesomeness that I worked straight through until I mounted the black ICs. I screwed the mounting of those up so watch out there. My build thread is here.
You’re telling me dude. Being an adult sucks. I had to build my scratch pack in five minute spurts because of baby responsibilities. With having to take care of my boy who was less than a year old at the time, I didn’t have long stretches of time to work on anything! I think while making my pack, there was ONE time when I had TWO WHOLE HOURS of interrupted build time. it was amazing how much I got done in that time.
I’m definitely overdue for an update here, so let’s begin…
When I started looking at the transistors and trying to figure out the best way to mount them, I noticed there were two kinds of transistors in my kit…
When heating up the black plastic to loosen the wires, you want to stop before it starts melting (as the instructions state). If you carefully watch the black plastic strip as you are heating, you can see when it JUST starts to melt. If you see that, STOP right away and you should be fine. Just try to heat the next section a little less.
Looking forward to soldering those bastards on very soon.

 There is a link to the kit in my first post.