GohstTarp's Y.A.U.B. Uniform Build (COMPLETED)

or…

GohstTarp’s Yet Another Uniform Build Uniform Build

Hello Everyone!

First off, THANK YOU to all the GB Fans that have gone down this path before me and documented their journey for the benefit of the community.

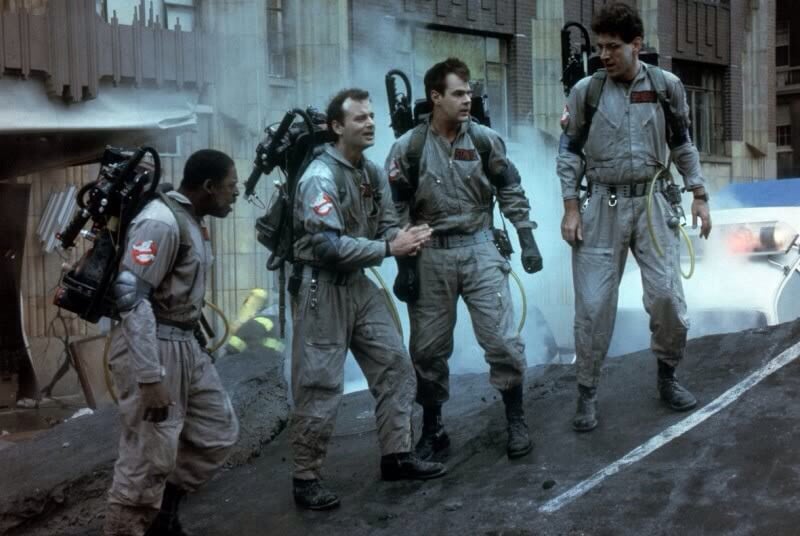
My goal here is to create a GB1 Uniform with an emphasis on screen accuracy when possible. I’ve been working hard collecting all the bits and pieces for my Uniform and thought it would be a good idea to capture the build here to so that others can learn from my choices and mistakes.

Parts List

Plan

My plan is to tackle the Uniform in the following steps…

  1. Elbow pads

  2. GB1 and Name Tag patches

  3. Leg Hose and connector

  4. Belt Gizmo kit

  5. Boot customizations (if any)

Next time…

Building the elbow pads (and pictures!)

Links in this post may be affiliate links. Purchases made through them help support this site at no additional cost to you.
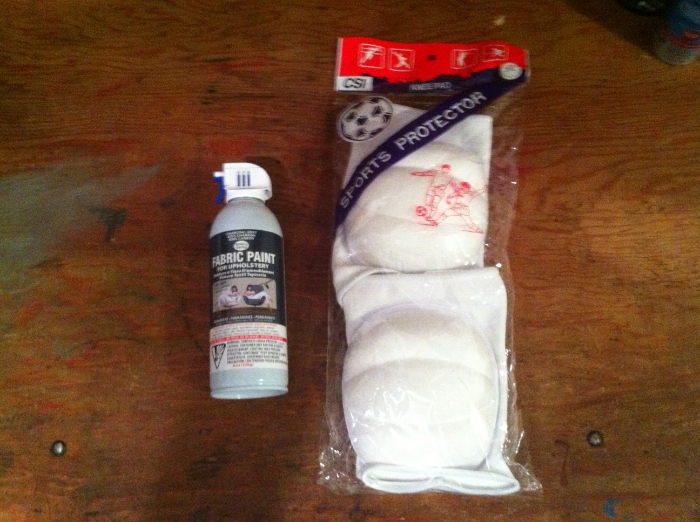
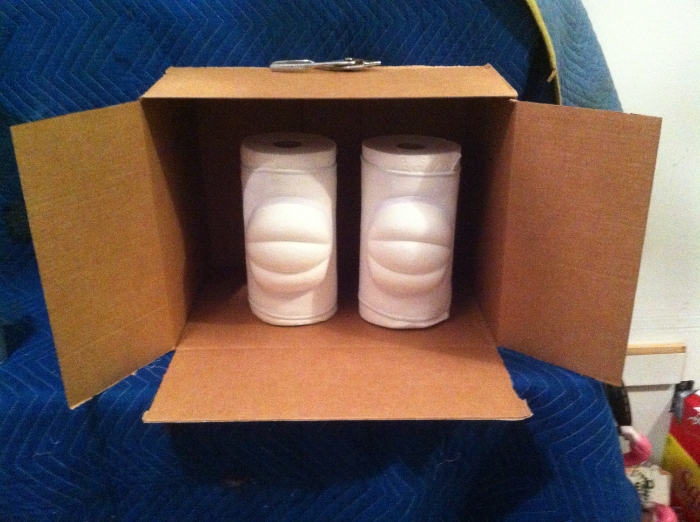
Elbow Pads

For the pads, I took some ideas from the following threads…

How To - Spray Paint & Modify GB Style Elbow pads by mr0072003

Q. Where can I get Elbow Pads? by kind2311

Since I have the CSI Pro Series pads, I needed to spray instead of dye…

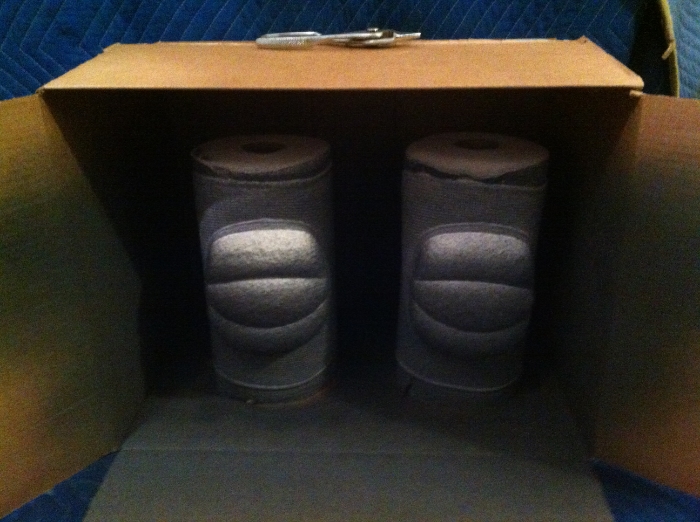
I pulled them over roll of paper towels and went to town…

I did two coats with the pads on the paper towel rolls, then took them off and did a coat on the back of the pads to avoid any white showing while being worn.

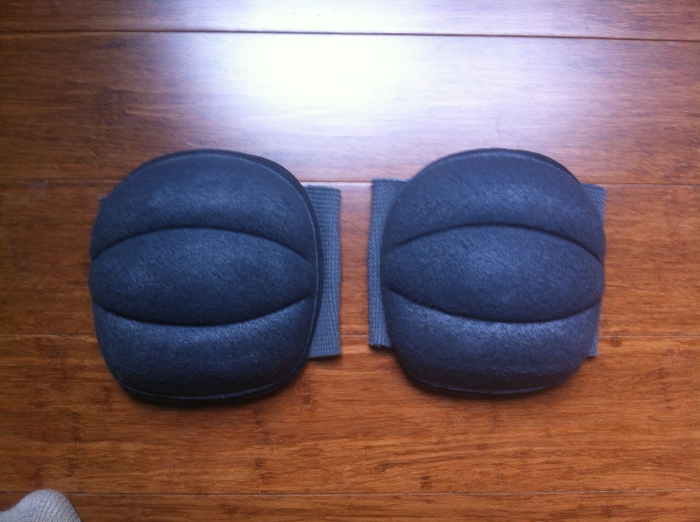
Next, I used the black paint maker to color in the trim around the pad just like the Detailing step in mr0072003’s post above. After that, I used a regular tip sharpie to darken the pads folds, but I think a fine tip would have been better.

Now I was ready to trim the armbands and apply the anti-fray solution used that kind2311 recommends in his post. I wish I had cut the armbands a little higher up the pad and had it curve down toward center, but they still turned out ok.

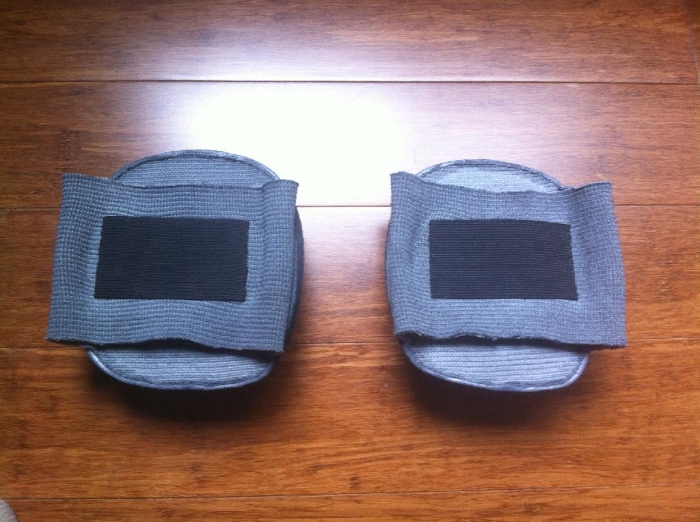
Finally, I sewed on the black elastic patches. This part was the most work, but well worth it…

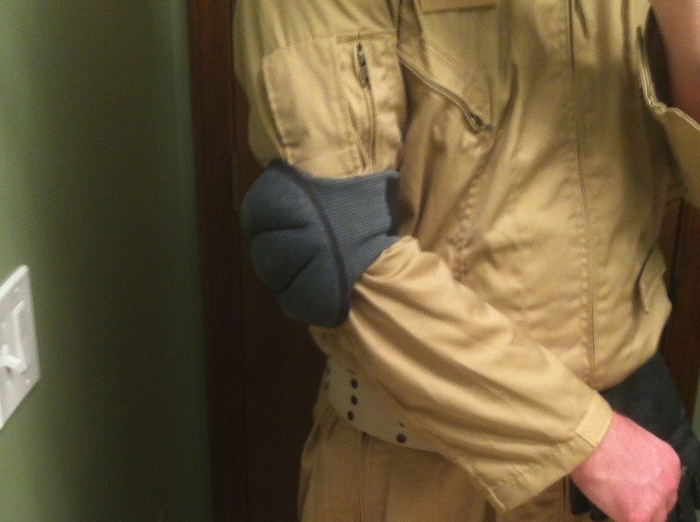
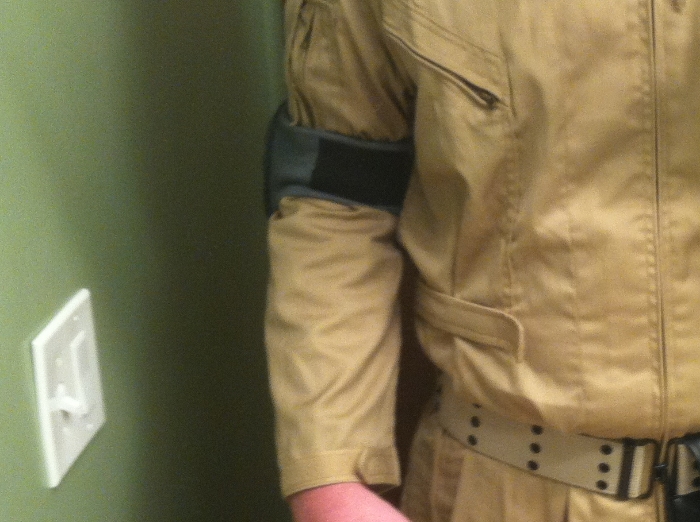
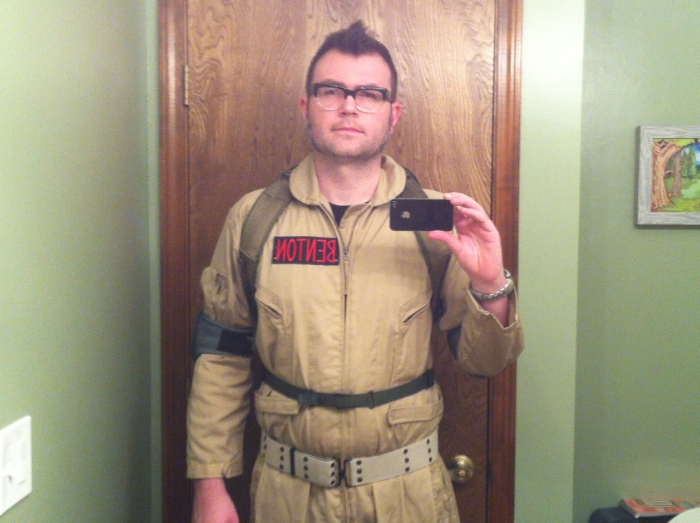
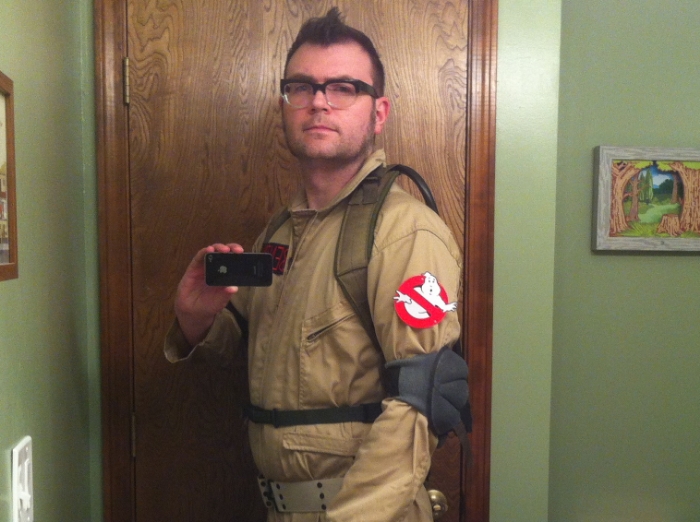
Here’s some shots of the elbow pads on with the flight suit

The armbands are tucked in a little bit in those photos to get the look I wanted. Perhaps I should trim them a little bit to make it permanent.

In the end, I’m really happy with how my elbow pads turned out. Next up is getting the name and no ghost patch sewn on the flight suit. The experience from sewing the black elastic should come in handy.

Nice work on the elbow pads. :slight_smile:

Very nice work wight he elbow pads! I bought the same set, they look great!

Thanks, guys! Since the pads were the first things I worked on, I was really wanted them to turn out nice.

hey guy, the Pads looks so great!!!

I used the same color but when i washed the pads after painting the most of the color turned off. :frowning:

Can tell me what you used as the black elastic pads?

Best regards

Erik

Danke, Erick!

I will try to avoid washing them. For the black elastic pads, I used ‘Stretchrite 2-Inch by 10-Yard Black Heavy Knit Stretch Elastic Roll’. At the top of this thread, you can find a link labeled “Black knit elastic” :slight_smile: I just cut off a couple of pieces, used a lighter to melt the cut edges and sewed them on.

Nice job buddy… ill be sewing my patch this week. Then finish the little details on my uniform.

Thanks, Andy. Would love to see some pics of your uniform.

A little update here…

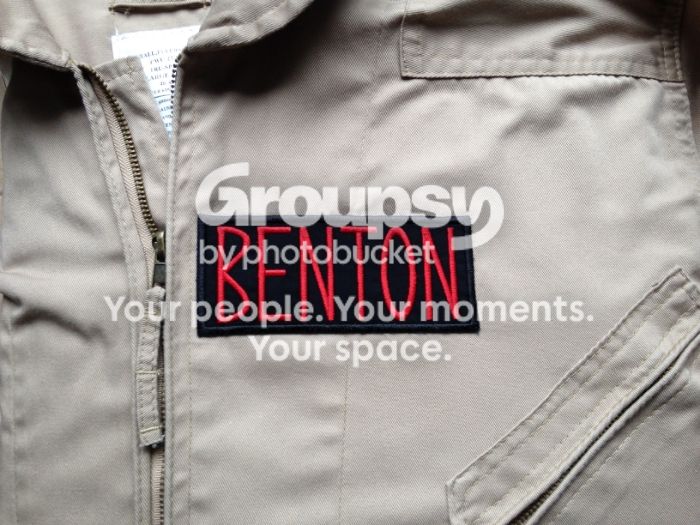
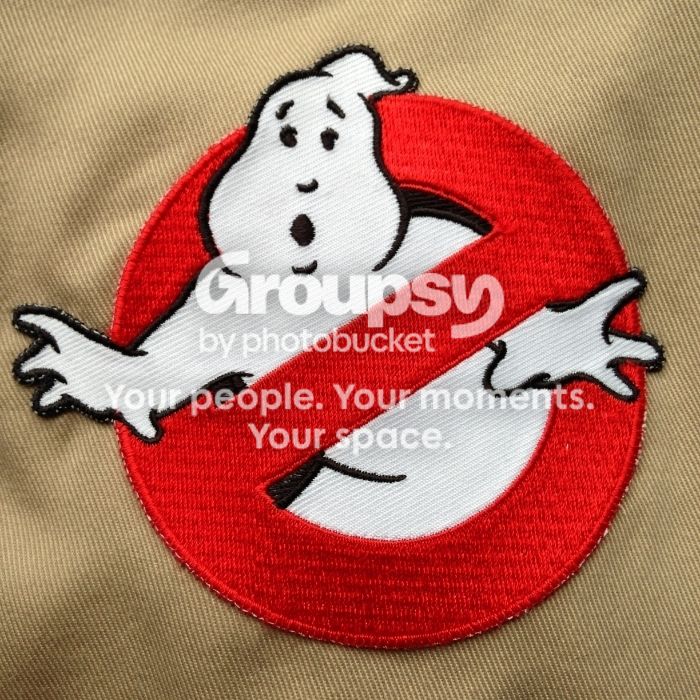
I was able to pin my name patch and no ghosts patch to my uniform last night. I think I have the placement correct, but wanted to give anyone here a chance to give some feedback before I sew them on…

Well… what do you think? :smiley:

All wrong. Your letter are backwards and the no ghost is on the wrong sleeve! :wink:

The name patch position looks good. I think the no ghost needs to go higher. That’s what I struggled with too for placement. I looked through a lot of reference photos on how high to the shoulder seam to the elbow pad the patch should go. Let me see if I have a photo saved.

Nix that. It’s late and I’m tired. Height looks good. I’ll be quiet.

Carry on.

LOL! I totally forgot to mirror flip those pictures. Thanks for the reference pic and stopping by to take a look, Jay.

I should be able to start sewing tonight!

Where did you get shoulder harness

Got them on ebay from a user named 0017265.

It’s been a while since my last update, but I’ve been busy sewing my patches and I’m finally finished. I tried to take my time so that it would end up neat and clean. That worked out well for the most part…

Name Patch…

No Ghost Patch…

I’m excited to be done with the patches and move on to the next thing. While I certainly understand why someone wouldn’t want to sew these things on themselves, I’m proud that I did. It felt more like a basic initiation of sorts.

Next time…

Leg Hose and Connectors

I would like to see how your leg hose turns out.

Leg Hose and Connector

Yes, it’s time for the mysterious and often joked about Leg Hose. As mentioned in my first post, I’ll be using the GBFans shop Leg Hose, Crix’s Leg Hose Connector and Wharin’s Leg Hose Belt Fob. All three of items worked out great and I highly recommend them. Now, on to the build…

Leg Hose Connector Clean Up

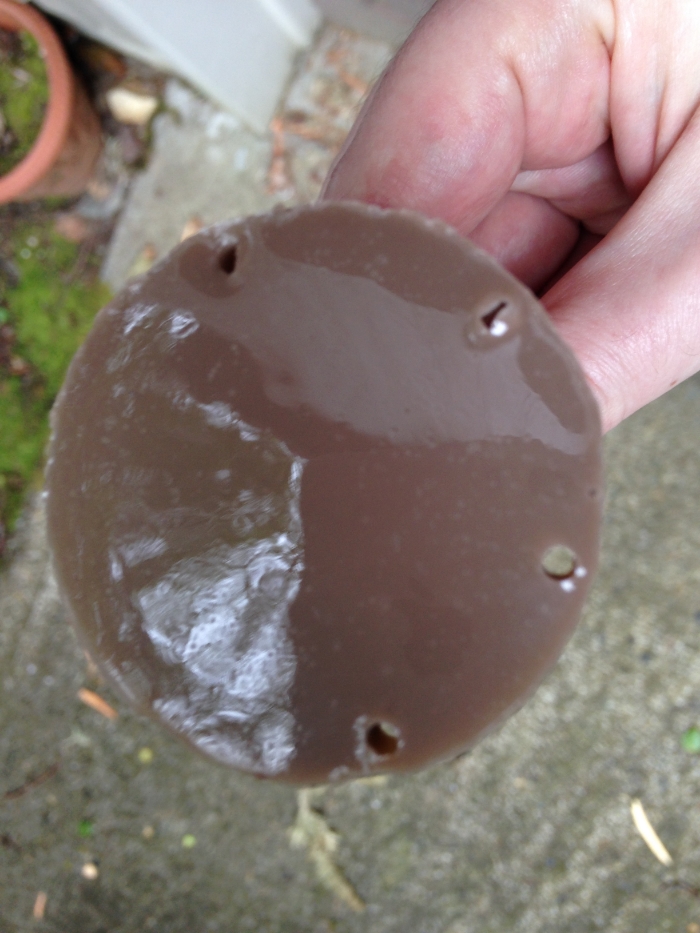
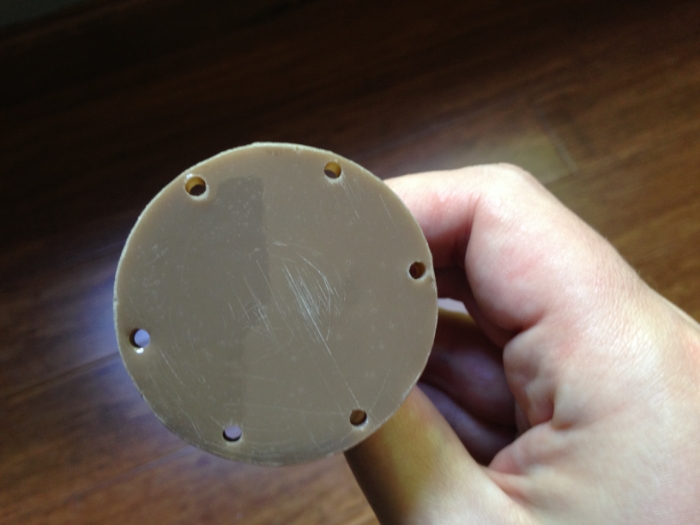
The first tasks as per Crix’s description, were to clean up the bottom edge of the connector and drill out a couple holes. A little sand paper and some slow drilling with a 1/8" bit did the trick.

Bottom edge and holds before…

After…

It was quick and easy and turned out nicely.

**Reinforcement Patch **

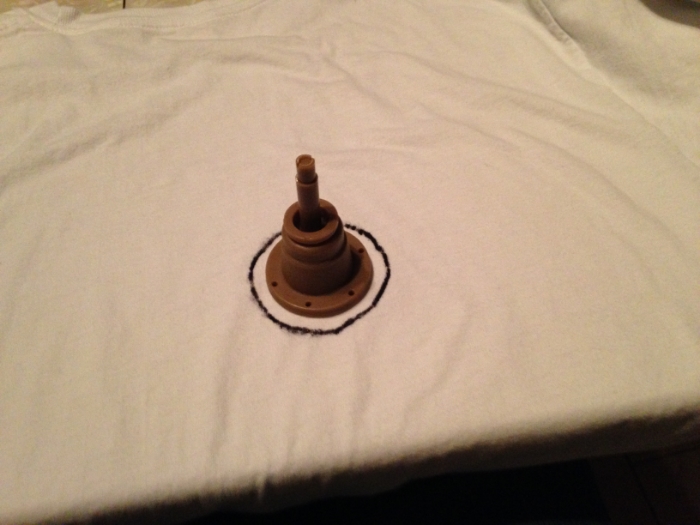
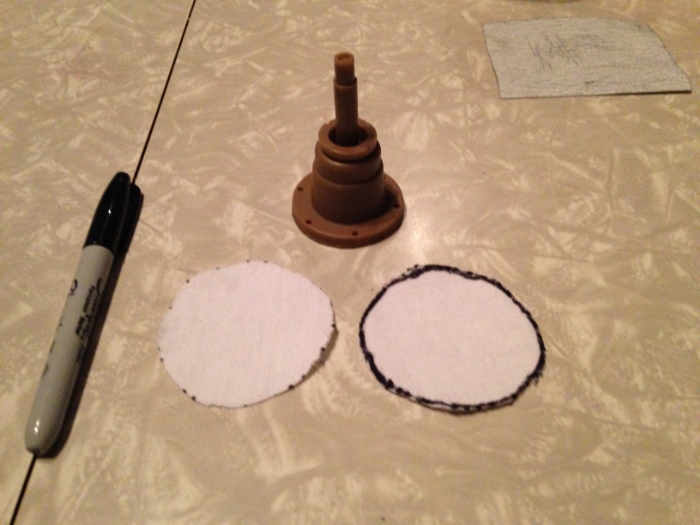
My next step was to create a little round patch made out an old t-shirt. It will be used to re-inforce the uniform and stitching on the inside and allow the connector to be more securely attached. Thanks to jettajeffro for the idea (Best method for attachign the suit hose? - Uniforms - GBFans.com).

I just placed the connector on the shirt, drew a circle around it and cut out two pieces…

What to do about that Stem?

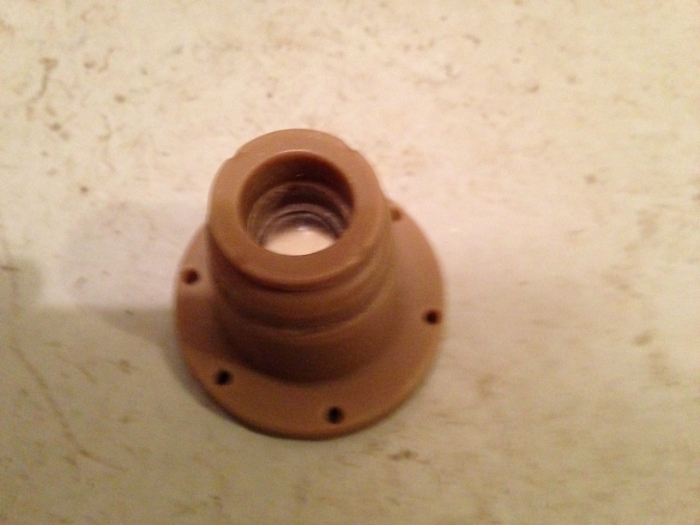
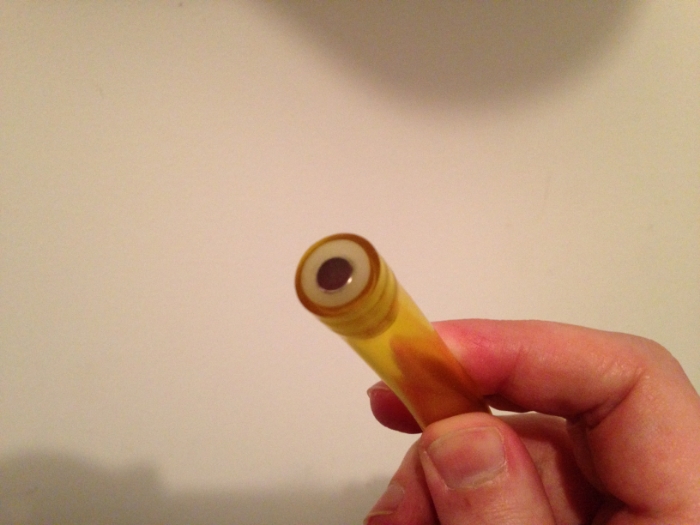
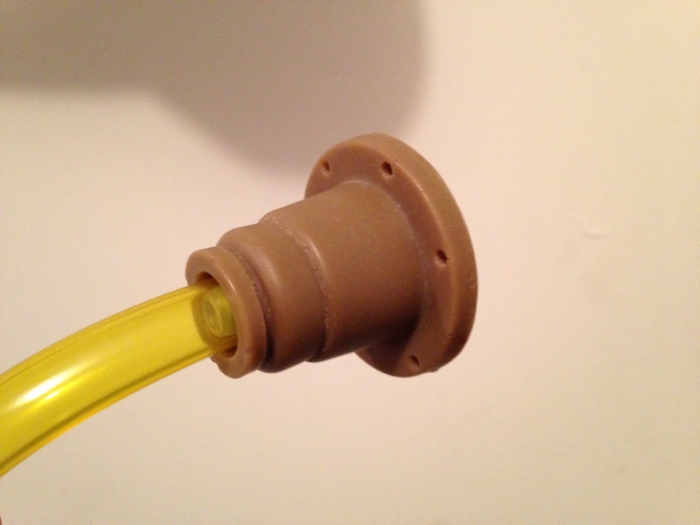
I was never a very big fan of the stem that comes out of the Leg Hose Connector, but I could never think of anything better, so I was resigned to use it to keep the leg hose attached. Then one day, I found the amazing work of bishopdonmiguel and his MagSafe Leg Hose Connector System. I highly recommend you check out his thread showing how he created a Leg Hose Connector from scratch that included neodymium magnets as a method of attaching the leg hose to the connector. It’s a smart, clean and safe implementation that I wanted to try with Crix’s connector, so I gave it a shot. I posted my steps and pictures in his thread, so please check it out to see all the details, but here is the result…

Leg Hose Connector

Leg Hose

Connected

Works for me, but the only issue is…

Connector Placement

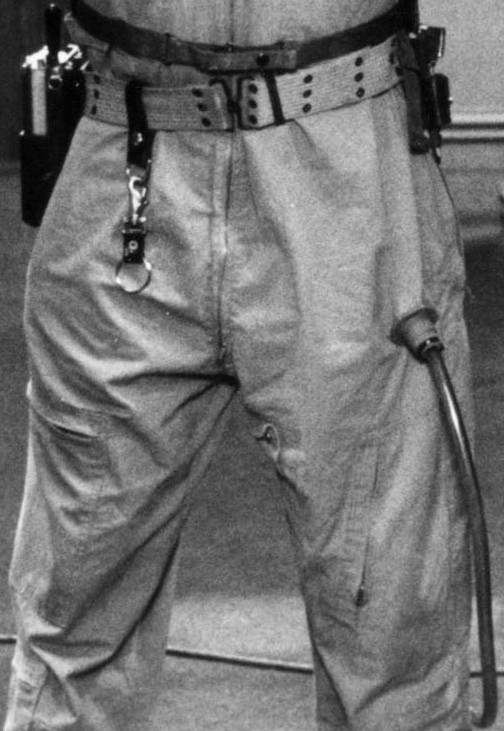
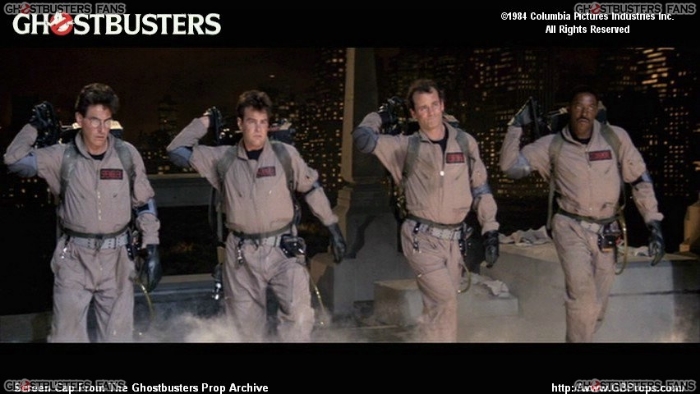
Here are the reference photos I used to find the best placement for the connector on my uniform…

Close Up

Medium

Wide

Pinning the Connector in Place

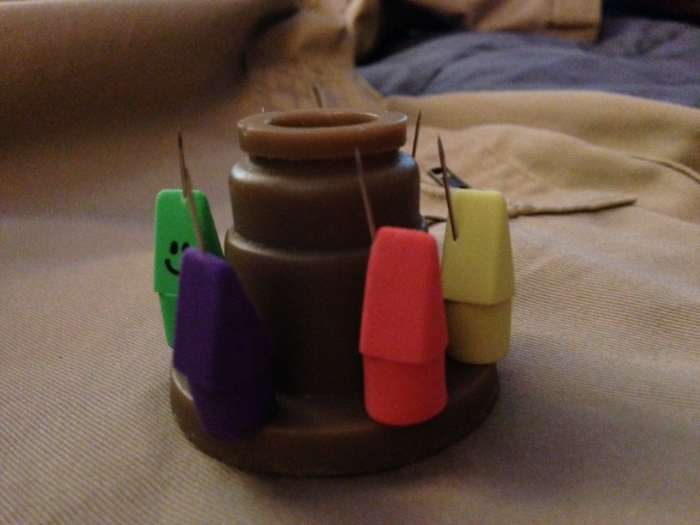
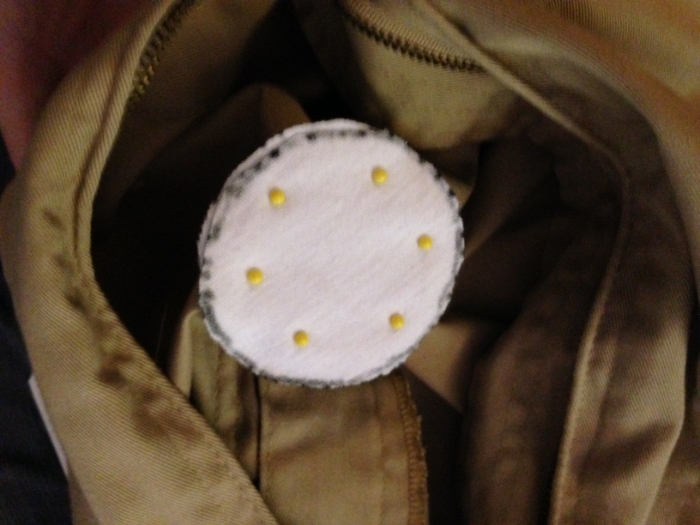
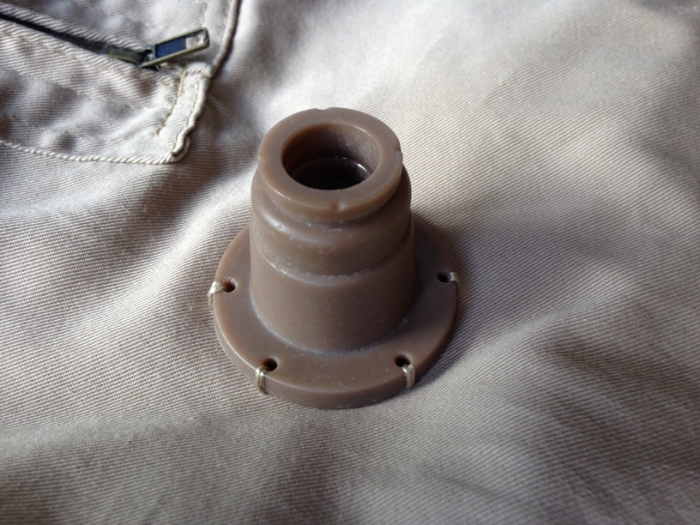
Once I had placement figured out, I needed to pin that thing in place because trying to hold the connector and patches in place while sewing would not be fun. To do it, I laid the uniform down on a hard surface and placed the white reinforcement patches on the inside of the left leg, right under where I wanted the connector attached. I smoothed the area down against the hard surface so you could easily see the round patch and placed the connector on top. Then I carefully took the pins the pushed them up from inside the uniform, through the reinforement patch, the uniform and out the hole on the Connector. Next, I pushed the pin in all the way and slid a pencil top eraser over the sharp end of the needle sticking up. I did this for all six holes and it looked like this from the top…

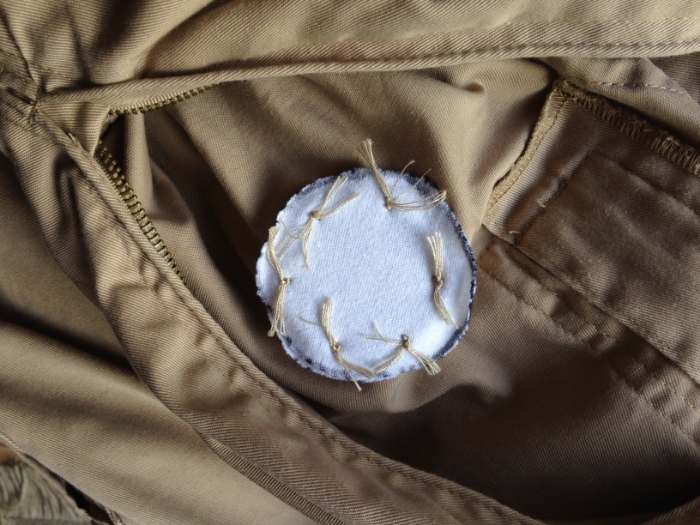
From the inside…

The result was a firmly and dangerously attached connector.

Sewing the Connector

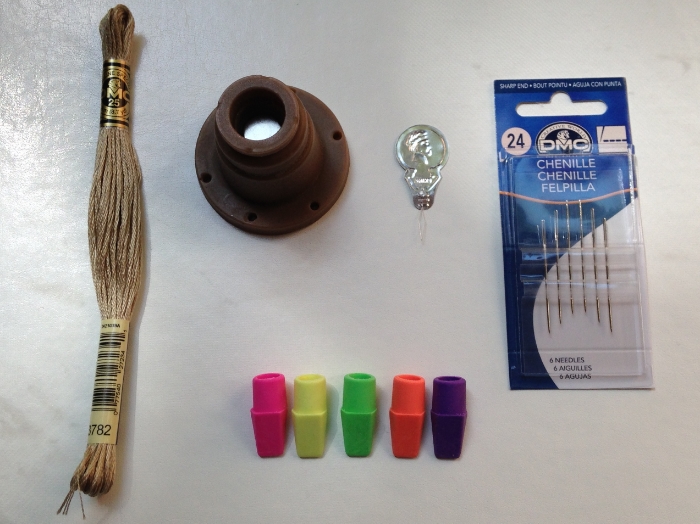
Now I’m ready to actually attach the connector using some embroidery floss. This is the floss and needle I used…

  • DMC 25 8m (8.7 yd) Mouline Special 3782 Floss

  • DMC Chenille 24 Needle 6-pack

And here is a picture of said thread, needles and other stuff that doesn’t need identifying…

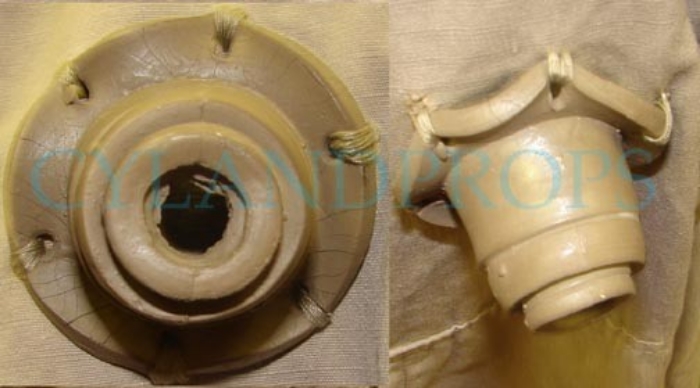
Carefully, I removed a pin and eraser and used the 24 needle to feed the tread from the inside, up through the hole and then back down the side edge of the connector. I tied the thread to itself and fed the thread back up and out and down and inside one more time and tied it off. After that, I dripped a little seam sealant into knot and let it dry. After doing the 5 more times, I was left with this…

And a view from the inside…

Final Result

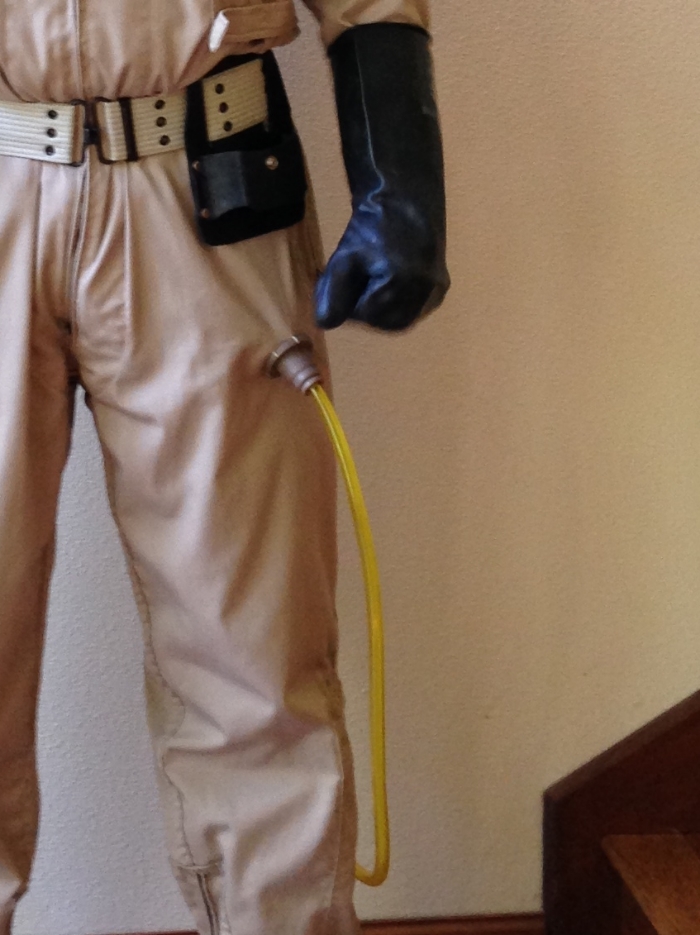
Here is how it all ended up turning out…

I’m very happy with how it turned out. The connector is attached firmly and the magsafe system keeps the hose on, but allows it to detach when snagged.

That’s it for now. Next time…

Belt Gizmo Kit

Looking good…I’ve been busy with some personal/family business so I haven’t done any new uniform stuff yet.

Thank you, Andy. Hope you are able to find some time for the fun things…