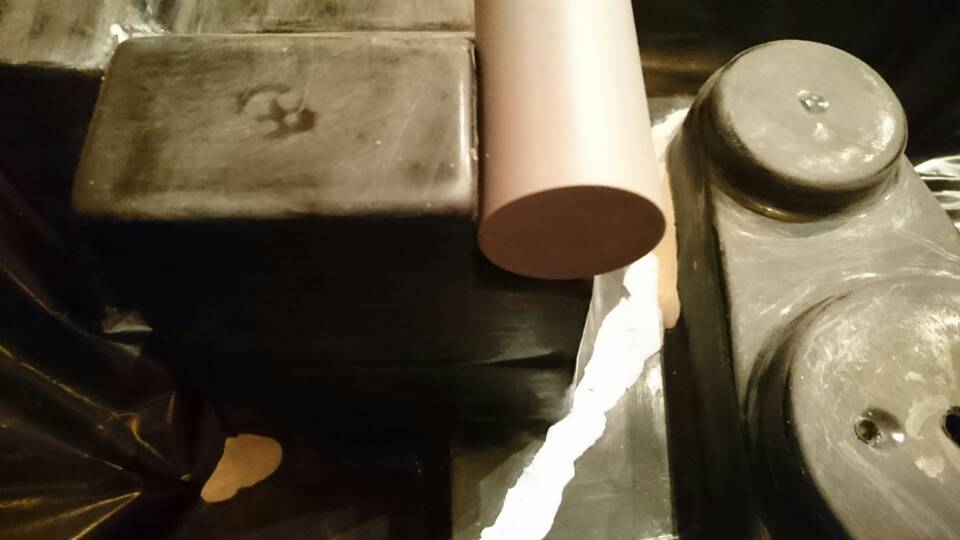
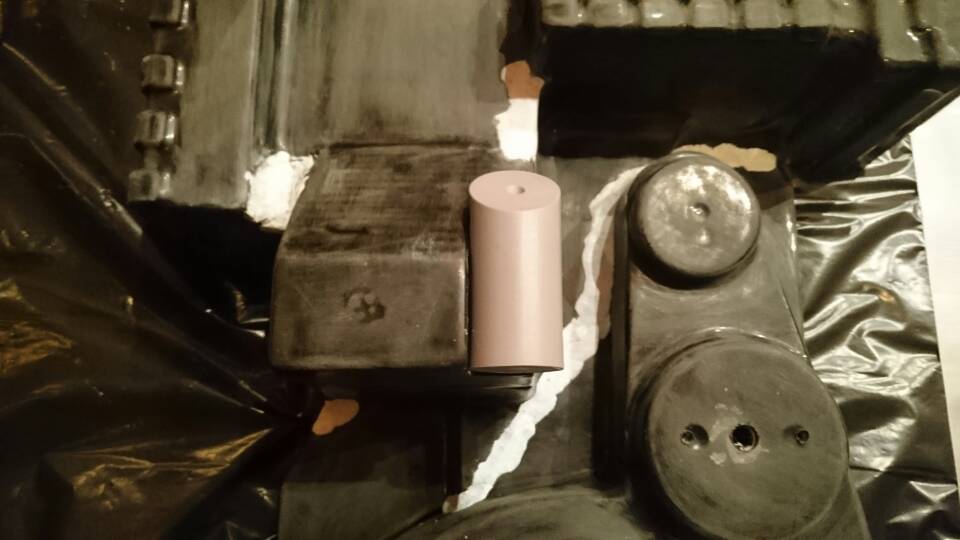
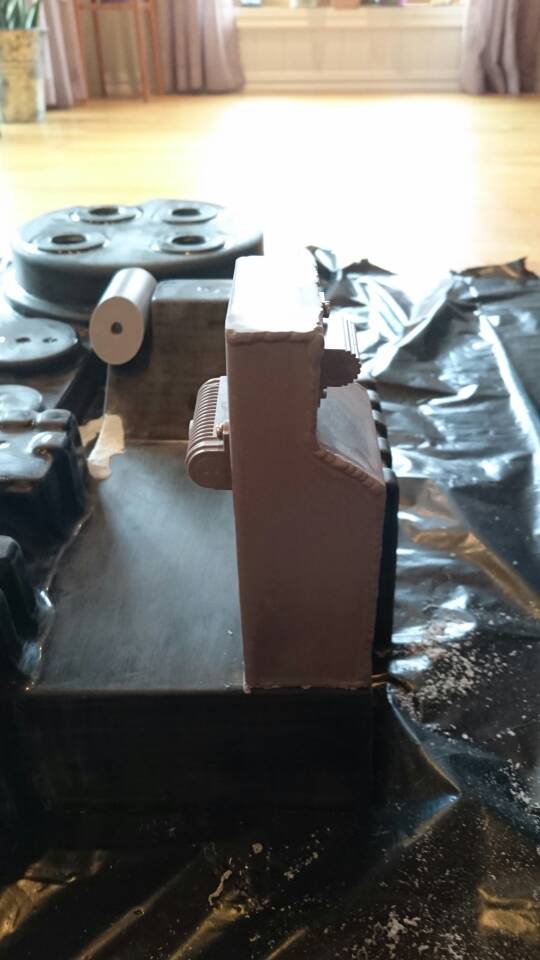
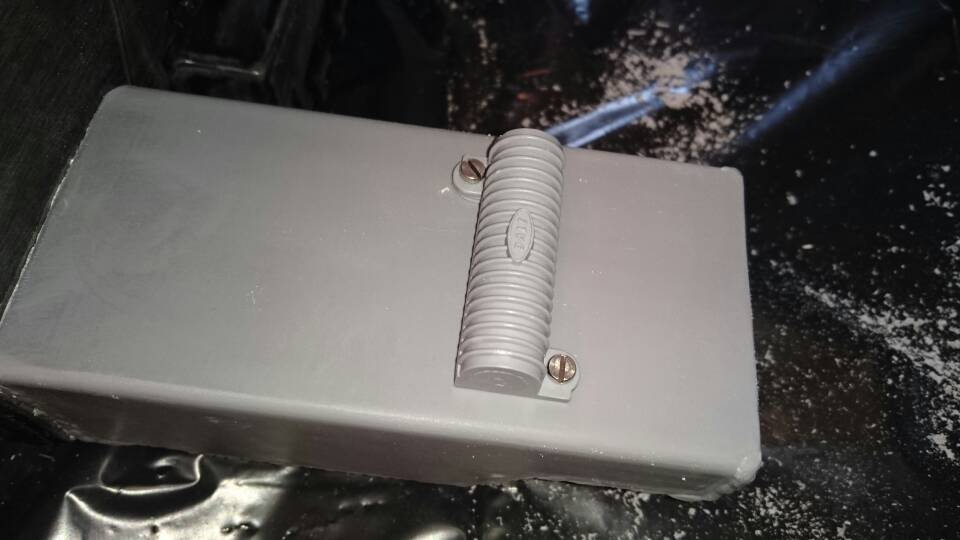
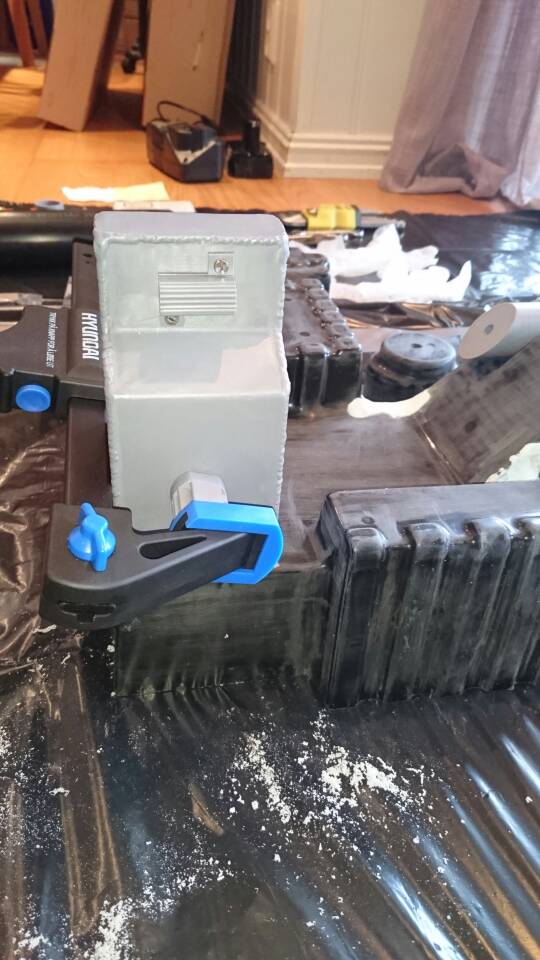
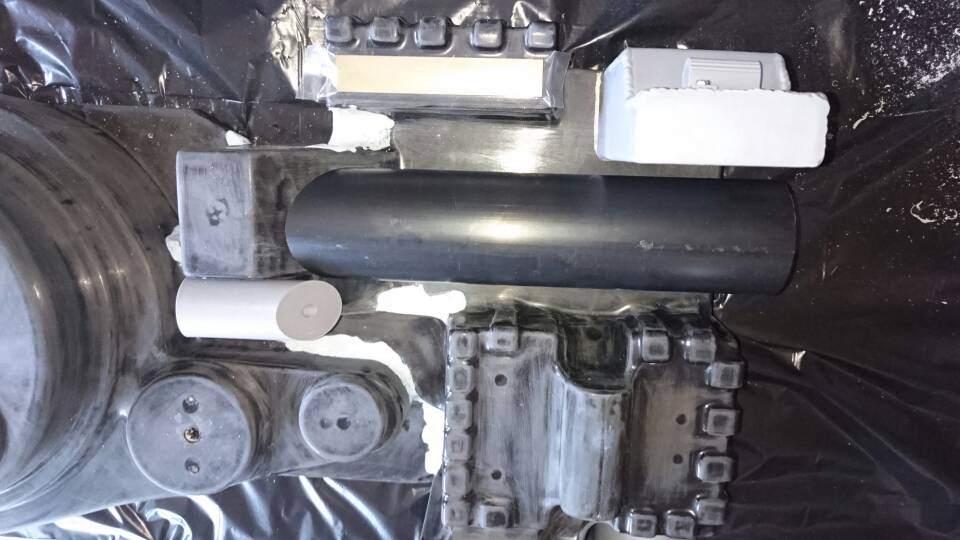
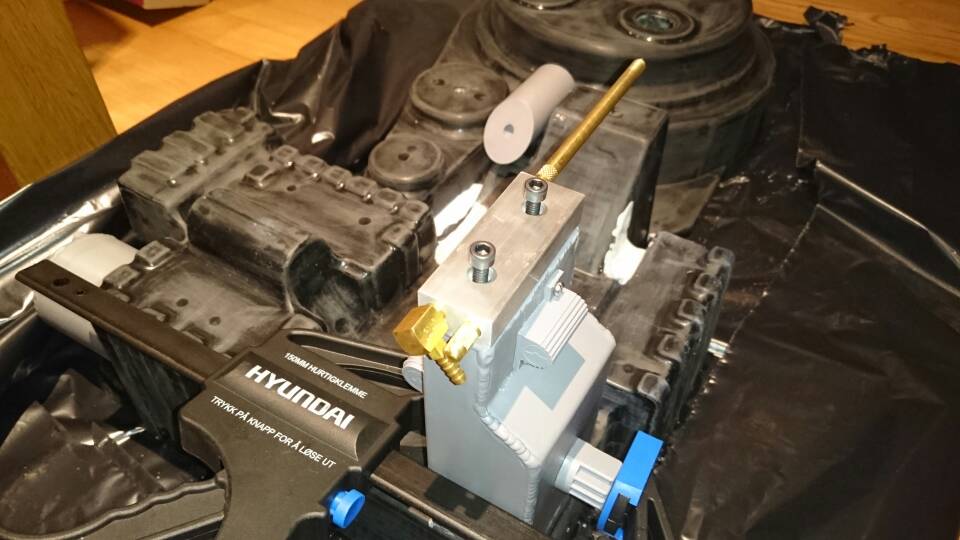
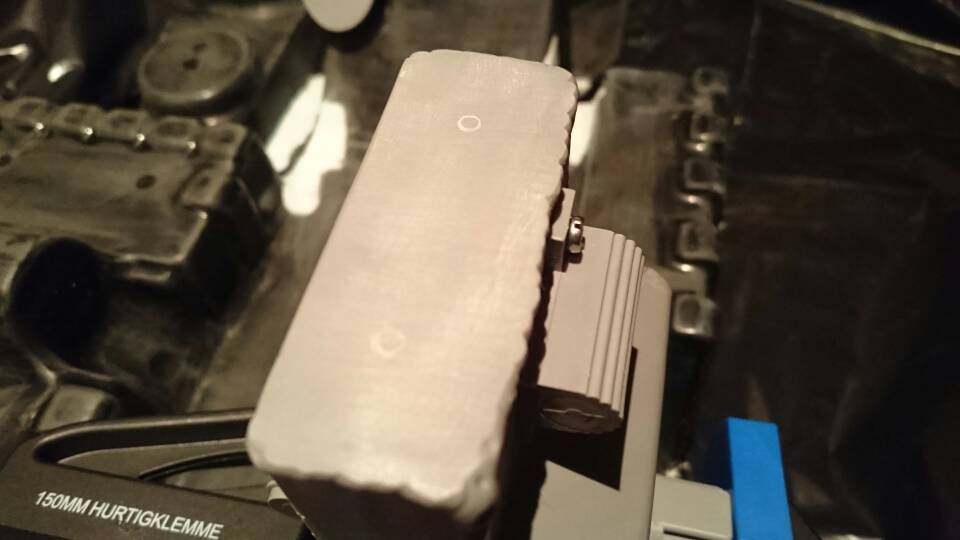
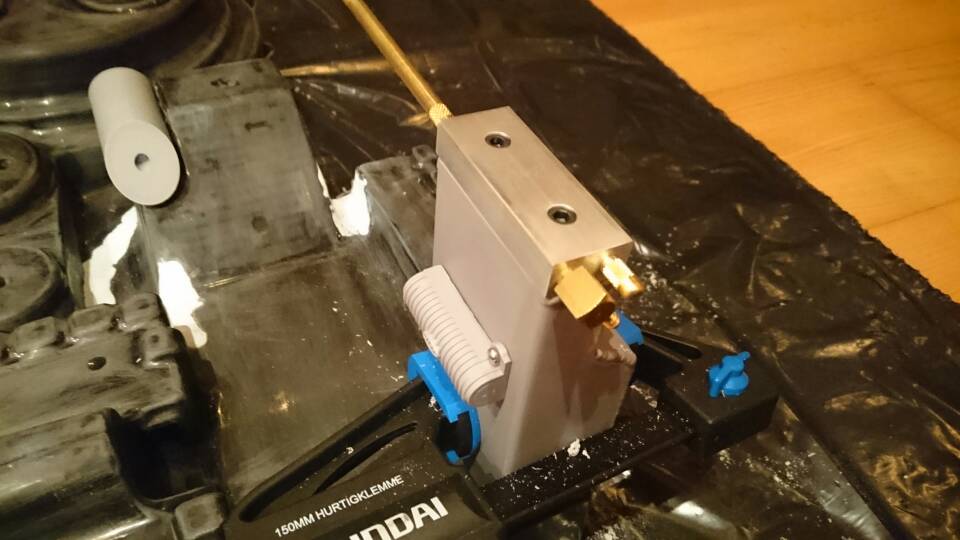
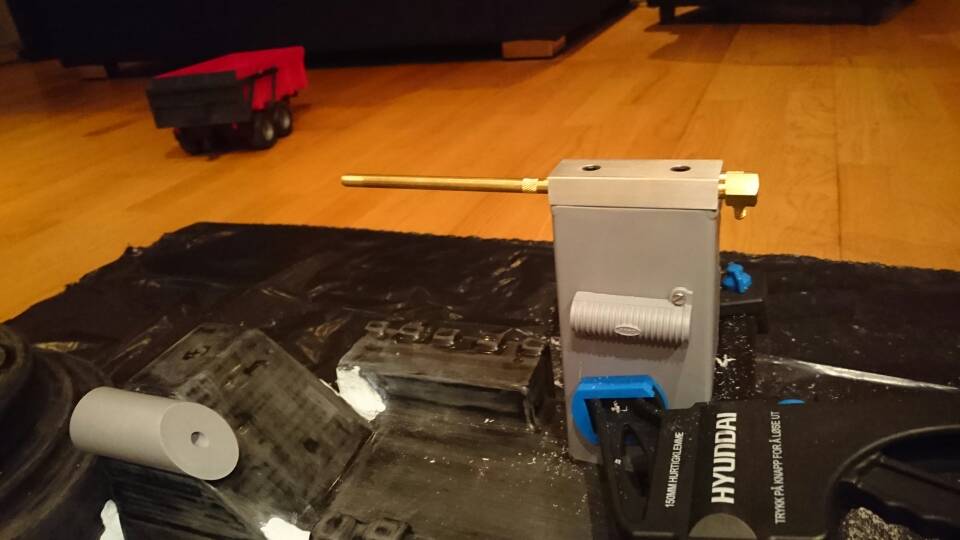
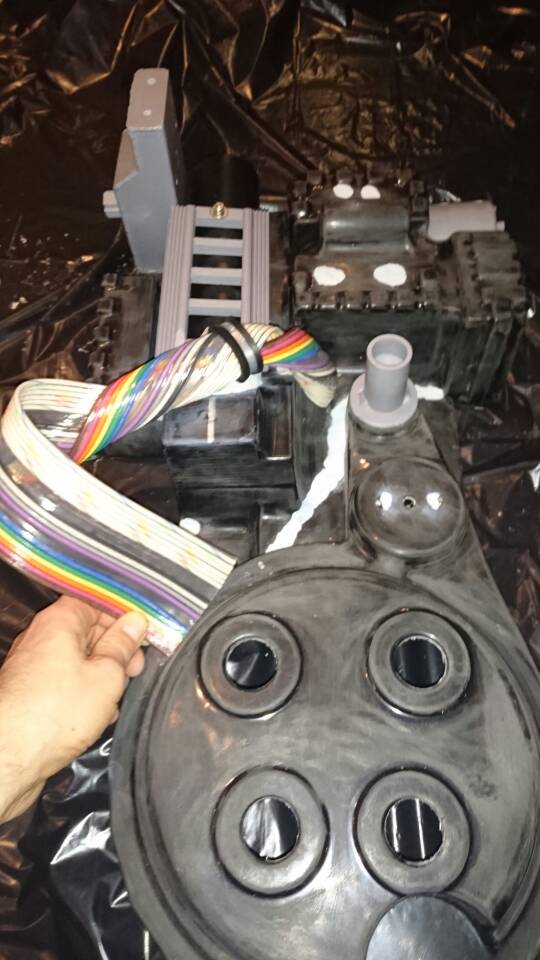
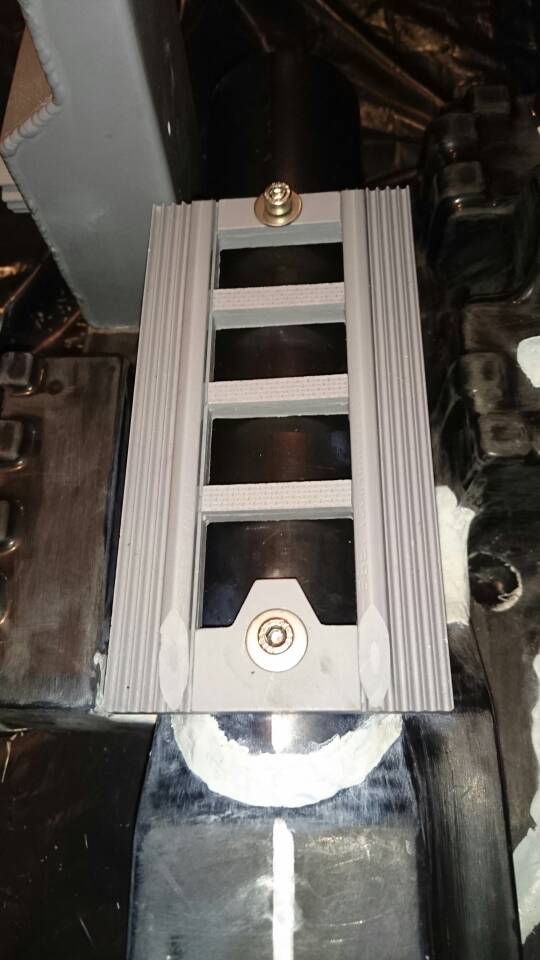
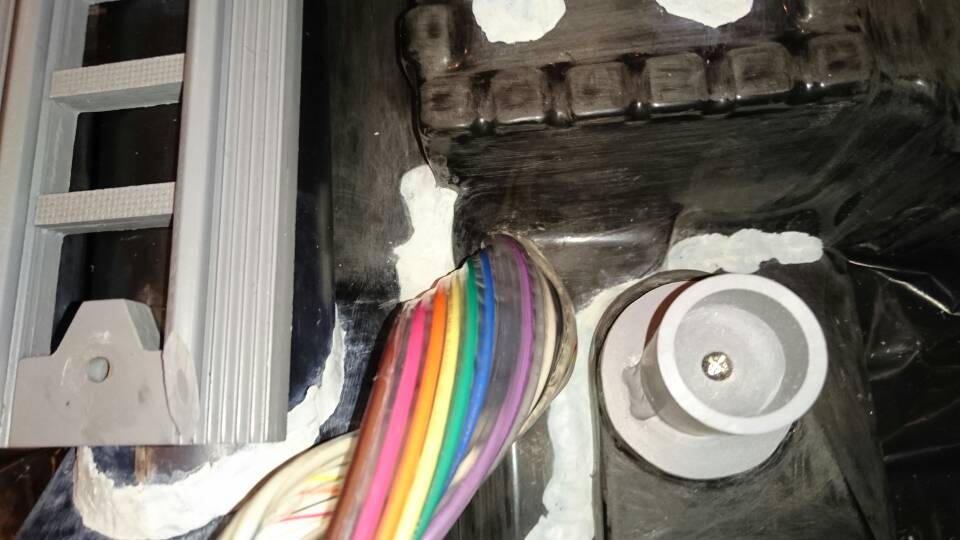
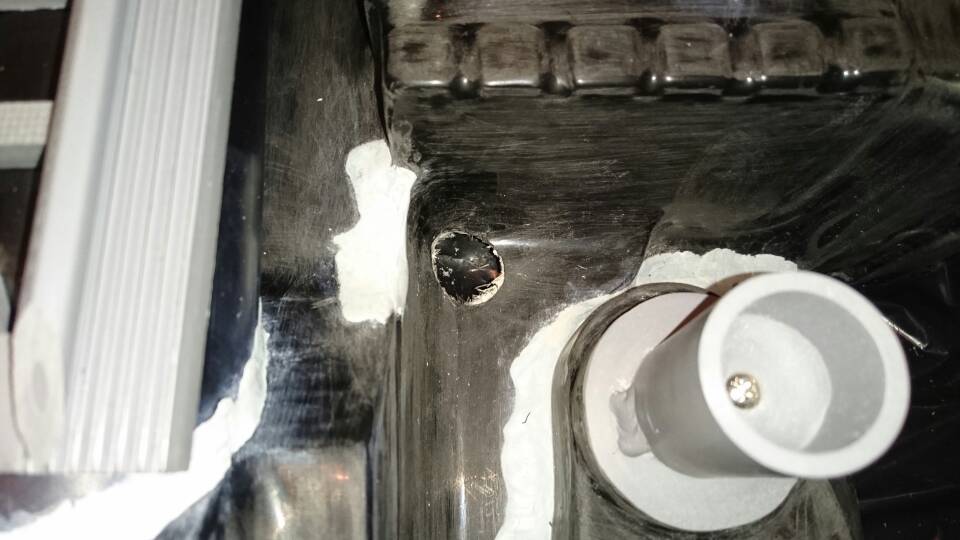
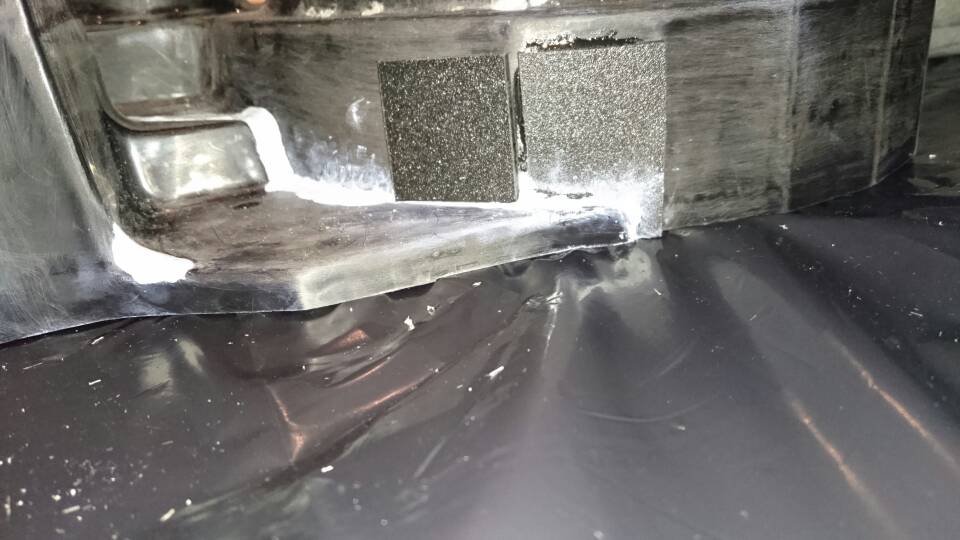
Placed the HGA yesterday
Used the post-it method yet again Sits right where I wanted it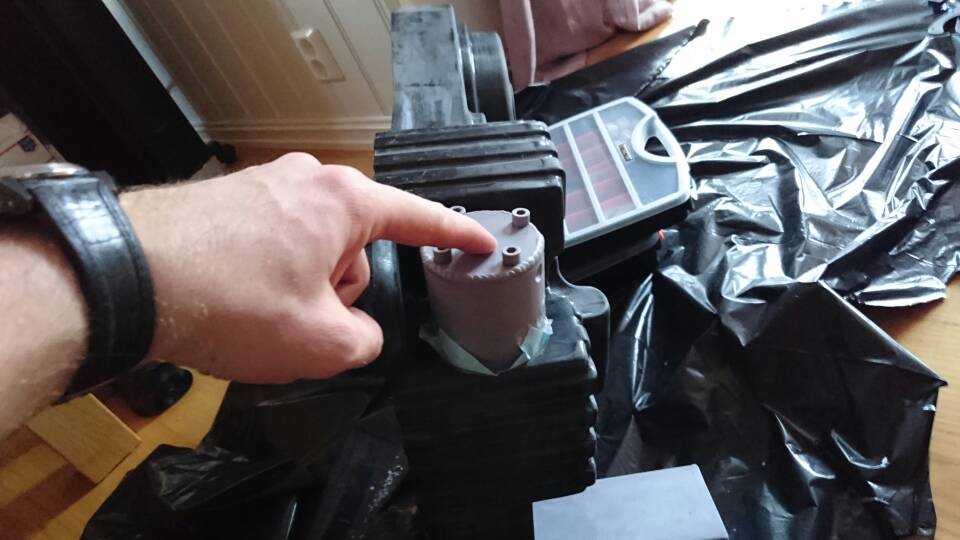
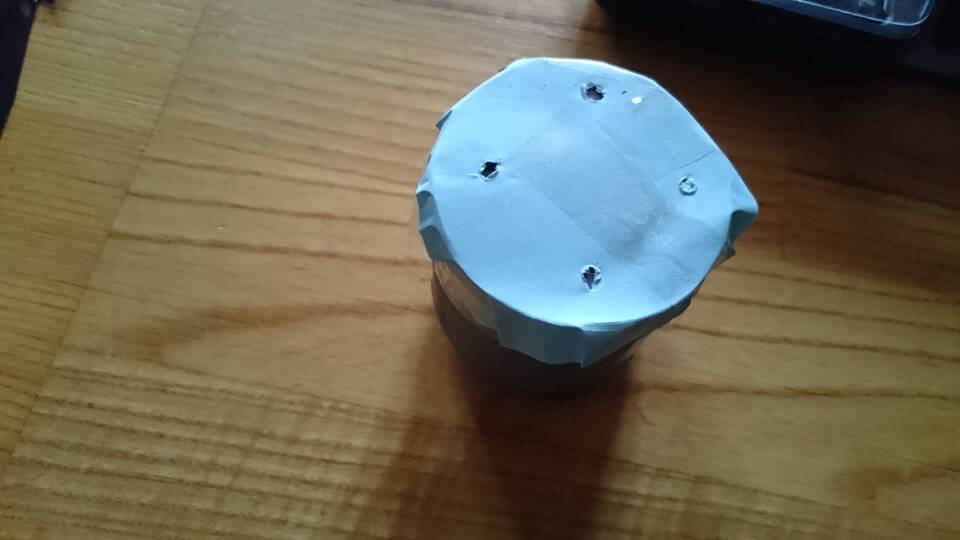
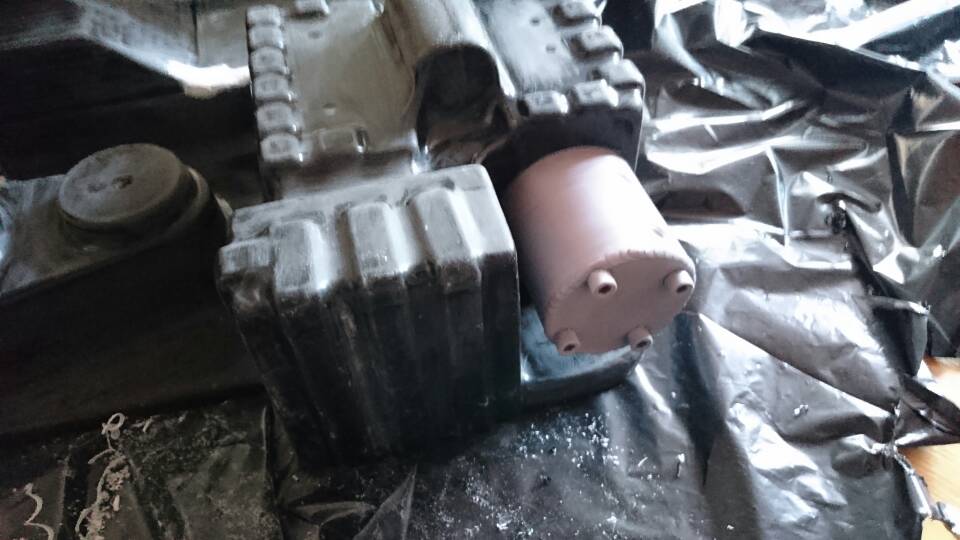

Today my birthday present got in the way of any building.
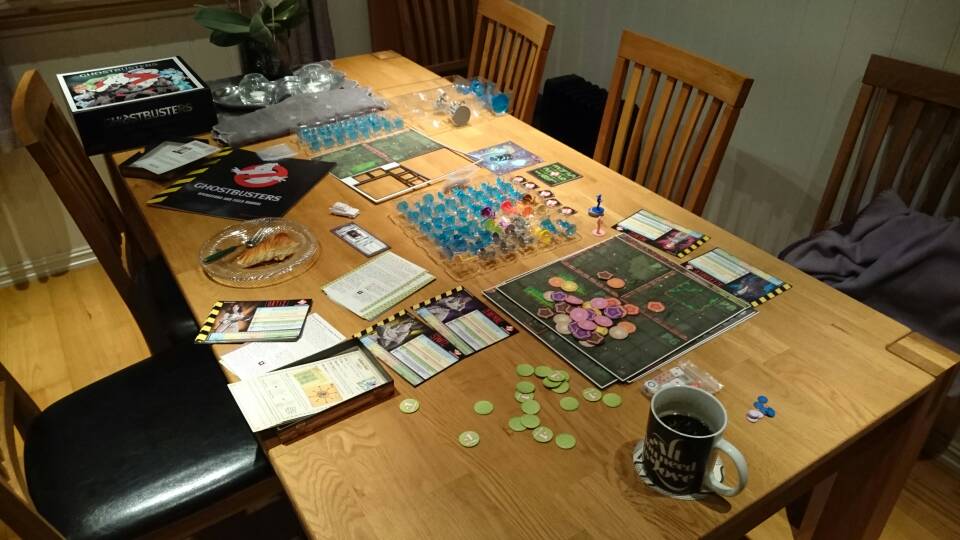
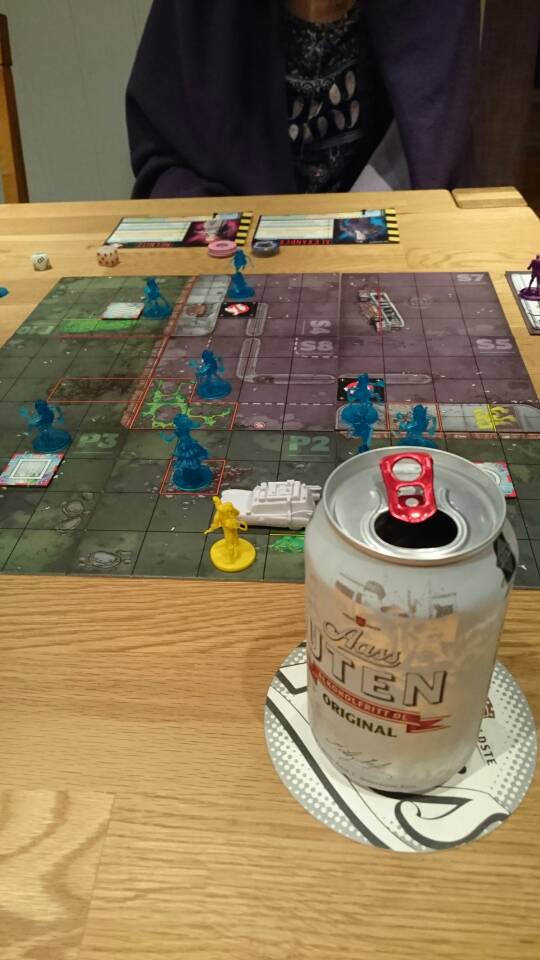
That was a great game! Real fun and unpredictable.
Placed the HGA yesterday
Used the post-it method yet again Sits right where I wanted itToday my birthday present got in the way of any building.
That was a great game! Real fun and unpredictable.
Nice work on the HGA and happy birthday man
Thank you. Been playing a lot of scenarioes on the board game. A lot of fun [emoji4]
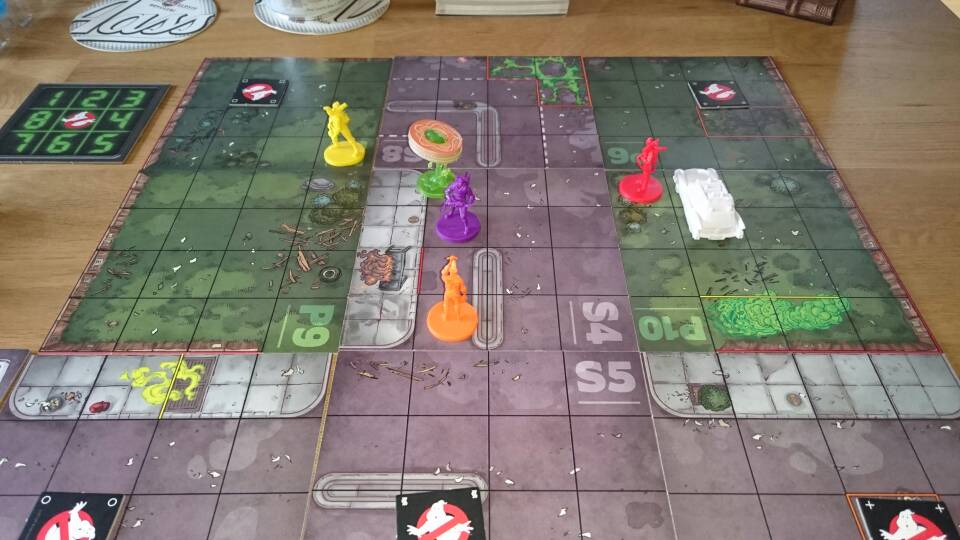
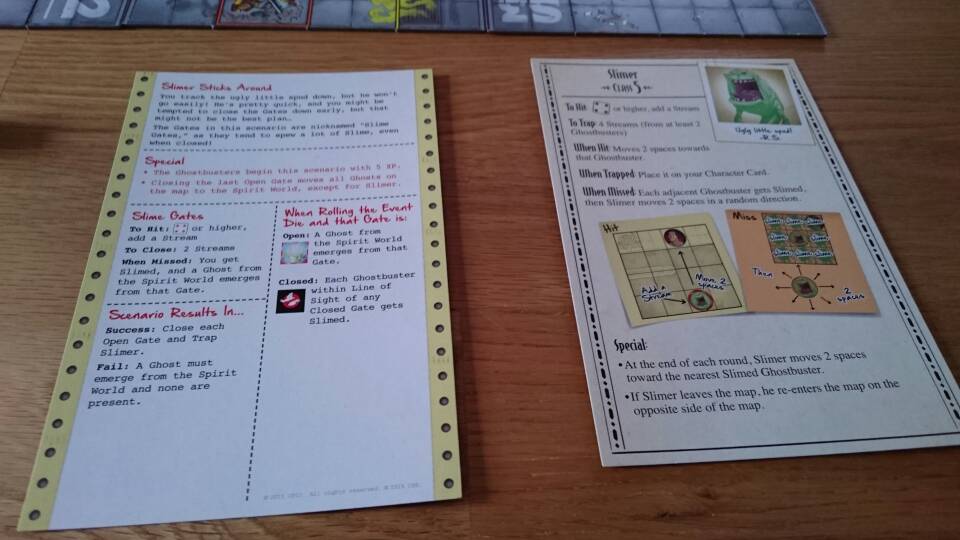
Caught Slimer together with my seven year old today. He watched us play yesterday and really wanted to try.Hoping to get a little more momentum on my build next week, when I get my gun kit and some other parts from Nick-a-tron. Been waiting for them since January, but I’d rather wait and get good parts than inferior ones from somewhere else. Not a big issue anyway since it’s still a lot of snow and low temperatures I have to work inside our livingroom and the rigging and cleaning takes a lot of time aswell.
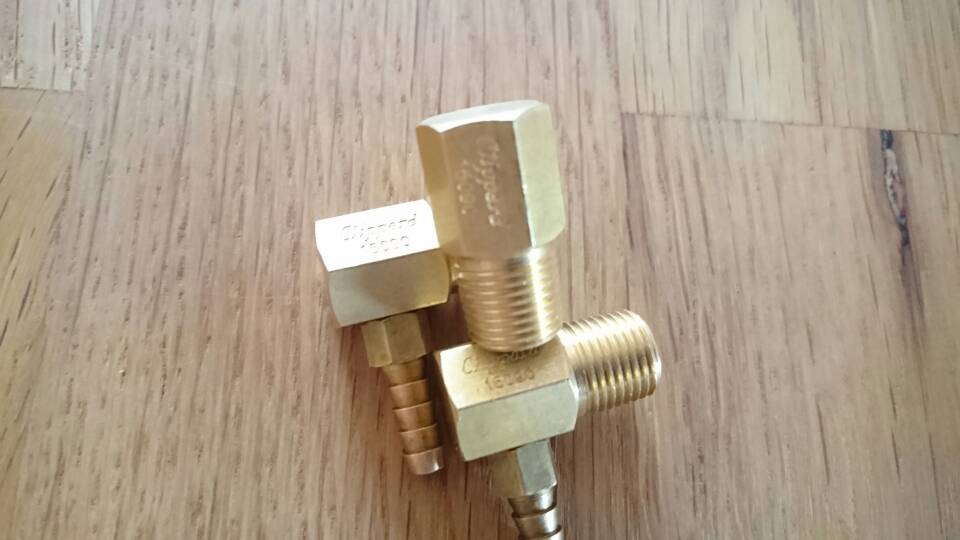
But to return back to the pack building: I started out wanting a GB1 pack, but since it’s my first build, a plastic shell and some size difference between my shell and a GB1 hero shell I’ve decided for something in between a GB1 and GB2. Funds are also low for the rest of the project, so when I saw that one of the clippard parts had the logo on top I decided it would work great on the ion arm
So to avoid buying another elbow that’s GB1 accurate I’ll make my own a “hybrid”. I like the ribbon cable from GB1 best, so that’s why I decided to do it like that.Hopefully it turns out to be a good looking pack anyway. I’ll atleast do my best to make that happen!
Good to hear you all get involved in the game 
Nicks parts are well worth the wait mate and awesome parts make for an awesome build.
Love the idea of a hybrid pack. Me and one of my mate’s have been talking about this for a while and think it’d look great
Yesterdays work:
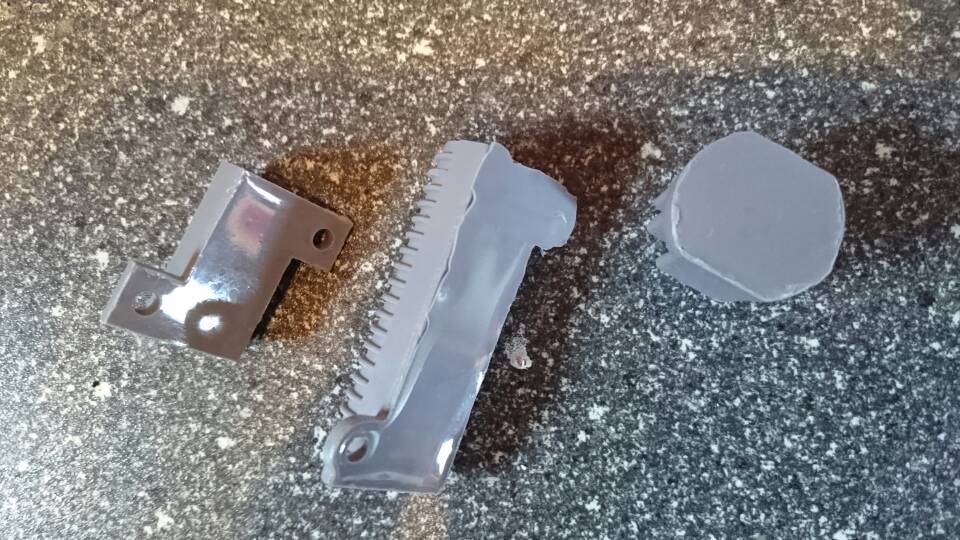
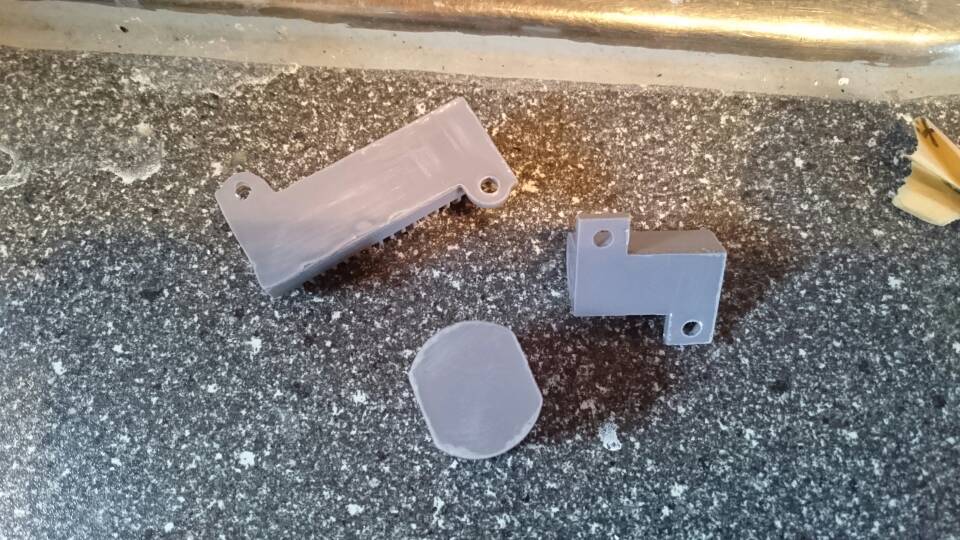
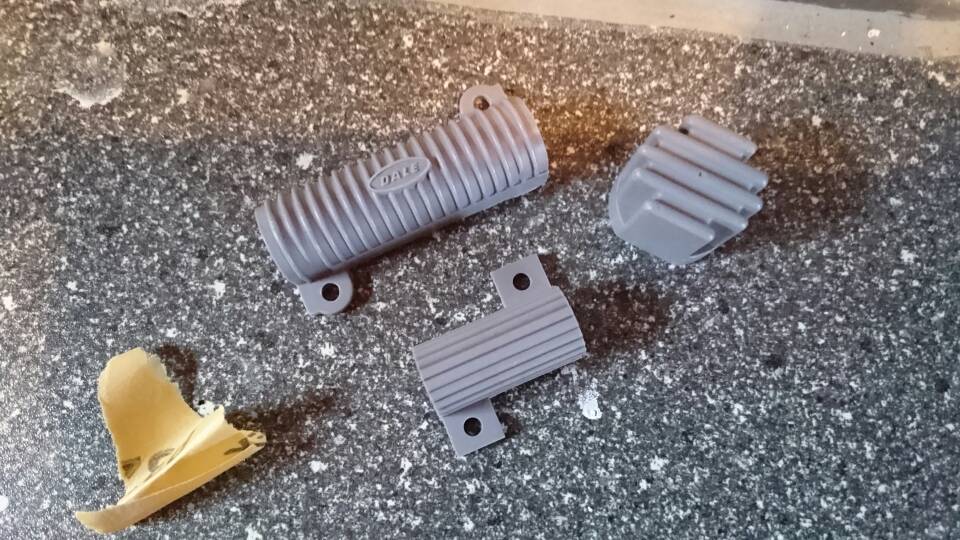
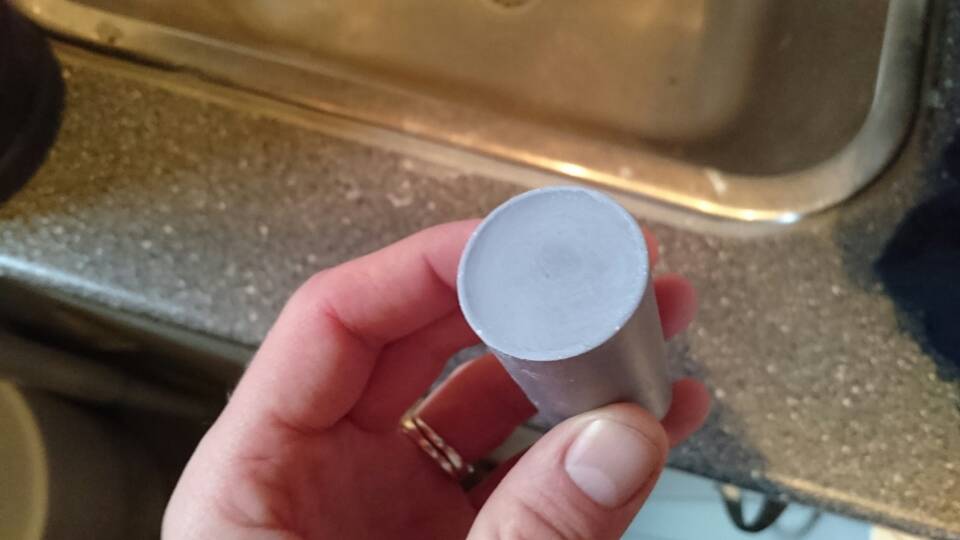
Sanded down the resistors to clean them up from casting.
Did the same for the PPD.Spent tooo much time looking at the Sony Lobby pictures to decide placement and then I got them all on my pack
Like on the Sony Lobby pack the Dale logo is upside-down and the Dale resistor in front is a little askew and not quite sentered.
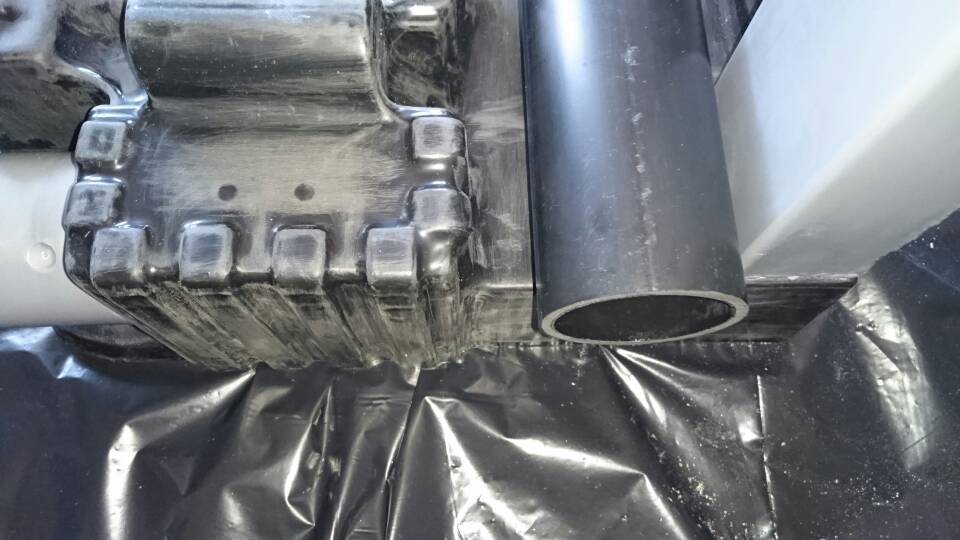
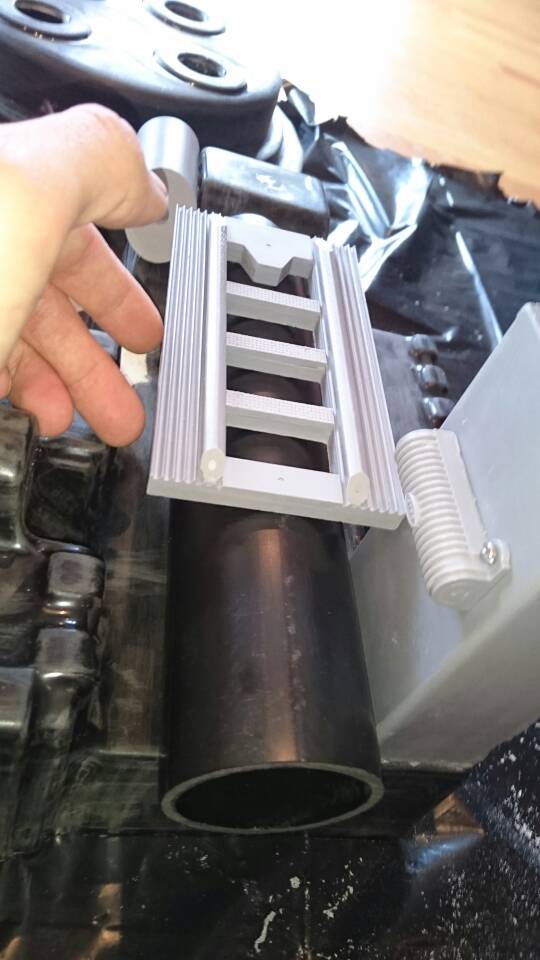
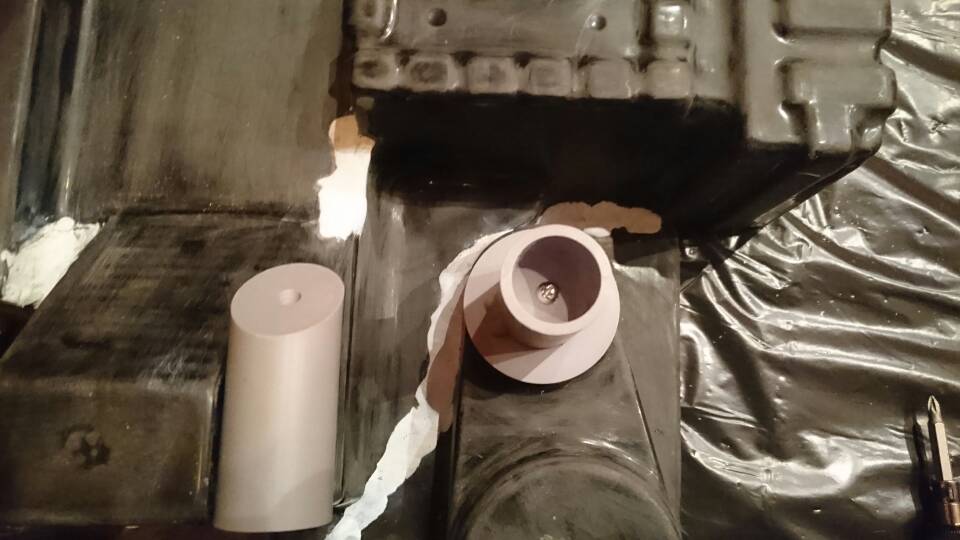
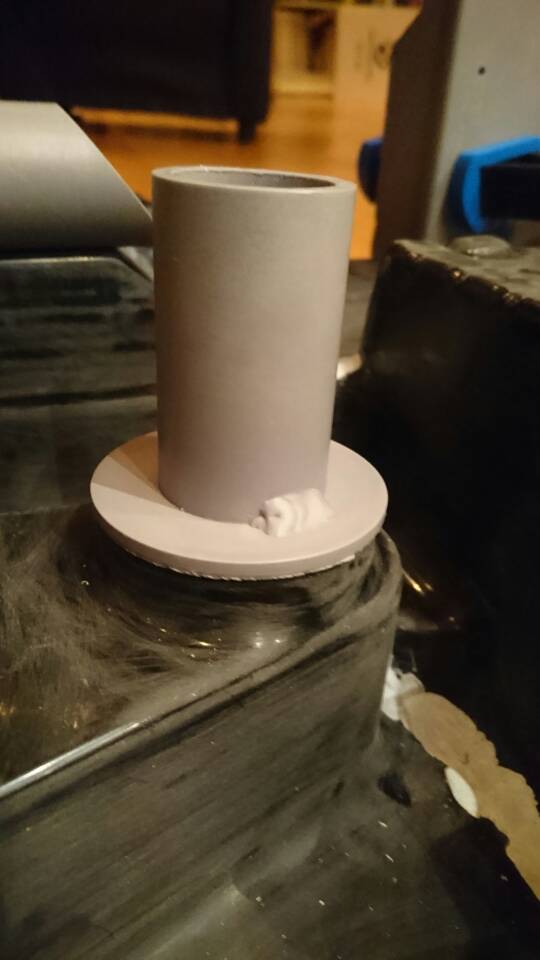
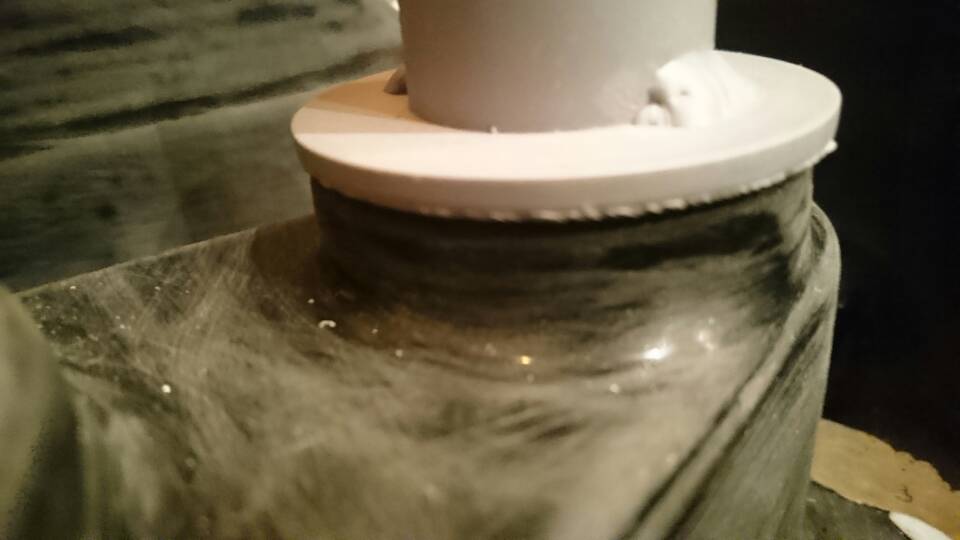
Epoxyed it to the ion arm, hopefully it’ll stay there when I add the top part tonight. I’m 99% sure it’s on its way to my post office right now.Does anybody have a tip on placing the booster tube on the SC Shell. It’s off at the bottom, so I could either cut it there to adjust it, place it as is and use epoxy paste to fill in the hole or do the later and cut it at the top.
Here’s some pictures:
I feel it might be to long if I place it as is, but really not comfortable with cutting the angle either. Don’t want to mess it up.
Any tips, tricks or advice would be appreciated.
Thanks,
Morfy
I would use a Dremel and shape the back of the angel until it fit the way you like it. jmho 
Got a package from AJ today, and now it is really starting to look like a proton pack:
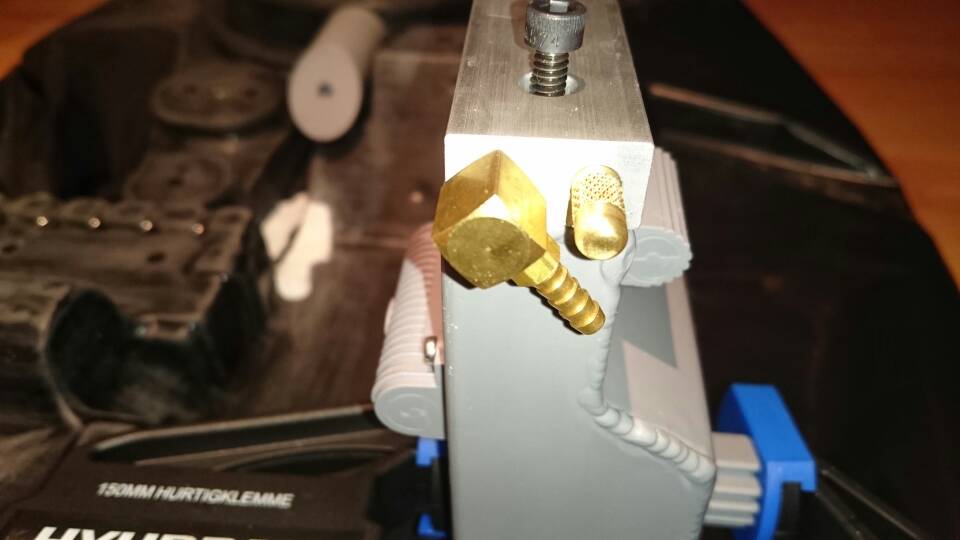
Drilled and tapped the holes and attached it to the ion arm
As you can see the clippard part is facing the wrong way, but that how’s it ends up when I screw it in. Anybody else who’ve had this problem?
I’m thinking about cutting a little bit of the part that goes into the ion arm, but I want to check if anybody has any tips before I do so.Some more parts attached
A little to big, so I’ll have to sand it or Dremel it a little around the edges.
Now I must put the kids to sleep before I can get anymore work done.
Thanks for looking [emoji106]
Looking good man. That Ion end cap is a beauty! I would just loosen the Clippard brass elbow 1 turn so it sits in the right place. It’ll still be very sturdy
GBFans have great parts [emoji4]
When it comes to the elbow that’s what I tried first, but then elbow swiveled and sat a little out from the end cap
I’ll fiddle around with it some more tomorrow. I’m sure I’ll find some way to make it sit put, where’s supposed to.
Cool man. My Clippard elbow doesn’t sit flush on my Semi Hero Stantz pack but it’s accurate to that pack. I honestly wouldn’t stress too much about it as the packs aren’t perfect anyway
Progress:


First hose is on the pack [emoji4]
Dremeled and sanded down the vac tube and plate so it had a better fit


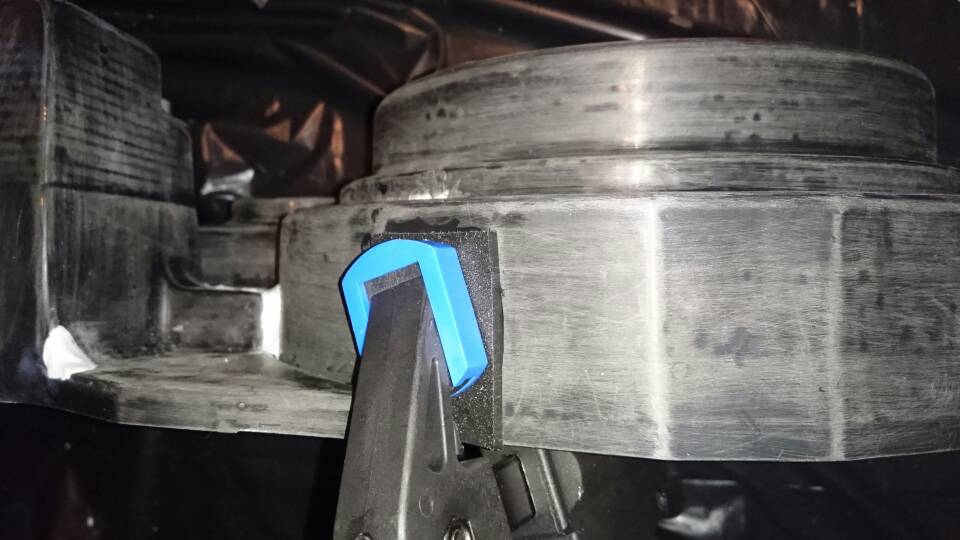
I wanted the ribbon cable clamp to sit snug on the side of the cyclotron, but the SC Shell has rounded corners. You can see it in this picture.
 Solved this by marking where I wanted the piece to sit, getting my Dremel out and slowly grinding it down until I got the fit I wanted

 Had to use Norwegian screws to test fit it as the American screws didn’t match any of my tools…
Afterwards I changed them out with the correct ones

I filled the holes from the grinding, but on the inside 
Also filled some small dents and cracks on the shell 

Since the Dremel is everything but quiet, that’s it for today.
So goodnight to all from Morfy and Zombie taxidriver

Yeah, I could’ve built two packs in the time I’ve already spent because I use to much time on the details [emoji23]
Hahaha couldn’t we all. This is shaping up nicely man, awesome job
[emoji4] Really fun with all the builds going on right now. Thanks, nice to get positive feedback
New parts,gun kit from Nick-a-tron. A piece was missing (triggerbox) but I recon he’ll get back to me and sort that out
Great looking parts. Also got a bumper, shock mount and crank knob. Will be a great addition to my pack.Didn’t get to that much done today.
Just attached the first plate on the cyclotron
Epoxyed it on and clamped it down. I cut them all earlier but when checking the Sony pack again I saw I had to cut them all shorter, so I used some time to cut them all (again).. Now they match the Sony Lobby pack better.Almost all parts (in hand) bar elbows is now attached to the shell.
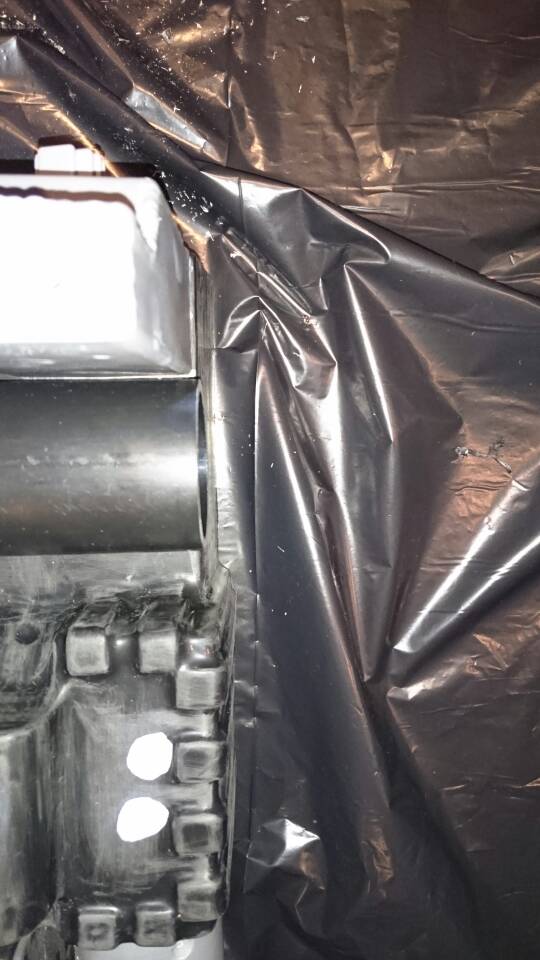
Finally got the booster tube and frame attached. Still need to make the fake weld. The bottom is just filled in after I trashed it with the Dremel. The cutting blade got so hot while cutting that the plastic started to melt and became a mess. Fixed it with epoxy putty. I’ll add the fake weld after sanding.
Drilled the hole for the ribbon cable. Moved it a little closer to the left. Didn’t want it to get to close to the seam where the to shell parts meet.
Sand and trim it tomorrow. (11 pm here, so my wife and kids are asleep)
The first two panels is also in place and sits solid. I’ll hopefully add the rest over the weekend.
Now I need to do a little work on my uniform, because tomorrow Ghostbusters Norway is going to a con [emoji4]
Thanks for reading and looking [emoji317]
Coming along now mate. Good to see. Have fun at the con
Much appreciated [emoji4] Nice time at the con. Had to pose for a lot of photos. Fun to see that alot of people is into GB
Tough life being a GB isn’t it [emoji2]. Glad you had a great time