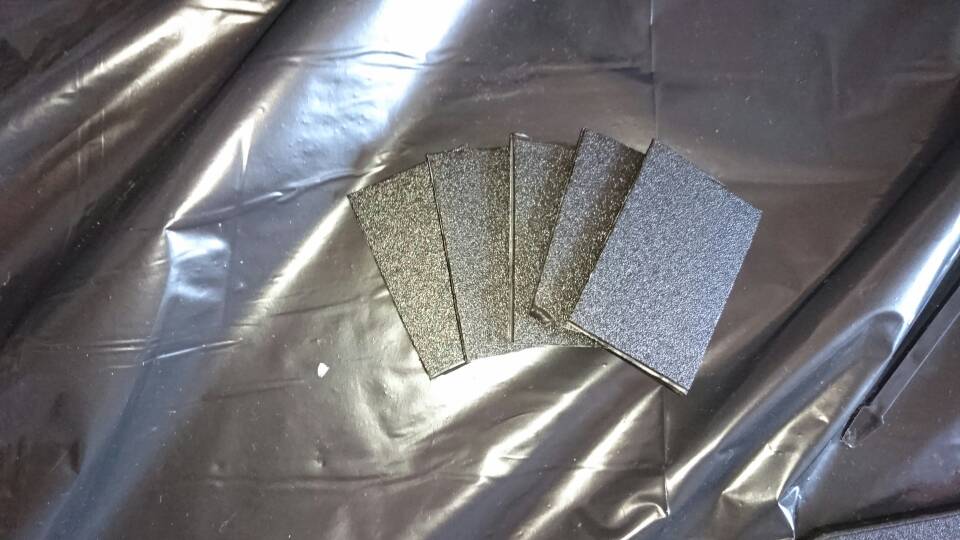
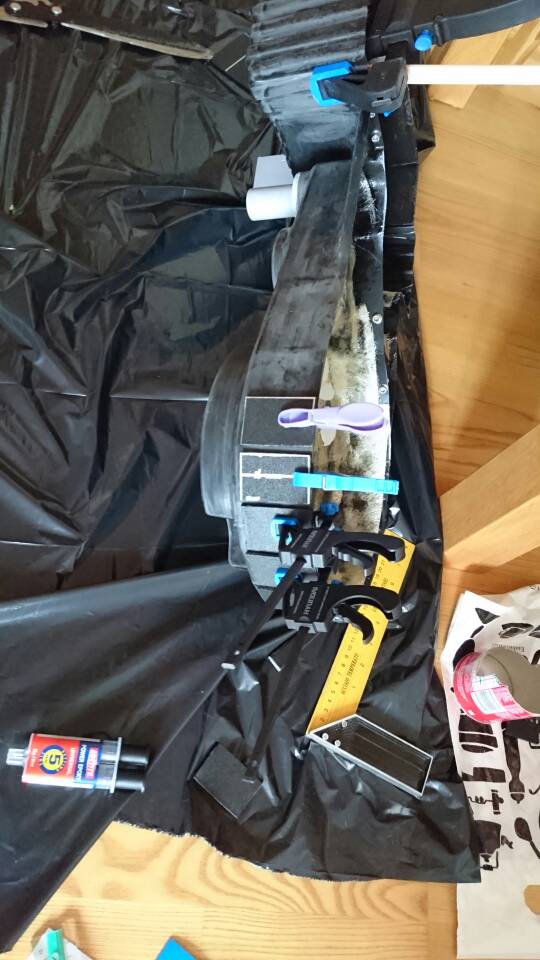
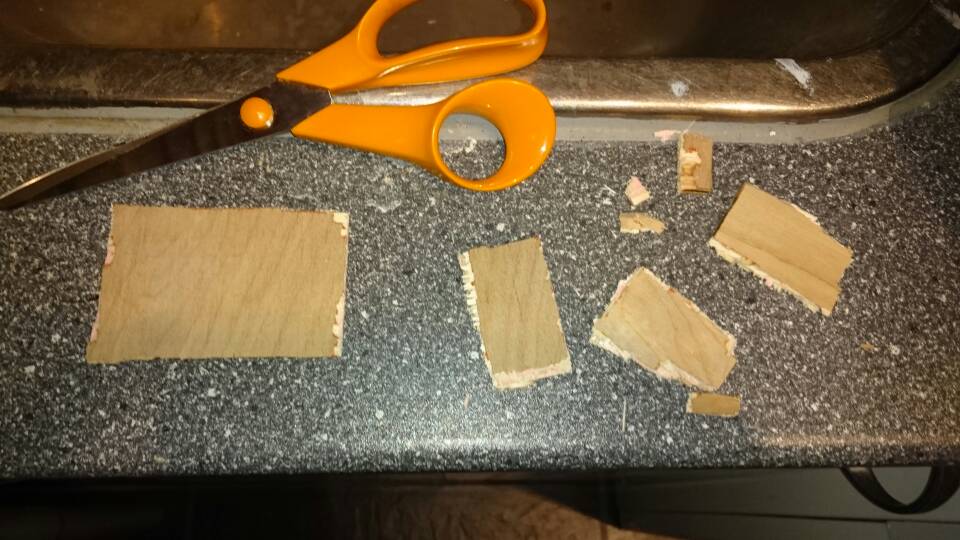
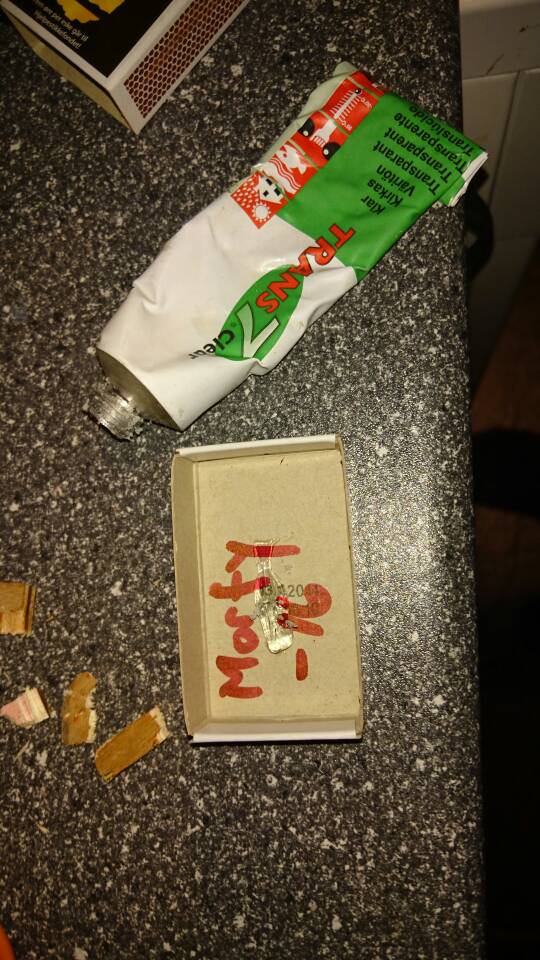
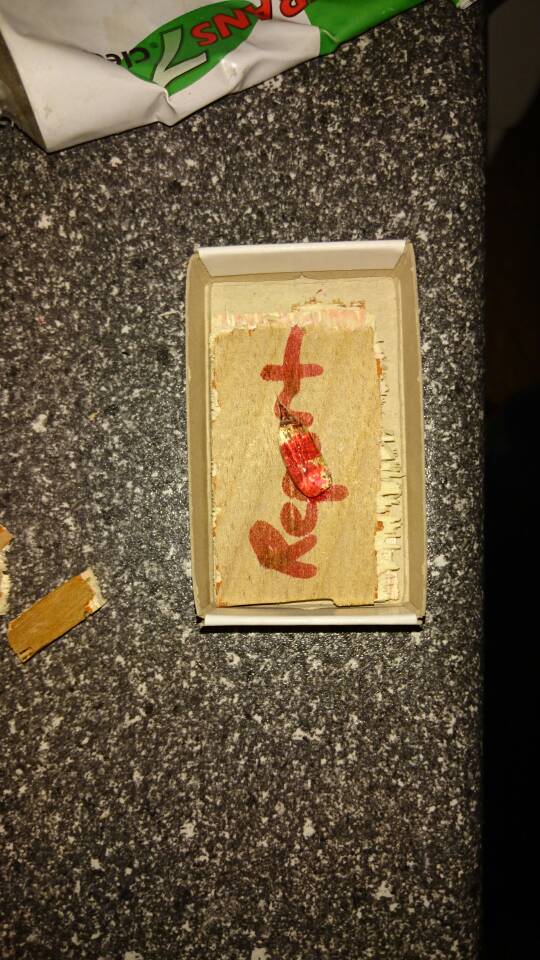
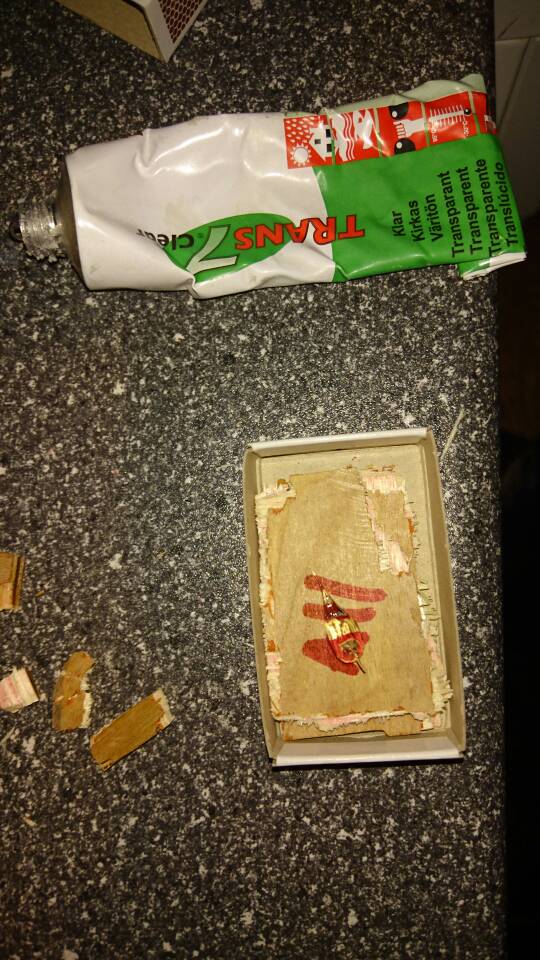
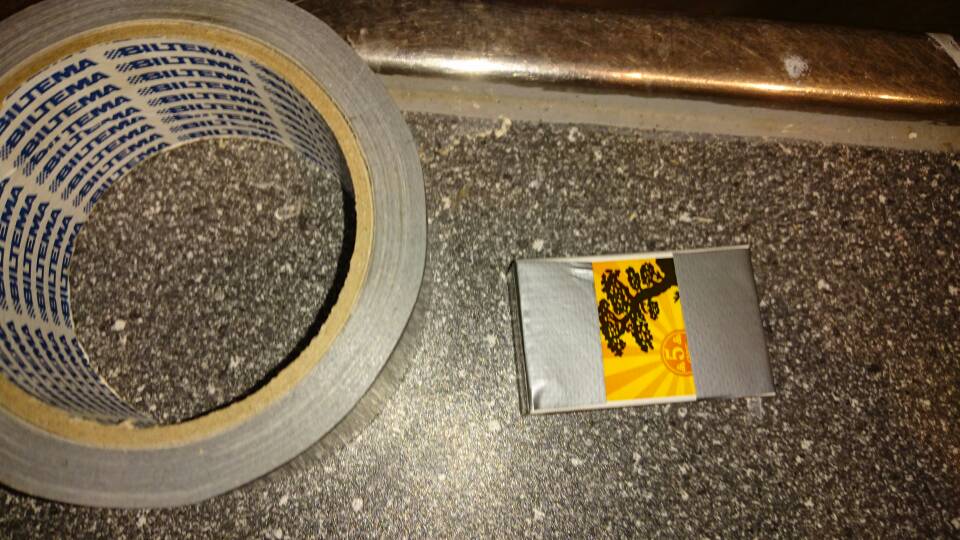
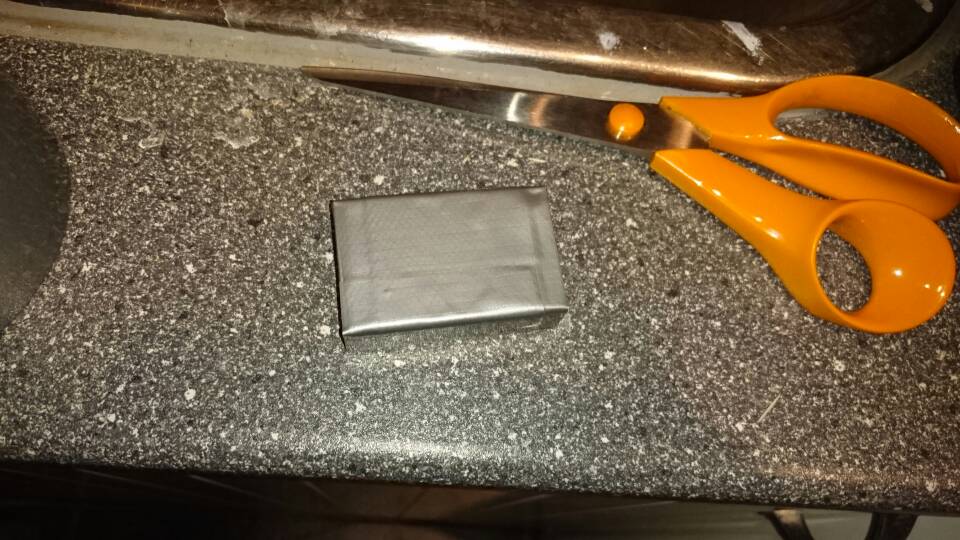
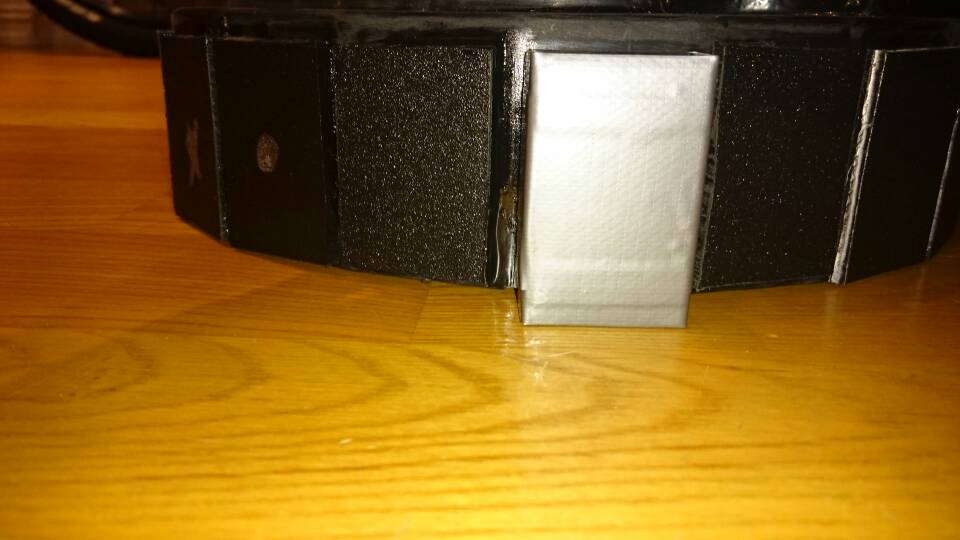
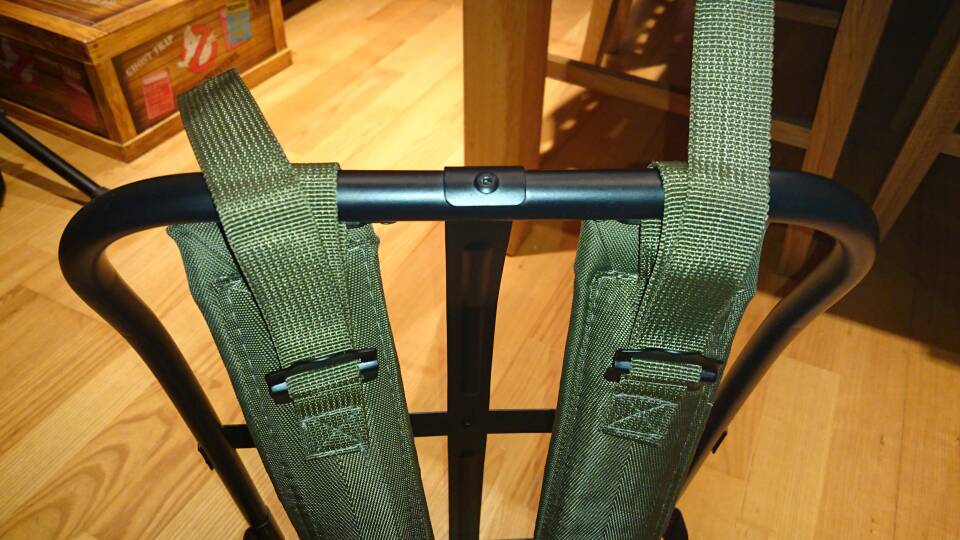
Used the blueprints to make sure I left out the right plate
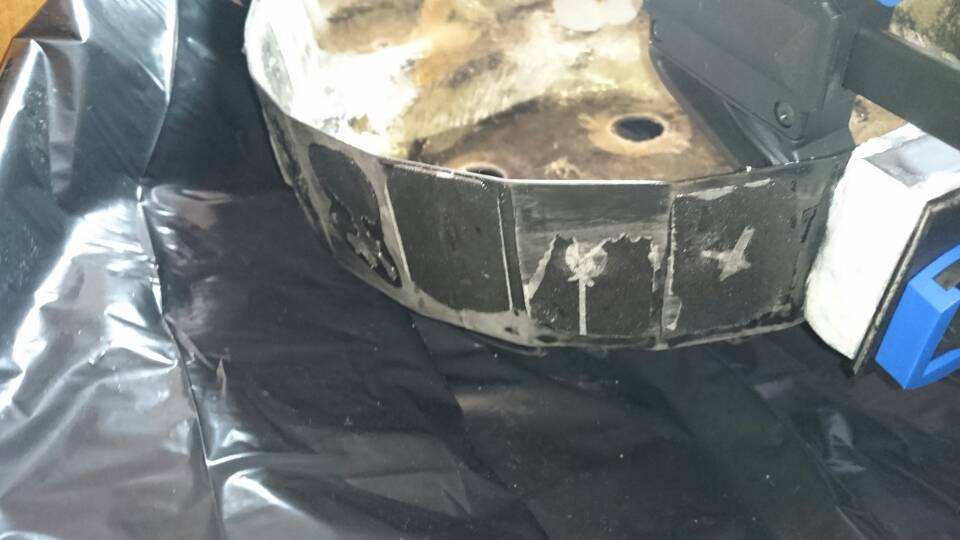
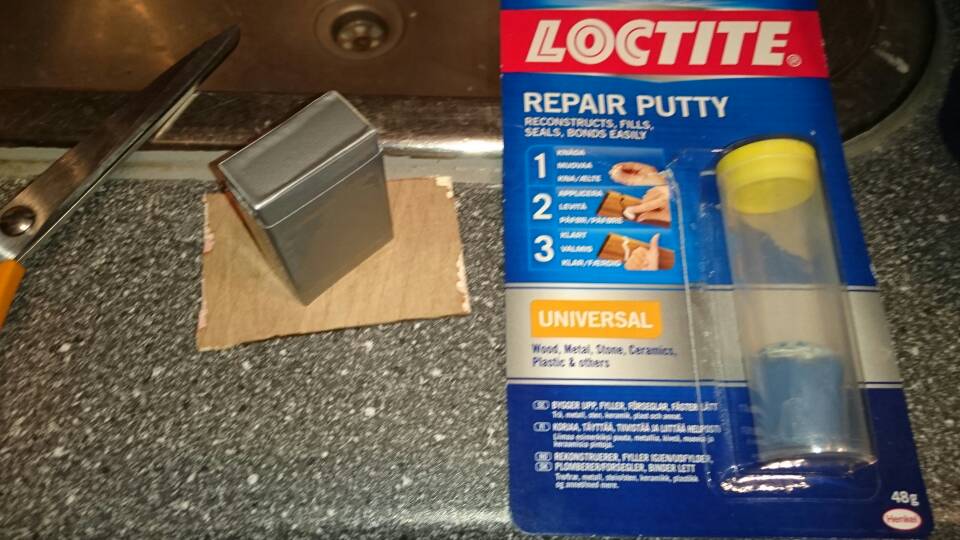
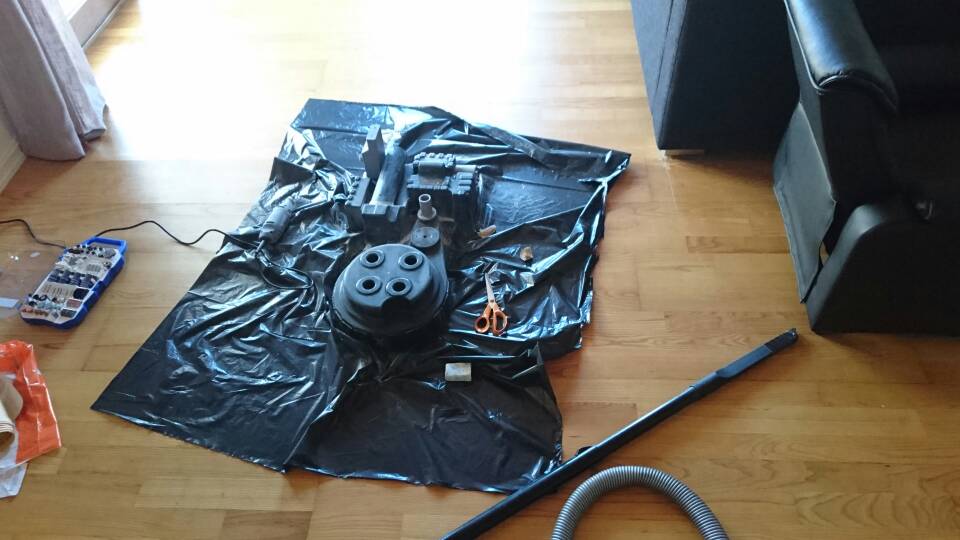
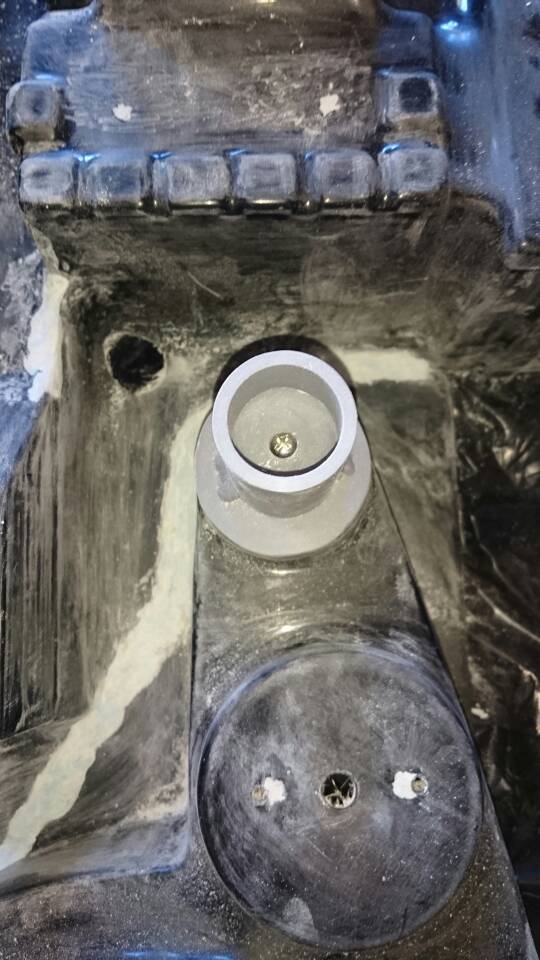
Also wanted to reinforce the sides of the gun mount some more, but the last plate didn’t fit right and came right of when I checked it. I’ll need to fill it in with a little epoxy putty to make the glueing surfaces more even.
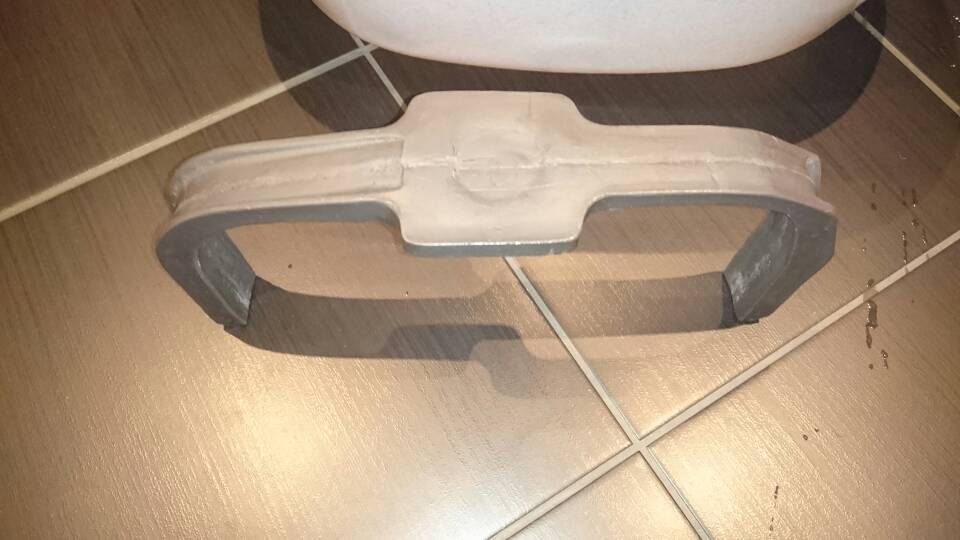
I washed all the resin parts from Nick-a-tron (I’ll post some pictures of the great details later) and shaped the bumper so that it sits snug on the SC Shell.
It was a little bit to big and I would’ve had to force it to fit if I didn’t shape it a little.
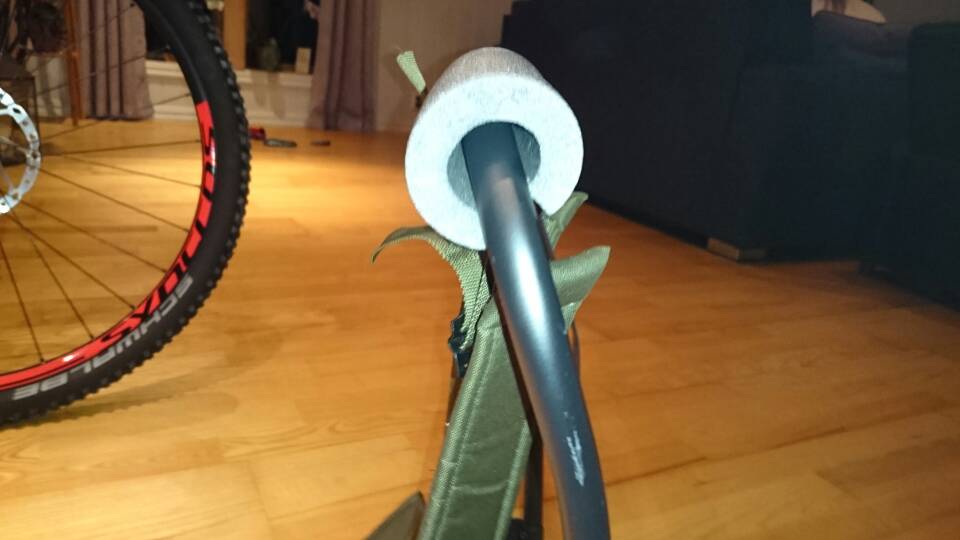
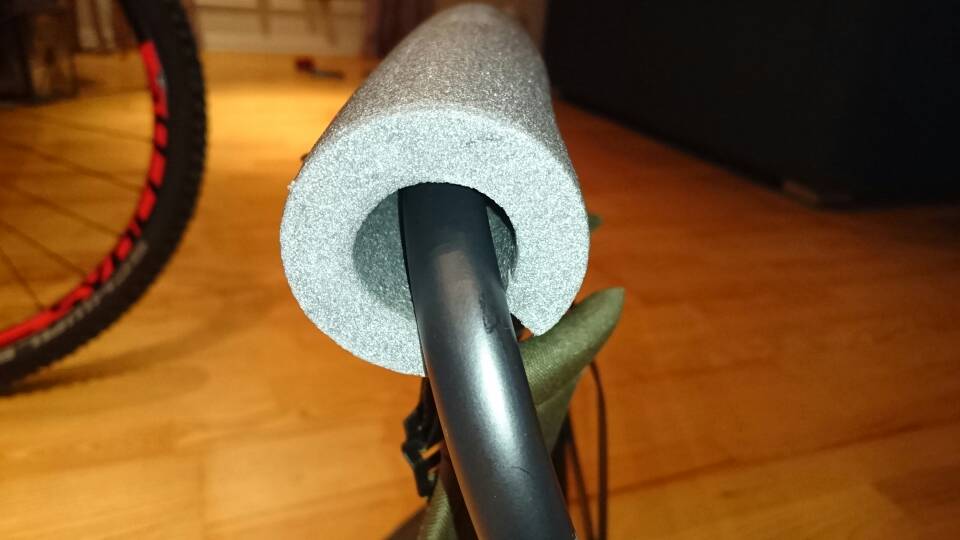
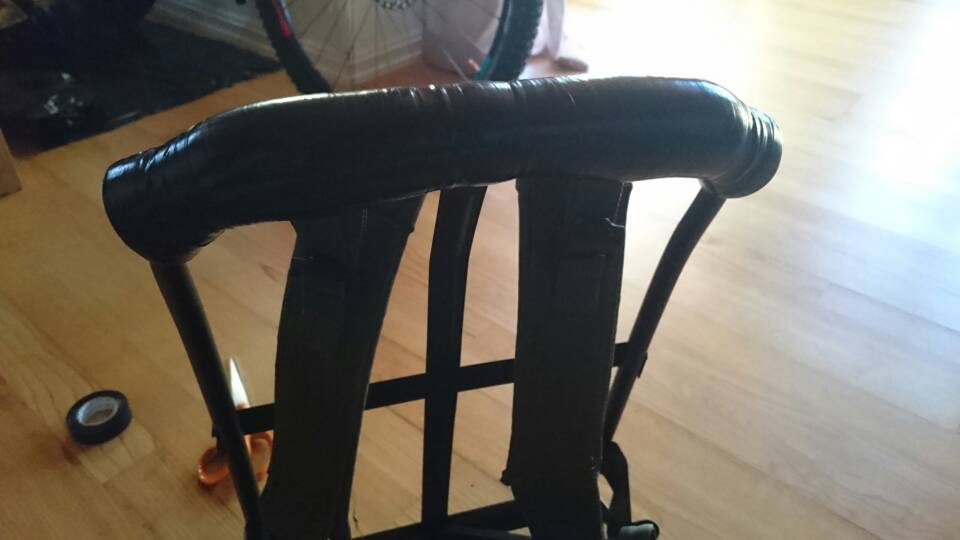
Standing on the shoulders of giants (or in this case Riggs build) Put the bumper in hot water for about a minute, bent it into the shape I wanted and moved it to cold water to set. Worked like a charm [emoji106]
I hope your plates hold better than mine, since we both used that kind of textured cutting board. We sanded them, cleaned them, and the epoxy weld held to the shell beautifully…just not so much the plates. They held better the second application with fresher epoxy, but the ones that ended up getting bolts through them (the bumper arms & mounting brackets) ended up coming off when we started drilling. Thank Gozer the bolts are holding them on tightly. I’m still kinda worried about the ones with nothing on or in them…
The bumper I got was KCGhostbuster’s, and combined with the plates, we didn’t actually need to bend it in at all. The spacing was really nice. To be honest, the prospect kinda scared me a little, lol. I’m glad yours went smoothly.
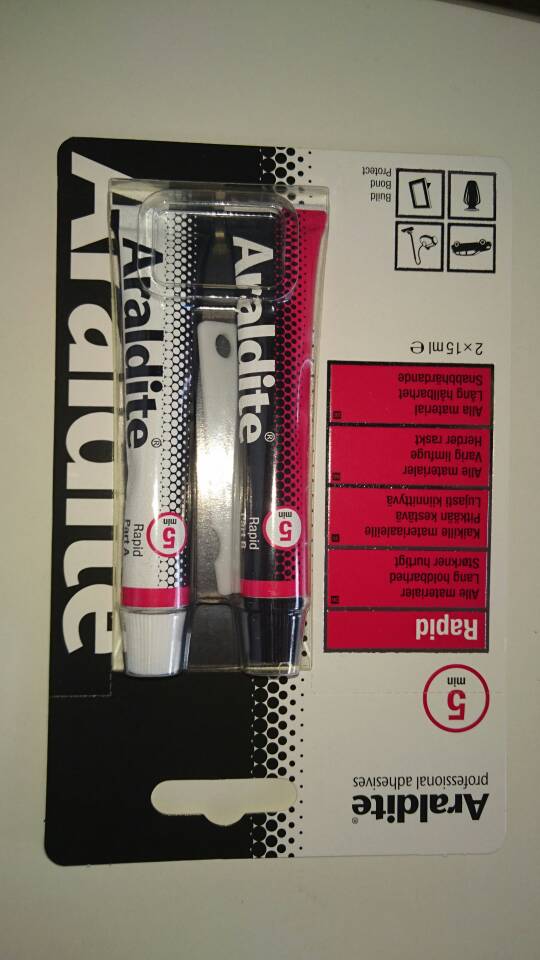
What epoxy did you use for your plates? We have a brand called Araldite over here in the UK that is fantastic. I’ve used it for numerous things and have never had in issue with it. Might be worth a look to see if its available where you are.
Now I used a locktite one, usually use araldite(!) Just picked up a new tube with the epoxy putty and those were both locktite. Rest of the shell is glued mostly with araldite (maybe some of the plates that stayed on as well) a little unsure as to when I switch between the two. Have done a lot of epoxying…
Obviously, it’s too late for those of us who’ve gone as far as we have, but I wonder if Studio Creations would take (polite) feedback about molding the plates & boxes onto the shell like everyone else does?
The spaces between the plates is more distance than the spacing between some of the upper box ribs (like the bottom of the crank gen), so that shouldn’t be an issue.
Not only would it save time, but also aggravation.
I’m already dreading having someone come up to me with a fallen plate, or even worse, getting back to the hotel room and finding some missing. sigh
I couldn’t agree more. That would’ve saved a lot of time doing a SC build.
Wonder why they haven’t added them.
They used to make a mold with the N-filter and they have taken feedback into account before, so I’ll send them a little note when I’m done with the pack and ask about the plates being added.
The last plates of mine fell of with the slightest of pulls.. Only two remain (used araldite on those I guess). Now I suddenly have some epoxy residue to remove before I can add the plates again… I’ll be getting araldite for that job for sure.
Looking fantastic, man! If you ever get the chance/funds for it, pick up an aluminum HGA and an aluminum ion arm assembly, they’re lighter than the resin variety, as they are hollow…
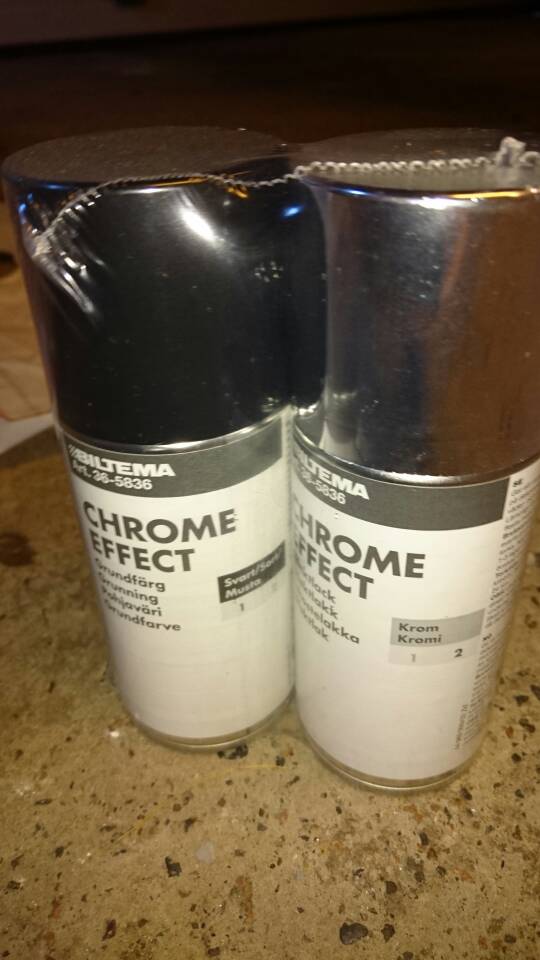
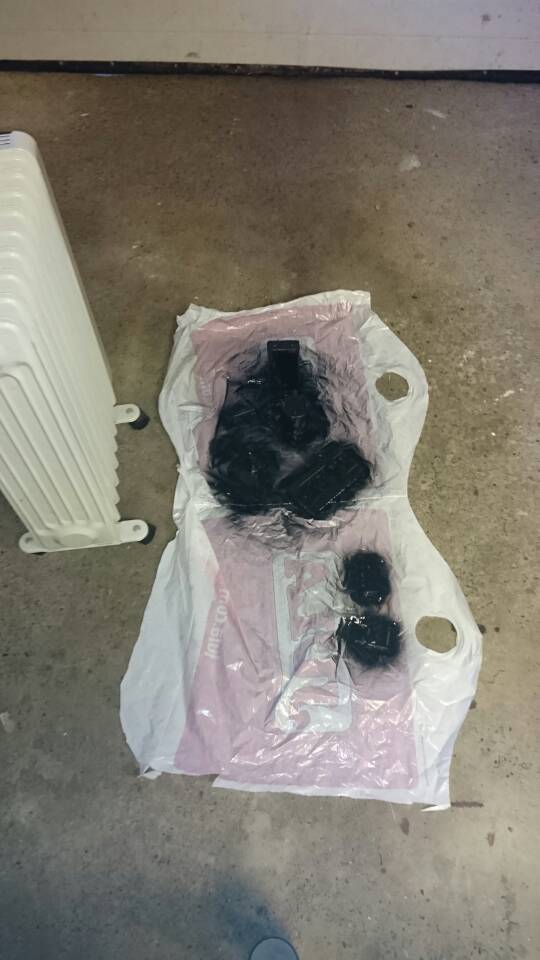
The primer is black, a little sceptical to that but I’ll se tomorrow how it worked out. The parts must wait 24 hours before the chrome spray can be applied.
The screws and ion arm top got a coat of normal black paint. Those will be dry in a couple of hours.
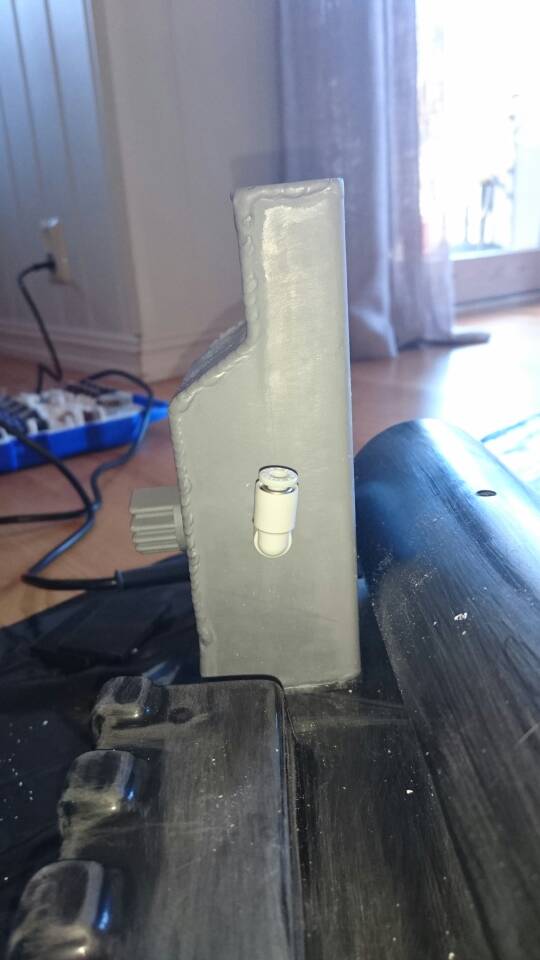
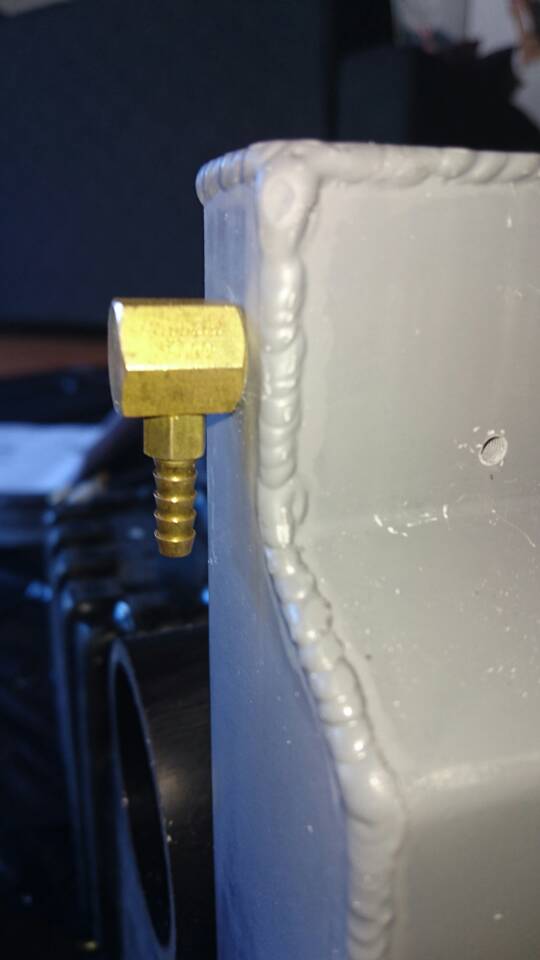
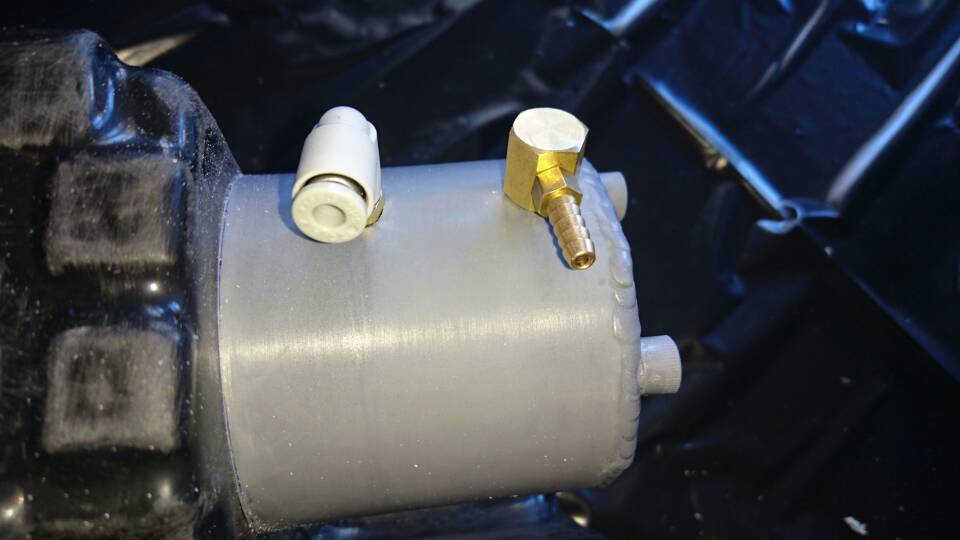
Added all the different elbows to the pack and parts
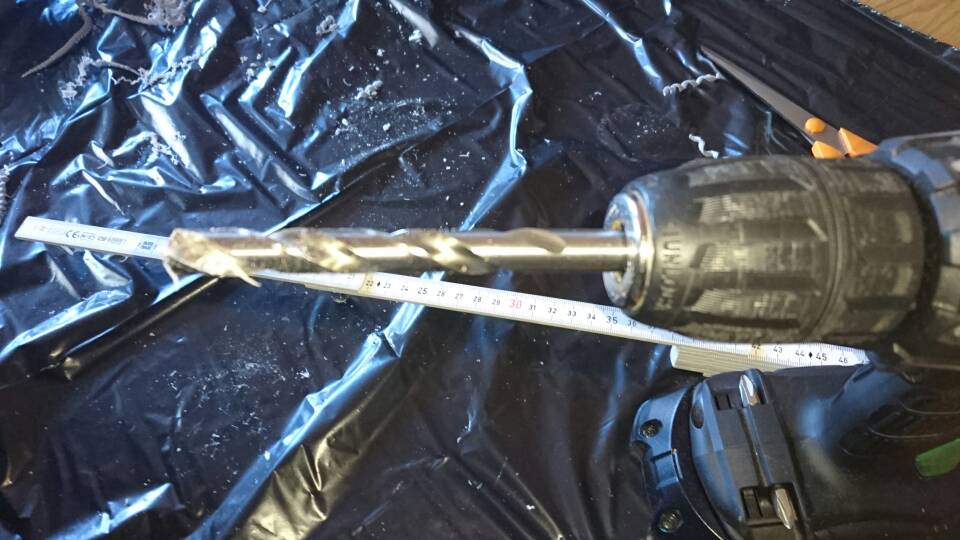
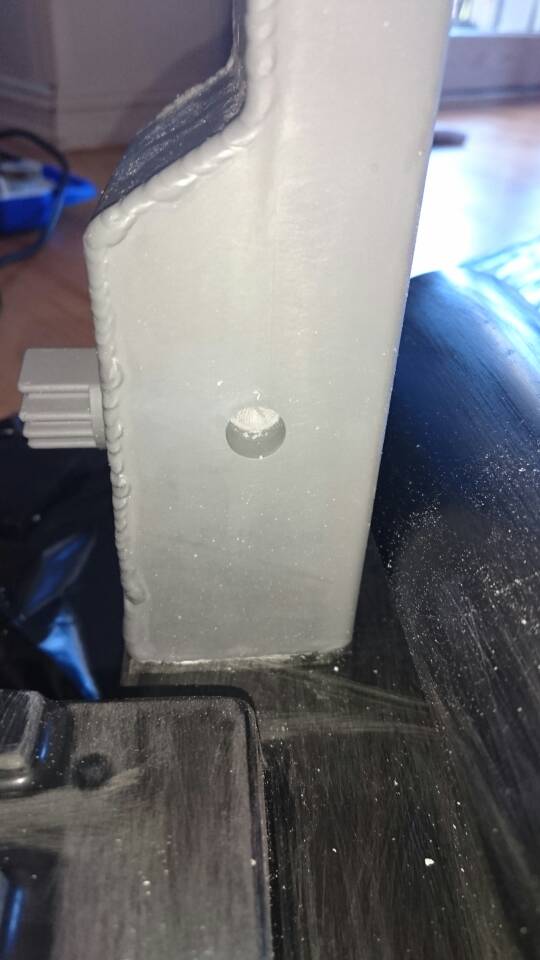
Used a 10mm drillbit that made a hole that fit like a glove. Could even screw in the clippard elbows and they sat flush. But I’ll probably add some adhesive when assembling it all.
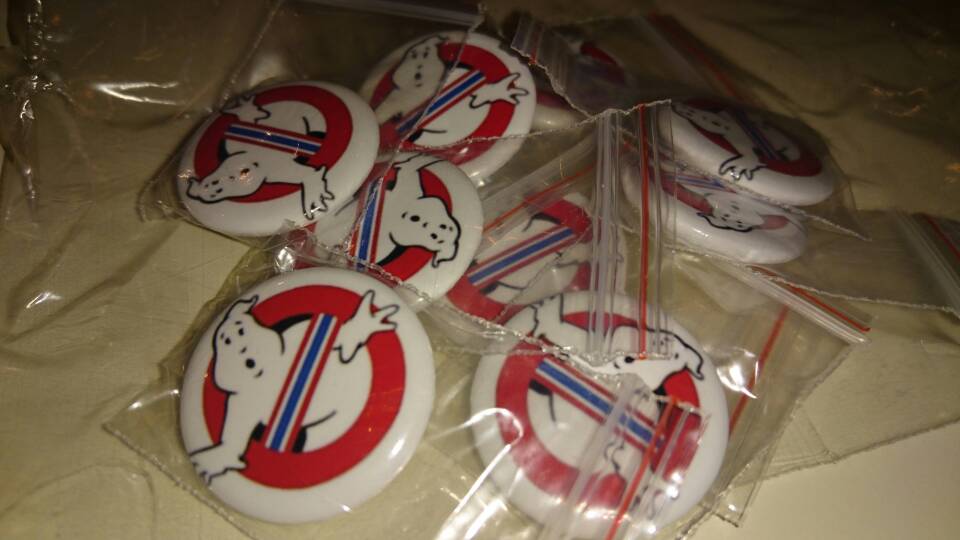
Got these for our franchise yesterday. Just a small run this time with 10, but if the quality is ok we’ll do a larger run and hand them out at cons etc
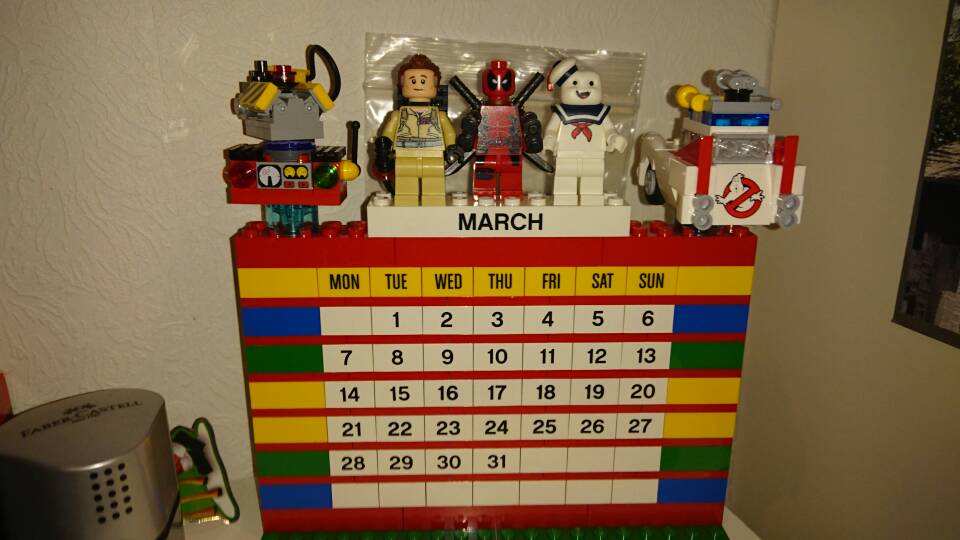
Now I must remove some of the ornaments on my Lego calendar because my son wants to play some Lego dimensions Ghostbusters with the new Stay Puft figurine. Couldn’t just use the disc, he insisted on having the figurine as well [GHOST]
Thanks, both for the compliment and the tip about the aluminium. The pack is a little top-heavy right now, but I’m hoping it will be a little better when I get the electronics and battery at the bottom.
The funds I have now will go finish the pack, but the lighter parts is definitivly on my wish list
Not all aluminum is lighter… I’m putting together a lightweight pack for my wife, and it’s definitely a balance between aluminum and resin… Some parts are heavier as aluminum, some are lighter as aluminum…