After collection parts I’m finally ready to start my build.
I’m trying to keep to a budget, so it’ll be a slow and steady one.
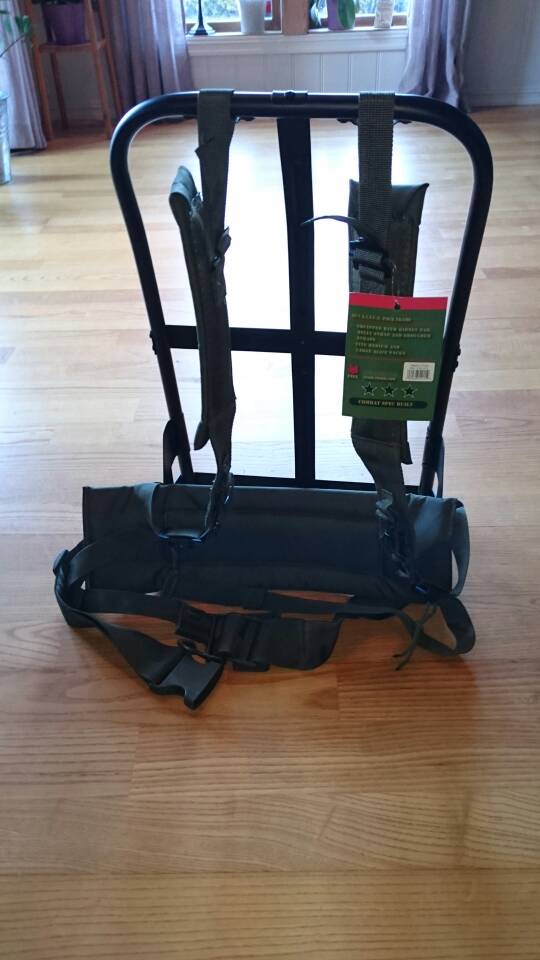
Alice frame from GBfans.
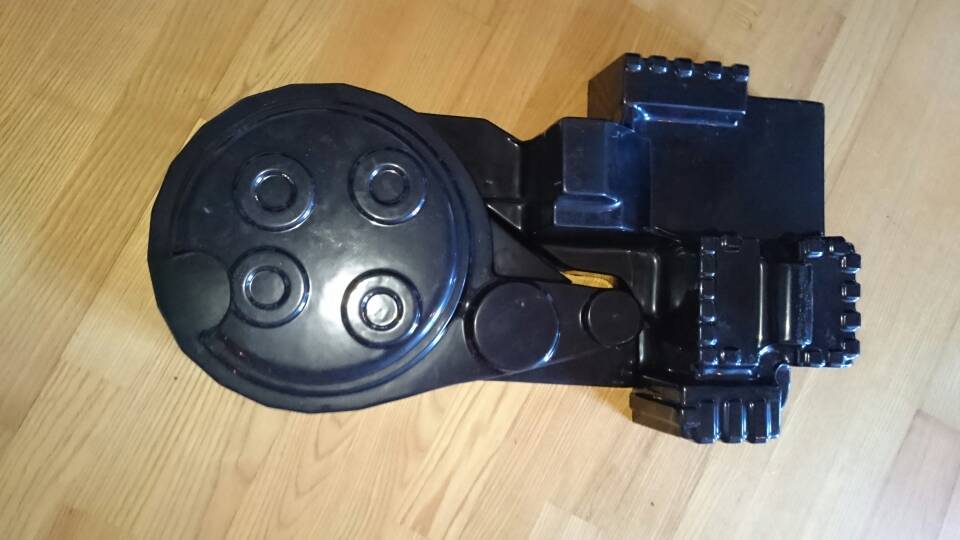
Shell from Studio Creations.
Complete pack electronics from GBfans. (Man, how awesome it was the first time I tried it all out. What a rush to “fire” my proton gun. Still get a good chill down my spine just thinking about it [emoji4] [emoji317])
I’ve started some minor work on the pack, but those pictures looked awful. I’ll take some new ones and add them in a new post.
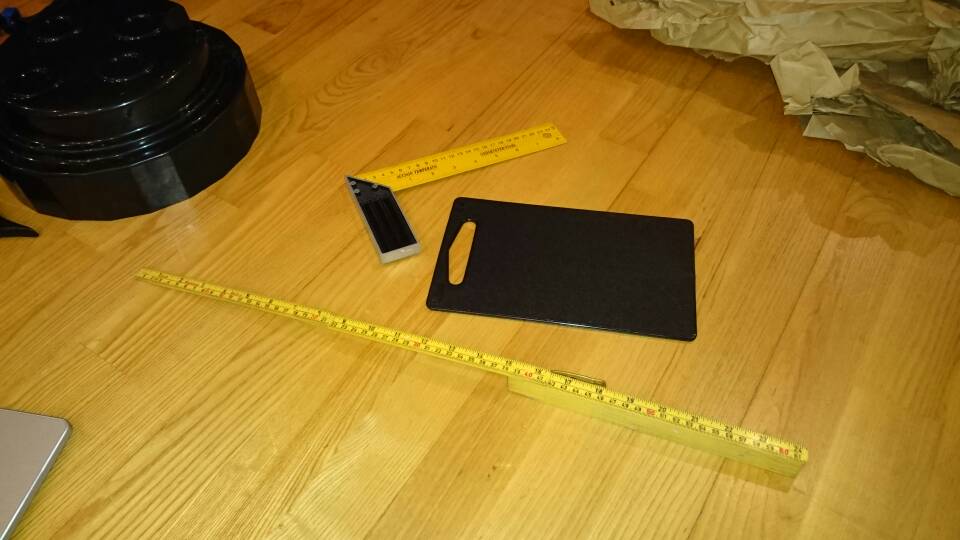
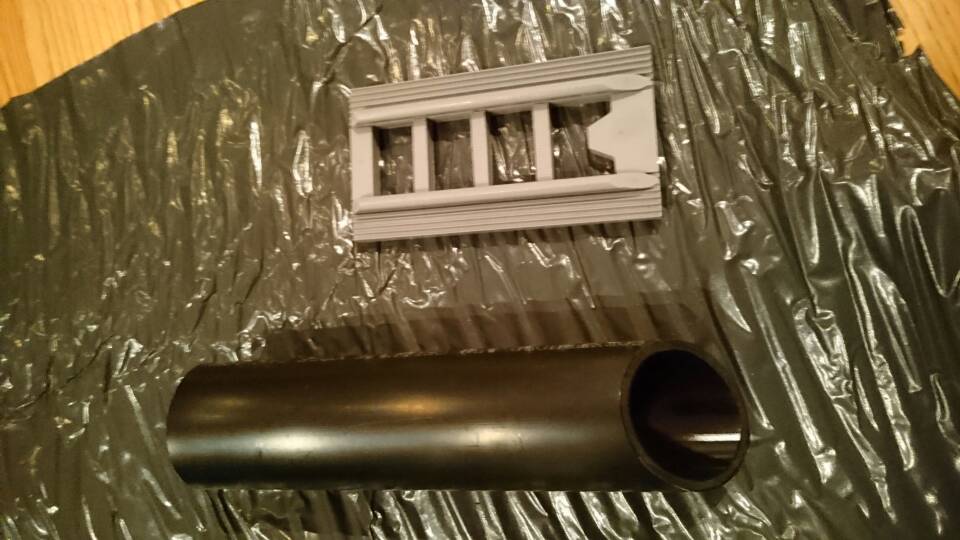
Started on the plates for the synchronous generator (isn’t that what it’s called?)
Used a cutting board for plates.
More to come. YES, I’m finally getting my own, selfbuilt pack!
Great to see you start this build mate. Good luck. Got some nice parts there to knock this out of the park
Thanks.
Got some great parts from Crix as well.
Post pictures tomorrow.
Had the car in twice for repairs, but now I’m finally ready for the pack.
Cars hey… Can’t live with them, can’t live without them. Looking forward to the updates
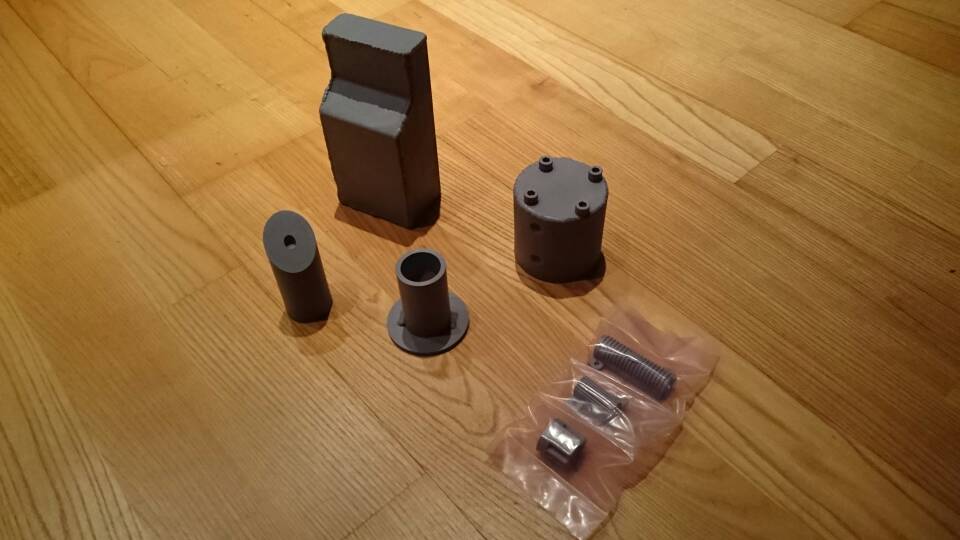
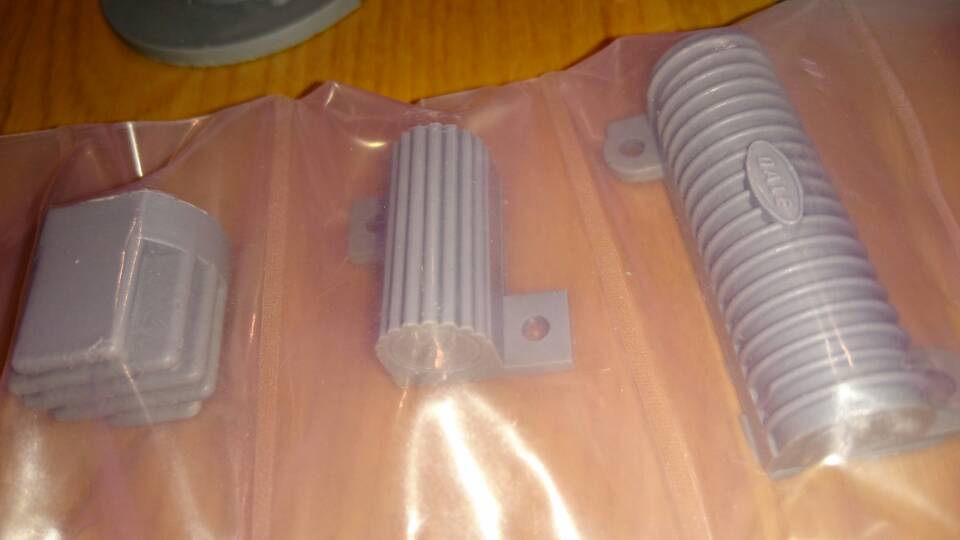
A quick part update. Got these awesome resin parts from Crix:
The details truly shows great workmanship:
Couldn’t be happier with these [emoji4]
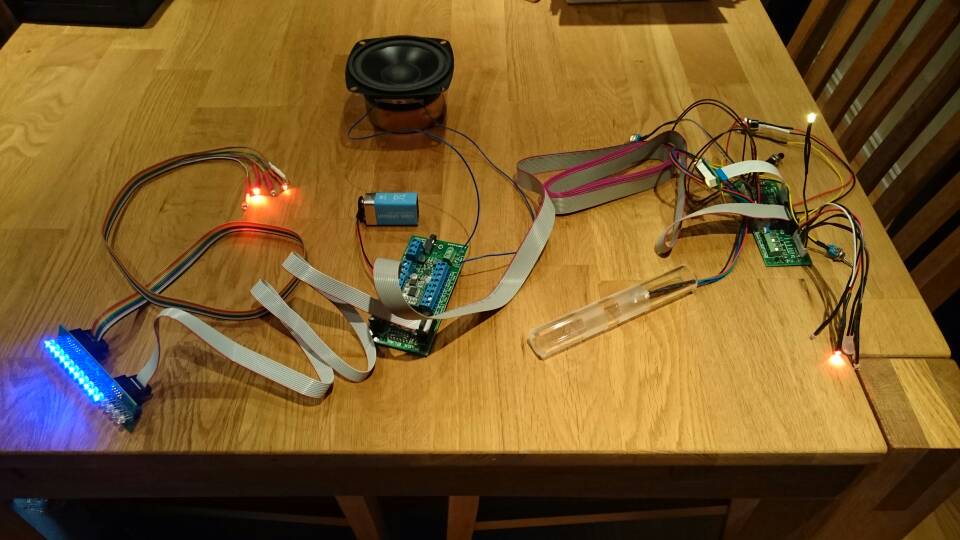
GBfans electronics for both pack and thrower
My sons favourite functions:
https://vimeo.com/156023314
Wonderful kits, easy to assemble and so fun to play around with [emoji317] [emoji4]
Those are some super clean casts there. Crix nailed them!
I will never forget the first time I hooked the GBFans electronics up like you have there. I played with it for an hour solid and could have gone on all day.
Yeah, my son and I had a blast with it today.
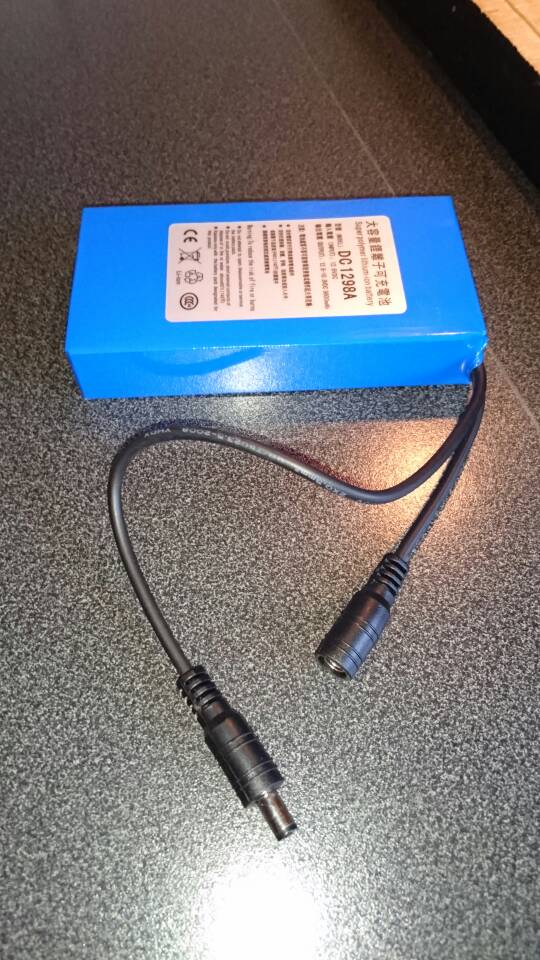
A question to all pack builders: I’m putting in a battery similar to the one from GBfans, and I it has an on/off switch.
Do people just leave it turned on inside the shell or cut a hole to get to the switch without taking the shell off of the motherboard?
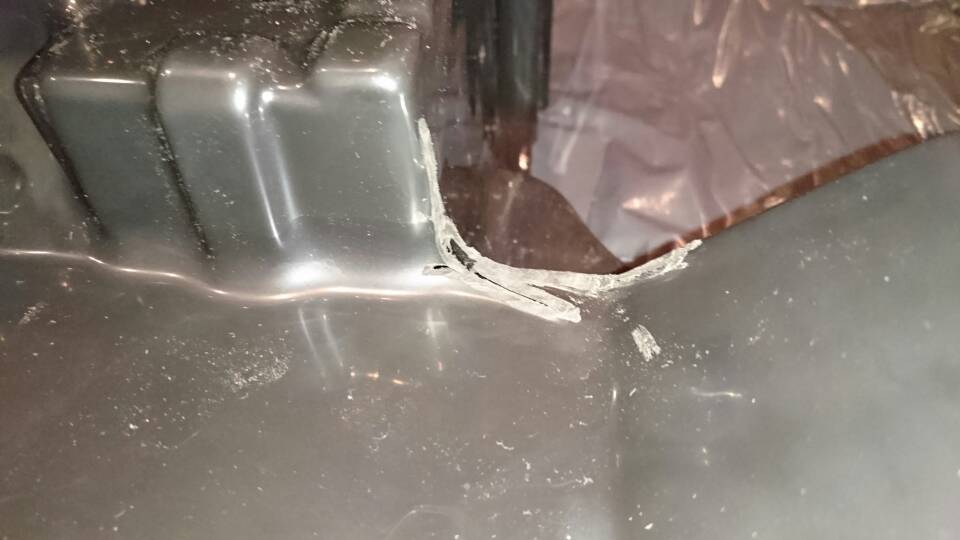
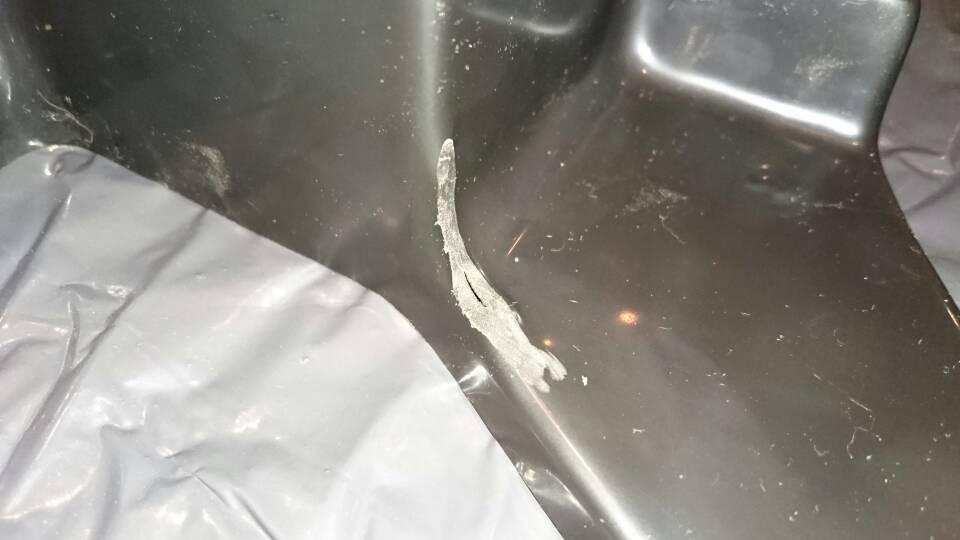
The work I’ve done on the pack so far:
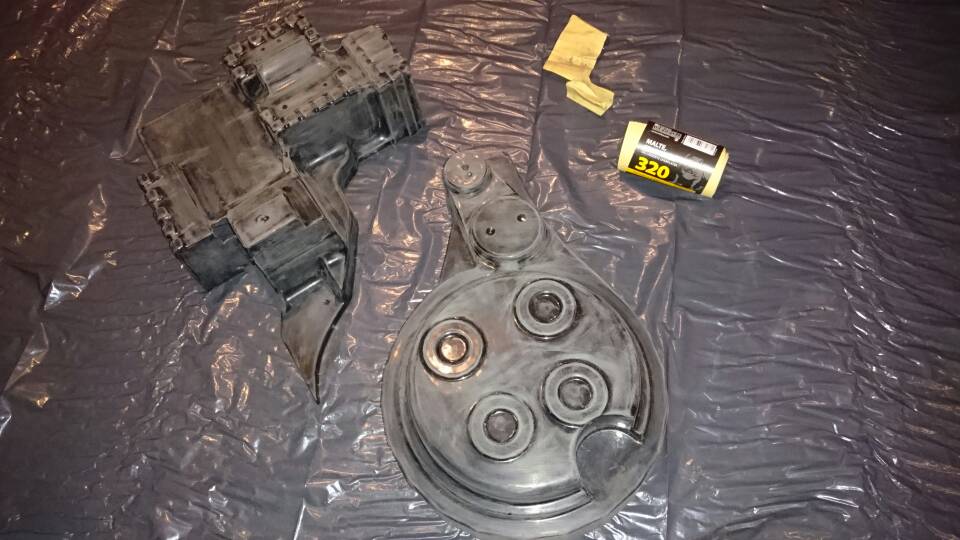
Removed the extra webbing left by the plastic molding.
Sanded down the entire shell and washed it with a moist cloth.
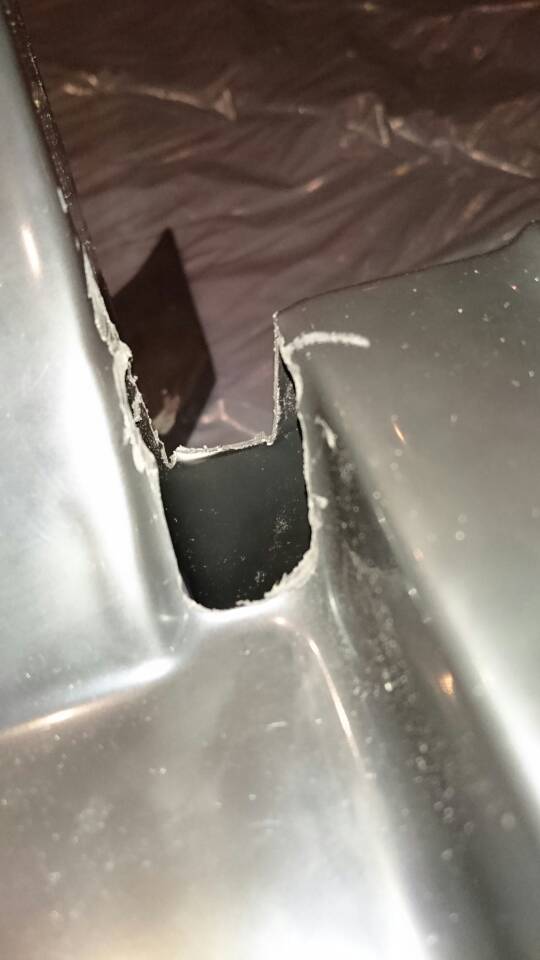
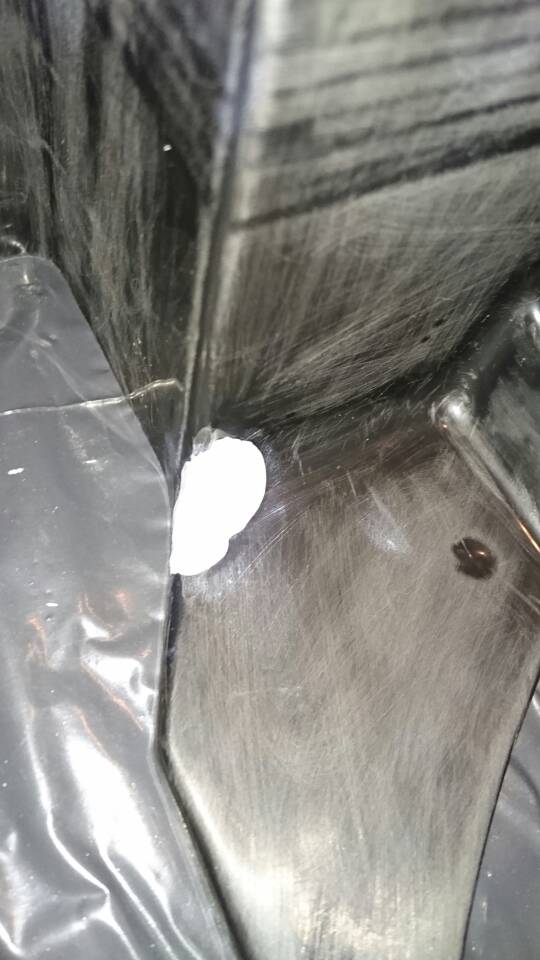
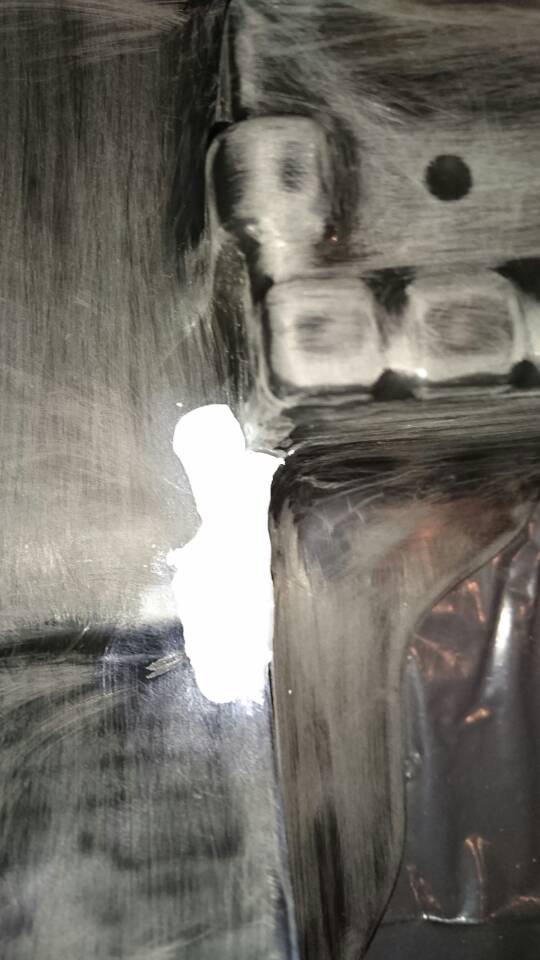
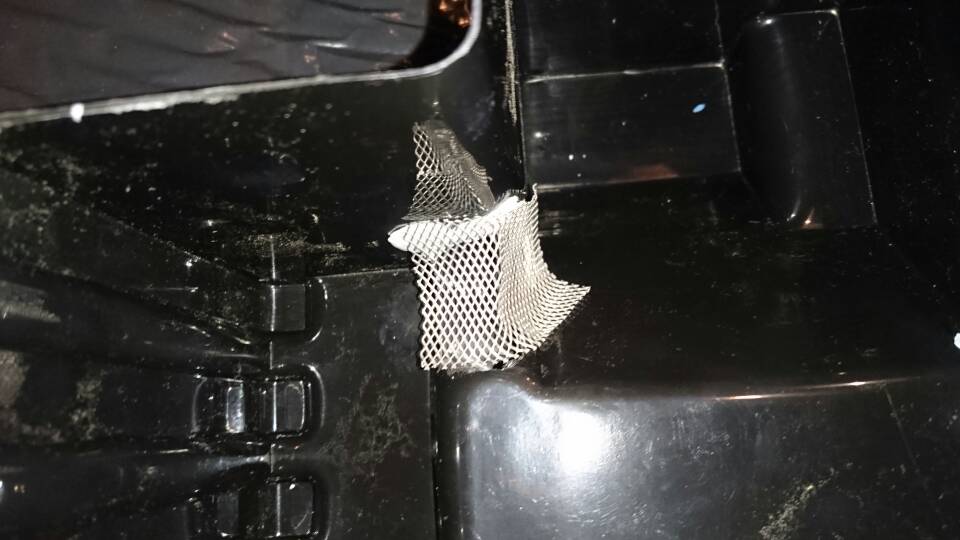
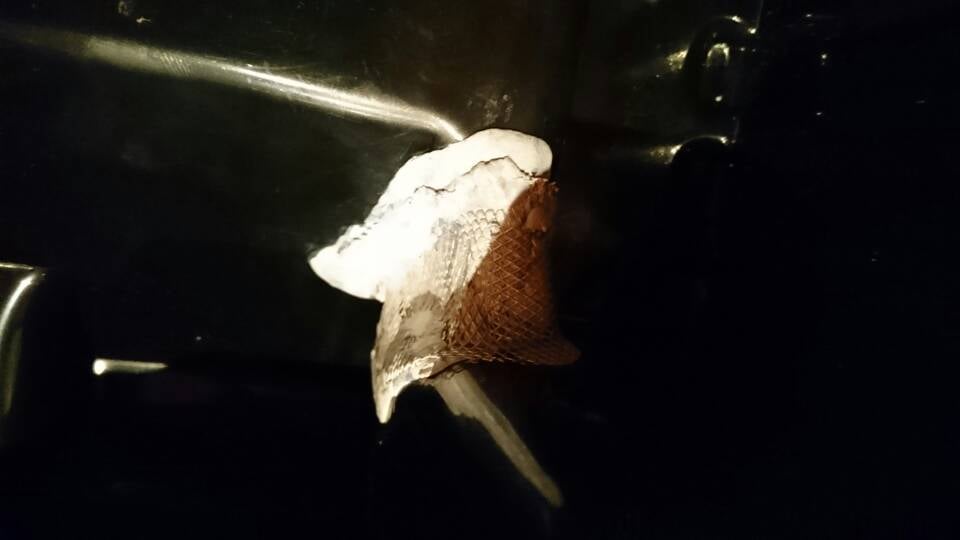
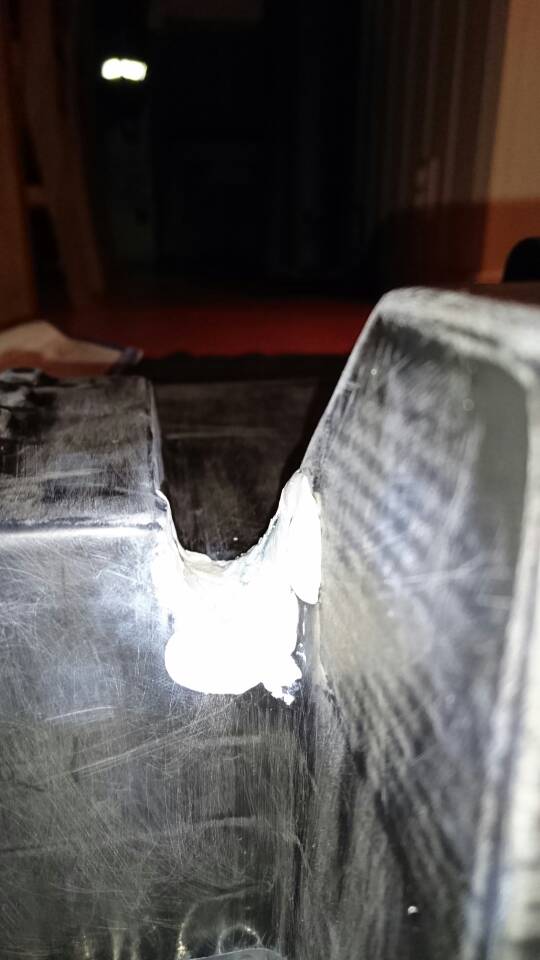
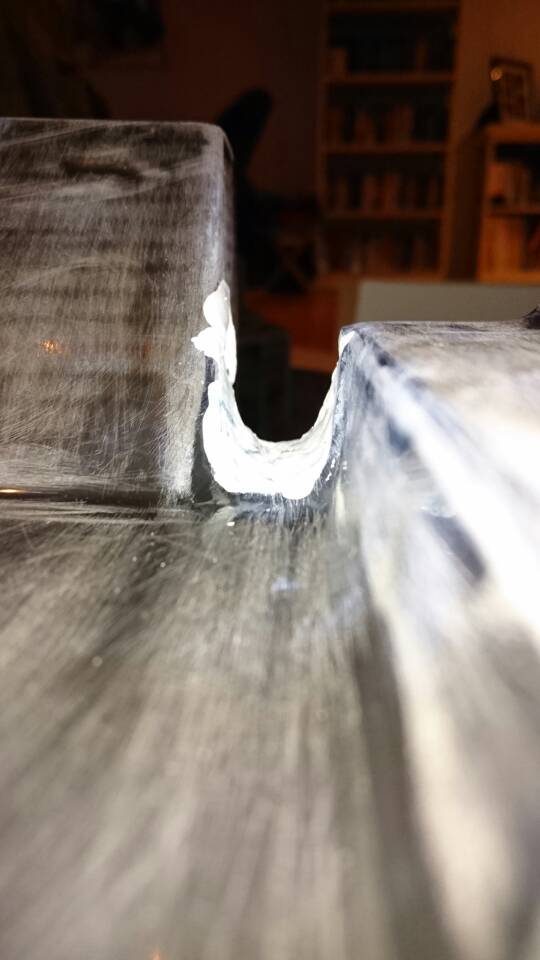
Mended the cracks and hole after removal of webbing.
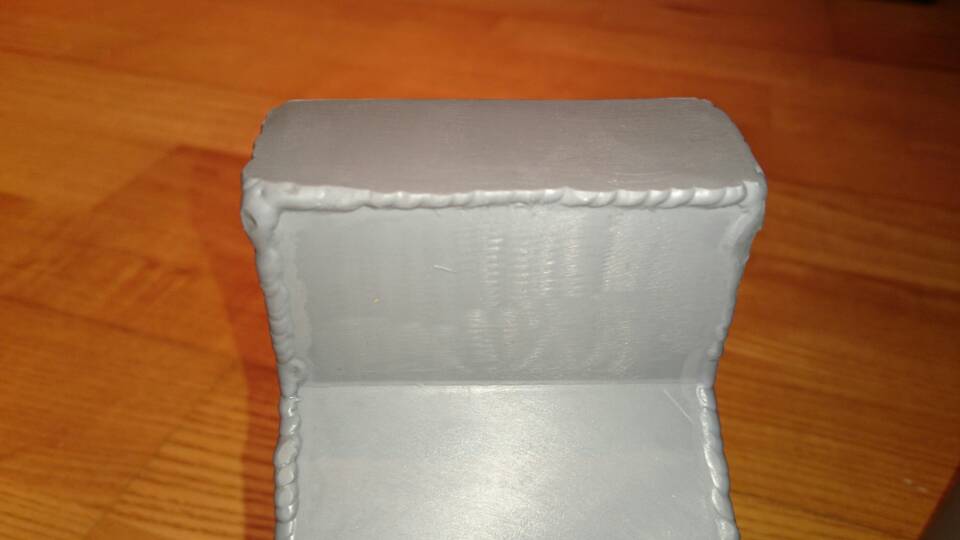
Next to the powercell I went a little bit overboard with my Dremel. I fixed the hole using aluminium plating for car bumpers. I’ll sand everything down when I’ve fiberglassed the inside.
Looks like a great start! I can’t wait until I start my own.
Don’t sweat the overzealous Dremel mate. All adds to the dings to make things look more authentic. Looking like a great start man
Thanks. Great fun to build
Sounds like a good way to view it [emoji6] Thanks [emoji106]
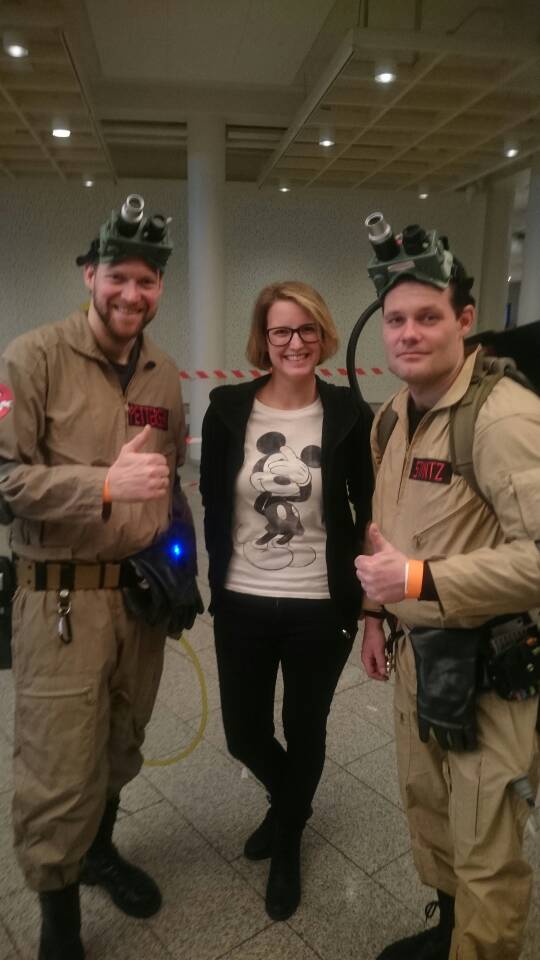
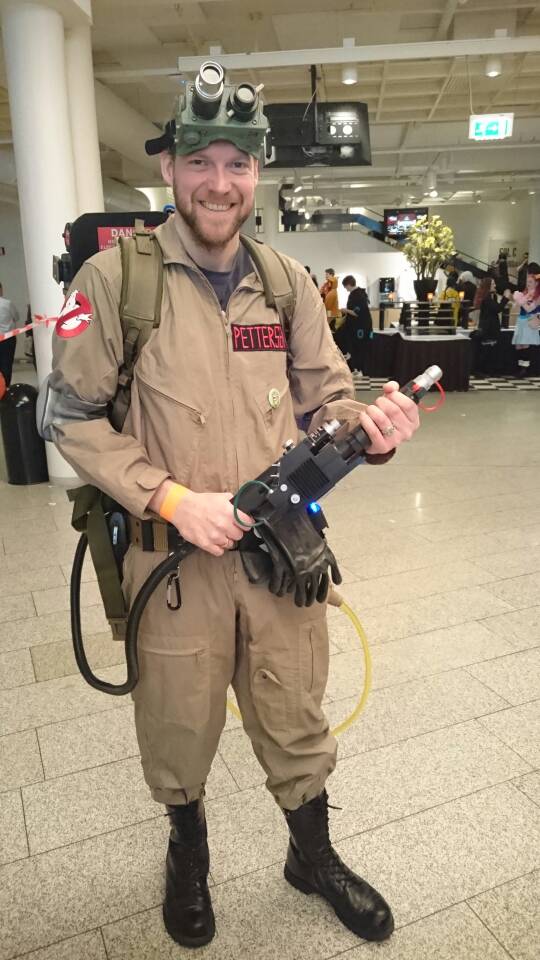
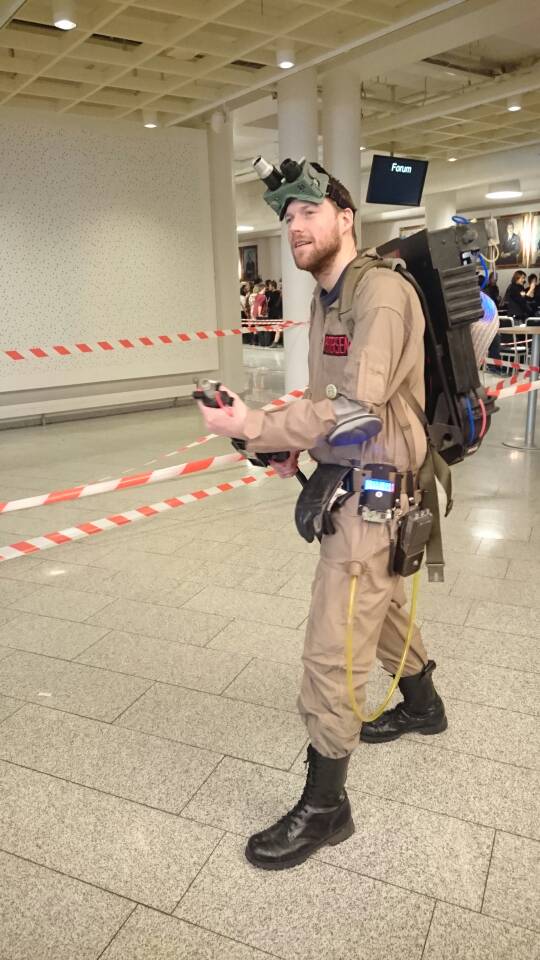
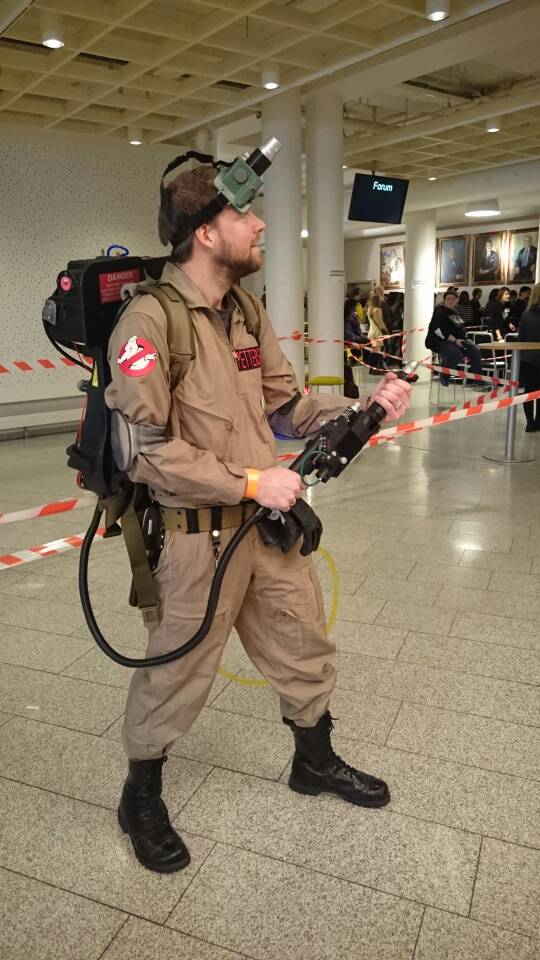
Went to my first con in uniform yesterday. Just a rush with all the thumbs up, pictures and conversations. We even got interviewed by some local newspapers. The love for Ghostbusters is still very much alive in the general public, of all ages (atleast the crowd attending cons [emoji4] ).
Spent most of the day like this, posing for pictures.
Even got some great inspiration for the rest of my build:
A great day at Desucon Pop in Oslo [emoji317] [emoji4]
1 Like
Great.
And nice parts for your build. looking forward to this build. :sigh:
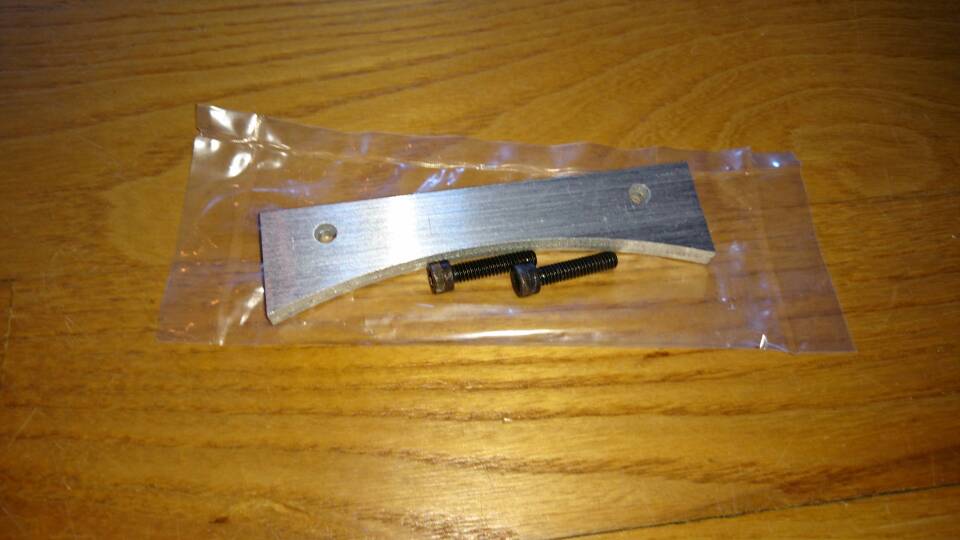
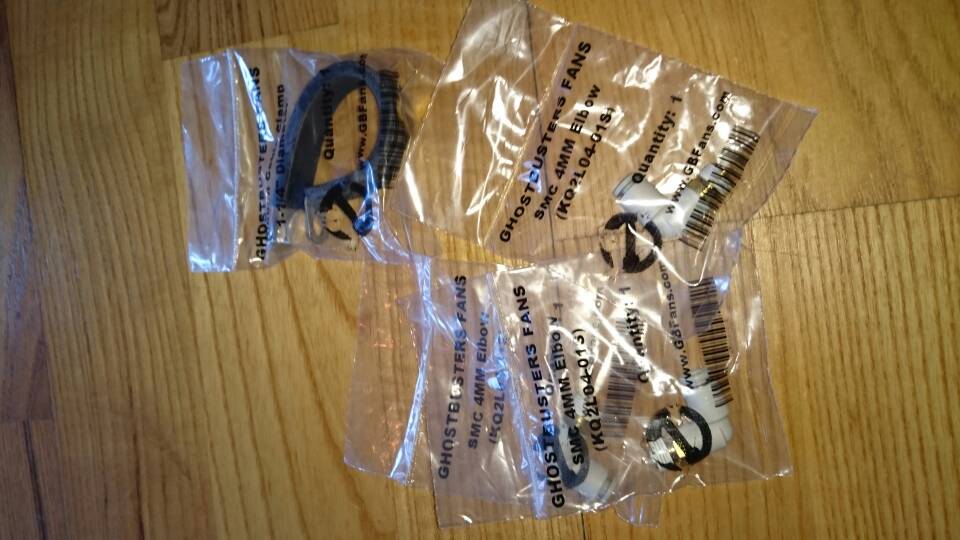
With a sick kid my build is moving slowly, but I can’t wait to add these parts (hopefully a test fitting later this week):
All these parts is from GBFans.
Thanks.
I’m following your build with quite an interest as well. As I’ve said before I really love the look of your wooden parts!
More awesome parts. Hope your kid gets well soon