Okay so some more progress over the last few days, and I feel like the pack and wand are really starting to come together.
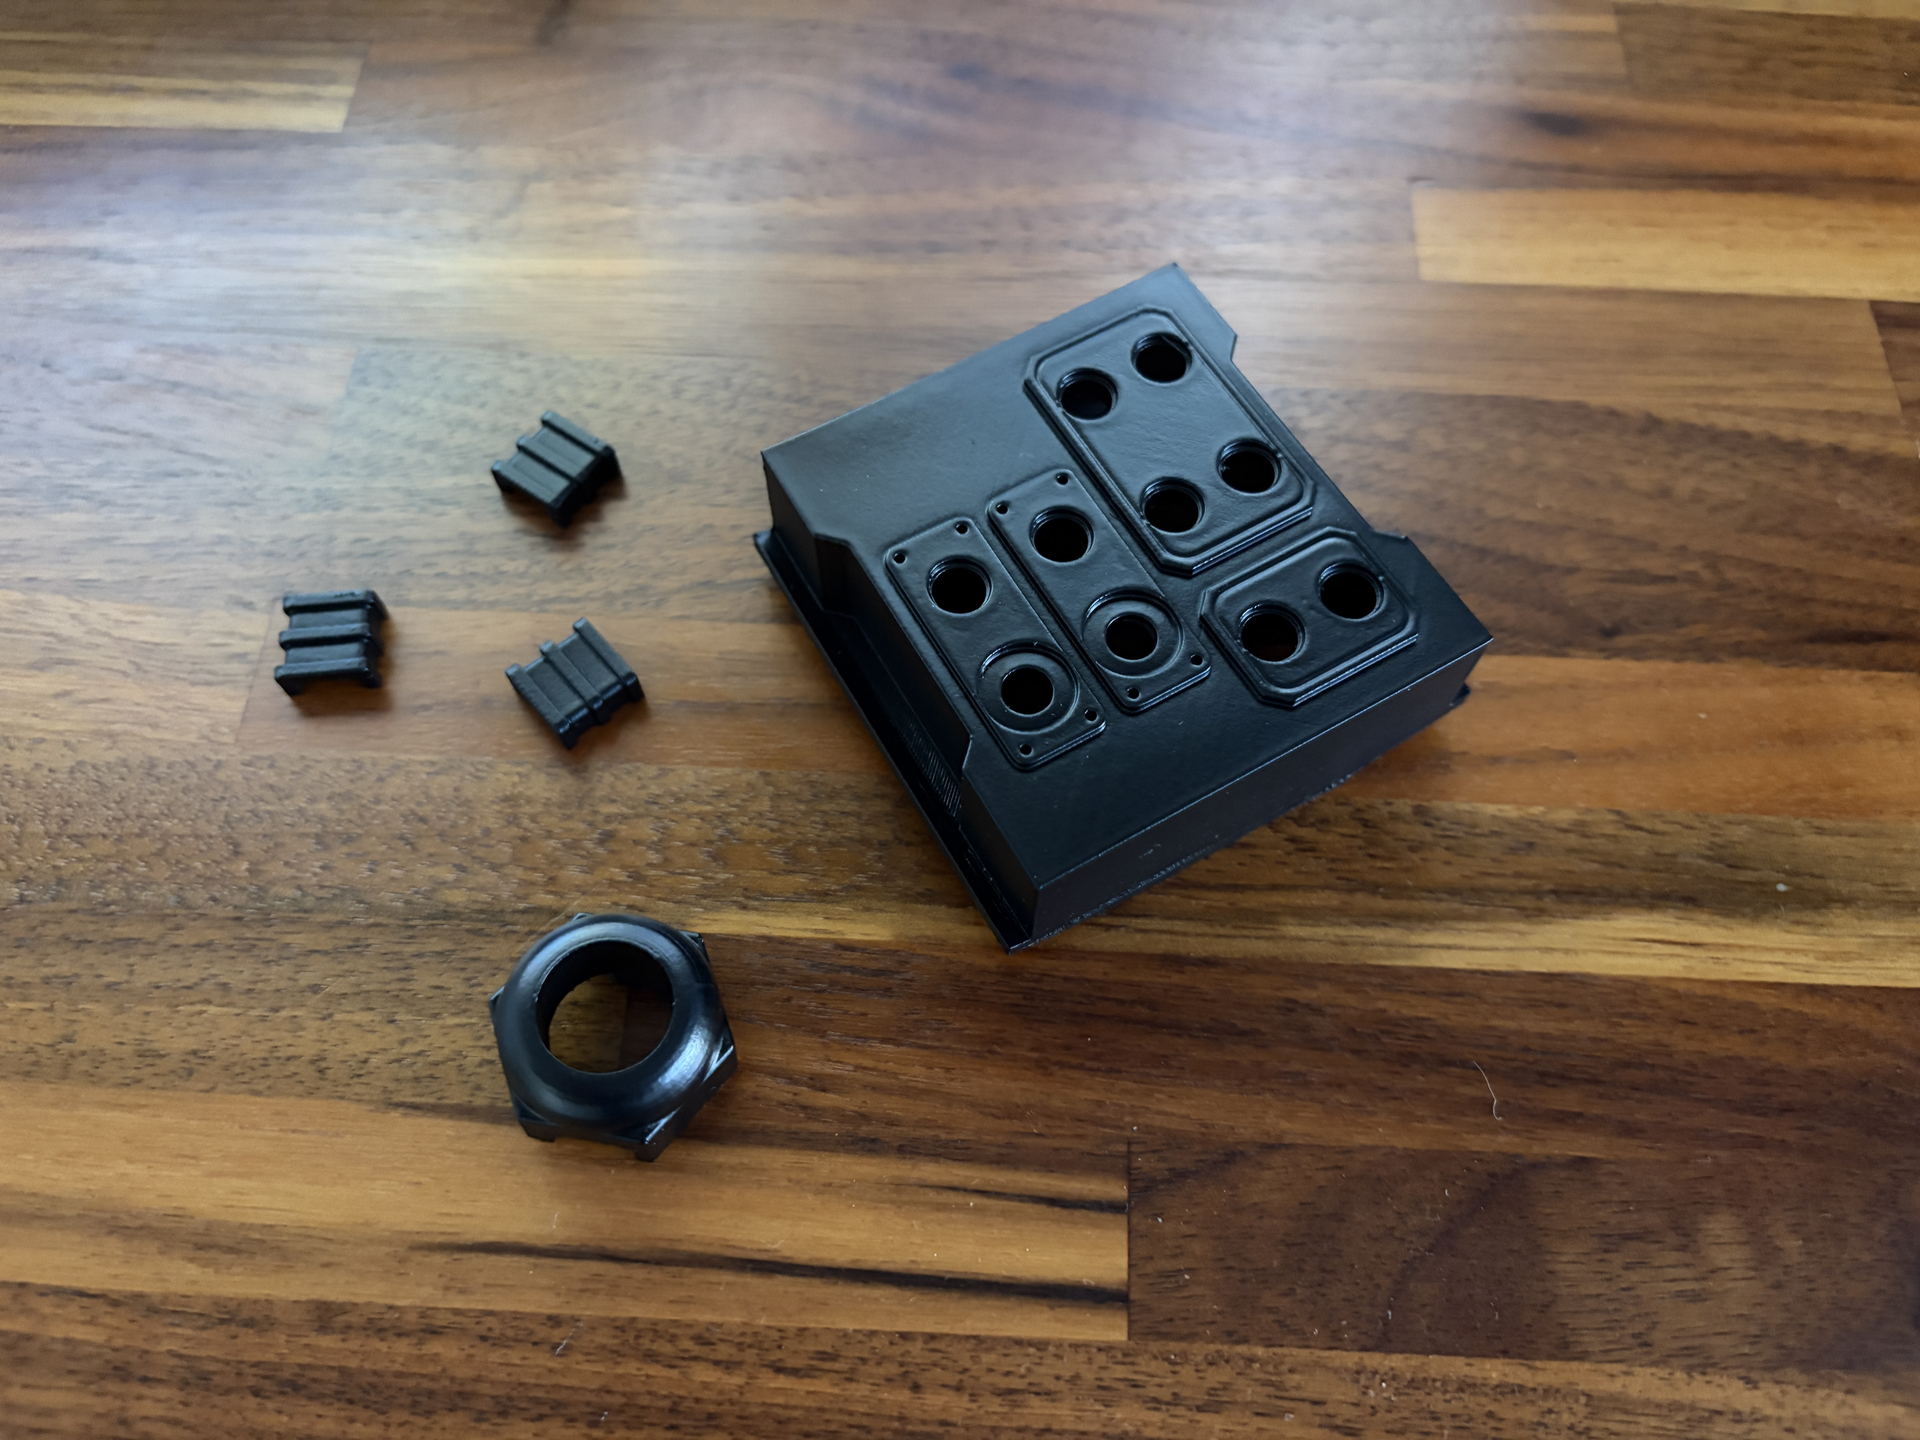
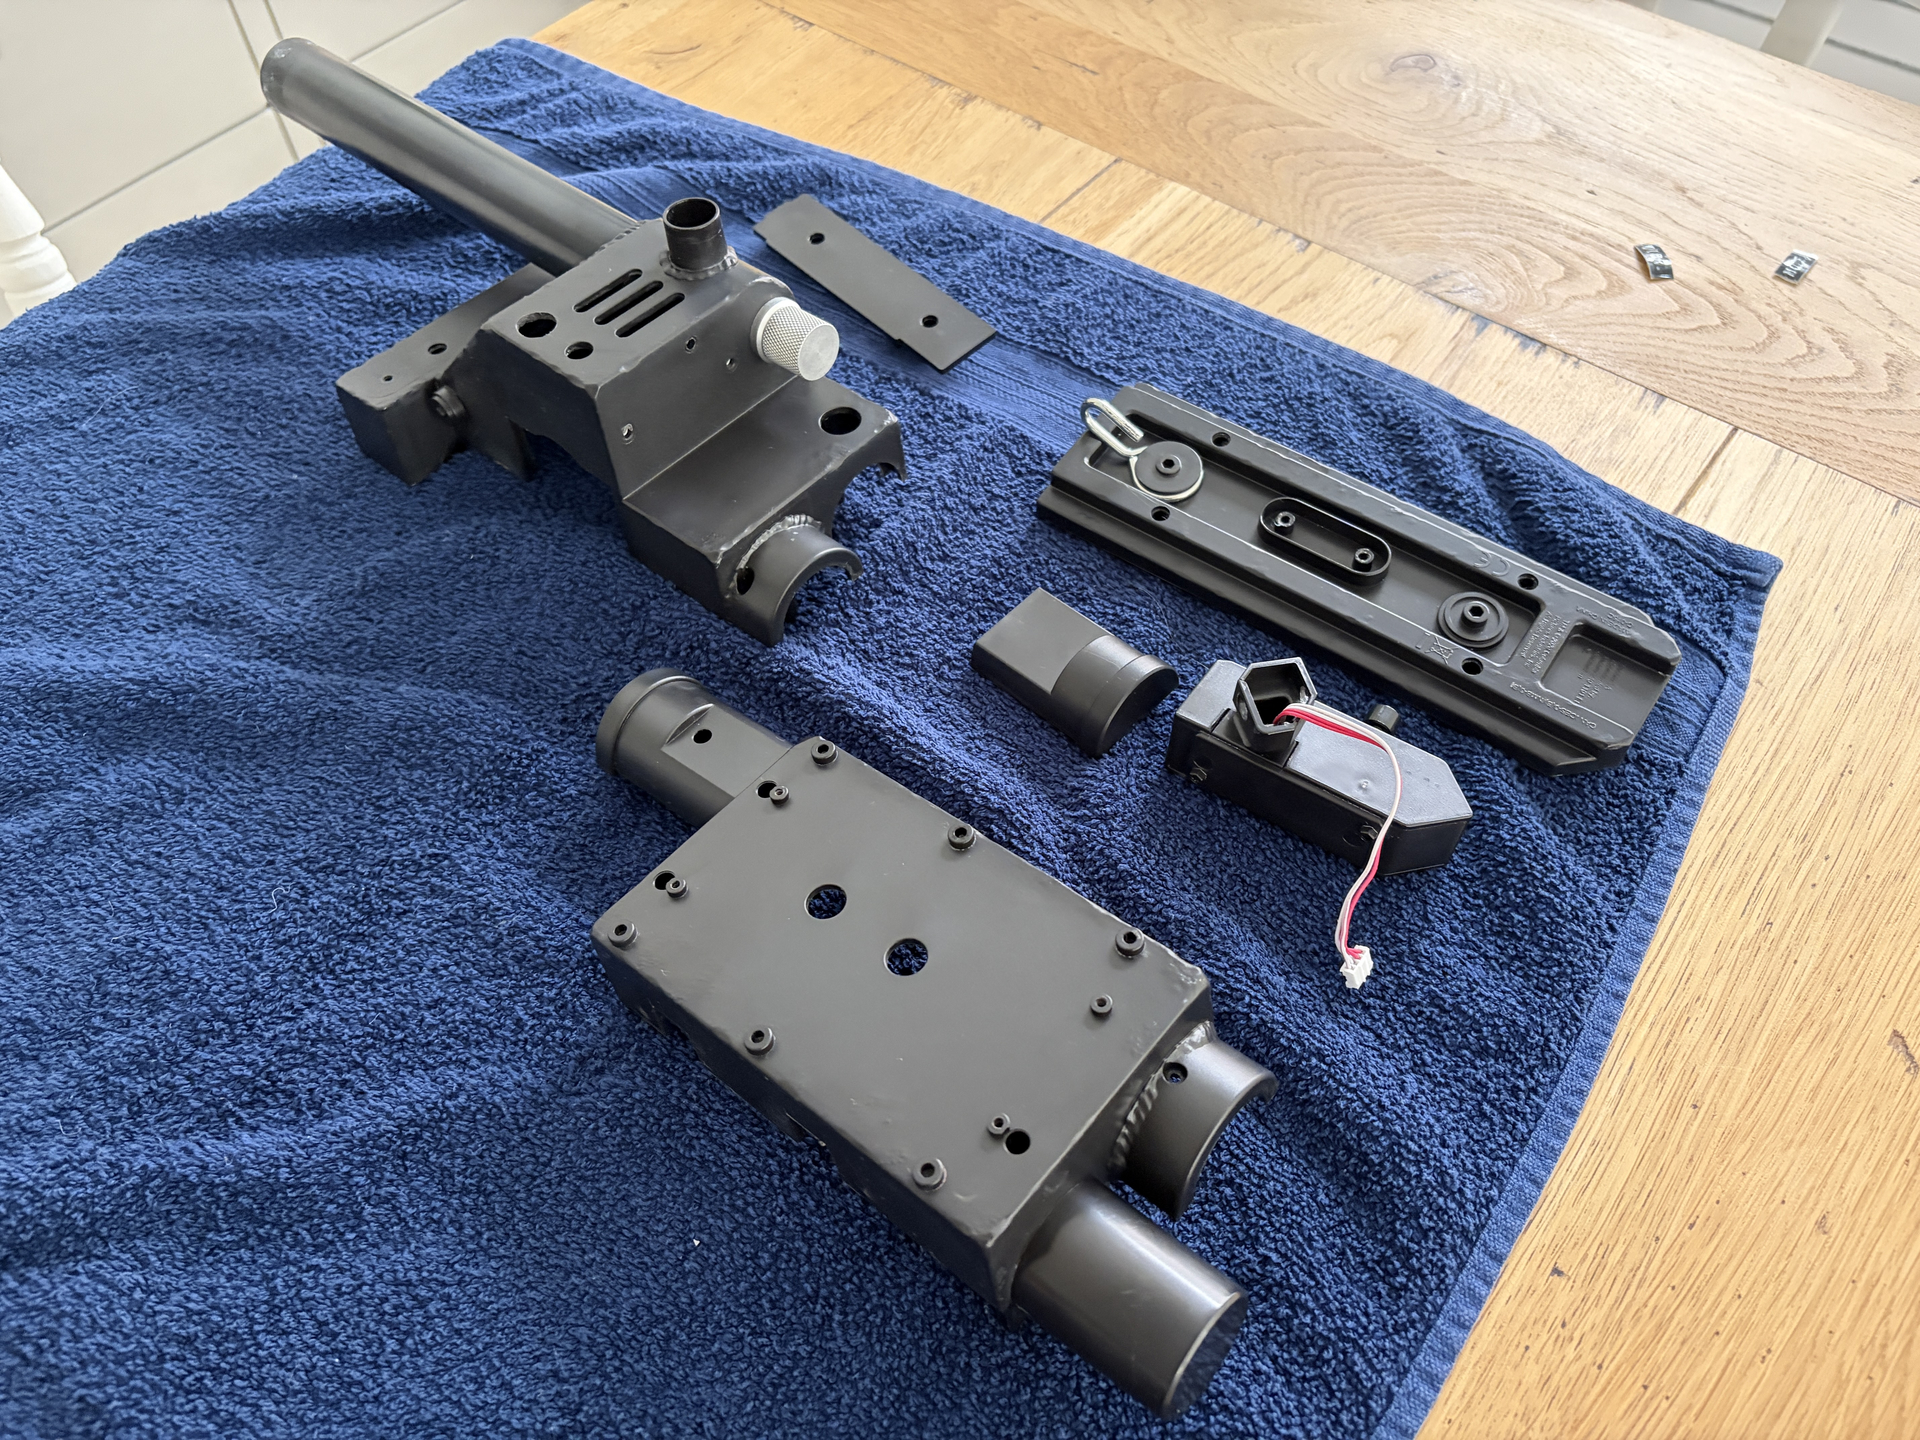
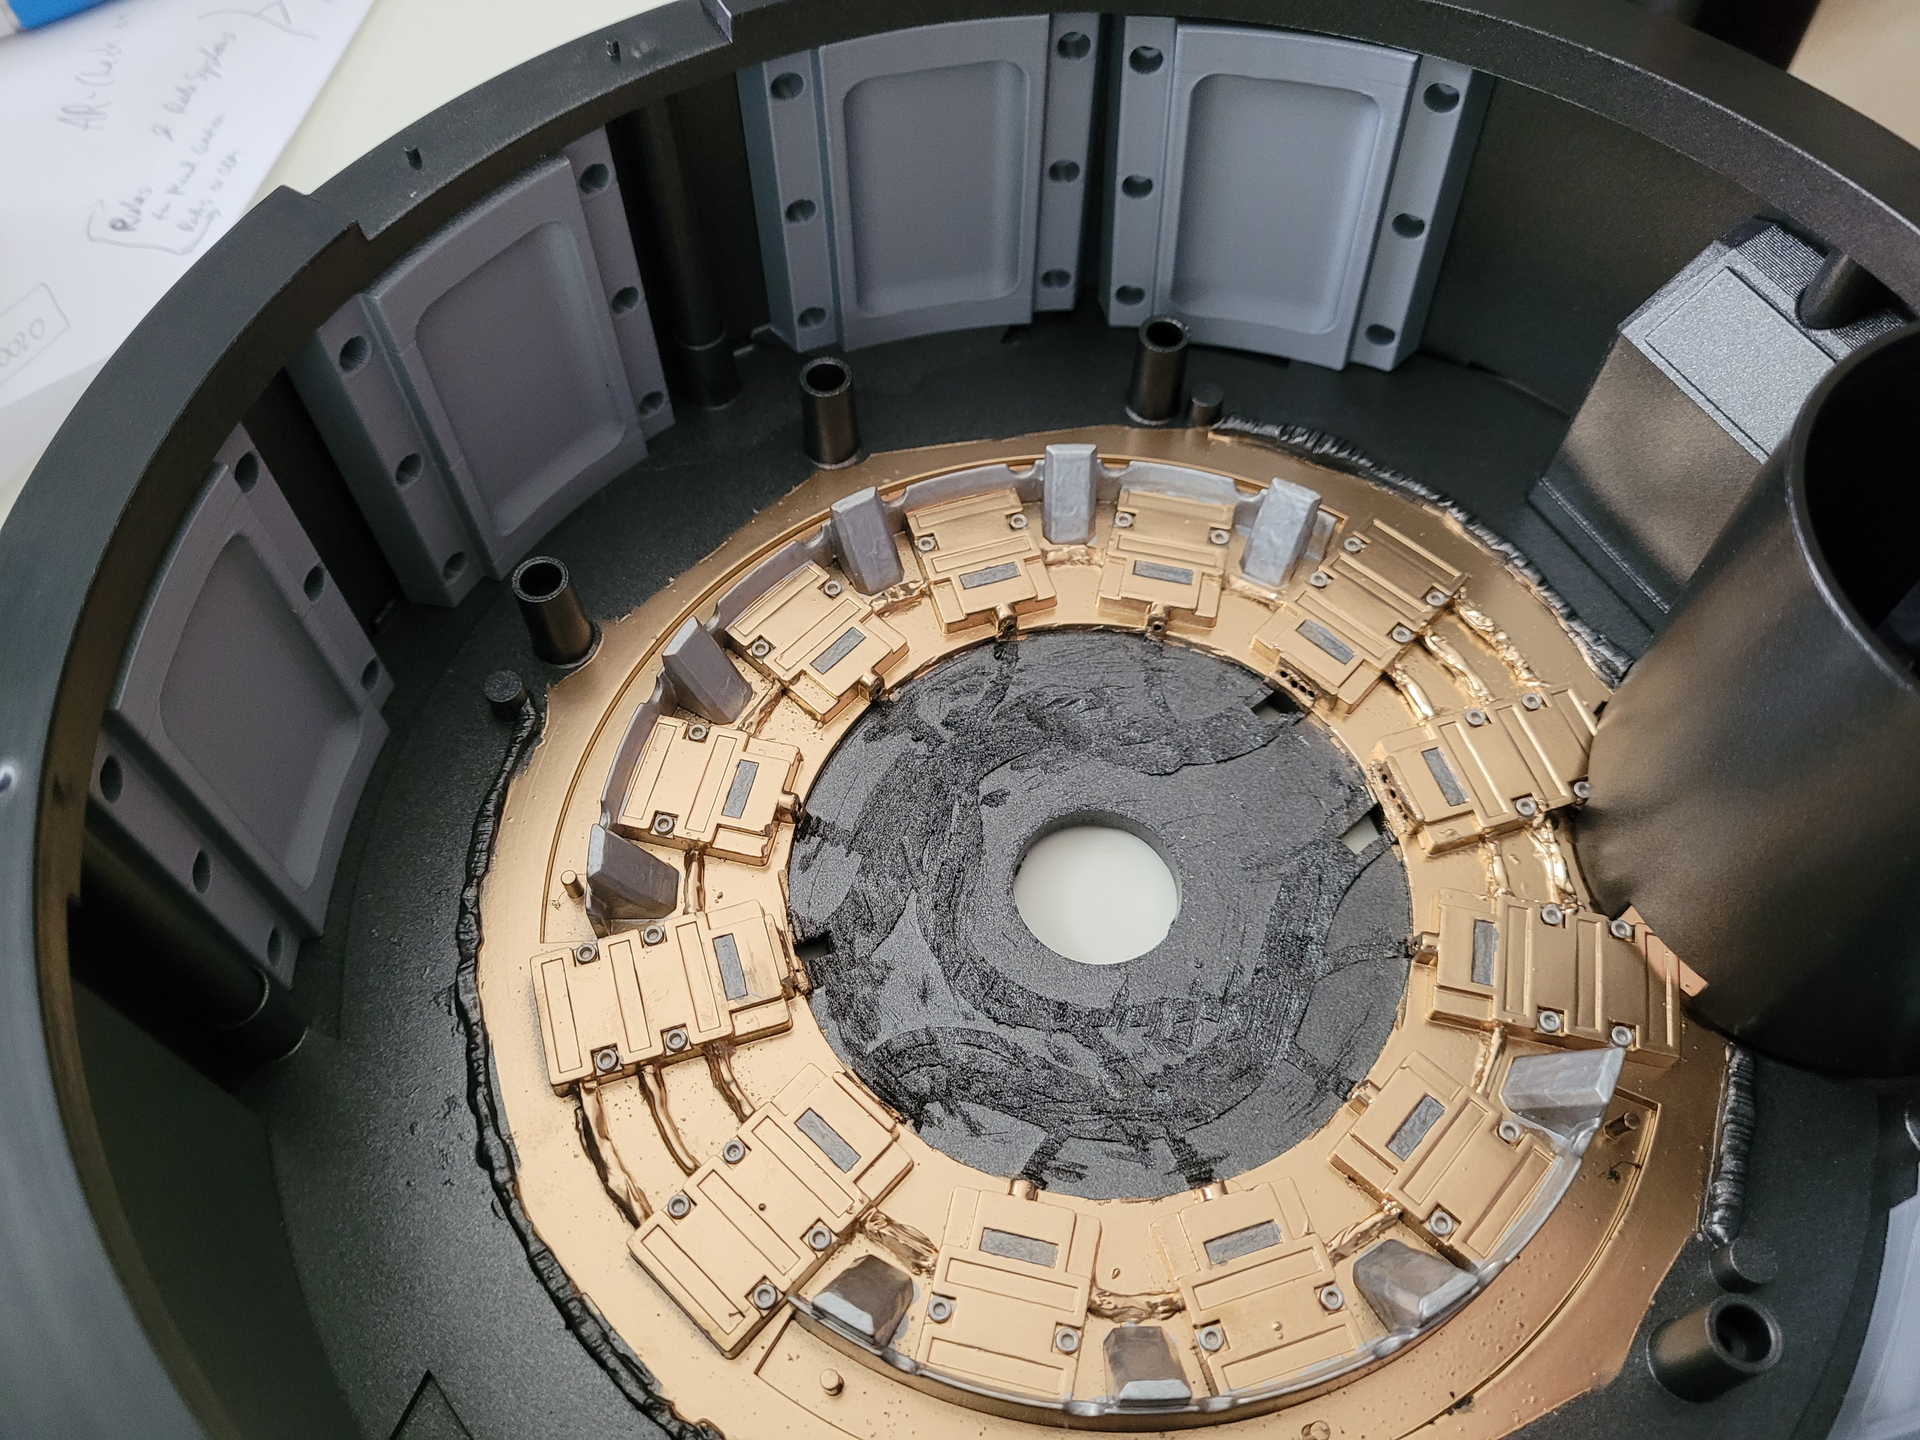
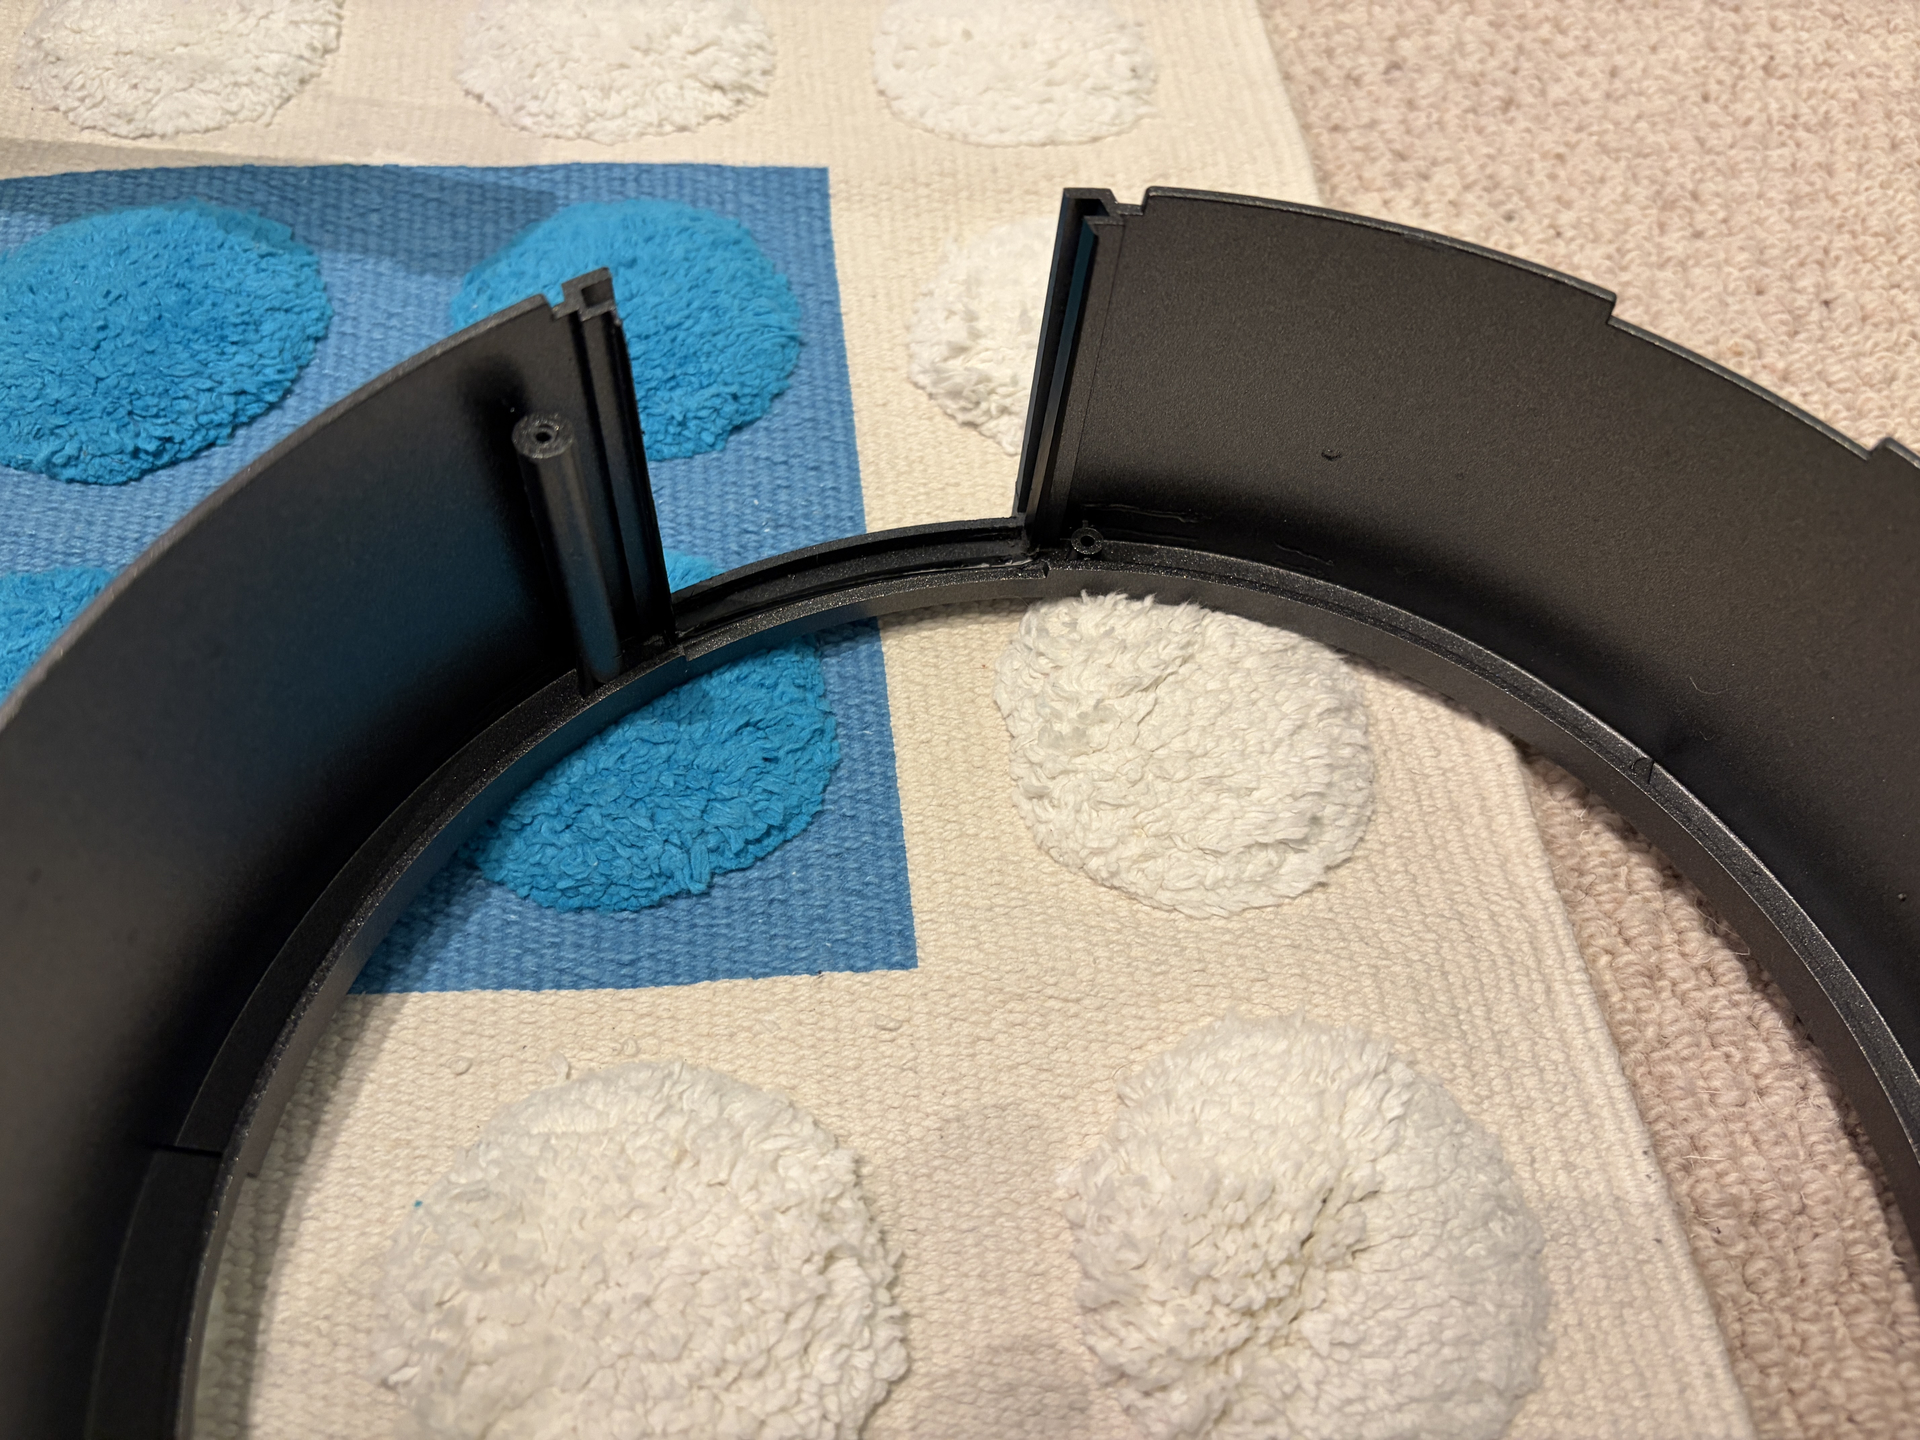
First up, I finally managed to finish the inner cyclotron switch plate, after a few failed attempts at the 3D print for various reasons. As you probably know, the 1984 pack doesn’t come with a switch plate like the original Haslab Afterlife pack did; instead there’s just a blank plate moulded into the main inner cyclotron housing, shown in the top-left corner here:
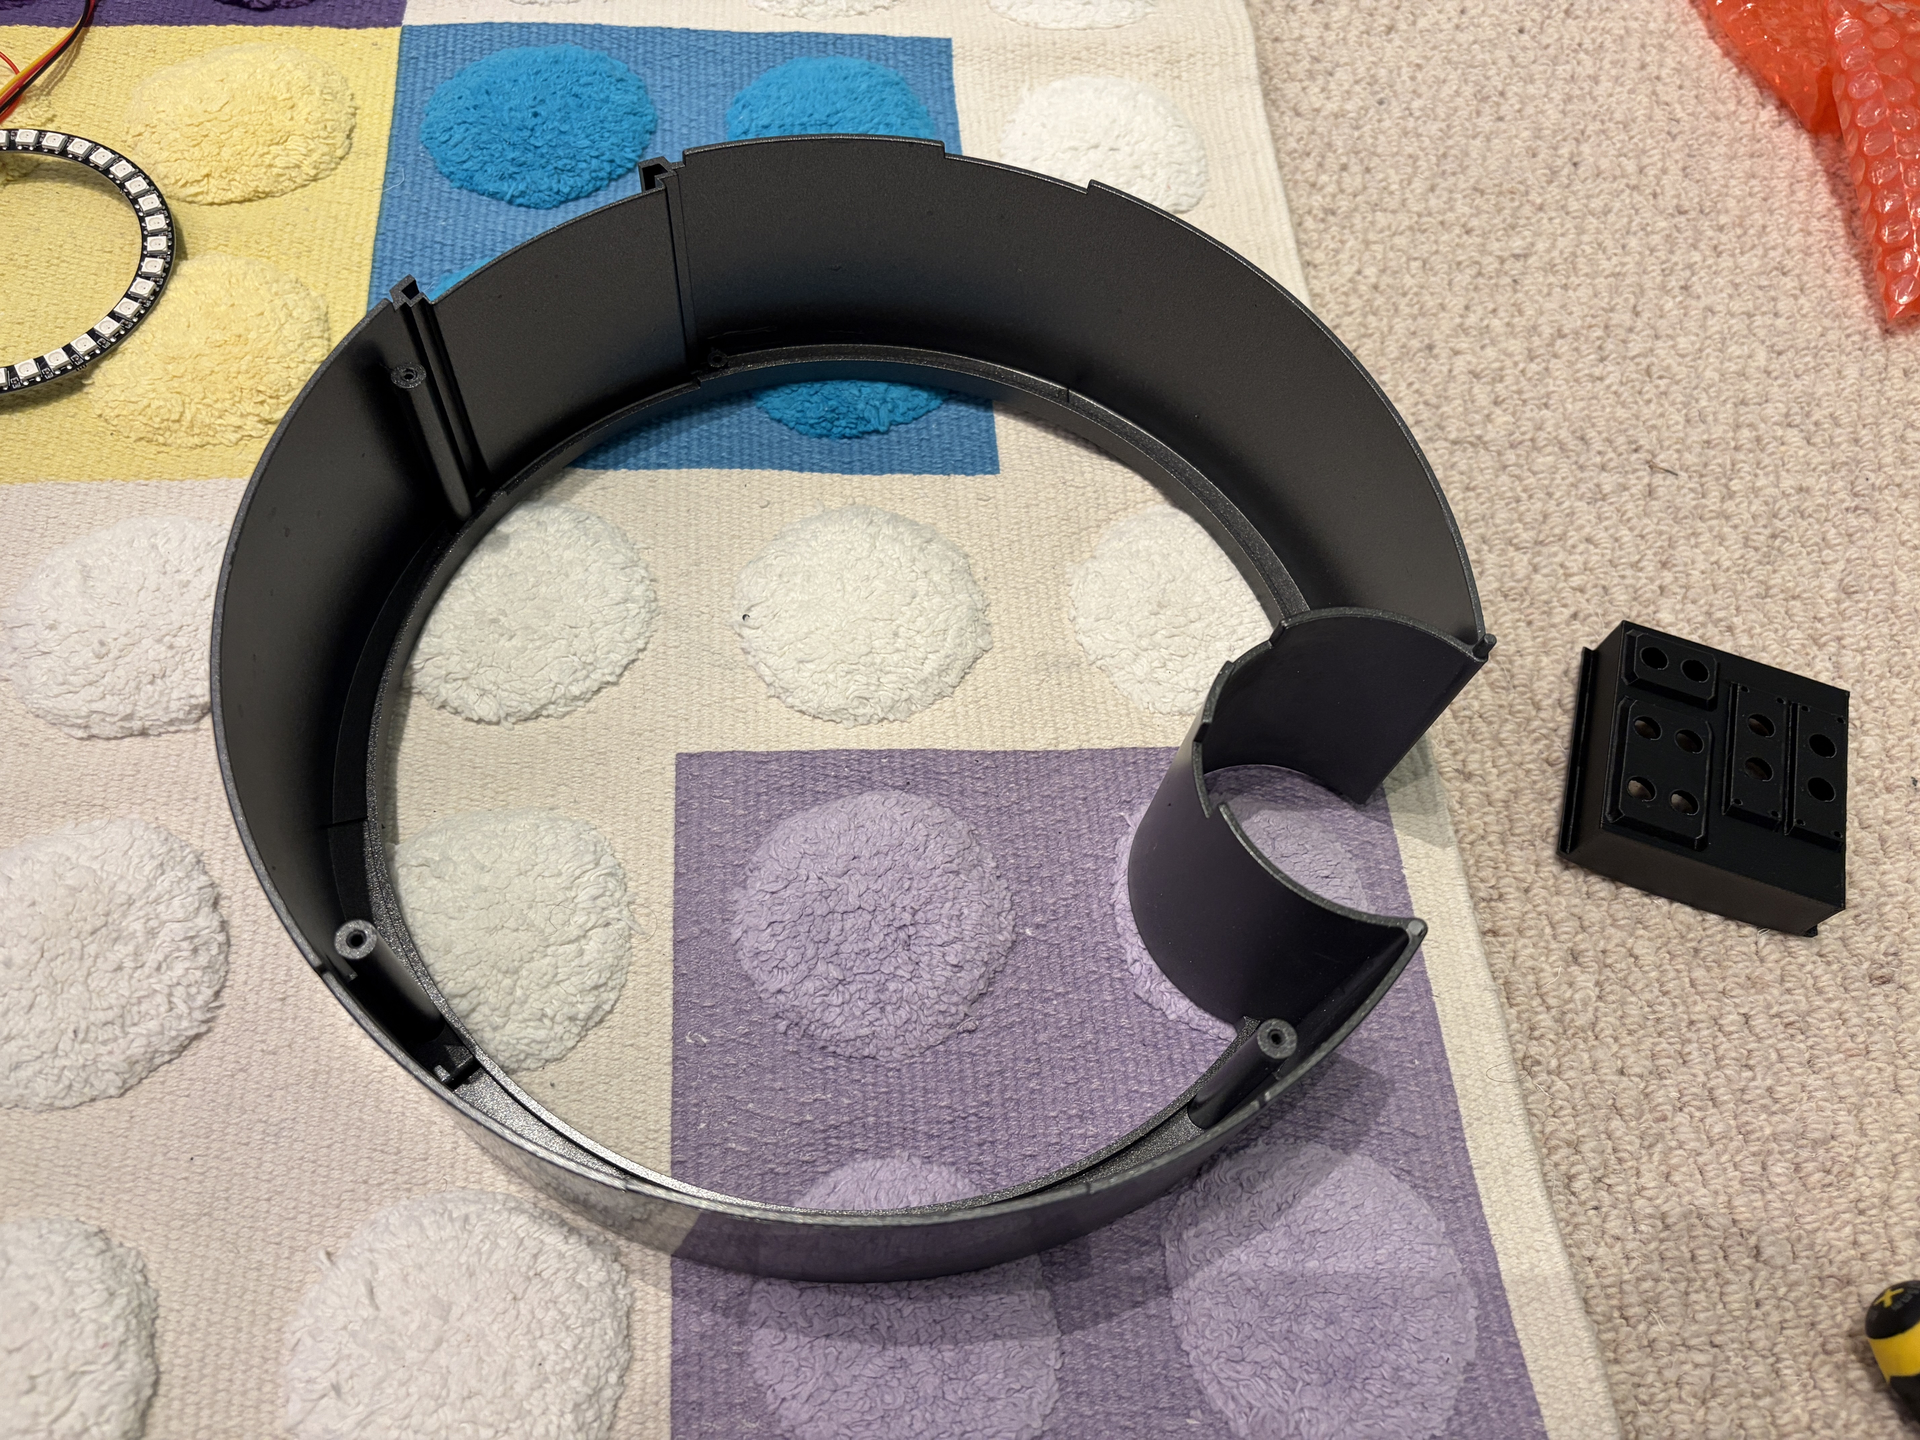
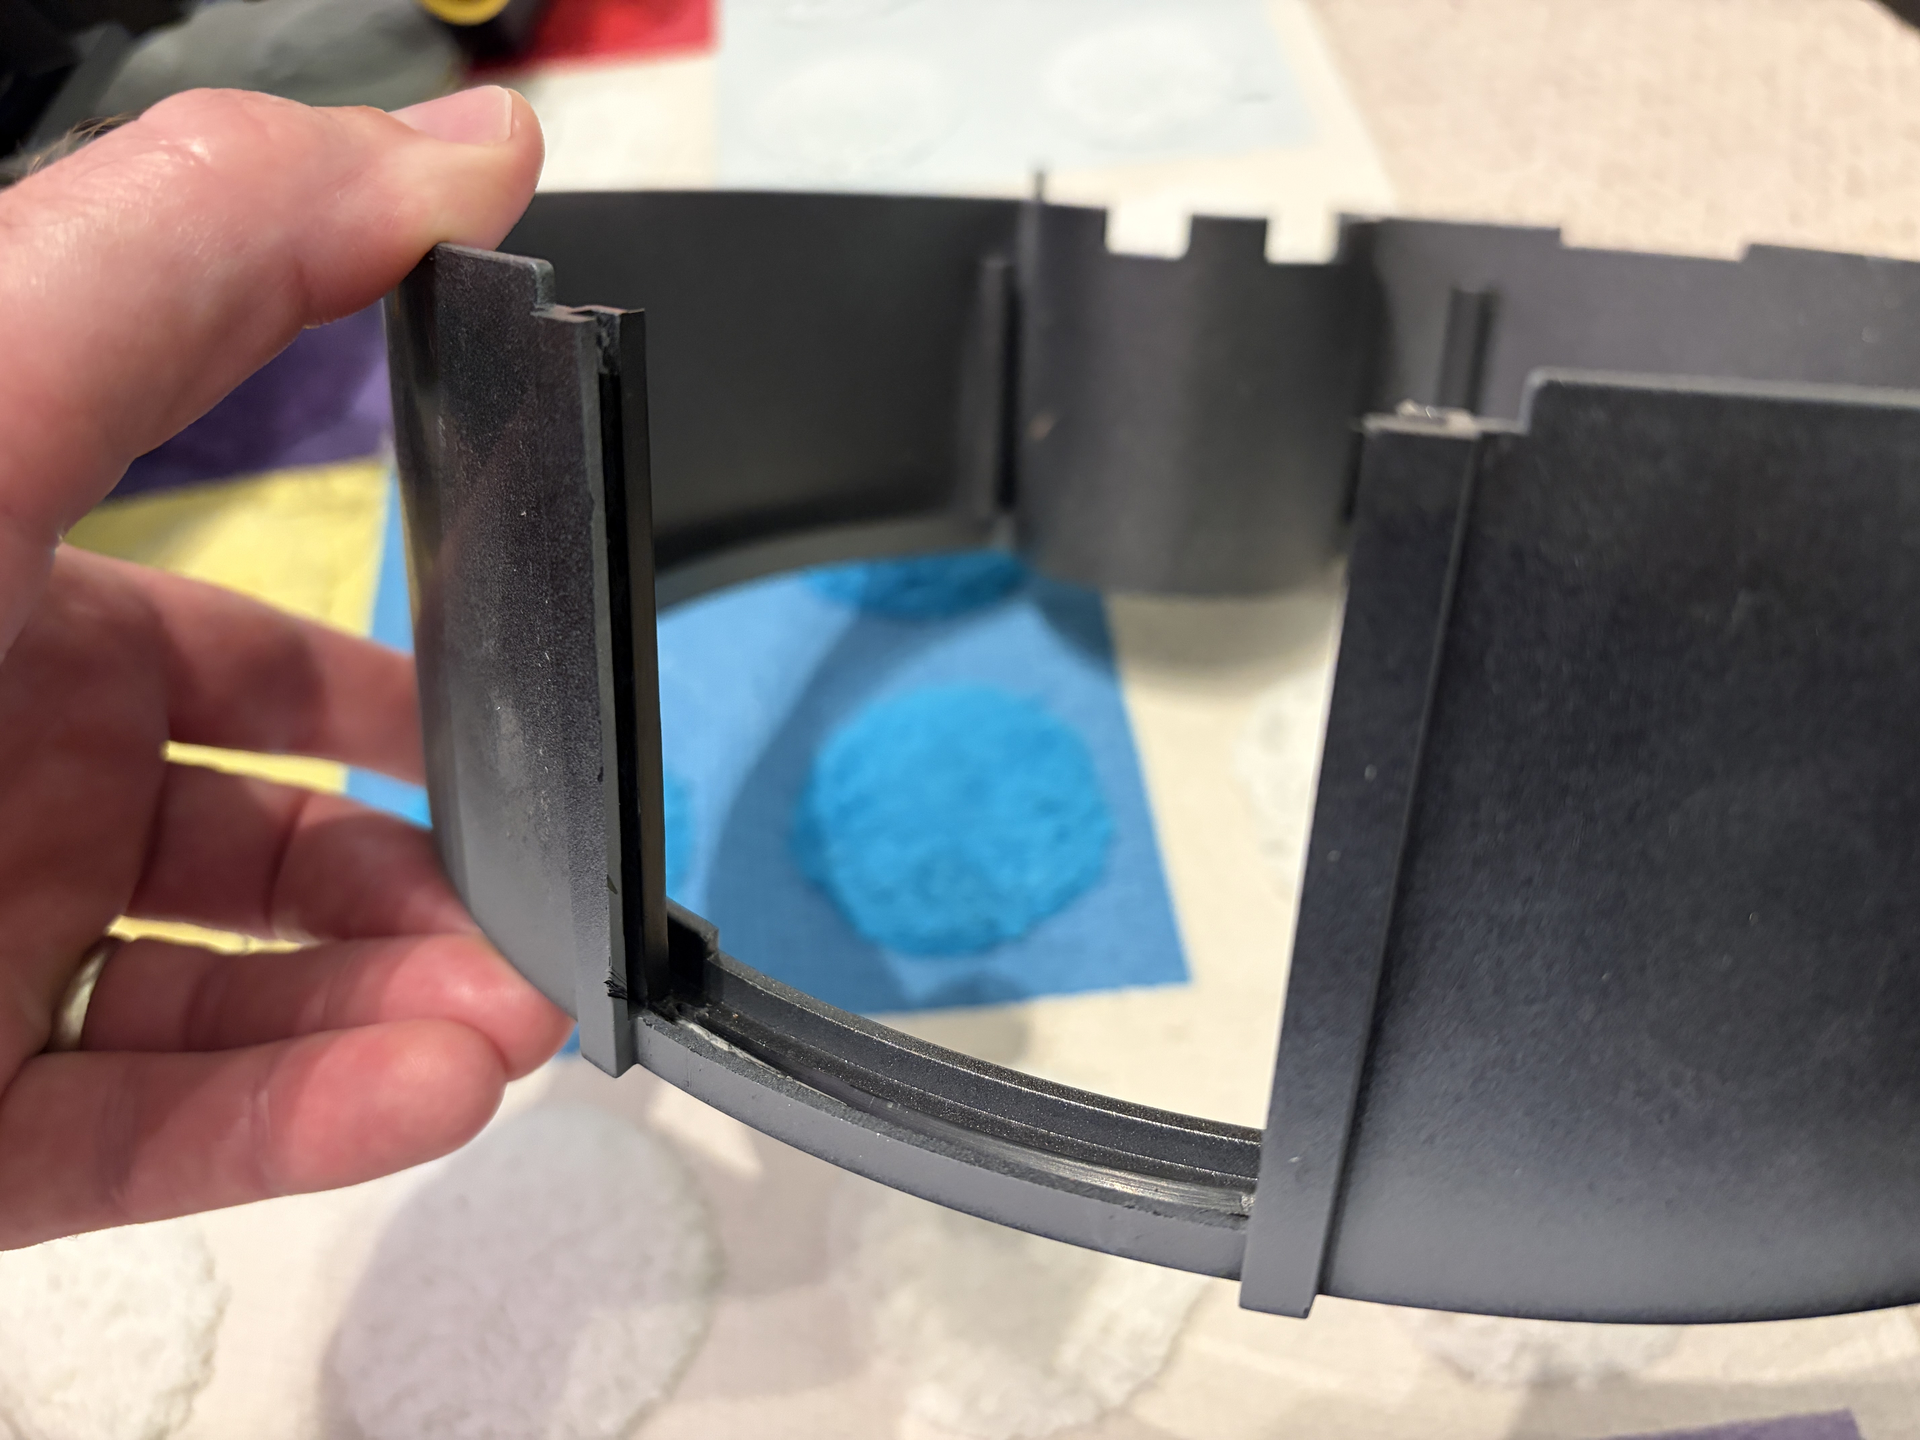
So I needed to cut that out, but fortunately this was really easy and only took around ten minutes. I just repeatedly scored indented edges on the outside:
Thanks to RSquad911 for his YouTube video on how to do this. He’s actually done a load of videos on how to mod the 1984 pack, so I’m indebted to him and many others in the community for figuring this stuff out!
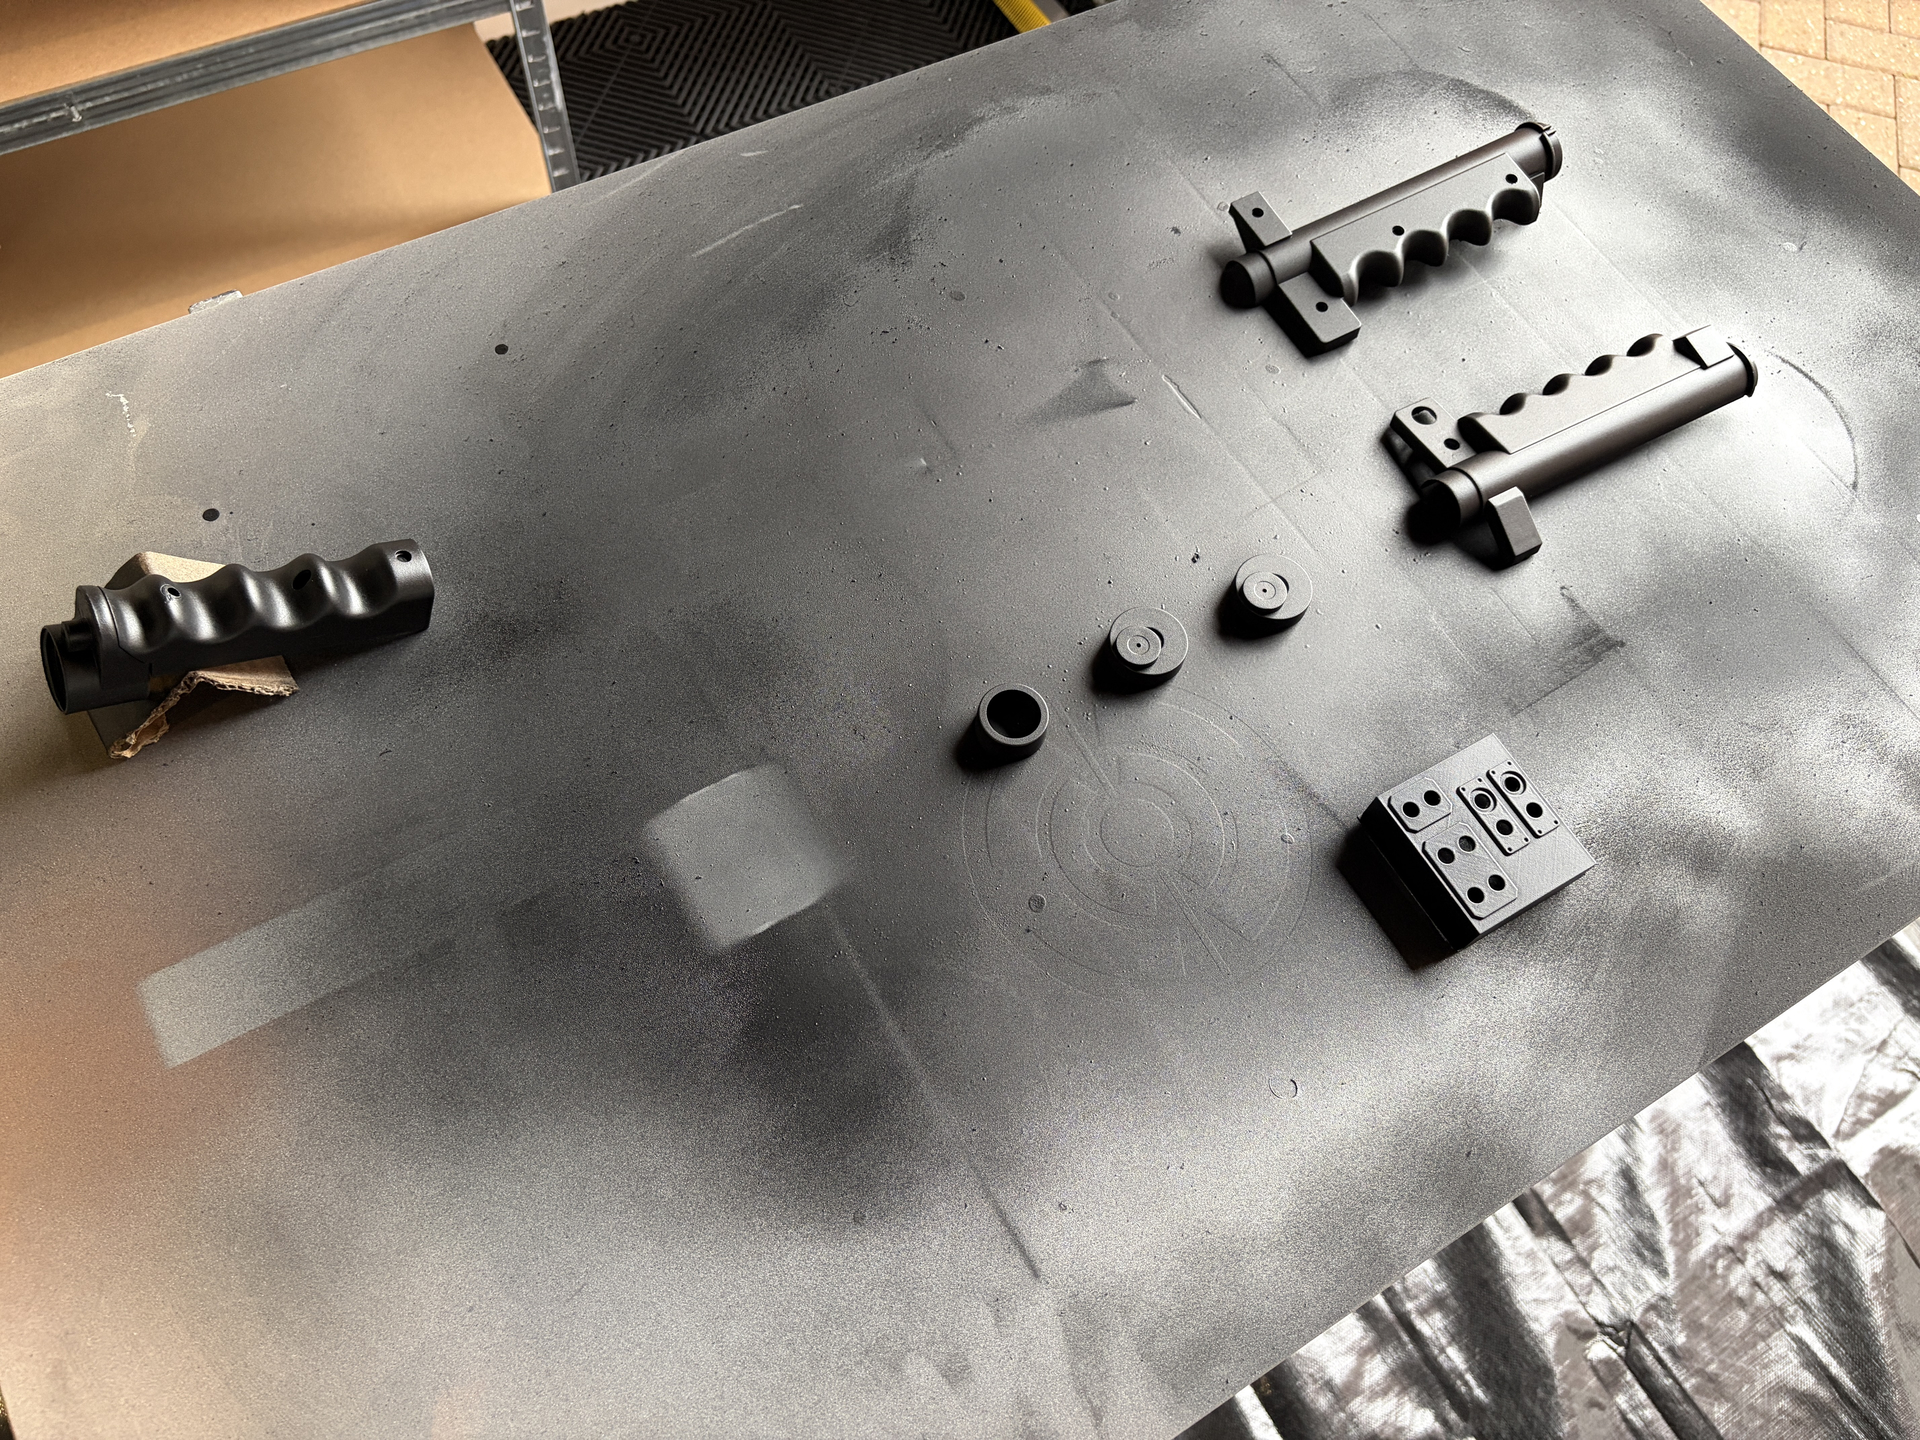
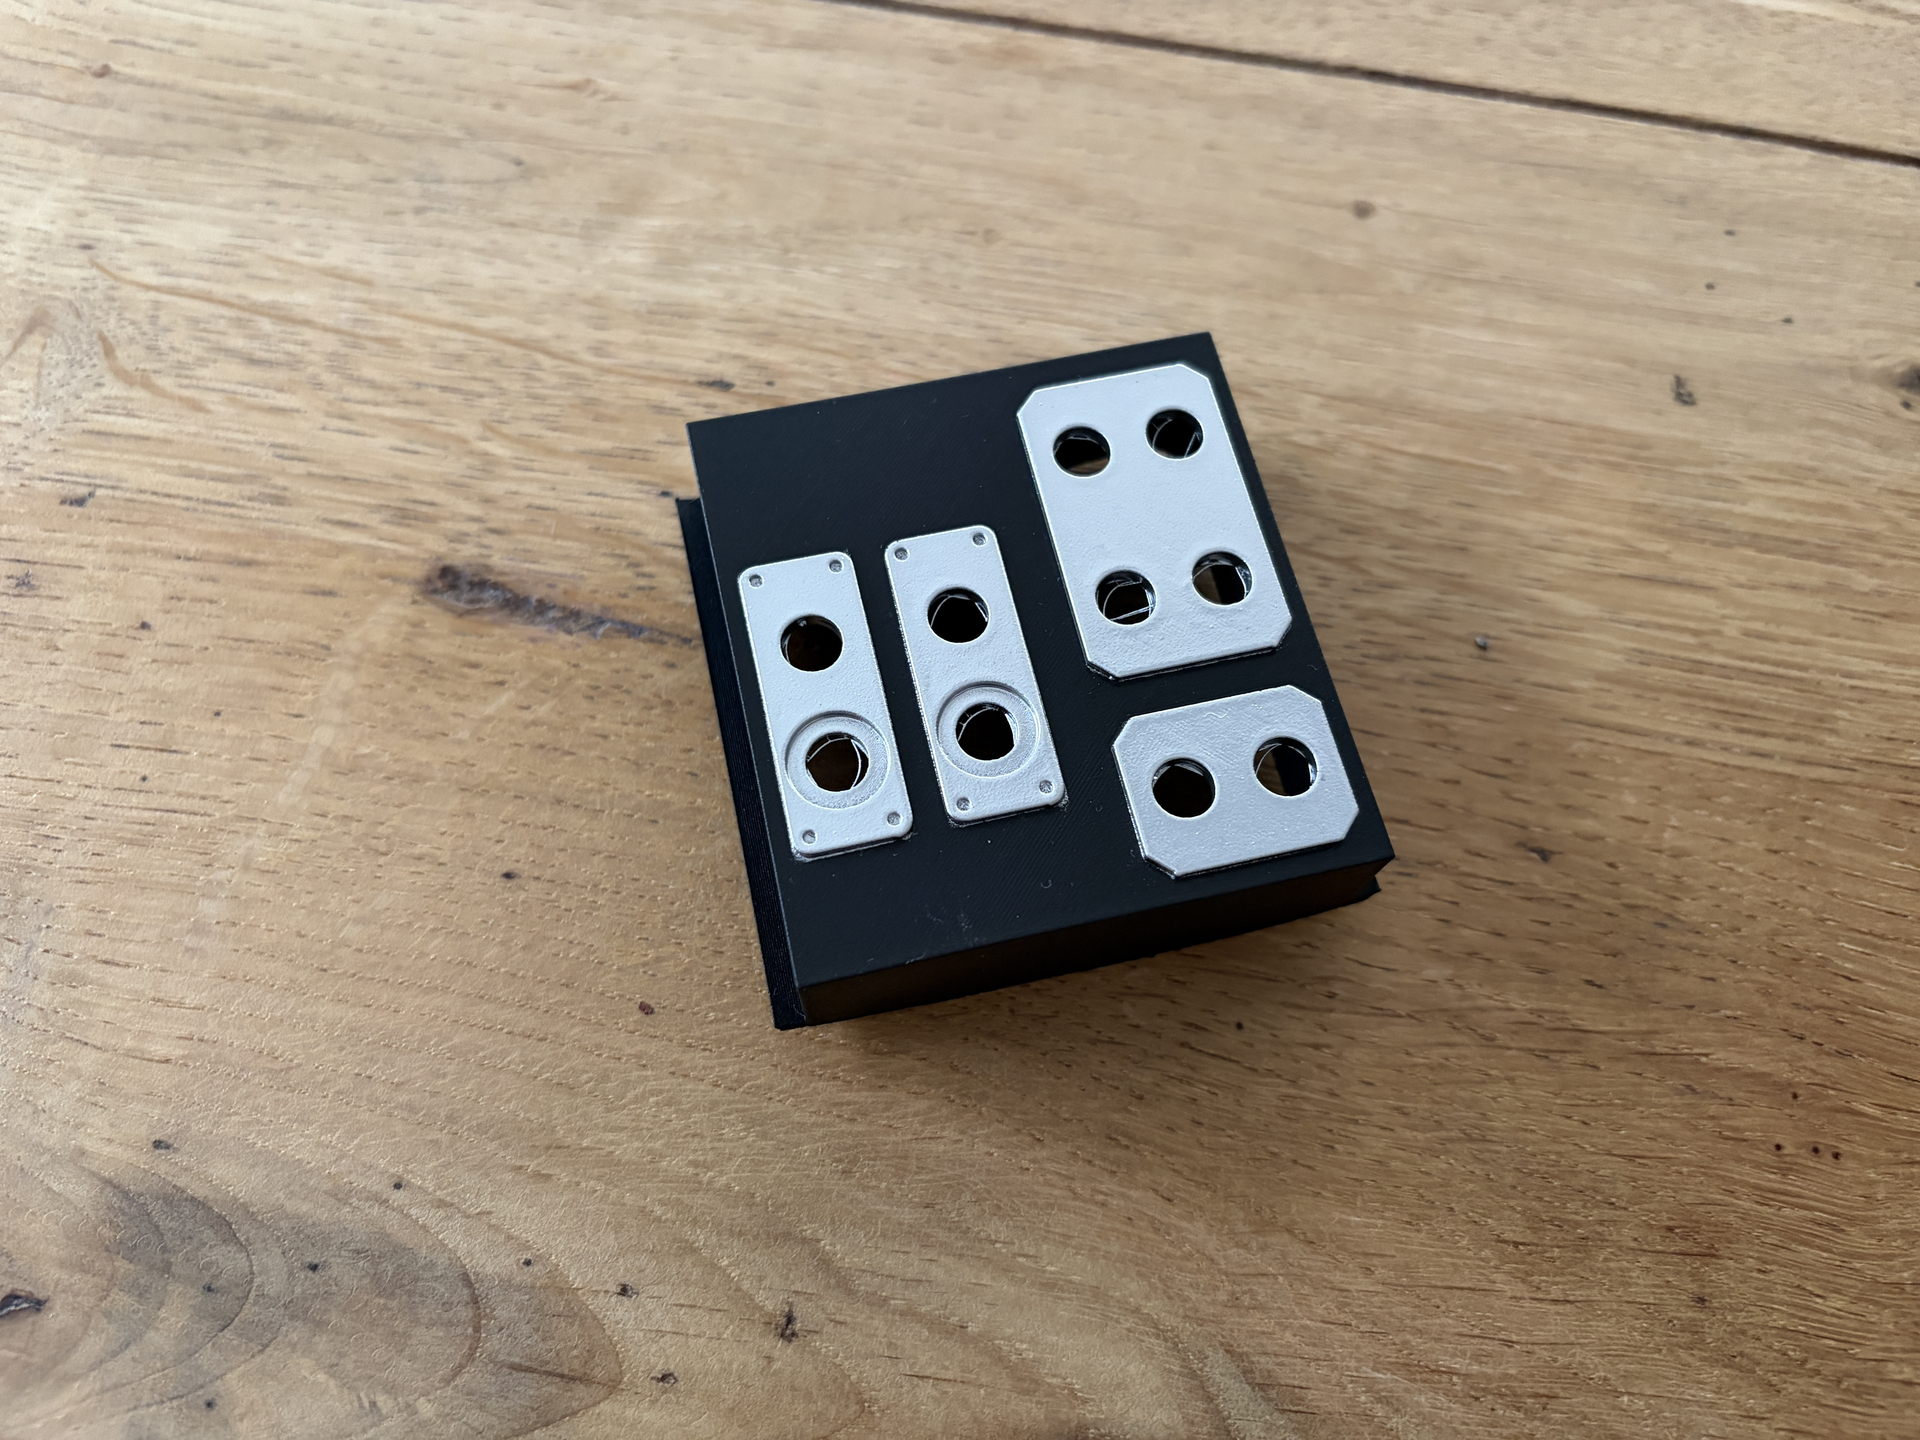
Here’s the finalised switch plate after being primed, painted Jenolite Satin Black and then masked and the embossed parts painted Jenolite Chrome:
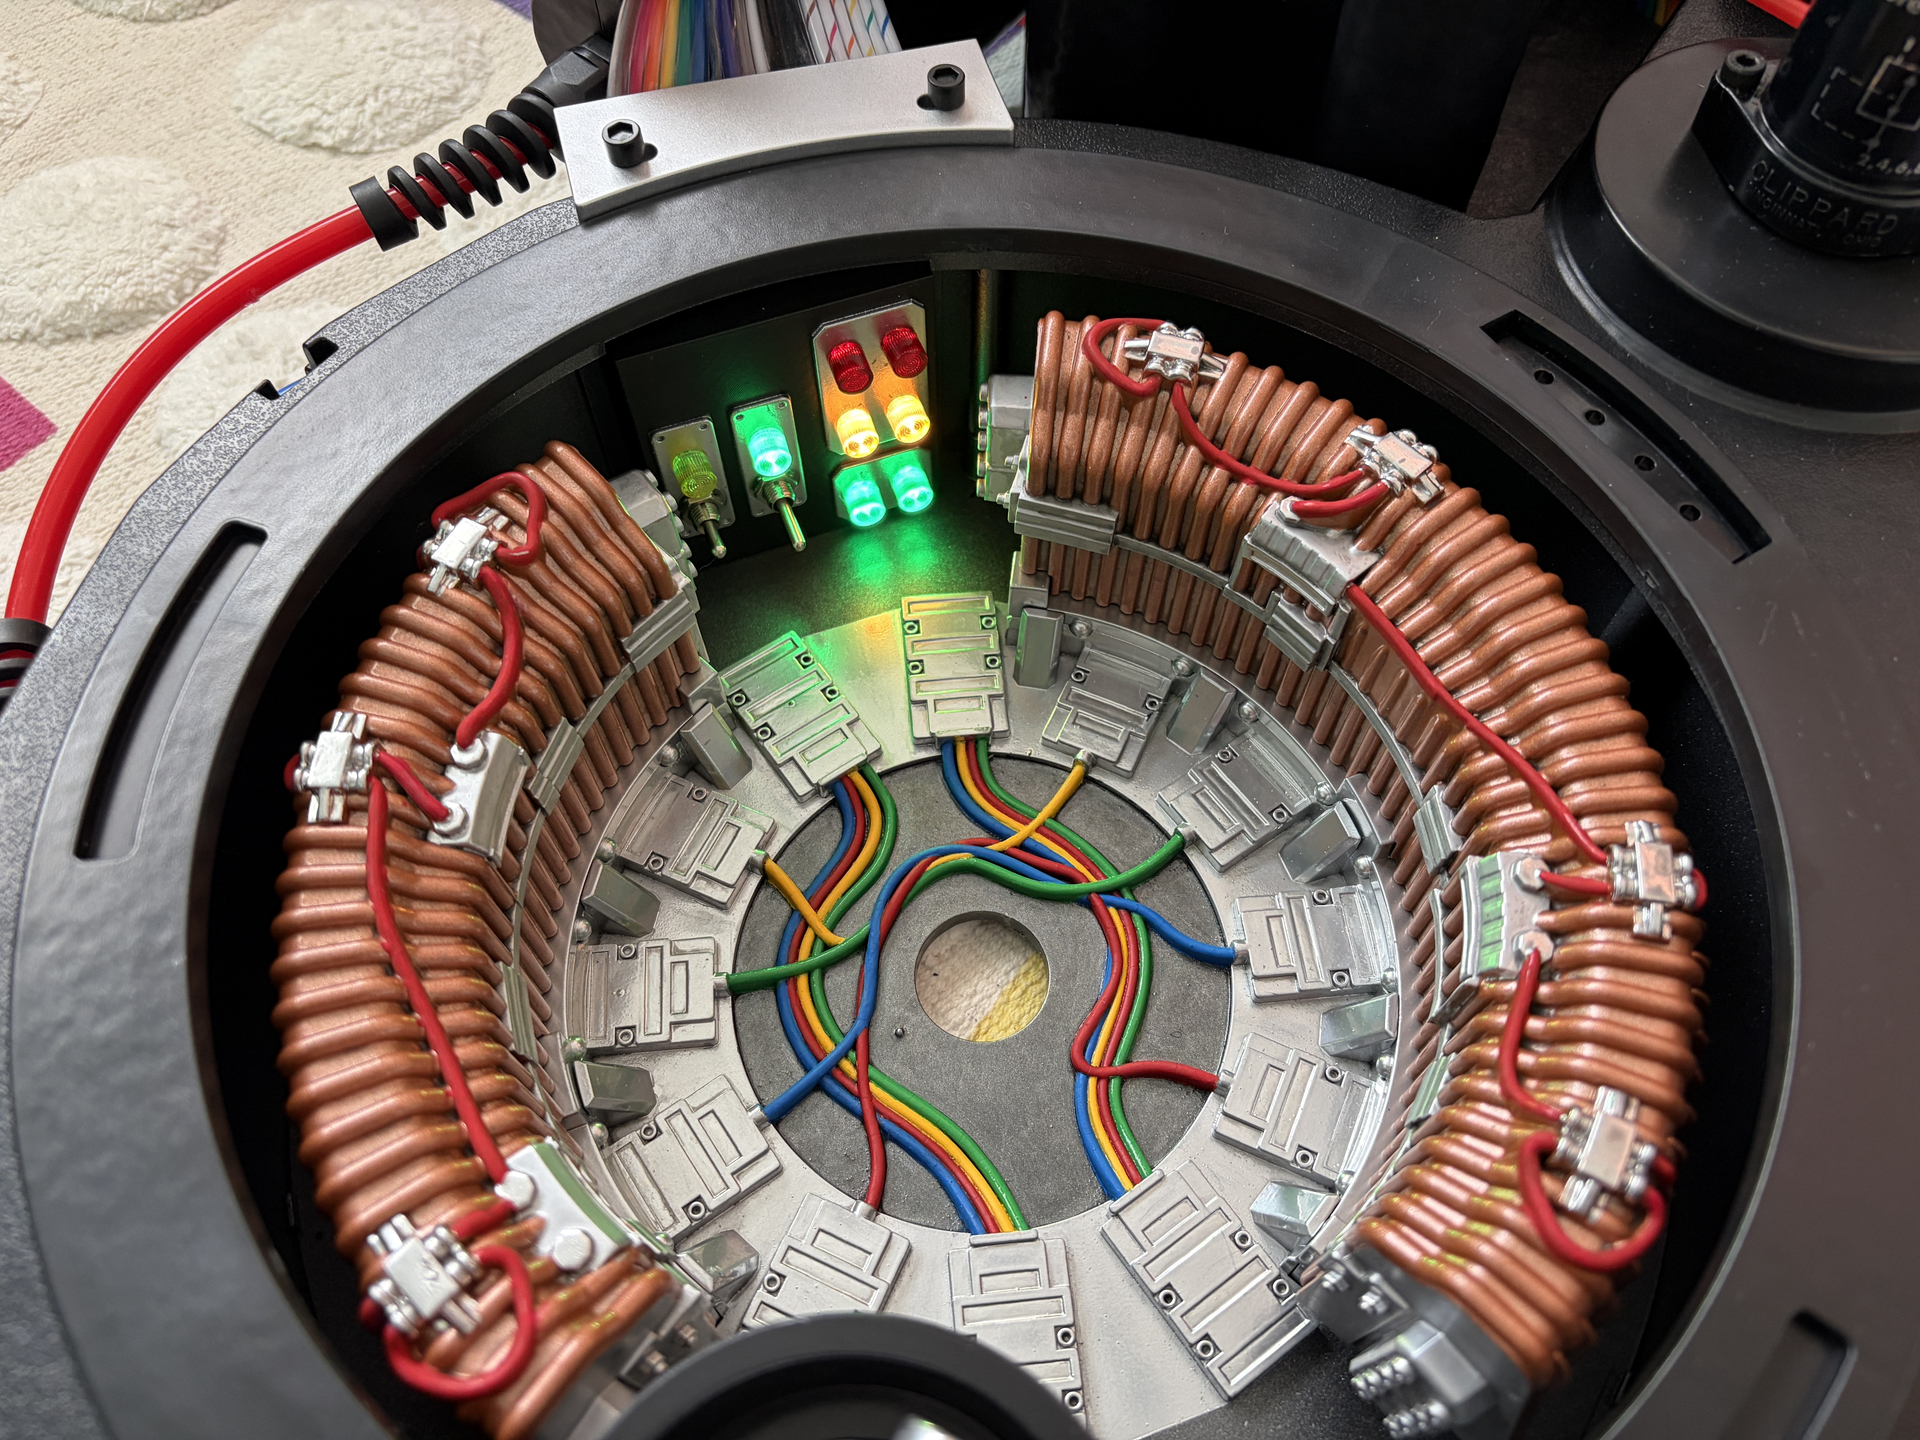
Then with the cliplites and PCB fitted and installed and everything reassembled in the pack. It looks amazing! A small but very worthwhile detail:
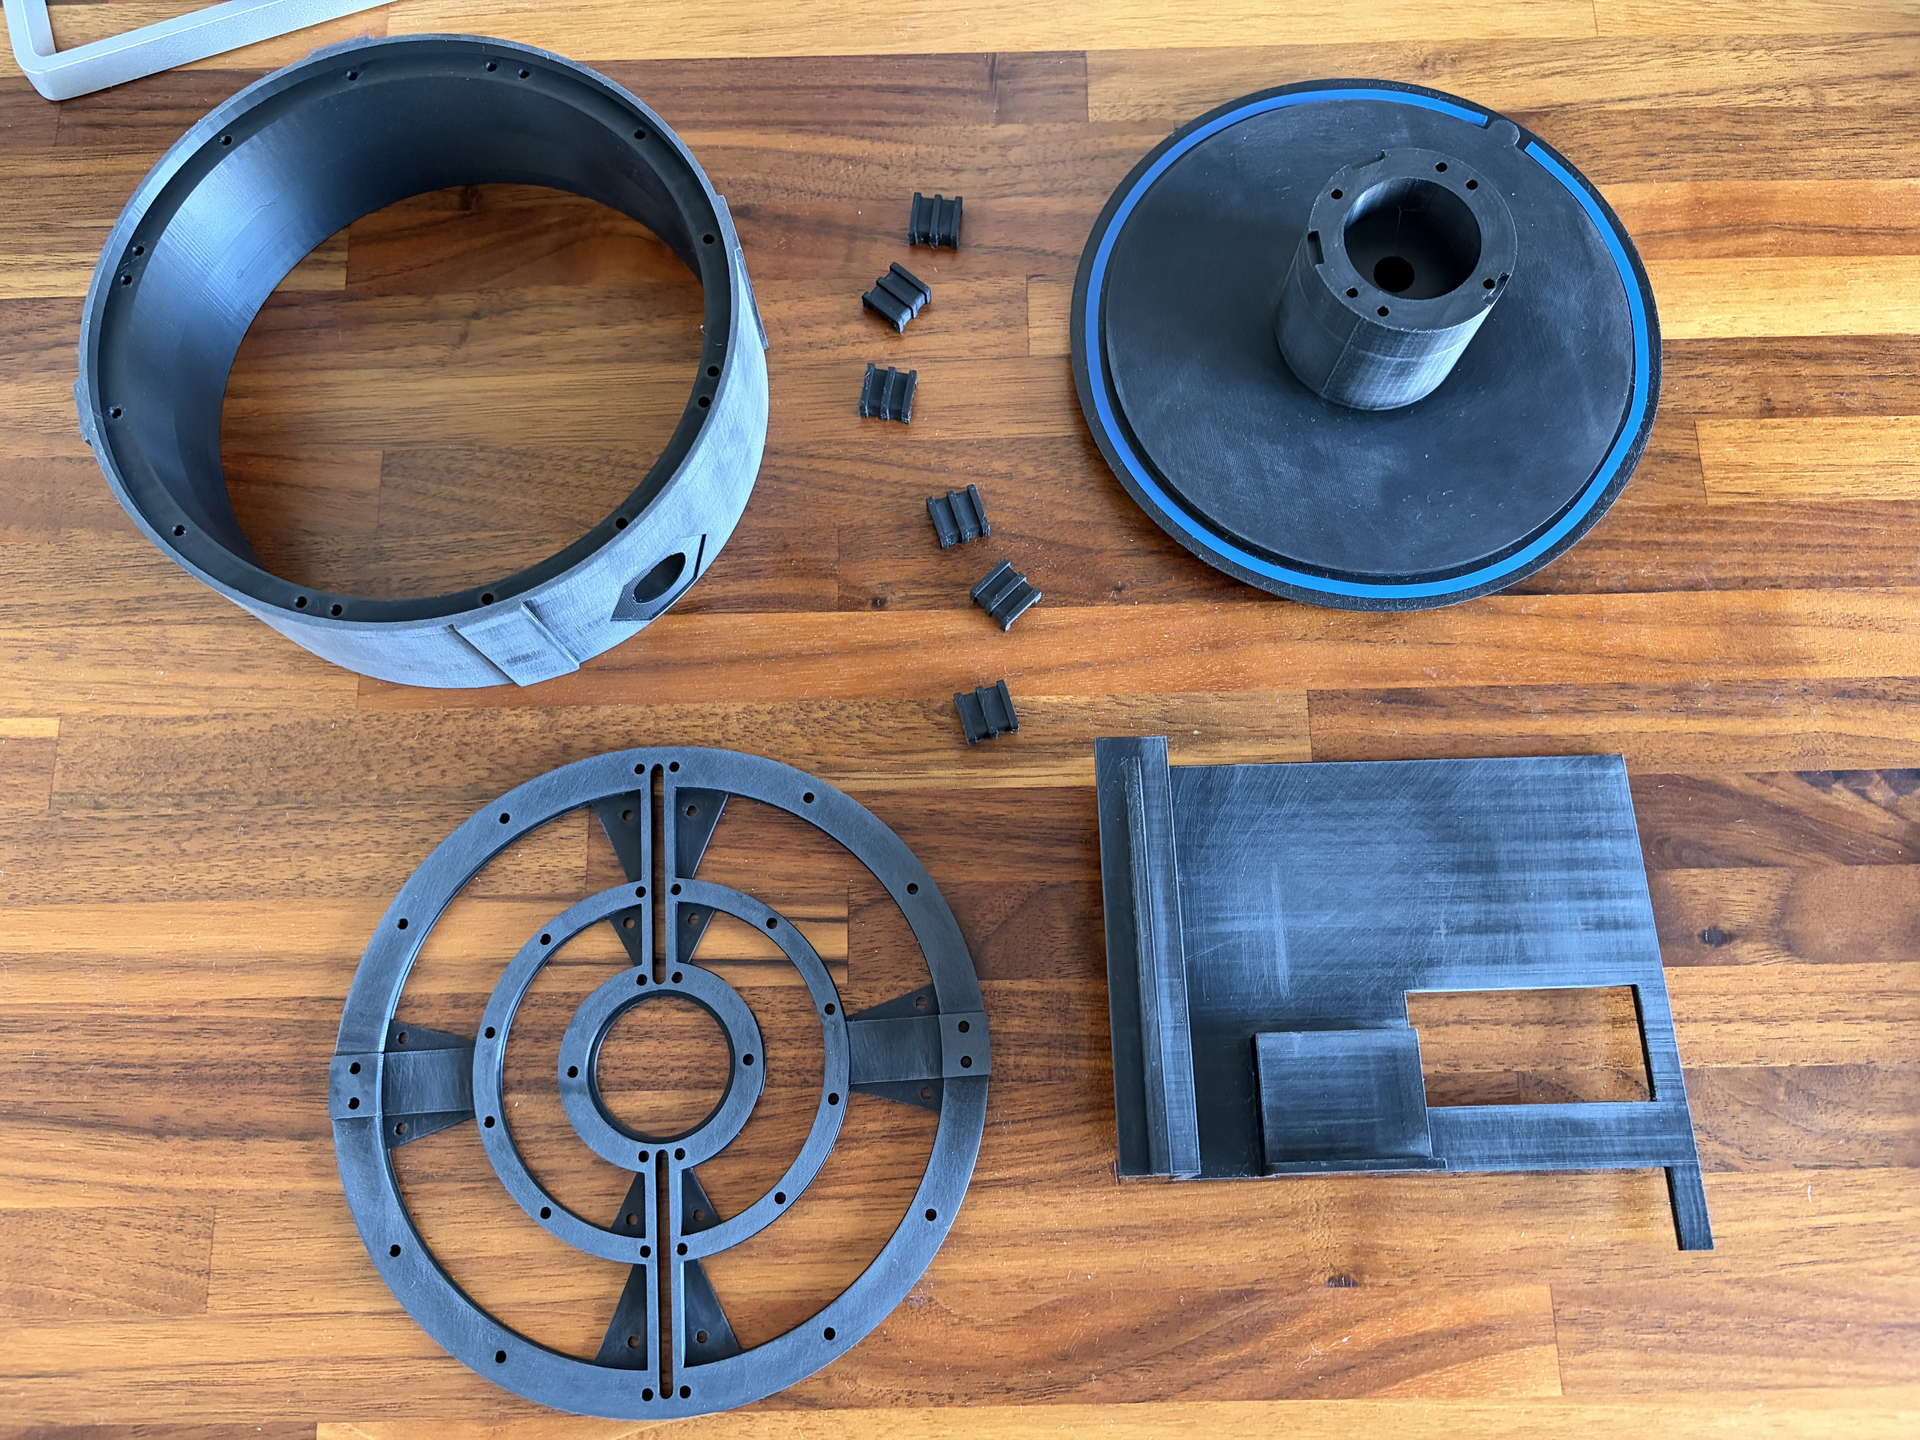
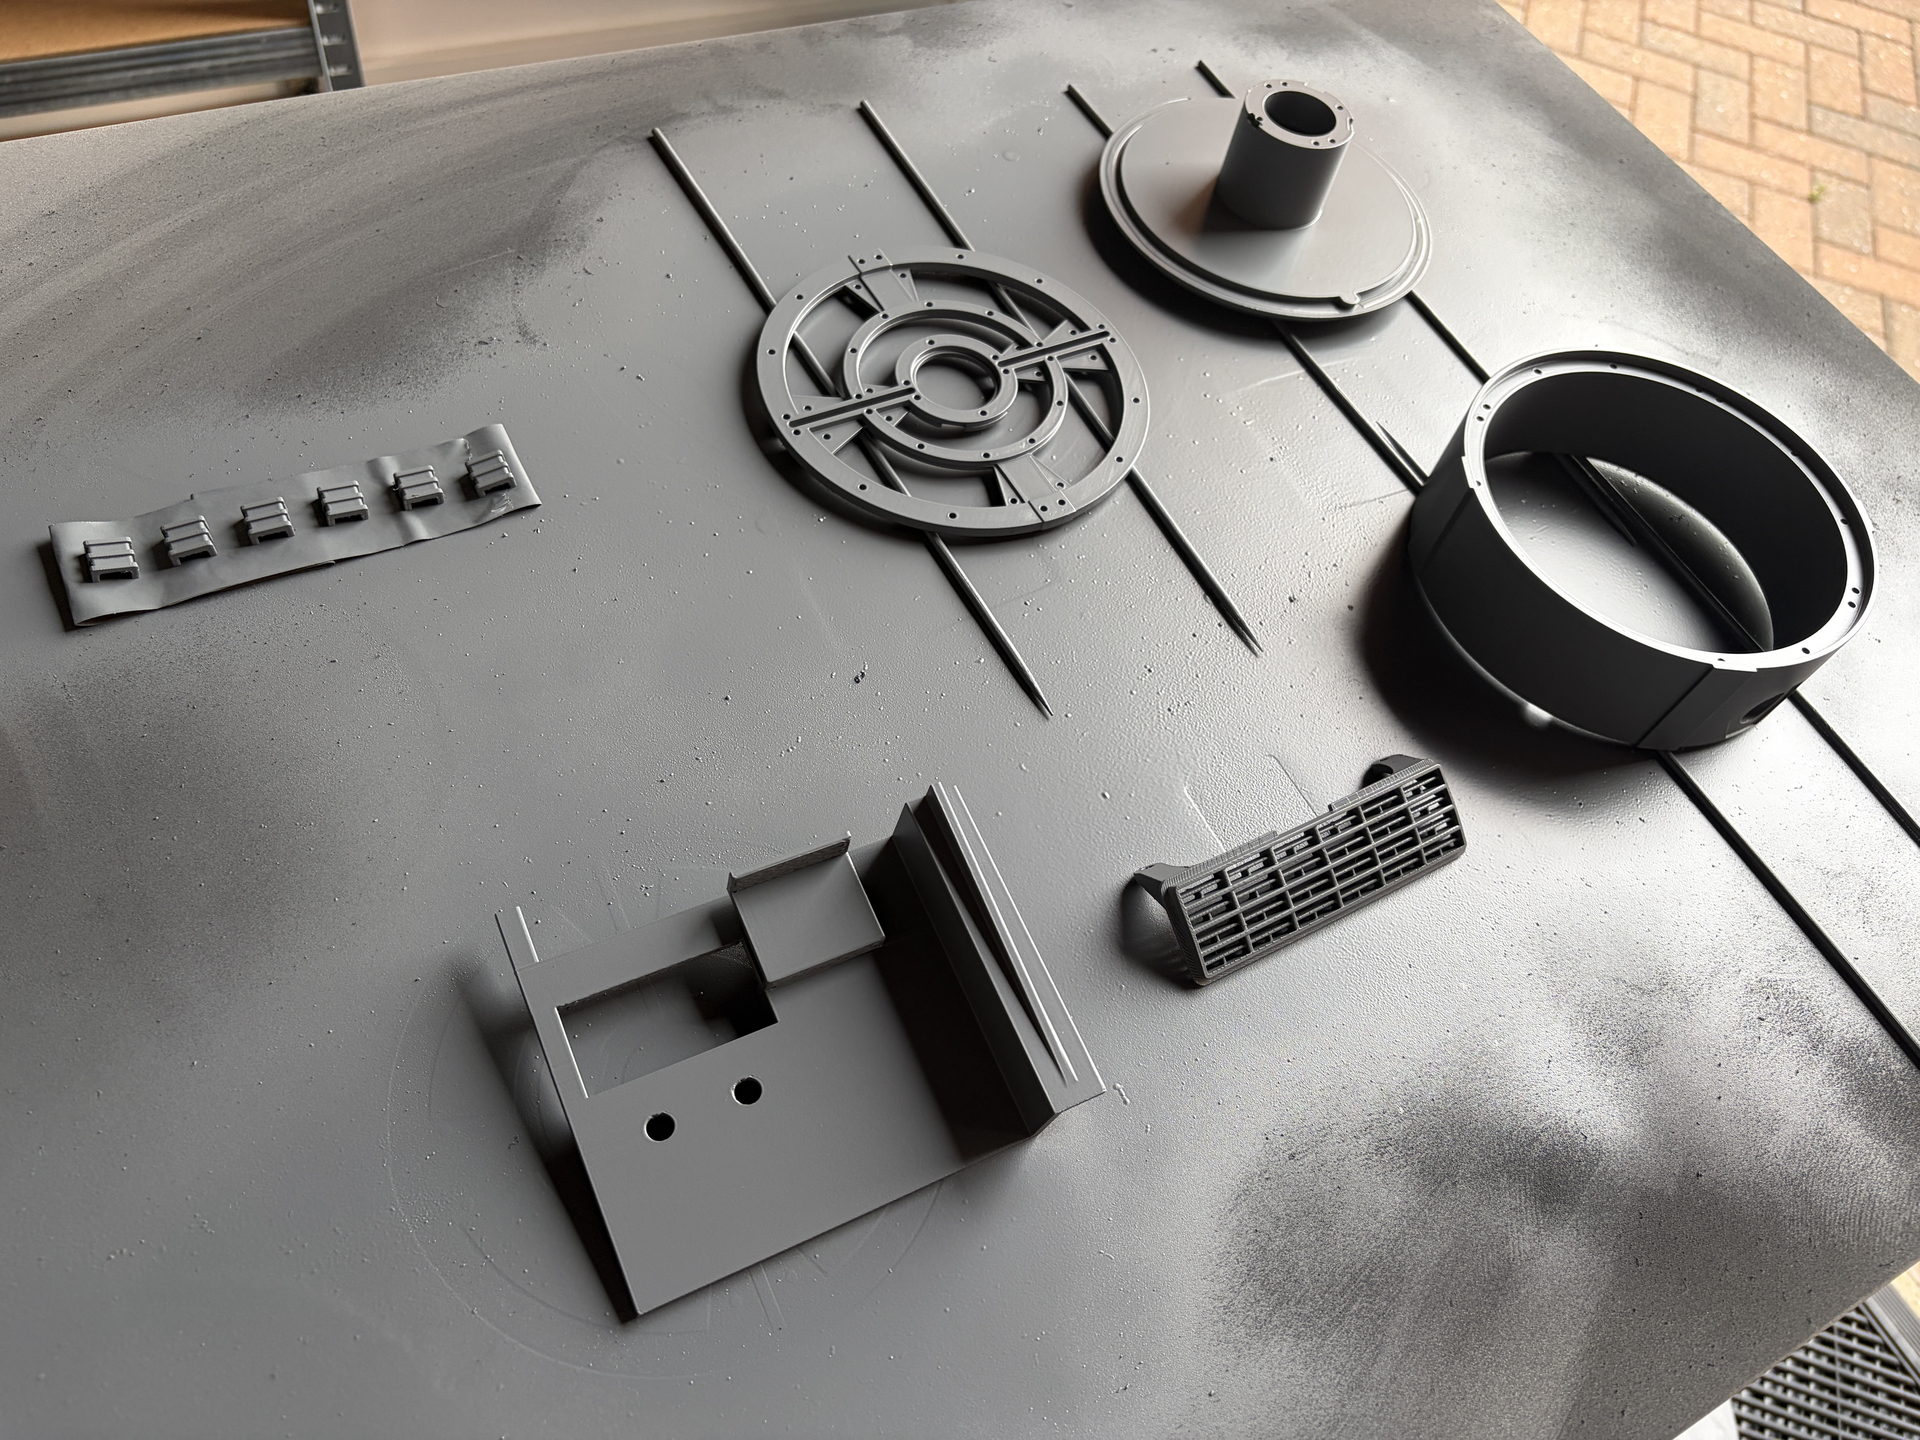
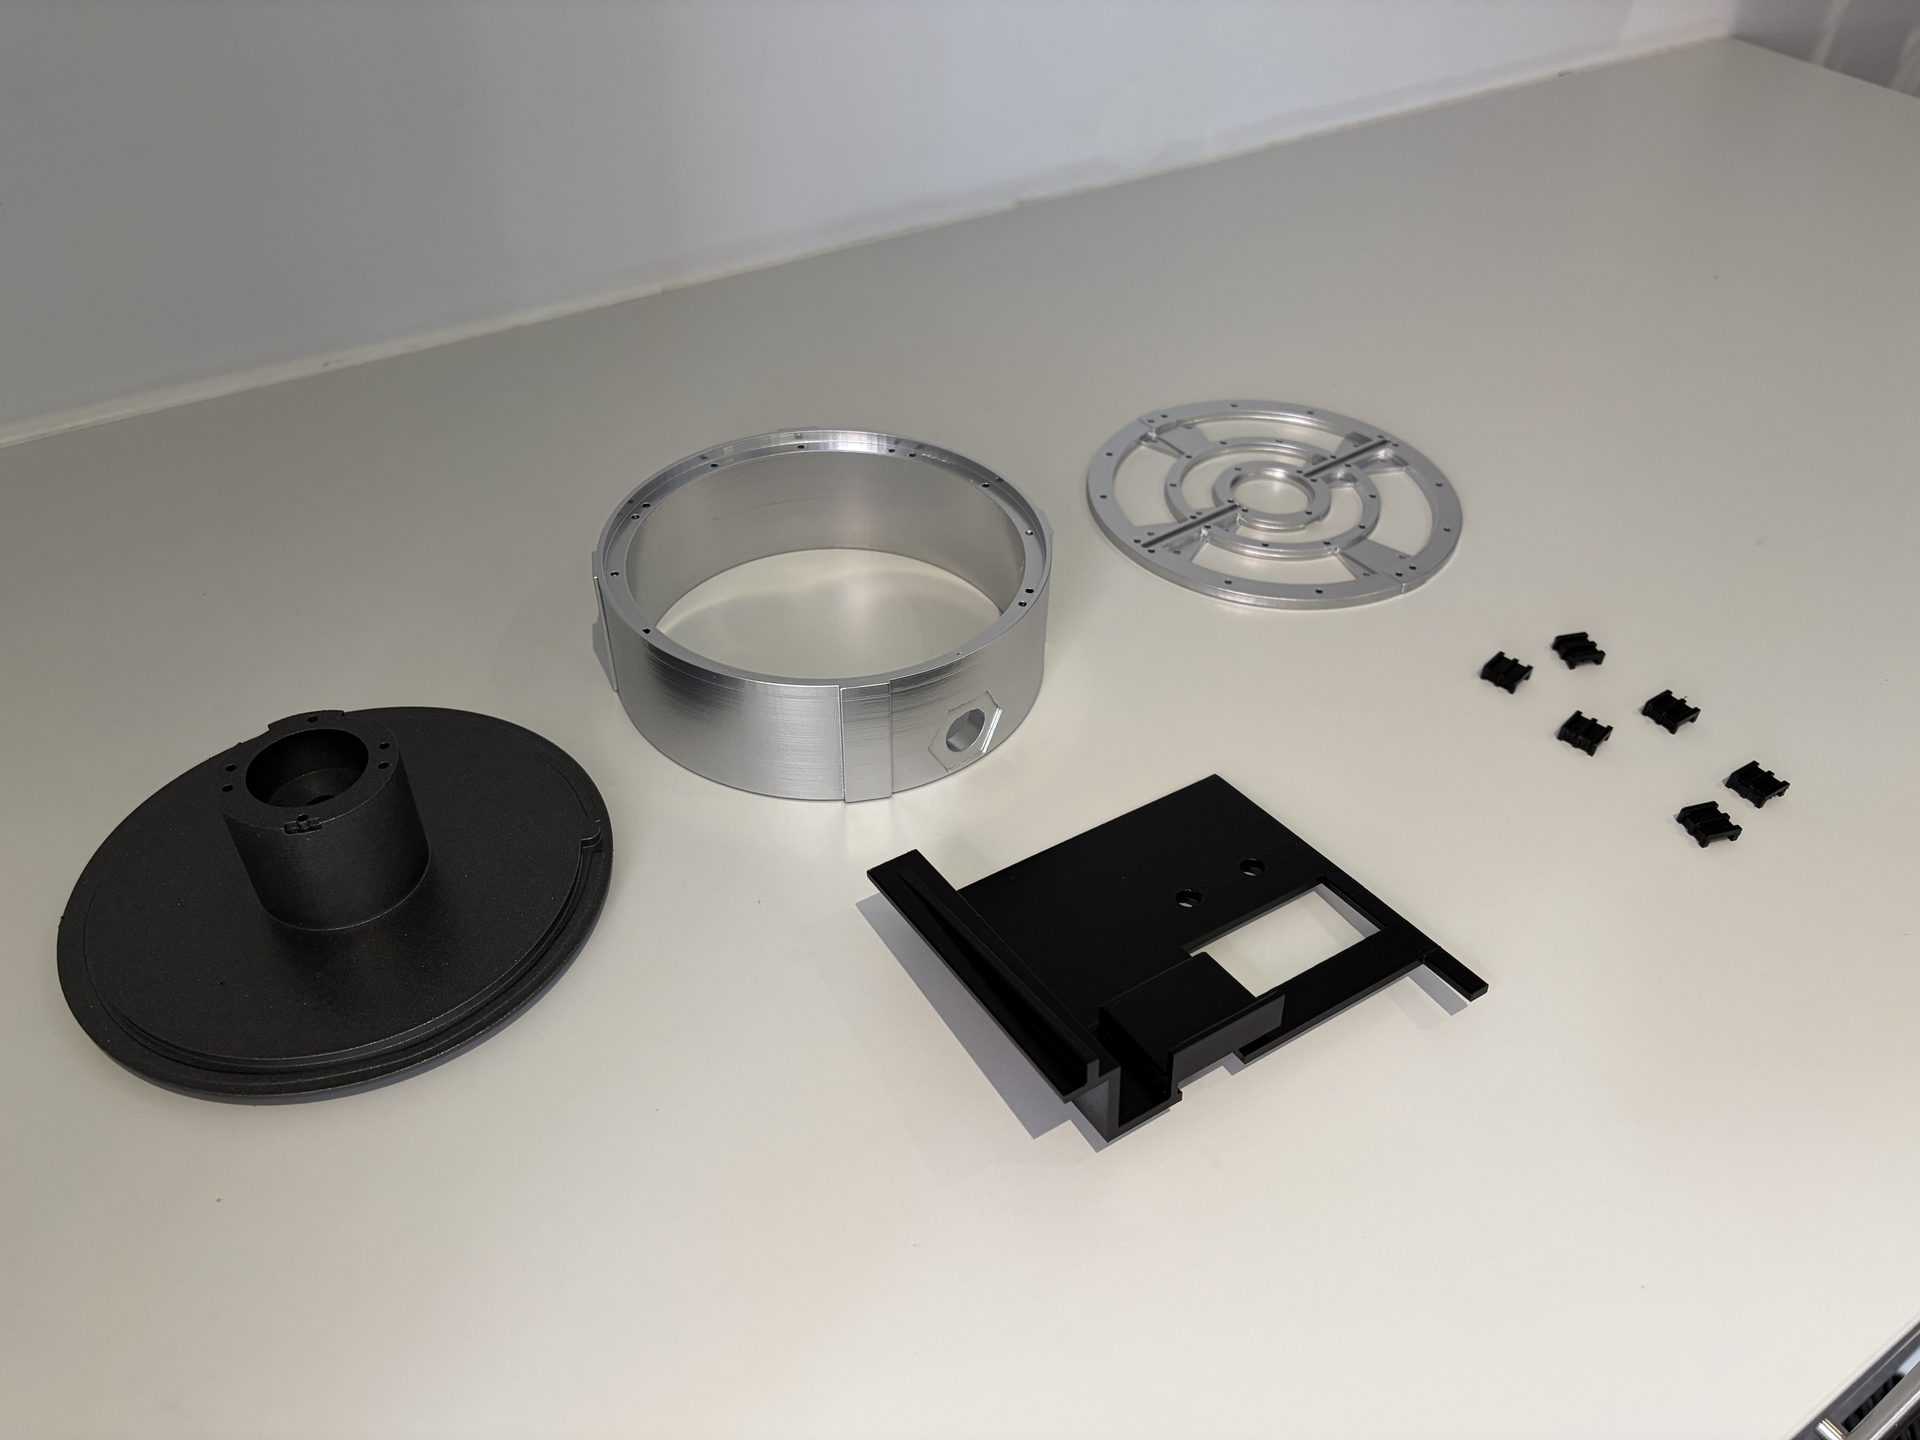
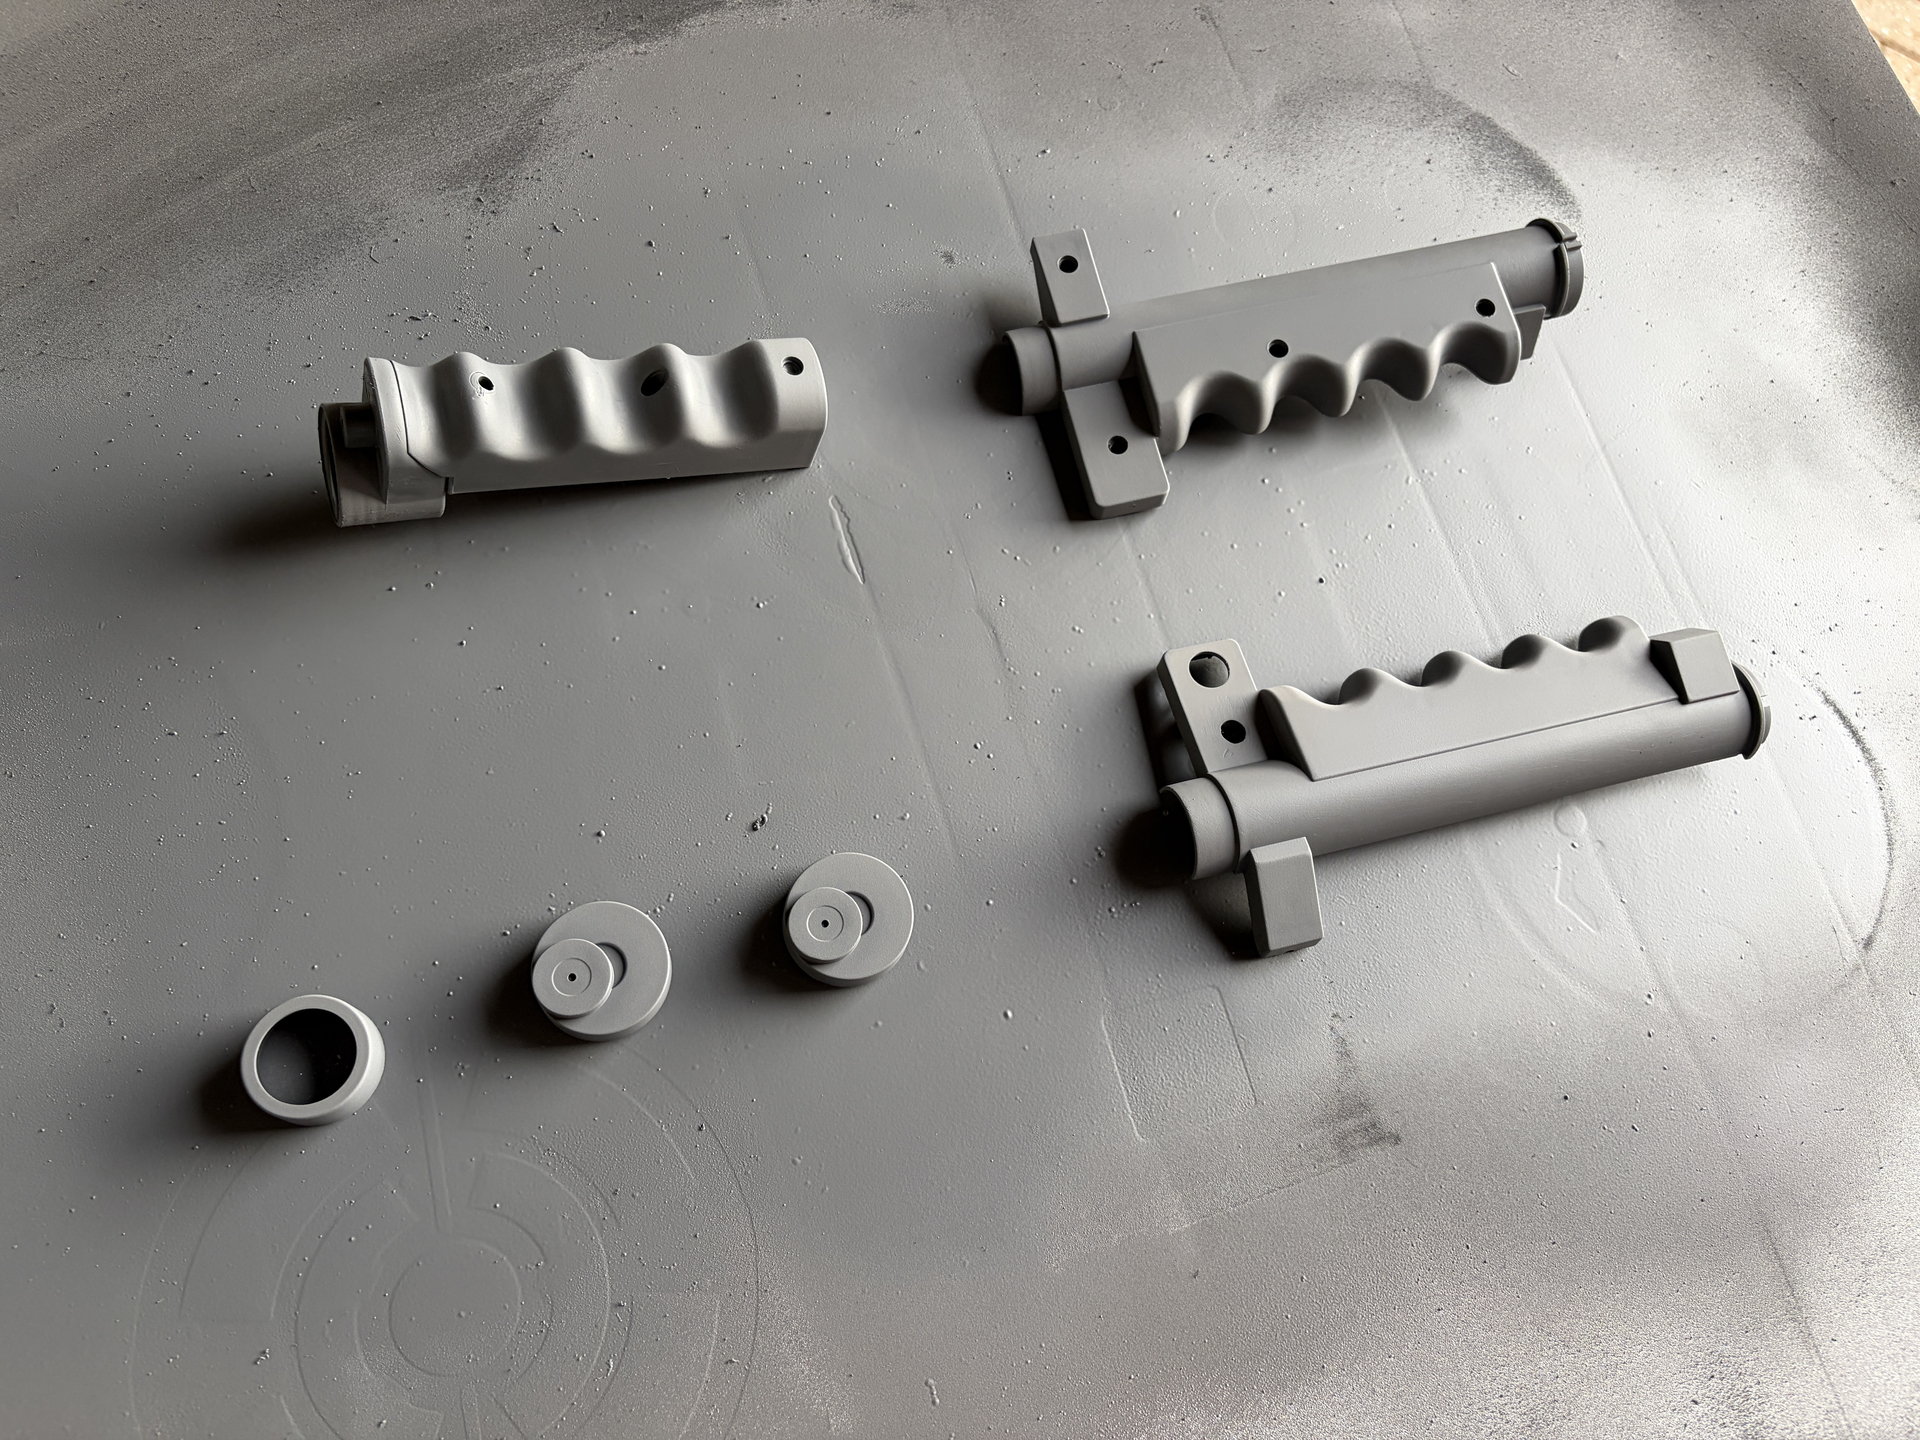
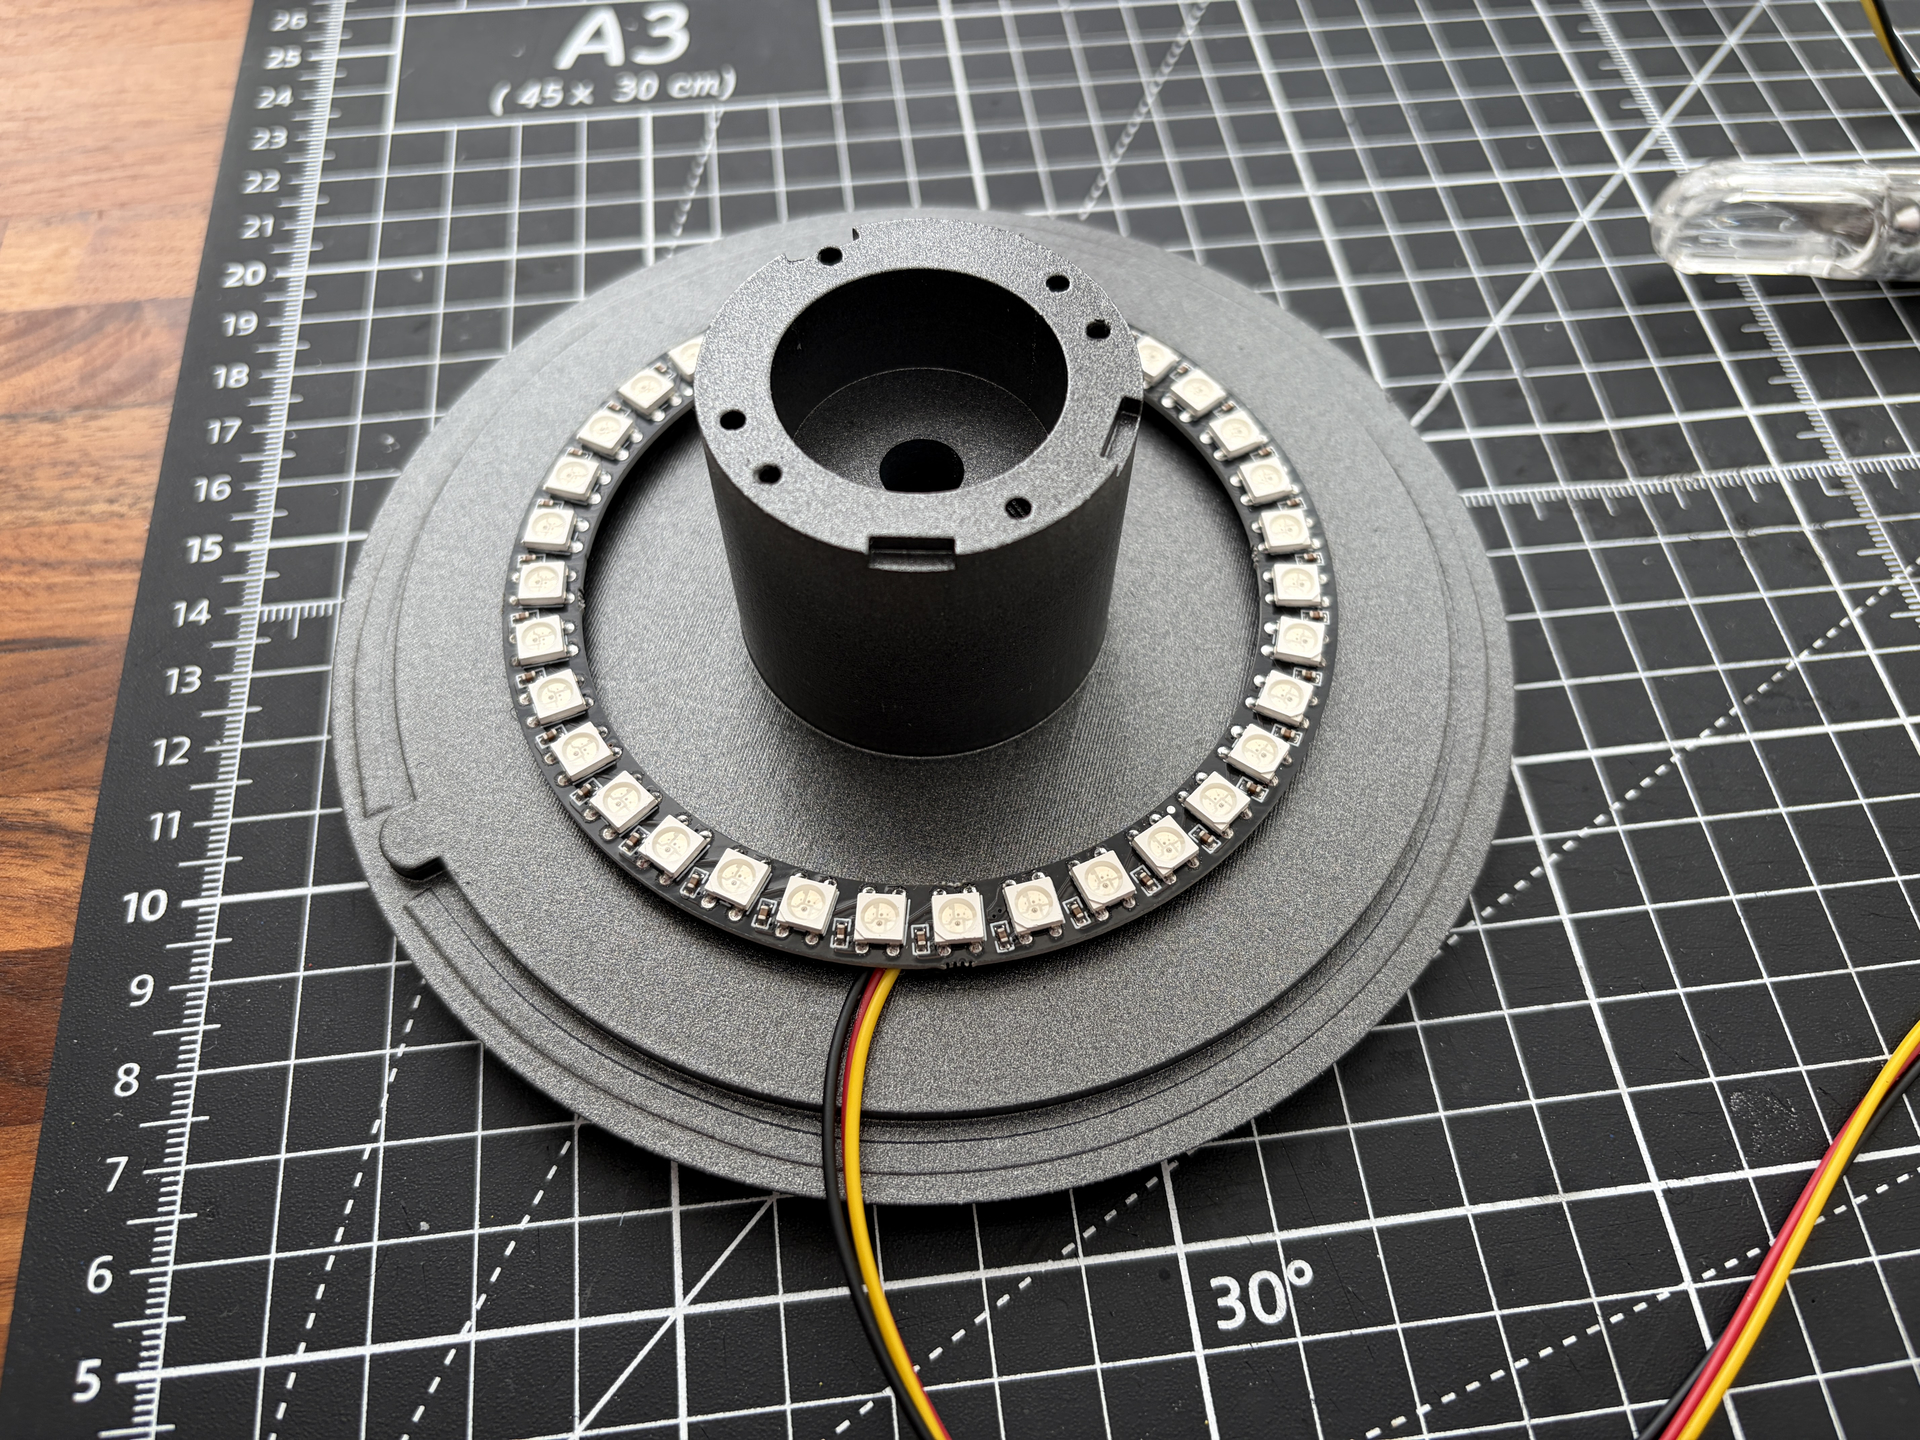
In terms of the inner cyclotron cake itself, I messed up the main body so I’m just waiting for the paint to cure on a reprint of that, but I’ve located the LED ring on the base:
I measured the inner diameter of the LED ring and the outer diameter of the central column of the base, and then 3D printed a low res O-ring to help me centre the LED exactly in the middle.
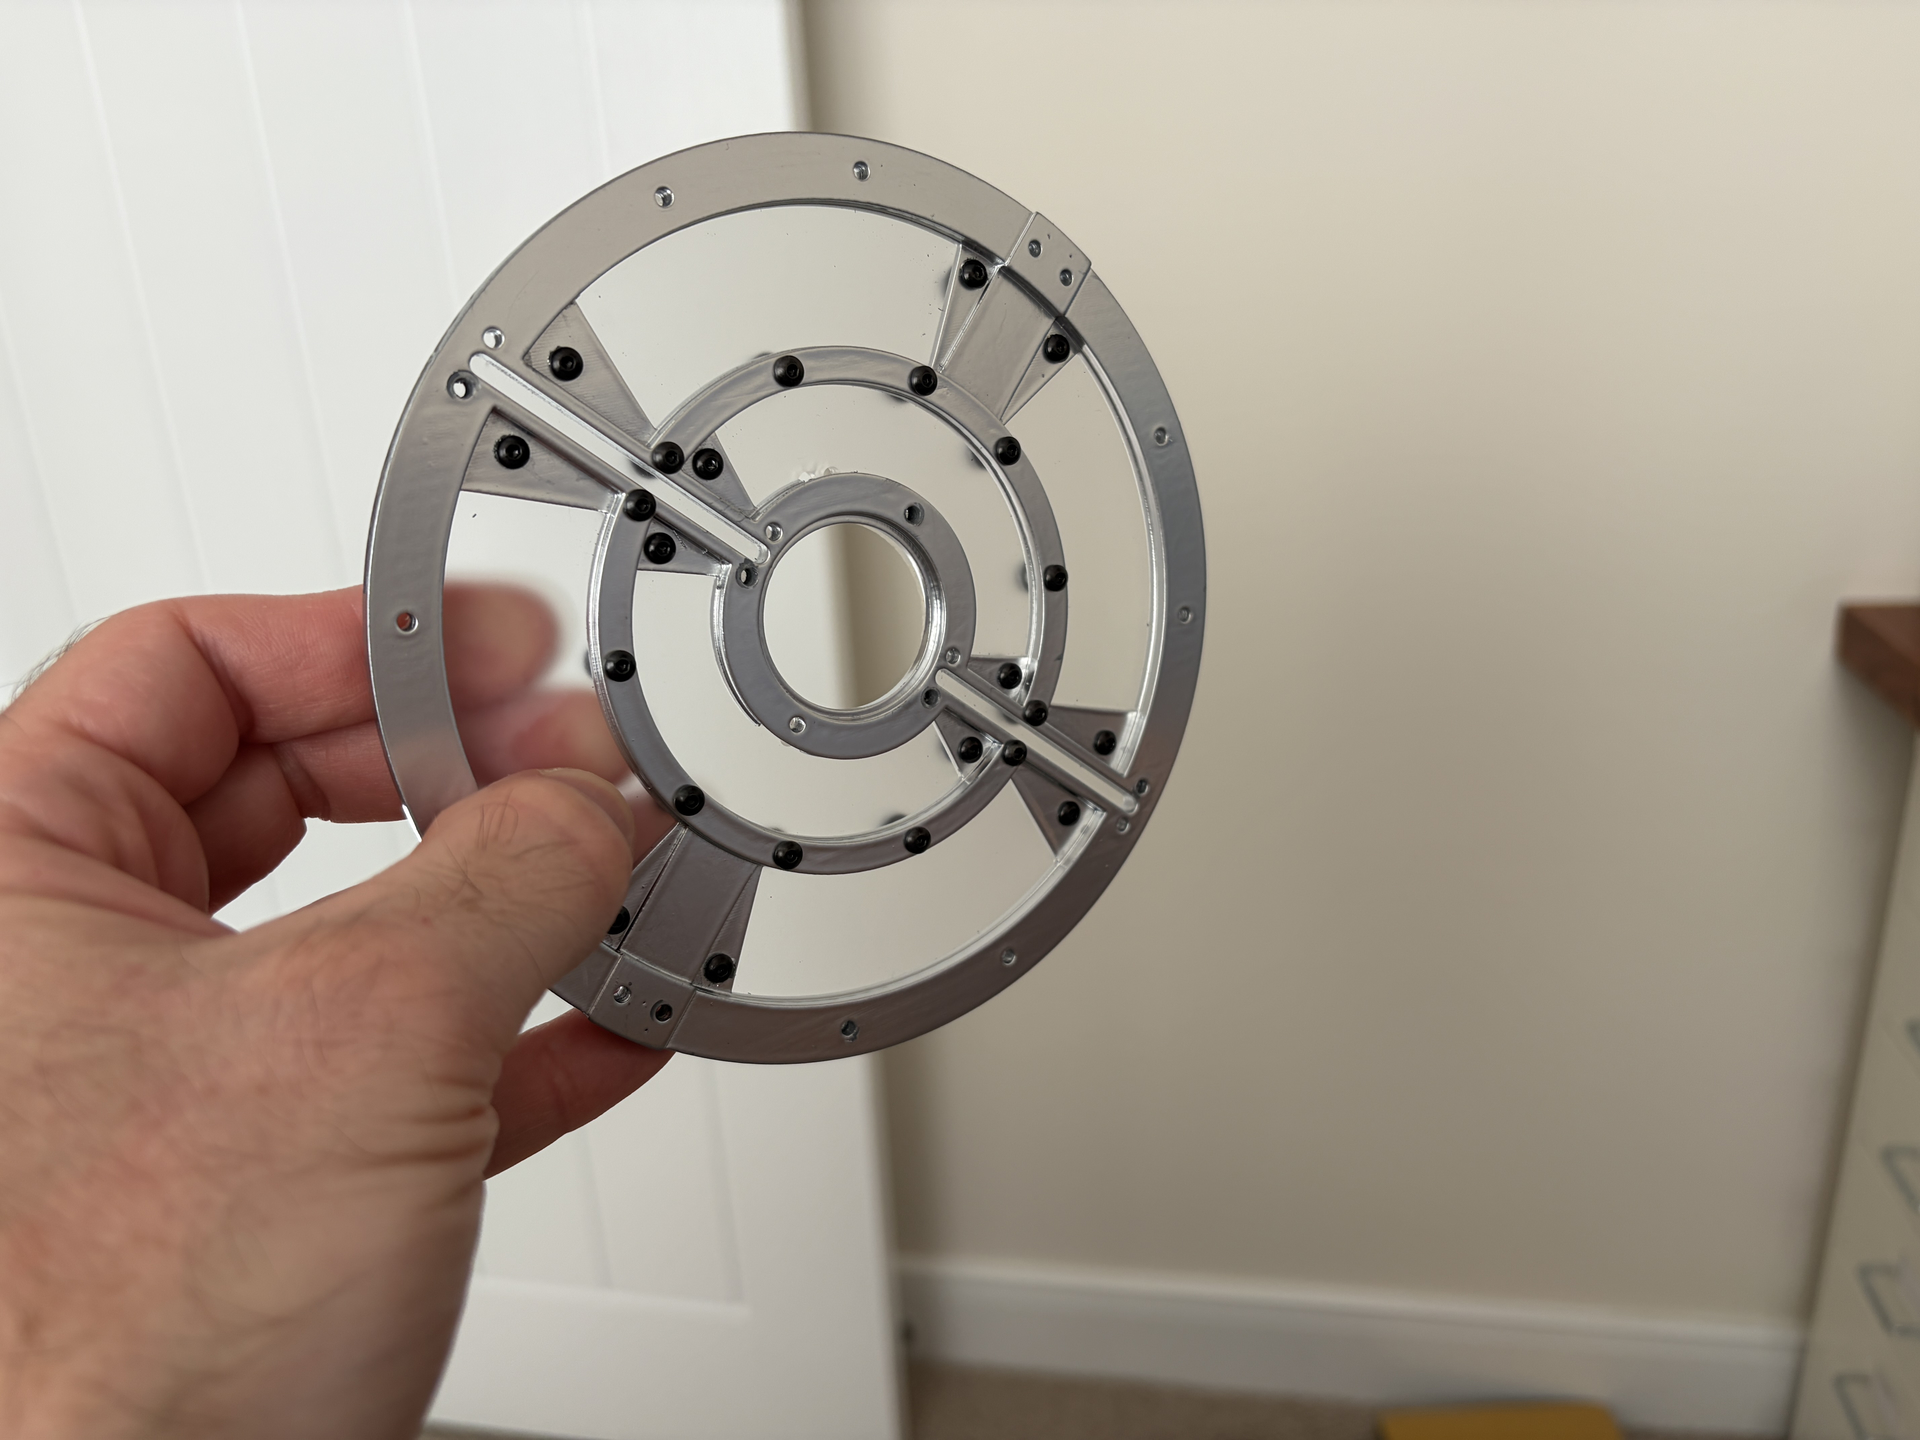
Then for the cake top, I ordered an A4 sheet of 3mm frosted acrylic from Amazon, 3D printed the window file that came with the TacoBelli files to use as a template, and then cut out the window out of the frosted acrylic, including drilling all the screw holes. I then fixed this to the top using various length M2.5 black button head hex screws:
I think it looks really good, and it will make the inner lights glow really nicely when its all installed.
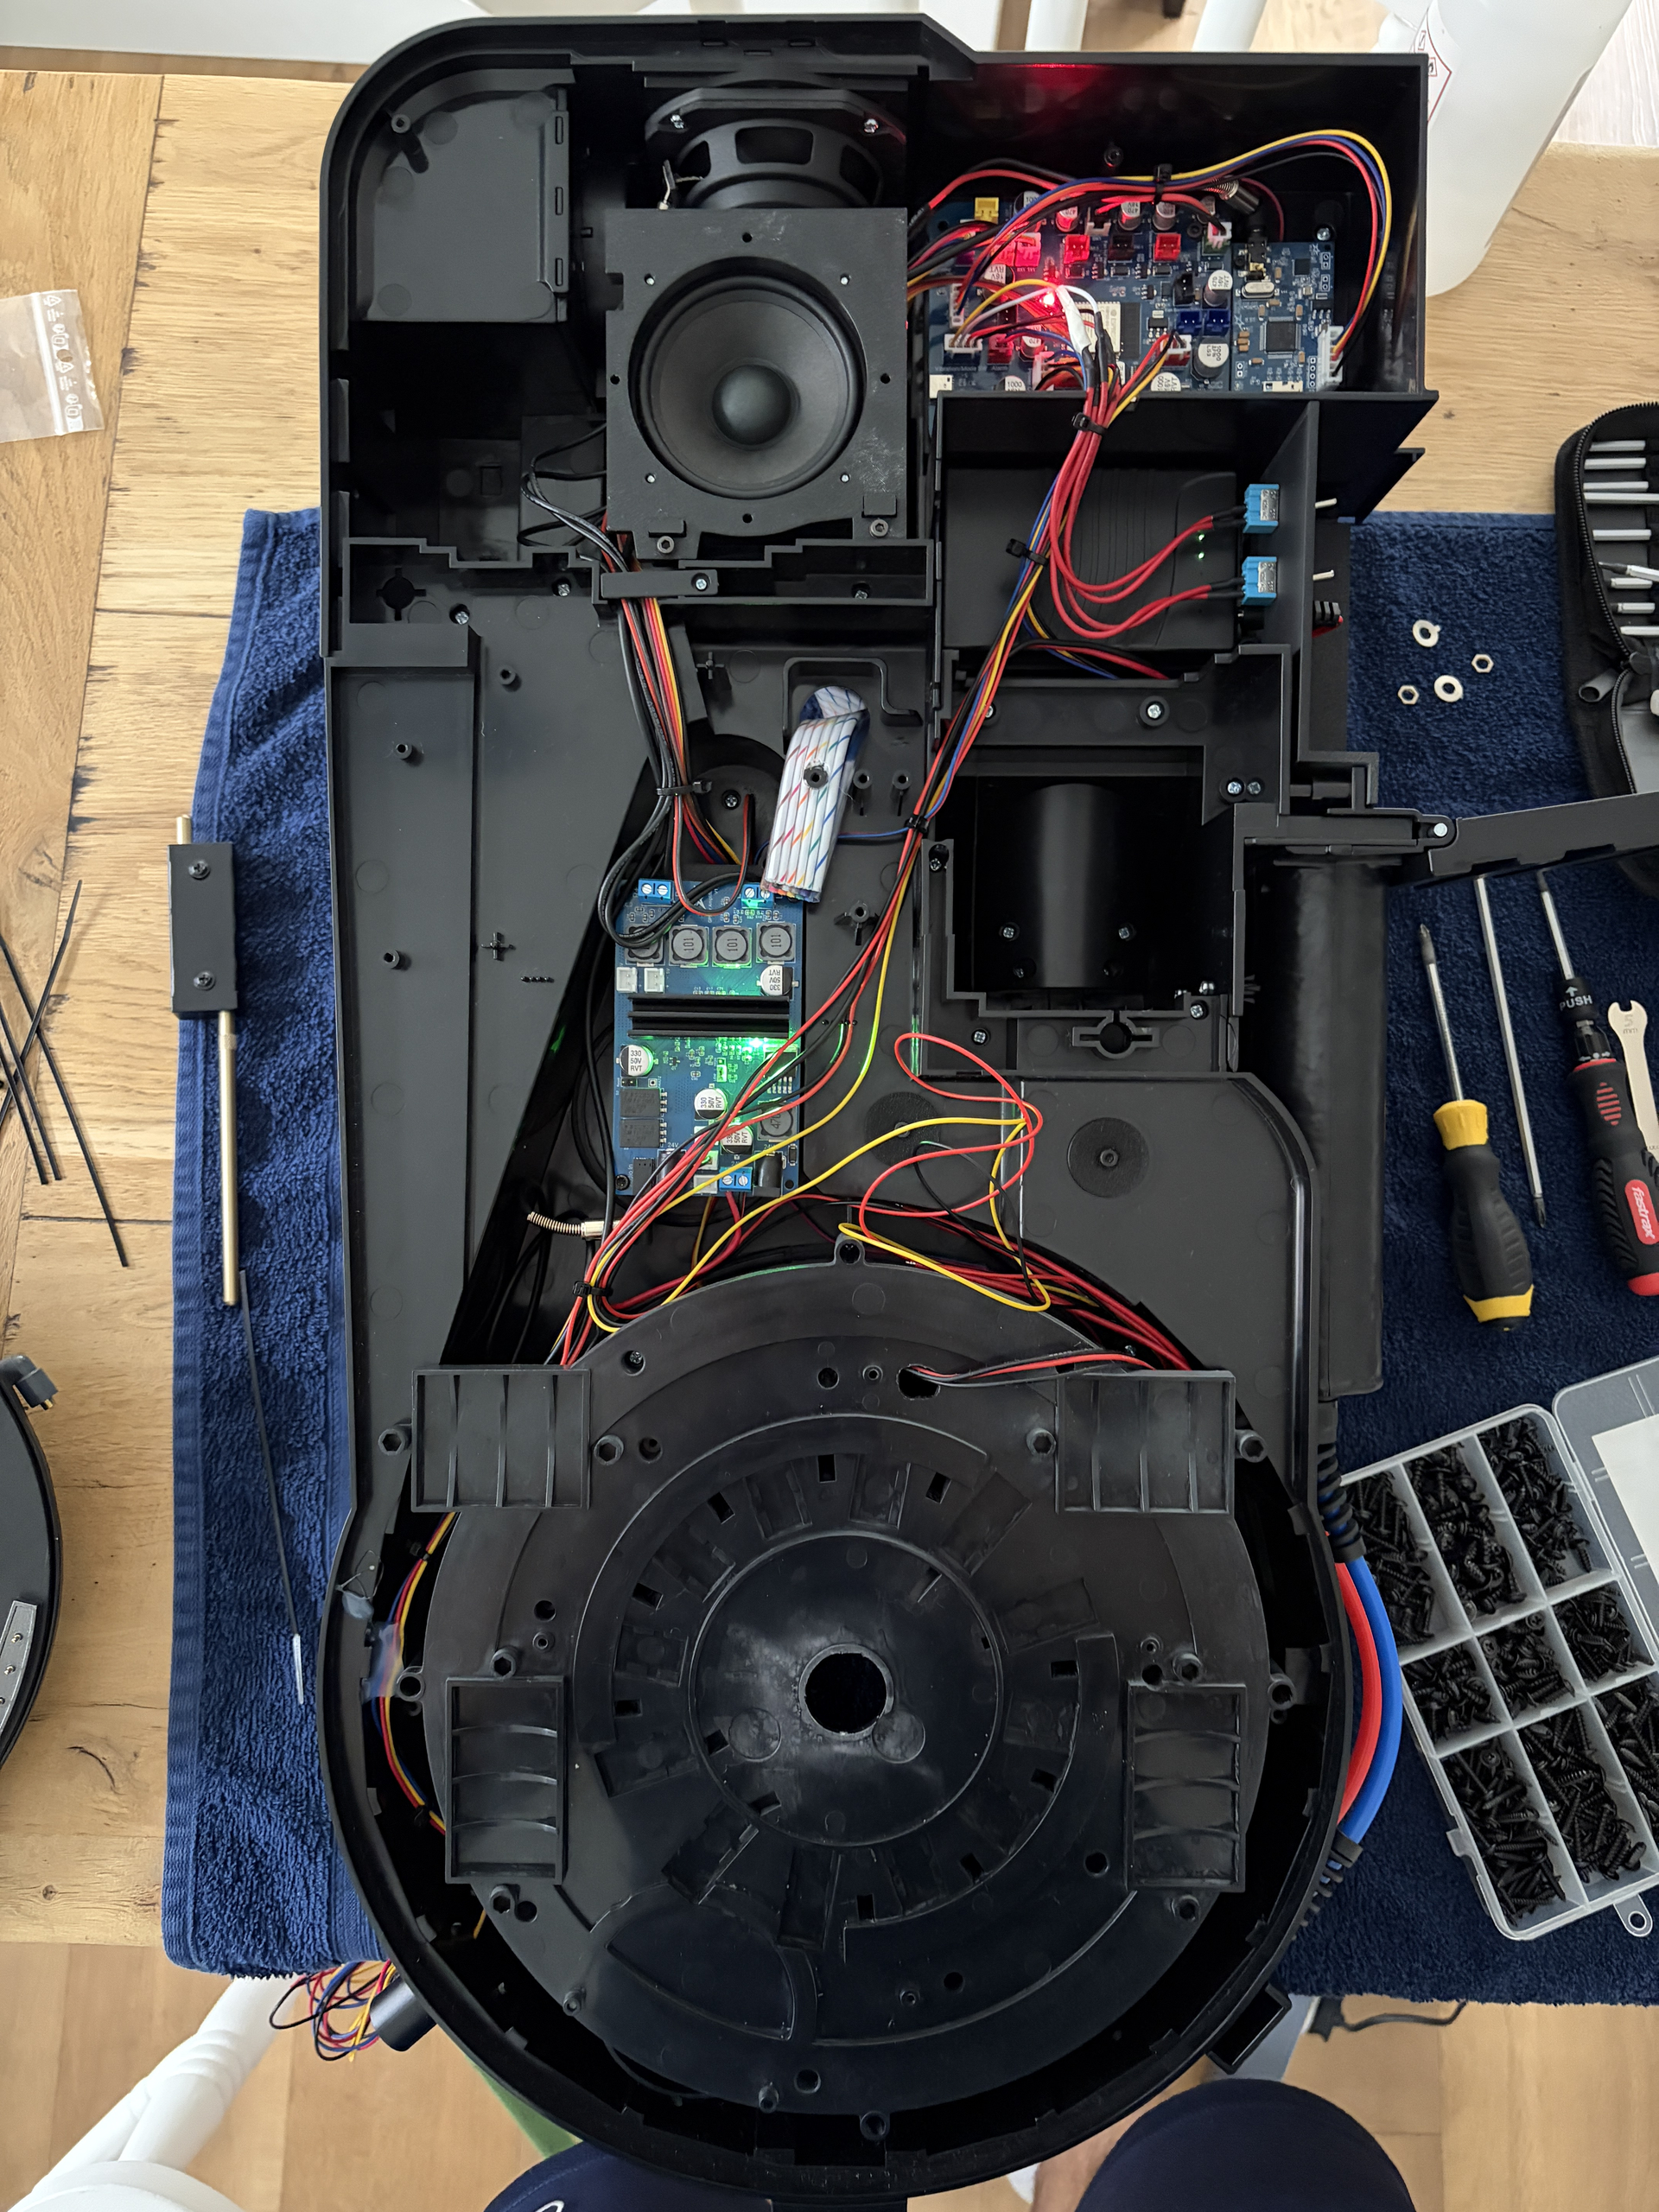
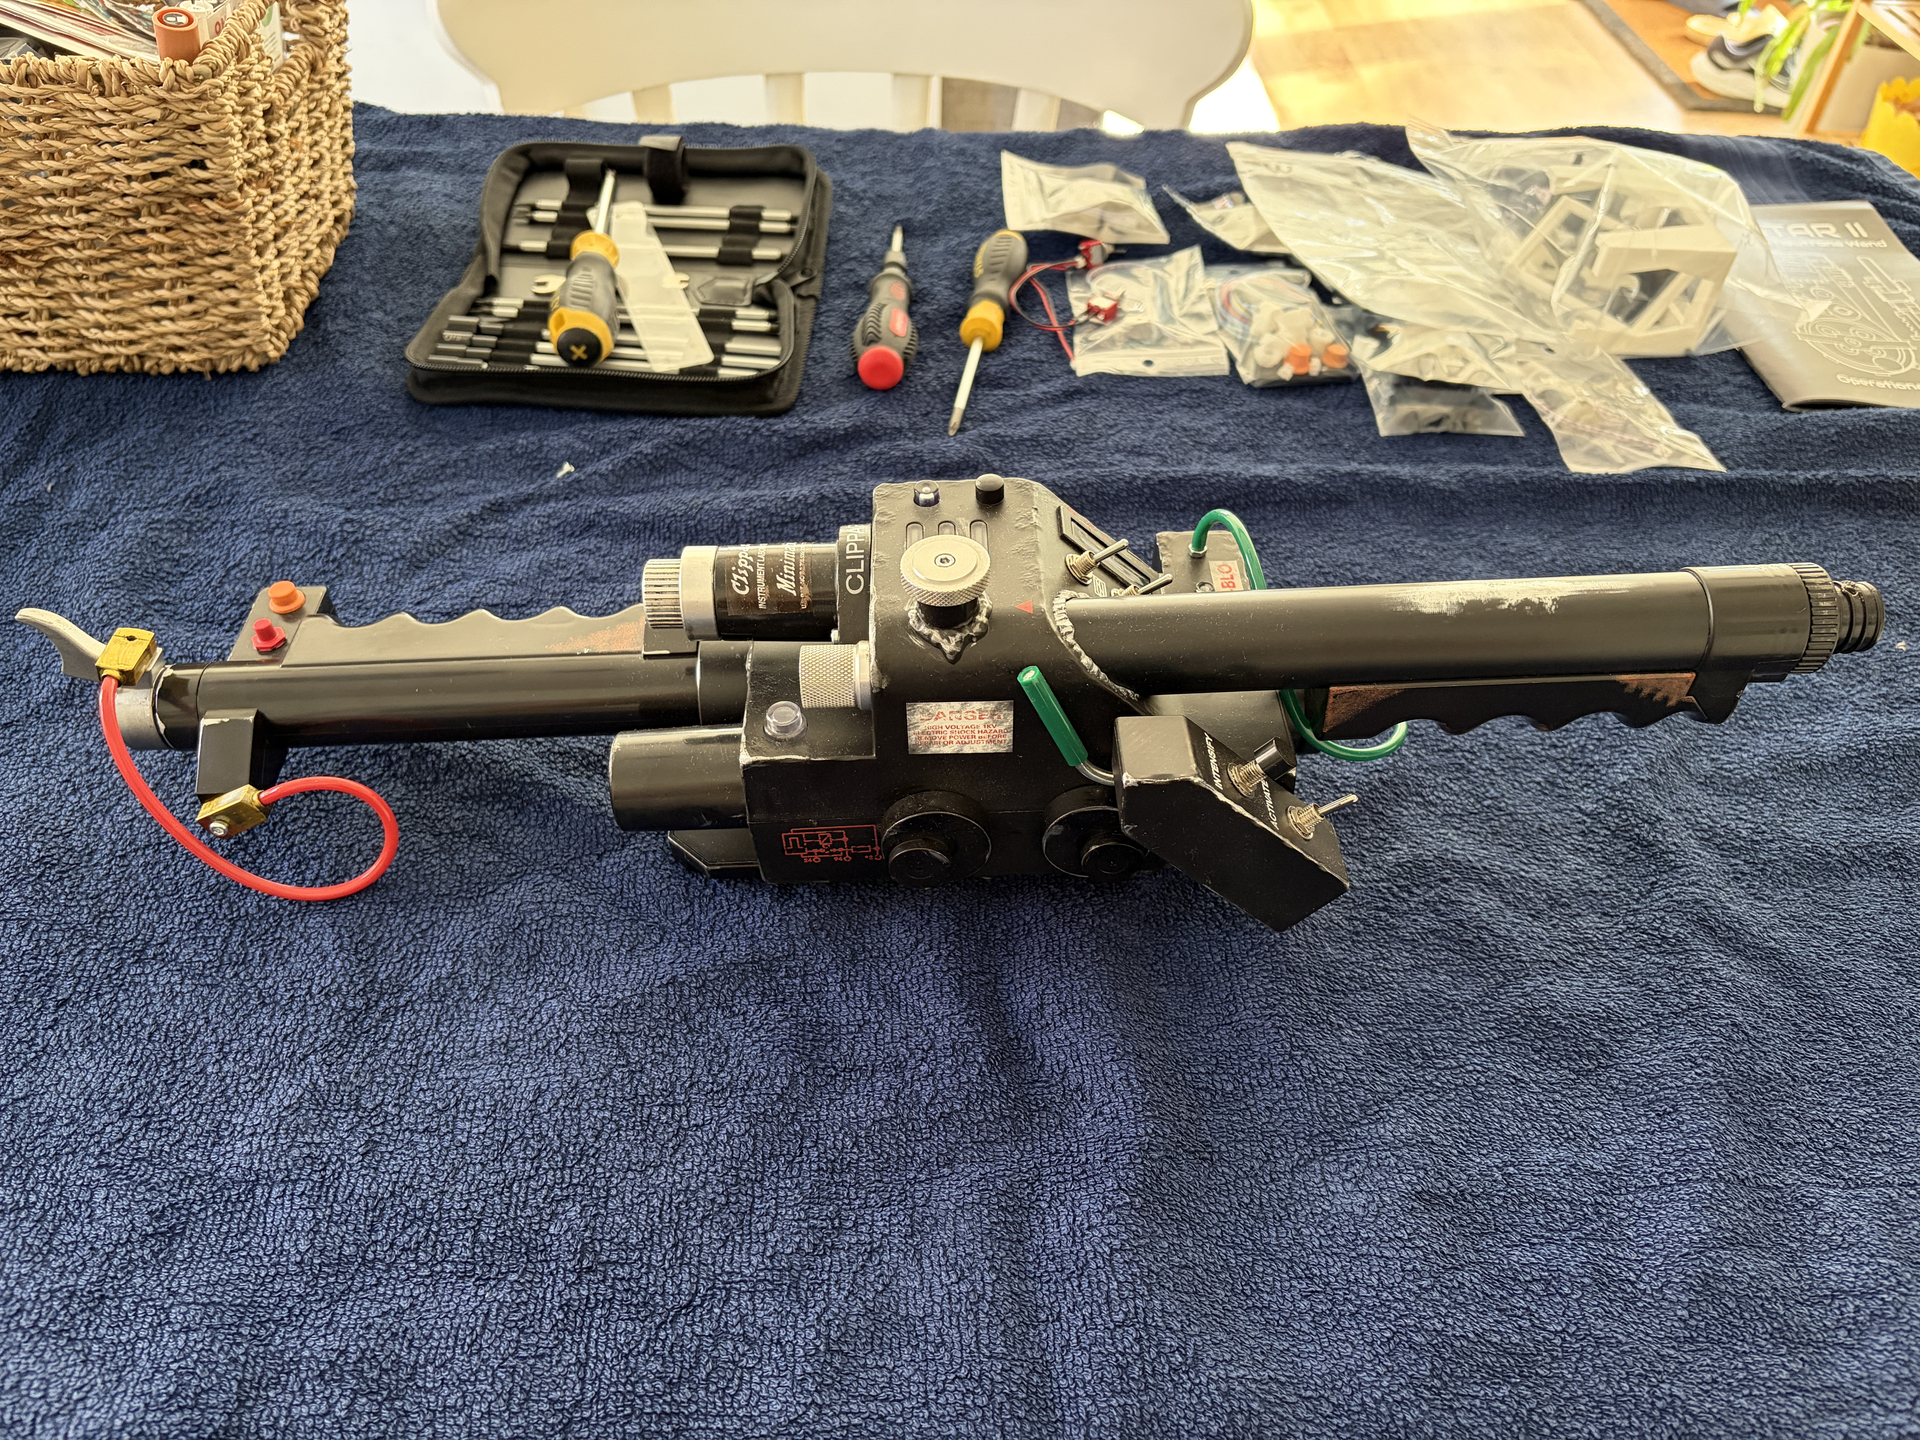
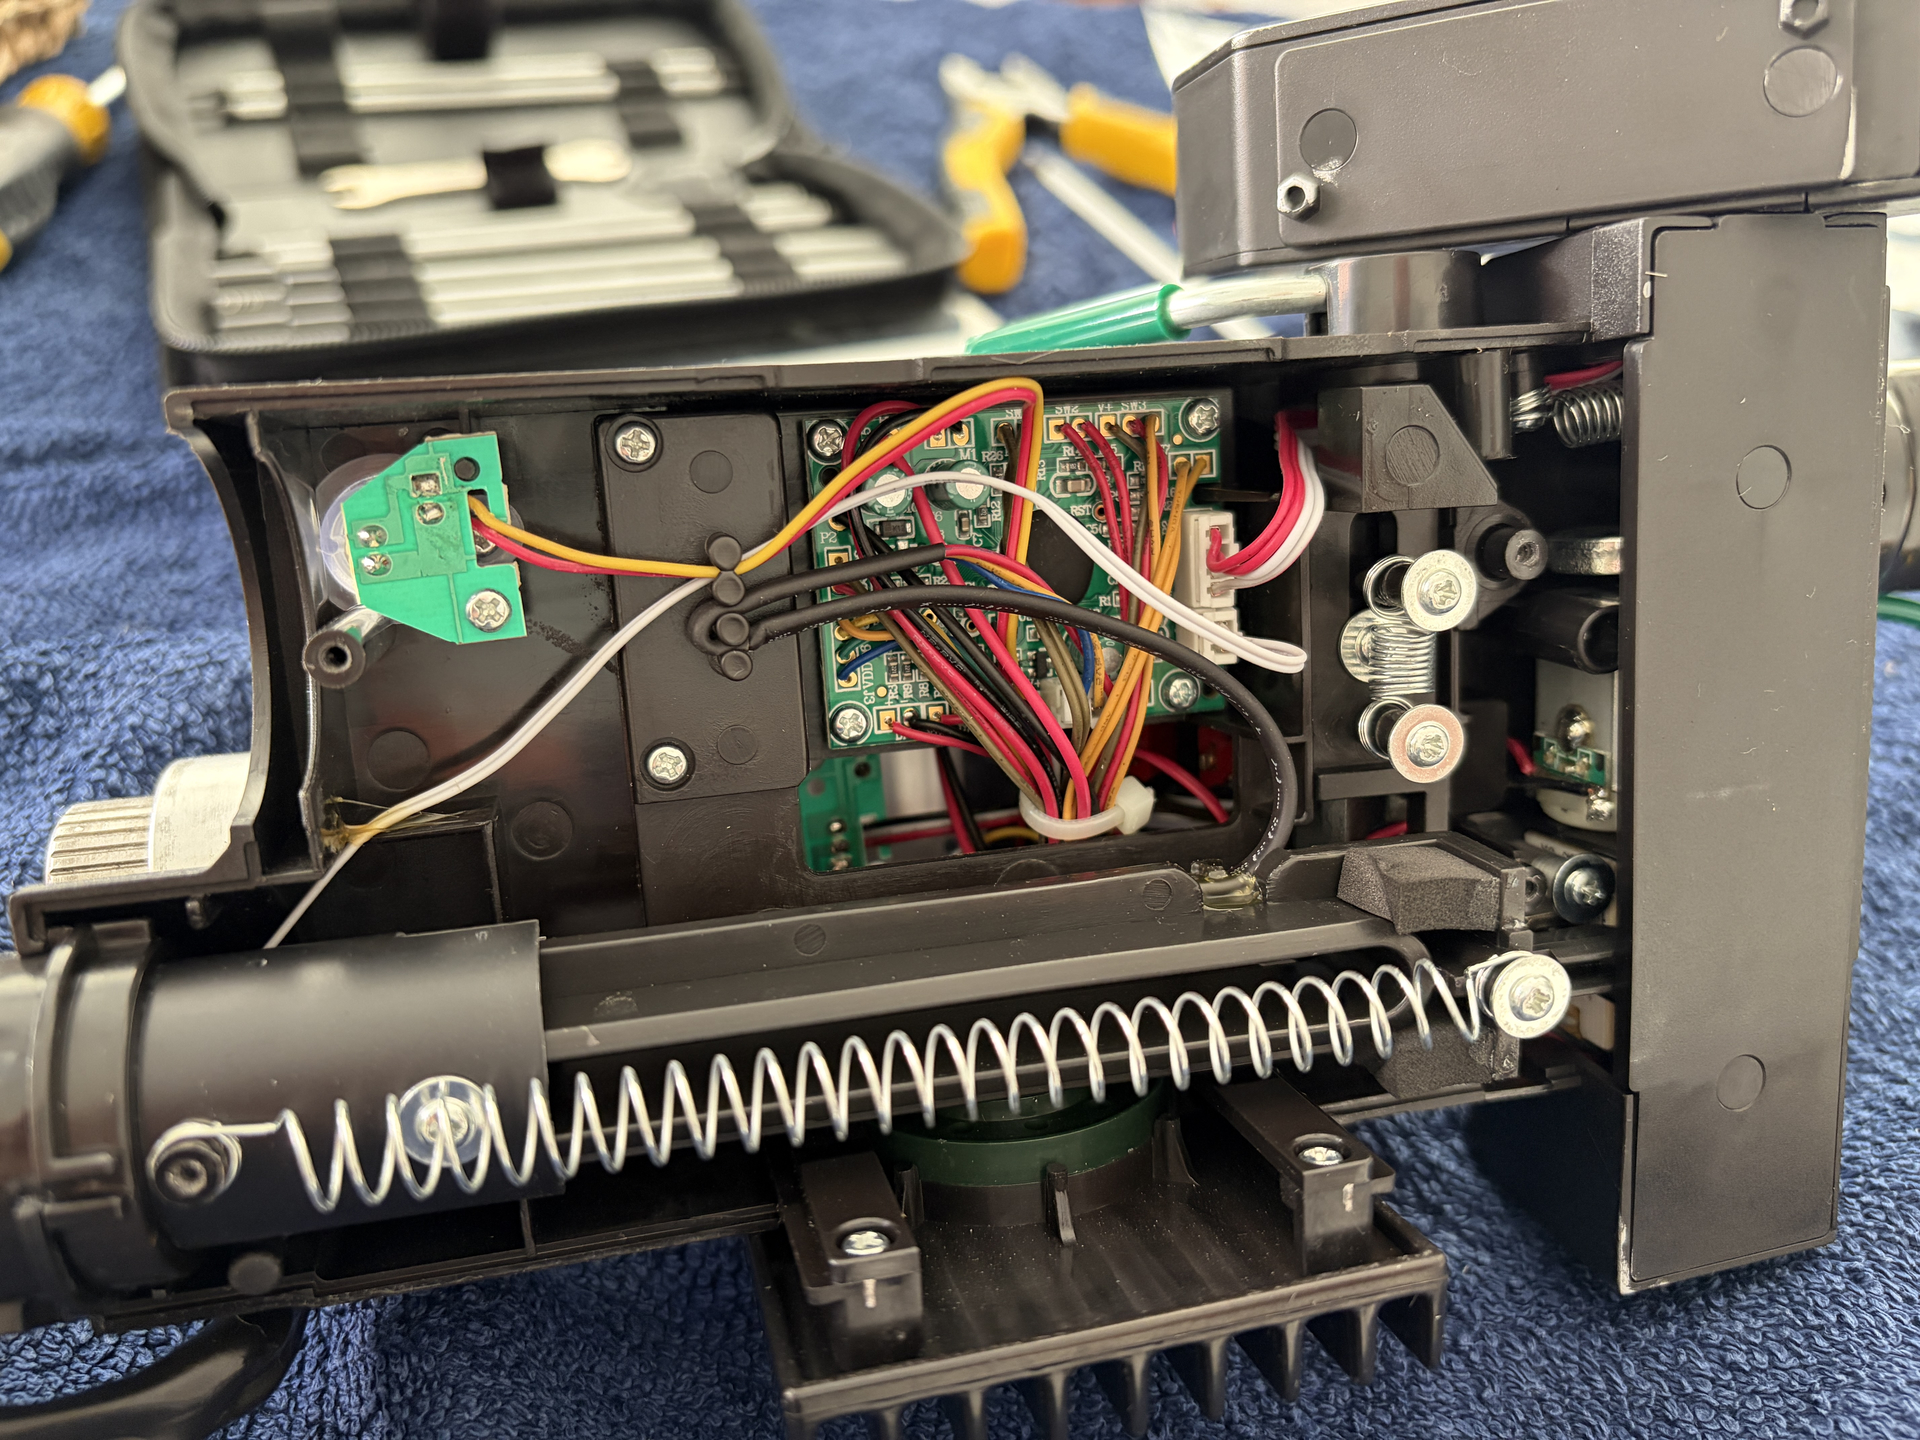
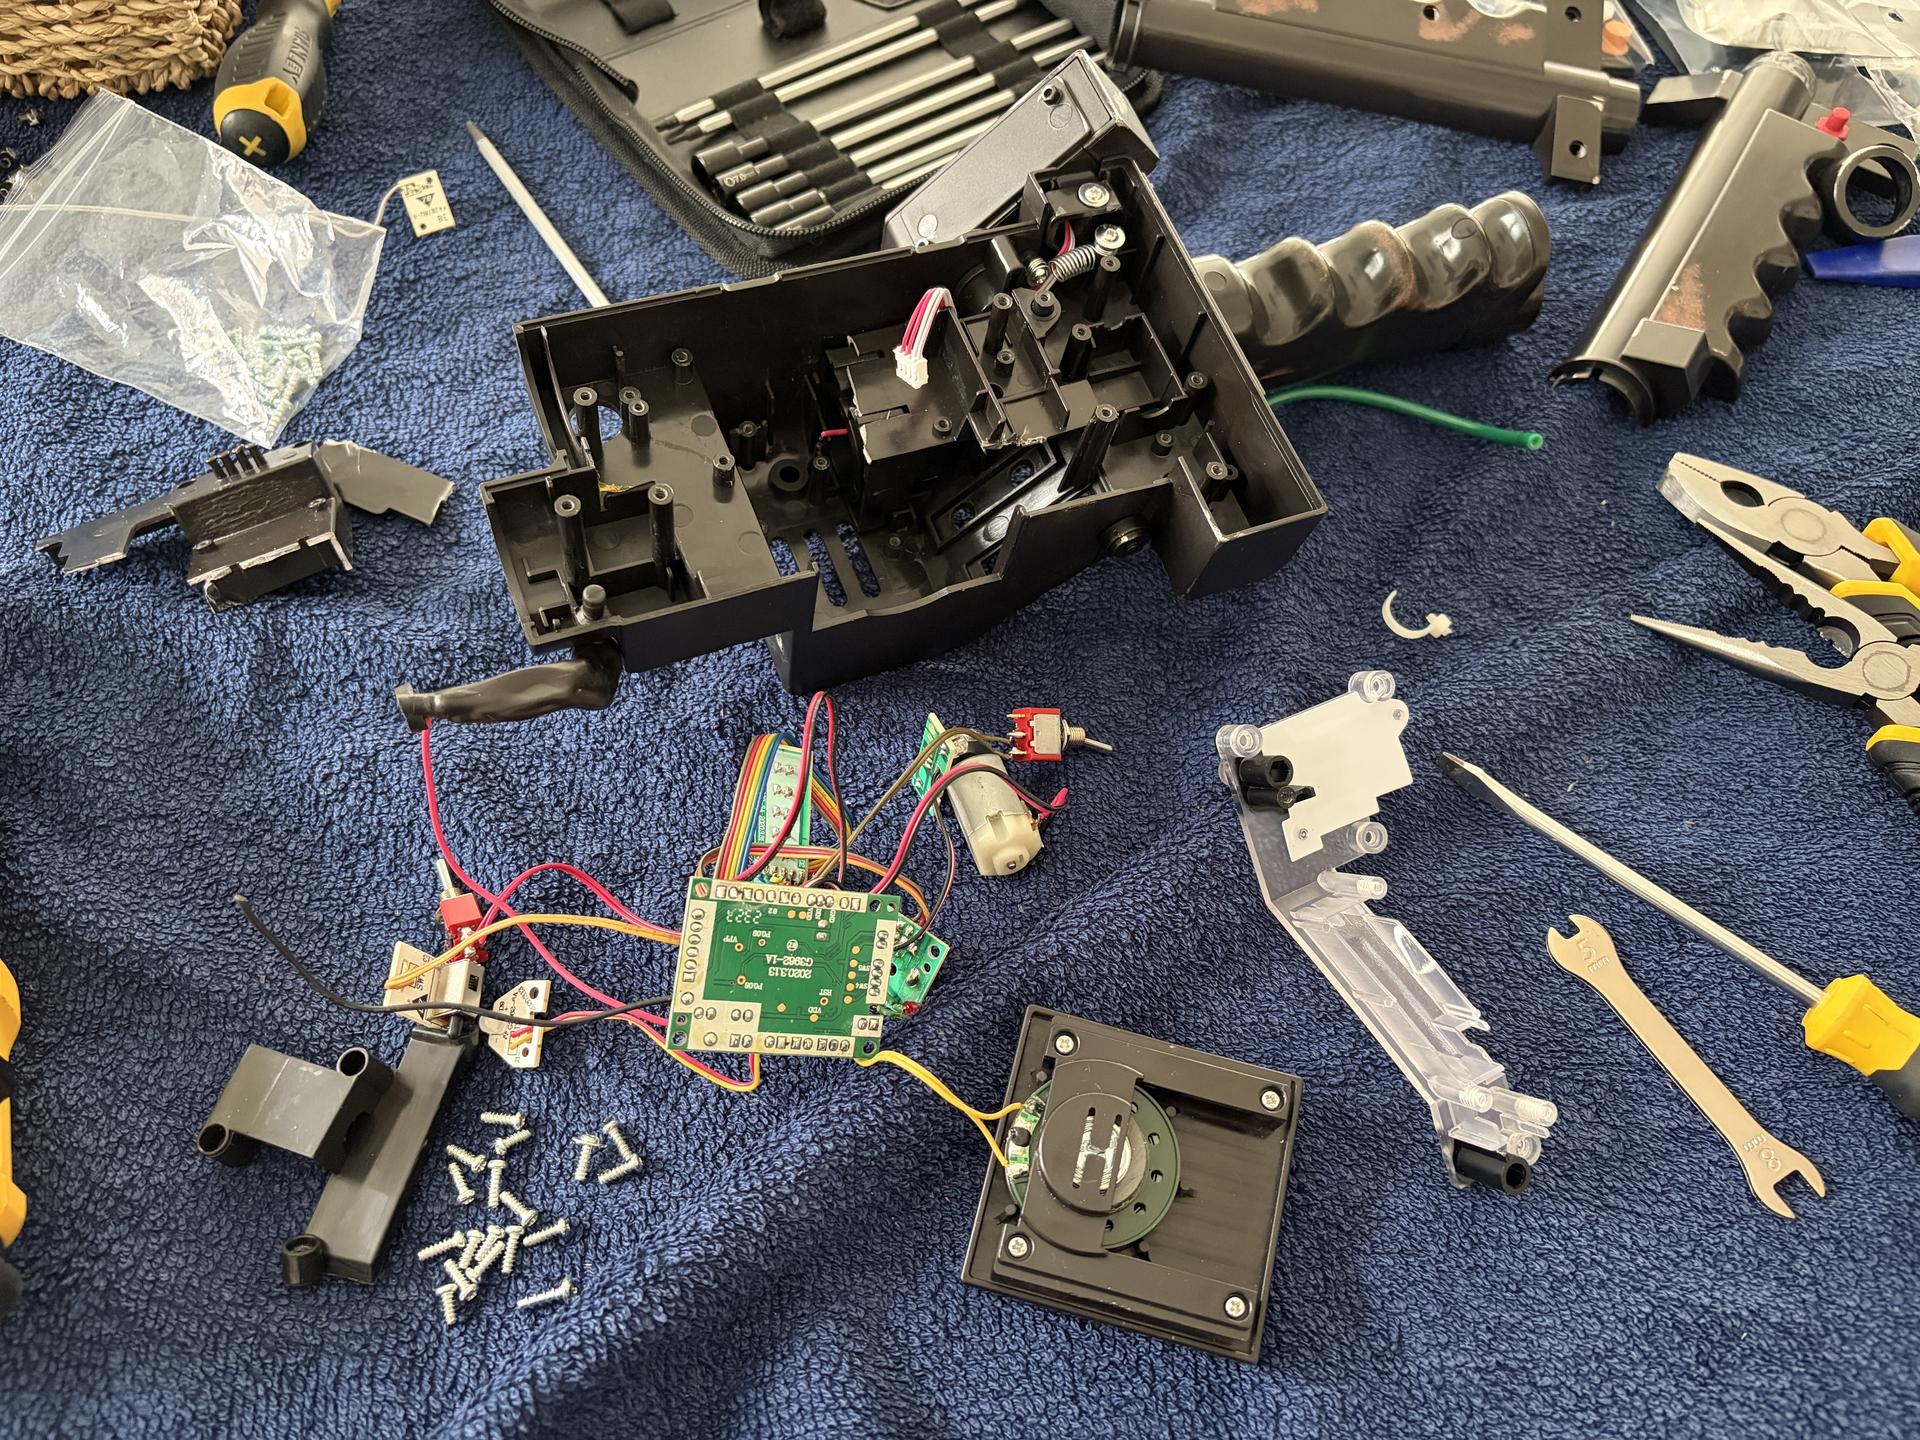
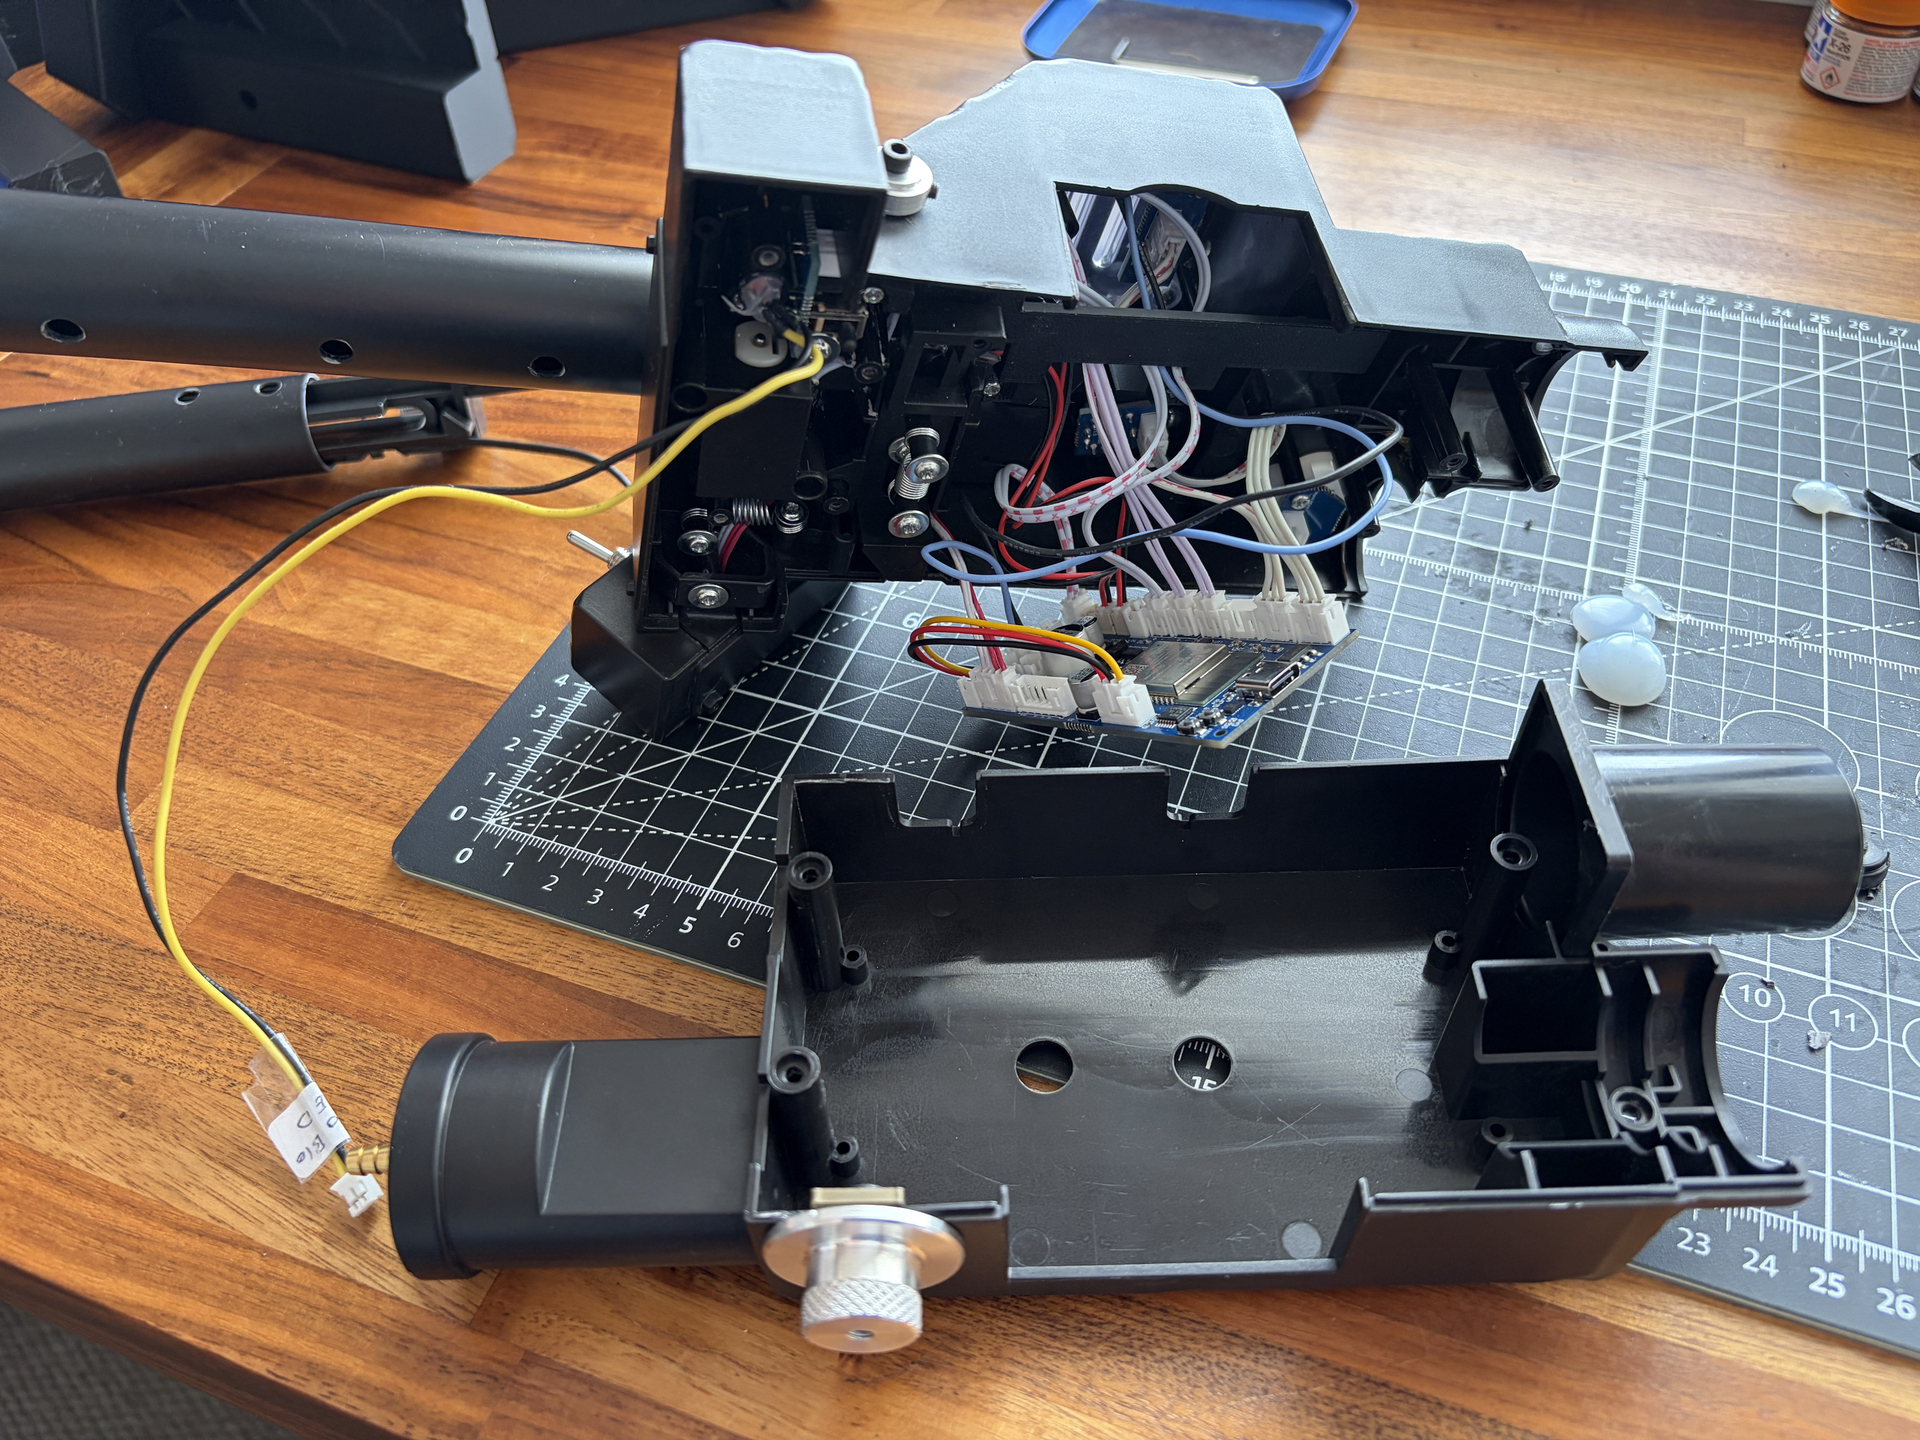
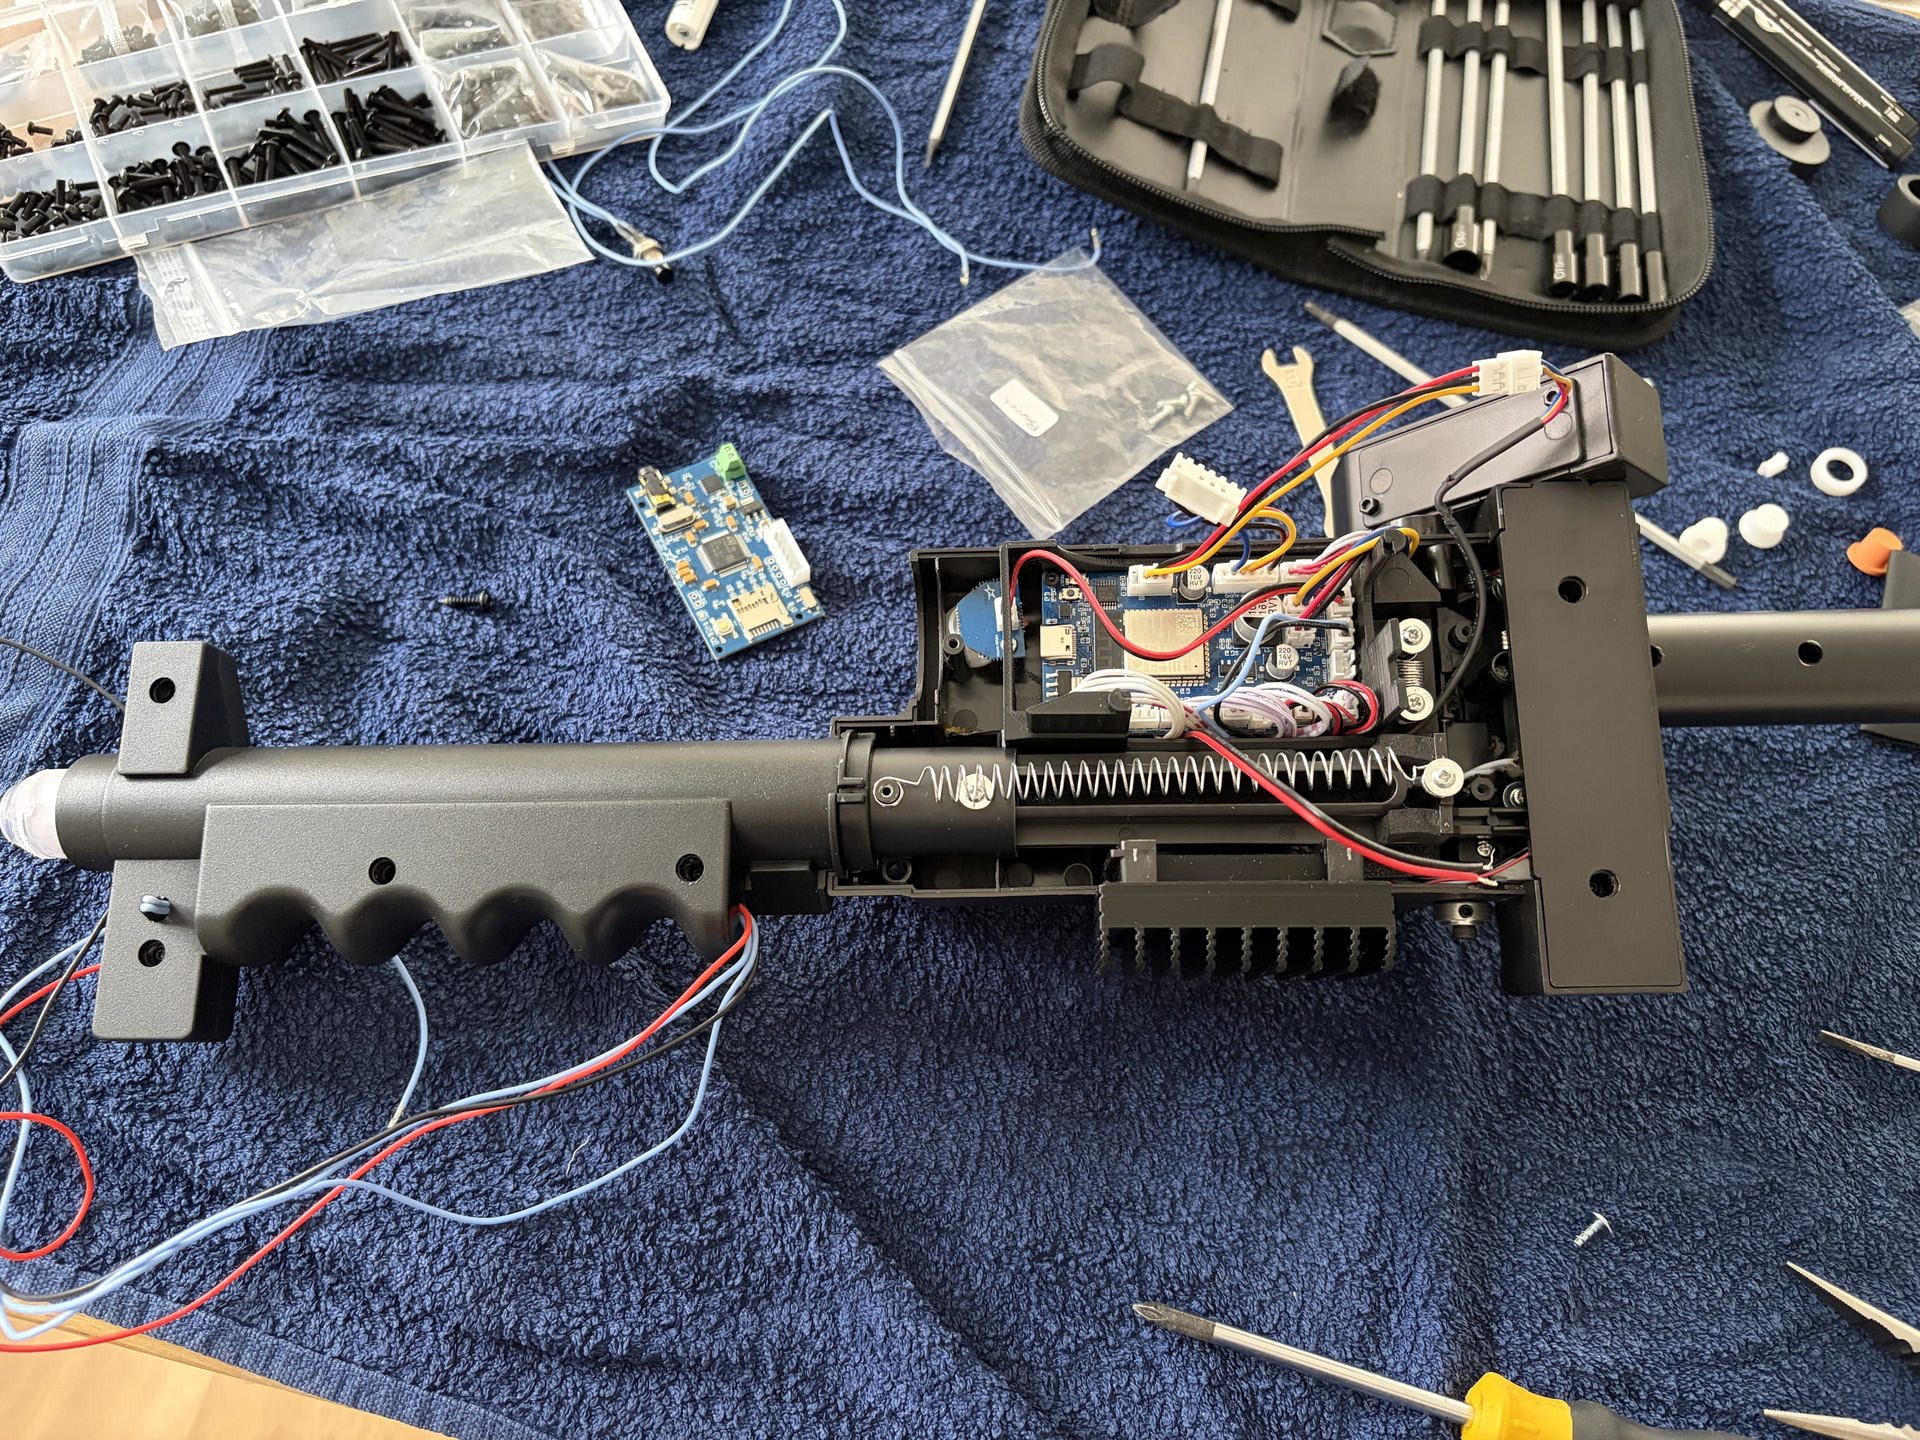
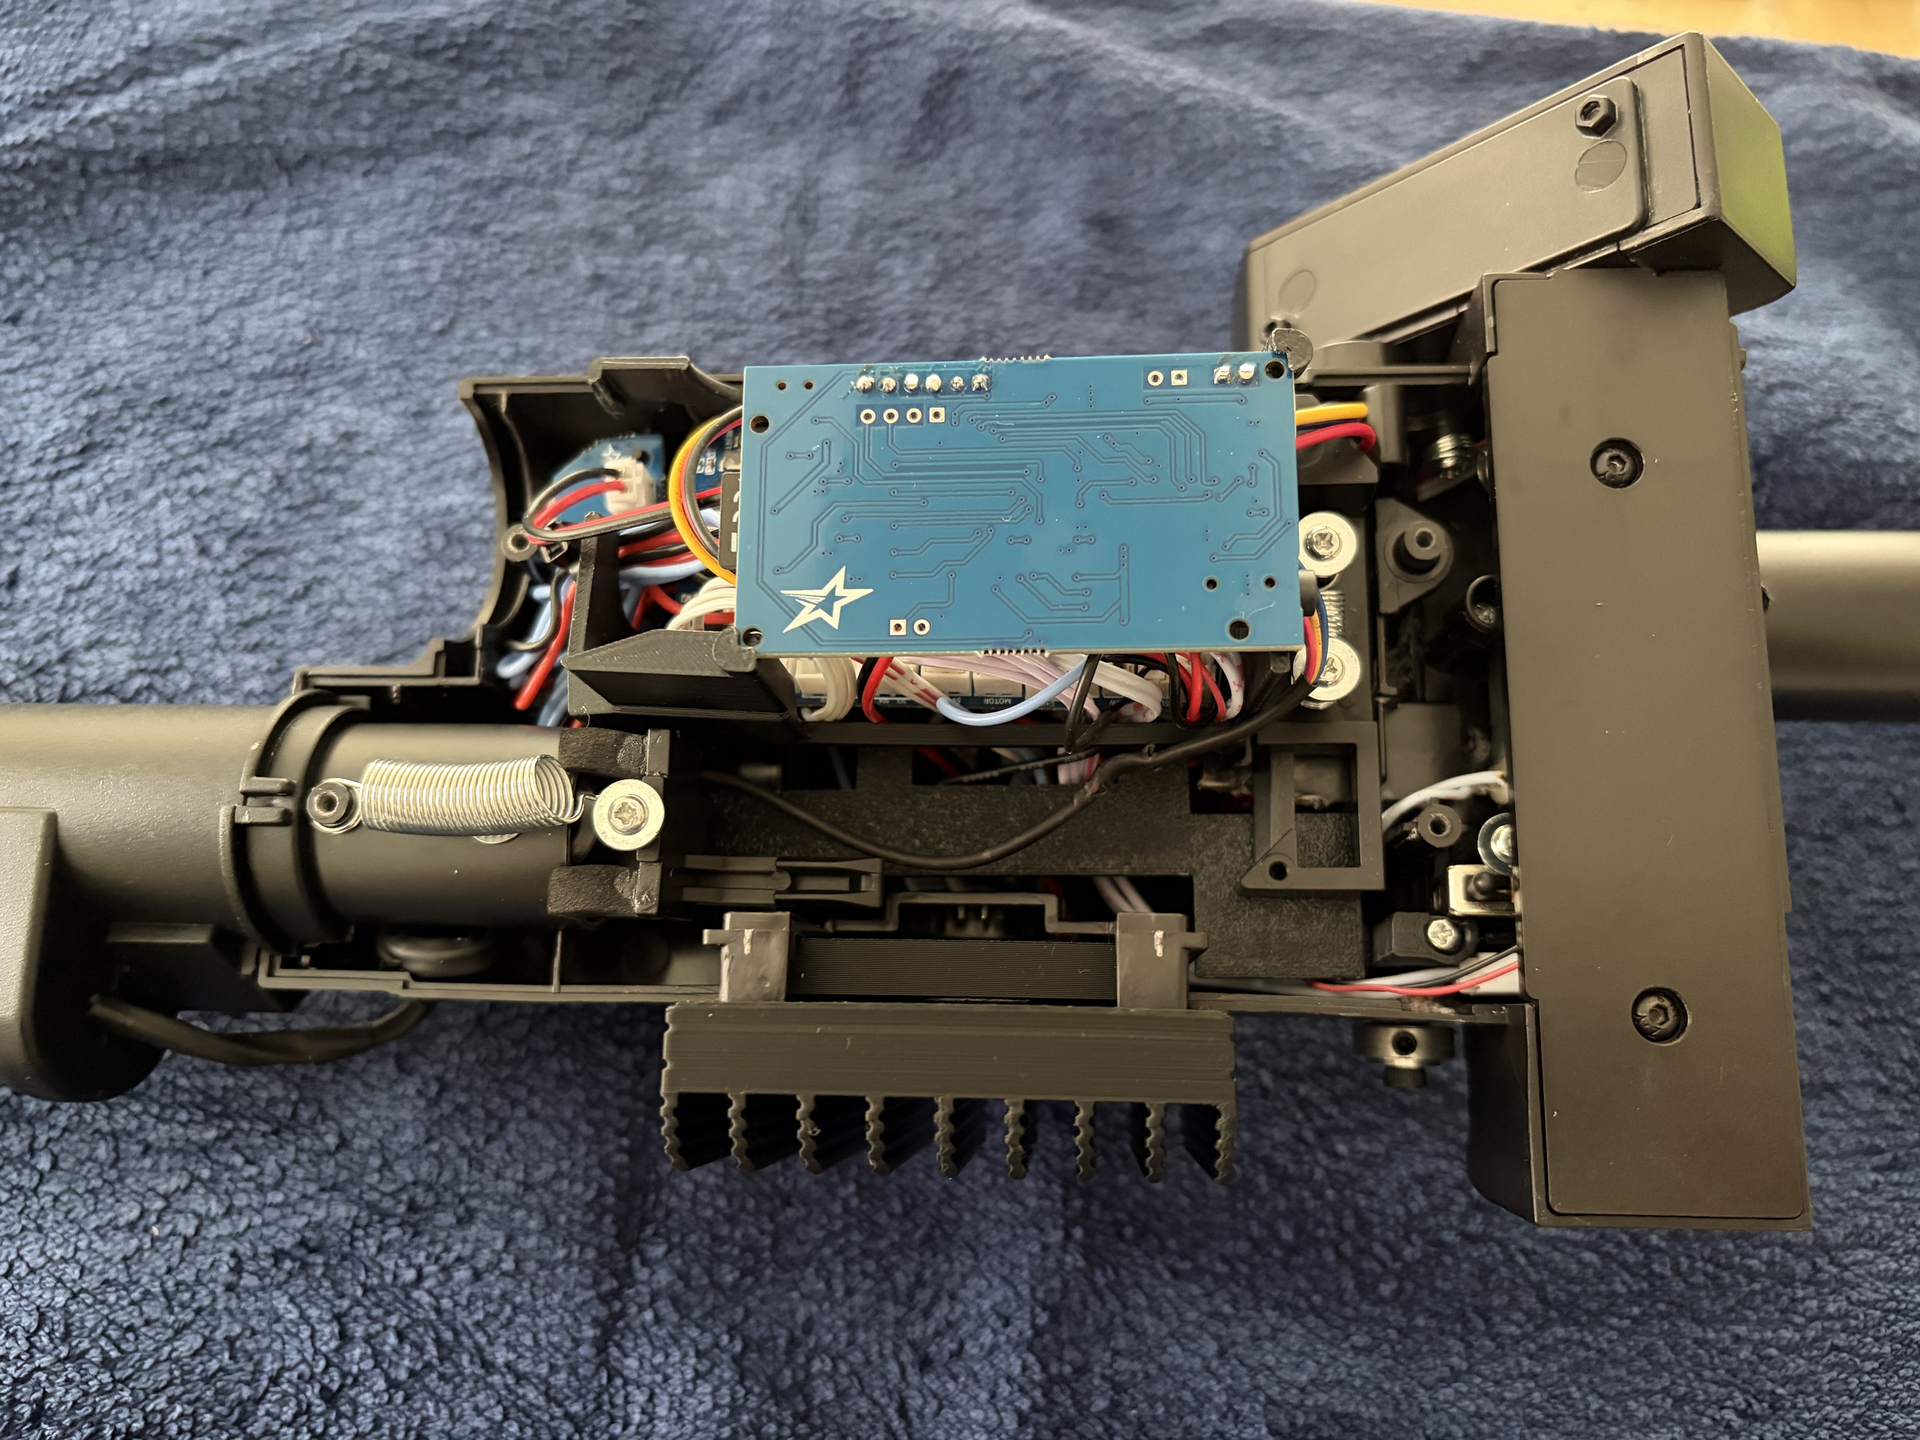
But the main work over the last few days has been on the wand. First, I finished getting all the GPStar electronics installed. Not an easy job! But I got there in the end, and it’s all working really well:
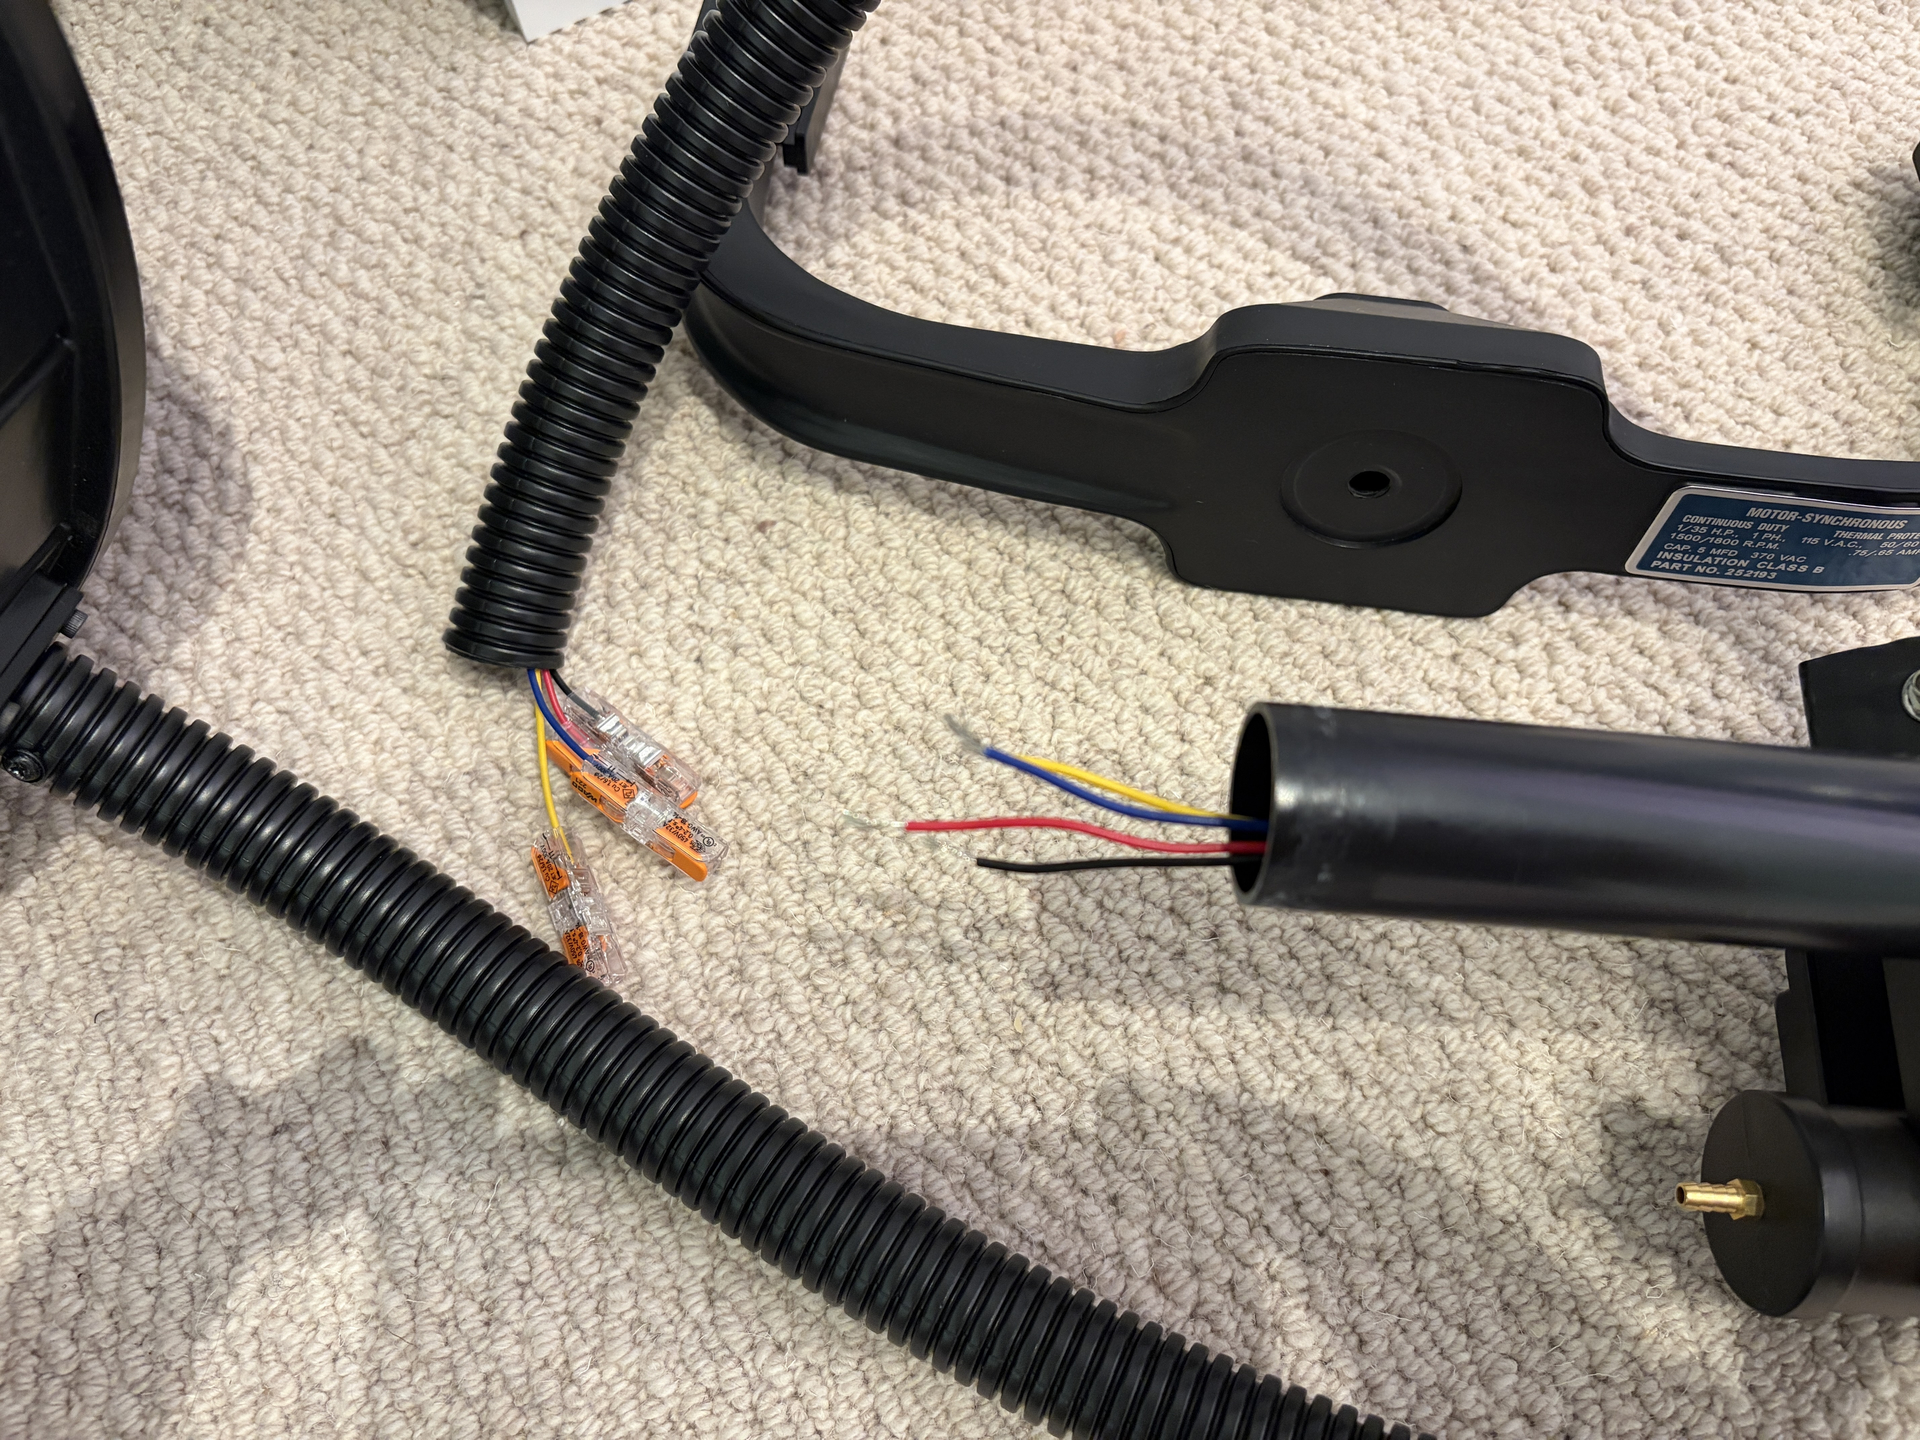
Something else I added were these Wago connectors to allow me to separate the wand from the pack:
The GPStar Base kit that I bought didn’t come with any kind of quick release like a Neutrik, but I also didn’t want that. The 1984 packs were all hard-wired, plus I’ll hardly ever need to disconnect the wand from the pack, but I also realised that, on the rare occasions when I’d need to disconnect it, I’d have to disassemble the pack or the wand and remove the JSTs from the board to do this, which would be a pain, so this will be a good solution and they’ll just tuck into the loom.
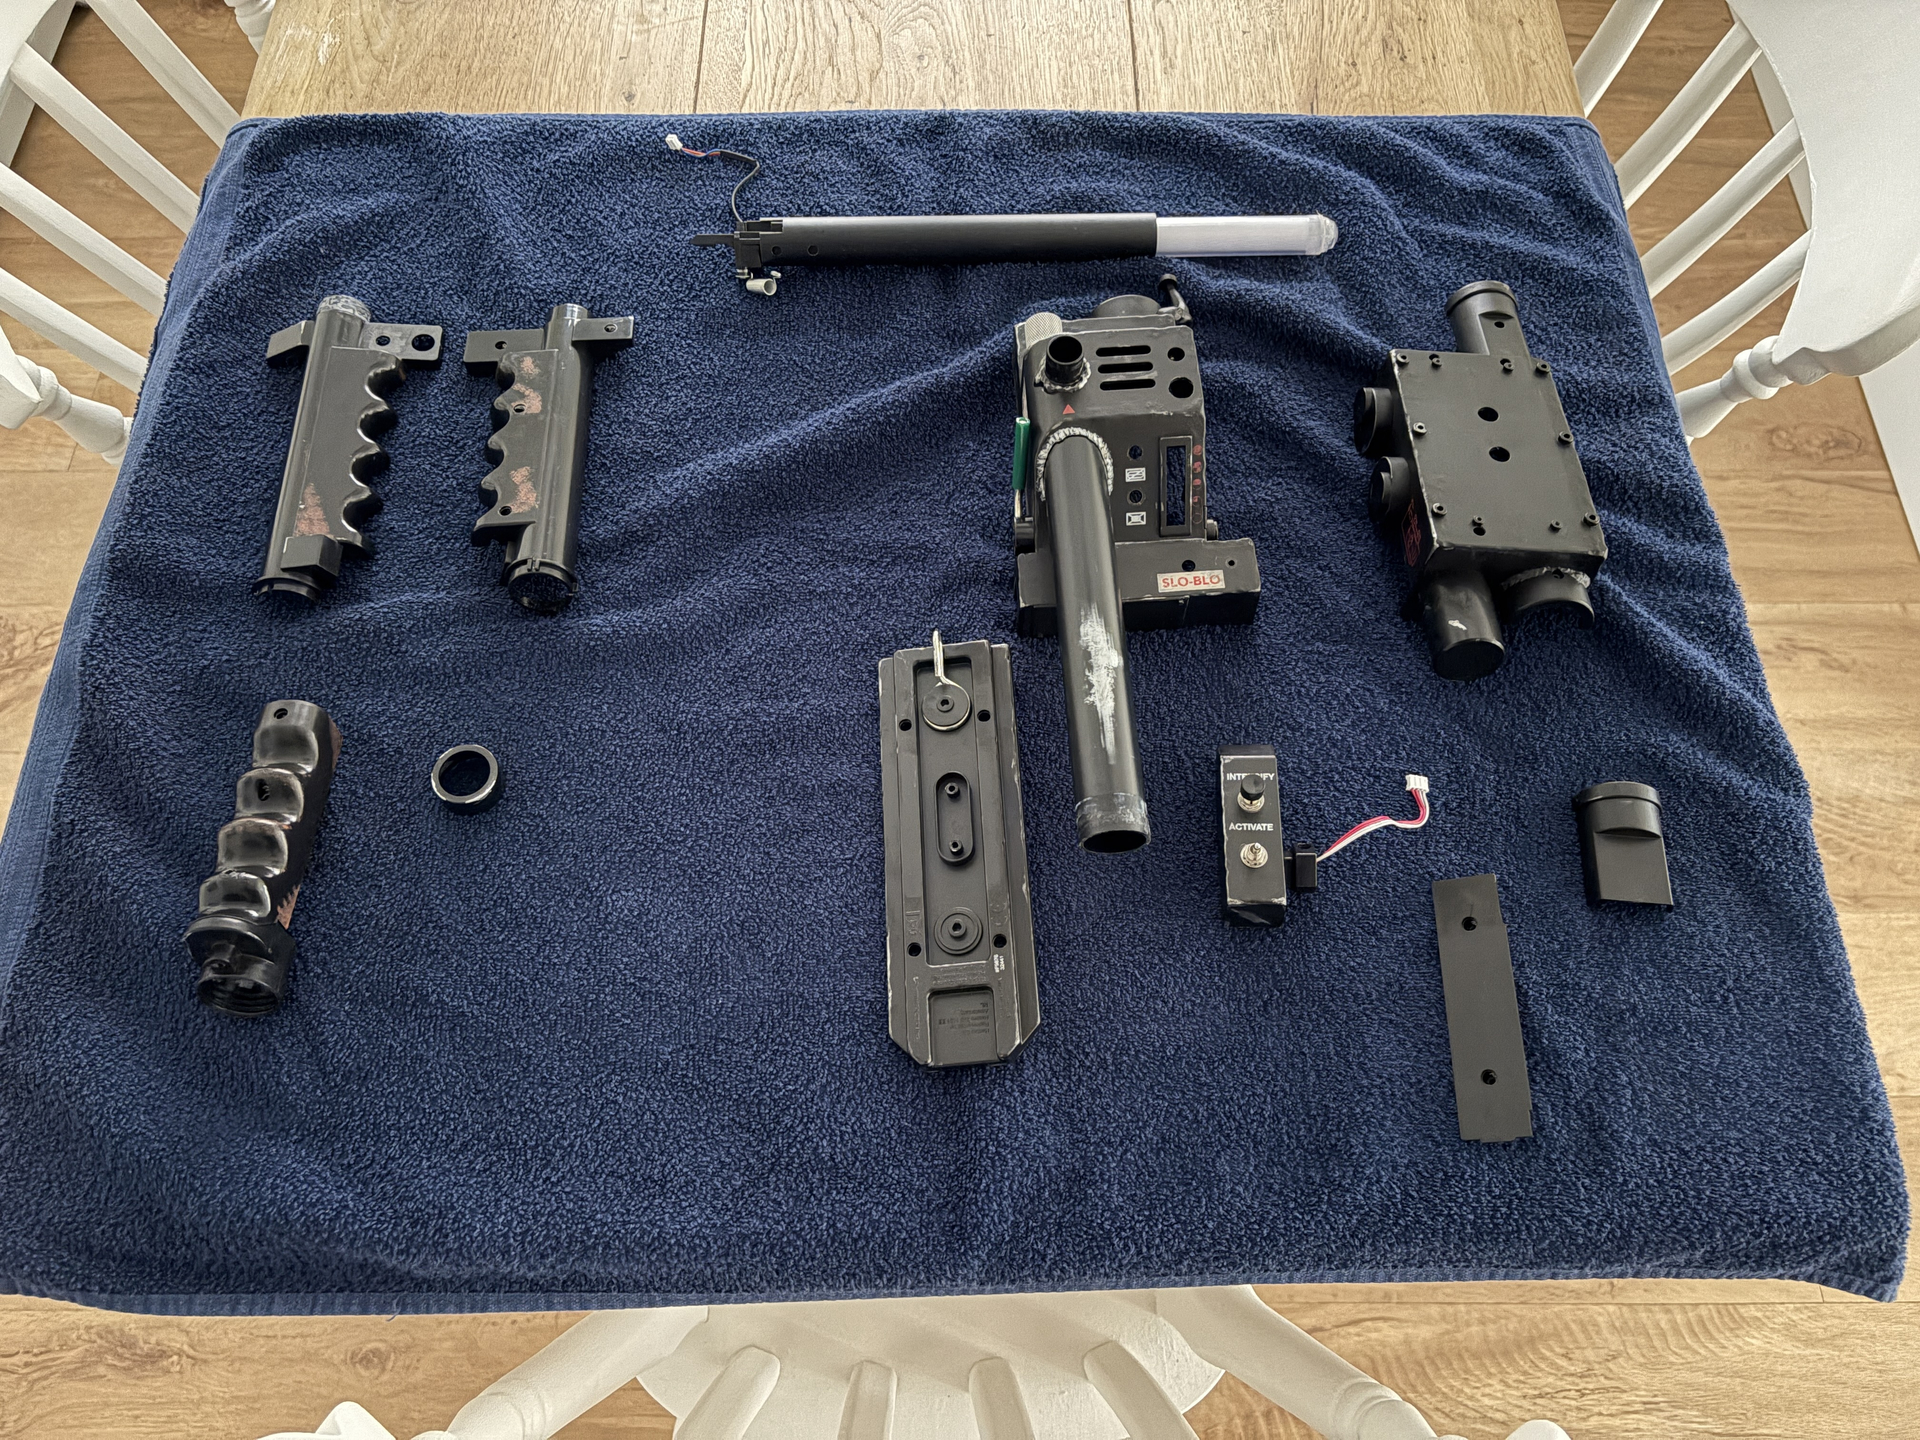
Then the fun part, adding the new decals from Mack’s Factory and dry transfers from Charlesworth Dynamics, both excellent products by the way:
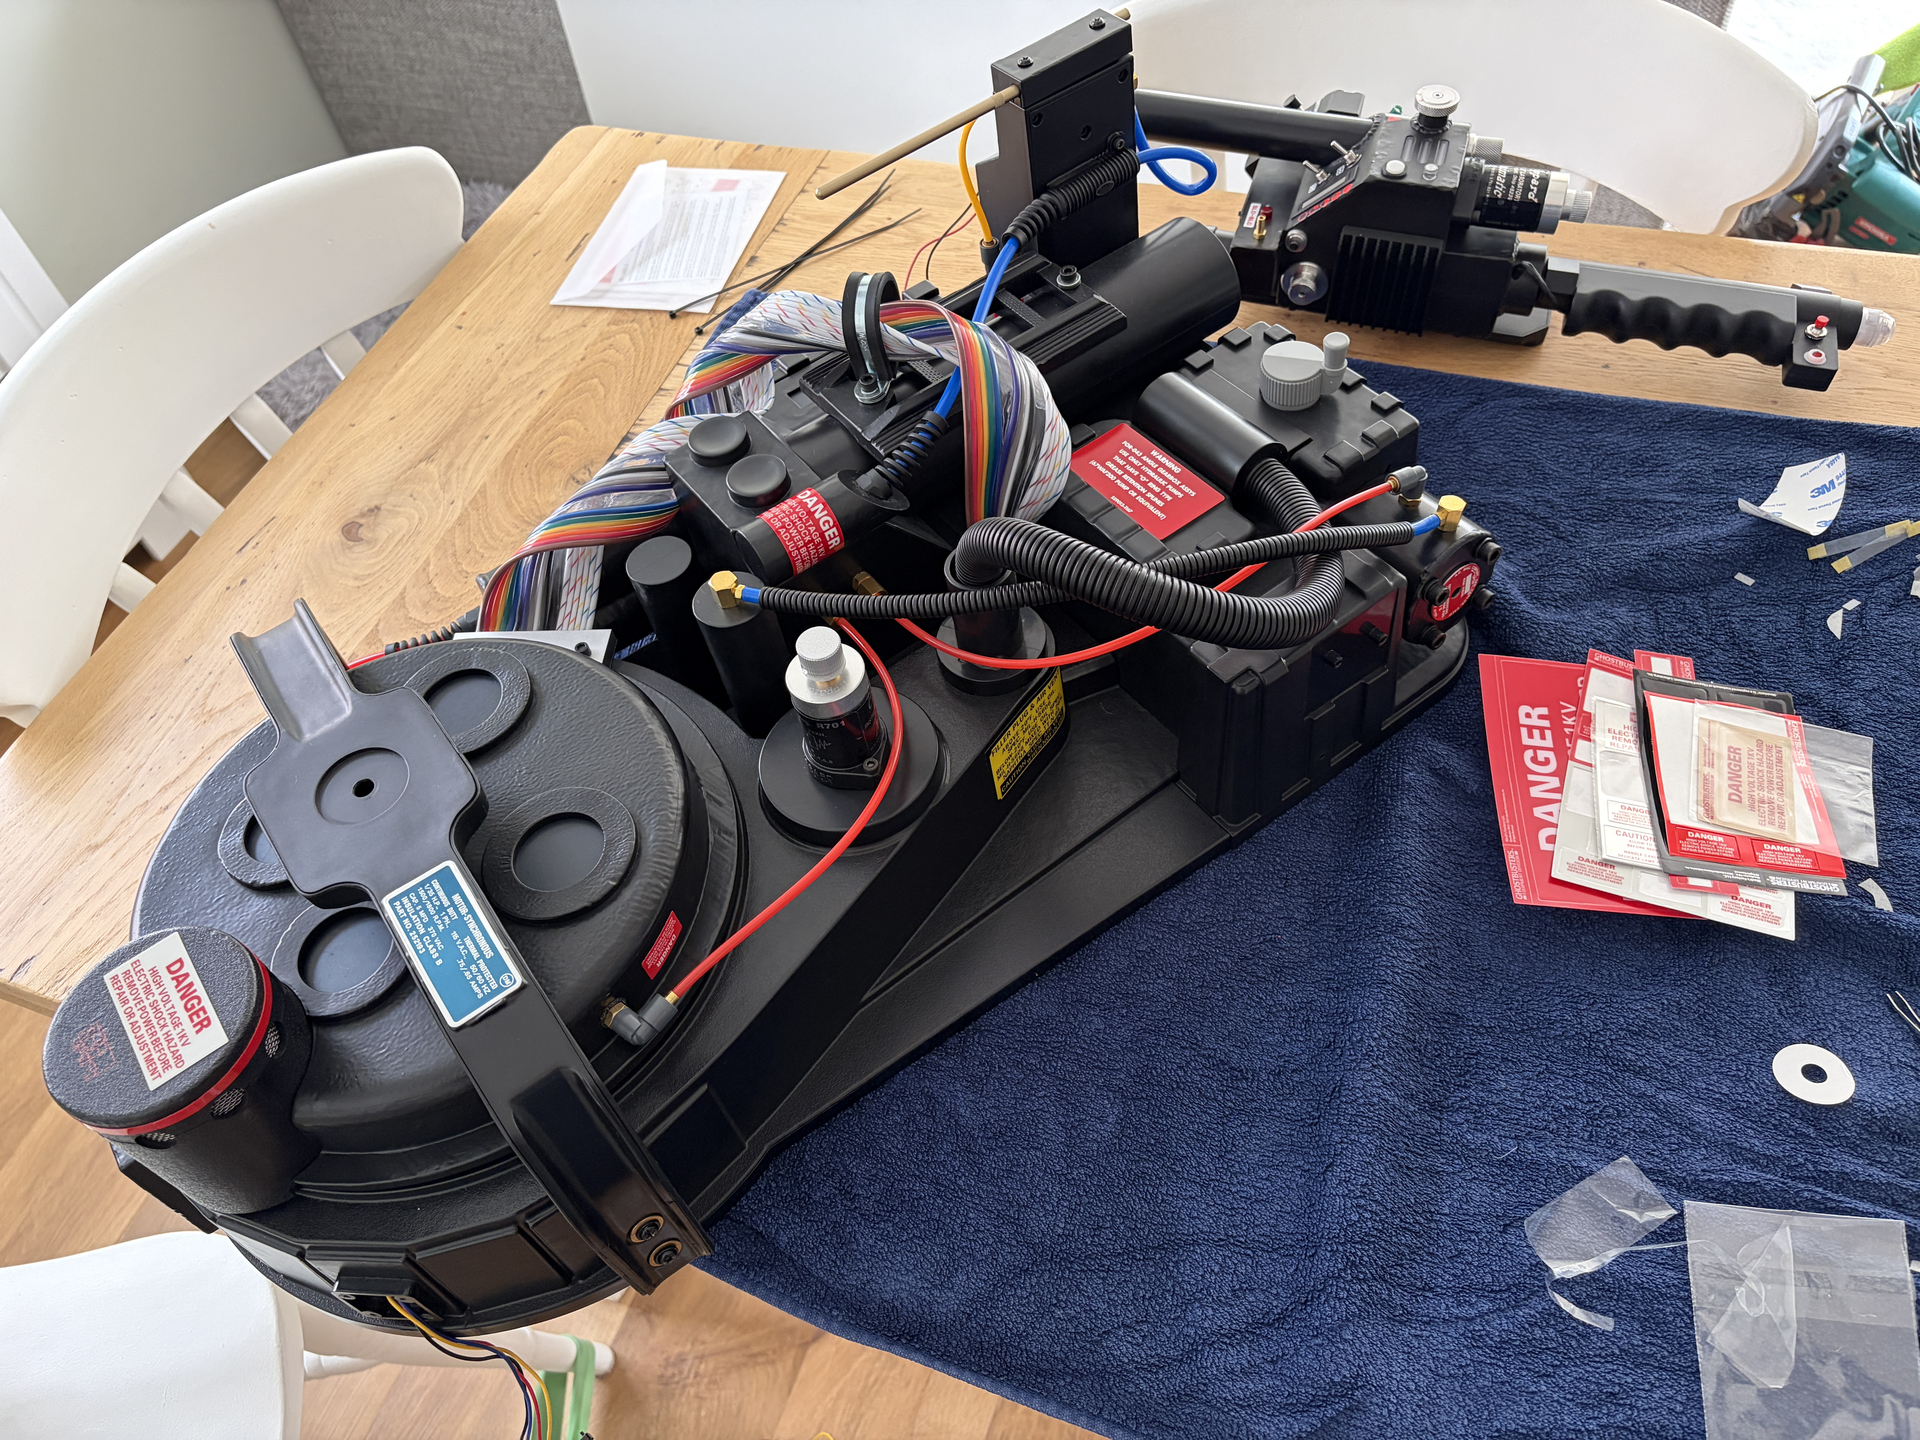
I added them to the pack too while I was at it:
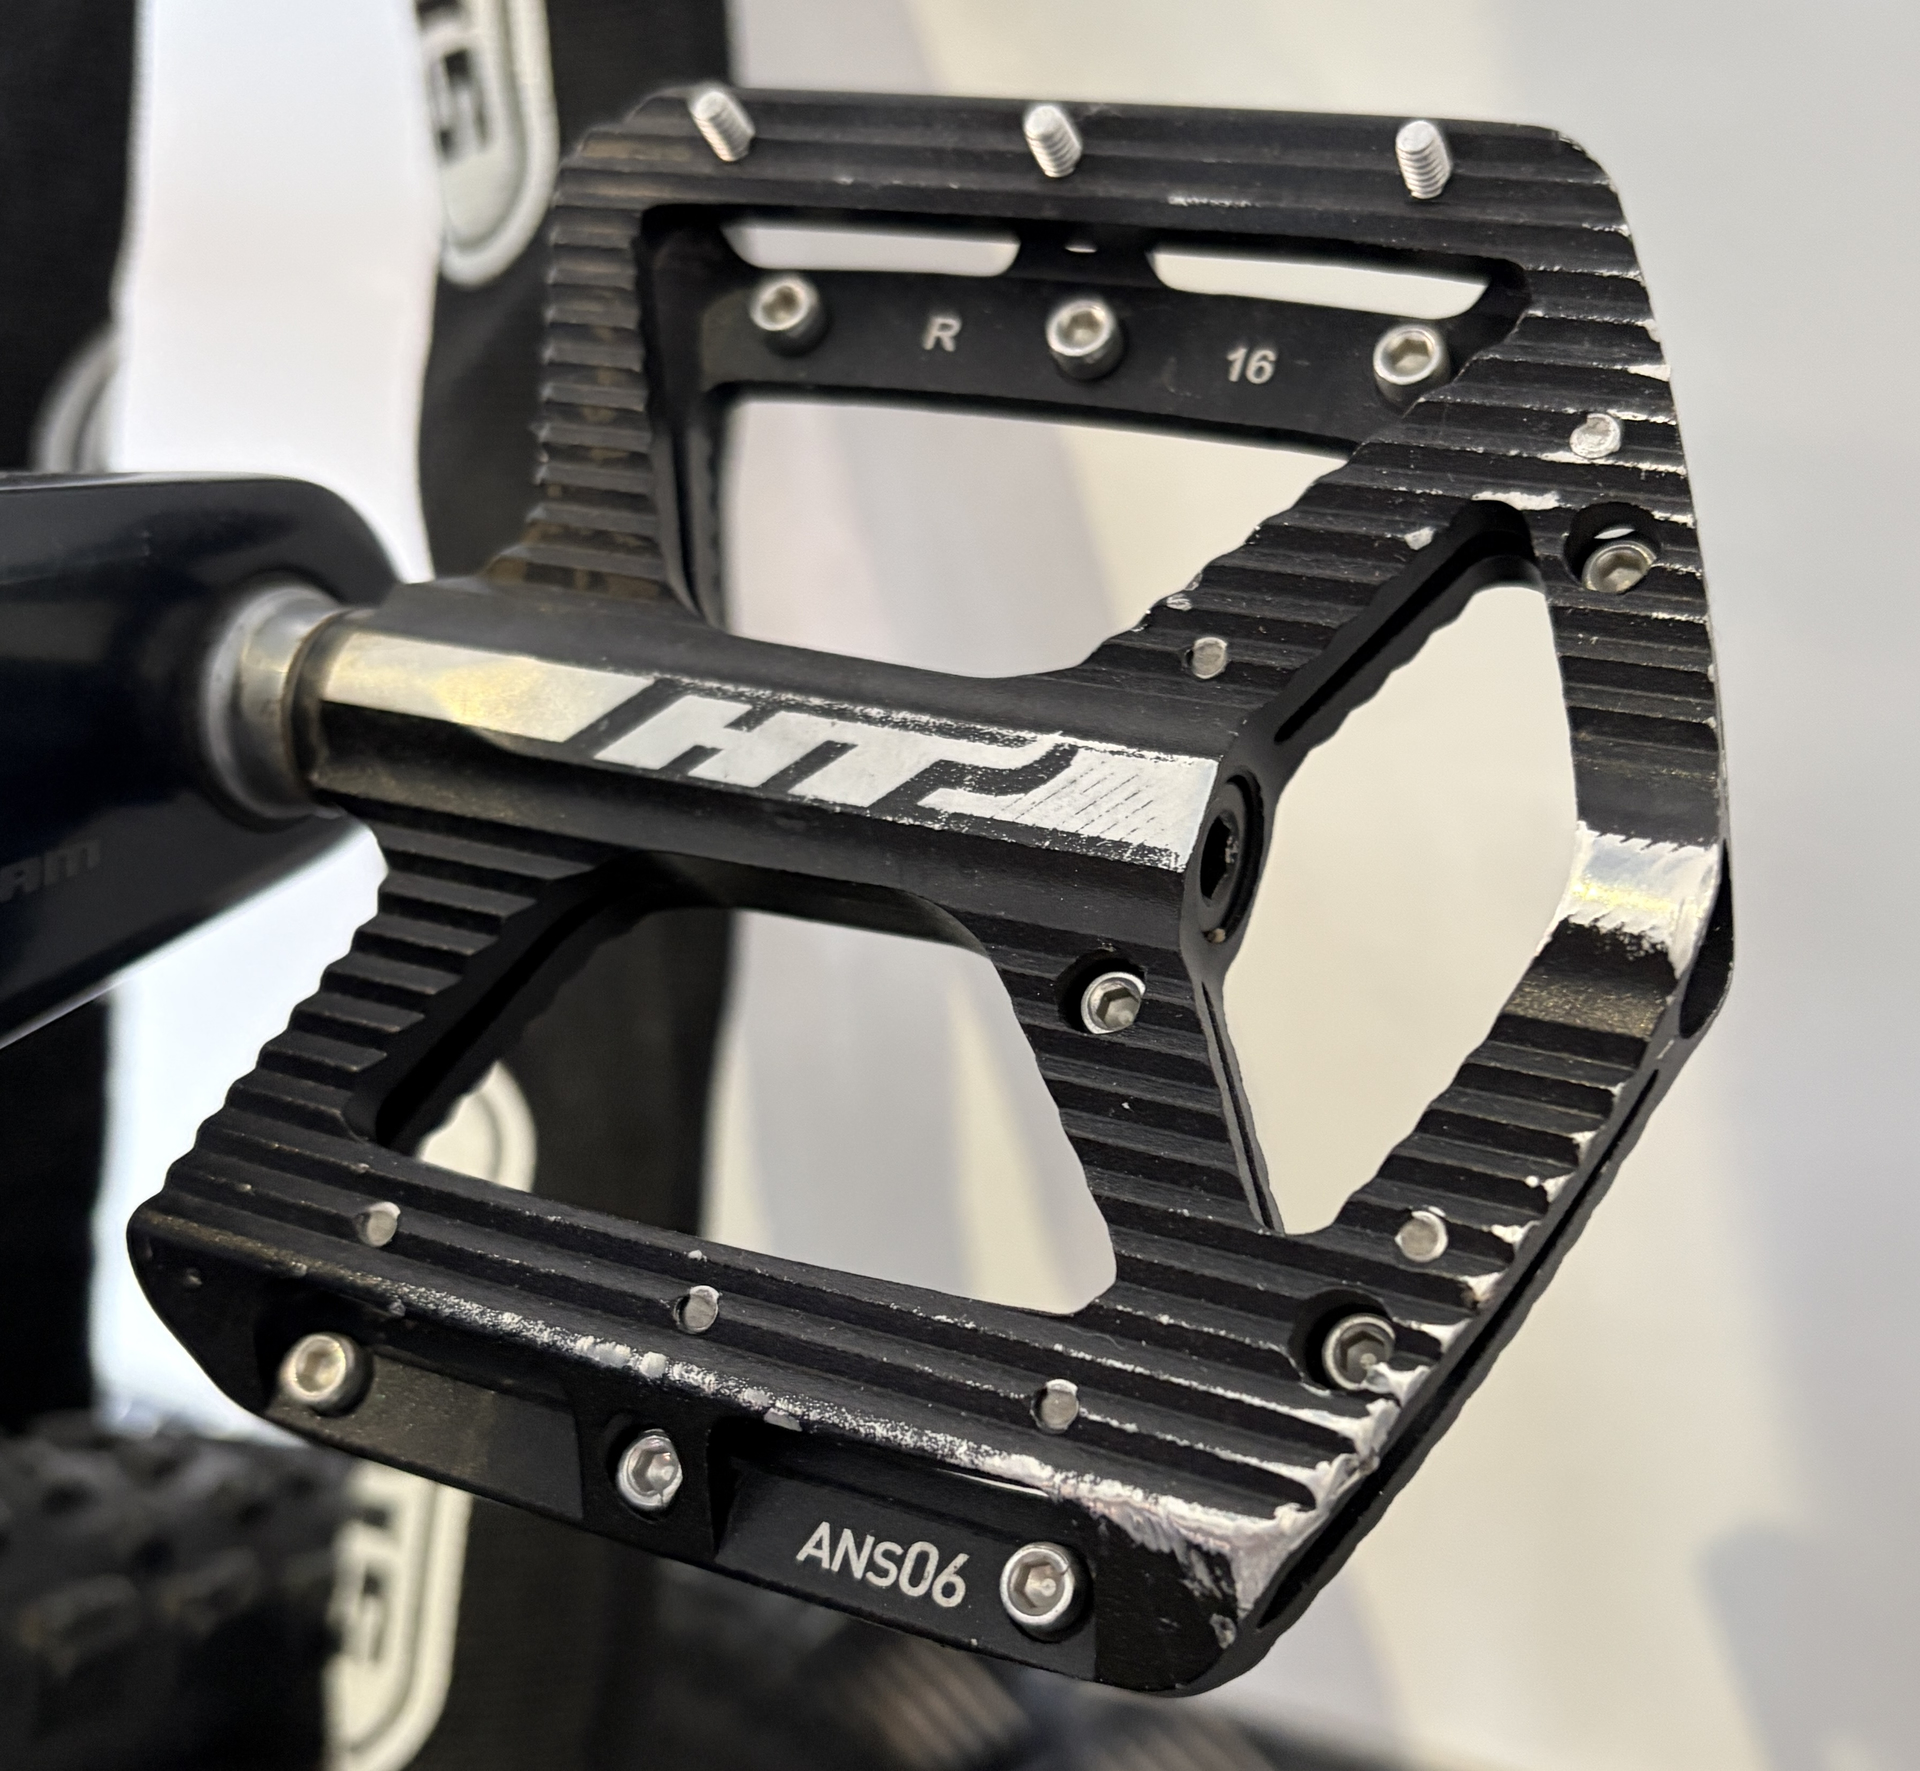
And now I’ve made a start on the weathering. In fact, I stumbled across a very useful reference in my garage, a pedal from my mountain bike:
The reason I like this as a reference is because it shows how something made of metal and painted black would actually weather if it was scuffed or impacted. The revealed metal is quite reflective, and there’s more of a defined, sharper definition between the black paint and the revealed metal.
This is the kind of weathering that I want to achieve, but in a much more subtle way.
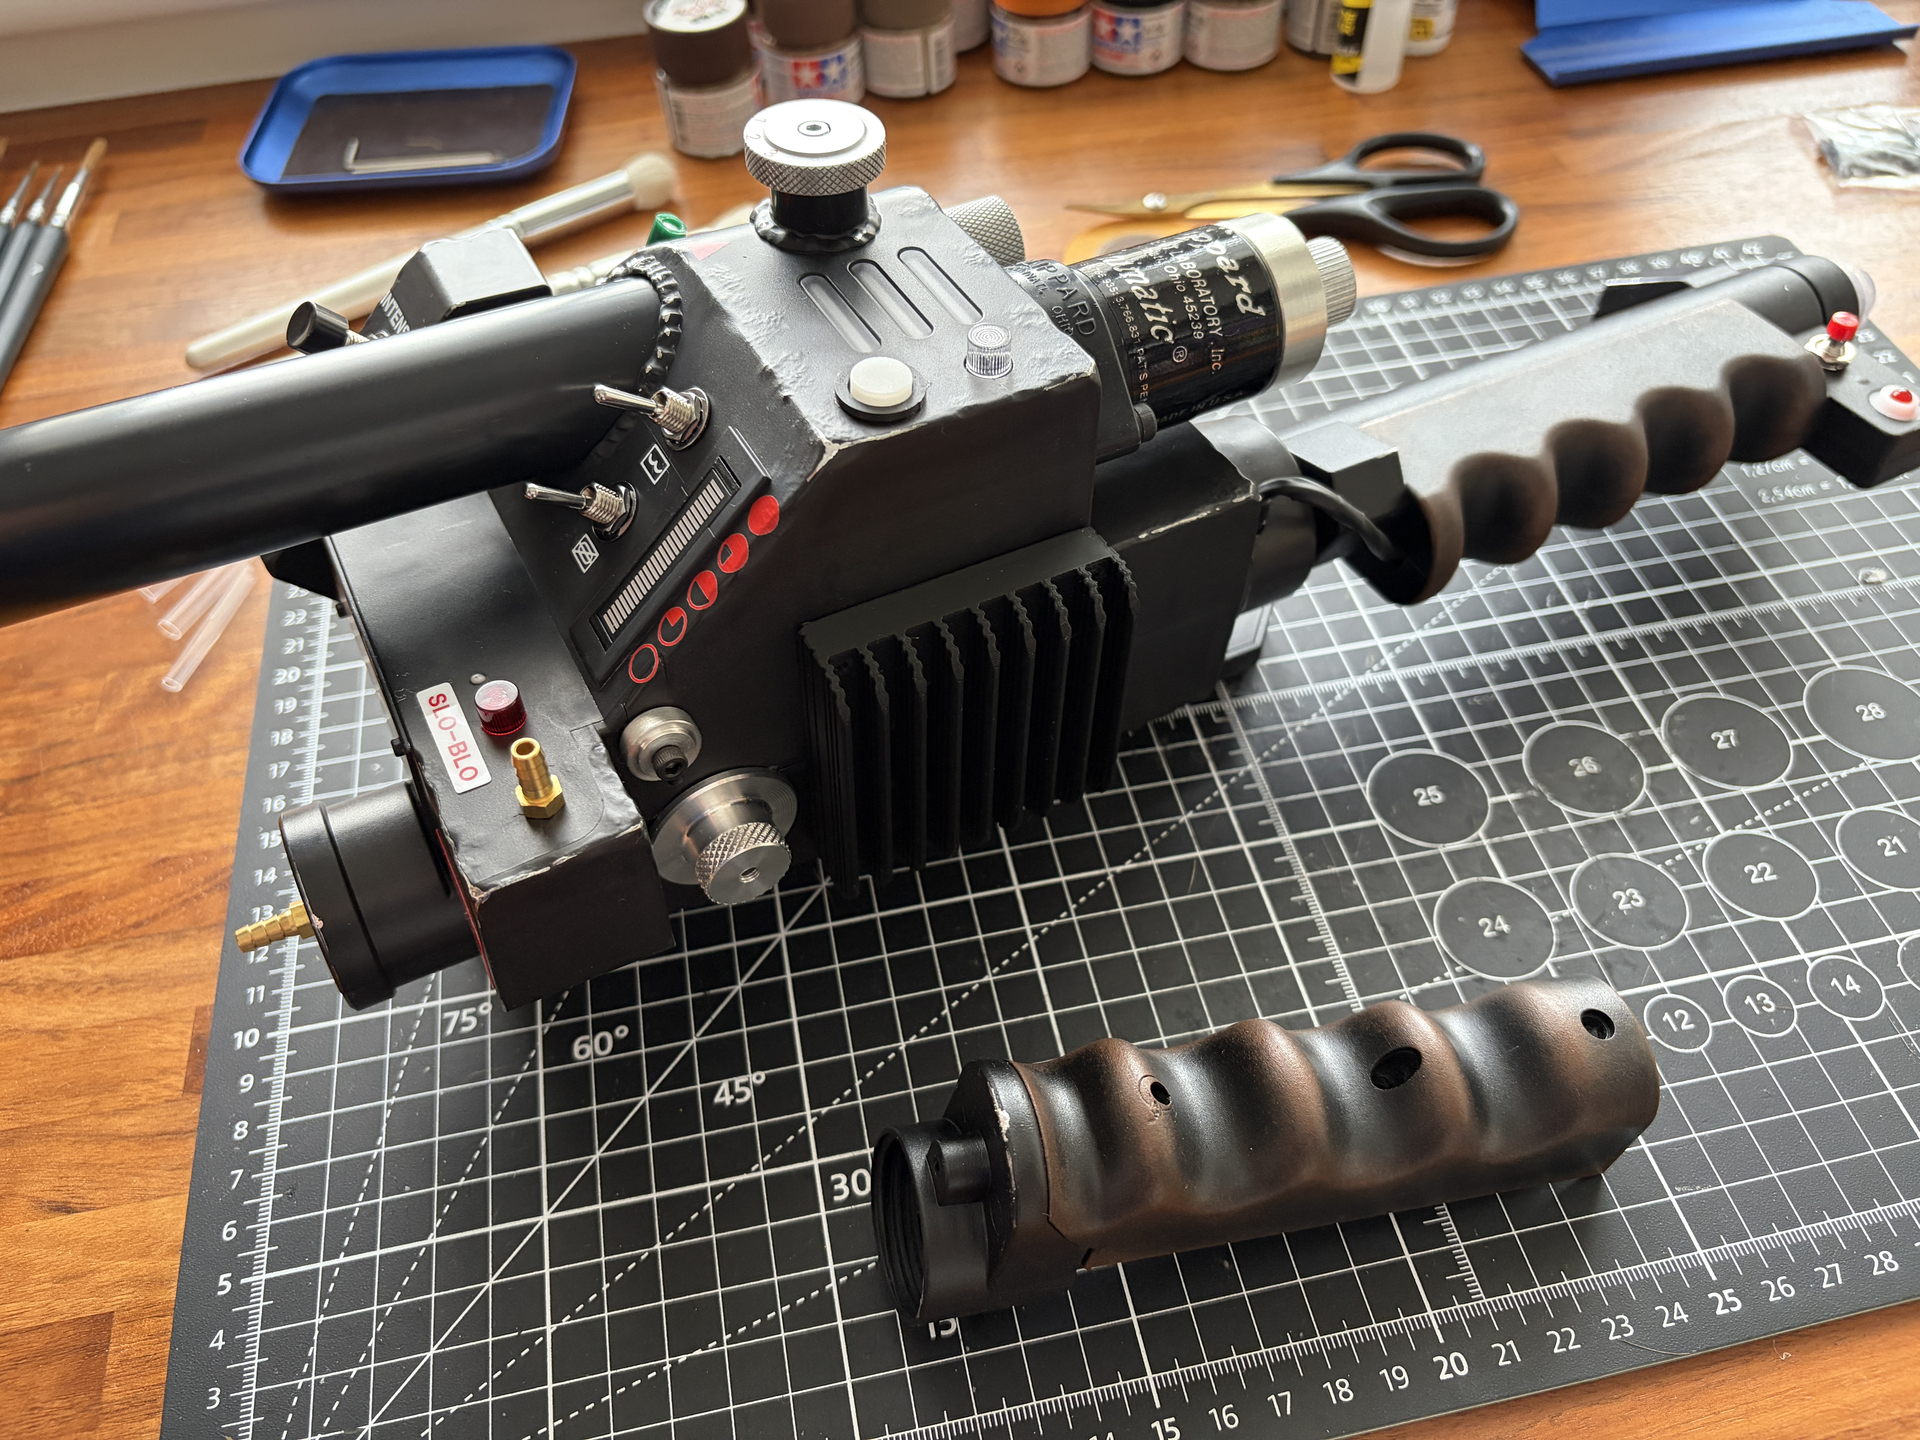
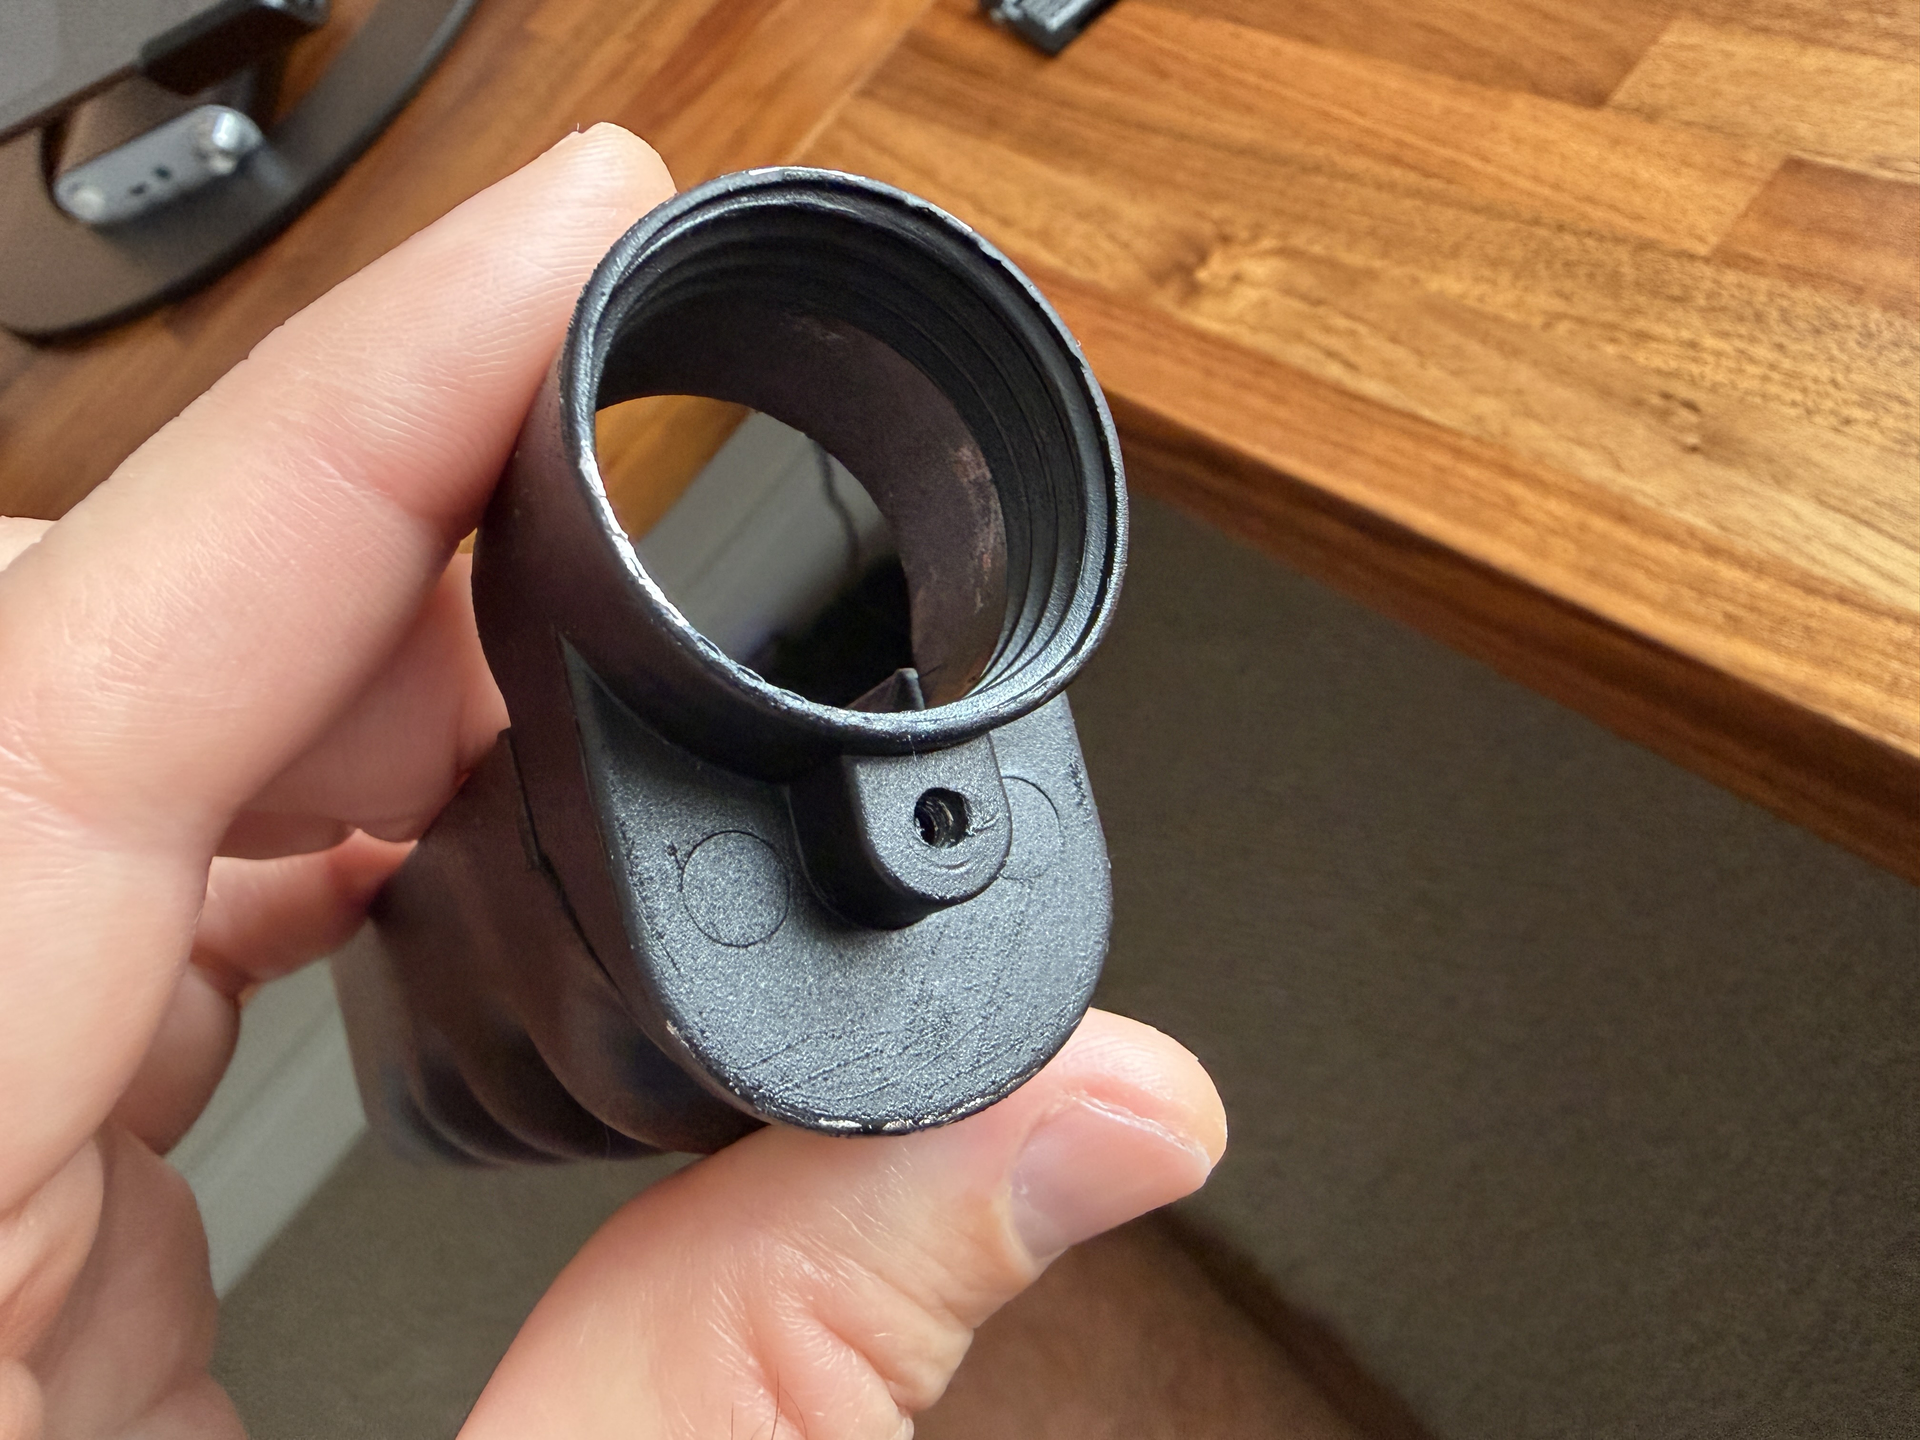
So, I used the Molotow Liquid Chrome pen just for the light scuffs on the corners and edges. It’s very subtle, which is exactly what I want, and you may struggle to notice it. Then, I masked and dry brushed the high points on the handles with Tamiya X-9 Brown. I’m really pleased with how they turned out. Probably not exactly screen accurate, but they give just the right amount of subtle wear that I wanted:
The heat sink in this photo ins’t final; it’s a rough 3D print and I’m just in the process of finishing the proper one.
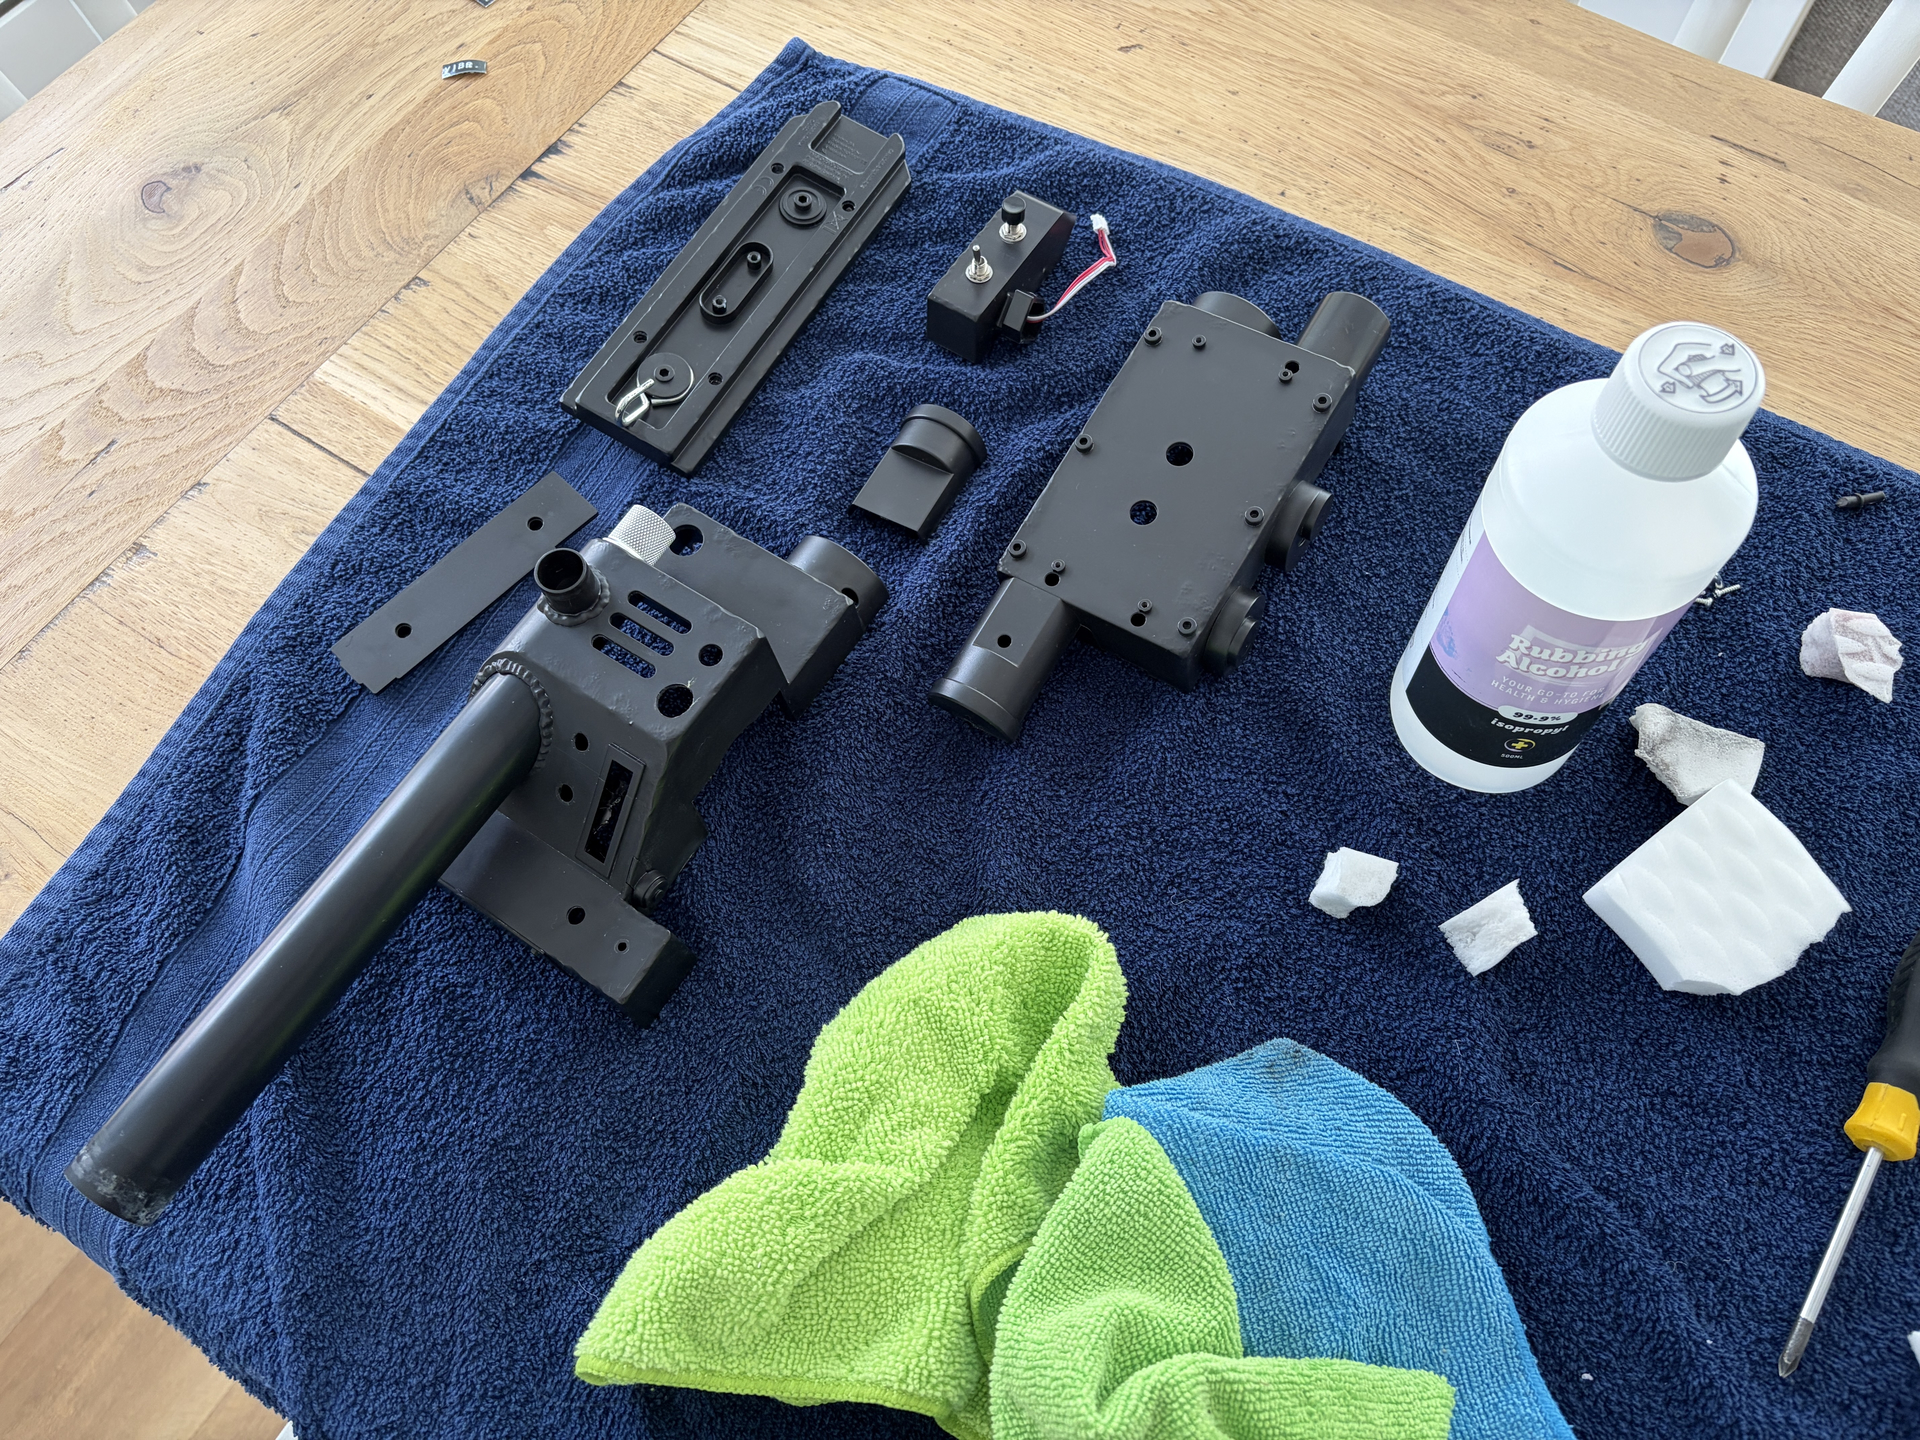
I’ve also started adding the same subtle edge weathering with the chrome pen to the main pack, so I’ll share photos when that’s all done.
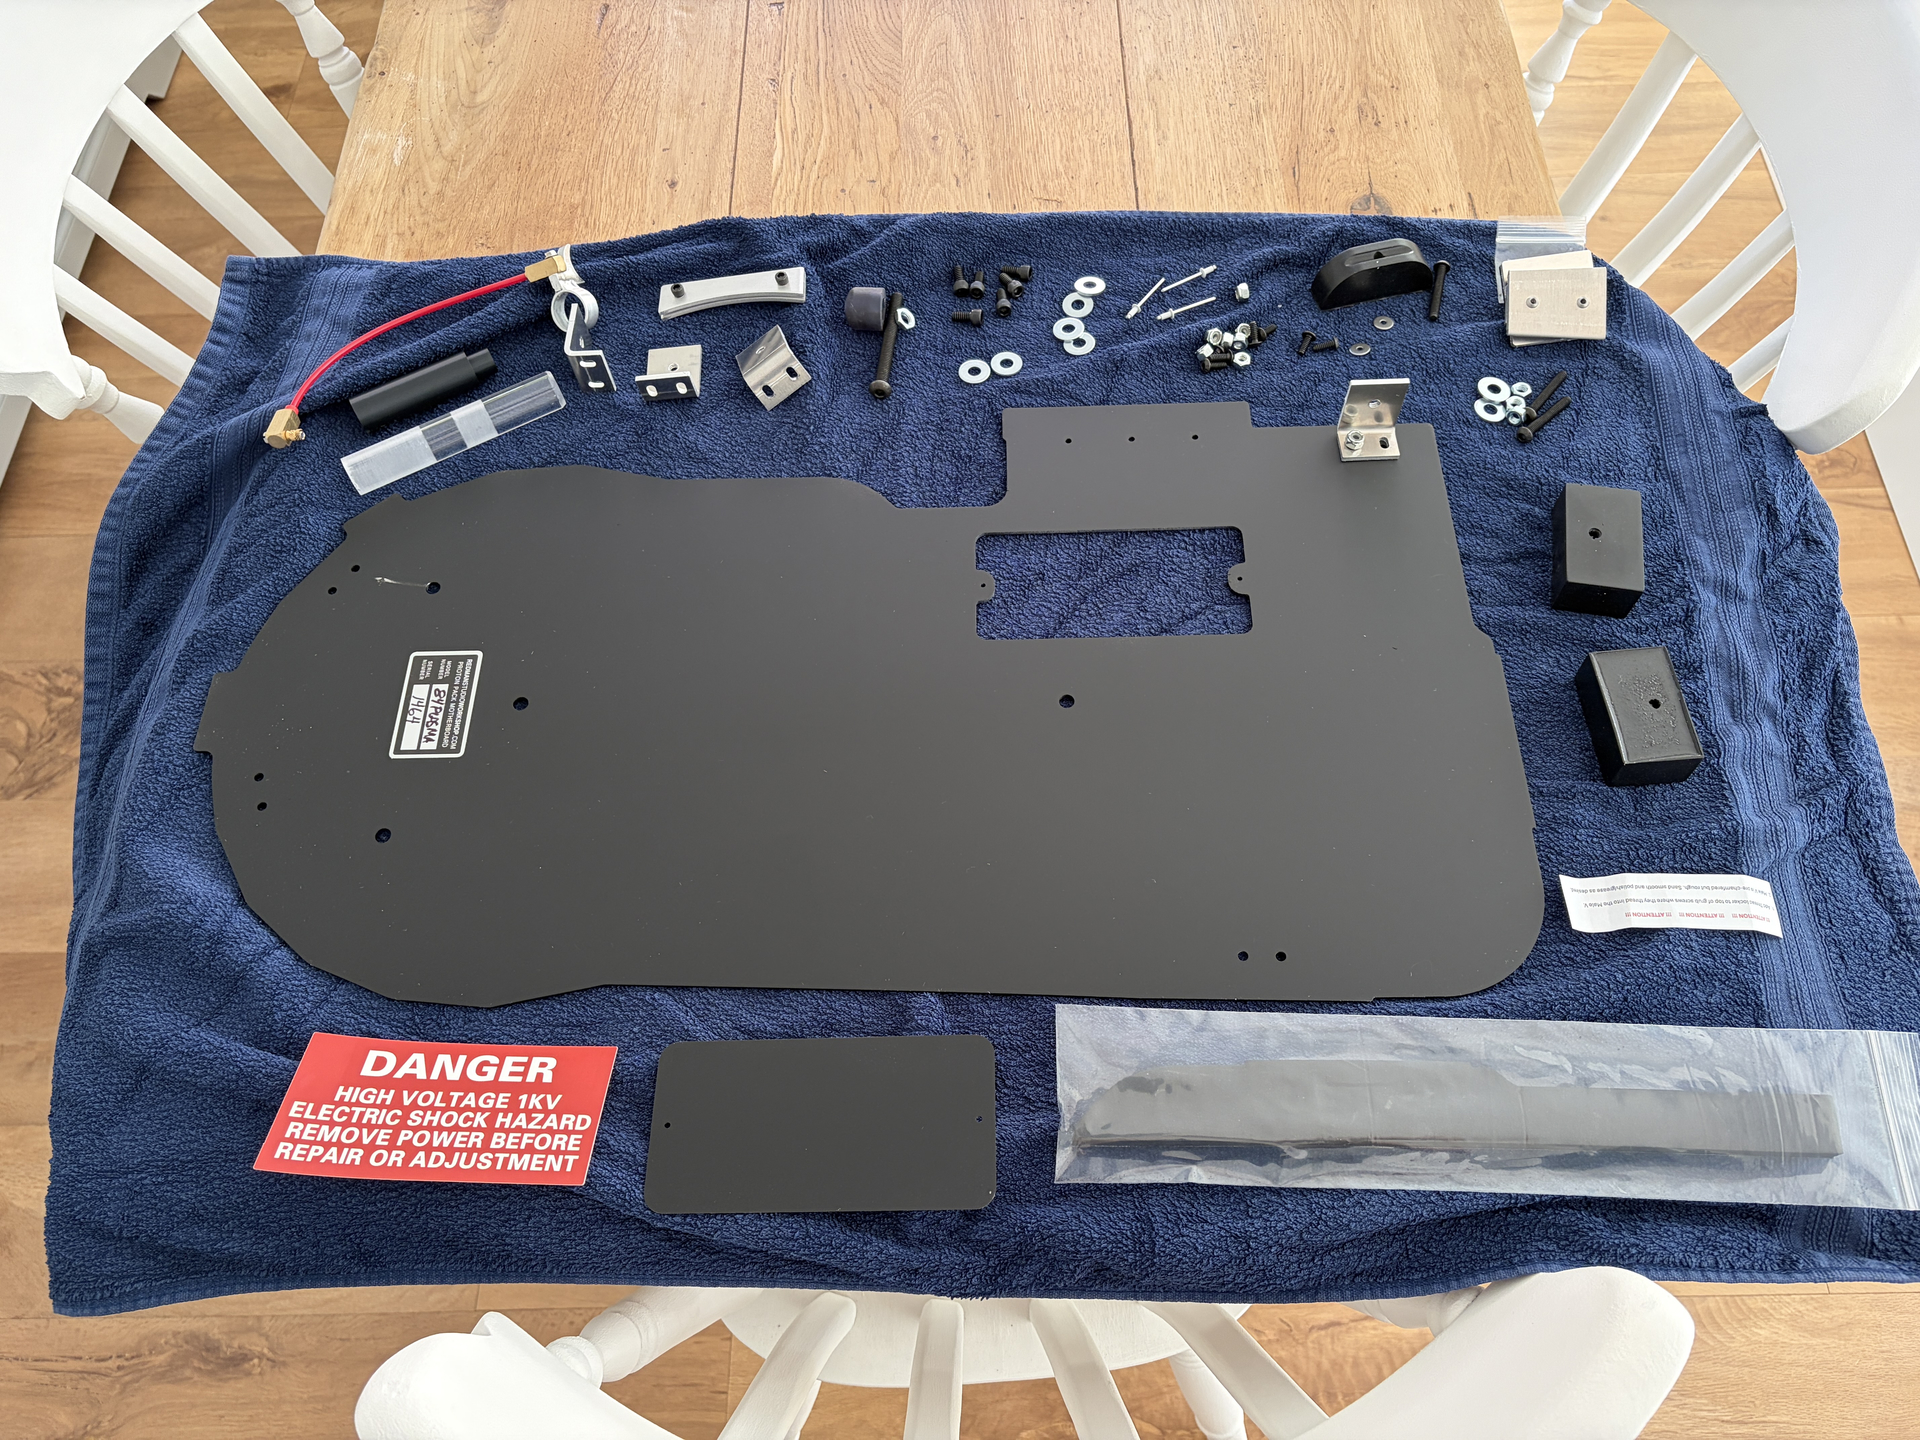
My order for the motherboard and other parts from Redman Studios has also been dispatched and the tracking is saying that should be here by the end of the week, so hopefully I can move onto that and finishing the inner cyclotron cake very soon.