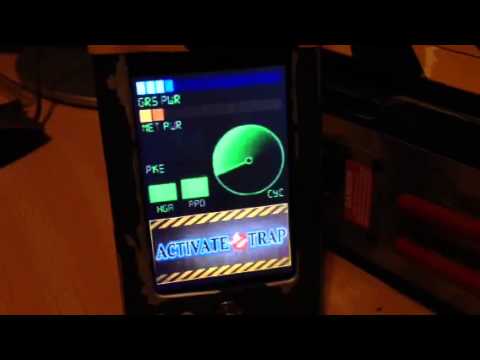
SUBMITTED FOR YOUR APPROVAL: ONE (1) SCRATCH BUILT GHOST TRAP THREAD, FROM BEGINNING TO END ALL IN ONE POST.
Hey guys, I have been hard at work on my ghost trap since I completed my belt gizmo a few weeks back. A proper looking trap was the last piece of my uniform and gear I needed for completion. I was super inspired by user buster242’s awesome build thread, and by syckotheklown’s fantastic MDF board build thread in progress.
So thanks you guys for giving me the boost needed to attempt this, not to mention the reference pics.
BEFORE WE GET STARTED, A FEW WORDS FROM OUR SPONSOR: ROTARY TOOLS
I recieved a rotary tool from my wife for Father’s Day. This build would not have been possible without it. I may have been able to make a trap without one, but it would have taken twice as long, looked ten times worse, and caused me 100 times more frsutration.
I cannot stress this enough: if you are one who makes props, and you don’t already have a rotary tool, GET ONE! I wished I had this guy two years ago.
Ok, so on to the build!
I (roughly) used jt001’s plans that were posted up on his website as featured in his thread. Thank you for that freebie pal, it gave me the foundation for this build.
I do not own a jigsaw, but I was able to borrow one from another department at my work, and use my lunch break to cut them out. A little bit of wood glue left alone to dry overnight, and you have the first pieces.
I used a wooden dowel rod I had on hand for the grip. Some scrap wood serves as the handle and the supporting pieces. The rotary tool sanding wheel allowed me to get the proper half circle shape to for the grip to fit in. I secured it with wood glue and a screw. I used wood glue to secure all of the other pieces.
I also used a screw to attach the bottom portion of the handle to the base for extra support. I used the rotary tool cut off wheel to cut the screw flush with the base.
Next up was making the forward indicator and battery pack. I decided to go with regular old poster board. I cut out all of the components, and constructed them together with, my favorite, hot glue. The glue looks kind of rough here, but I sanded it and cleaned it up with my knife for the final build.
Now we are beginning to look like a trap!
I once again decided on poster board for the metal plating. Spray on two or three coats of metallic finish paint and it definitely looks the part. If you decide to go this route with plates for your own scratch trap, I advise making sure you paint the shiny glossy side of the board, not the papery dull side. The paper side just soaked up the paint it and looked bad.
I made my own ears and resistor. For the resistor, I found a plastic piece that was attached to a power cable in my ‘box o’ broken things for props TM’. I pried it off, used a metallic gold sharpie to color it, and hot glued in two wire connectors in the back.
For the ears, I used the same piece of wood that provided the handle and supports. Cuts from the same piece of wood also serve as ridges on the powercell of my pack. Not bad for some trash wood I found in a pile when my neighbors were remodeling.
I cut them to shape, and screwed in a couple of screws in each for decoration.
This next pic shows a lot of progress. At this point I had:
-
glued the outer shell to the cartridge
-
glued the door spacer on top of the cartridge
-
hot glued poster board to cover the front part of the cartridge
-
used wood putty to cover all edges and rough spots and sanded the whole trap thoroughly
-
cut holes in the front indicator and face plate, and the front wall of the cartridge so I could run some lights.
-
used my rotary tool to cut pieces for the indicator to shape. It was a piece of clear and blue plastic that was in an old screen display.
I simply superglued the blue plate and clear plates together, and then glued those behind the face plate. The whole piece will then fit right into the bigger hole I cut in the indicator.
At this point I had spray painted everything that needed to be flat black. No pics of that! After that I glued the face plate to the forward indicator.
This is how my vector plate turned out. After much thought and deliberation, I decided to hide the battery pack for the forward indicator light in plain site. This is the blue version of the battery powered light kit I used on my gizmo. To add the ridges to it, I found a piece of a cable management housing I was not using. I cut a piece out with my rotary tool and glued it on.
For the rivets on the metal plates, I spray painted a $2 pack of googly eyes from the craft store. They do the job magnificently.
For the flashing light that indicates a full trap, I used a $4 blinking LED light from Radio Shack that I used on my first trap build. I decided to leave the bottom of the trap battery pack open, so I could access the LED battery pack that I velcroed to the handle post. The red light cover and non functioning switch came once again from old broken things I have collected.
After this pic I glued the battery pack to the cartridge.
I covered the trap doors in reflective caution stripe tape I found at a hardware store a while back. Also shown is one of the metal plates complete with a knob, label, and ‘rivets’.
For the forward indicator lights, I ran the light kit through the back opening of the trap and out the front.
I bunched the cables and lights up and secured them with some tape.
I hot glued the lights to the opening in the cartridge.
And secured the rest of the wiring to the back of the cartridge with more hot glue.
I then hot glued the forward indicator and the ears on to the cartridge.
I was at a loss on what to use for the rods for a long while. For my first attempt, I spray painted pieces of a clothes hanger cut to size. Even though I sanded the hanger pieces to help the paint adhere, it still did not work. The paint just kinda bubbled up and flaked off really easily.
I then had a brain storm to use hot glue sticks! It worked awesomely. I cut them to size, and gave them three coats of red paint and let them dry for 24 hours. They turned out vibrant and smooth.
Also shown is the leather for the trap holster. I had a pouch from my old LARPing days that I cut up and dyed black.
And speaking of holsters, here is the finished product. I added silver googley eyes for the rivets, and a V hook acquired from broken equipment.
I again used googly eyes to connect the rods to the metal plates. A touch of superglue on both ends worked wonders since the glue sticks were so light.
With the addition of the rods, my trap was complete. Here is the final trap! MONEY SHOTS:
That is to say, those are the pre-weathering money shots. I took my trusted silver sharpie and went to town. In some spots, I wrote on my finger tip and smudged it on the trap.
And here is a pre-weathering video of the how the lights work:
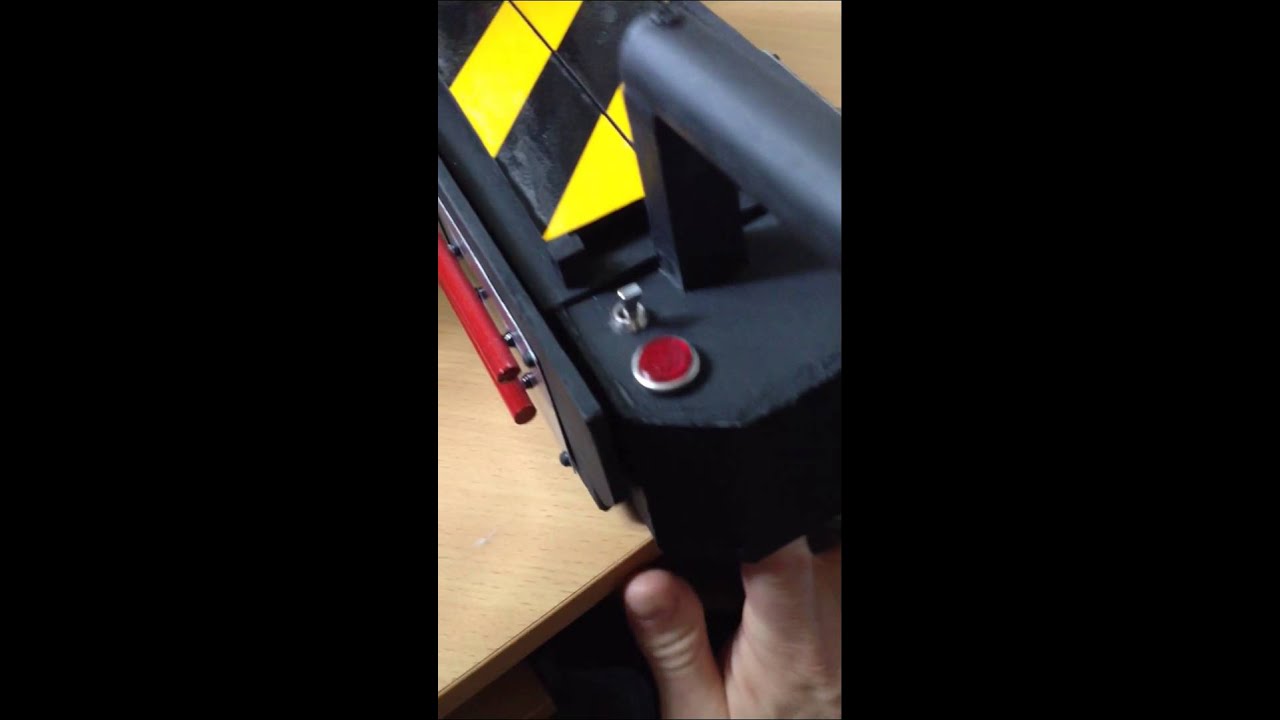
And with that, the build is complete. I am very happy with how my trap turned out.
I decided not to bother with a trap pedal/cable, or wheels on the bottom. The main reason being I wanted this to be something cool to hang from my belt, not slide across the room.
And since the Ghostbusting equipment of today surely would have some wireless action (as evident by the video game), I justified my lack of pedal and cable. Though I will be showing that off in a reply to this thread sometime in the next few days.
So stay tuned!
Thank you very much for looking! I hope you guys enjoyed my pics and video. If anyone has any questions just ask!