OK…my first build is complete. It’s funny, there should be a sense of accomplishment, but it’s just spawned more ideas about how to do it better next time!
First off, I started with a pair of Sellstrom 4T544 welding goggles from Grainger:
http://www.grainger.com/Grainger/SELLSTROM-Standard-Vinyl-Welding-Goggle-4T544
Then I bought all the parts recommended by Paranorman’s plans, but I decided I didn’t was to just glue the lenses on. I wanted something I felt was a little sturdier, so I replaced the welding lenses with a solid piece of Plexiglass and drilled two 1 5/8" holes, in spots I marked to line up with my pupils, to accomodate a PVC fitting that the 1 1/4" Halex insulating bushings would screw right on to. I used a 1 5/8" hole saw bit on my drill for this:
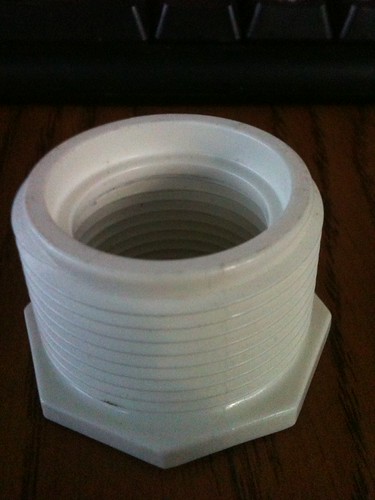
IMG_0609 by Jsudderth77, on Flickr
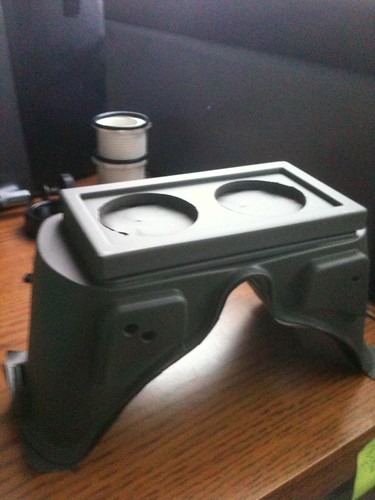
IMG_0625 by Jsudderth77, on Flickr
I also got some PVC pipe to run from the back of the “lenses” and down into the threaded PVC fittings. This is all glued together with 2 Ton Clear Epoxy Weld. All PVC and electrical pieces were painted with Krylon Fusion in flat black.
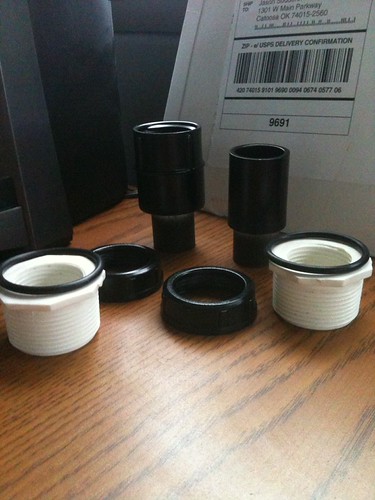
IMG_0618 by Jsudderth77, on Flickr
The side knobs are Fastenal part# 11102941:
http://www.fastenal.com/web/products/detail.ex?sku=11102941
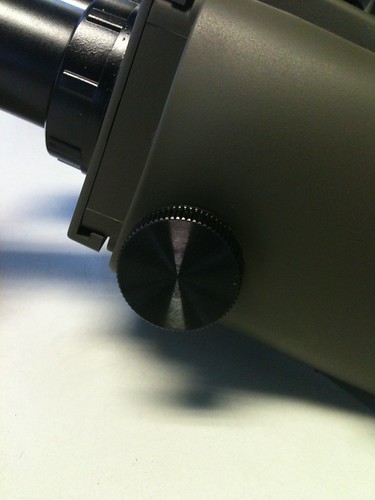
IMG_0648 by Jsudderth77, on Flickr
The “battery cap” is the same Fastenal part# 11102941 with a hole drilled in the center, a washer glued on, and a button head cap screw. The “retainer” for the battery cap is a trimmed up retainer strap from a black youth sized football mouth guard found at Walmart.
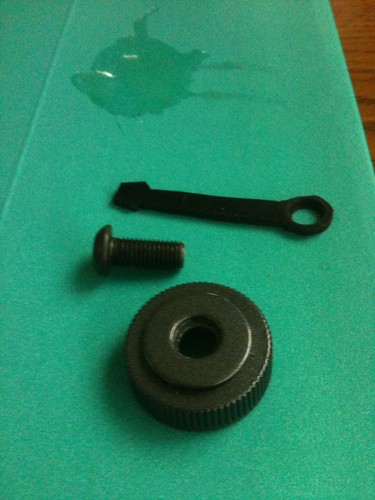
IMG_0629 by Jsudderth77, on Flickr
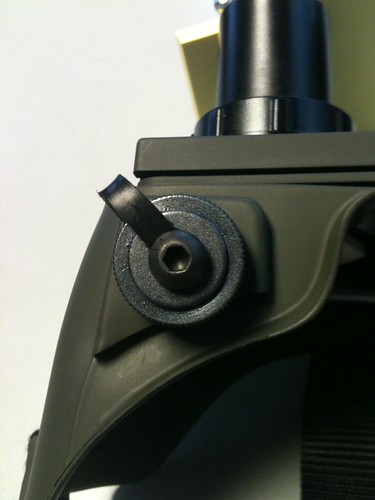
IMG_0646 by Jsudderth77, on Flickr
For the battery cap and the on/off knob, I primed them with Krylon Fusion and then went over them with a metallic model paint.
When I drilled the holes for the side knobs, I positioned them on a curve of the vinyl frames, so they would not sit straight. I remedied this by using a small piece of all thread and longer 1/4" socket head cap screws and a couple of all thread nuts. This will be different next time…possibly a single piece of threaded aluminum tubing to cut down on the weight. This is all I could aquire at the time.
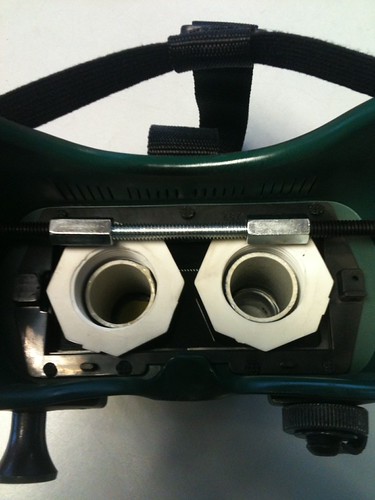
IMG_0649 by Jsudderth77, on Flickr
The nylon strap and plastic buckle for the overhead strap were found in the camping sections at ACE hardware and Walmart.
Last thing to add, and this is utterly important for anyone using vinyl goggles. There is a process that you need to go through to paint the vinyl, because it secretes an oil:
-
Wash the goggles in water and dawn.
-
Clean them further with 100% Denatured alcohol.
-
Use 2 or 3 coats of a vinyl paint as a primer. This is found at the automotive store. I used these for the goggles:
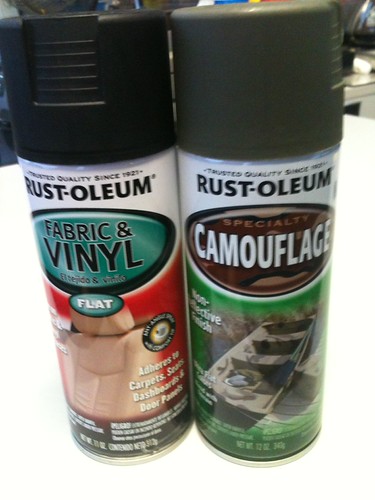
IMG_0650 by Jsudderth77, on Flickr
Hope you like them…I am pretty pleased over all. Just need a decal, and I might change my on/off knob…
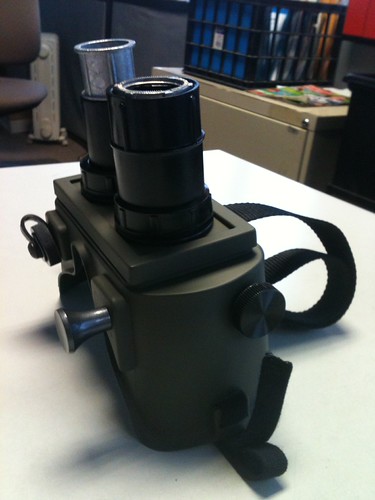
IMG_0643 by Jsudderth77, on Flickr
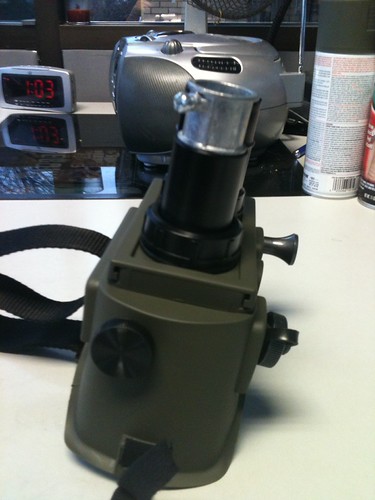
IMG_0641 by Jsudderth77, on Flickr
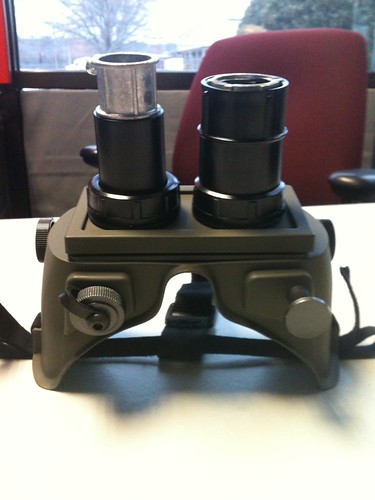
IMG_0642 by Jsudderth77, on Flickr
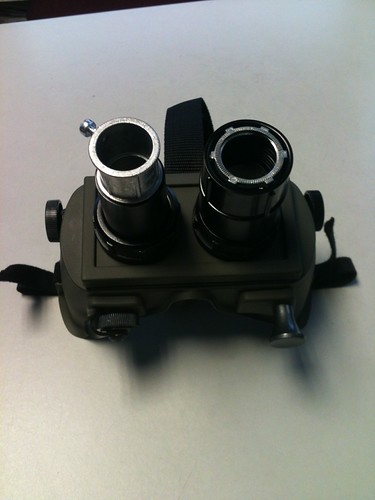
IMG_0645 by Jsudderth77, on Flickr