Jeff(TheJAEffect) and Novak's Studio Creations Build

Alright, so I’ve been trolling the forums through the past 3 months in preparation. I’ve been waiting to start this project until the time in which I felt comfortable enough to begin. Here is the backstory:

Like everyone else on this forum, it’s been my dream since I was a very young child to own and wear a proton pack. I still remember, fondly, opening an RGB proton pack toy whenever I was 6. About a year and a half ago, I started to consider doing a Ghostbuster costume for Halloween. I let two Halloweens pass me by before I finally committed. Then things started to roll. I got a friend to go in with me(the Novak mentioned in the title) and we started looking at ideas and building a budget that we could both afford. I’ve been building out a supplier list and I think I’m just about ready.

About a week ago, I began buying the necessary equipment and a few parts. Tonight, I began building the board. Within the next few weeks, my shell and a few parts will be ordered and we will be on our way.

Exciting.

Good luck

Looking forward to seeing the build! Cheers!

Just realized that Google decided to hide my image. Lets try photobucket.

![image](http://www.gbfans.com/images/pb/thejaeffect1/Mobile Uploads_20150208_203224_HDR_zpsfs9ce3jh.jpg)

And another

![image](http://www.gbfans.com/images/pb/thejaeffect1/Mobile Uploads_20150208_211625_HDR_zpsomwelsfv.jpg)

Subscribed!

First big update!

Got my shells in last night. The best part about building two packs at the same time is that I can test ideas and theories on the first and perfect it on the second. So I’m moving along quite well. Here are some progress pics.

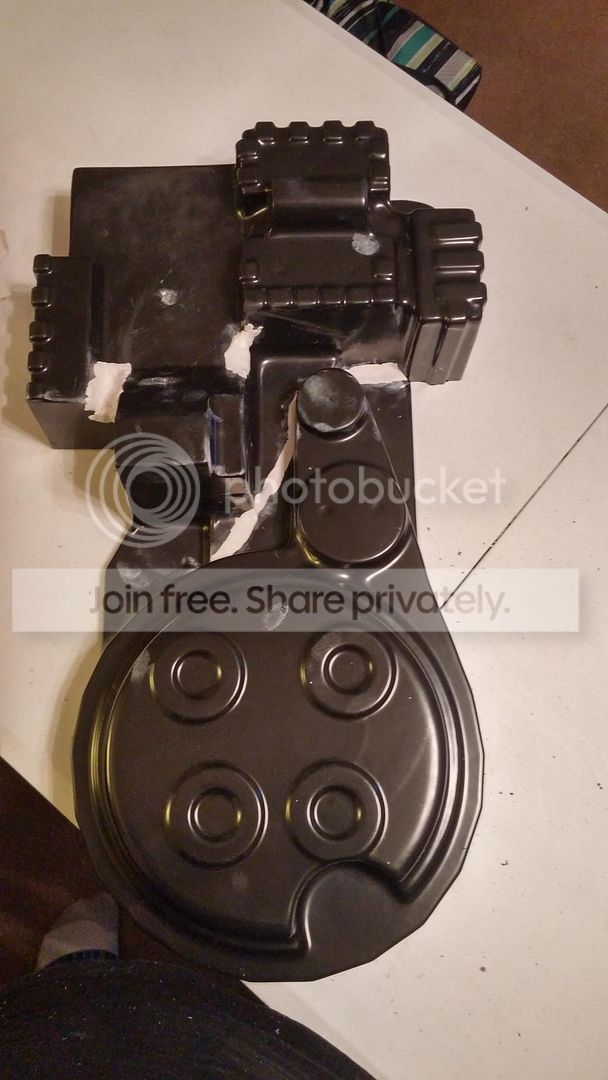
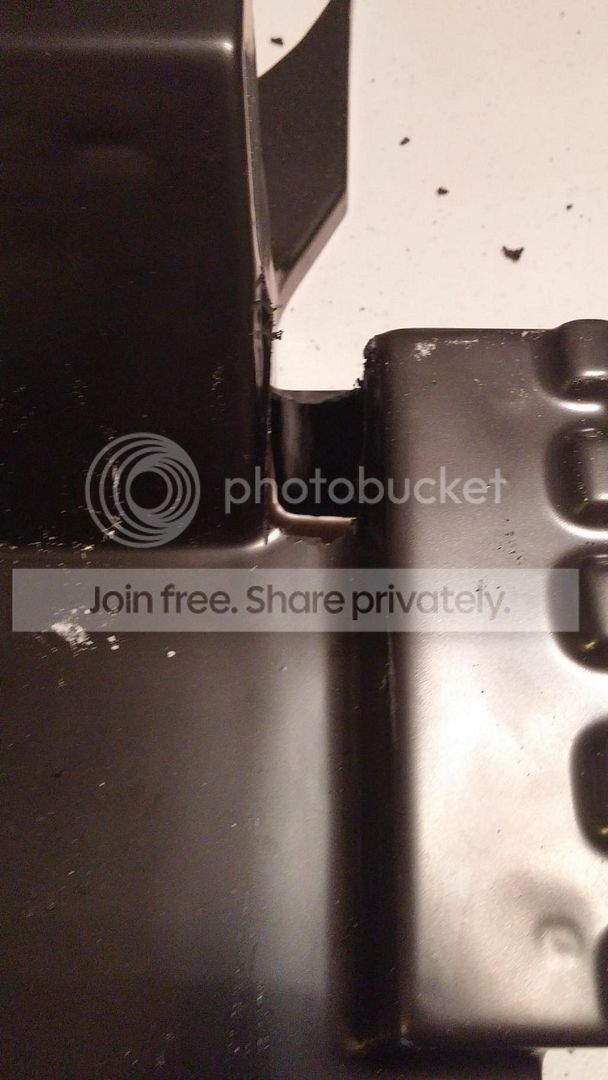
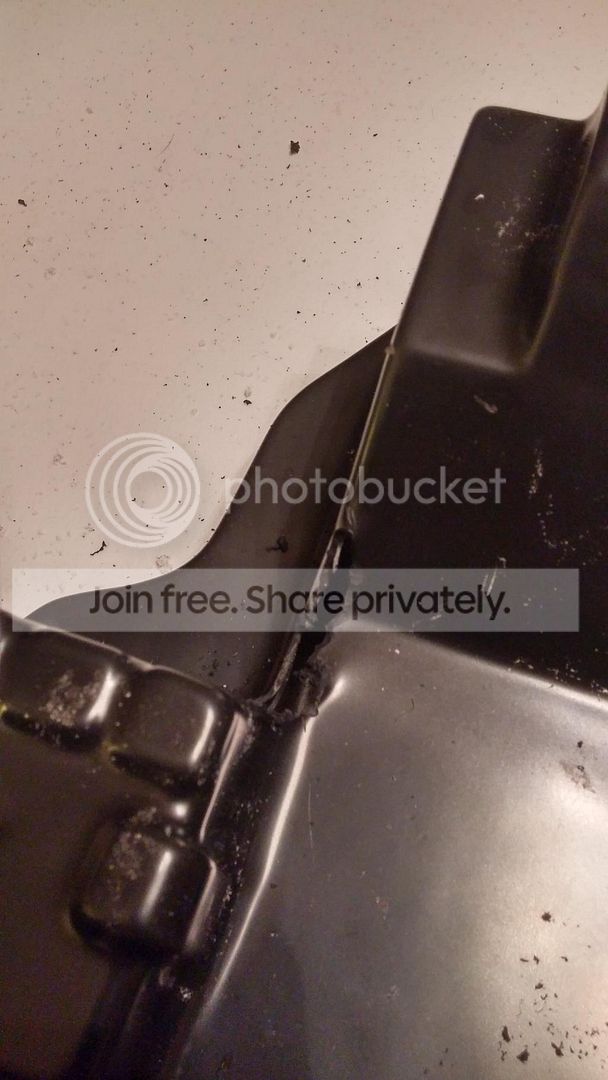
First thing I did was remove the vacuum edges from the shell. There were three or four areas where the plastic lays oddly. Basically I took a Dremel and cut away the area.

Then I applied JB Weld putty to the areas to fill in what I took away in any areas that exposed the inside. While I had the putty out, I also bolted the shell together and filled in the infamous SC gap.

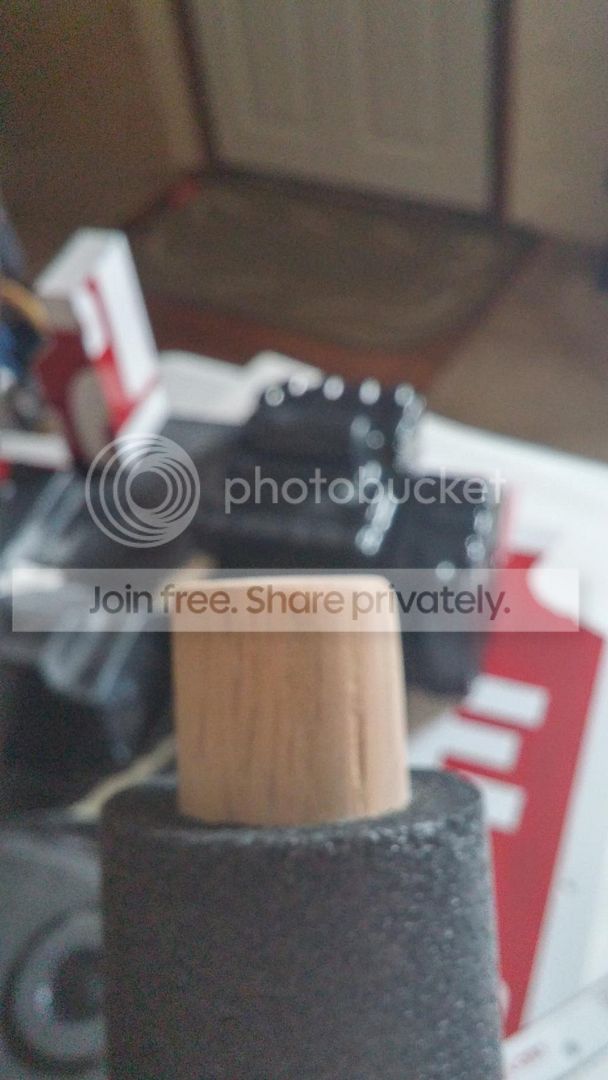
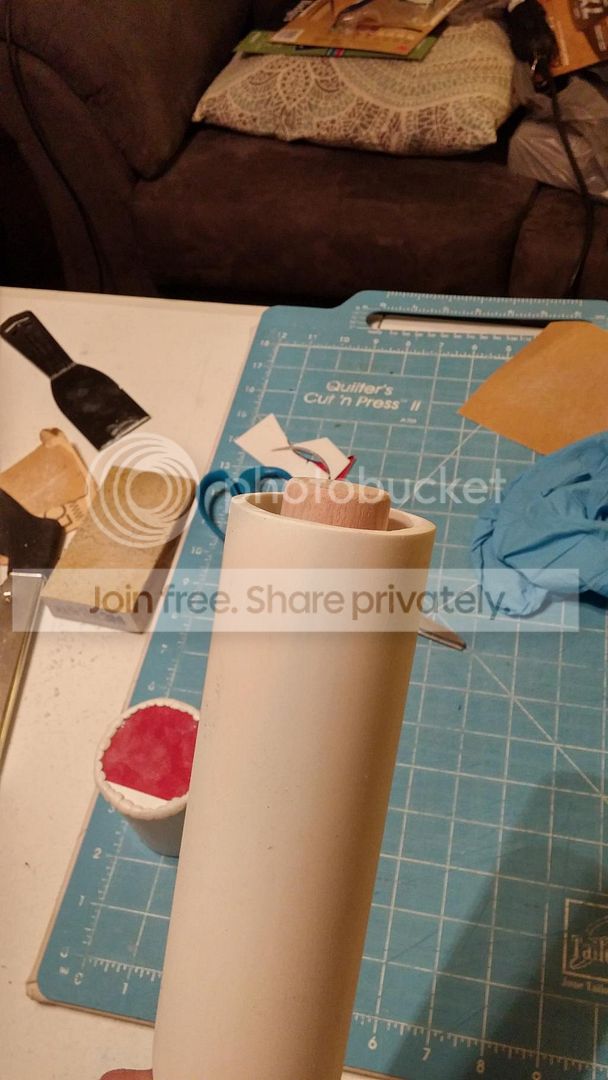
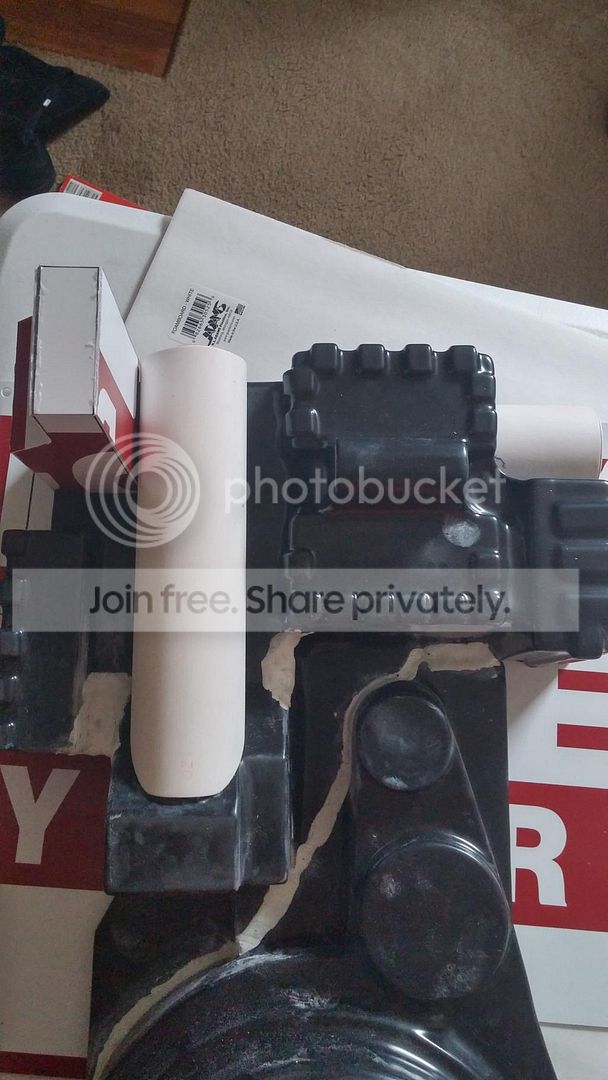
Next up was the booster tube and plug. In keeping with other SC builds, I used 2 inch PVC and cut it to length, added a 45 angle cut at the bottom and sanded as necessary to get a good fit to the shell. For the plug, I used a 1.25 diameter dowel rod. I also made a spacer using extra pipe insulation from the head guard on the ALICE frame.

I sanded the top of the dowel down to smooth it out. Looks pretty good I think. You can see the Ion Arm in the background there. I didn’t take any progress pics because I was unsure if I’d build one or order them. I decided to keep the arm I built and I’ll display pics later.

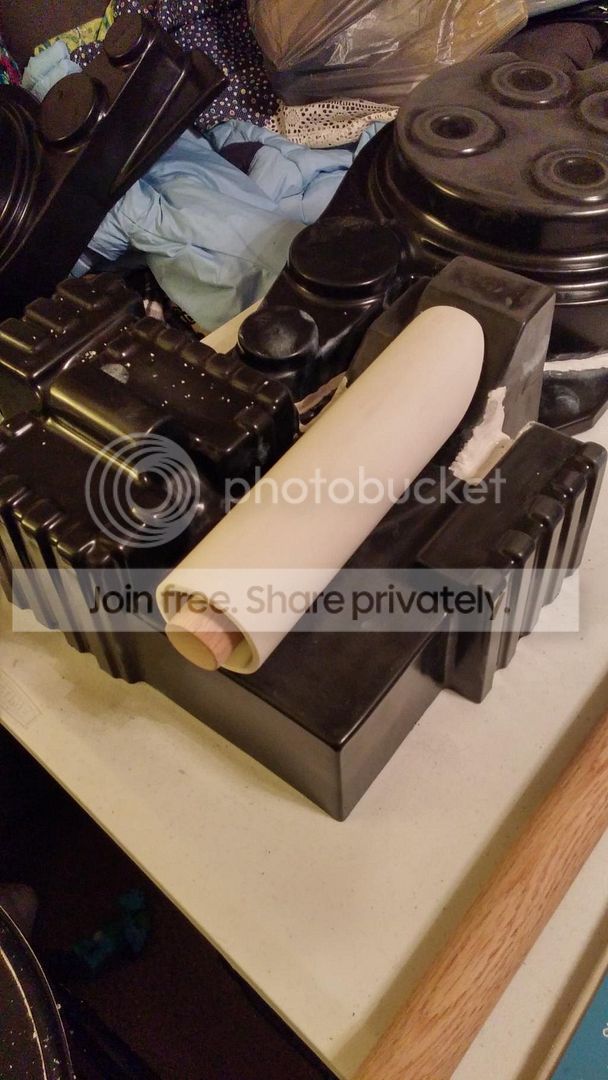
Here’s a shot with a test placement of the tube. Pretty good I think.

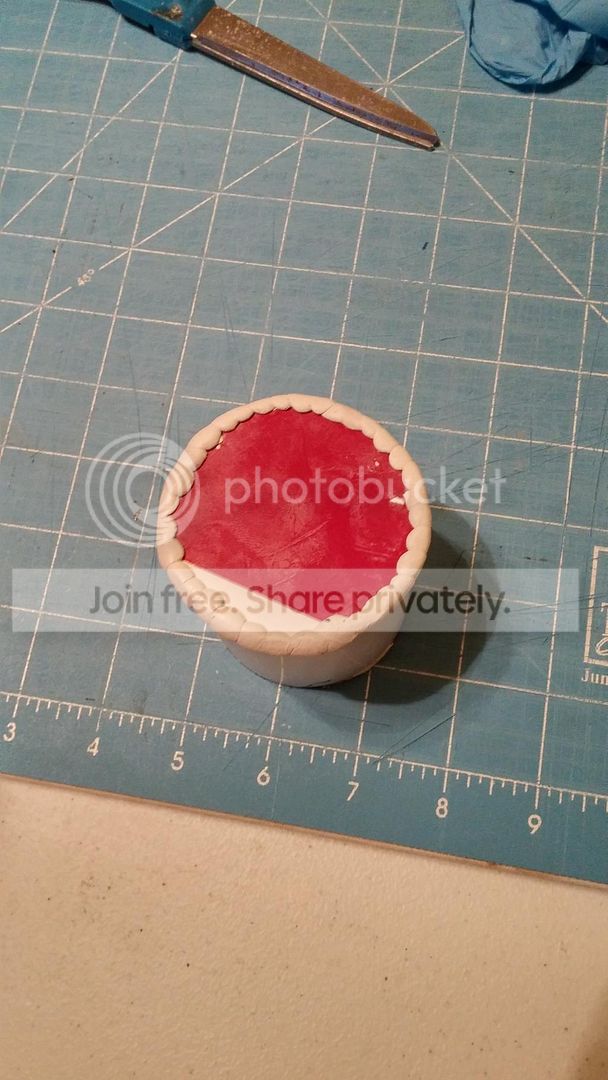
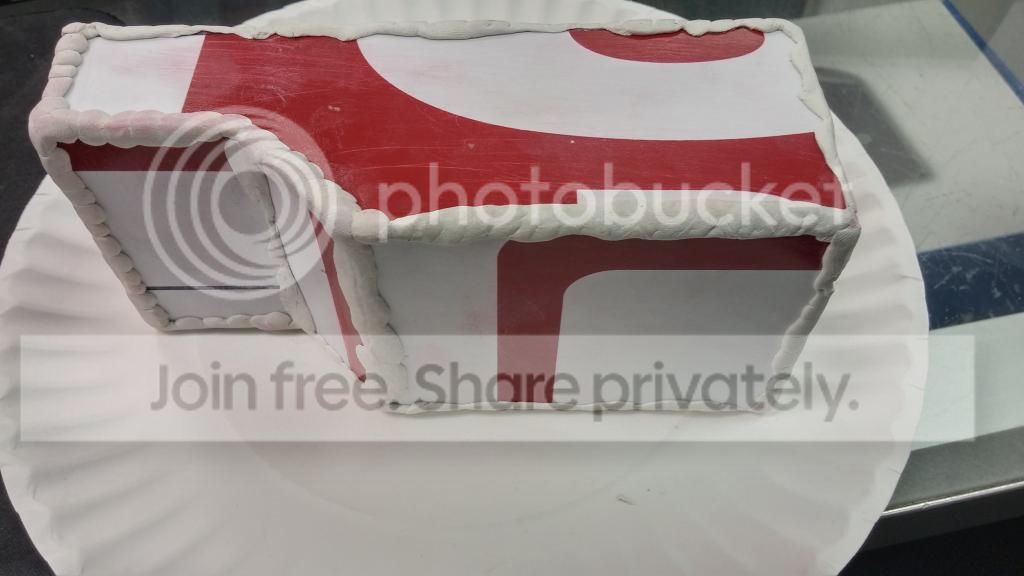
In one of those shots you can see the HGA I built as well. Again, wasn’t sure if I was keeping what I made or was ordering one, but I’ll probably be keeping it. You can see I was trying a fake weld test on it as well. That was obviously abandoned, but I couldn’t help but test it on something. For thr tops of most, if notall of the tubes, i used styrene signs fron Lowes. Here is a better look at it.

Here is a shot with everything I have in a dry fit.

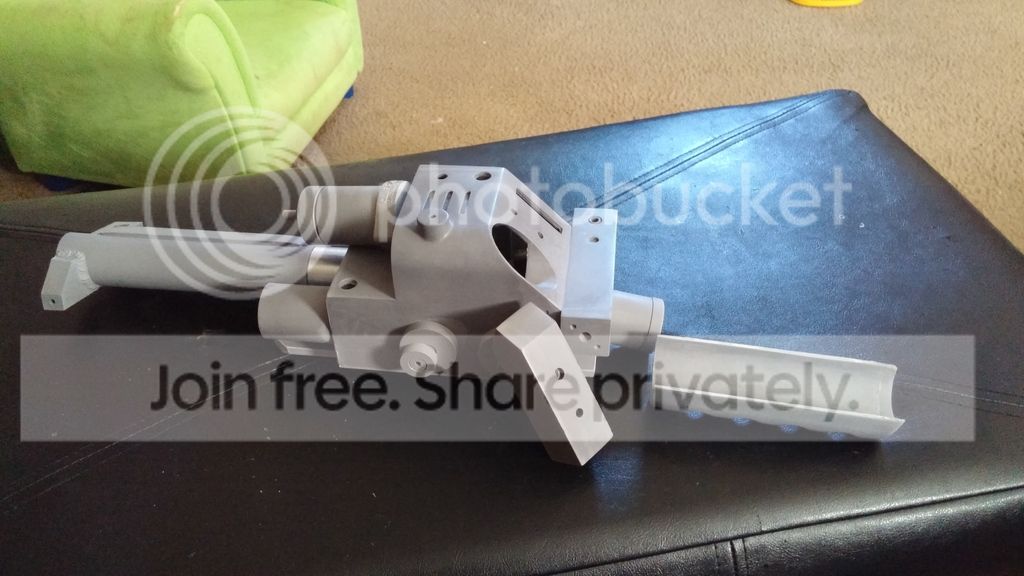
With the Ion arm, I used Stefan’s plans to cut out pieces of styrene and glued it together using Goop for plastic to adhere it together. When I build the second one, I’ll add progress pictures. I added some fake welds. The guy I was building it for wanted big, embellished welds for his. Mine will be smaller.

That’s all for now. Tonight I hope to finish the filler tubes, injector lines and start prepping the second shell.
Great progress! I love it. It really takes shape fast. I love the filer plug idea. Have you done a test spray on the insulation foam yet? Sometimes foam and spray paint dont play well together and the foam can melt.

Your welds look fantastic man! Keep up the good work. MOAR please!

I did. Seems to be OK with the satin black rustoleum. I don’t plan to spray the foam, though. I’m going to make a cap out of styrene to cover the foam.

Sweet! Great idea. Just thought I’d check because I made that mistake one. Keep the updates coming!

Ok, so I am absolutely terrible at updating and taking pictures, but I have these:

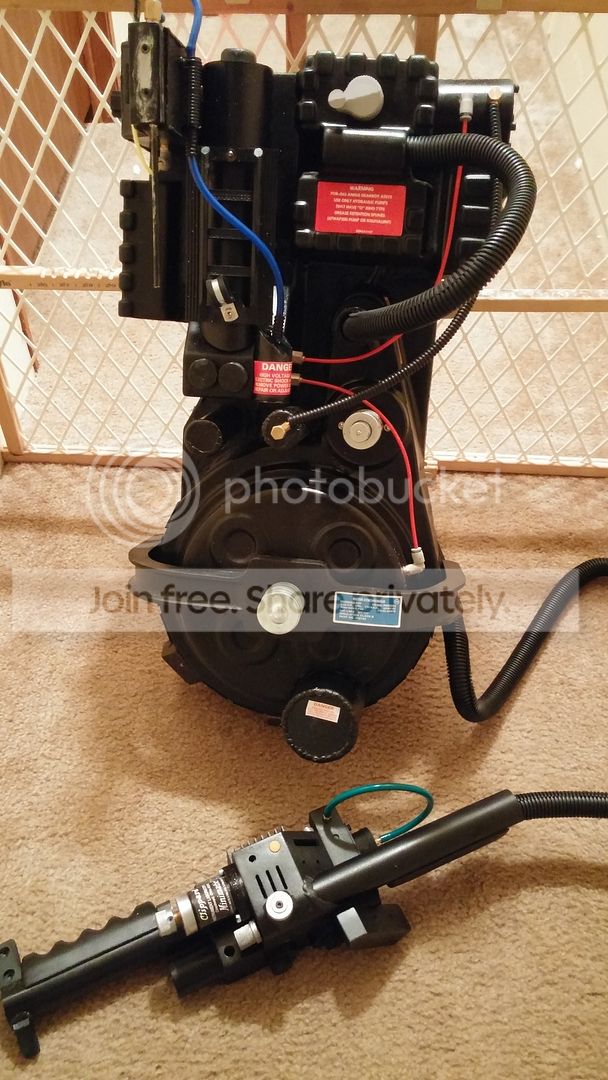
So yeah. I completed basically both packs to be wearable. They are 70% handmade GB1.5 packs. I say 1.5 because I’m using the gray knob with the GB2 spectra cable.

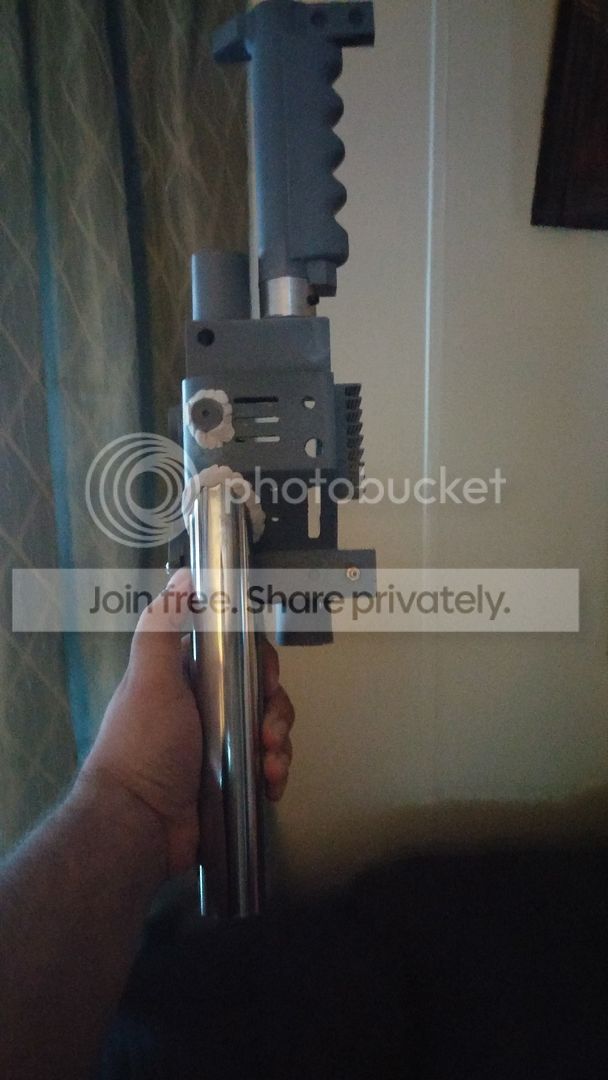
So I went with ThrowingChicken’s throwers for both packs.

Got them put together, some fake welds added on and painted.

As a summary, the only parts I purchased made for the pack itself were the bumper and knob. All other external were made from PVC, styrene sheets or wood.

The shell is a Studio Creations, the thrower is a TC and I’m happy to say that I built two of these. Basically exactly the same.

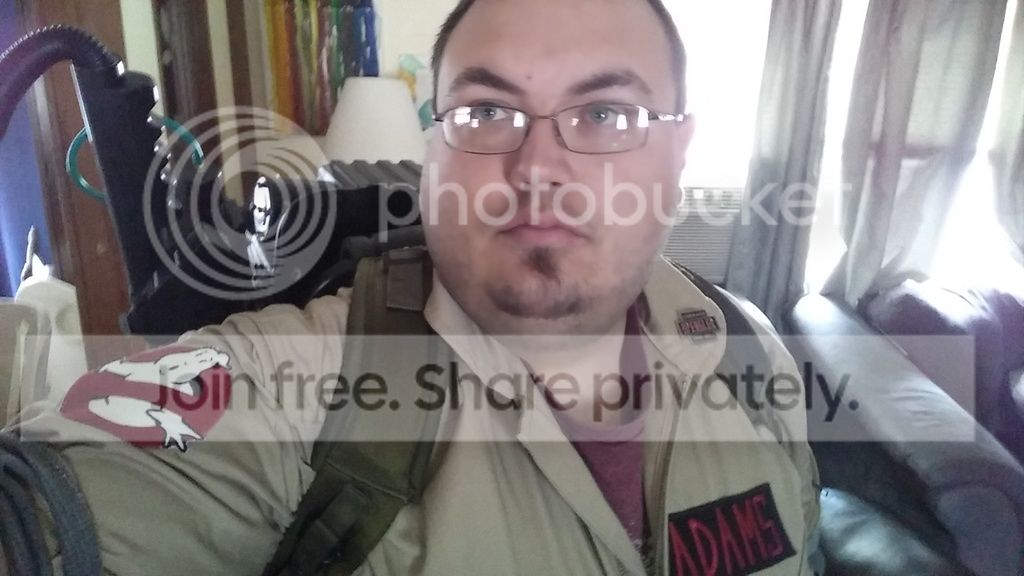
For those doing research or reading to prep for their first pack(and I’m sure everyone in this community with back me up), let me say this: there is NOTHING more gratifying that putting that pack on for the first time and yanking off the thrower. Nothing.

Now onto electronics.

I’m using a Crix kit in each.

I’ve got the stuff installed and working, but I don’t have a picture of the test set up. Needless to say it worked.

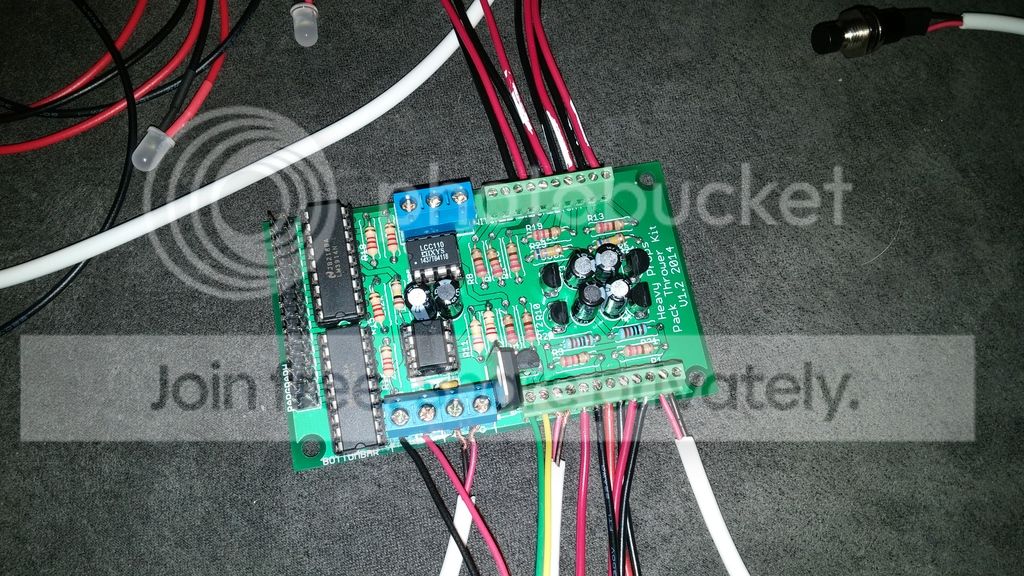
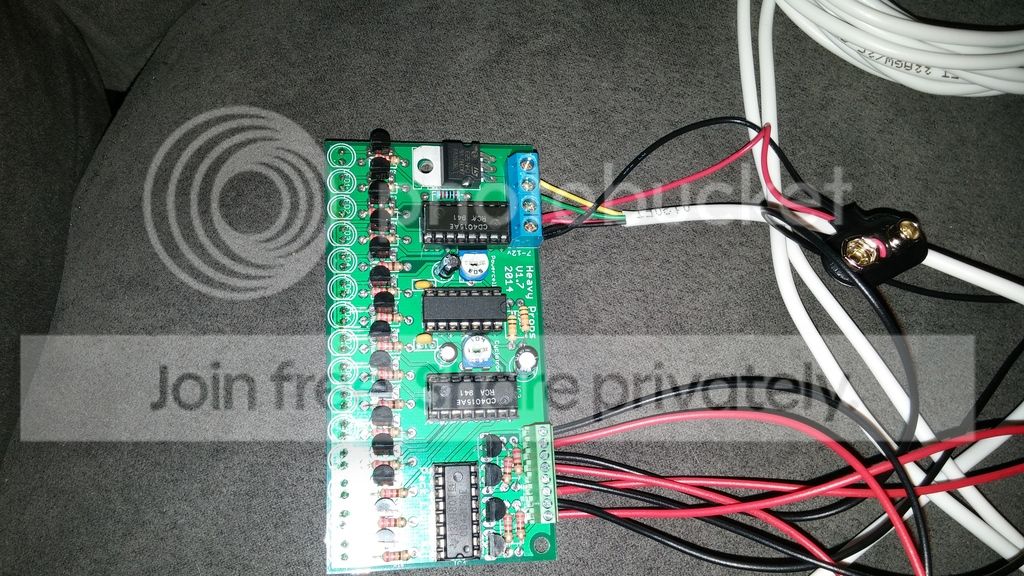
Here is the reference pictures of the boards I took.

So, yeah. Good times. I wish I had taken more pictures, but the heat of the moments got to me.

Thanks for reading. I’ll gladly post up the next set of pictures as the electronics get setup and implemented. Sound is also a concern, but this has been a blast.

Congrats! Looks great!

Thanks Alan. I’ve learned a lot just putting these things together and your build thread was a fantastic help.

Thanks again.

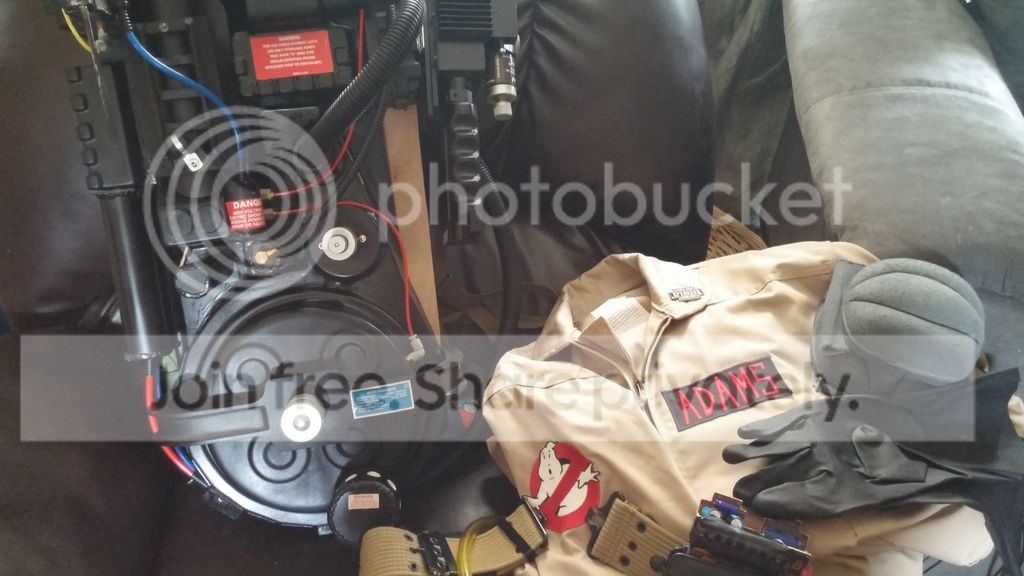
Some quick updates photos with lenses, lights and the remaining accessories. Pardon the messy work bench.