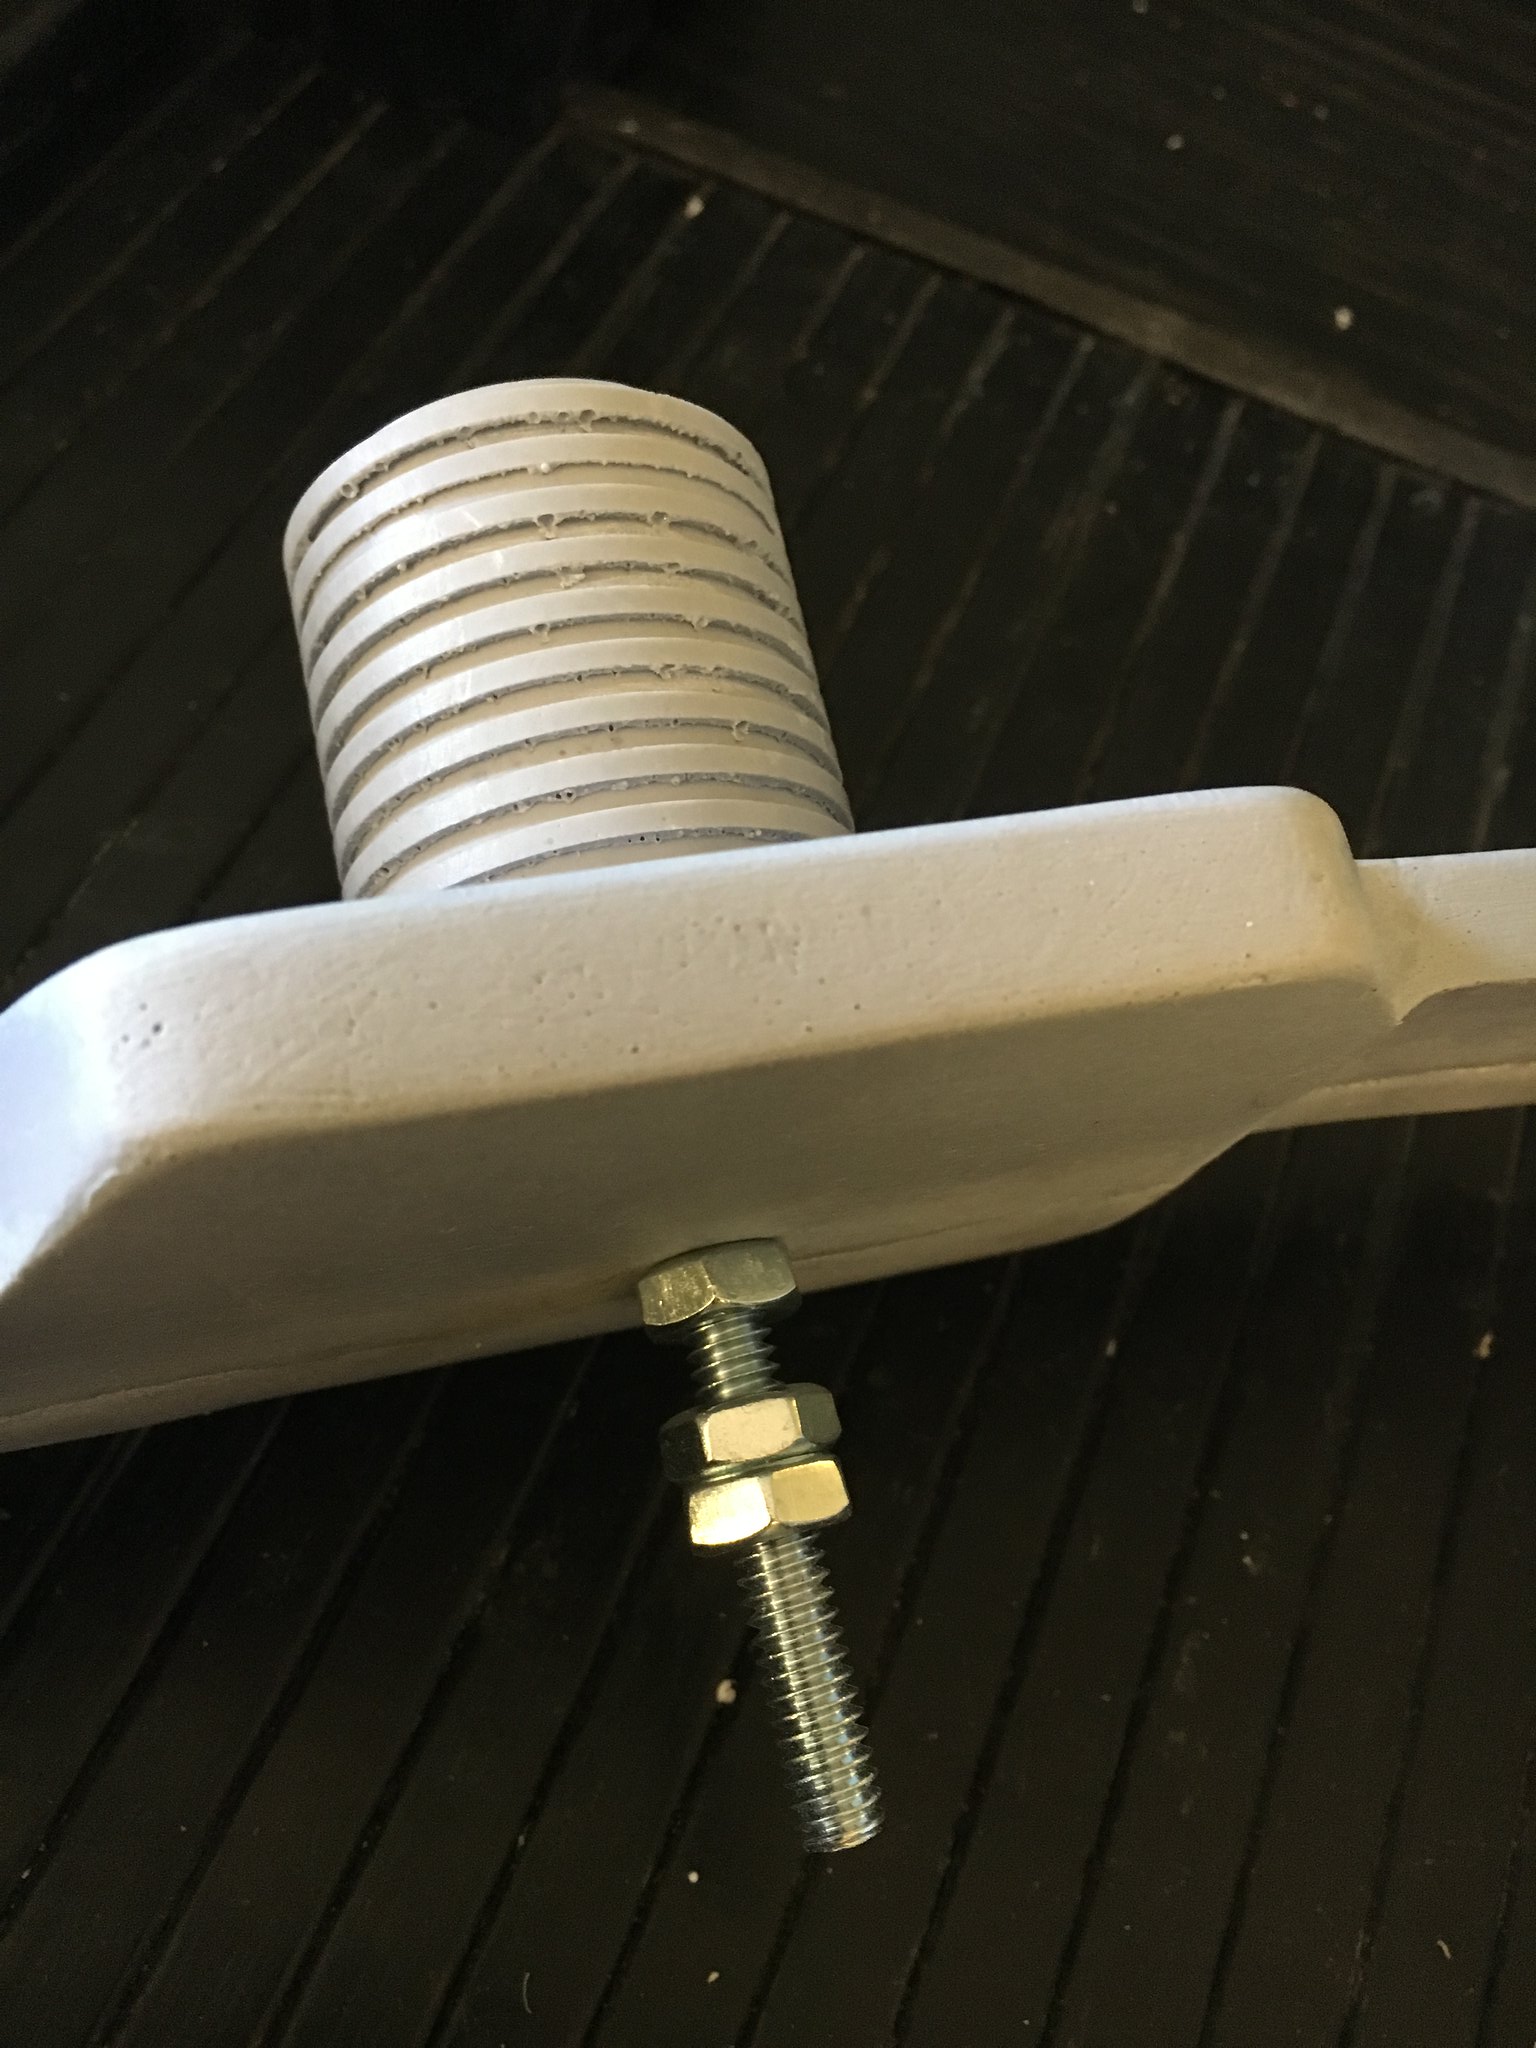
Necronaut's SC build 2016/2017

I’ve chimed in here and there on other people’s builds over the last couple weeks. It’s high time I share what I’ve been working on over the last 3 weeks…

*Background: Both the 1984 film and the RGB animated series were very formative influences growing up. On Saturday mornings, I would often kludge together a couple sheets of old 3/4" particle board from Dad’s workshop that I had jigsawed out into a circular cyclotron and a rectangular motherboard. I’d use nylon ropes knotted through the board to fashion the packs straps for my new proton pack. A suitable stick in the woods would be my neutrona wand. If I was feeling especially ambitious that Saturday morning, I’d break out a blue or black spray bomb and paint the pack before adventuring in the nearby woods with it.

Now that I have the disposable income, I’ve become a pretty passionate prop, model, and replica maker and collector. I am the ESB Boba Fett and Clone Commander Bly of my local 501st Garrison, and am currently deciding whether to go in on the new Anovos First Order Stormtrooper costume kit that has recently gone up for pre-order.

Laying in bed one morning while on summer holidays in August, I came across this article:

http://www.primermagazine.com/2015/spend/make-this-screen-accurate-ghostbusters-costume-with-80-available-from-amazon-prime

It re-ignited that dream of owning a Proton Pack and once again becoming my 10-year-old self’s absolute hero!*

While doing that costume on a budget was certainly a Halloween possibility, that need for a proton pack came welling back up from my childhood. But living in Canada right now means contending with a weak currency exchange rate.

My search initially took me to Thomas Galvin’s YouTube tutorials for the Galvinator proton pack. I started doing some research and found out that the materials cost would soon get up to $400, especially if I wanted that 4-gang electrical box.

So, I dug deeper and soon re-discovered Norm Gagnon’s pack plans and the build threads here. I was hoping to scratch-build the pack and wand using some 4x8 sheet styrene and ABS I had bought for past scratch builds. However, I found someone names Alan Hawkins and his love of the cheap Studio Creations shells. His most recent twin-pack build was my inspiration to research the purchase of one of these shells.

imageProton Pack 2016 by Brett Watt, on Flickr

Wait, we’re getting ahead of ourselves!

With a $400 CDN budget (the current cost of a Galvinator Pack by my reckoning), I could order the SC shell, a suitable ALICE Pack, and have enough left over for some resin detail bits for the build. However, I would also have to do some of my own scratch-building: all of the tube-based parts of the pack, the Ion Arm, synchronous generator blocks, and the entire wand.

In reality, I knew my cost would probably approach $600 or $650 CDN with all of the required consumables and extra bits (bolts, screws, paint, Clippard air fittings, etc.), but I am satisfied that I will get a FAR more accurate pack, which really tickles my prop collecting mojo. Ultimately, I would have been let down and very unsatisfied with a Galvinator, even though it’s a 50% savings.

I put in an order to Studio Creations for a shell, and I chose Hole In The Ground Productions for my resin parts. Hey, they were cheaper! And I’ve had to deal with some really bad, bubbly, mis-shapen resin in the past, what’s the worst that could happen?

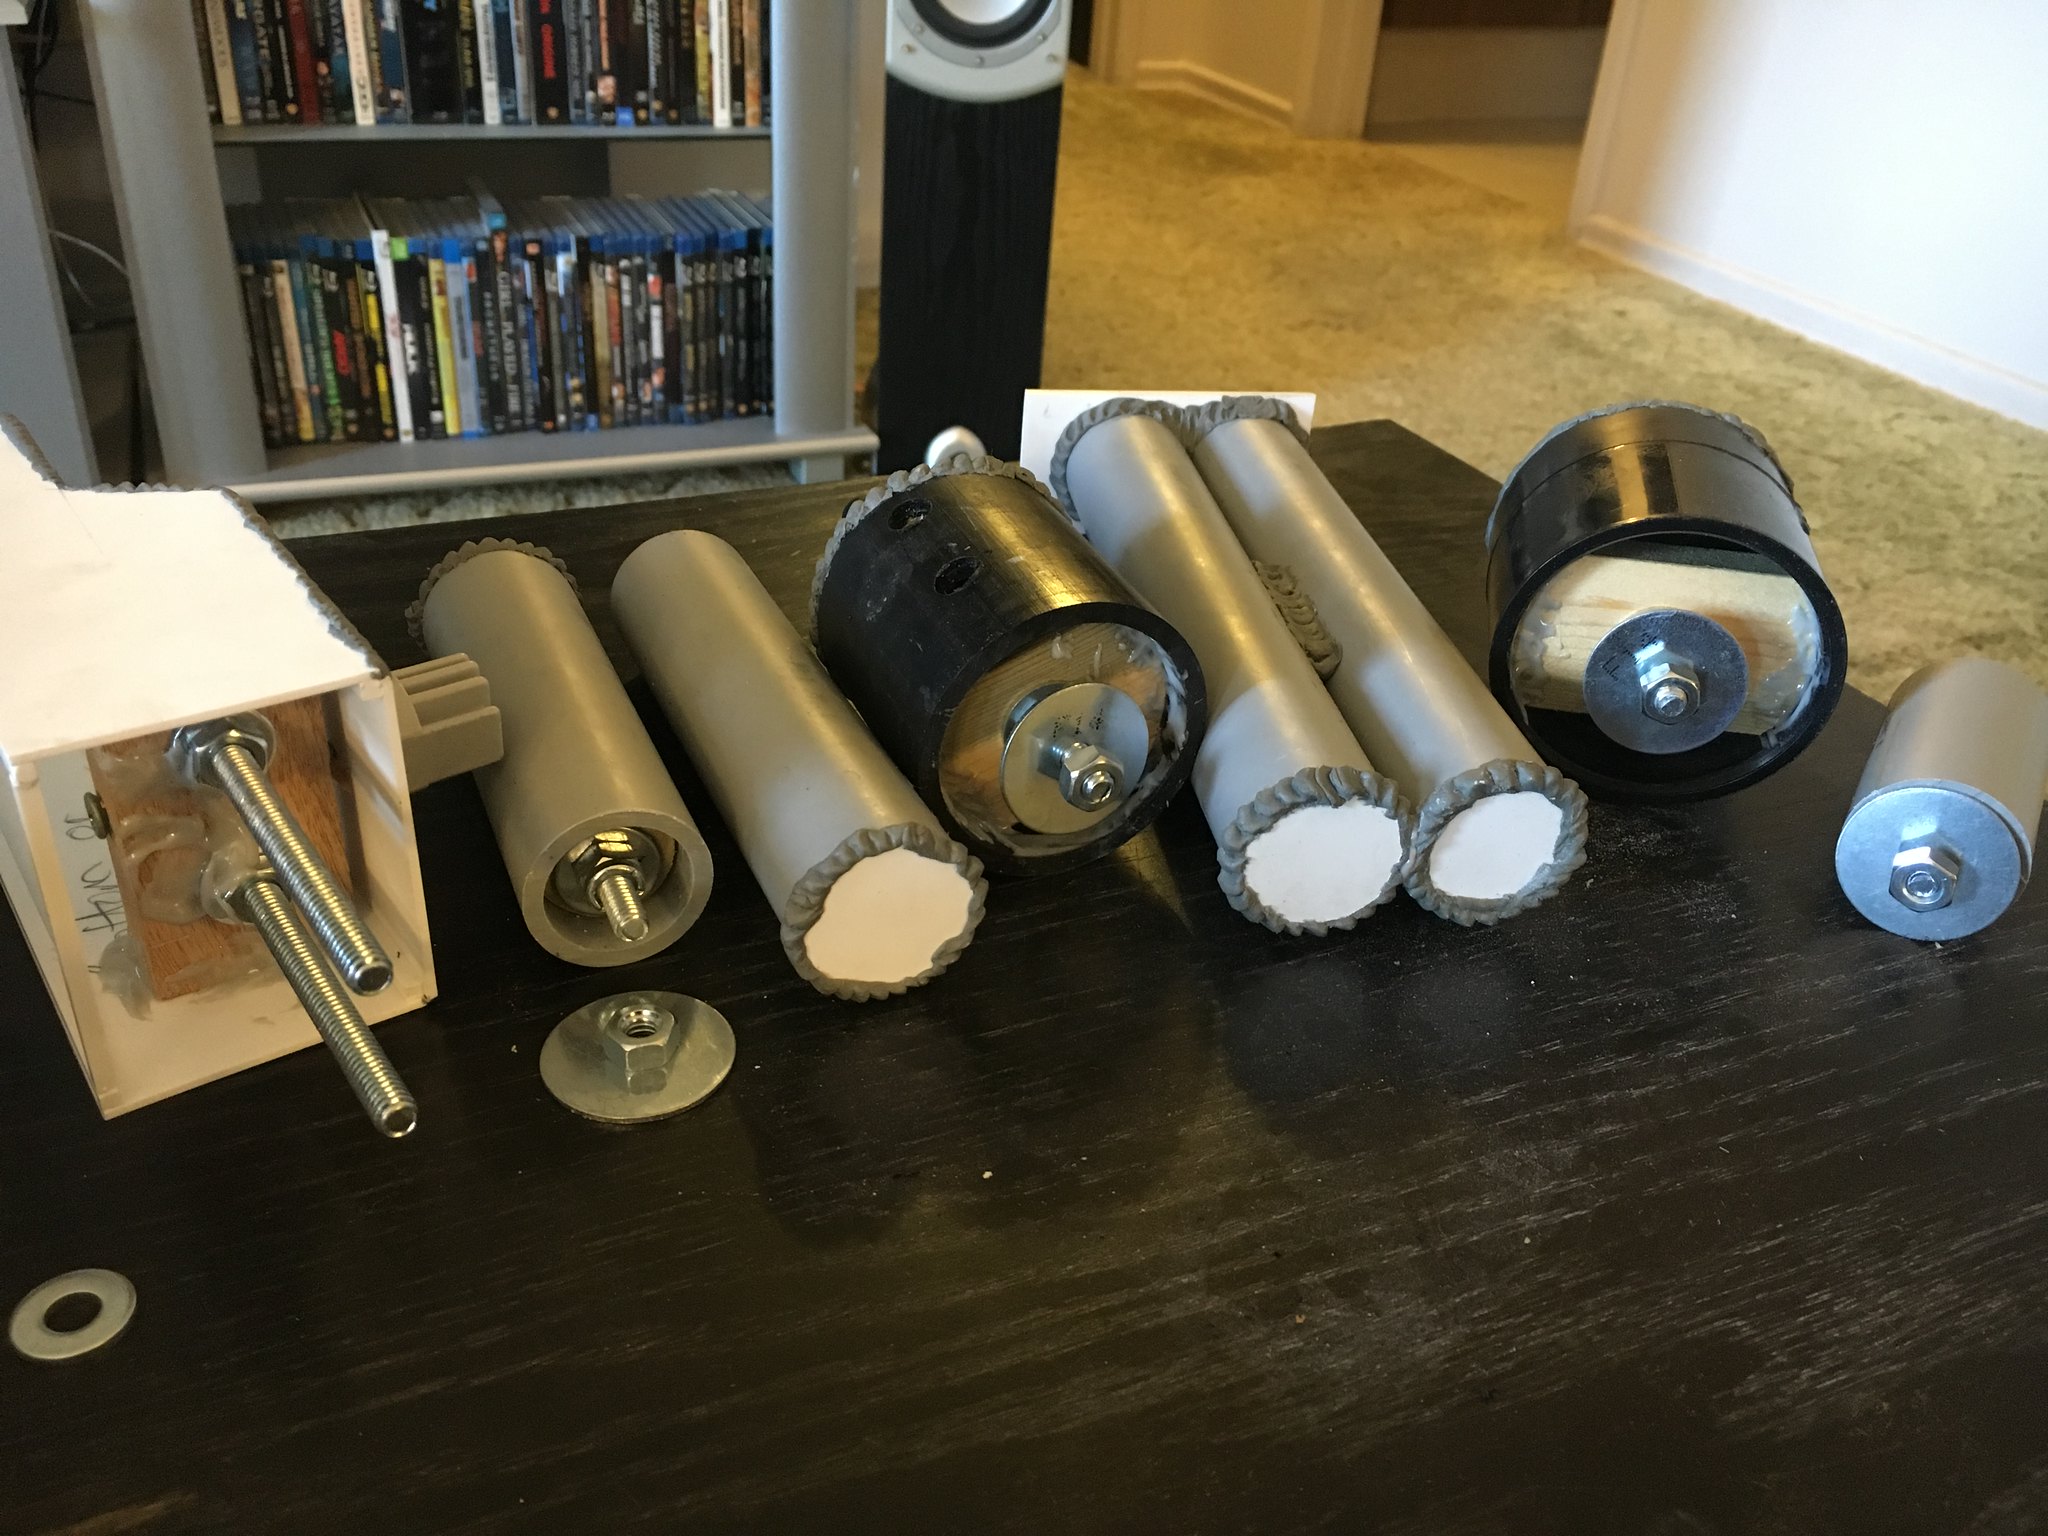
While I waited for my order to arrive, I went to the Stefan plans for measurements and the Gagnon plans for ideas. I soon found myself at the hardware store, ordering bolts, nuts, washers, 1" PVC conduit, epoxy resin, plumbing epoxy putty, and various ABS sewer pipe fittings. I cobbled together these:
imageProton Pack 2016 by Brett Watt, on Flickr

I was too late to see how Alan Hawkins capped his pipe parts, so I came up with my own procedure:

  1. Drill some 1/4" holes into some scrap plywood. 3/8" thickness should suffice.

  2. Use a bandsaw to cut a 1" diameter circle around each hole you drilled in step 1. You should now have a small wooden ‘doughnut’.

  3. Thread some 2" or 2-1/2" bolts through the holes and use a washer and a locking nut to cinch them into the wood ‘doughnuts’. There should be plenty of thread left over for more bolts (later).

  4. Cut the 1" pipe to the lengths specified in Stefan’s plans for the two injectors, the vacuum line, the beam line and the filler tube. Sand the insides of the pipe.

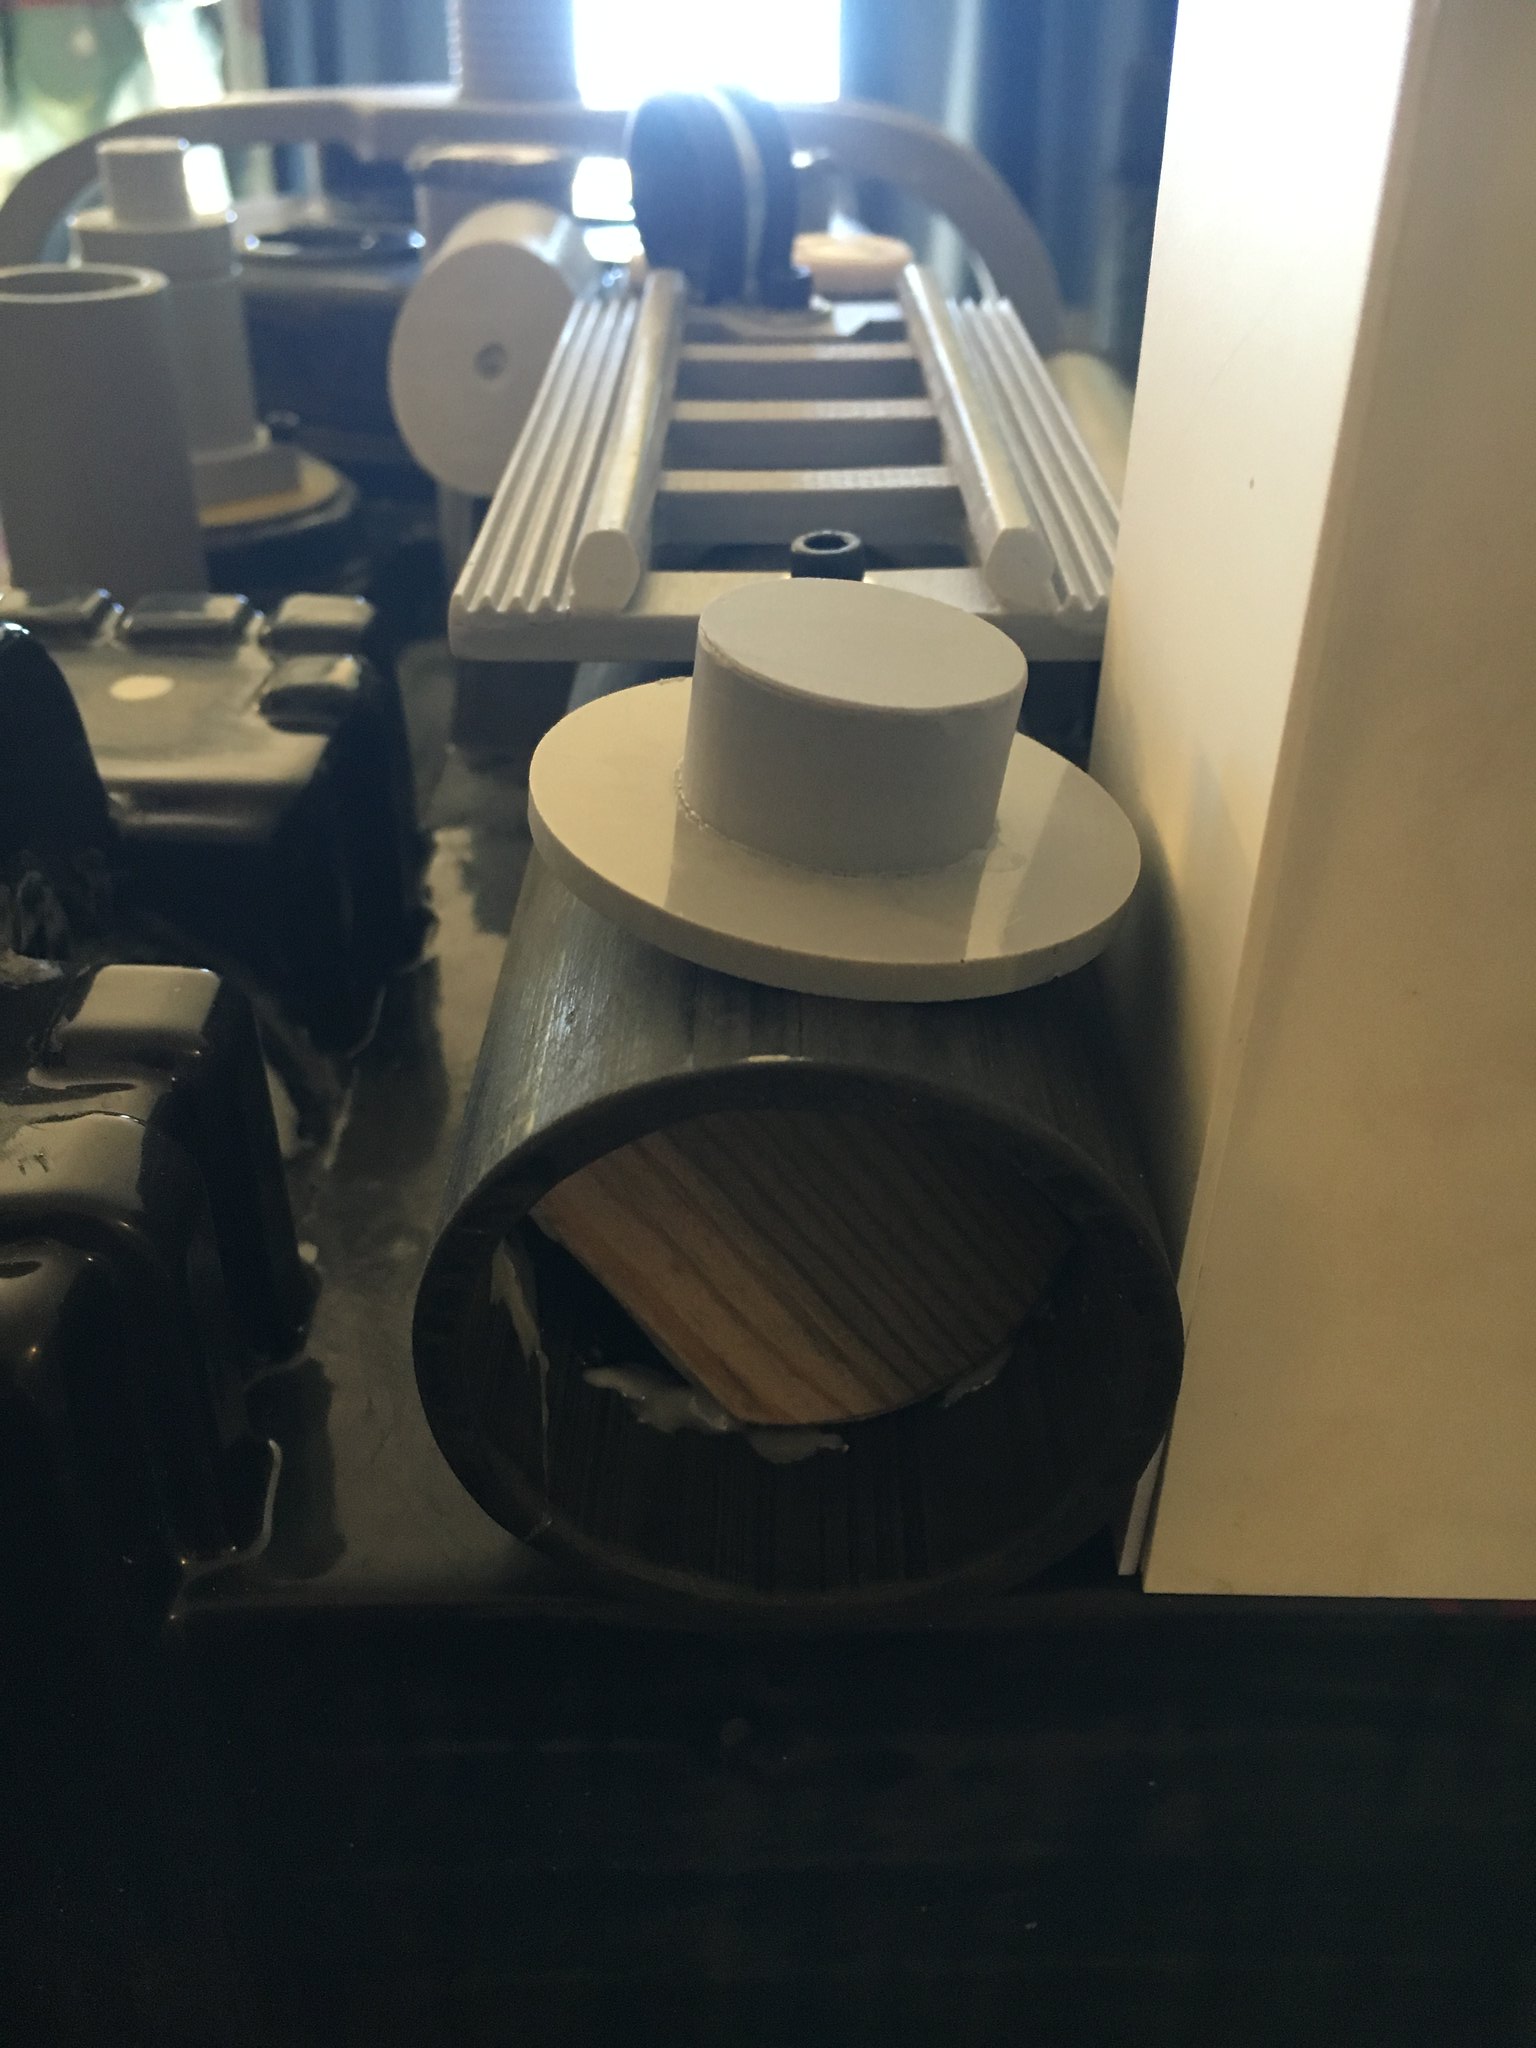
  5. Use some 5-minute epoxy to bond the bolted doughnuts to the insides of each pipe. Be sure that the nylon lock nut is recessed inside the pipe. The exposed bolt threads will be used to secure each piece to the pack shell.

  6. Repeat as needed for the larger HGA, N-Filter parts and the inside of the Ion Arm Assembly.

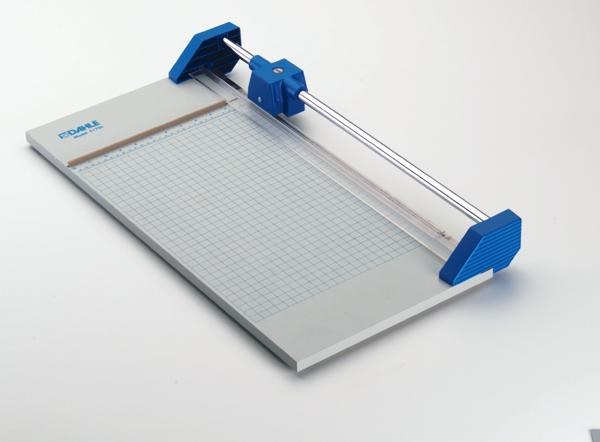
Speaking of the Ion Arm assembly, it was assembled using some 1/16" styrene sheet and Tamiya Extra Thin model cement. Each of the corners was reinforced with some square 1/4" styrene strips. The dimensions come straight from Stefan’s blueprints. Because I’m using thin styrene sheet, you can score the sheet a couple times and simply snap it. I actually use a rotary blade paper cutter to square up the sheet and score the cuts:
image

So, about 2 weeks ago (mid-September 2016) this arrived in the mail:

imageProton Pack 2016 by Brett Watt, on Flickr

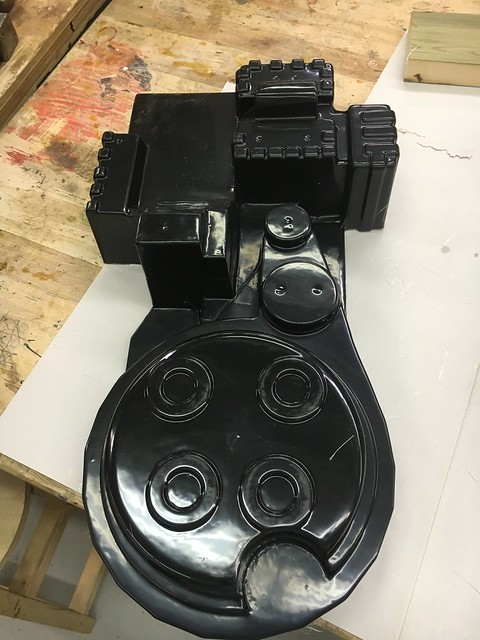
This is the new 1-piece Studio Creations GB Proton Pack shell.

Within a couple of hours, this happened:

imageProton Pack 2016 by Brett Watt, on Flickr

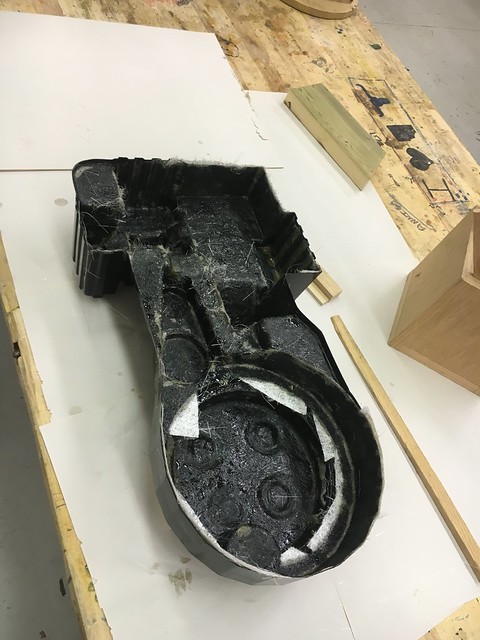
I used Fiberglass mat for most of the shell, mostly because it conforms to multiple curves and corners once the resin dissolvers the glue in the mat. I cut up some medium-weave fiberglass cloth to reinforce the motherboard attachment points and where the neutrona wand would hang from.

Once the shell was fibreglass’ed and cured (I used a single 3M Fibreglass Auto body repair kit and a Fiberglass Cloth pack from Canadian Tire), I traced the shell outline onto a piece of 1/4" luan plywood. I used a table saw to rough cut the sheet into a more manageable sized piece, then I used a jigsaw and a hand saw to cut out the basic shape of the motherboard.

To fill in the wood grain, I sprayed down both sides of the sheet with a couple coats of auto body filler primer, sanding with 220 grit sanding paper between coats. Once it was pretty much filled, I used a primer sealer to help seal the wood and prevent it from sucking up and absorbing any further layers of paint I might apply in the future.

imageProton Pack 2016 by Brett Watt, on Flickr

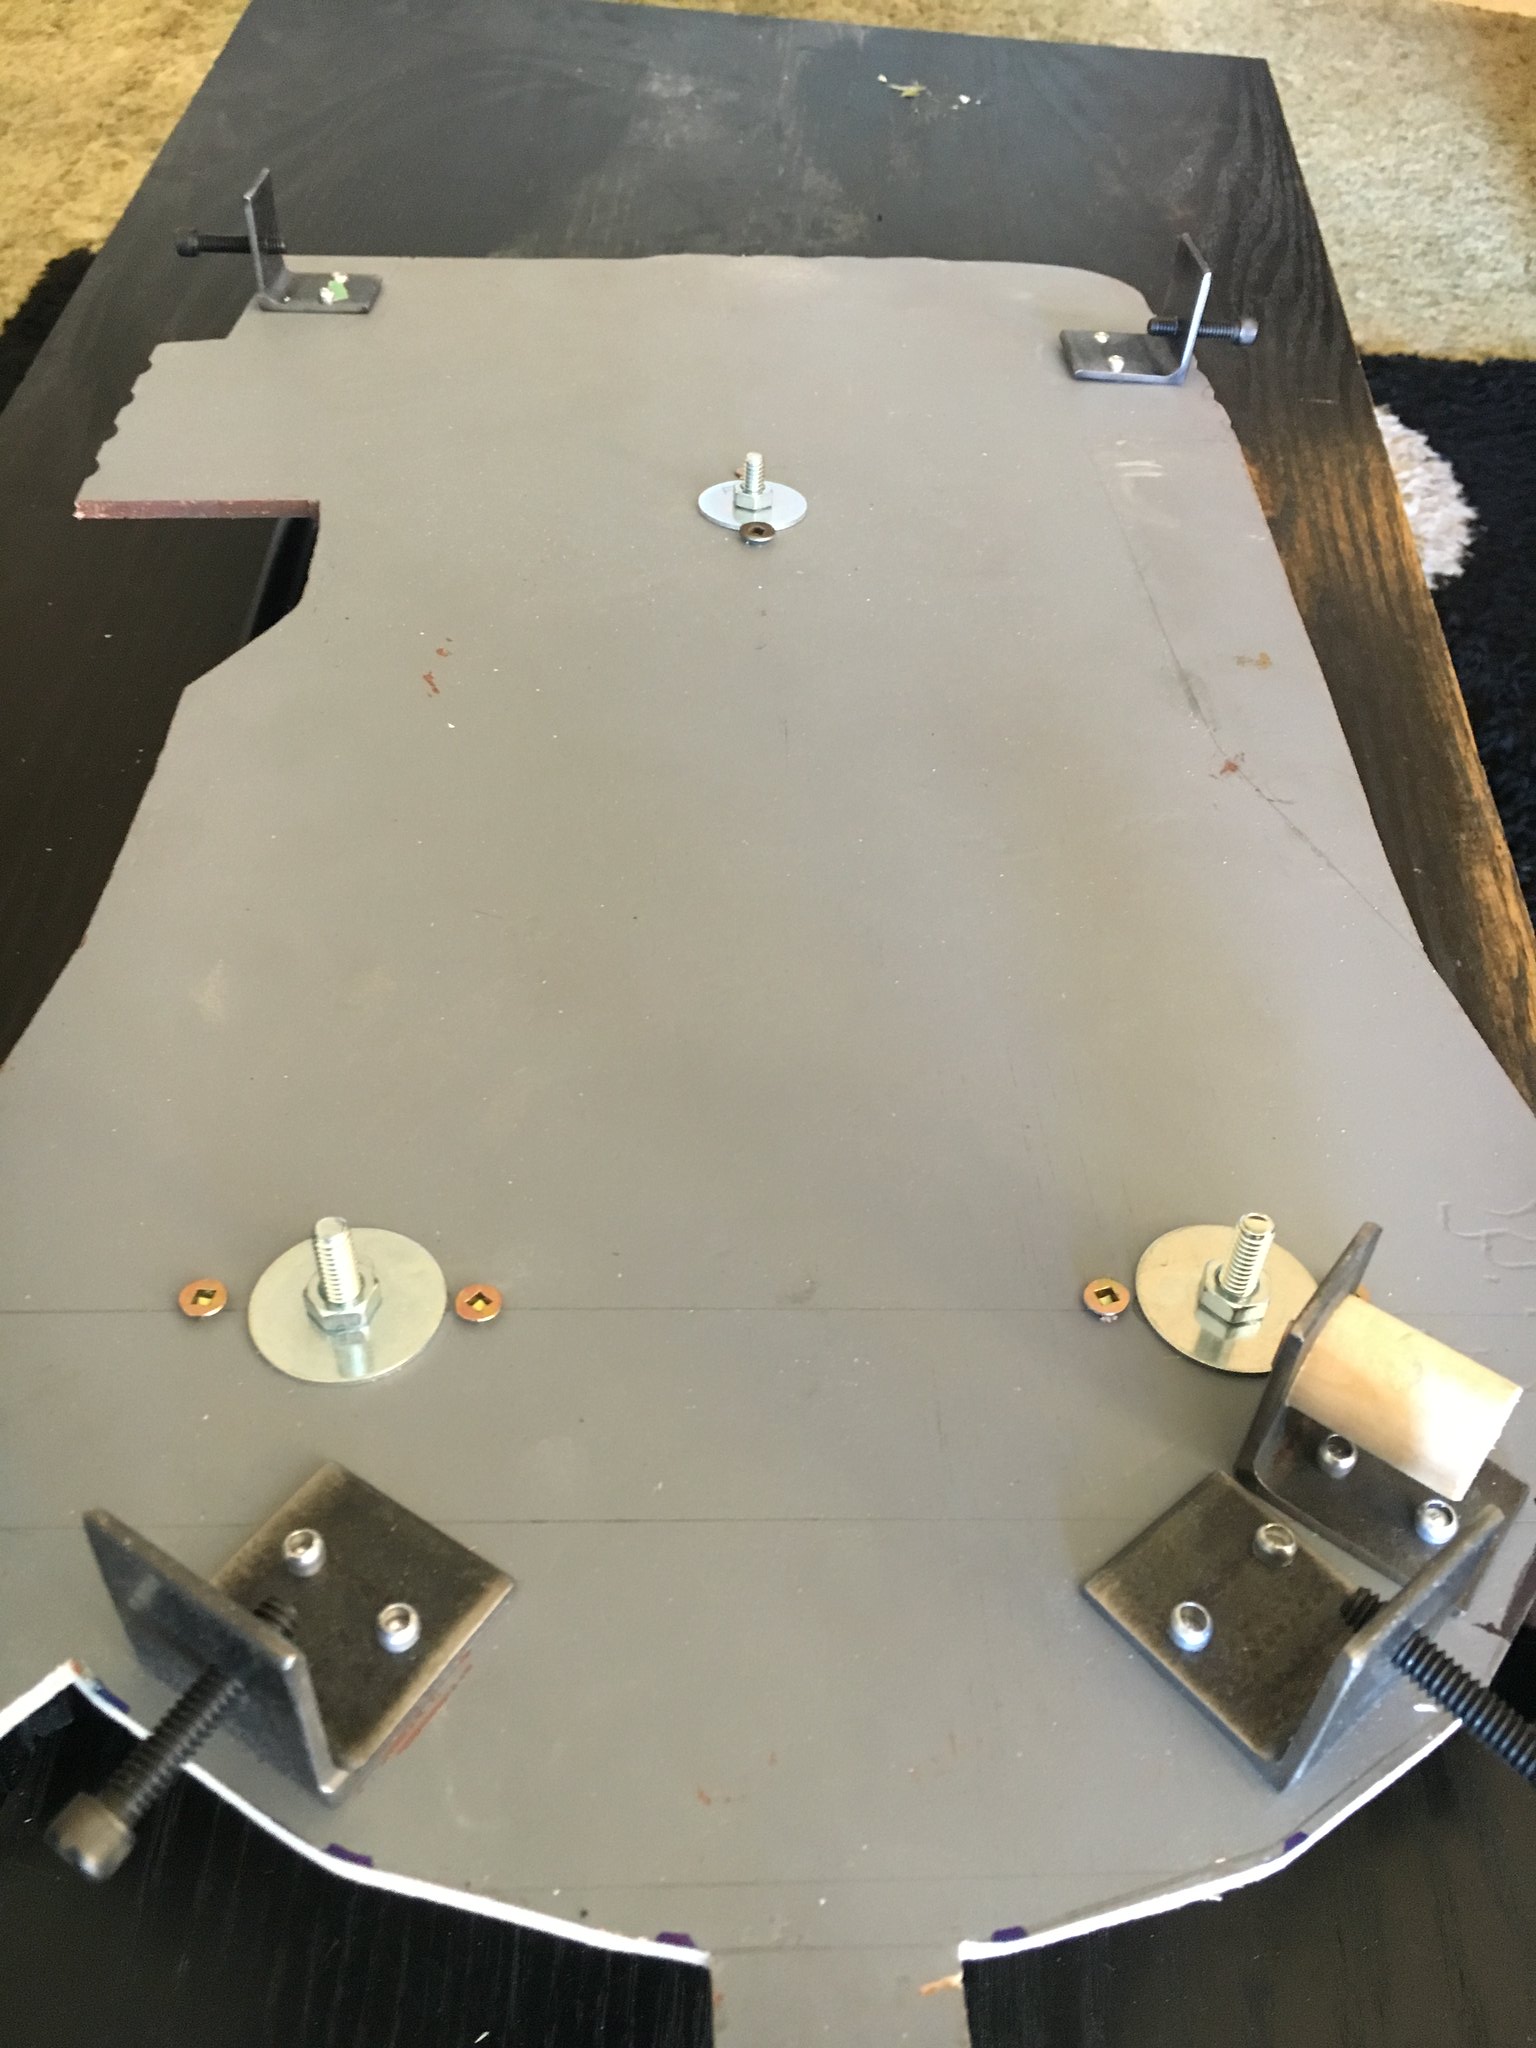
Knowing that aluminum has the potential to strip when using a bolt on it, I chose to use steel channel instead for attachment brackets for my motherboard-to-shell. I cut it 1-1/2" wide, drilled out 3/16" holes for the wide rivets, taped them down roughly, and and drilled out the appropriate locations on the shell for the retention screws.

I repeatedly refined the placement of the shell and the brackets, then drilled in and riveted (found at Lowe’s) the brackets to the board. Then came the arduous task of tapping in 1/4"-20 threads into the steel brackets. However, they are very robust threads and resist cross-threading when the socket cap screws aren’t aligned appropriately. I’m using 1-1/4" long socket cap screws only because they were the only 1/4"-20 socket cap screw stock on hand at my local Acklands-Grainger industrial supply store. Otherwise, I could likely get away with 5/8" long versions.

imageProton Pack 2016 by Brett Watt, on Flickr

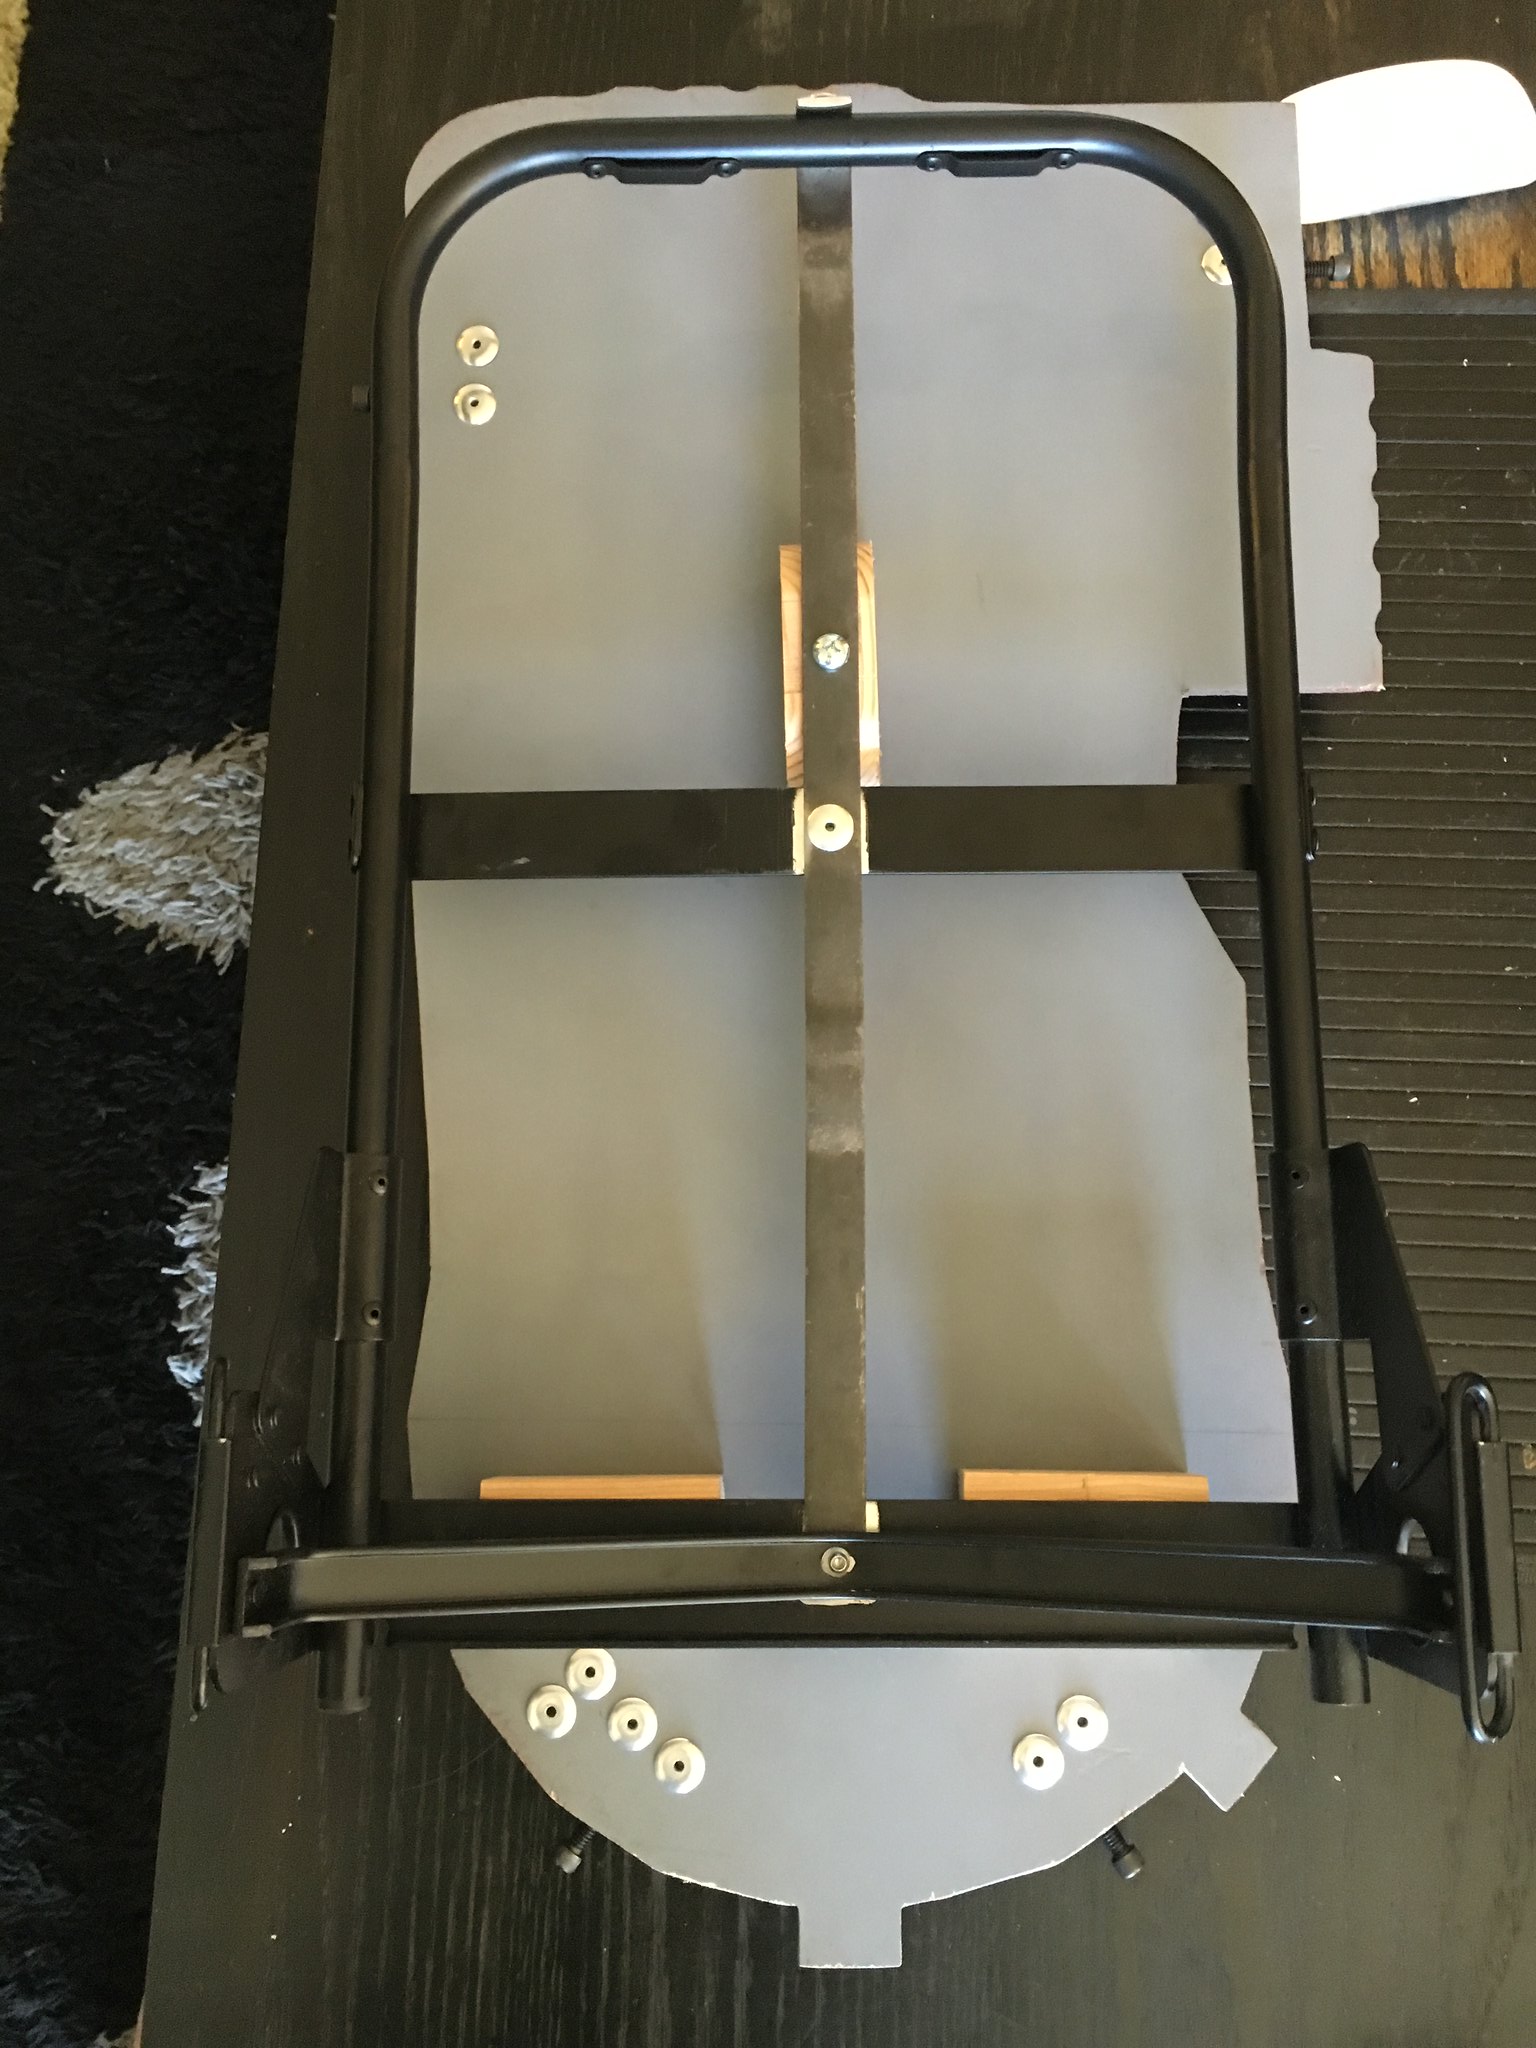
My ALICE pack arrived a week before; I took off and weathered the straps in a big pot of hot water and about 8 tea bags, left for about 12 hours. I also replaced the anemic steel strip centre support with 1/8" steel stock. I used the same rivets from the motherboard.

I used some 1-1/8" spruce wood scrap for the blocks between the motherboard and the ALICE Pack. 2-1/2" stove bolts with washers were used to attach it all together.

For the wand hose, I used the same steel L-chanel and rivets to attach it to the motherboard. I just used 3/4" dowel, drilled through the centre and screwed through a hole in the steel bracket, as the attachment base for the wand hose.

imageProton Pack 2016 by Brett Watt, on Flickr

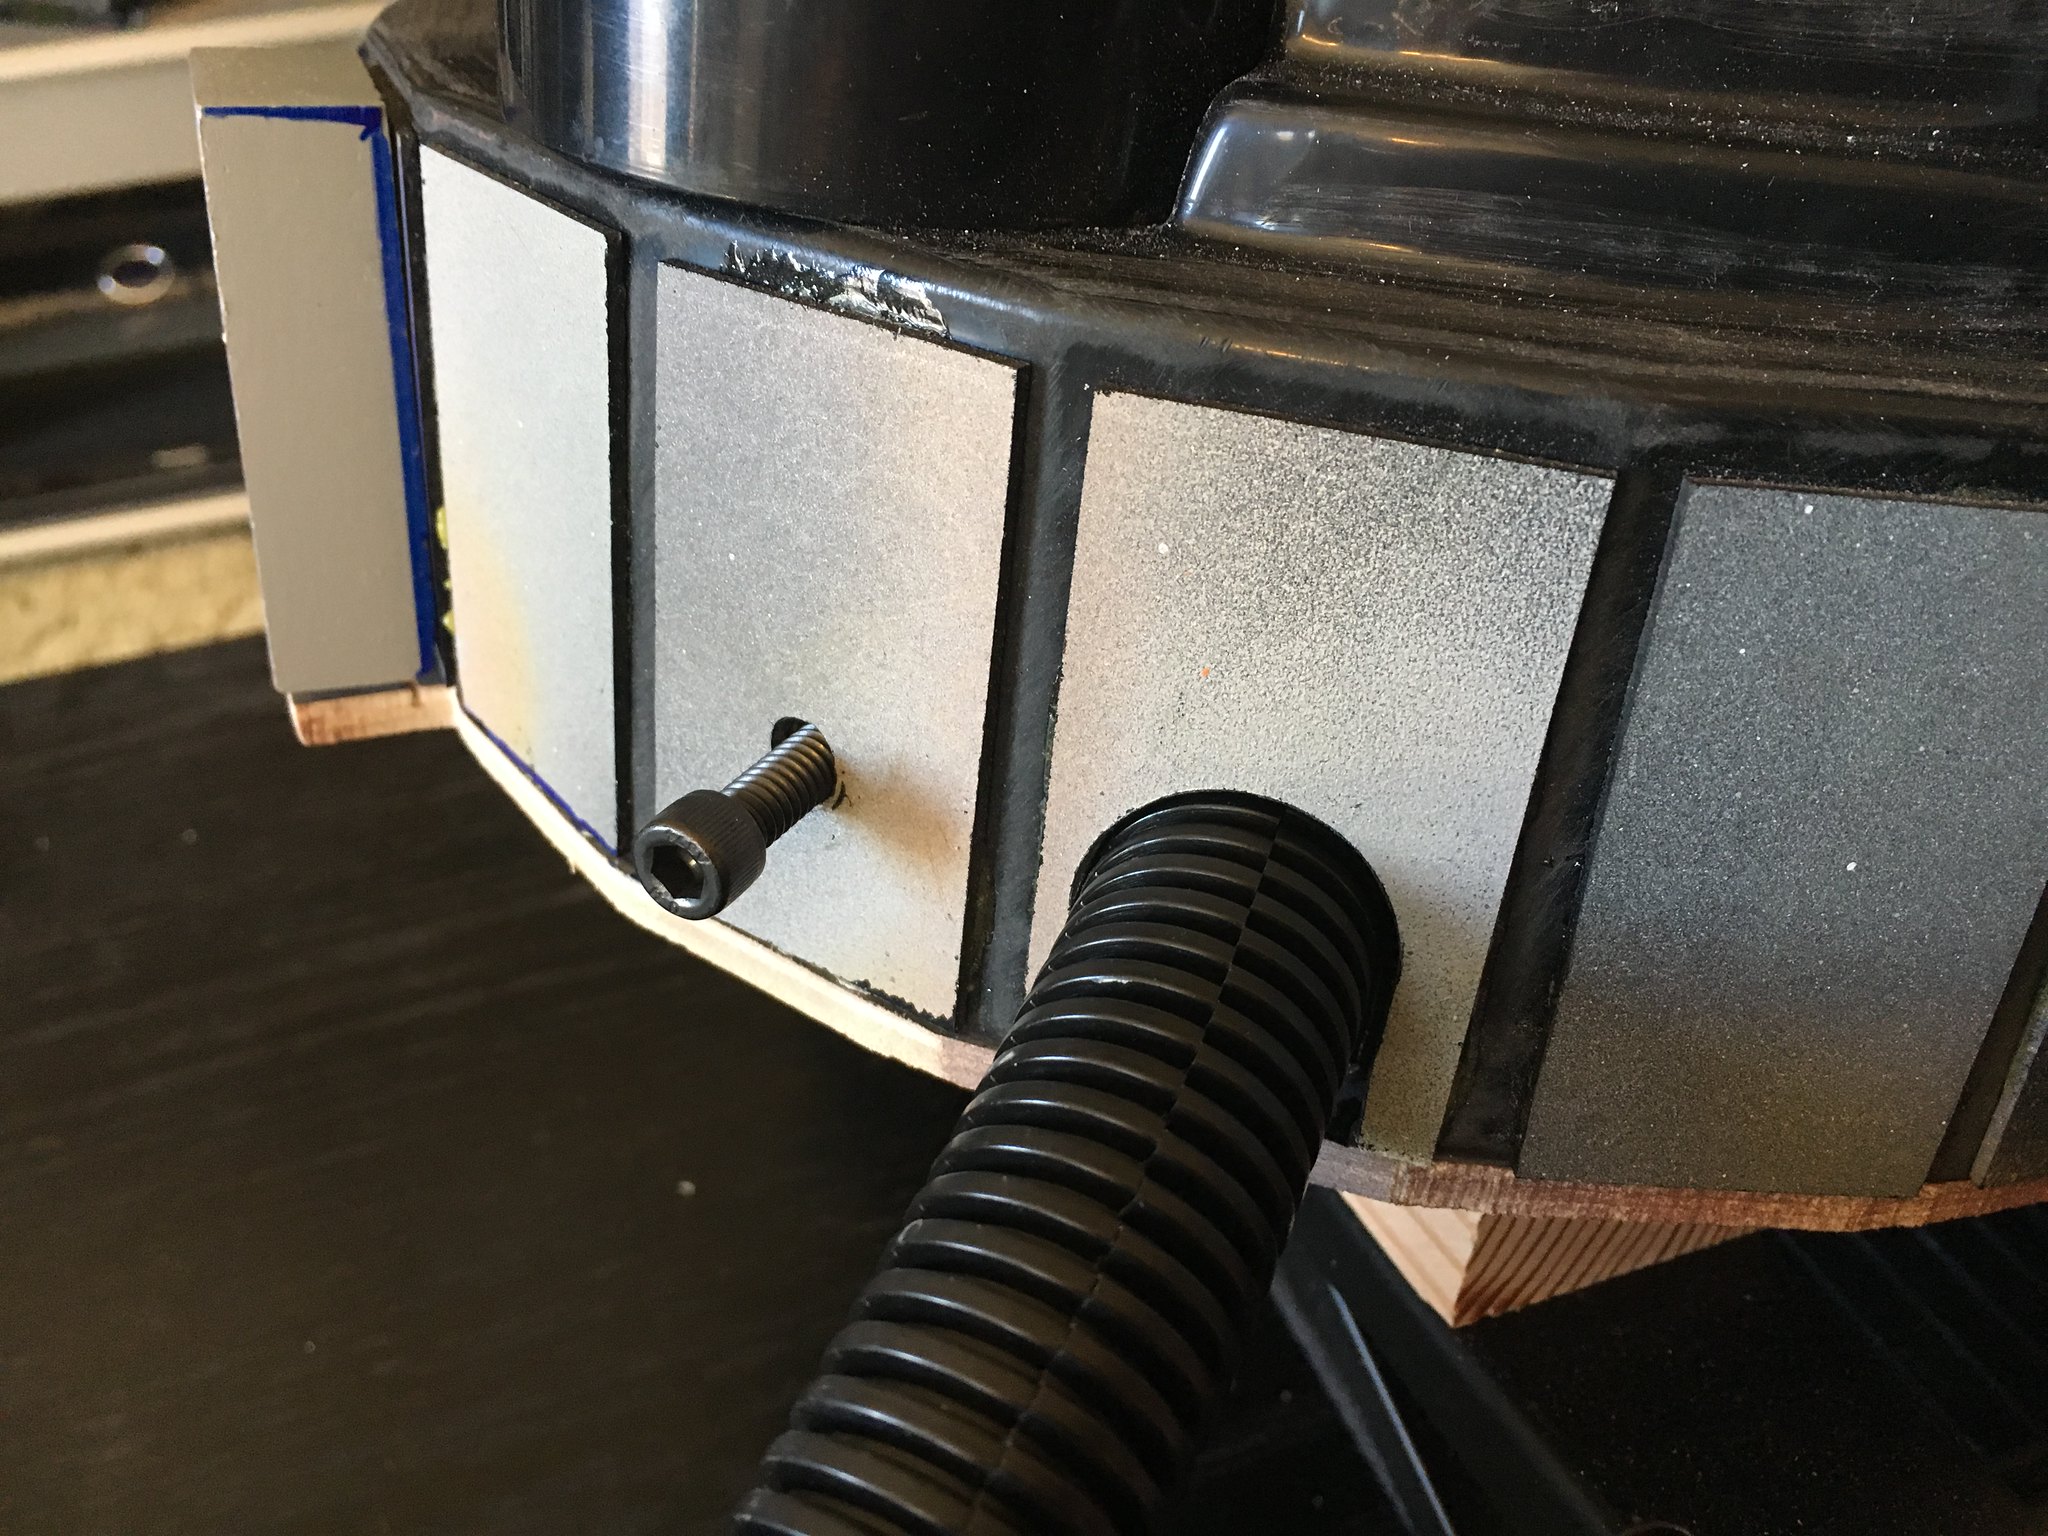
Because the SC shell doesn’t really have defined synchronous generator edge plates, I had to cut my own out. I had a piece of Kydex ABS plastic laying around from Tandy Leather (previous prop build). It’s used for hand-forming custom handgun holsters using nothing more than a heat gun. I used a table saw and a chop saw to cut it into 1-1/2" by 2-1/2" cards that I glued to the ABS shell using ABS plumbing cement. Since it’s all ABS and the cement is a chemical welding action cement, it worked really well.

The mouse-hole for the wand hose was first cut with a 7/8" Forstner bit on a cordless drill; 7/8" corresponds to the outside diameter of the 3/4" split wire loom, as I measured it. I opened up the mouse-hole using a Dremel and a sanding drum.

I used Stefan’s plans to measure out and cut out the synchronous generator blocks, found at the bottom of the pack and on the left side of the generator. I used some oak stock that I found in the scrap bin. It took several coats of filler primer, and some hand-filling using some polyester model filler to get these to look less wood-like. They are permanently screwed in from inside the shell.

imageProton Pack 2016 by Brett Watt, on Flickr

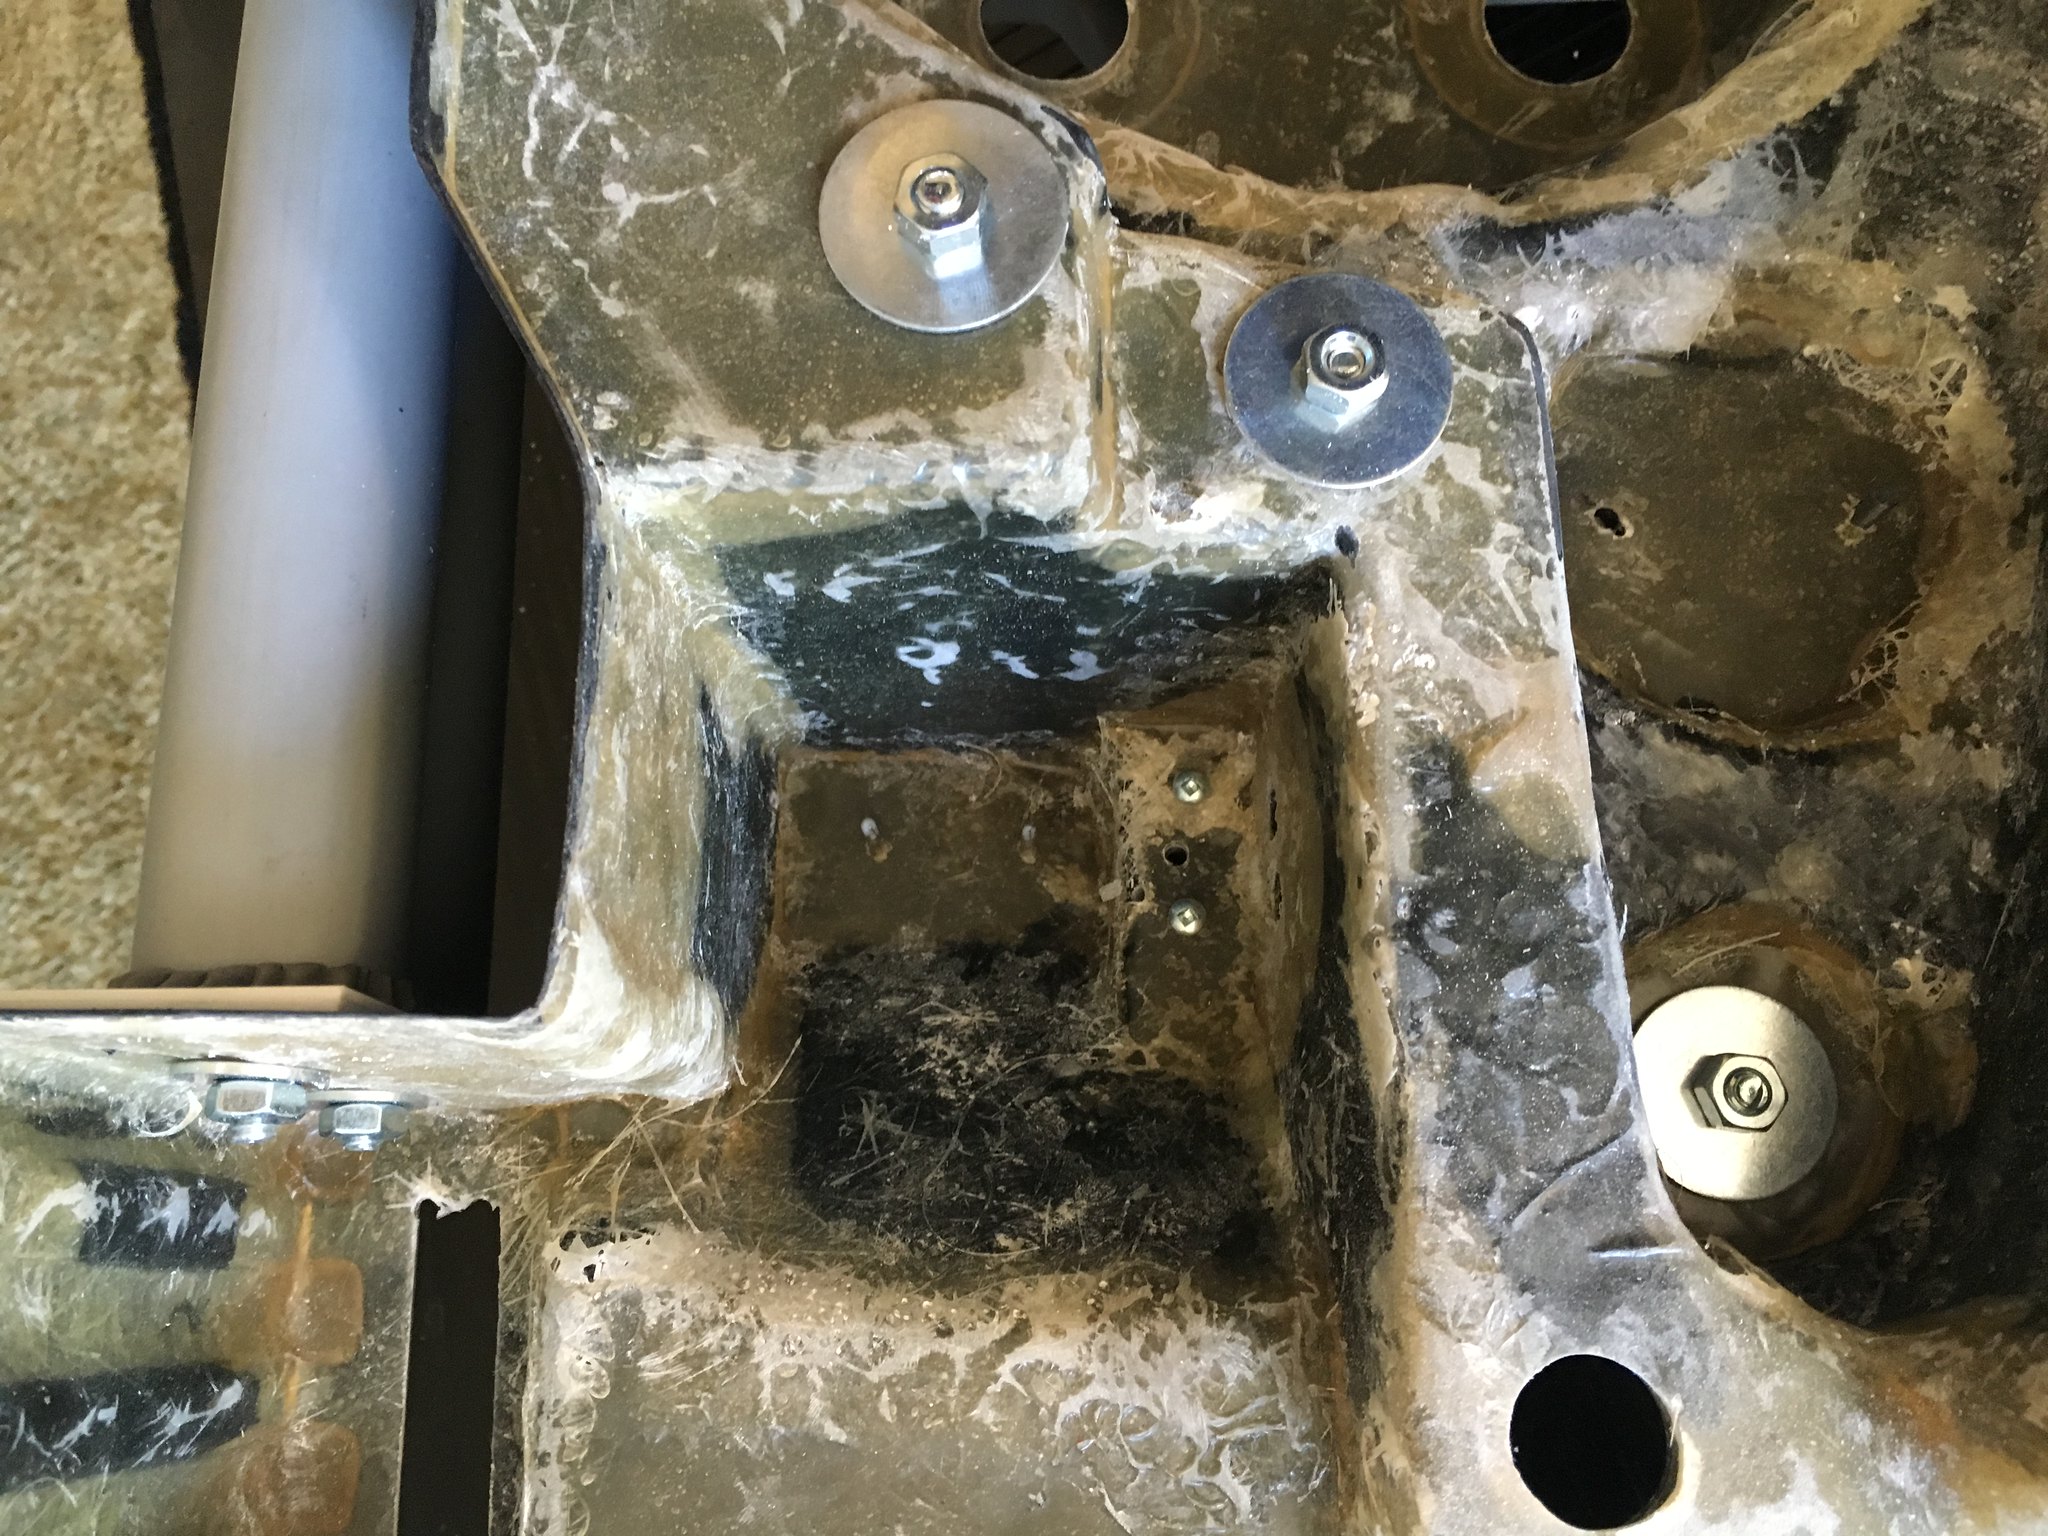
Inside the pack shell, you can see the retention bolts I used for the beam line, filler tube, etc. I am using fender washers for all the bolts. As well, you can critique my rather sloppy fibreglass job. :stuck_out_tongue:

imageProton Pack 2016 by Brett Watt, on Flickr

I used the rest of my Kydex sheet to make a fill piece for the rather nasty bit of vac-forming between the bottom and top halves of the shell. This is usually where the two shell halves joined up in earlier iterations of this shell set. I cut a paper template and trimmed until it fit nicely. That template was transferred to the Kydex ABS sheet, then cut out on a bandsaw. It was glued in using ABS plumbing cement. I used Ave’s Apoxie Sculpt to fill in the edges. It’s a 2-part putty epoxy that is also water-soluble when first mixed. The great thing about this is that you can wet your finger and just sort of texture, smooth, and even out the thickness and fill in any gap you need. It takes 24 hrs to cure up.

imageProton Pack 2016 by Brett Watt, on Flickr

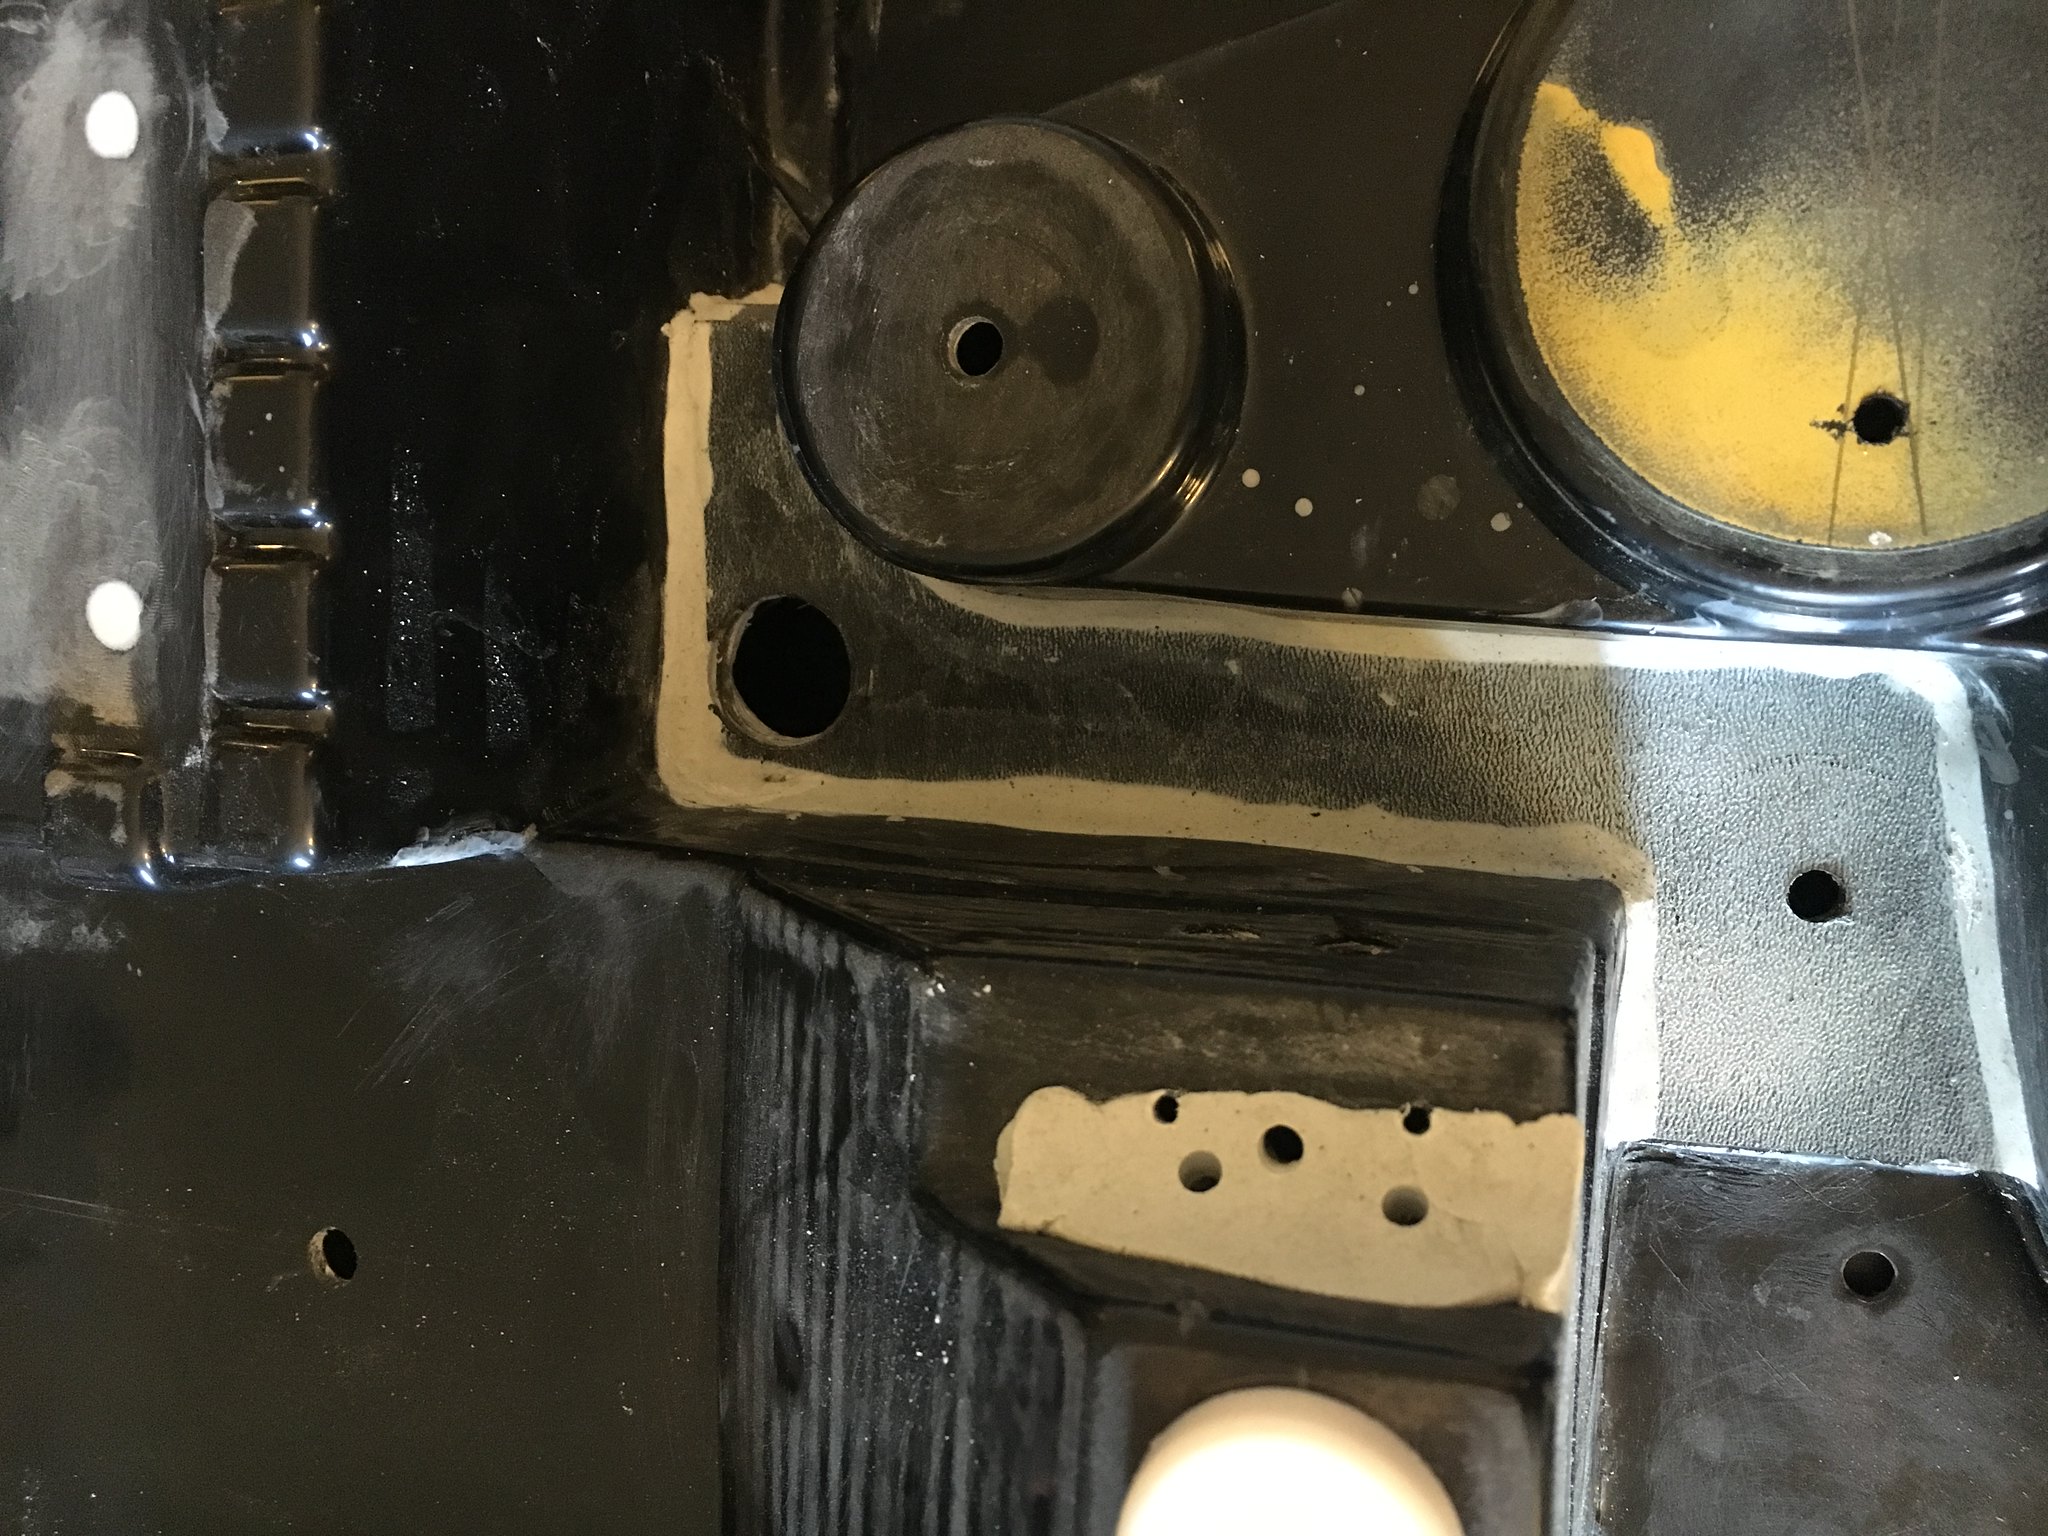
I used the leftover Apoxie Sculpt to back-fill the area behind the… PPD? I’m sure you recognize the part. This was one of the Hole-In-The-Ground resin castings I received. It’s perfectly fine, aside from the bubbles in the bottom. A little filling will take care of that, should I decide that it even needs fixing.

You can see the many pilot holes that I drilled through the epoxy. It took some experimenting to figure out the best way to attach this to the shell.

imageProton Pack 2016 by Brett Watt, on Flickr

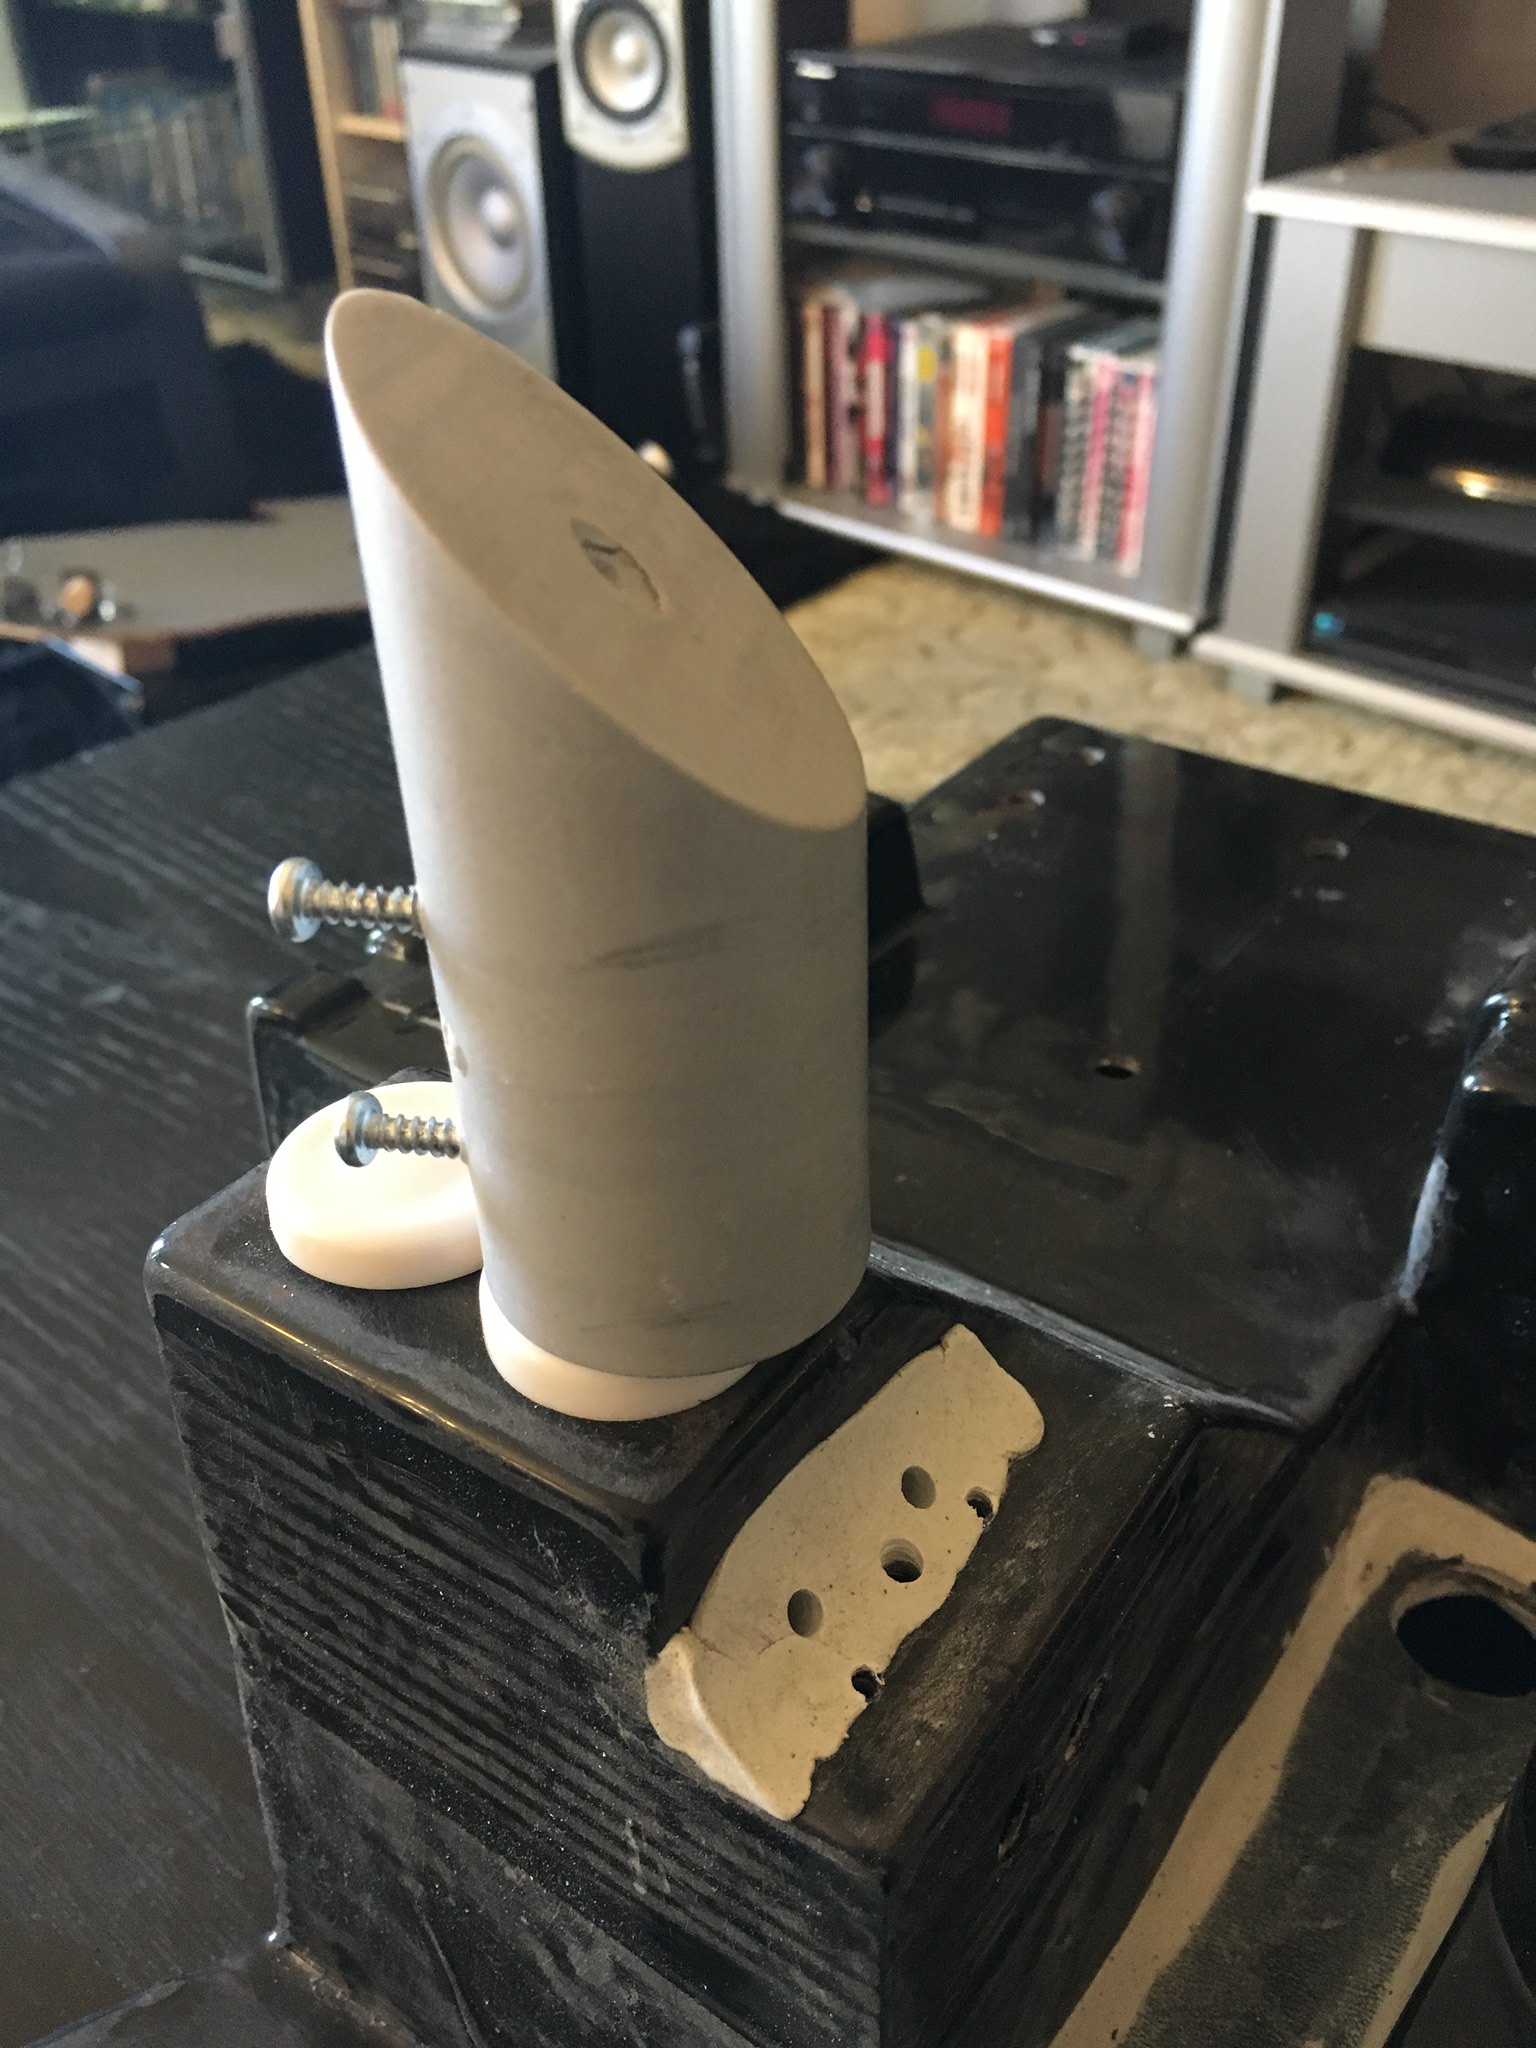
I found that angling the screw holes was terrible way to attach them. A straight-on drill and screw approach was the best way, given how deep and narrow this spot is. It’s a little tough to get a drill into this spot, if going from behind.

imageProton Pack 2016 by Brett Watt, on Flickr

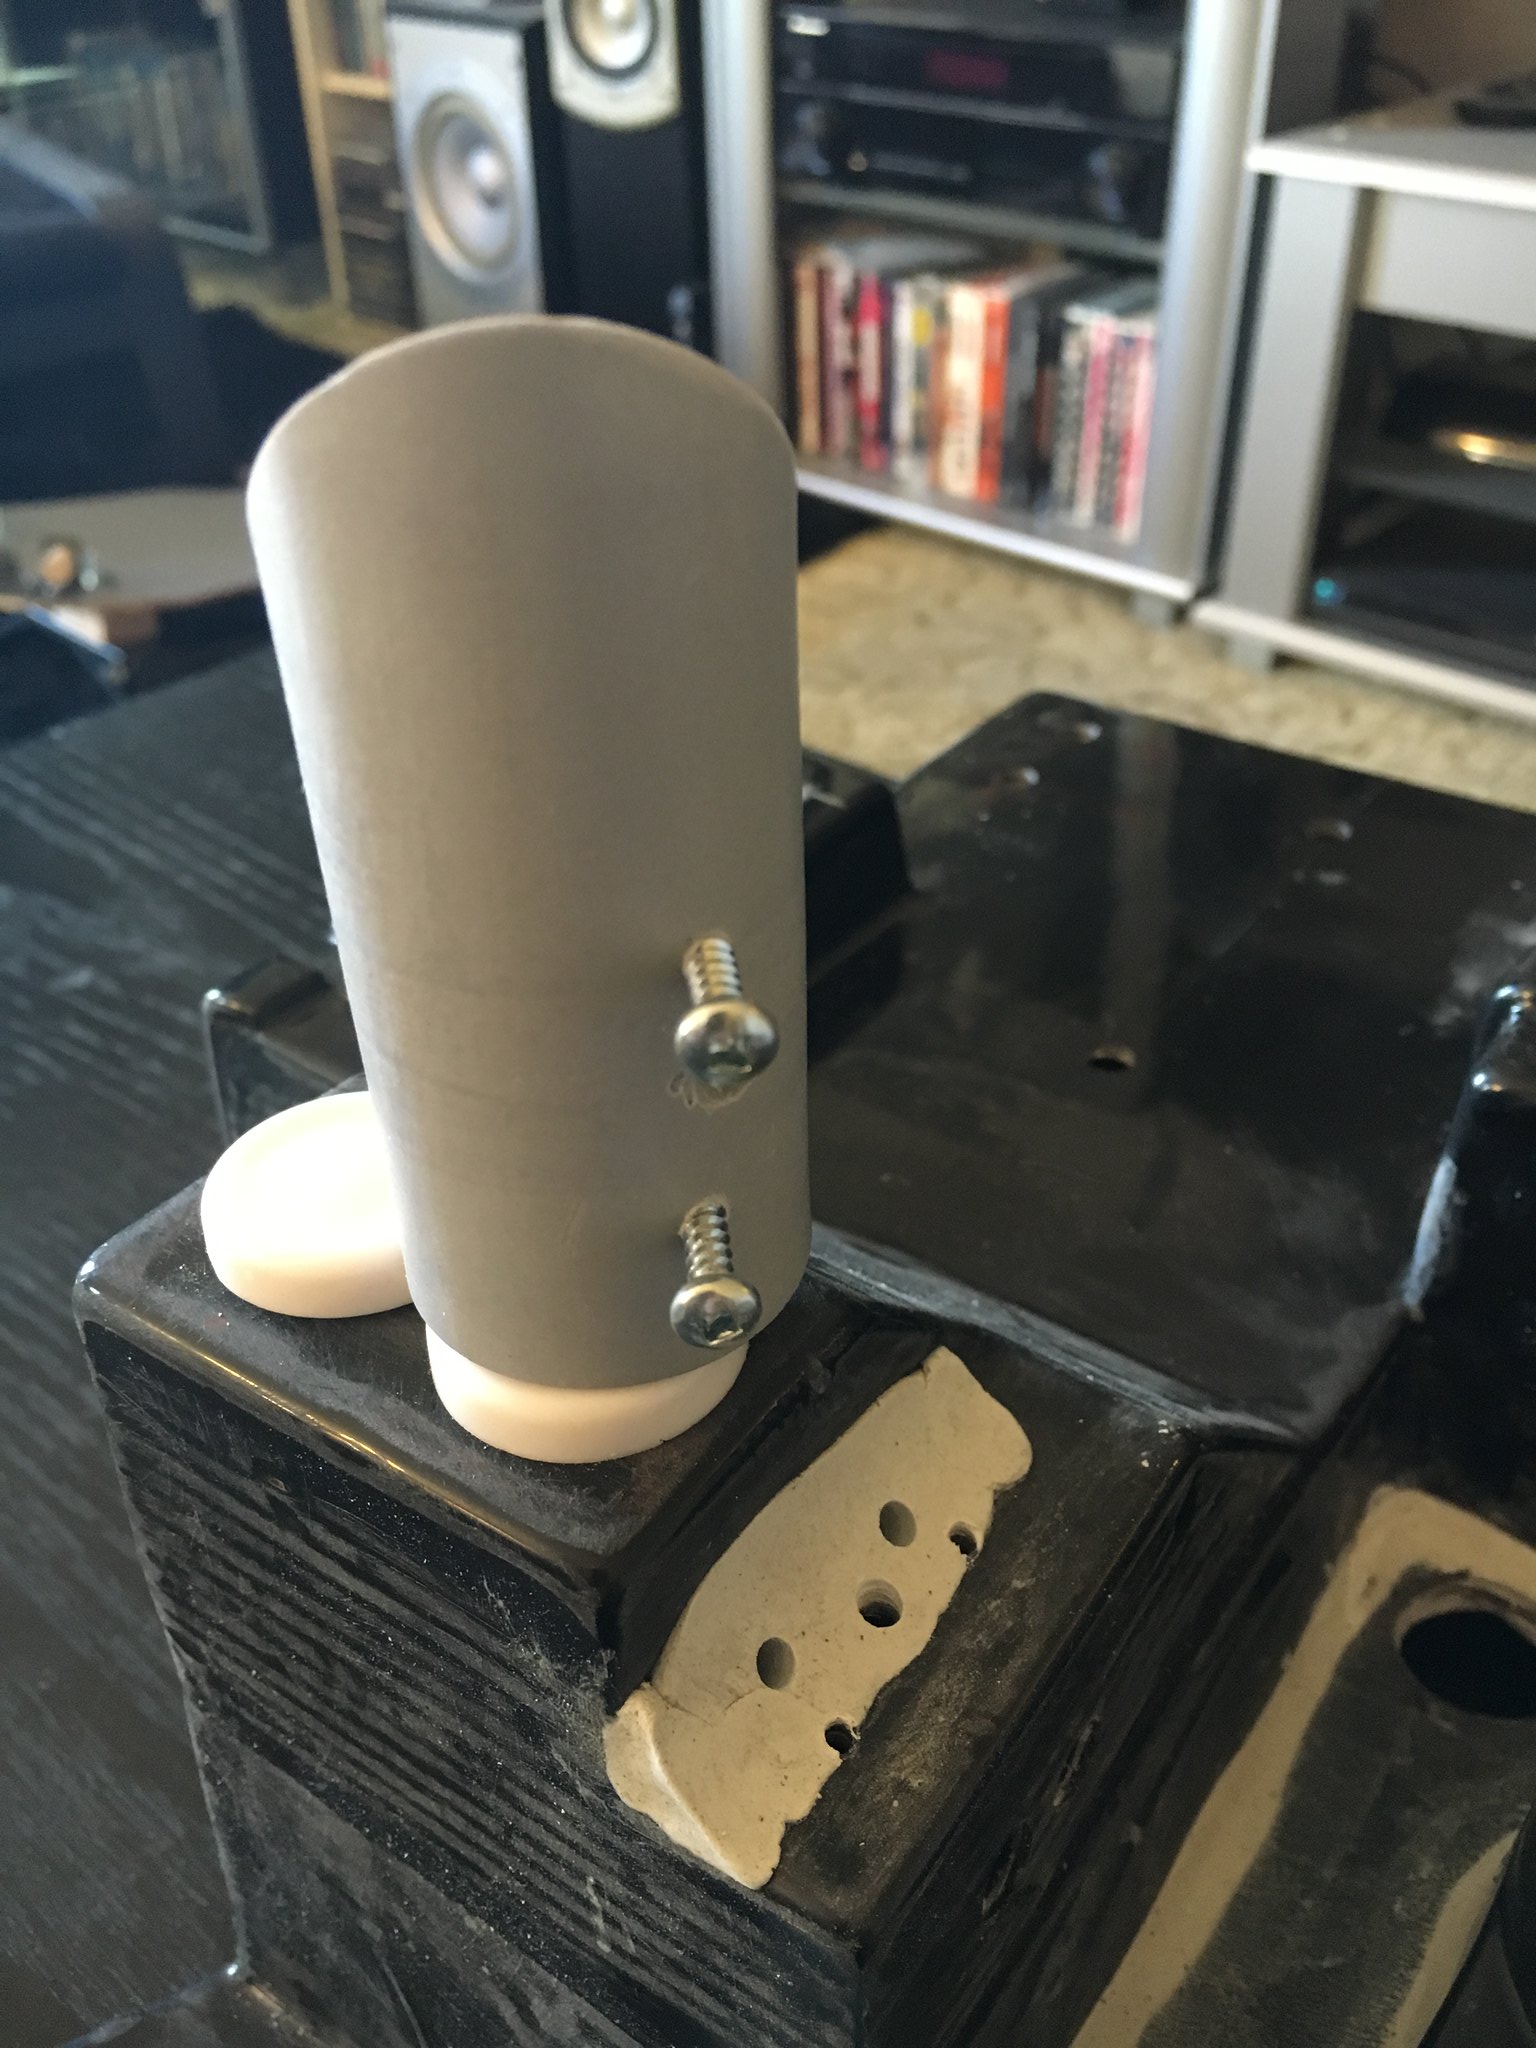
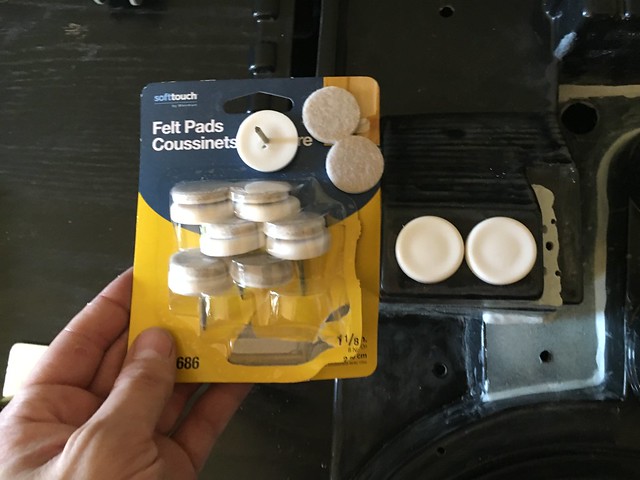
The discs at the bottom of the PPD/Booster stack are protective furniture feet replacements. These were found at Lowe’s. I of course elected not to attach the felt pads. These have a protruding nail. I drilled holes for the nails on the back of the pads, then I used 5 minute epoxy to attach it all in.

imageProton Pack 2016 by Brett Watt, on Flickr

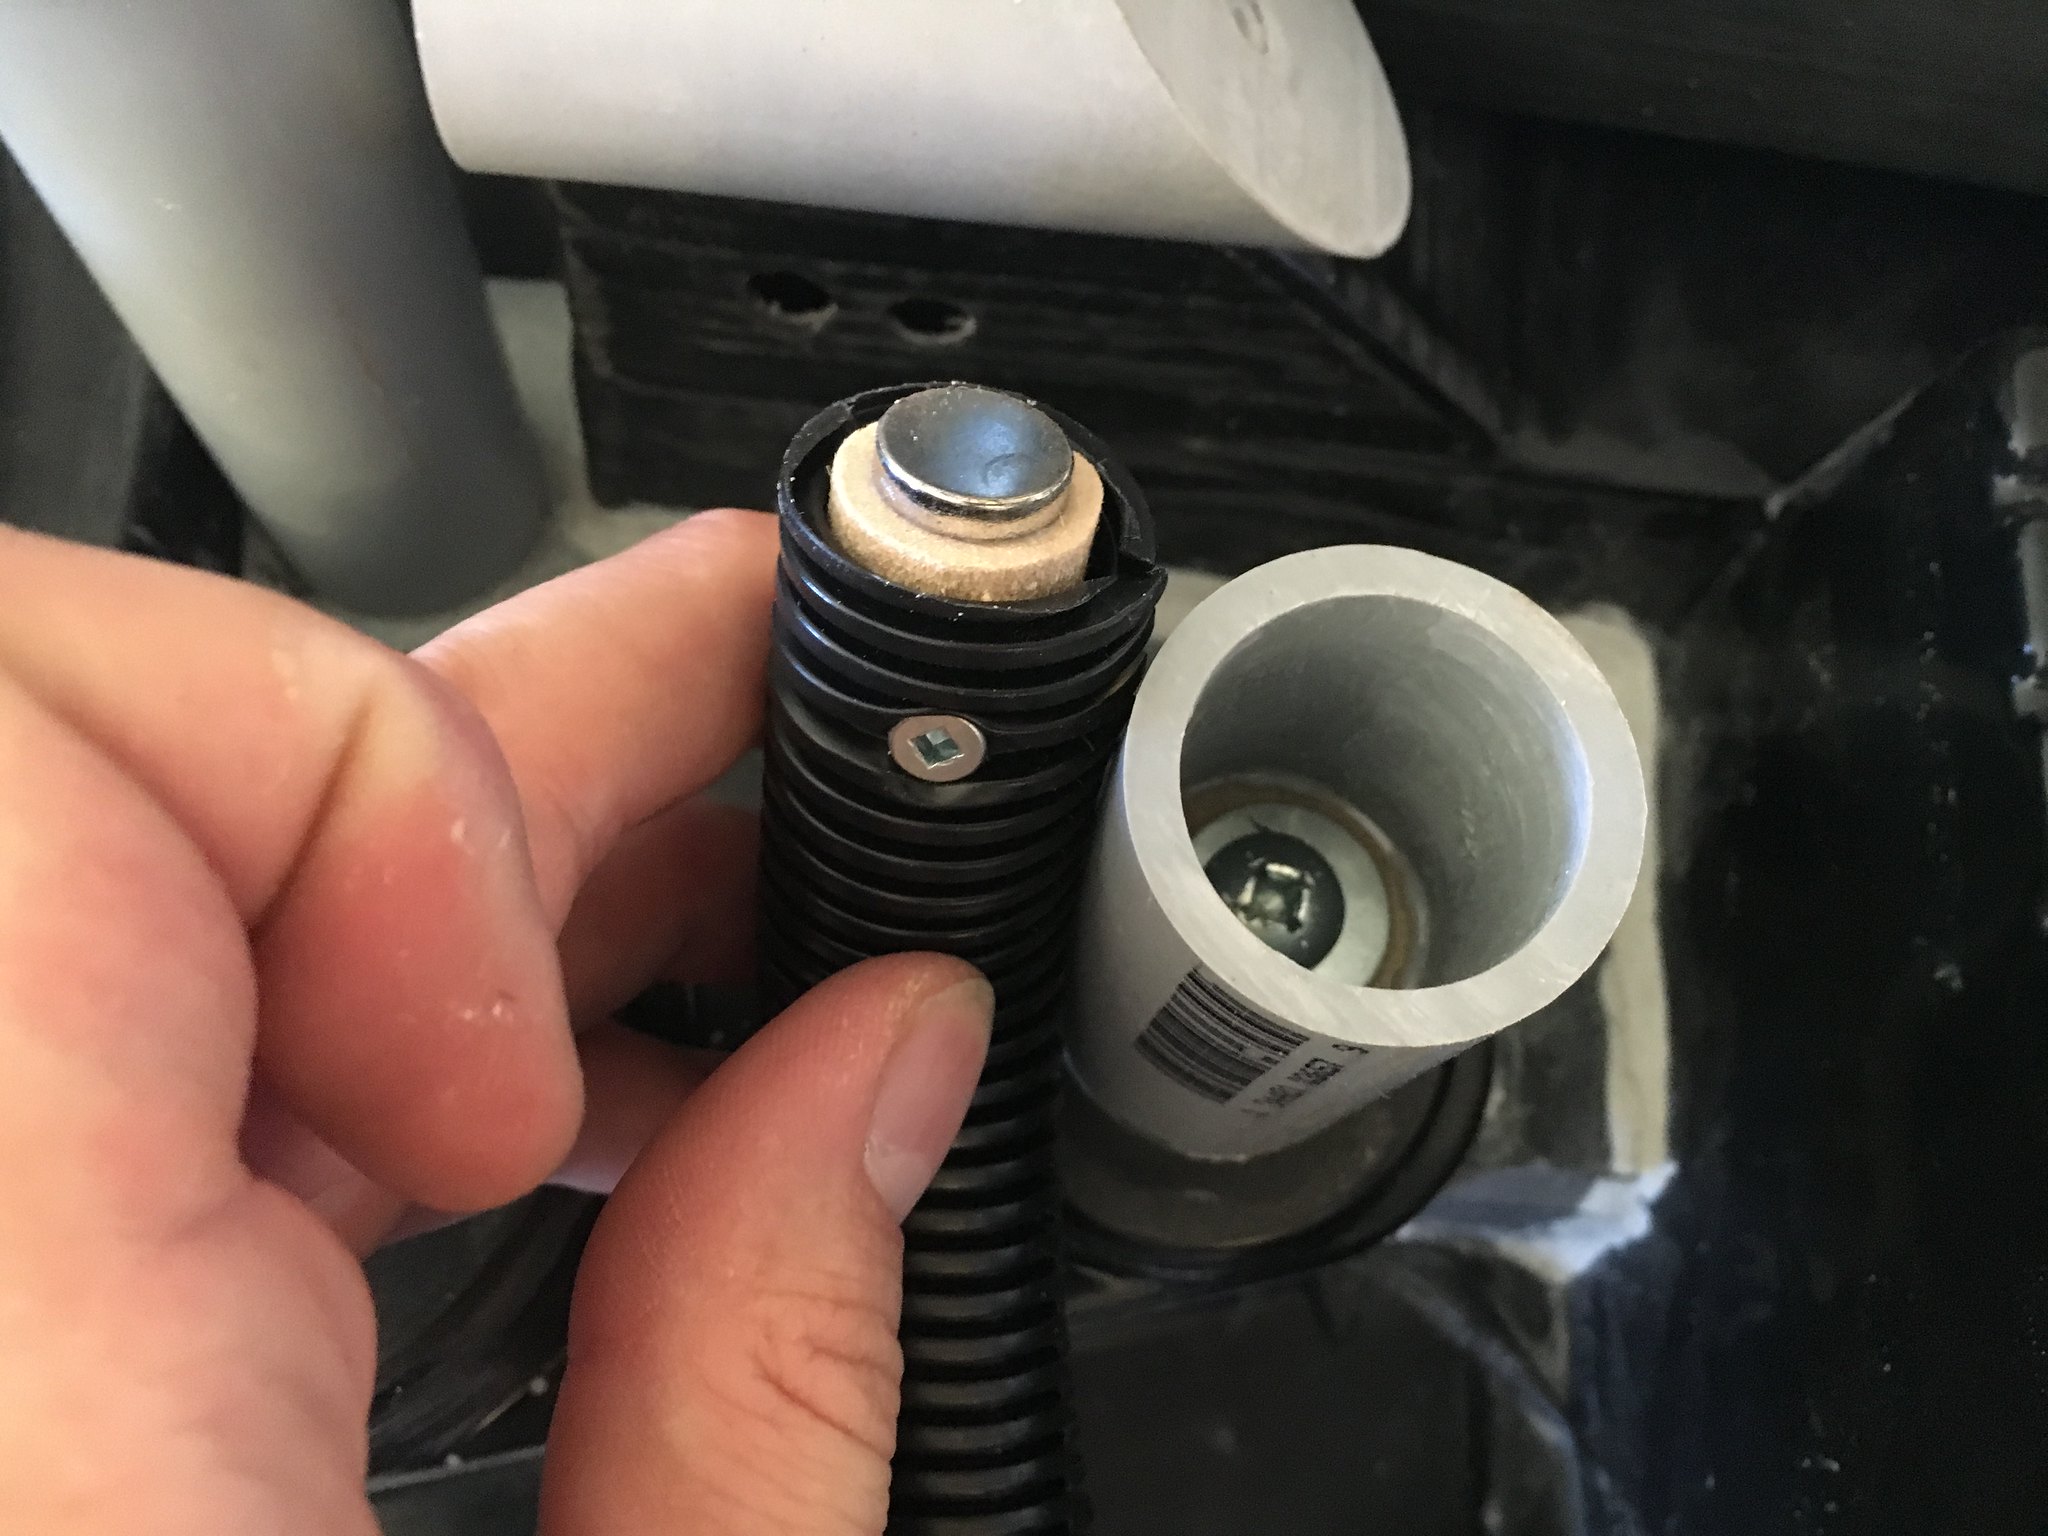
To install the vacuum hose, I used a magnet-to-steel attachment method. I sanded one side of a couple rare-earth magnets and epoxied them to some 3/4" dowel, cut to about 1" long. This will be attached inside the 3/4" wire loom. For the vacuum hose attachment at the top of the synchronous generator, it is attached to the shell via a steel bolt. The rare earth magnet makes pretty solid connection to the bolt. As for the crankcase, the hole was drilled out with a 1/2" bit, then sanded out to a 7/8" diameter with a rotary sanding drum on a Dremel.

imageProton Pack 2016 by Brett Watt, on Flickr

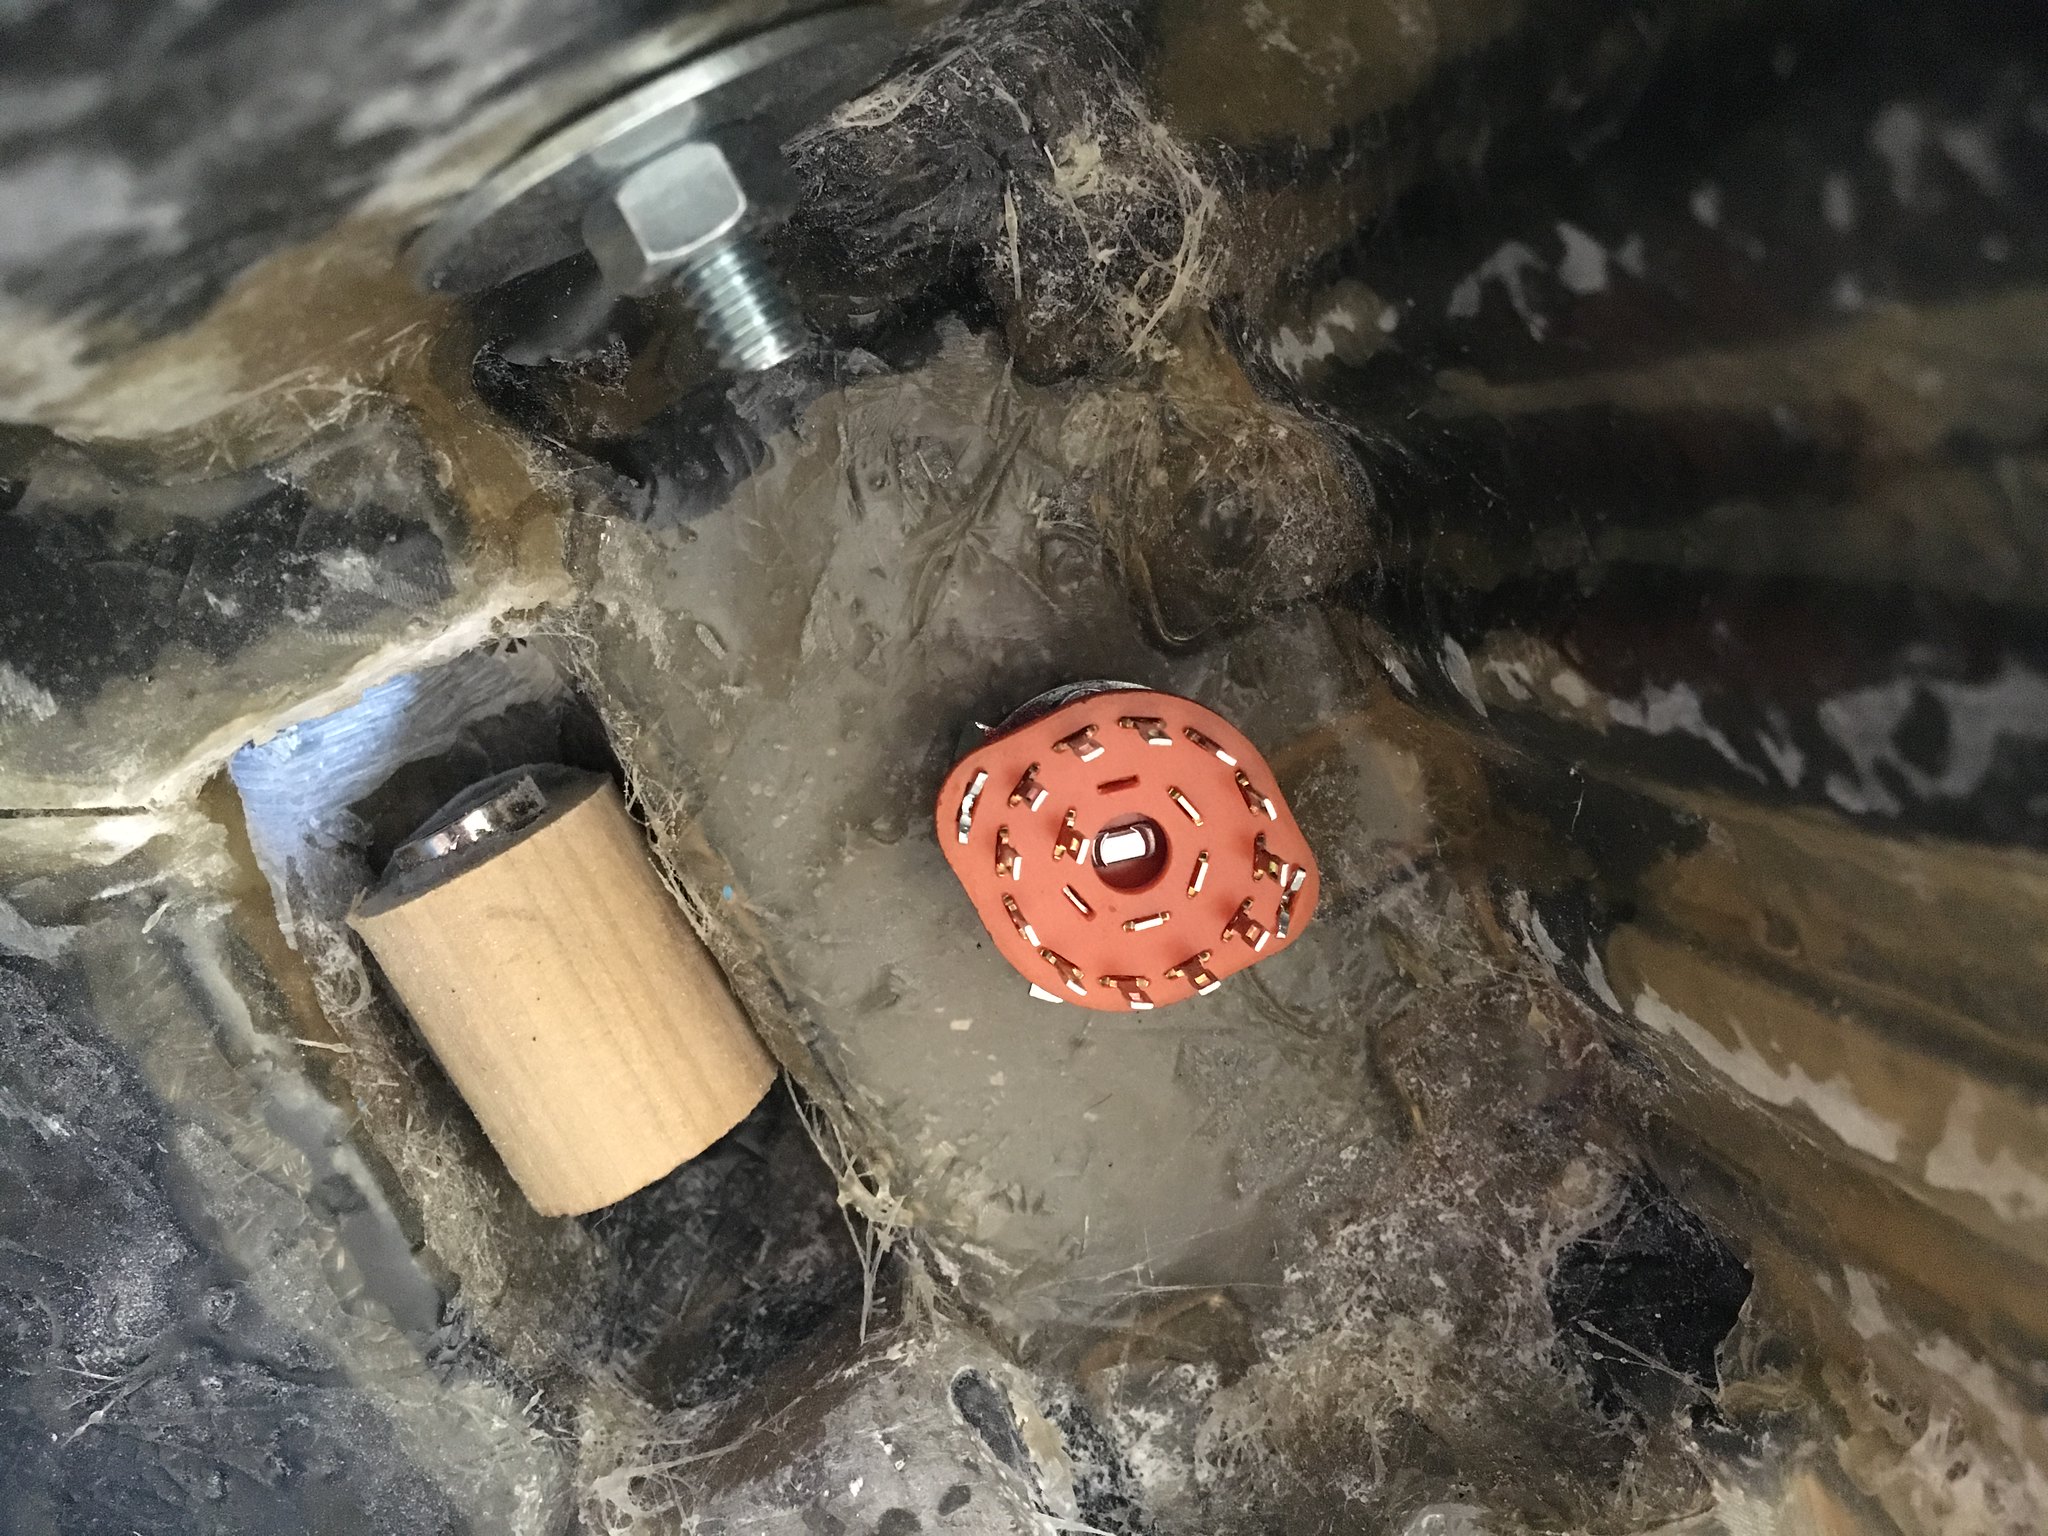
In side the crankcase, I epoxied another rare earth magnet to a piece of 1" dowel This was epoxied to the inside shell with some plumbing putty. I used a 3/4" dowel plug, cut to a 1’ length to attach a corresponding metal end to the wire loom. I screwed in a large diameter deck screw that would mate nicely with the rare earth magnet inside the crankcase.

In the above picture, you can also see the potentiometer I attached my crankcase Raytheon handle to. The Hole-In-The-Ground casting of the handle has recesses for set screws to attach it to some sort of post. I chose a rotary switch, as opposed to a potentiometer. The switch has an audible and sensory ‘click’ every time it rotates. As well, it has no ‘stop’ or end to the rotation. It can rotate as many times as it wants, in either direction.

I drilled out the inside of the handle for the potentiometer post. I also drilled out and tapped for two small hex set-screws that would thread nicely into the crankcase handle.

Sorry, no photo of this. Flickr is not cooperating right now.

imageProton Pack 2016 by Brett Watt, on Flickr

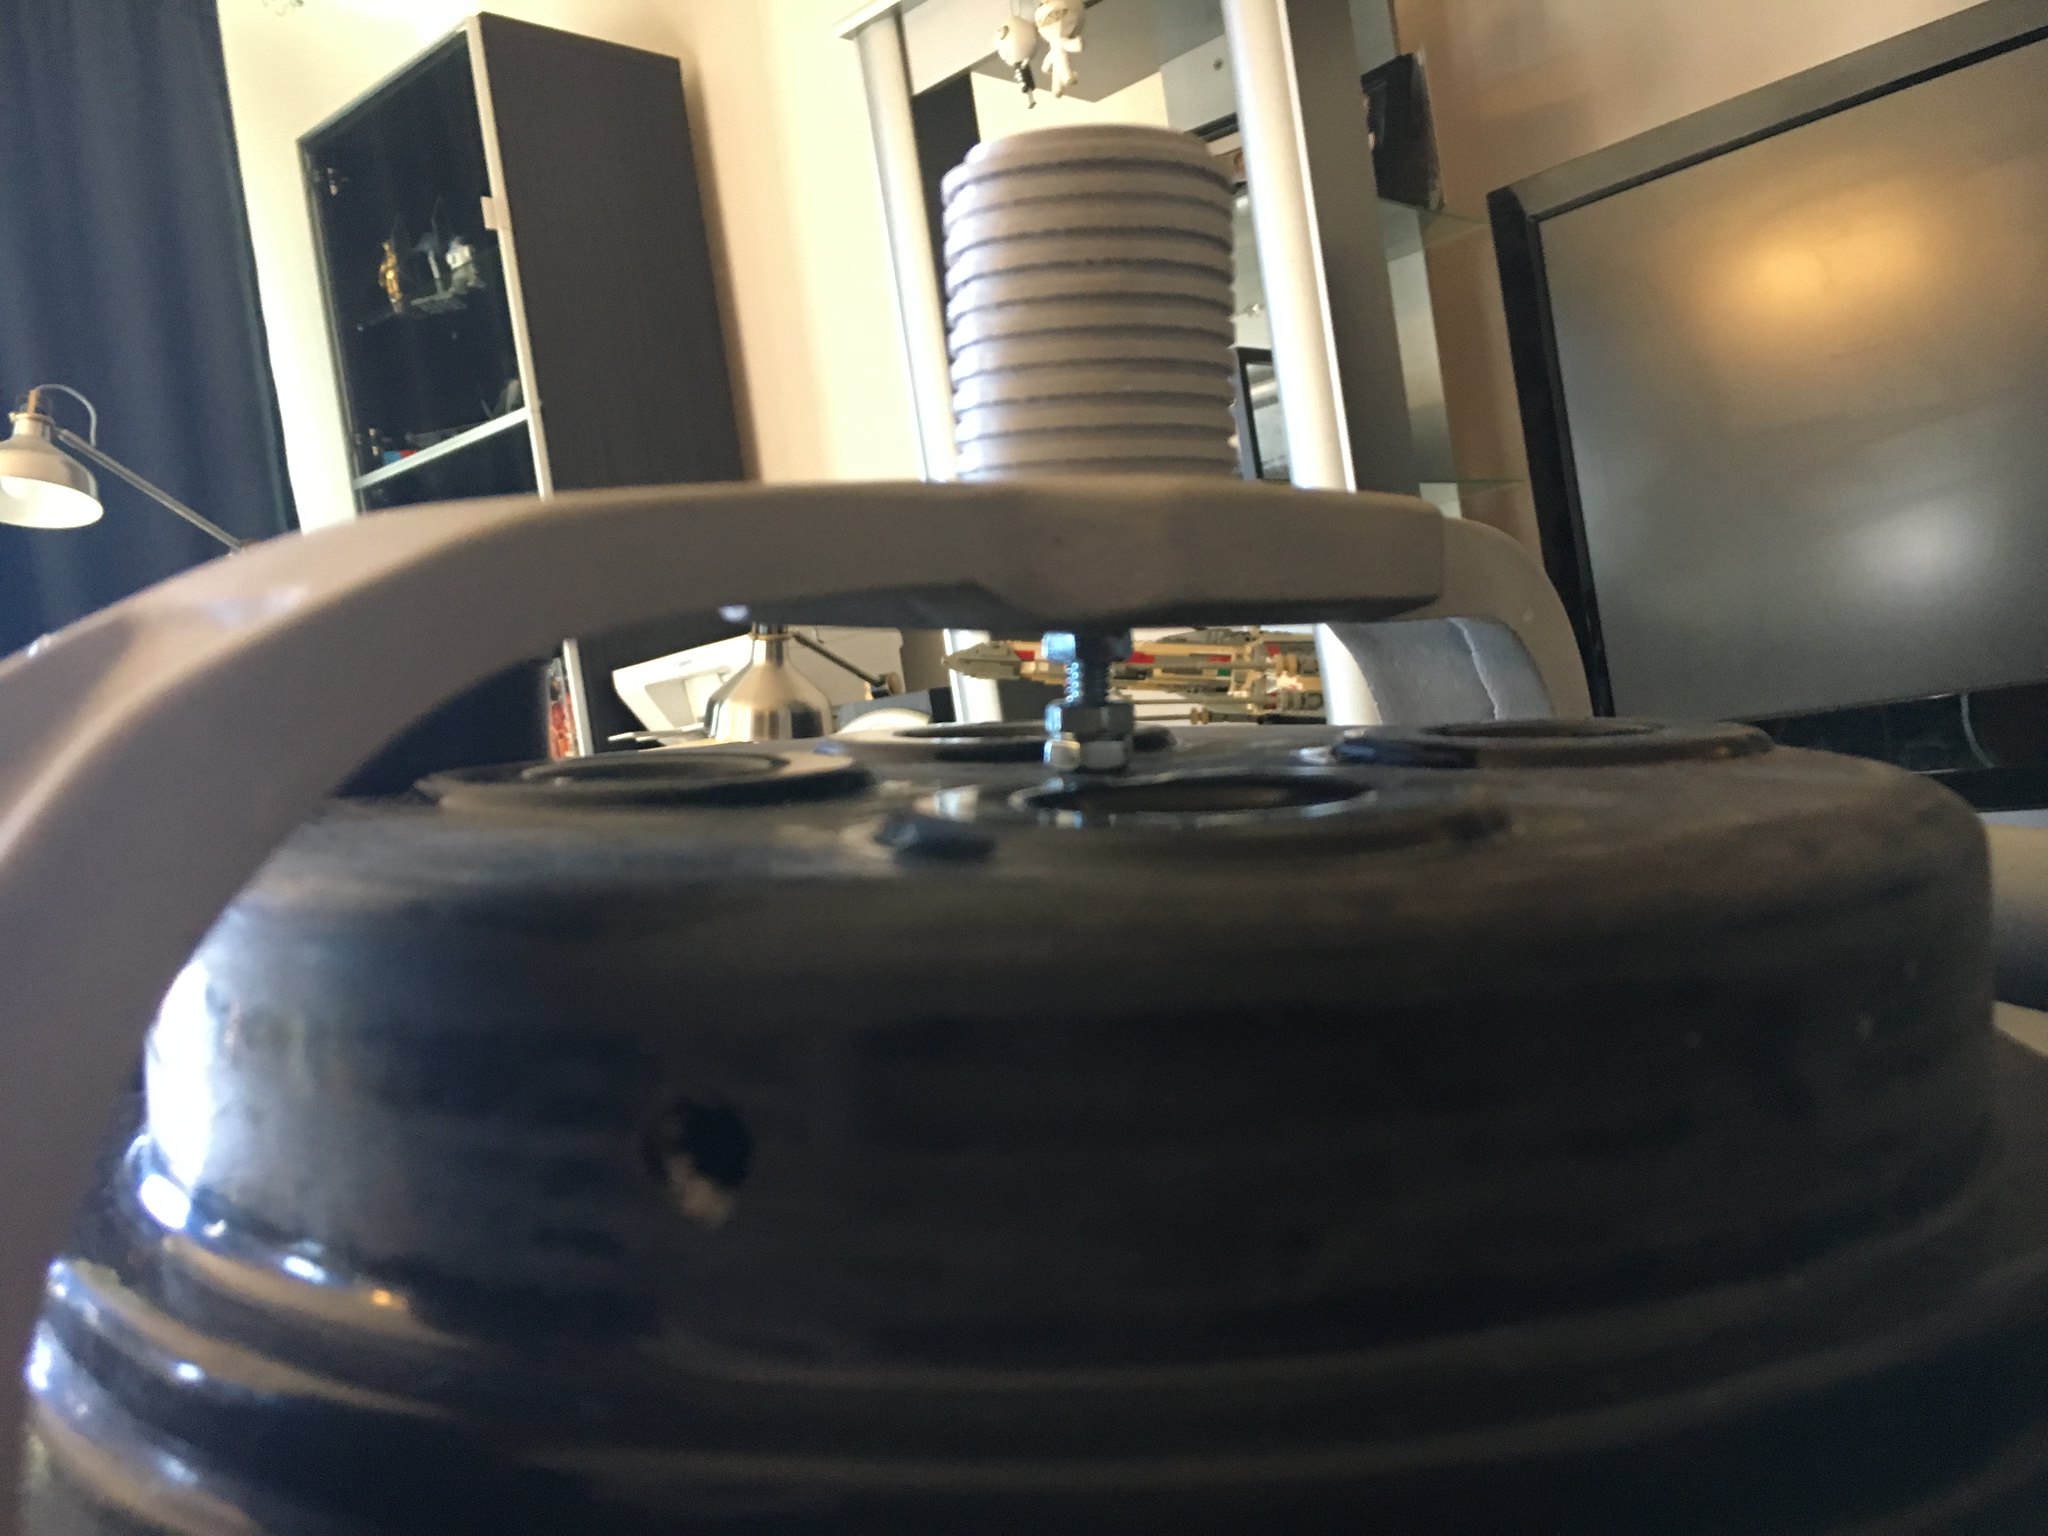
I used a 4" carriage bolt to attach the bumper bellows to the bumper. I used a few bolts to create a 3/4" spacing between the bumper and the cyclotron body.

imageProton Pack 2016 by Brett Watt, on Flickr

I then drilled out the location on top of the cyclotron for said carriage bolt from the bumper.

imageProton Pack 2016 by Brett Watt, on Flickr

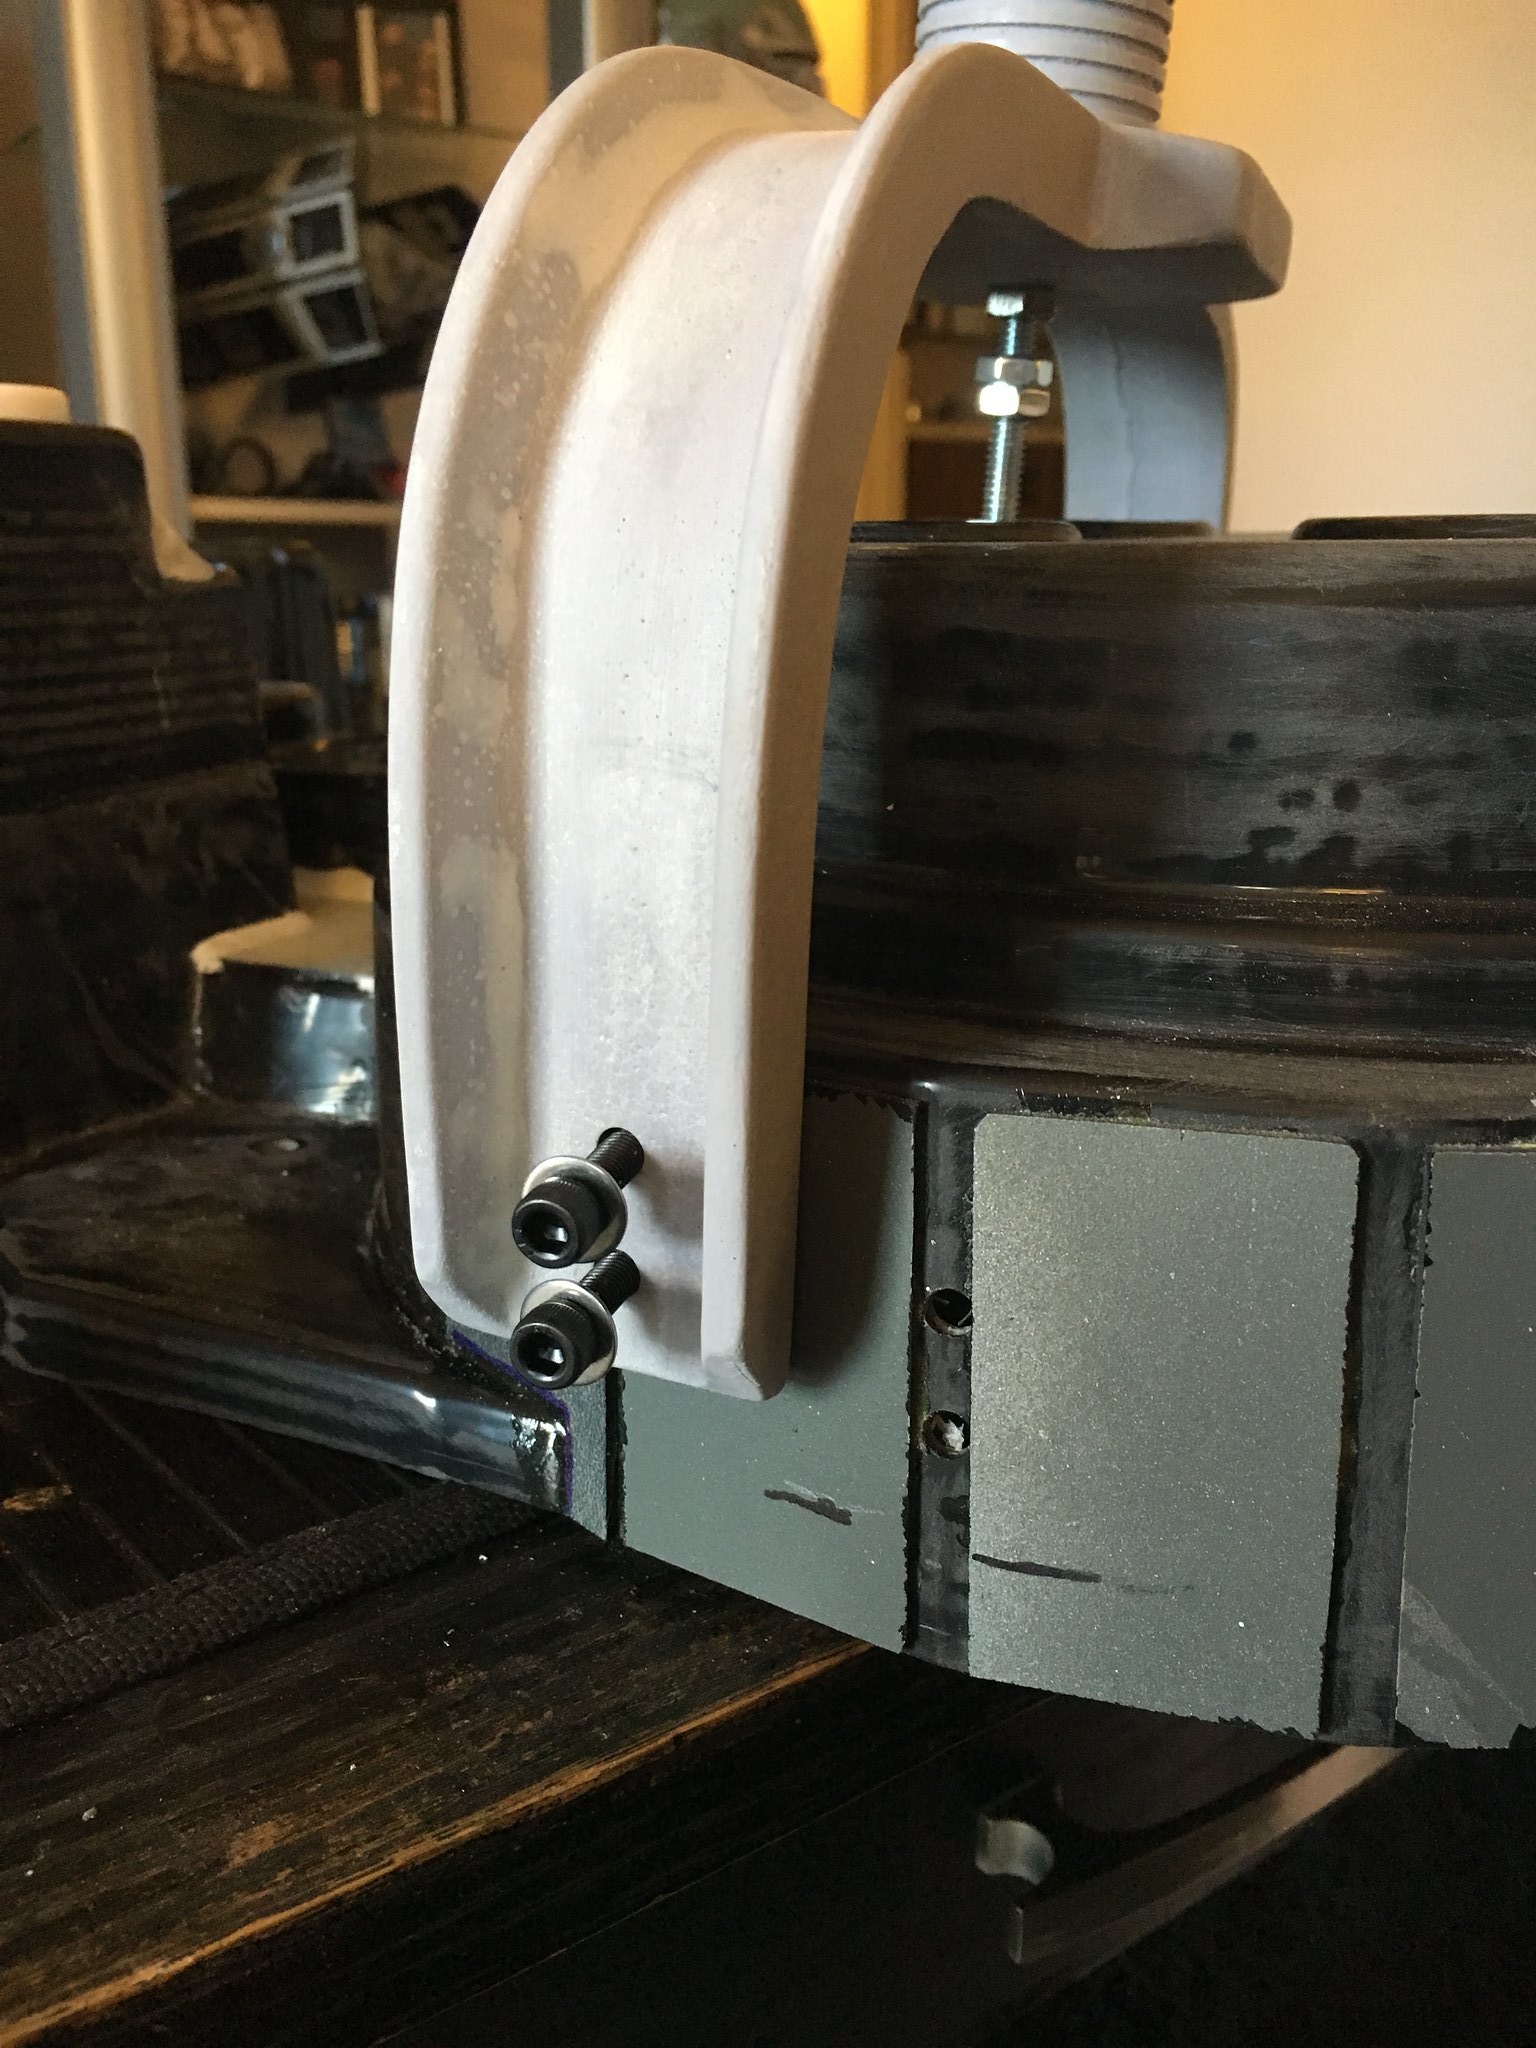
Once the height of the bumper was set, I measured both sides of the cyclotron and the resulting overhang of the bumper side arms. I determined that the bumper arms should be 5/8" above the edge of the bottom of the shell when evenly hung. The bumper arms are bolted through the shell between the synchronous generator plates with 8-32 socket cap screws, 3/4" long. I used washers on either side of each screw.

imageProton Pack 2016 by Brett Watt, on Flickr

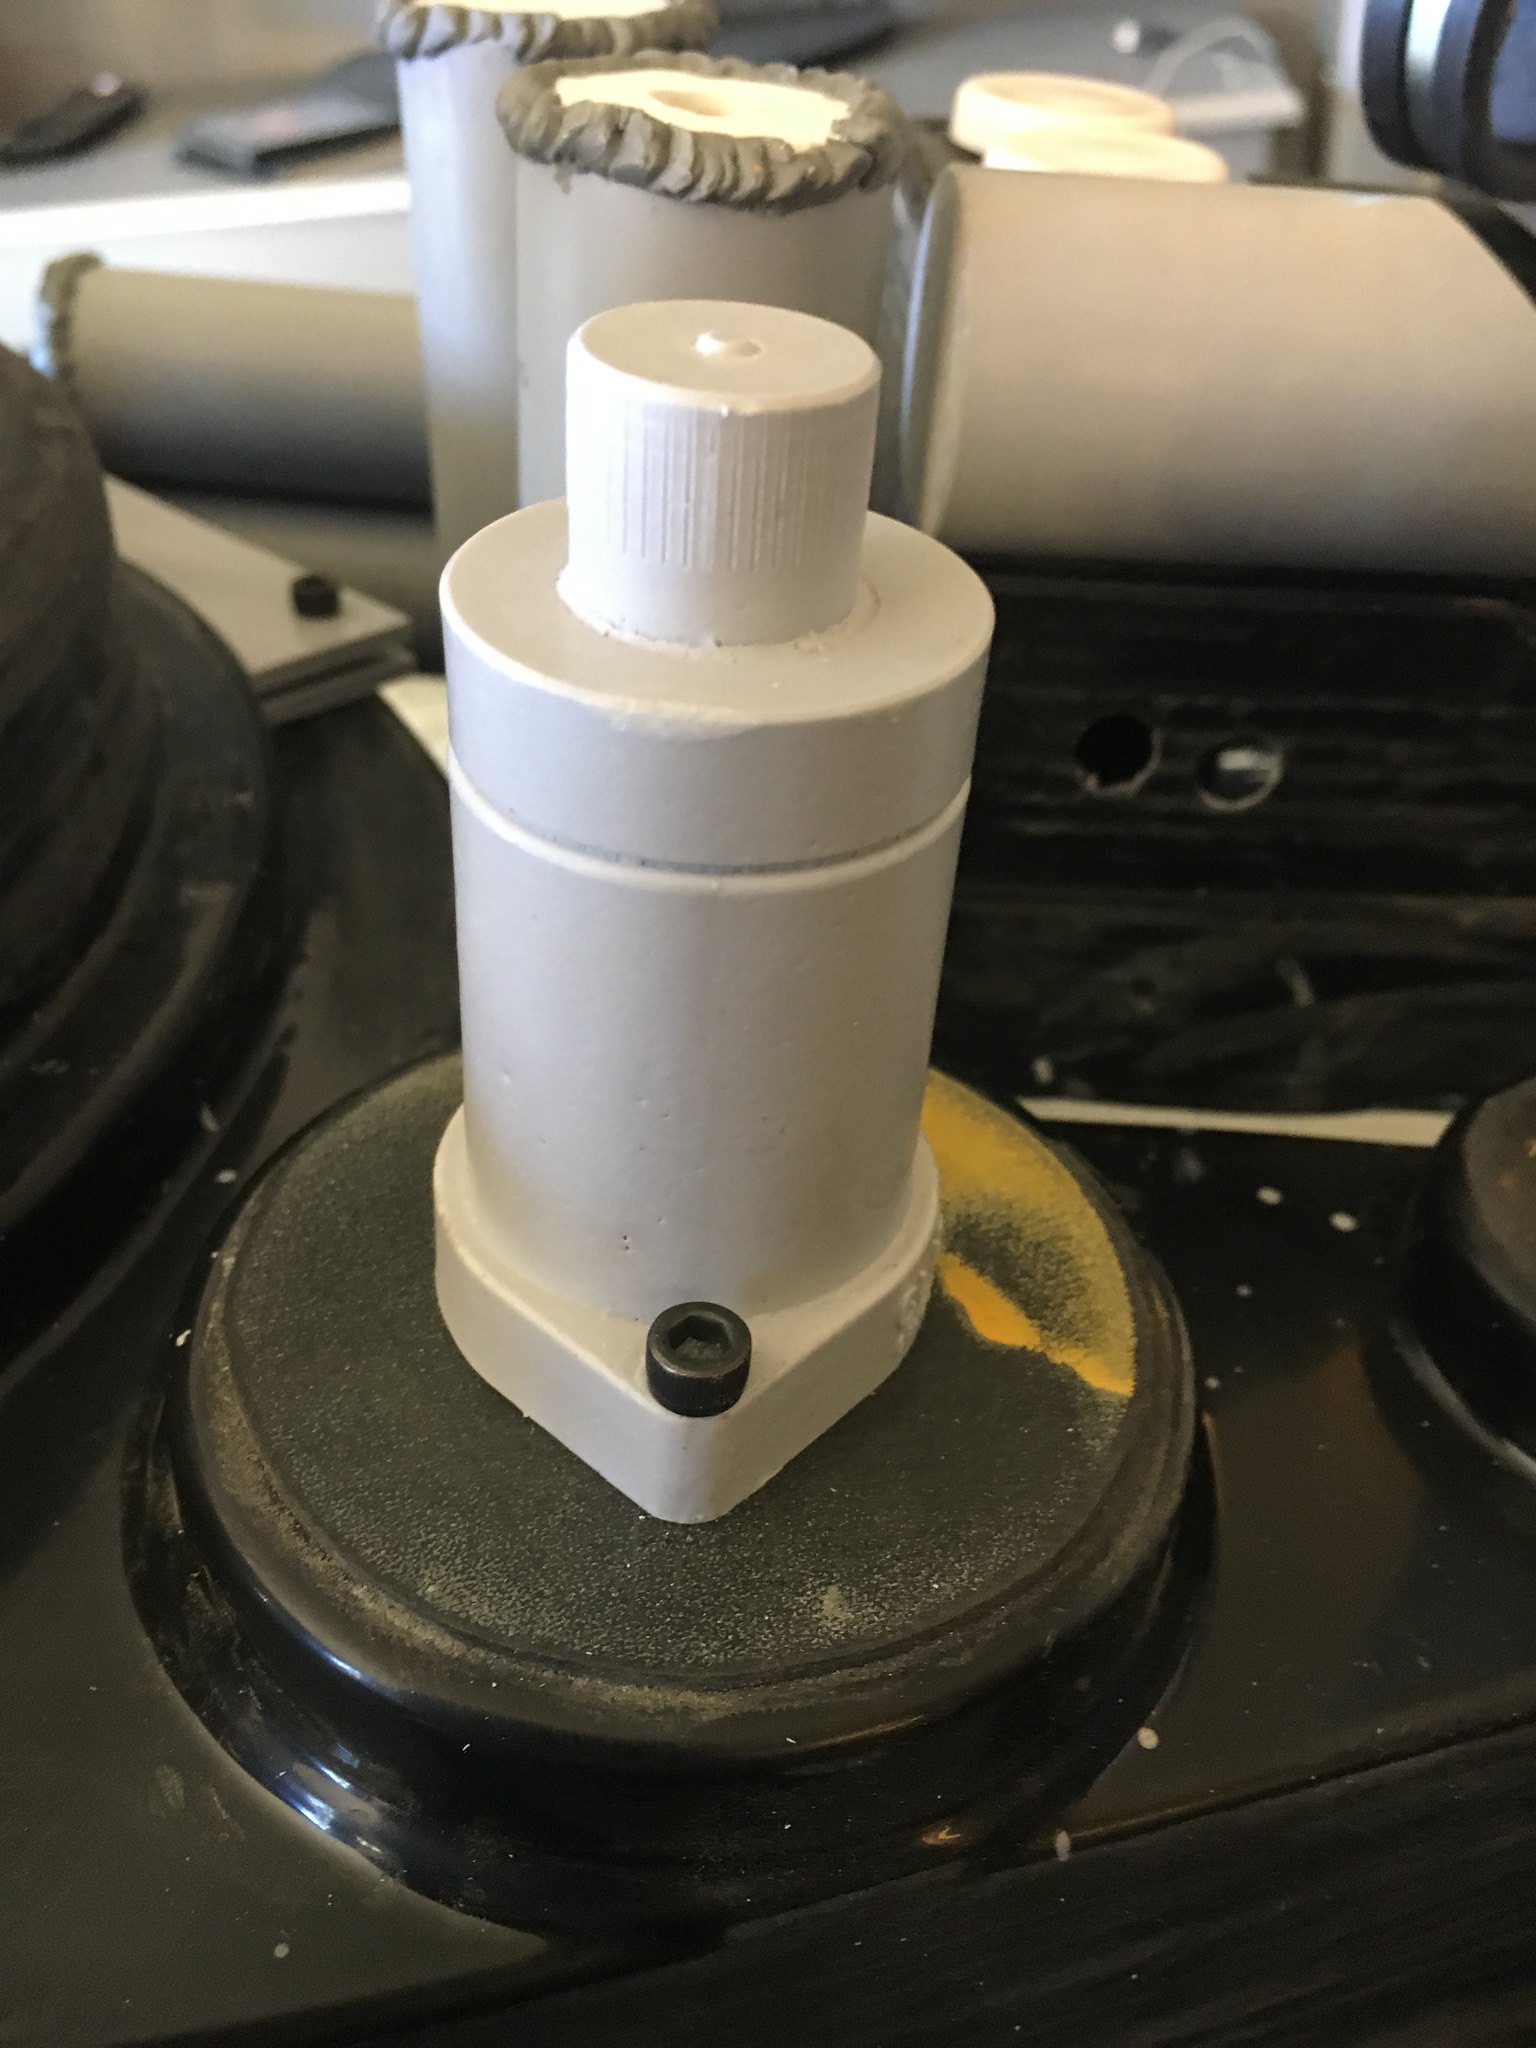
I cut out a 2-3/4" diameter circle out of the Kydex ABS plate. This is the base for the Clippard pedestal. The SC shell doesn’t really have a nice, well-defined circular base, it’s quite soft. This detail plate , used to add a little texture & detail to this area, was cemented in place with ABS plumbing cement. The Clippard replica from the Hole-In-The-Ground Props kit had me drill out its screw posts, and 8-32 socket cap screws were tapped into the base to screw down the Clippard replica. I’ll be drilling these out just a little more, and I’ll use bolts on the inside of the shell to hold down the Clippard replica.

imageProton Pack 2016 by Brett Watt, on Flickr

I used a little lumber and epoxy to glue in a base for the top of the PPD Booster Tube. The top can then be glued in. Instead, I intend to use some Blu-Tac to hold the booster cap in for the time being. As well, that is why I have no current intention to epoxy in weld beads around the booster and PPD. I want to be able to disassemble and re-build the pack should I purchase or upgrade parts.

imageProton Pack 2016 by Brett Watt, on Flickr

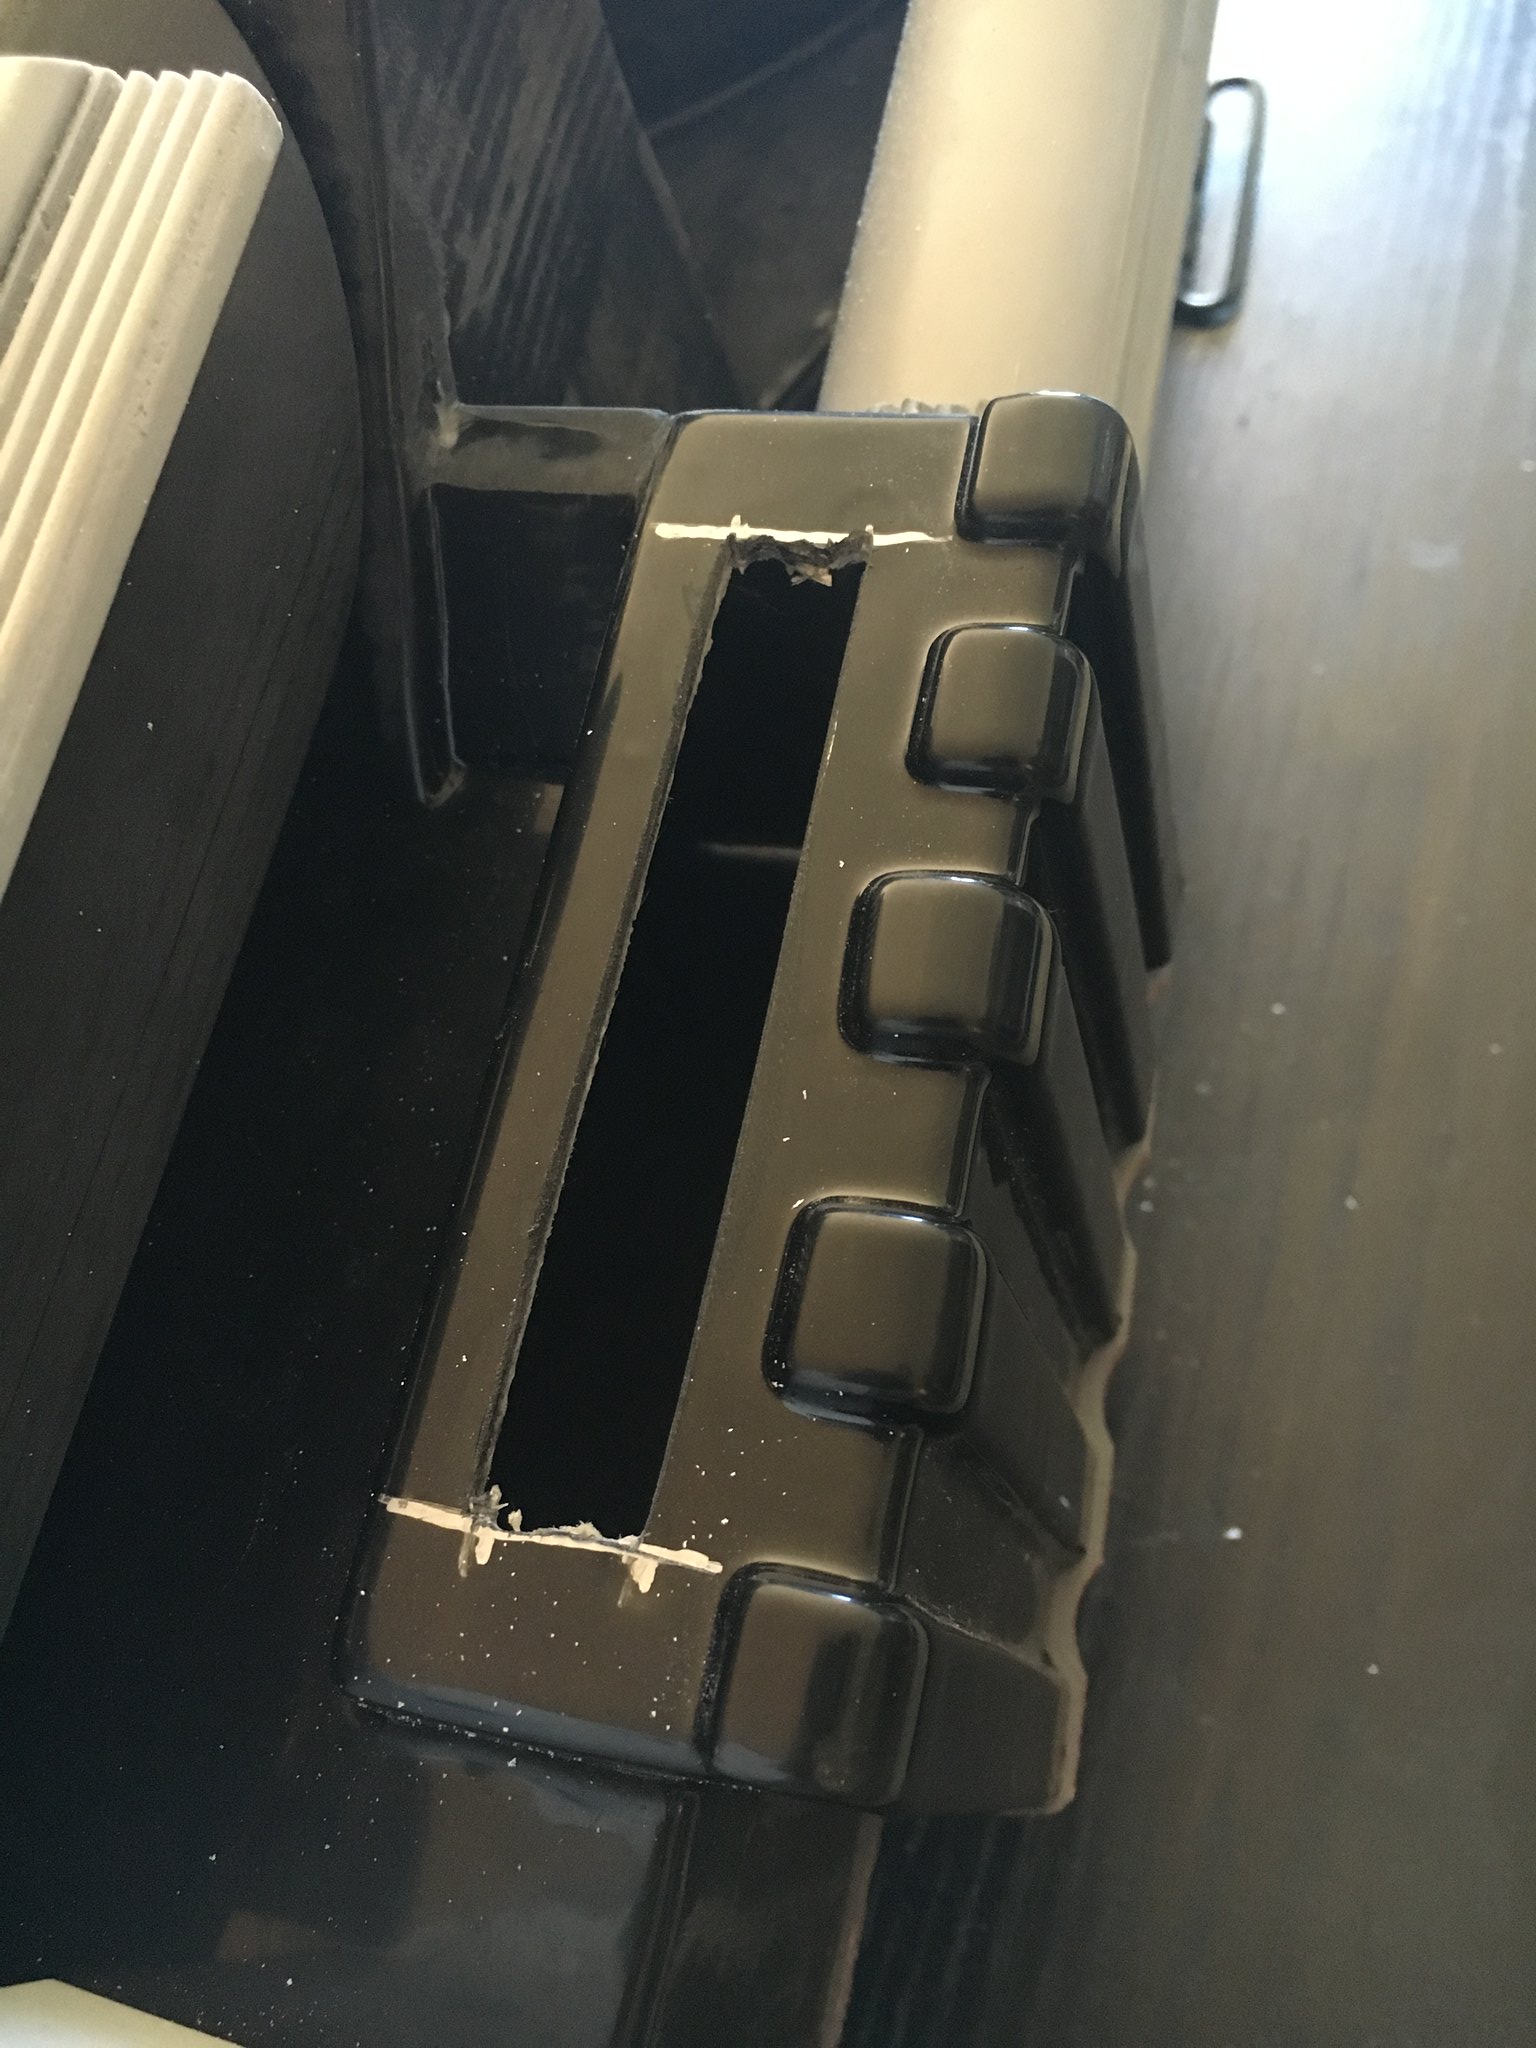
I used a Dremel Multi-Max saw to cut out the sides of the Power Cell indicator light. I just drilled out the top and bottom bits for now. I will file and sand out the top & bottom until they are flush.

imageProton Pack 2016 by Brett Watt, on Flickr

I only have a couple things left to assemble, drill out, and tap before the entire pack is ready for paint. The Legris Elbows from the Hole-In-The-Ground kit require some filling before they are ready for use.

I also need to fit some bits for the resistors on the ion arm to screw into. I need to attach the cover plate for the ion arm as well.

Wow! Amazing work! I love the precision of your build, and it’s always great to see a fellow Canadian on these boards! I hear you about getting whomped by the exchange rate between currencies - yikes! Can’t wait to see your pack and wand finished!

Awesome work so far. Loving it

Looks great! More please!

Looks amazing ! Great to see another one piece shell being built ( building mine now ) - great work !!

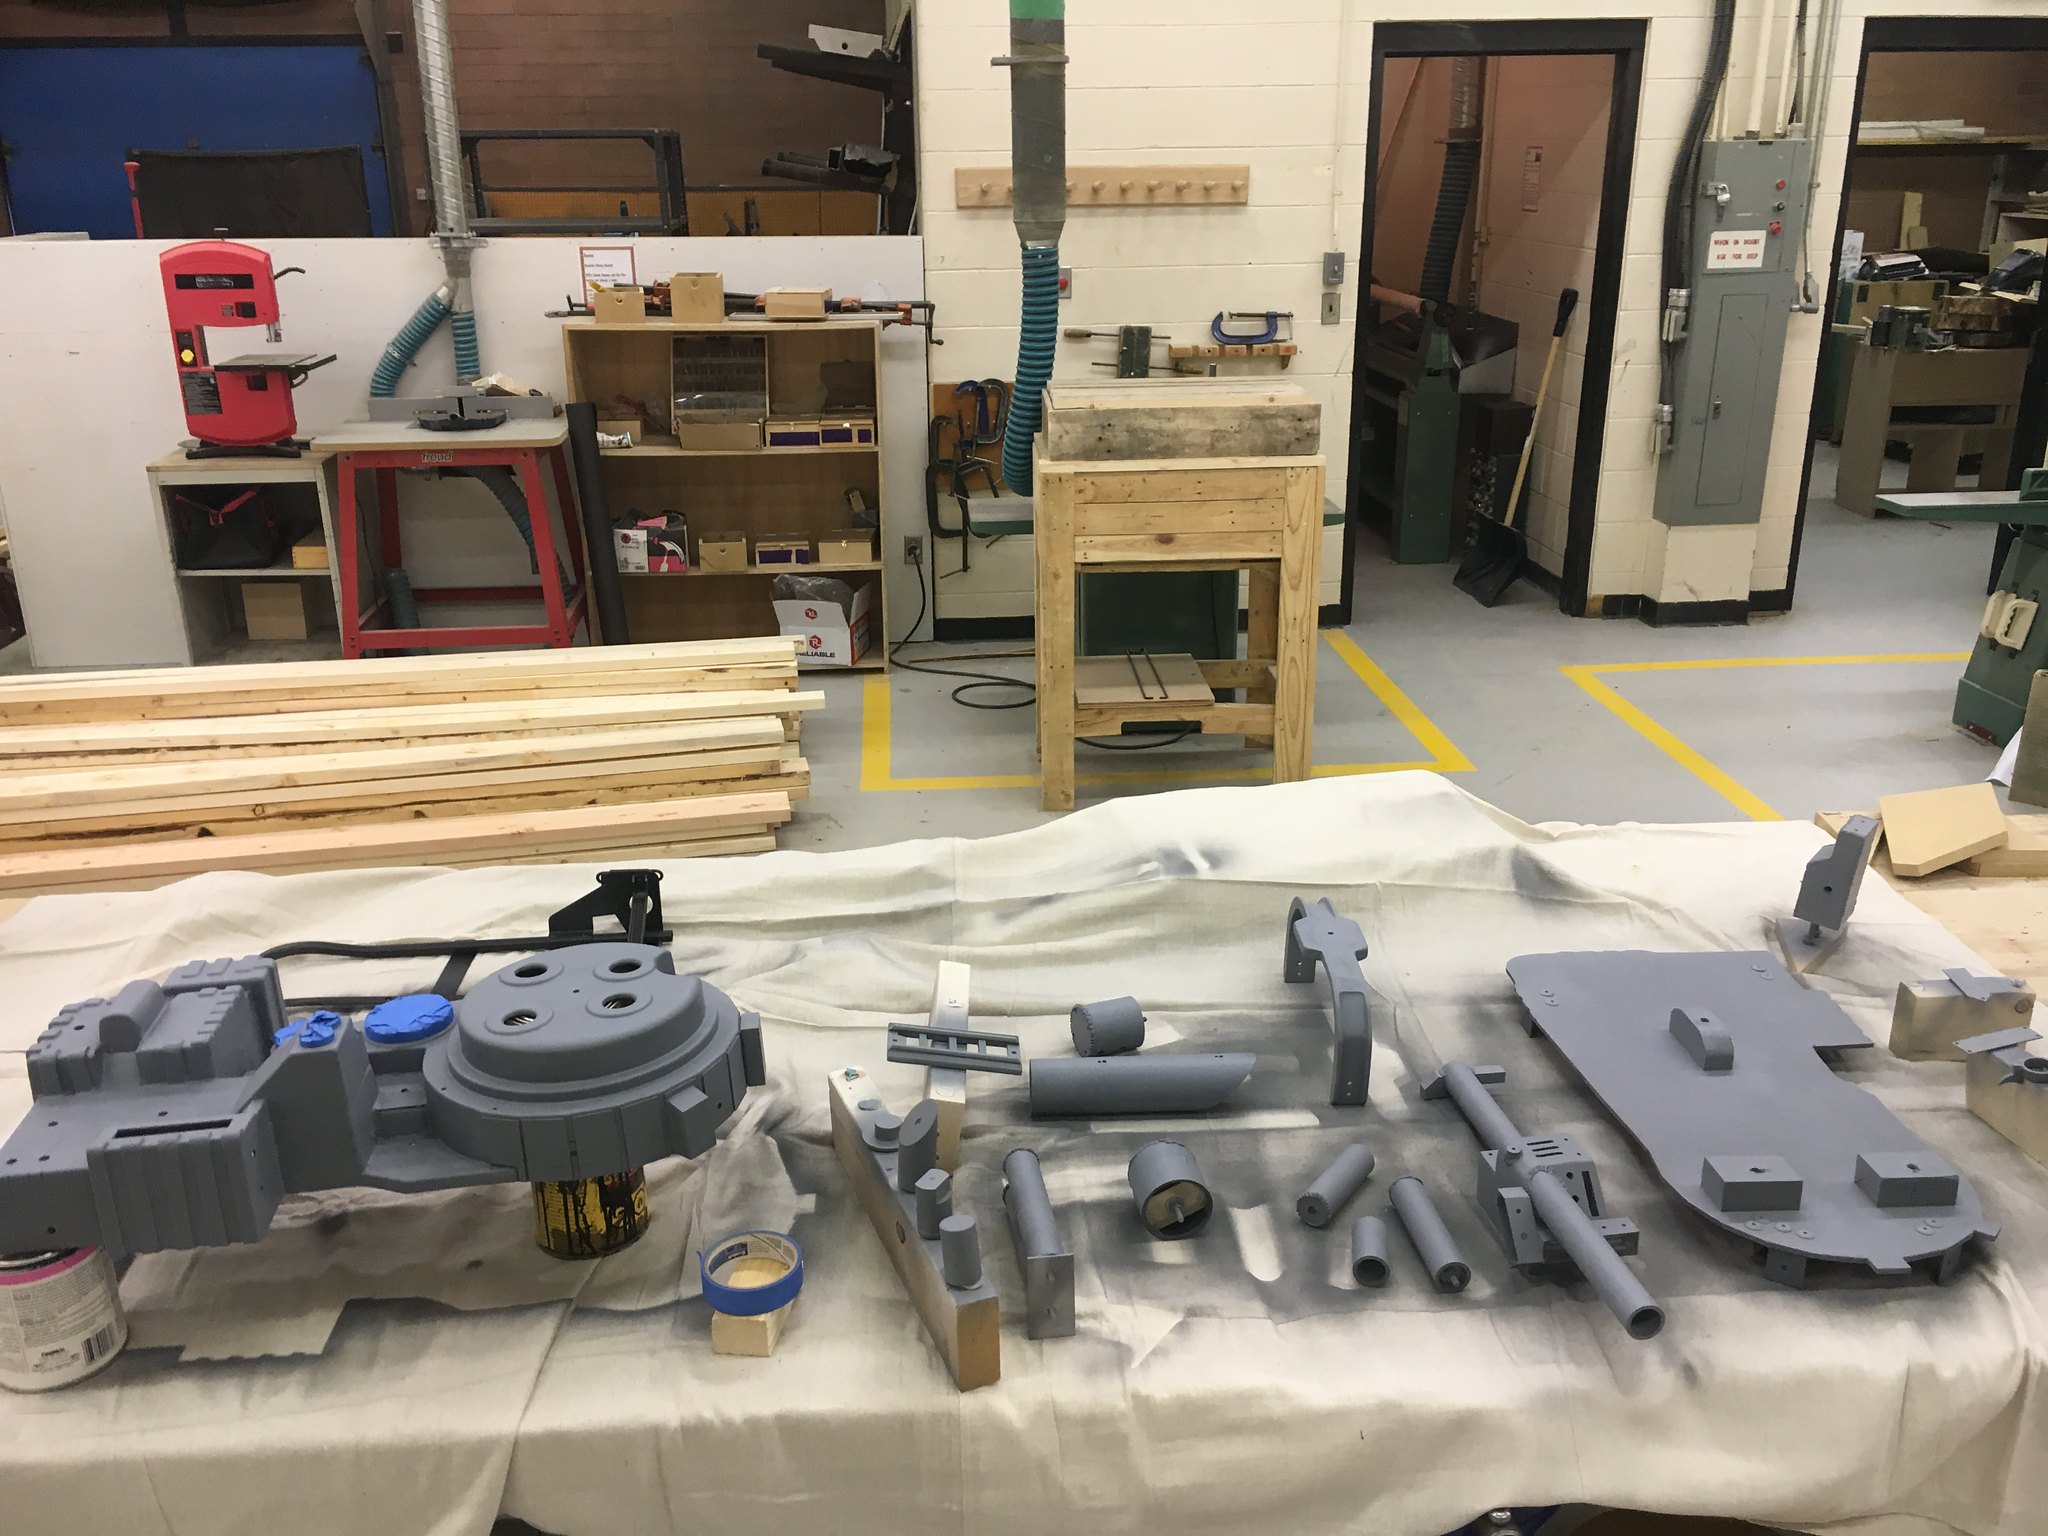
This weekend is all about painting up the parts!

imageProton Pack Painting by Brett Watt, on Flickr

imageProton Pack Painting by Brett Watt, on Flickr

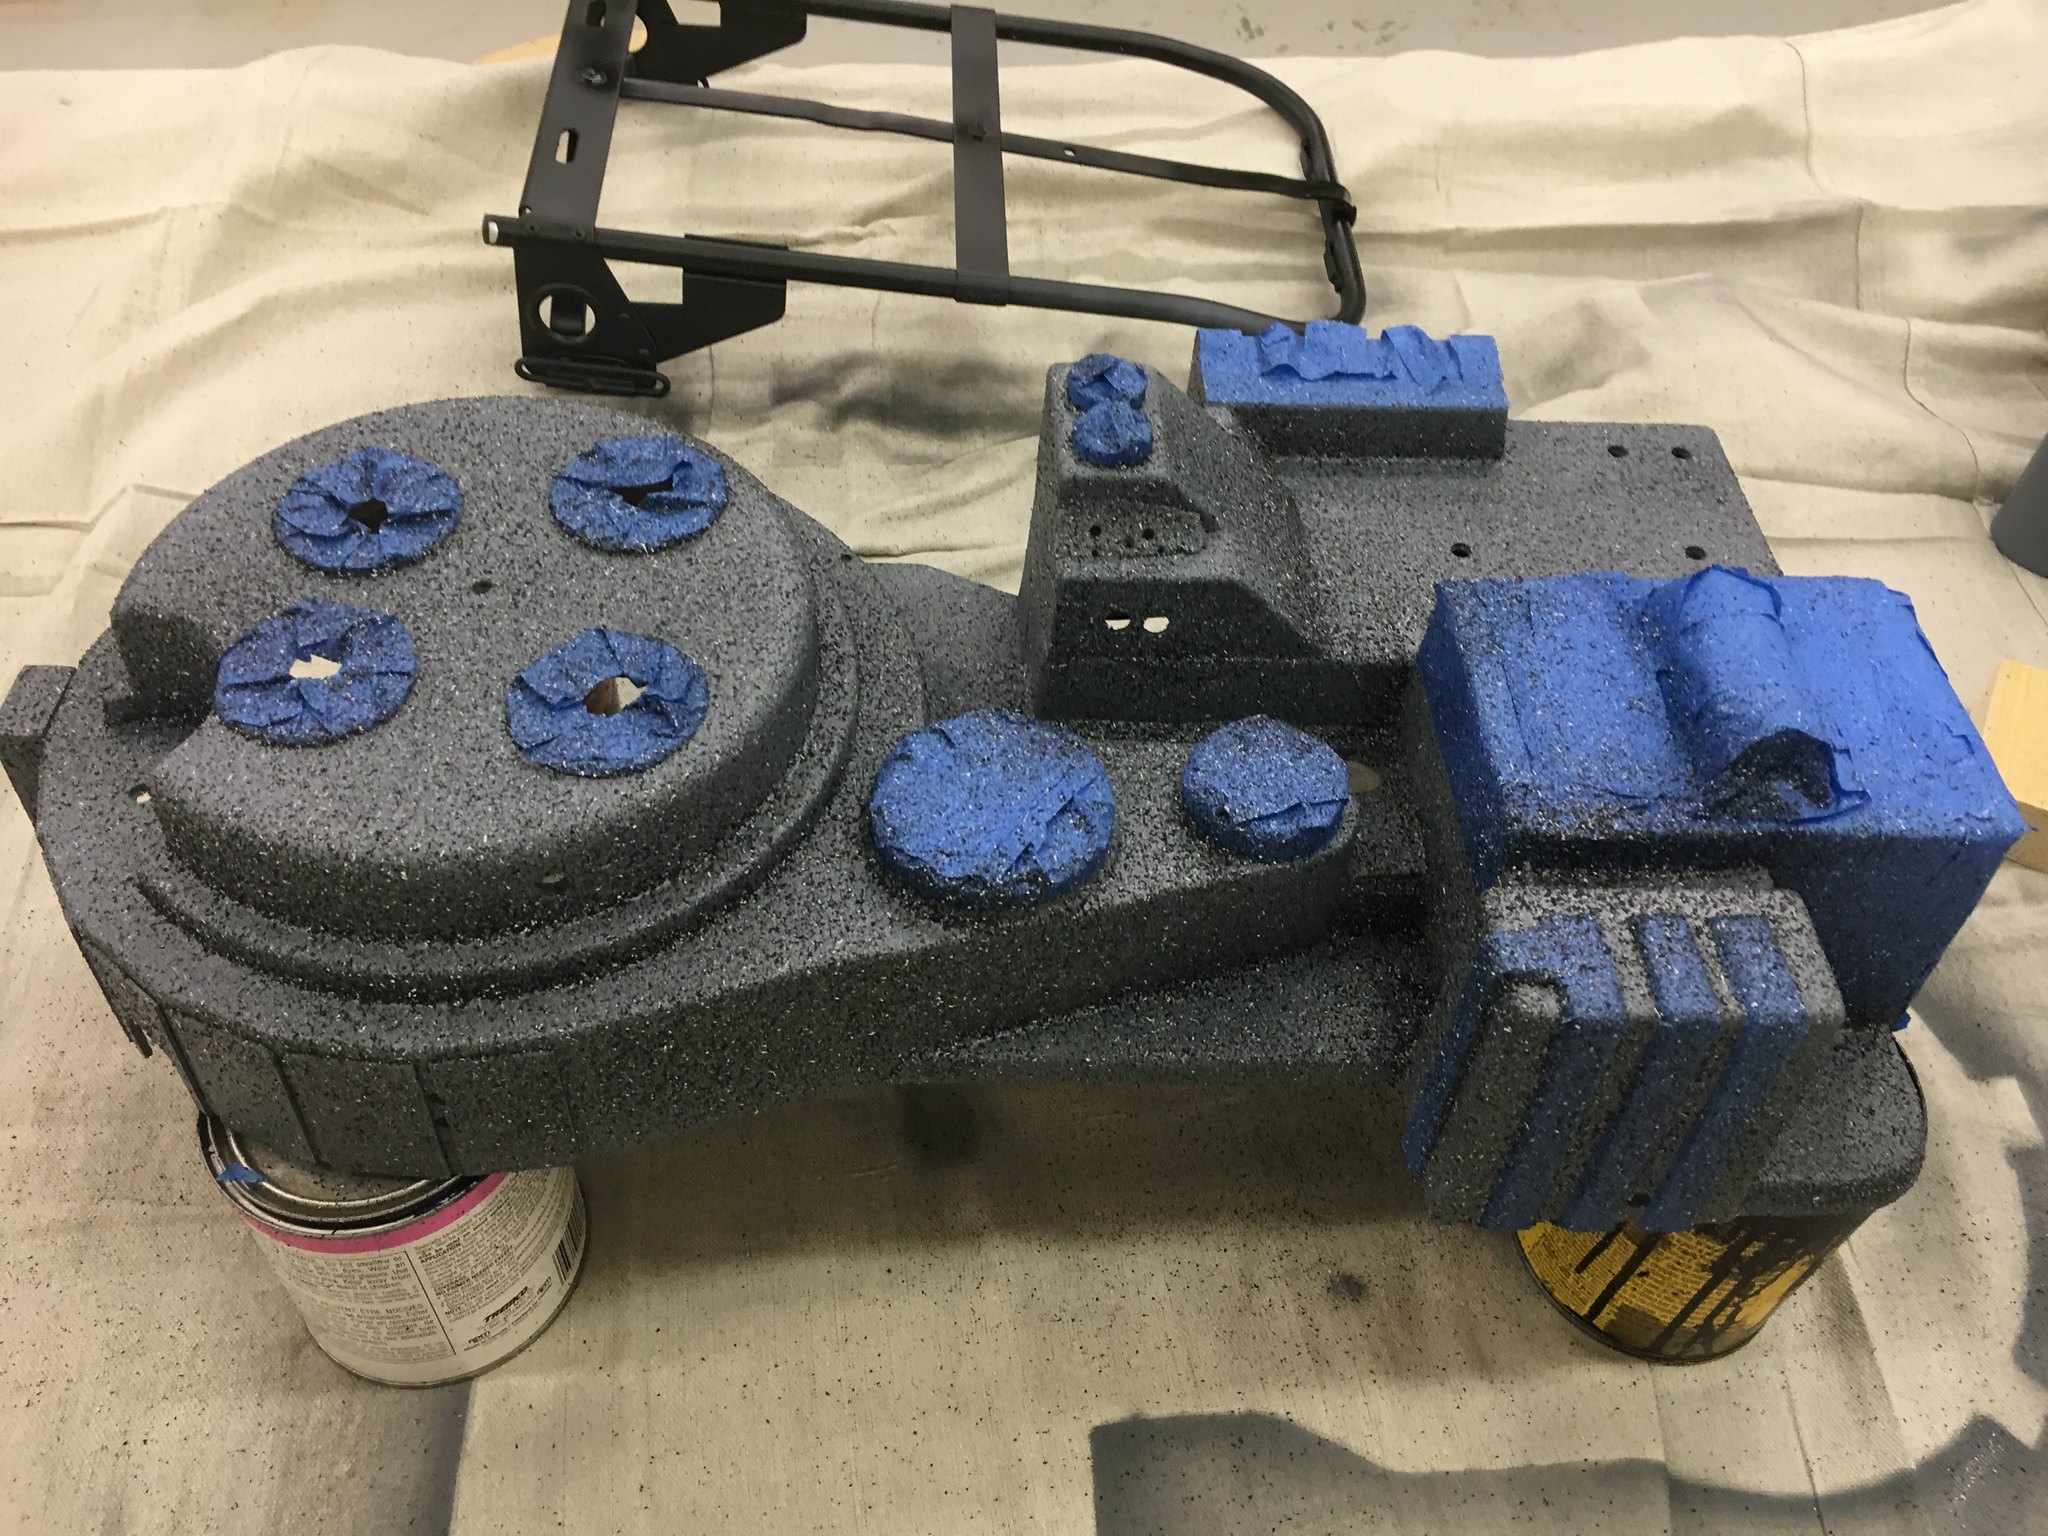
I was going to use a Homax Orange Peel wall texturing product, but the nozzle fell apart when I tried to use it. Instead, I opted for a stone-texture-in-a-can product. I’ll rub this down with a Scotch-Brite auto sanding pad to knock down the really rough textures.

imageProton Pack Painting by Brett Watt, on Flickr

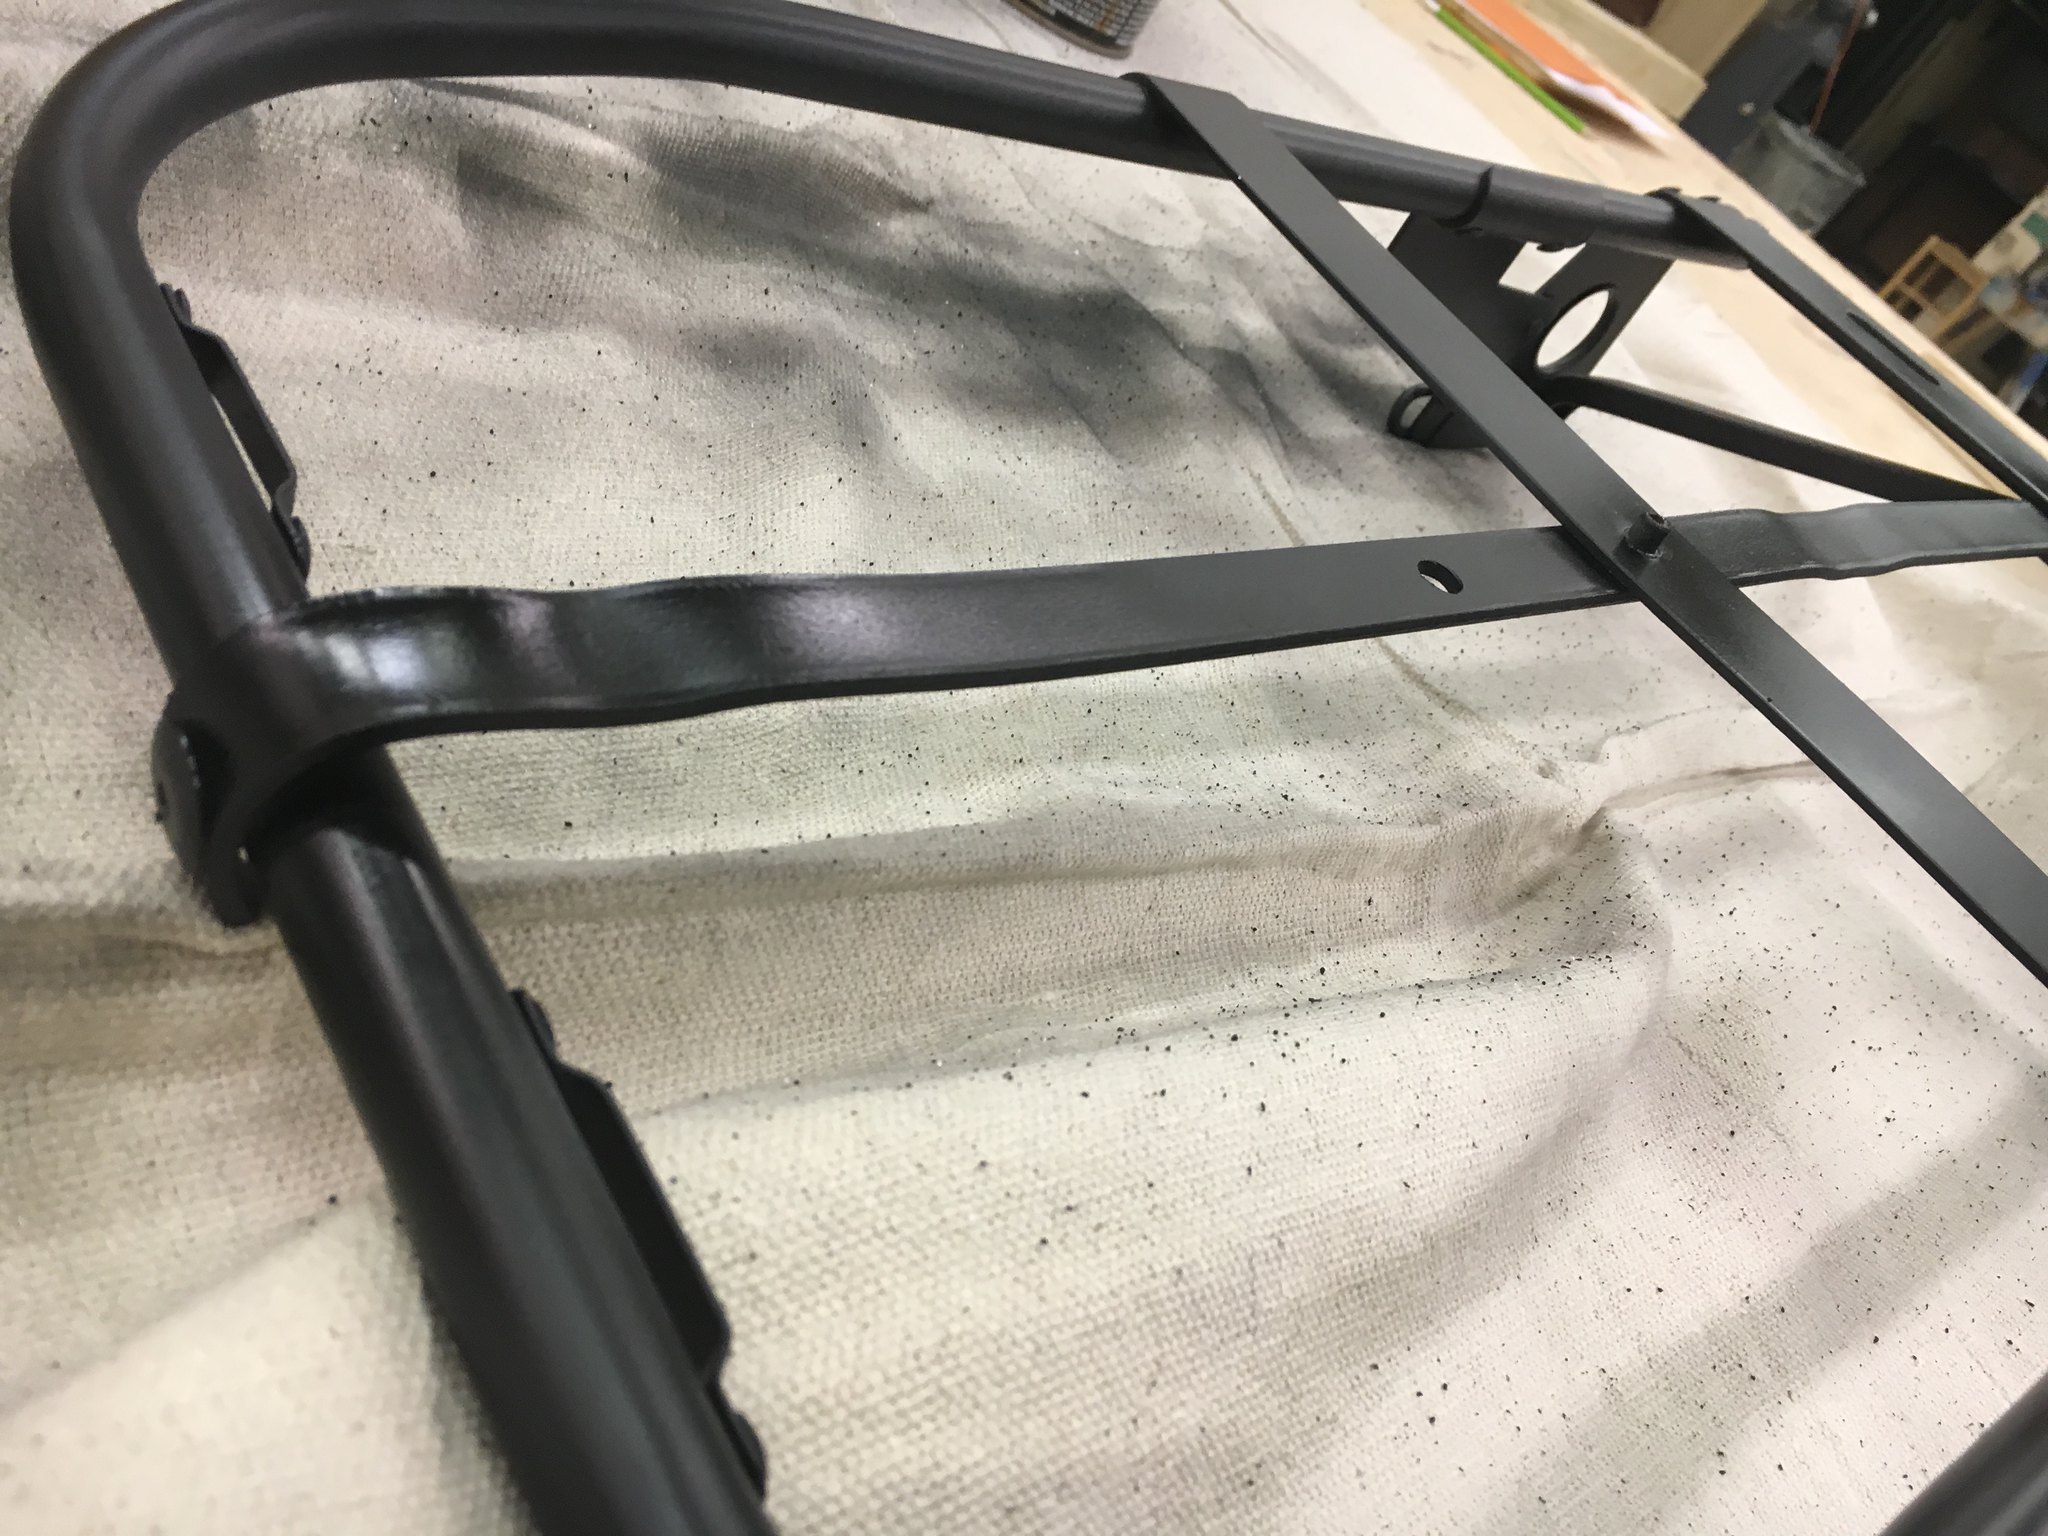
I replaced the thin stamped steel bar down the middle of the pack frame with something much beefier. I used the same wide flange rivets I used on the MoBo to attach the central brace on the frame.

imageProton Pack Painting by Brett Watt, on Flickr

imageProton Pack Painting by Brett Watt, on Flickr

imageProton Pack Painting by Brett Watt, on Flickr

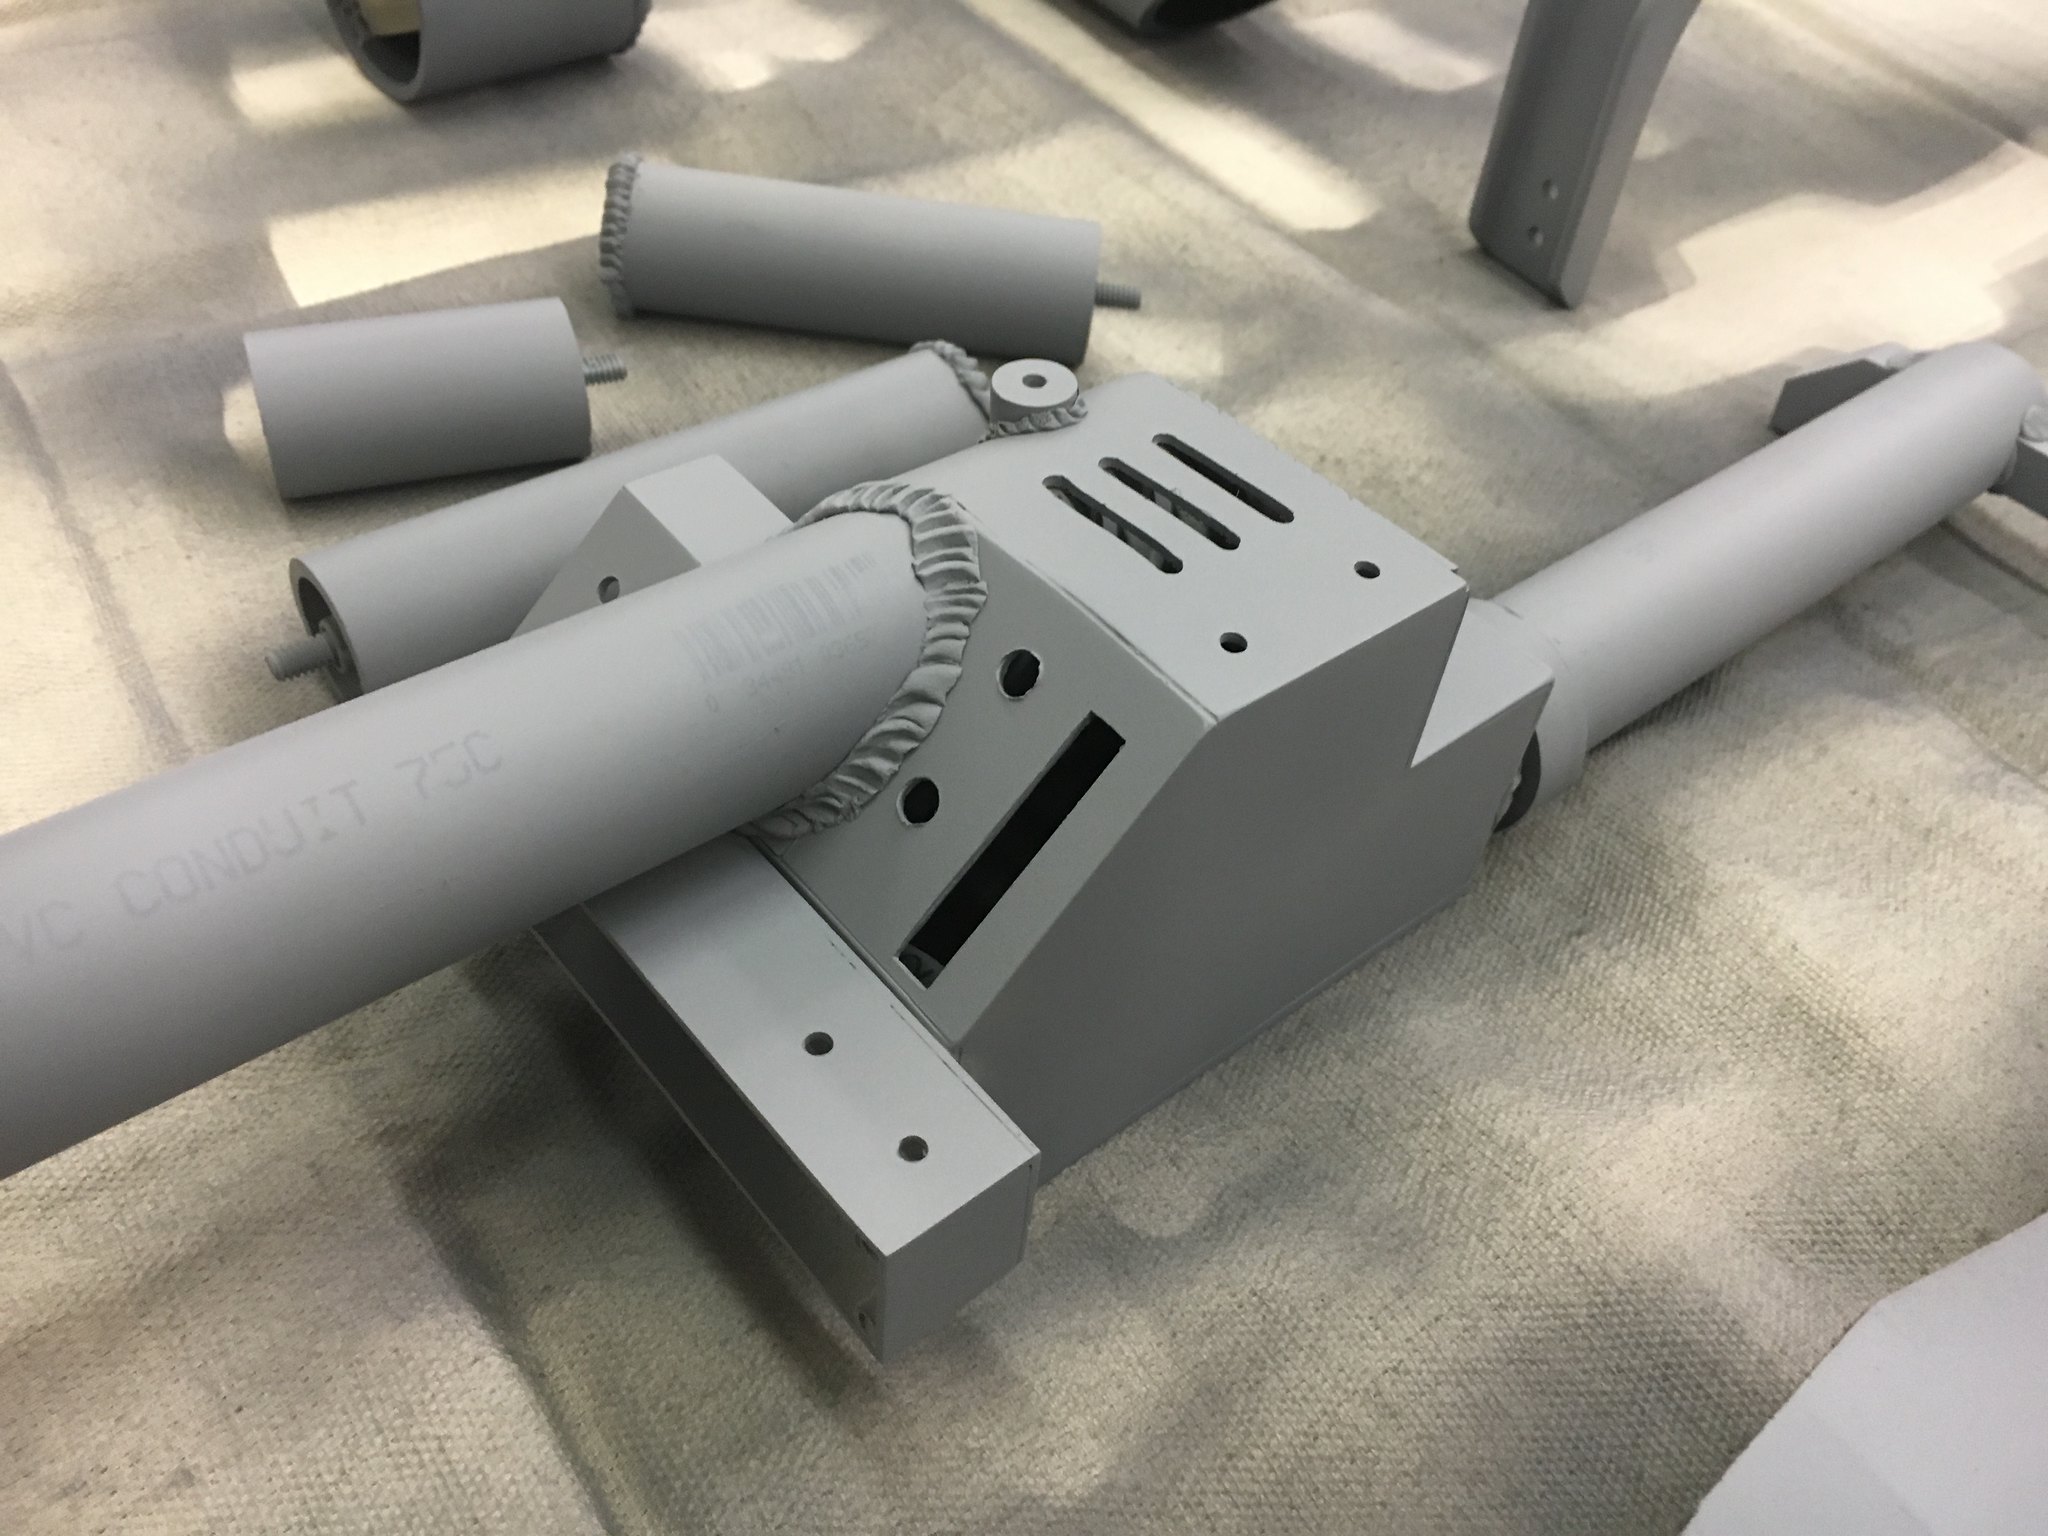
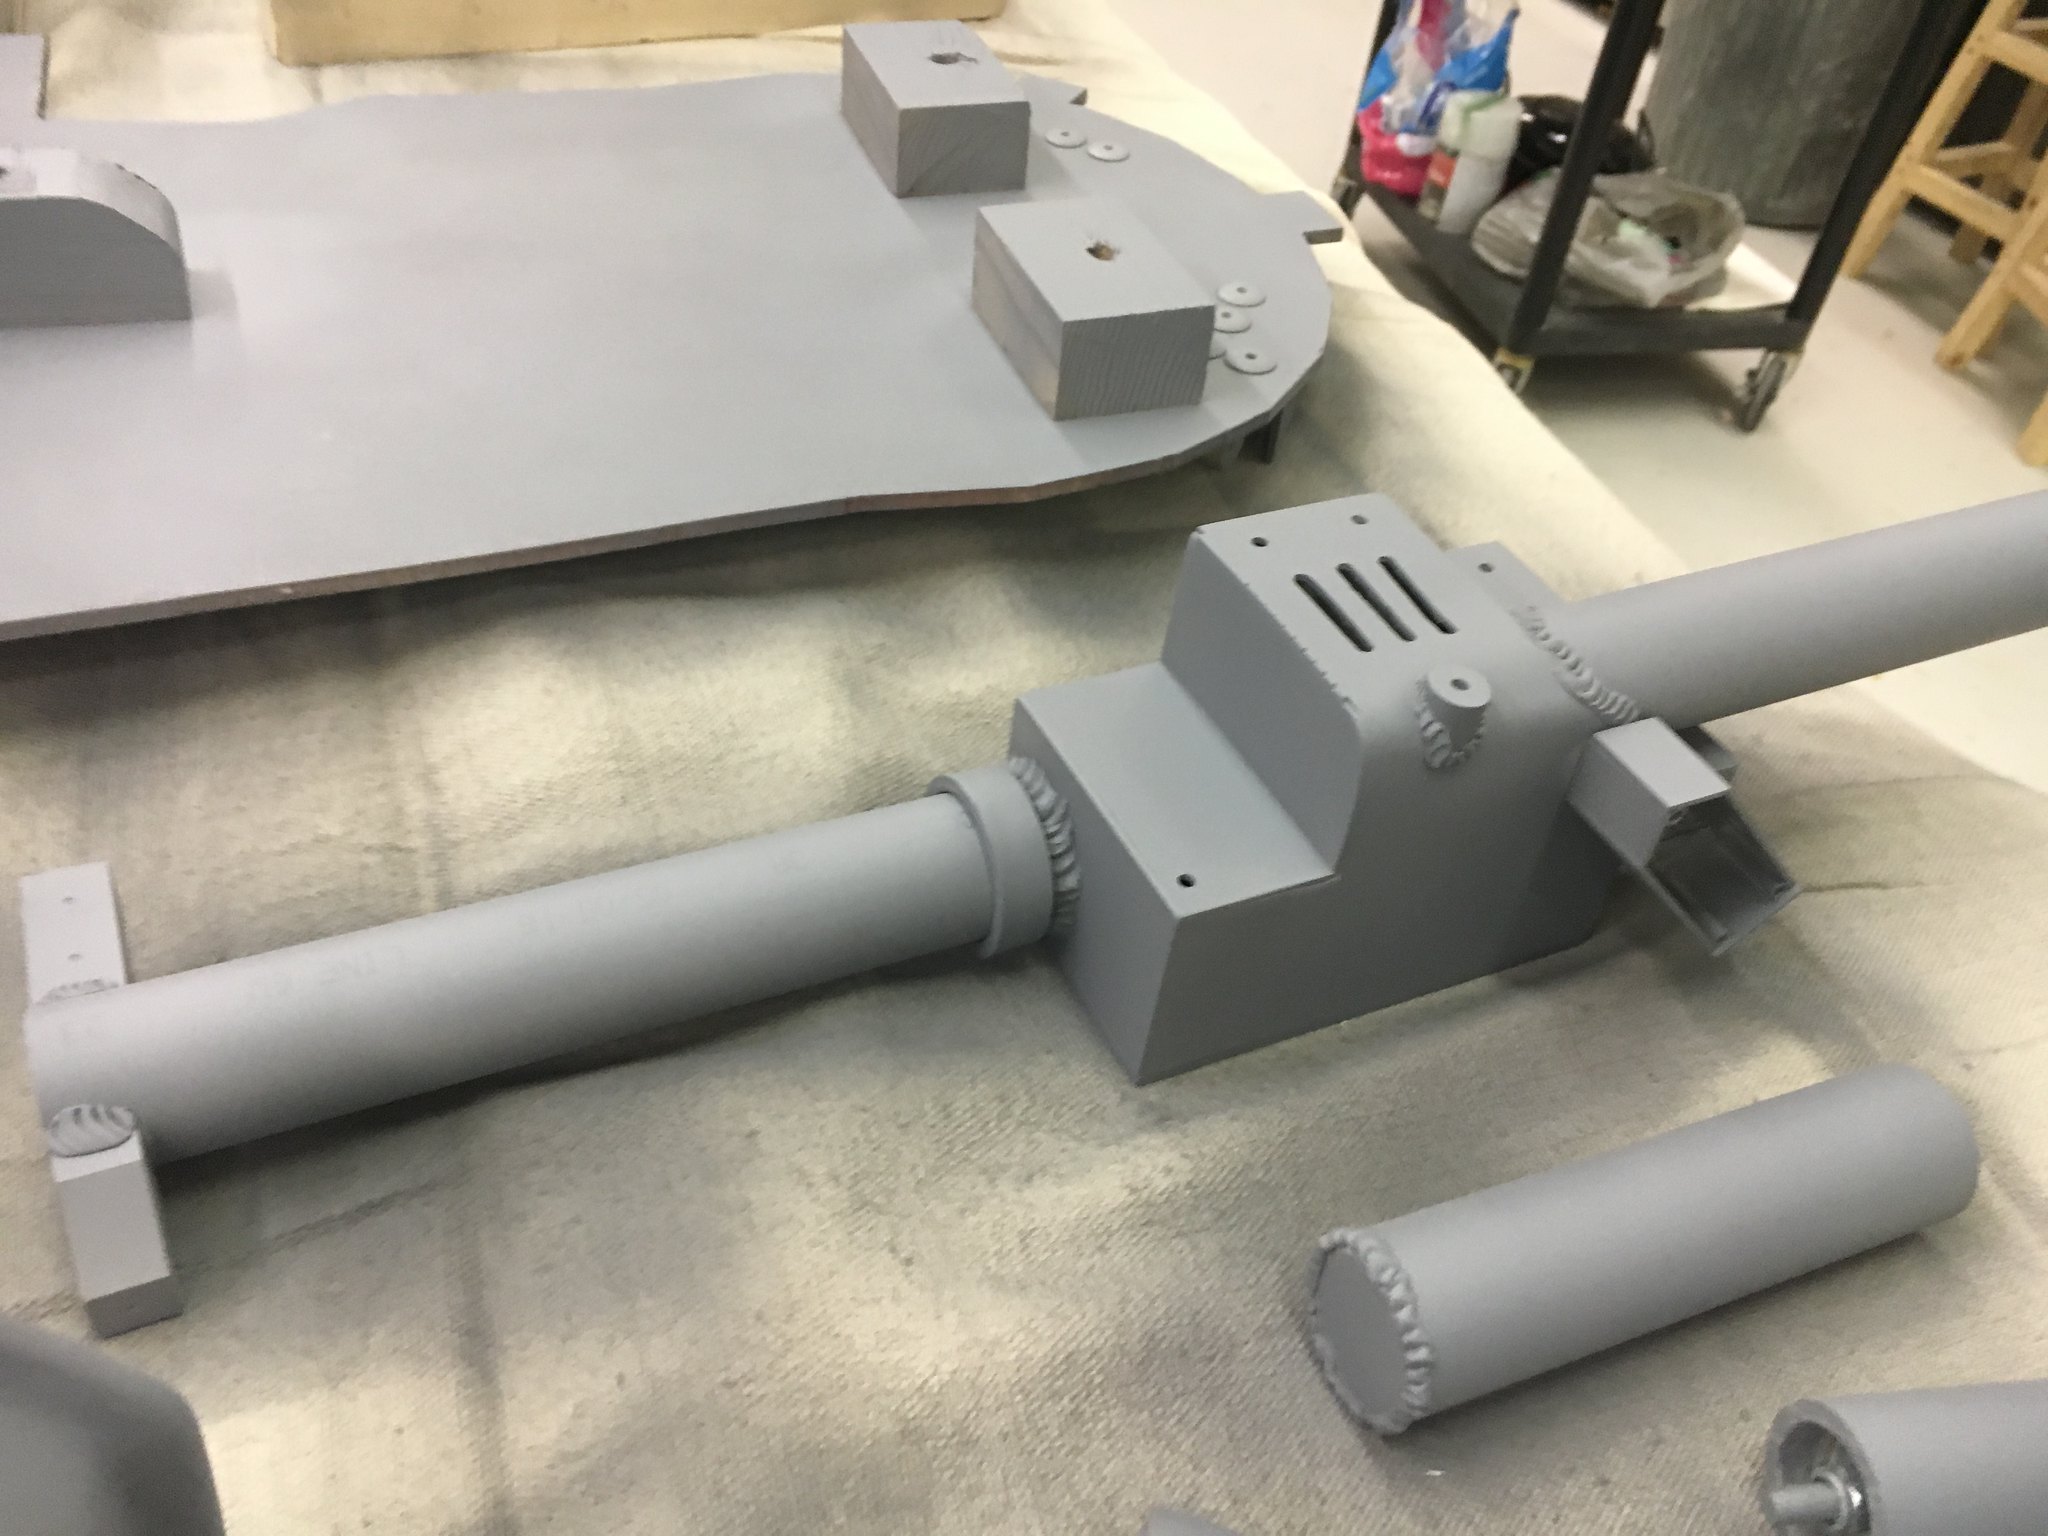
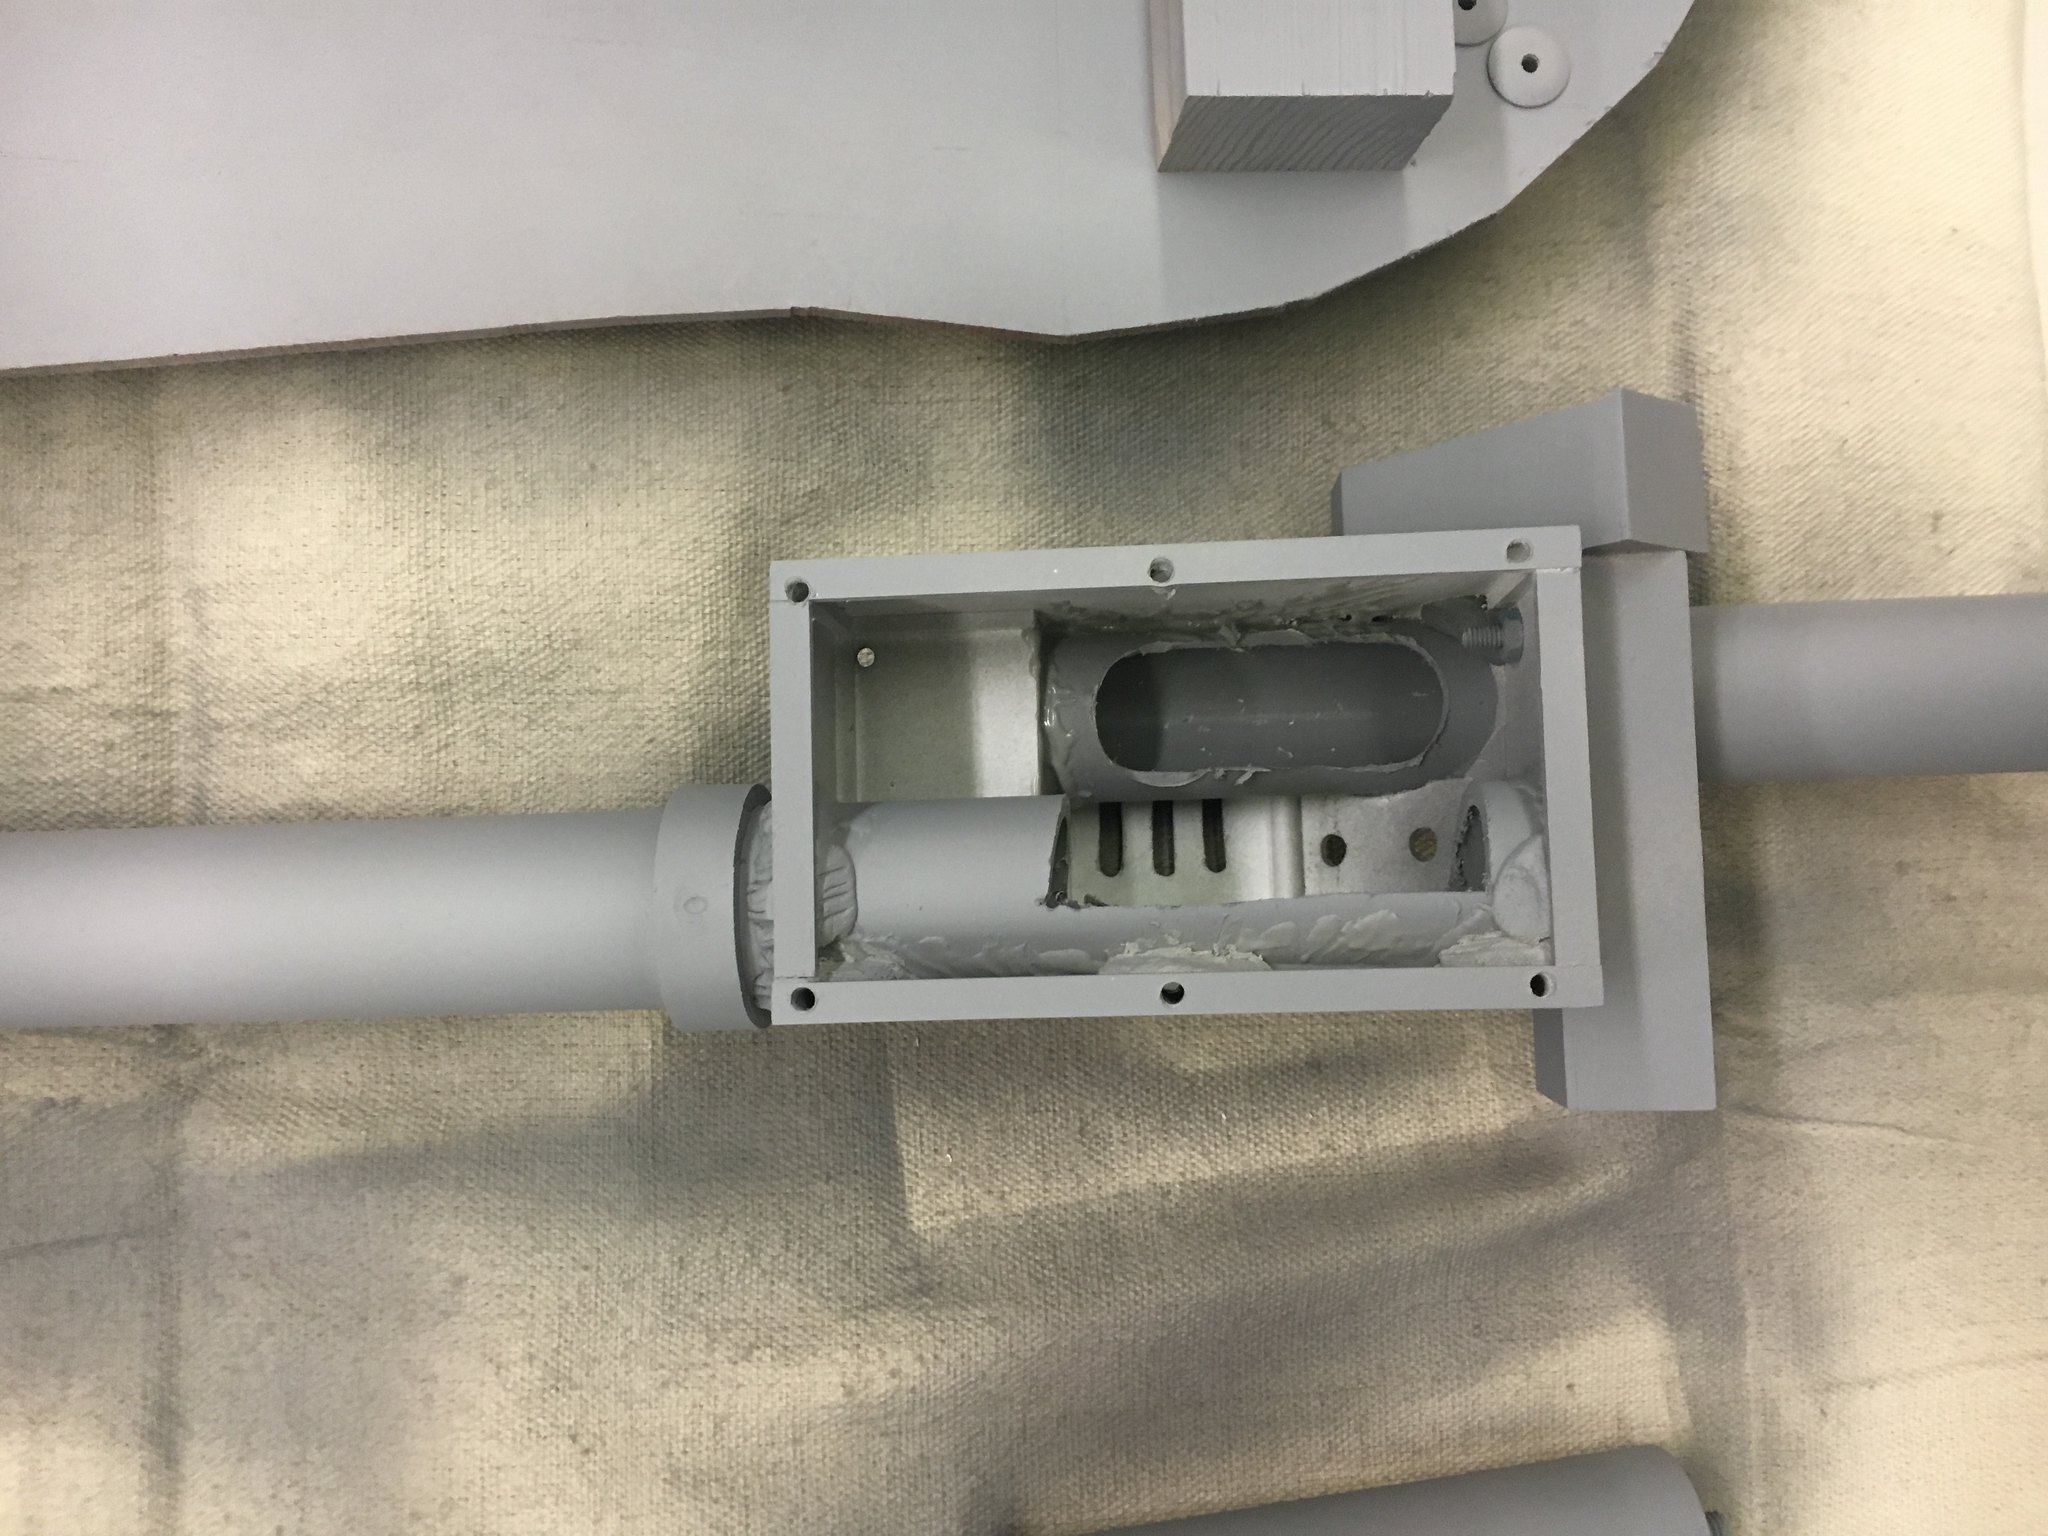
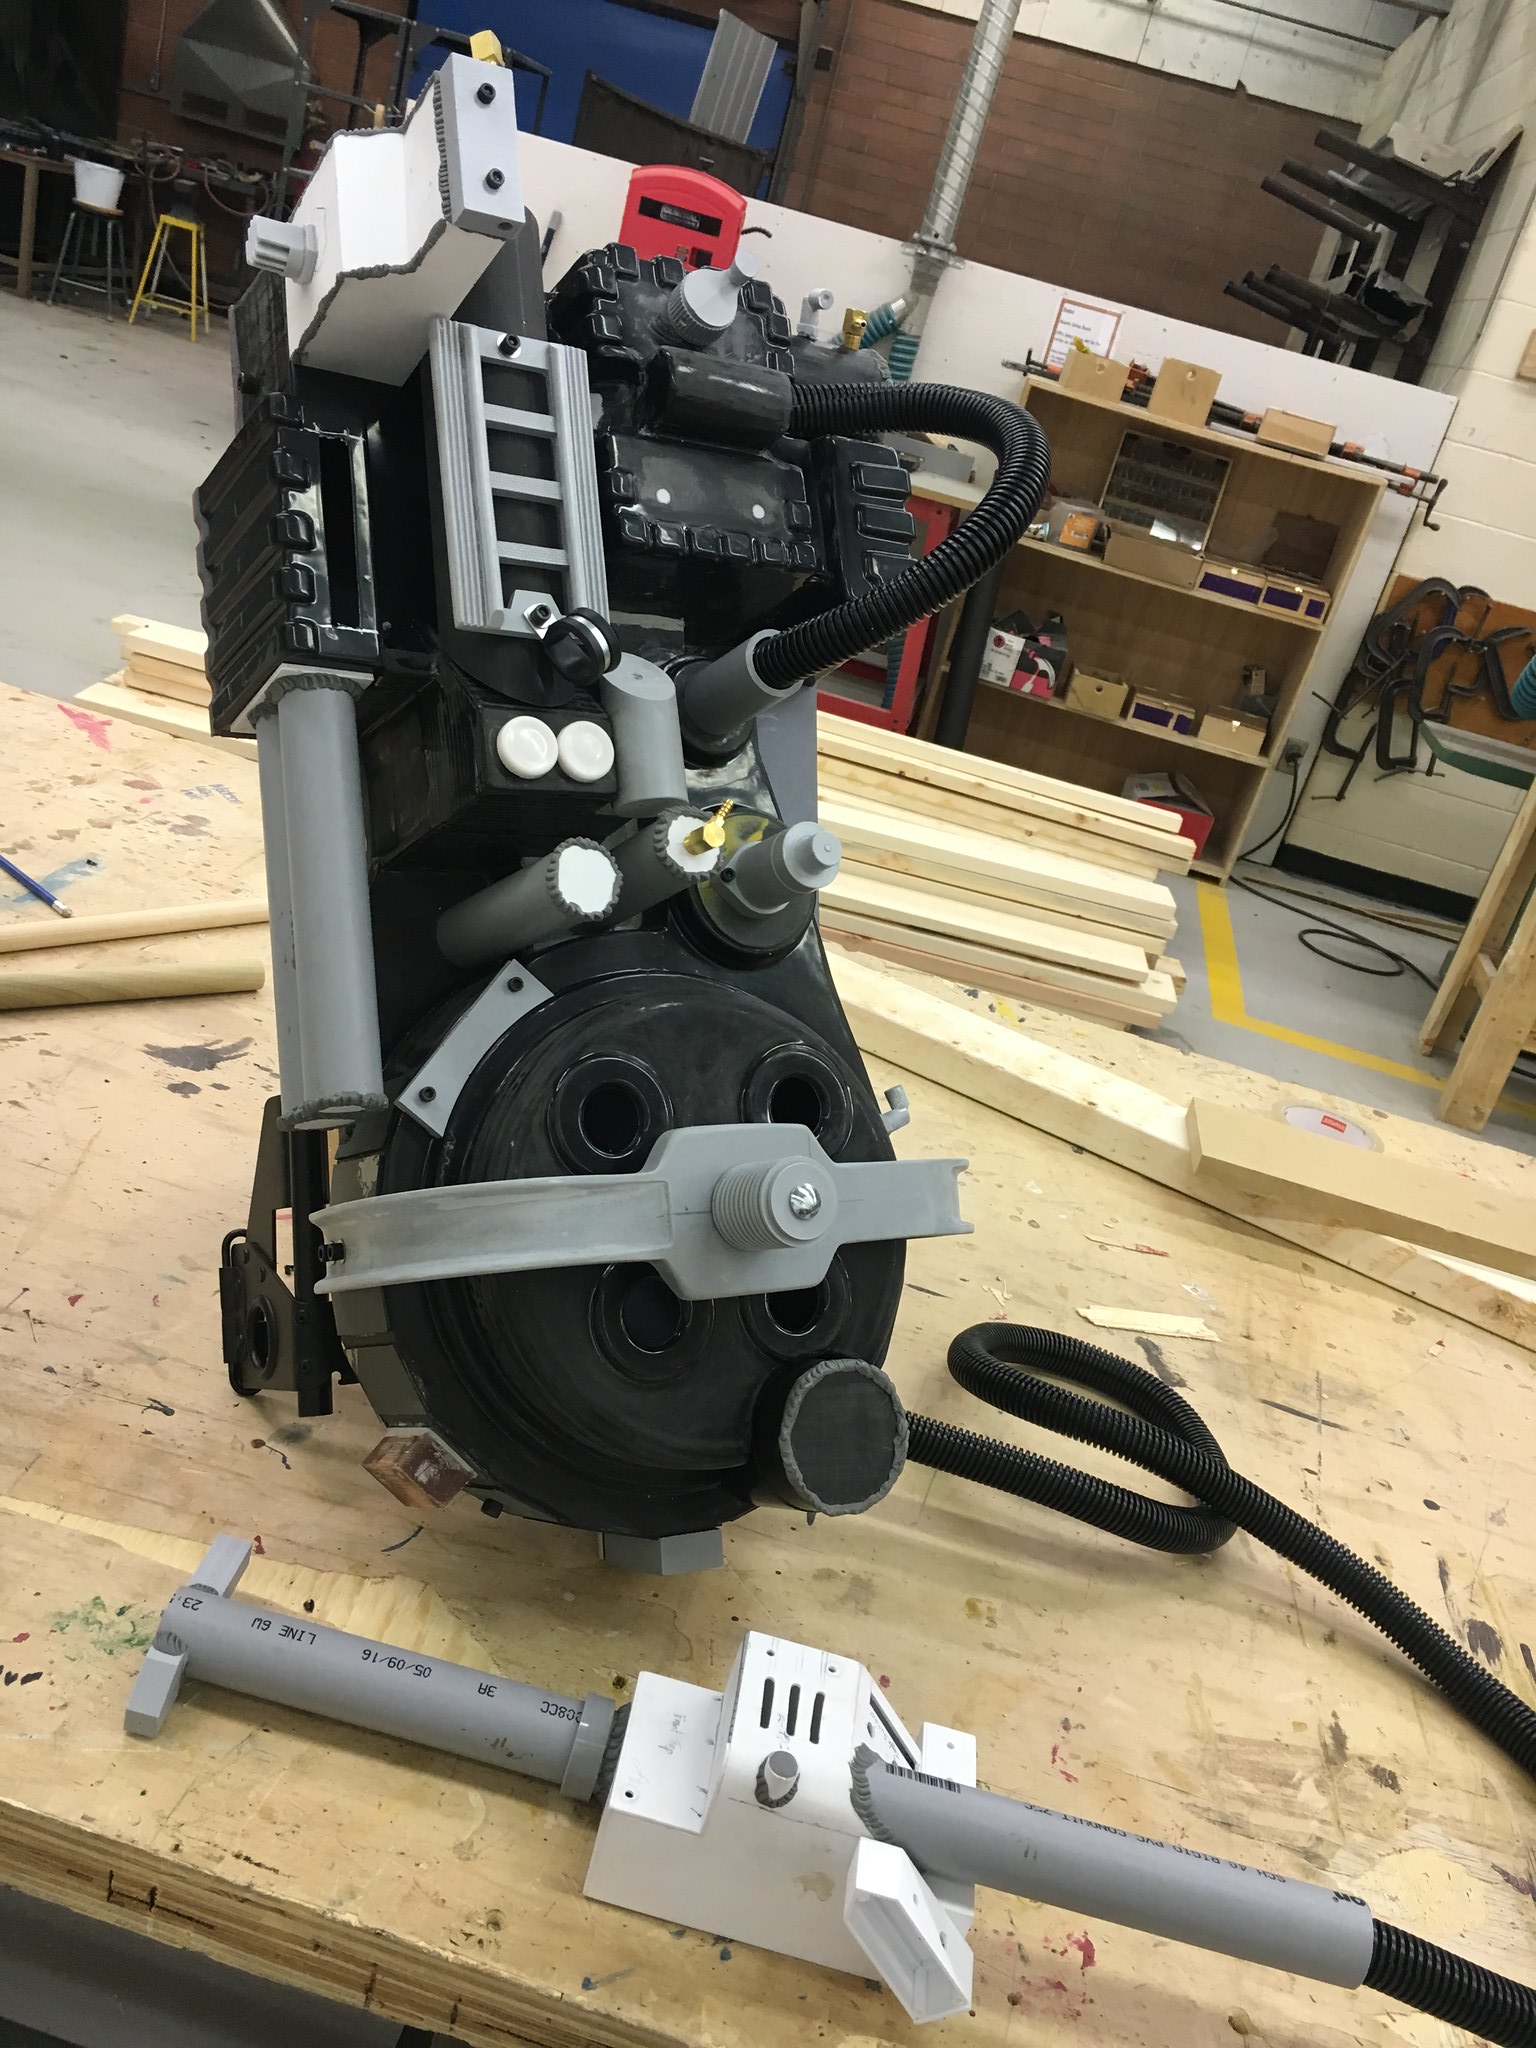
This is the thrower I scratch-built using the same 1/16" styrene Plasticard as I used for the Ion Arm. It’s reinforced along the inside edges with some 1/4" styrene square channel. The handle & thrower barrel are 1" PVC electrical conduit, as recommended on the Galvinator YouTube build. The curve along the left side of the body was achieved with a hair dryer heating up some plastic sheet, then bending it over the same conduit used for the handle. The conduit is just epoxied in place on the insides, then drilled and sawed out to run wiring through the wire loom from the body to the thrower. 5 minute plumbing epoxy was used to create the false welds around the thrower.