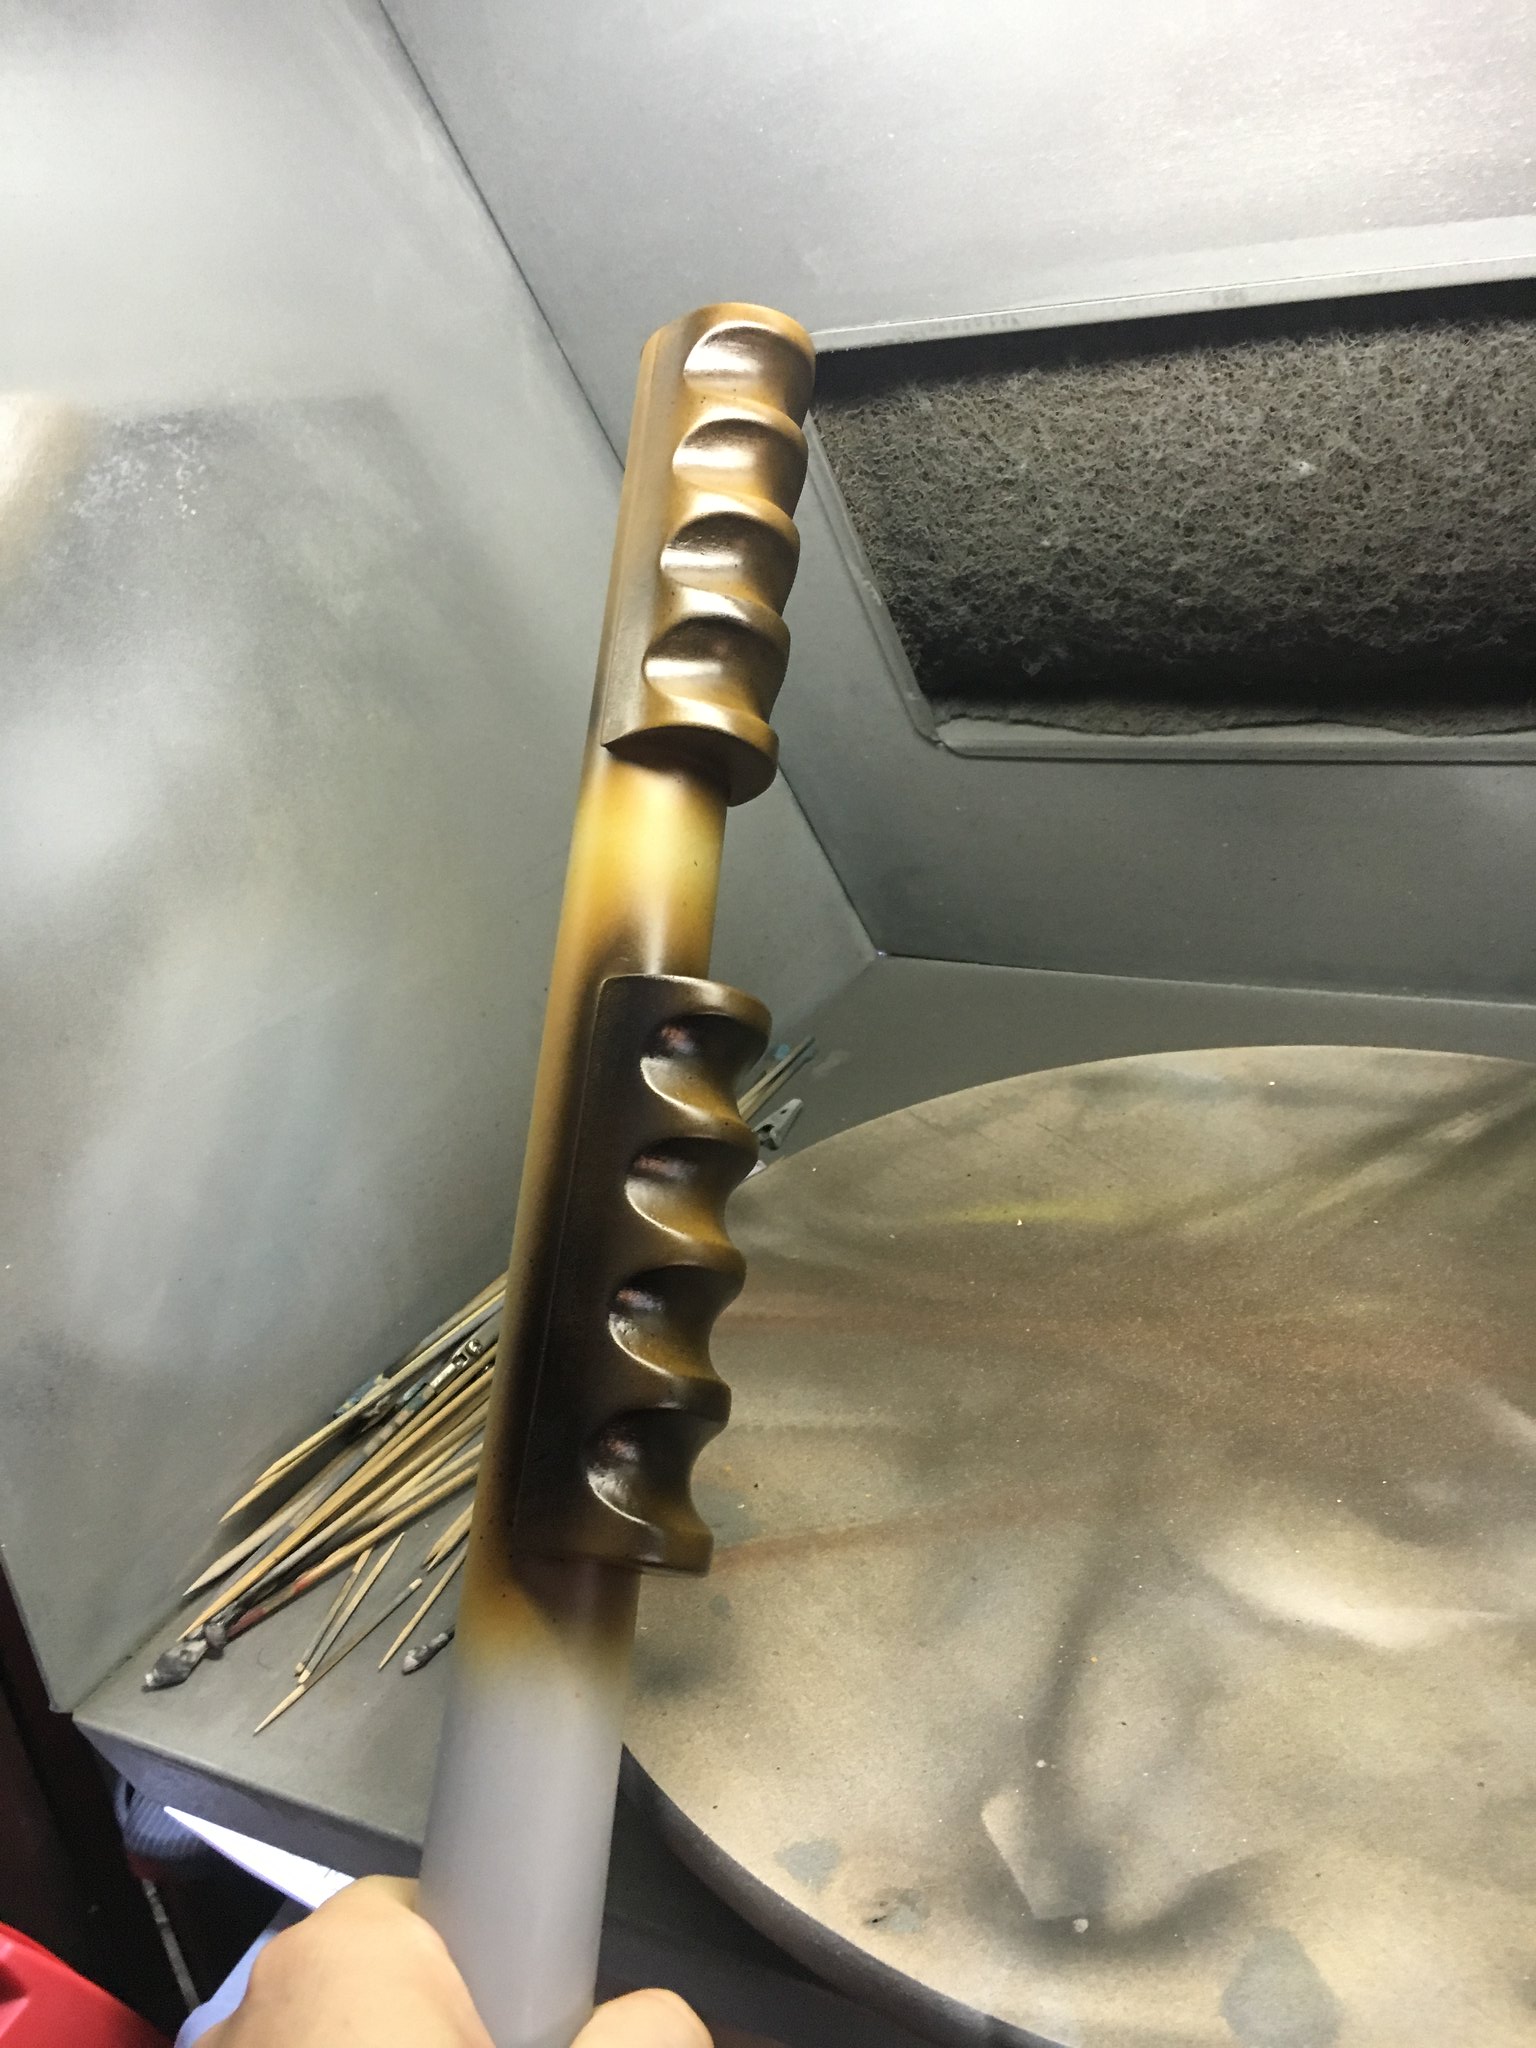
 Papacy bits by Brett Watt, on Flickr
I used several coats of filler primer to fill the micro-bubbles & textures on the surface of the thrower handles, seen here. Once it was finish sanded, I coated it with about three coats of…
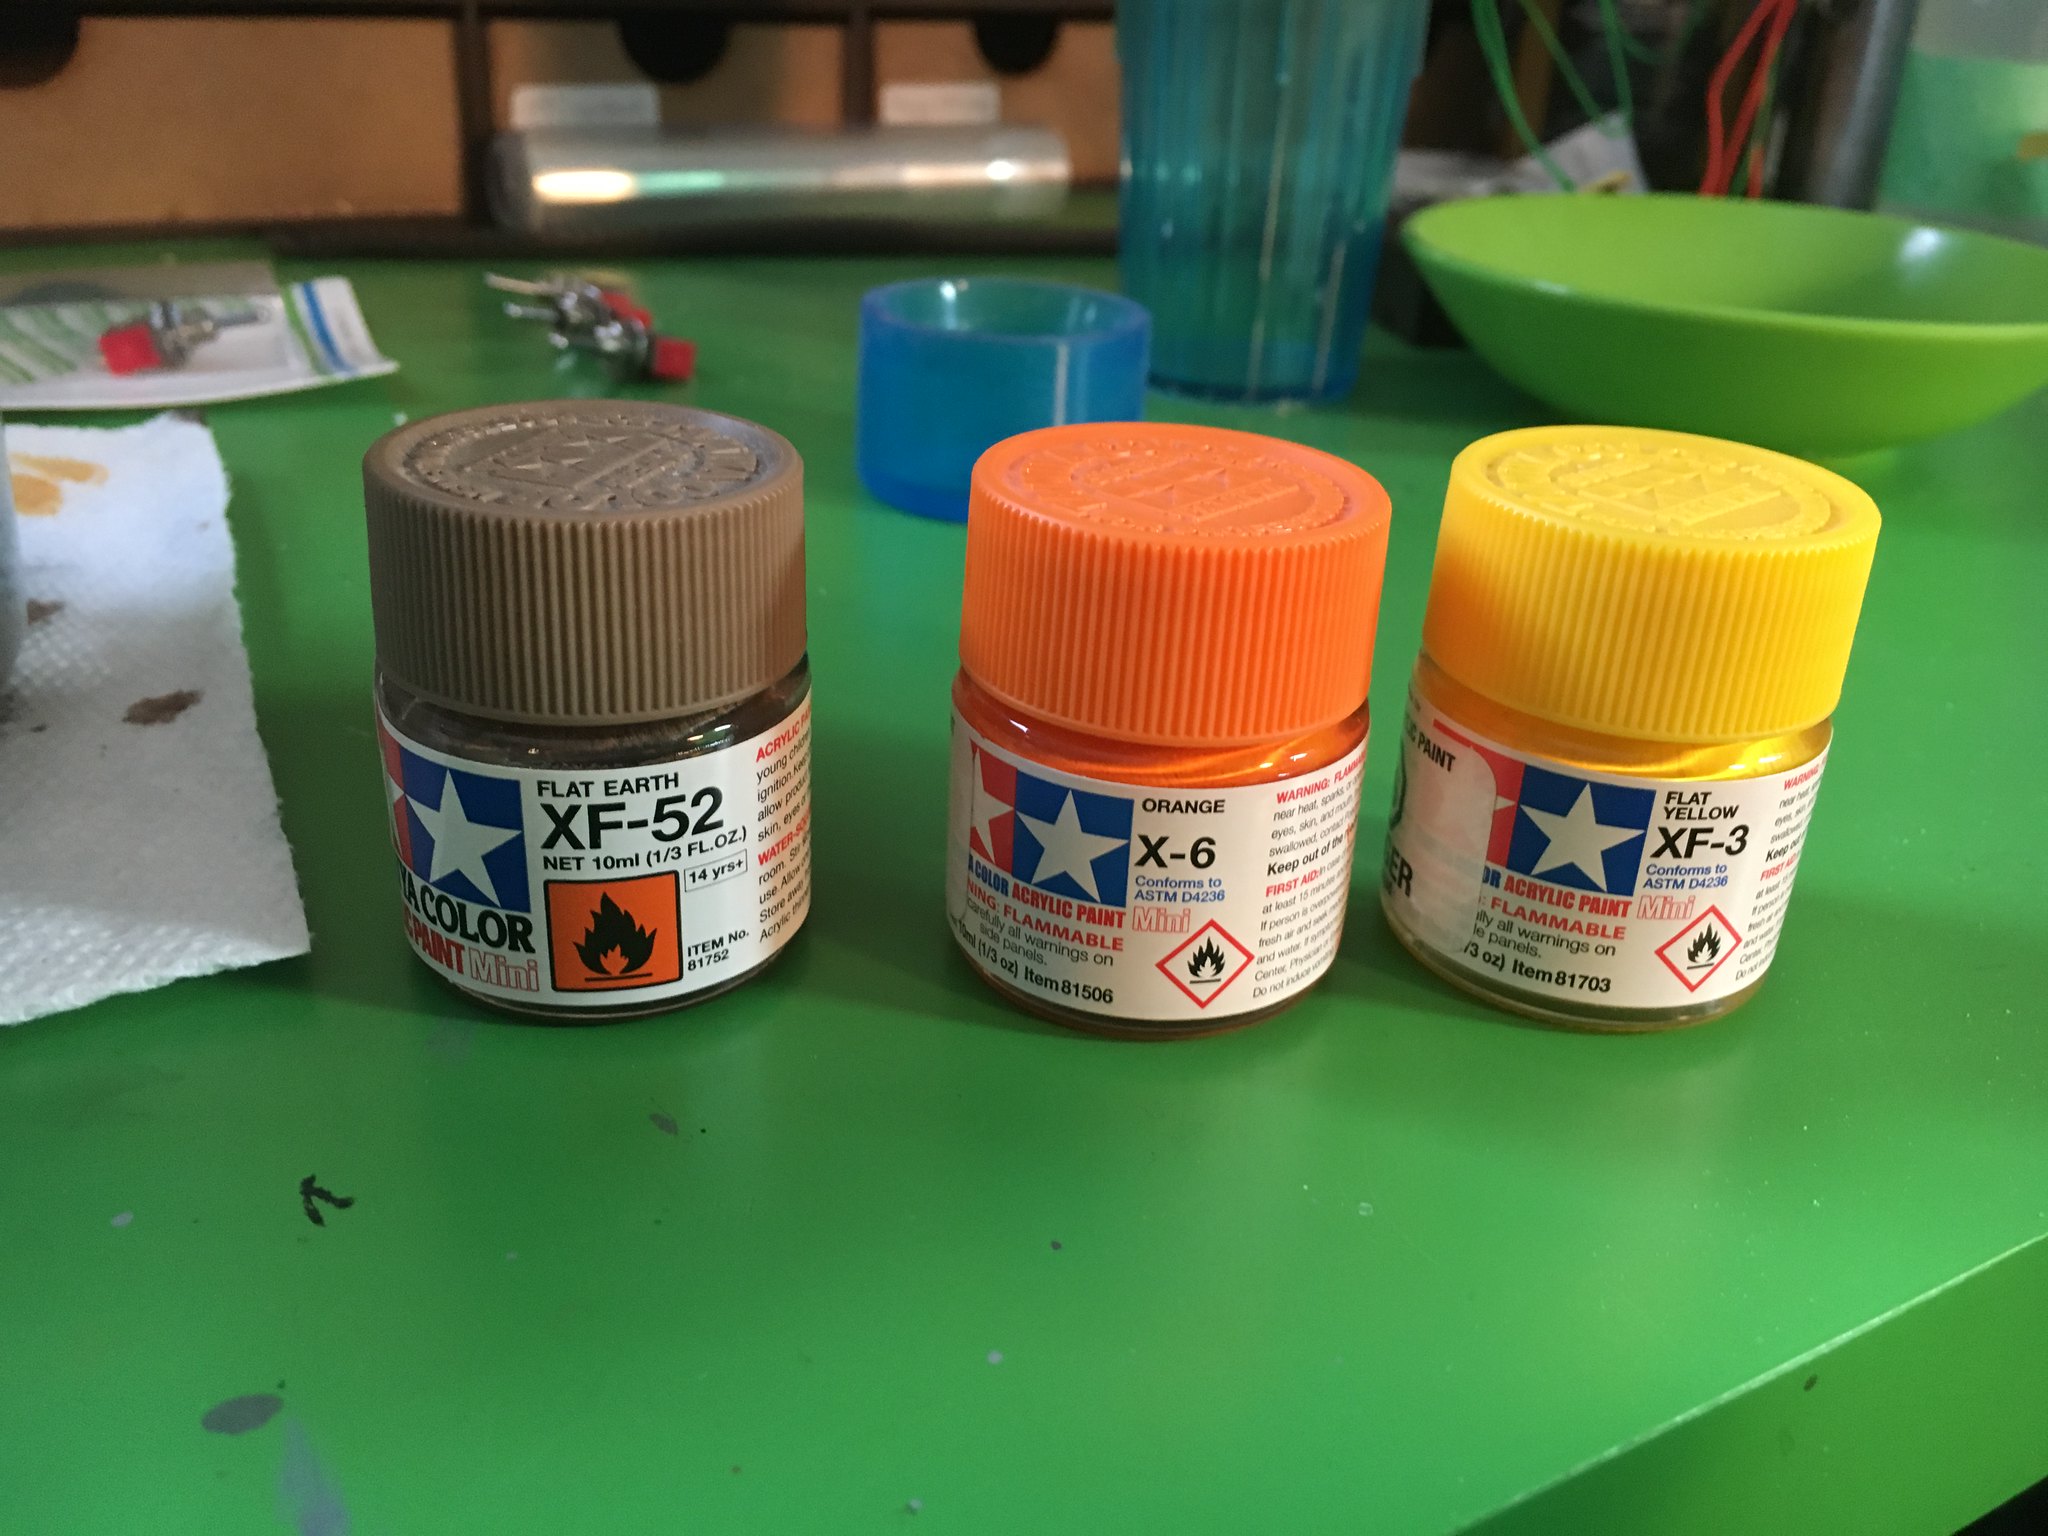 Papacy bits by Brett Watt, on Flickr
… About 10 parts of the Earth paint to 1 part each of Yellow and Orange. That achieved the right sort of light-orange-brown 70’s resin look that the handles seem to have. I applied about 3 coats of it through the airbrush, rubbing in between with some 0000 grade steel wool. In the pic above, I have also given the handles their first coat of gloss black.
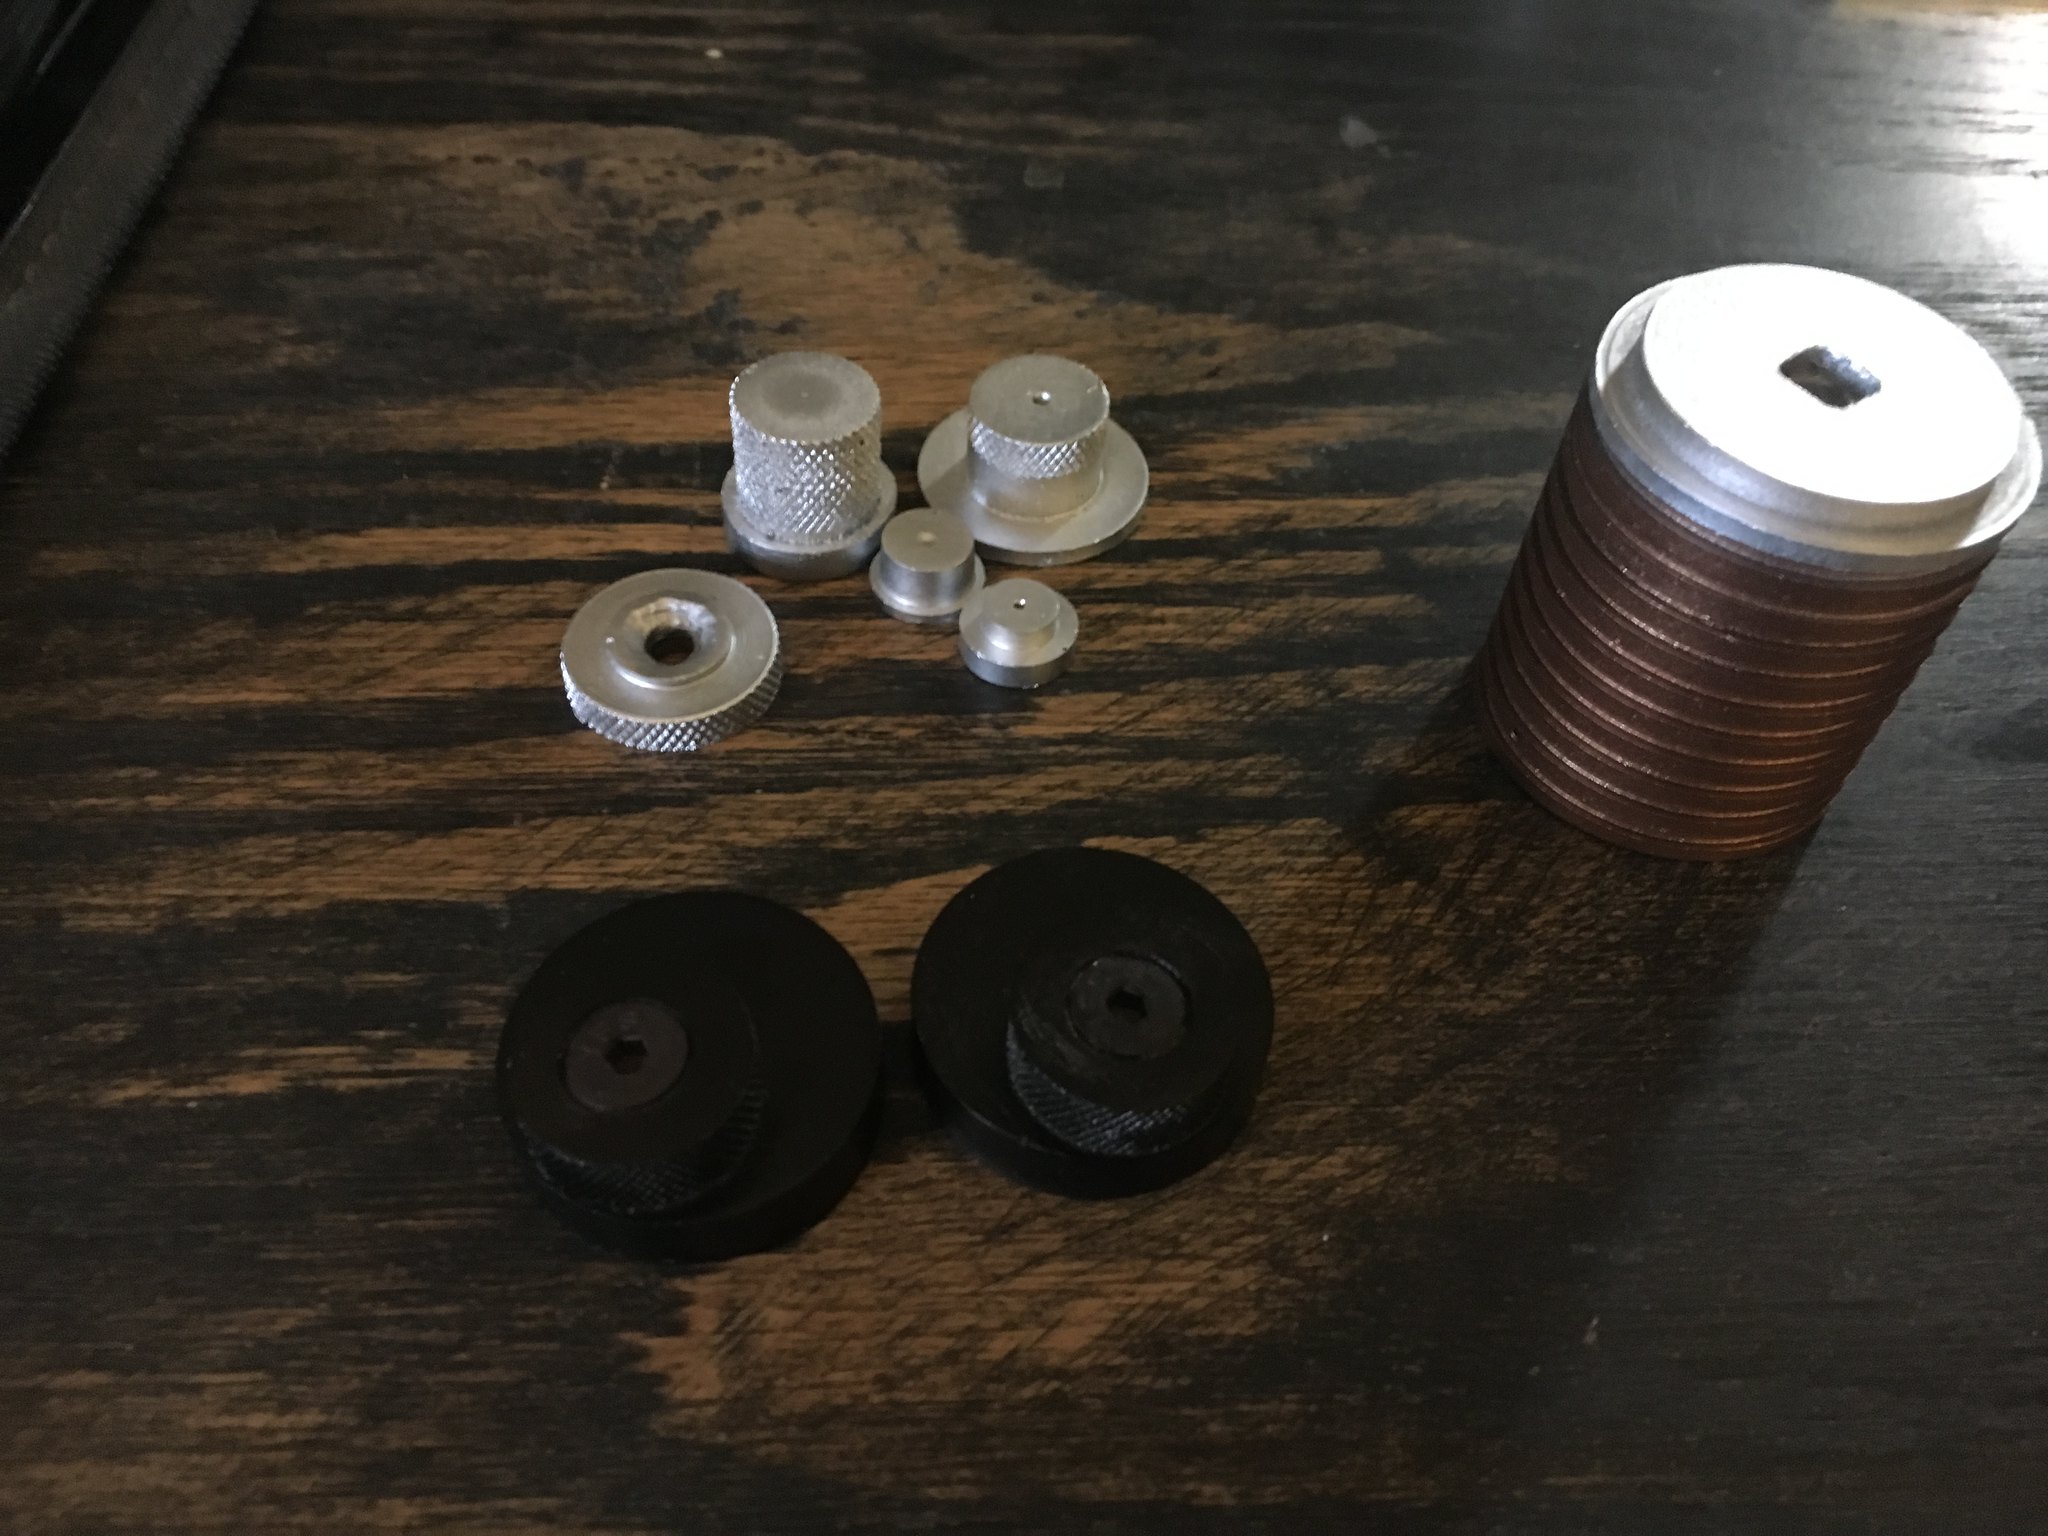 Papacy bits by Brett Watt, on Flickr
Here are some various metal bits for the thrower and the pack. All resin parts were first scrubbed clean with Super Clean detergent cleaner/degreaser, rinsed, then left to dry for a day. They got primed with Stynylrez airbrush-able primer, then painted with Vallejo Metal Color: Chrome acrylic airbrush paint. The bellows were also masked and painted with Vallejo Metal Color: Copper. The offset dual-step discs were first painted with the same Chrome paint, then painted with Tamiya Gloss Black airbrush acrylic paint. I used a thin coat of Vallejo Dark Rust over the flat-head socket screws moulded into the top of these parts.
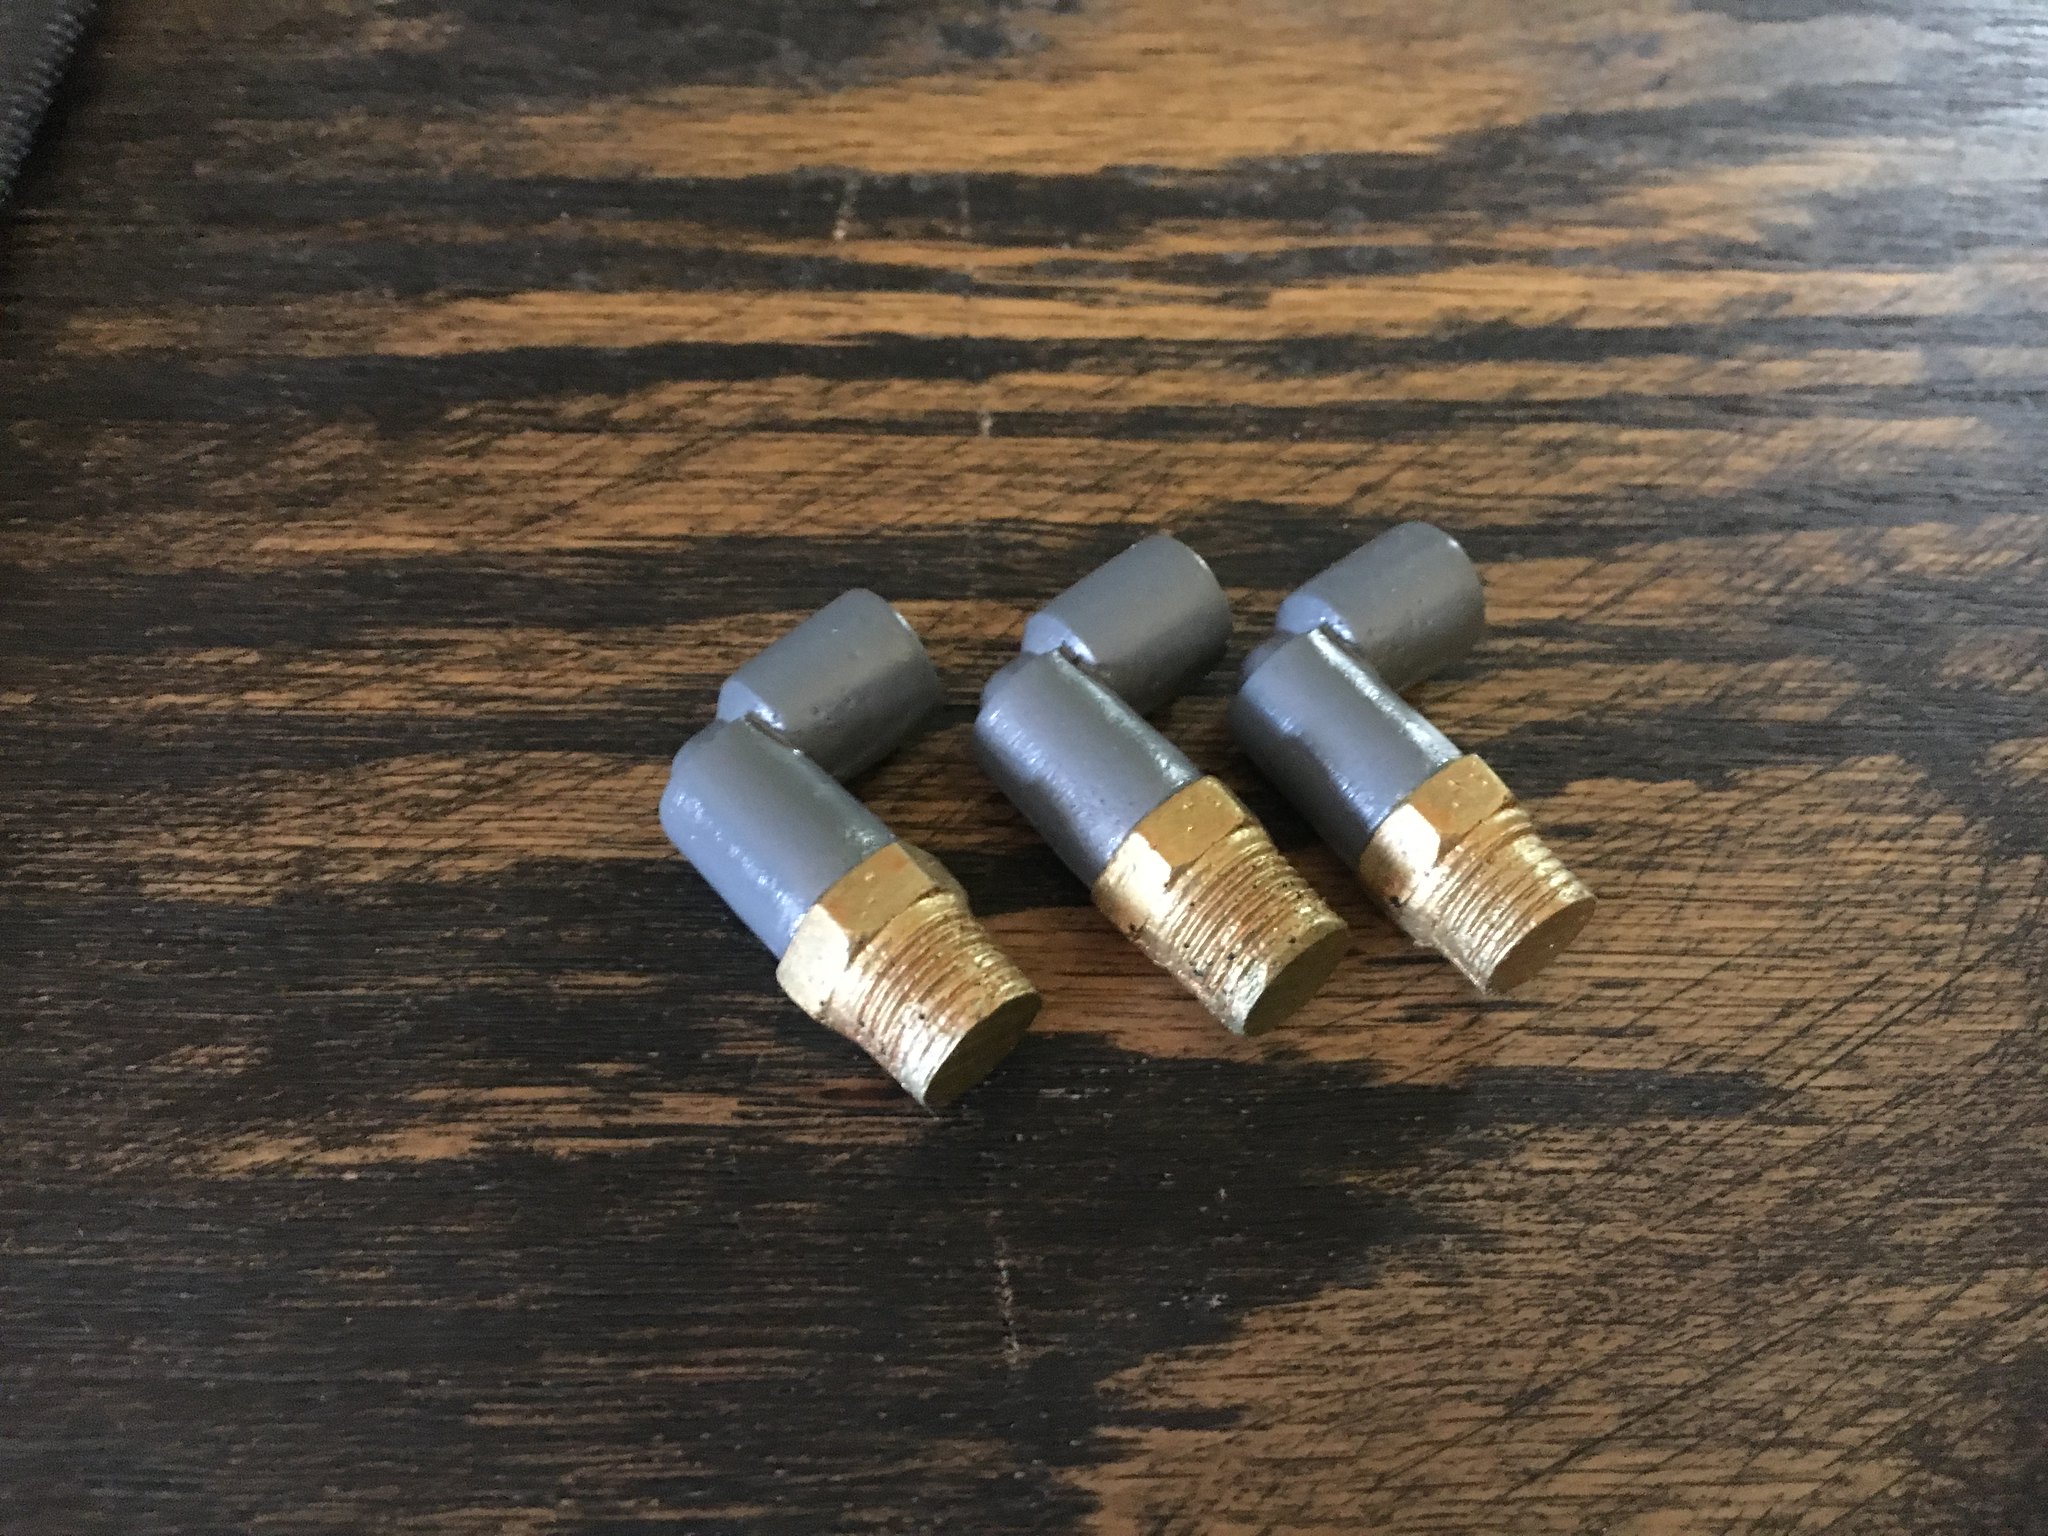 Papacy bits by Brett Watt, on Flickr
These replica resin Legris elbow parts had a few air bubbles, so they were roughly filled with some thinned-down water-based filler putty, then sanded smooth with a 400-grit sanding sponge. They got primed with Badger Stynylrez Gray airbrush primer, which is actually a satisfactory color for the plastic parts. Those plastic parts then got hand-brushed with a layer of Future acrylic floor polish, to help replicate that smooth, slightly shiny plastic surface.
The brass was originally a coat of the Vallejo Metal Color: Gold acrylic airbrush paint, but it comes to too green-ish. I dry-brushed on a couple layers of brass-toned metallic gold acrylic hobby paints, but they did not do enough to turn the green-ish tone more brown-ish. I brushed on a reddish gold full layer of acrylic paint, then applied a thin coat of the lightly tinted brown-gold paint. hey were then dry-brushed again with the lighter-colorer gold acrylic paint.
 Papacy bits by Brett Watt, on Flickr
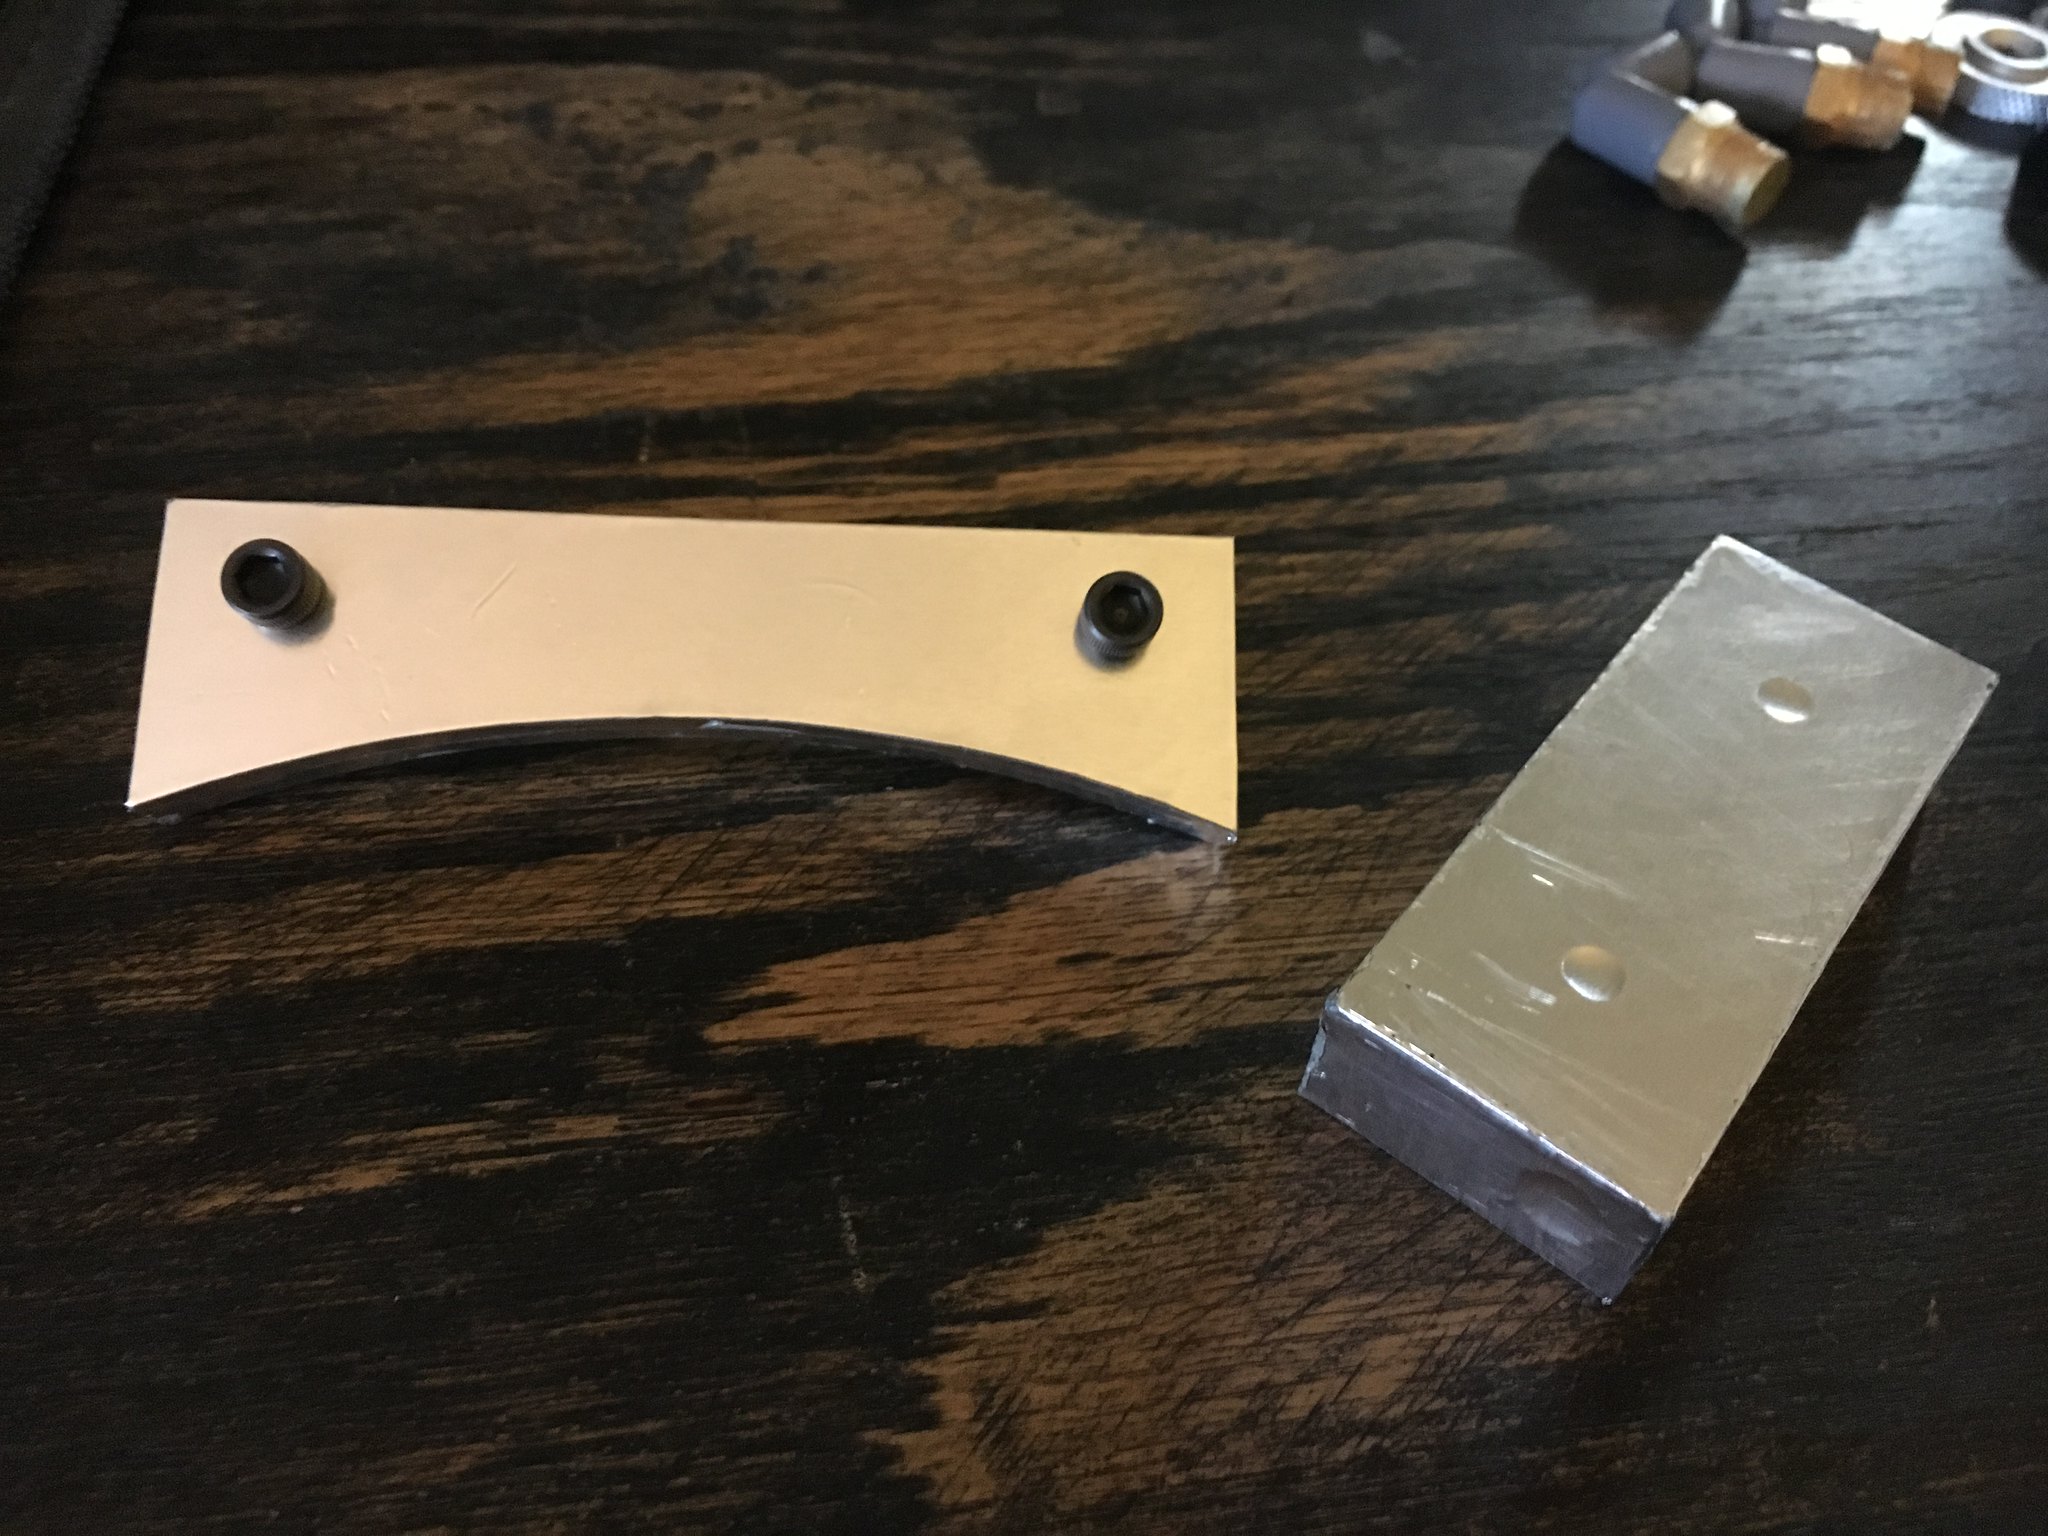
I used alumni foil heating duct tape to coat these parts. Excess foil was careful trimmed away with a hobby knife. The remainder was hand-burnished down into place.
 Papacy bits by Brett Watt, on Flickr
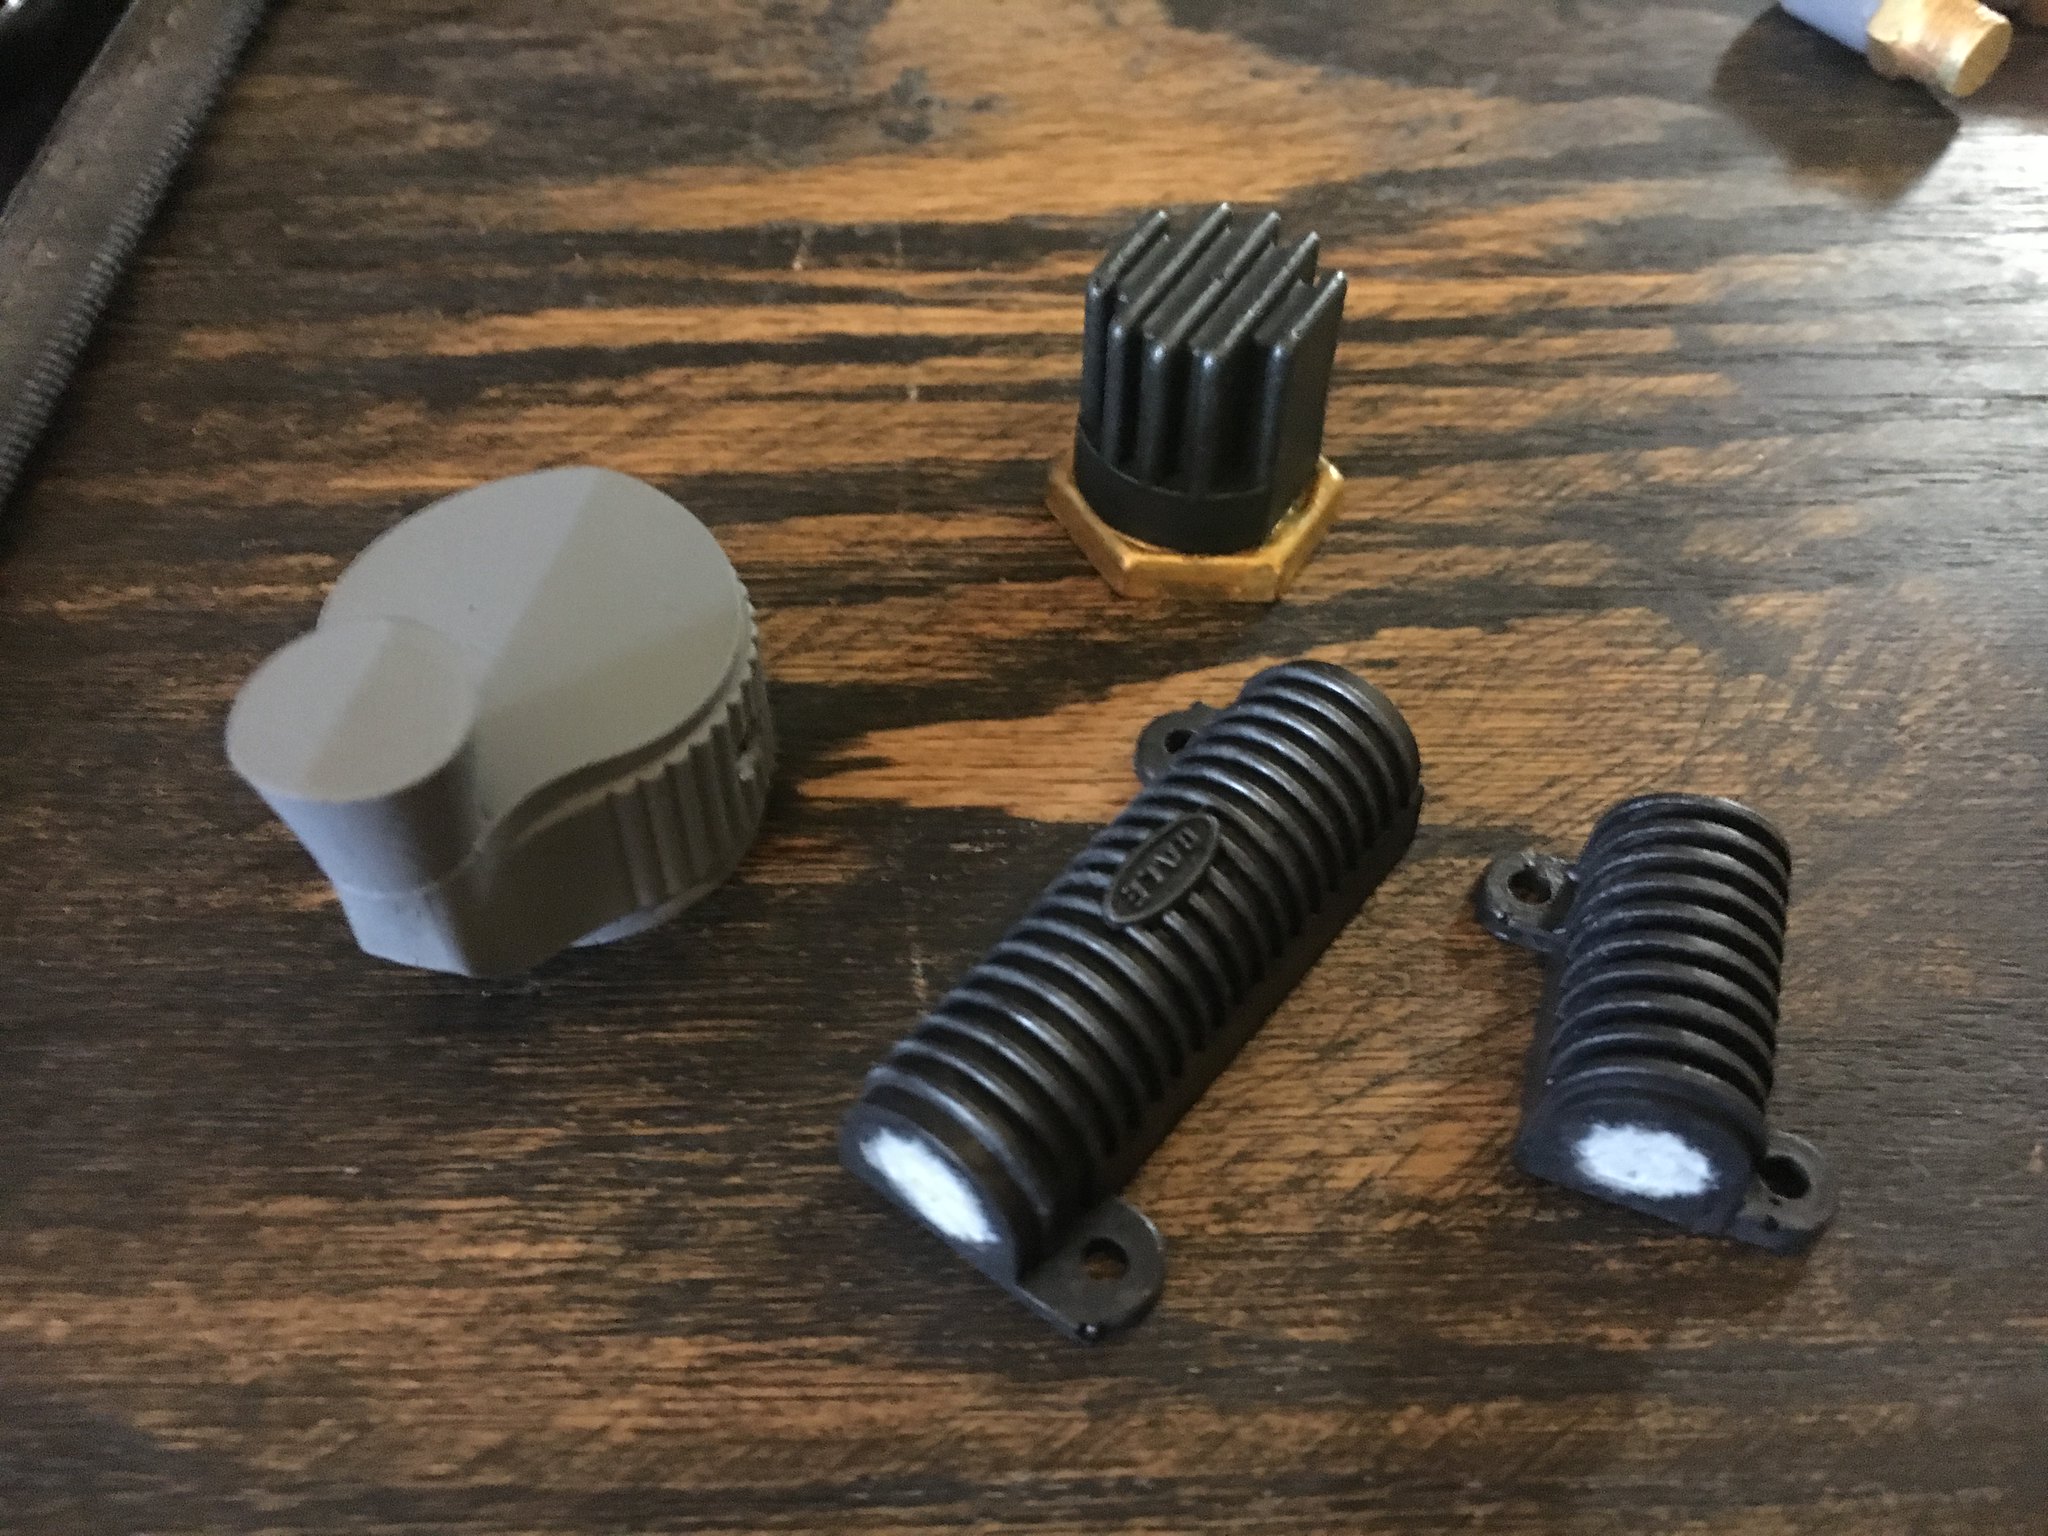
These resin parts were also primed with Stynylrez. I used gray for the crank knob and black for the resistors. While I left the crank knob inits primer, which looks about right to me, I did a bunch of extra finishing to the resistors to try and achieve that gritty cermic look.
I stippled on some Vallejo Dark Rubber on the Sage-style linear resistors. Stippling was supposed to help achieve a grittier texture. It didn’t work exactly as hoped, so instead I added some metallic medium (paint sparkle) to the rubber black. That worked a lot better at simulating the grit and reflectiveness of ceramic. I applied a thin black wash to darken the recessed details. I also gave it a dry-brush with a medium-bray to help bring out the raised details. I stippled on some light gray, then some white on the ends of the resistors, to give the look of the ceramic core inside the resistor.
For the Dale plug-style resistor, I stippled on a green-black color from Vallejo, then added some metallic medium and stippled a second coat on. For the metal screw-on retaining nut, I base-coated it with yellow ochre, then did several thin coats of various gold-type colors, finishing it off with a very light dry-brush of a silvery-gold finish.
 Papacy bits by Brett Watt, on Flickr
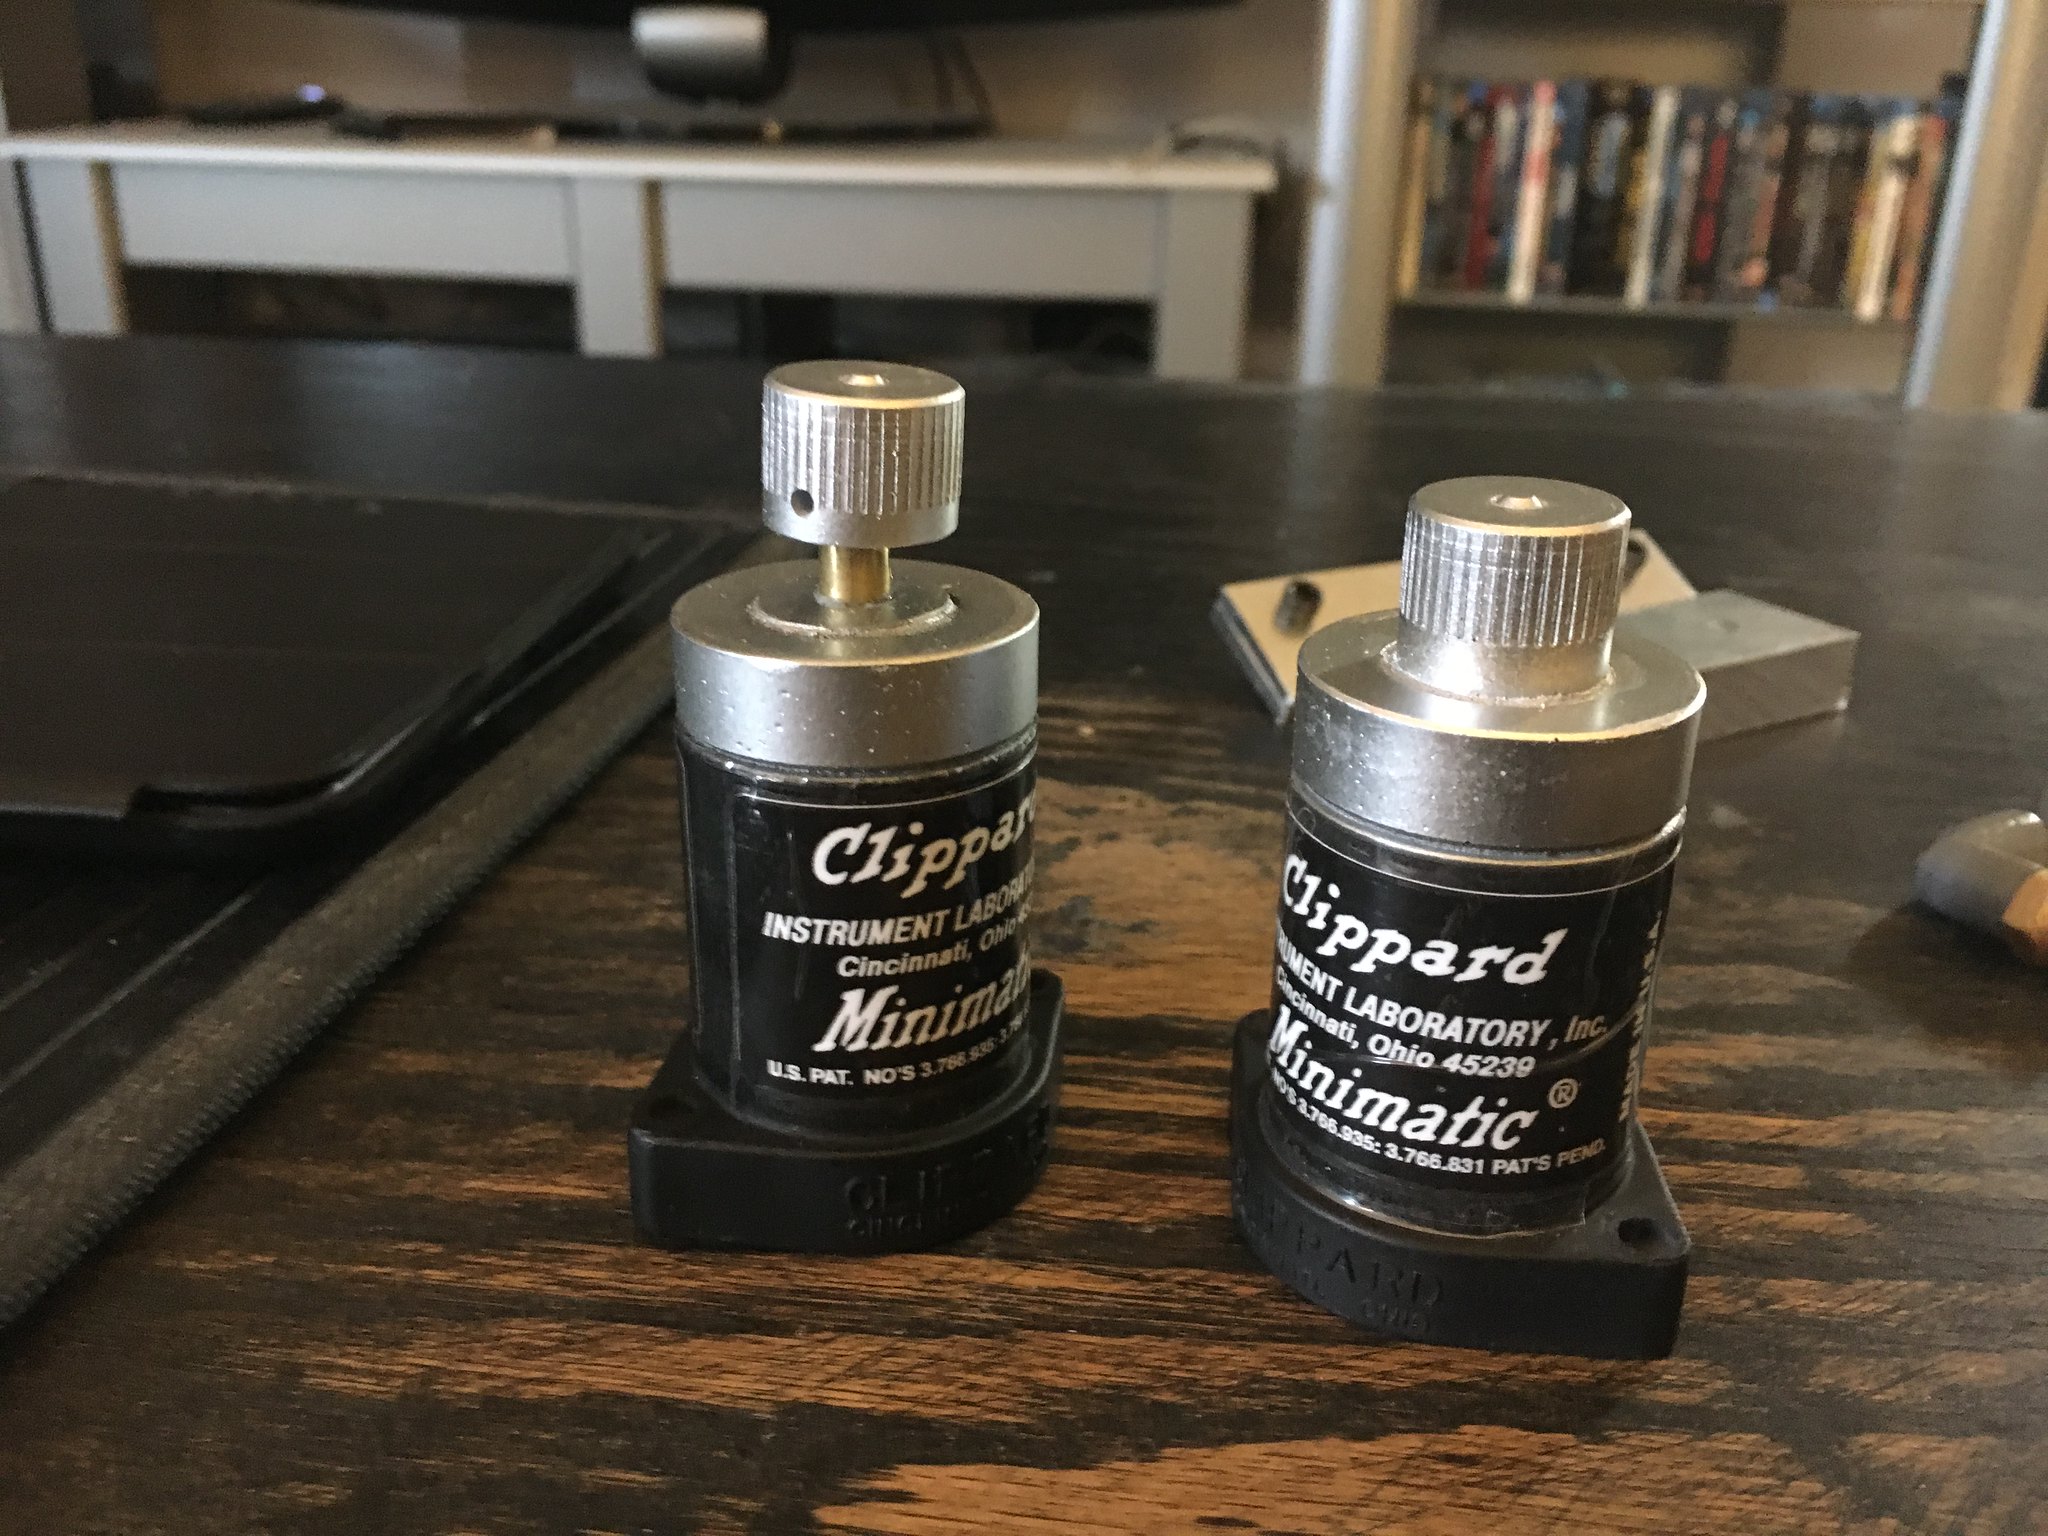
These are the Clippard resin castings that came with the resin set I ordered for my build. I didn’t do any filling of the parts, so there are still some micro-bubbles in the surface. However, I find that I tend to somewhat ruin the smoothness and sharpness of anything I sand, so I elected to just go with the parts as-is. These will eventually get replaced with the real valves.
I sawed the top knob off of one of the resistors. That would be my R-701 resistor for my thrower.
They got their primer coat of Stynlylrez black from the airbrush. I masked off the body and sprayed on Vallejo Metal Color Chrome for the top of the valve. I then applied the vinyl decal on the body and sealed it in with a wrap in packing tape.
To finish the R-701 valve, I cut up a couple short pieces of brass tubing and drilled recesses for them to sit inside the resistor knob and body. I also drilled a small hole on the side of the outer tube, so you could see inside. These were all joined together with some 5-min epoxy. I finished off the valve by drilling a small hole in the knob, to simulate the set-screw seen on the real valve.
Back to the shop!
 Proton Pack 2 by Brett Watt, on Flickr
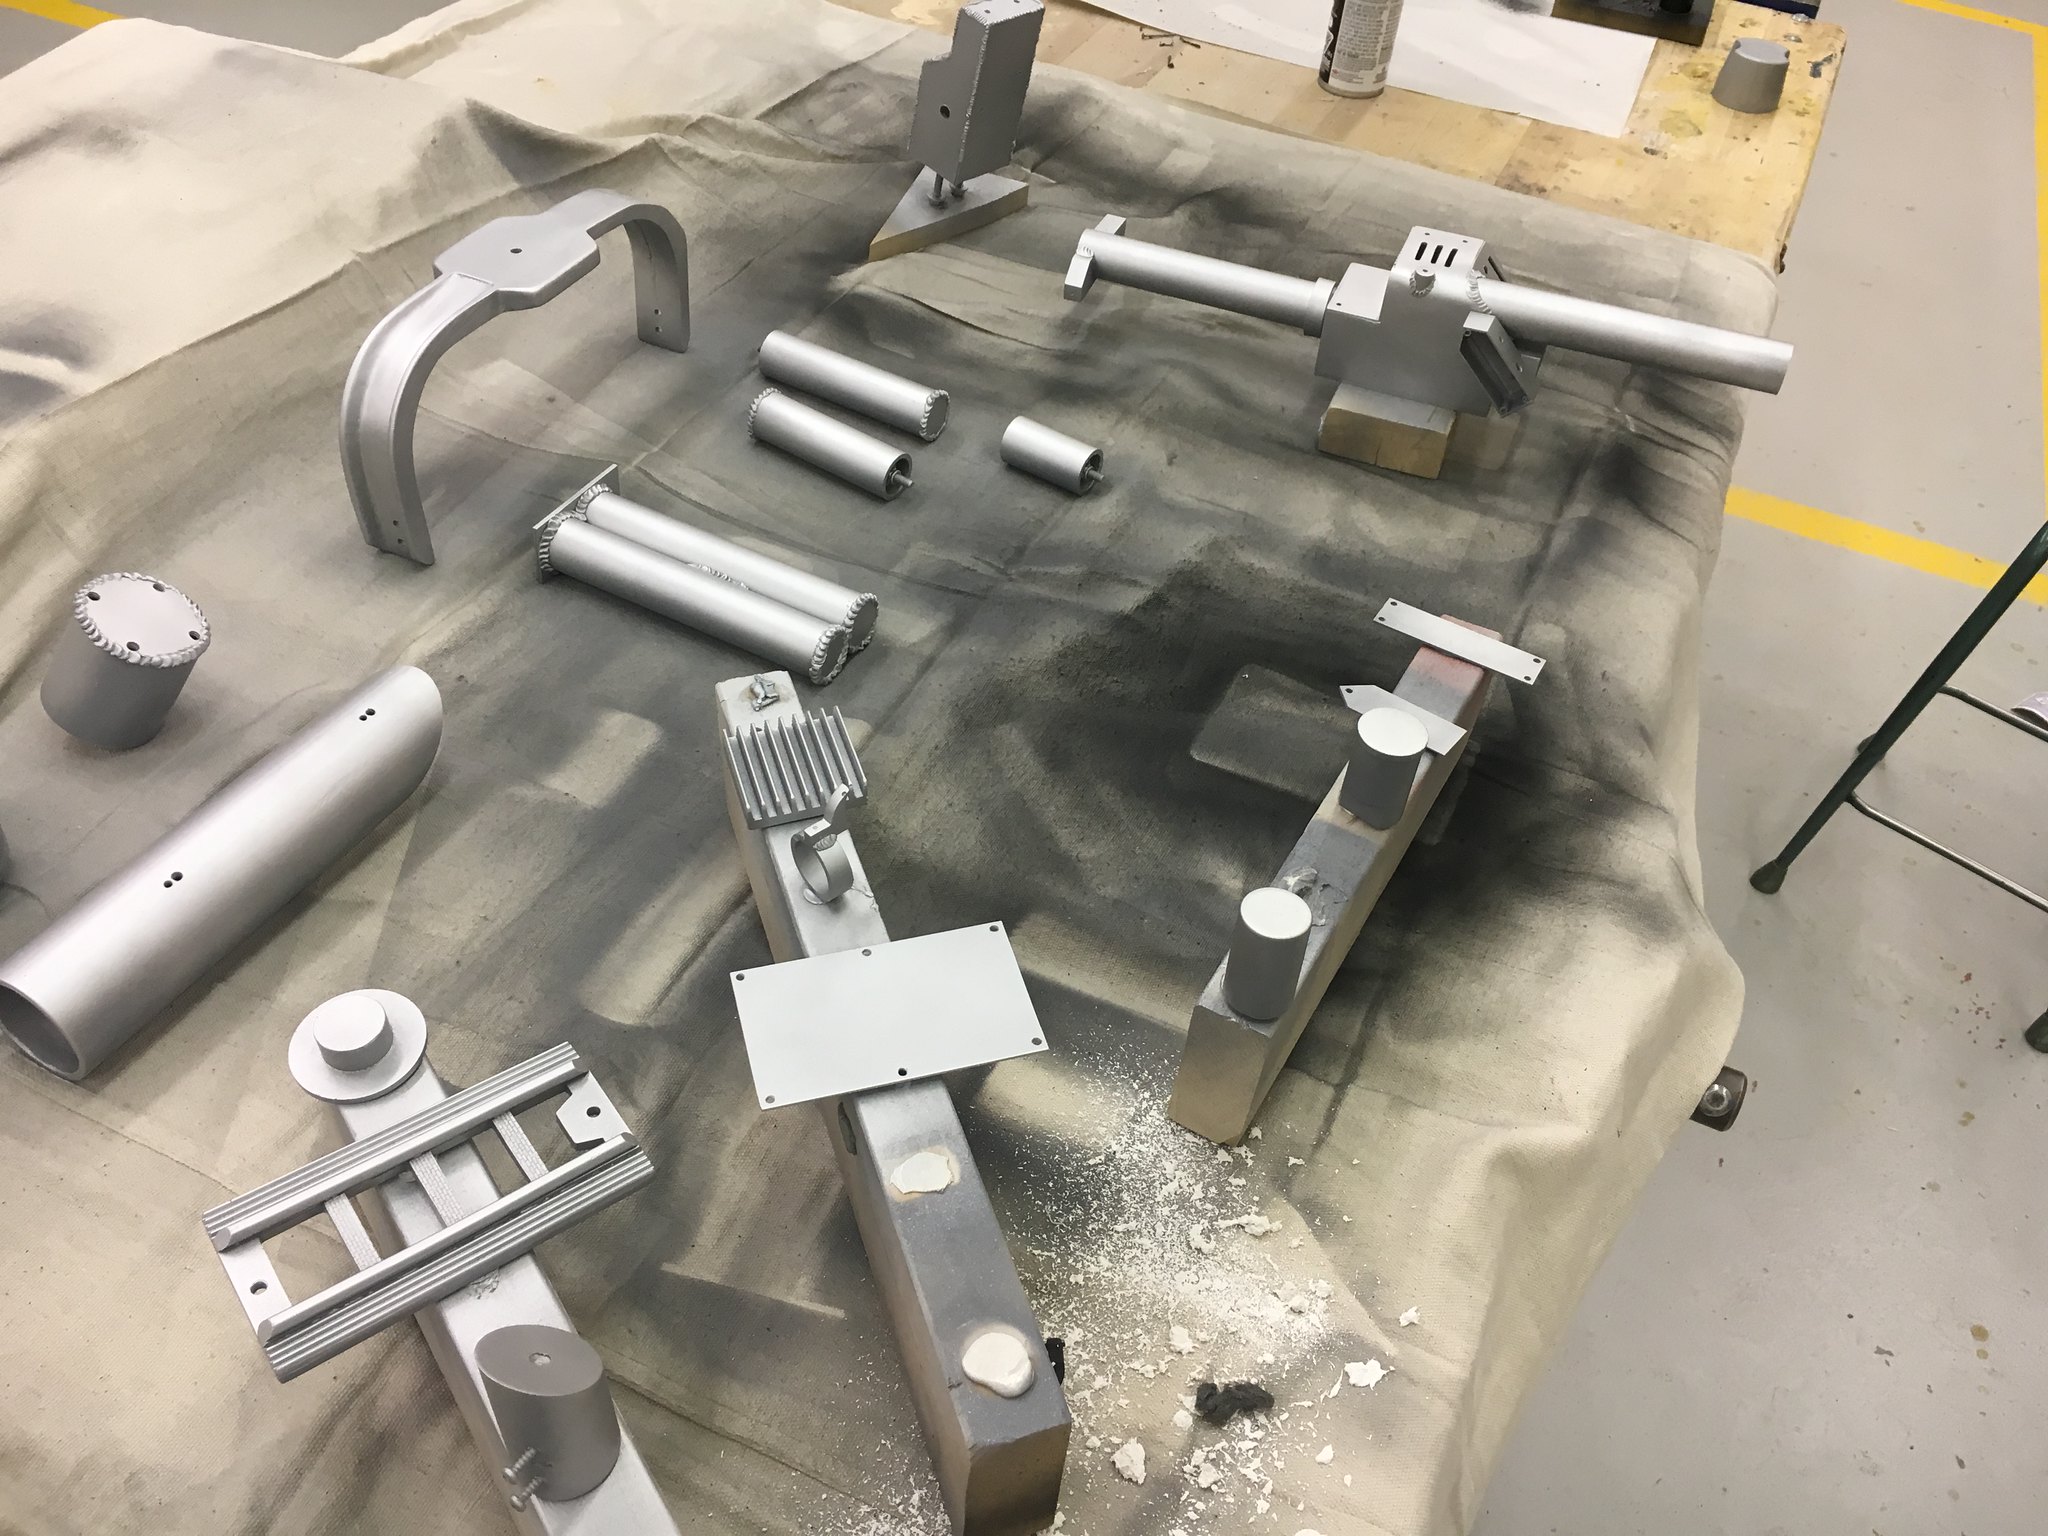
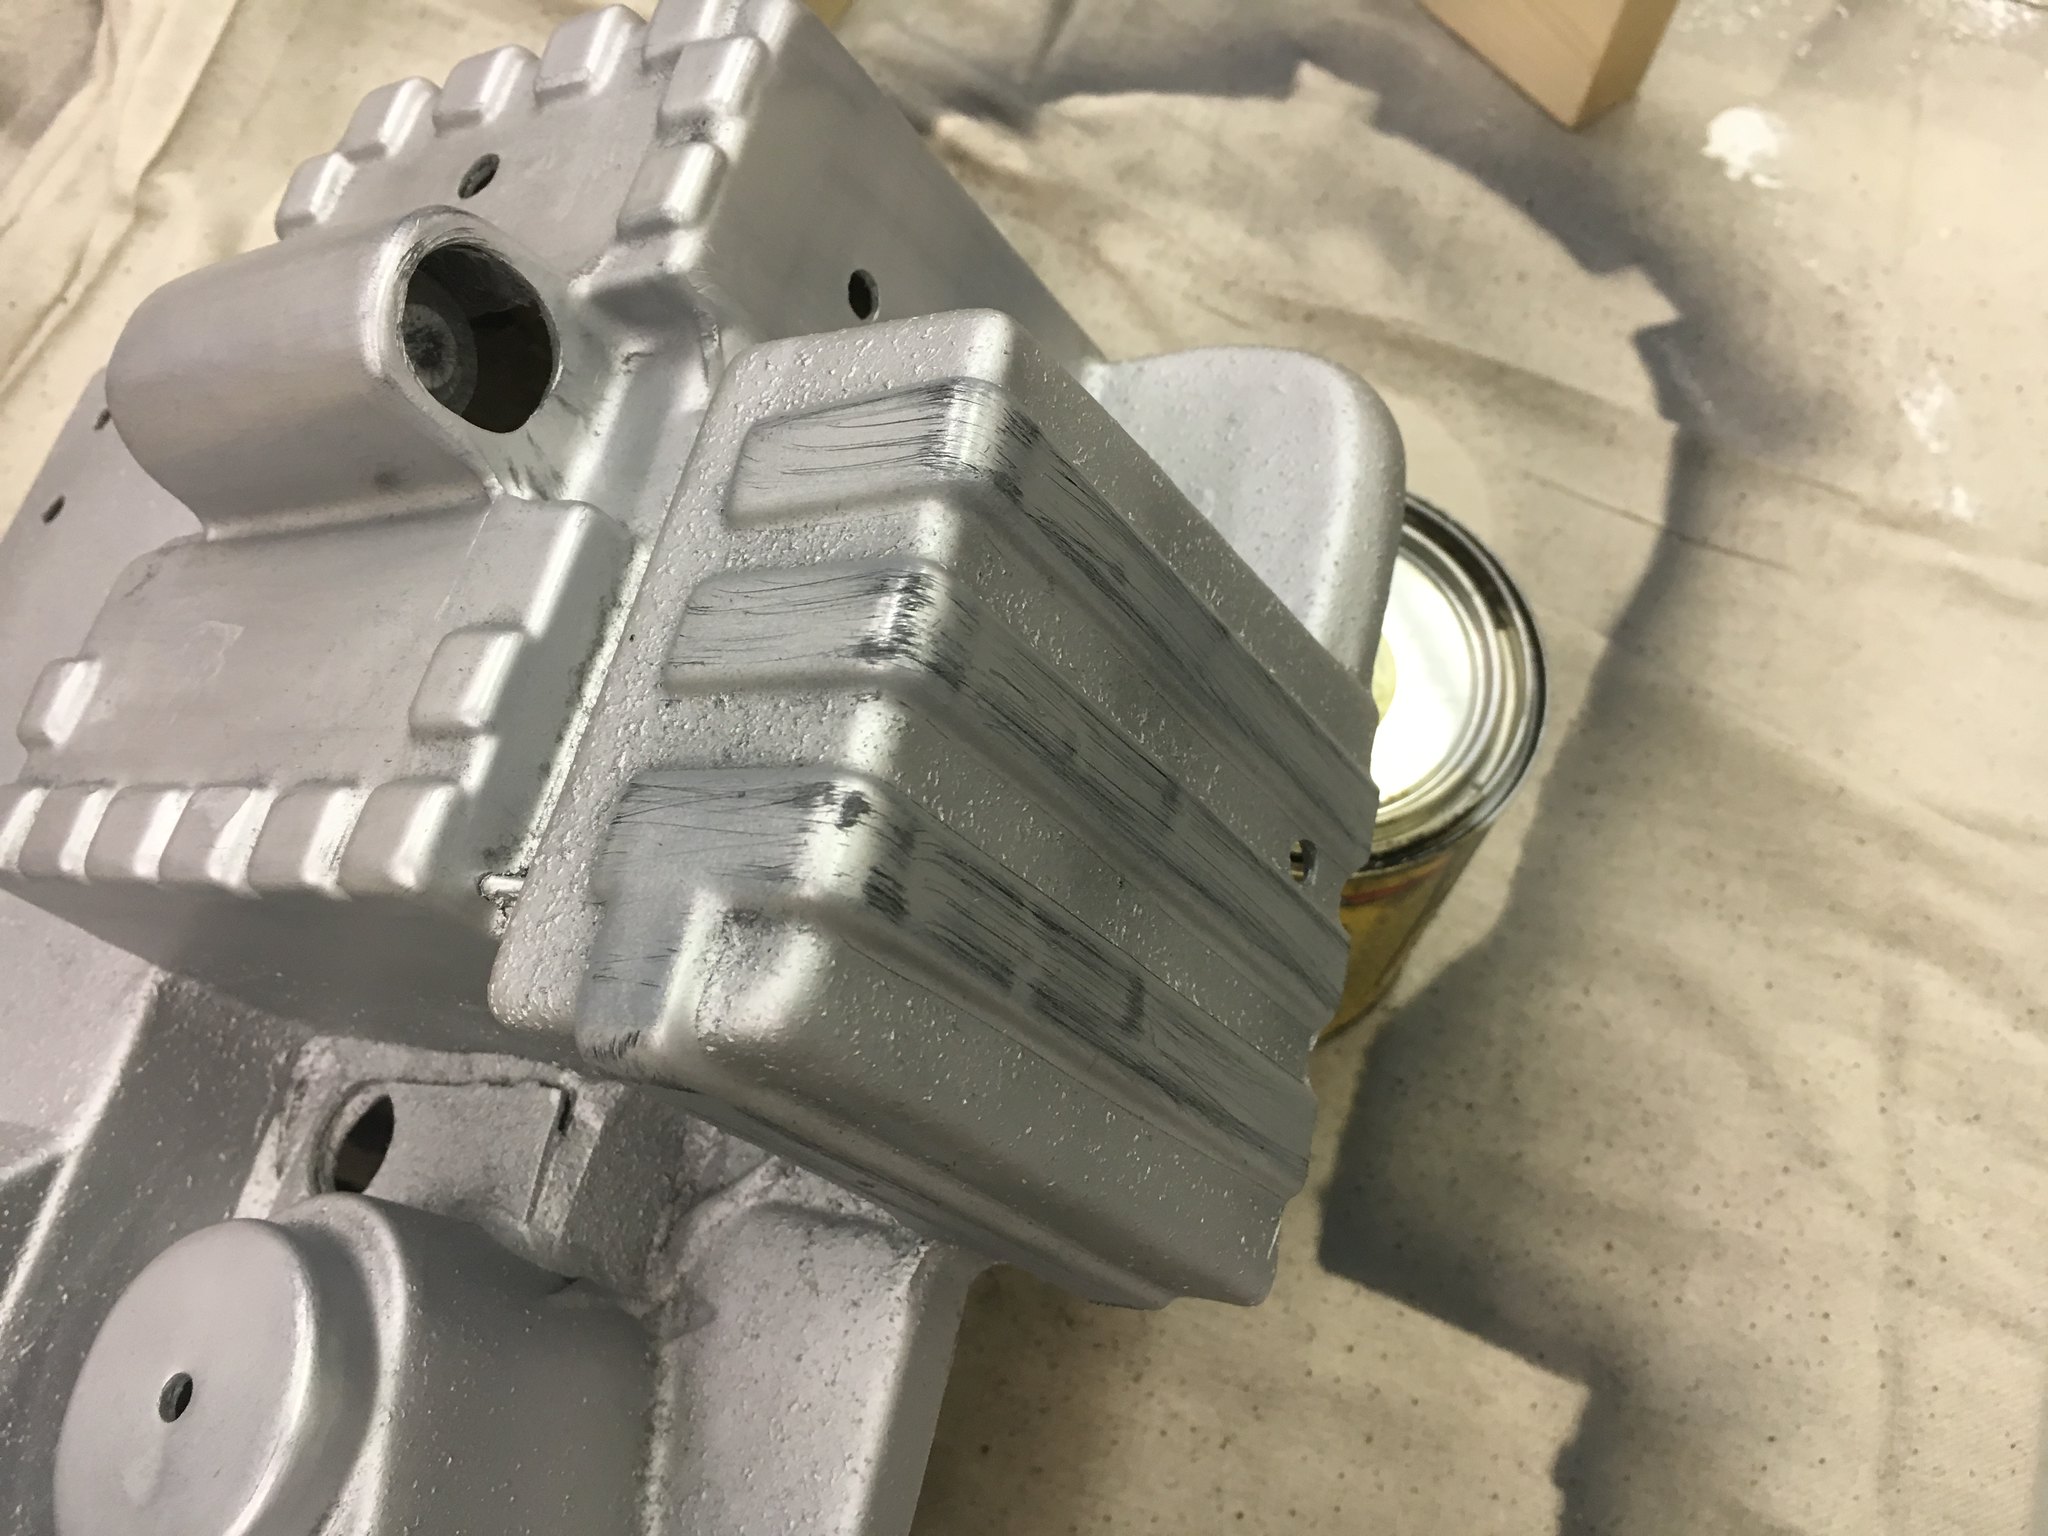
Time for some silver paint! Before painting, I primed the parts using an automotive self-etching primer meant for metal. I find that it bites into plastic surfaces pretty well, except maybe for HDPE plastic (plastic 1 gal. milk jugs, ANH screen-used stormtrooper helmets) which tends to be a rubbery sort of plastic. After primer, I rubbed all the parts down with either 0000 grade steel wool or a 3M abrasive “scotch-brite” auto-body Stage 4 scouring pad. All the parts were then rinsed in water, then allowed to air-dry. Before any actual paint, the parts were wiped down with a micro-fibre cloth to remove any dust and paint residue.
For painting the silver, I used a Krylon Metallic Aluminum spray-bomb. One can did the pack body, all the separate parts and the thrower body as well. I sprayed a coat, waited the 5-minute drying time (very beneficial feature of this paint!), rubbed the part down with some 0000-grade steel wool to take down any roughness or paint dust, then wiped it clean with the micro-fibre towel. This process was repeated three times for all the parts, the thrower, and the pack (although I only rubbed down the non-textured parts of the pack shell with steel wool, but the entire pack was wiped clean with the micro-fibre towel).
 Proton Pack 2 by Brett Watt, on Flickr
 Proton Pack 2 by Brett Watt, on Flickr
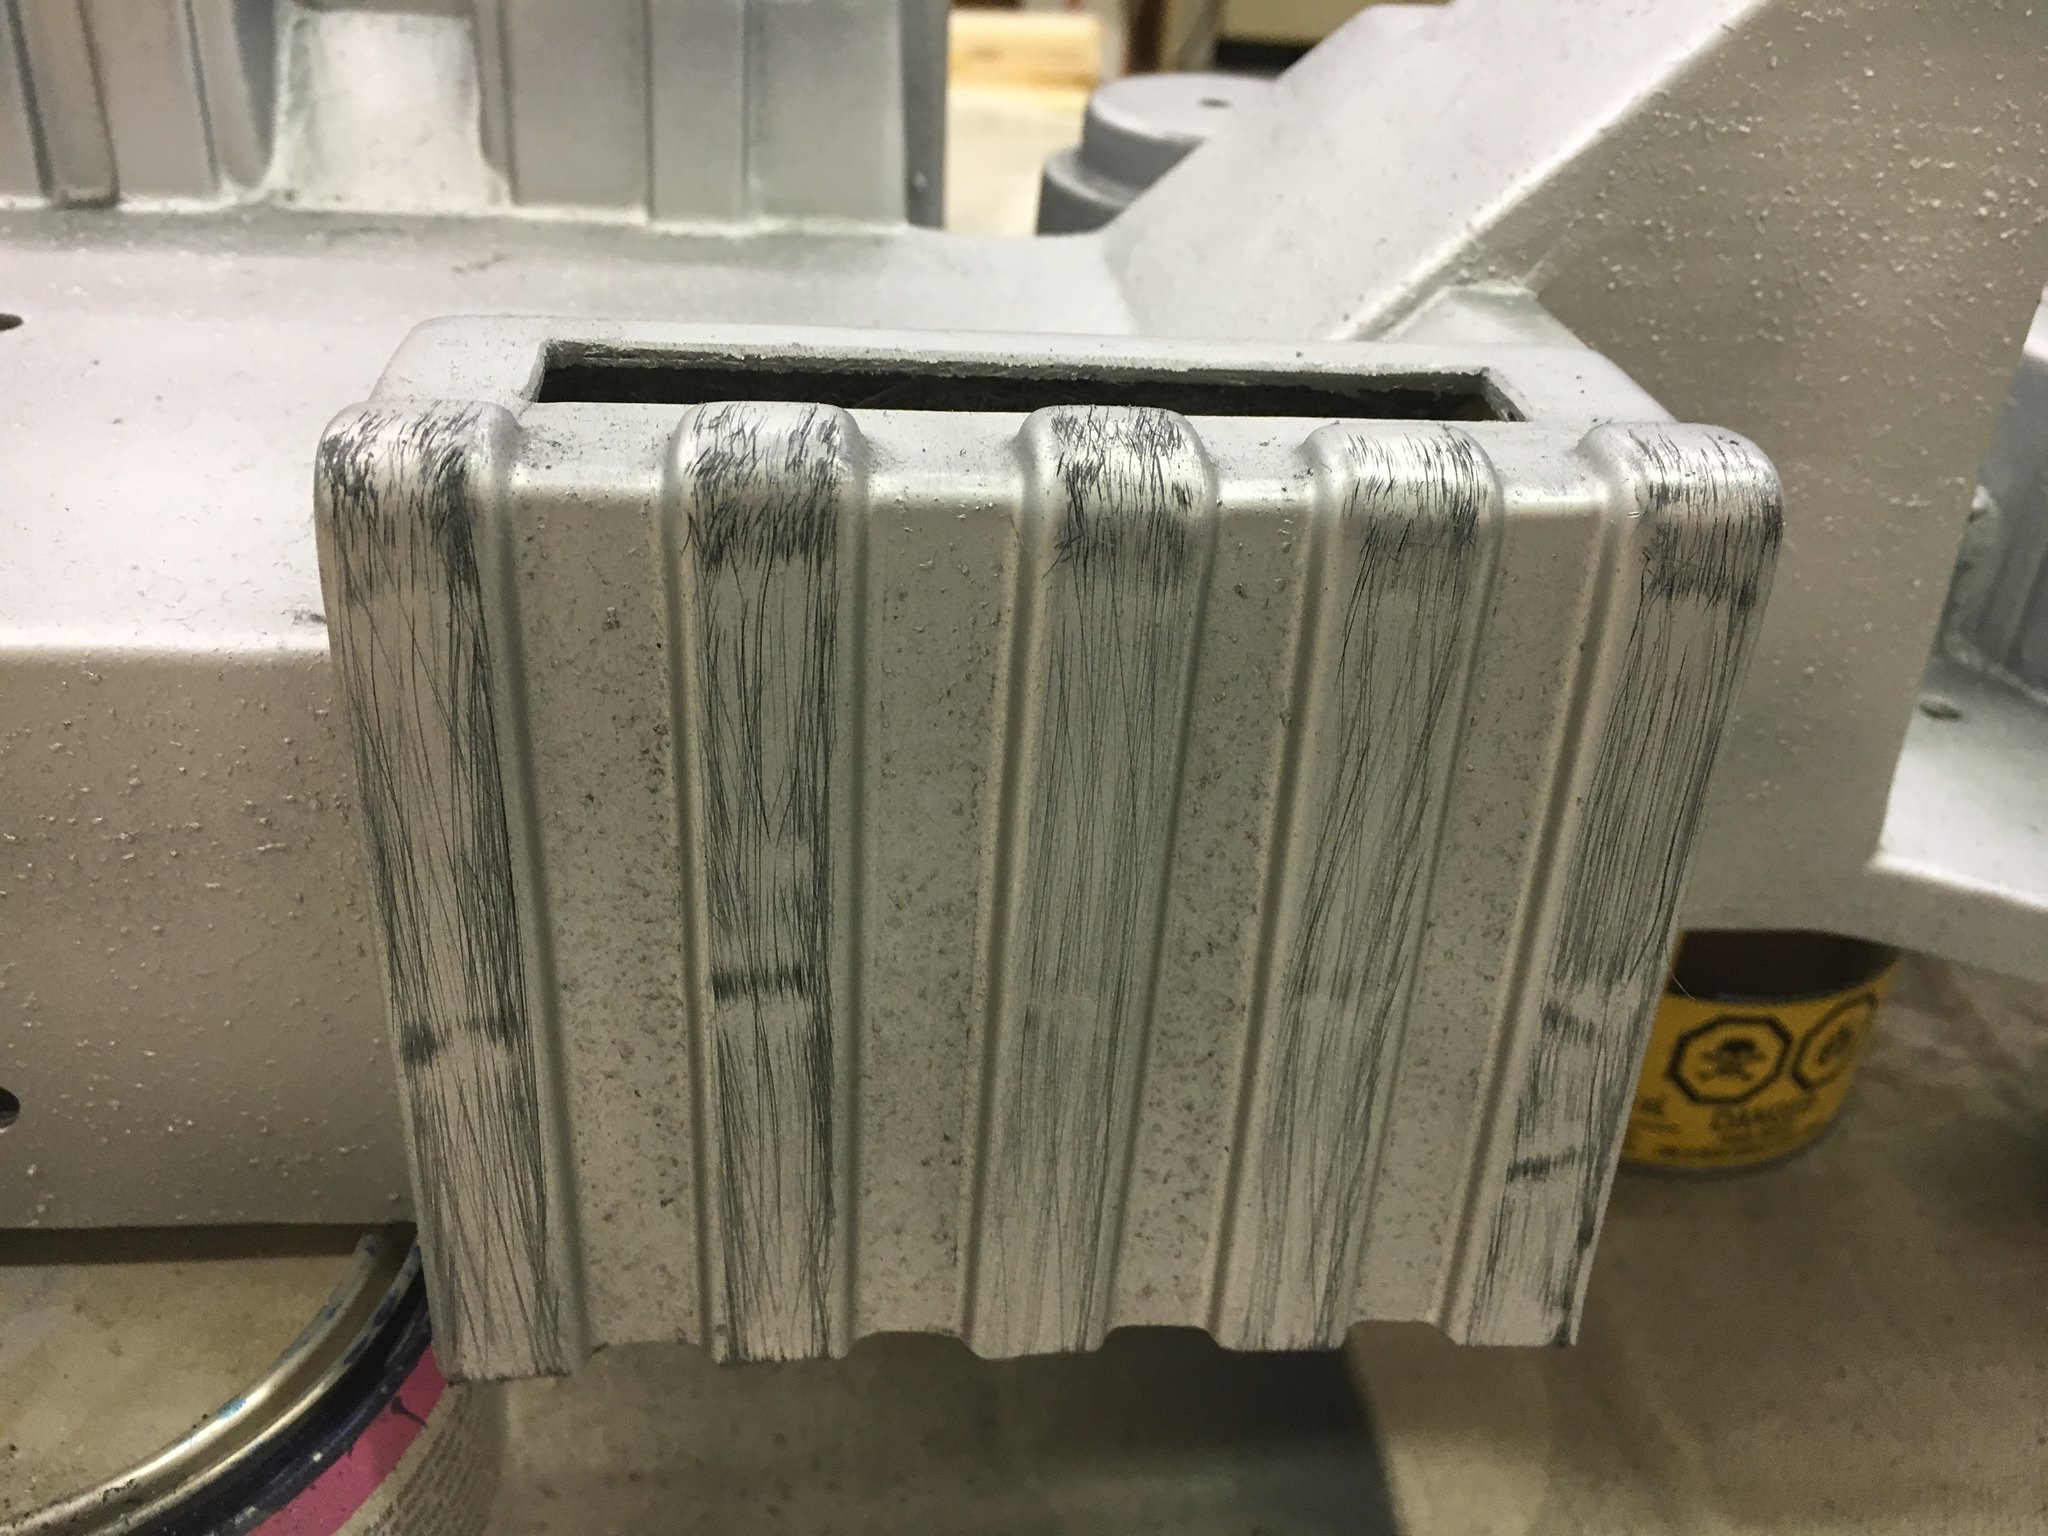
After unmasking the pack after texturing, I forgot to add the scratch/texture along the raised ridges of the power cell and the gun mount. I used some 80-grit sandpaper to do this after adding the first silver paint coat.
 Proton Pack 2 by Brett Watt, on Flickr
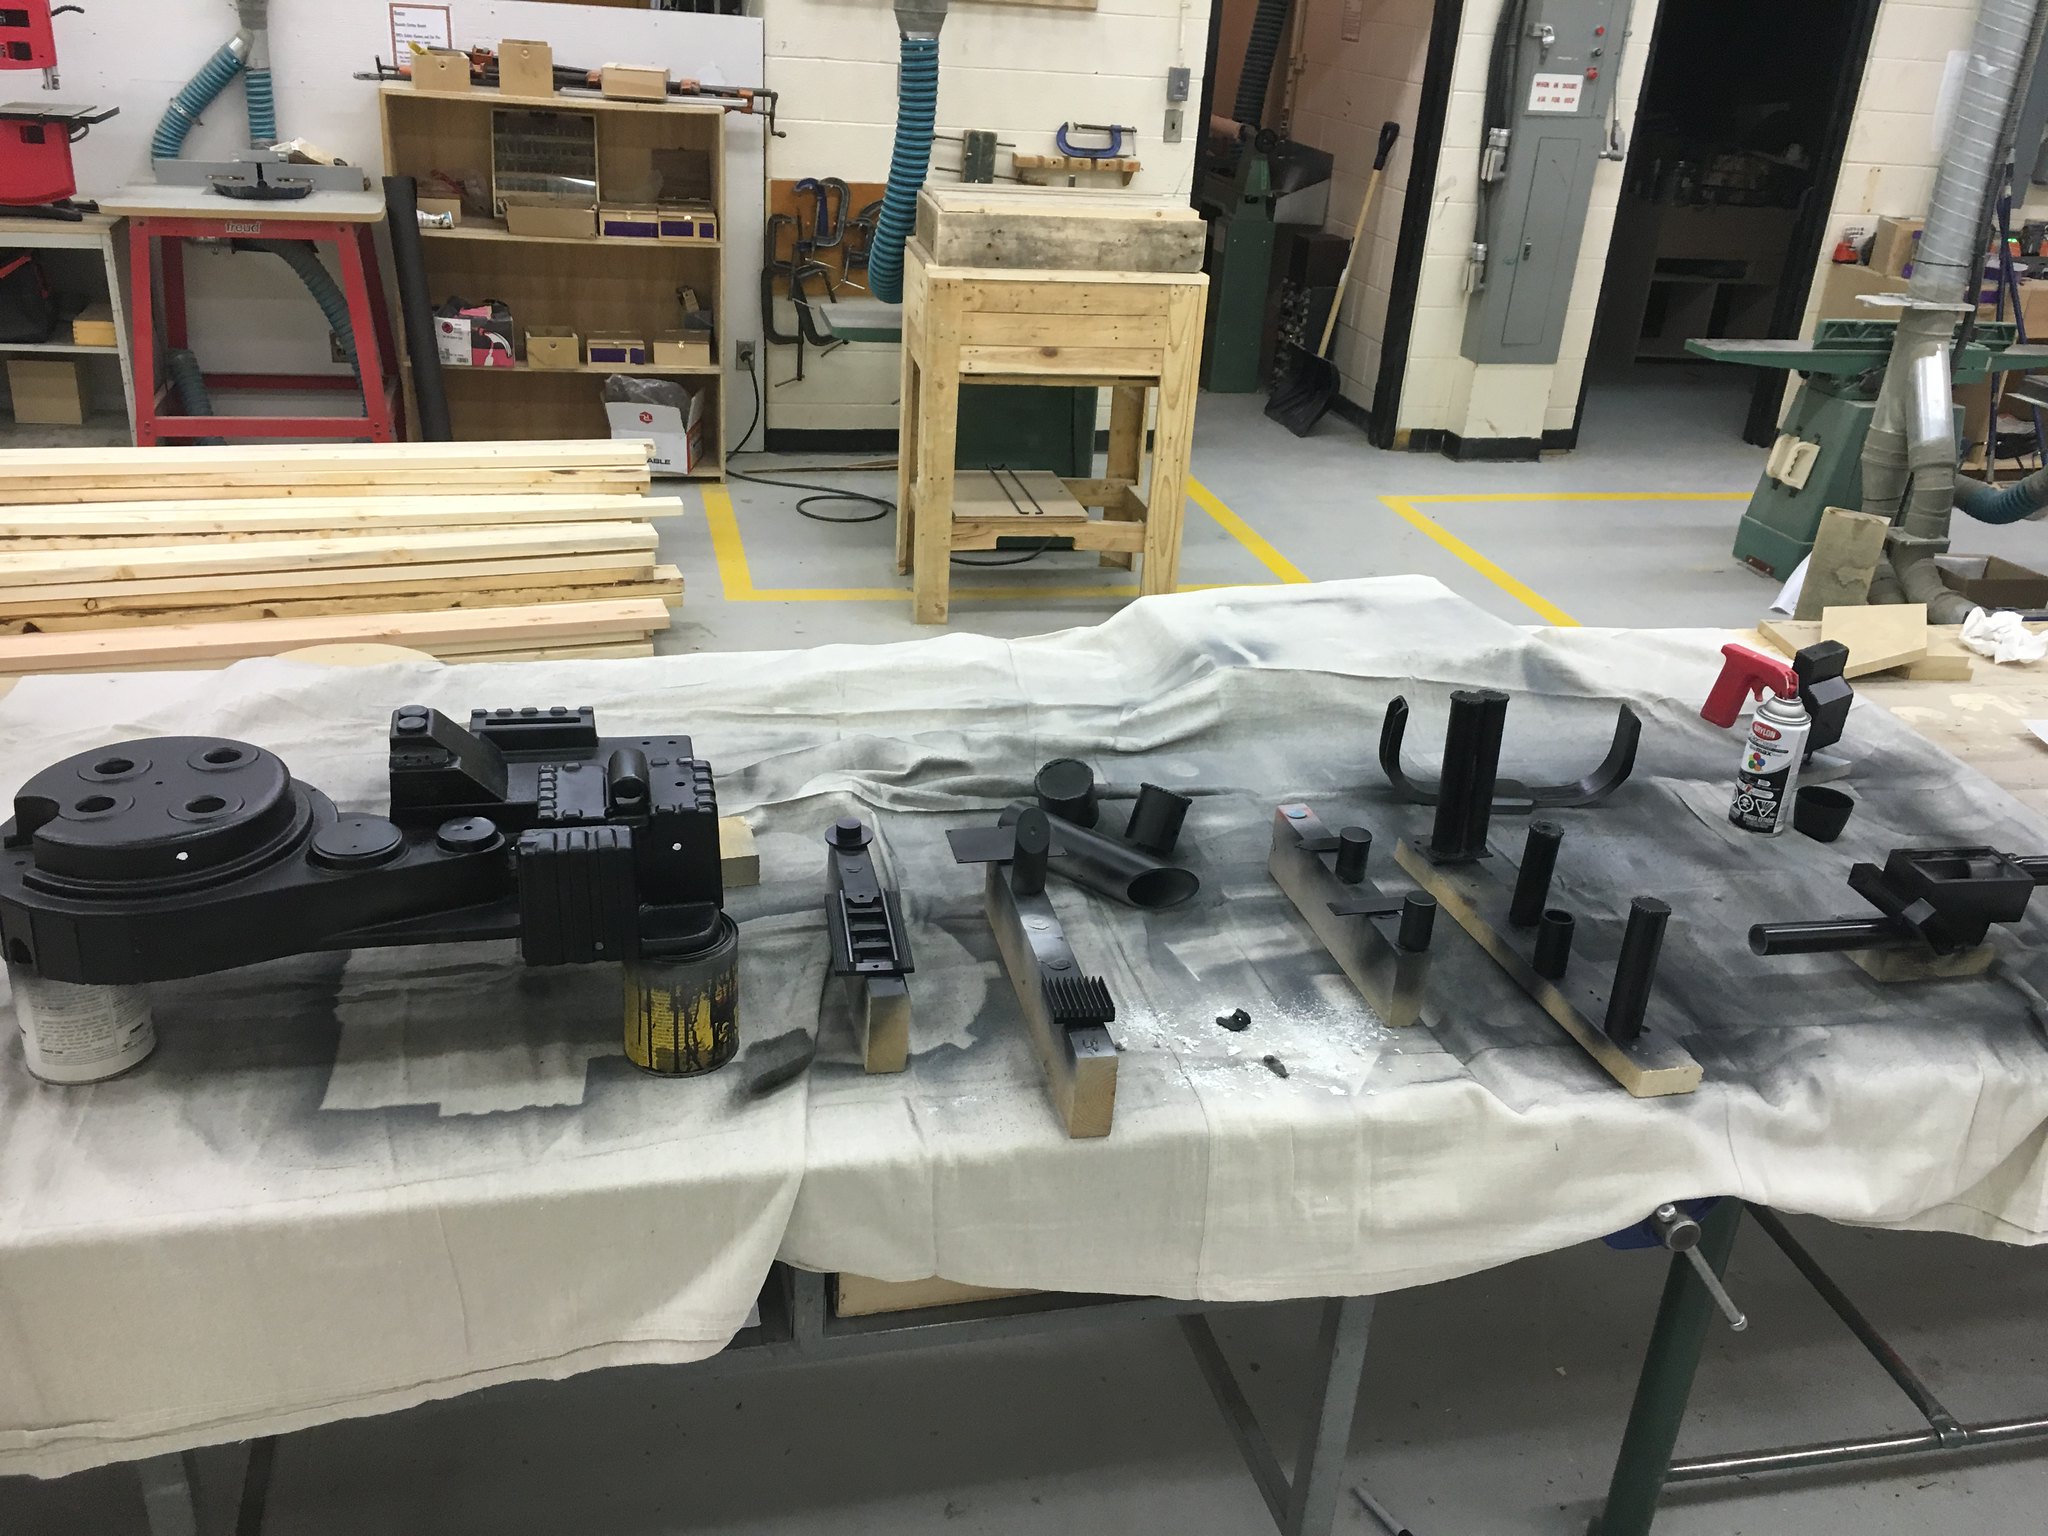
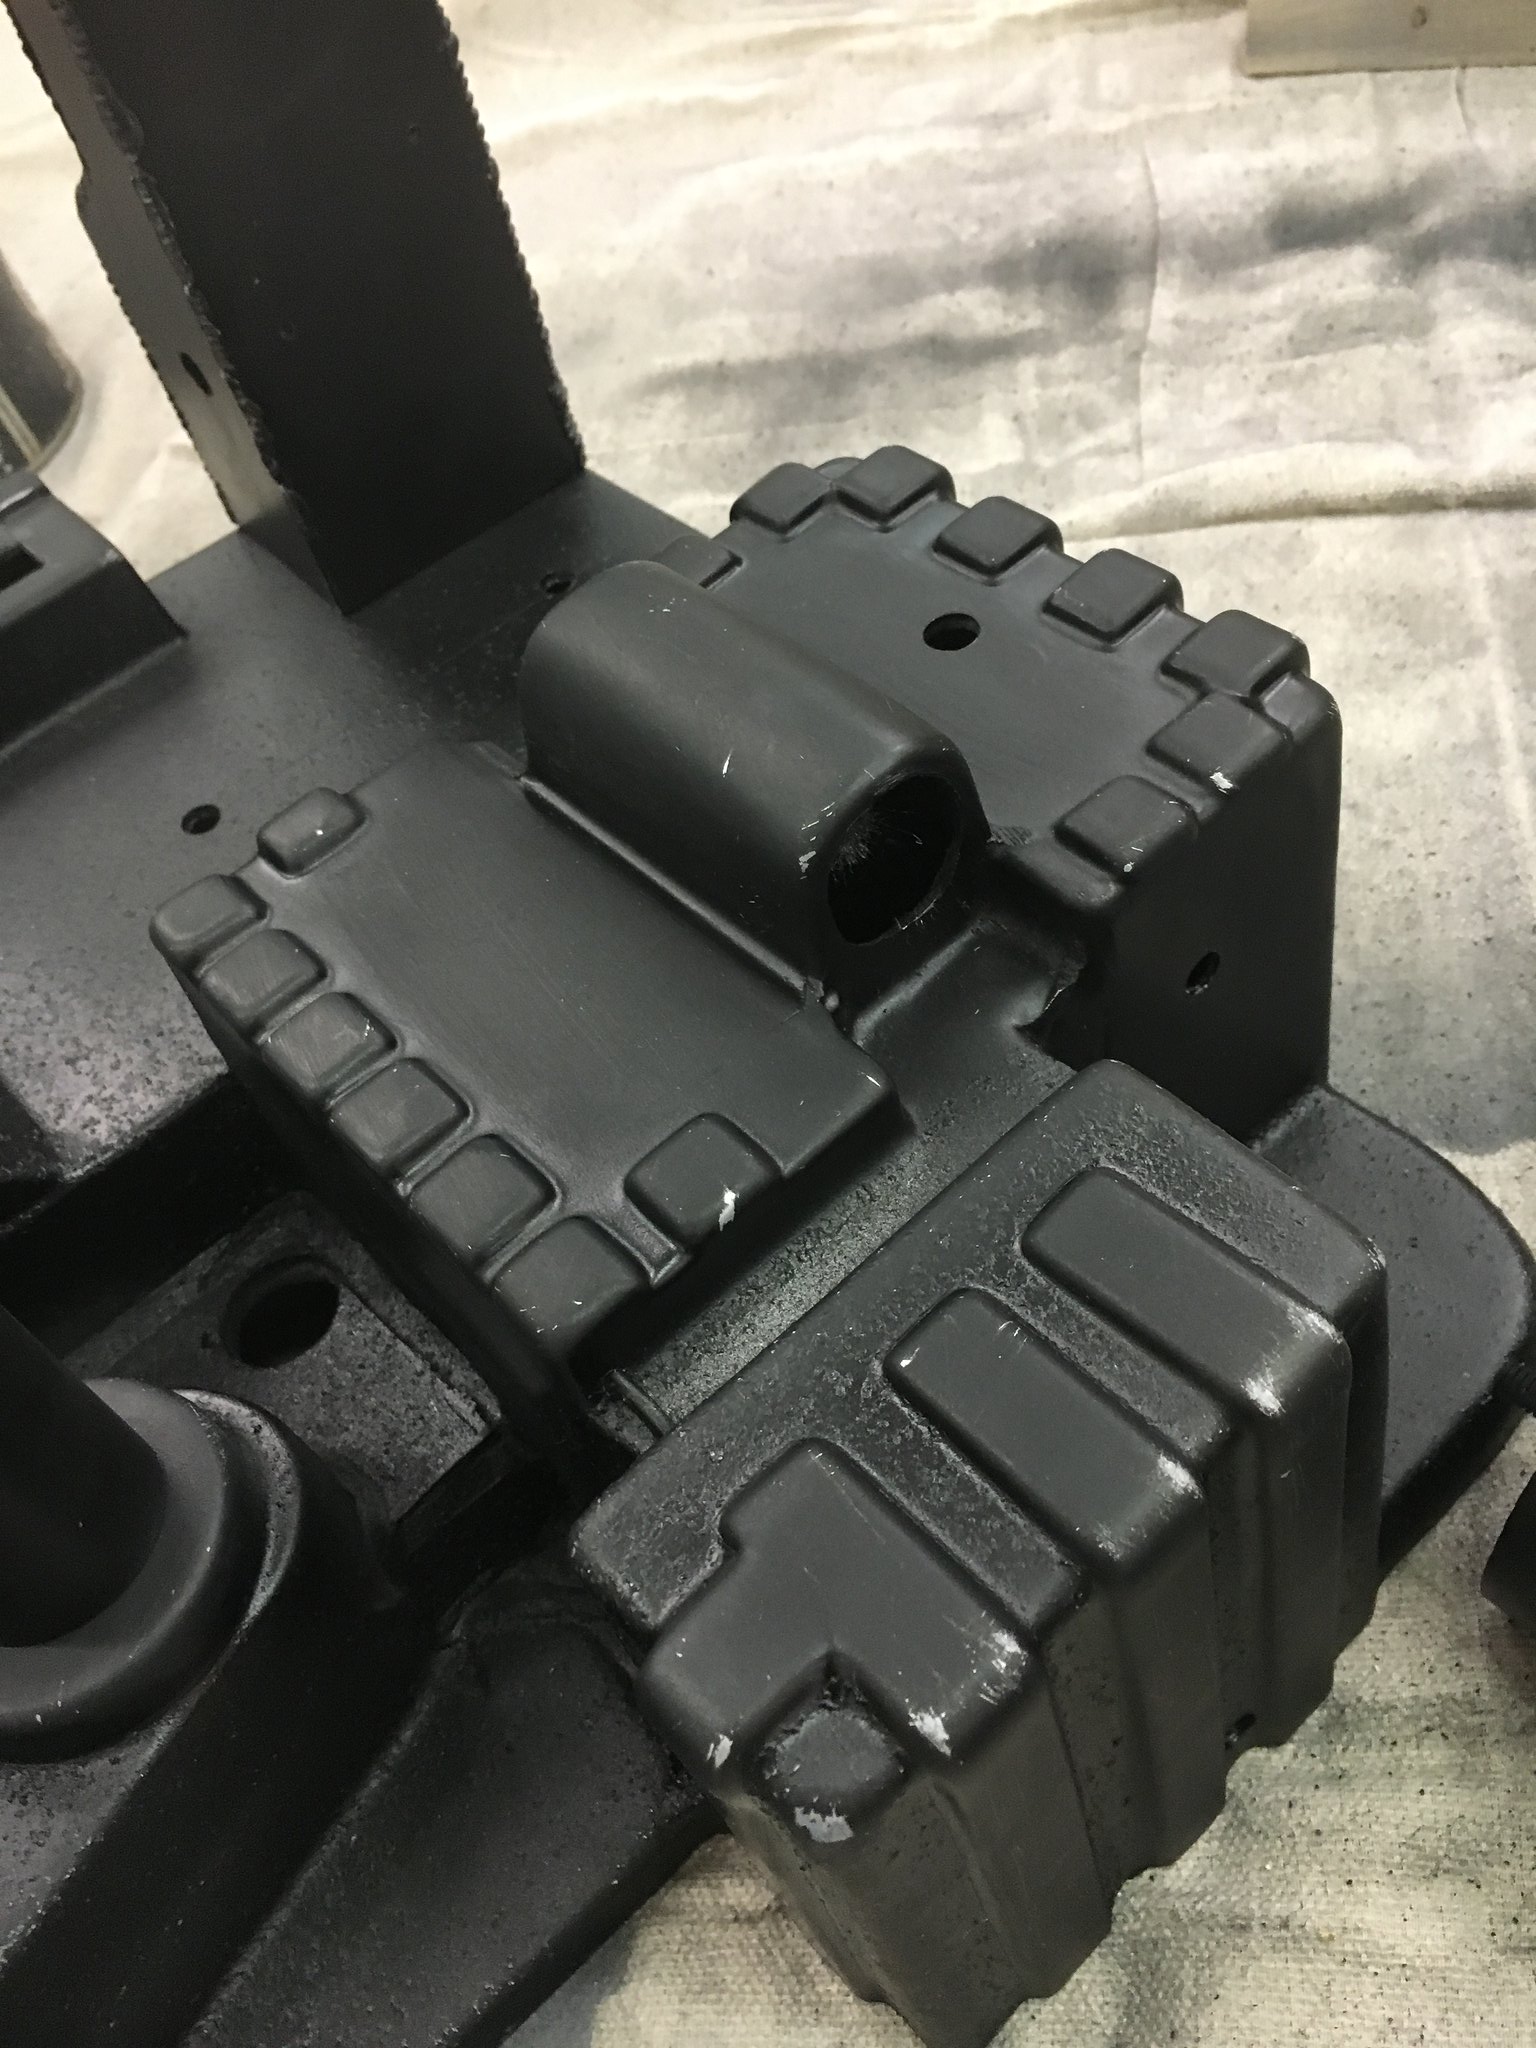
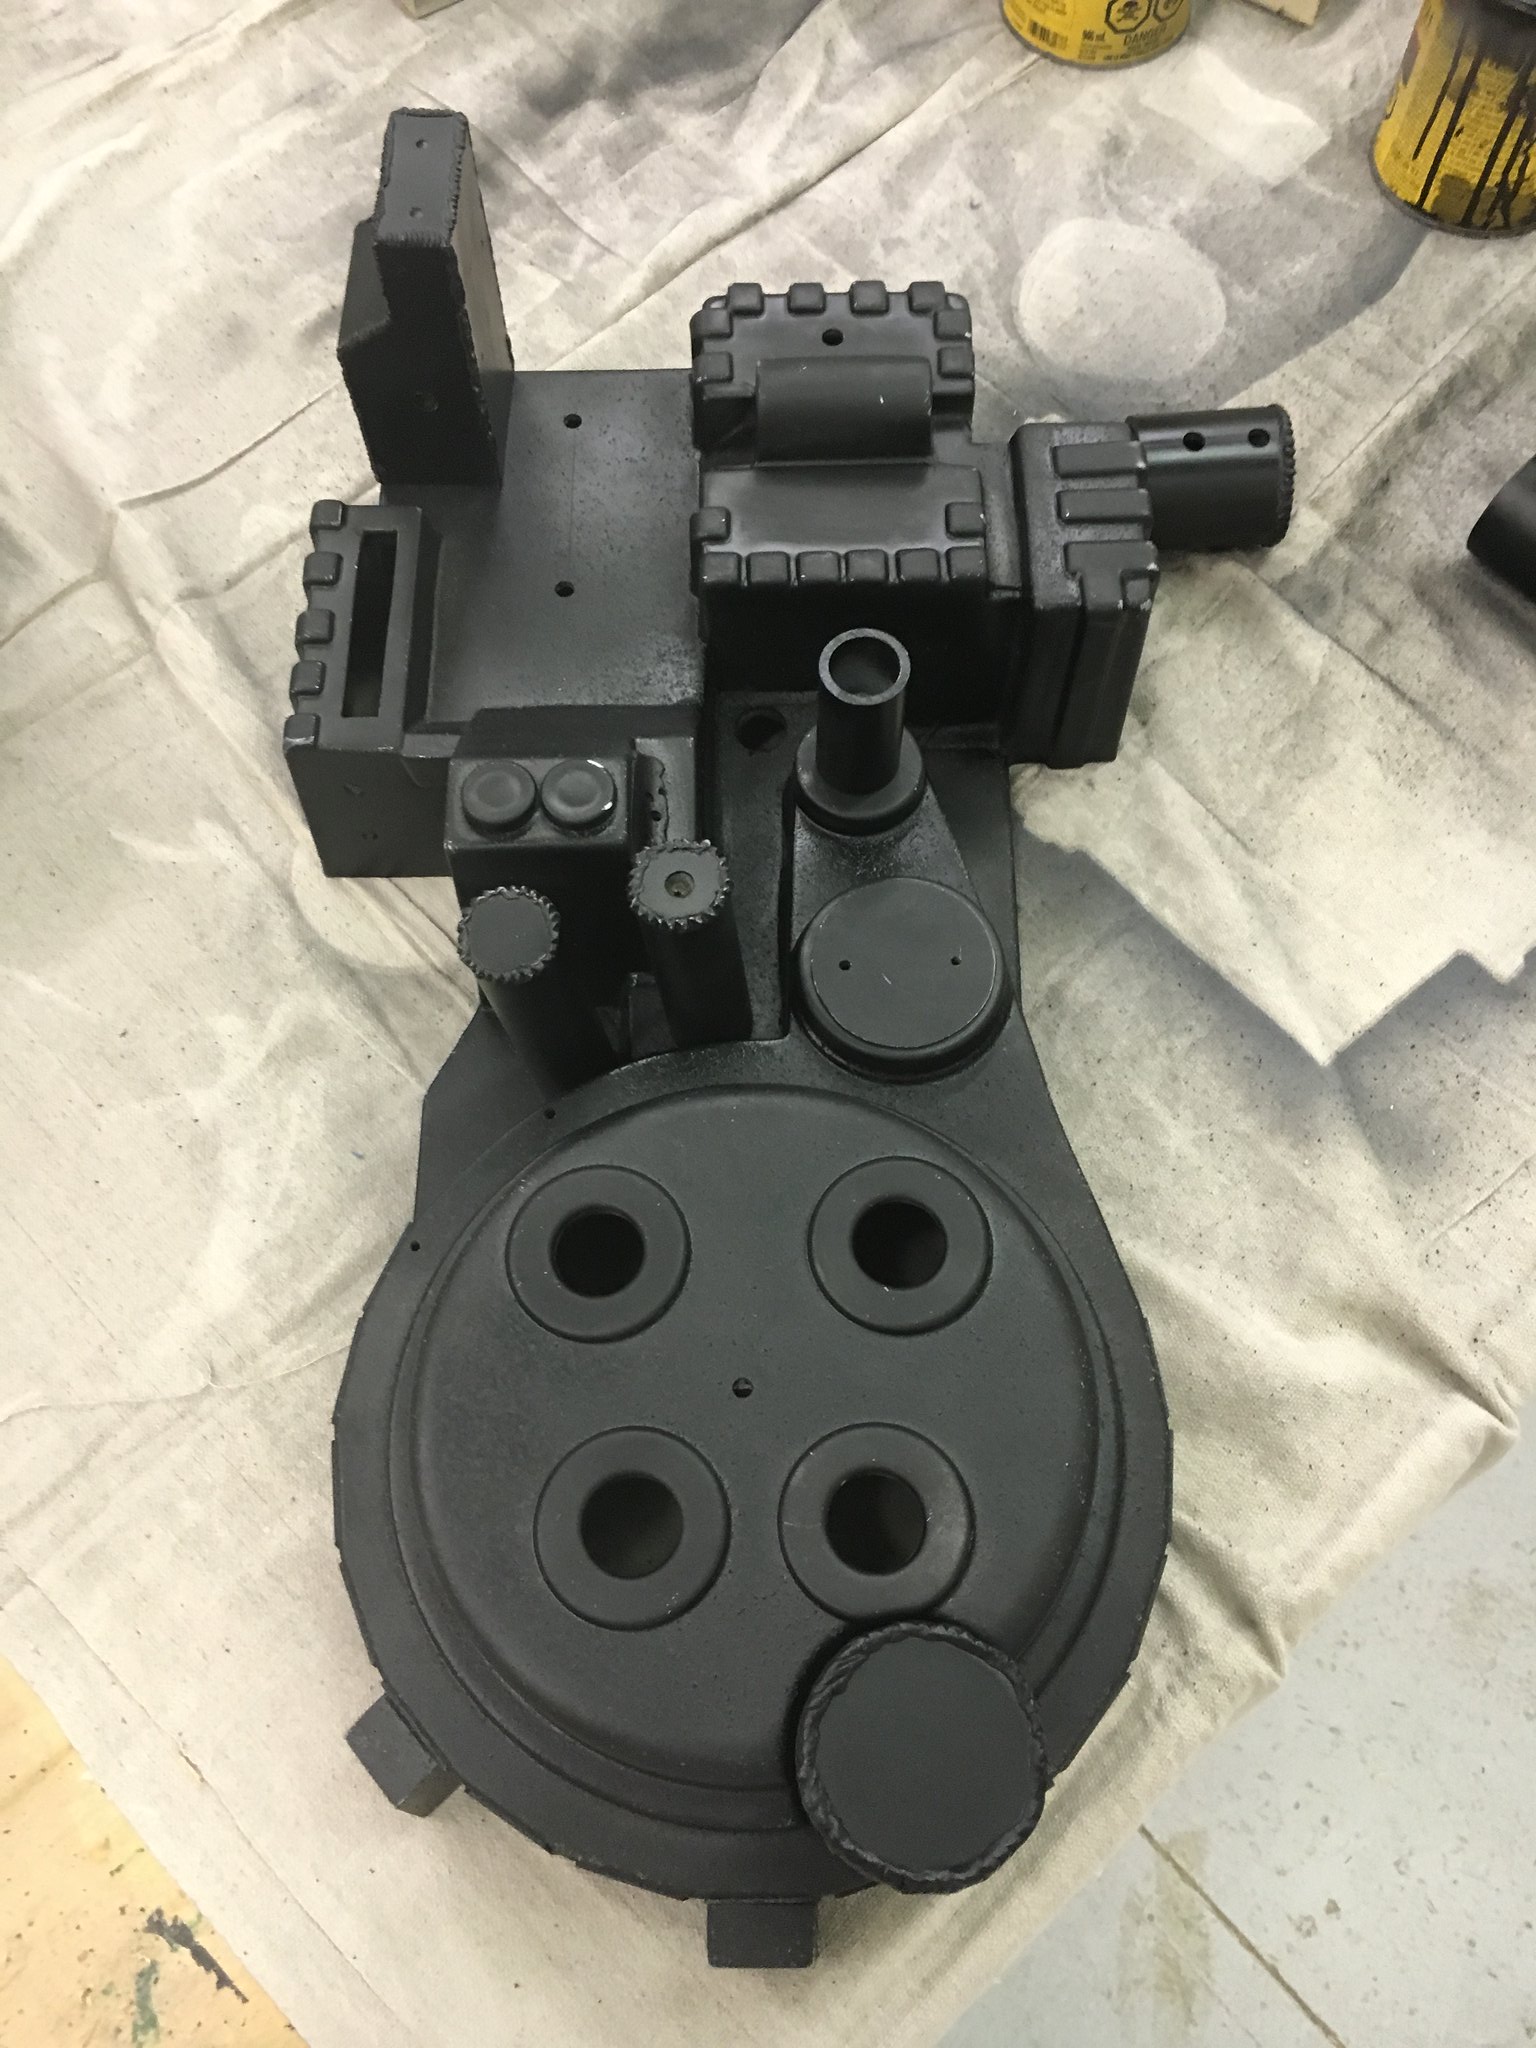
Ah, quick-drying paint is a wonderful thing. This morning, this was all still coated in 24-hours-old primer. Since then it’s been rubbed down with steel wool, rinsed, air-dried, and had 3 coats of silver paint. This will be its final coat of paint. I used Krylon ColorMax Satin Black. It is dry to the touch in less than 10 minutes but it still will need a full 24 hours to dry and harden.
 Proton Pack 2 by Brett Watt, on Flickr
 Proton Pack 2 by Brett Watt, on Flickr
After the paint was dry to the touch, i went at the parts with the abrasive 3M pad, steel wool, and my fingernails to scratch, chip, and wear out the paint to expose the silver paint underneath.
 Proton Pack 2 by Brett Watt, on Flickr
I had to dry-fit some parts as seen here, just to see it together. But I’m pretty sure that in the next 24 hours, it will be fully assembled for the first time. I am very excited!
Looks great !! Using this and other threads for reference as I am building my own SC pack as well
So, do you ever look at your half-completed build, and decide to put it off for another day? You know, can’t be bothered? Too tired?
Nah, me either.
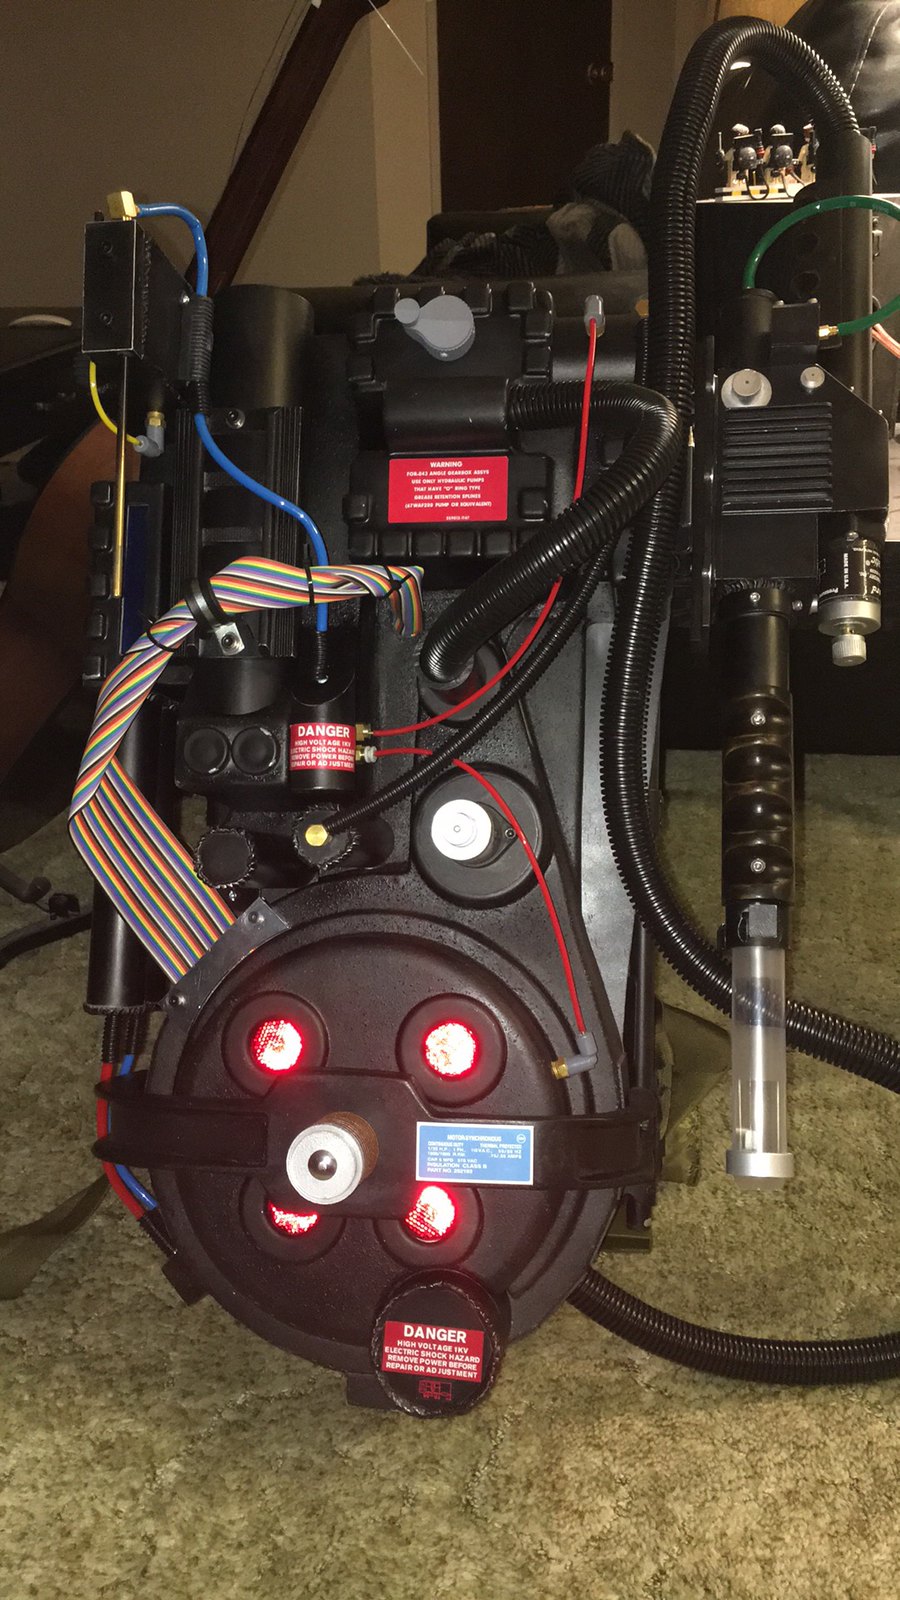 Finished Pack by Brett Watt, on Flickr
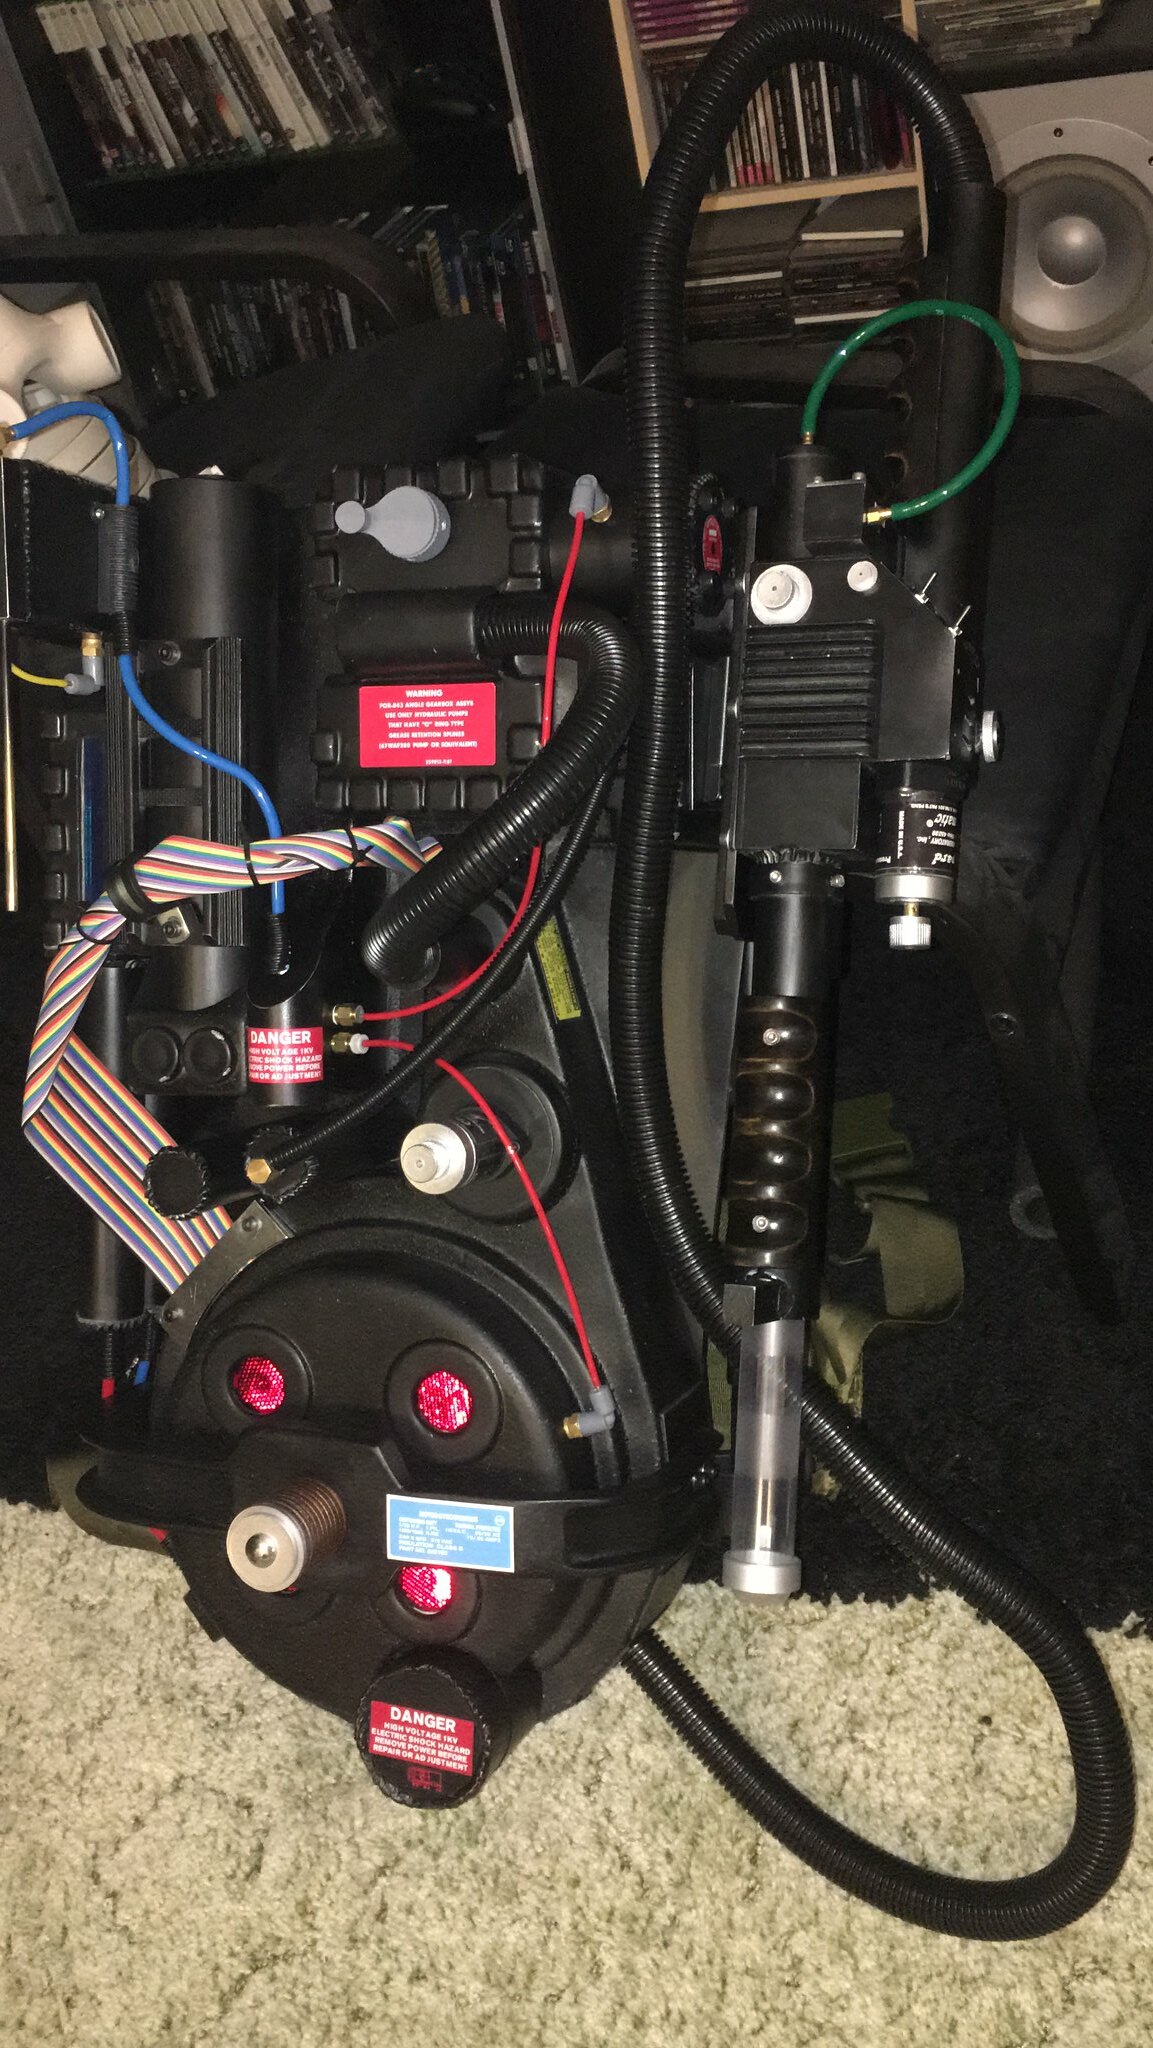 Finished Pack by Brett Watt, on Flickr
So, please allow me to explain: it just sort of happened, and i didn’t document it at all. The finish line was so close, that I had to just work on it until this point.
First, please let me preface this with a couple points:
-
This was intended to be a Halloween-finished sort of franken-Galvinator build. Perfection will come over the winter months. I’ll upgrade the pack with proper lights, sounds, a real N-filter and a proper GB1 ribbon cable. I’ll likely upgrade other bits, such as the thrower itself, real resistors and Clippard valves, and proper aluminized metallic decals.
-
I may chop up the shell and save the cyclotron and synchronous generator. However, I will properly scratch-build a new crankcase, gun mount, power cell, and PPD/EDA stack, just to get that sharper detail and relief on the upper part of the pack.
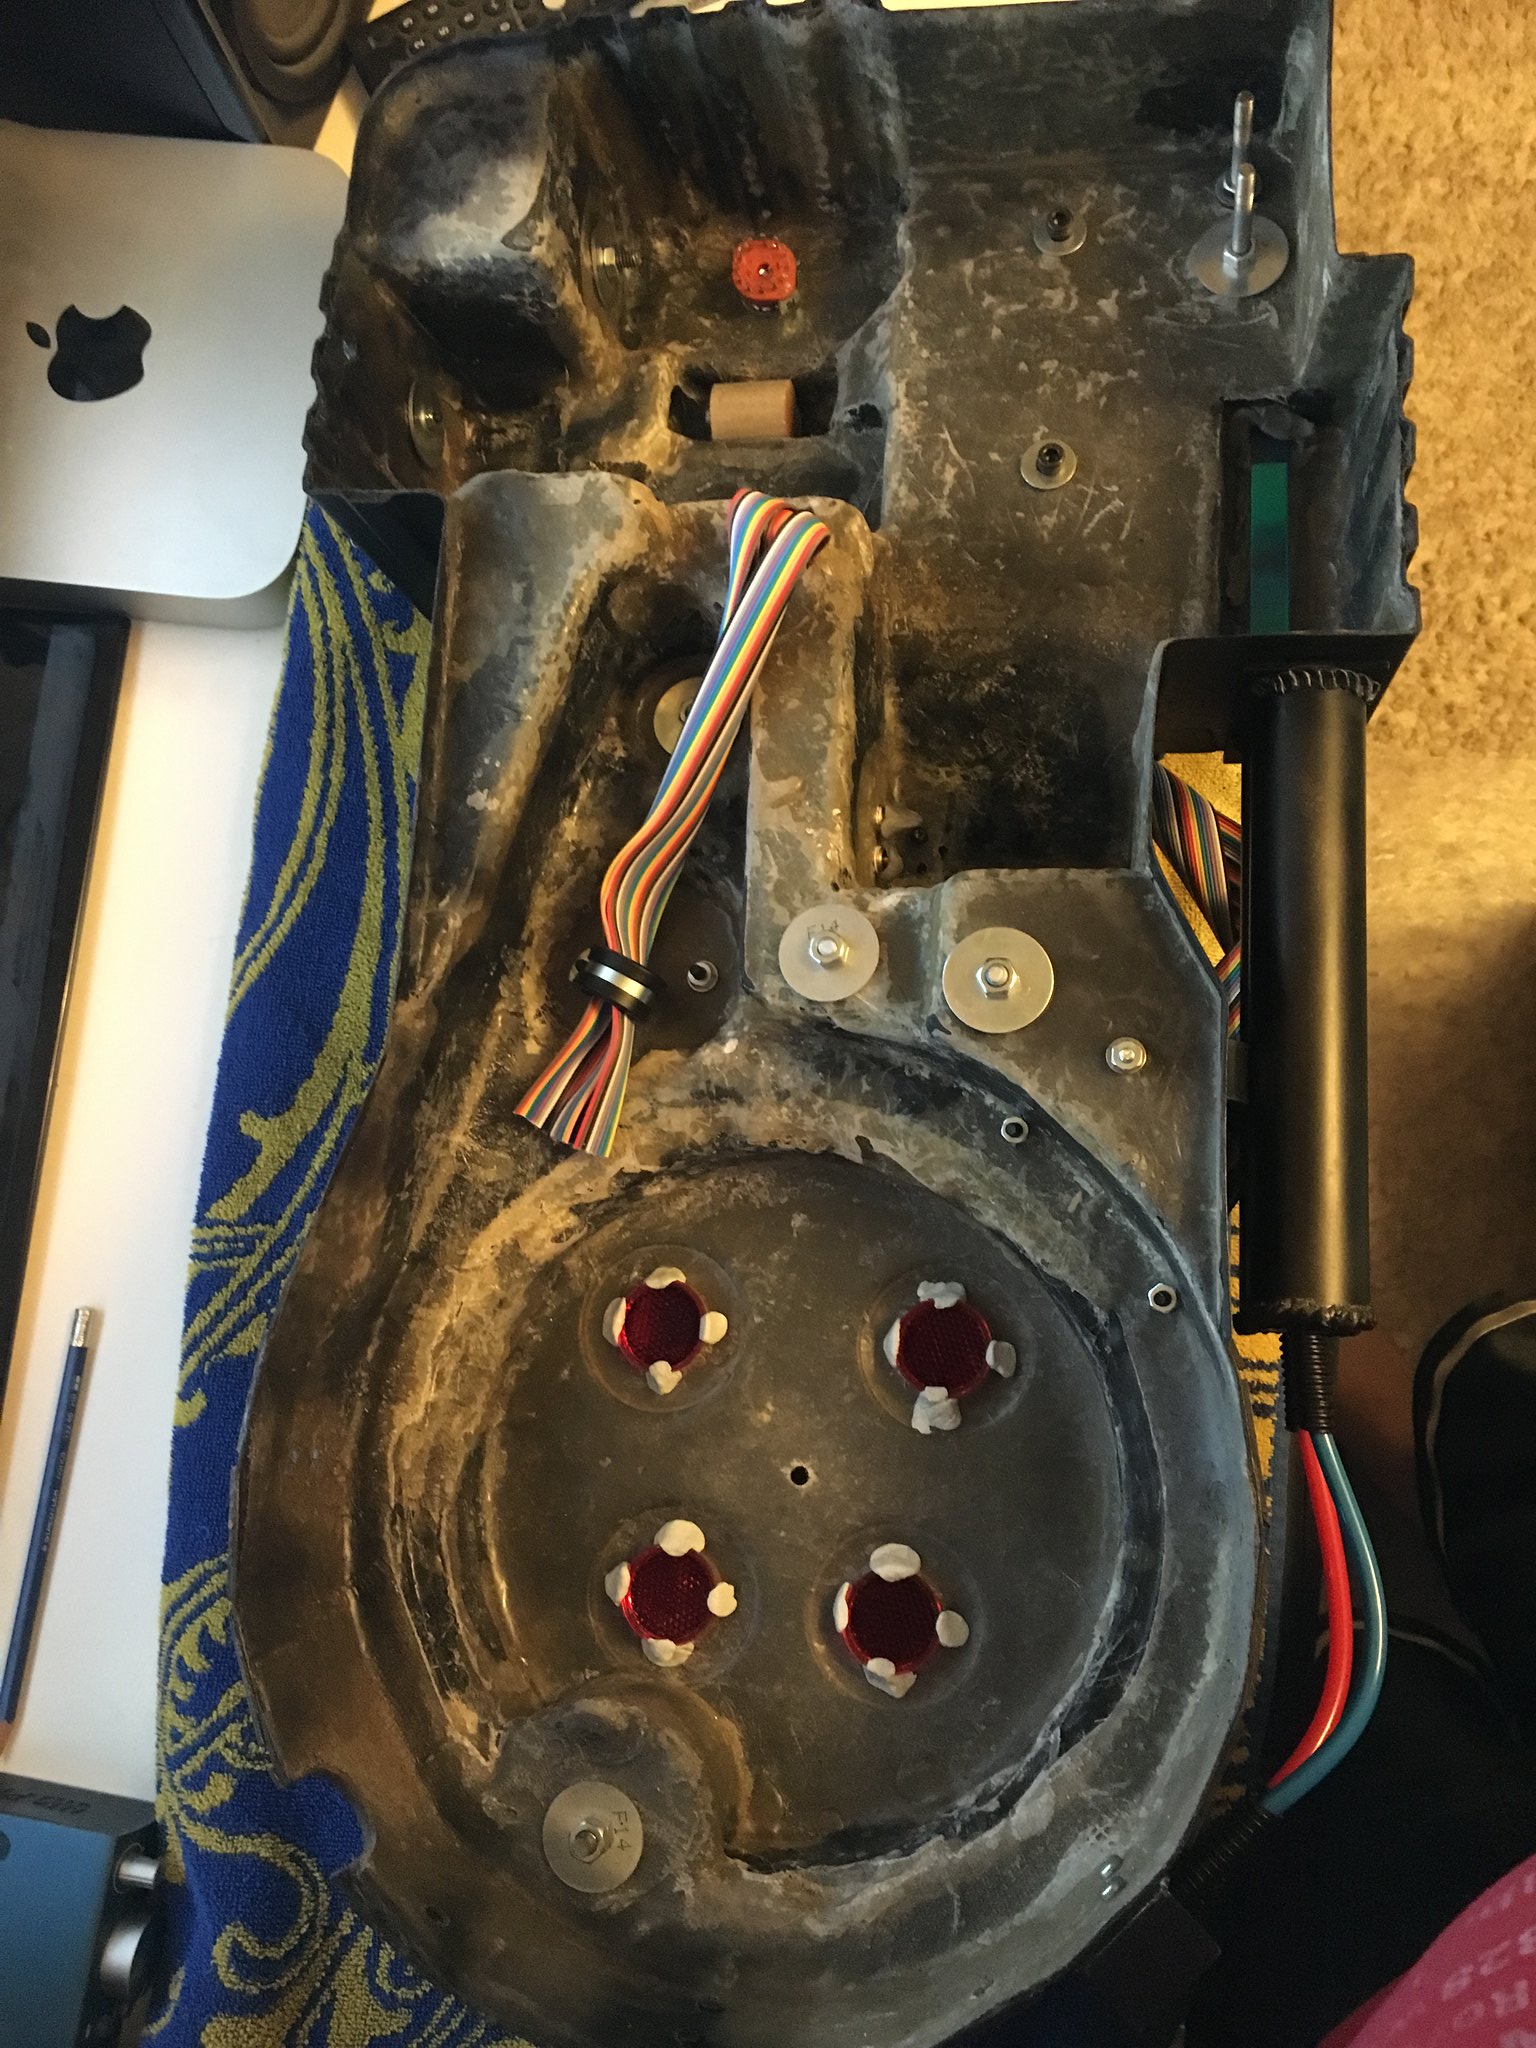
I epoxied in reflective markers in for the cyclotron red lenses. After sanding the fibreglass resin inside the shell to roughen it up for better adhesive adhesion, I epoxied in the reflectors using a putty epoxy.
I attached a second cable clamp, identical to the one on the Booster Frame, to the underside of the Clippard valve on the pack. This will hold the ribbon cable in place underneath the pack, and keep it out of the way of other components.
Most of the Clippard brass fittings were taped and screwed in place. Only the fitting atop the ion arm end cap had to be epoxied in. Even then, you can see that the blue air tube has bent the fitting out of its epoxy bond.
All my resin Legris 90 degree fittings are just friction-fit in place.
All of the 1/4 flex wire loom is tacked in place using some Blu-Tac on the fitting or tube. It’s easily removable, but otherwise quite a permanent connection for such a small, light part.
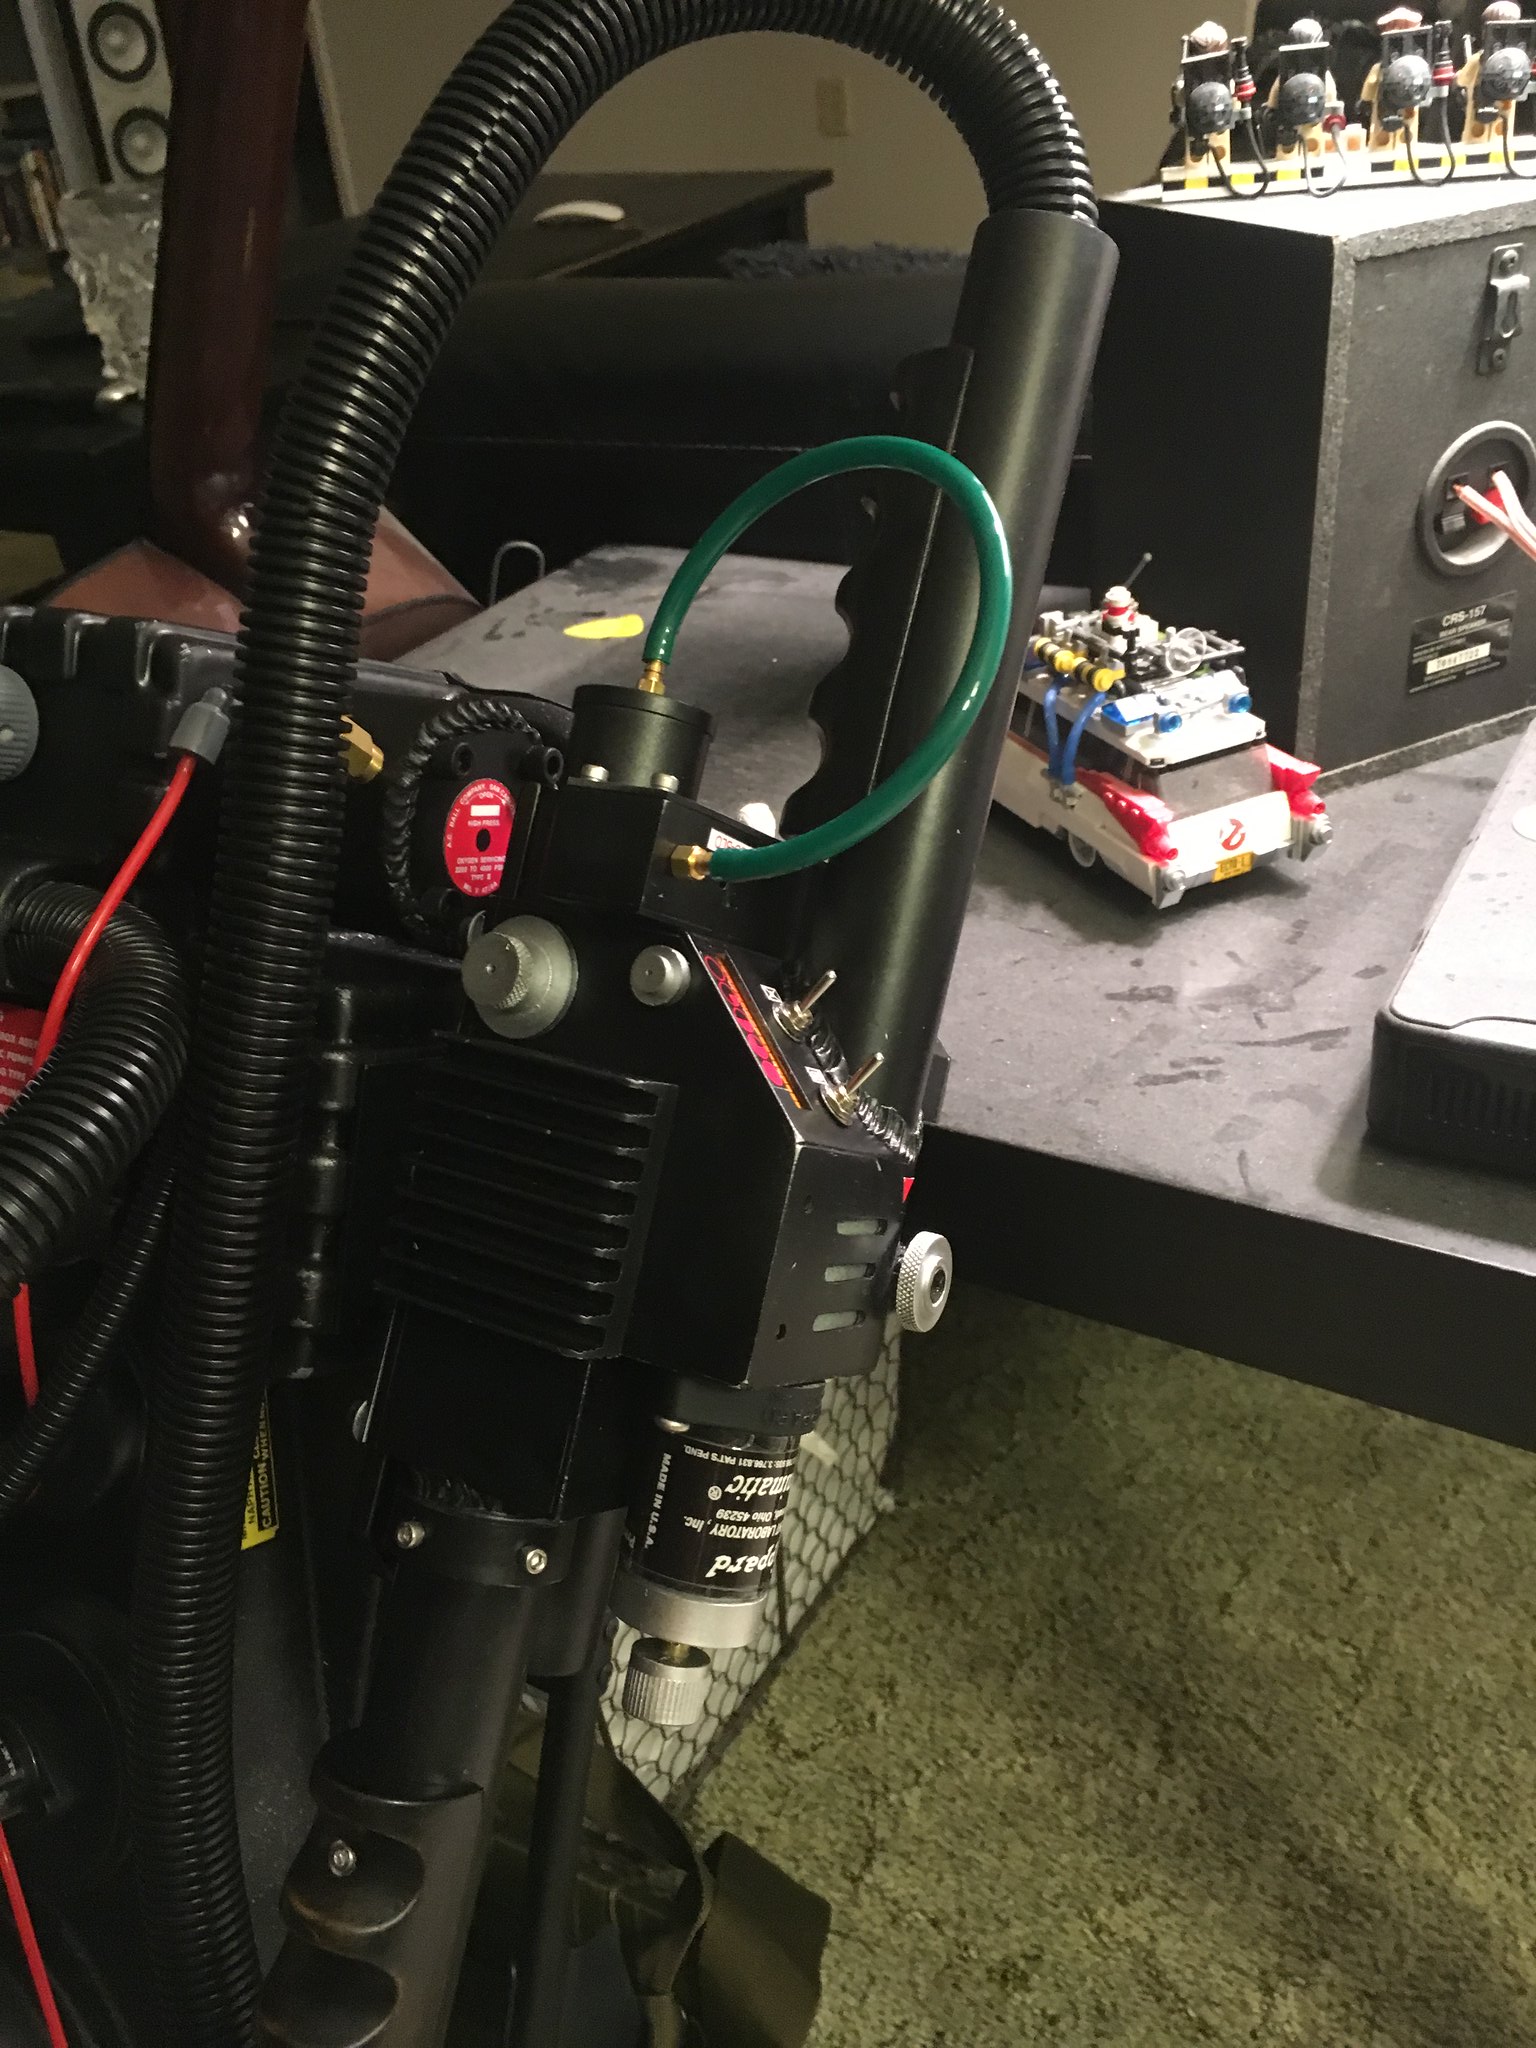 Finished Pack by Brett Watt, on Flickr
 Finished Pack by Brett Watt, on Flickr
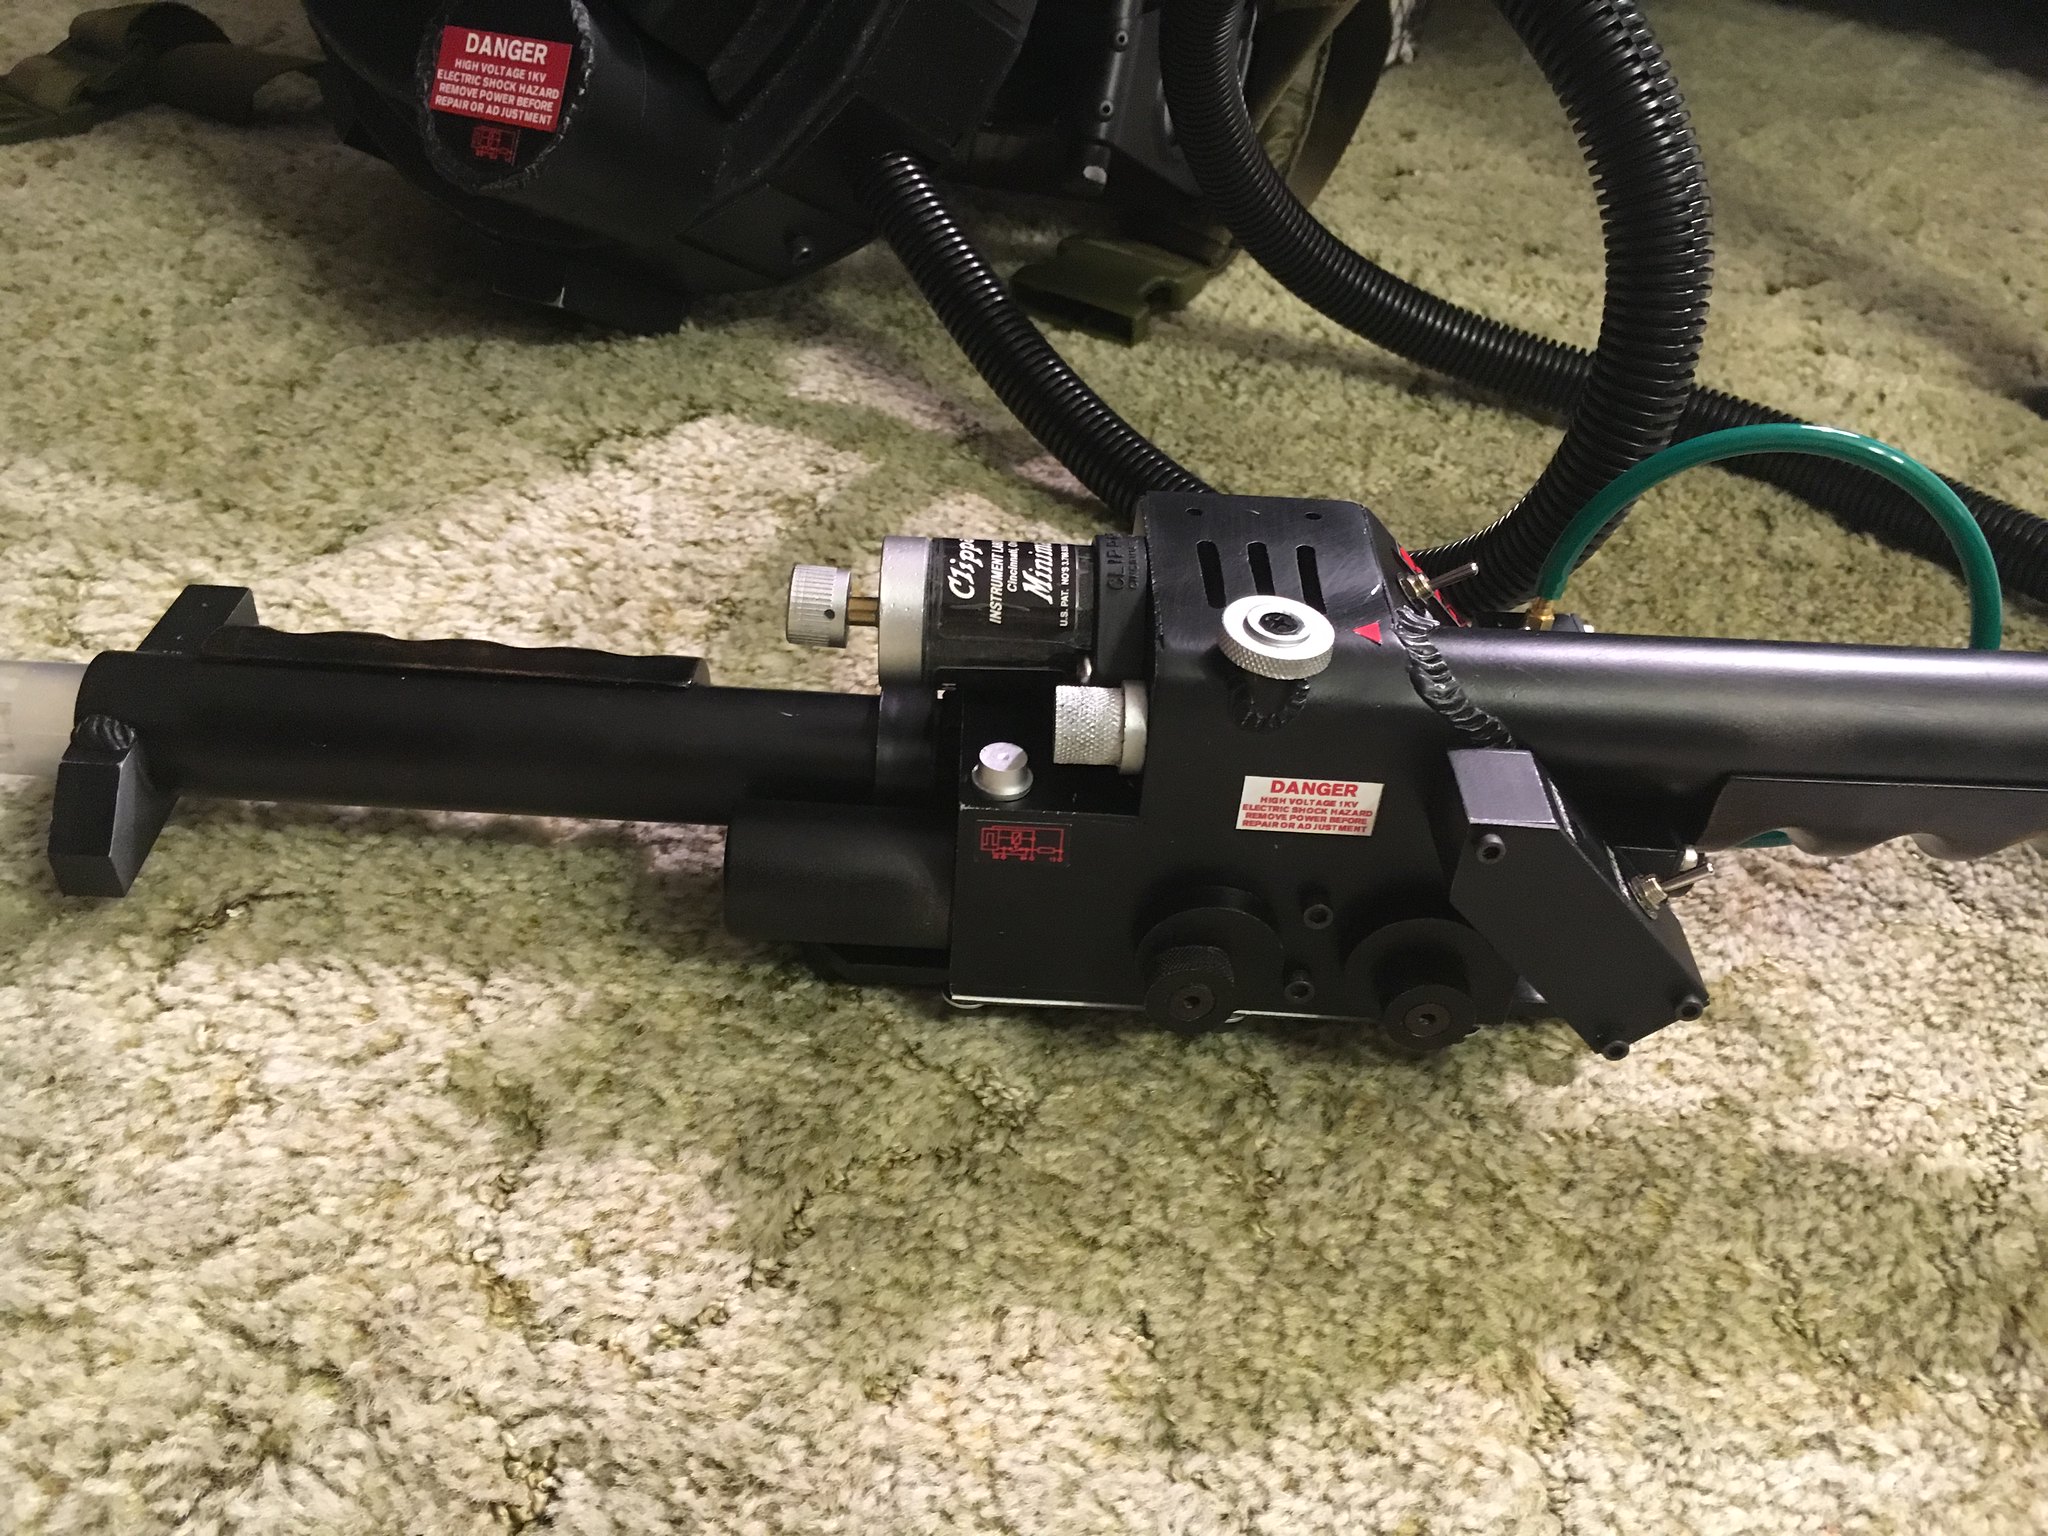
 Finished Pack by Brett Watt, on Flickr
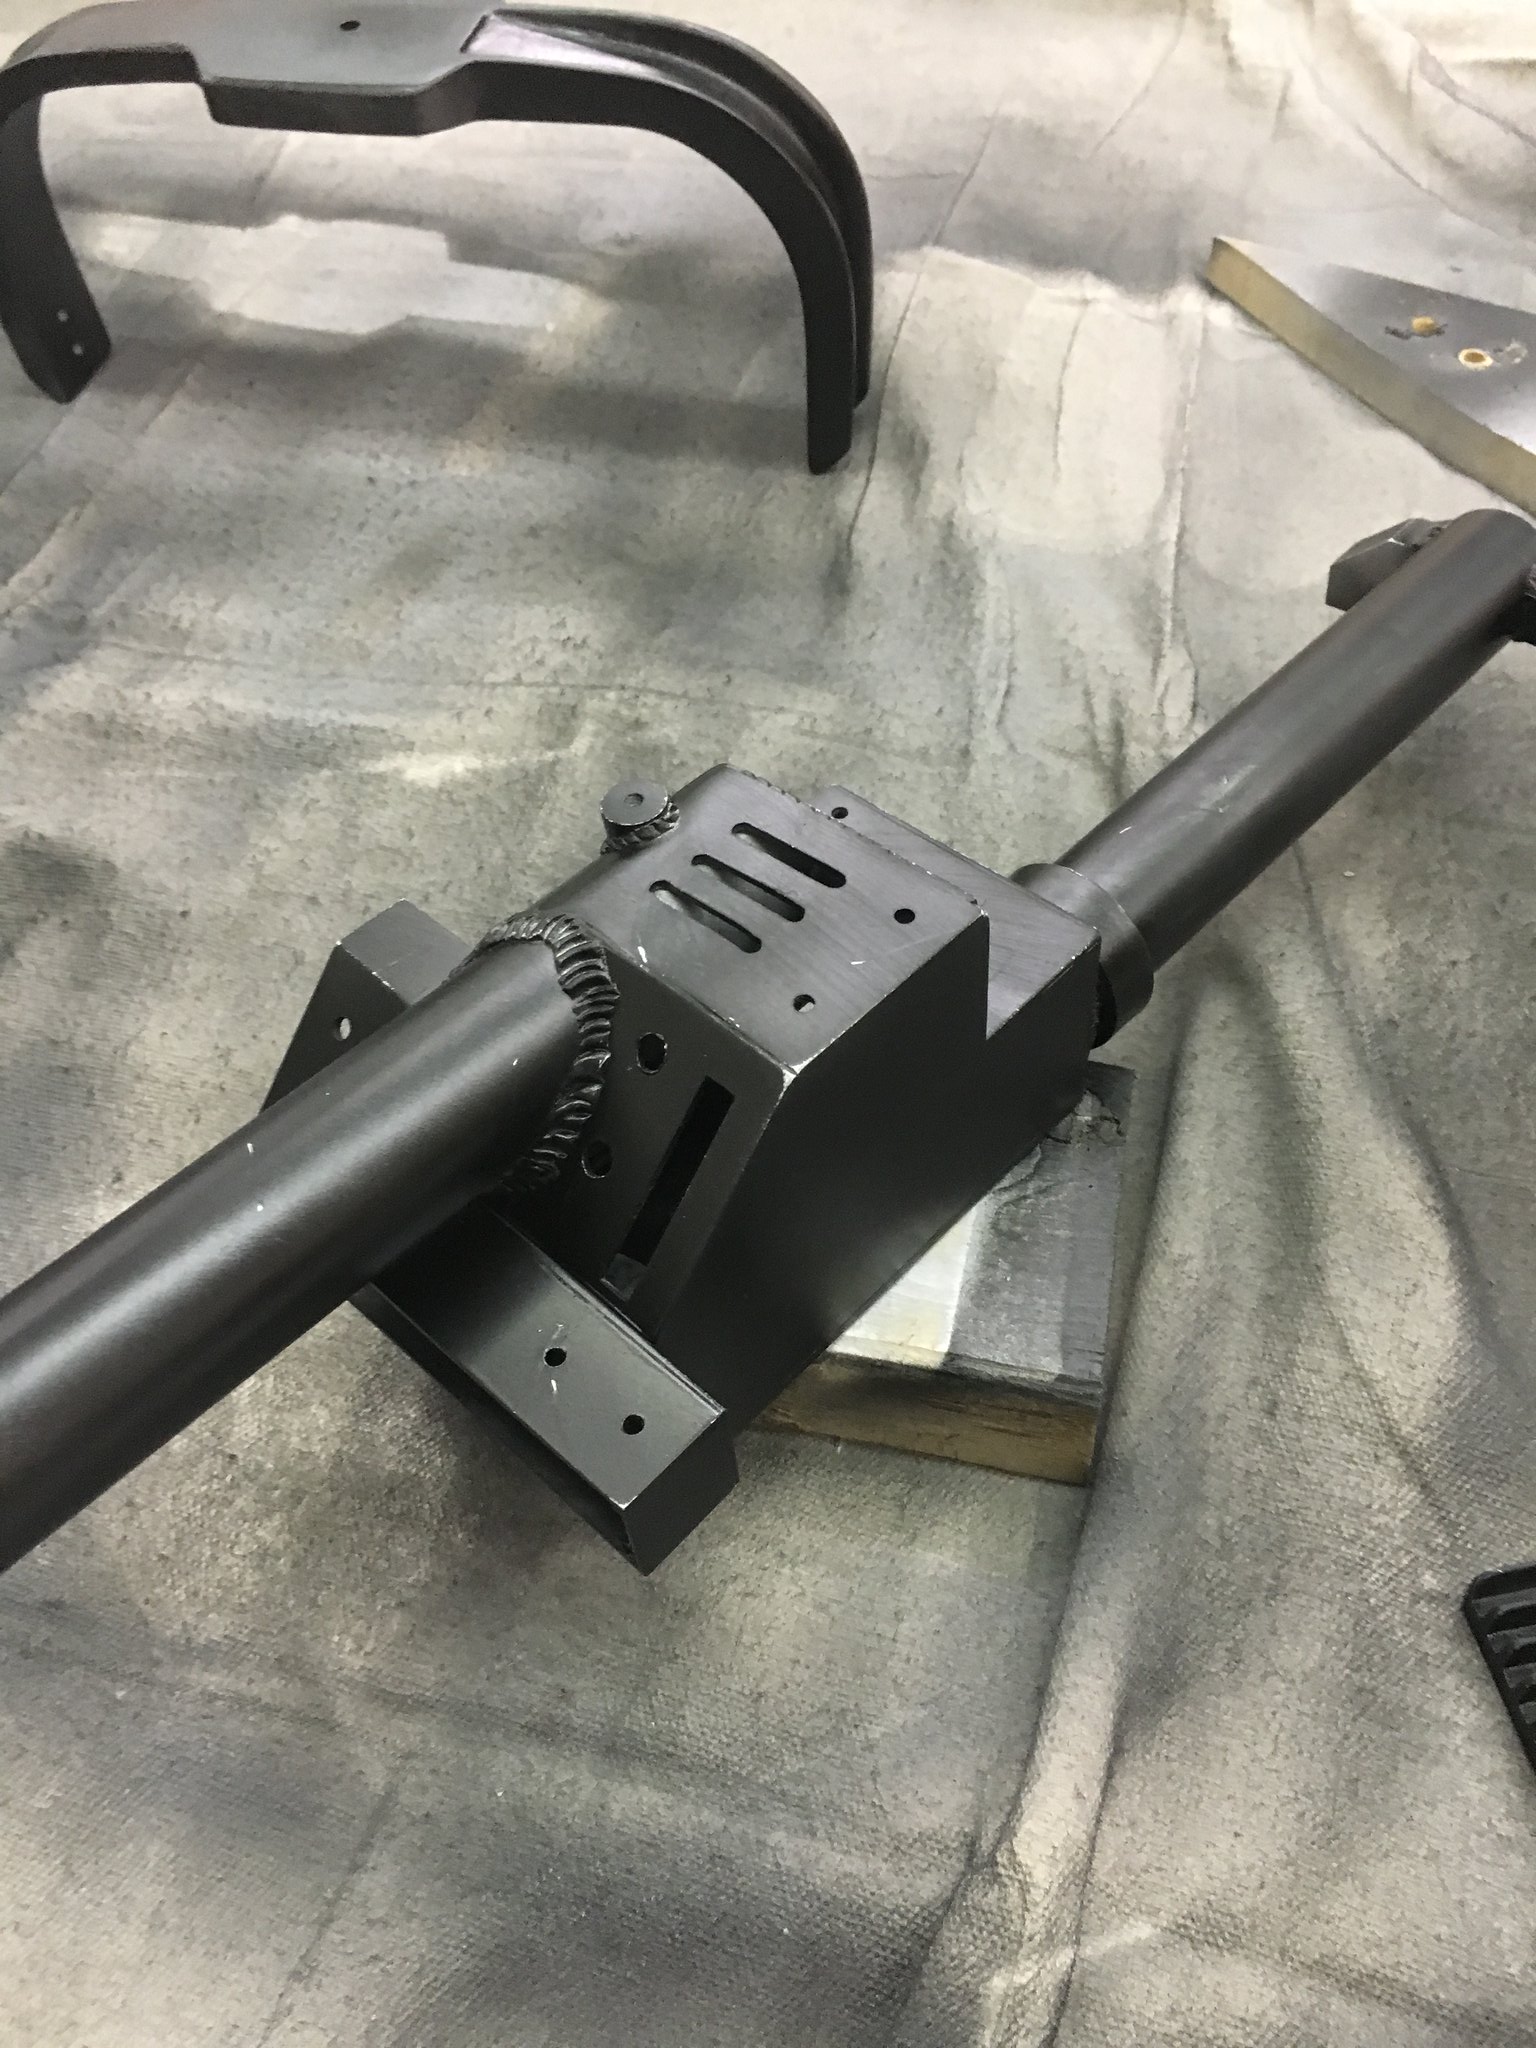
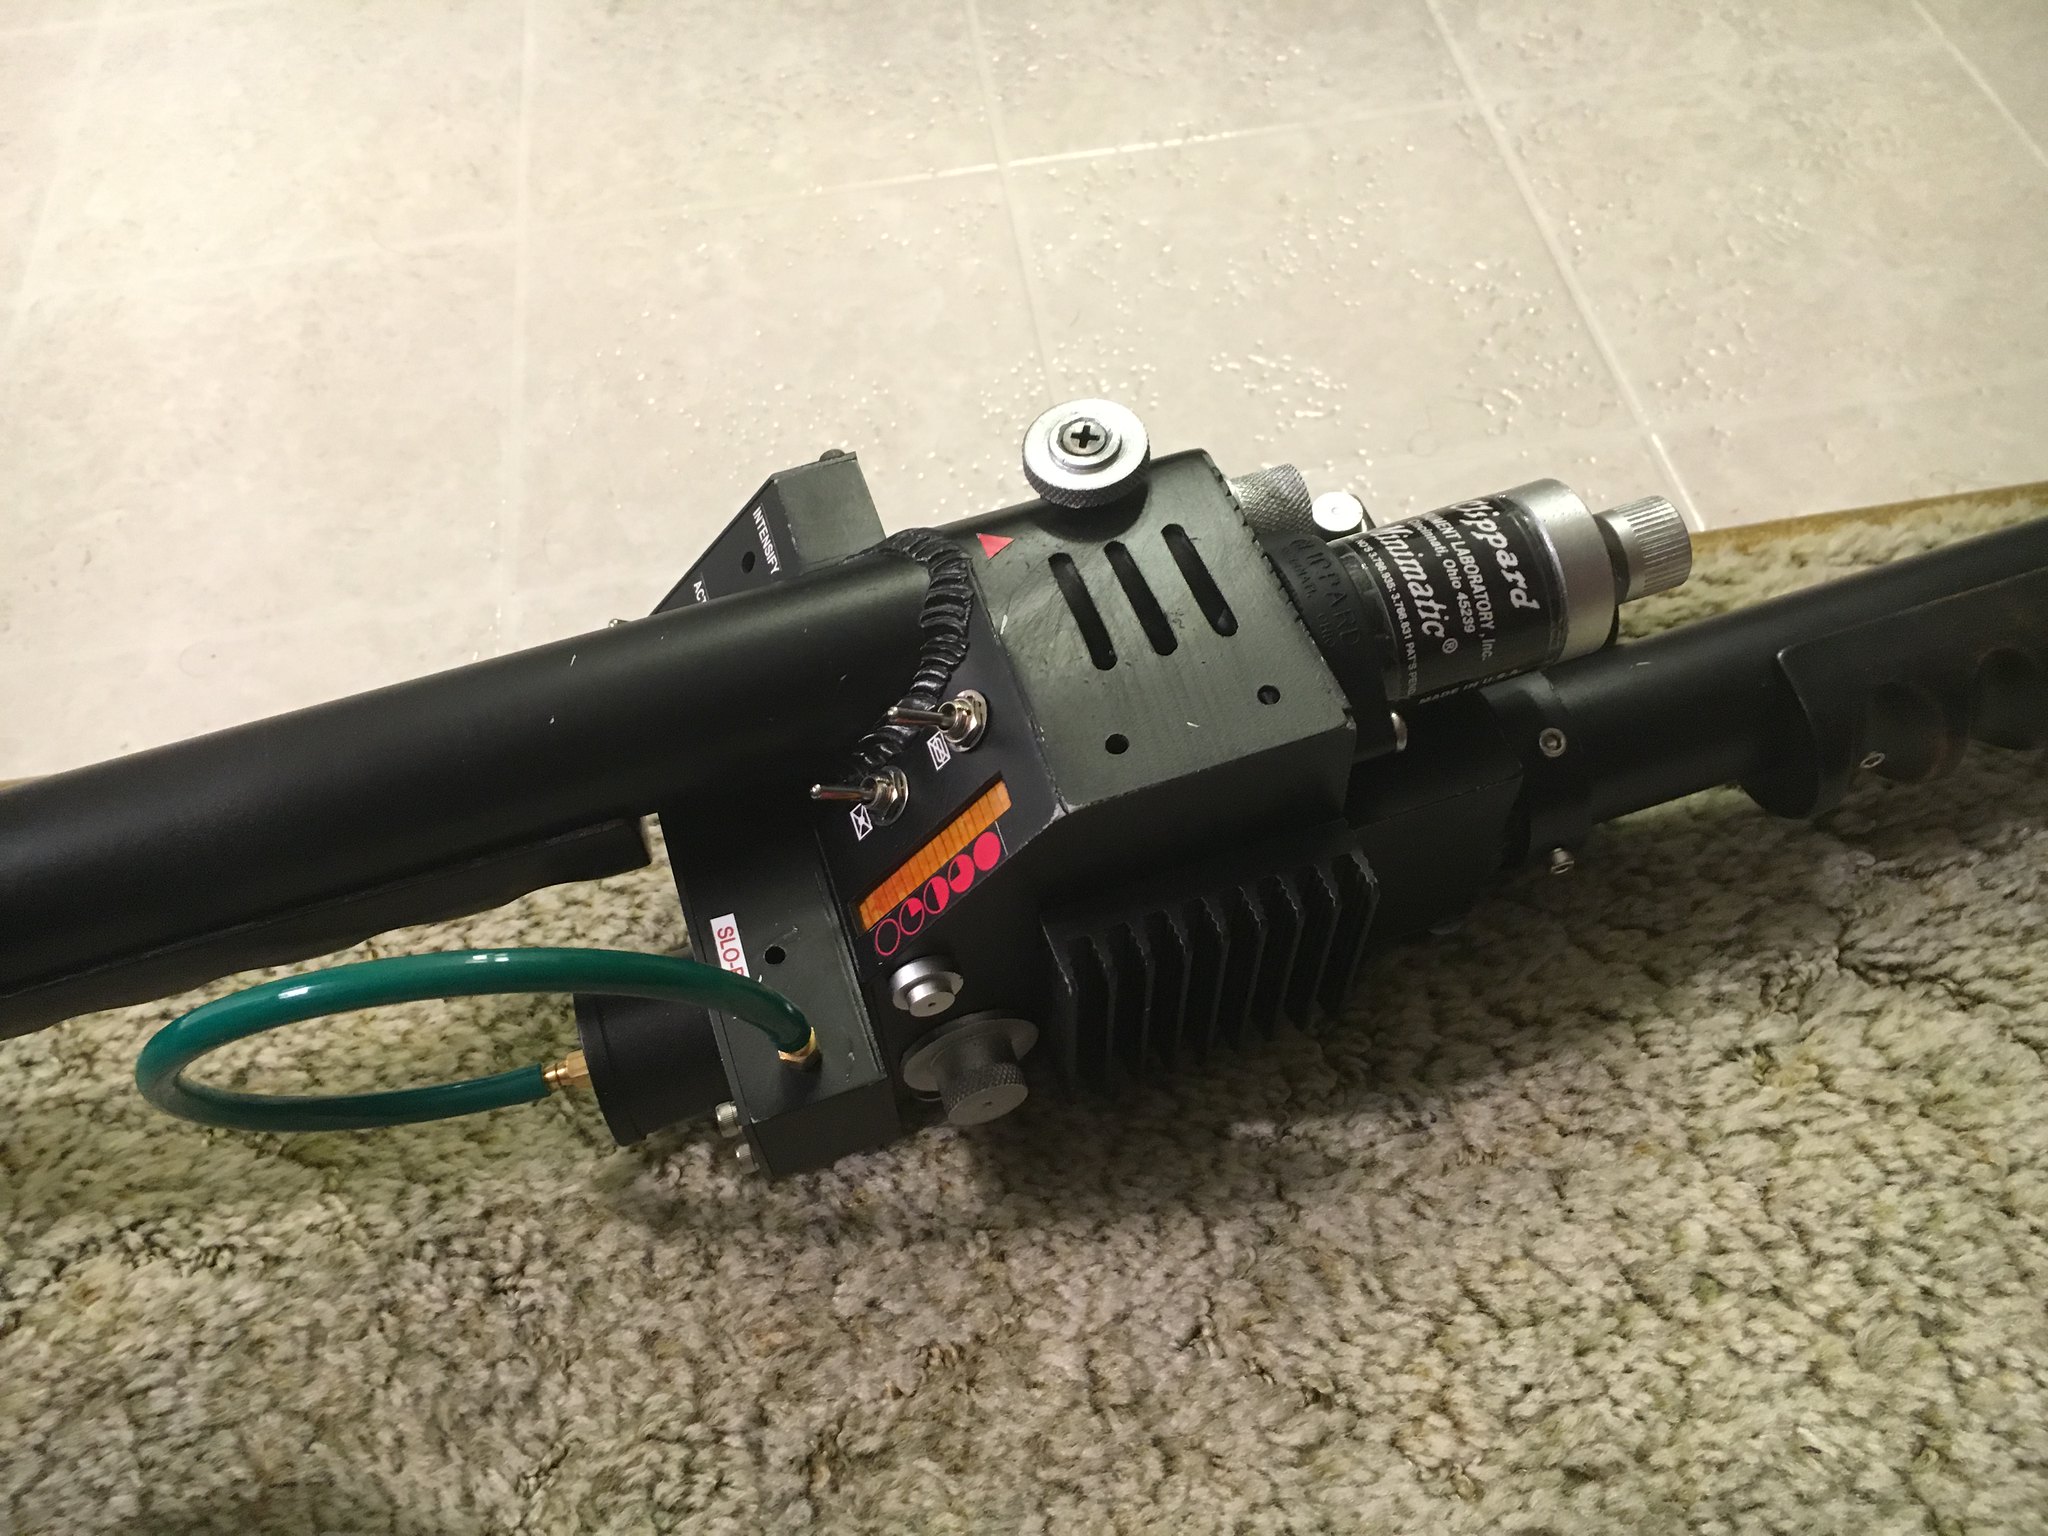
As I have said before, this thrower body was scratch-built. I intended to use a Galvinator-recommended electrical enclosure, slightly modified, but I elected to just build it myself. It’s made from 1/16" sheet styrene, reinforced at the joins with either 1/8" styrene square channel or styrene rounded tubing. All of the detail bits were cast by Hole-In-The-Ground Props, and they were ordered as a package with all of the detail Pack parts.
Basic assembly of the thrower body consisted of building the box out of sheet styrene, scored-and-snapped to the appropriate dimensions. It was glued together using Tamiya Extra-Thin plastic modelling cement. I filled here and there with a little polyester filler or leftover putty epoxy. Welds were sculpted (badly  ) using techniques posted in the index thread.
It was primed and painted with the rest of the parts, using the same techniques of rubbing it down with steel wool between coats, just to maintain the smooth, metallic-like texture and finish.
Decals were applied then the parts started getting attached, either through screws and tapping threads, or just epoxy.
My sad little bar-graph is just a panel of clear styrene with some parallel lines carved into it. I brush-painted a coat of clear Orange Tamiya paint, then epoxied it in place. I also glued in a layer of parchment paper behind it, just to help diffuse the light. I think that I will place an LED at the bottom and sort of ‘aim’ it upward to create a gradient of fading light up the window.
 Finished Pack by Brett Watt, on Flickr
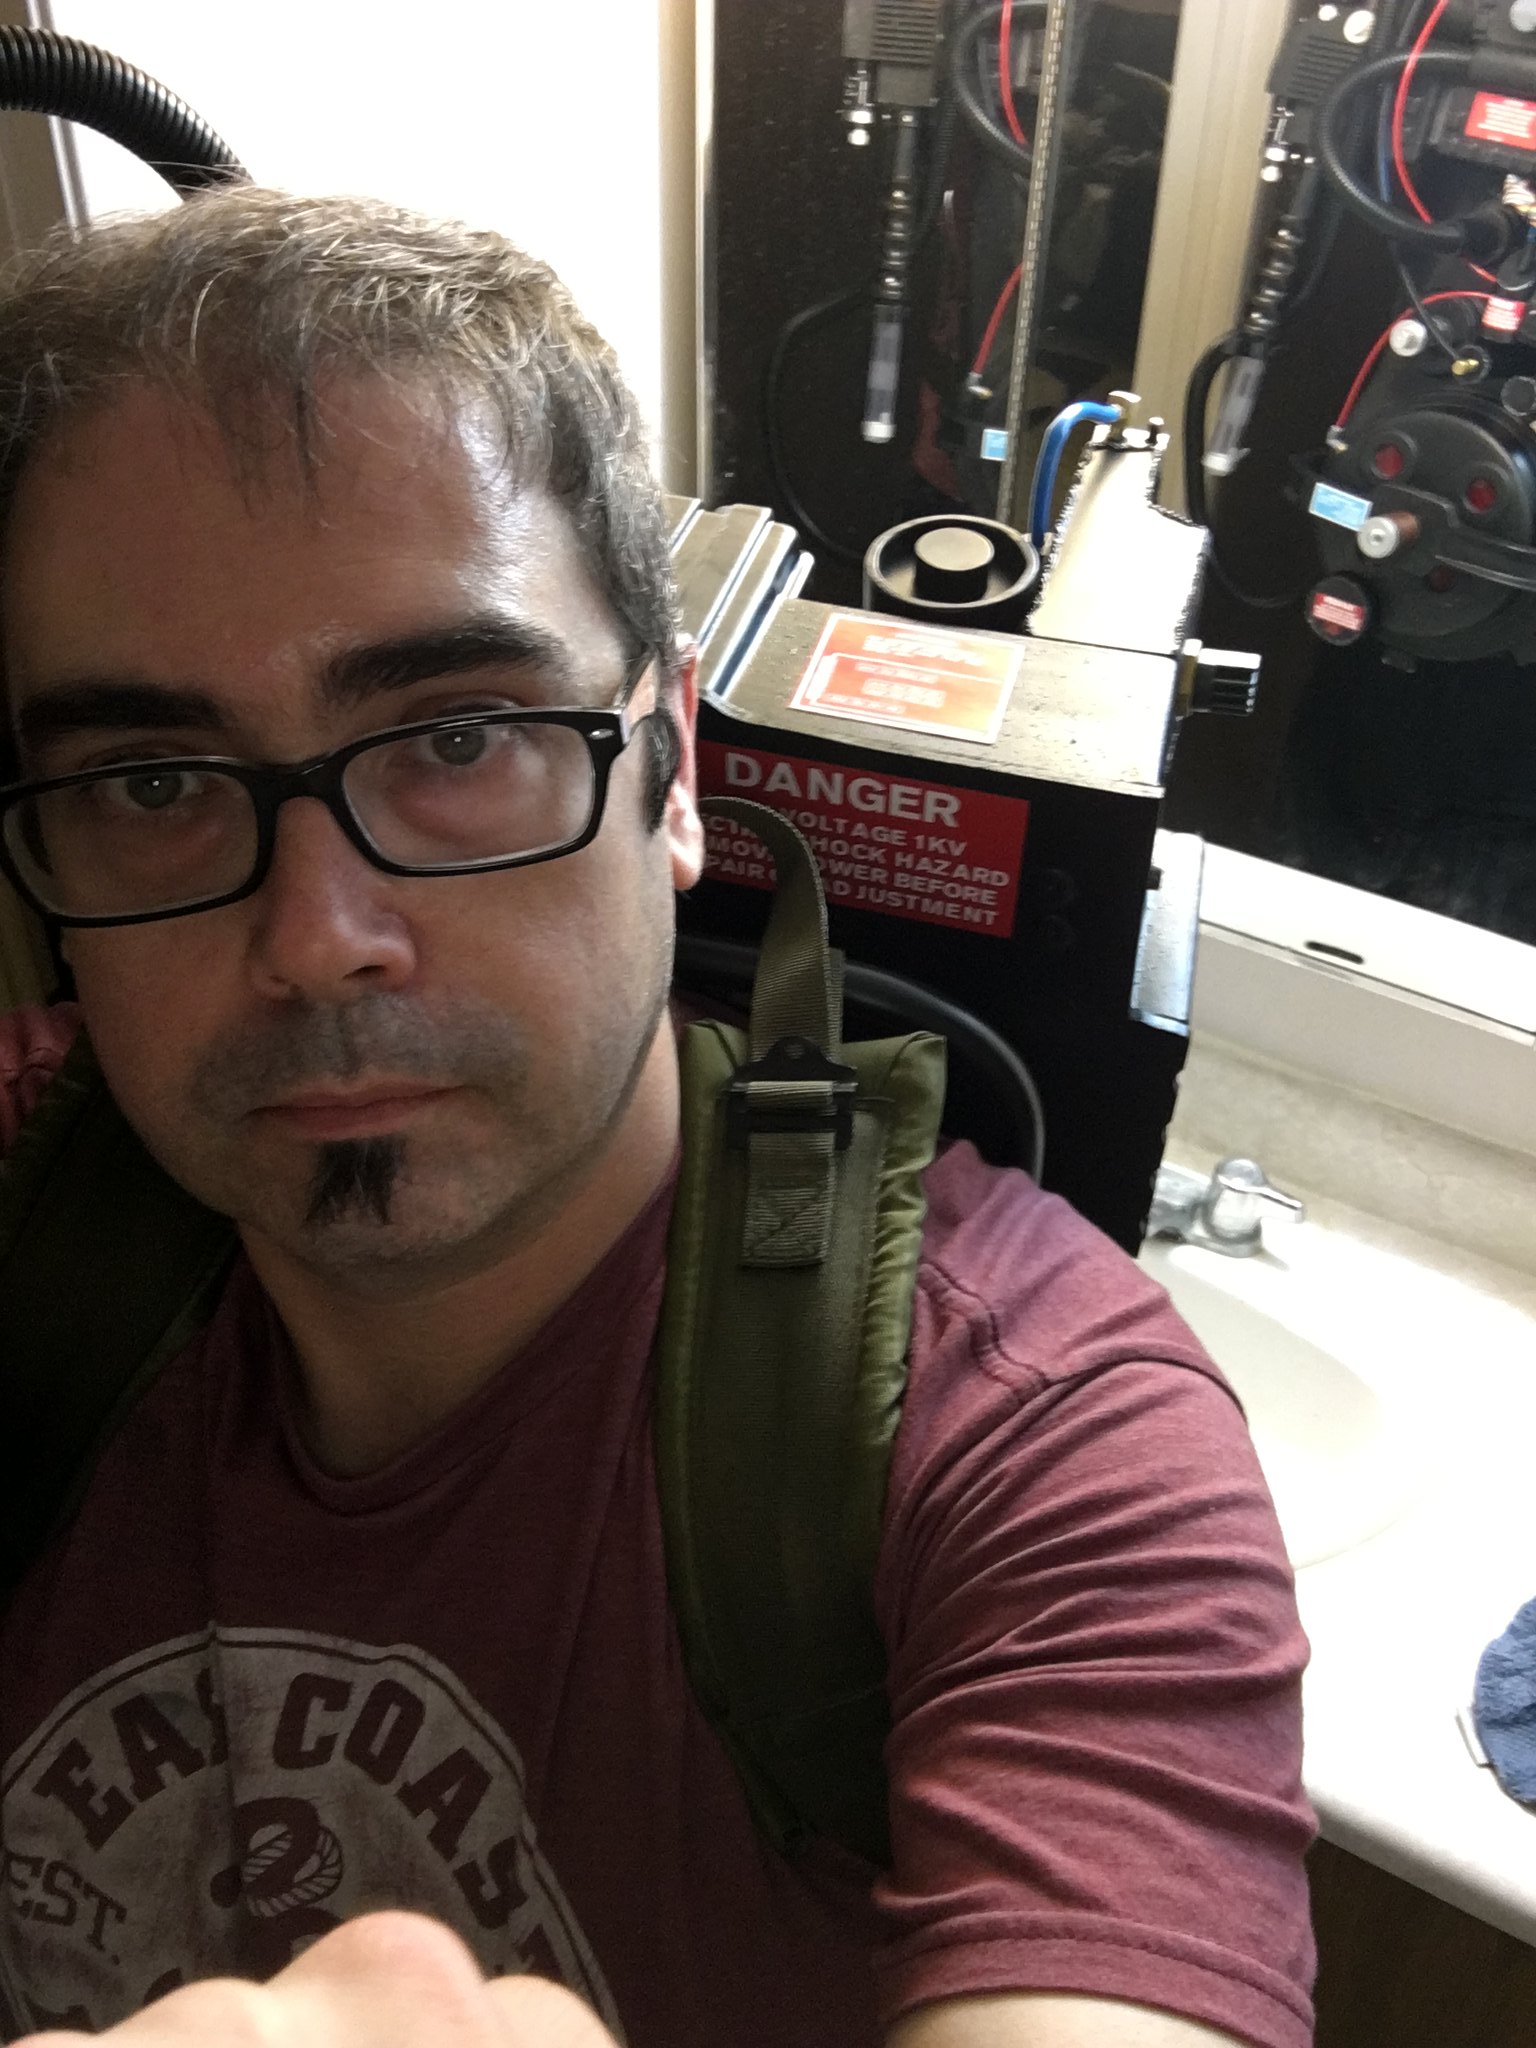
Bathroom selfie!
It’s a good looking pack. It would be sad to rip it all up. If I may offer this idea -
Now that you are a pack builder, keep this pack as your “stunt pack” and either scratch build a hero or get a gbfans shell and use that as your base. The great thing about this hobby is that every pack is unique and have their own touches that make them spacial. I’m starting on #16 soon and it will be different than any before it and any after. It’s a shame to loose that.
You can also always find someone that wants a pack and has the money, which could then be put into a new pack.
Just some thoughts. It’s been a great build to follow and I look forward to your next project.
Such a nice build. Alan gives sound advice
You are both absolutely right! There isn’t any law saying that I am limited to just a single pack!
Regardless, I could proudly wear this pack around at Halloween and be pretty good with it, but I think it needs lights, even if they are just static display lights…
 Untitled by Brett Watt, on Flickr
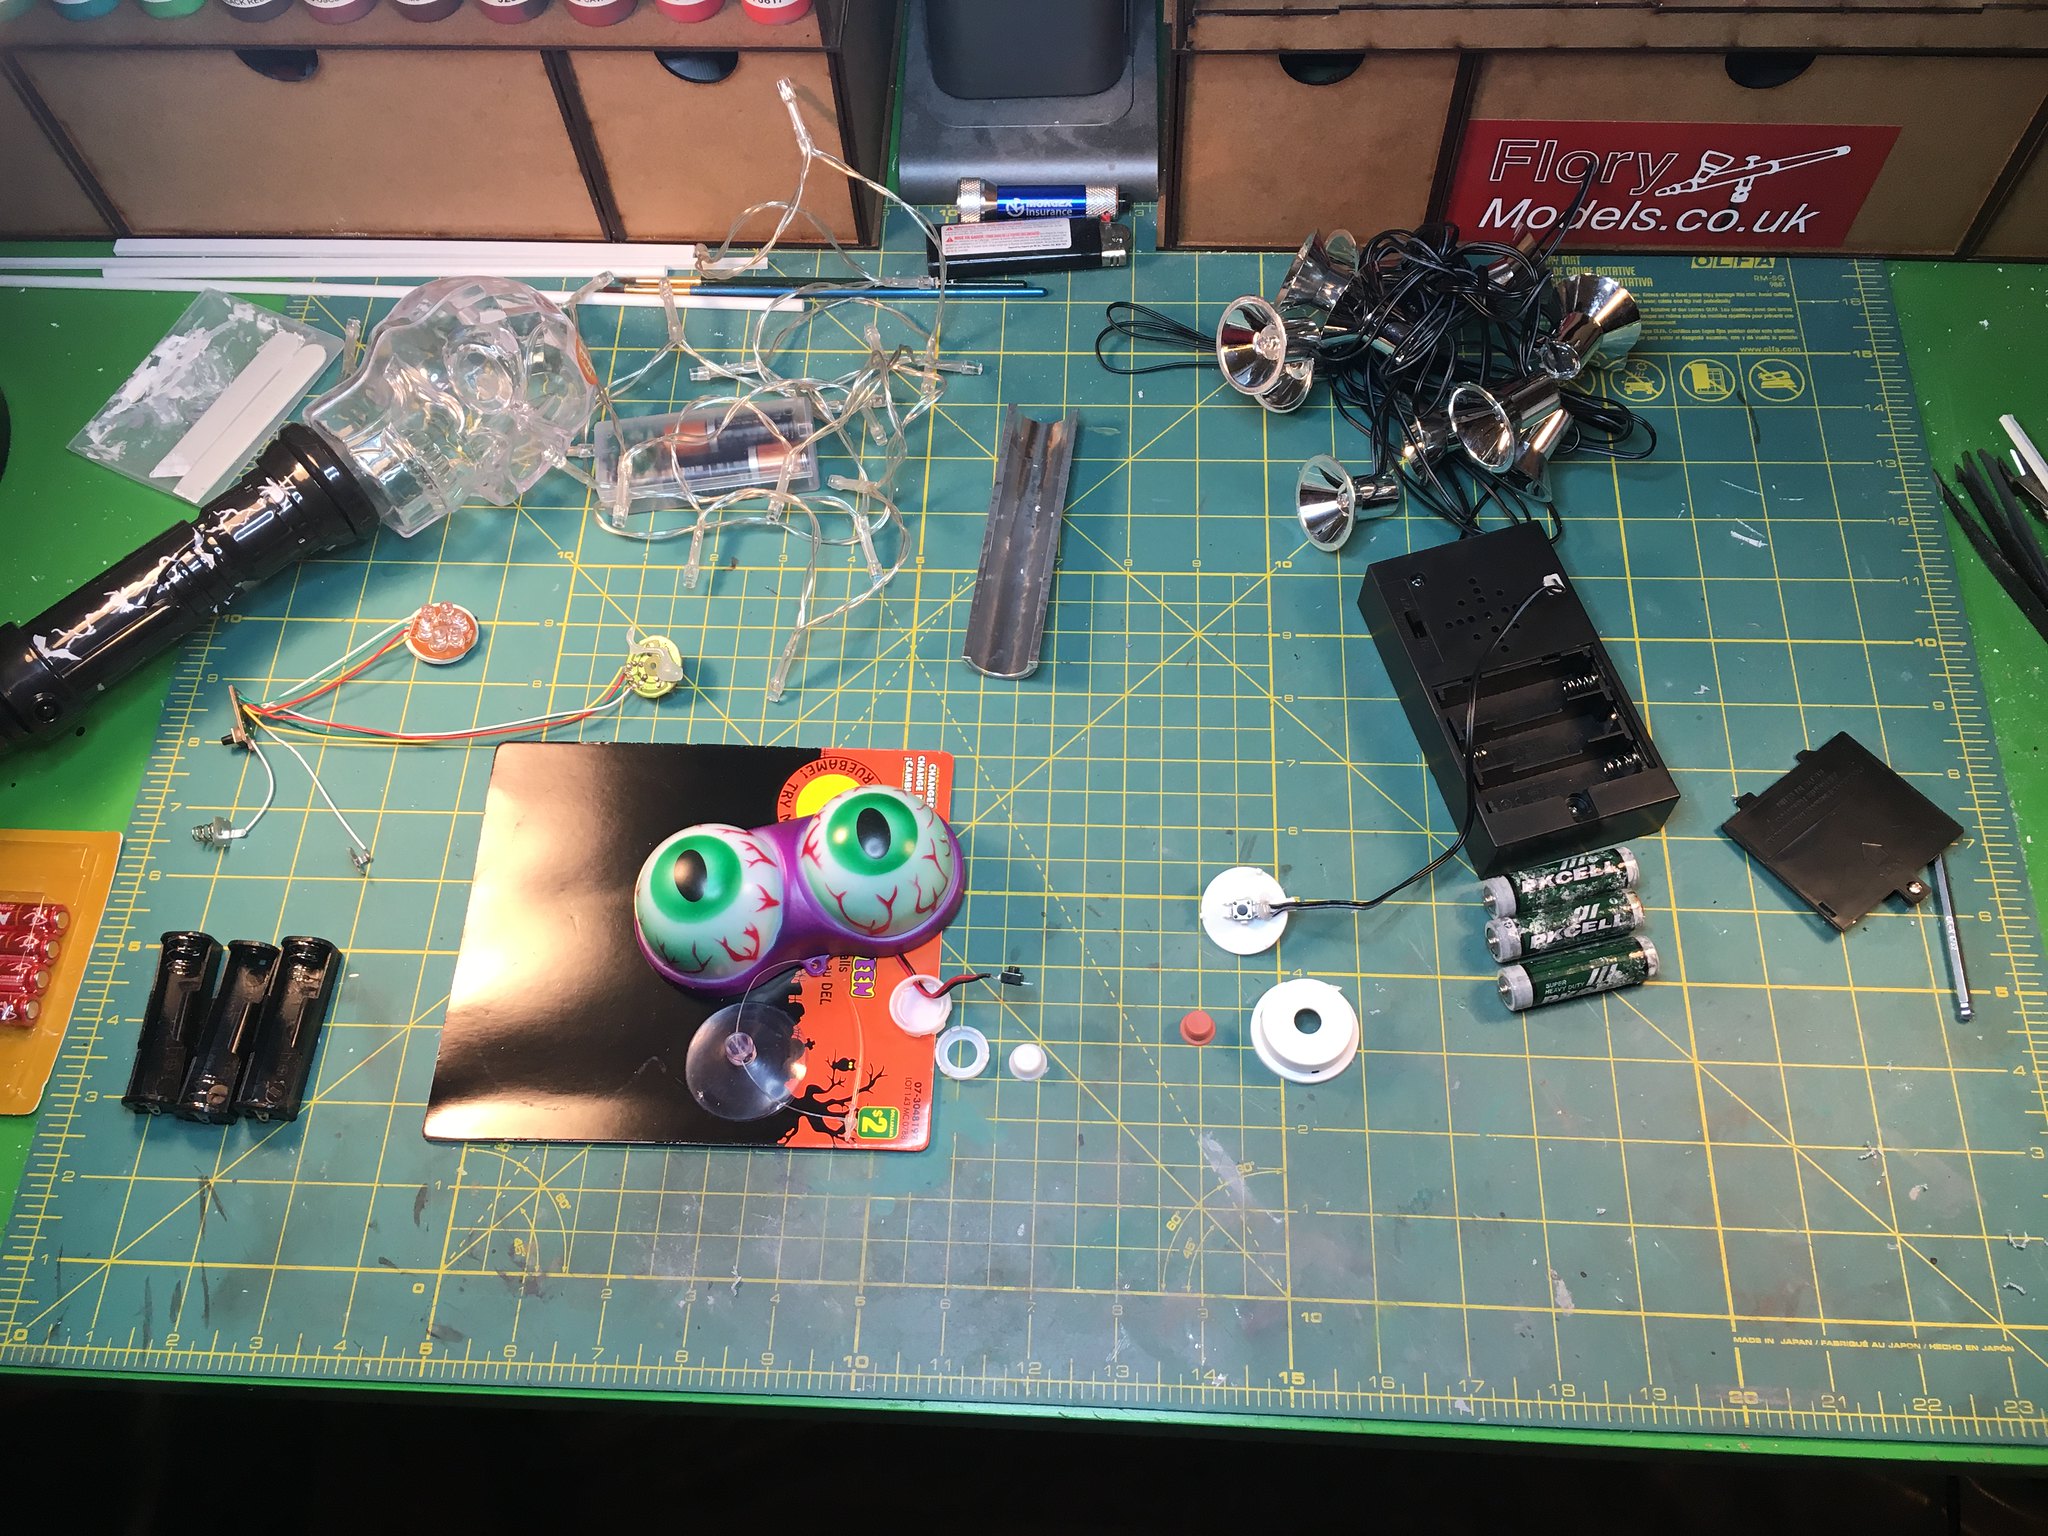
Okay, so I have a bunch of stuff going on in this picture.
- Top-left is the laser-pirate-sword found at most dollar stores in the Halloween section, or those pop-up Halloween stores. Thomas Galvin disassembles one of these and rebuilds it for gun-firing lighting effects in his Galvinator wand. They were $3 Cdn each, so I grabbed two, in case I screwed it up.
The first wand was disassembled and its electronic components were stripped out. That is the tangle of wires and mini-bread-boards studded with LED’s on the left side of the frame.
The second gun is intact, in case I need to scavenge a part.
One disc has 6 LED’s that flash in bright, multi-coloured patterns. That fits very nicely at the front of the barrel, before the clear part of the wand. The other disc has 3 LED’s which will look good under the grill in the gun body.
-
The laser sword electronics use three 1.5V AAA batteries. At my local electronics store (MRO Electronics in the west end of Edmonton, Alberta), I picked up a few AA battery enclosures (no AAA stuff in stock). They are separate, which gives me a lot of flexibility in sizing, spacing, and stuffing them inside the wand body.
-
Top left-centre is a cheap string of battery-operated LED Christmas lights. These will be used for the cyclotron lights and the Power Cell lights. I’ll simply extend the wires a bit here and there. I also want to extend the last 3 or 4 LED’s through the wire loom from the pack to the gun, for use as ‘hat lights’ on the proton gun body. If they are wired in series, I may also wire in one of the toggle switches on the gun body to power up and down the whole pack.
-
Top-centre is a piece of 3/4" PVC electrical conduit that’s been sliced in half. It’s also been wrapped in aluminum foil hreat tape, to make a reflective curved surface. This will be the reflector backing for behind the Power Cell window.
-
The Googley-Eyes were other option I may have had to use for gun firing lights, if I couldn’t find the laser sword. I bought a few, which at $2 each, wasn’t too hard on the wallet. Surprisingly, the on-off switch kind of fell apart, and the button itself looks almost exactly like a hat light lens! Score!
-
The right side of the pic is of the Thunder Strobe light set. The lenses are fabled for their use as parabolic reflectors for the cyclotron lights. But check out the high-quality batteries that came shipped with the item! Just ignore all the corrosion… 
Once again, serendipity strikes as the Thunder Strobe switch falls apart too, revealing an orange hat-light lookalike!
I’m taking off to play a gig in Hinton in the next hour or so, but tomorrow I’ll spend the afternoon wiring up the Proton Pack lights. The flashing wand light electronics will need a re-solder to both extend and replace the thin, cheap, and unreliable 26-gauge wires they used in the original manufacturing. I have suitable lengths of ribbon cable left over, which will peel apart nicely into color-coded 2 strand and 4 strand wire extensions!
So many great looking builds. Looking forward to seeing your pack with lights.
 Pack lighting 1 by Brett Watt, on Flickr
Here’s a shot of the inside of my shell. You can see the epoxy buds I used to attach the red cyclotron lenses; the wood dowel capped with a rare earth magnet in the crankcase, which links to the vacuum hose that has a matching dowel with a screw on the end. It holds pretty securely, but can break away if a wise guy decides to “test” the hose connections. I used fender washers under the nuts for all of the pipe-made parts (HGA, N-Filter, injector tubes, beam line, etc.). Being so wide, they help distribute the force a little better, and may prevent a break should I back into a door jamb, pole, or something. You can also see the cable clamp I am using for my excess ribbon cable. As well, the potentiometer is screwed into the crankcase at the top. The crank knob is attached to the potentiometer post.