 Pack lighting 1 by Brett Watt, on Flickr
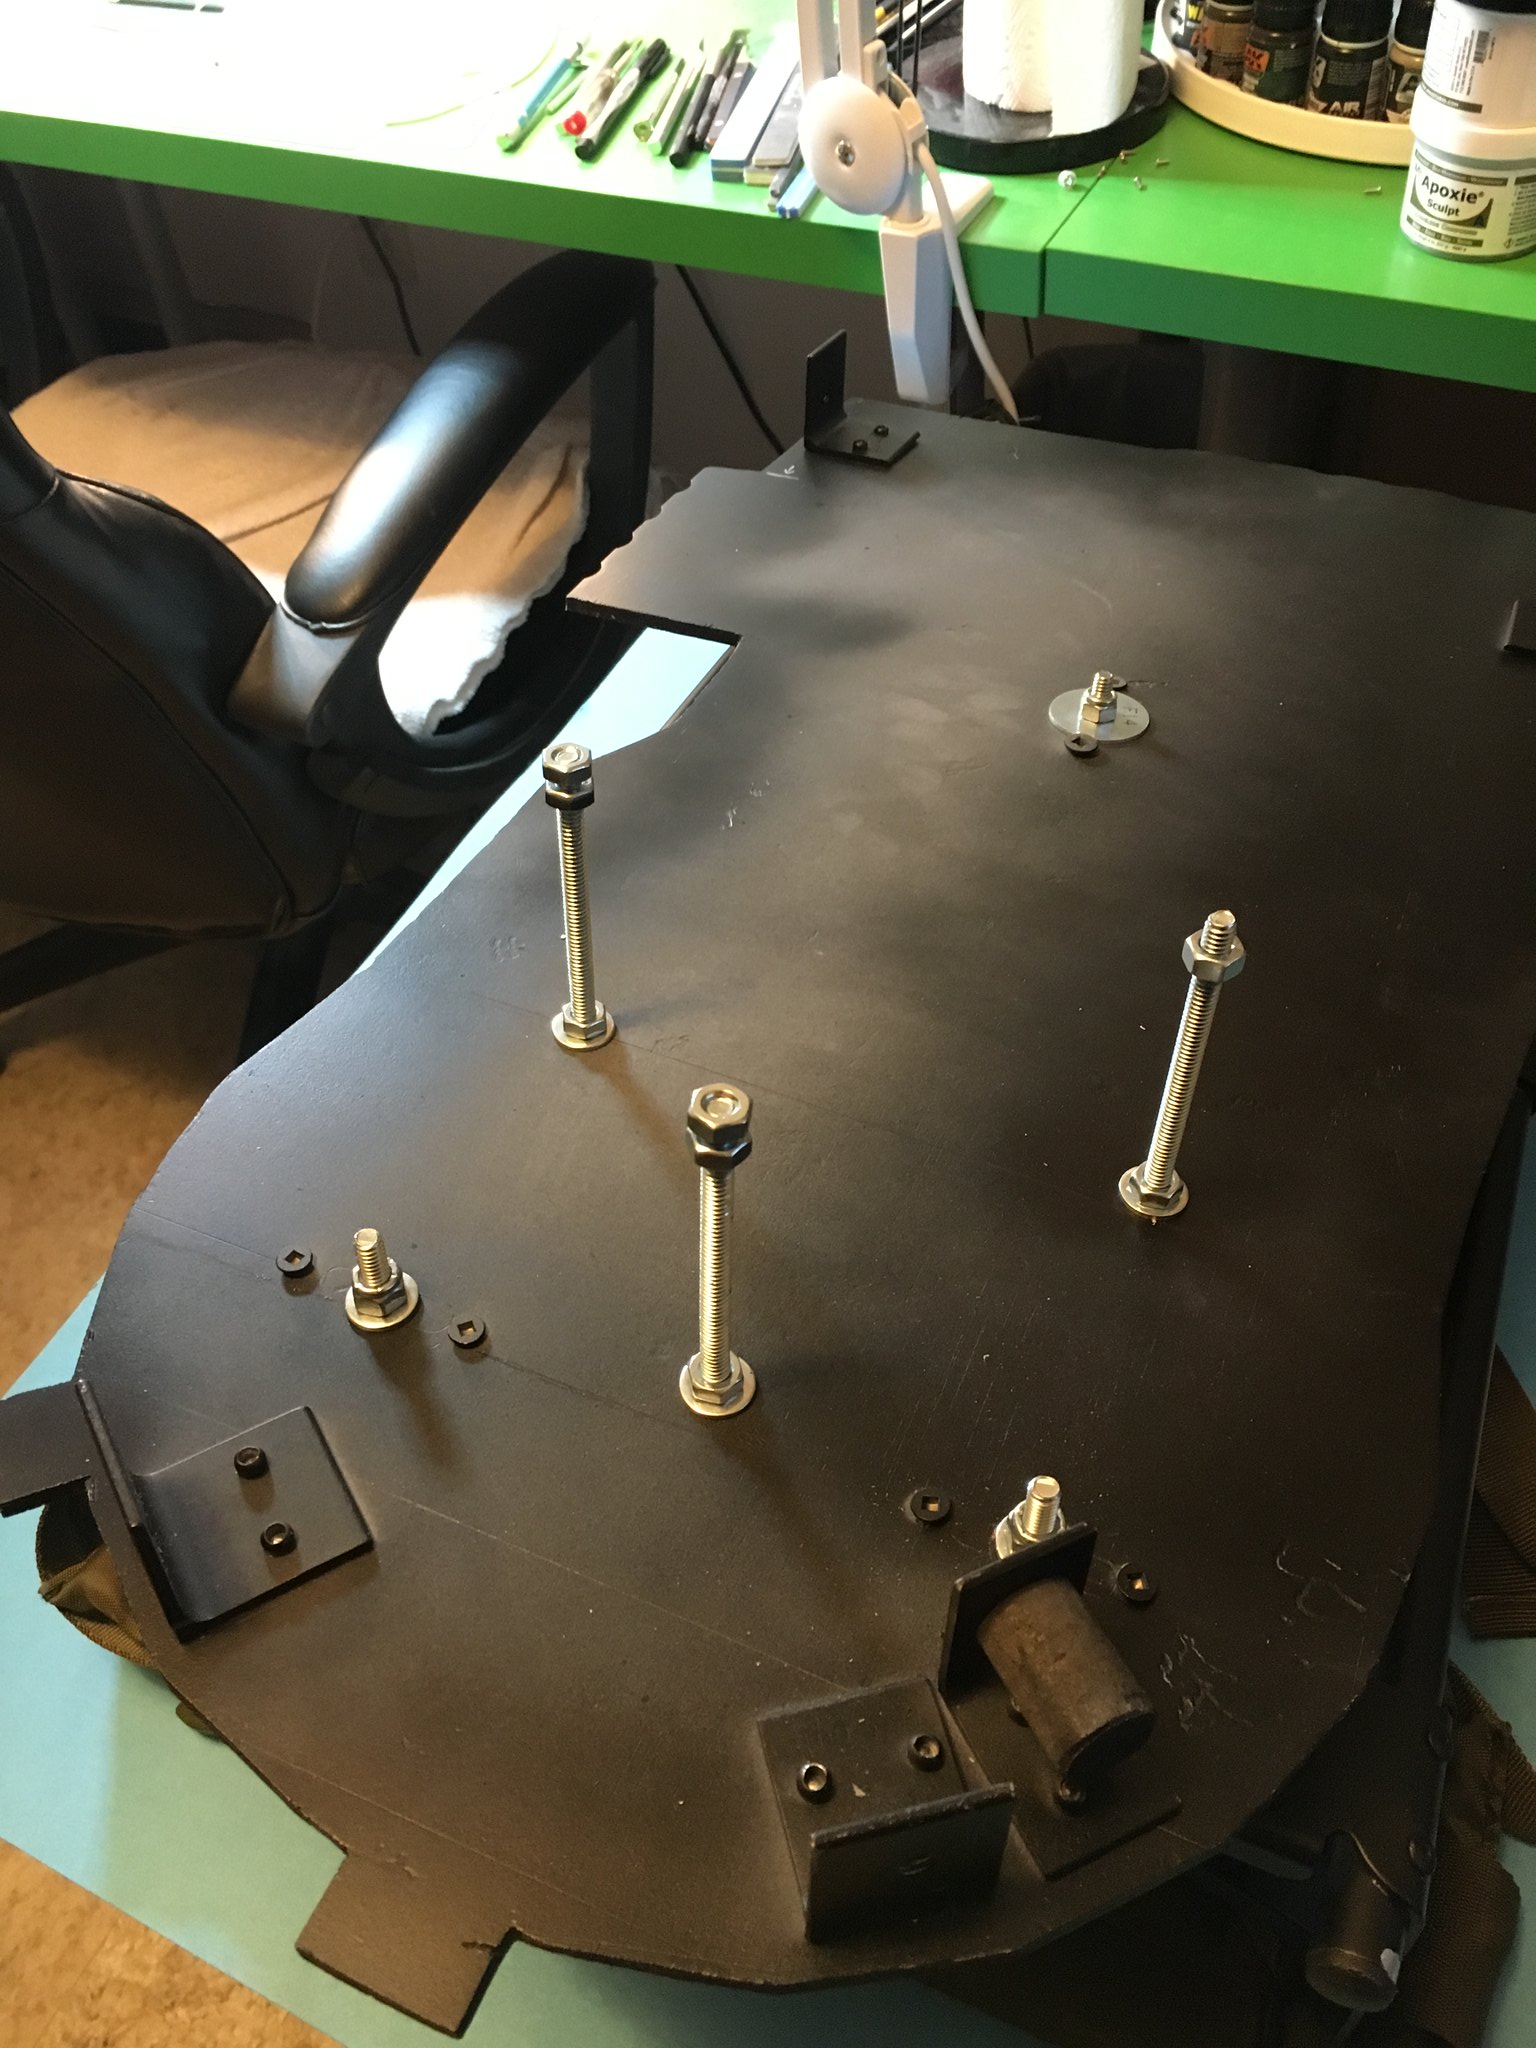
I’m back working on the motherboard here, installing bolts to attach the cyclotron lighting platform.
 Pack lighting 1 by Brett Watt, on Flickr
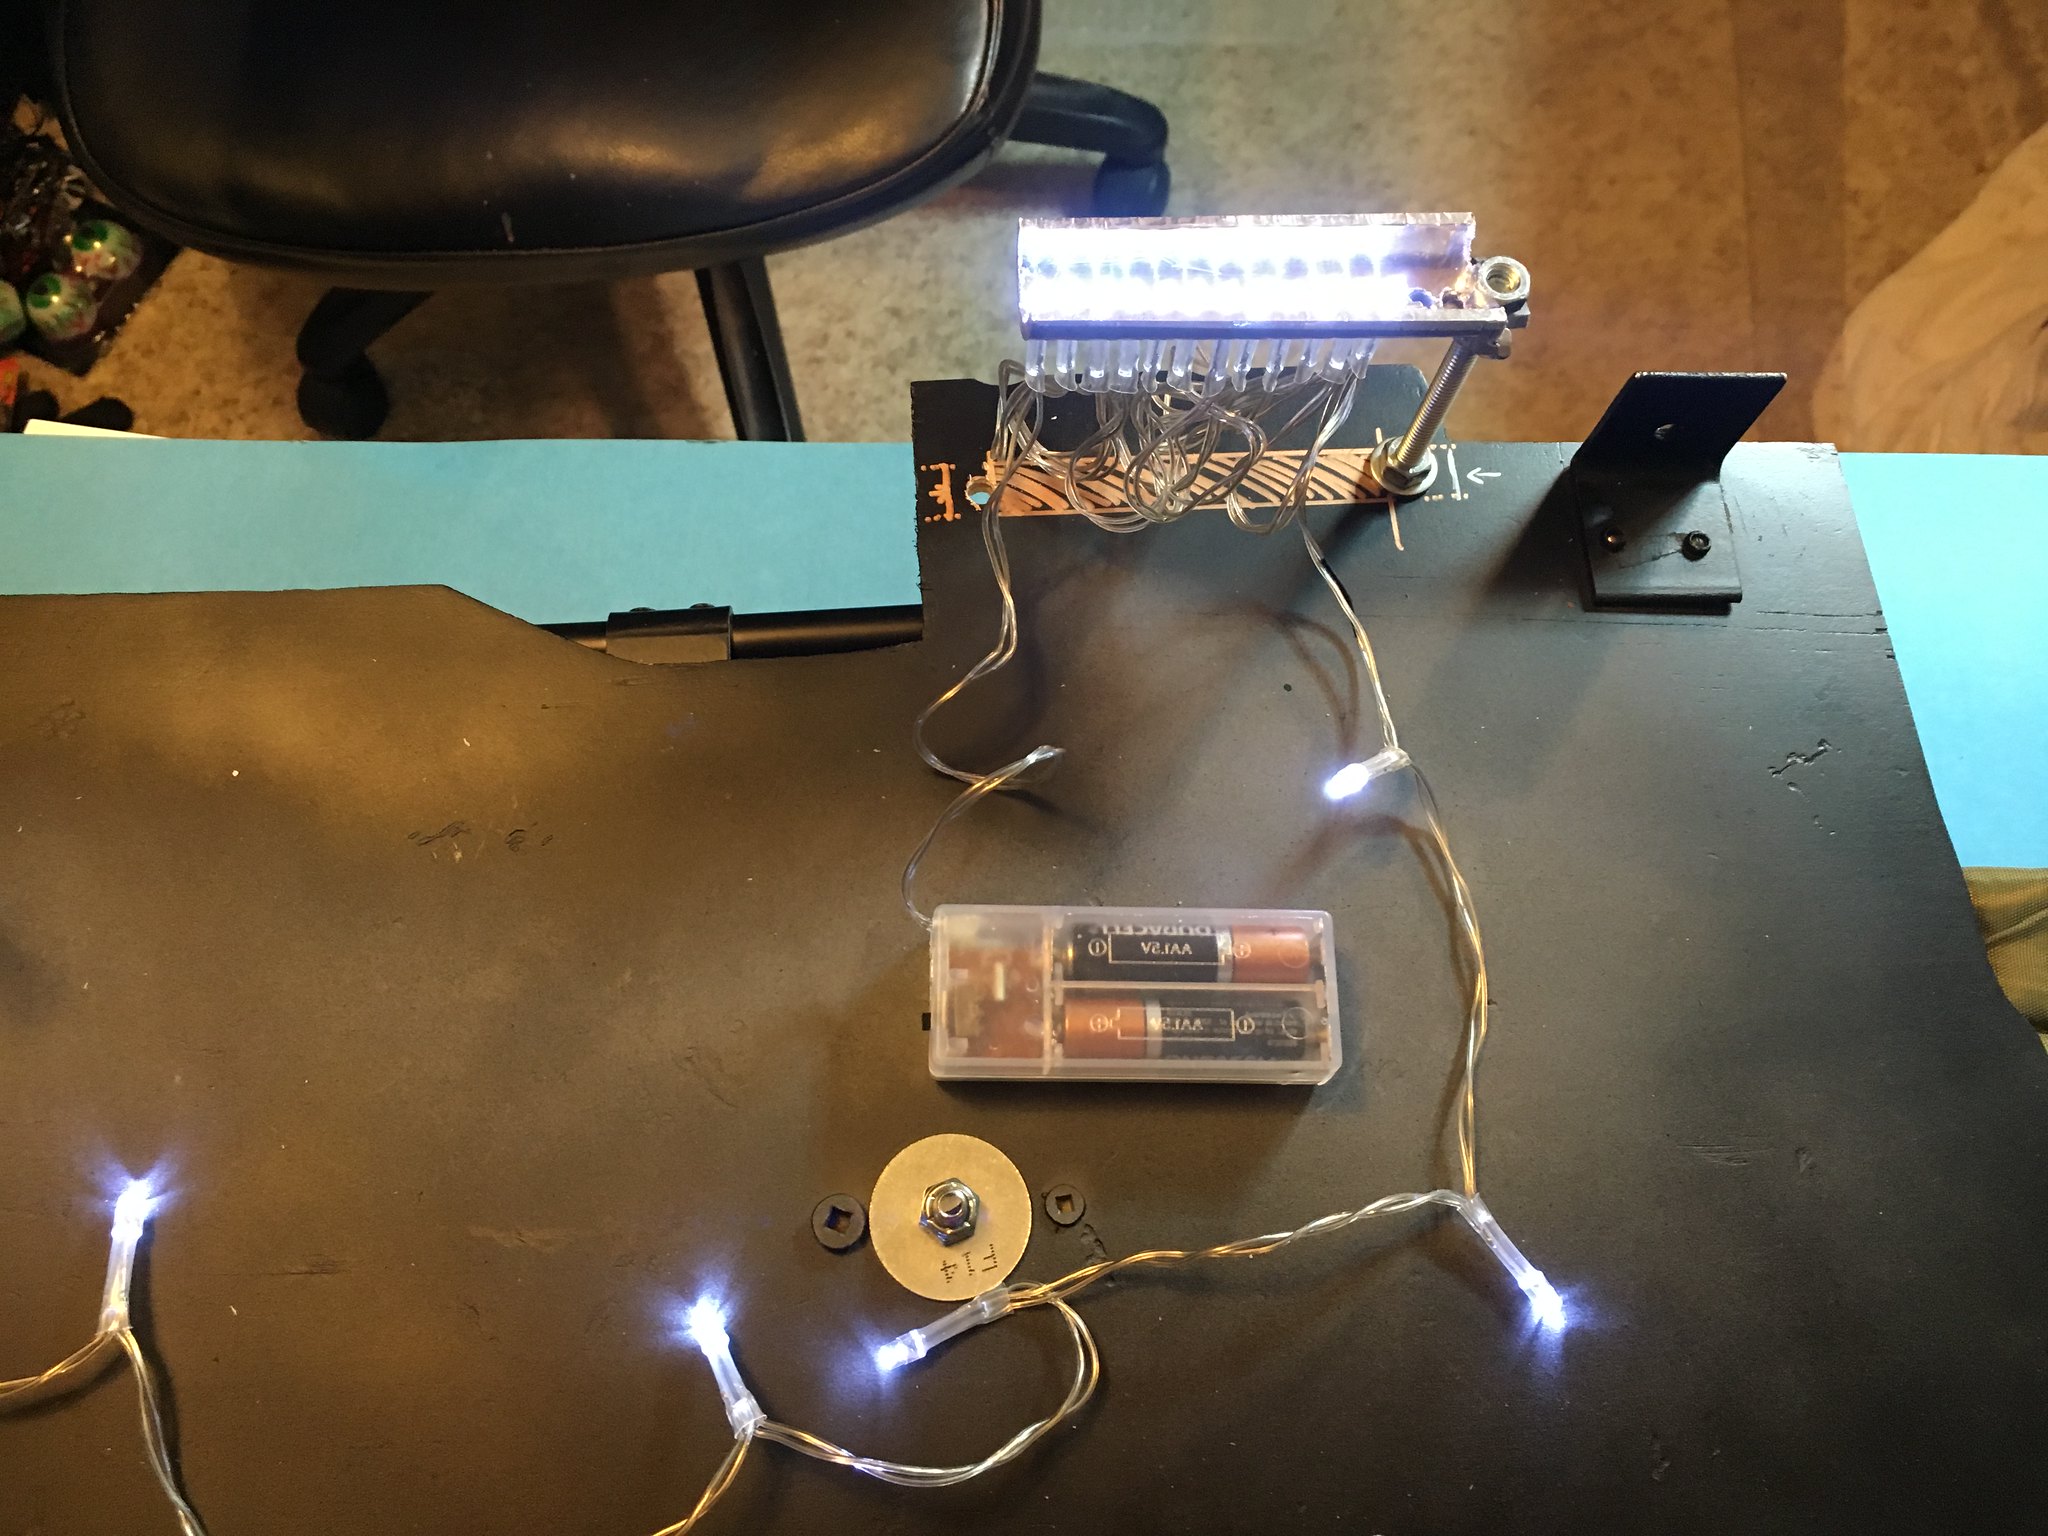
Here is the cut-up piece of PVC pipe. I drilled out some holes to insert the LED light string. The top has a tab for bolting the pipe piece to the motherboard. I had a matching tab and a bolt at the bottom, but they were interfering with the injector tube bolts, so they had to go. I will likely drill another shorter bolt under the bottom part and epoxy it in place somehow.
 Pack lighting 1 by Brett Watt, on Flickr
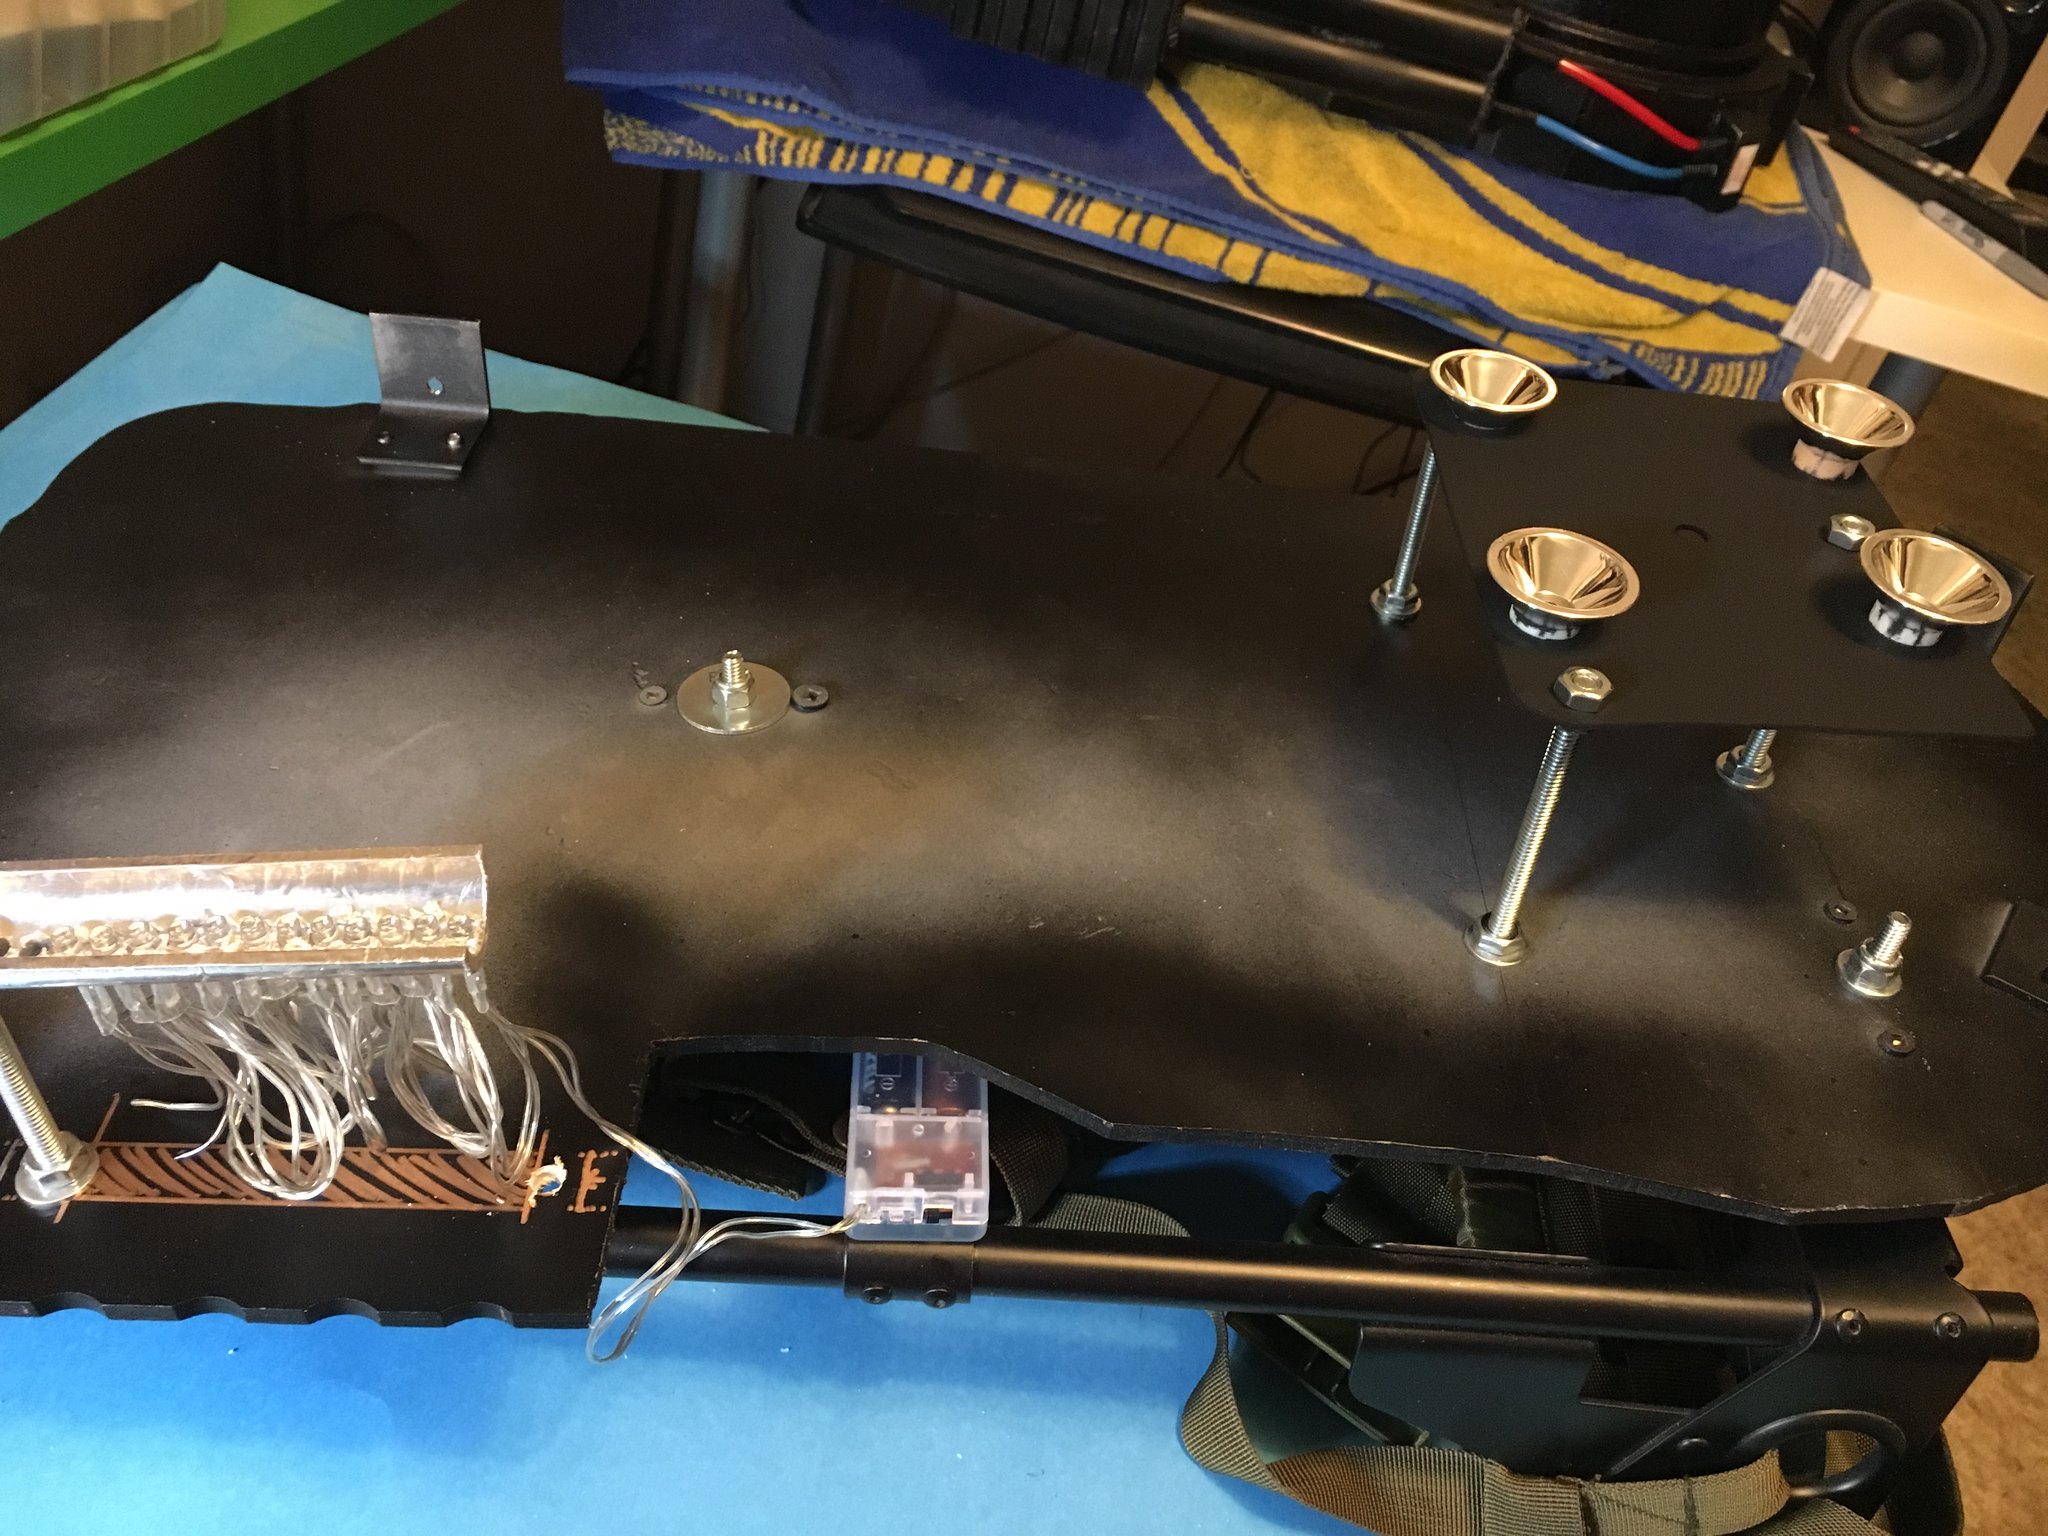
Here is the plastic platform I’m using for the cyclotron lights. It’s not a perfect alignment, but it works pretty good. No lights are installed on the cyclotron light platform yet. I left a couple lights out of the power cell lighting bracket, but I have 7 or 8 lights left on the string: 4 for the cyclotron and 3 or 4 for the wand. The light string will need to be extended to reach both the lighting platform and down the hose to the wand. These lights are sitting on my bench…
 Pack lighting 1 by Brett Watt, on Flickr
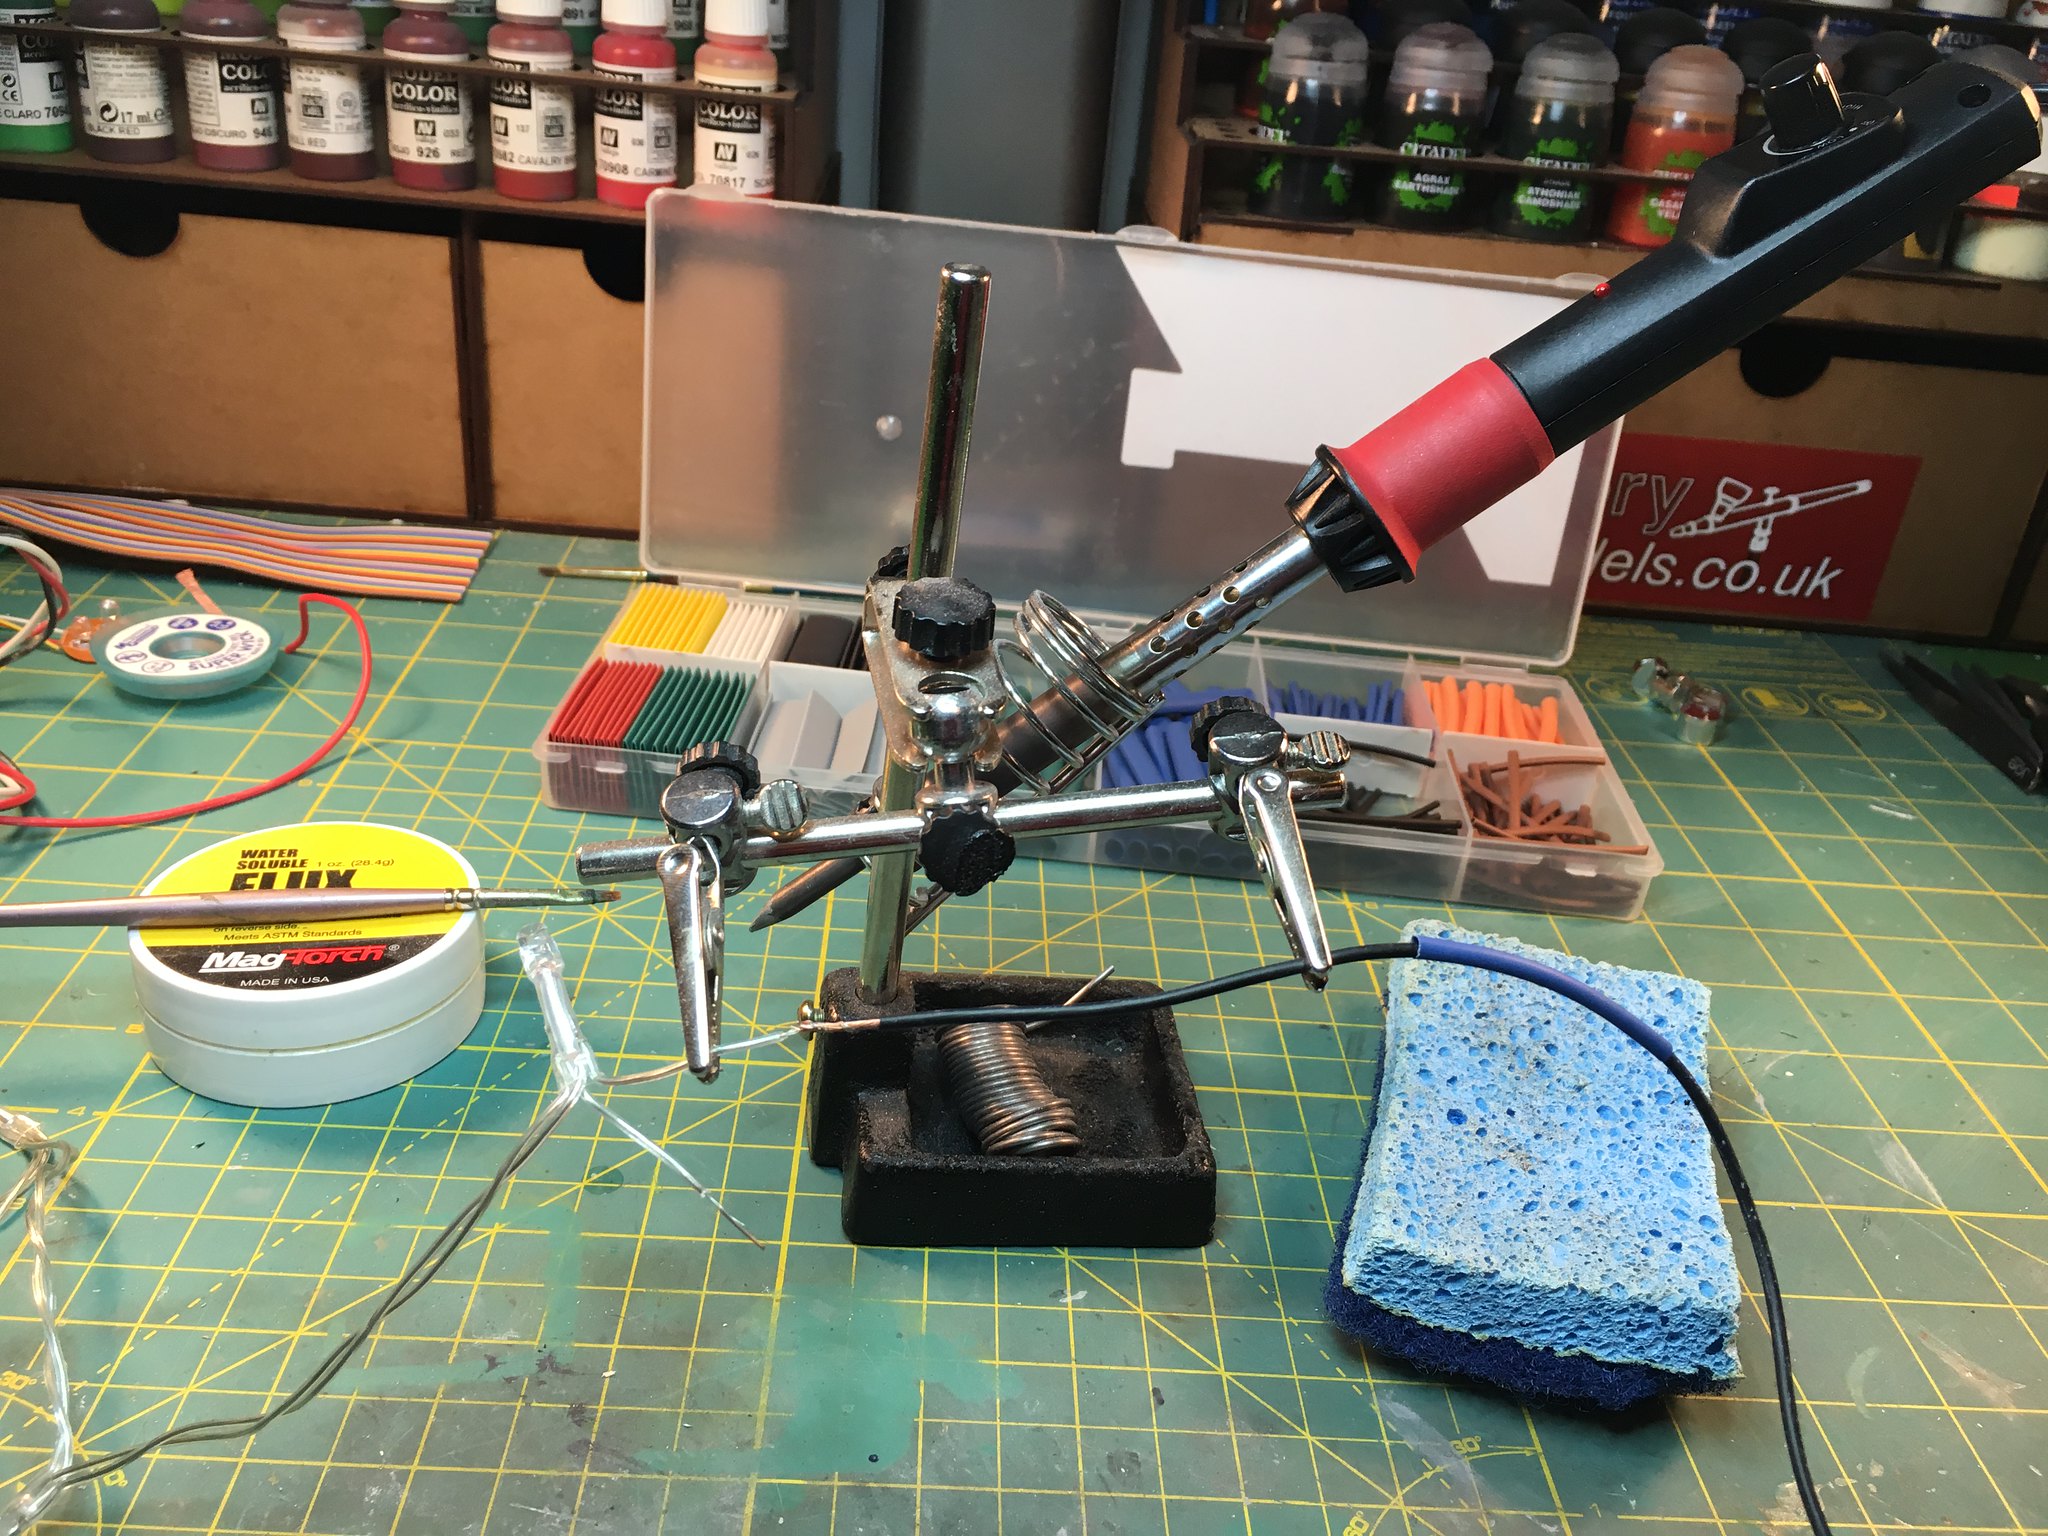
Up next: soldering to extend the wires! I really hope that this works!
Success!
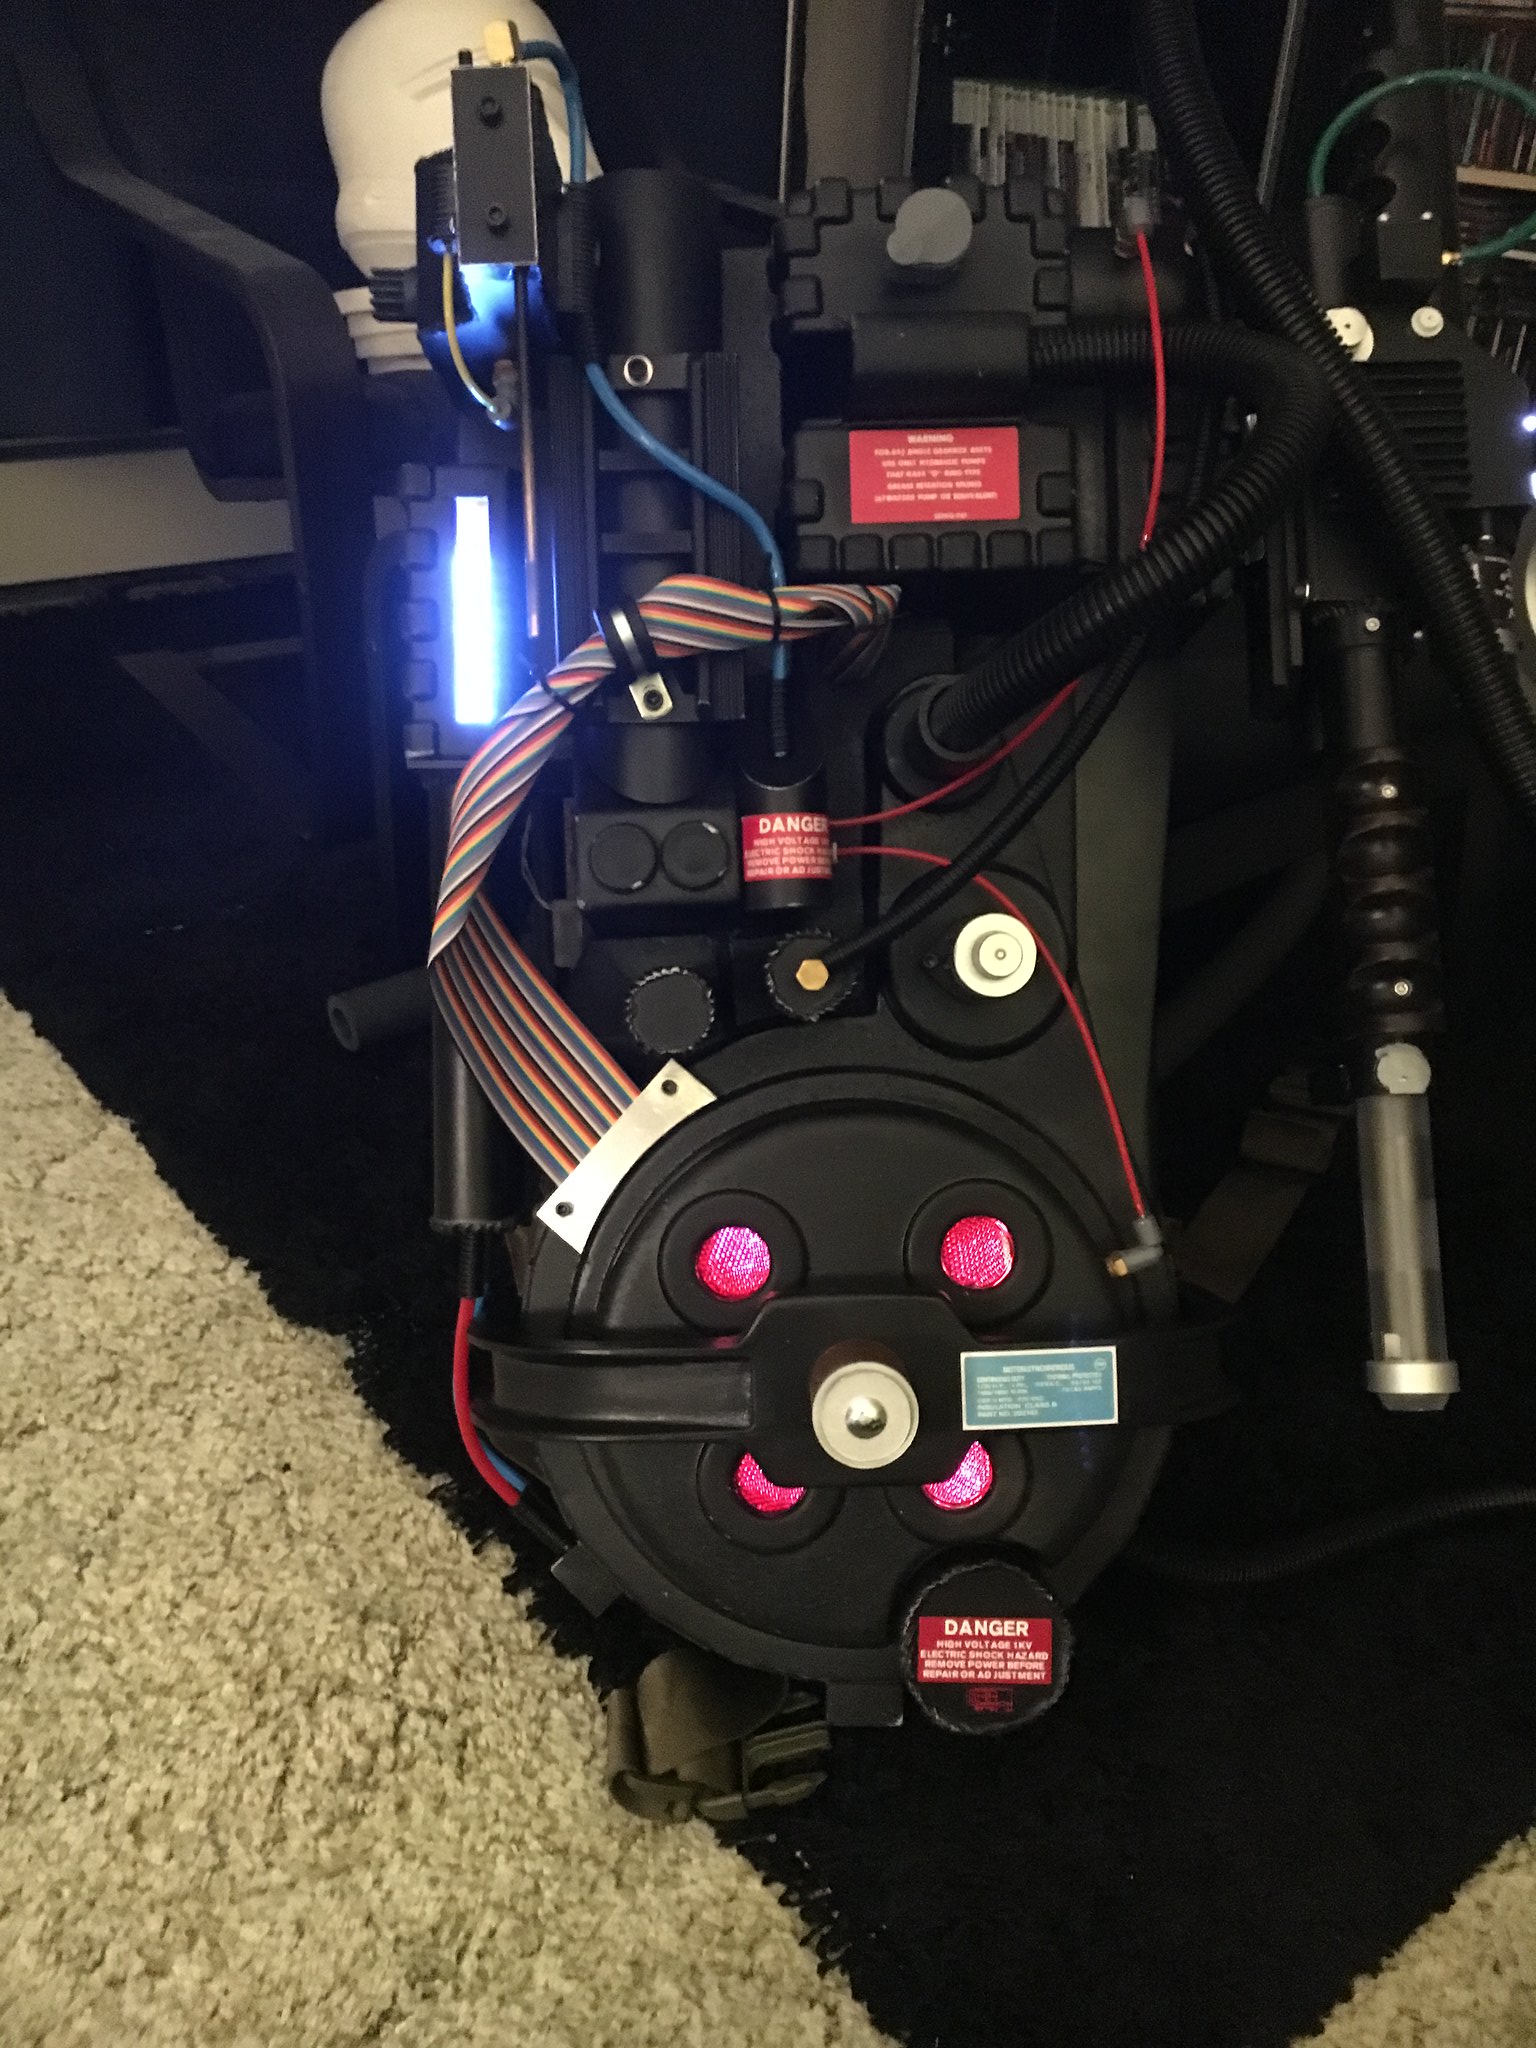 Pack lighting 2 by Brett Watt, on Flickr
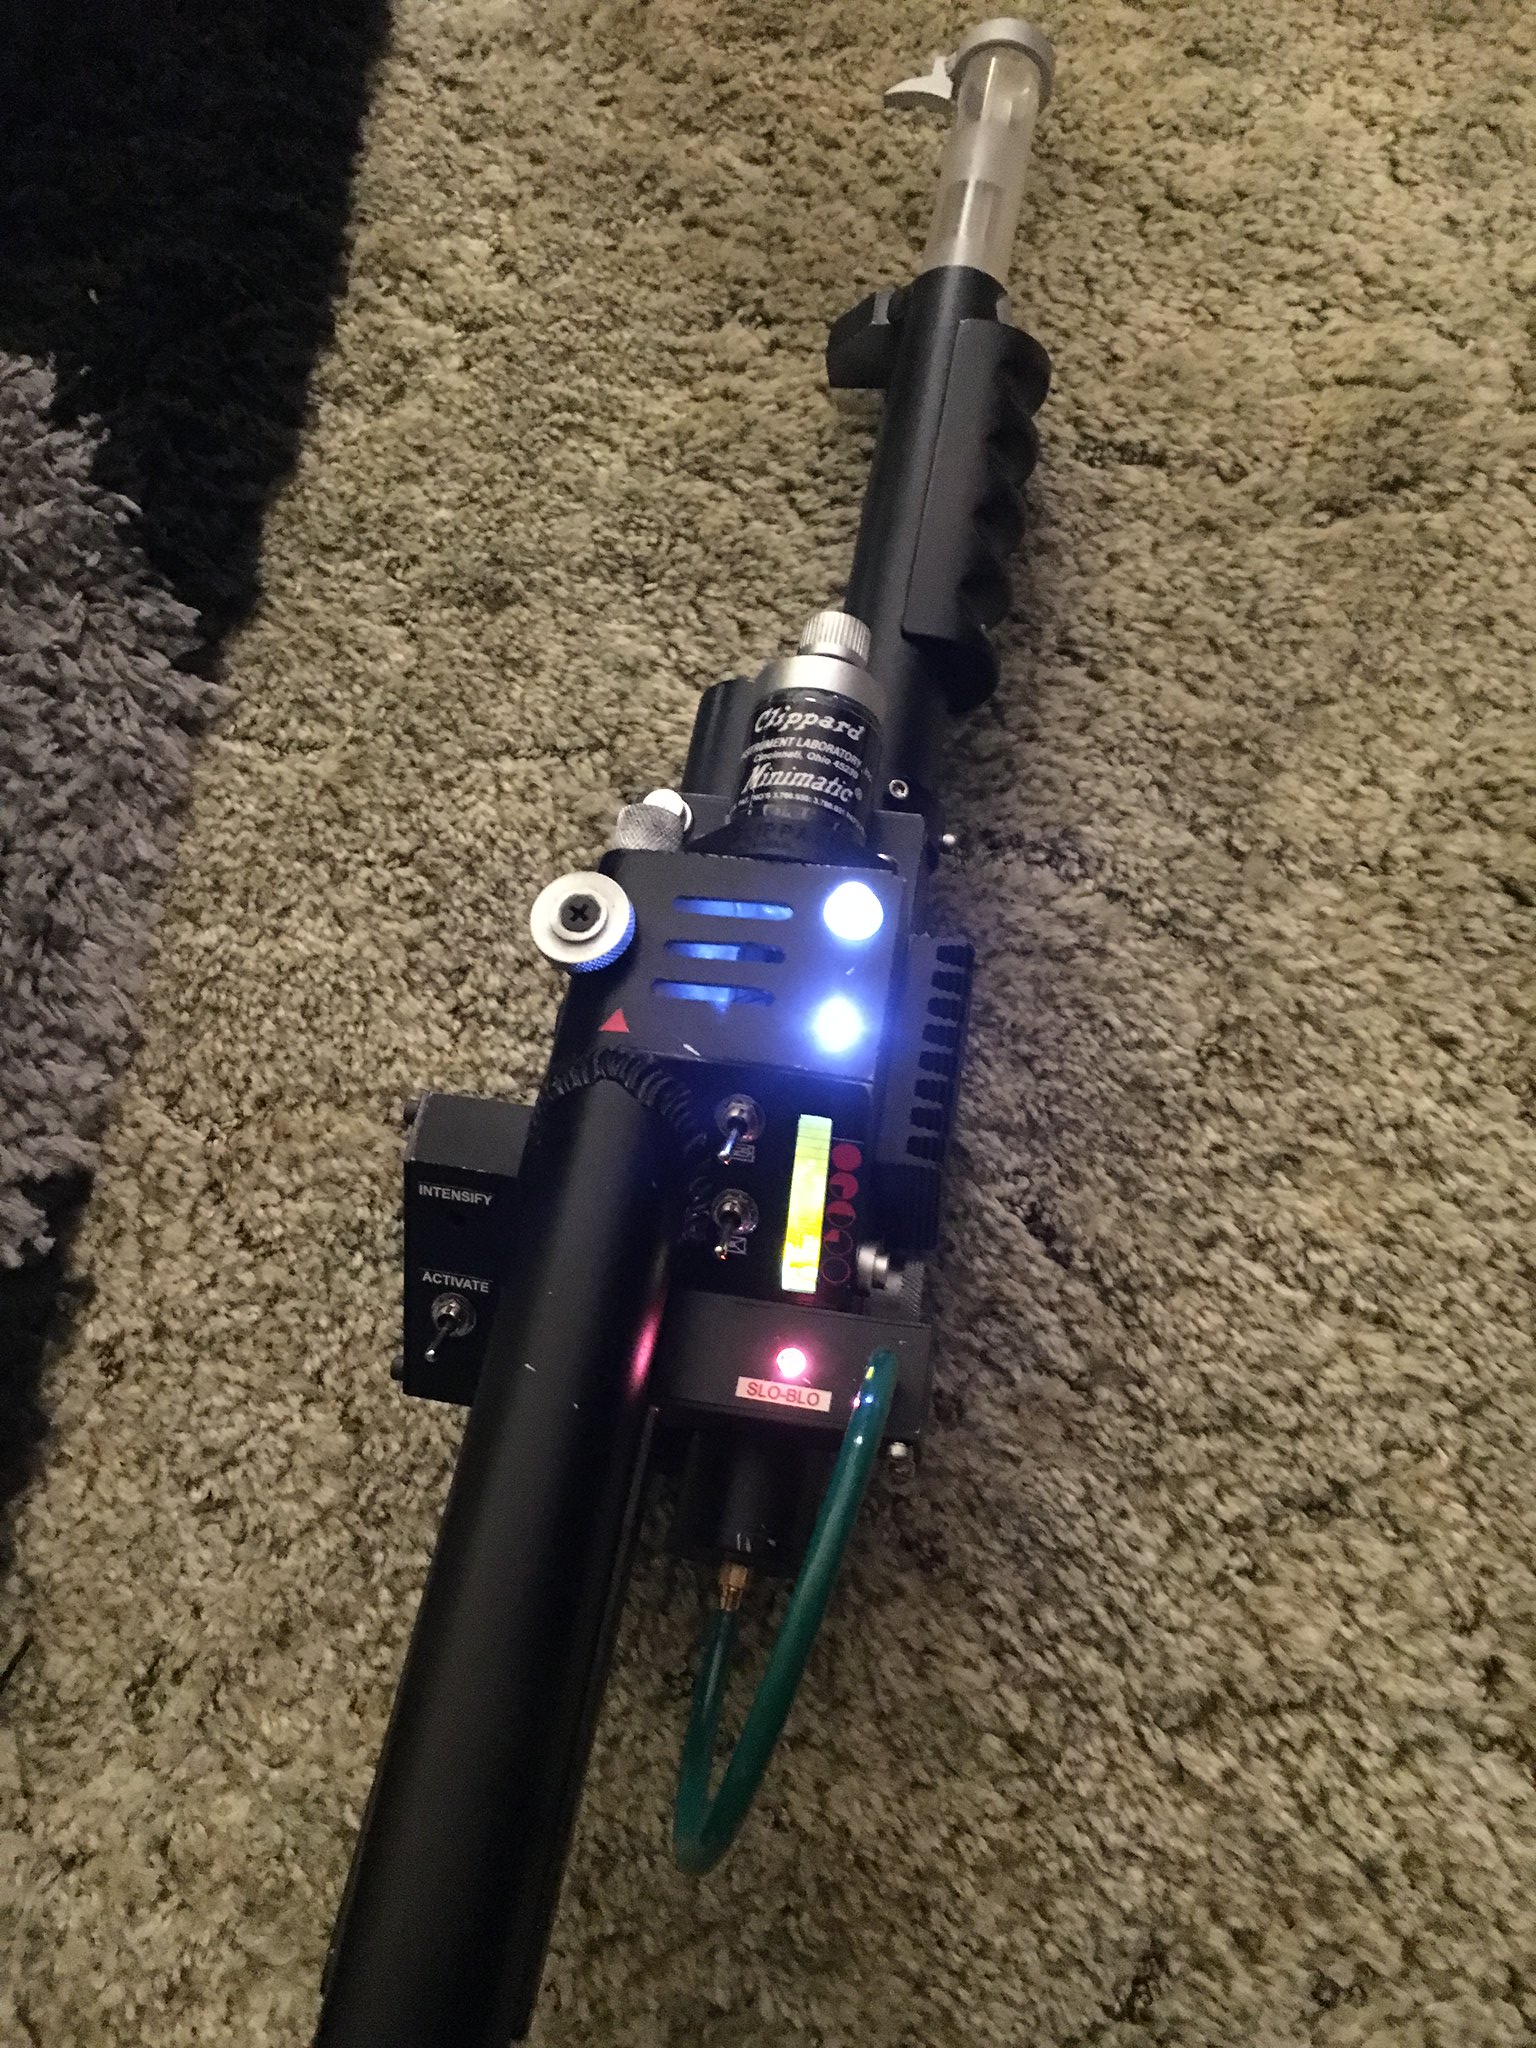 Pack lighting 2 by Brett Watt, on Flickr
Like I said before, the wire used for the cheap dollar store light string was around 26 gauge stranded wire. To extend it, I used some old XLR microphone cable and soldered the ends together, into 3 sections: 4 lights for the thrower, joined to a 5 foot length of wire fed through the wire loom hose, then joined to another 4 lights for the cyclotron, then extended by 3 feet, to the Power Cell lights, and then to the AA power pack for the lights. The lights are threaded through a small hole into the motherboard with the battery pack taped to the ALICE pack frame. I can easily turn the lights on and off from that spot.
I used two lights in the top of the thrower, one with my make-shift ‘hat light’ cover I found, the other just a bare LED. Another light was hot-glued into place inside the thrower body, aimed at my cheesy ‘bar graph’ window. The last light was fed into those small rectangular boxes at the back of the thrower, where the Slo-Blo light is. This last light was just friction-fit into place, then painted with a couple coats of Tamiya Clear Red acrylic model paint. One more coat should really make it look nice and red!
I won’t be doing a light under the orange hat light on the thrower barrel. I will for sure glue in the orange hat-light stand-in that i found, though.
Forget the fact that this was a “rush” build, this is one of the nicest SC packs I’ve seen.
So, I used this as a costume last year with no change.
This year, I committed to installing proper light and sound. While some of you might cringe… (see this 7 page thread) http://www.gbfans.com/forum/viewtopic.php?t=34409
I chose the HeavyProps light and sound kit.
And I got it to work! Even with the ‘idle’ hum! (mostly; the particle stream button starts the sound effect, but a second tap on the button is required to activate the particle stream lights effects, AND it only de-activates when any other switch/effect is thrown/activated).
My results video is here (1 min long): https://www.youtube.com/watch?v=XK4TbNMCbVA
Nice work on the pack, it looks and sounds great! I’m in the process of making my first pack, and I too went for the HeavyProps kit. Got it working on the first go with absolutely no issues, so I’m definitely not seeing what the fuss is all about - maybe I just got lucky  I am modding it slightly by adding a separate on/off switch for the back lights, so that I can have them running continously and only power up the wand itself when I want to - just because I can’t get enough of that charging sound

Also, if the firing sound doesn’t stop when you depress the button you may want to have a look at the wiring on the sound board. I’ve had the same thing happen to me a couple of times while testing the boards, and it turned out one of the wires had come out. I believe it’s the green wire from the wand board sound cable that controls the “turn off” sound 