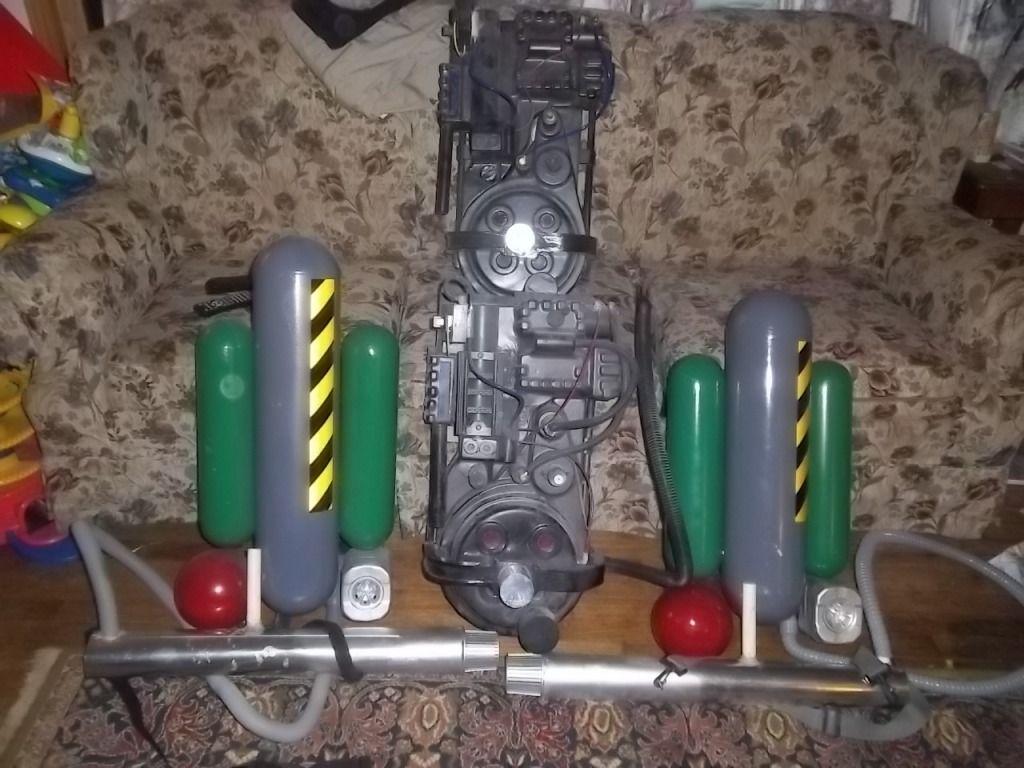
Kid Sized Slime Blower

Guys,

Some teaser photos for now. I am having Photobucket upload problems, but managed to get two up…

Back ground is to build 2 set of Blowers for my Kiddos. I am keeping the details light, to save weight. Also, these will be played with extensively (based on the Proton Pack I made for them) so I expect dings… dents… and general mayhem.

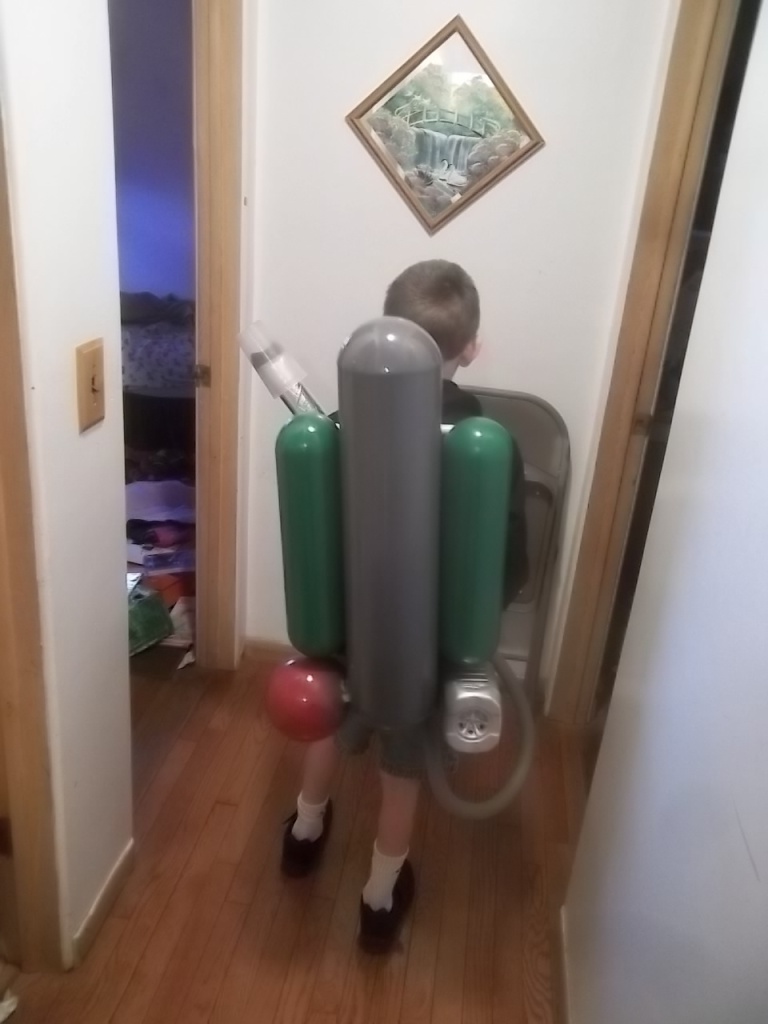
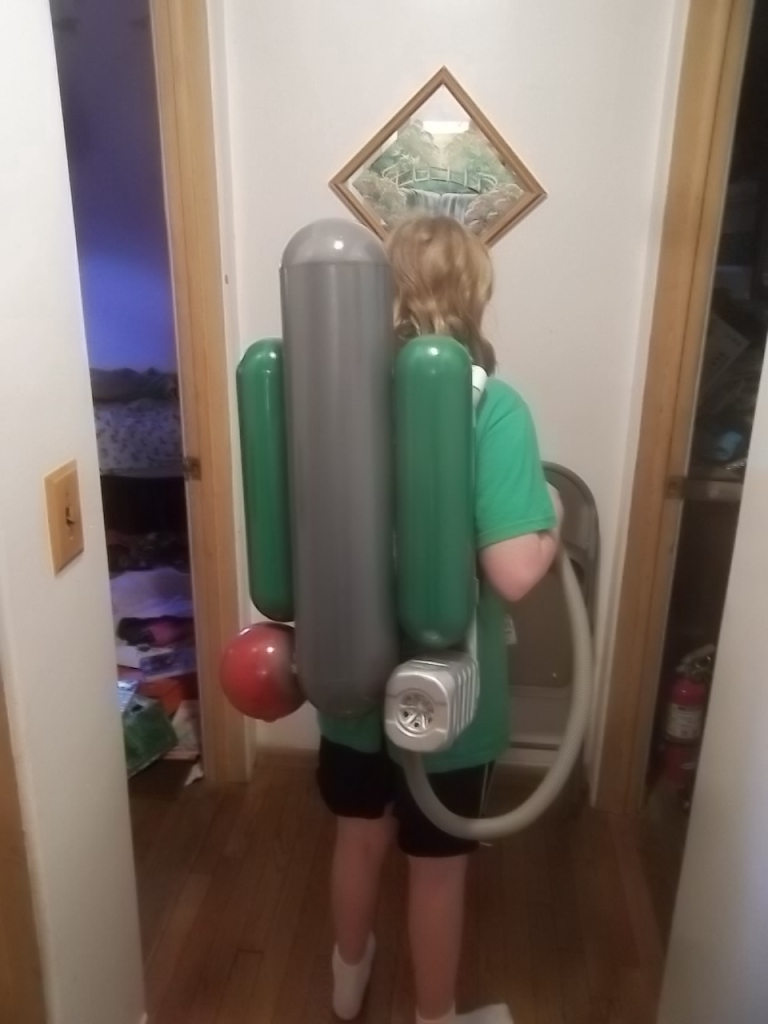
For now, here is a view of 1 pack, on each of my Kiddo’s:

8 year old. He claims the weight isn’t that terrible. However, I will be making a slightly smaller version for him, due to weight and proportions while Ghost Busting…

11 year old. Better proportions… and would look good for a gal to wear out on the town. Very light for her… and you can’t beat the grins!

Left to do, is the safety tape, some flashing lights, detail the frame… and to finish the guns. Here they have the prototype in their hands…

I will step you through the build, as the photos upload!

Very nice! It’s tricky trying to make a slime blower that looks good and is lightweight!

Not bad at all. Lucky kids.

Sent from my Motorola-XT502 using Ghostbusters Fans on Android

Thanks for the warm comments guys!

I really didn’t want to delete some of the items, but I figure that as the kids grow, I can lengthen the frames and add the missing parts. When the Kiddos get tooo big, then its time for new costumes!

I also didn’t “think” that the two small tanks were different sizes, until I referred to my photos during the assembly, AFTER I made them. I can still remount the tank that should be smaller, on the other Blower that I am building… but shucks! I need to get on my Gigameter build!

I don’t have all the dimensions with me, but I was able to upload some more images…

First off, the main tank ends, were sourced through Hobby Lobby. I believe these rate as a 6 inch bulb. You can buy them as a 3 pack… one shiny… one matte… one with glitter. My goal was to use the glittery one for the bottom hemisphere on the tank… so any blems would be hidden.

image

image

In reality, since I was in a hurry, this didn’t happen… so I did more work to clean it up, since it was more visible on the top… :walterpeck: Remember… check twice before cutting! :sigh:

I used Goop to glue the hemisphere to the metal 6 in duct that I was using… After the Goop hardened, then I applied my Bondo filler and smoothed… and smoothed… and smoothed… the last step was auto body putty, to fill in the low points.

image

image

Here is a photo of the smaller tank. I don’t have the schedule, but used a 3 or 4 inch globe from Hobby Lobby that came in a 4 pack (two for each tank mind you). They are small, so I had to do more work with body filler… but the results were good.

image

I kept doing mockups to insure that all would fit as intended…

image

I didn’t show much with the frame. However, it is a 1/2in pvc. I will detail it black eventually. I crisscrossed it with Home Depot/ Menards/ ACE aluminum flat stock. It is gummy… but lightweight… and did the trick for mounting the tanks. You will also see my 1/4in plywood lower strap.

When it came time for the hose(s) I only opted to put 1 on the pack and gun. This is a deviation I believe… but of key note, for ease of use for the Kiddos. They are also held on by brass pcs… which also were deleted. Instead, I used a washer hose (generic) from Home Depot, and screwed/ bolted it directly to the pack frame. This will keep the balls, boxes and tanks from being pulled on. 2 screw/ bolts and I can replace the broken hose.

image

Next up was an electrical box with a “heat sink”. So while Slugging down my drink last week, I noticed that the container should look pretty good in silver… it looks technical and hollow… several key points..

image

image

image

The inner liner of bondo/ glass will allow me to attach a real heat sink, or internal electrical. I was thinking a whirling light… but time and budget will make the call for me.

There are 2 types of ducts out there… galvanized or black metal. This tank was made using galvanized… and the 2nd Blower is black metal. Galvanized won’t allow you to stick paint or primer easily… onless you use special primers… to get the grey (gray) color of the main tank, I used this:

image

Here is another mockup…

image

The large ball came from the Hobby Lobby 2 pack, and was painted International Harvester Red… although a more rust red would be better…

Remember, I want my kids to be visible when “Bustin Ghosts”… so I error on the side of bright…

Here is my “gun” prototype, but I am moving beyond this right now…

image

Thats all the pics for now folks… as I work on the second pack, I will include more details on this thread, especially if I have questions from you good folks.

Oh, I did do a mockup with the actual shipping tube that the bulbs came in… this was the Proof of Concept…

image

Note the metal spine… and I later applied metal foil tape… but it just wasn’t strong enough for the abuse my kids will give it…
Those are great - your kids must love them!

Carp,

Thanks for the kind words!

Here are construction details of the NEXT Blower:

For the straps that hold the pack to the shoulder, I went with 1in. These will be reinforced to provide less strain on the Kiddos. Generally I like the 3in size “belting”, but I can’t remember where I got the last bunch. However, this is how I wrapped the material around the PVC/ Aluminum. Note the screw will be changed, but not the mounting procedure:

image

The extra wrap under and around puts the stress into the material, and not so much the mounting hardware. It wouldn’t hurt to hit it with a dab of Goop either… this will then give plenty of support.

I also used a set of “quick disconnect” buckles. This allows for adjustment, and give the kids the ability to “dump” the blower in a hurry (thinking safety here).

image

Mounting the ball is a challenge. The bulb that I am using is plastic and thin… nothing to fasten onto. Therefore I punched a mounting stud through the pack, and up into the ball. That way I can flood the ball with resin or Goop… I will also reinforce the outside of the ball/ pack attachment to give that much needed support. That nut will take some abuse to be pulled through.

image

Here are some construction details for the Blower frame. I used 3inch, 1/8in AL material, and riveted it to the PVC. It didn’t hurt to put an extra dab of glue before I joined it. Riveting isn’t for everyone, but I thought it would apply here… well.

image

As to the small and large bulbs… the cost isn’t that high. I was able to get a discount at Hobby Lobby:

image

Large:

image

Minus XX% off.

The 6in black metal duct:

image

Now for the overall dimensions and lenghts… mind you I am building for an 8/9yr old here… The small tank:

image

The big tank:

image

A detail would be to make them both a different size, but I am neglecting this as mentioned.

Now onto the 2nd generation blower gun:

3in galvanized metal duct found at Home Depot:

image

I found an old strap from a duffel bag (padded and adjustable) and attached eyelets to the 3in duct. The eyelets allowed me to snap onto the gun, so we have hands free carry… of course candy/ swag is important during Halloween… so both hands are needed for carrying away the loot!

The eyelets are threaded into the sheetmetal against a washer and nut. Even if we have the eyelet come loose from the sheetmetal, it can’t fall out due to the nut and washer. The snap is good, for once again untangling guns and hoses during an emergency.

Best of all, if you keep your build clean, the blower gun tube is shiny with no painting needed.

This isn’t a concise guide on “how to” for movie accuracy… more of a “how I did it”… with construction techniques.

Quick update on the progress of the next Slime Blower I am building for my Kiddos.

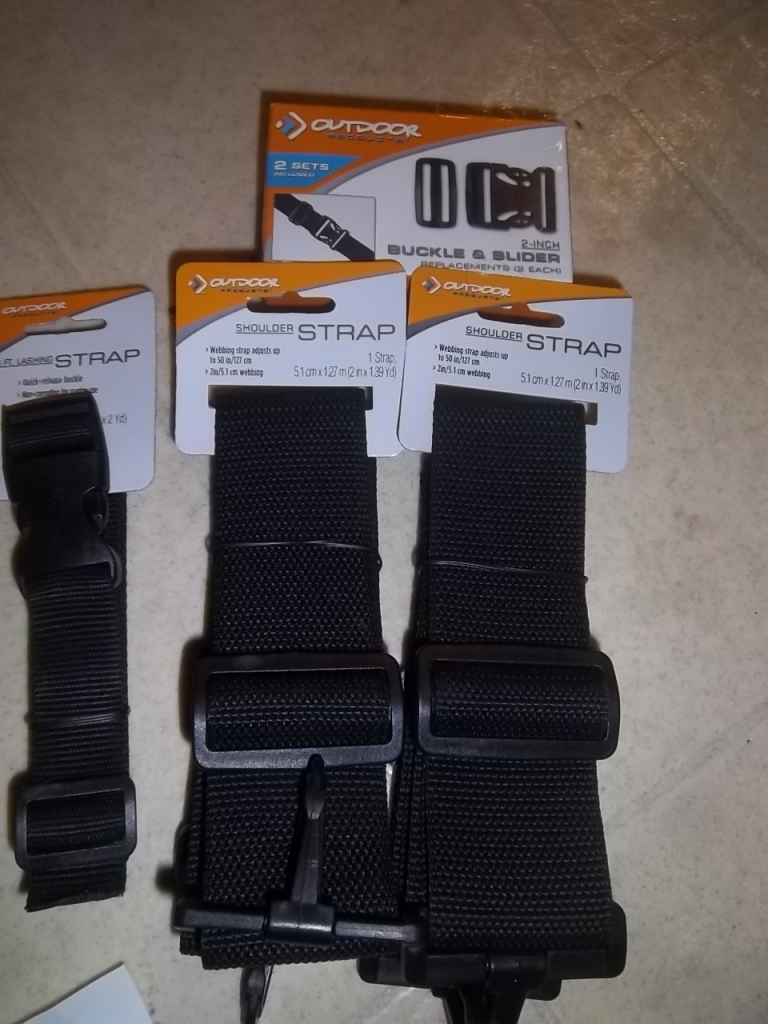
I found at Walmarts, the 2 inch buckles and strap material. I prefer this for over the shoulder carry for my kids, to help disperse the weight.

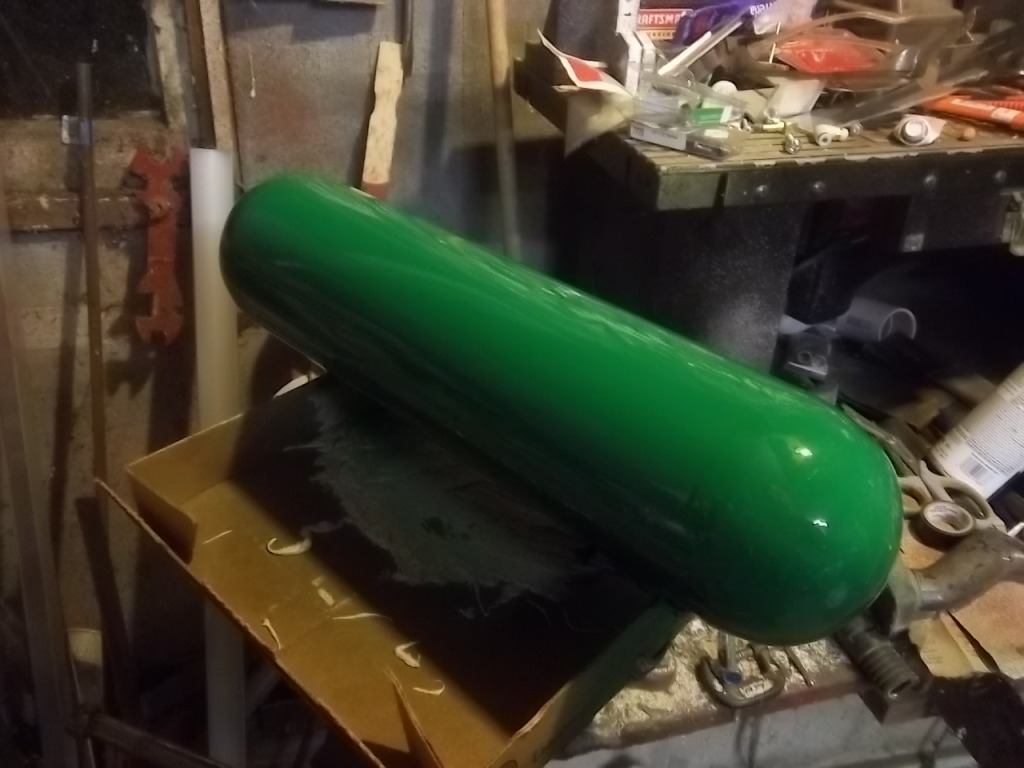
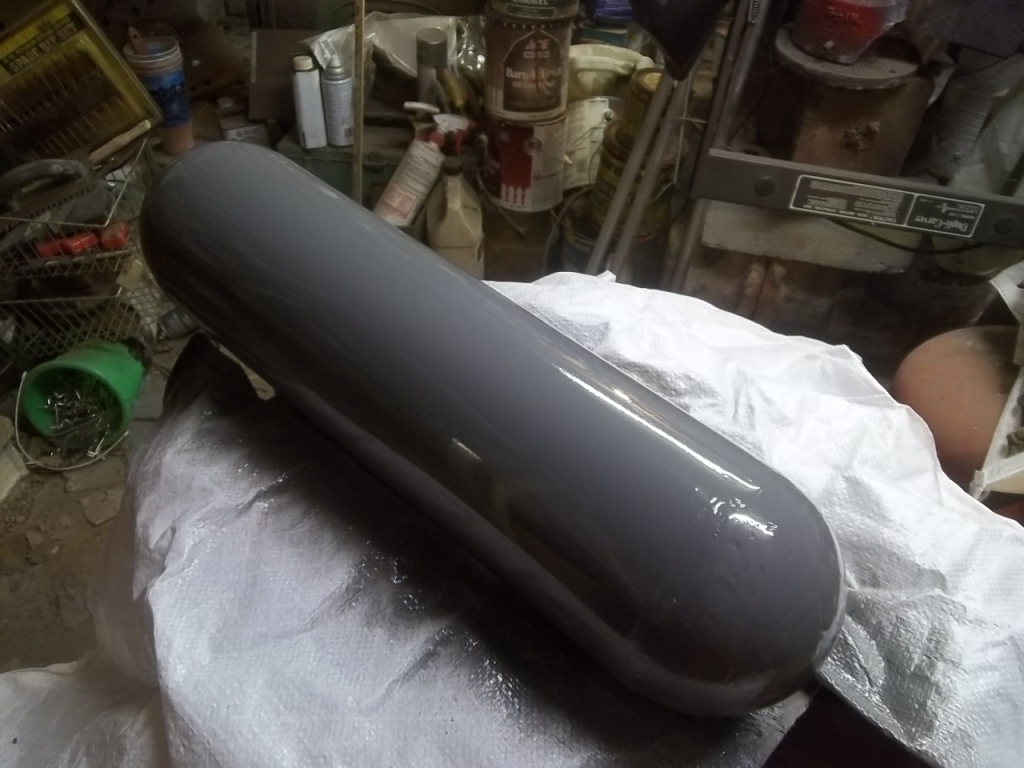
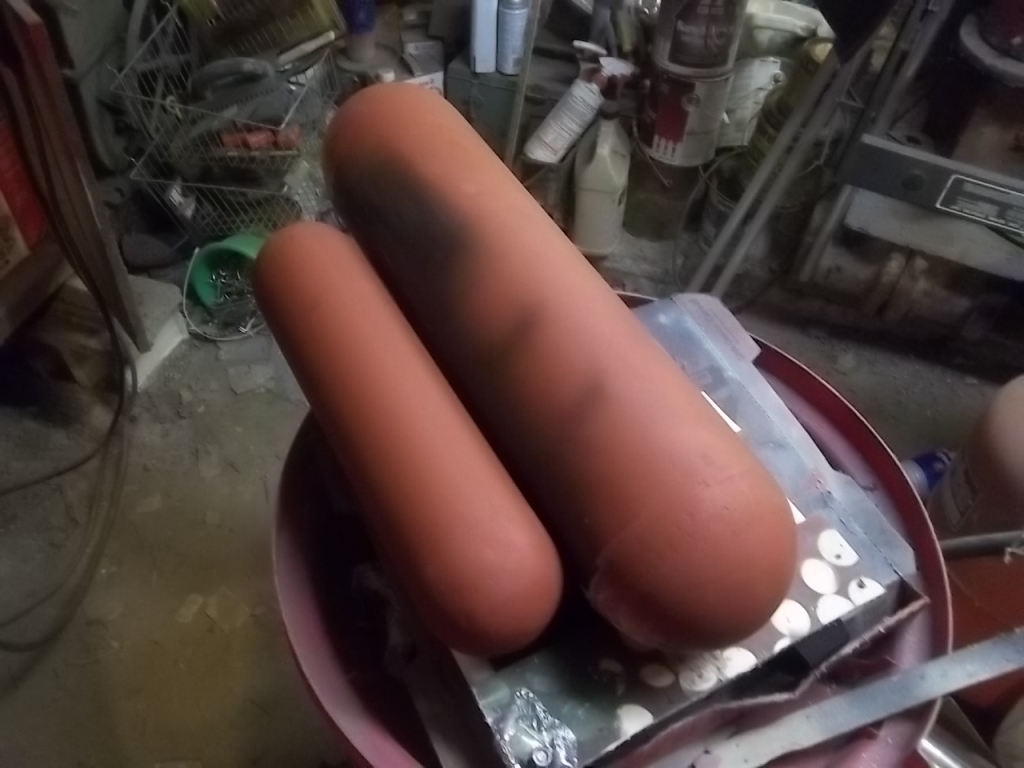
I also got my NEW tanks mudded out, and sanded down. Here are the initial topcoats of the paint that I am using:

And large tank:

Here is a quick mockup of my layout:

That looks great, those kids gotta be pretty excited, I know I would be.

Jamie,

Thanks! These turned out pretty good, IMHO!

There are small details I would like to add, such as the “safety” tape, and a few blinking LED’s.

If I do get the time, I would also like to make them actually shoot “Silly String”. The Kiddos bought me 3 cans of the stuff so I can prototype something together…

But as noted, I am falling behind on my Gigameter!

I see that I haven’t updated this post in quite some time… Well, here we go with MORE content and photos!

First up was to devise a simple “nose cone”. I got this at Menards I believe, as an endcap to a roof vent. I grabbed the 3 in size..

image

I also grabbed the 3in size GALVANIZED metal duct. I was going to do aluminum, but found that it was toooo soft! I also bought another set of eyelets to grab onto, for slings and things… Here, I have both “guns” set up…

image

Of course, you MUST involve the Kiddos when possible. So for tightening up the sling eyelets, there is nothing like a kids clever hands…

image

Next up is a photo of “pre paint” gun…

image

The large tube protruding from the left is where the hose connects… the handle is fixed on with glues and screws… and for now is “white”. The end cap was tapped and “Bondo’d” in place.. modest amount of sanding got me what I wanted for fit and finish…

Alas, I do not have those photos uploaded yet…

Gents and Gals,

Here is a “family” photo of the builds for this year. 2 “pint” sized slime blowers… and 2 proton packs. All are about 80% finished, with electrical being the main sticking point.

I plan on detailing the wiring, when I “get there”.

My kids really like the look and feel of the blowers…