Krenzy's GB1 Spengler Hero Pack and Thrower build

I decided that my 2000th post on these forums should be dedicated to my new pack build. This will be my third pack build, but my first fiberglass and my most accurate to date. I chose a GB1 pack because I love the new look to the packs; that being said, it will be weathered by Fuller’s earth once finished, although additional weathering will only happen naturally. I will be using as many aluminum parts as possible, as well as all found it real parts wherever I can.

I chose the Spengler pack because quite honestly it has been covered in depth with the recent auction, giving me plenty of reference pictures. The fact that it also appears as the front proton pack in the Stairwell photoshoot is a bonus! I will be striving for as close to screen accuracy as possible. I have been collecting parts for the past few months and will begin on the shell as soon as it arrives. I will be using a V330 shell and an all aluminum thrower, body by CPU64, parts from a variety of makers, and a full light/sound kit by Crix.

I’m really excited to get started, and I’ll do my best to document everything photographically for you all; as always, tips are welcome :).

Sounds awesome! Can’t wait to see the progress on this!

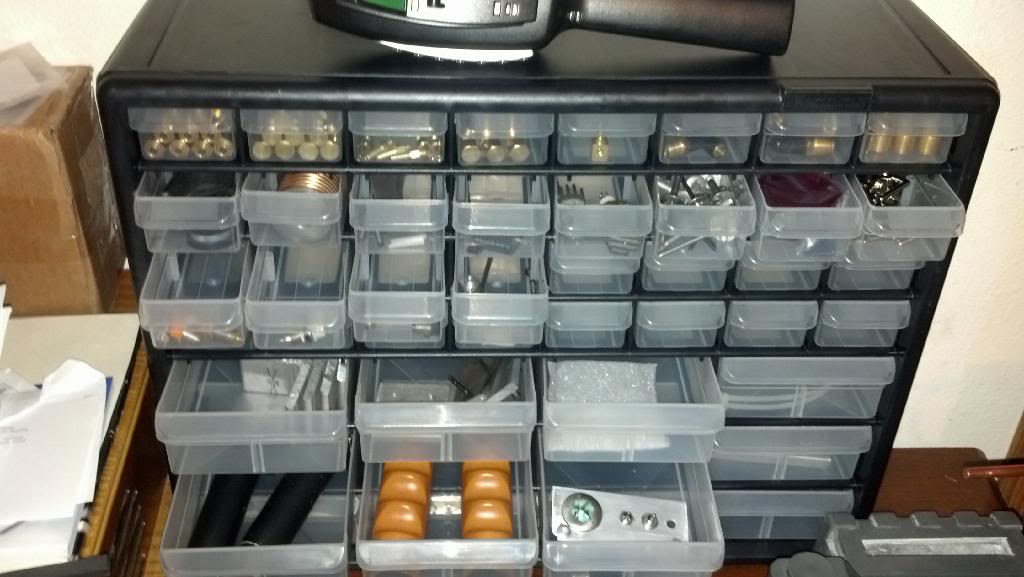
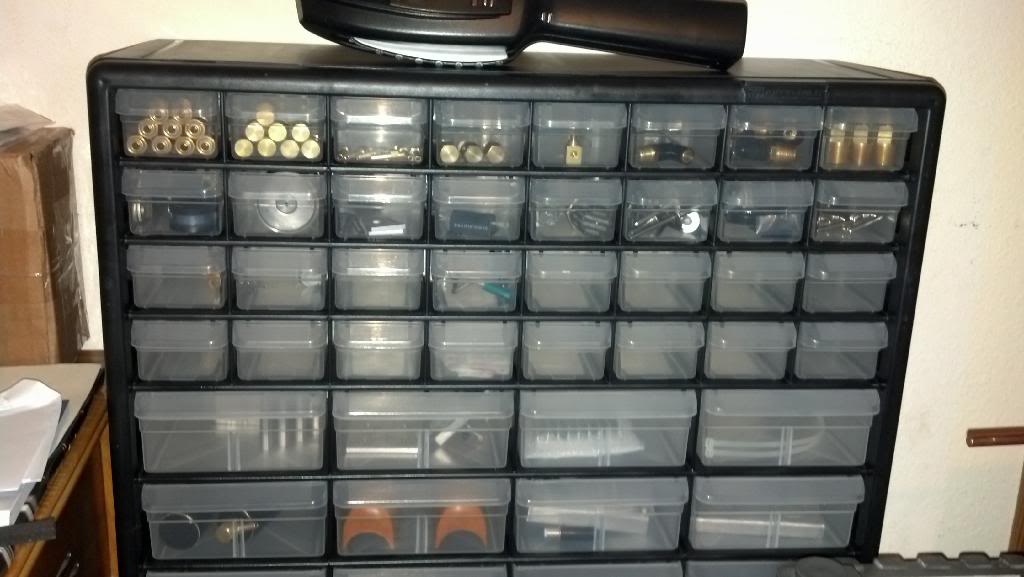
Alright so I have a small update before the new year; almost all the parts are here, and the hardware has all even organized. I slacked on the documentation with my last two builds, but I’m gonna rectify that with this build. Here’s a couple small teasers.

More to follow real soon!

Look at all them straights! Love the organization! Can’t wait to see more!

Yeah there’s a few spares :wink: Always prepared, right? My wife picked up this organizer and I couldn’t think of any better use for it.

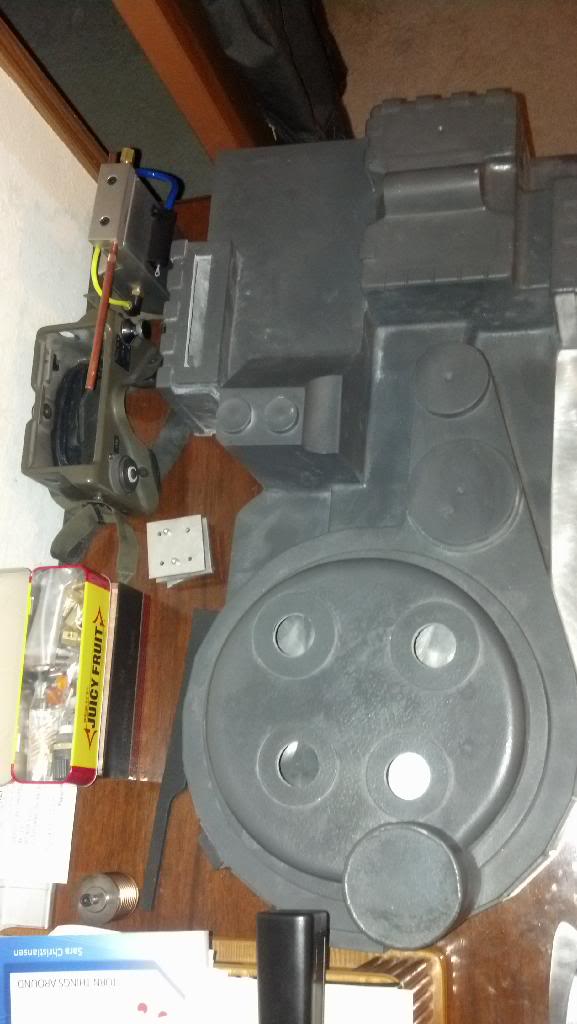
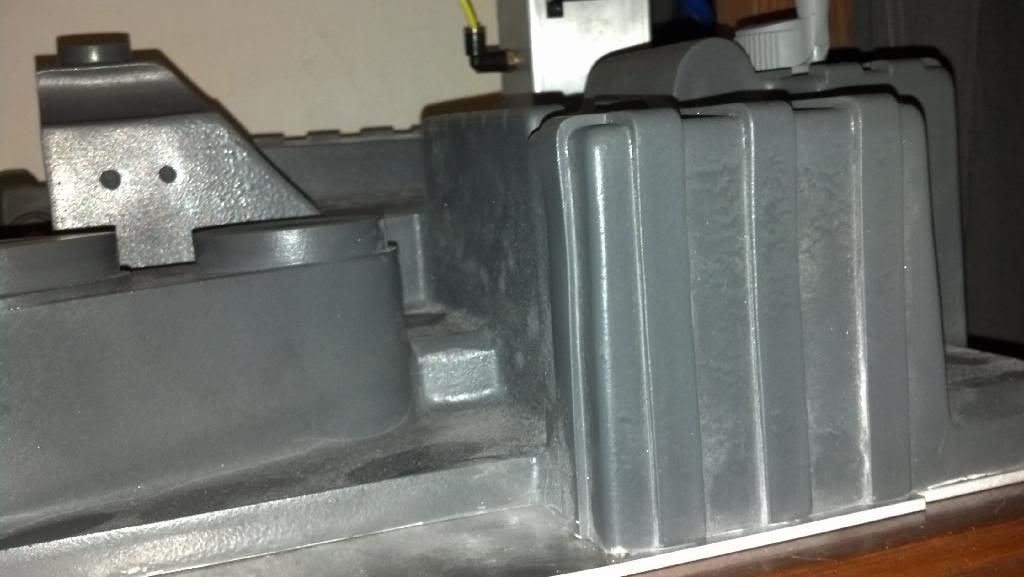
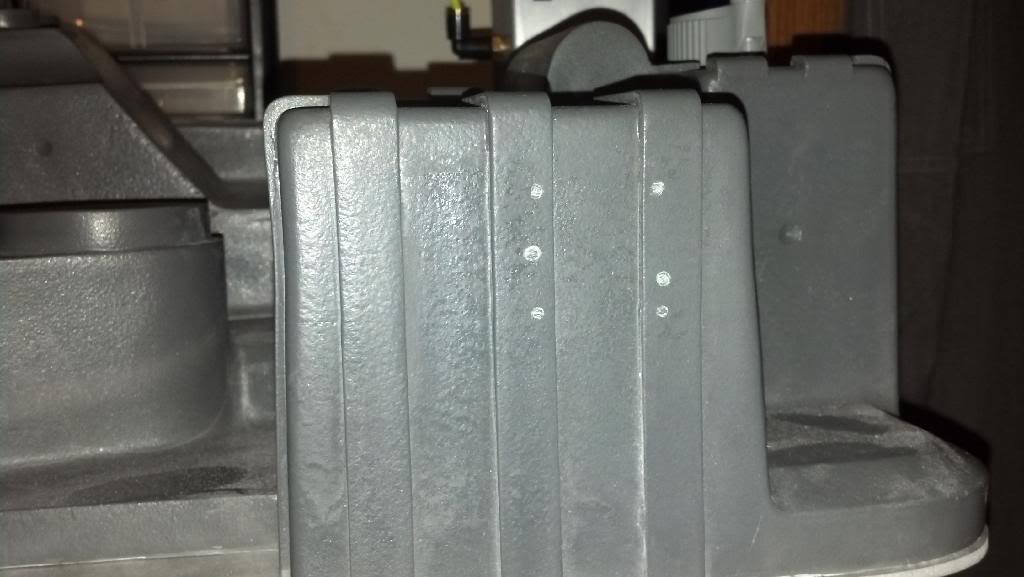
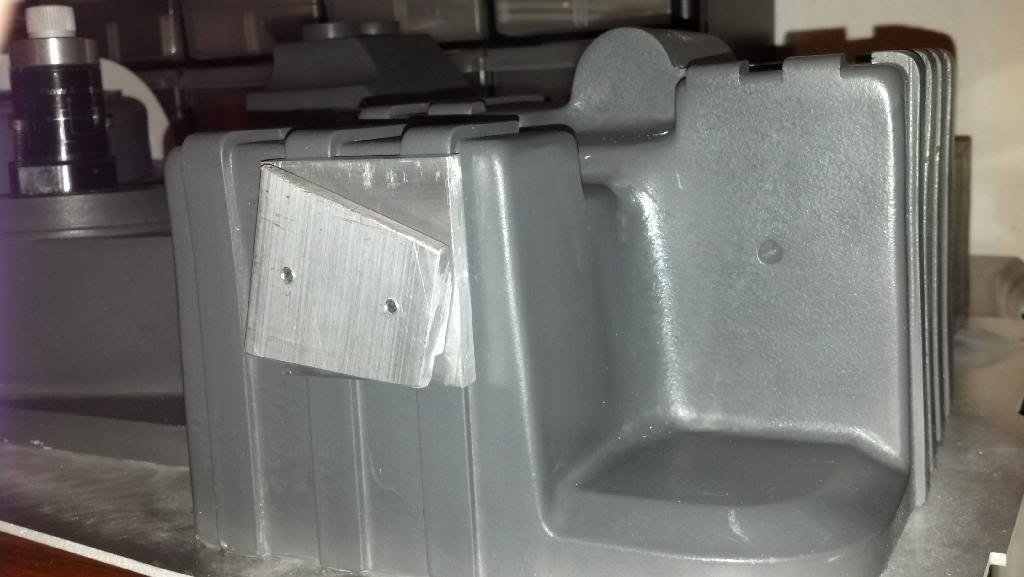
Well, I gave the shell a bath to scrub off the release agent, and gave myself the fiberglass itchies. I’ve drilled out the center hole for the Clippard, though I haven’t drilled the screw holes yet; same with the crank knob: drilled but not attached yet. I did, however, drill and mount the V-Hook! I’m using Ejgunth87’s four piece V-Hook setup, and I couldn’t be happier. This thing is going nowhere! I’ve been studying all the reference photos available for the Spengler pack, and lined it up about as perfect as I could, aiming for the same mounting location.

Marking the spots

And mounted!

And here’s a shot of a few parts just lined up for now.

I’ll be redrilling the holes in the bumper to match the ones on the Spengler pack; I may go with a Venky screen cast bumper if I can. Next I’ll be mounting the filler tube and beam line, atleast that’s the plan so far :wink:

Sounds like something you’d need to go to the clinic for. :lol:

I tell ya what, nothing is a better deterant for south of the border action like fiberglass on your hands :wink:

Looking forward to seeing this build unfold. Off to a great start.

1 Like

Looking forward to your build. Hope that Crix kit works out well for ya, glad it went to a good home.

Thanks! I’m sure it’ll work just fine :wink: I have to get a blue brick battery before I test it out, but I’m sure it’s all good :wink: Updates coming tonight!

It had better work, it was brand new! :wink: Anyway, one thing to take note of when you get your blue brick is to make sure it’s switched on when charging. Sounds obvious but I plugged it in and saw a red light, thinking it was charging but I was wrong. You’re supposed to get a red AND green light and red goes out when it’s done.

Thanks for the reminder!

So I got a few things done today.

I began working on the thrower; it’s an aluminum CPU64 thrower, but I decided the front gun ear was too narrow to fit the hat light, so I swapped it out for a Freeky Geeky front barrel and sleeve. The Freeky Geeky barrel has the hat light mounted in the pictures below, and the CPU64 standard one is there for comparison. I still need to widen the other hole for the button.

![image](http://www.gbfans.com/images/pb/grinders_18/Mobile Uploads_IMG_20140101_132721_682_zpsgxstilz2.jpg)

![image](http://www.gbfans.com/images/pb/grinders_18/Mobile Uploads_IMG_20140101_132901_320_zpse6ygzqpc.jpg)

Then I moved on to the grips. I’m using Venky’s screen casted grips, and they are beautiful! No seem, so smooth, and that brown color is top notch. I needed to trim the front grip down roughly 1/4" to fit between the front grip and barrel lock, and it came out nice! I used a circular sanding pad on a drill and was surprised that it turned out fine on my first effort. Here’s a couple shots showing what the trimmed down one looks like compared to the original size.

![image](http://www.gbfans.com/images/pb/grinders_18/Mobile Uploads_IMG_20140101_151234_371_zps8lhs3wu3.jpg)

![image](http://www.gbfans.com/images/pb/grinders_18/Mobile Uploads_IMG_20140101_151150_064_zps1k6ojhv3.jpg)

Then I installed the bar graph holder. I have something special I’ll be doing for the bar graph, but this piece fits perfectly in the opening and holds each individual LED in each separate hole. Best invention ever.

![image](http://www.gbfans.com/images/pb/grinders_18/Mobile Uploads_IMG_20140101_133355_244_zpstz577qpy.jpg)

Next, I removed the sunken orange had light from the top of the gun, since the Spengler pack has a outward mounted white light. I need to get a milky white light to replace the one in there now, but you get the picture.

![image](http://www.gbfans.com/images/pb/grinders_18/Mobile Uploads_IMG_20140101_143546_374_zps61z8kpko.jpg)

![image](http://www.gbfans.com/images/pb/grinders_18/Mobile Uploads_IMG_20140101_143536_086_zpsqakpyifj.jpg)

I also installed the green lever, although that process which seemed simple took all my attention so I didn’t snap shots. I’ll admit I jumped the gun and assembled much of the gun in one sitting, and got so into the moment that I didn’t snap many pictures of the assembly. I’ll leave you with a quick teaser of the gun, with better pictures to follow.

![image](http://www.gbfans.com/images/pb/grinders_18/Mobile Uploads_IMG_20140101_133457_729_zpsyj6kpo97.jpg)

Where did you source out that bar graph holder? I didn’t even realize something like that existed and it should go great with that kit, keeping the LEDs nice and even. Can’t wait to see what else you’ve got in store.

Lookin’ good Krenzy! :slight_smile:

Good to see there isn’t a lot of work needed to get the grip to fit Umori’s front barrel. I’ll be in the same boat soon.

Thanks guys! I can’t recall who sells the bargraph but I thought it was someone on GBFans…I try to dig it up. Ben you’re gonna love the grips!!

I’ve been conflicted with whether I want to build the pack as new in GB1, or weather it up like it was at the auction. I think I’m gonna go first movie style, possibly age it later.

Yeah, I struggled with that too. Mine looked good in that “fresh out of Egon’s shop” sort of way but it almost looked too new so later on I started some light weathering. I think you’ve got the right idea though since it’s much easier to go that direction that reverse it, so just build it as new and then you can always weather later.

What method are you going for in holding the clear acrylic tube in the front of the Proton Gun? I purchased one of Franchesky’s barrel convertors, but have found due to the welding for the Gun Ear on the front barrel I got from FreakyGeeky that mine doesn’t sit flush (meaning I’ll either have to grind the weld, or remove a chunk of the convertor).

I’ll be honest, the welds on mine don’t prohibit the barrel/collar from doing their duty. I’d say give it a little grinding if it’s that bad on yours. Here’s a few shots of the front of the rotating barrel/fixed front handle for ya.

![image](http://www.gbfans.com/images/pb/grinders_18/Mobile Uploads_IMG_20140102_183526_919_zpsypifatdc.jpg)

![image](http://www.gbfans.com/images/pb/grinders_18/Mobile Uploads_IMG_20140102_183552_348_zpsmxqd1twr.jpg)

![image](http://www.gbfans.com/images/pb/grinders_18/Mobile Uploads_IMG_20140102_183449_552_zpstbw3gwuu.jpg)

![image](http://www.gbfans.com/images/pb/grinders_18/Mobile Uploads_IMG_20140102_183541_702_zps18cfjjvs.jpg)

What does yours look like Ben?

Today I drilled, tapped, and installed the Legris straights; real vintage 4mm pieces. I started by drilling a small hole, then worked my way up to a larger size, and then up to a third bit. Then I used a 1/8" 27NPT tap so the straights didn’t just sit in there, I wanted security. My tip: take your time and go slow with the drilling and the tapping. I then put back the straight a up with nuts to really be safe.

![image](http://www.gbfans.com/images/pb/grinders_18/Mobile Uploads_IMG_20140102_175458_781_zpsw1mqubms.jpg)

![image](http://www.gbfans.com/images/pb/grinders_18/Mobile Uploads_IMG_20140102_180216_966_zpsychbwrsp.jpg)

![image](http://www.gbfans.com/images/pb/grinders_18/Mobile Uploads_IMG_20140102_181340_277_zpslr1vjfhk.jpg)

![image](http://www.gbfans.com/images/pb/grinders_18/Mobile Uploads_IMG_20140102_181734_607_zpspcc0aqto.jpg)

I’m still trying to gather all the screen caps I can for the pack/motherboard mounts for Egon’s pack. It’s tricky to get a good angle of each hole, but I’m looking forward to getting that part done.