Here it goes, I have been collecting components to start a from scratch (no fiber shell) Proton Pack and Thrower build. My goal at first was screen accurate but rising costs have convinced me to go as close as possible but cut corners to save on costs.
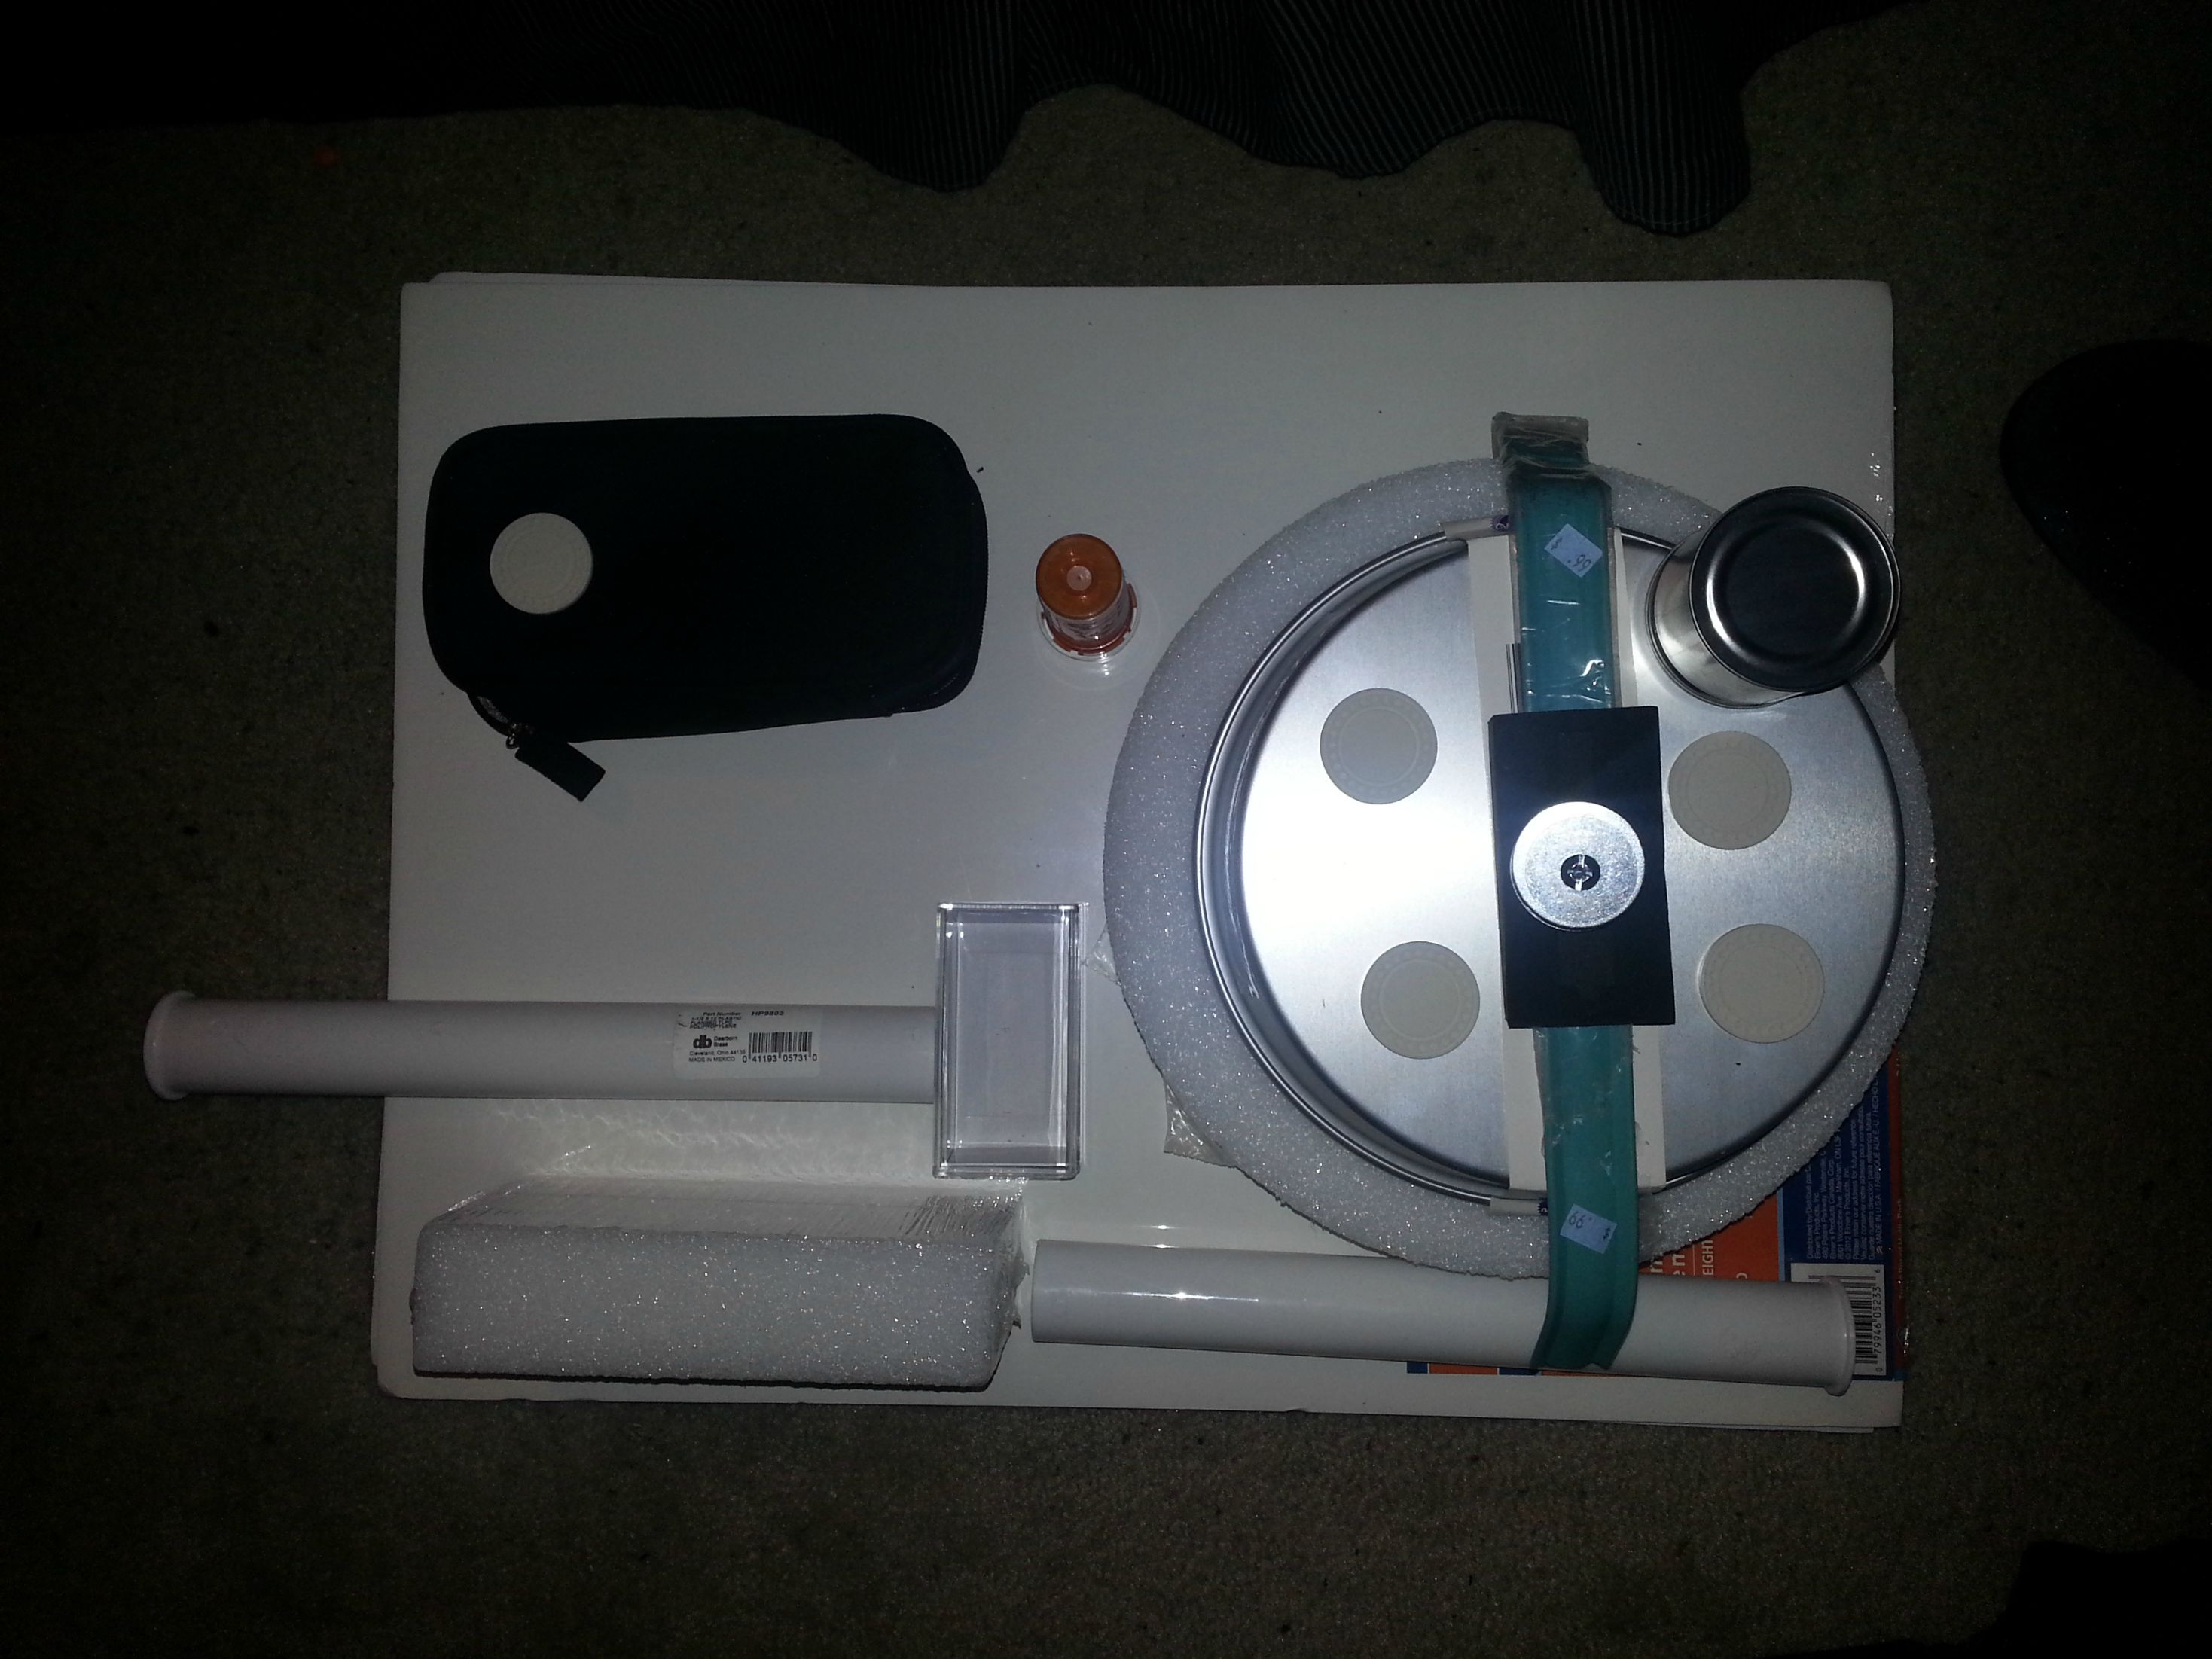
To start here is a small photo of a mockup with a few early collected parts, laid out on the prototype motherboard material for simple personal satisfaction. The shock mount is constructed from two sizes of washers (I chose poorly on the ID though and they kind of slide around). The foam, 9" cake pan, and PVC pipes will be making the jump to the actual construction, which will hopefully begin this weekend.
Very cool. I’d suggest searching scratch build on here and read, read, read . You’d be amazed at how much stuff you’ve probably already got just lying around. I’ve only.been active here for a few months but I laugh at myself because I’m always looking at parts, ie… lids, caps, pipes, etc. I know very little about plumbing but can now spend an hour in the plumbing section at Lowe’s… lol
I hear that Hammer. Since starting my pack, my wife laughs at me when im wondering the house and says… “lookin for pack parts again huh”? Lol. I look like a pack rat with my shoe box of doo dads and random bits lol. Not to mention I feel like Mario iv been in the plumbing section at home depot so much. Lol
It becomes an addiction. You second guess throwing away drink lids, containers of all sorts, just about almost anything can be used for a part of a prop. Cause even if you don’t have a need for it right away, somewhere down the line you will.
Thanks to the kindness of some new friends I have my injectors cut and a crispy new booster rod! Also shown is a RGB/Movie hybrid thrower I am building to get my feet wet. Oh and a relative rf strength meter will be a rigged up PKE
Suggestion: why not do it with foam core? You can choose the thickest one - it is strong and very very easy to work with. At least you’d get the dimensions right. Check out my build as an example (but there are FAR better foam core builds than mind in the forum, do search for them as well).
Like the PKE as well, looks like a perfect start for a RGB type model.
Not bad at all sir. Its coming along very well. Been watching TRG the last two days with my kids. So your looking pretty well off. Are you keeping the loom hose gray?
Not sure yet. This is extra hoses from my CPAP so it would be great to be able to use them if I can figure a way to spray them black without it flaking off as the hose moves
Thats what I was worried about too. Iv been searching home depot and lowes to no avail,. So I think ill be putting an order into the gbfans shop for the 3/4 loom. Id sudgest doing that. Because I cant see a fees able way to spray without flaking.
Since your doing a hybrid, why not do a mix of both. Use some black 3/4 rubber hose from the garden section. Youll get the smoothness of TRG pack, and the black 3/4 size and color from the movie pack. Just a suggestion.
Funny enough I just returned that exact same 3/4 hose tonight to Lowes because it wasn’t flexible enough despite the guy insisting it would soften up once brought inside for a while. It didn’t
So I finally set up shop in the garage with my shiny new dremel and got to work on the thrower. Test mounted the switch and primary indicator light. Vents and smaller LED mounts are next but I may be best using a drill rather than the dremel and my unsteady hand.
Slowly but surely its starting to look like a thrower.