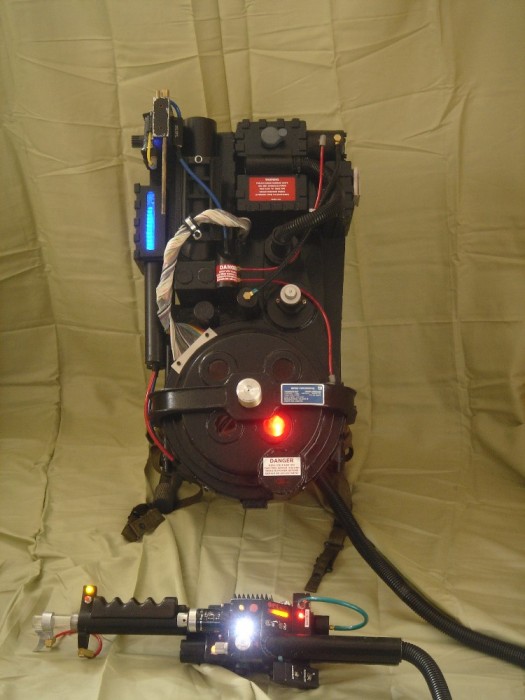
Krenzy's Scratch Build Proton Pack

Hello shiny-happy people!

Where do I even begin? I already have a pack, assembled from a Midwest Prop Shop shell, using so many parts, as many real ones as possible at that. It was a fun experience, but it left me wanting more. I have my GB2 pack, LOVE IT, but yearn for more…call me a proton pack mormon if you must.

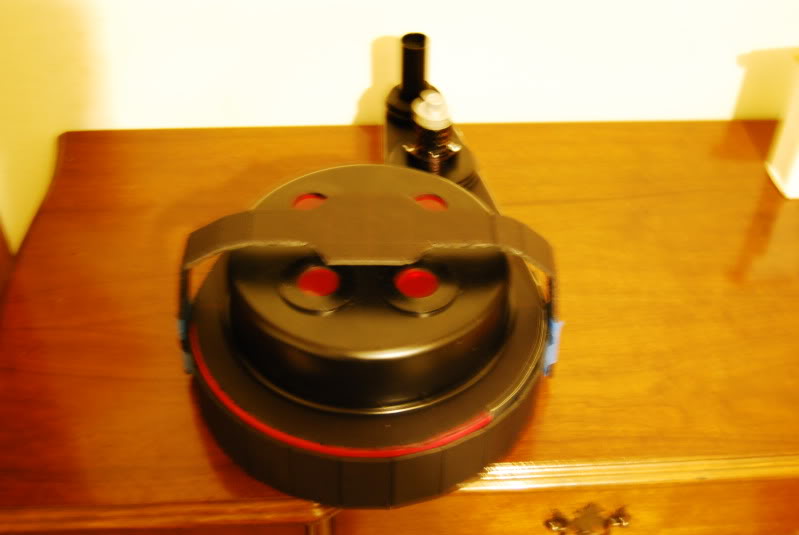
Well, with the economy in the tanker, my job forcing me to take weeks off throughout recent month, and so many people offering amazing shells, this just adds to the fury and desire for another pack. So, realizing I could tease myself with all these great offerings, I decided to go about making my own. From scratch. This is something I never ever thought I’d do, and in all honesty, I think I got my start the same place everyone else has: the cyclotron.

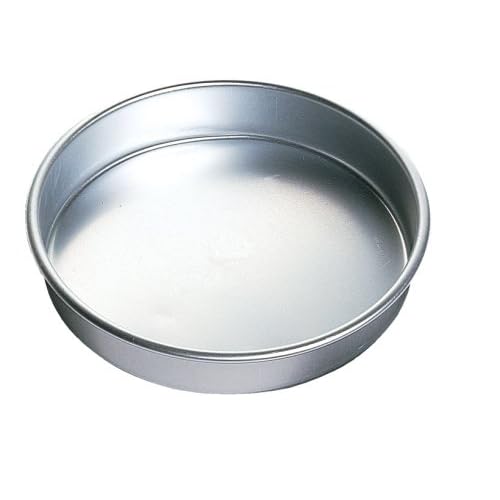
I was walking around Wal-Mart and spotted a cake pan that was just too good to pass up, and measures about the same dimensions as Stefan’s plan lists. I took the plunge, bought it, and here’s a little scrapbook of where I’m at now.
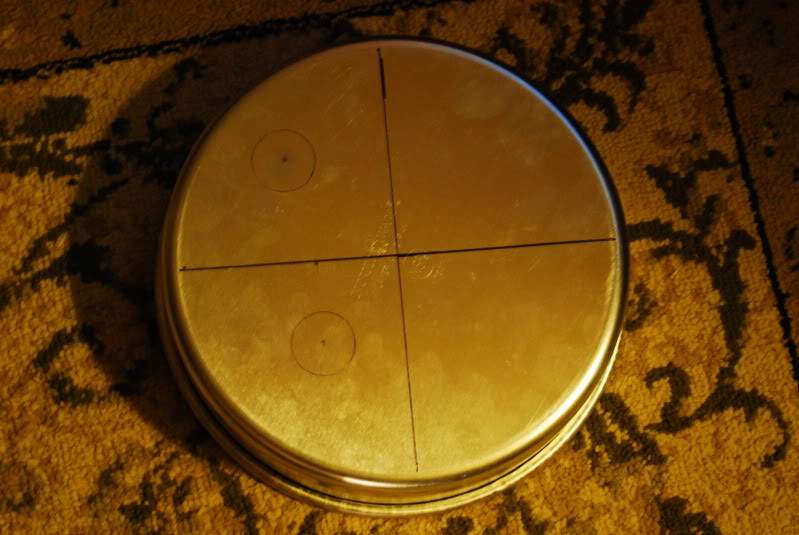
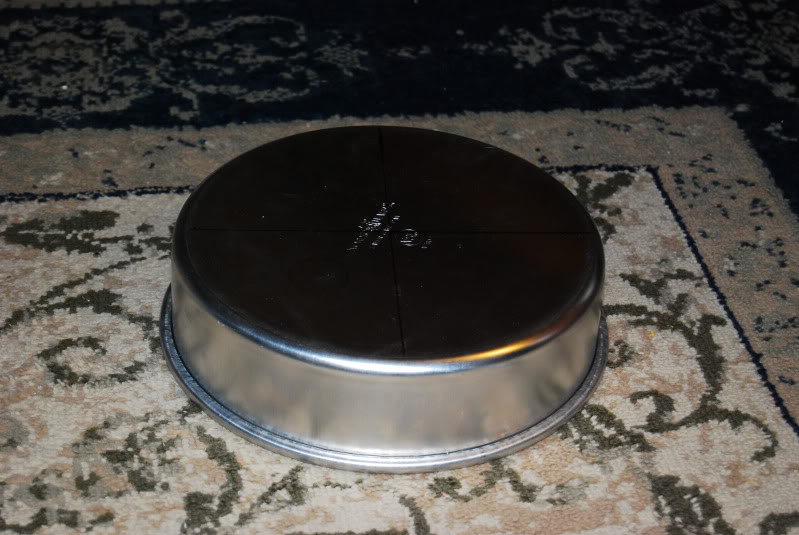
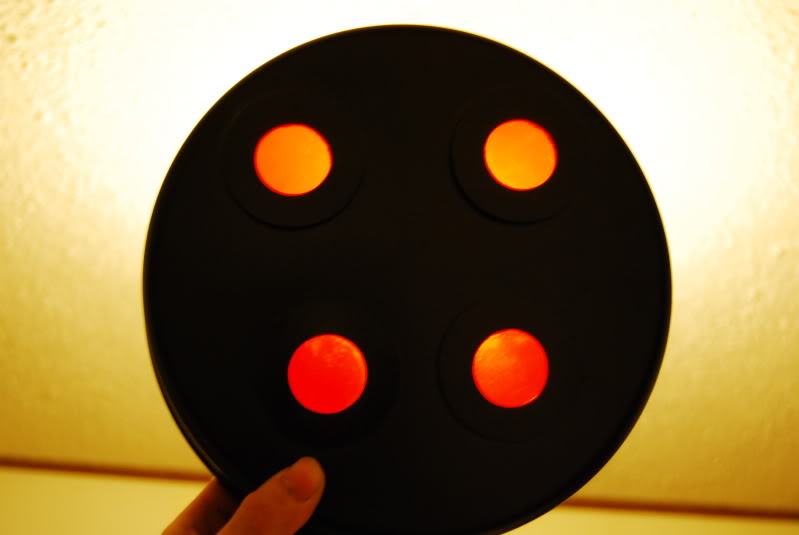
So the quality kind of sucks, but my close-range lense was the only way to get shots of it inside, and the lense isn’t the best. My 200mm lense works circles around it, but I’d need to be across the room to get it in the shot. I digress.
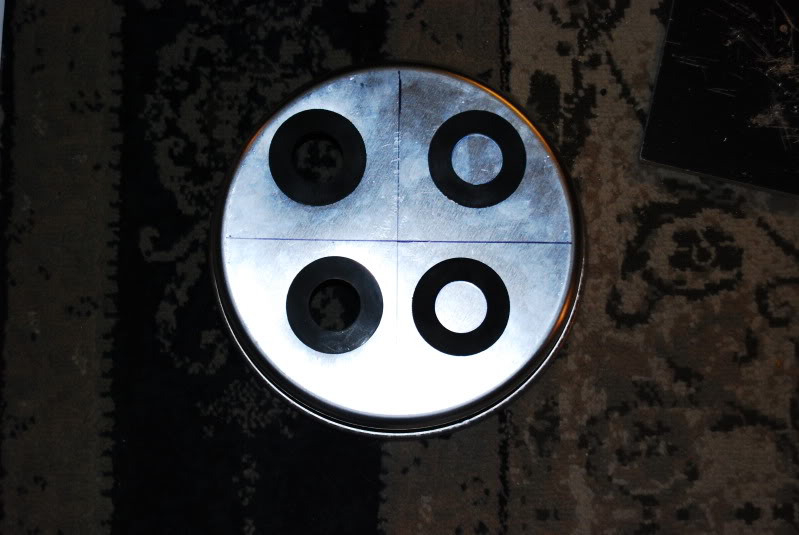
I found 4 rubber washers at my local Runnings (like a Menards or Lowes, just more Fleet Farm-y), that are close in dimensions to Stefan’s plans…not perfect, but not bad either. After I drilled out the holes, I glued the washers into place, and painted it.

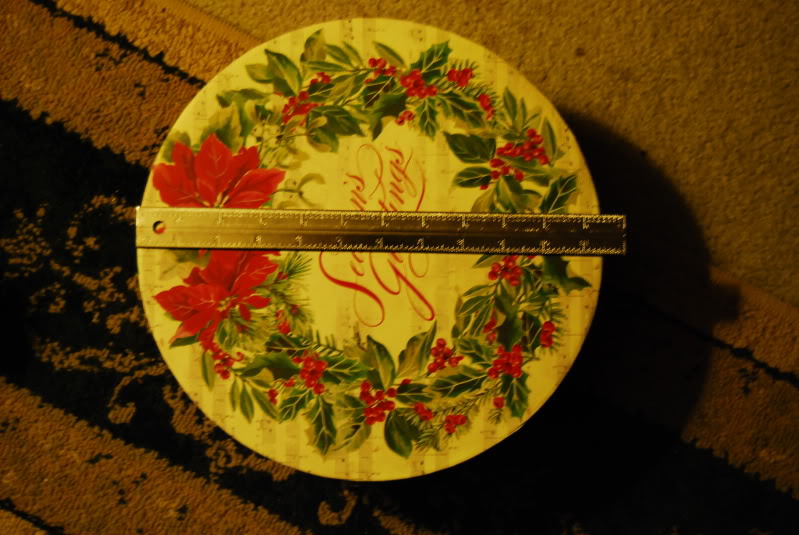
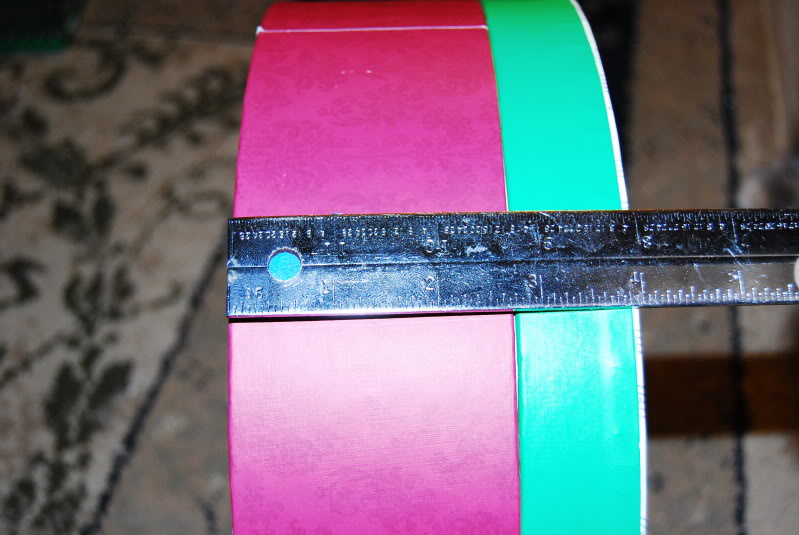
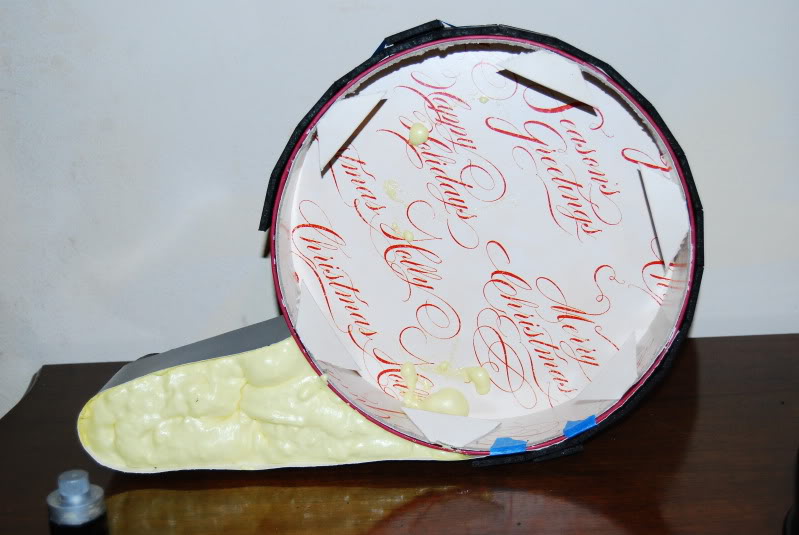
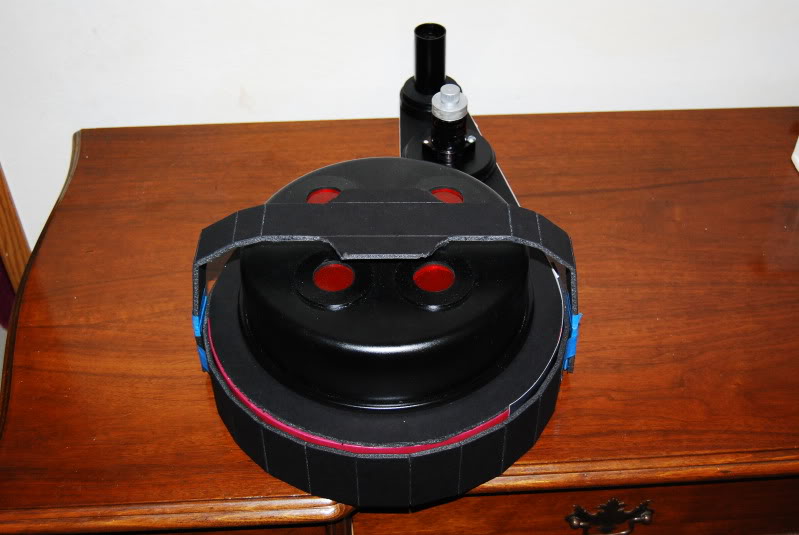
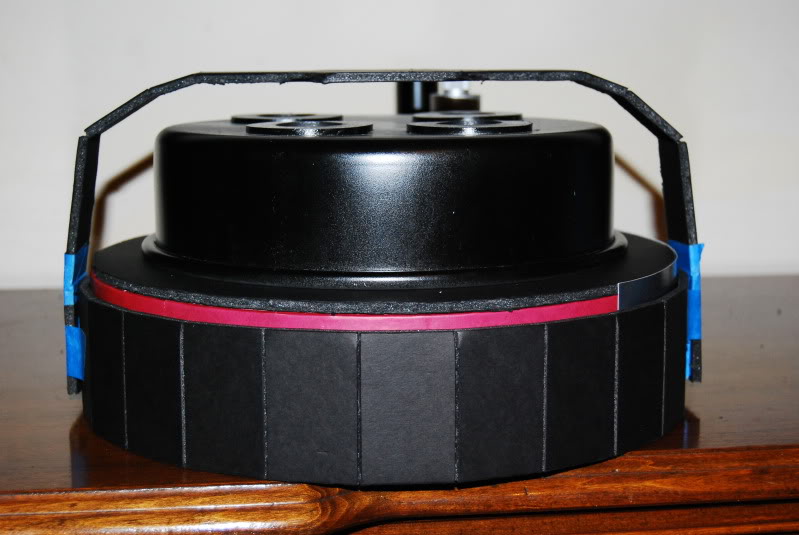
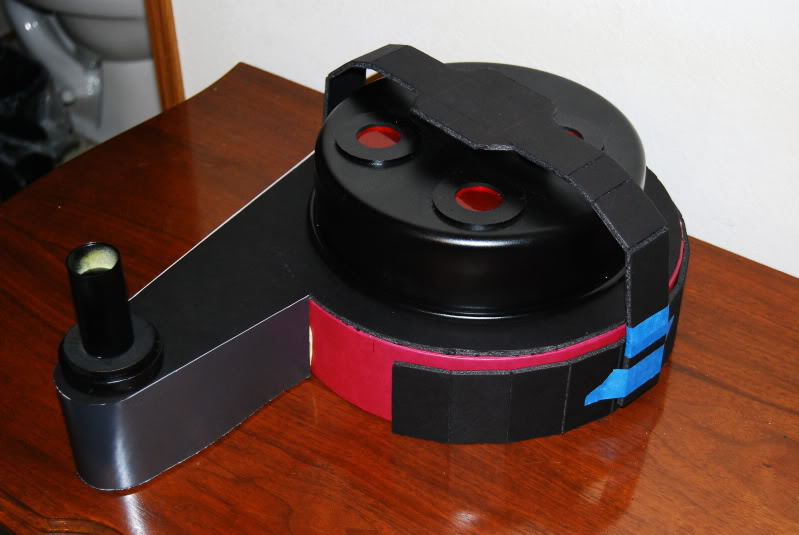
For the Syncronus Generator, I decided to take advantage of the holiday season, and knew that my local Hobby Lobby sells gift boxes that are round. As luck would have it, I found one that is 11 3/4" in diameter, and the lower portion is 2 3/4" tall…just like Stefan’s plans called for! I picked up two of them…you know, just in case.

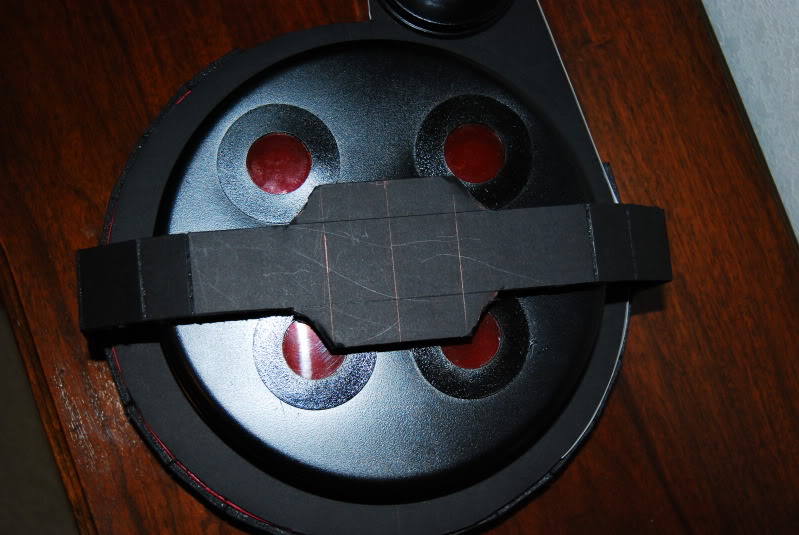
For the SG plates, I decided to use foamcore board, 1/4", black in color. I measured out the segments on Stefan’s plans and cut 1.5"x2.5" sections from the board. After a few tries, I decided the better, more visually appealing (for me) route to do the plates was to cut out a long piece of 2.5" foamboard, and then instead of cutting them apart, just segment it…leaving them all attached, but able to be bent into place…you’ll see what I mean in a bit lol.

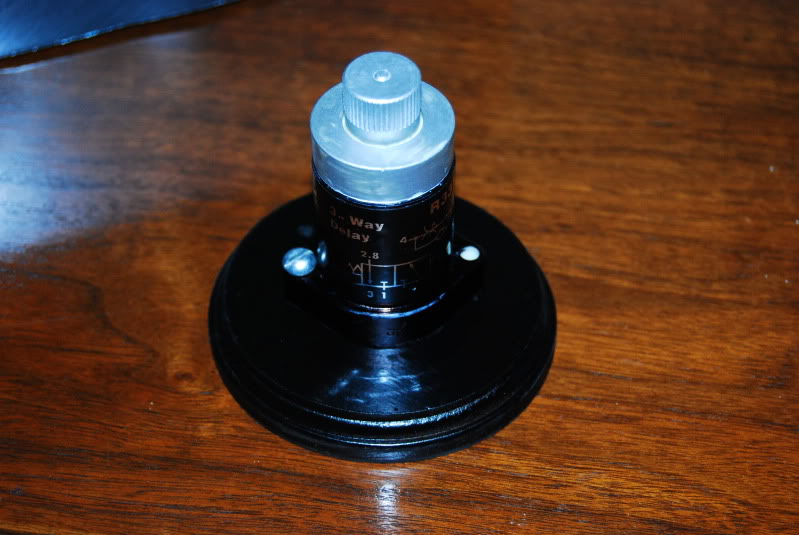
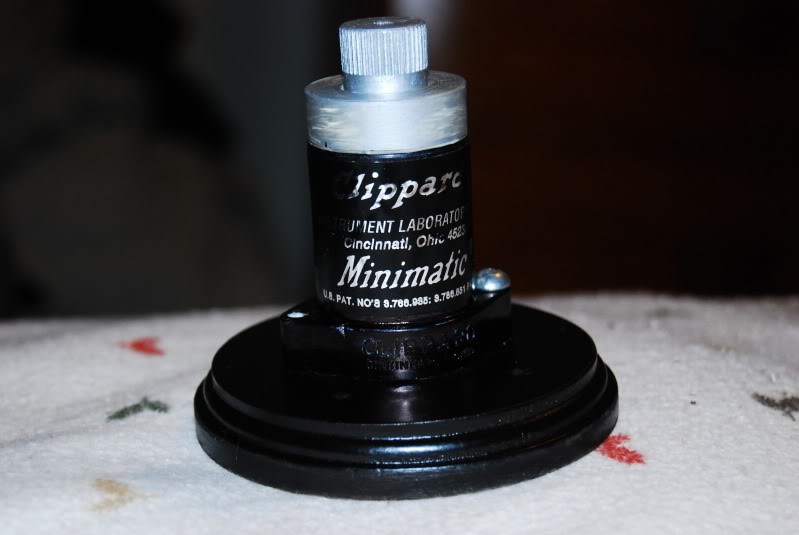
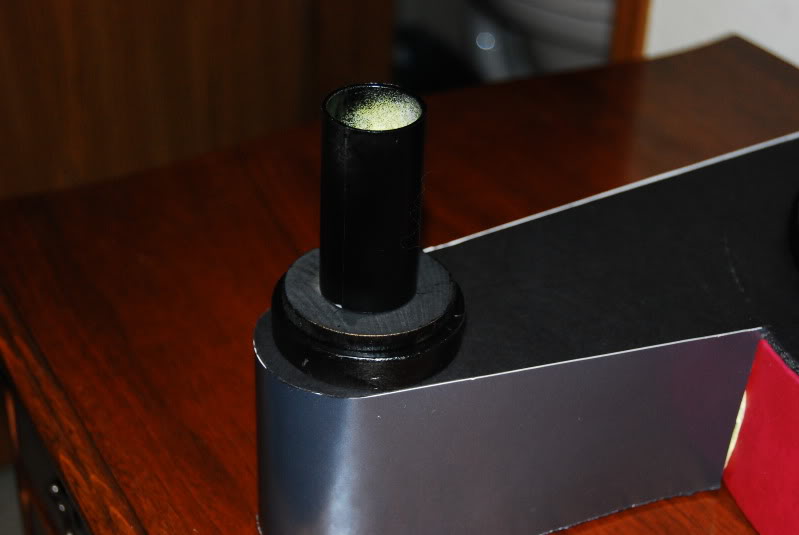
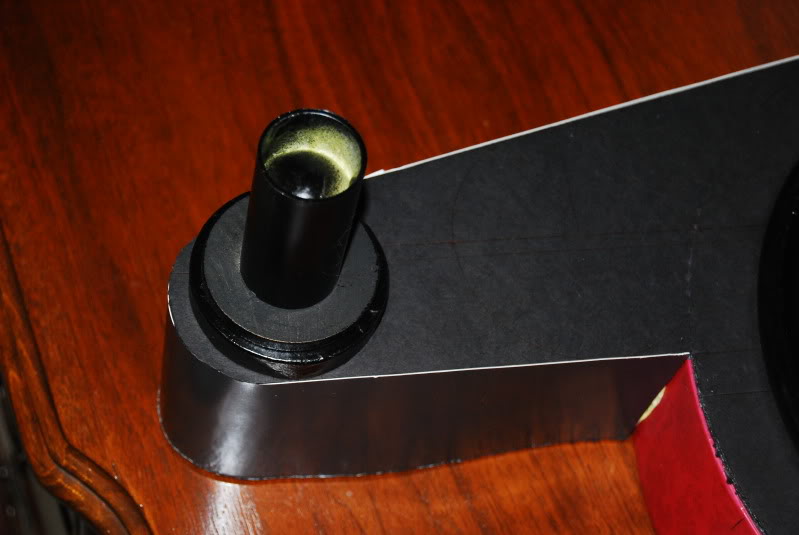
For the two circles above the cyclotron, I scoped out Hobby Lobby and Michael’s craft stores. For the larger one that holds the Clippard, I found a figure stand that would normally be used to keep our Ghostbusters figured standing straight. 2 3/4" at the widest circle, 2 1/2" at the smaller one. I removed the metal attachment from the stand, filled in the holes with wood putty, sanded it, and painted it. It was nice because this piece had both the large AND small circle portions in one. I found this piece at Michael’s.

For the smaller piece, I found a small circular cardboard box, and decided to use the top piece as the larger bottom circle, measuring approximately 1/2" tall by just under 2.5" wide. For the smaller top circle, I found a wooden coin, or dowel, or whatever the hell it is…all I know is it’s about 2.25" wide and about 1/4" tall. I found both these pieces at Hobby Lobby.

I spent a few hours scoping out everything round in the stores for possible matches to Stefan’s recommended sizes…when you’re on a proton pack hunt, everything has possiblities.

More picture and updates to come soon!
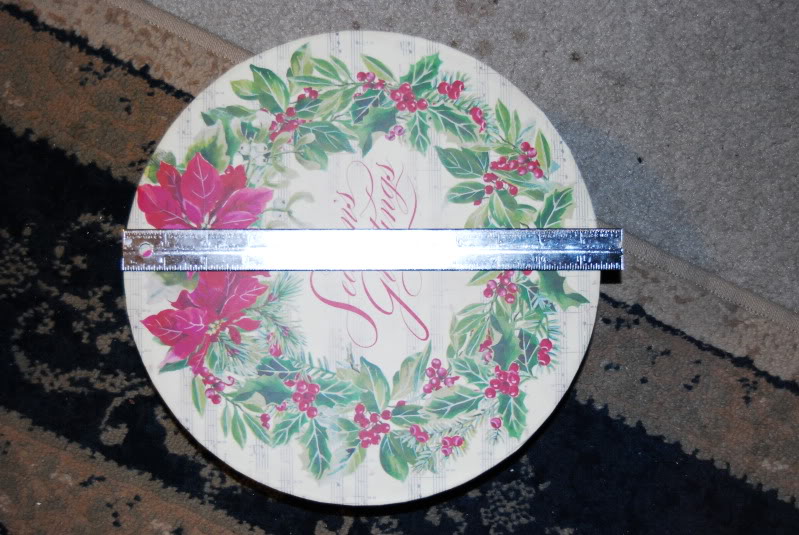
Ok! Here’s the update.

Pictures showing the box I used for my SyncGen.

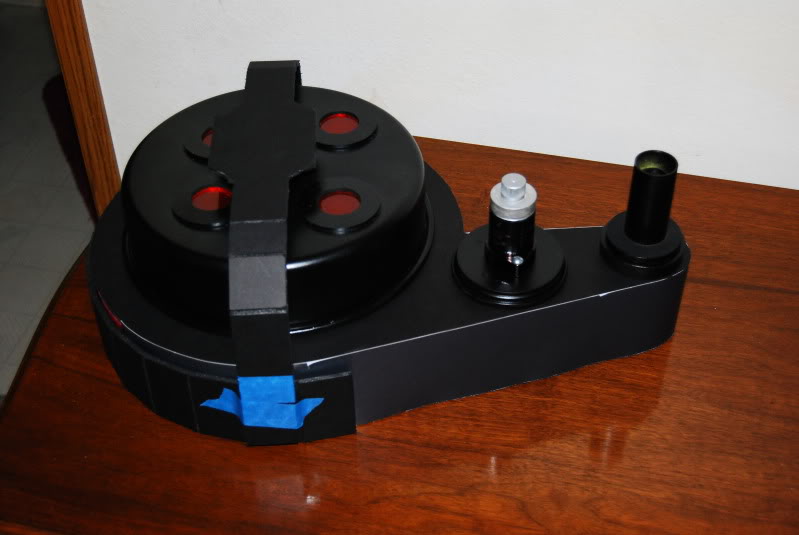
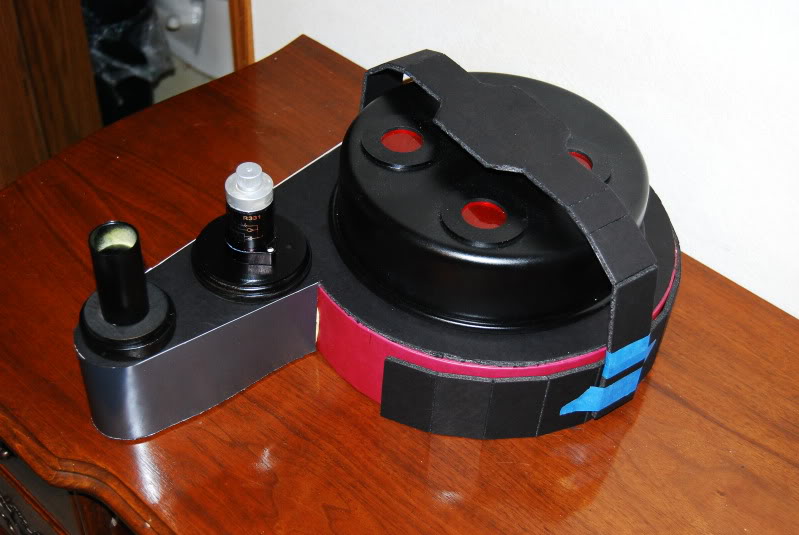
Here’s the larger spacer circle with the Clippard. The Clippard is a resin one from Nick-a-tron, I originally bought it for my first pack, but went with the real Clippard there.

And here’s the smaller circle where the hose from the gearbox attaches.

The SyncGen, and inside. Bumper is only a mockup…I will be getting an Exoray bumper.

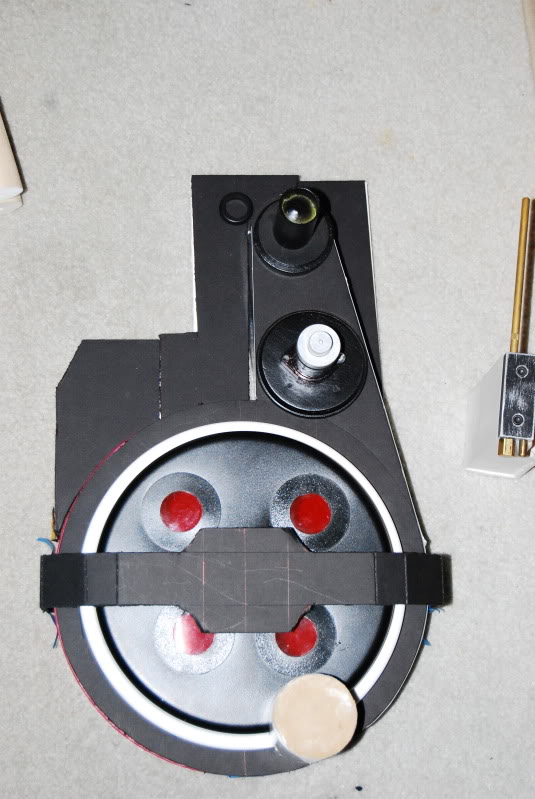
And the cyclotron.

Yes things need to have some filler and it all needs to be painted. This isn’t a rush job, so I’m spacing the jobs out. Please toss out any tips!

looking good so far. thats the same cake pan i used on my pp, although i removed the lower part so it could be more accurate to stefans plans. ugggg so many cutting wheels used, it was a pain in the ass

Thank you! I think that instead of cutting that piece off, I’ll either find a piece that is supposed to surround the outside, covering the lip up…or I’ll just cut out the 9 inch hold from the SyncGen, and pop the Cyclotron through, hiding the lip inside the SyncGen. The first options sounds better to me though. I appreciate the feedback.

That looks like the same Nordic Ware pan I used and it is the perfect dimensions

other than it being a little too tall. On my second pack I made a ring that would slip

down over the top so I could make it shorter without doing any cutting

Saved me a lot of time, I used 20 minute epoxy to seal the corner and glue it to the spacer.

1 Like

That’s what I was hoping to do…what did you use for the ring? You’re talking about the ring resting around the outside of the cyclotron at it’s base, corrrect?

I just used 1/2" MDF but you could probably use a dense foam.

The outside was cut on a bandsaw and the inside I rough cut with a jigsaw then

sanded with a drum sander to get a tight fit but you can just use bondo to fill in

any cracks and sand if you can’t get a smooth cut.

im not totally understanding, do you have any pic of the construction of this? i think i understand, but not fully. the cake pan is incorrect sized, so you made a ring to go around it to make it so? does it feed through the synchronous generator? or sit on top with the ring over it to make it the size and add a cosmetic effect?

I was a ■■■■ and didn’t take any pics when I was working on pack #2 but the ring is sitting

on top of the lip of the cake pan (about 1/8" space between them) and the lip of the cake pan is

down inside the pack.

Say if this is the pan upside down on your pack looking at it from the side.

    _______________

/......................................\

|......................................|

|......................................|

|......................................|

###################

Then this is where the ring would be.

      _______________

 /......................................\

 |......................................|

ooooooooooooooooooo

|......................................|

###################

Hmmm, they make these alluminum rings that go over pie shell crusts to keep them from burning. The look simmilar to the ring you made of mdf.

Xenu, do you know which stores carry these rings? I made my attempt at carving one out of a cardboard cylinder, and let’s just say I’m open to options lol.

on my ■■■■ pack, I did something very similar, and cut a ring out of thick foamcore and slid it over the cyclotron and rested on top the sync generator(think I got my terms right). I used wood filler and sanded to smooth out the outer edge of the decorative ring. I like the way it looked.

What I did was I used . . .

This cake pan:

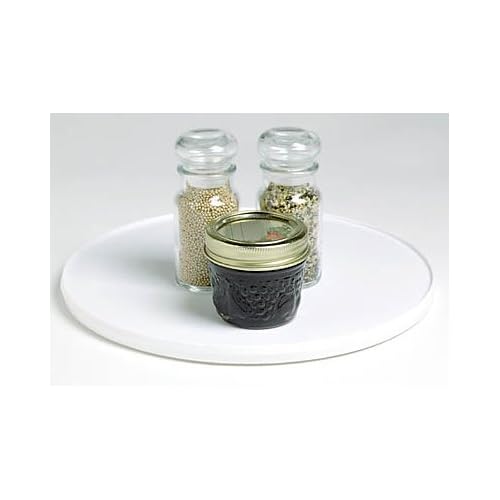
and this turntable:

to make this cyclotron:

What I did is I cut the lip of the turn table off and fit it over the lip of the cake pan. Then I filled in the inside of that lip with bond and sanded it smooth. BAM! Cyclotron.

Links in this post may be affiliate links. Purchases made through them help support this site at no additional cost to you.

Perfect! Thanks for the tips, Matt!

Here are some: http://www.amazon.com/s?url=search-alias%3Daps&field-keywords=pie+ring&x=18&y=15&tag=gbfans-discourse-20

I have not built a pack yet so I could be wrong, but some of these look like they could work. I have also seen some at bed bath and beyond.

Links in this post may be affiliate links. Purchases made through them help support this site at no additional cost to you.

Ok update time!!

First thing is I removed the spacer plating on the SyncGen because I plan to retool it a little.

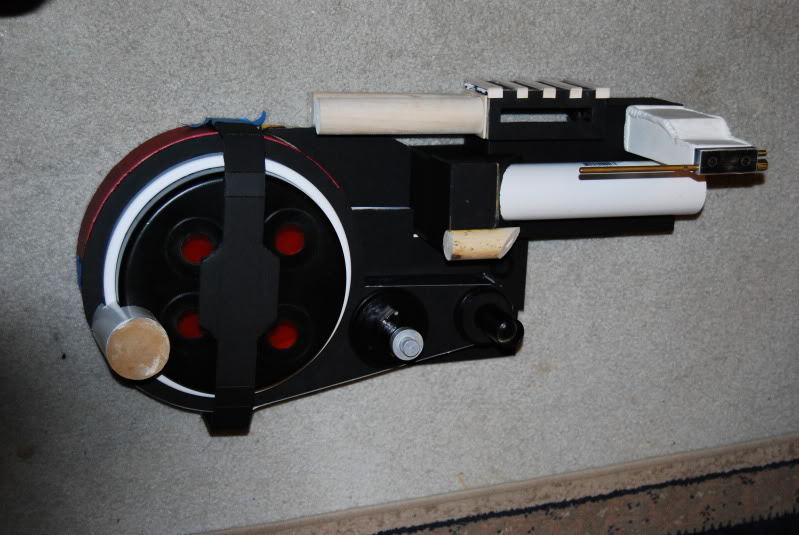
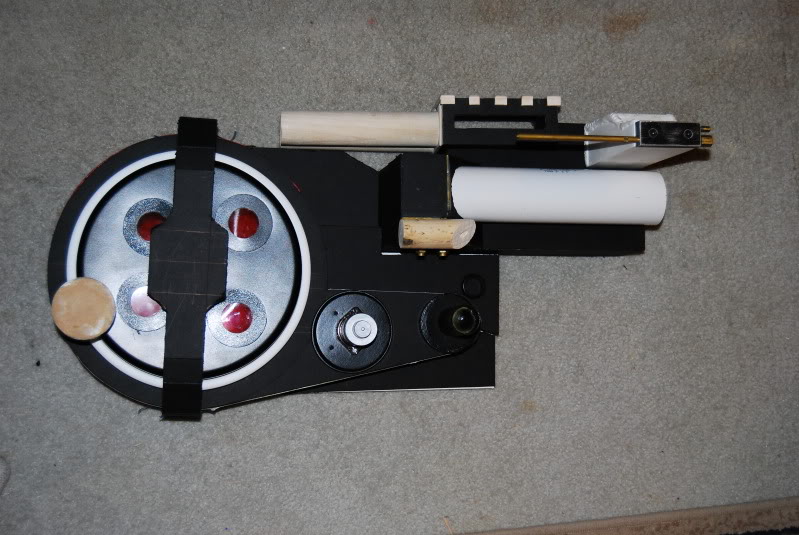
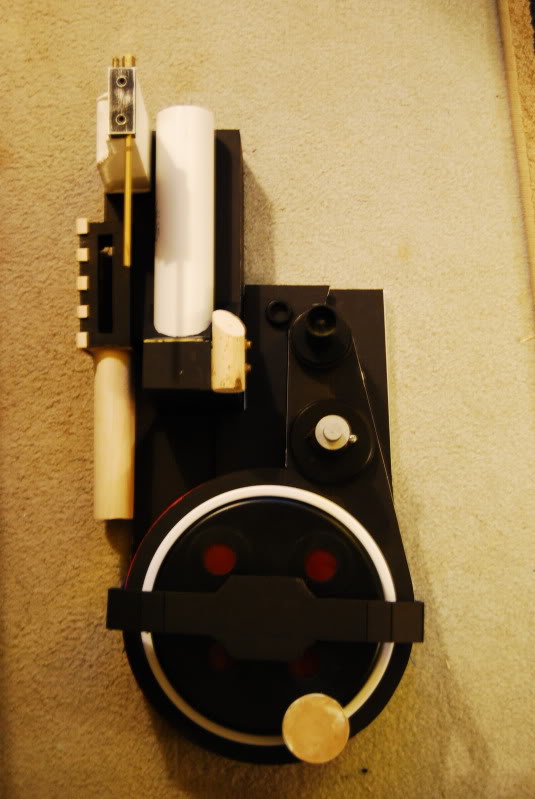
The biggest thing I’ve accomplished with the cyclotron is it’s now permanently mounted. I cut a circle the width of the top of the cyclotron in the SyncGen, pushed the cyclotron through the bottom of it, up through to the top, and installed the outer ring of the cyclotron to keep the cyclotron in place.

I need to thank everyone for their advice on my cyclotron outer ring; I ended up going with a turntable. I removed the bottom piece that rotated, the rubber inside pad, and used a nice razor to cut the inside of the piece out. I was left with a nice ring that fit oh so snug around the cyclotron. And I mean TIGHT. I still plan to seal the cyclotron from the inside of the SyncGen, but only when everything is finished, bondoed, and painted.

As you can see, I’ve got the cosmetic plating all measured and cut out. I’m not 100% happy with it right now, so I’ll probably redo it…personal preference. Currently, it’s all foambaord.

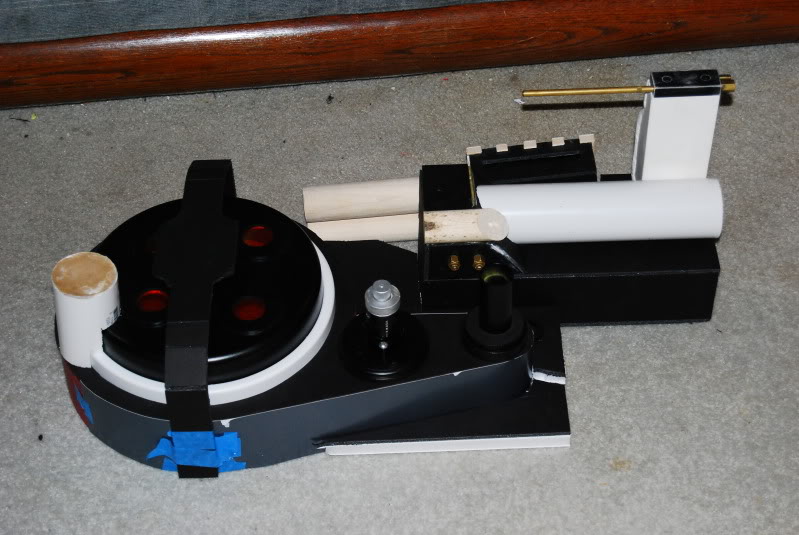
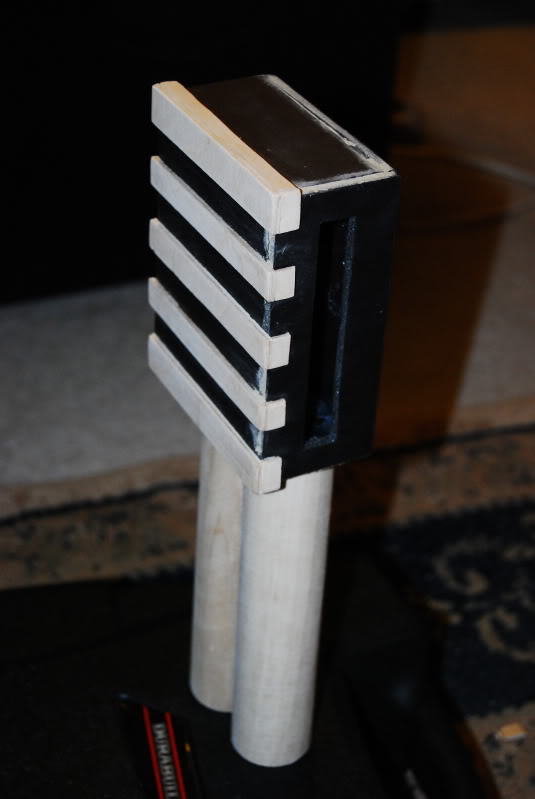
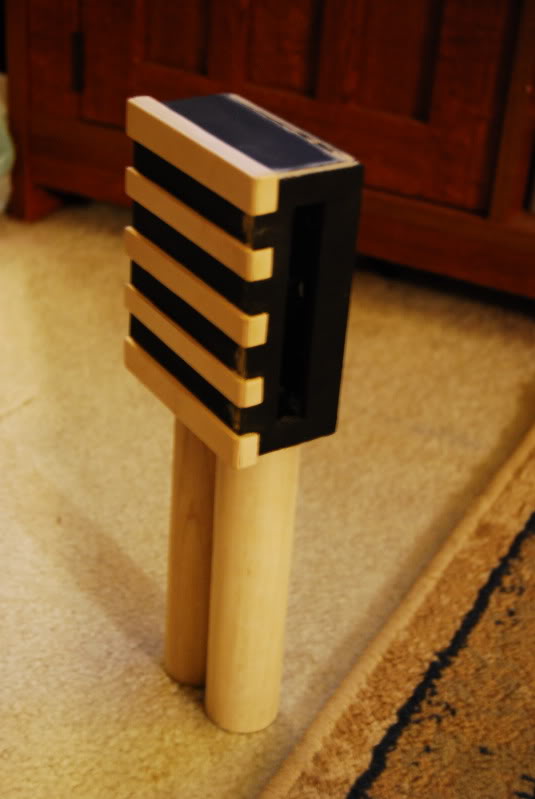
I’ve also cutout the powercell and attached the fins. The powercell is cut out of foamboard as well, and the fins are from some craft plywood. The was actually pretty easy to make, and before the fins were attached it was quite impressive! I was experimenting with some wood filler, so that’s what you’ll see smeared around the opened board areas.

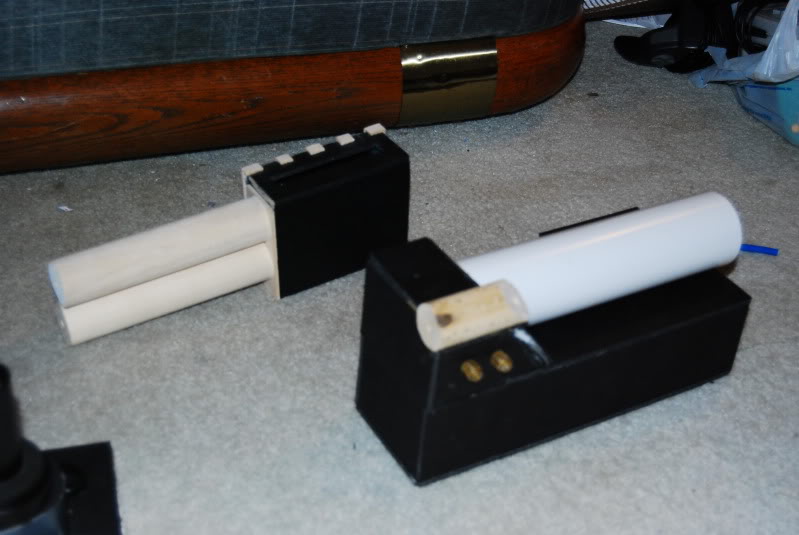
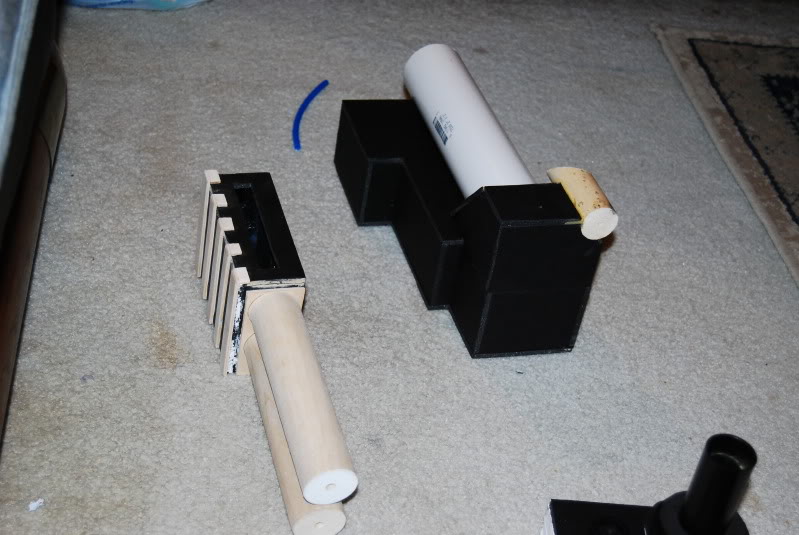
The Injectors are made from some 1 1/2" wooden dowel, attached with screws, and already drilled for the hoses, which will fit perfectly and very snuggly.

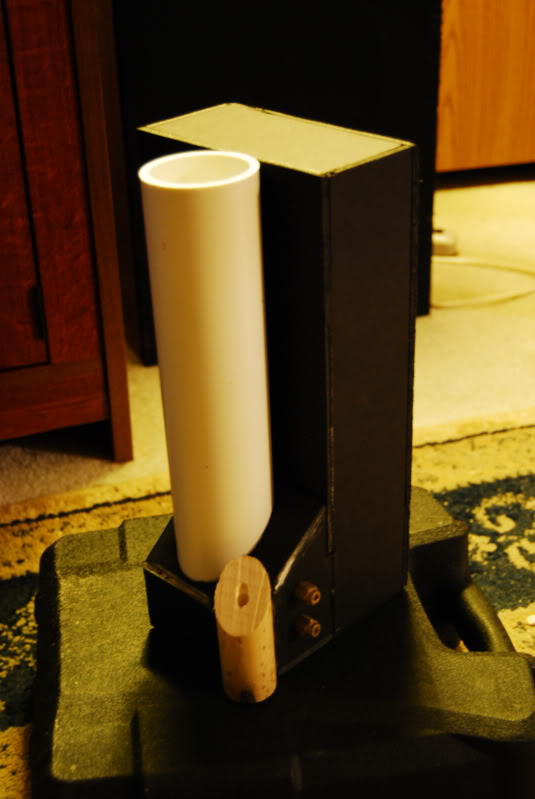
The EDA is made from foamboard, as well, and was not a fun task to perform lol. Well, the cutting and gluing was fine, it was the cutting out of the hole for the booster that ■■■■■■ me off. The booster is a piece of PVC I got from Lowes, right size, and the plug is a piece of 1 1/4" wooden dowel, as is the PPD. The PPD is temporarily glued in place, but the hole is drilled for the hose.

The Ion Arm is actually a resin piece I had leftover that I was going to use from my first pack build, and the Ion Arm Cap was bought off a fellow GBFans member last year. So technically it’s not all scratch built, but I’m still going for as much handmade as possible. Also the Legris straights in the side of the EDA are resin and from a GBFans member (again, leftover from my past build).

And as before, the bumper is temporary, and in these shots is extremely crooked. Once this season is over, I’ll be trying to get an Exoray bumper and shock mount. I can only handmake so much; but I can’t duplicate perfection.

In other news, I’m still trying to find an ALICE frame for a good price…all the ones on eBay run a good chance to guarentee of having the rear bar being raised up…I’m looking for the GB1 style. I got my GB1 accurate straps, and will soon buy the GB1 waist strap and kidney pad.

That’s old school.

Looks like it is turning out nicely!

Thanks AJ! I never thought I’d be making a scratch built pack, but it’s actually pretty fun!

Looking good so far. Keep it up!

Thanks, Matt! I’m currently cutting the motherboard out of plywood right now…I just wish I had a jigsaw. I’m only using a straight razor and small rotary tool, but the power on the rotary is terrible lol.