Making my first pack. Super excited! I have some questions

I have been a huge GB fan my entire life. Recently at my bchelour party my brother surprised me with a flight suit, the matty PKE, and a utility belt. I have always wanted to build a semi prop quality costume, but never got around to it…now that he gave mea start I want to complete the costume. I have plans to premiere the costume at my wedding in July. Anyway, down to business:

I have pretty much following the same build method as this guy Honus: Be a Ghostbuster for Halloween! : 6 Steps (with Pictures) - Instructables

I will use the plans from HProps Ghostbusters Labels to print out 1:1 outlines of all the pieces to make my cuts.

I want to go get some materials today, and I am wondering what foam I should get at home depot…there are a lot of options. Also, assuming the foam needs to be layered to get the correct thickness, what type of glue would I use so the foam doesnt melt?

Thanks for the help everyone. And if anyone has followed this build before, please share your tips. :cool:

There are a few build threads with foam. Check out the proton pack index thread and search the section for foam proton pack builds. They should be able to give you some ideas/info.

Our first packs were pink housing insulation layered up like a cake and put together with Gorilla brand wood glue. We smoothed them with wood putty and painted them with Krylon H20 satin black.

image

image

Whoops! I just noticed you’re in California. I’m not sure they sell that stuff there. I have heard people having to order it online.

Let me also put one idea in your head. (Having made four foam packs myself) if you get ANYWHERE over $50 in building just the basic shell of your pack. I would just spend the extra money and get a Studio Creations shell. It will be a lot less work on your part and as the say “Time is money”

http://www.studiocreations.com/howto/gb_protonpack/index.html

jmho

Thanks for the tip. I didnt even realize this existed. I like the idea of building my pack from scratch, but I will have to seriously consider this.

It is a rewarding experience.

I got a studio creation pack myself that i am currently working on. Just know that the SC packs come in two pieces so you will have to do some bolting or riveting to get them attached and expect some time with doing some bondo work. Its not a bad shell to start with. Have to do some cutting and stuff but all in all, i am looking forward to this build.

Thanks. I just purchased the plywood needed for the mobo, and found the foam needed for the rest of the pack. It looks like I will need the alice frame sooner than I though. I planne don building the pack up, and then mounting it to the frame, but it looks like I will have to mount the plywood mobo first. Any recommendations on where to find the pack? Does it matter if I get a mil spec frame? Does LC1 or 2 matter?

I got a newer frame for my rgb pack. But for this one I am going to be getting the lc2 frame setup.

I heard ebay was a good place to find the packs, but it didnt seem like they had many options? :whatever:

AJ stocks frames from time to time. These are new frames not vintage. GB1 had LC-1 frames. GB2 had LC-1 and LC-2 frames with some altered pads. Most Ebay will list LC-1 but they are really LC-2. There is an excellent thread here that shows the differences. New frames are made to mill spec, but some can be a different size.

You really should stop now and do a bunch of research. A lot of the questions you have been asking are things that have been covered to death. It’s very important that you plan everything out before you start building so you know your budget, what parts you need (or need to make), what pack you are copying (if any), what options and details you will include. Like I said, just put the brakes on for a bit and do a bunch of research.

Have you found and checked out the other foam builds to see what they used, how they built them, what materials they used? Once you have done the research and know what everything is, what it’s named, etc… and still have questions but couldn’t find the answers using the search function, people will be more inclined to answer the questions.

I know that you are probably really excited to get building and make a pack that you just want to start building, but researching and building out the plan, budget, and know how you are going to do everything first will save you headaches and heartaches. I have seen some REALLY good foam packs and paper packs. You can really build something great but you really need to do your homework first.

Looking forward to seeing your build! And don’t forget to have fun!

I would wait until the shop has a restock of the LC1 or LC2 frames. The issue with eBay is that you can never really trust the information that they put up for the frame like drjameshouse said, and the frames are stupidly overpriced on eBay because the sellers know that’s what was used in the movies and they are going to price it high.

Thanks for the advice. Your right, I am excited. I have been doing research along the way, which probably isnt the best way to go. There is so much information out there, that sometimes having your own topic and getting direct answers can really clarify things. Great site. I am amazed at how great these packs turn out using all sorts of different materials!

1 Like

I went ahead and cutout my mobo yesterday out of a 5.2mm thick handey panel from Home Depot. I also ordered an LC-1 frame from ebay. I have been researching all day on how to seal and paint the pack, but I cant find a clear answer…seems like everyone does something different. I think I will go with waster based house paint, I tested it and it didnt melt the foam…good enough for me.

Quick update:

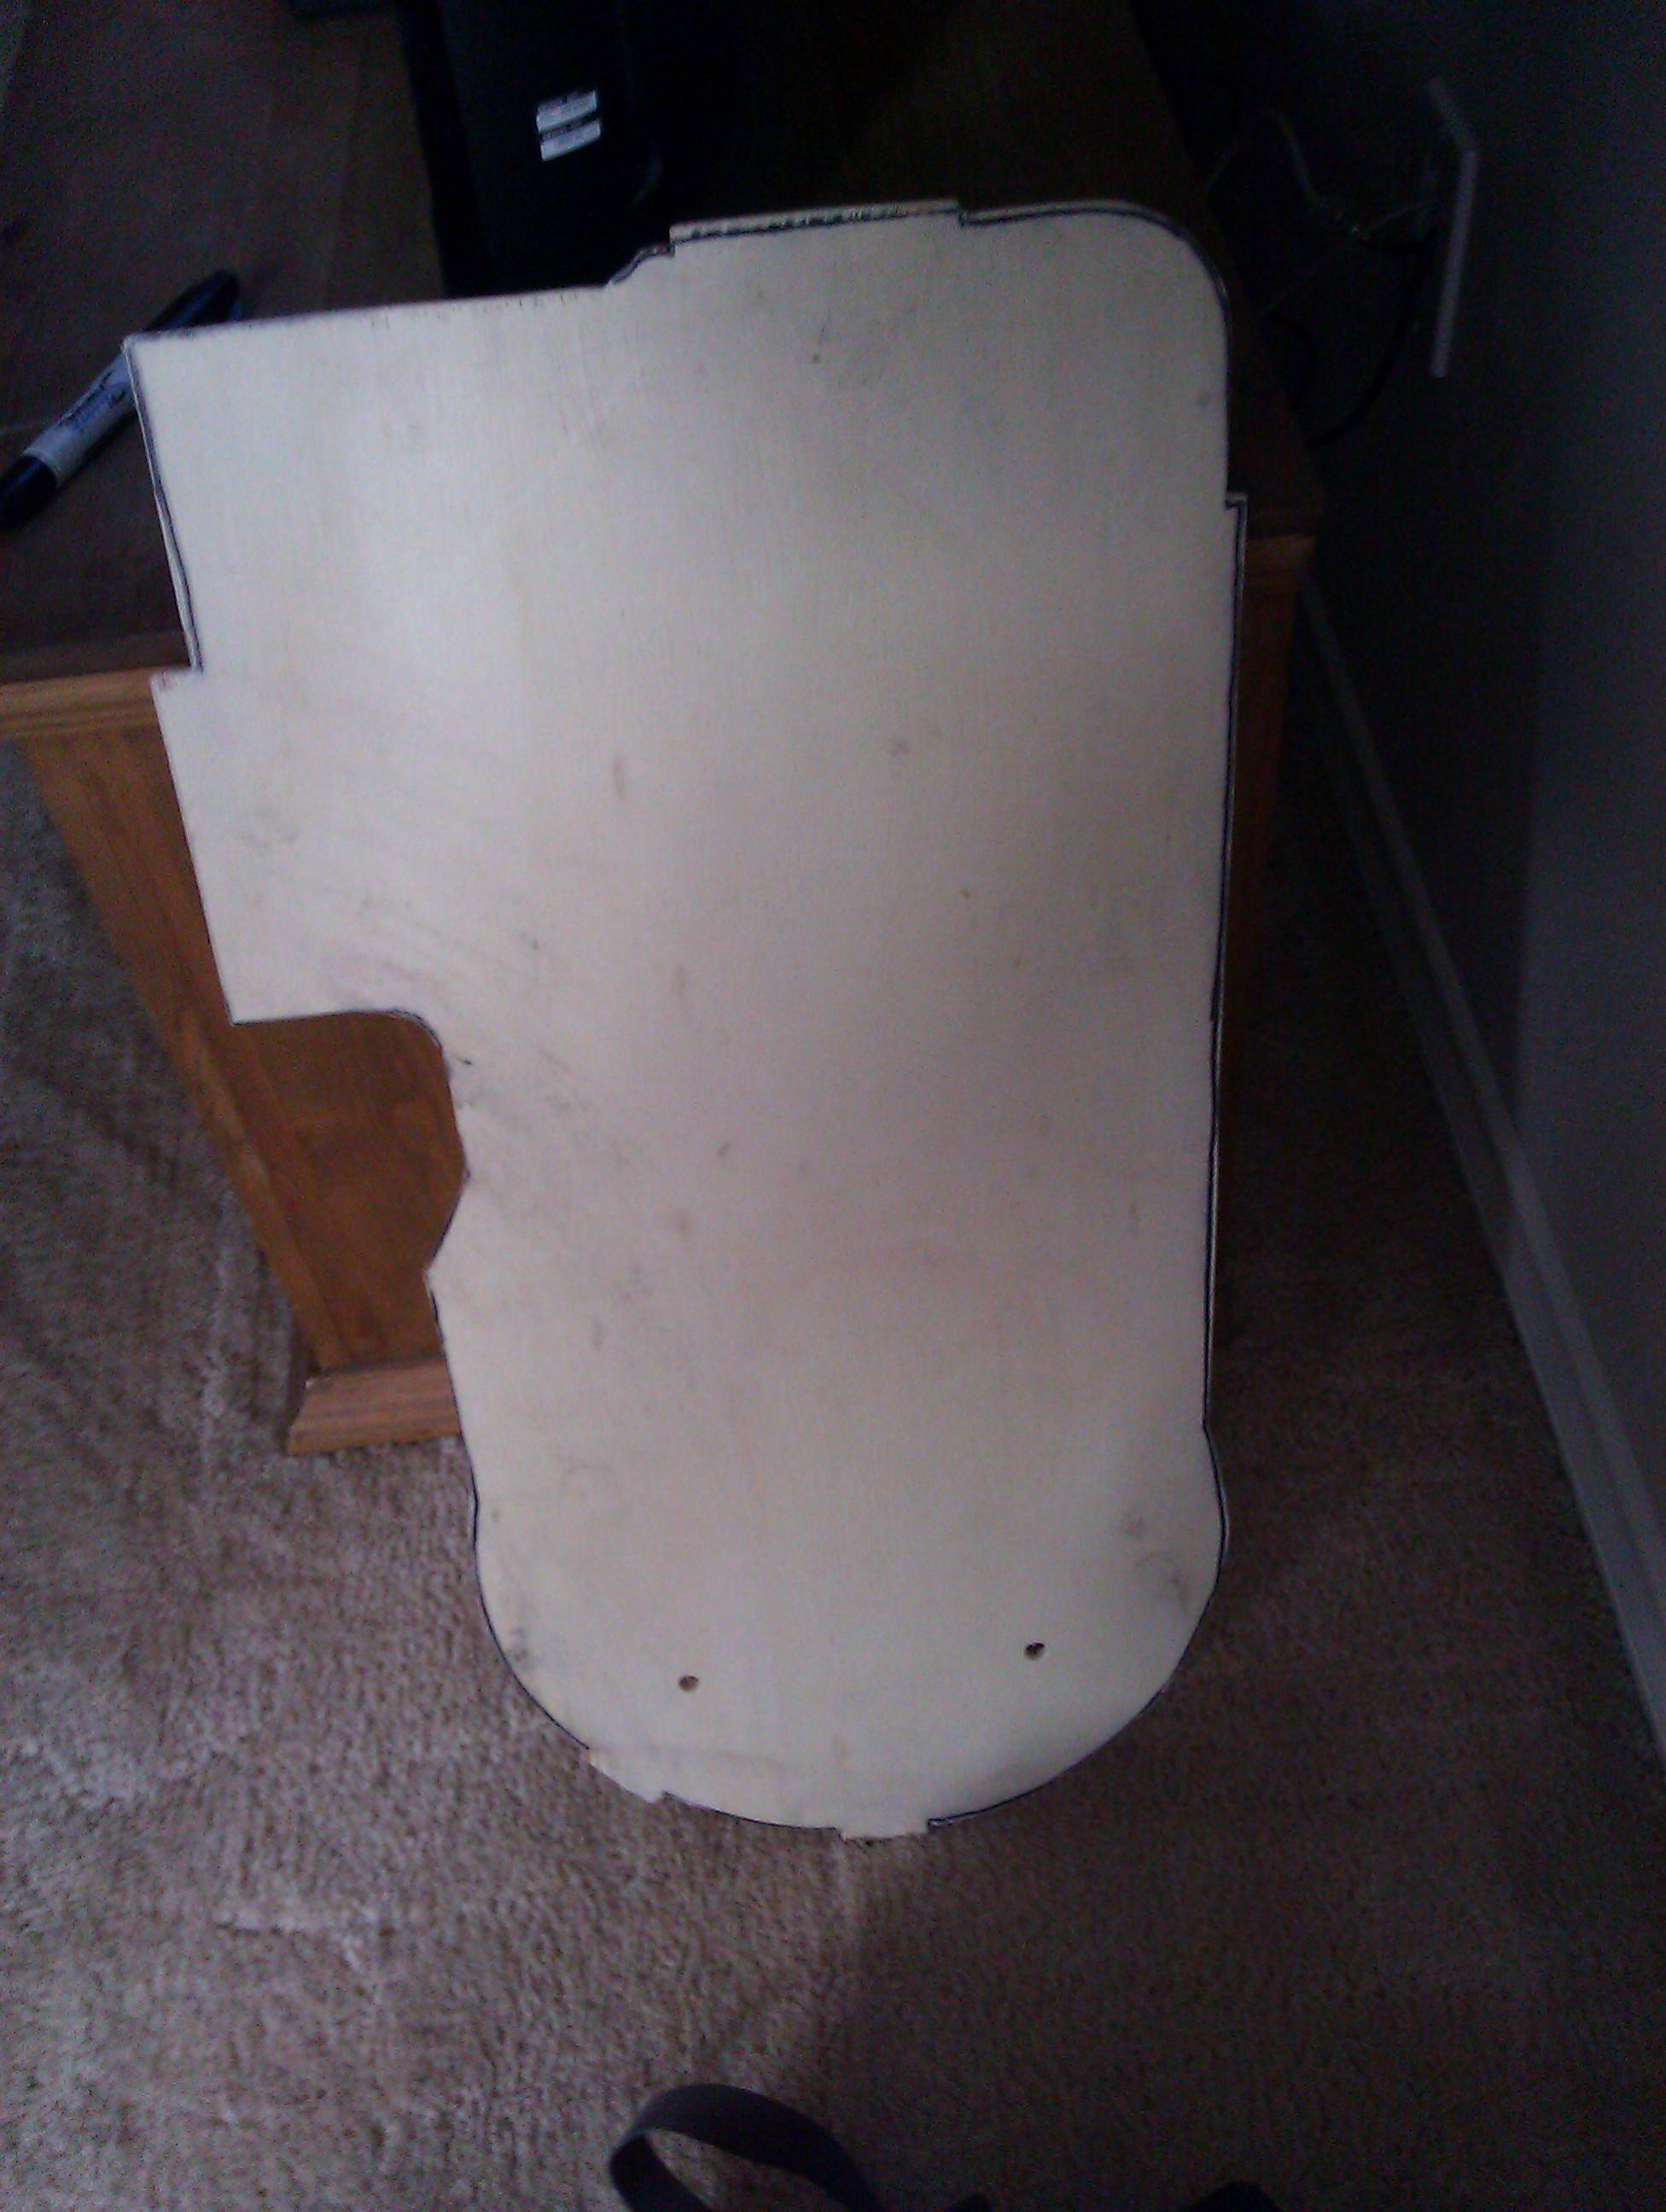
I cut out my motherboard out of the handy panel plywood I purchased from Home Depot.

I also received my Alice LC-1 frame that I ordered off ebay. It was around $30 shipped. I drilled a new hole in the frame on the middle bracket. Here is a terrible picture of the motherboard attached. image

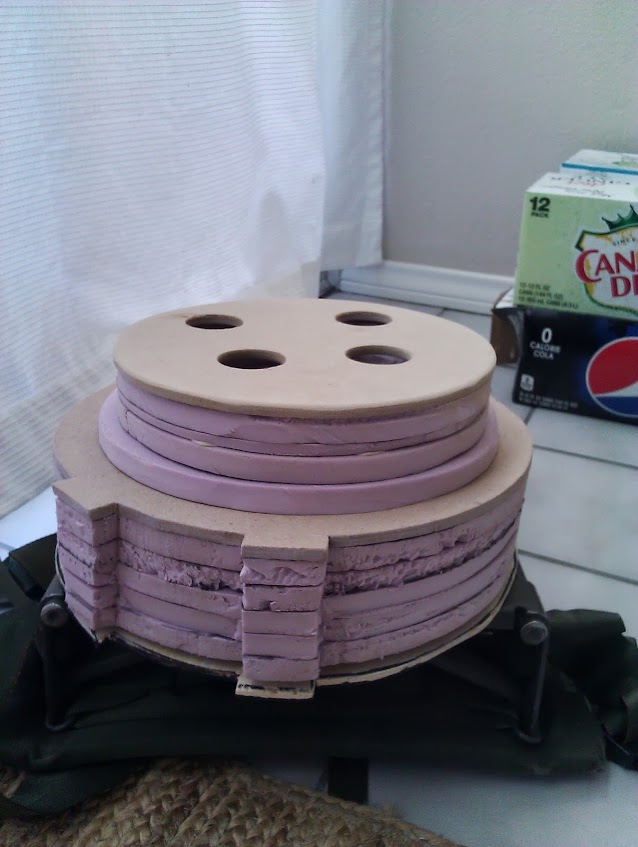
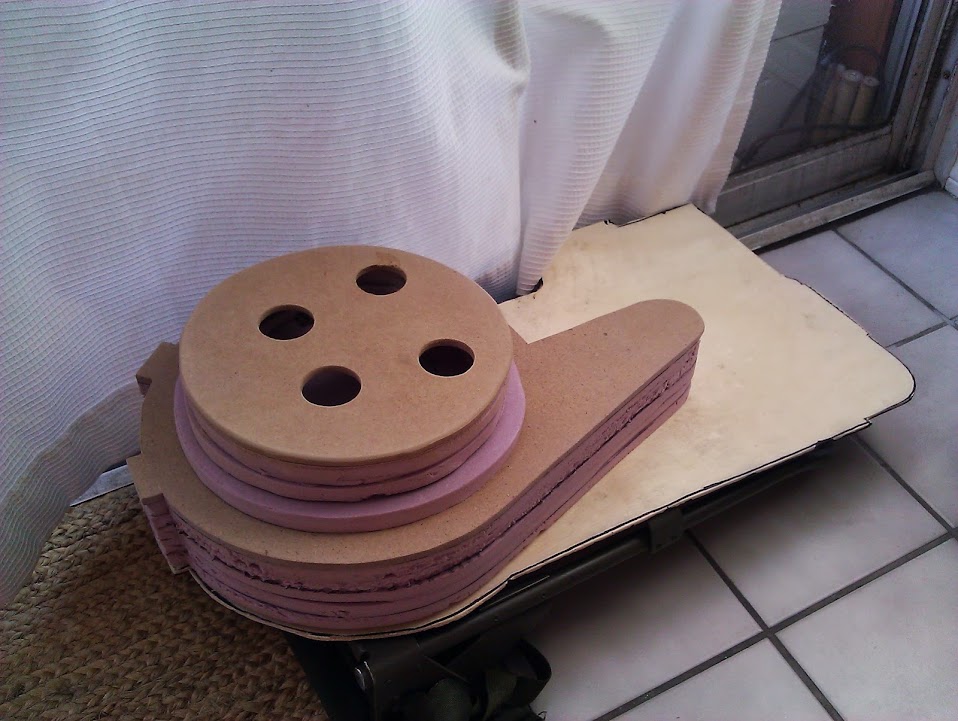
I have started building my first foam piece, the Sync Gen. I got the pink insulation foam from Home Depot here in San Diego…they do in fact sell the stuff in CA apparently. Only issue is the foam is only 1/2" thick, so it takes quite a few pieces stacked up to get the right thickness. A tip for cutting the foam: use a sharp razor blade, it makes a world if difference. The razor should cut like butter through the foam, if it doesn’t…change your blade.

I am trying to plan ahead and figure out how lighting will work, and its a little overwhelming to be honest. The kit sold from the gbfans store seems like a good kit at a reasonable price, so why do people spend similar money making their own? I am also trying to figure out how you mount these kits, and run the wire? None of the build threads I have seen show this step.

I hope to get some more work done on the pack this weekend, and will upload pics. I am also awaiting anxiously for the gbfans store to open so I can order some resistors and other misc items.

Good luck, dude. Take it slow and do it right.

Thanks…I am trying!

I got some decent work in over the weekend I think. Did as much as time would allow me. Man does this foam stuff make a mess! Ive uploaded an album that I will be updating, you can view it here:

I have some questions:

My stacked up foam pieces are not as smooth and uniform as I had expected them to be. Is it necessarily to apply some plaster or something over the sides to smooth them out, or do you think painting them is enough to had the imperfections?

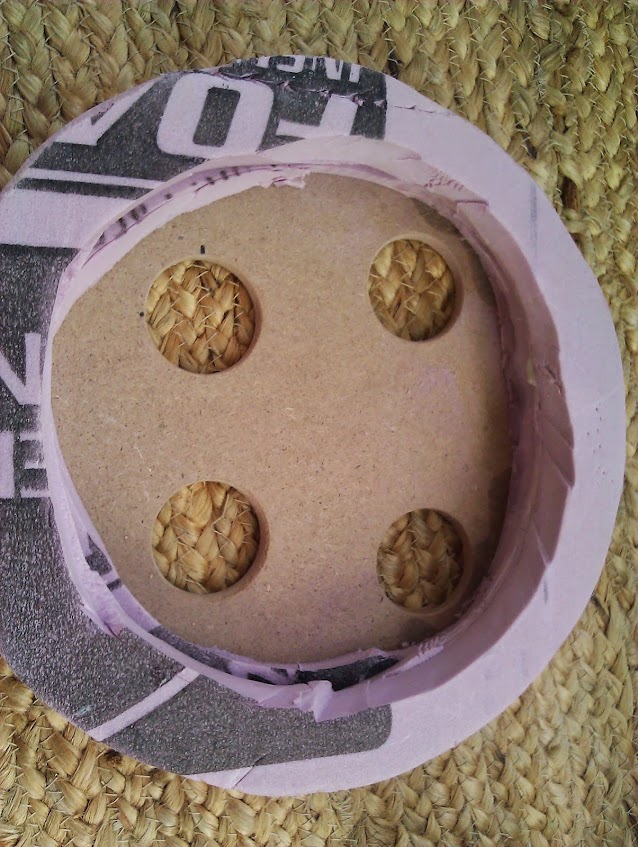
This is the backside of my Cyclotron. I will have to mount something red and translucent…thats not the problem. I am however wondering where I would mount the LEDS?

Thanks for looking and supporting everyone. Great community! You have all really inspired me to try and do it right, and not hack through this. Thank you for that.

Hey man I see that you are in San Diego. I am as well. If you have any questions or need some help with building one of these things feel free to message me.

I have a small amount of experience working with foam for sculpture pieces and now a single pack build.

Now that I’m on my second build, I decided to just what another Alan Hawkins suggested. I went on and bought a StudioCreations Shell. Foam is cool but between the time taken to build and the expense / time taken to finish it properly and make it look good, I decided that the next step in my progression would be to try working with a vacuform shell. Yeah, I’ll eventually work my way up to resin / fiberglass I’m sure but foam, while fun, is just a little more pain in the tuchas than it’s worth. If I’m going to create an original piece, it’s a great medium to work with, especially if you have a hot wire rig like I’ve used in theatre construction projects. For a pack, though, at the end it seemed like more trouble than it was worth. Your cost on a quality foam build can easily run into the same money you’d spend on a vac shell construction. After a point, I was like “How did this foam pack cost so dang much? This was supposed to be a cheap build!”

I will make a couple of suggestions since you’re already in the process: Hot Wire Foam Factory makes a great product called Foam Coat. When you go to an amusement park and see dimensional pieces, chances are they are sculpted from foam and sealed / hardened with Foam Coat (that is to say, when they aren’t made of fiberglass). I sculpted my pack from foam and applied several layers of foam coat. When it dries, it’s totally sandable and gives a similar textural quality to what I’ve seen in some Ghostheads’ hero builds. If you’re at all concerned about the foam coat cracking, you can add a portion of Bounce (a Foam Coat additive) to the mixture. It makes the Foam Coat have a little bit of spring to it so it can handle impact a little better. My son gives his 75% sized pack a workout and the Foam Coat has been great about taking his abuse.

The good part is that these products are formulated for use with foam so you don’t have to worry about incompatible products warping or disintegrating later. You can use it thick (for spackling in any jagged cuts like on the sides of your cyclotron), then thin it down for a couple of thin finishing coats where you can get a smooth, buttery finish like brushed metal.

Foam Coat and Bounce add even more expense to a foam build but they really are cool to work with. If you do any Halloween haunt construction projects, it’s very handy stuff to be familiar with. It makes for very durable set pieces and props. I have heard tell in some haunter forums that Lowe’s sells a product designed for construction which is darn near the same stuff, available in smallish to medium quantities for a better price. Bear in mind that it’s a modified version of concrete you’re working with, so too thick a coat of the stuff adds considerable weight.

And it’s available from a professional prop shop just a few miles from my house, (The Engineer Guy, south of Atlanta) so I can just hop in the car for more if I need it.

Good luck!. The sense of accomplishment I got from my first foam build was awesome, so I do get the appeal. This time around I’m trying the vac route and I think that with the right level of finishing and taking my time, it’ll look great.

Thanks, might have to take you up on that. I wouldnt mind seeing some of these packs up close and in person.

@pir8capn, thank you for your insight. The build is already around what I expected to have paid for it, and I haven’t even done anything yet!!! I hope in the end I am satisfied with the foam build I end up with, because I doubt I will be doing this again.