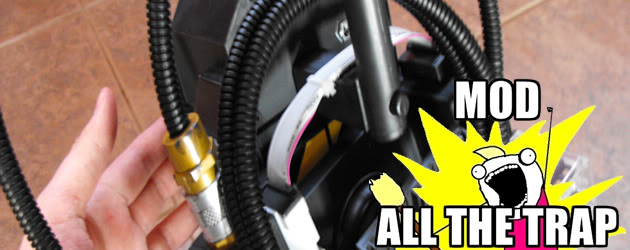
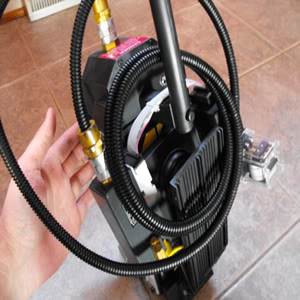
One thing about the Matty Collector Ghost Trap that bugged me (ever so slightly) was the use of a molded plastic ribbon cable on the trap pedal. In the movies, you noticed the trap was often carried with the pedal ribbon looped around the handle. The plastic ribbon complicates that functionality due to its rigidity.
Tools:
* Small philips head screwdriver

* Scissors

* Exacto Knife or Box Cutter
Materials:
* Grey computer ribbon cable (any length)

* Small white zip-ties
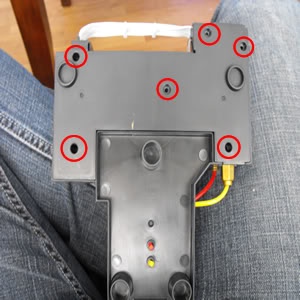
Step 1: Remove the bottom cover from the trap pedal. Make sure your pedal is disconnected from your trap cable and trap. Then, remove the 6 philips head screws that hold the base in place. Be sure to place the screws in a safe place so they don’t roll away.
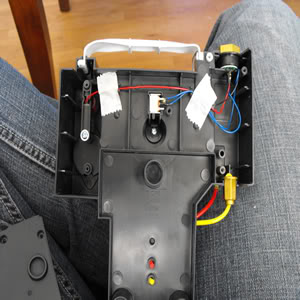
Step 2: Lift up on the cover to expose the guts of the trap. Be sure not to disturb any of the wiring or switches inside. We only want to focus on the plastic ribbon cable at this point.
Step 3: Slide out the plastic ribbon cable. This should be fairly easy as the cable slips right out. Set plastic cable aside (you’ll need it later).
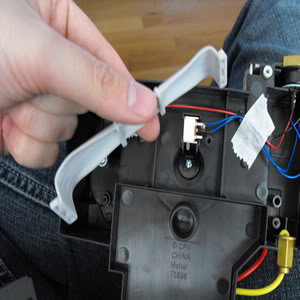
Step 4: Cut a piece of gray computer ribbon cable to match. I noticed the number of pins on the molded cable was 16 (instead of the prop accurate 20 or 26). We want to cut a piece of ribbon to that length. The ribbon i had was a 34 pin ribbon so I used an exacto knife to cut between pin 16 and 17. I trimmed off a roughly 7" strip which should be plenty. You can cut yours longer or shorter depending on your preference.
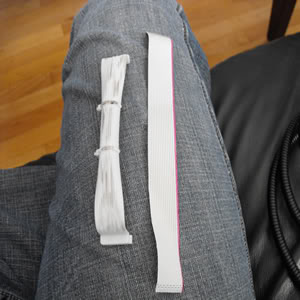
Step 5: Roll the ends of the cable as shown in the picture. This will give your new ribbon some grip once installed.
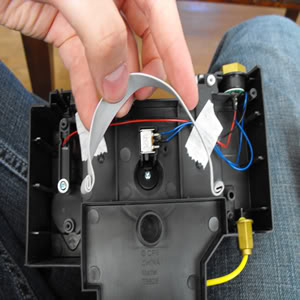
Step 6: Simply slide the ribbon into place. Make sure that it is snug inside inside the grooves as you don’t want the cable unraveling and pulling out.
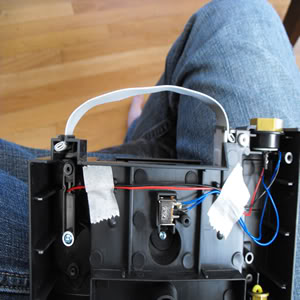
Step 7: Test that the ribbon cable will support the weight of the pedal. Since the pedal is rather light, this shouldn’t be much of an issue. However, this is always a good step because you don’t want to close up your pedal only to realize your cable isn’t secure.
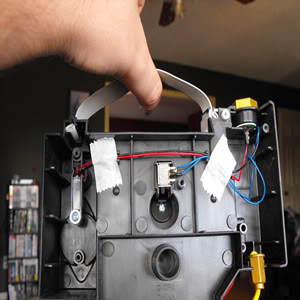
Step 8: Replace the bottom cover and screw it back into place.
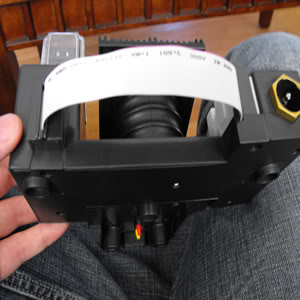
Step 9: Next, grab your zip ties and zip them around the cable. I used the molded plastic cable as a guide for the spacing.
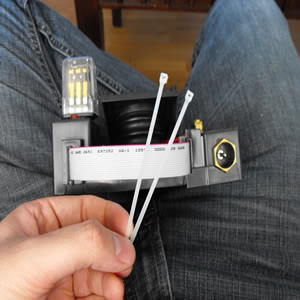
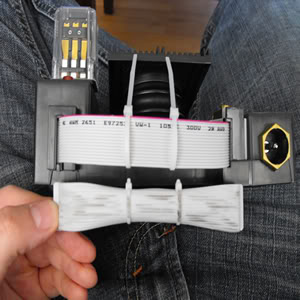
Step 10: Zip and clip your ties. I didn’t sip mine all the way as I didn’t want the cable to be pinched too much. I zipped them until they were firm and wouldn’t slide around. If you are worried about sharpness of the cut ties, you can revise them with a little sand paper to smooth them out.
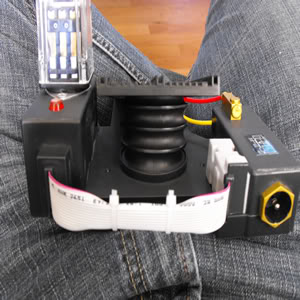
And you’re done! Enjoy your work. If in the future you decide you want to put the old plastic cable back, this mod is completely reversible.
How-to is also posted on the Blue Ridge Ghostbusters site (higher res images at the bottom of the article): http://www.blueridgeghostbusters.com/ghostbusters-news/12-mod-add-a-real-ribbon-cable-to-your-matty-trap.html
