Ingenious solution!
It never ceases to amaze me; the many uses of household plumbing parts! 
Ingenious solution!
It never ceases to amaze me; the many uses of household plumbing parts!
My eldest brother brought an interesting point. Is there a magnet near the jack? Reason being he figures it would be the tightest connection.
Not that I can tell, nothing seems to stick to mine, but that doesn’t mean that there isn’t a metal plate in the wand and the magnet will be in the hose.
I’d like to see inside the open gun. I’m guessing it wouldn’t take much to move that jack cap half way down into the handle..
I’ve already done some minor painting and weathering. A little bit of work like that is going to make this thing look a LOT better.
I’m definitely doing this to my banjos! Nice job
Id like to see what else ppl come up with to mod out the wand
I’d love to figure out a way to get tge wand to activate lights in a pack.
I have never really worked with painting small details like that, What kind of paint and brushes would you recomend,
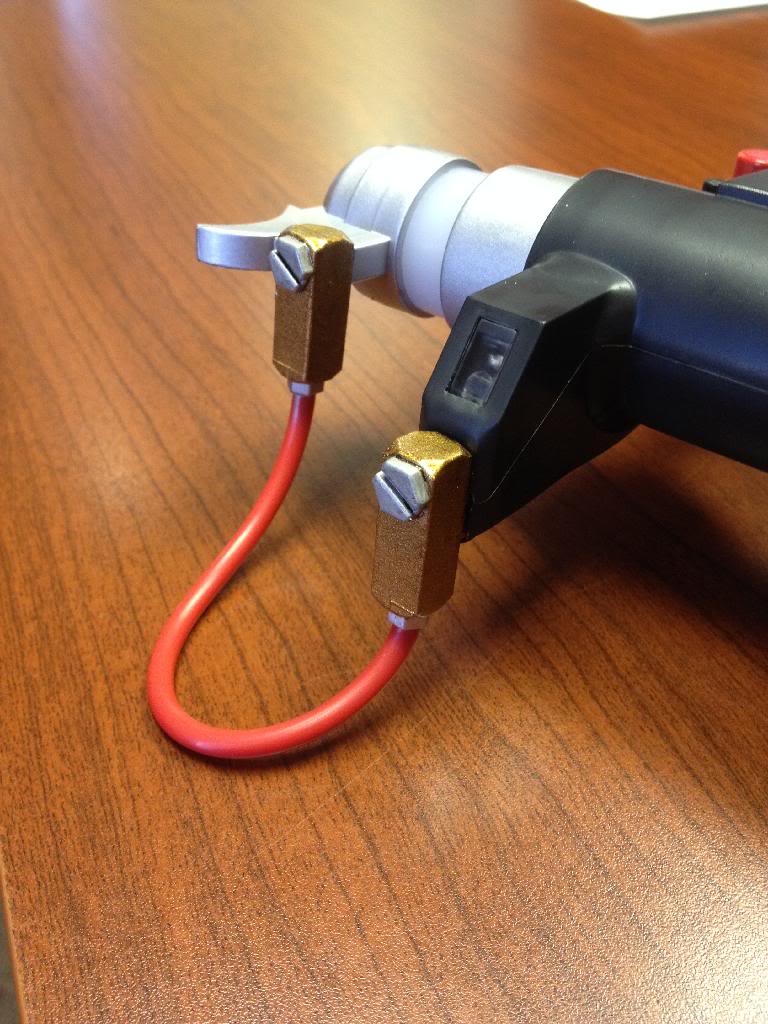
I use Testors brand model car enamel. Hobby Lobby is where I get mine. “Steel” is what I used on the above, it’s kinda gray and dull and I’m kinda disappointed with the color. “Aluminum” is a better choice and what I used in the past. I used “Brass” on the banjo fittings and painted them normally, the wear spots are done as follows:
You want to get a small to mid size brush (not the tiny detail brush) and dip it in the paint and then I wipe the brush on newspaper just a little, I don’t try to go for a “dry brush” so much as just make sure the paint isn’t going to run, this makes a chipped or scraped look. The only time I drybrush is when I want to create a spot that looks more like rubbing wear than a scratch or chip. Just keep brushing the area with a nearly dry brush until it looks as worn as you want.
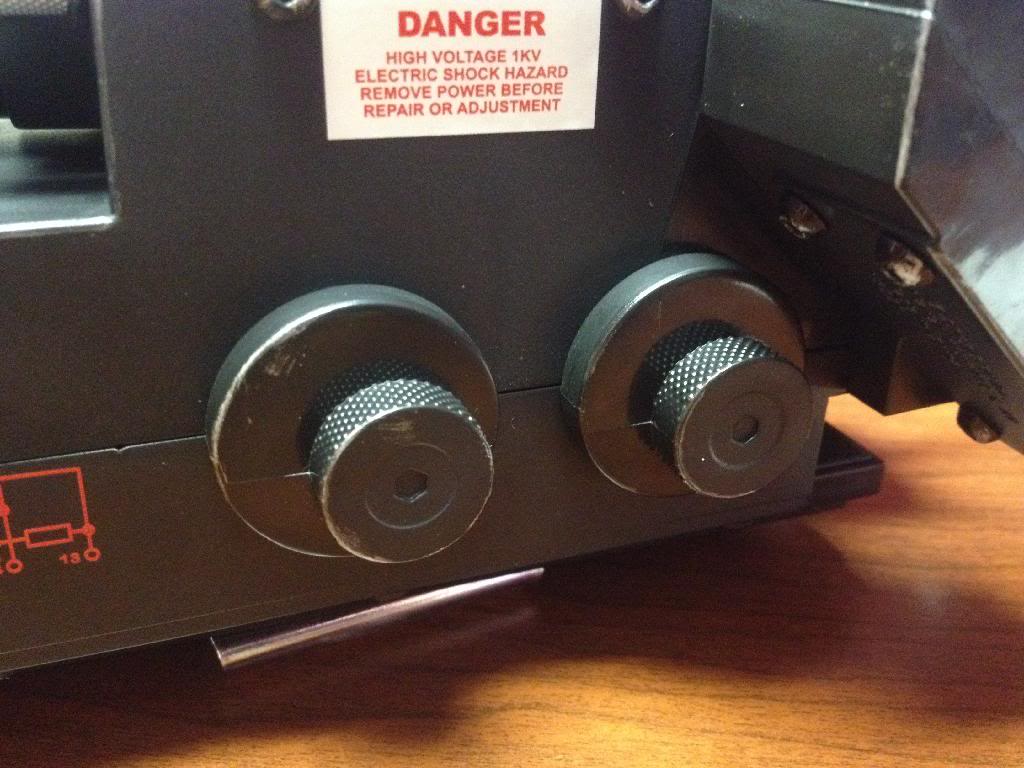
I usually hit sharp edges or places like screw heads to make detail stand out. Then I look for places where my fingers would rub and drybrush wear in those areas. I did some heavier chipping on the bottom gun track to simulate wear from trying to slide it onto the pack and missing.
Next step will be “blackwashing” the knurls in the knobs to make them look old and dirty, some ash residue look for the barrel tip, and I want to stain the white label on the left side of the gun box with used motor oil so it doesn’t look new and clean. I also want to add some kind of numbering to the top knob to show whether it’s on “high” or “low”. Debating dry brushing the gun grips with some brown like the GB1 guns had. Also want to paint the black non functional light hat some color just not sure what yet.
I’ve started on mine already.
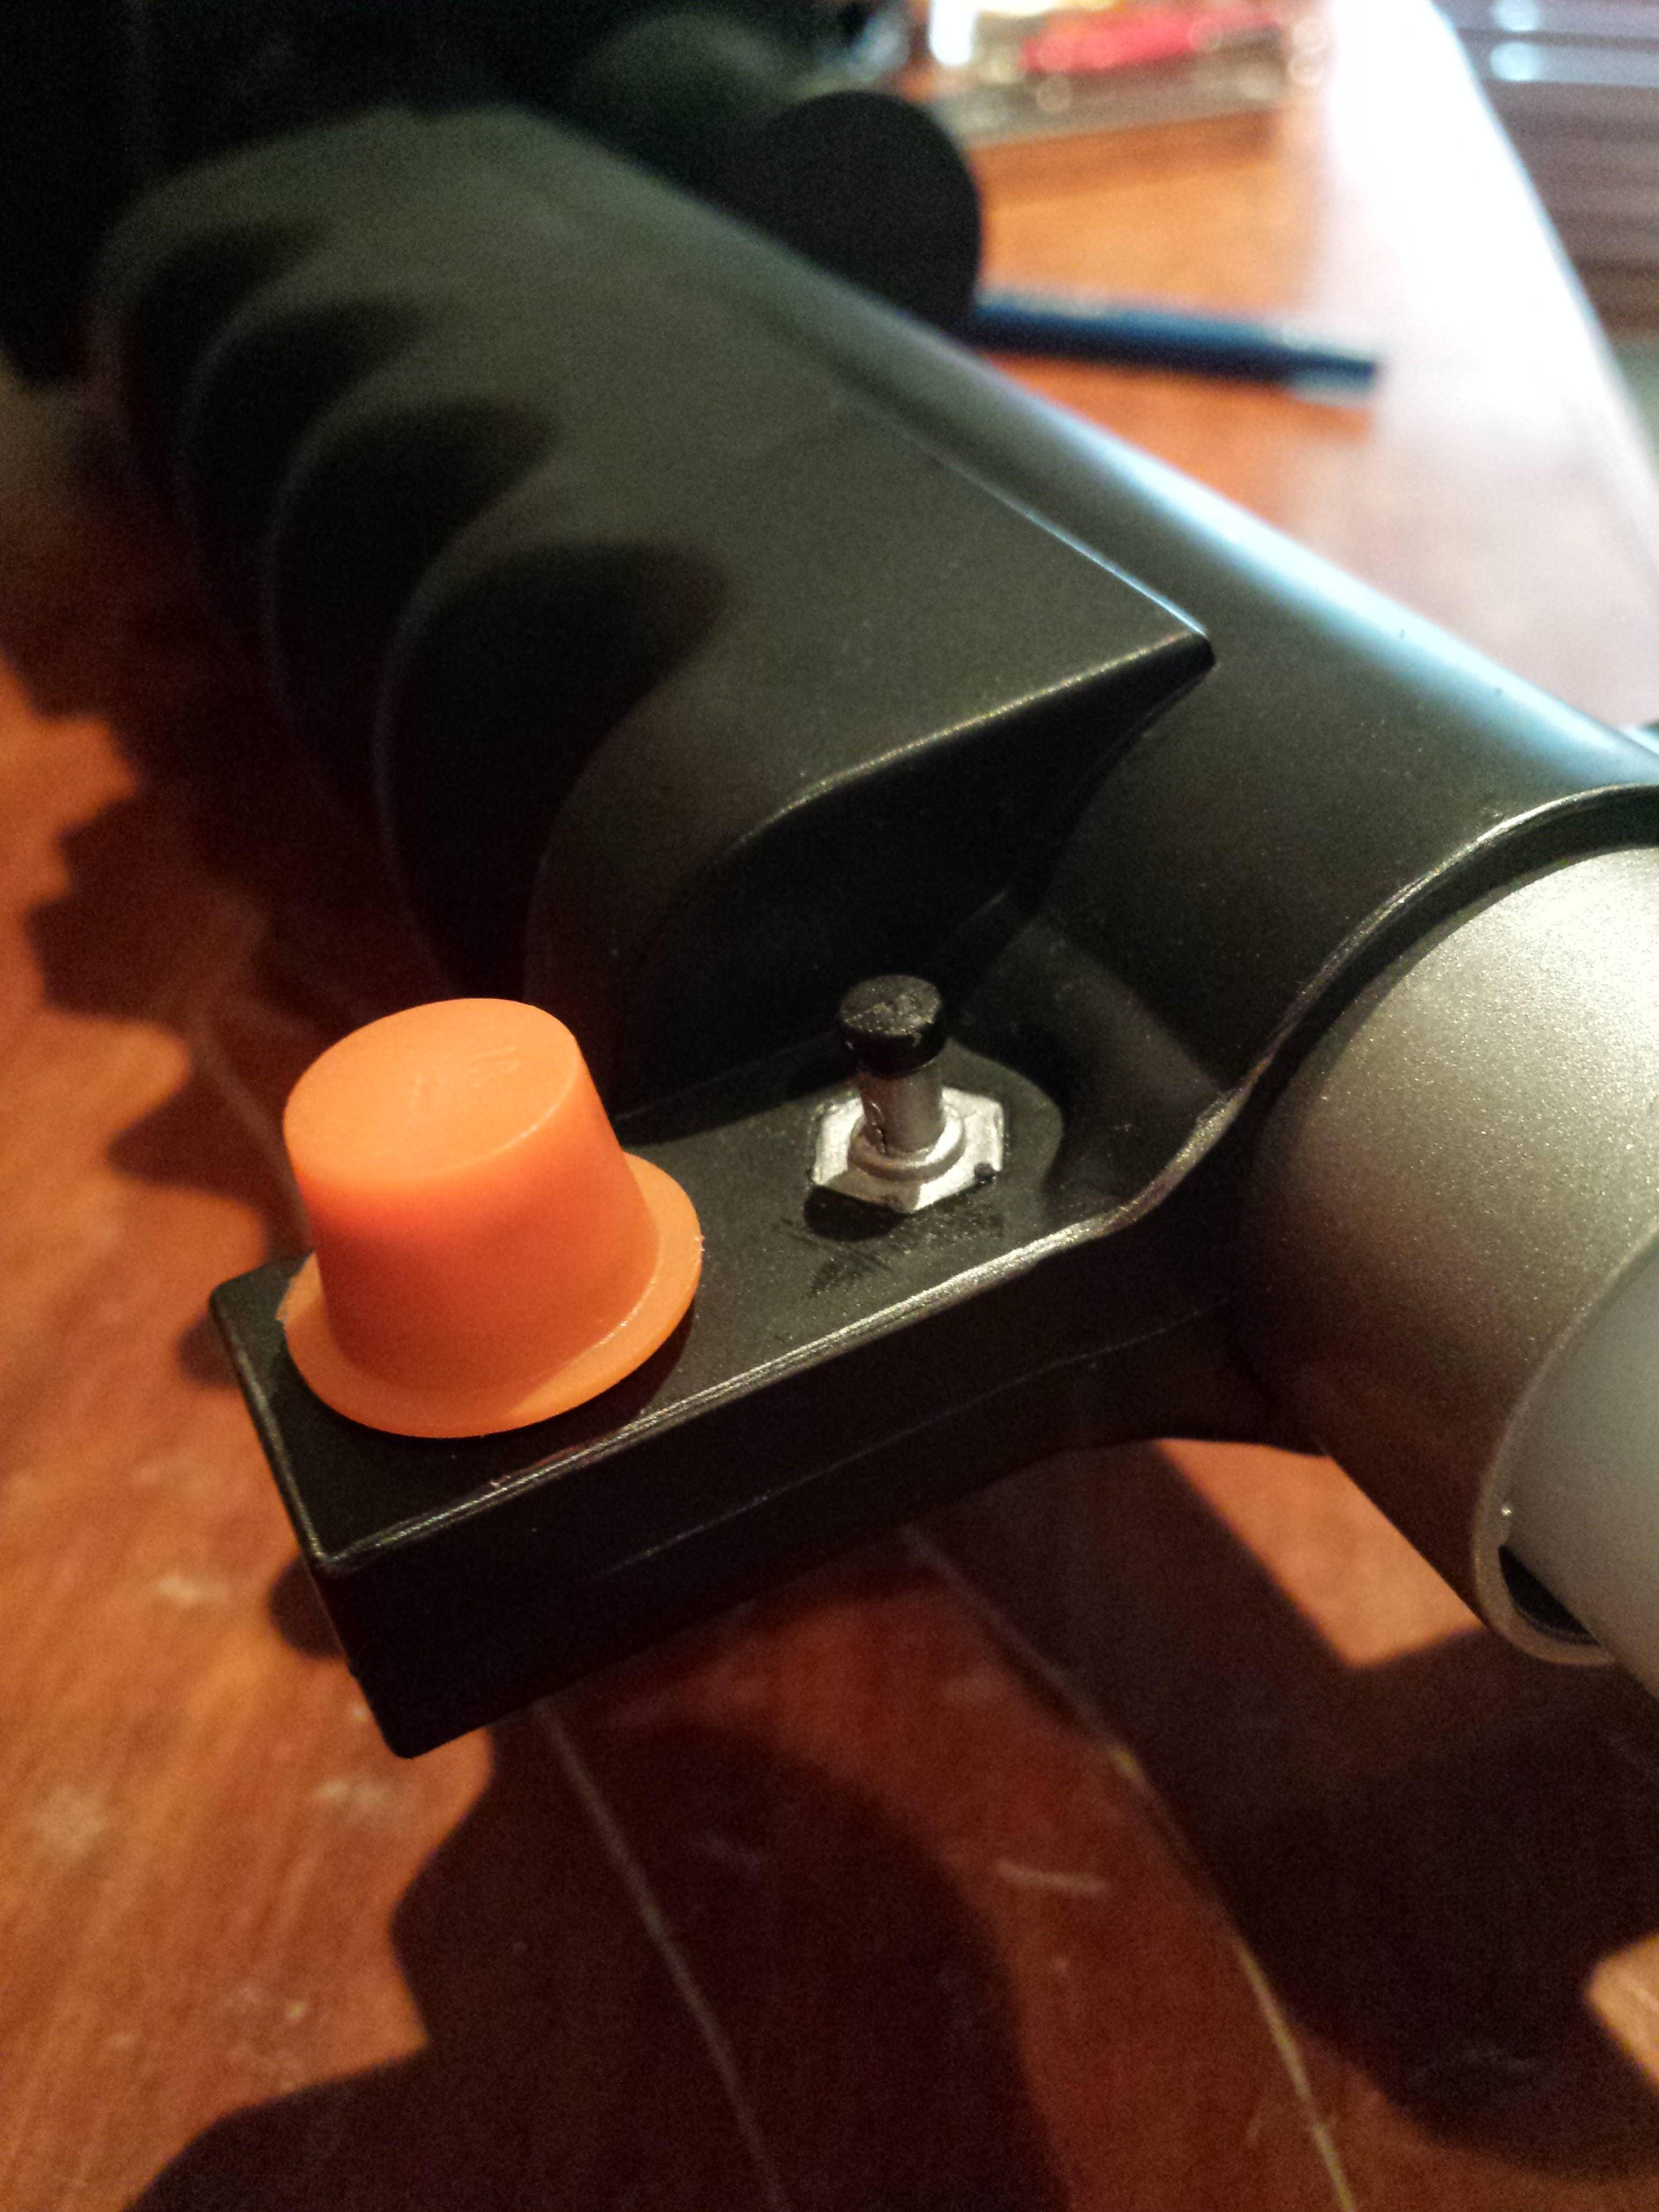
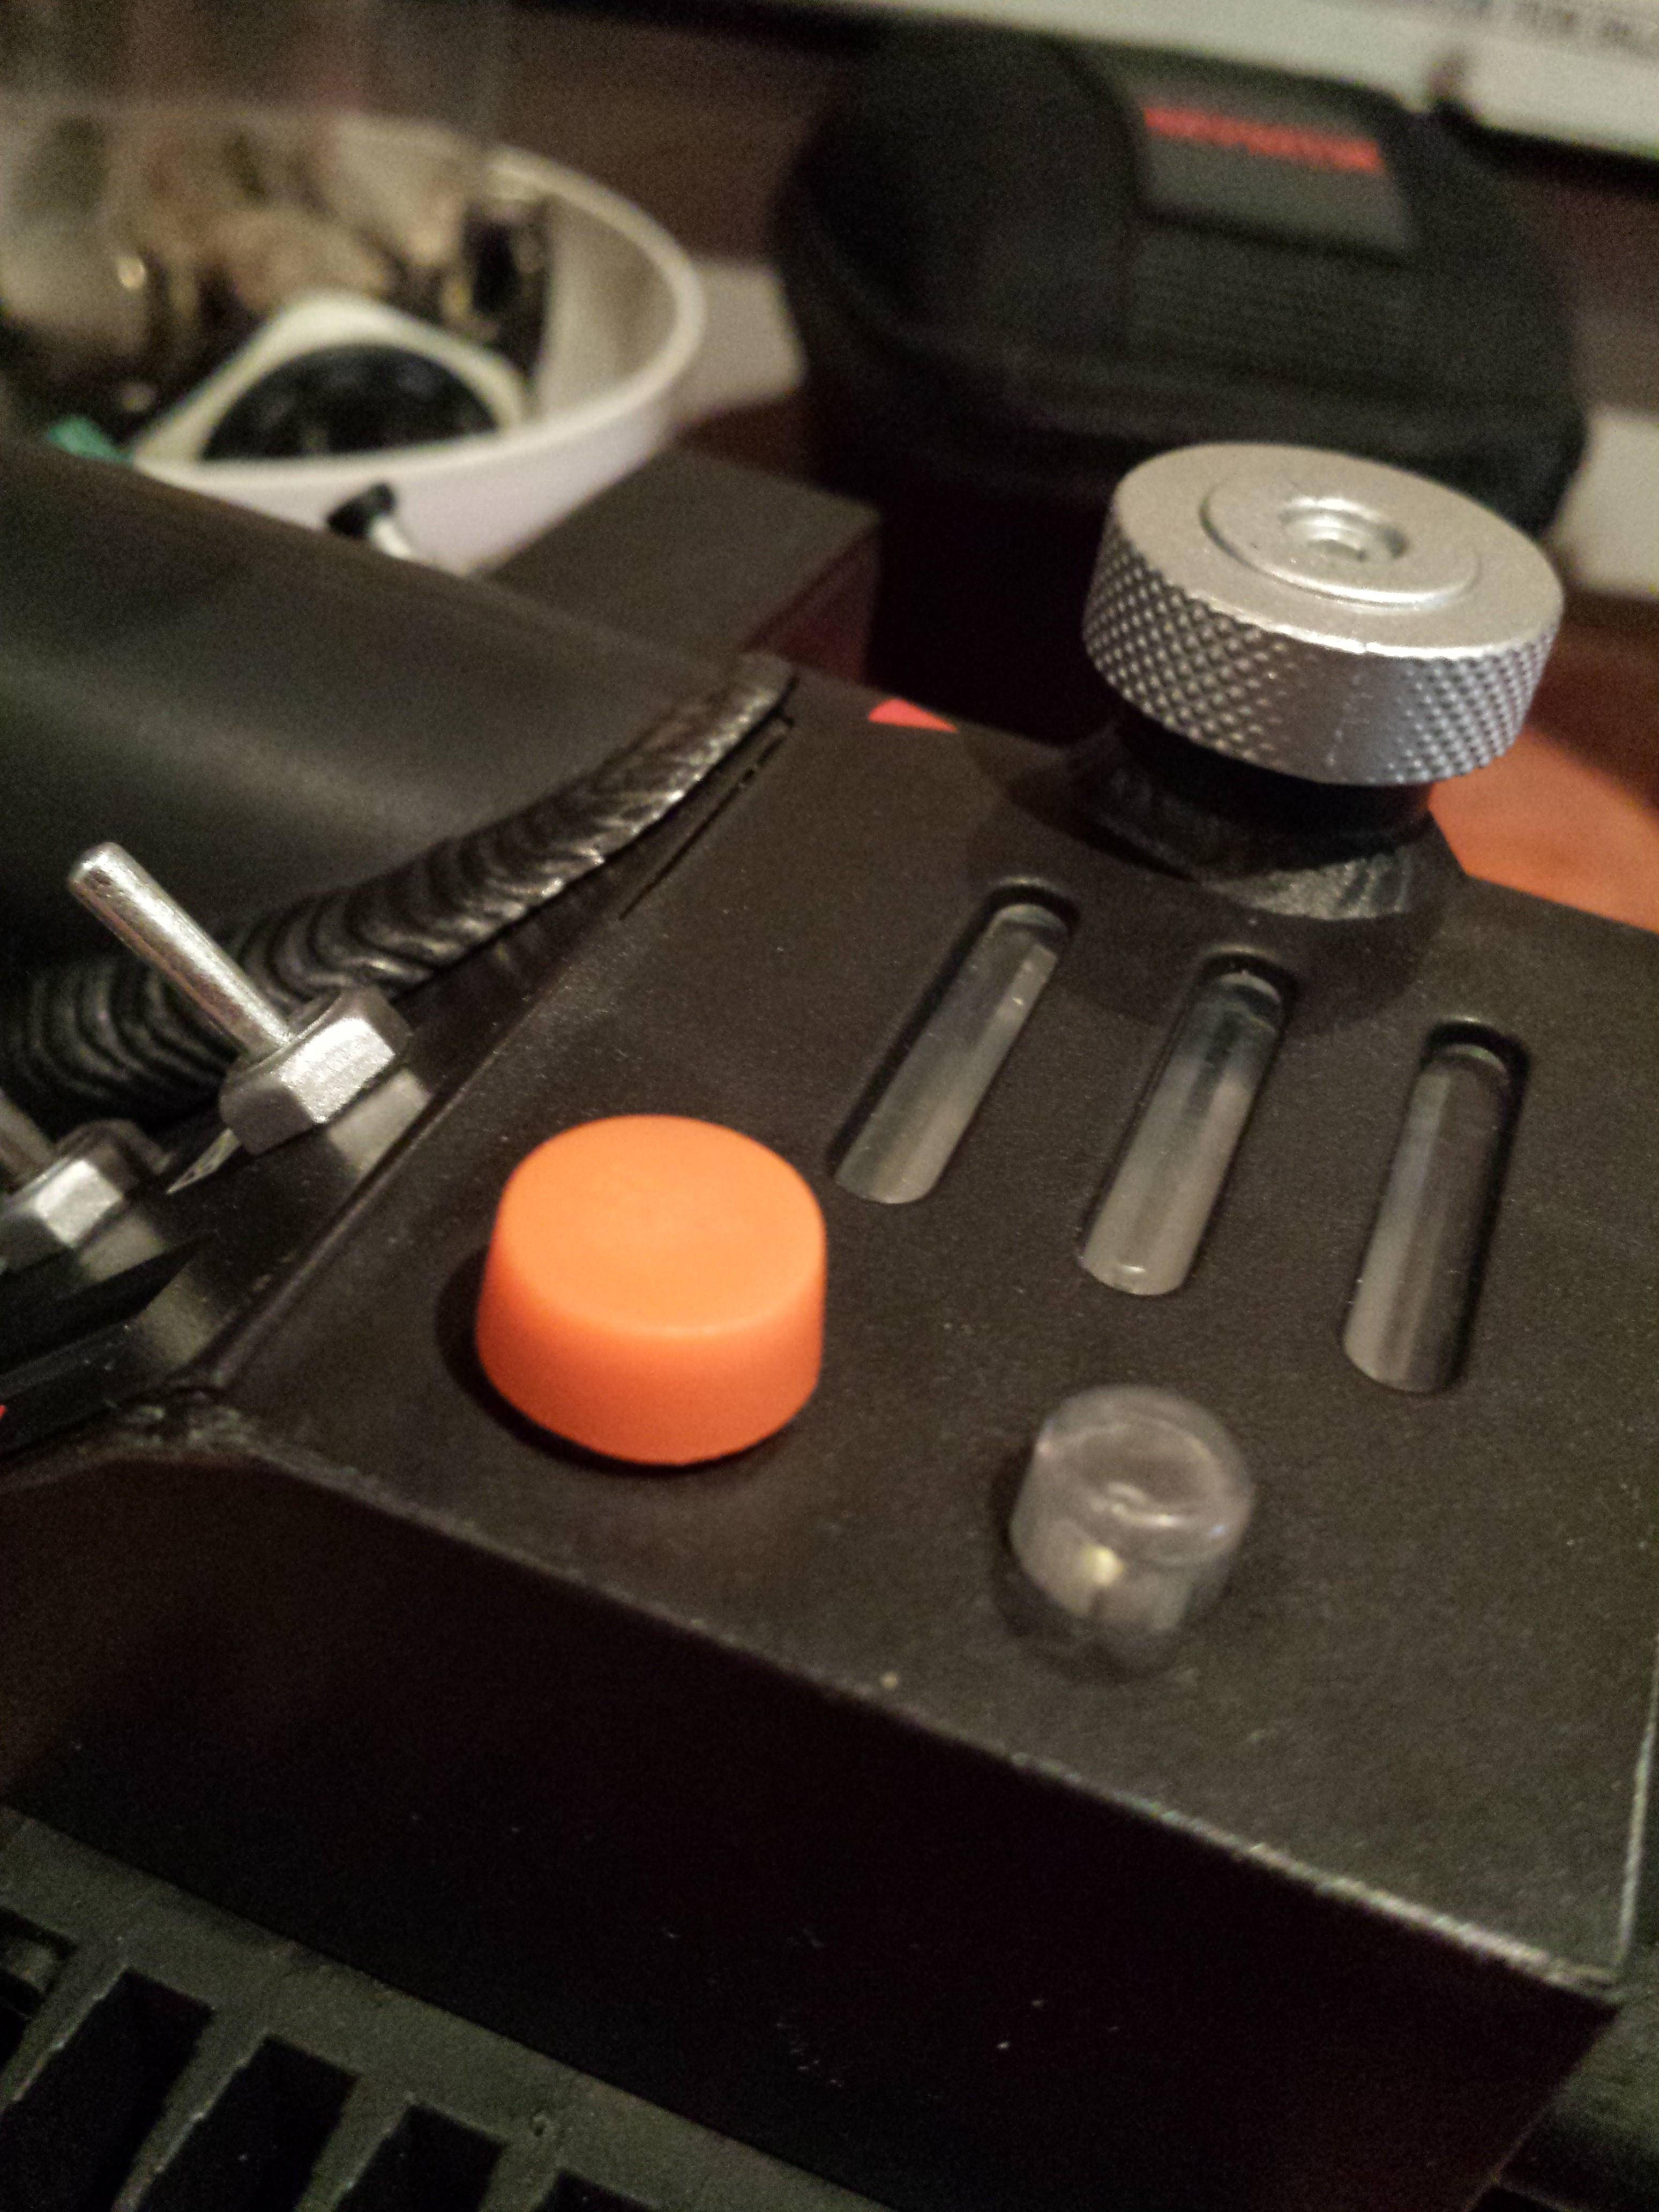
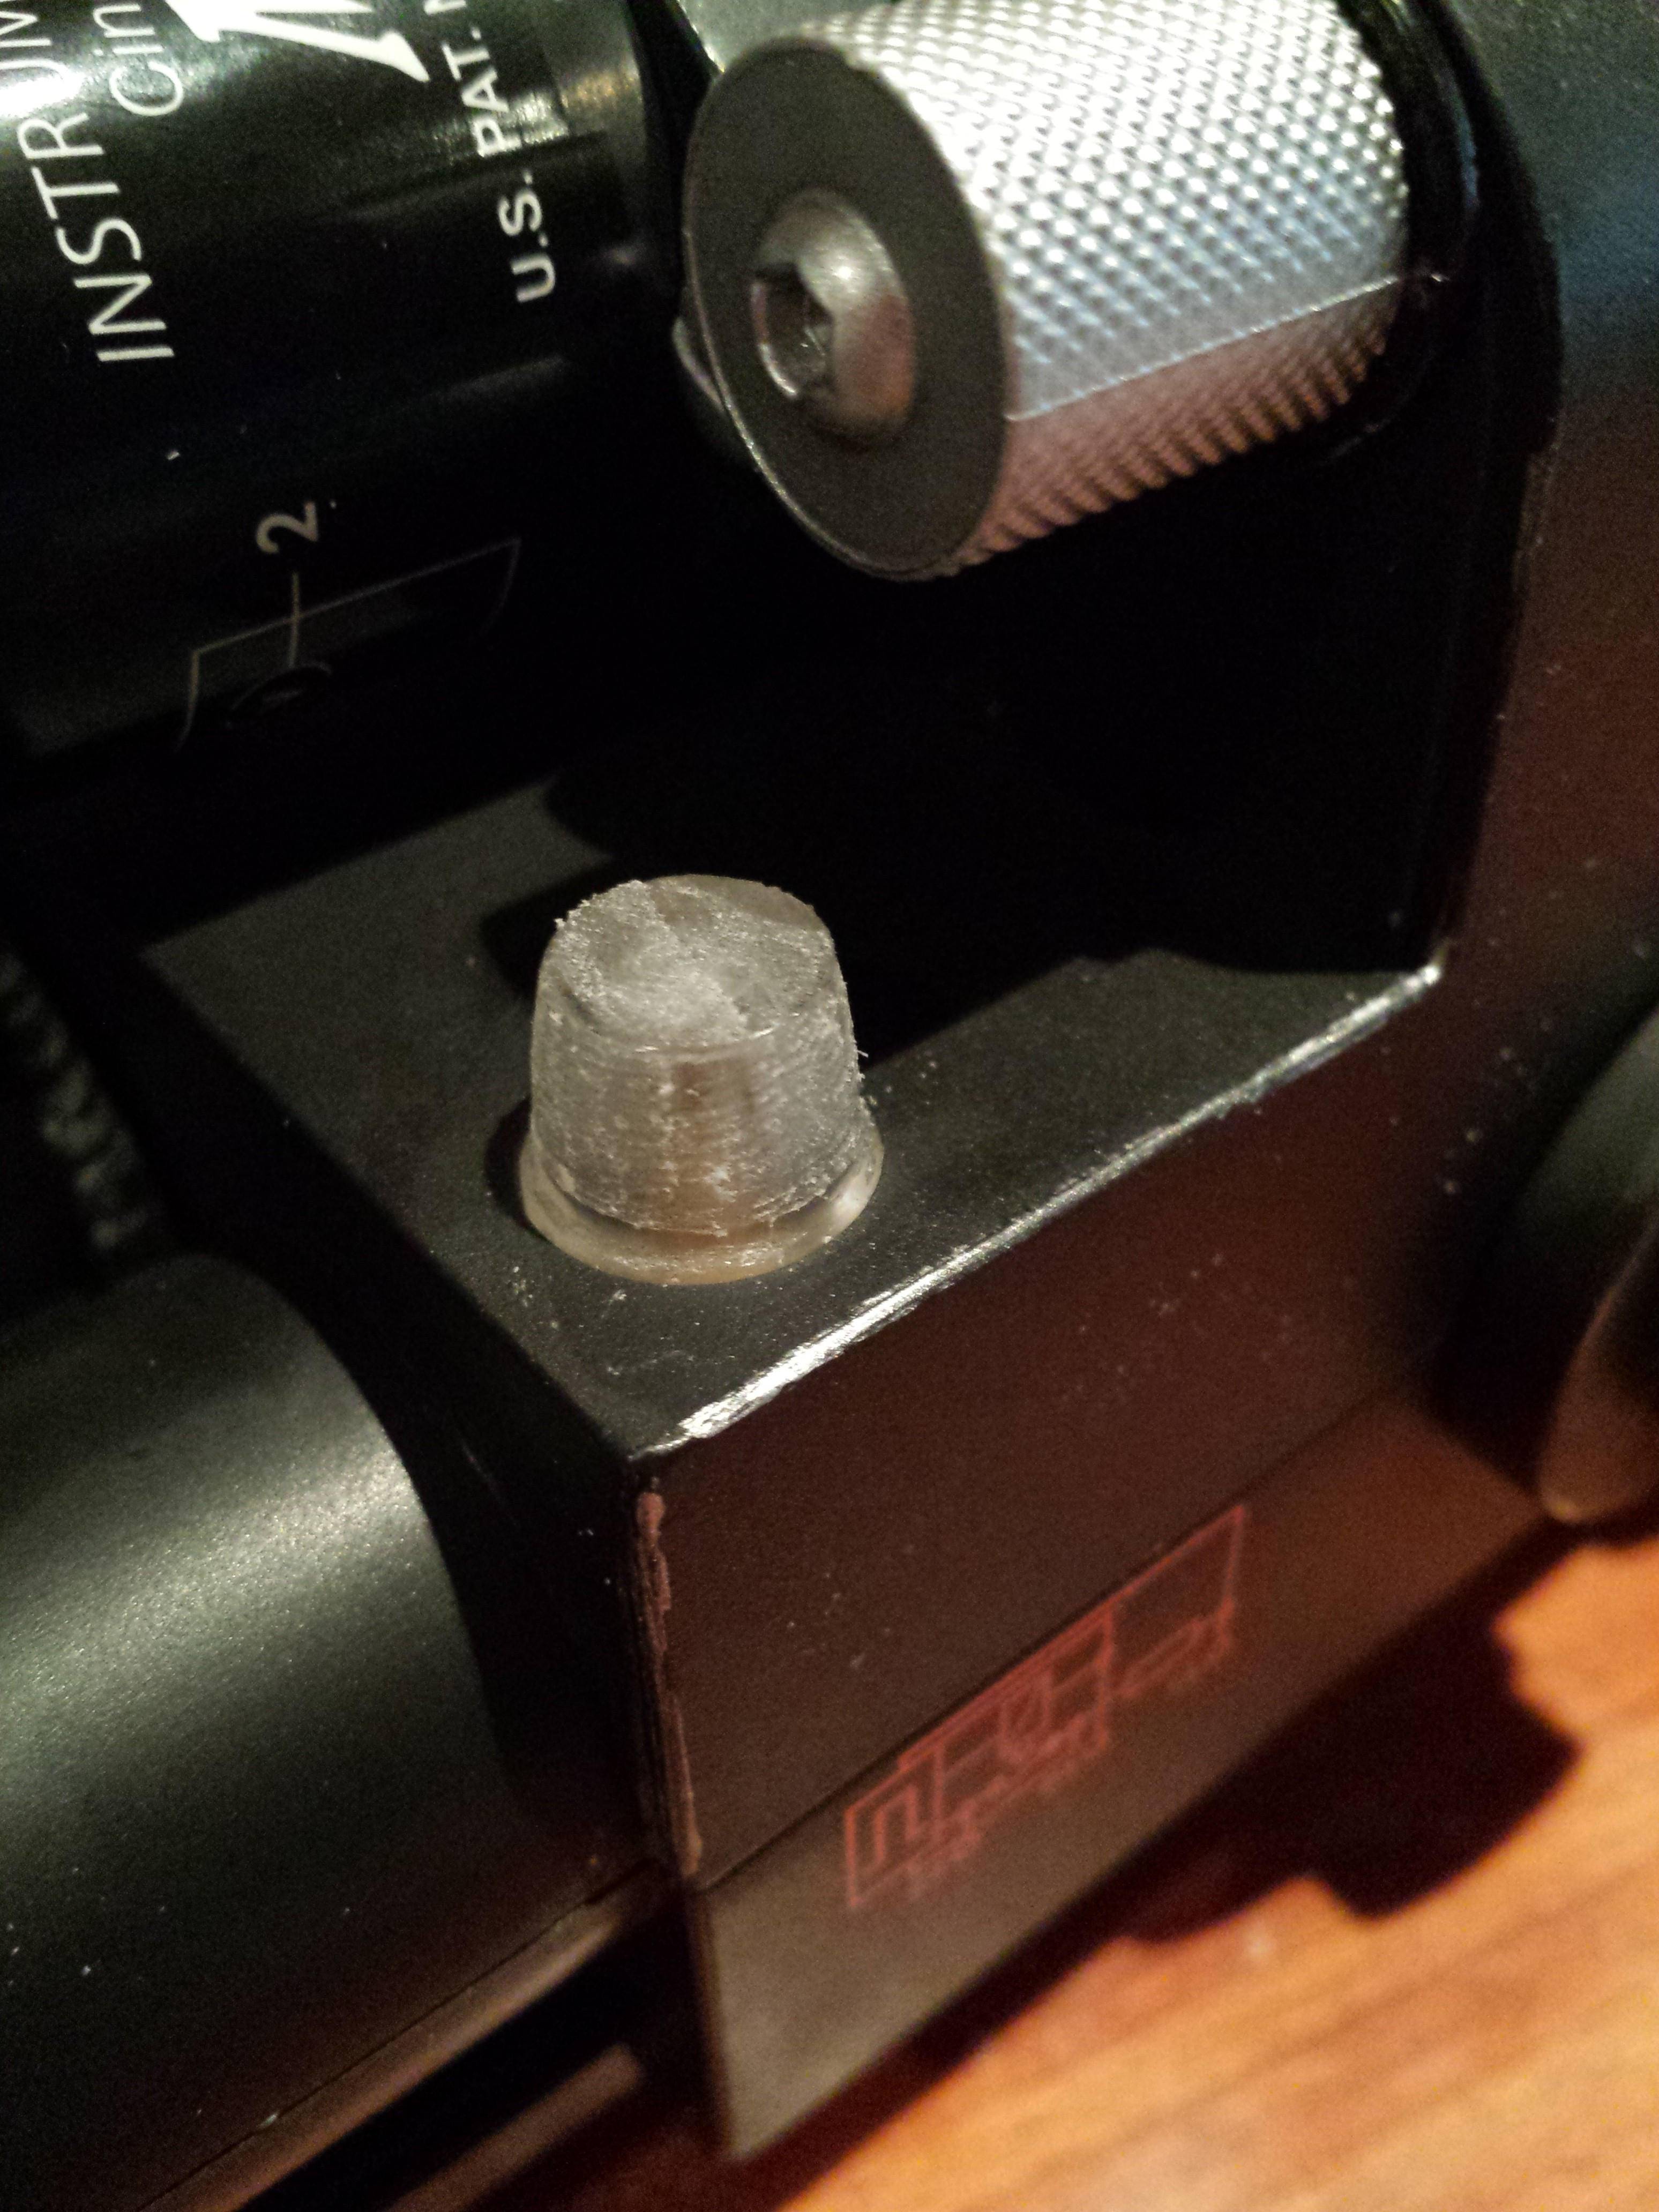
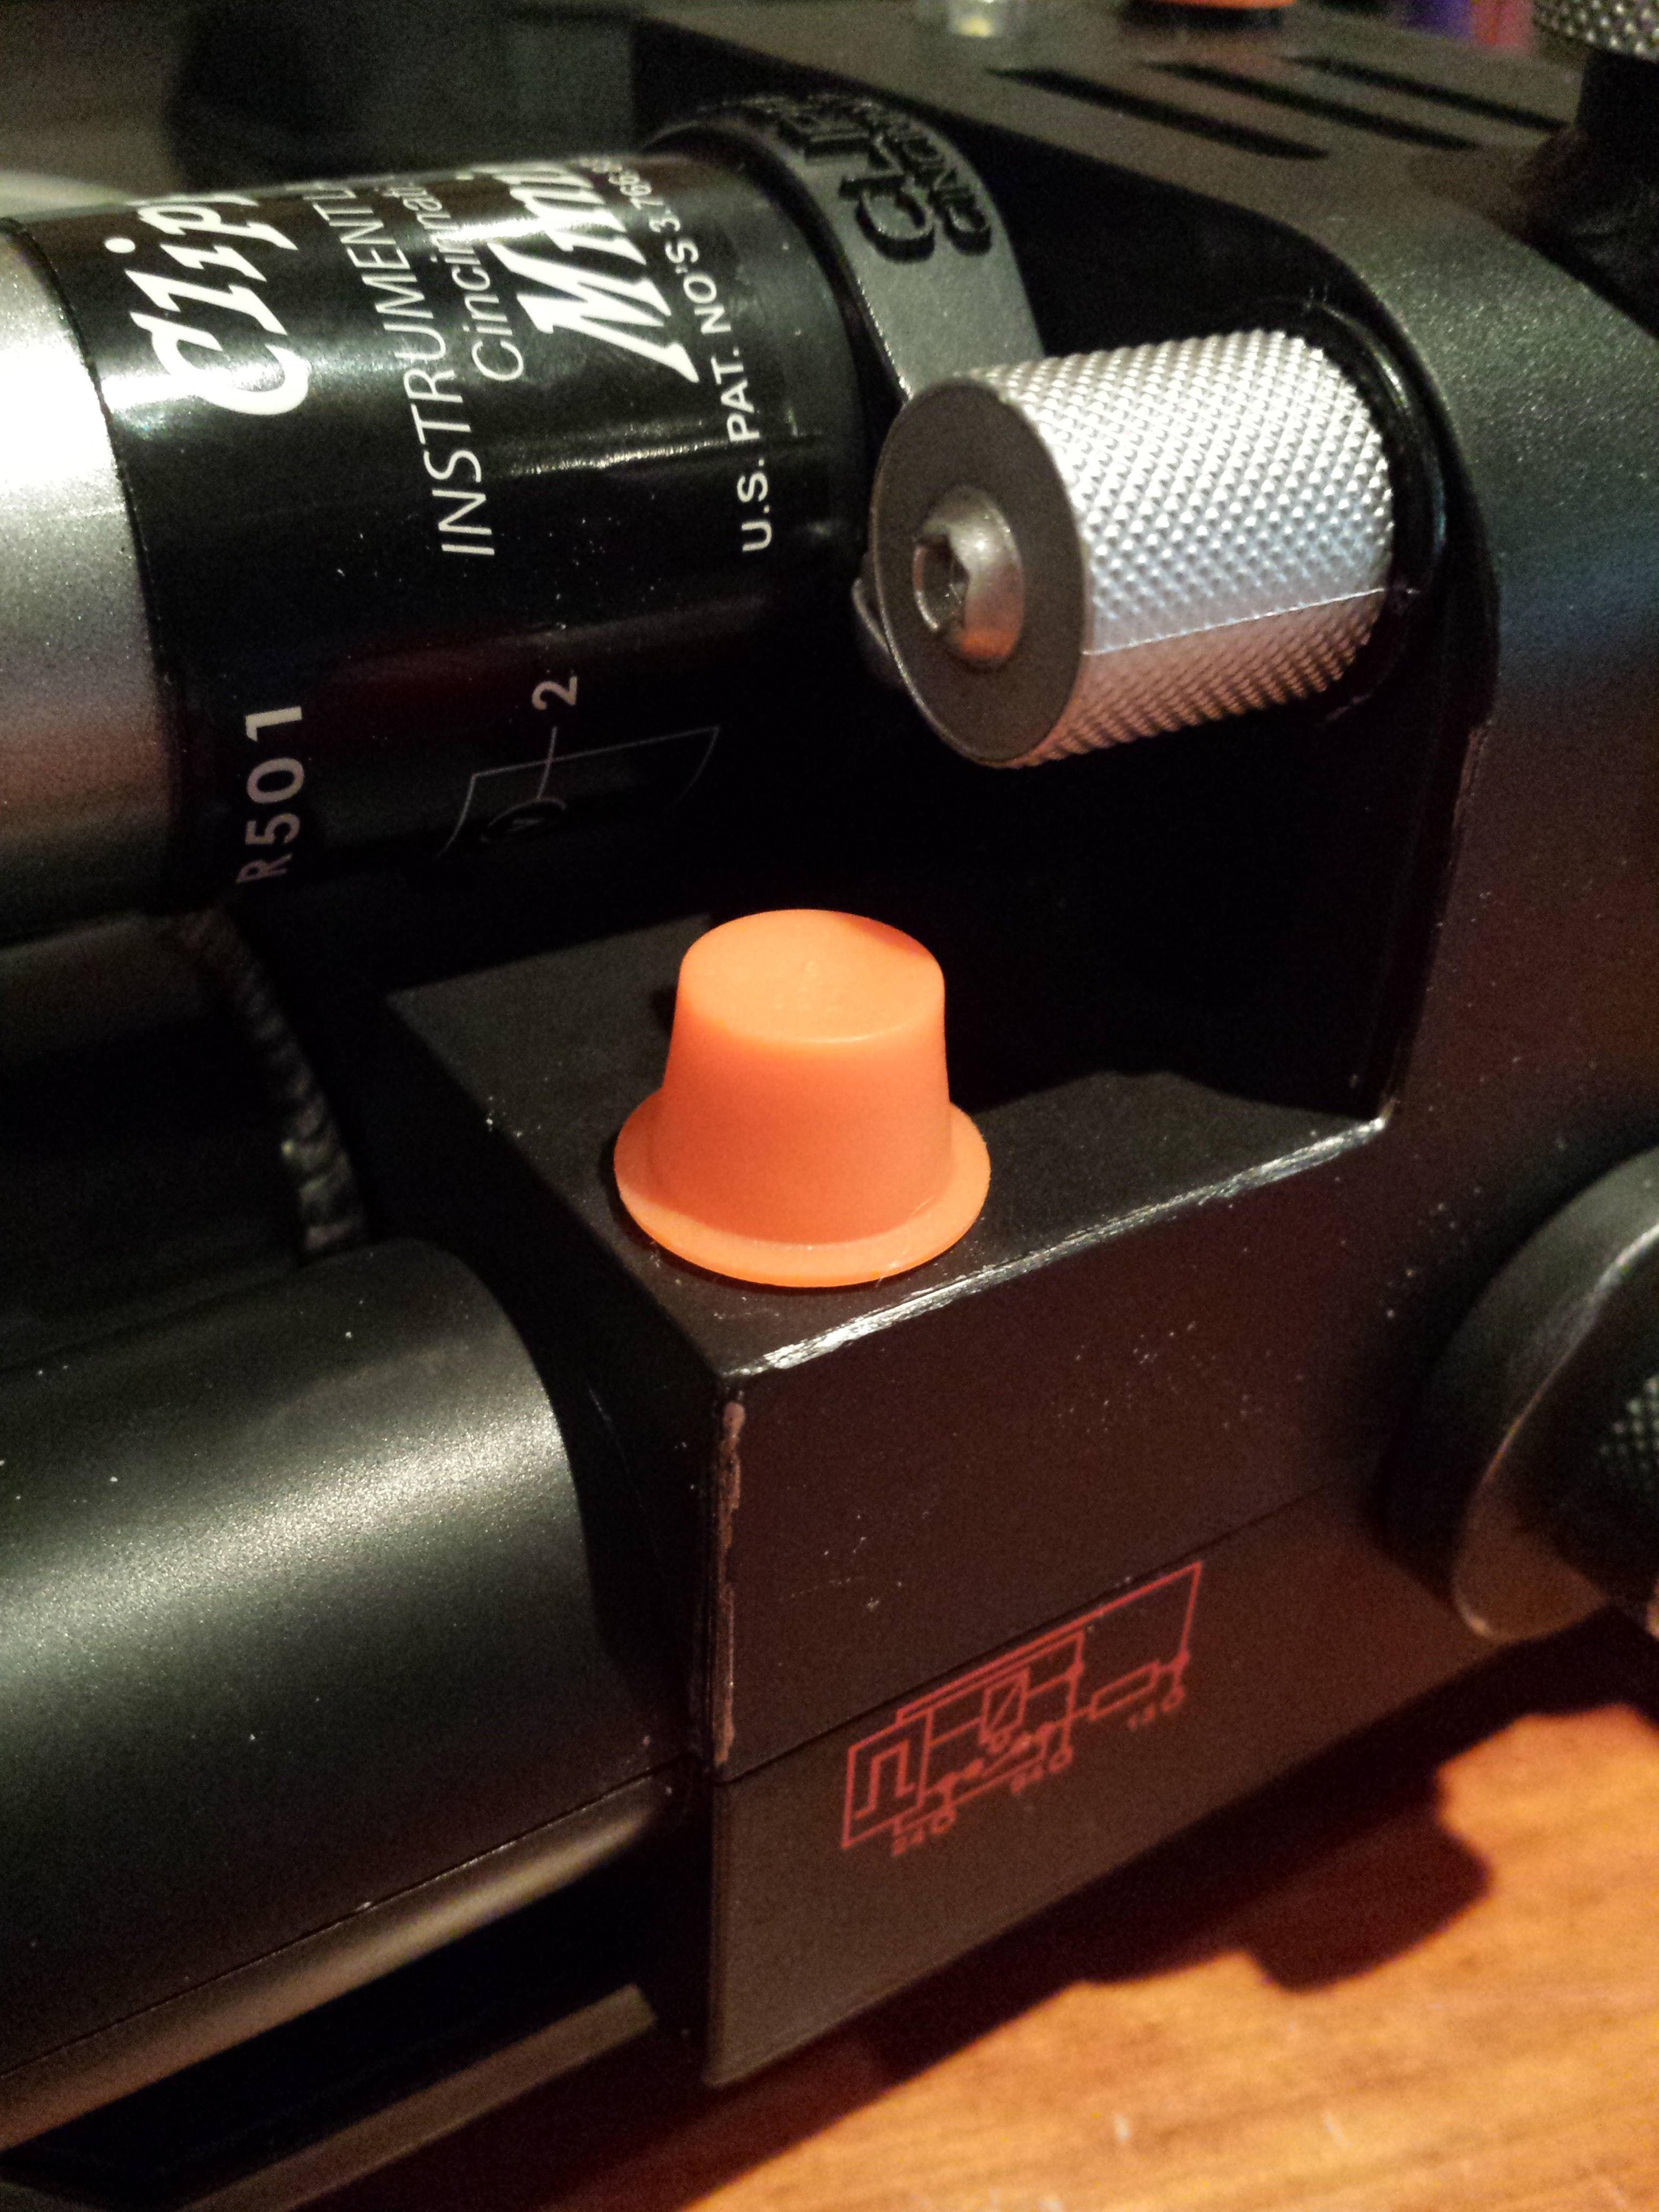
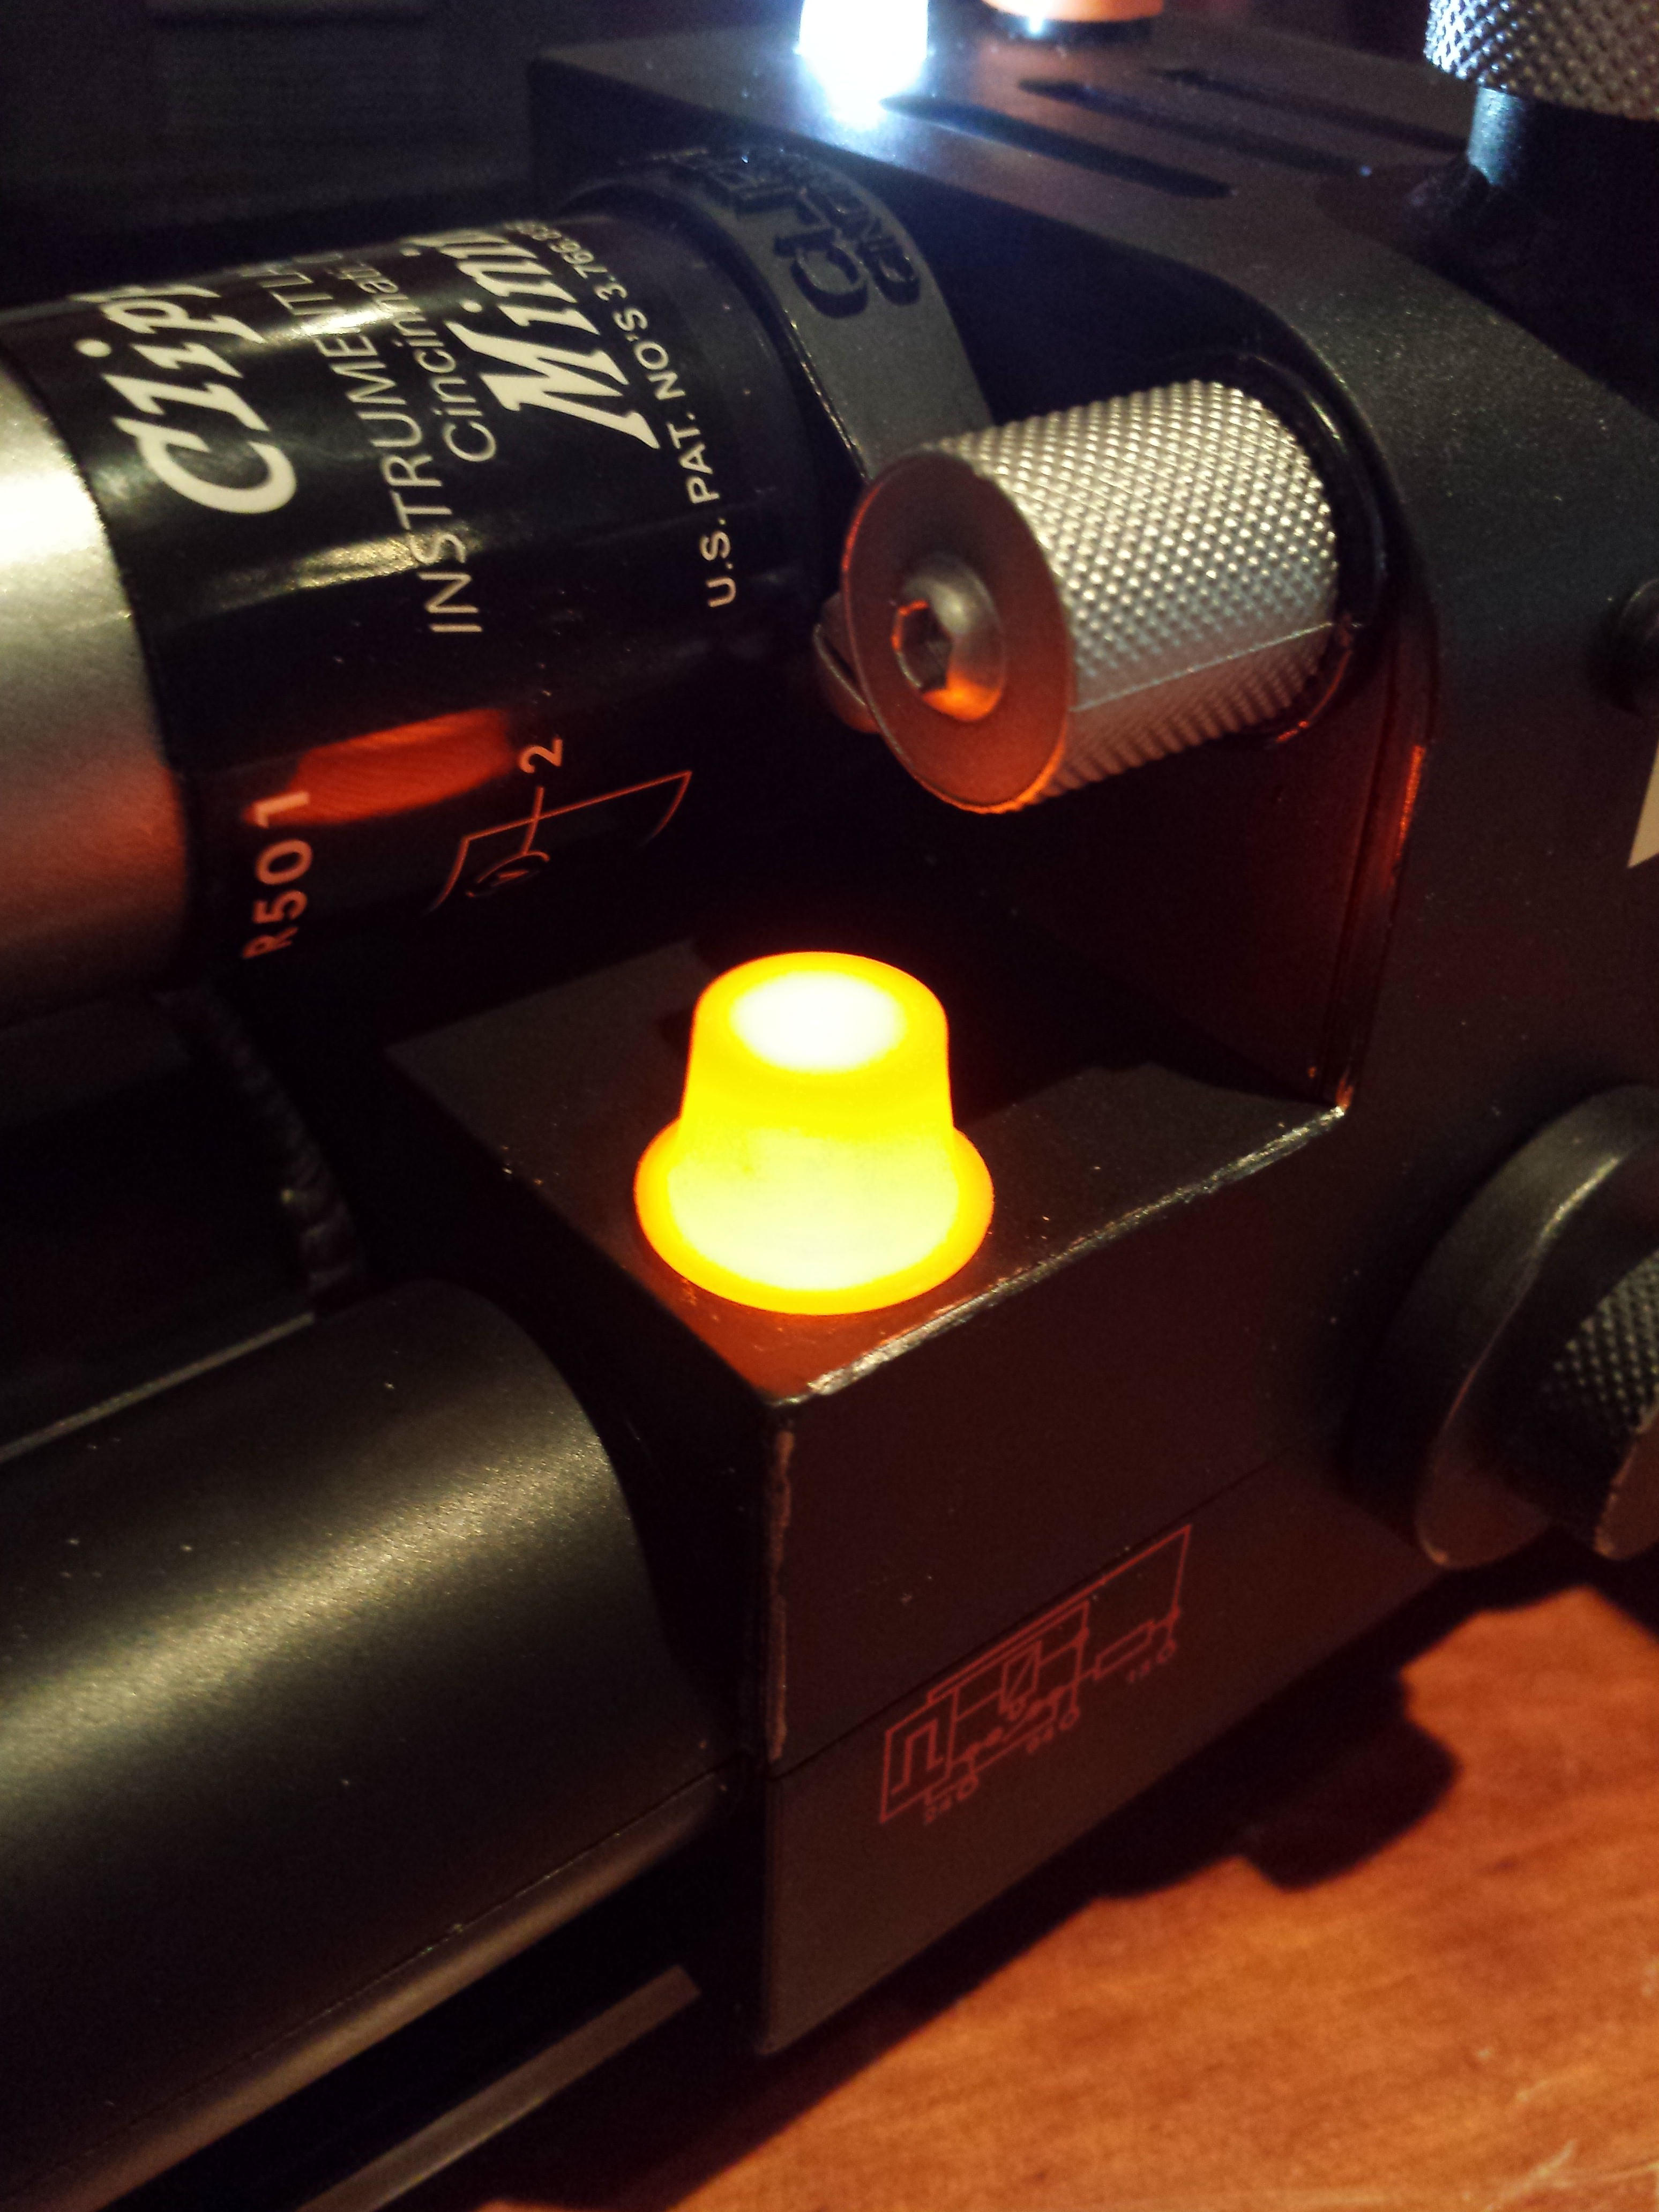
Changed the hat-light on the tip:
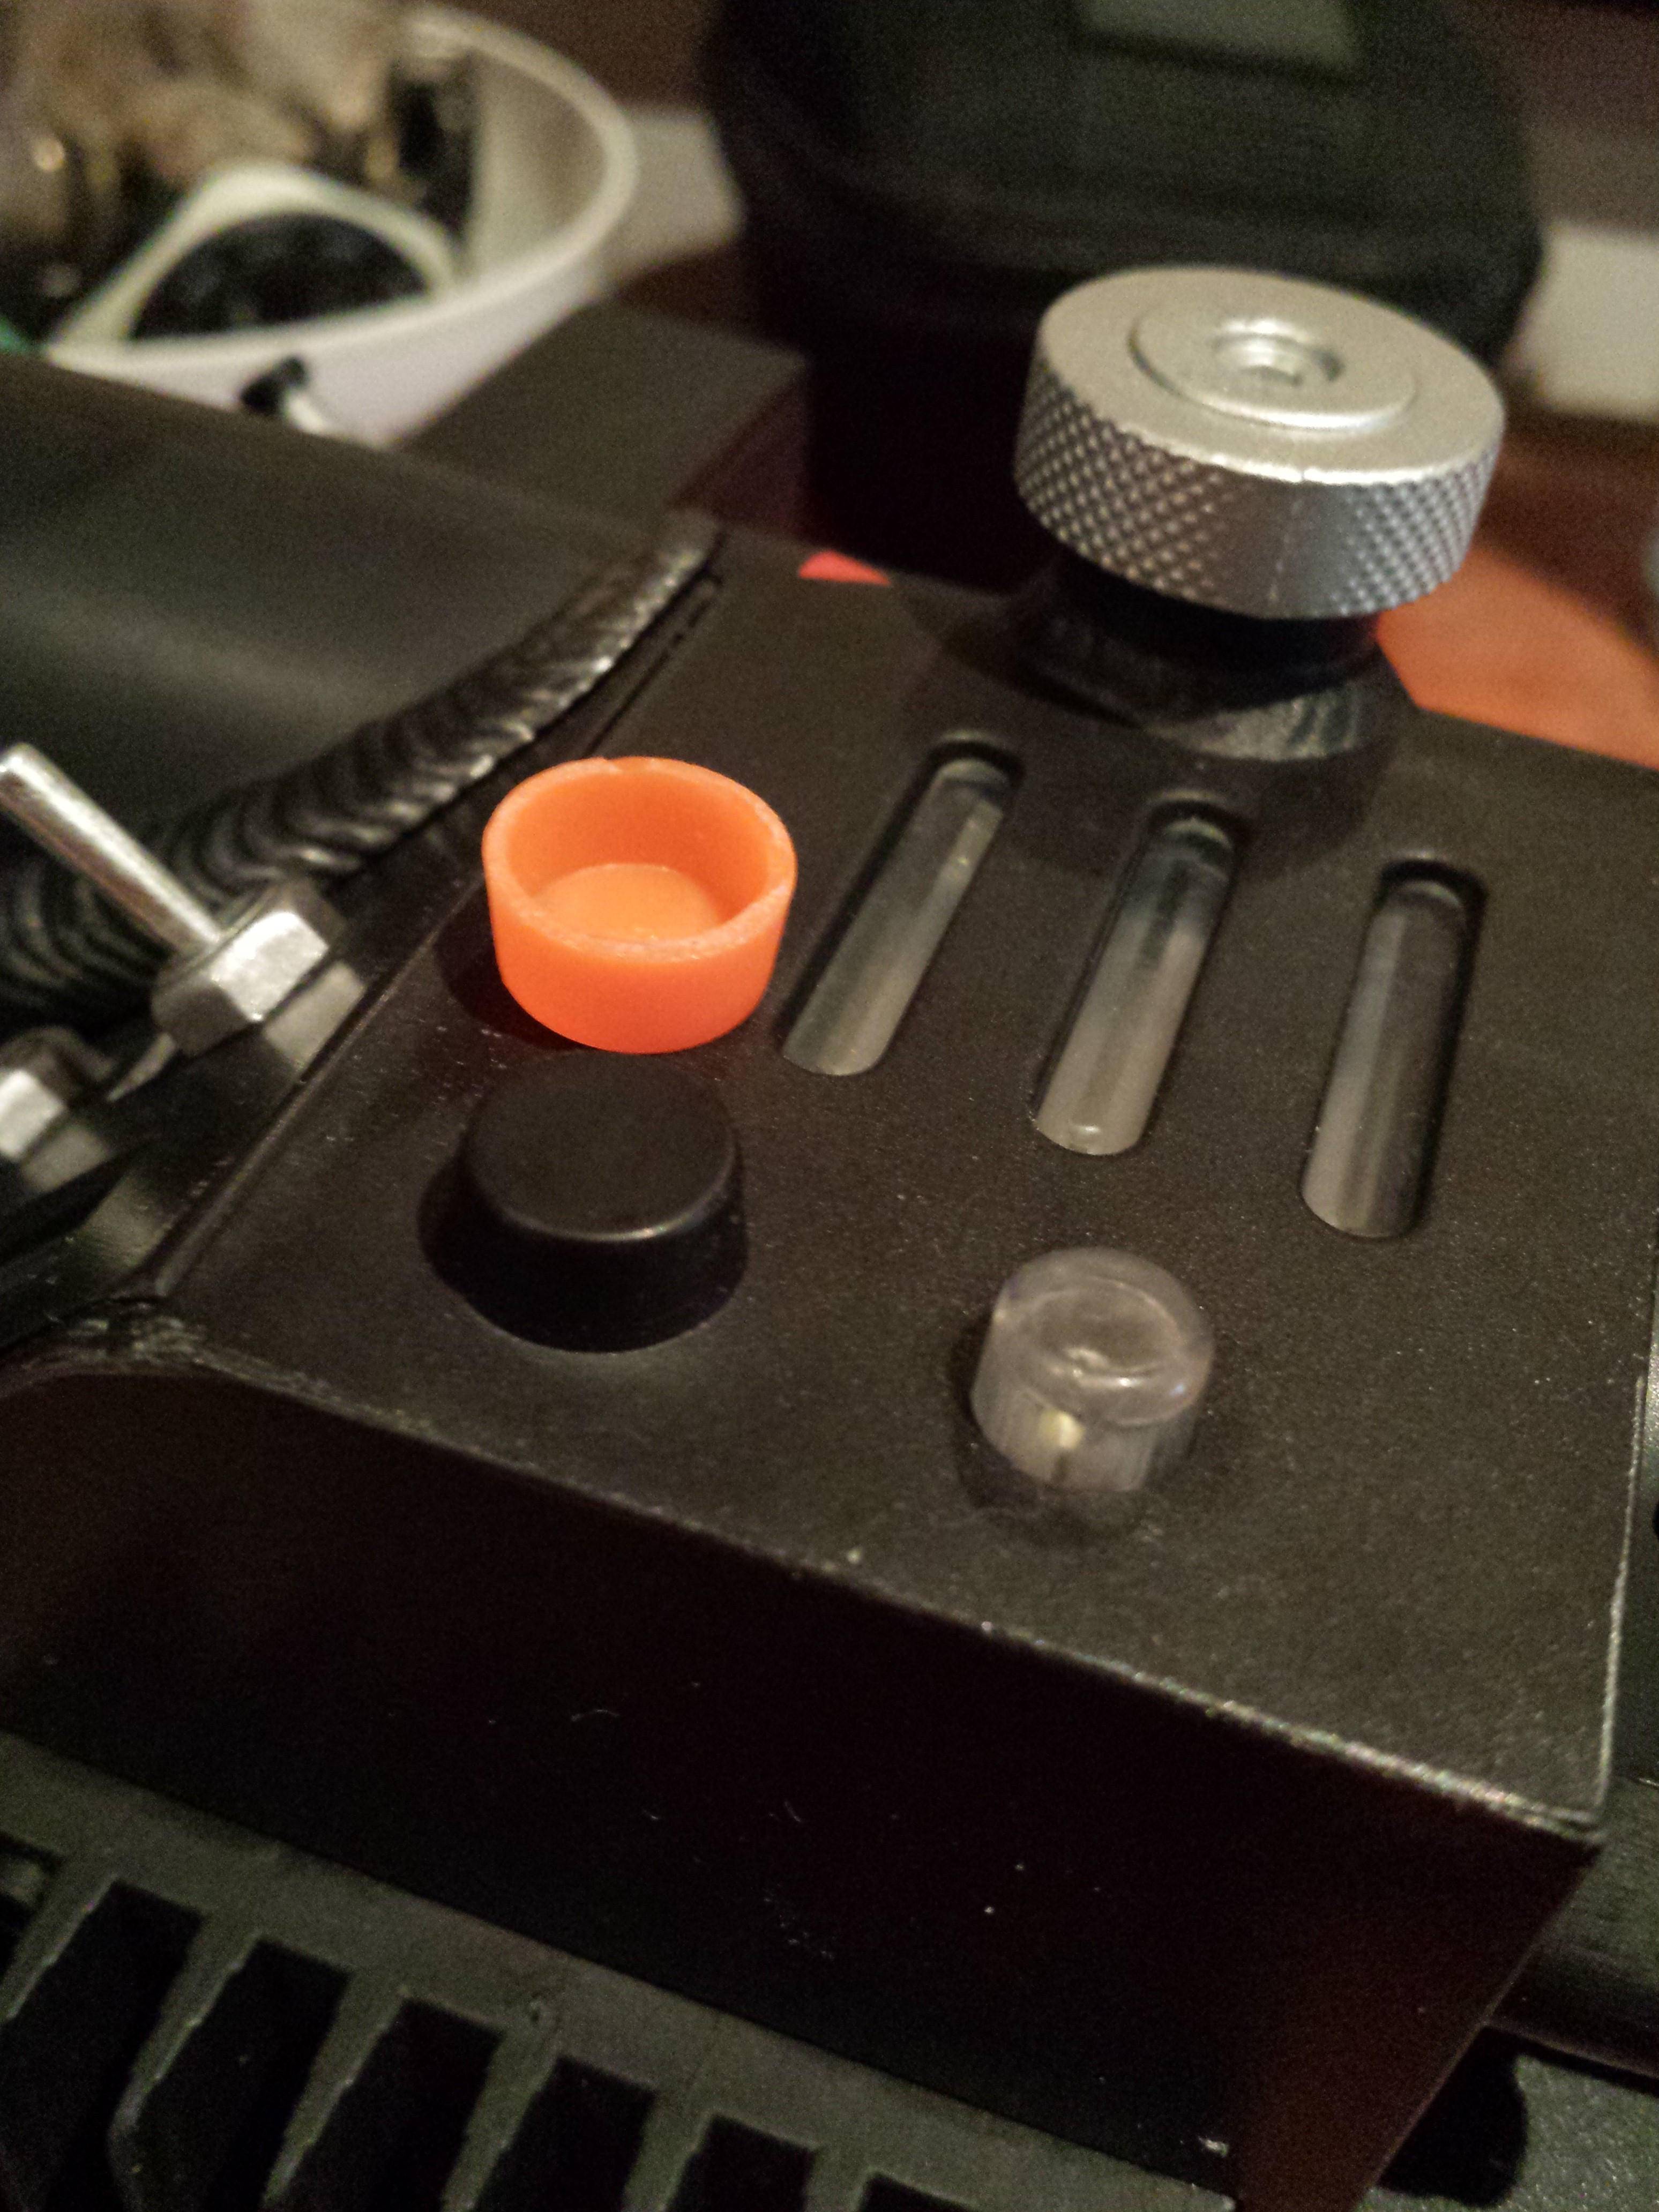
Worked out the sizing for the white hat-lights when they arrive:
Only small changes so far, but makes a big difference me thinks.
I have an idea for a mod but thought I’d see what others thought of it also. How do yous think it would look adding some of that black plasti dip to the grips? Good idea or no?
Cool stuff. Back when the hoverboard was released. A guy over at therpf.com made “upgrade” kits that he sold. Anyways with his small changes it made a world of difference. That said I think the throwers are way more accurate then the hoverboards.
If you just want to change the look of the grips and make then shinier, why not just add some much easier to use clear coat?
Without having a Matty thrower, I’d say be aware of the front grip Cross The Streams transmitter as well as the screw holes, in case you ever need to remove them.
So this mite seem like a dumb question to most of yous but I was wondering where one could get hat lights?
Real hat lights are rare and spendy, reproduction hat lights used to be obtainable through the shop, but the covers used above are actually tattoo ink cups, if I’m not mistaken.
The ones I sell are real, and not reproductions. The plastic is just more modern.
The ones used above do appear to be something different like those oversized tattoo ink cups.
My bad, AJ 
Thanks for the info guys.