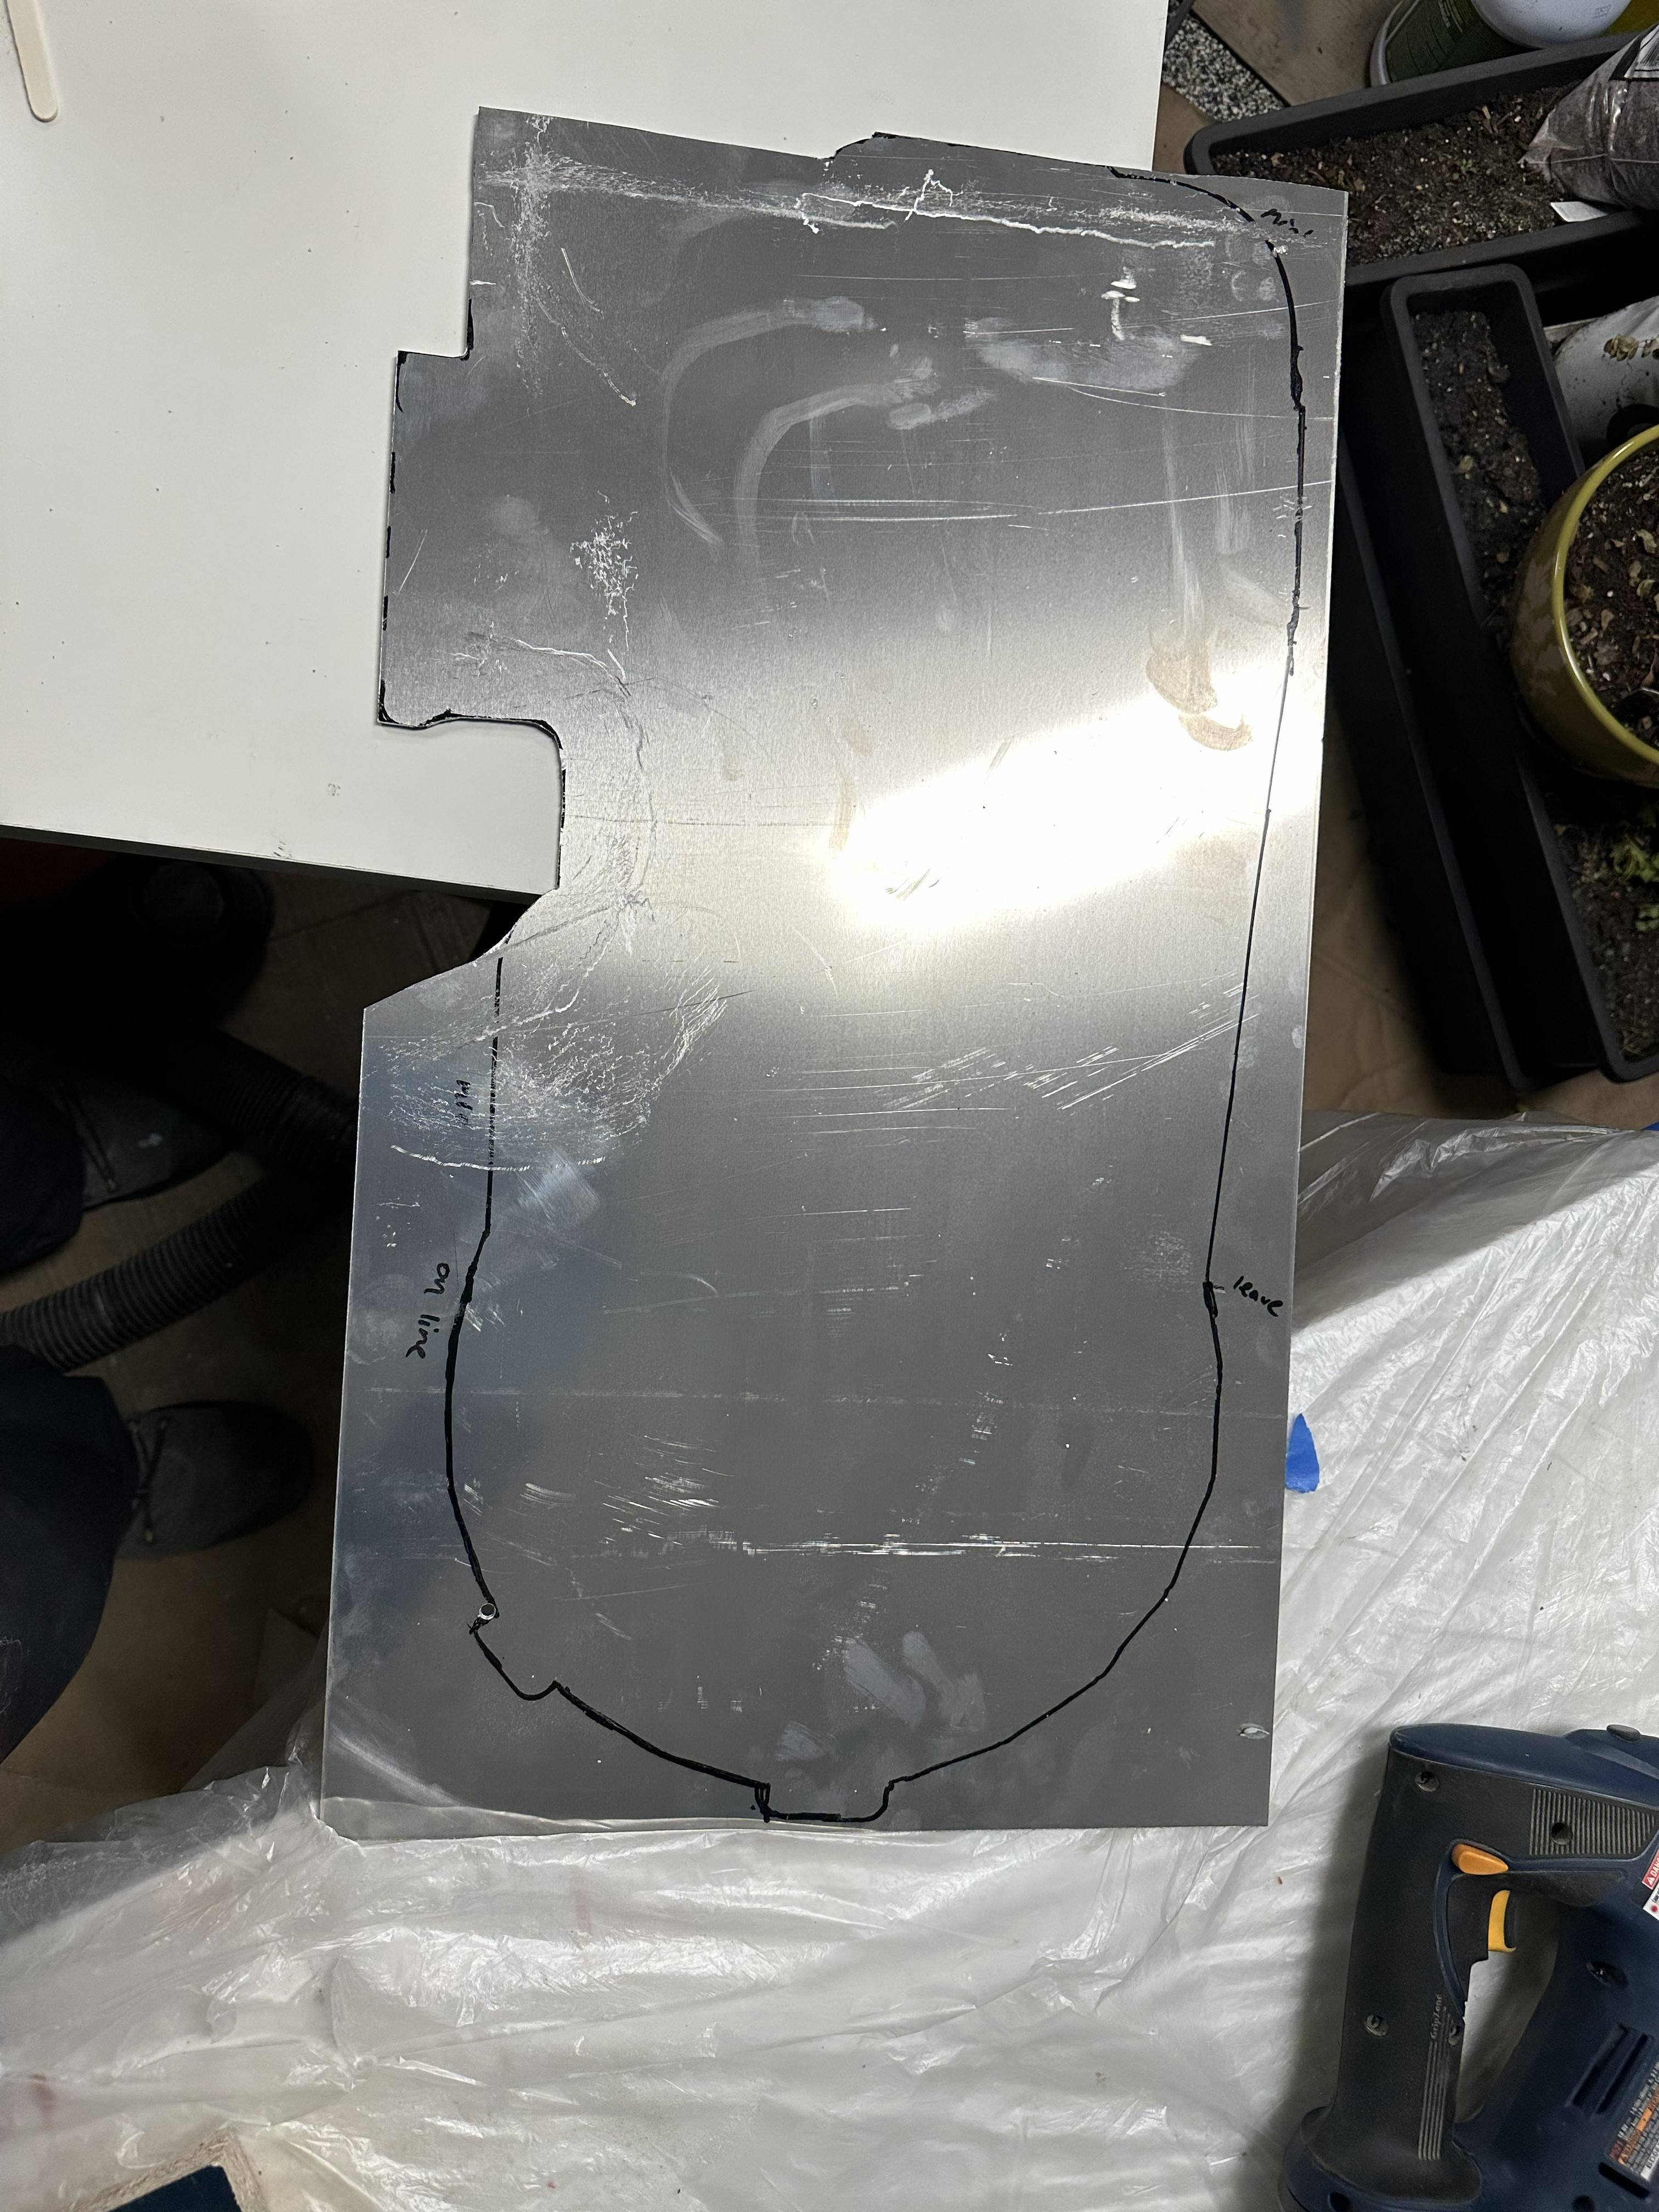
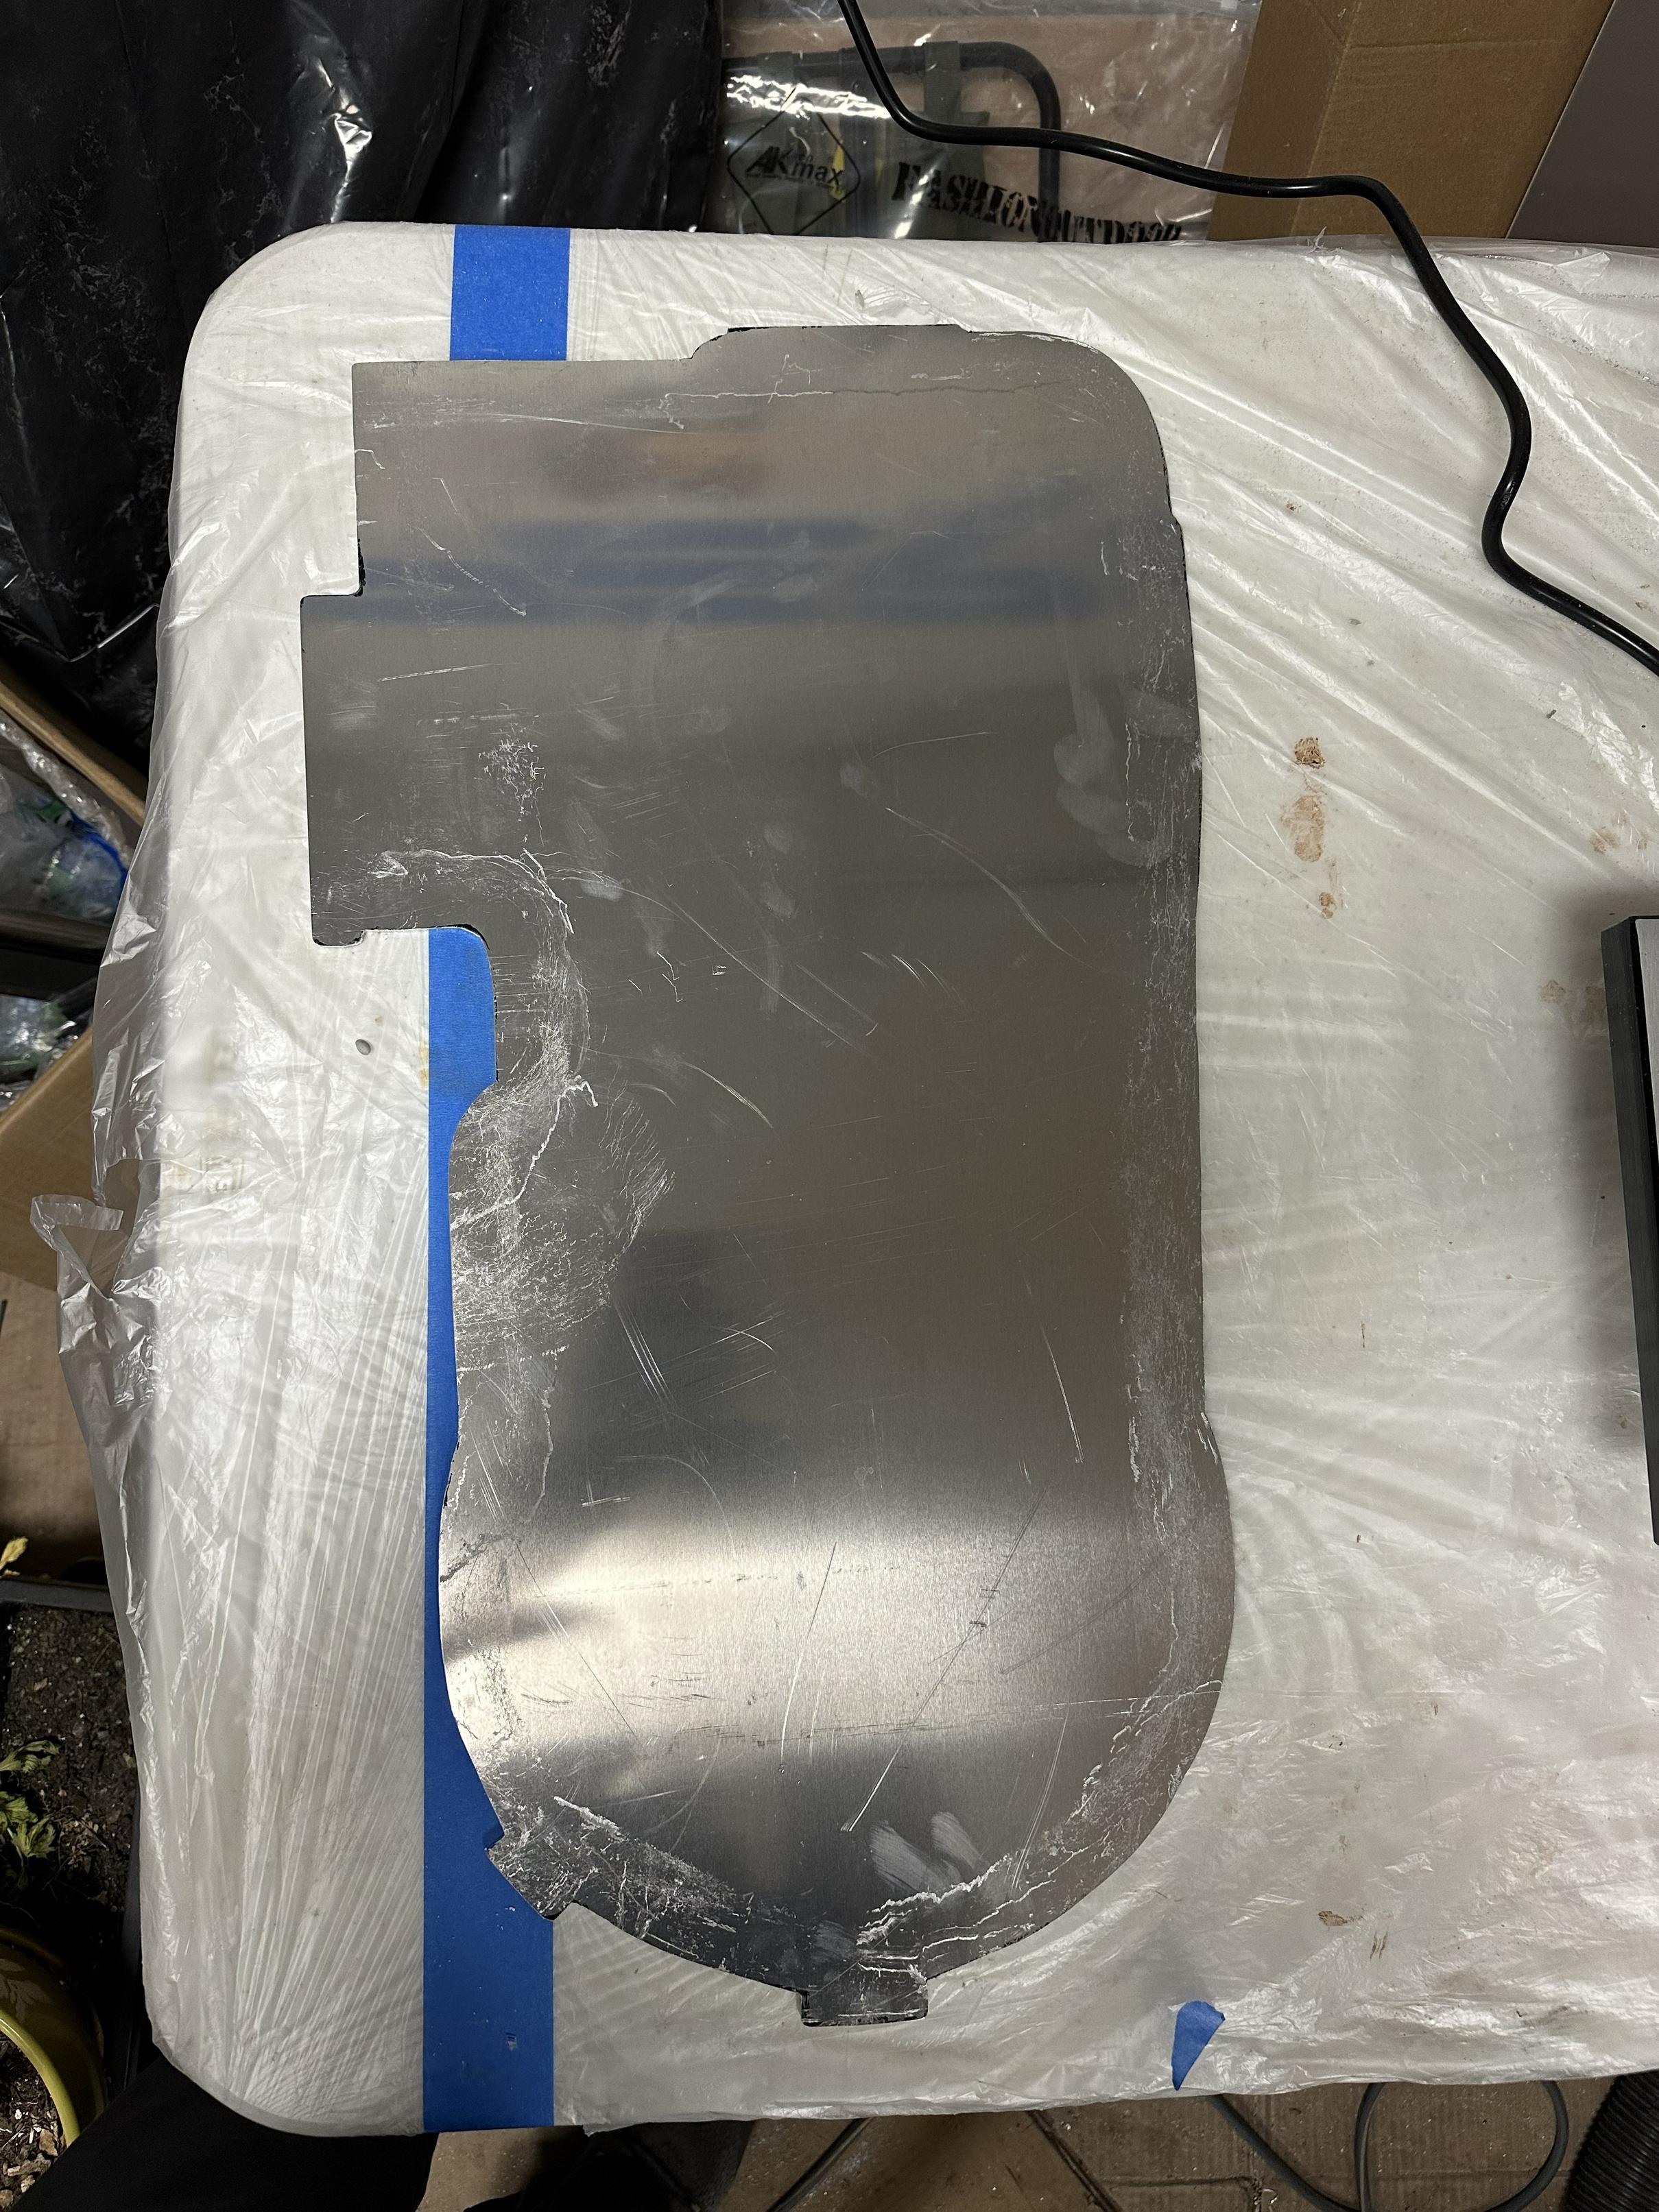
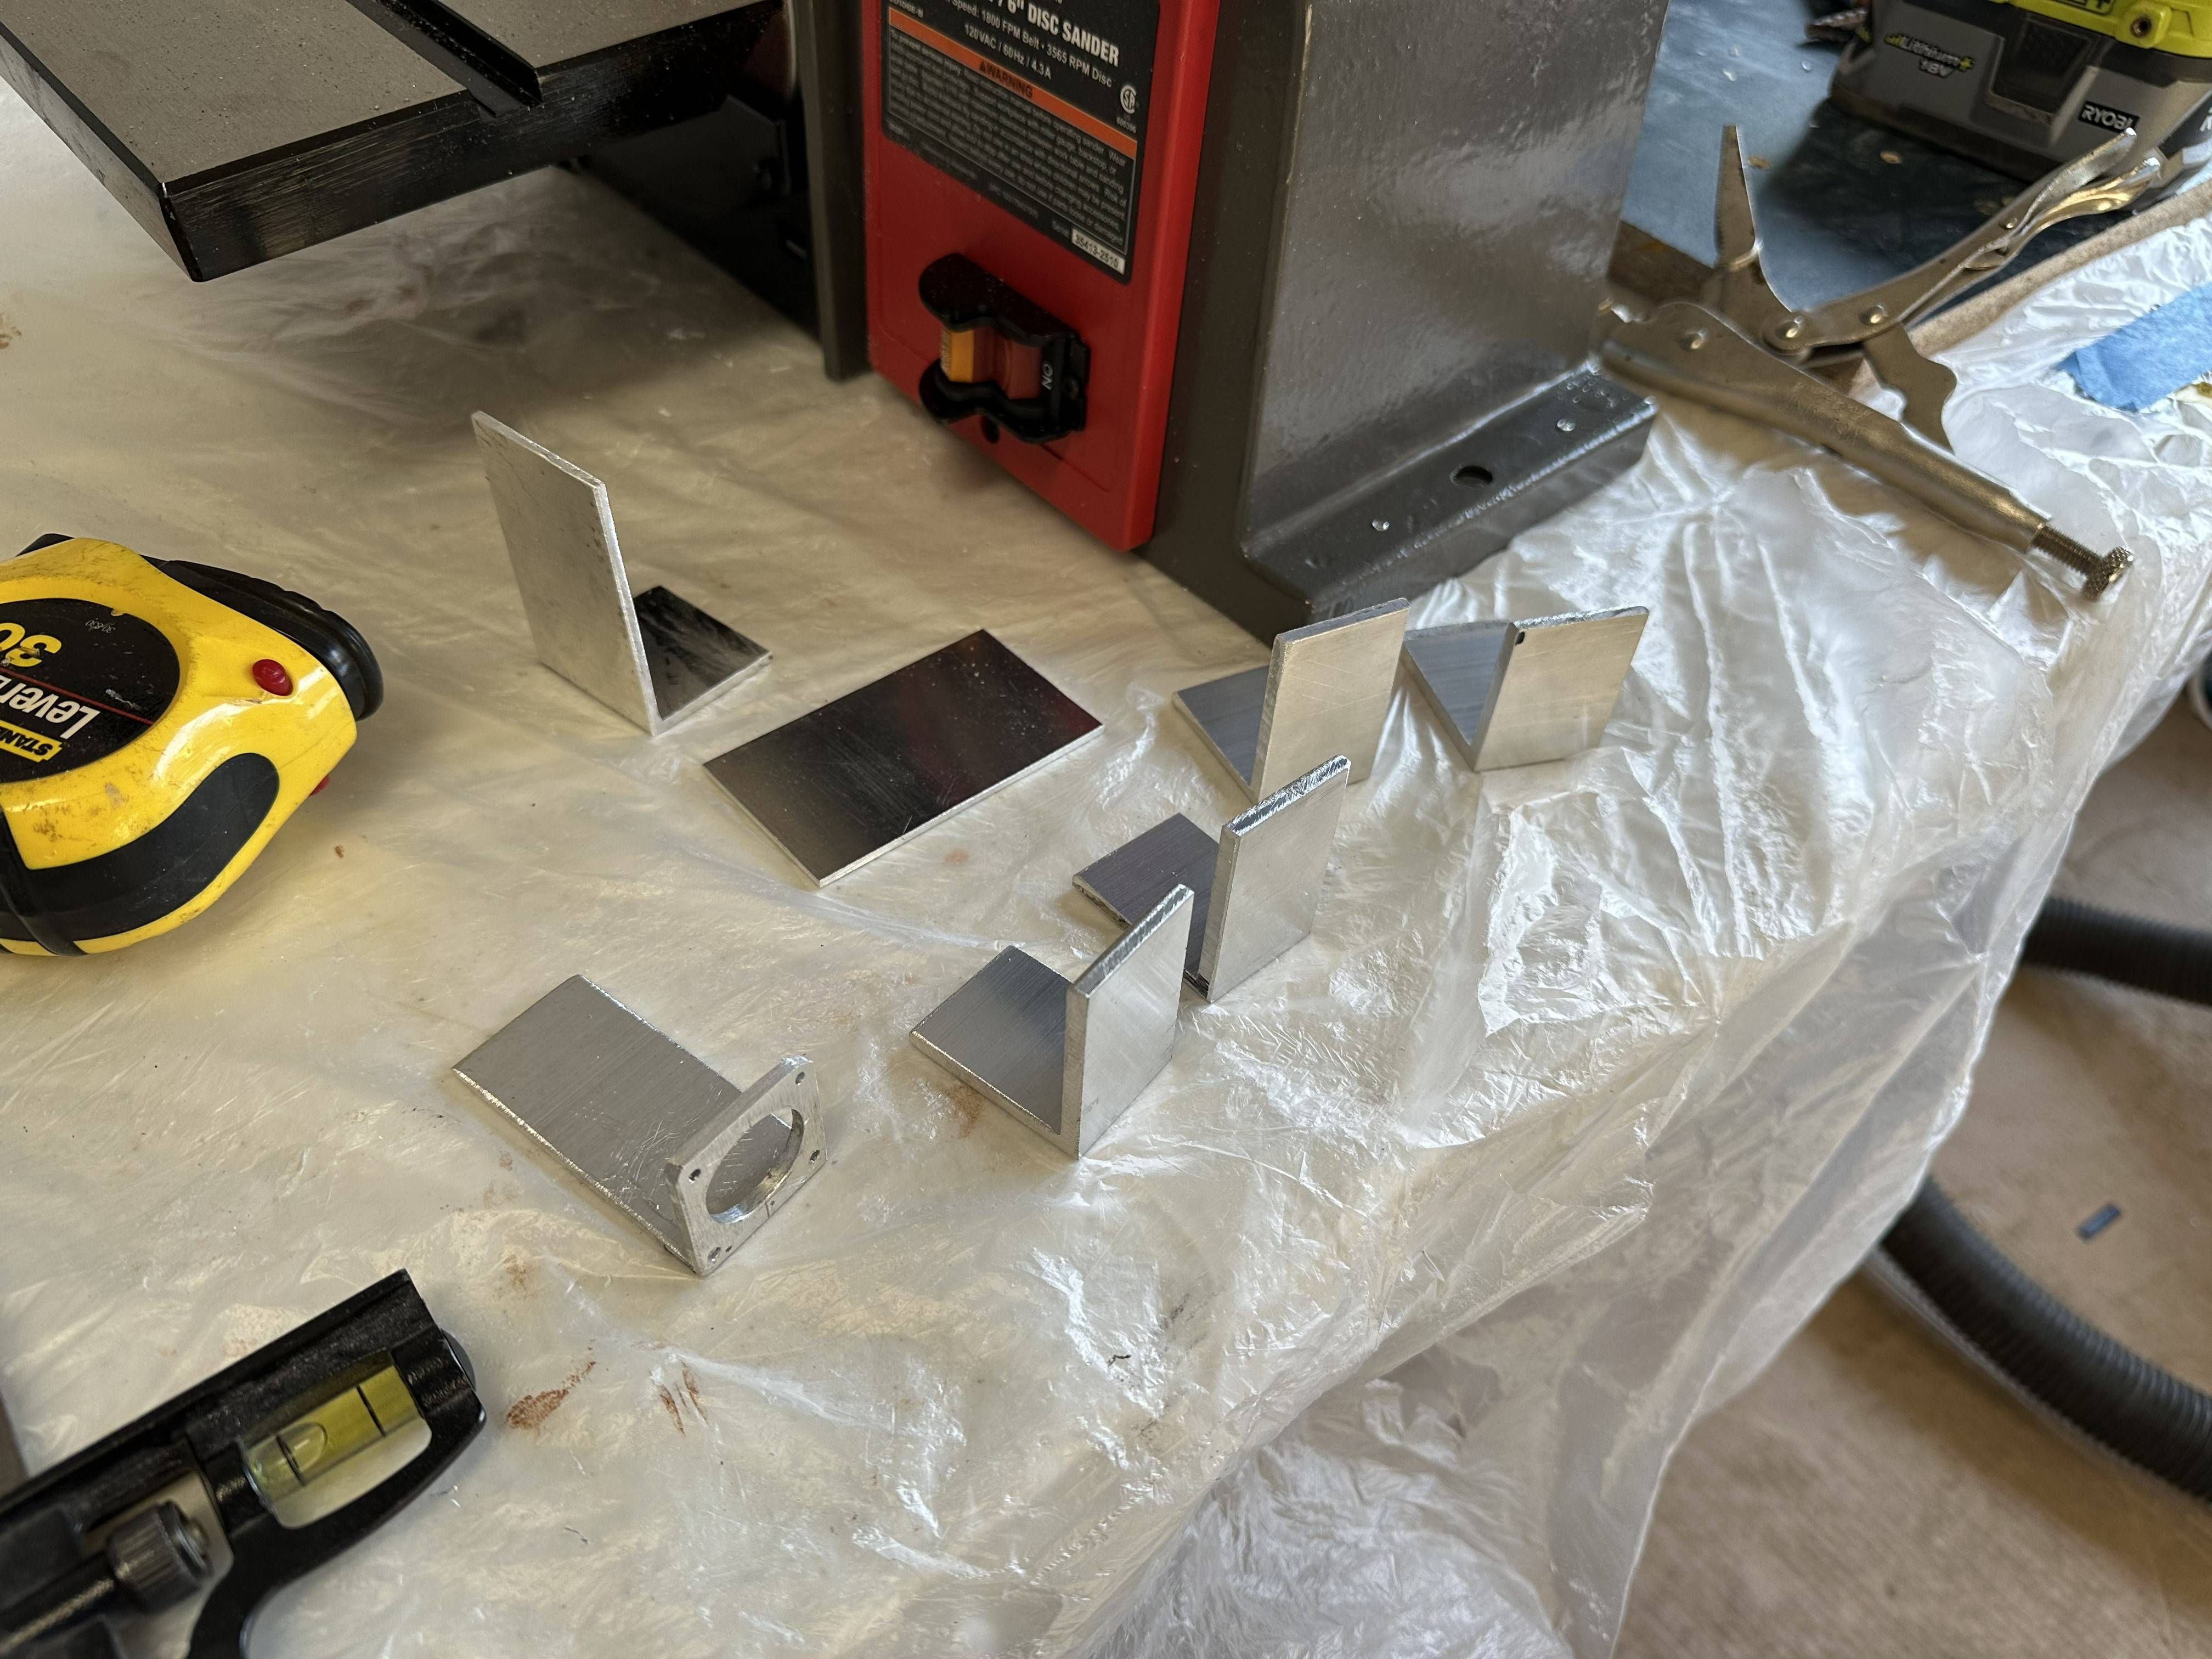
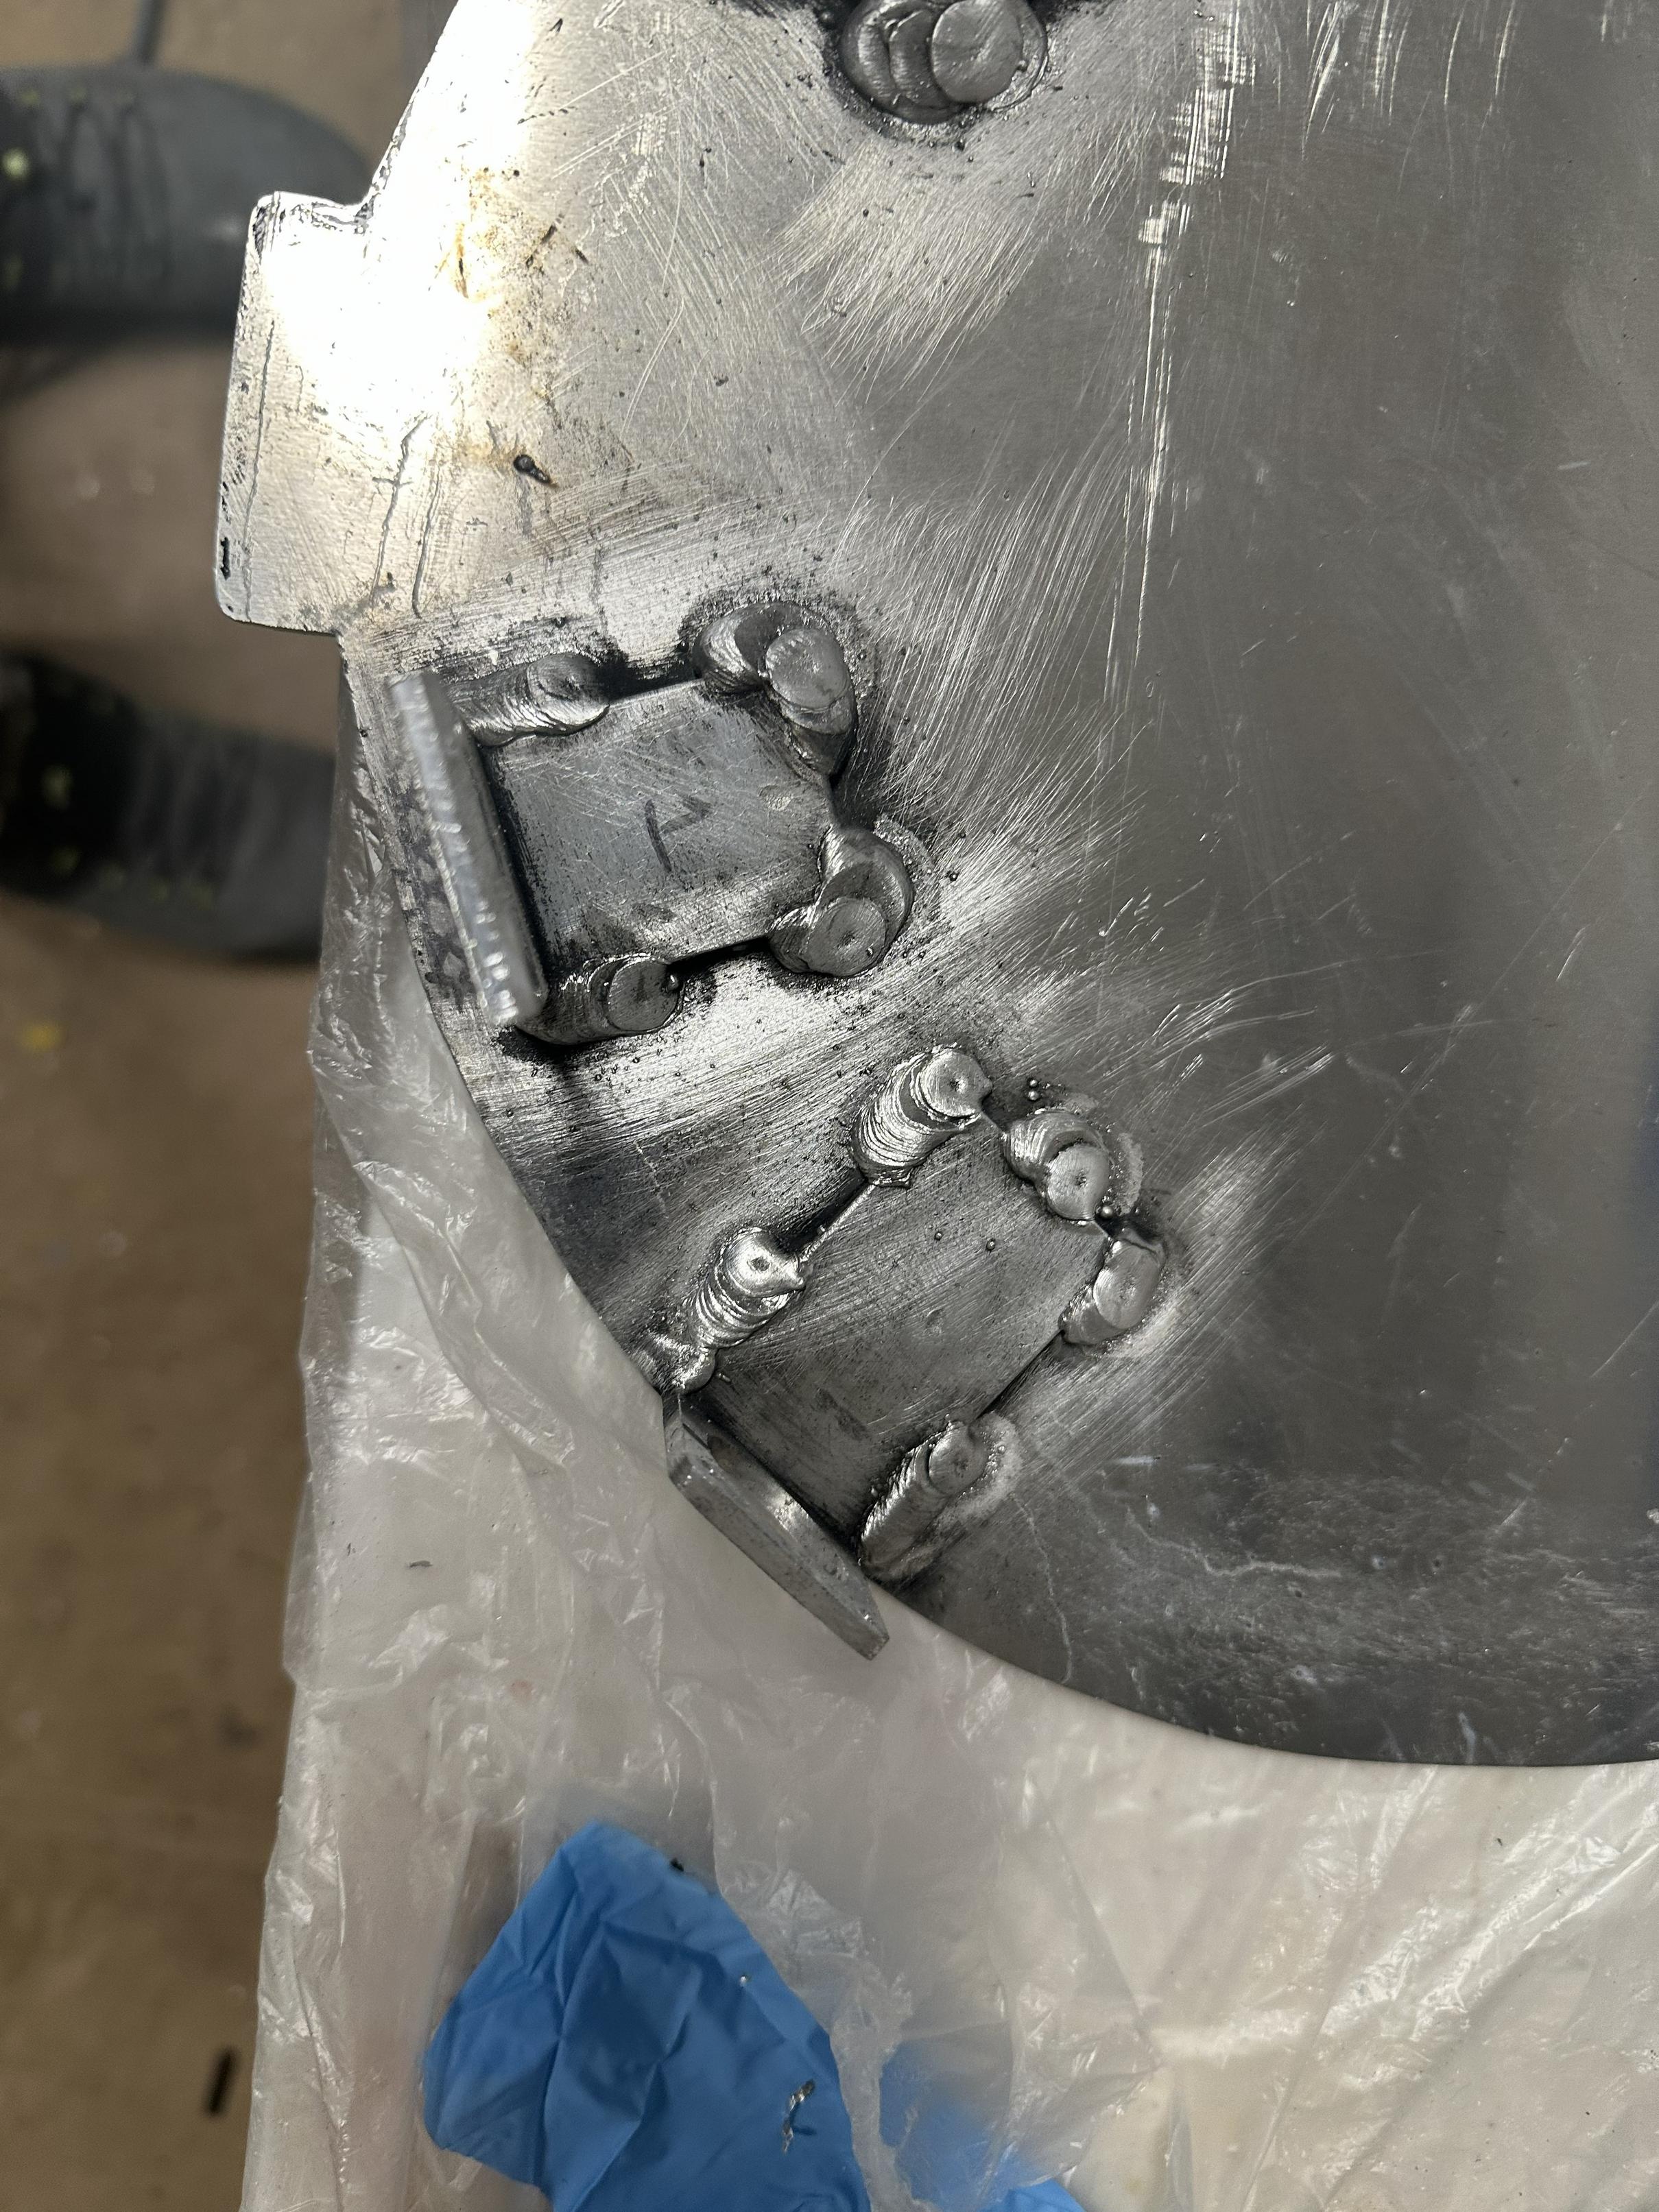
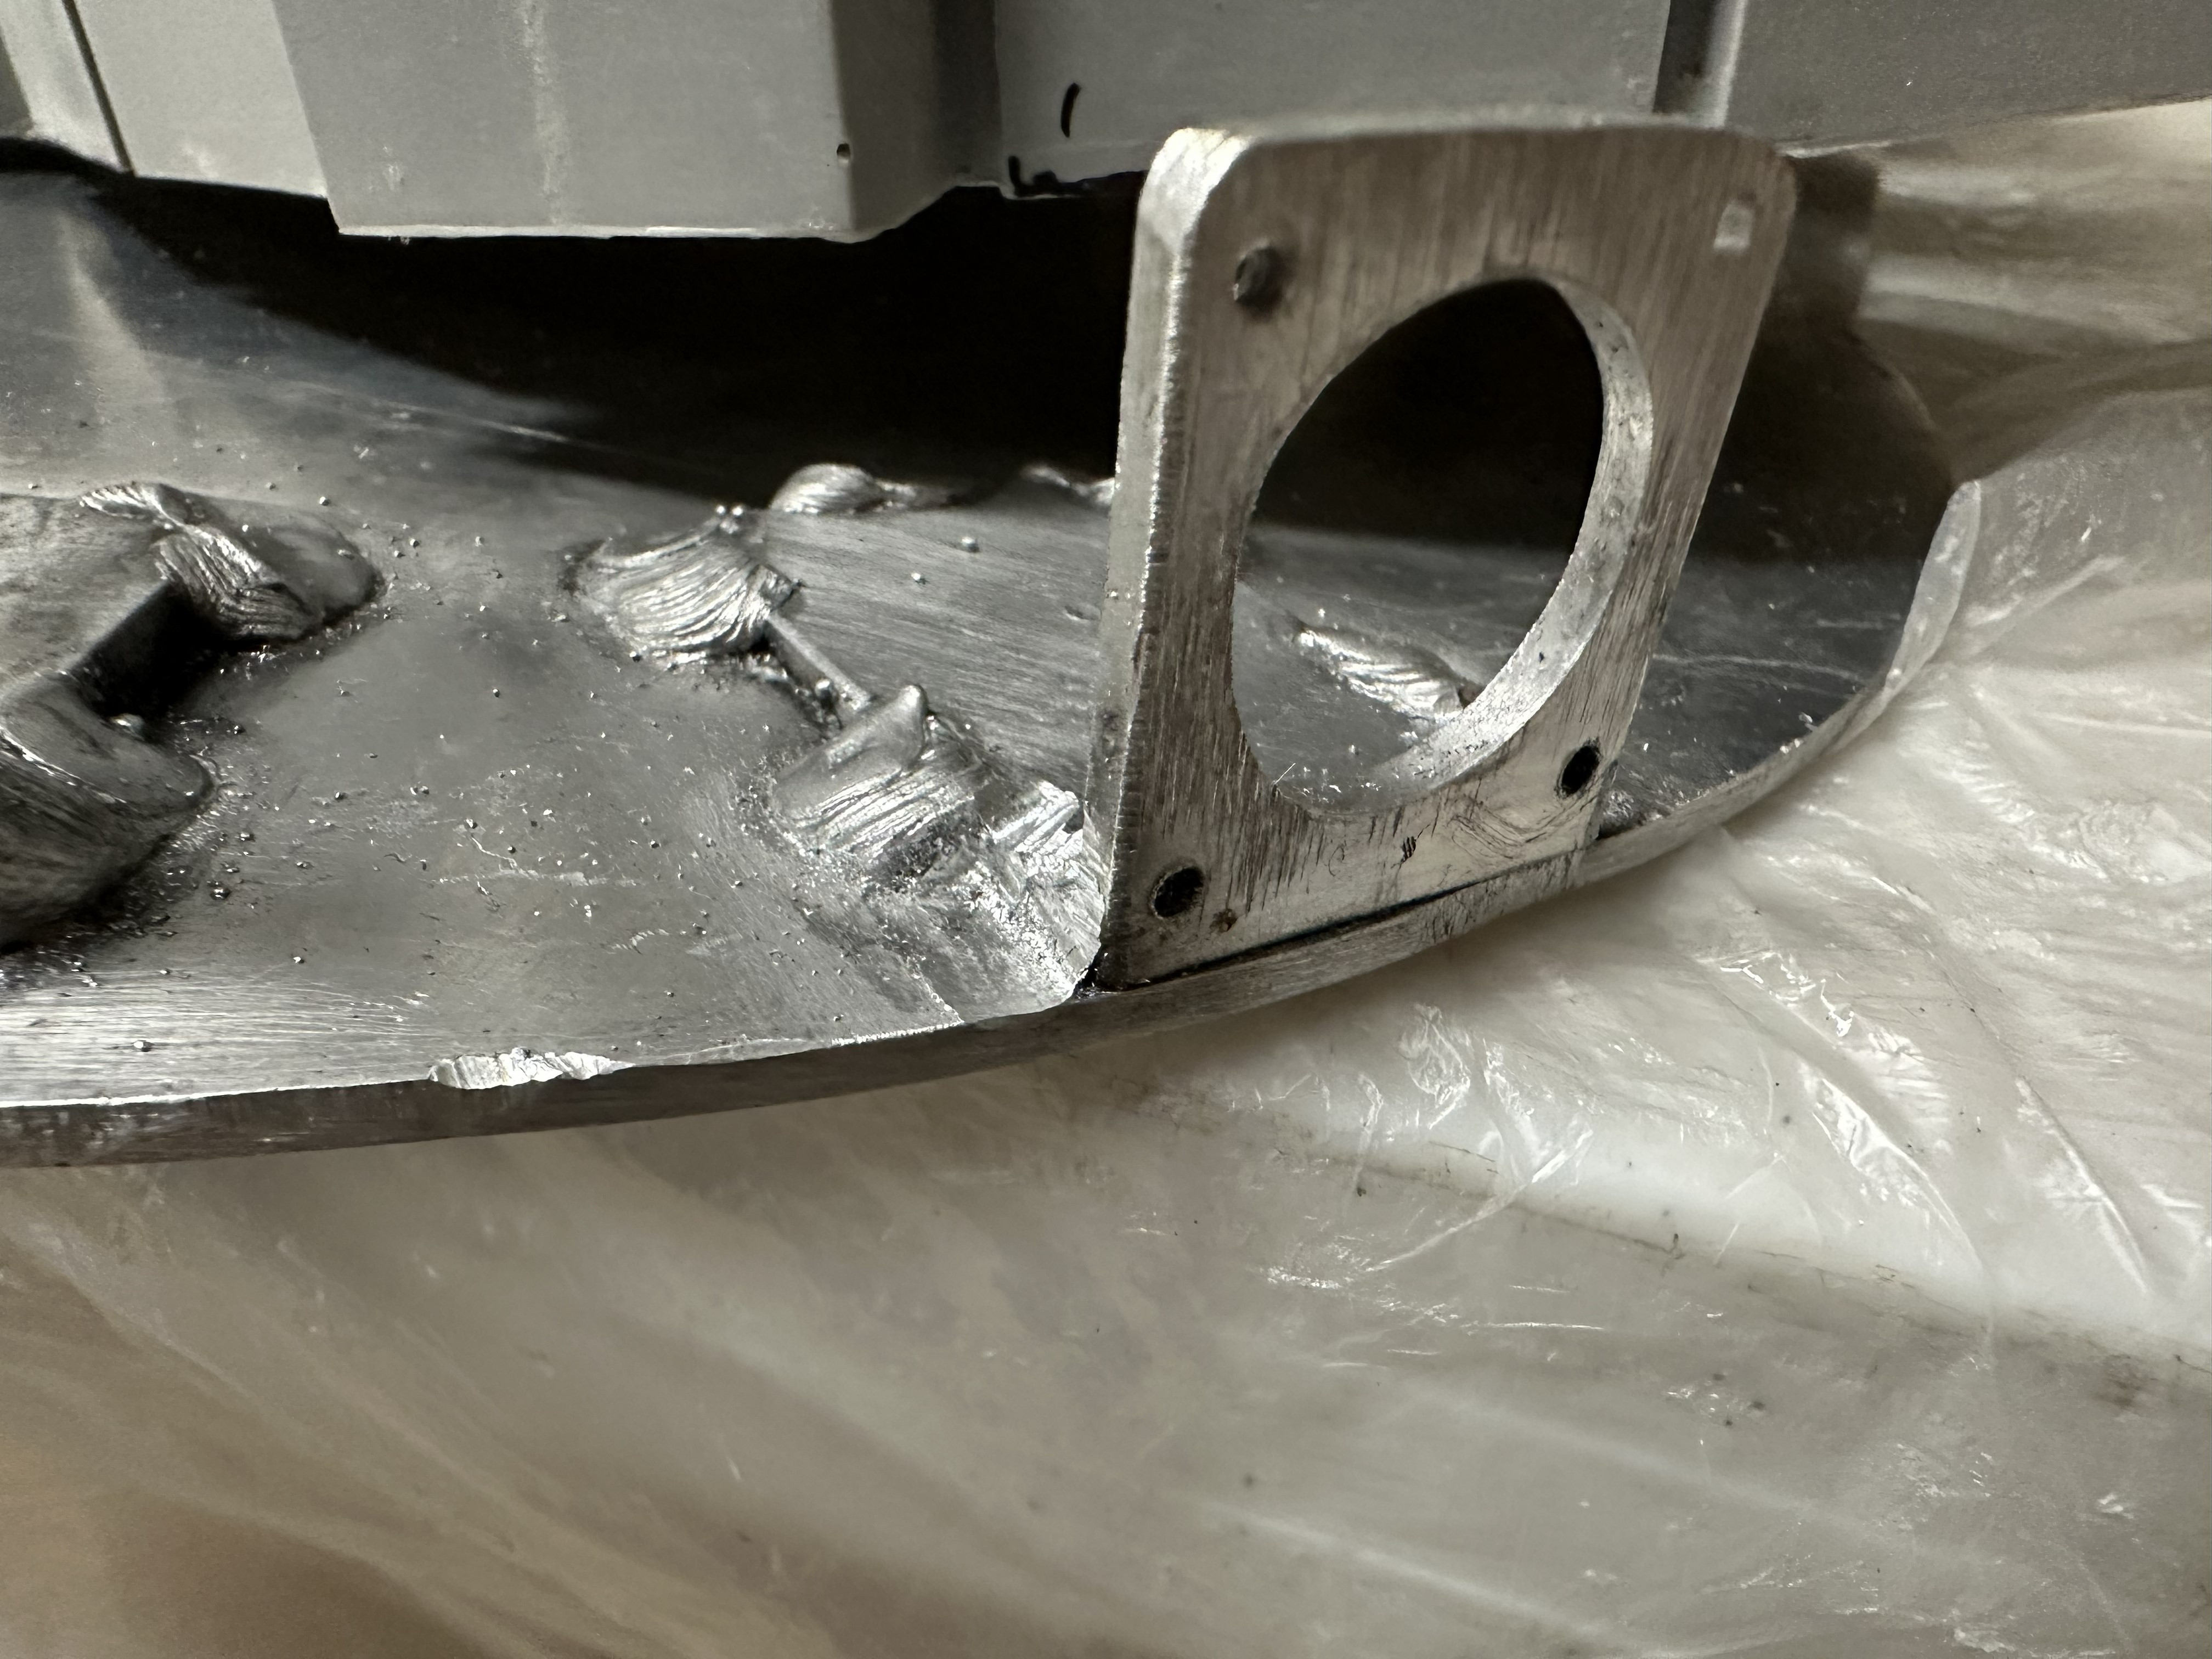
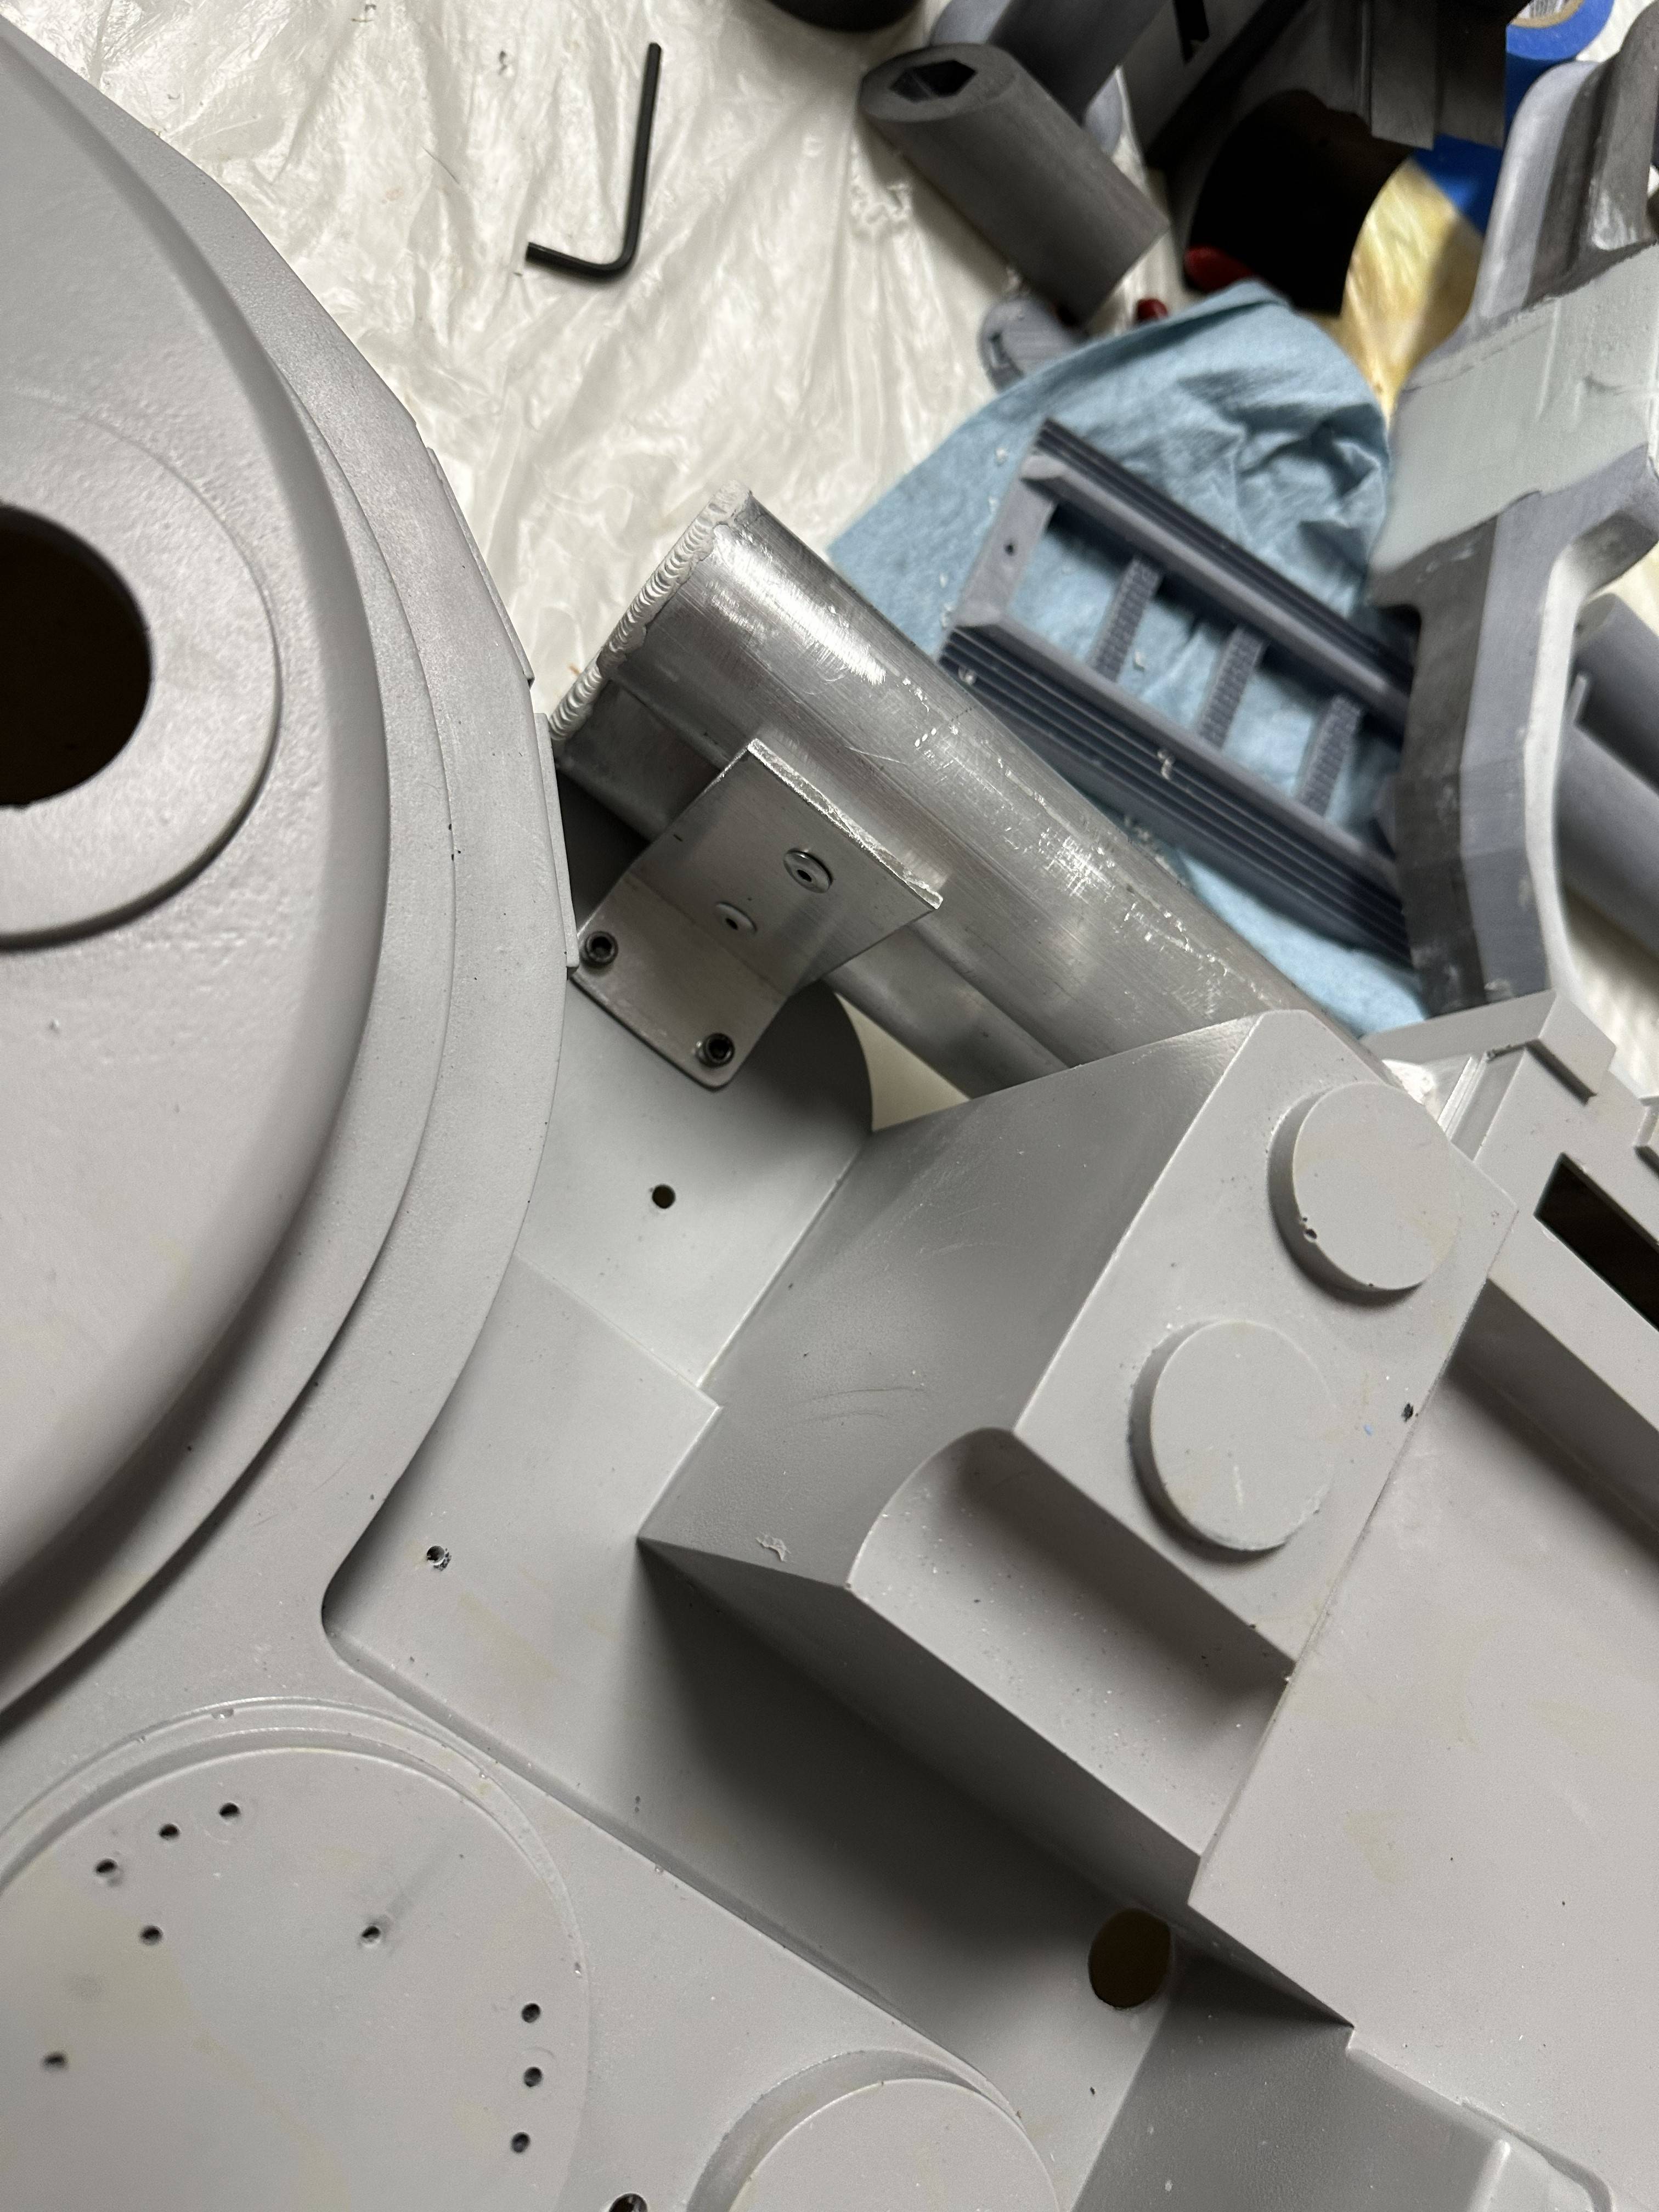
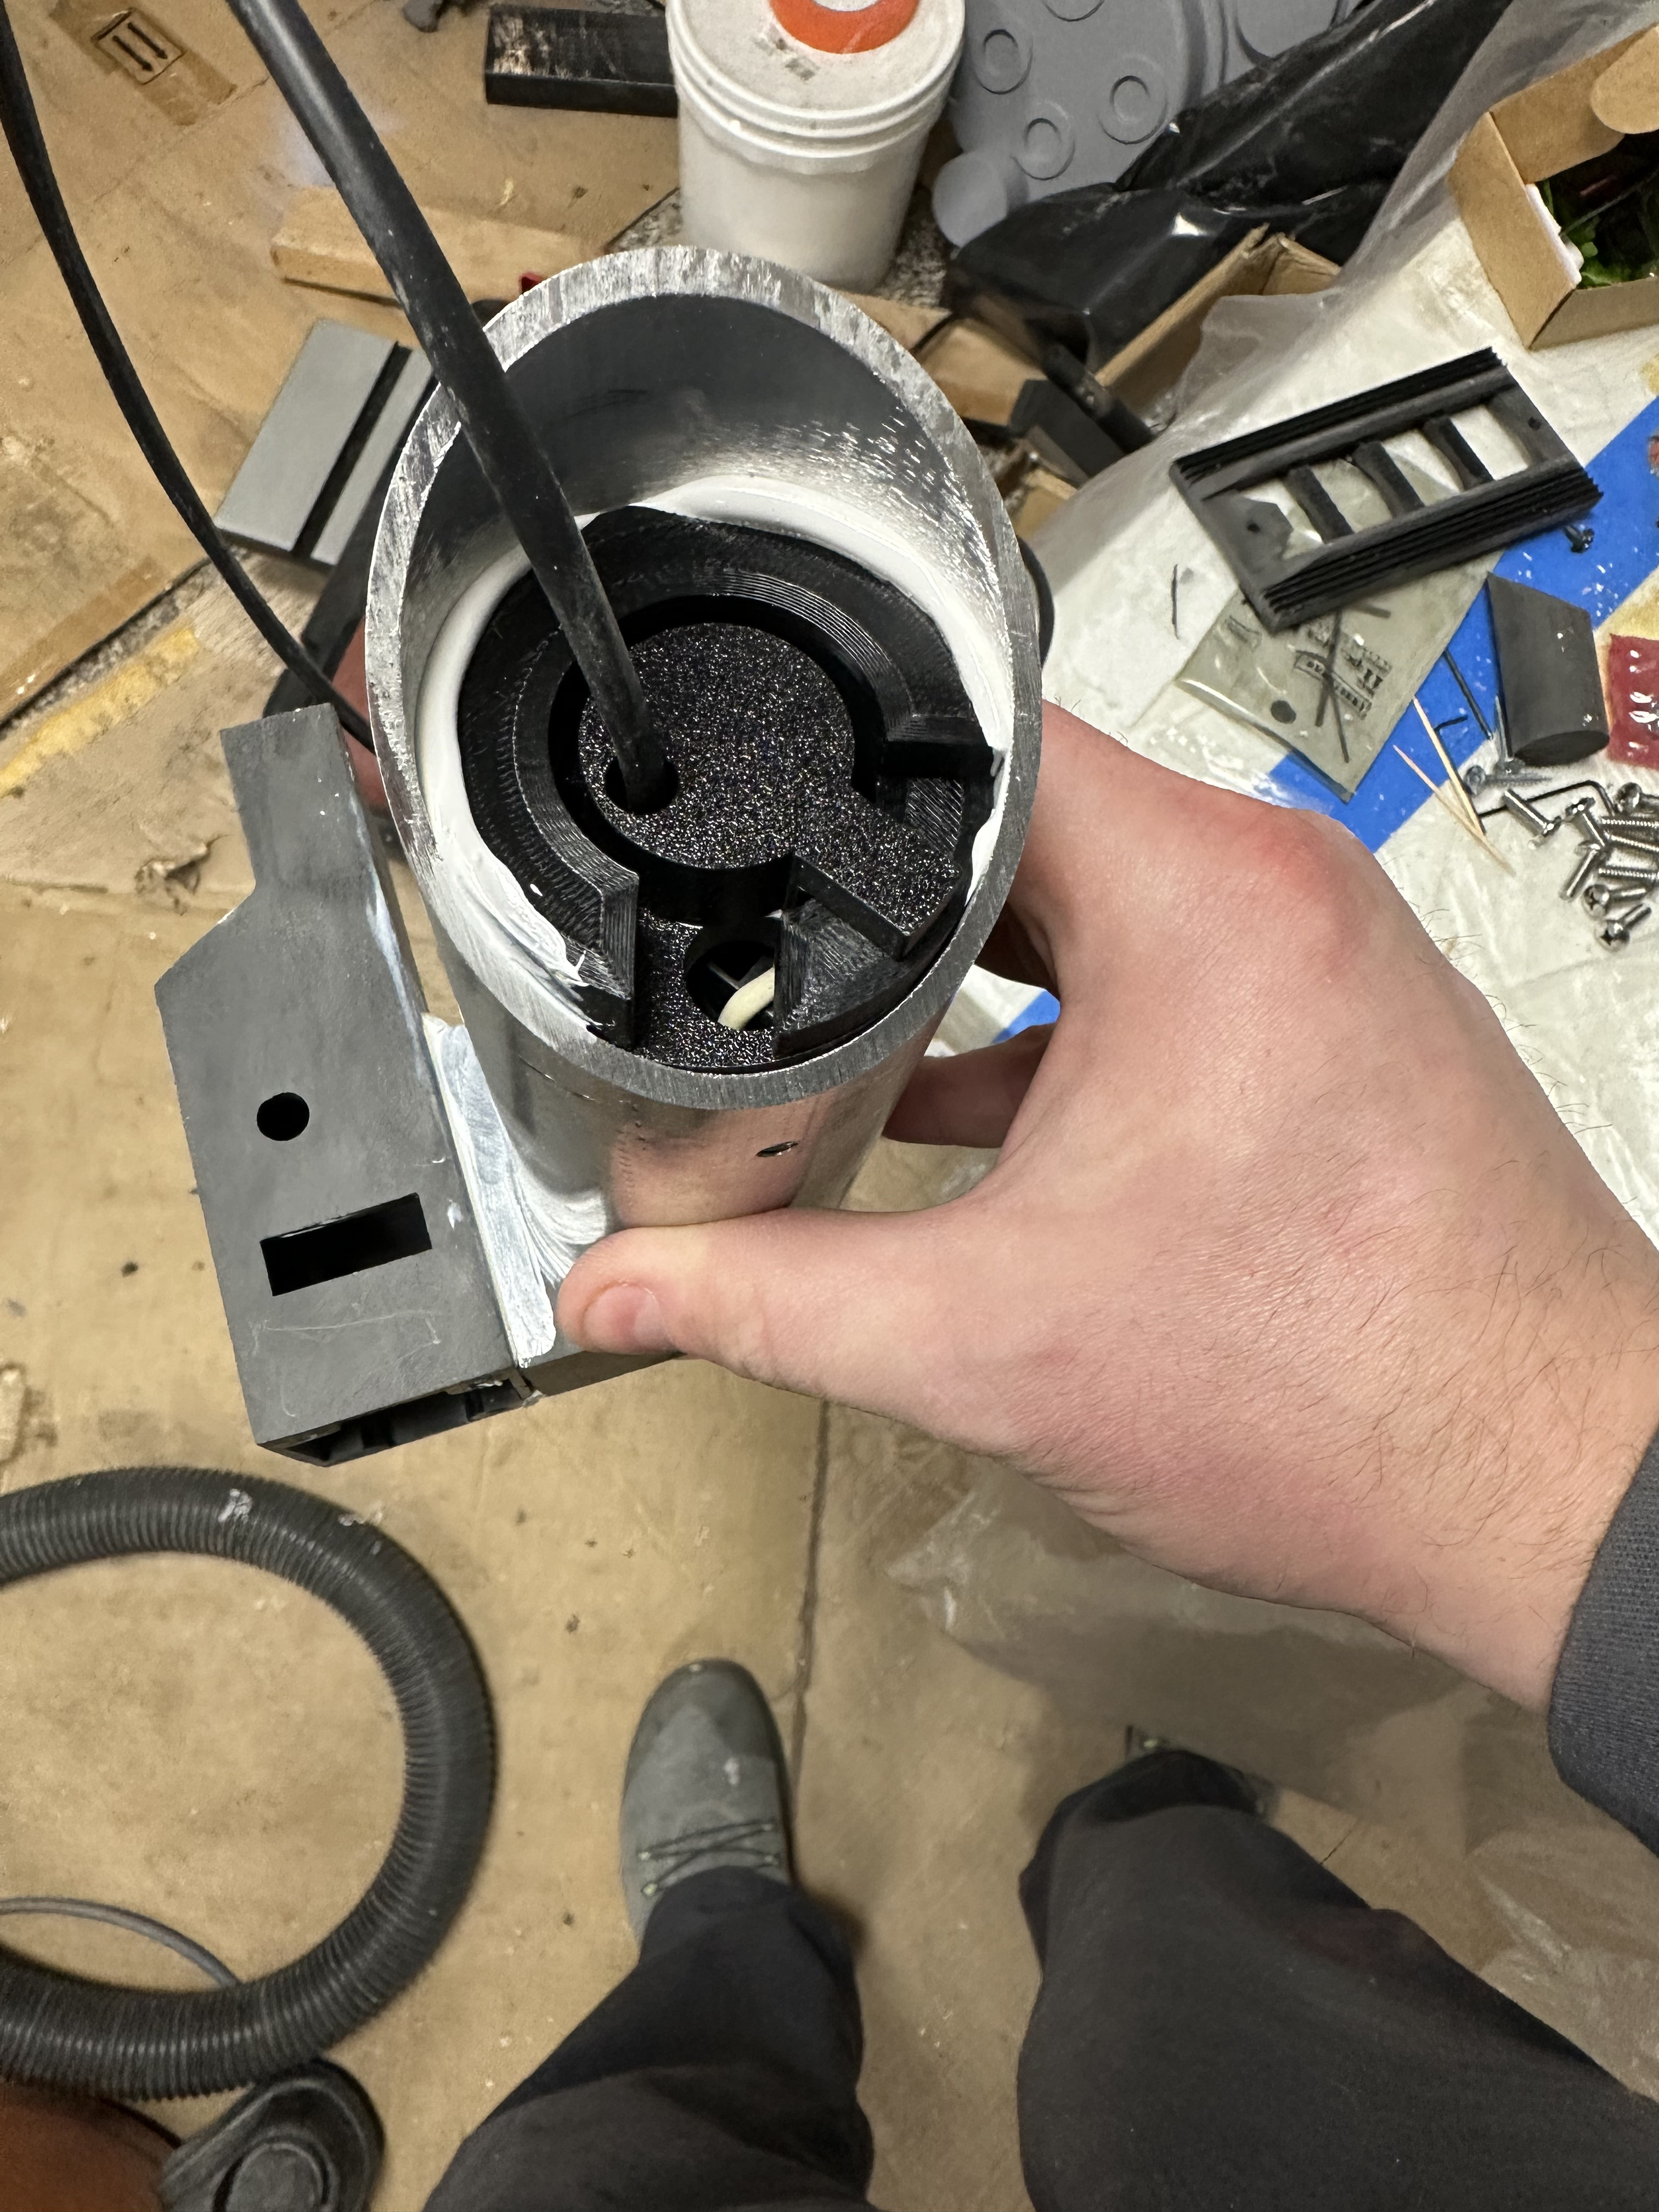
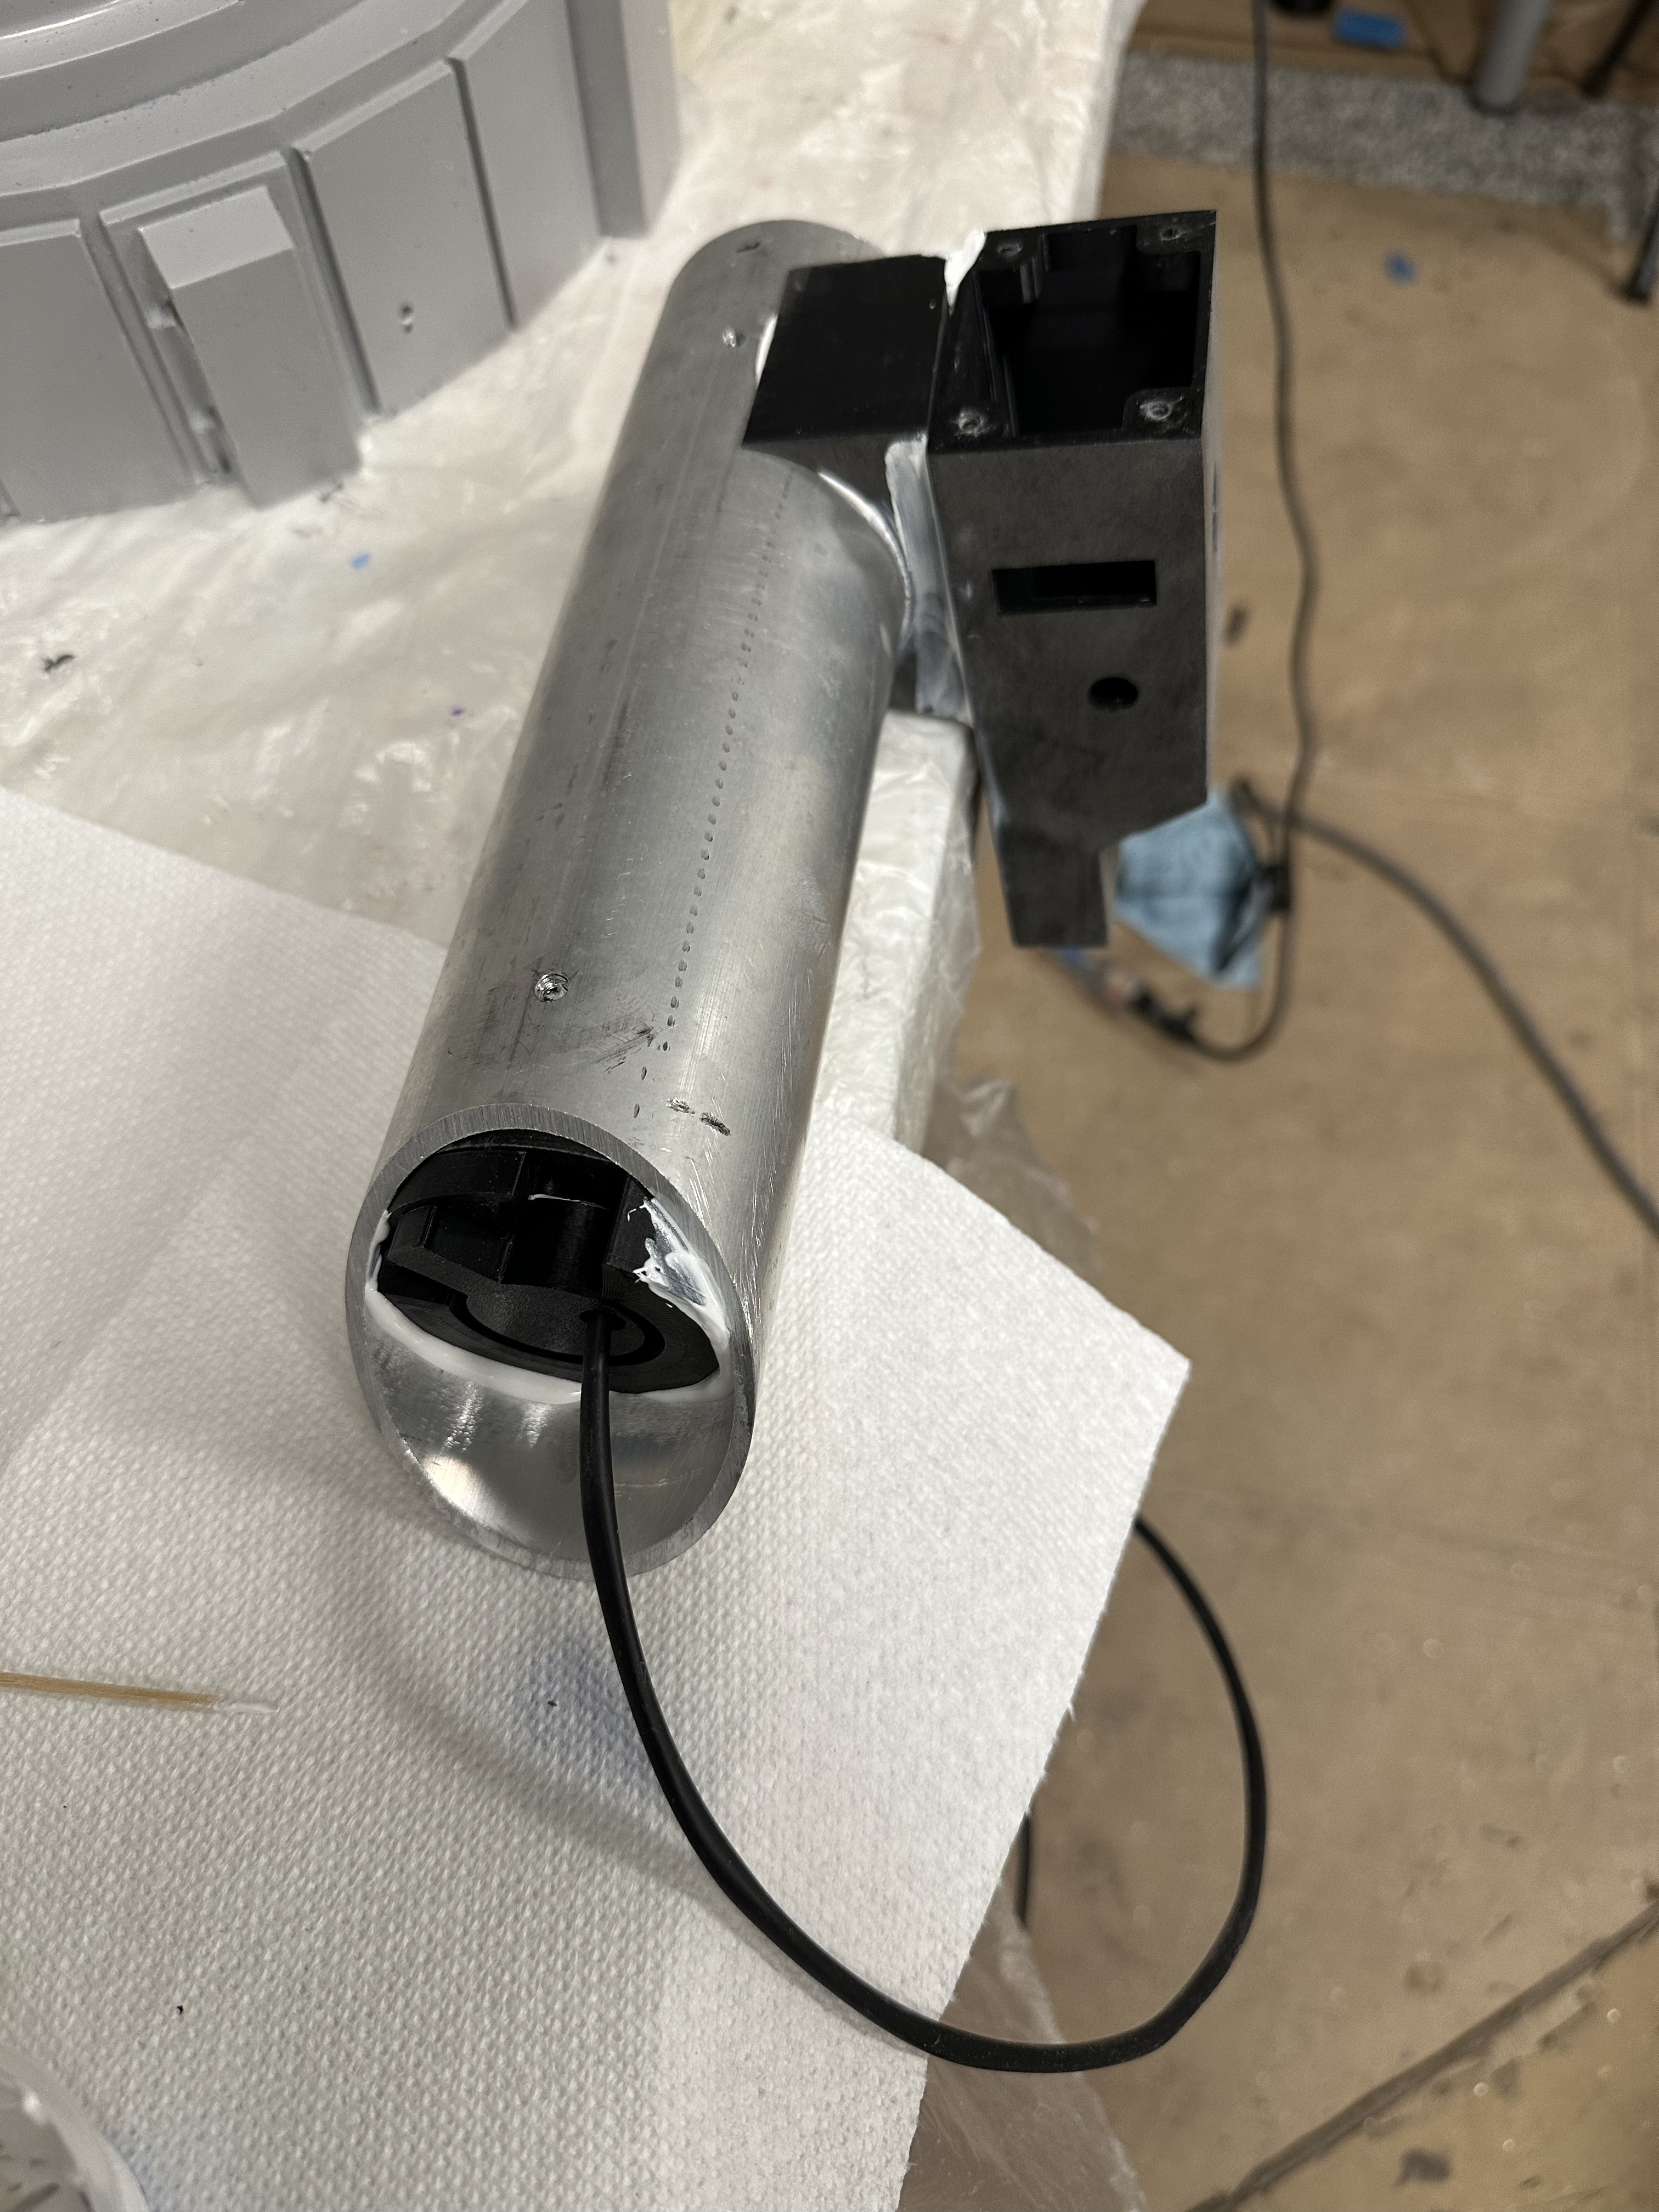
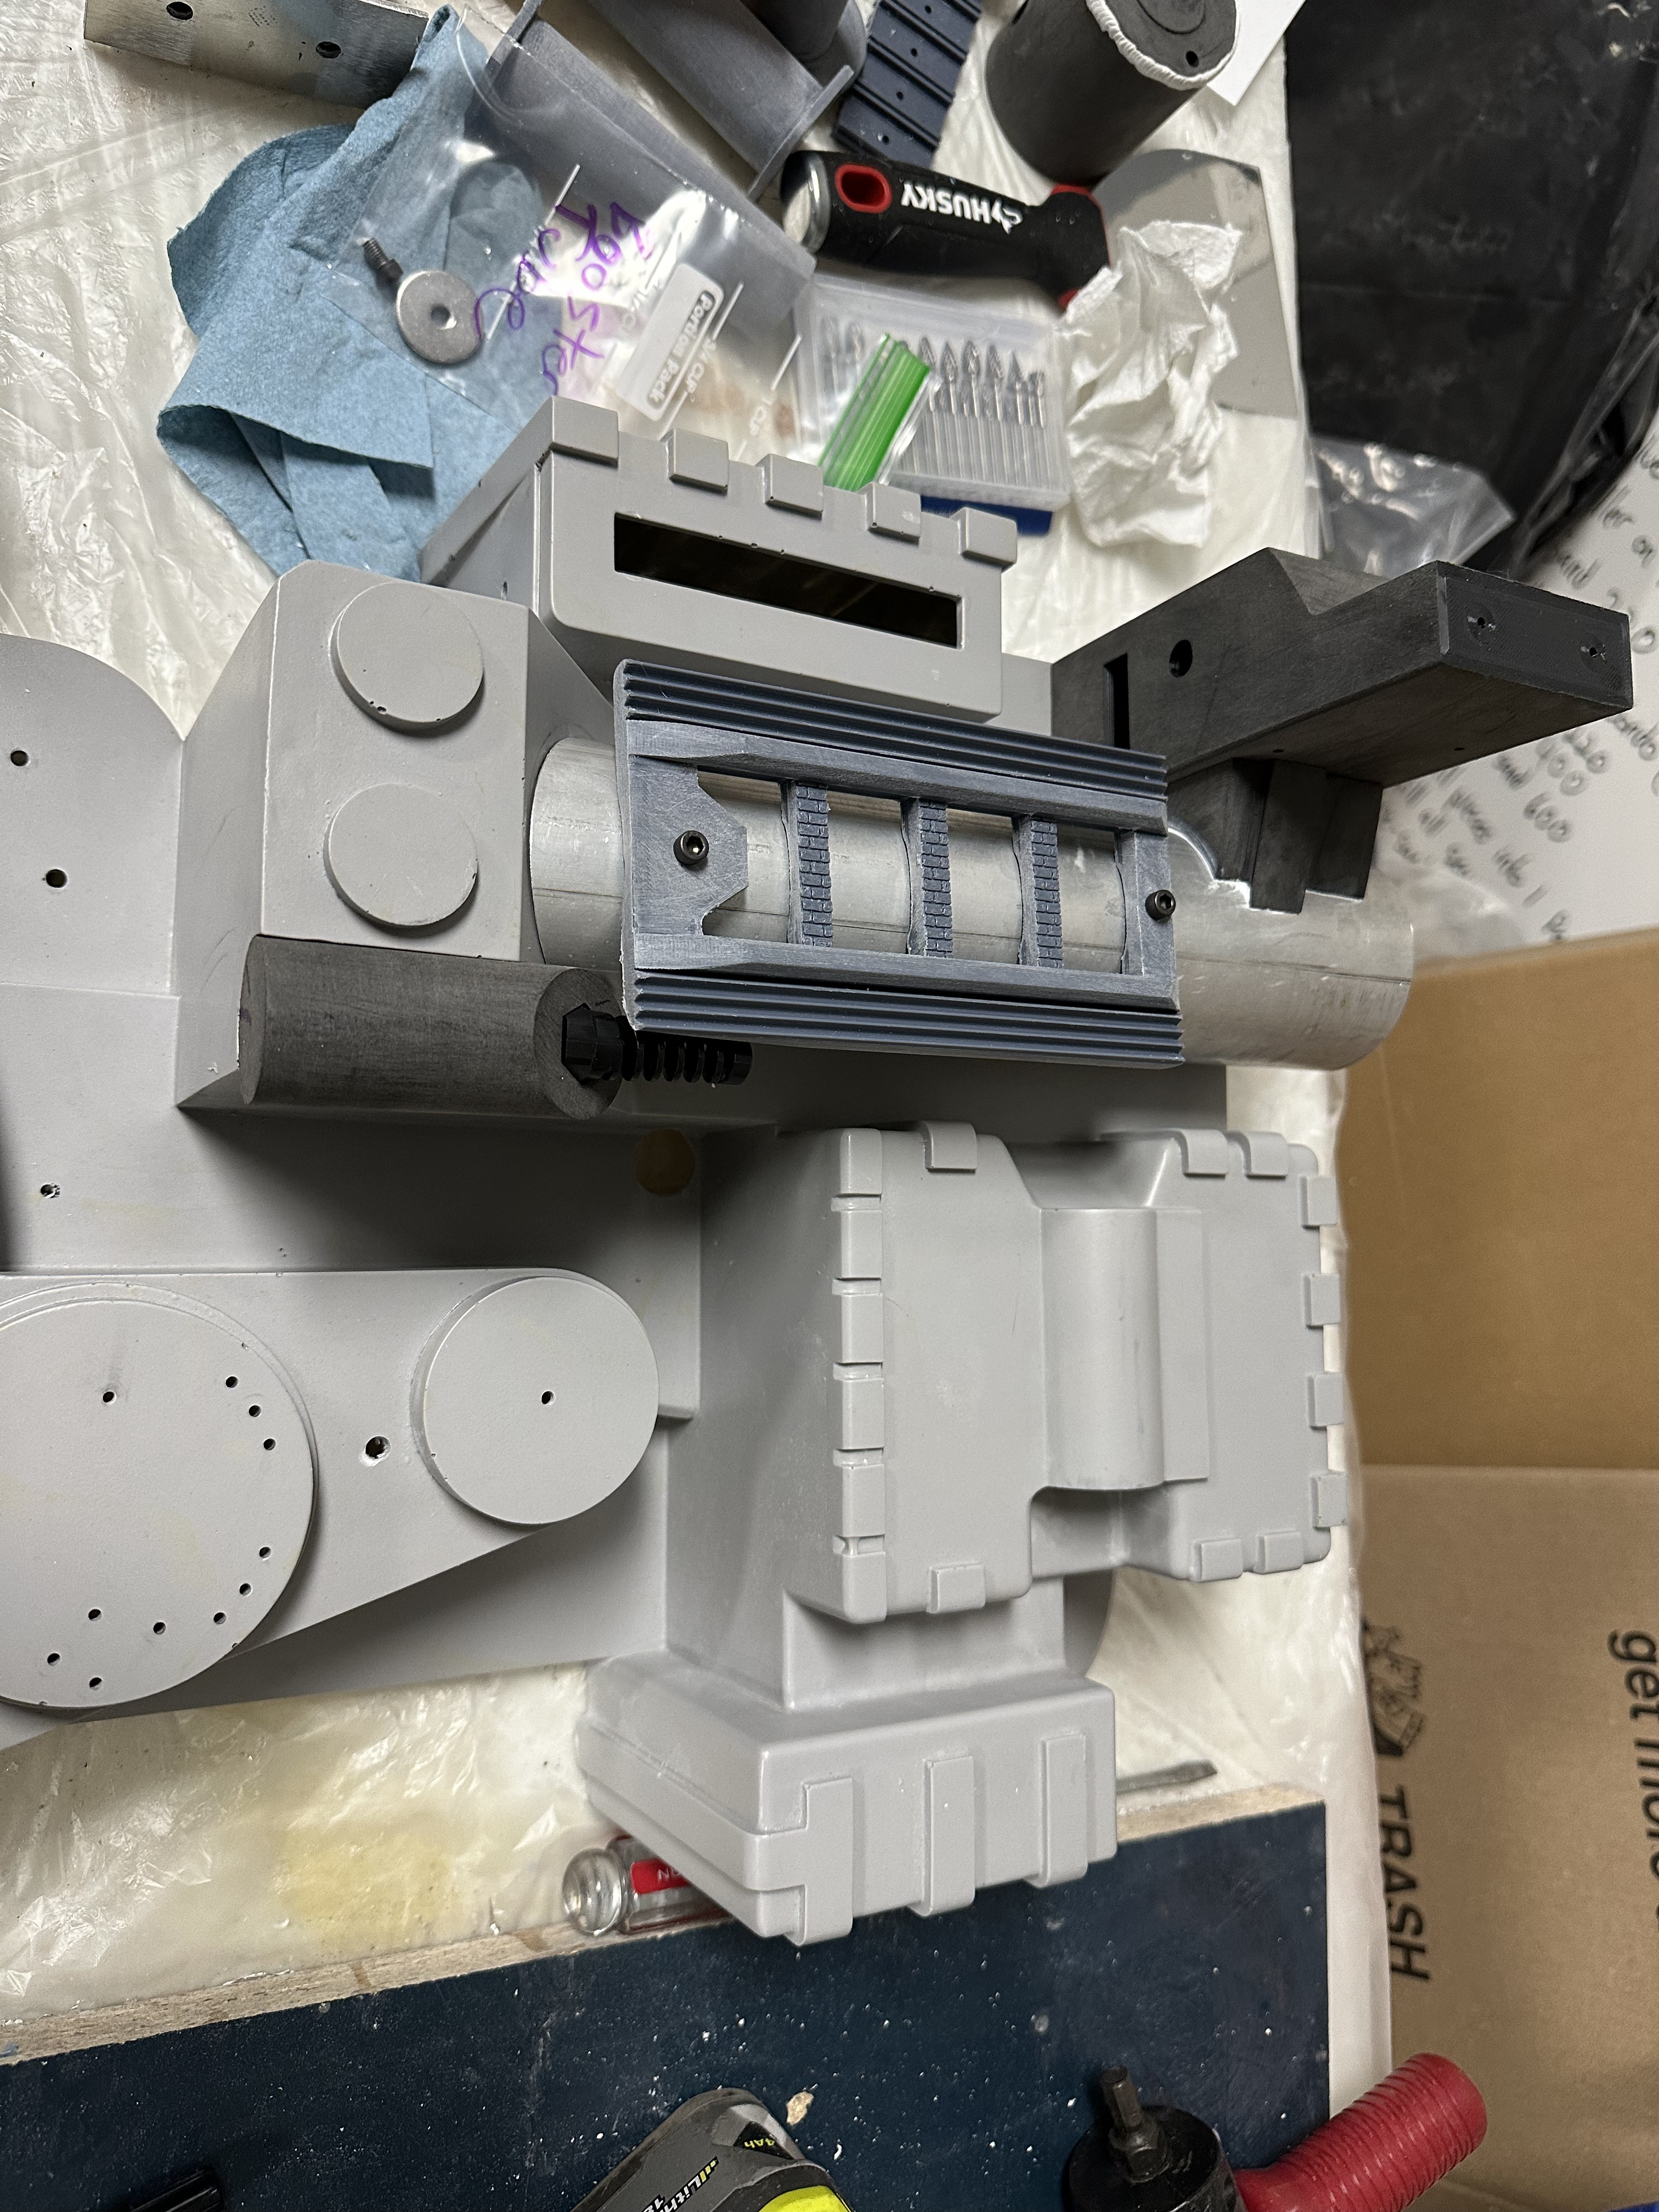
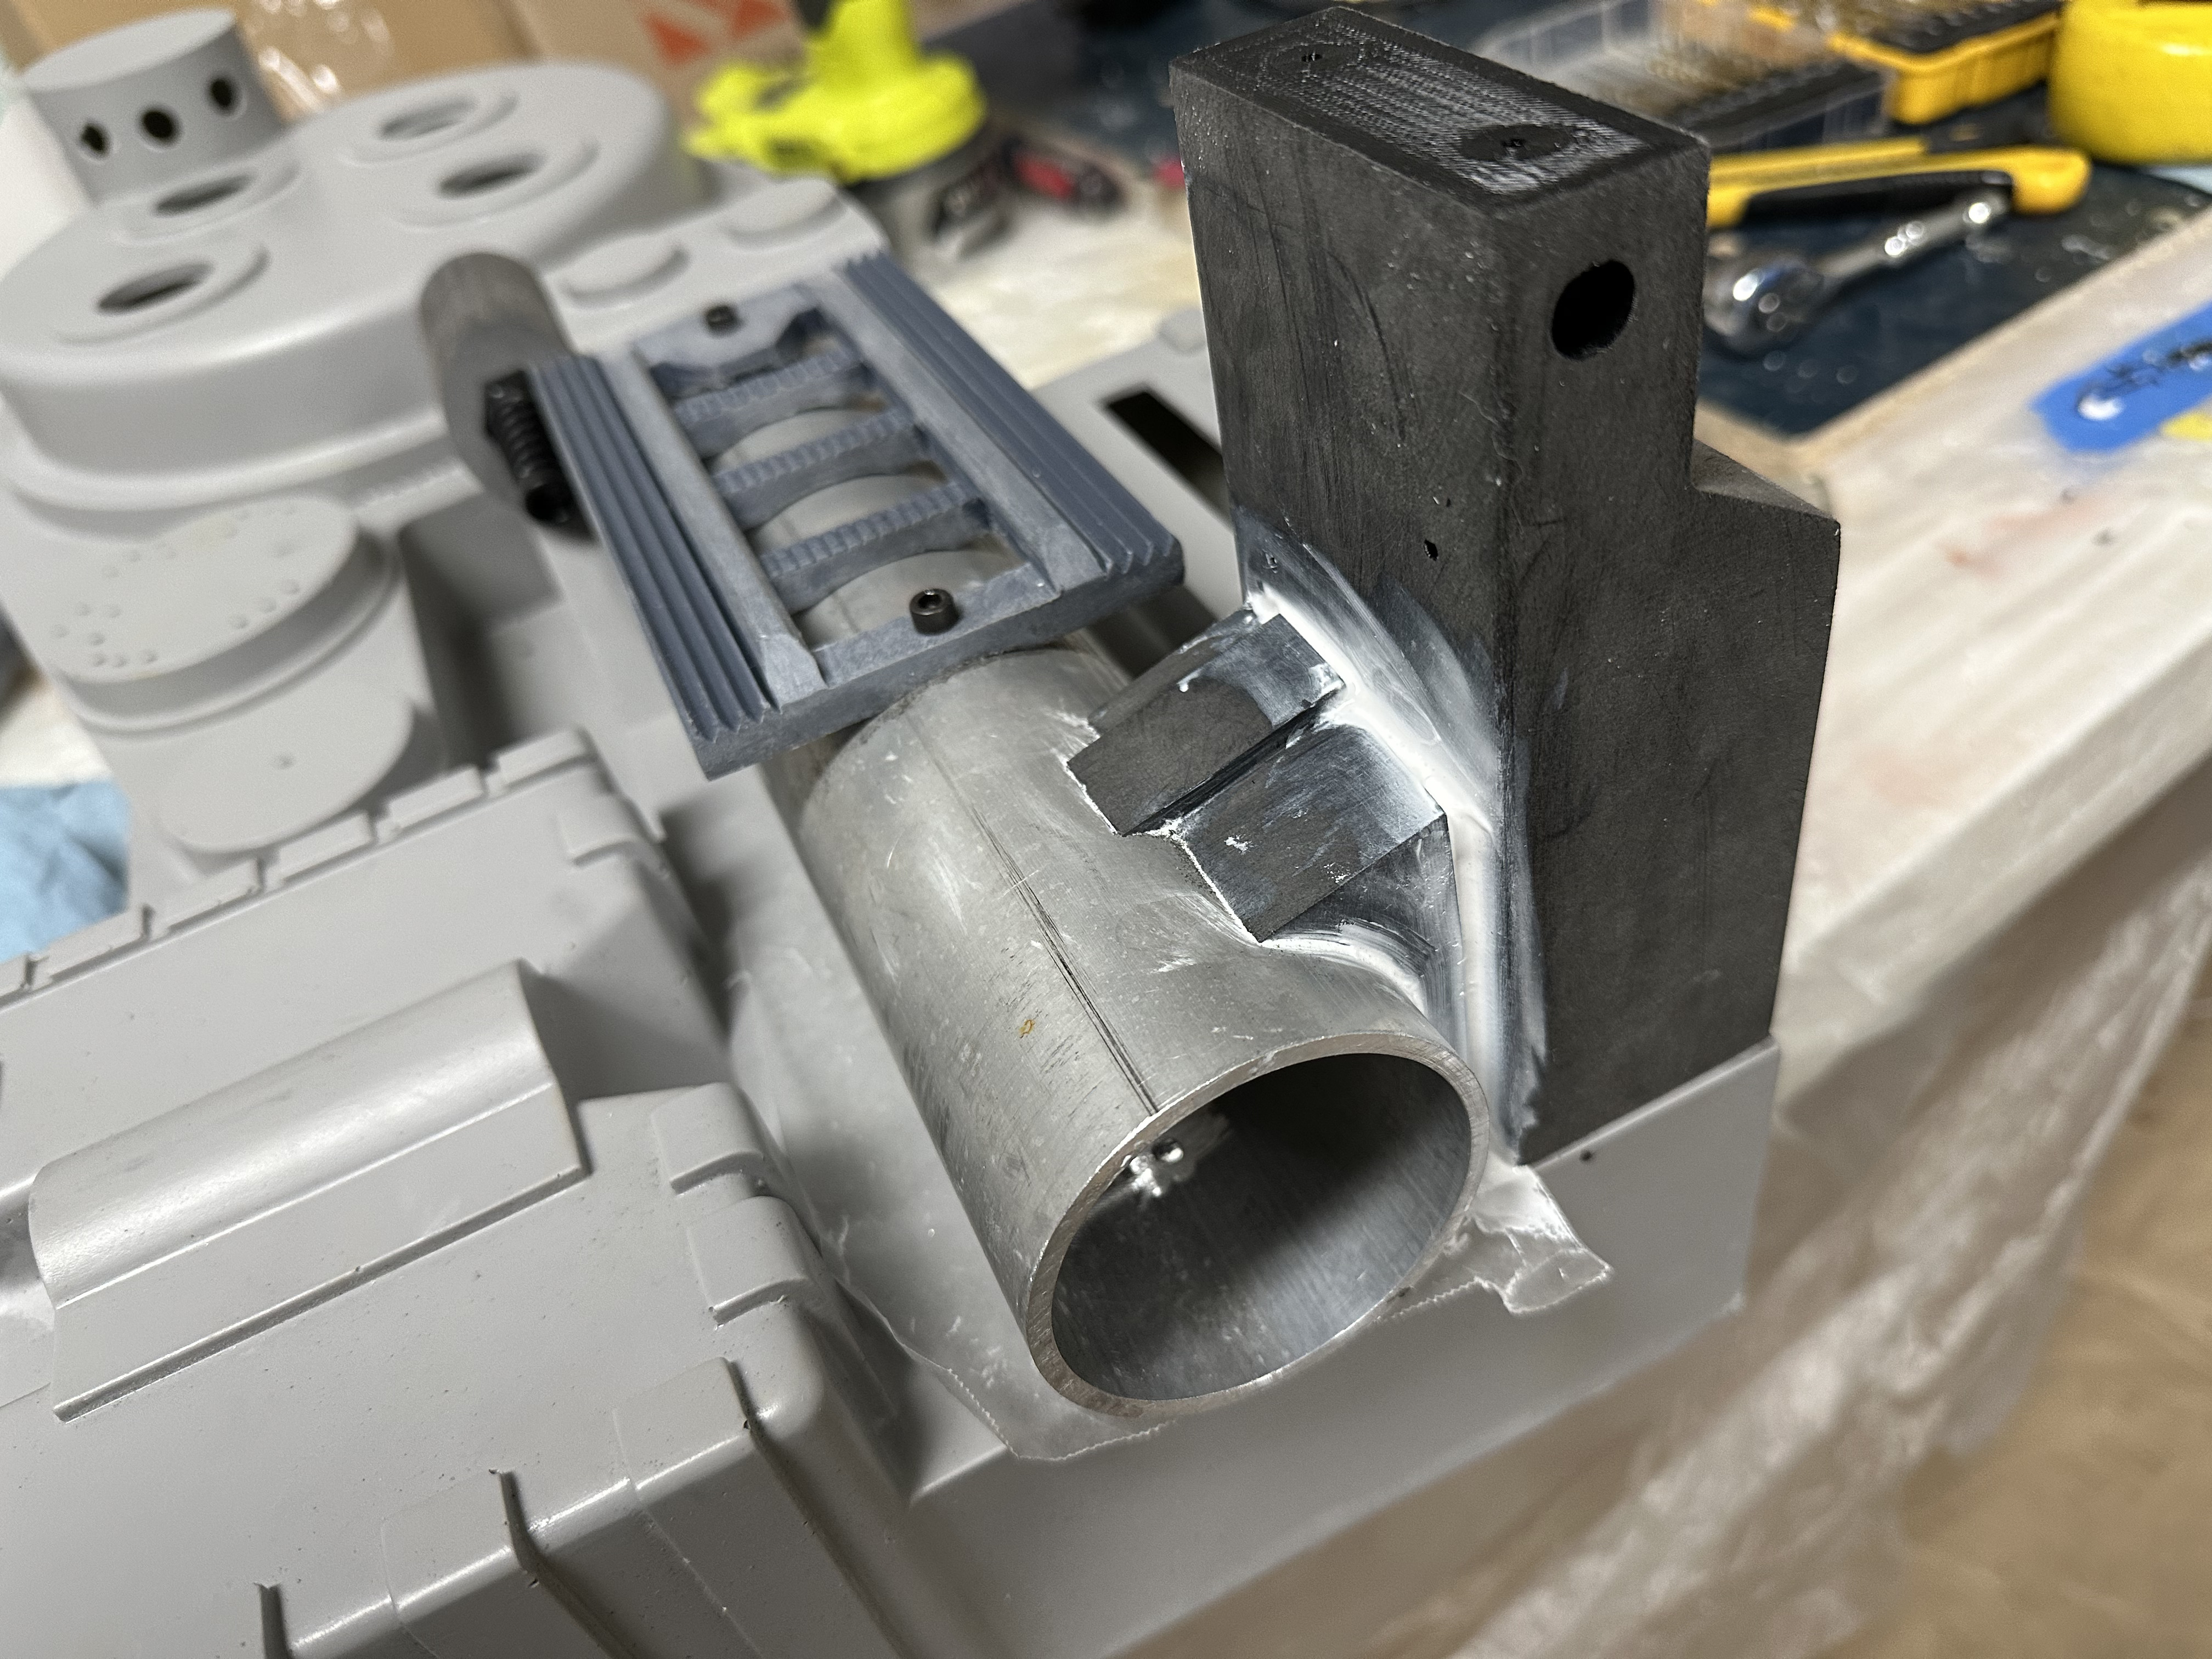
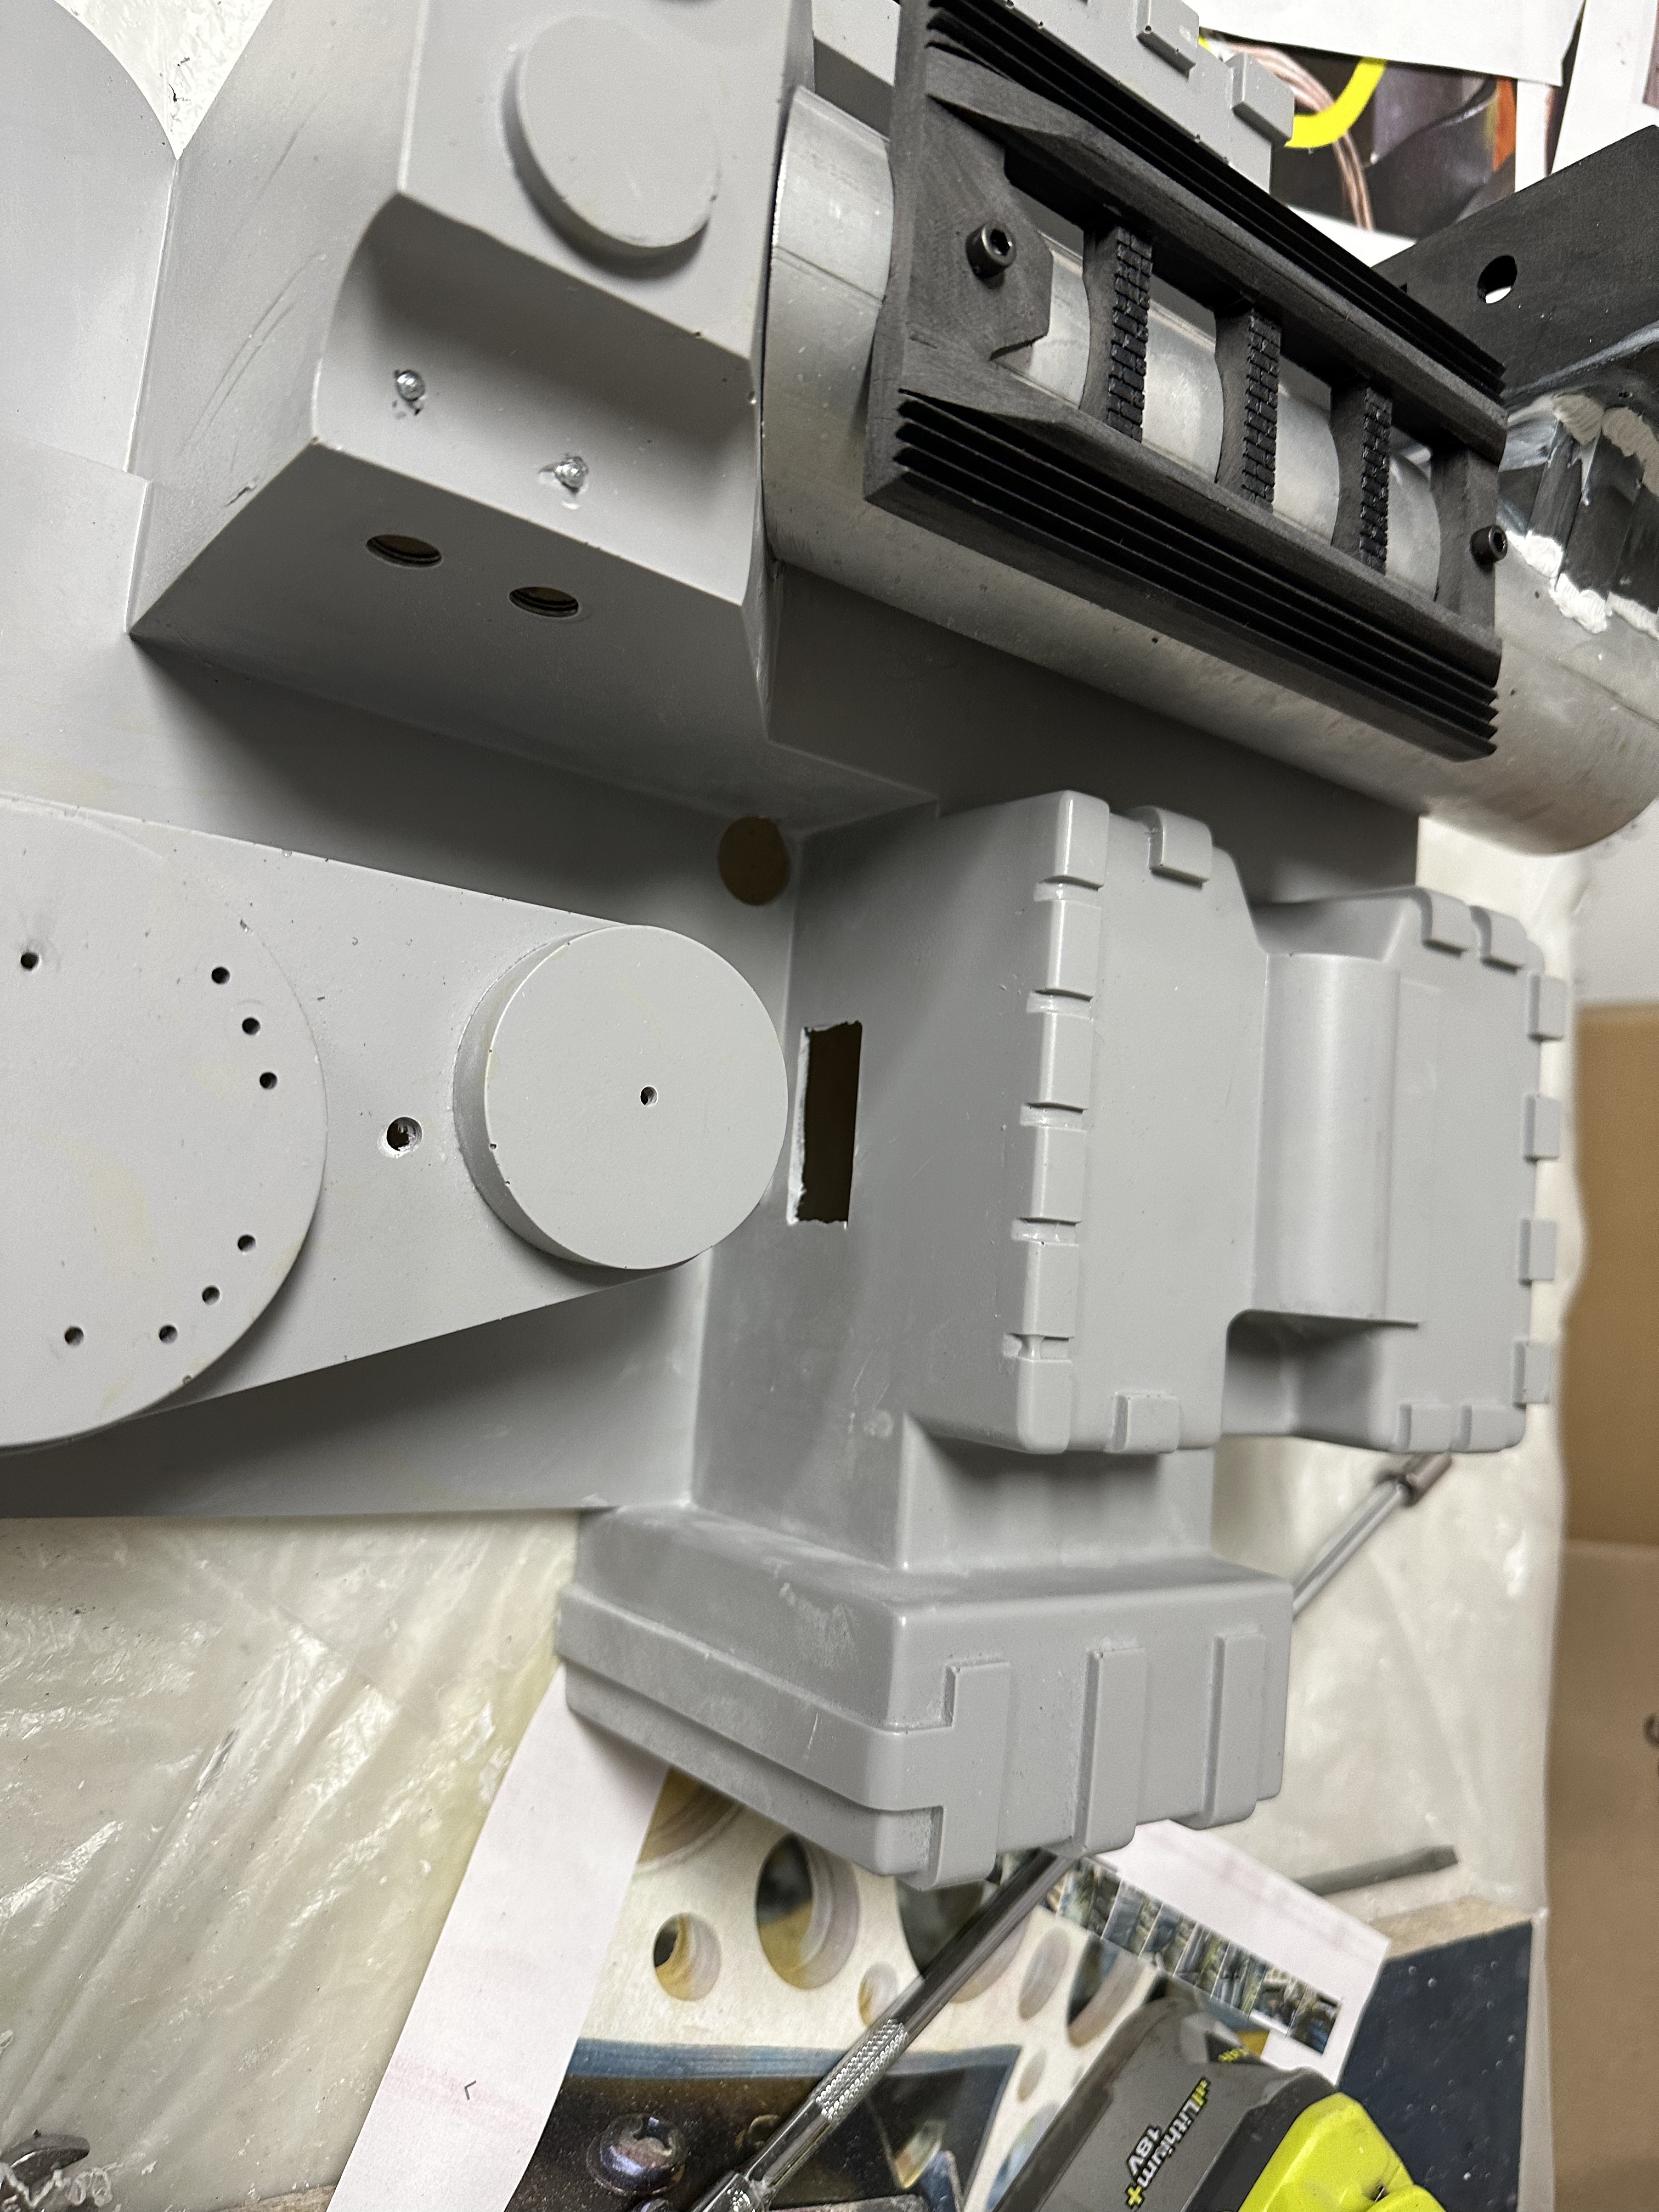
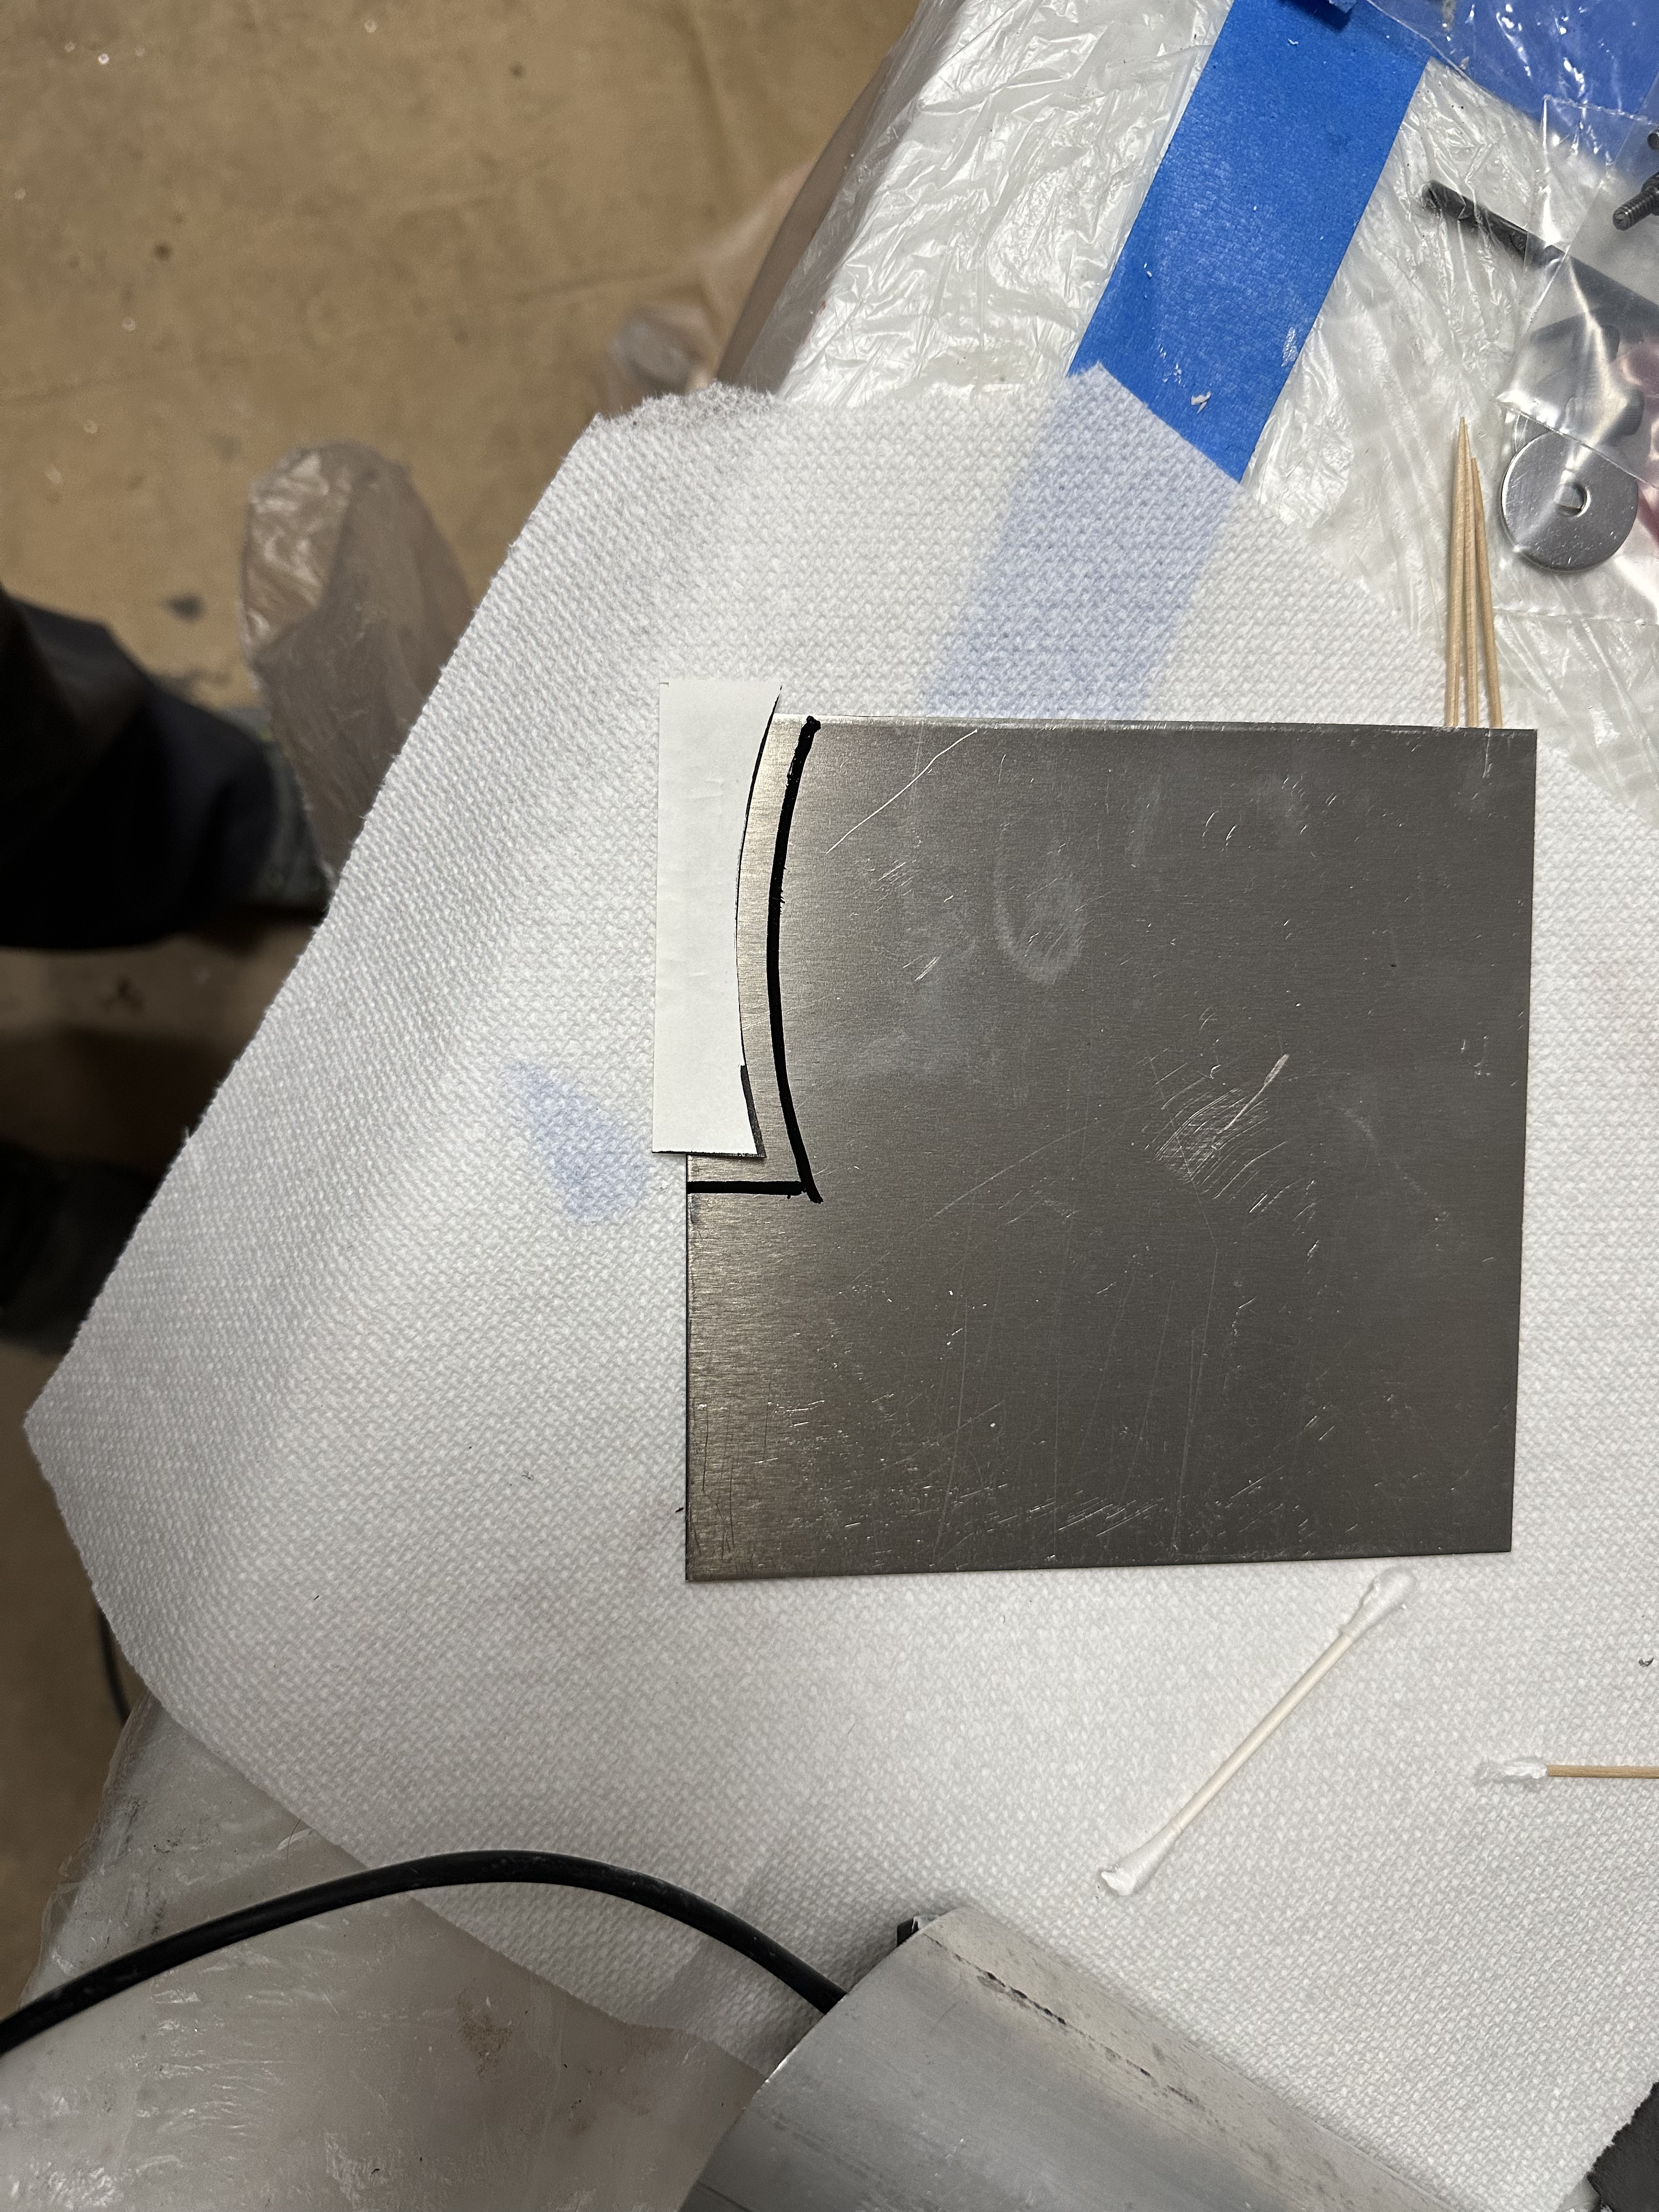
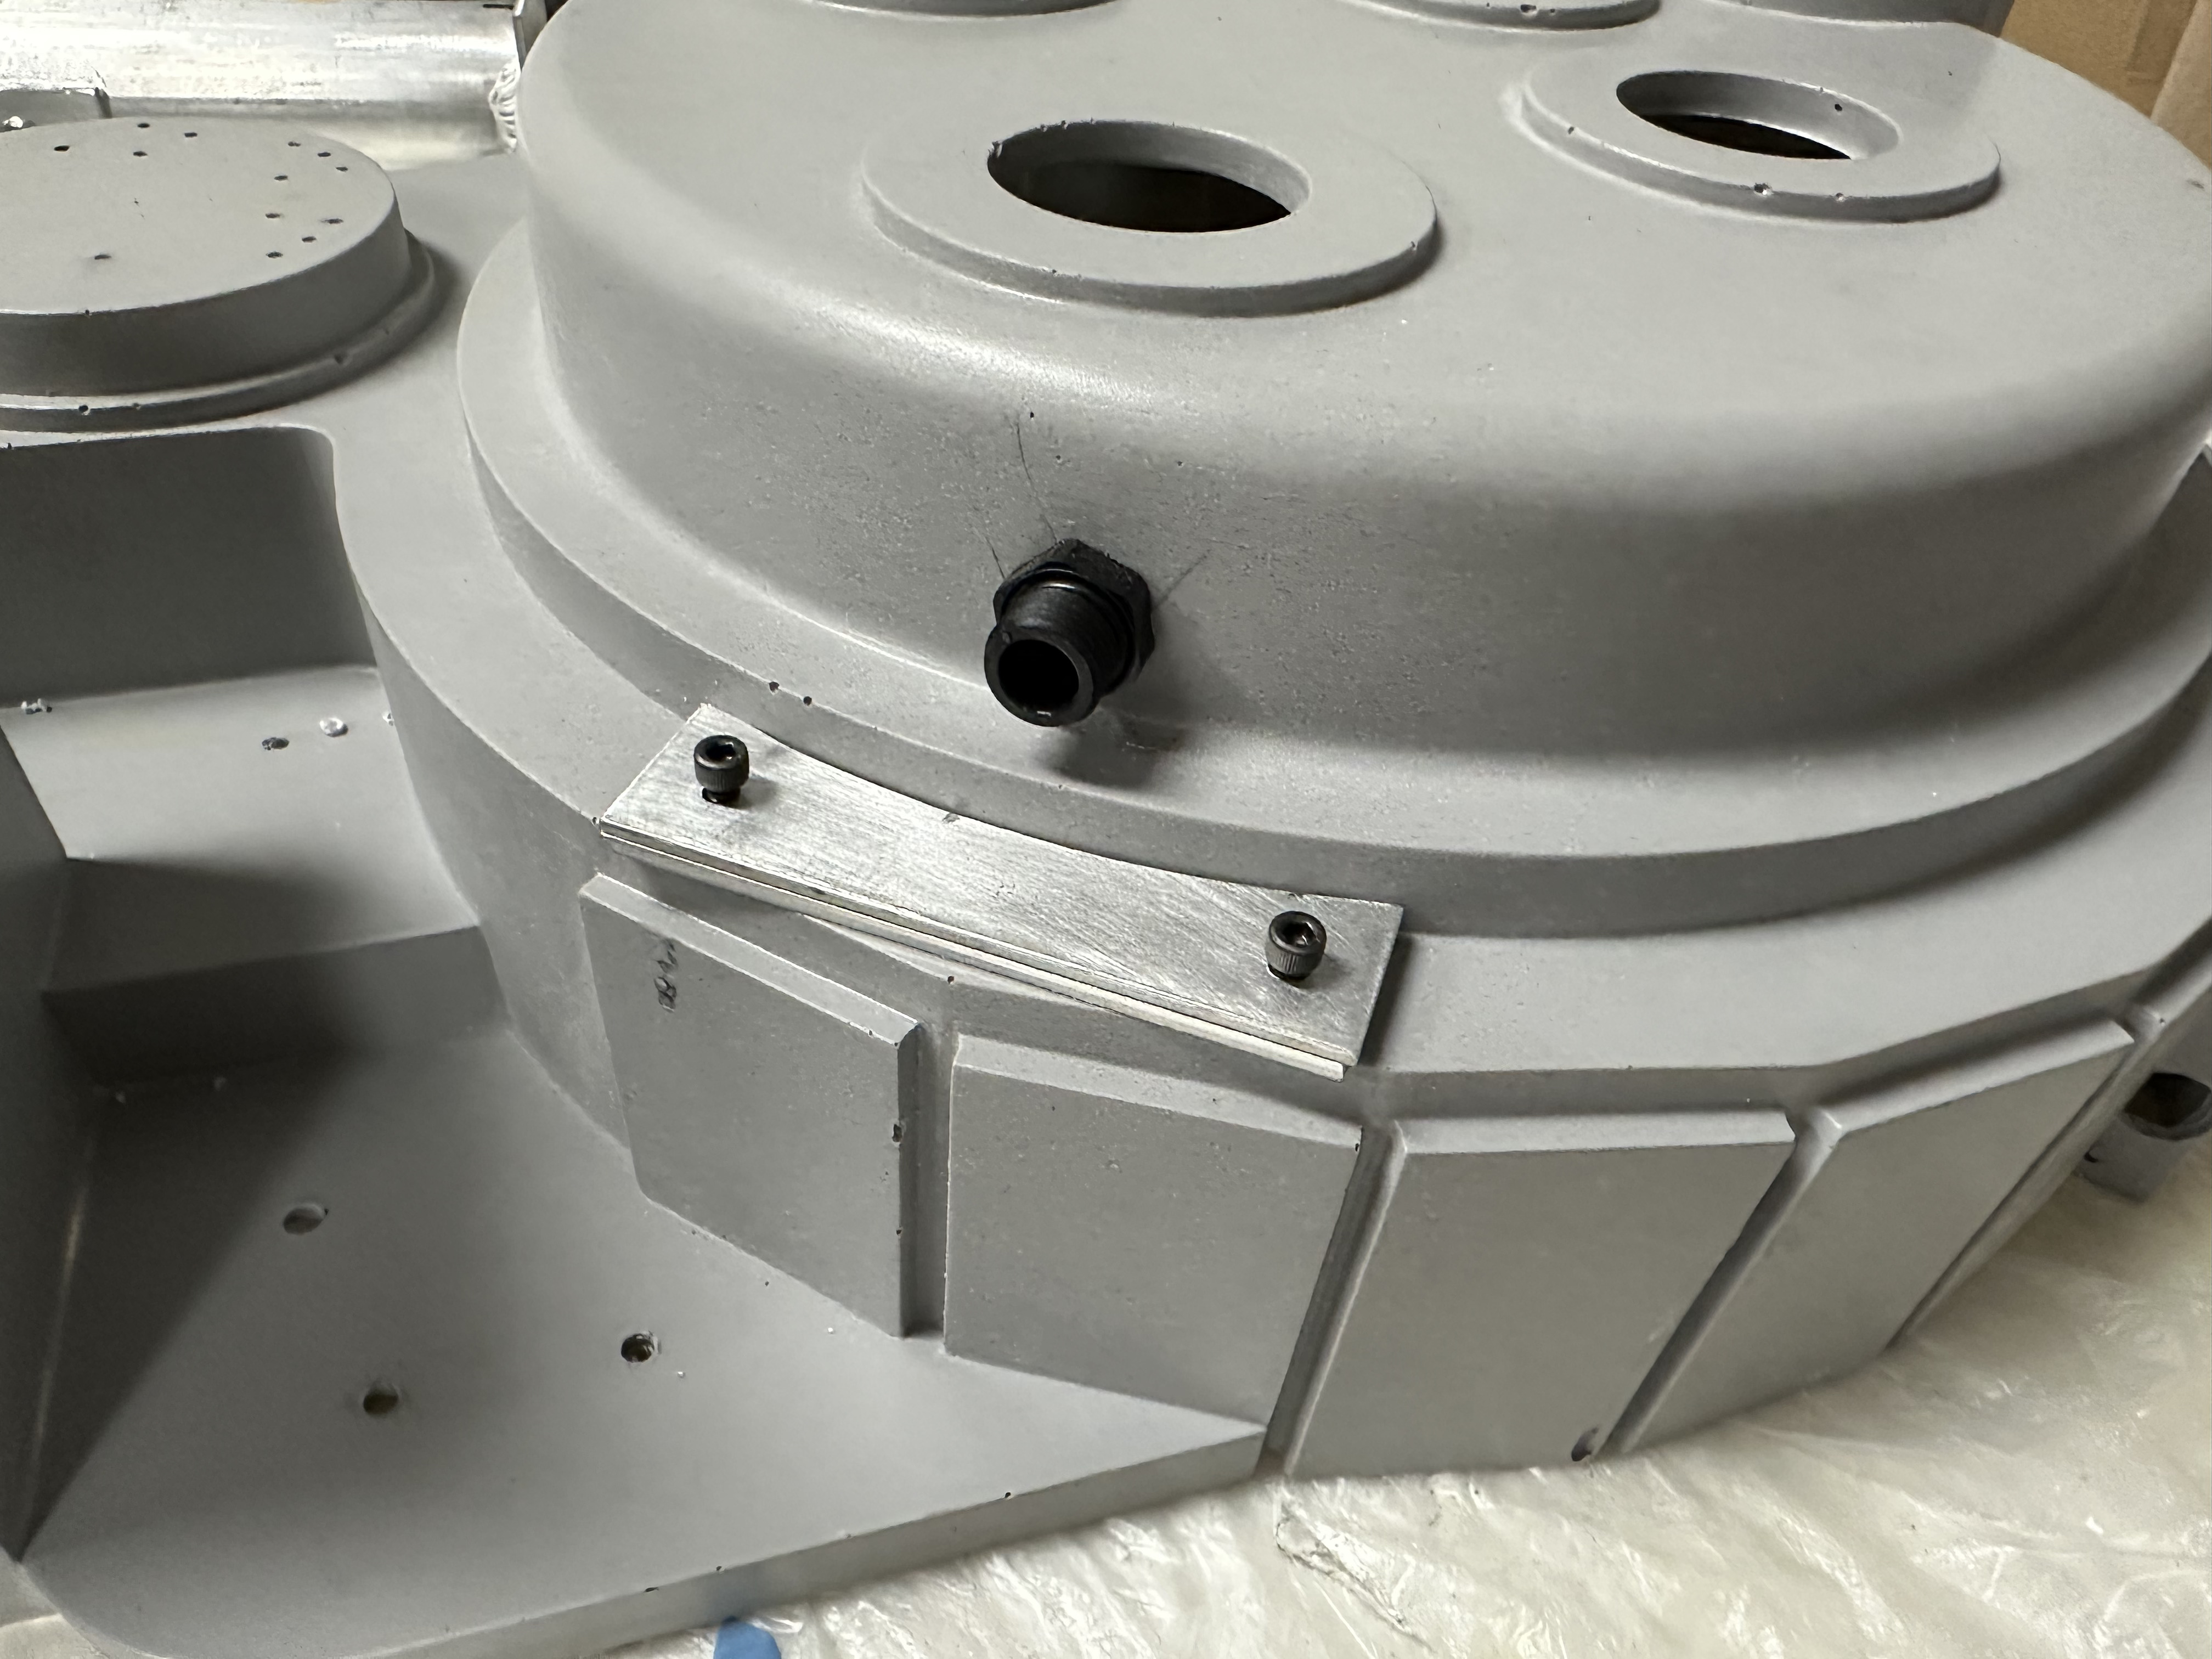
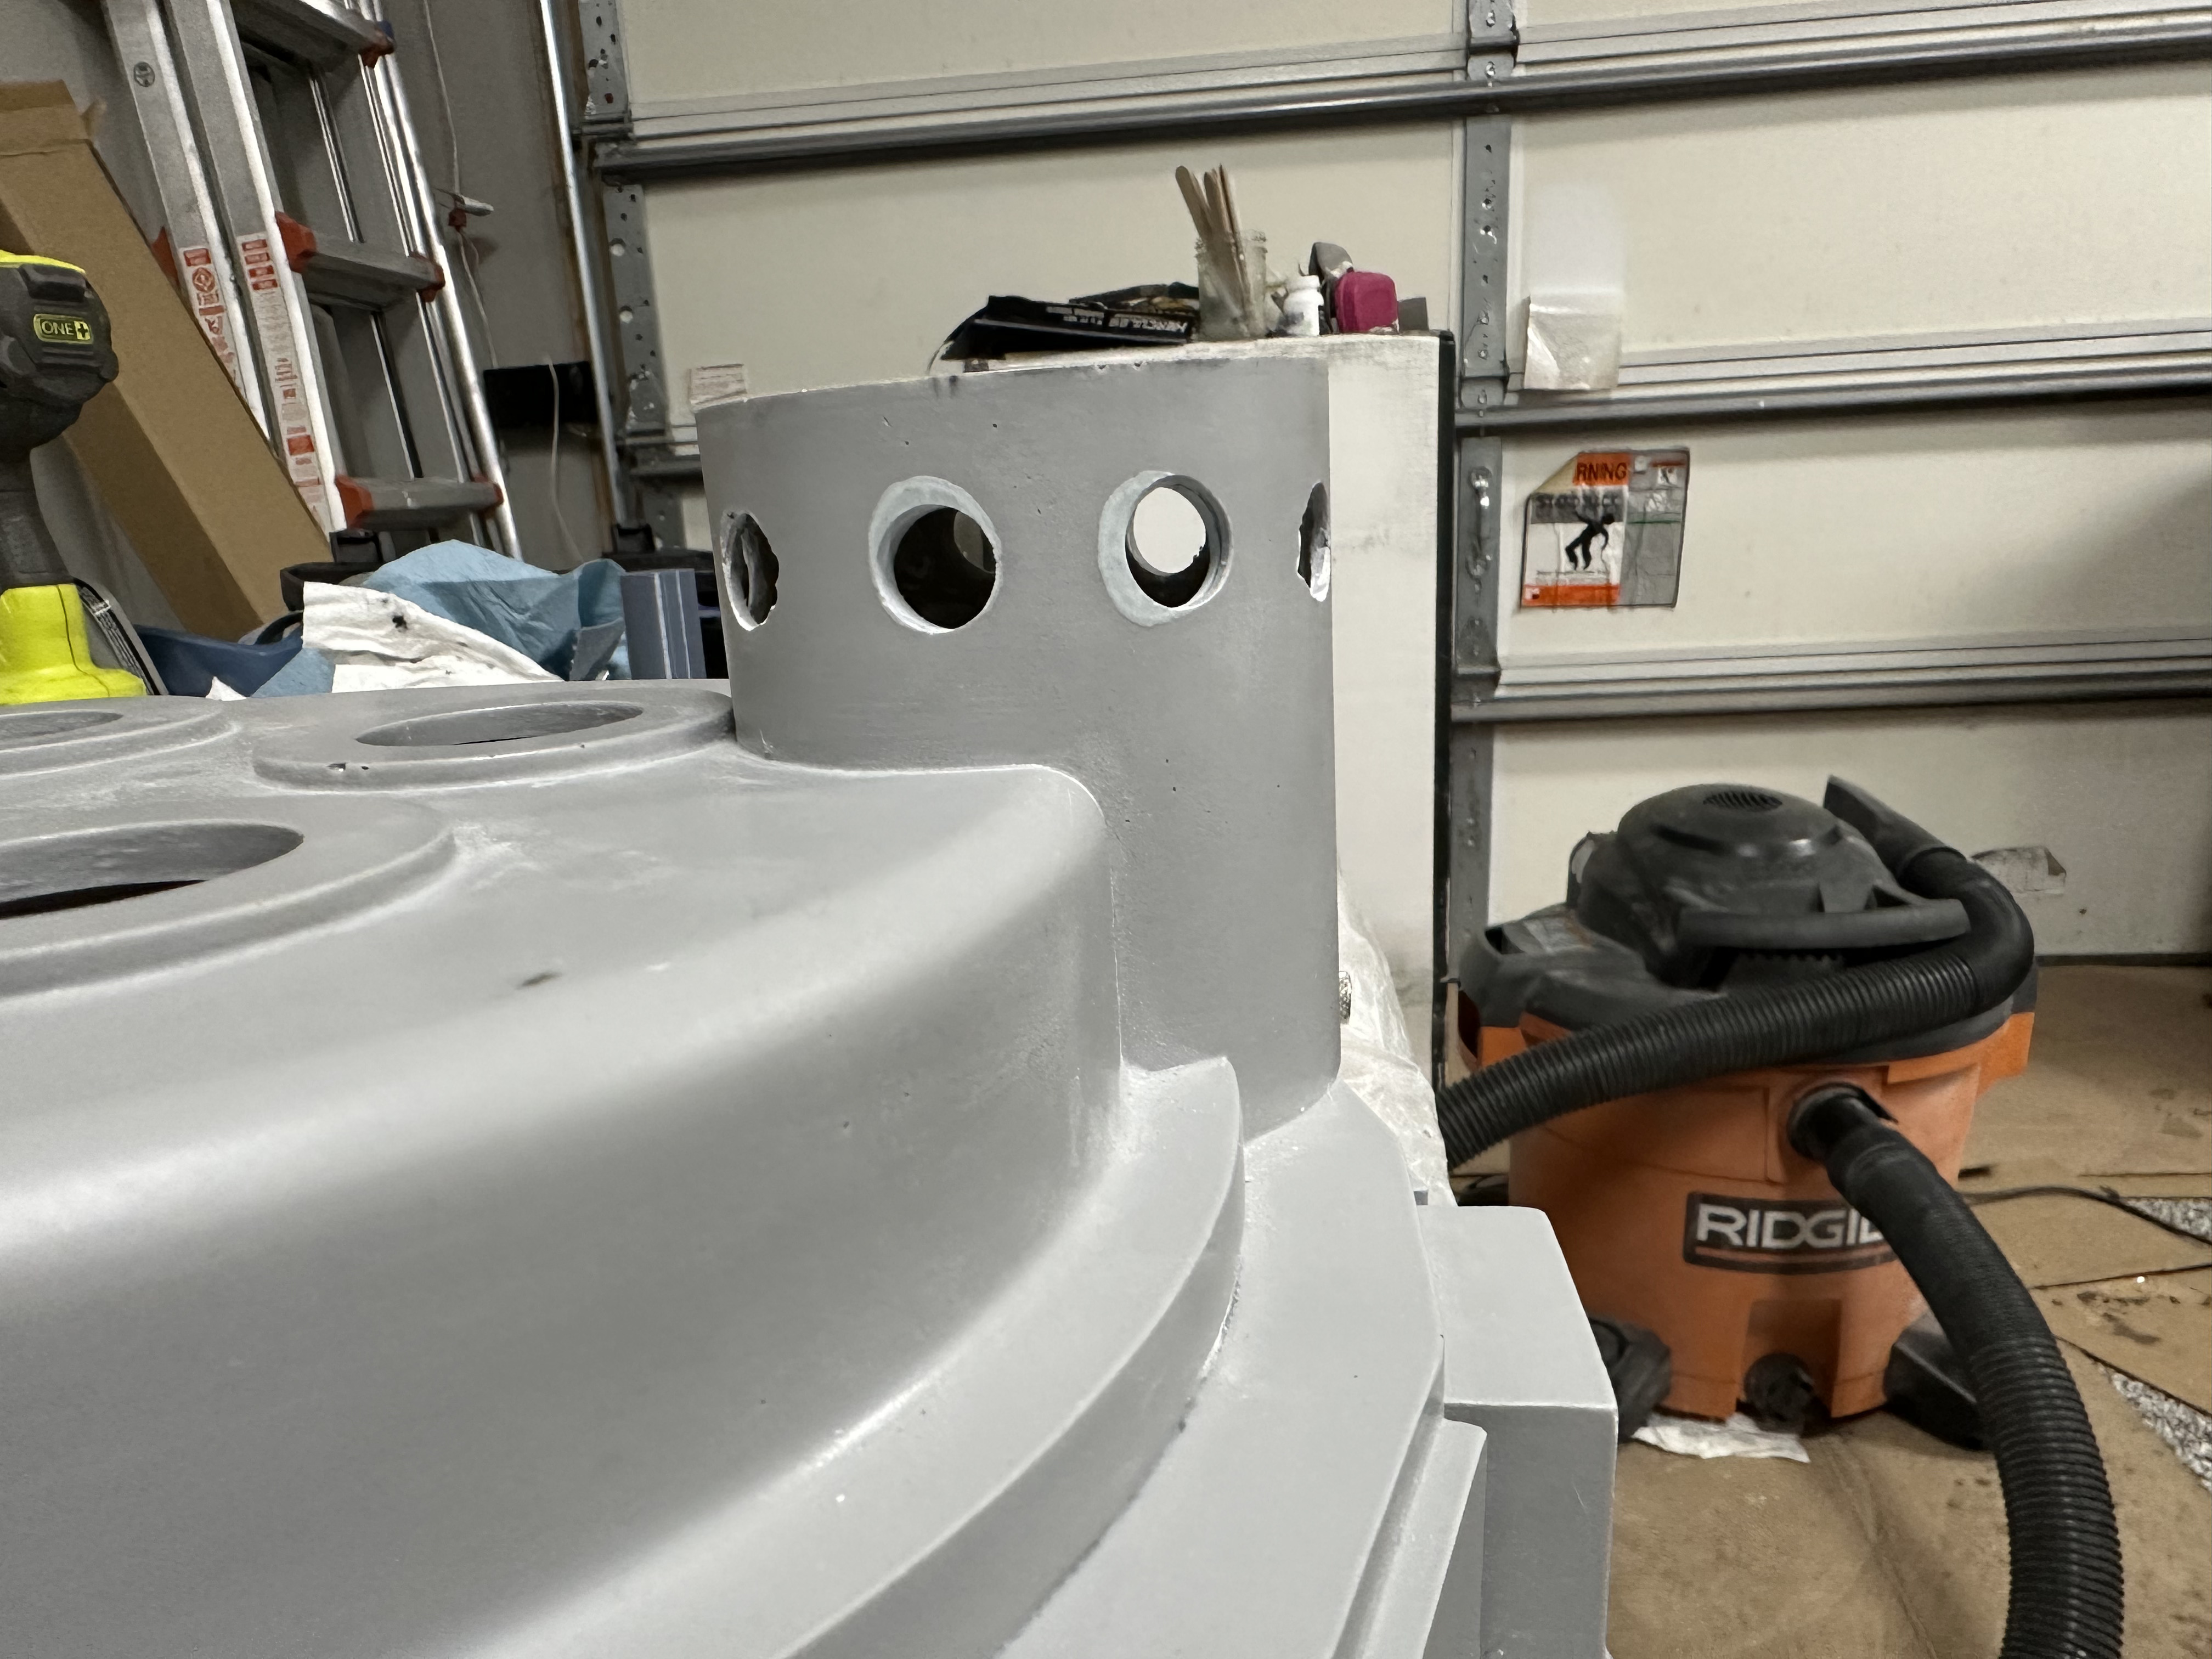
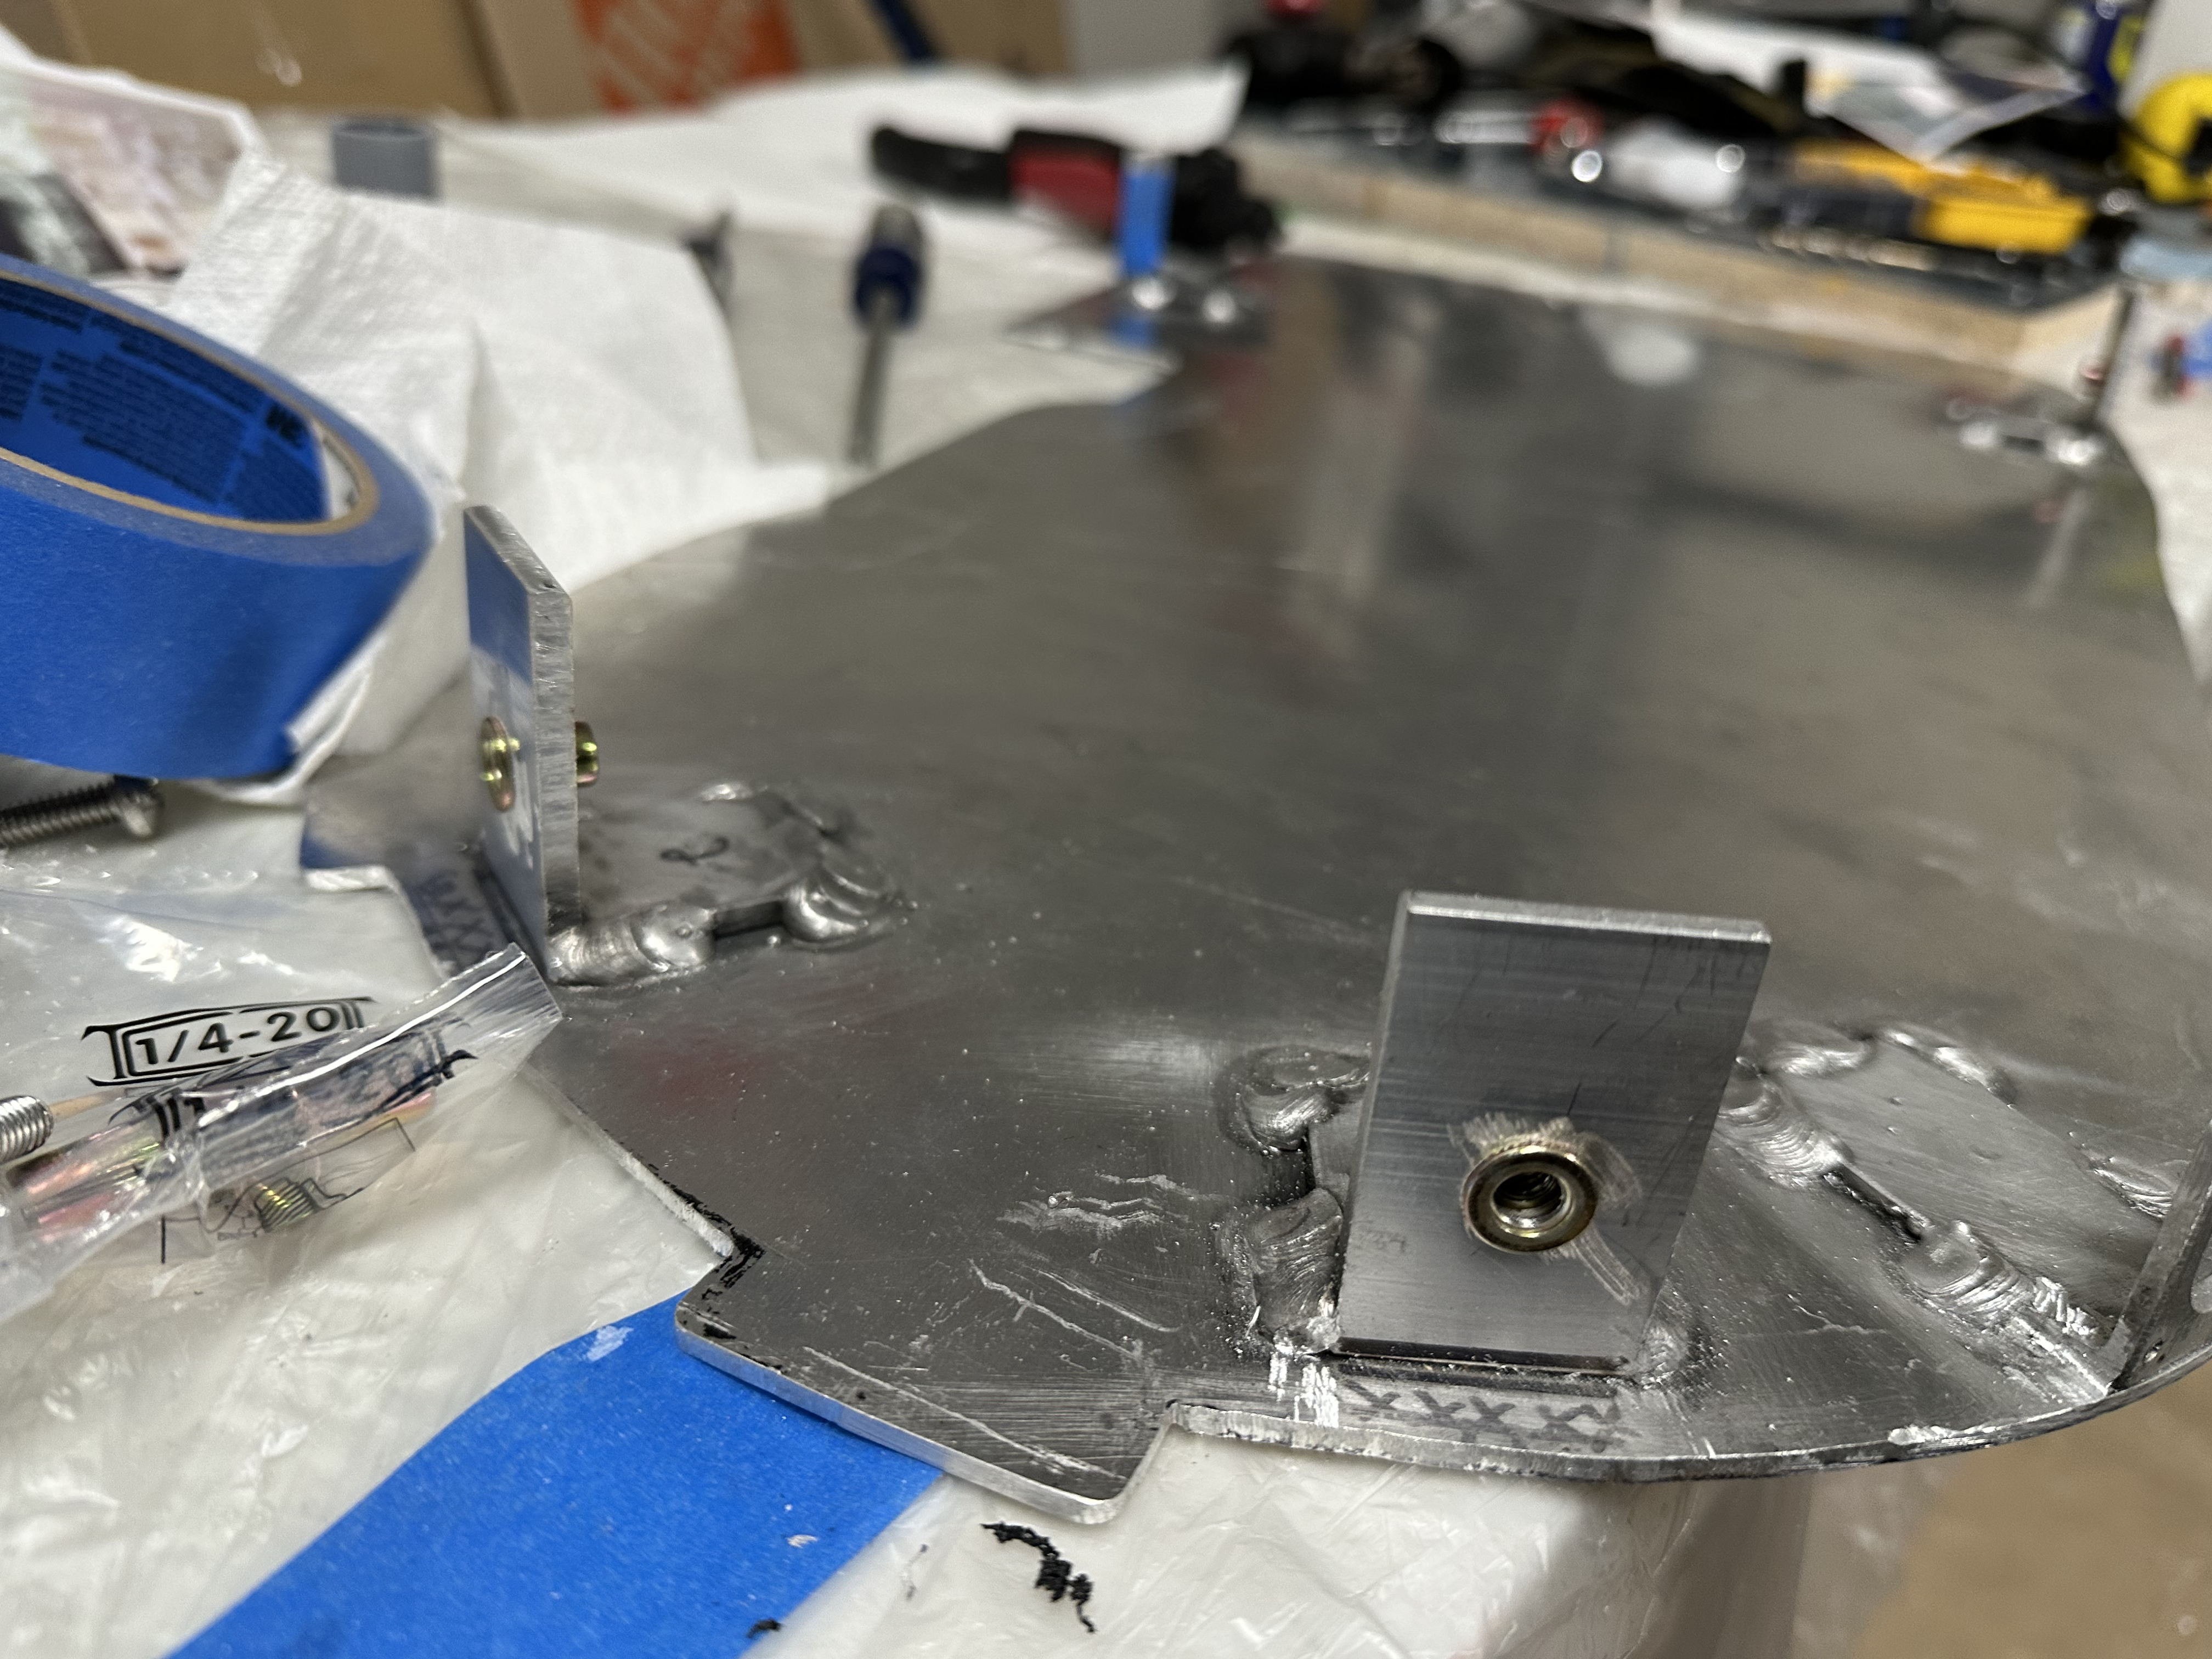
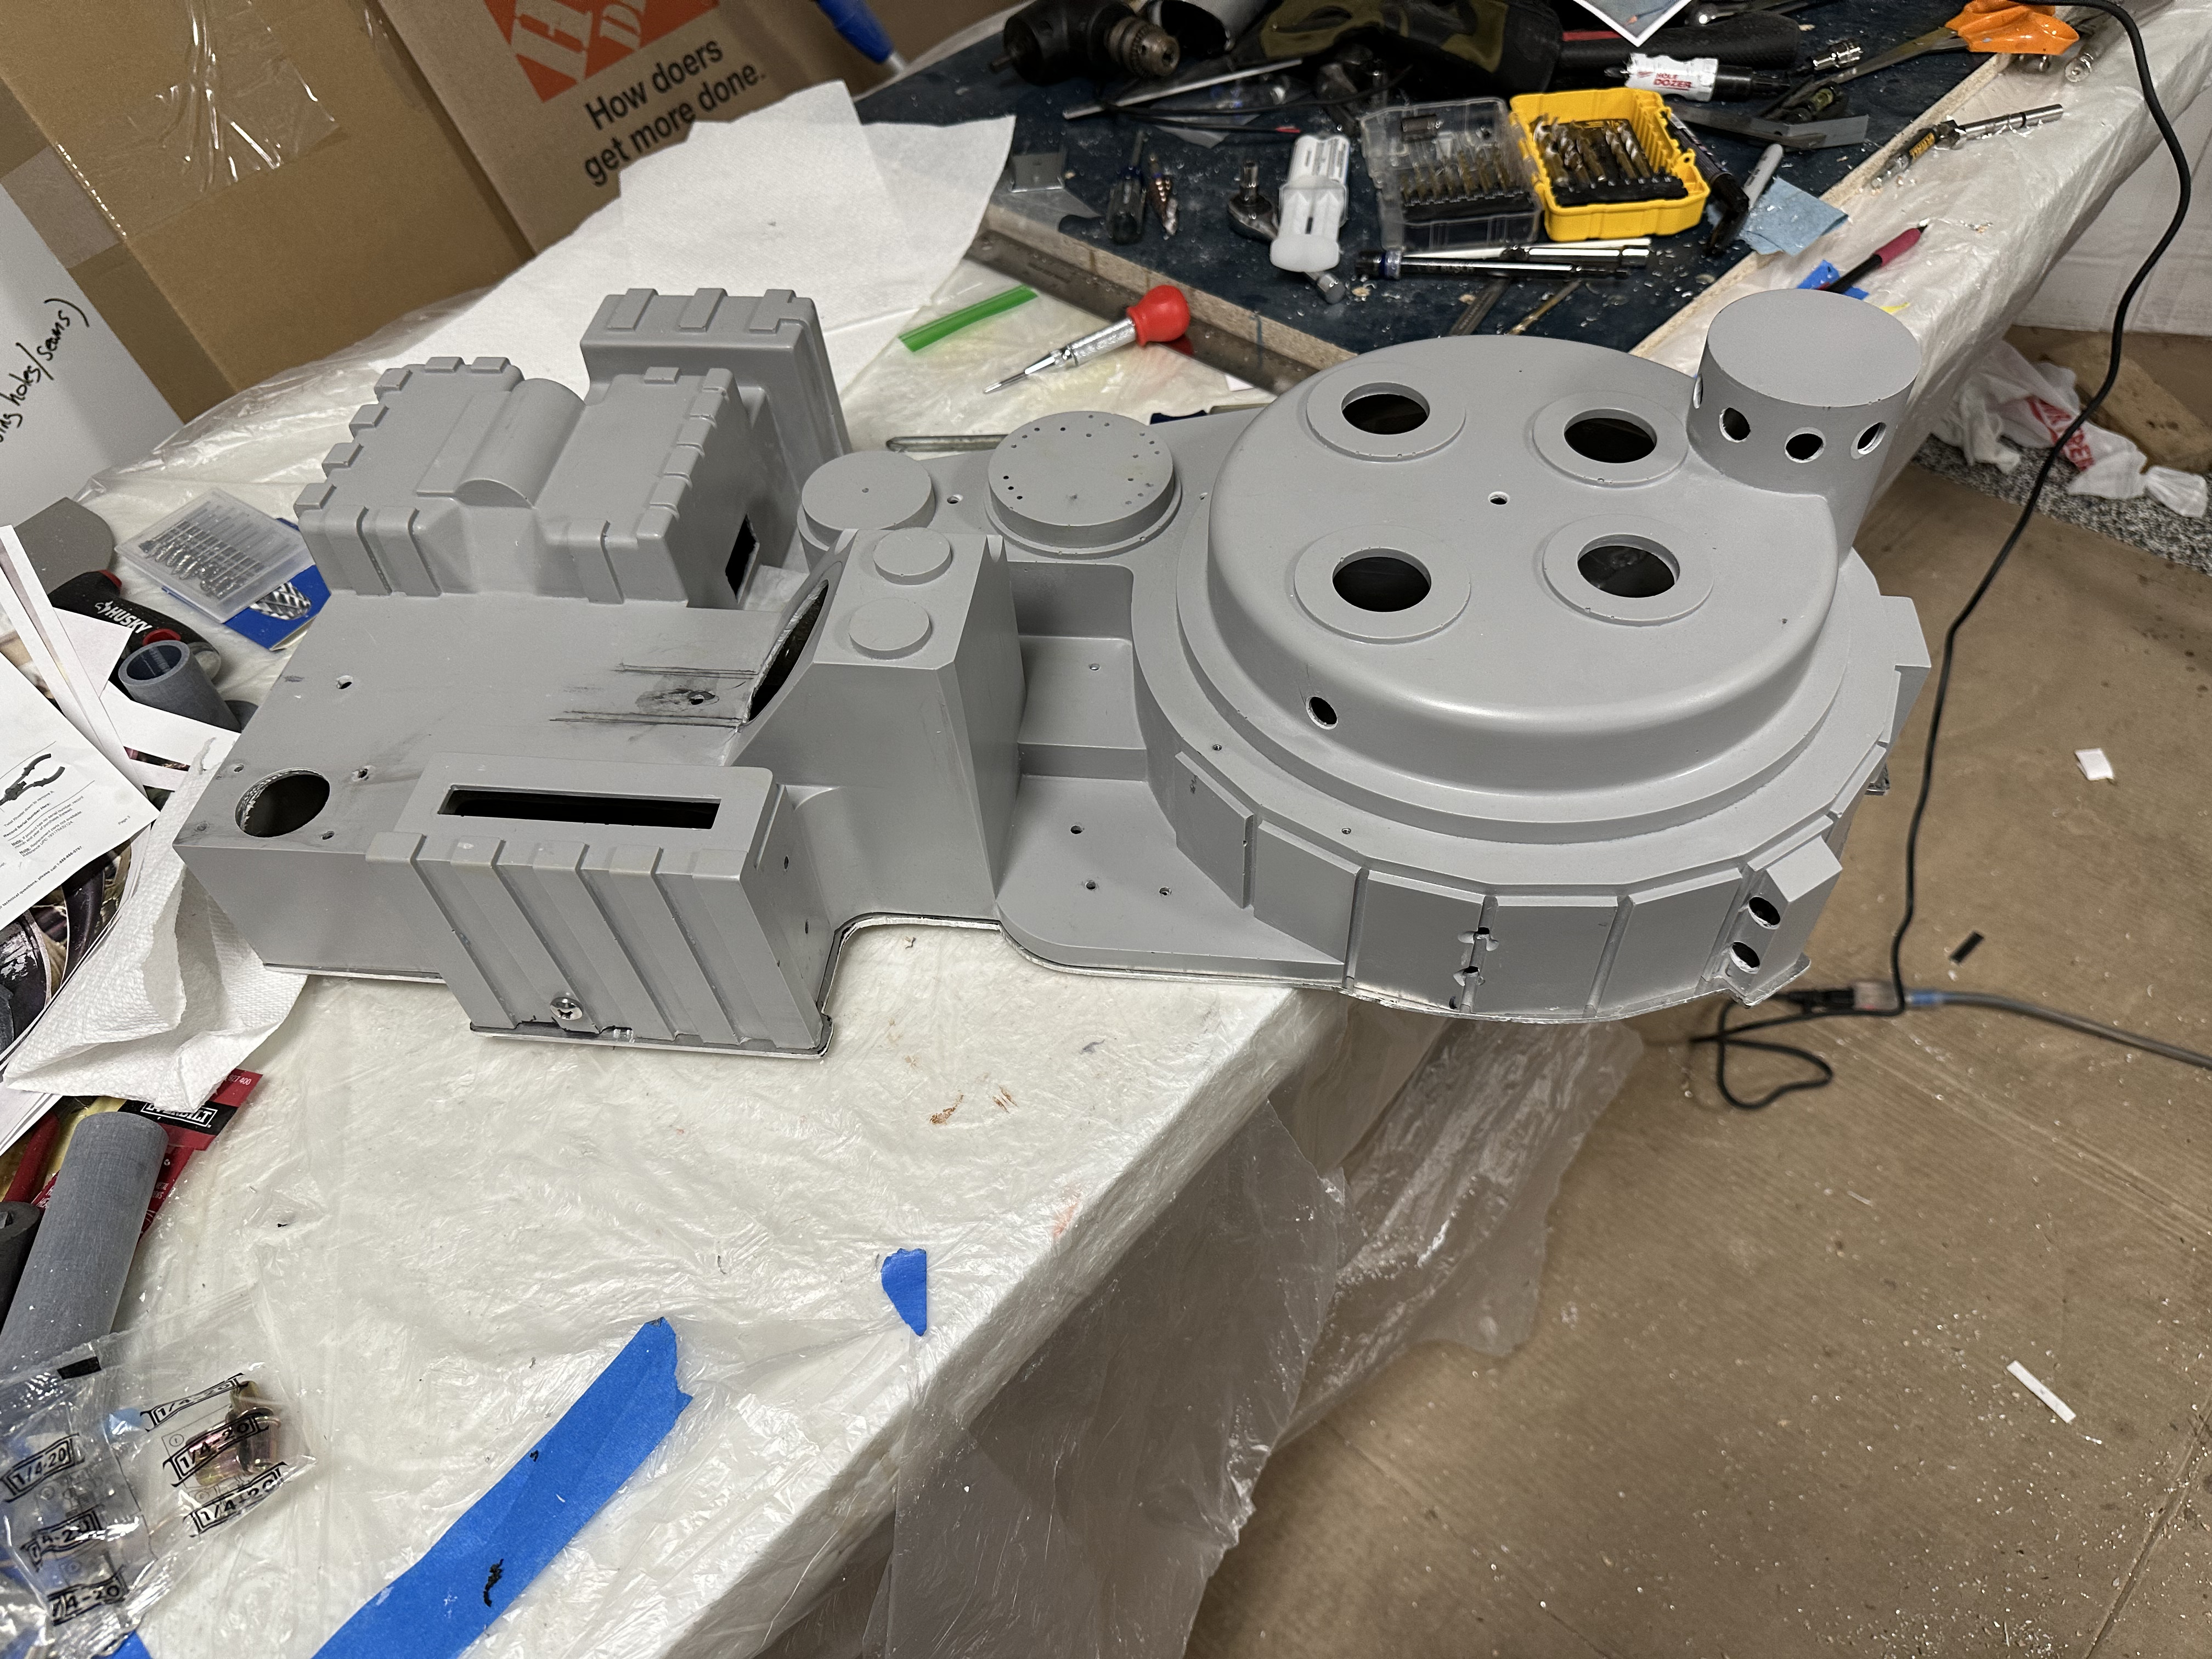
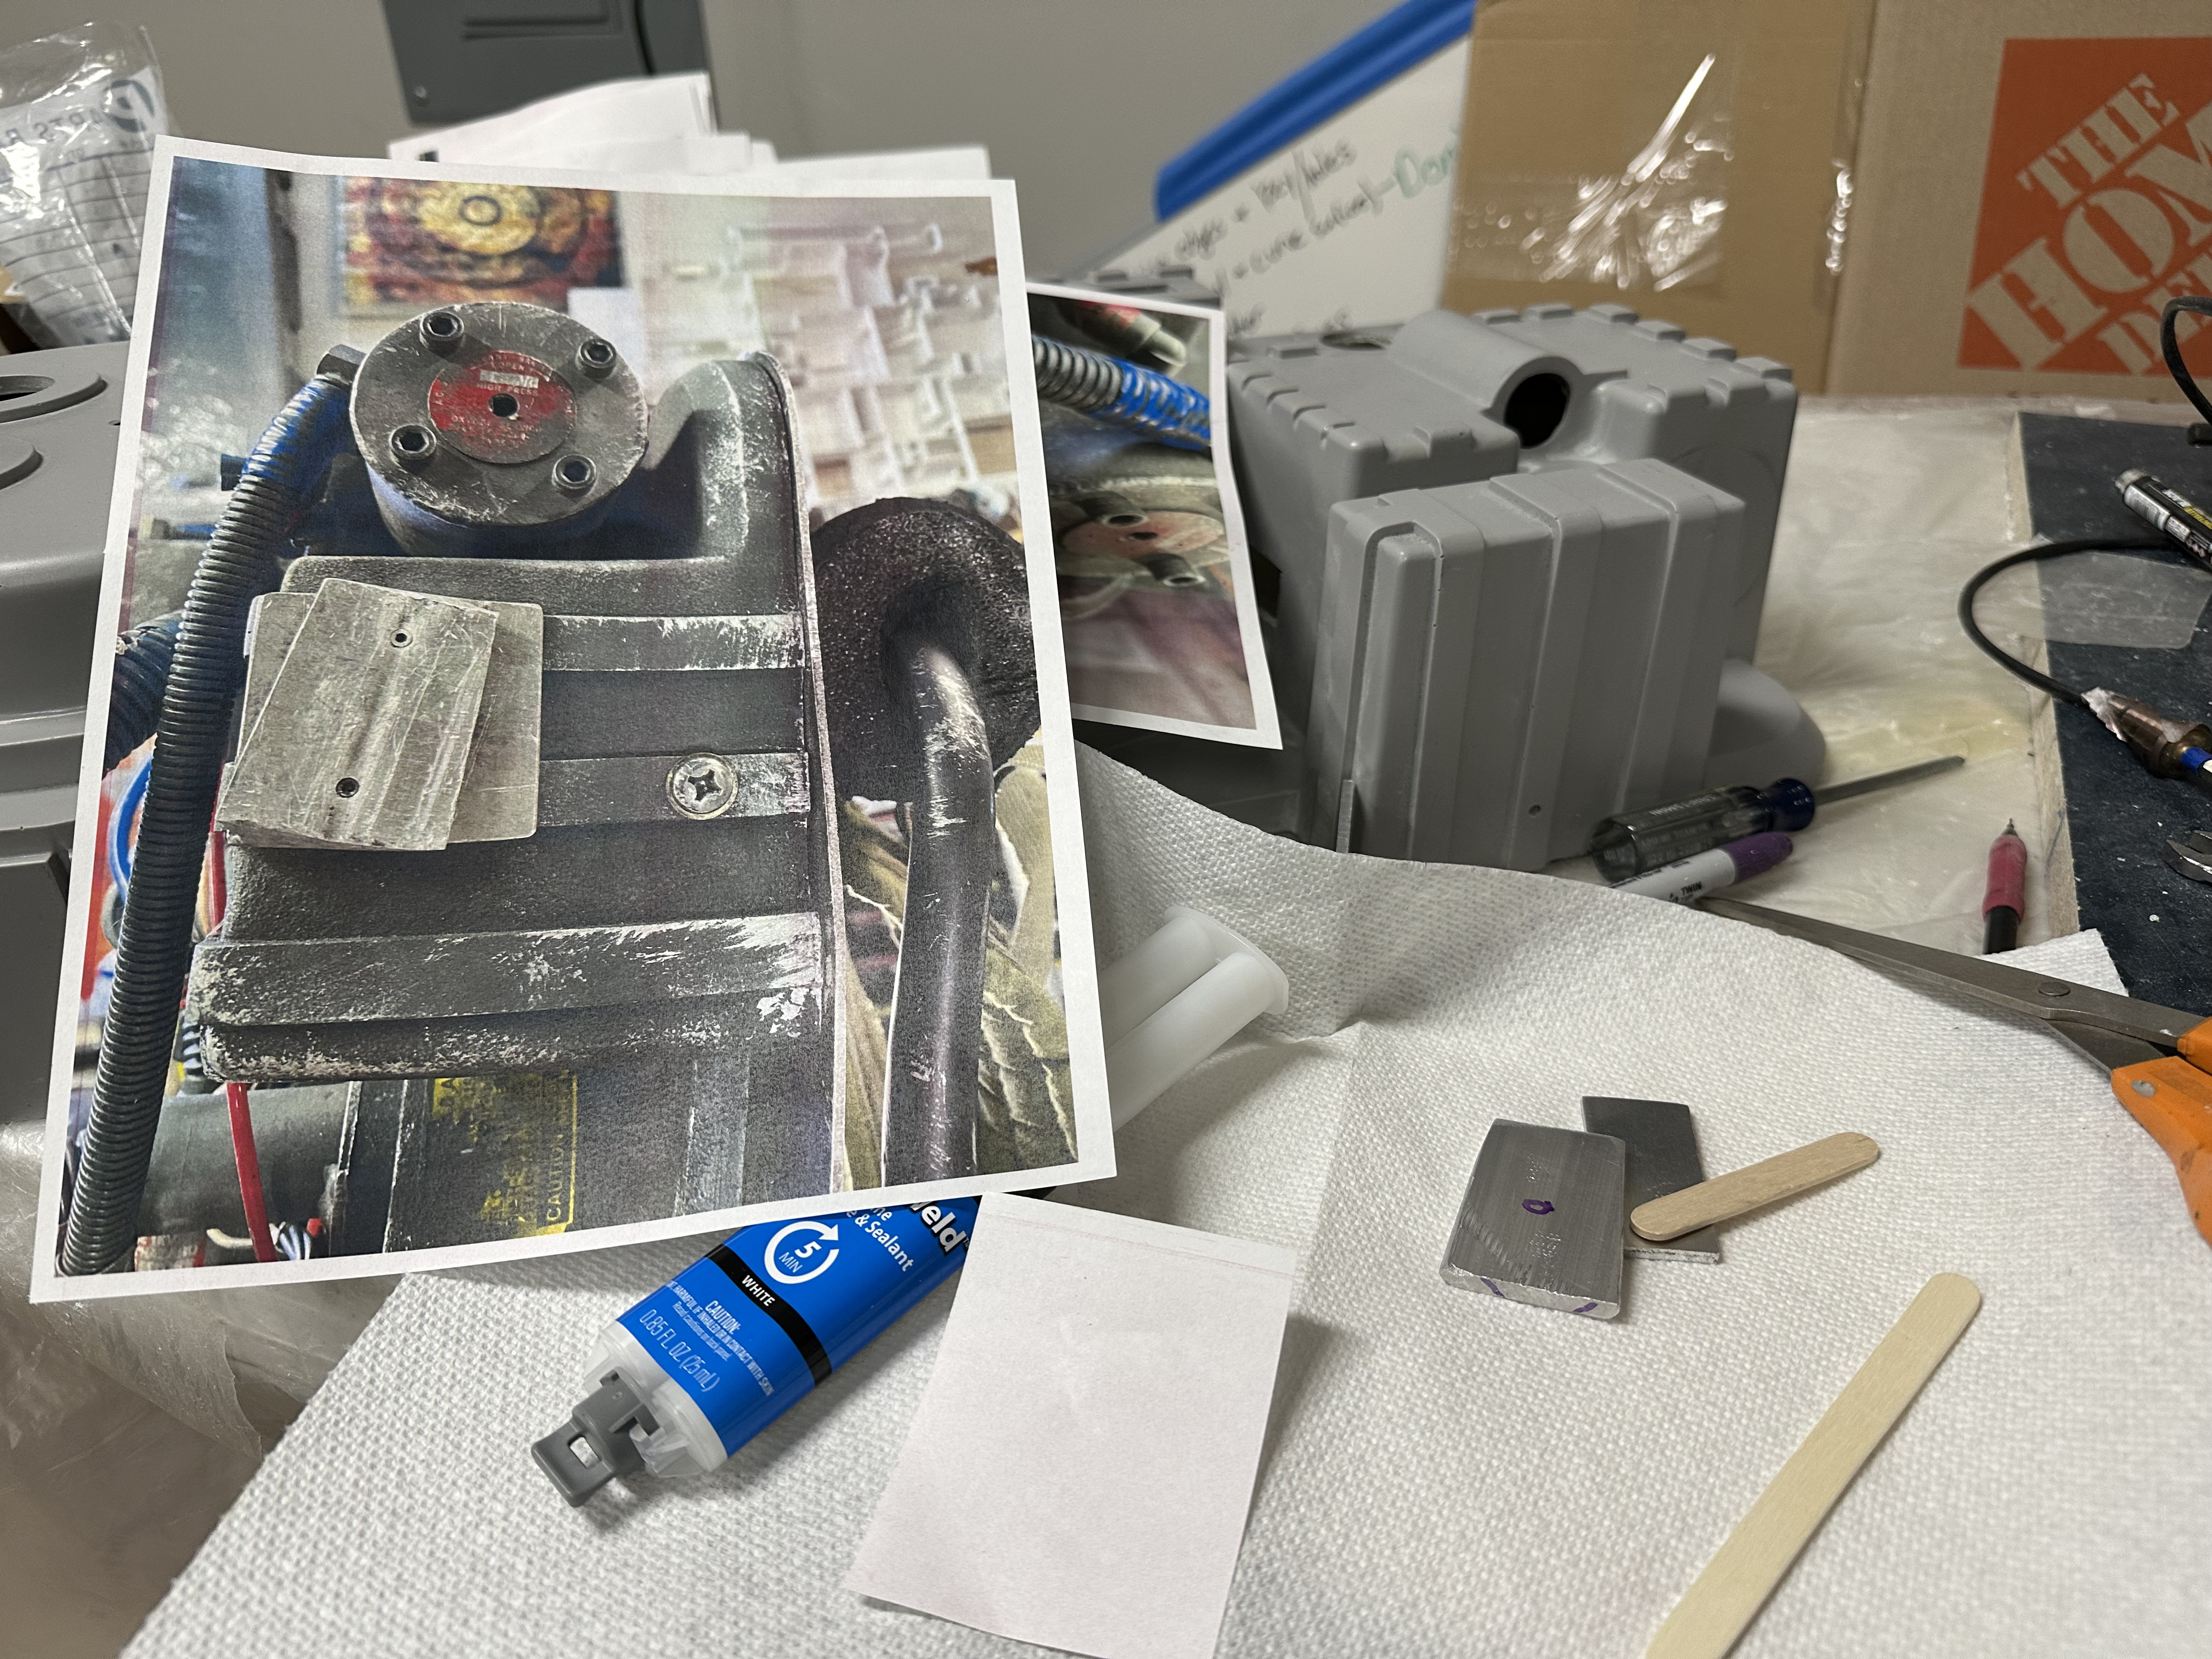
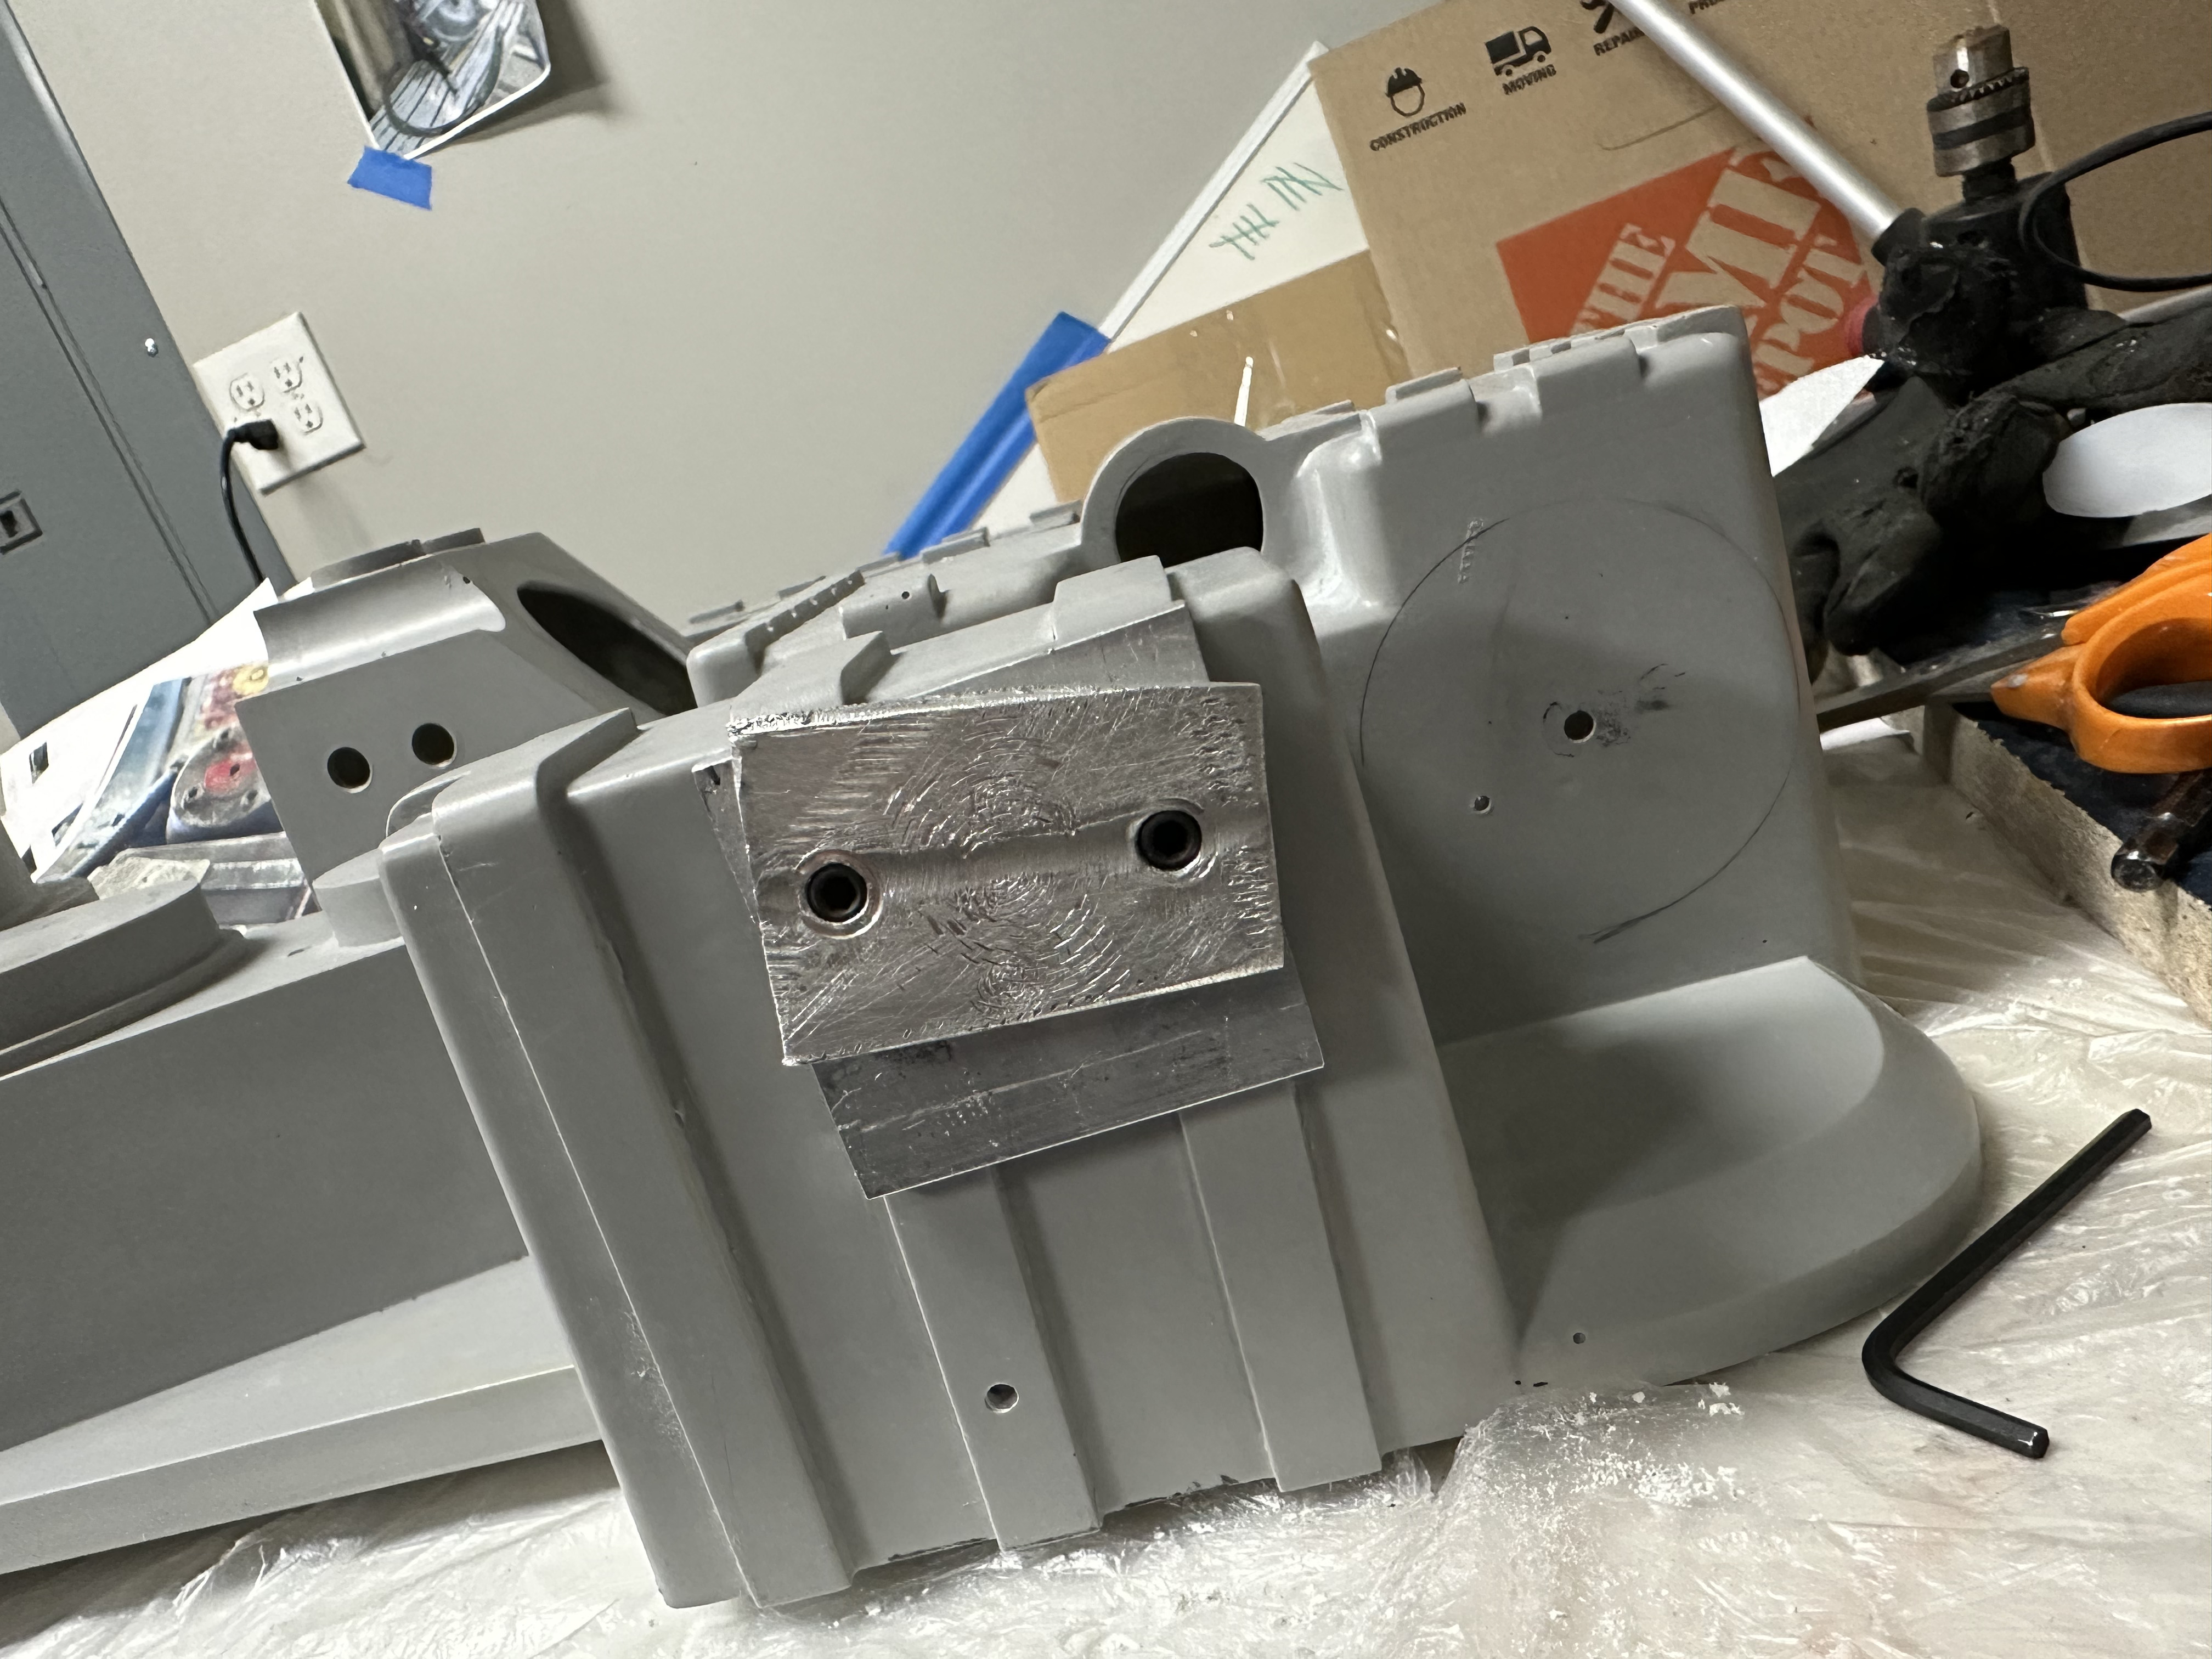
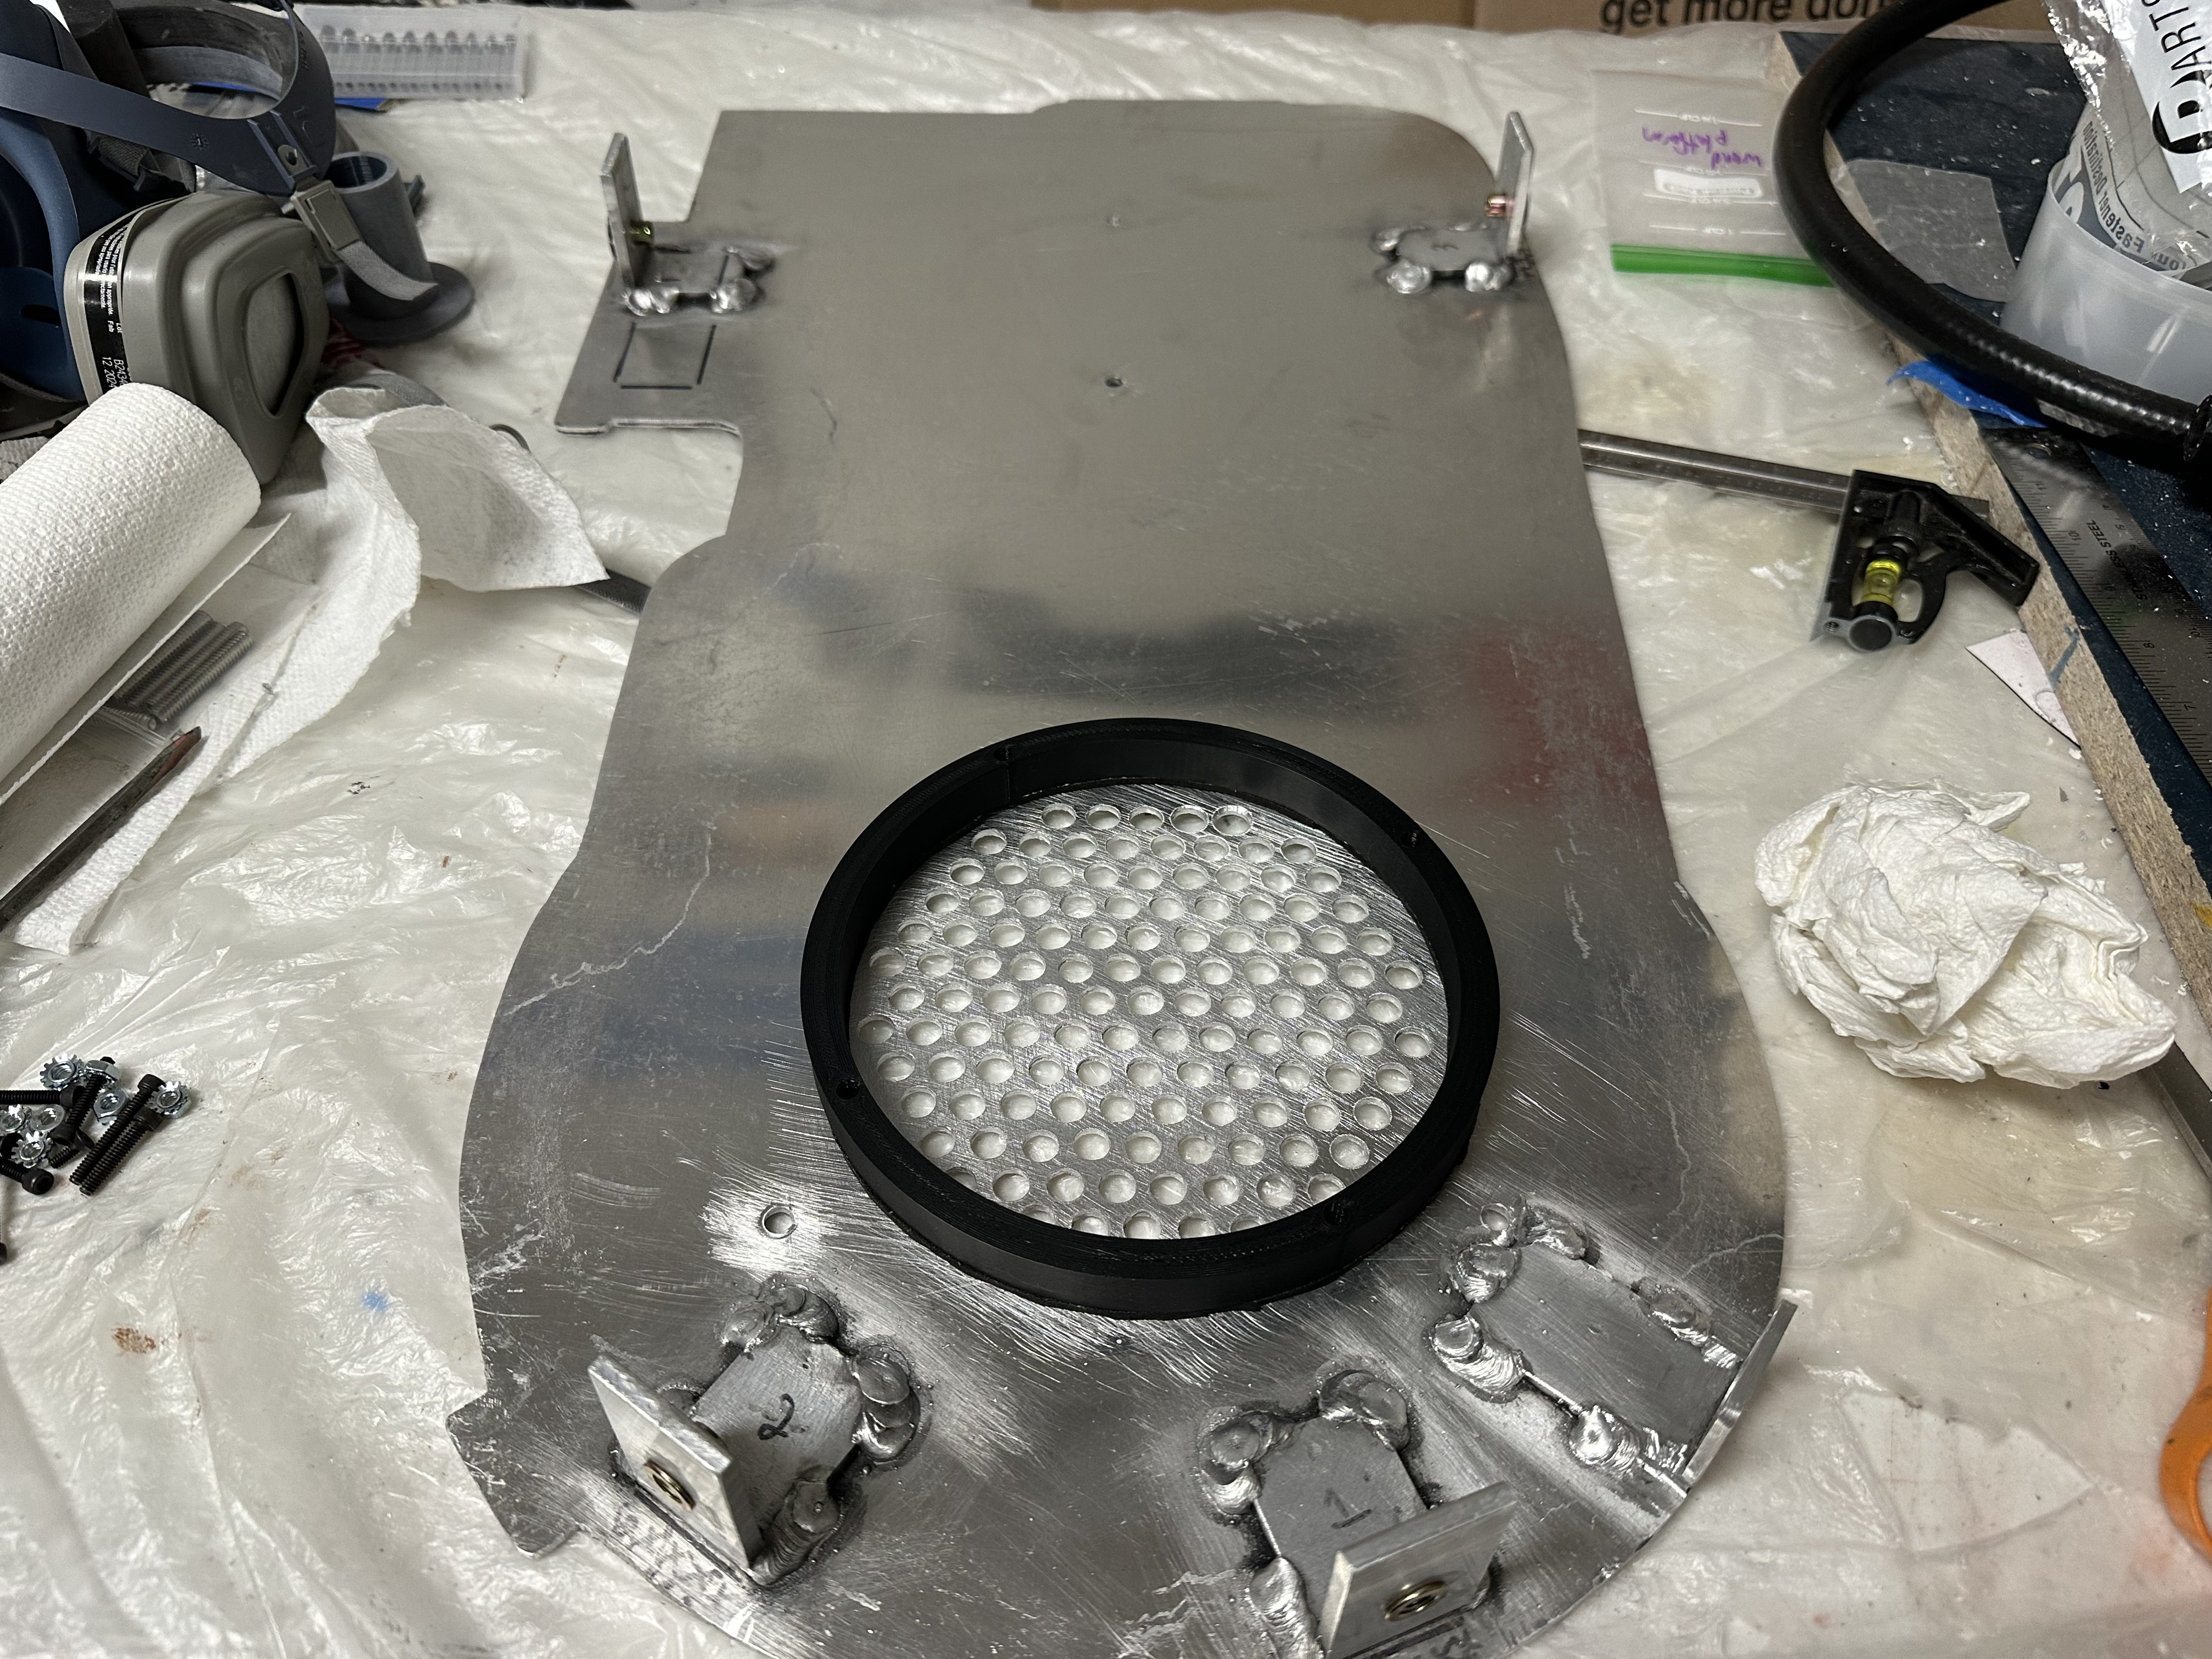
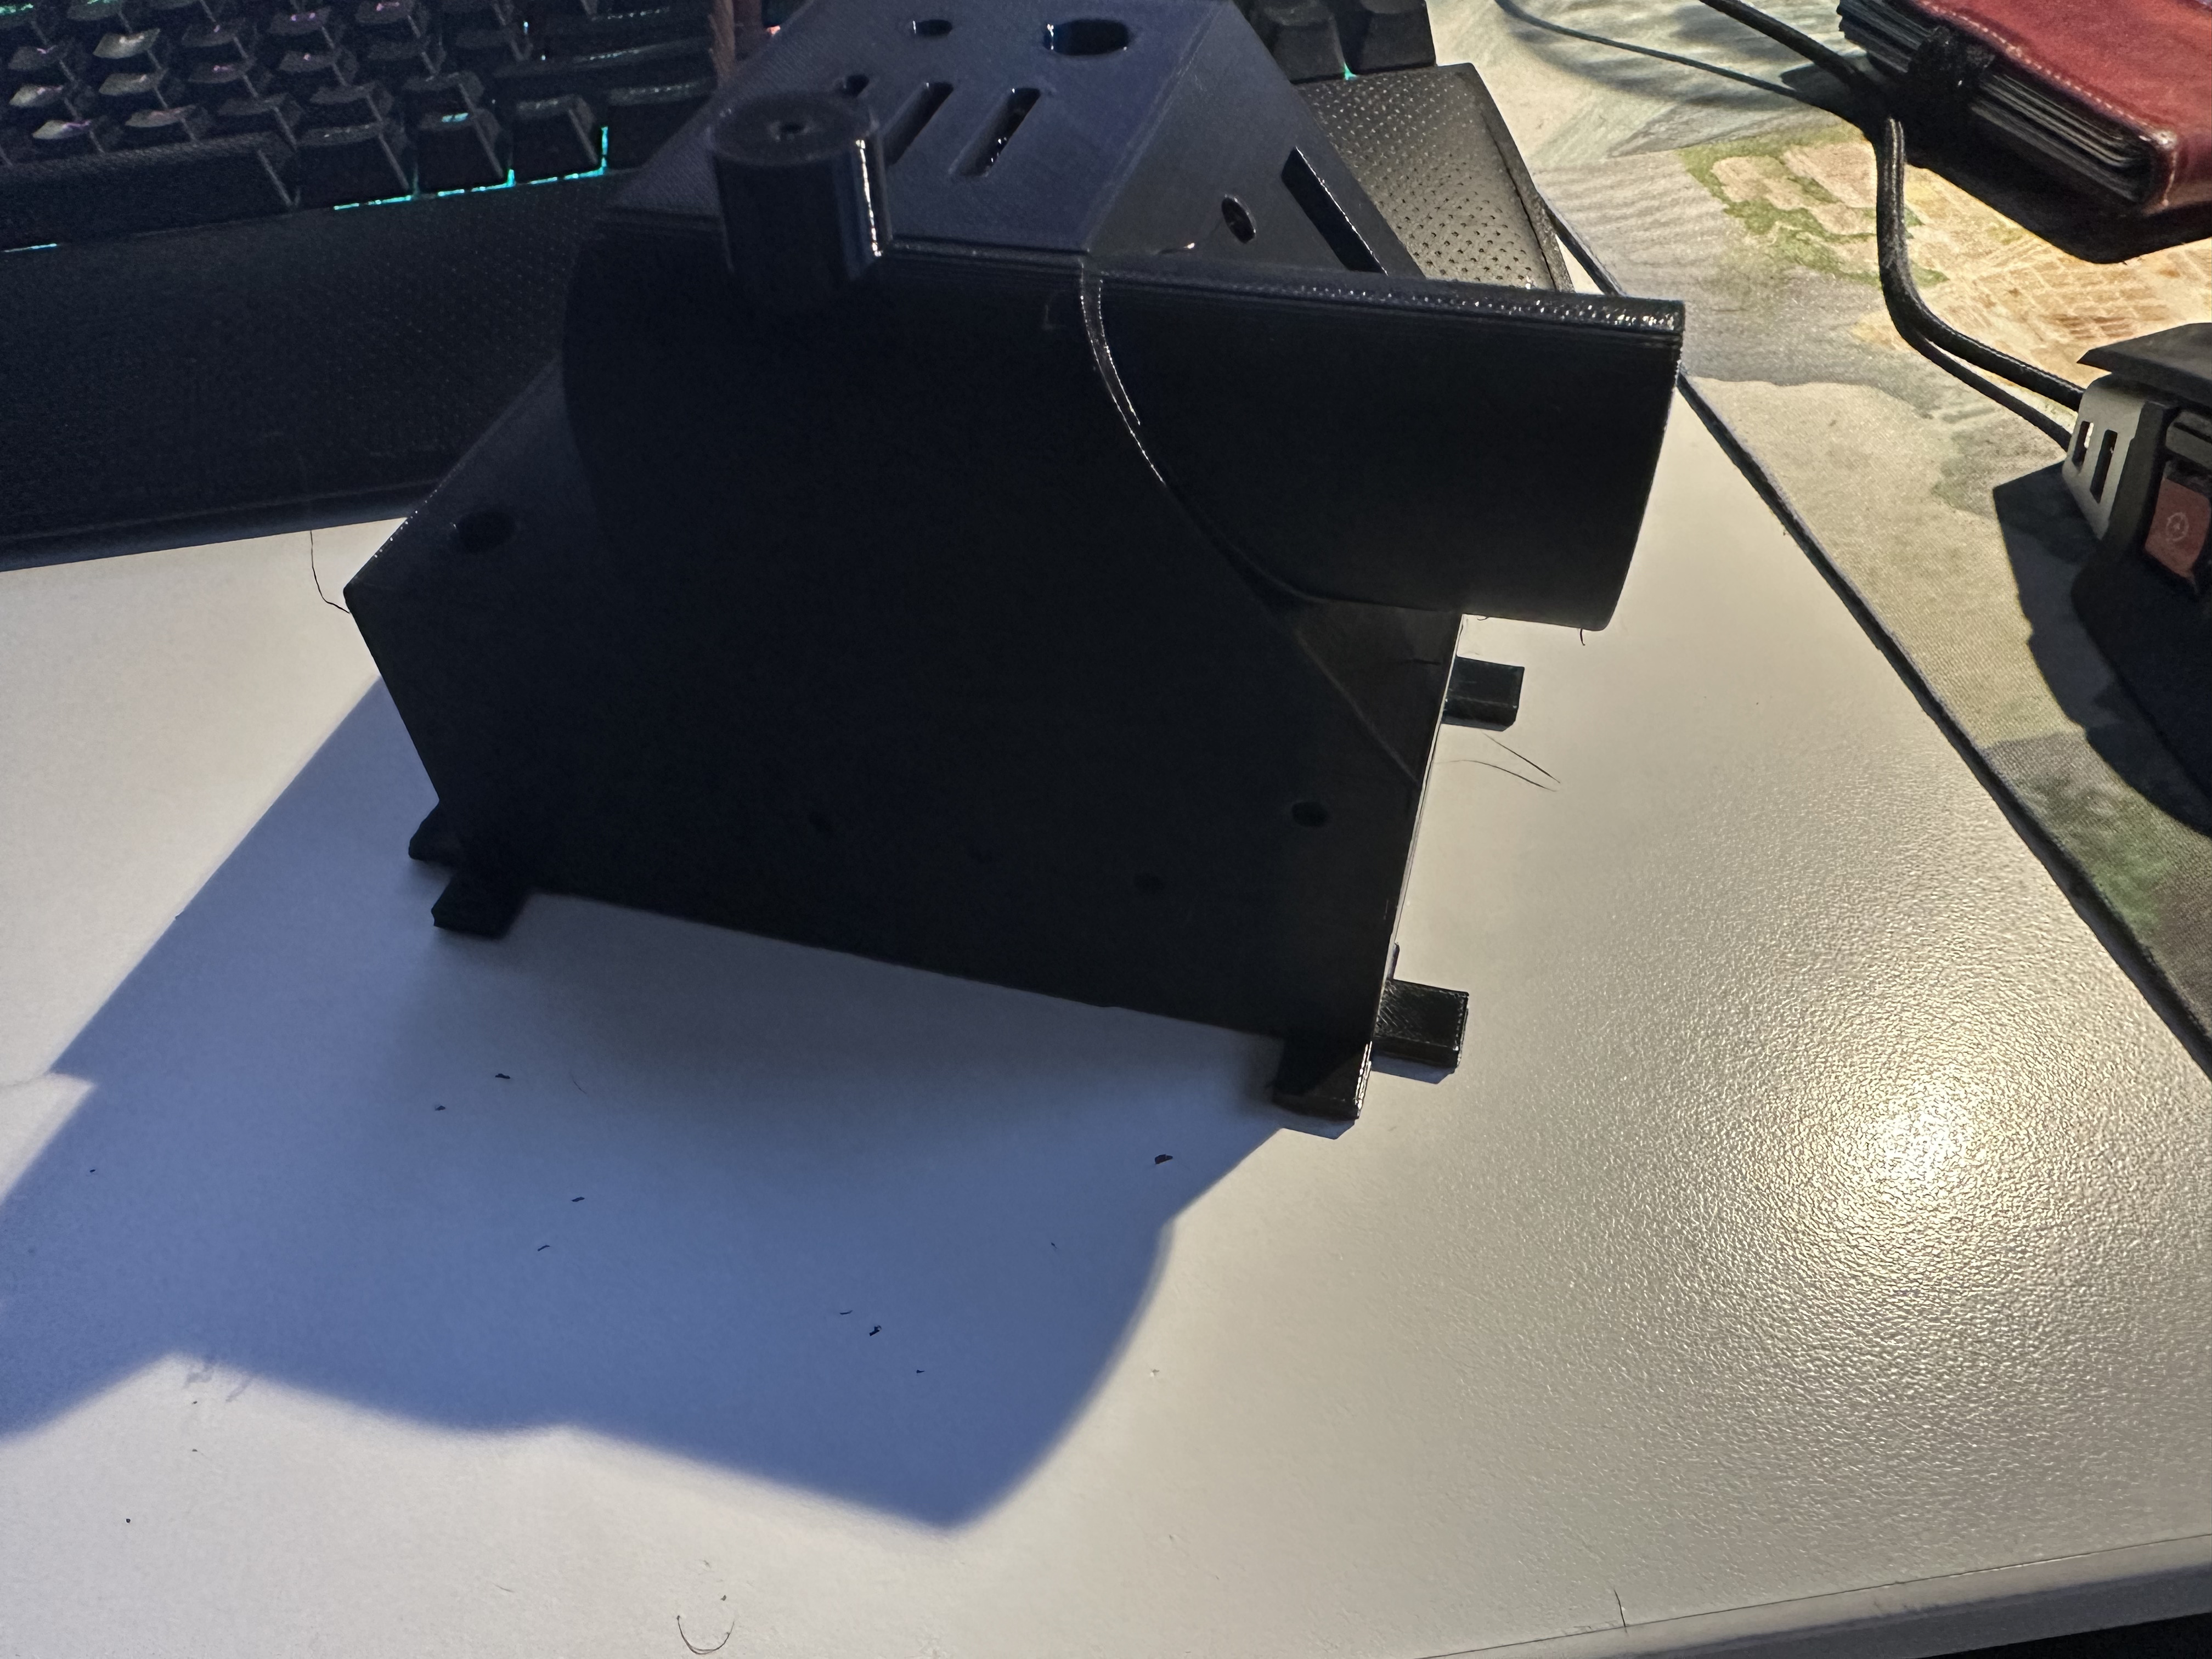
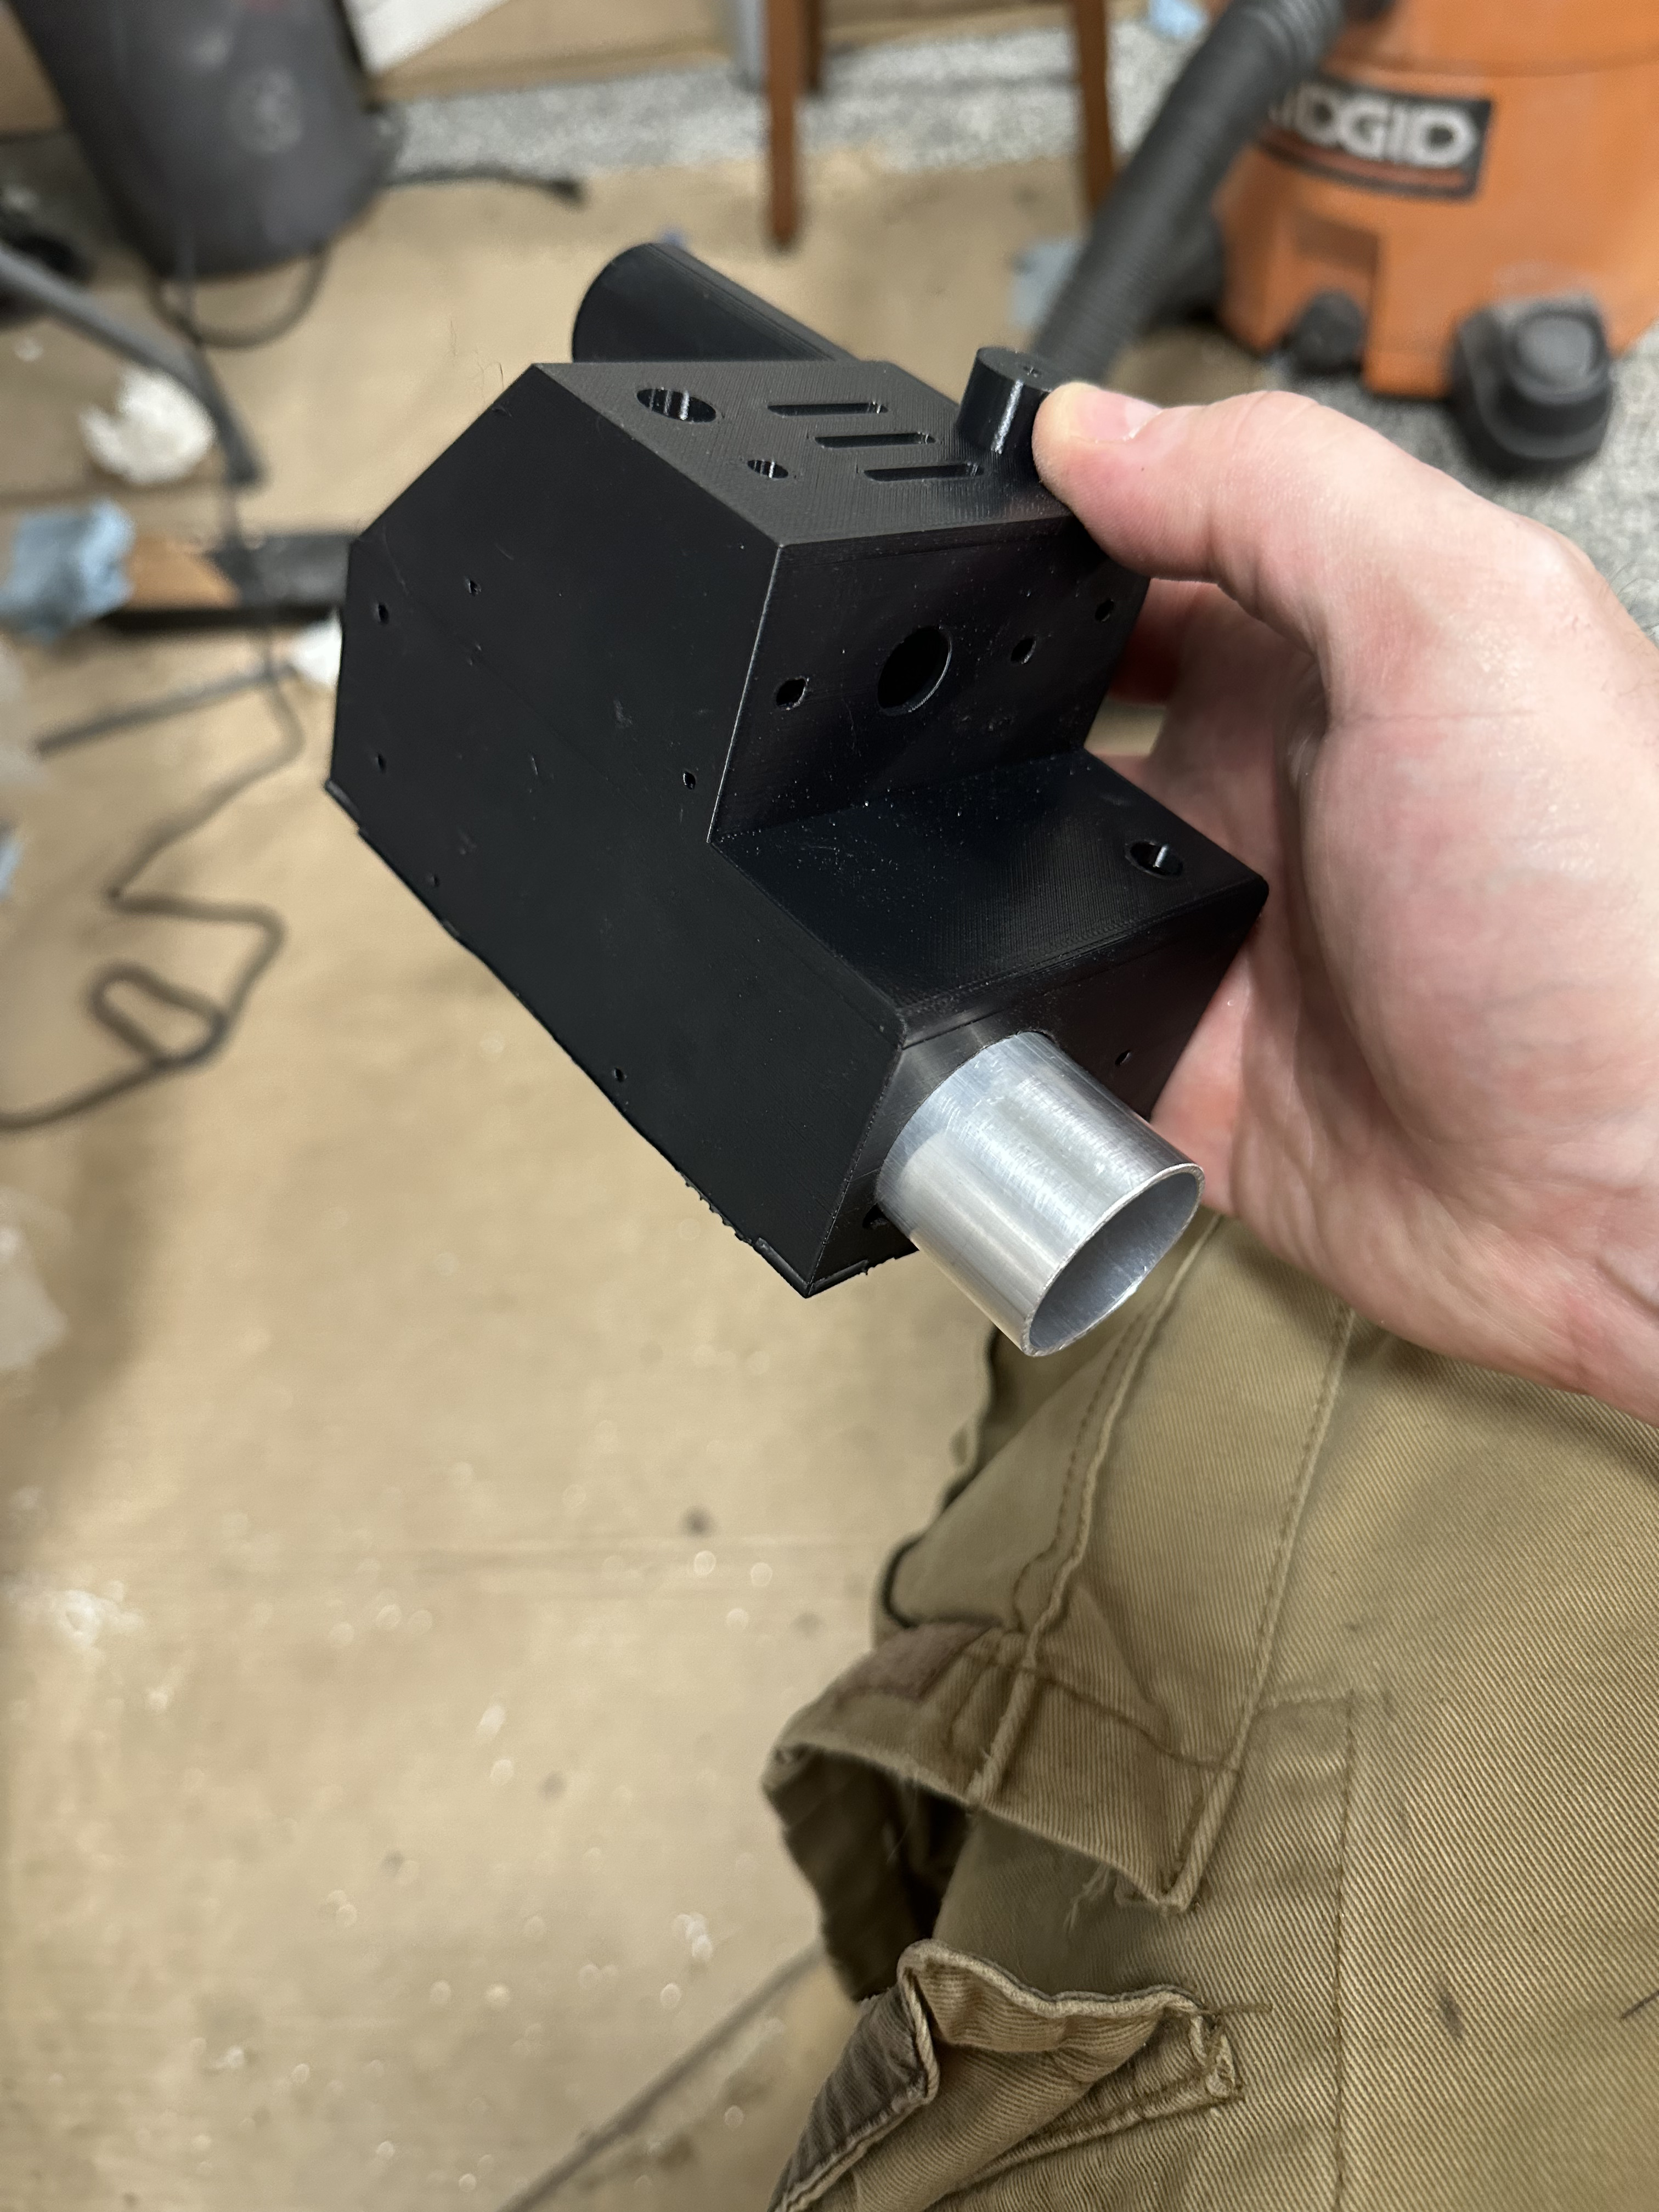
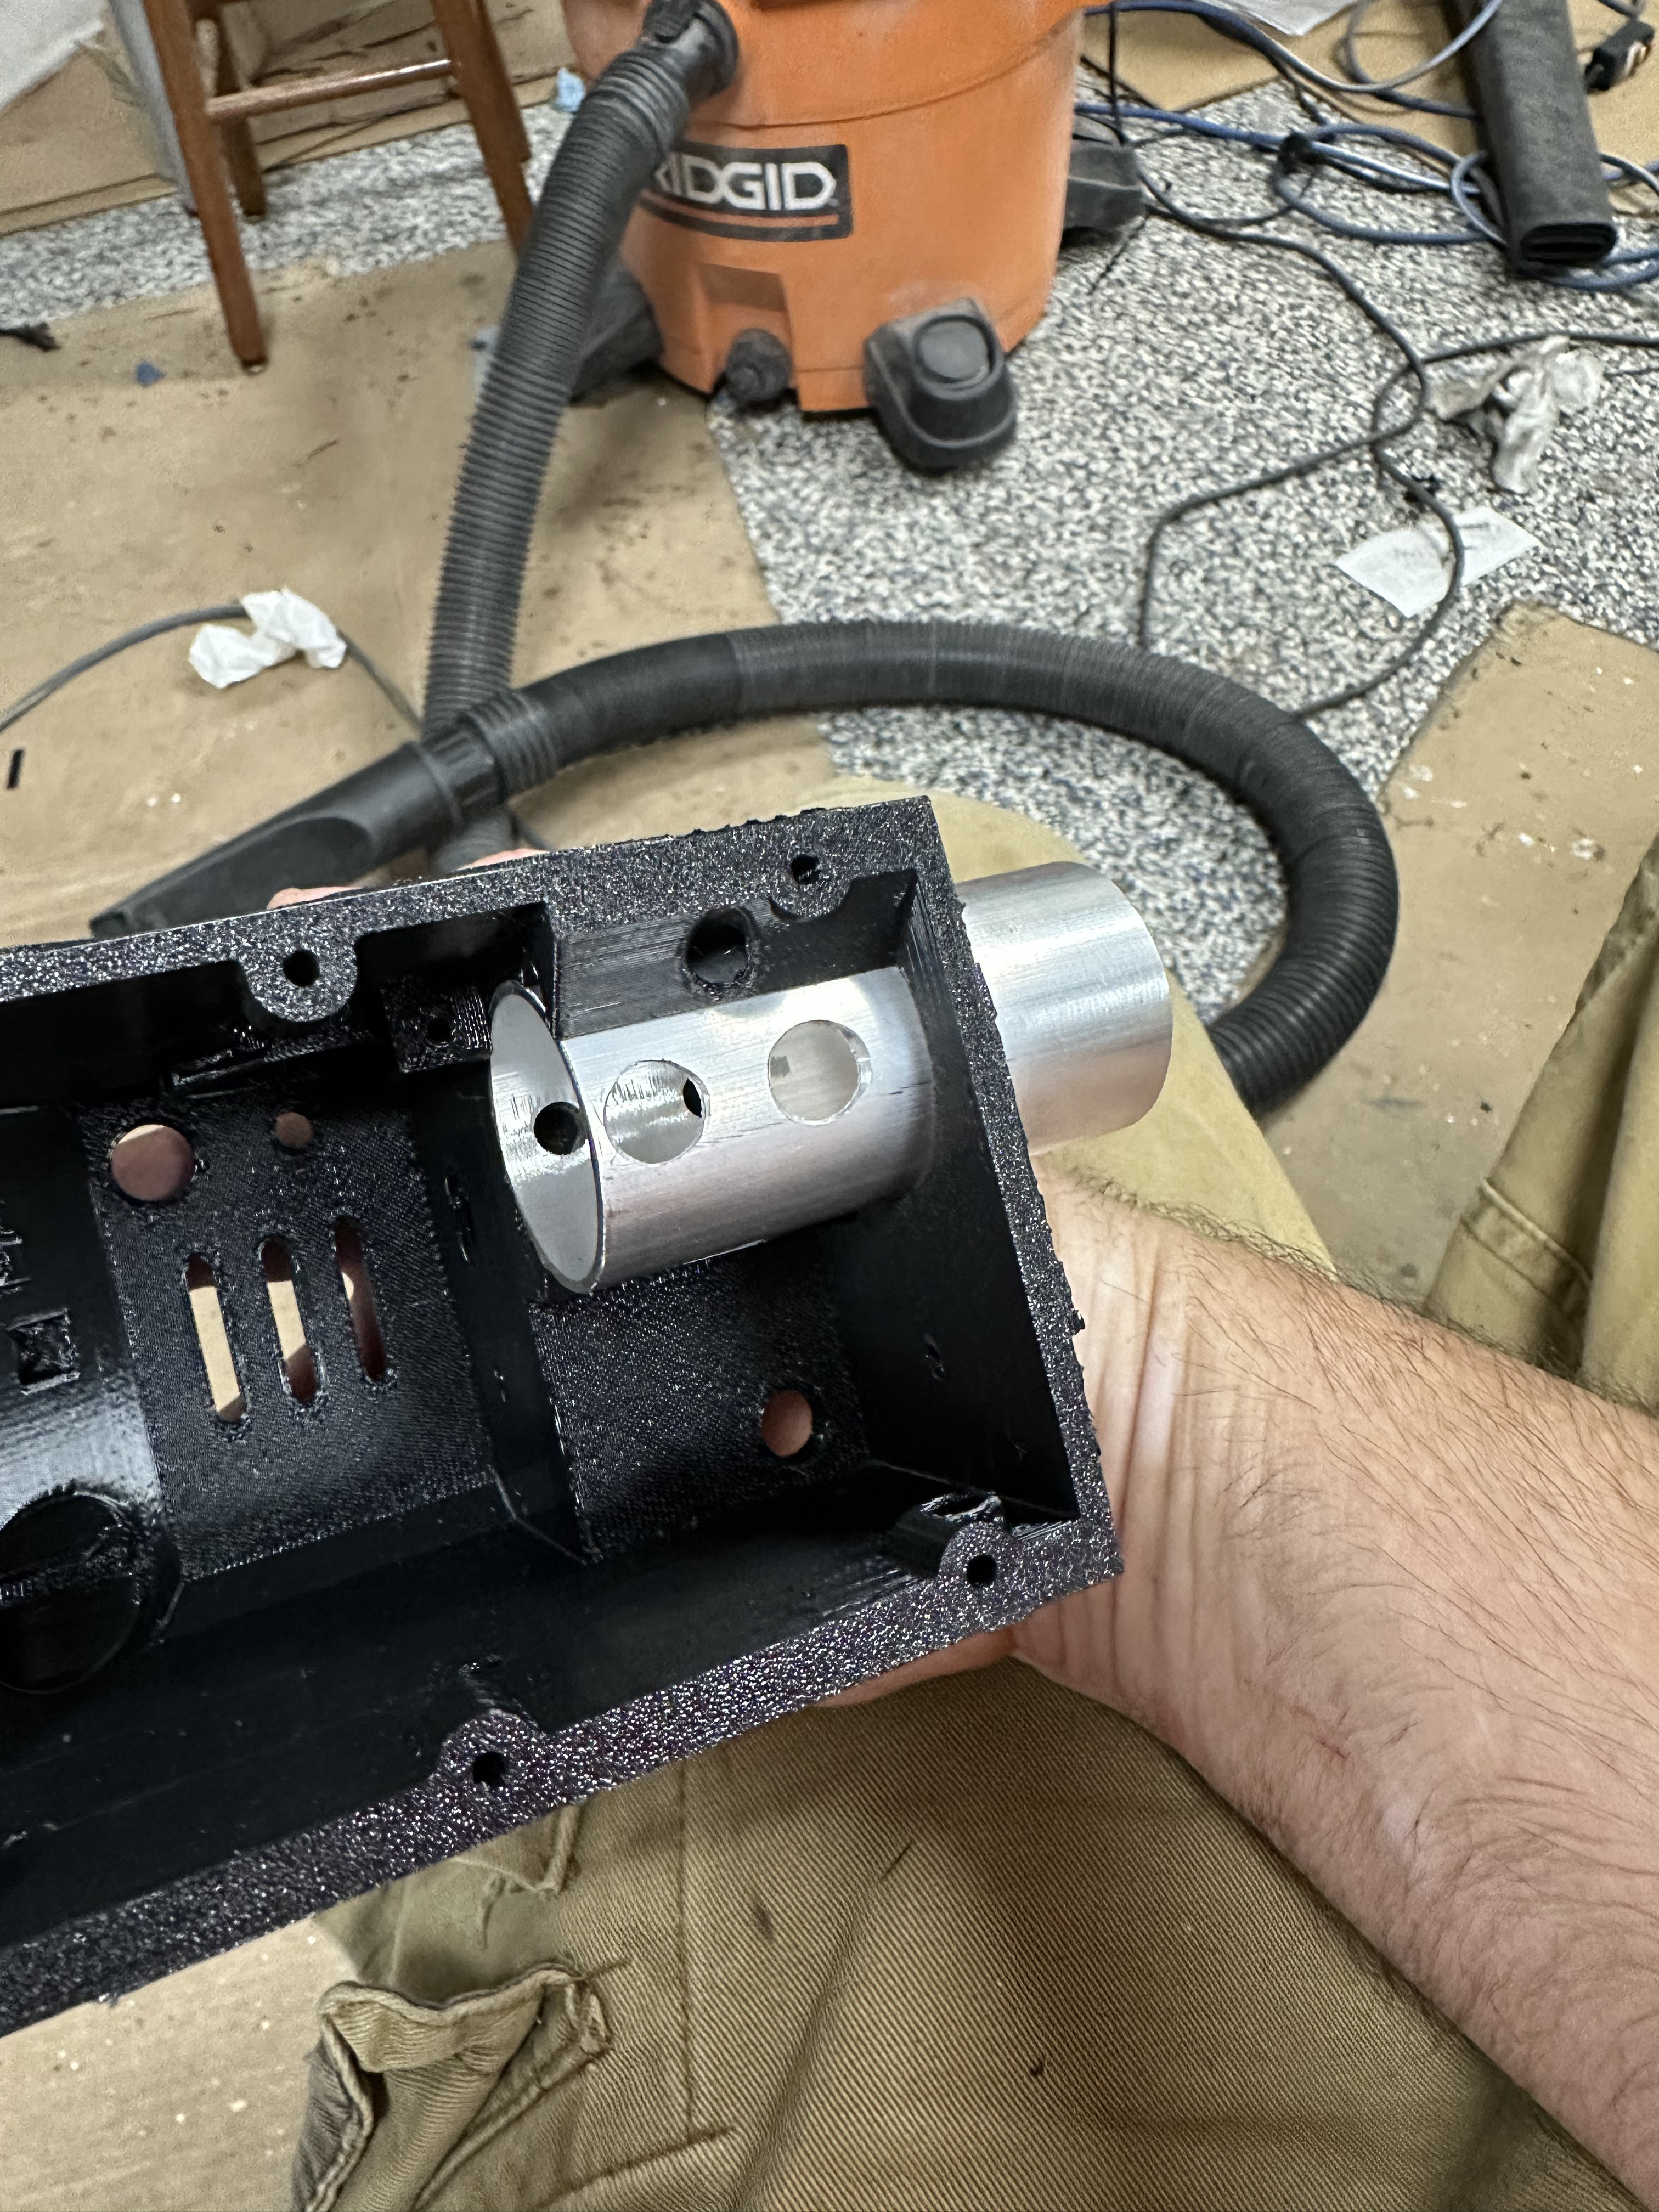
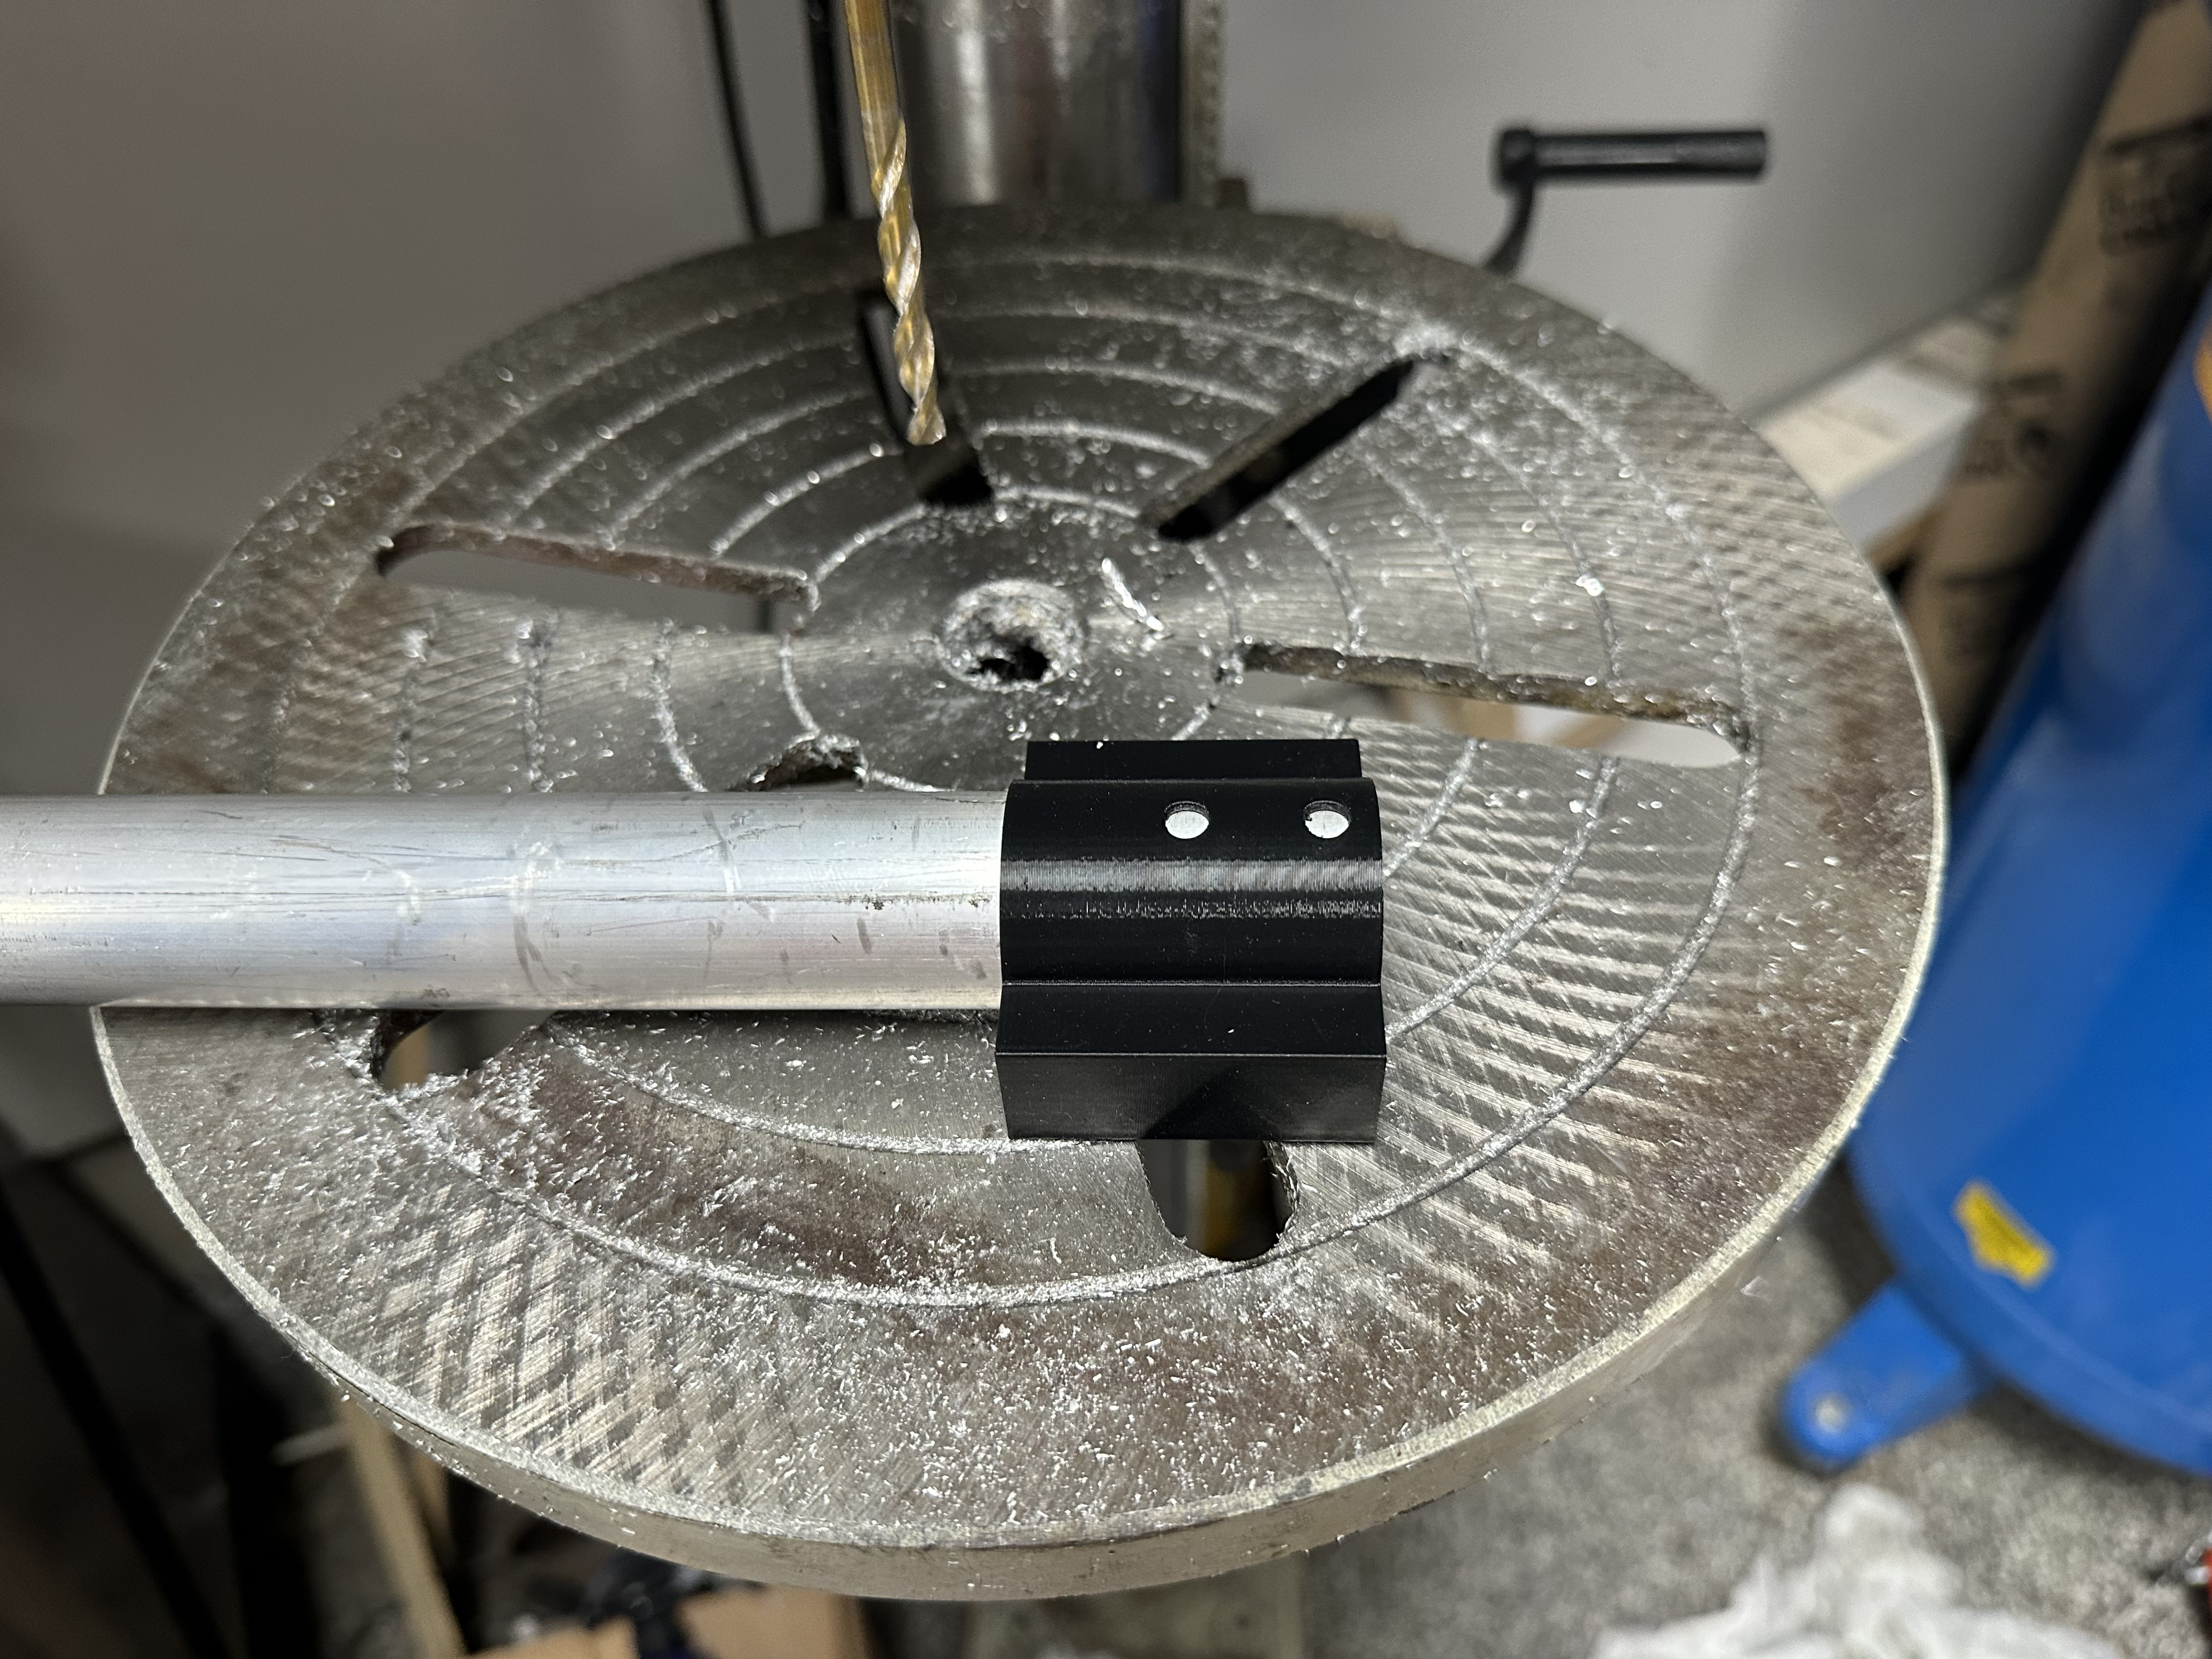
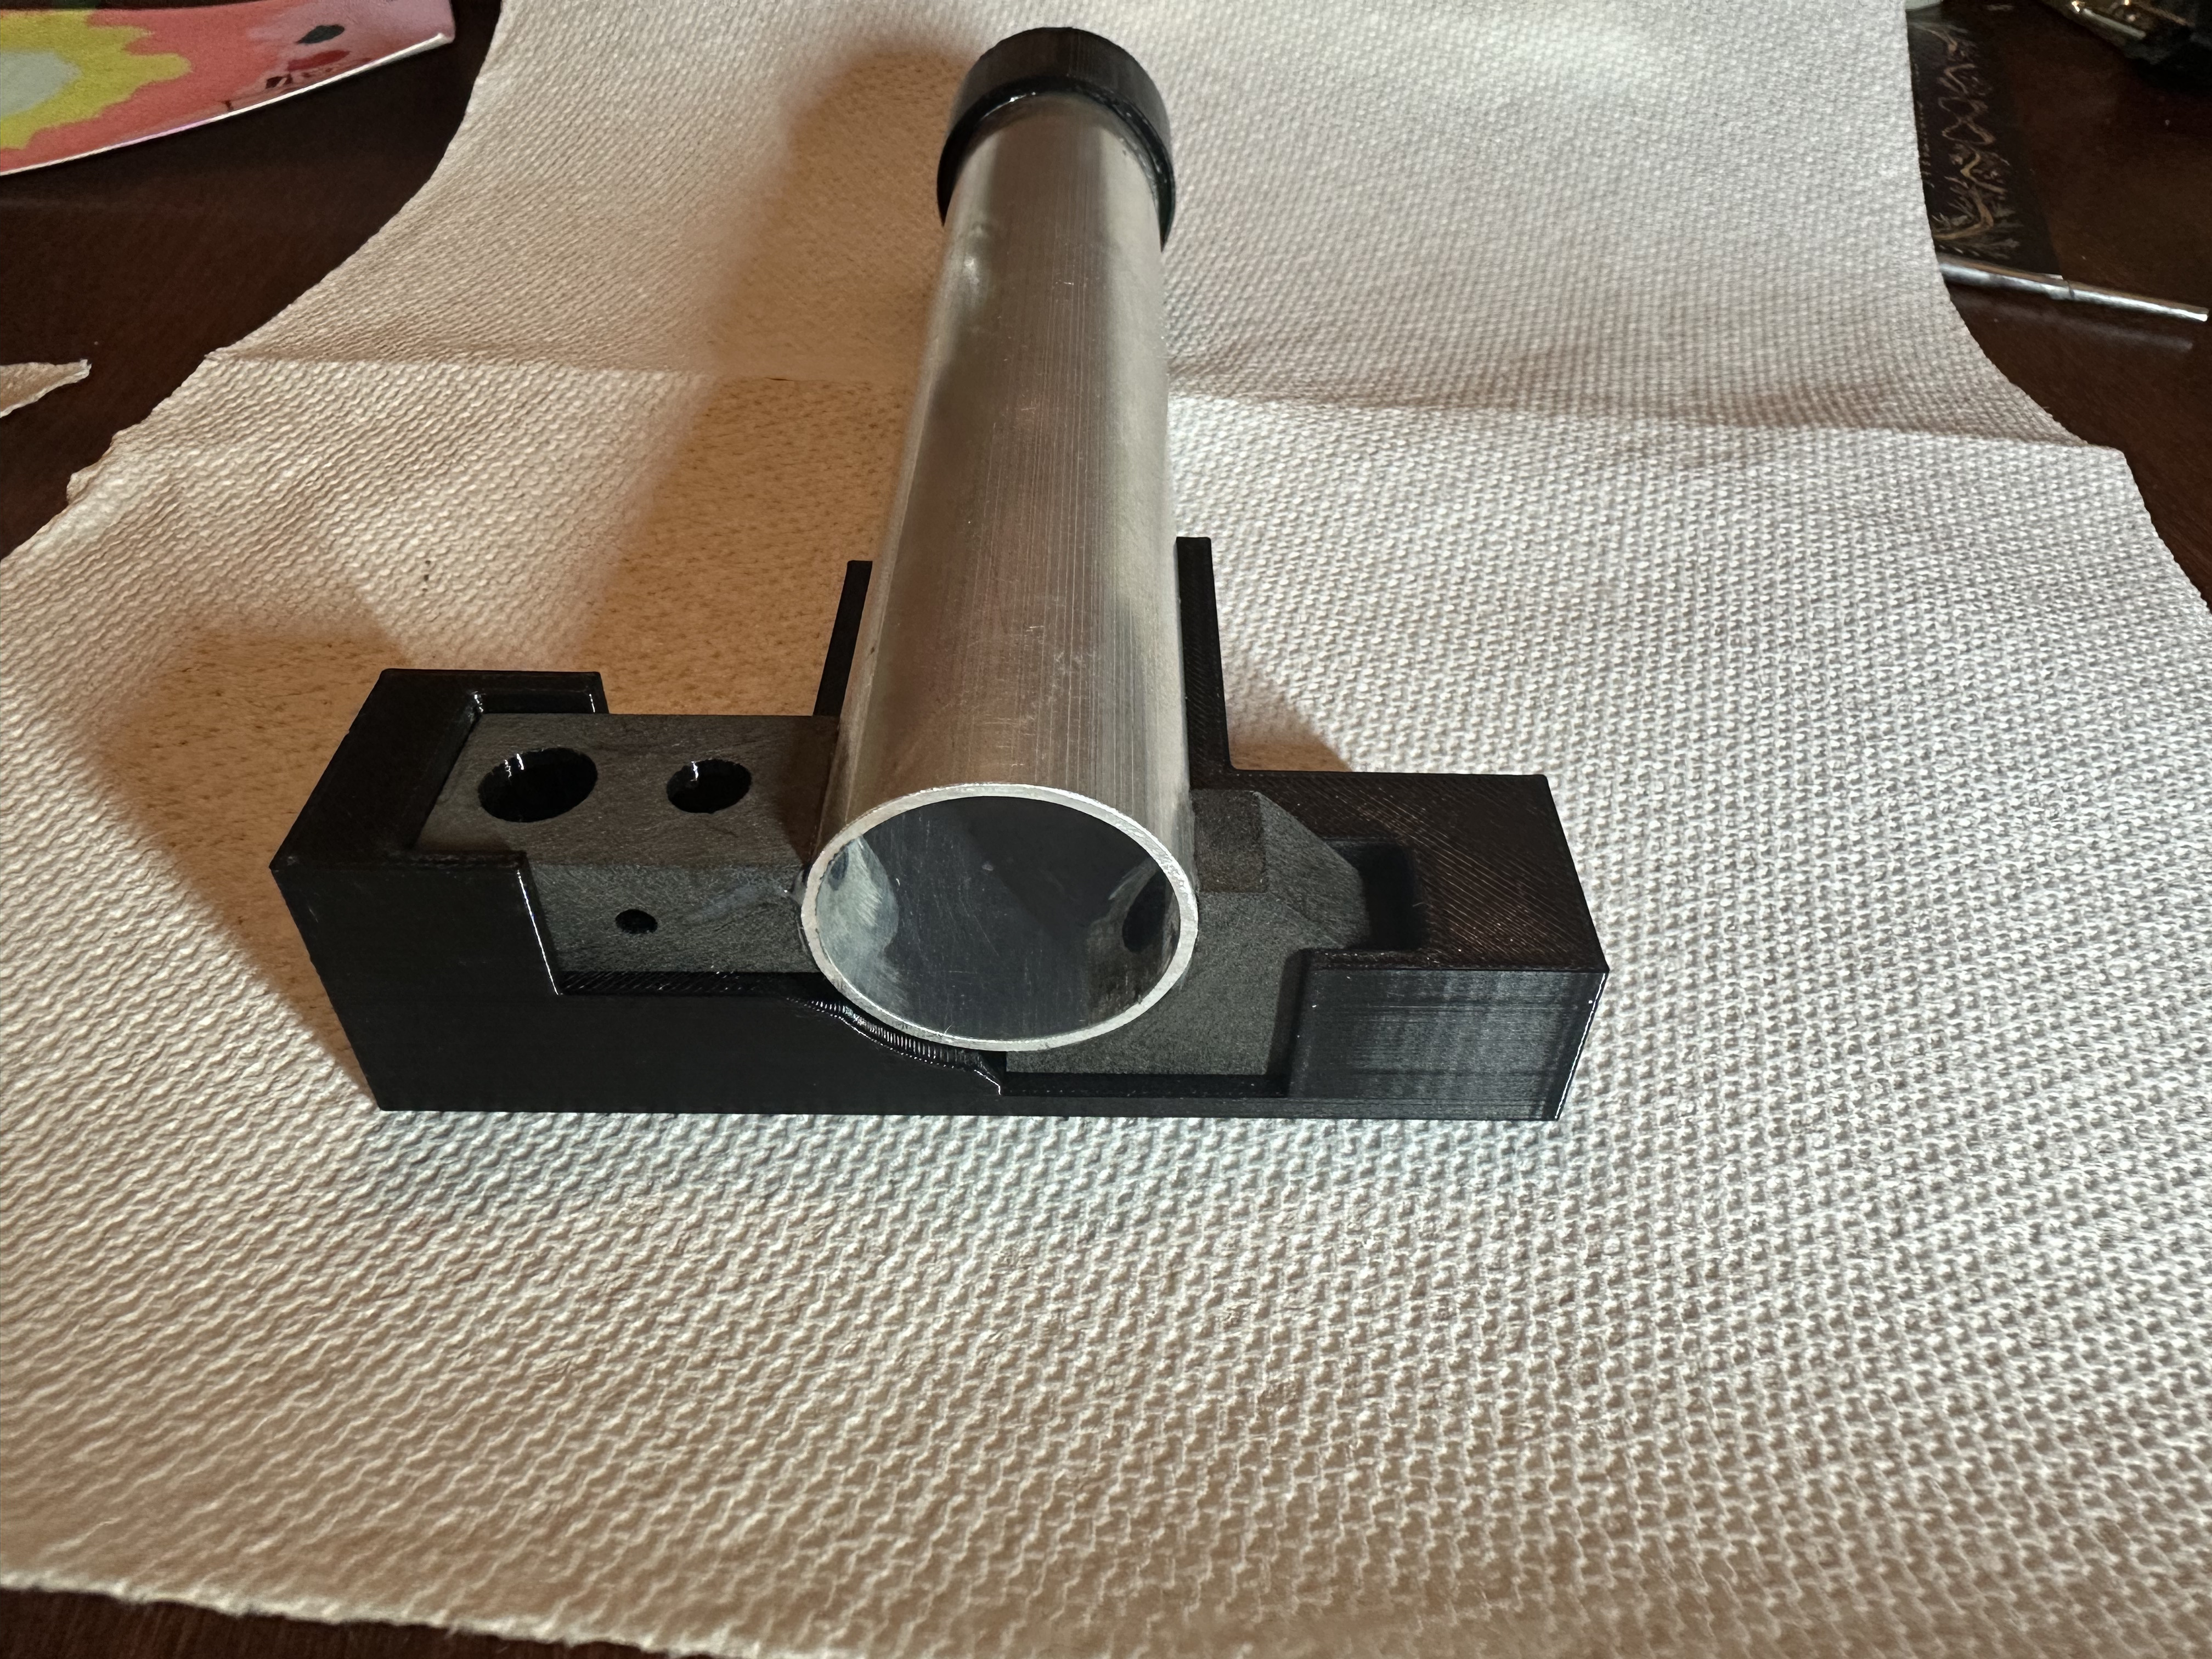
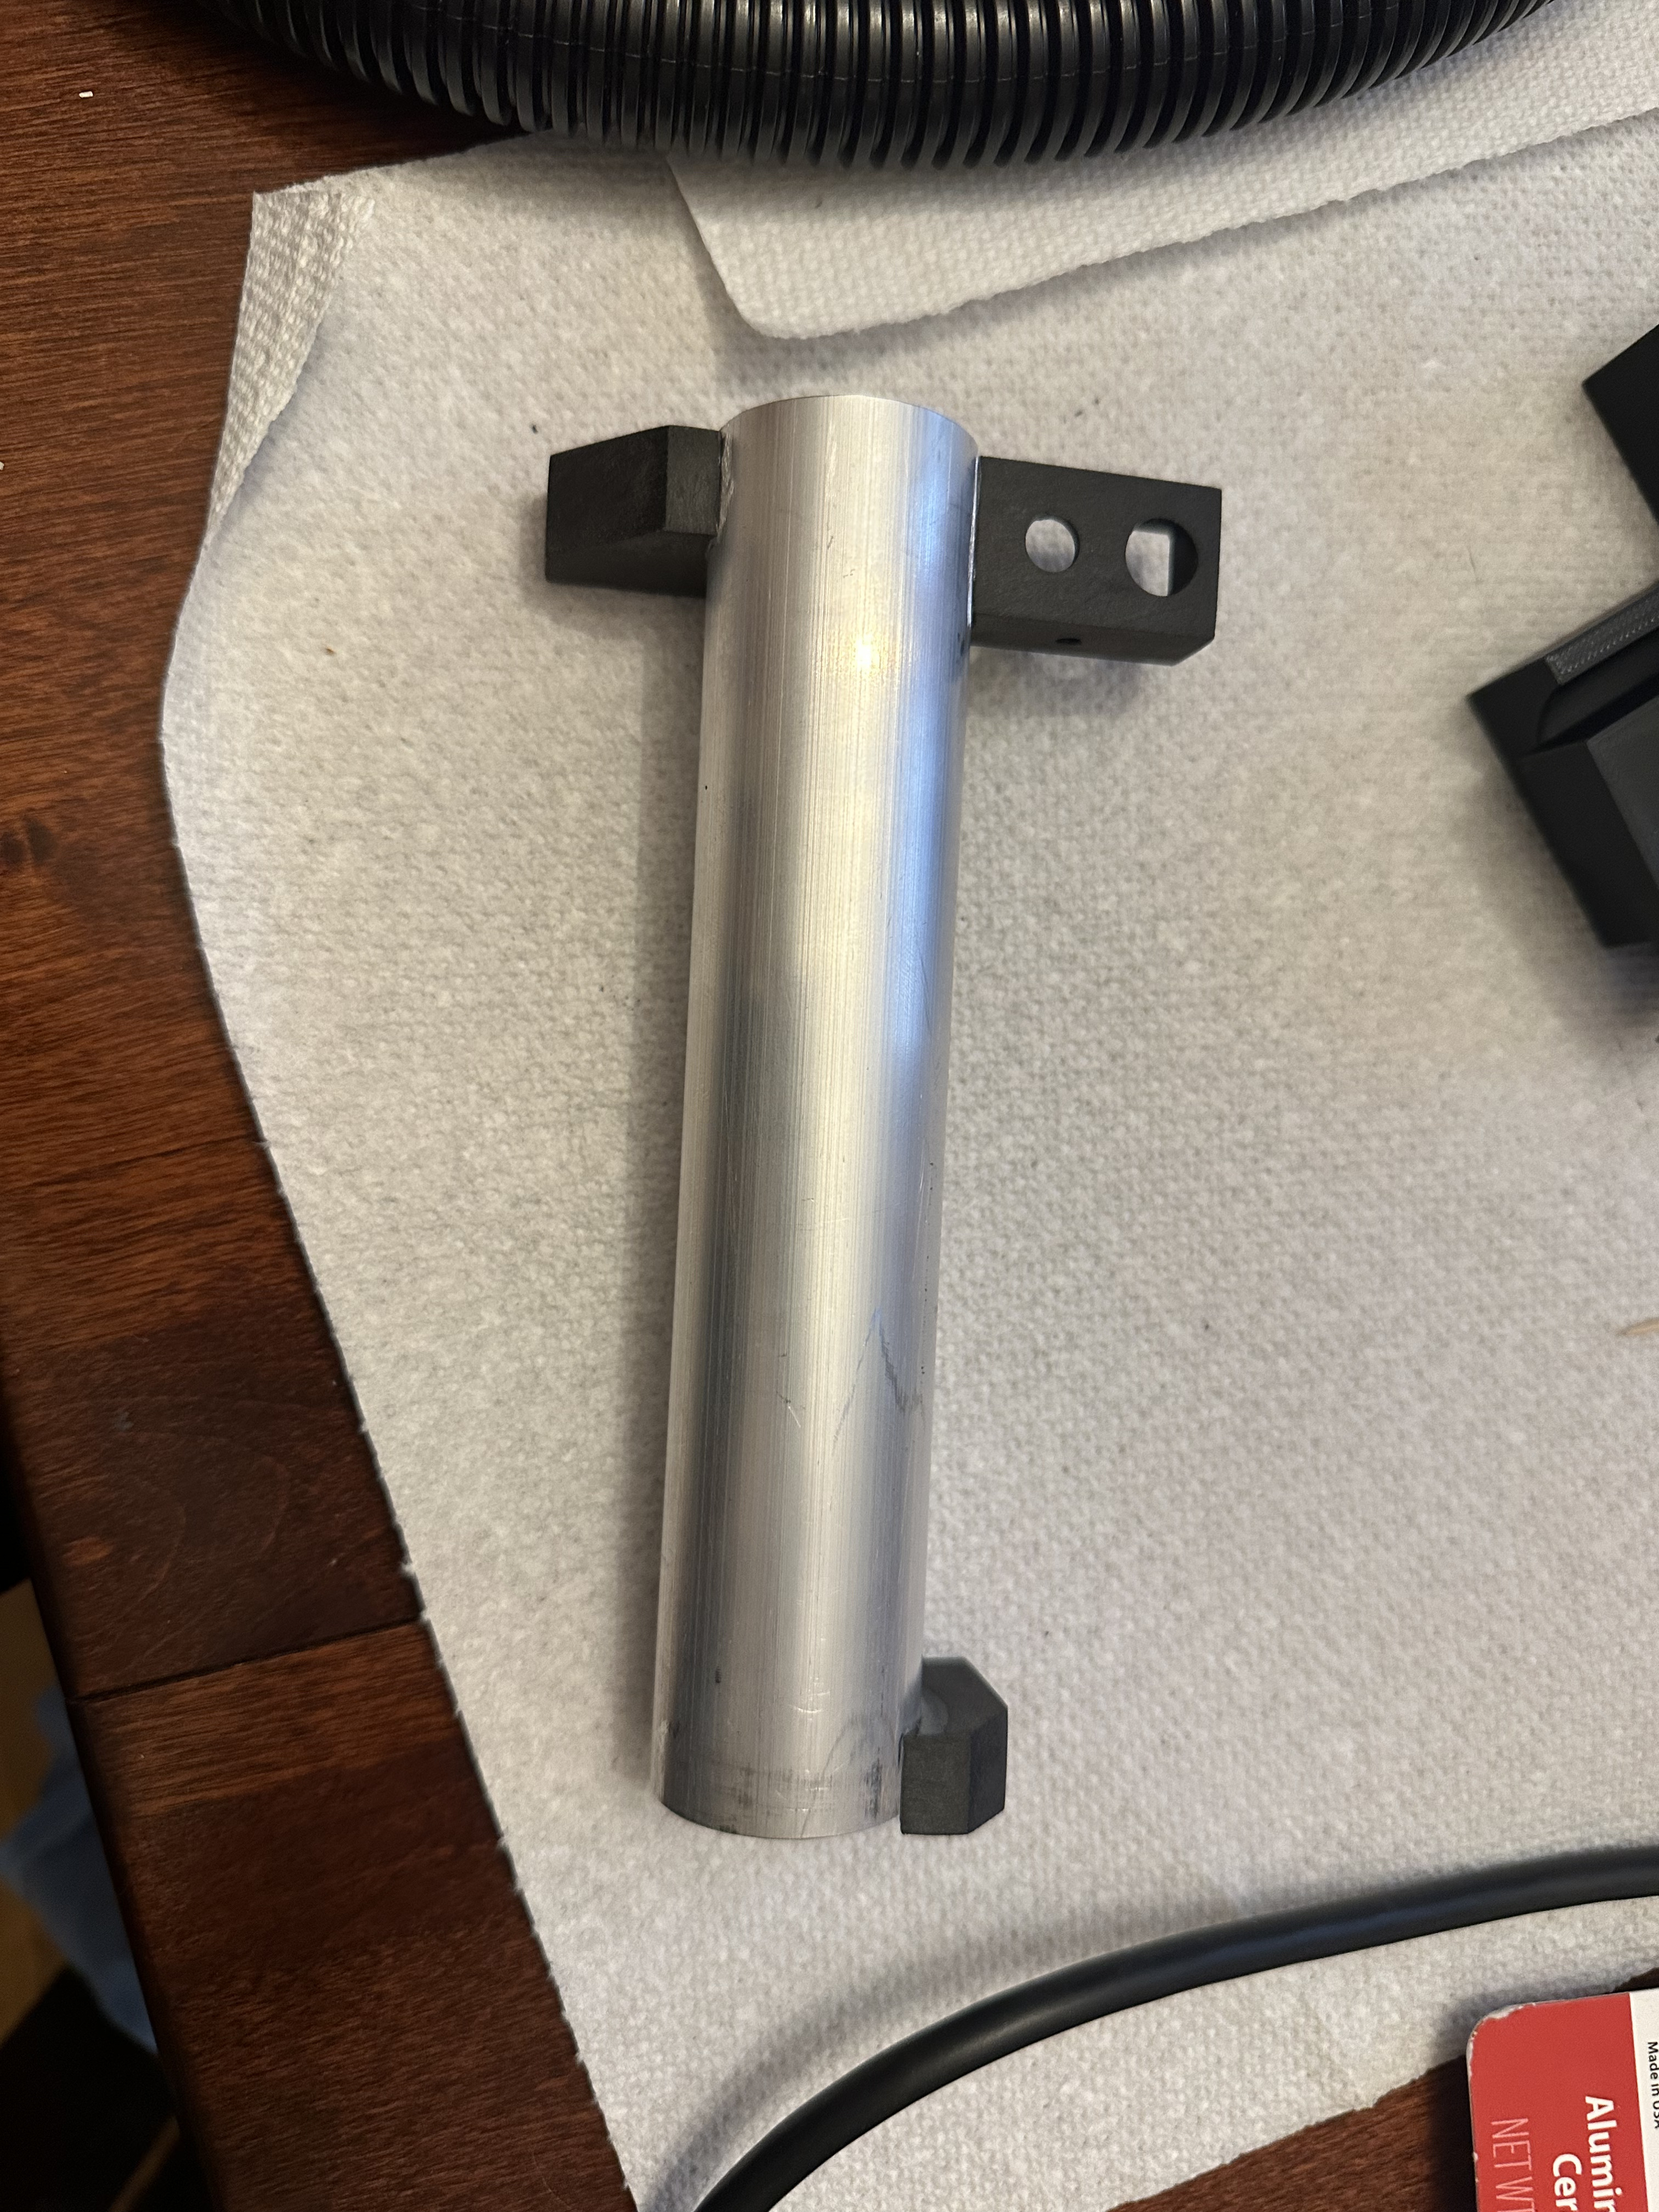
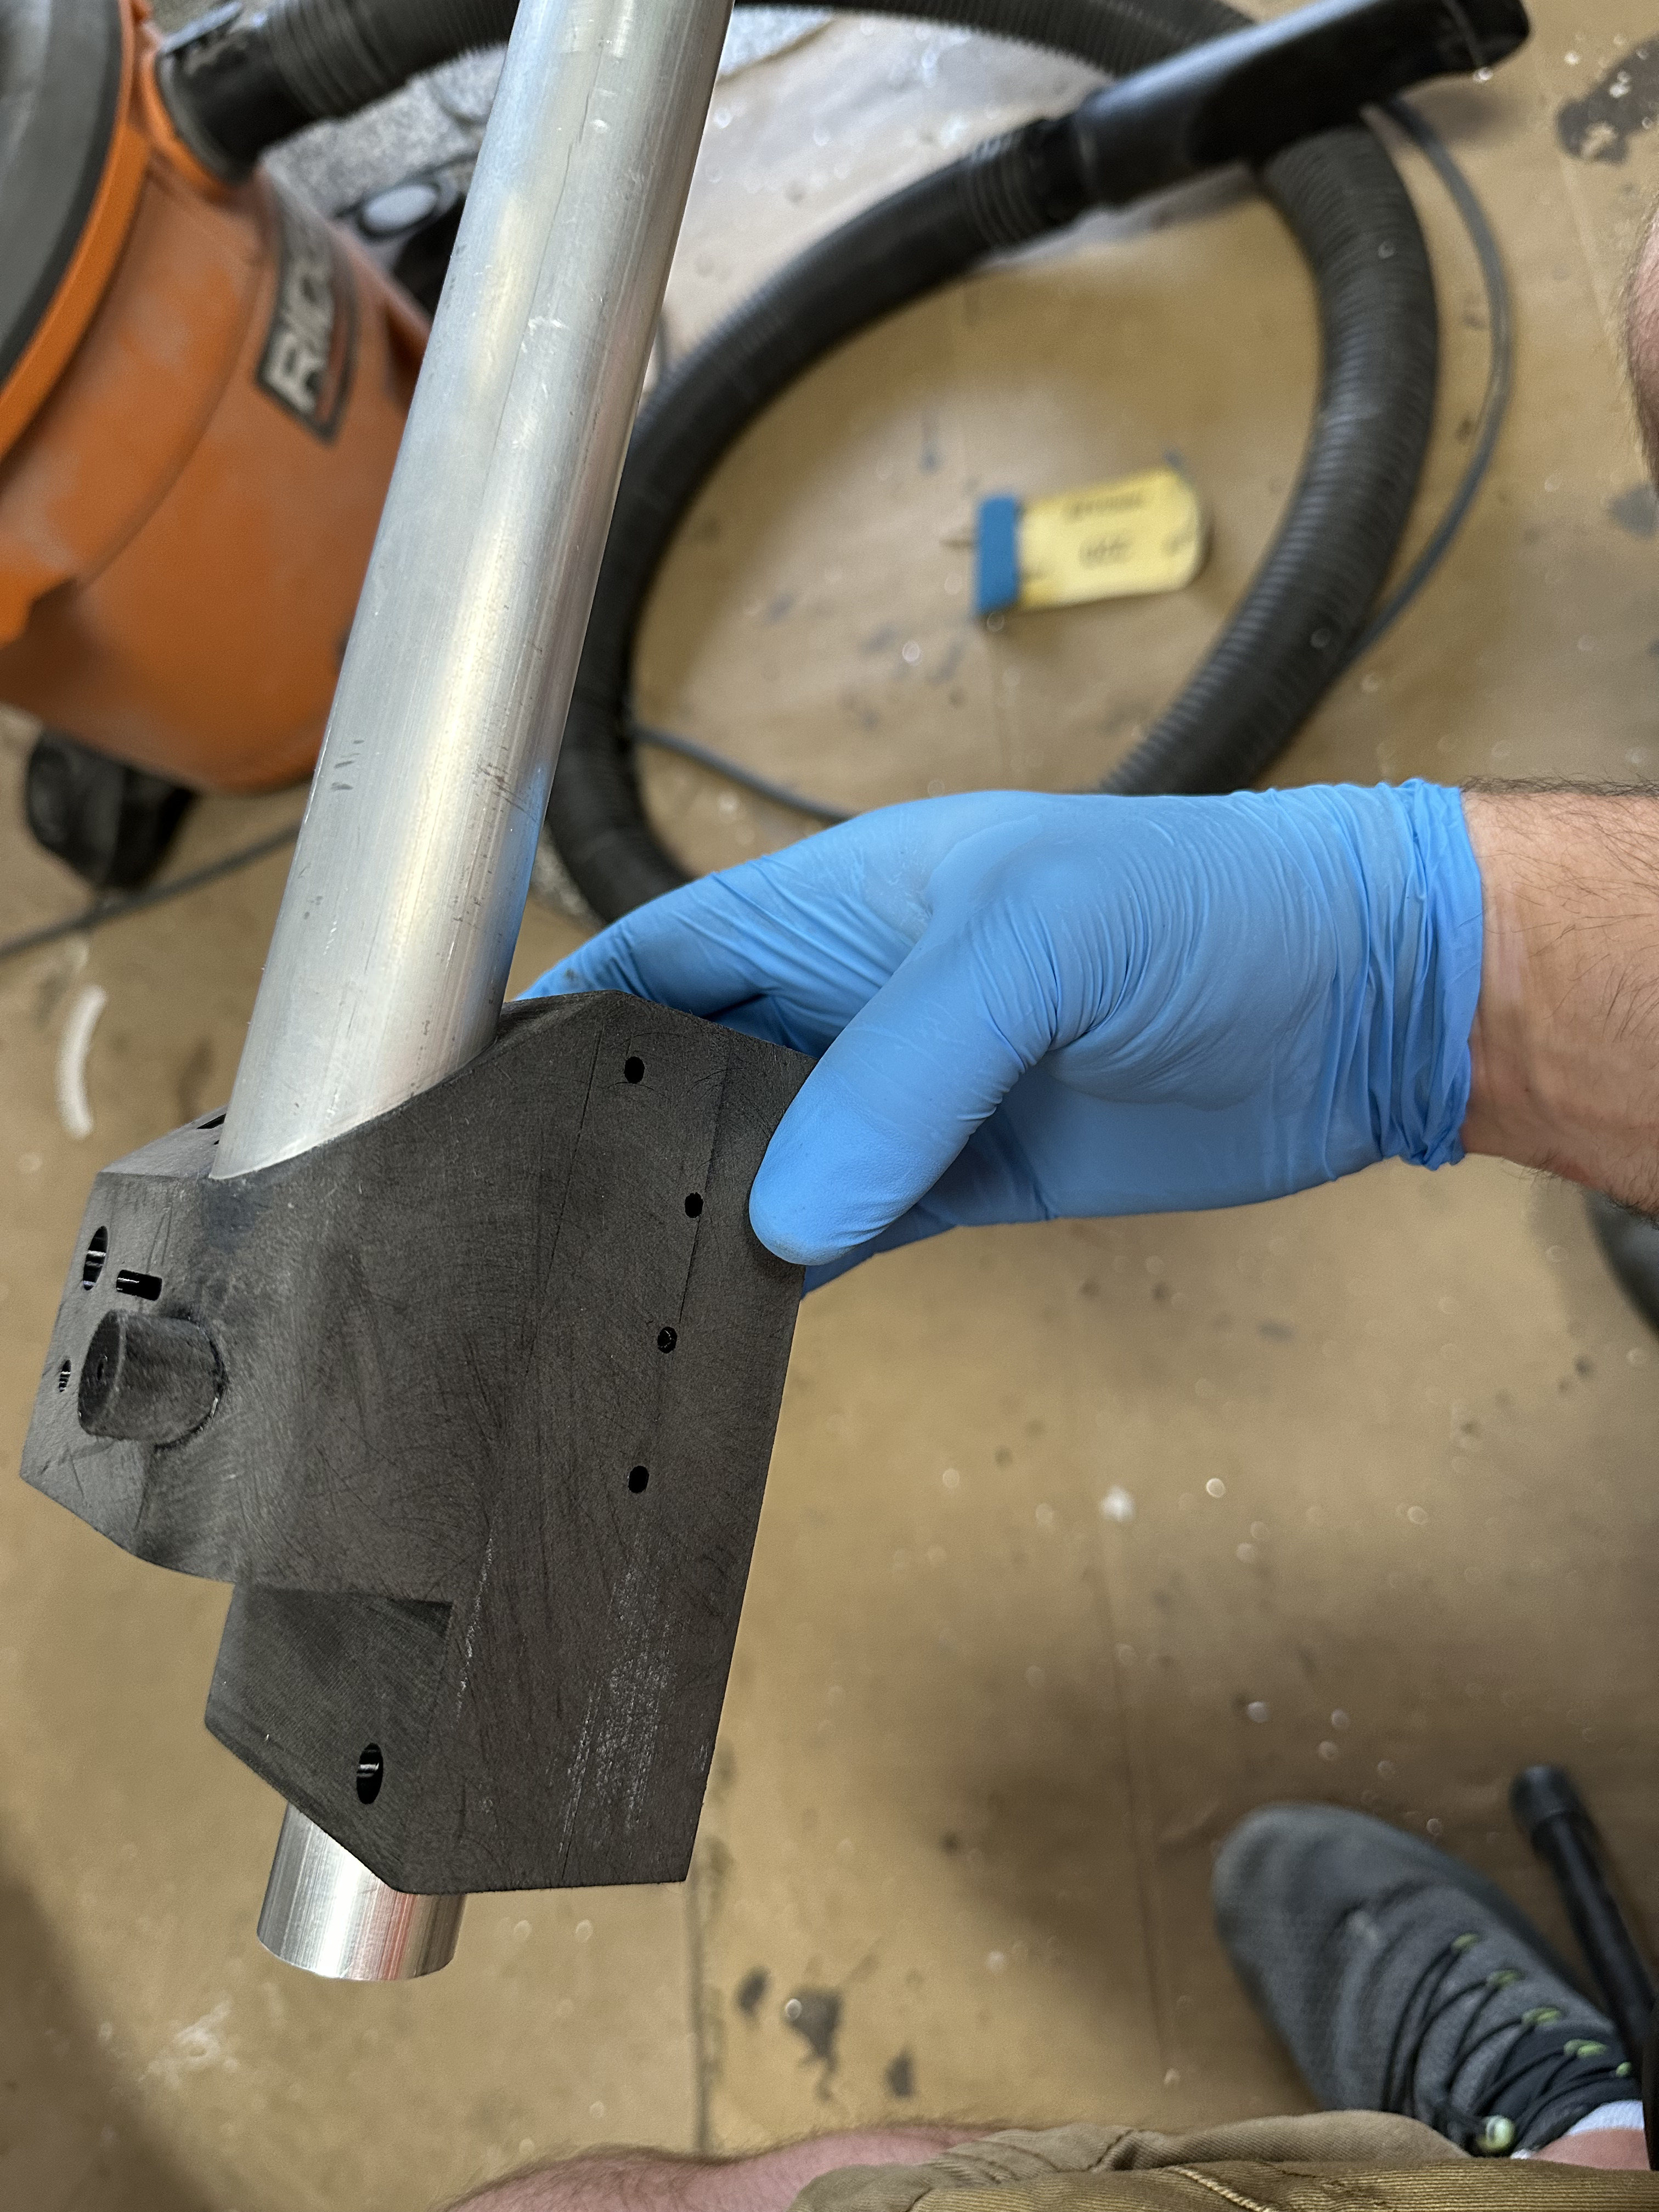
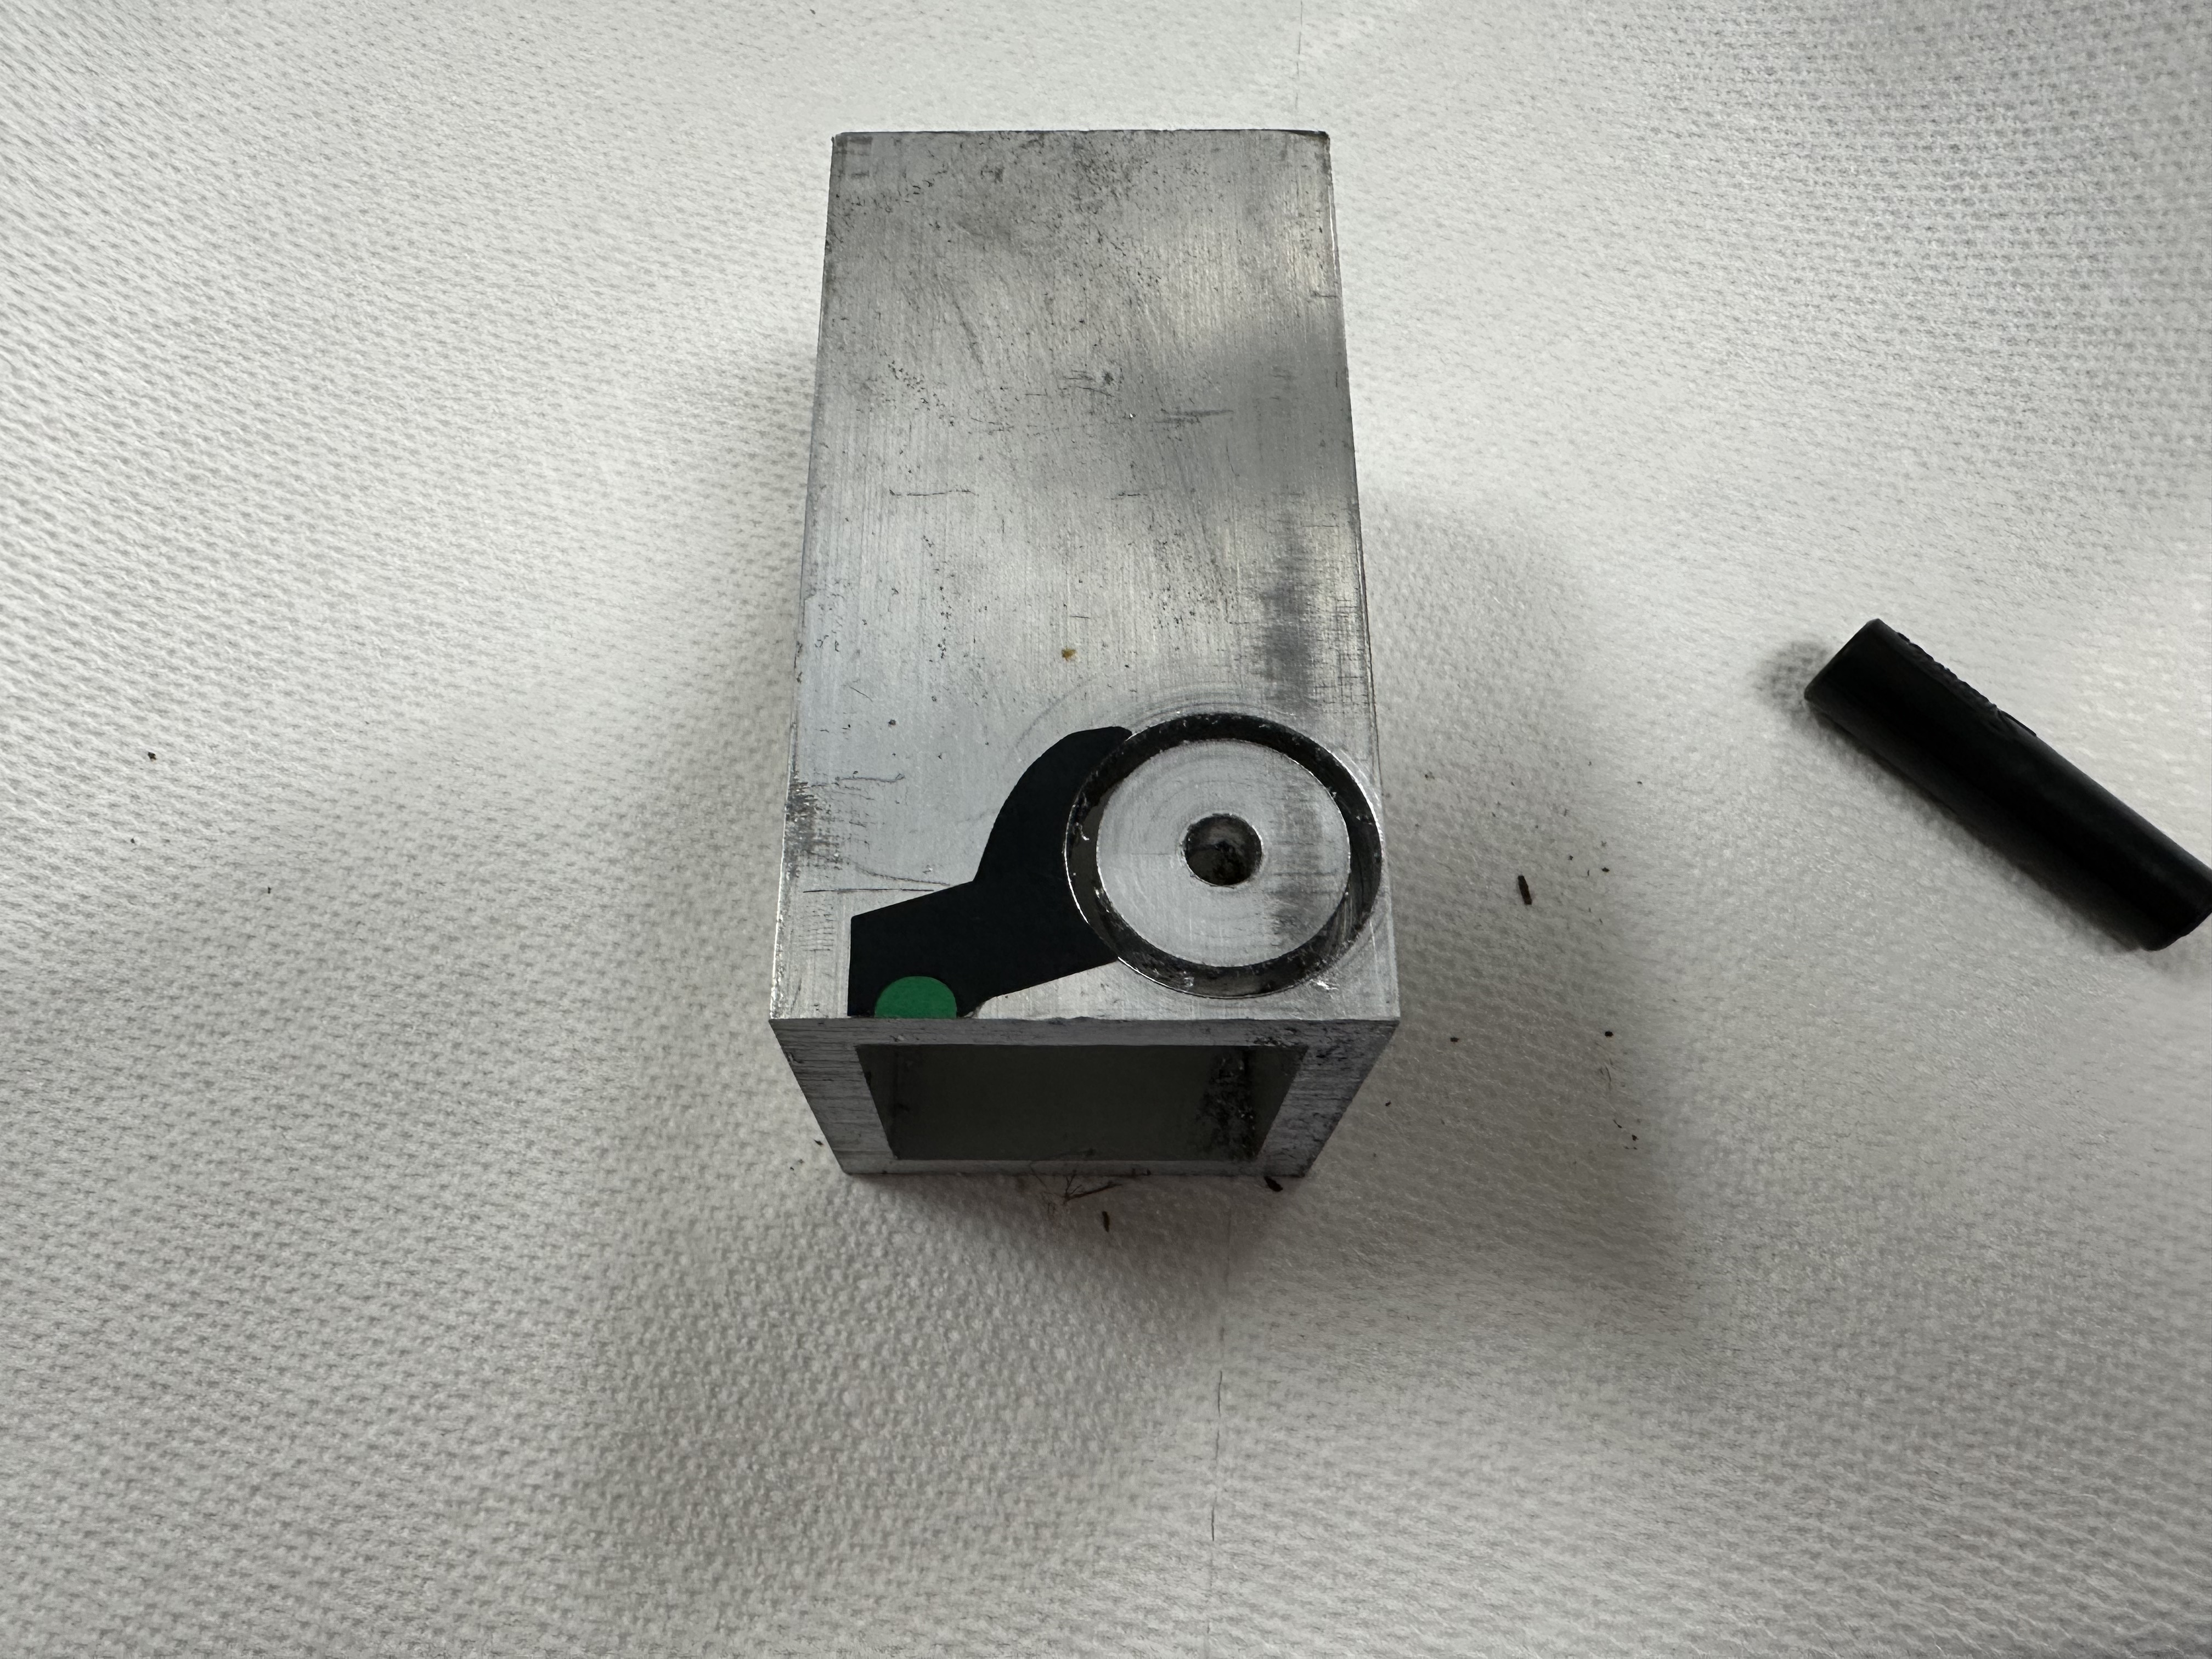
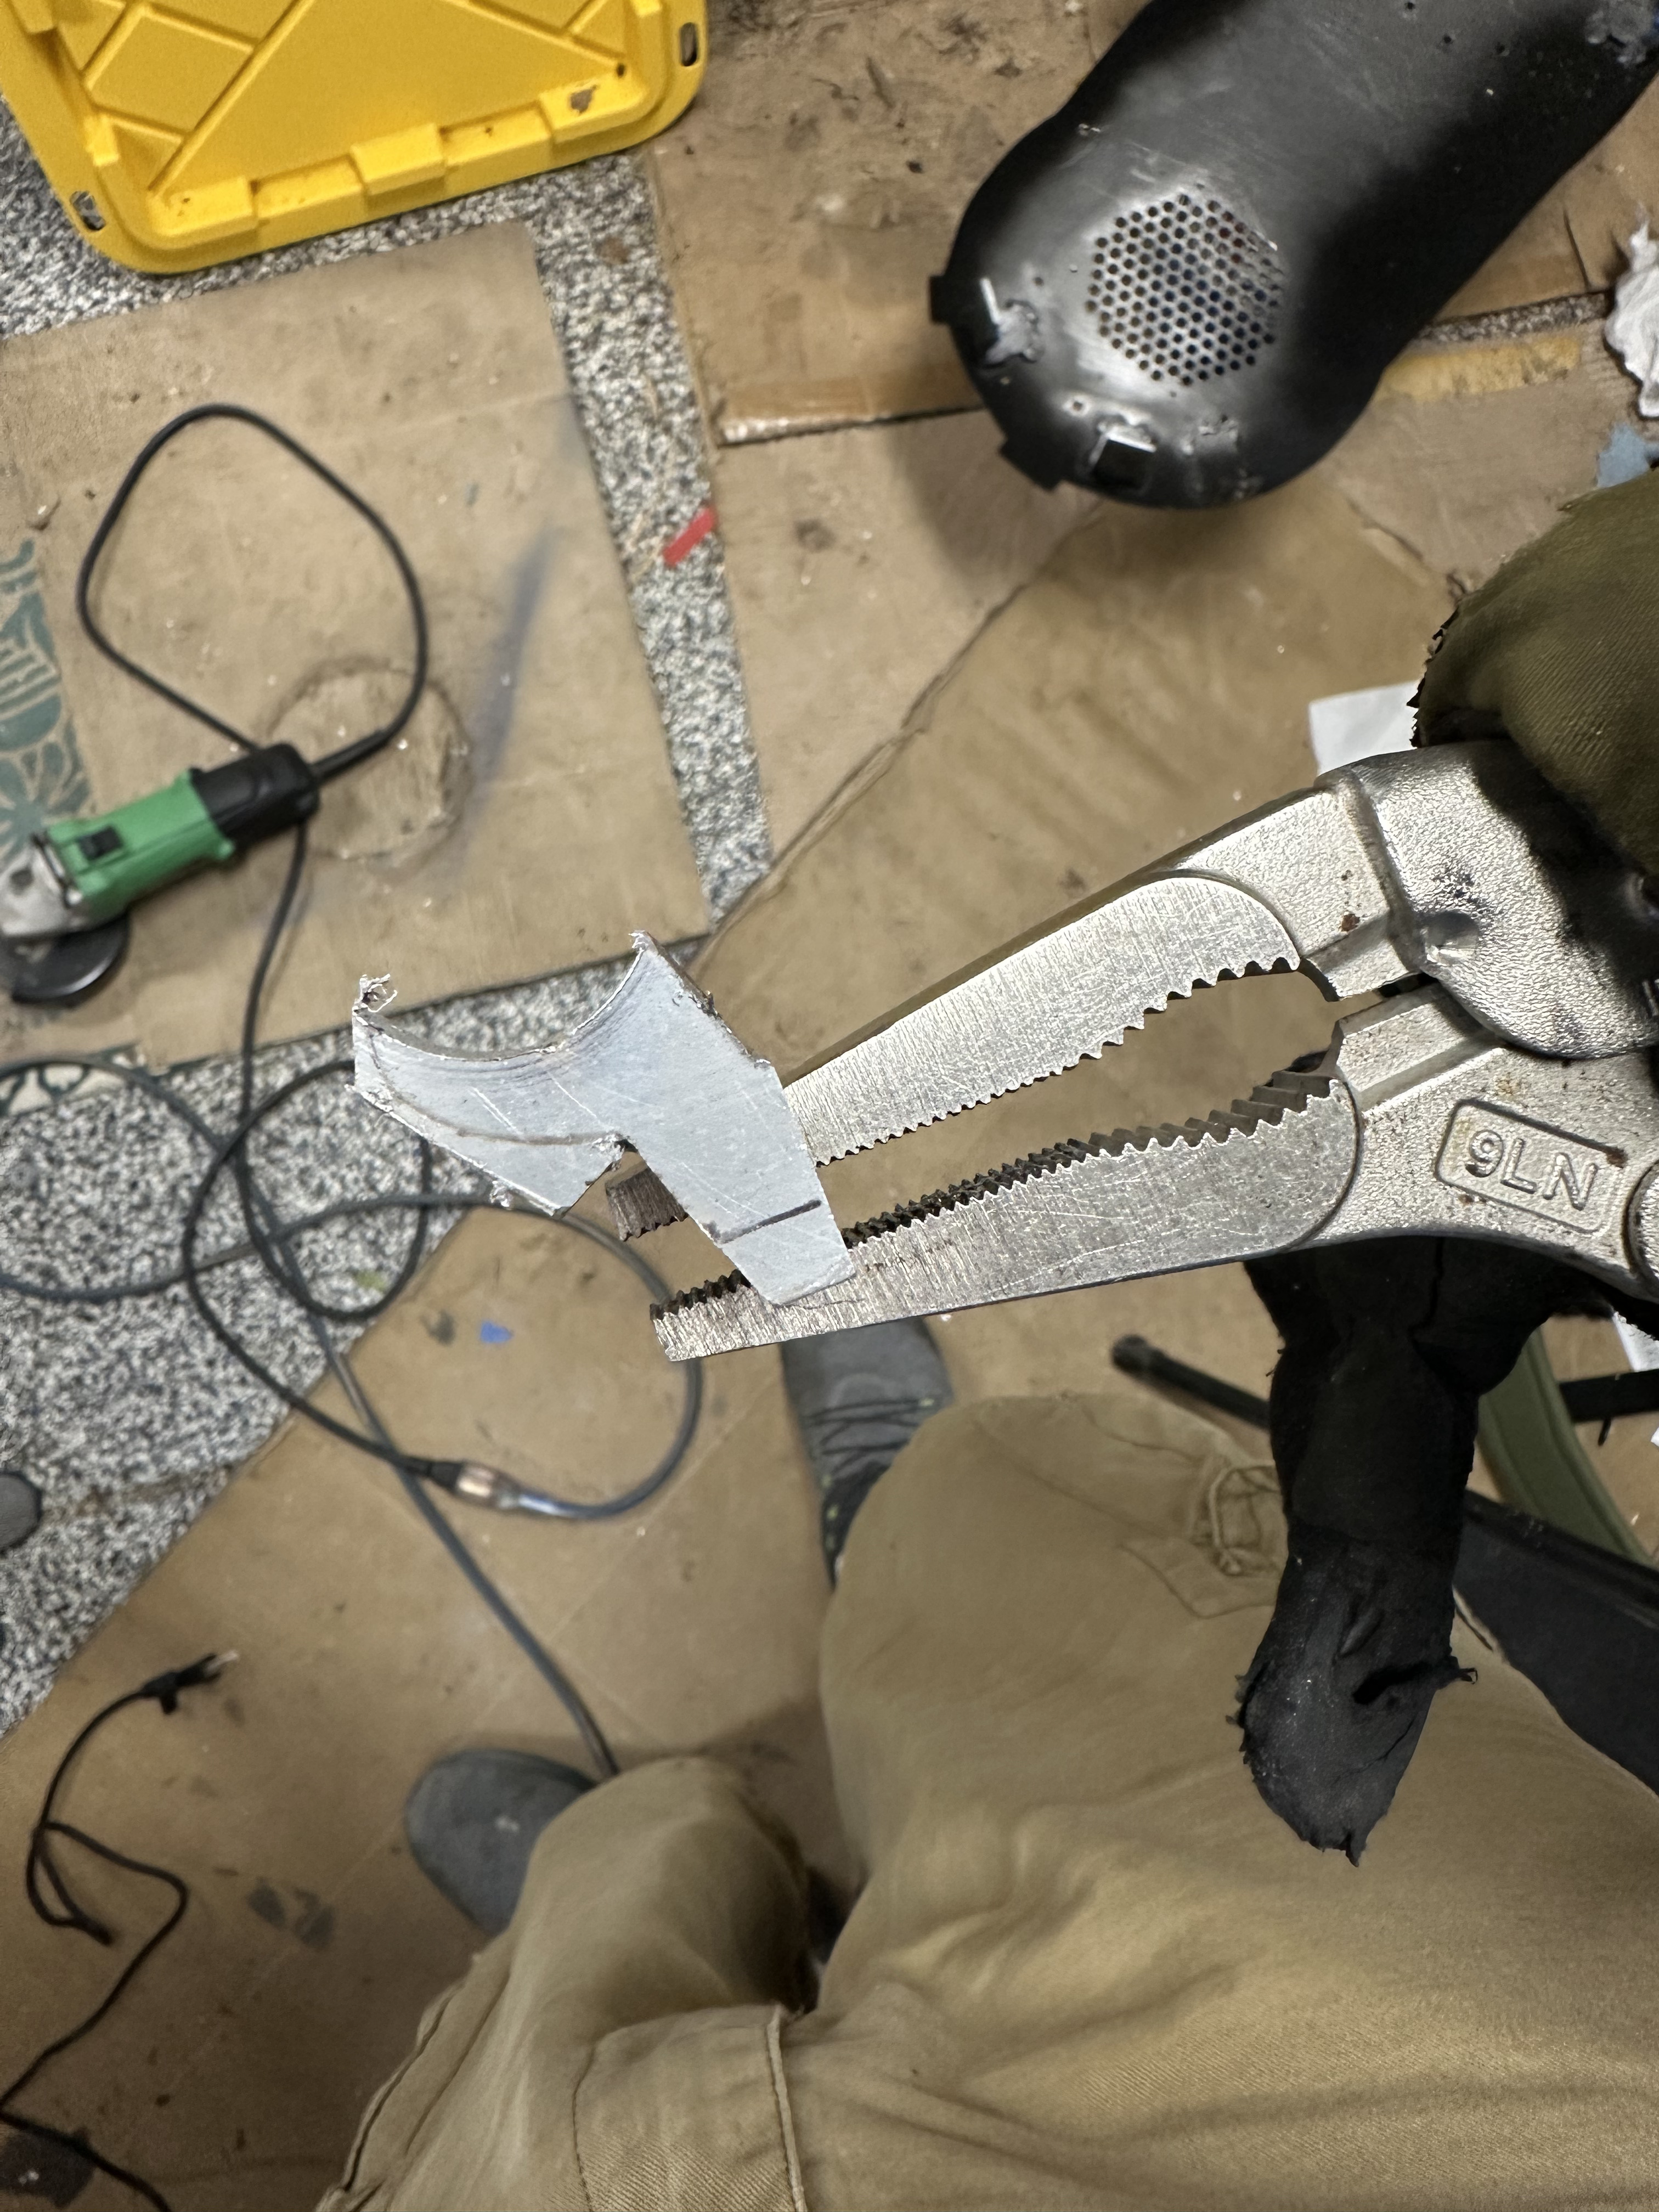
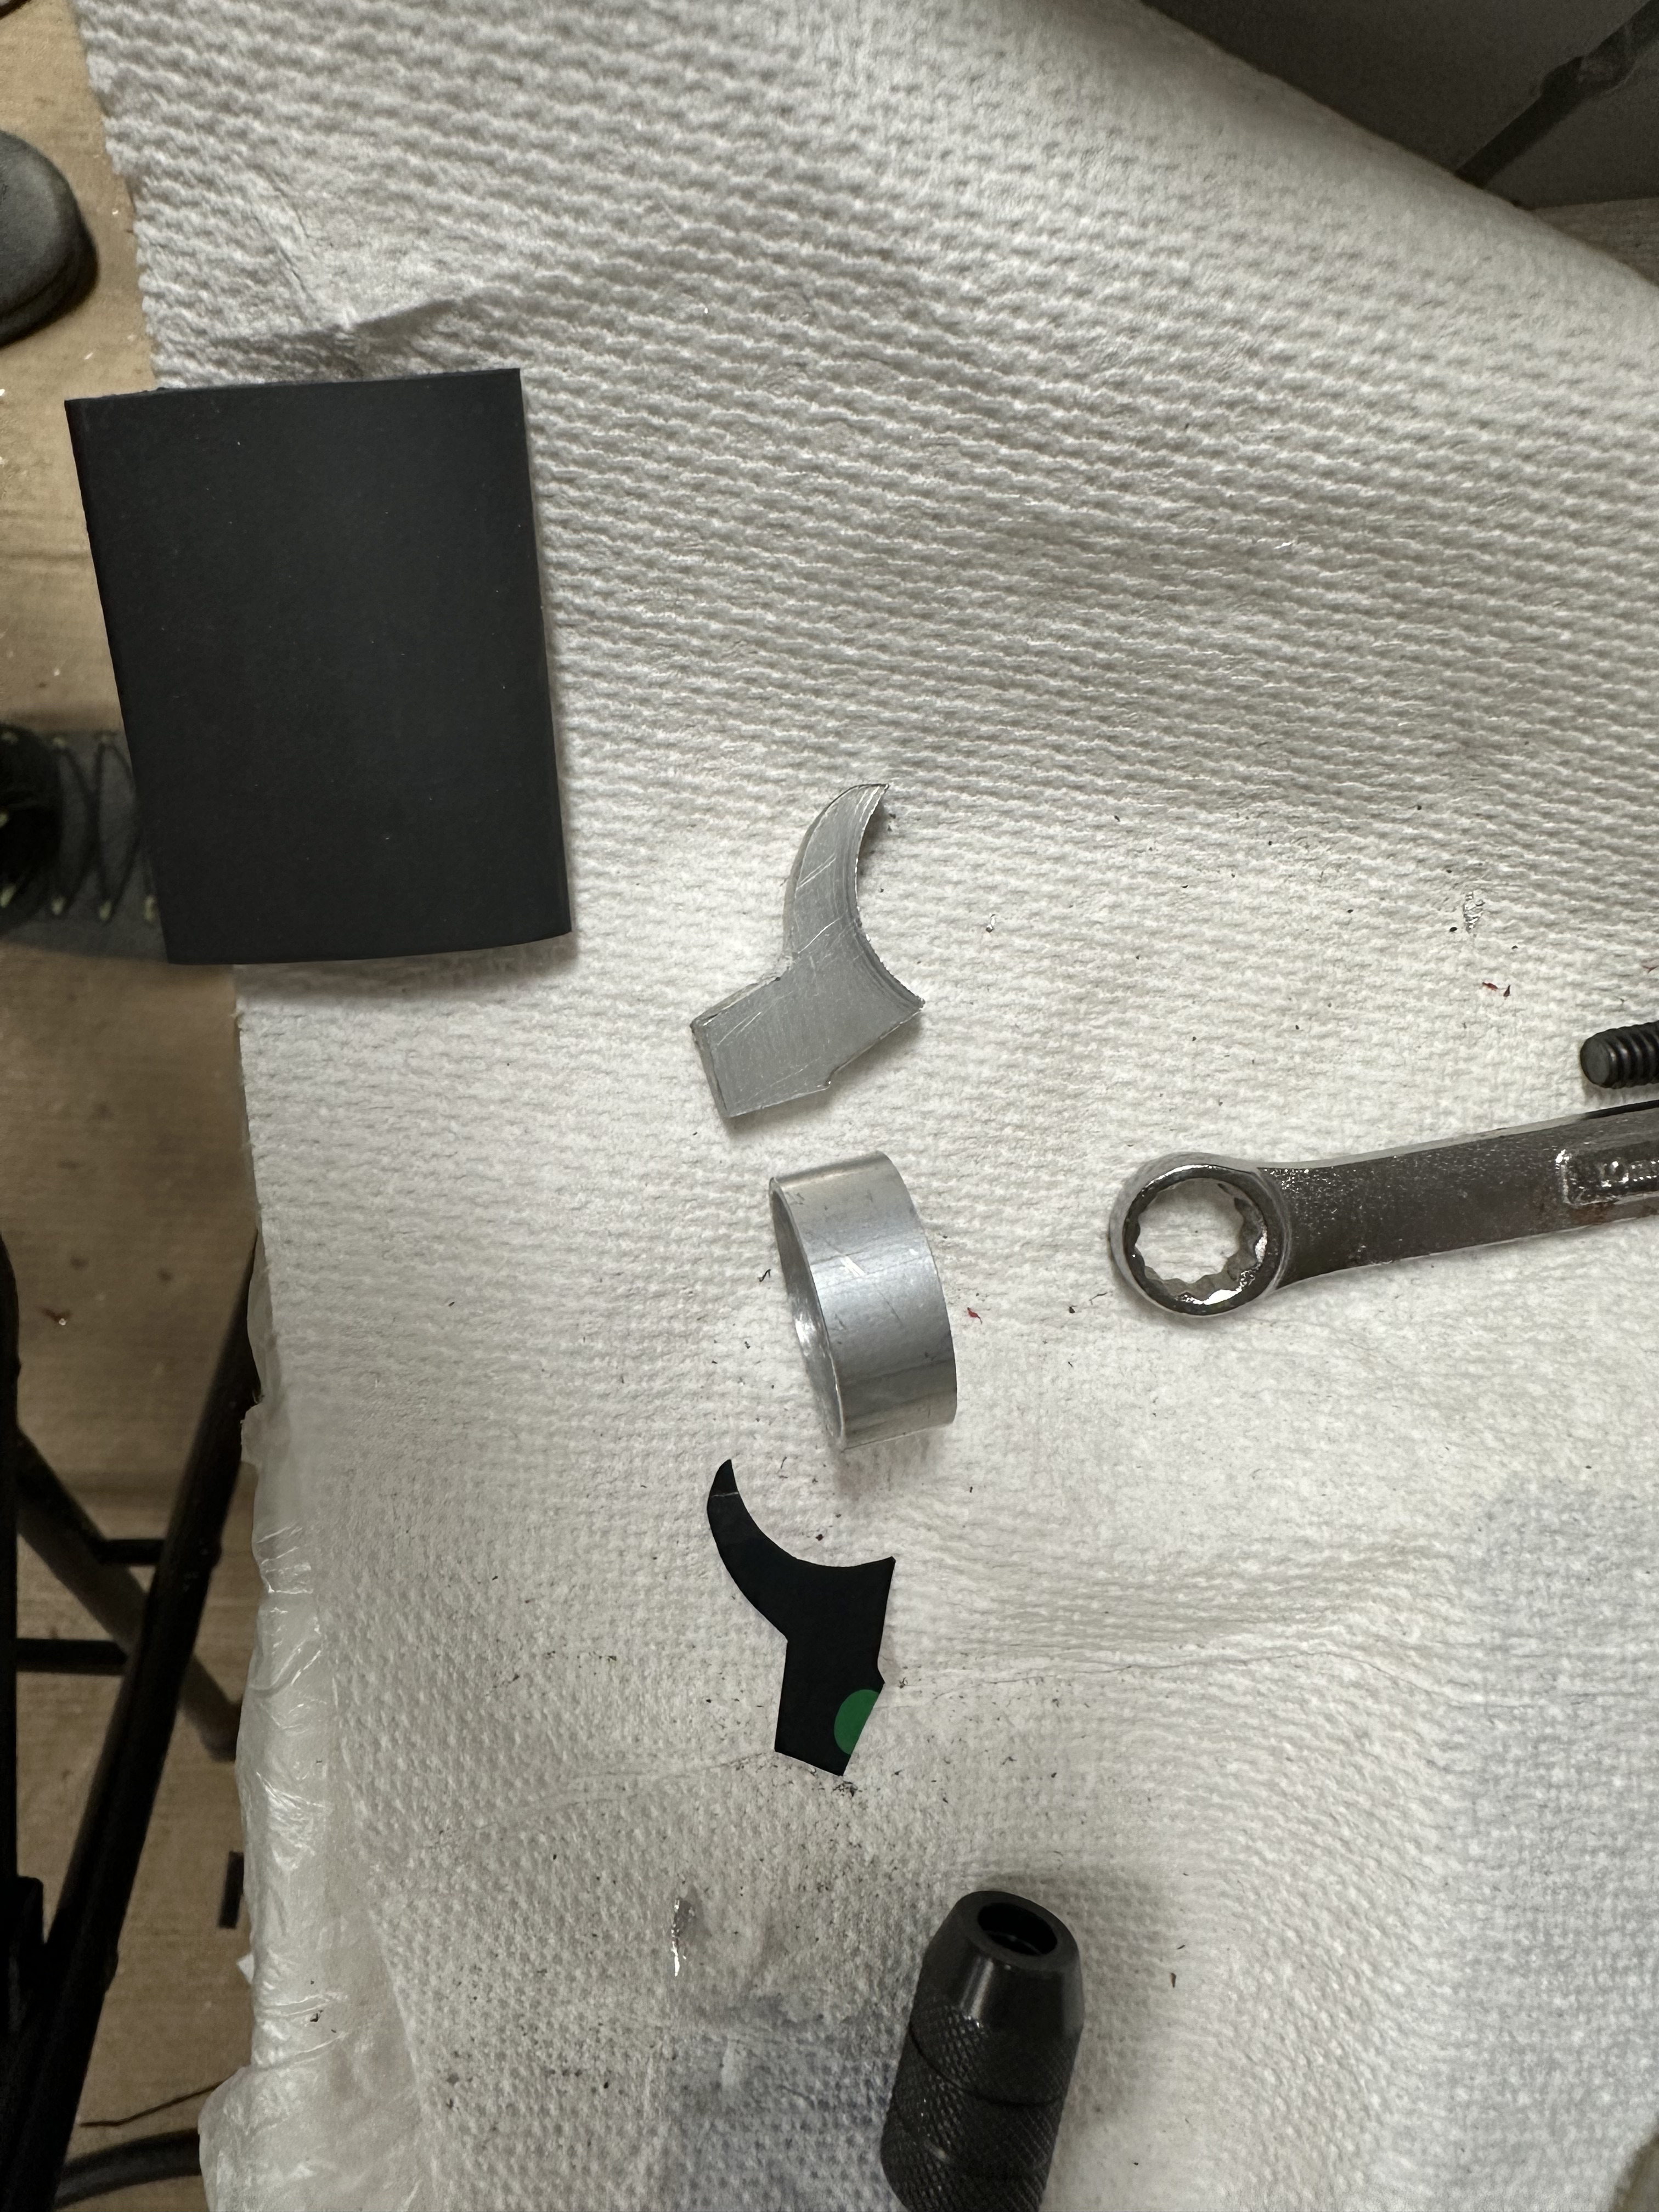
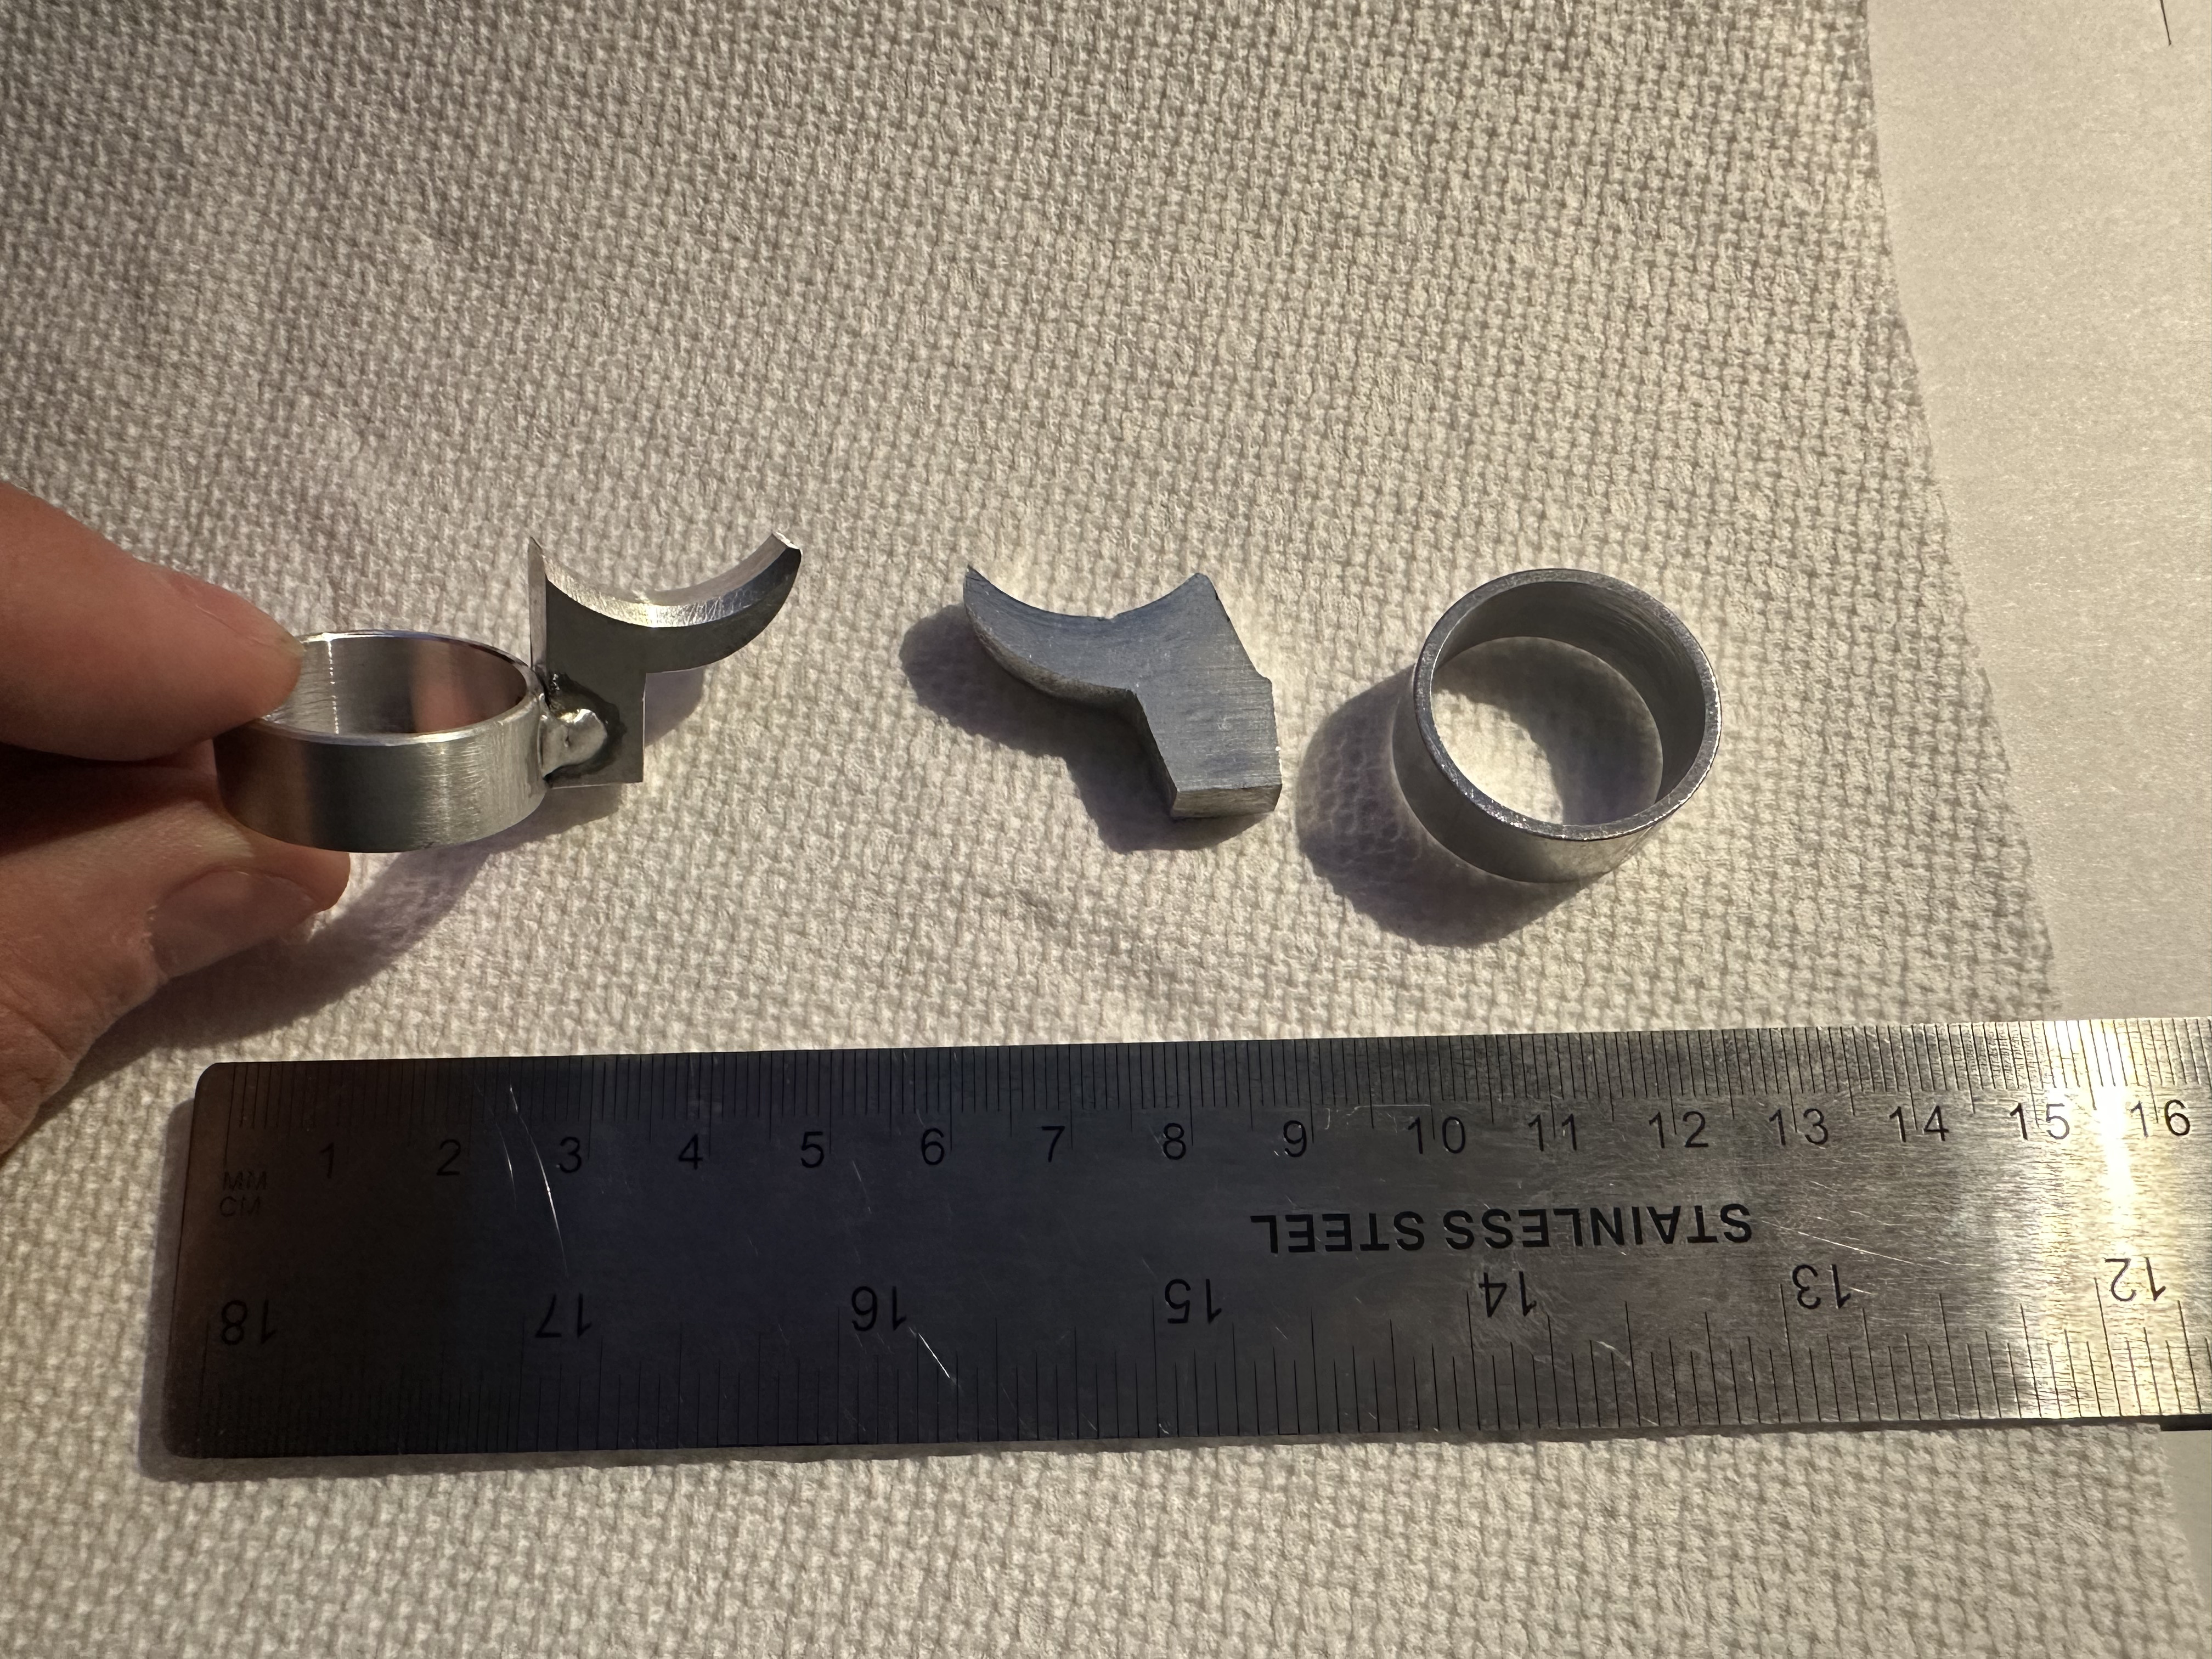
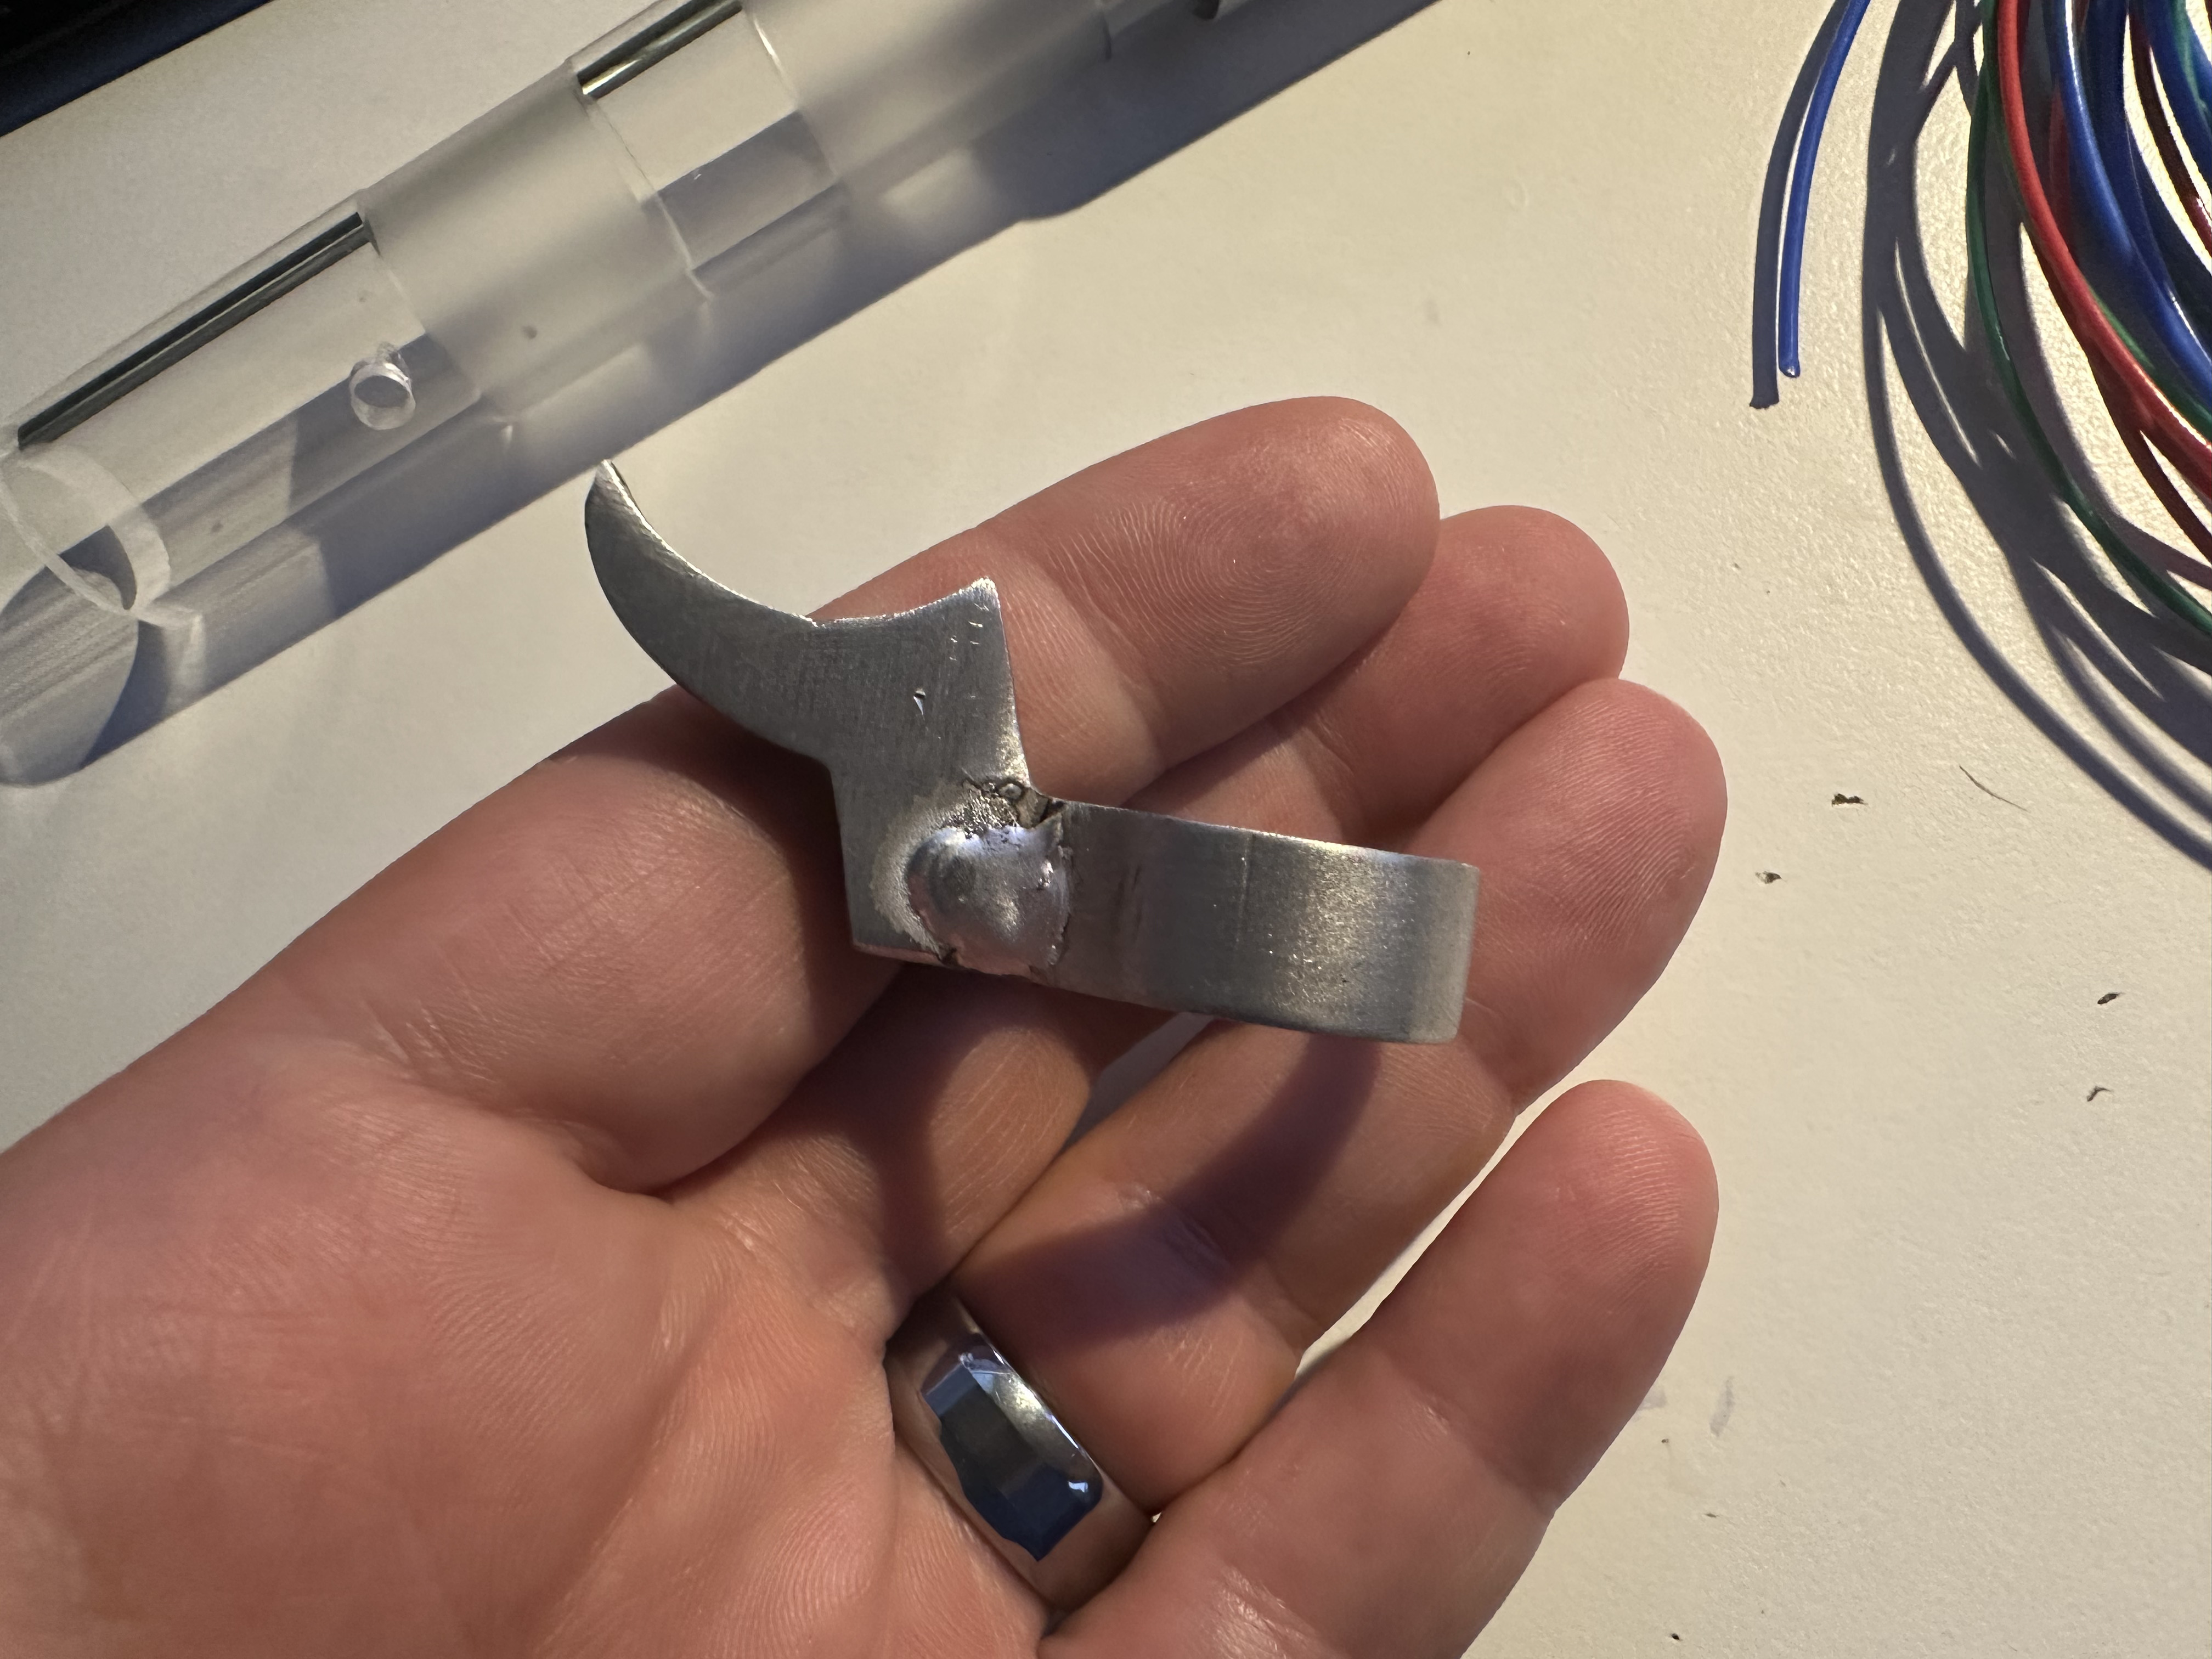
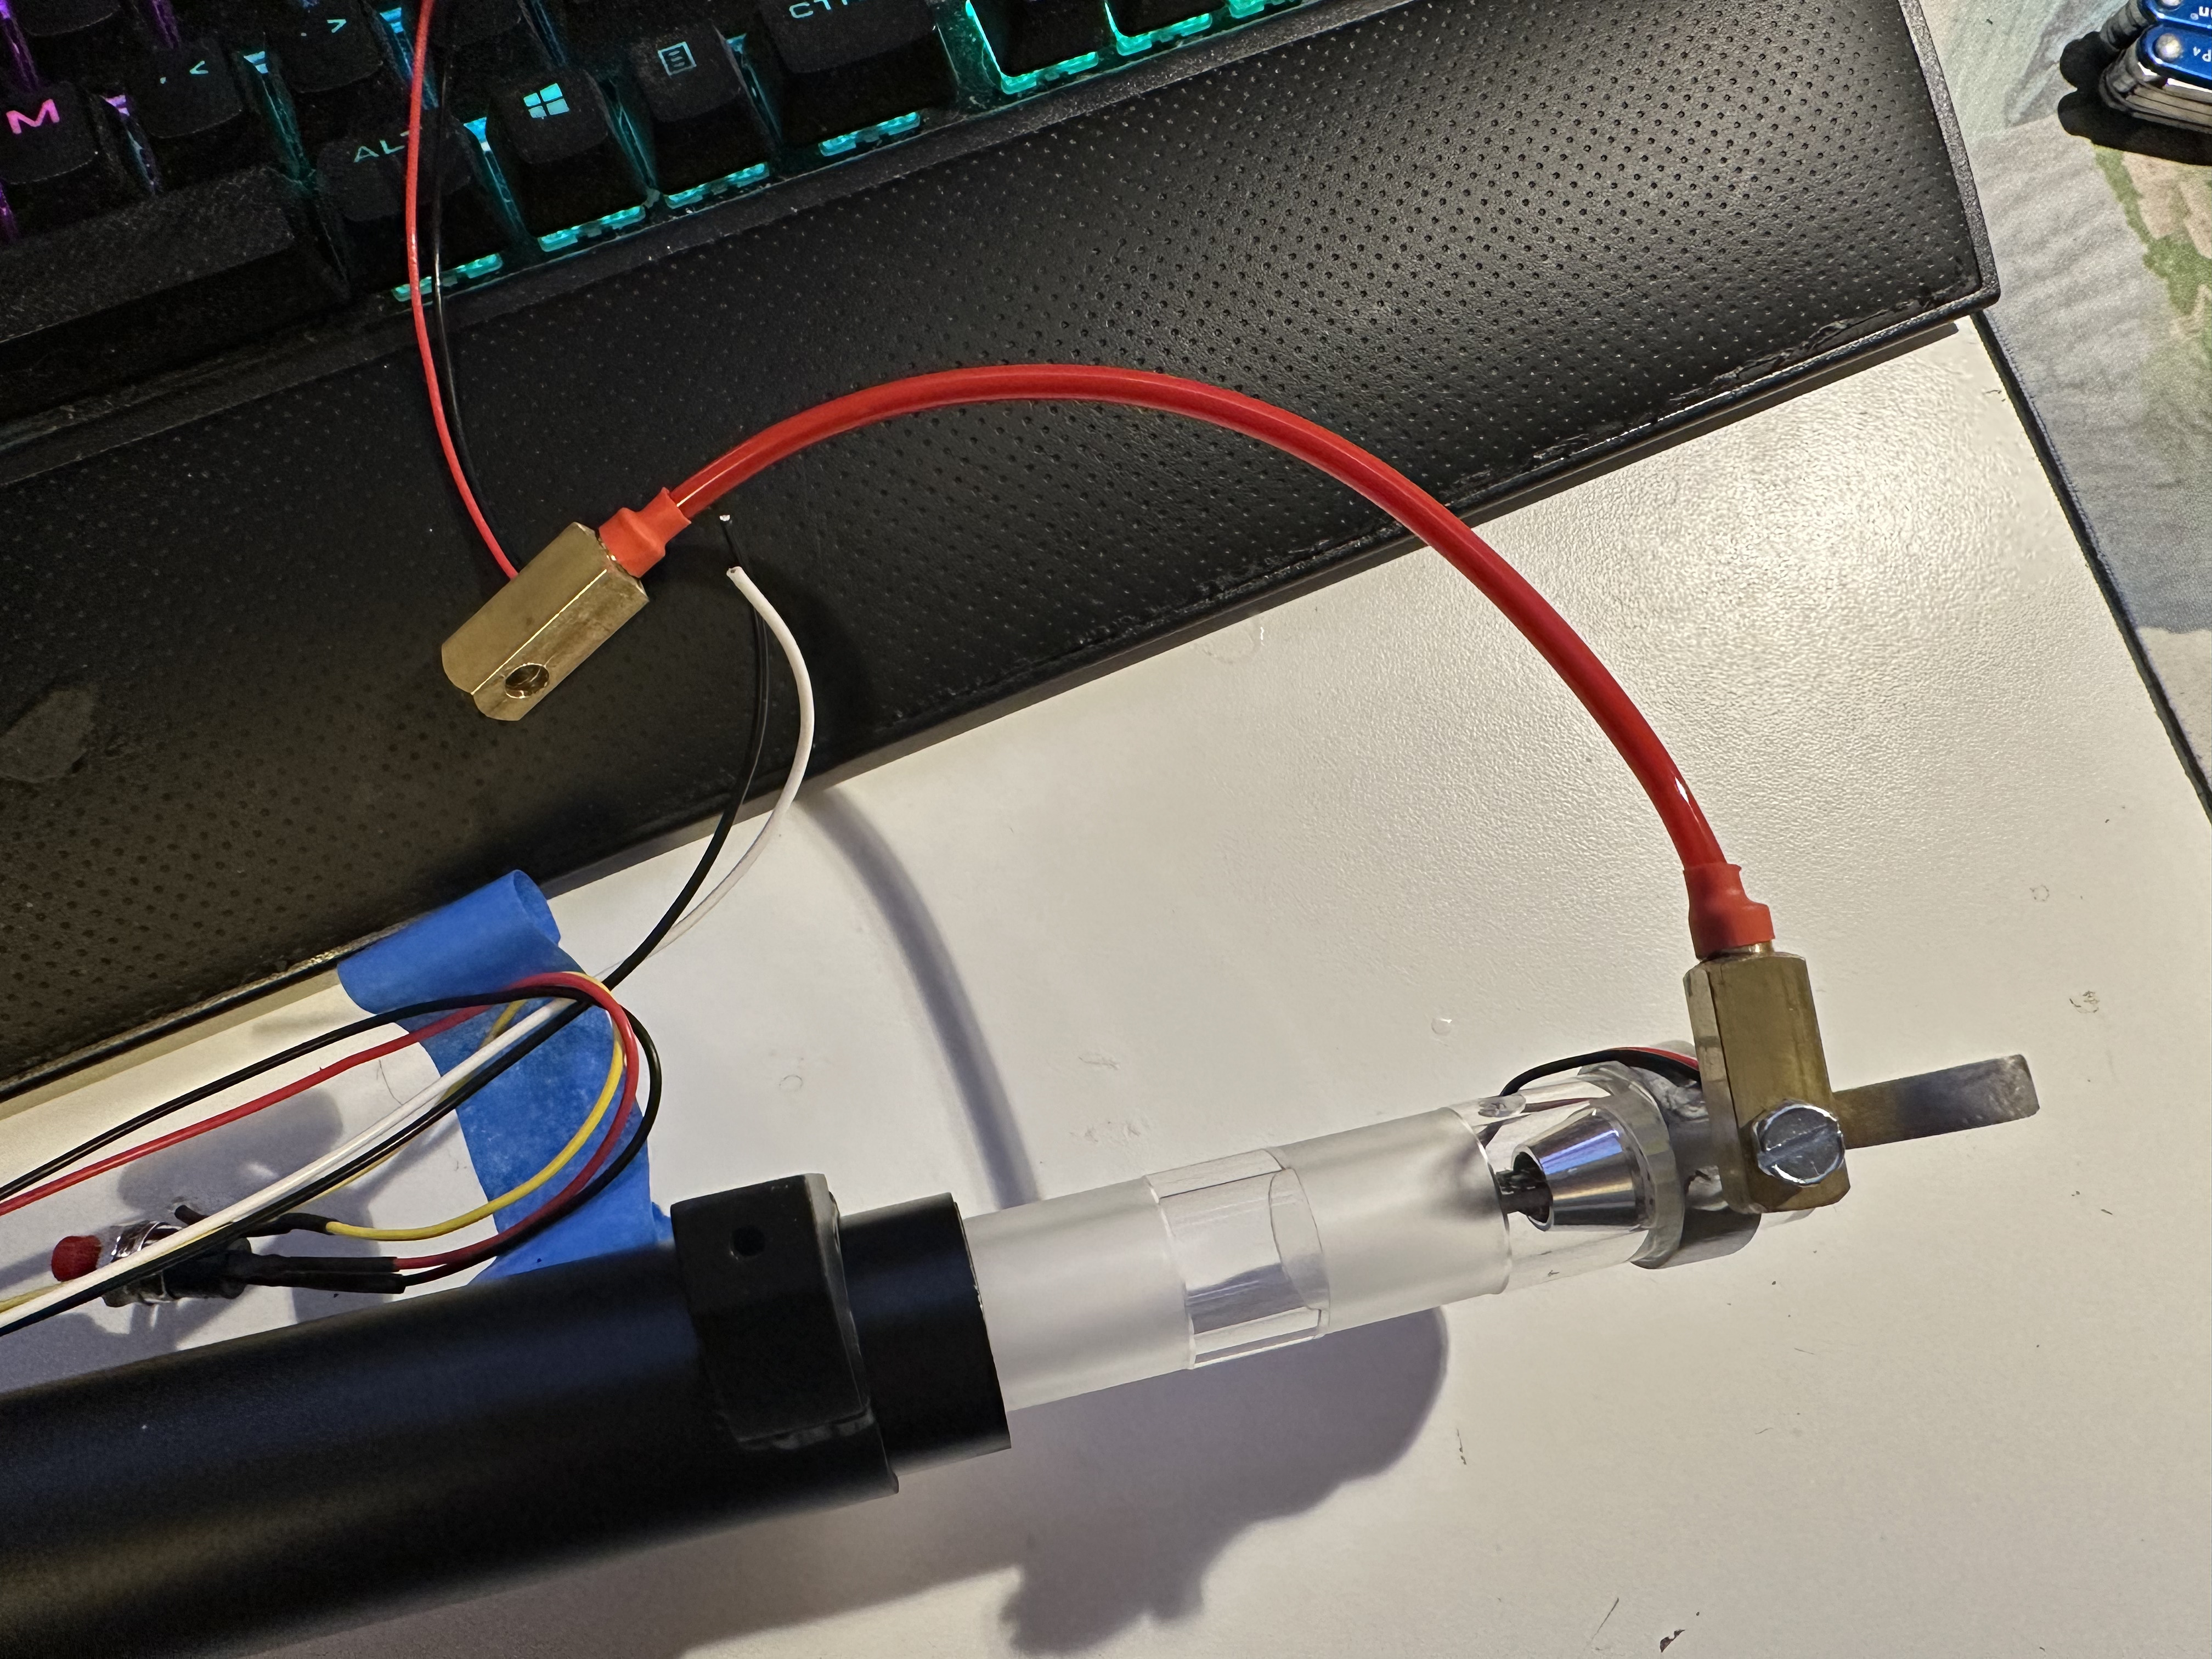
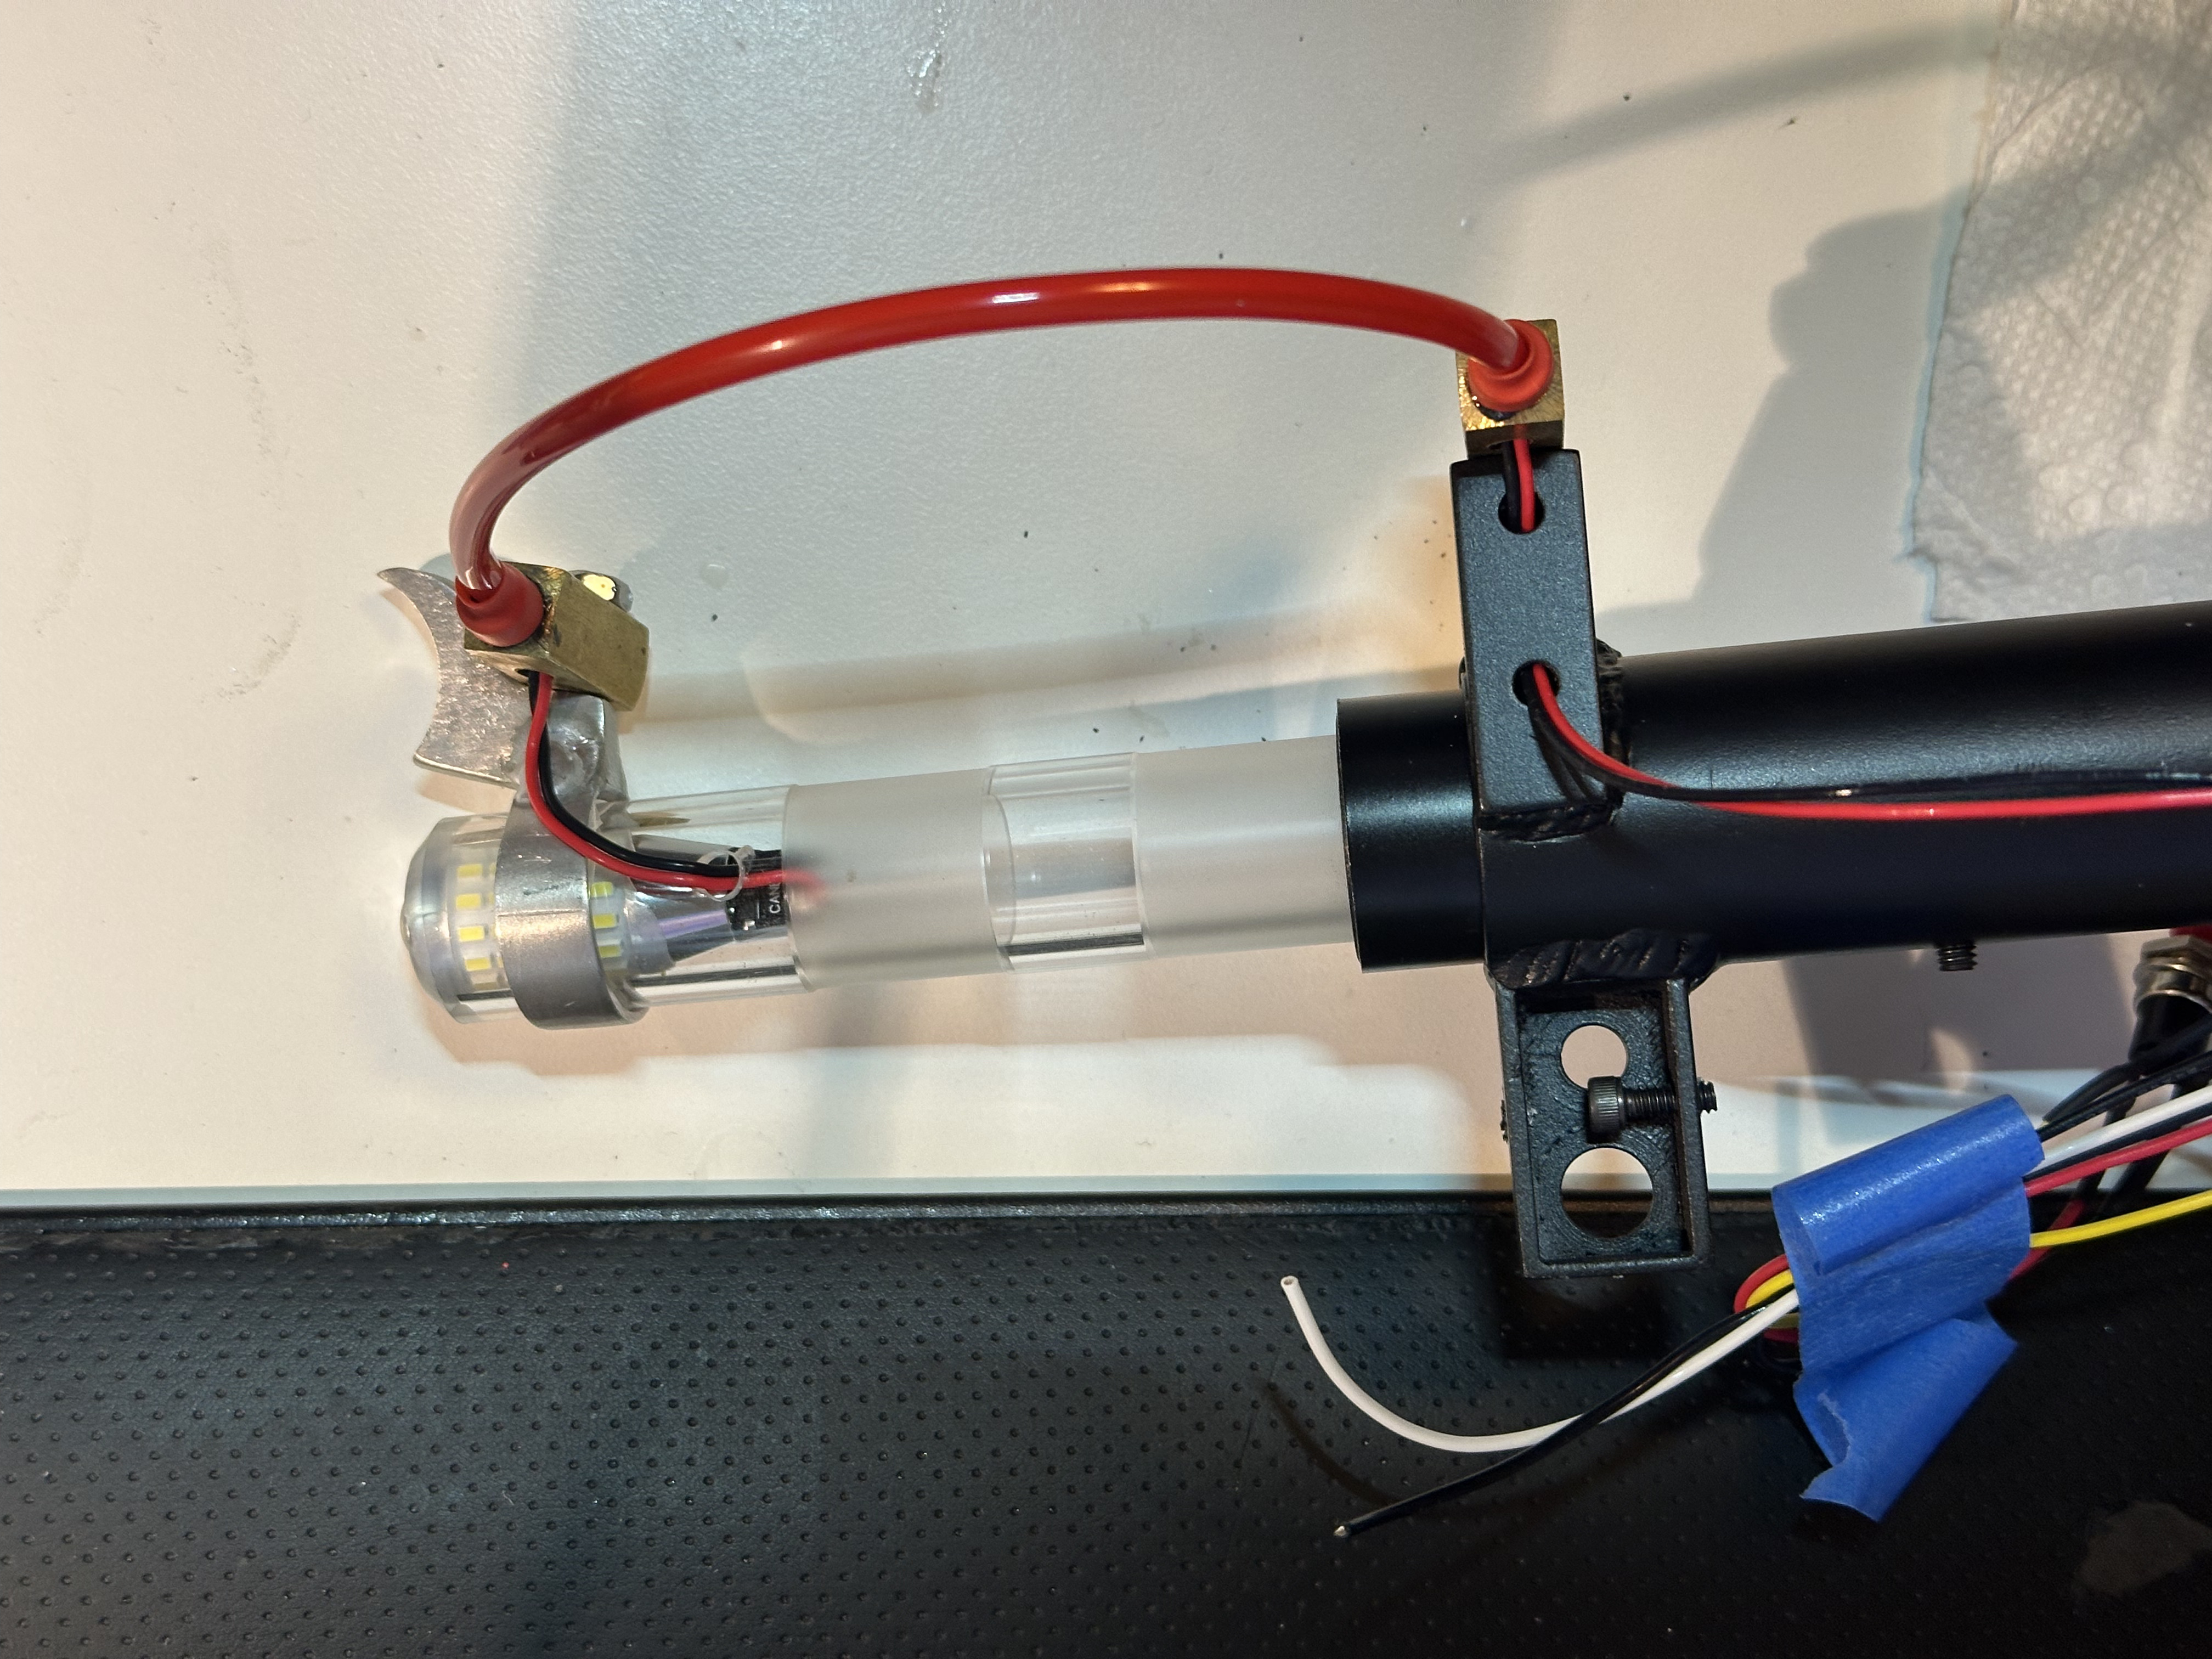
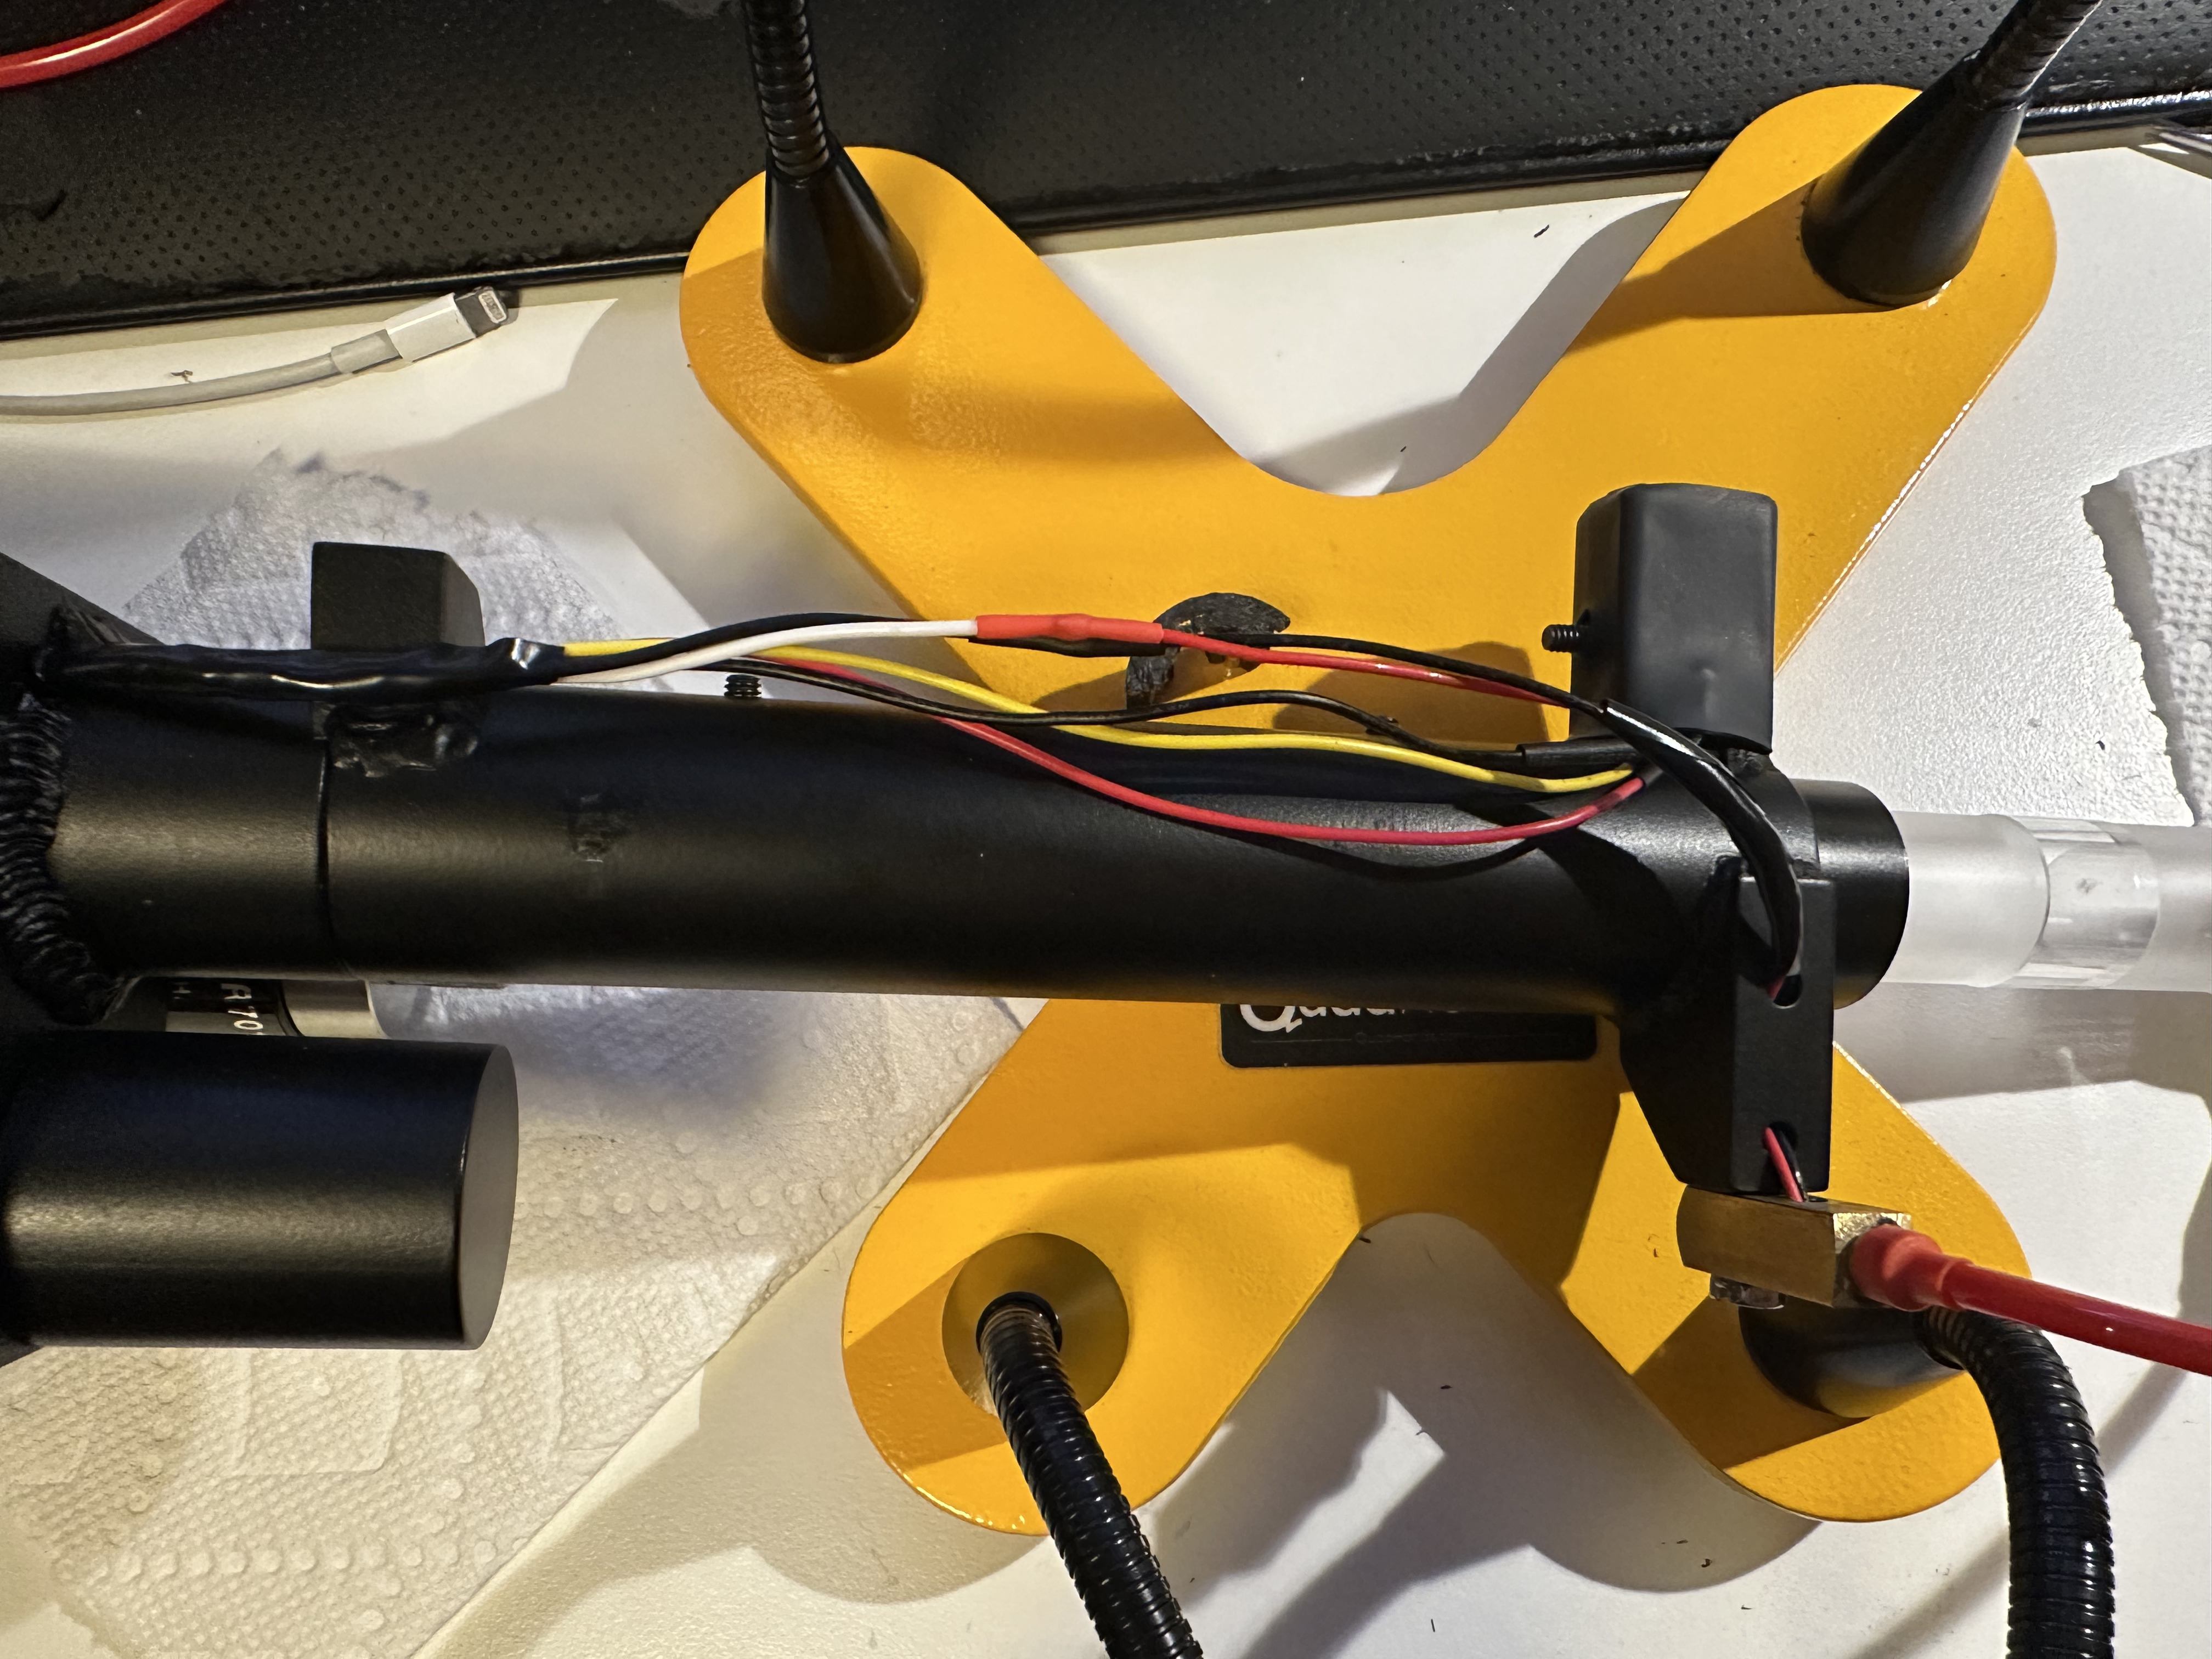
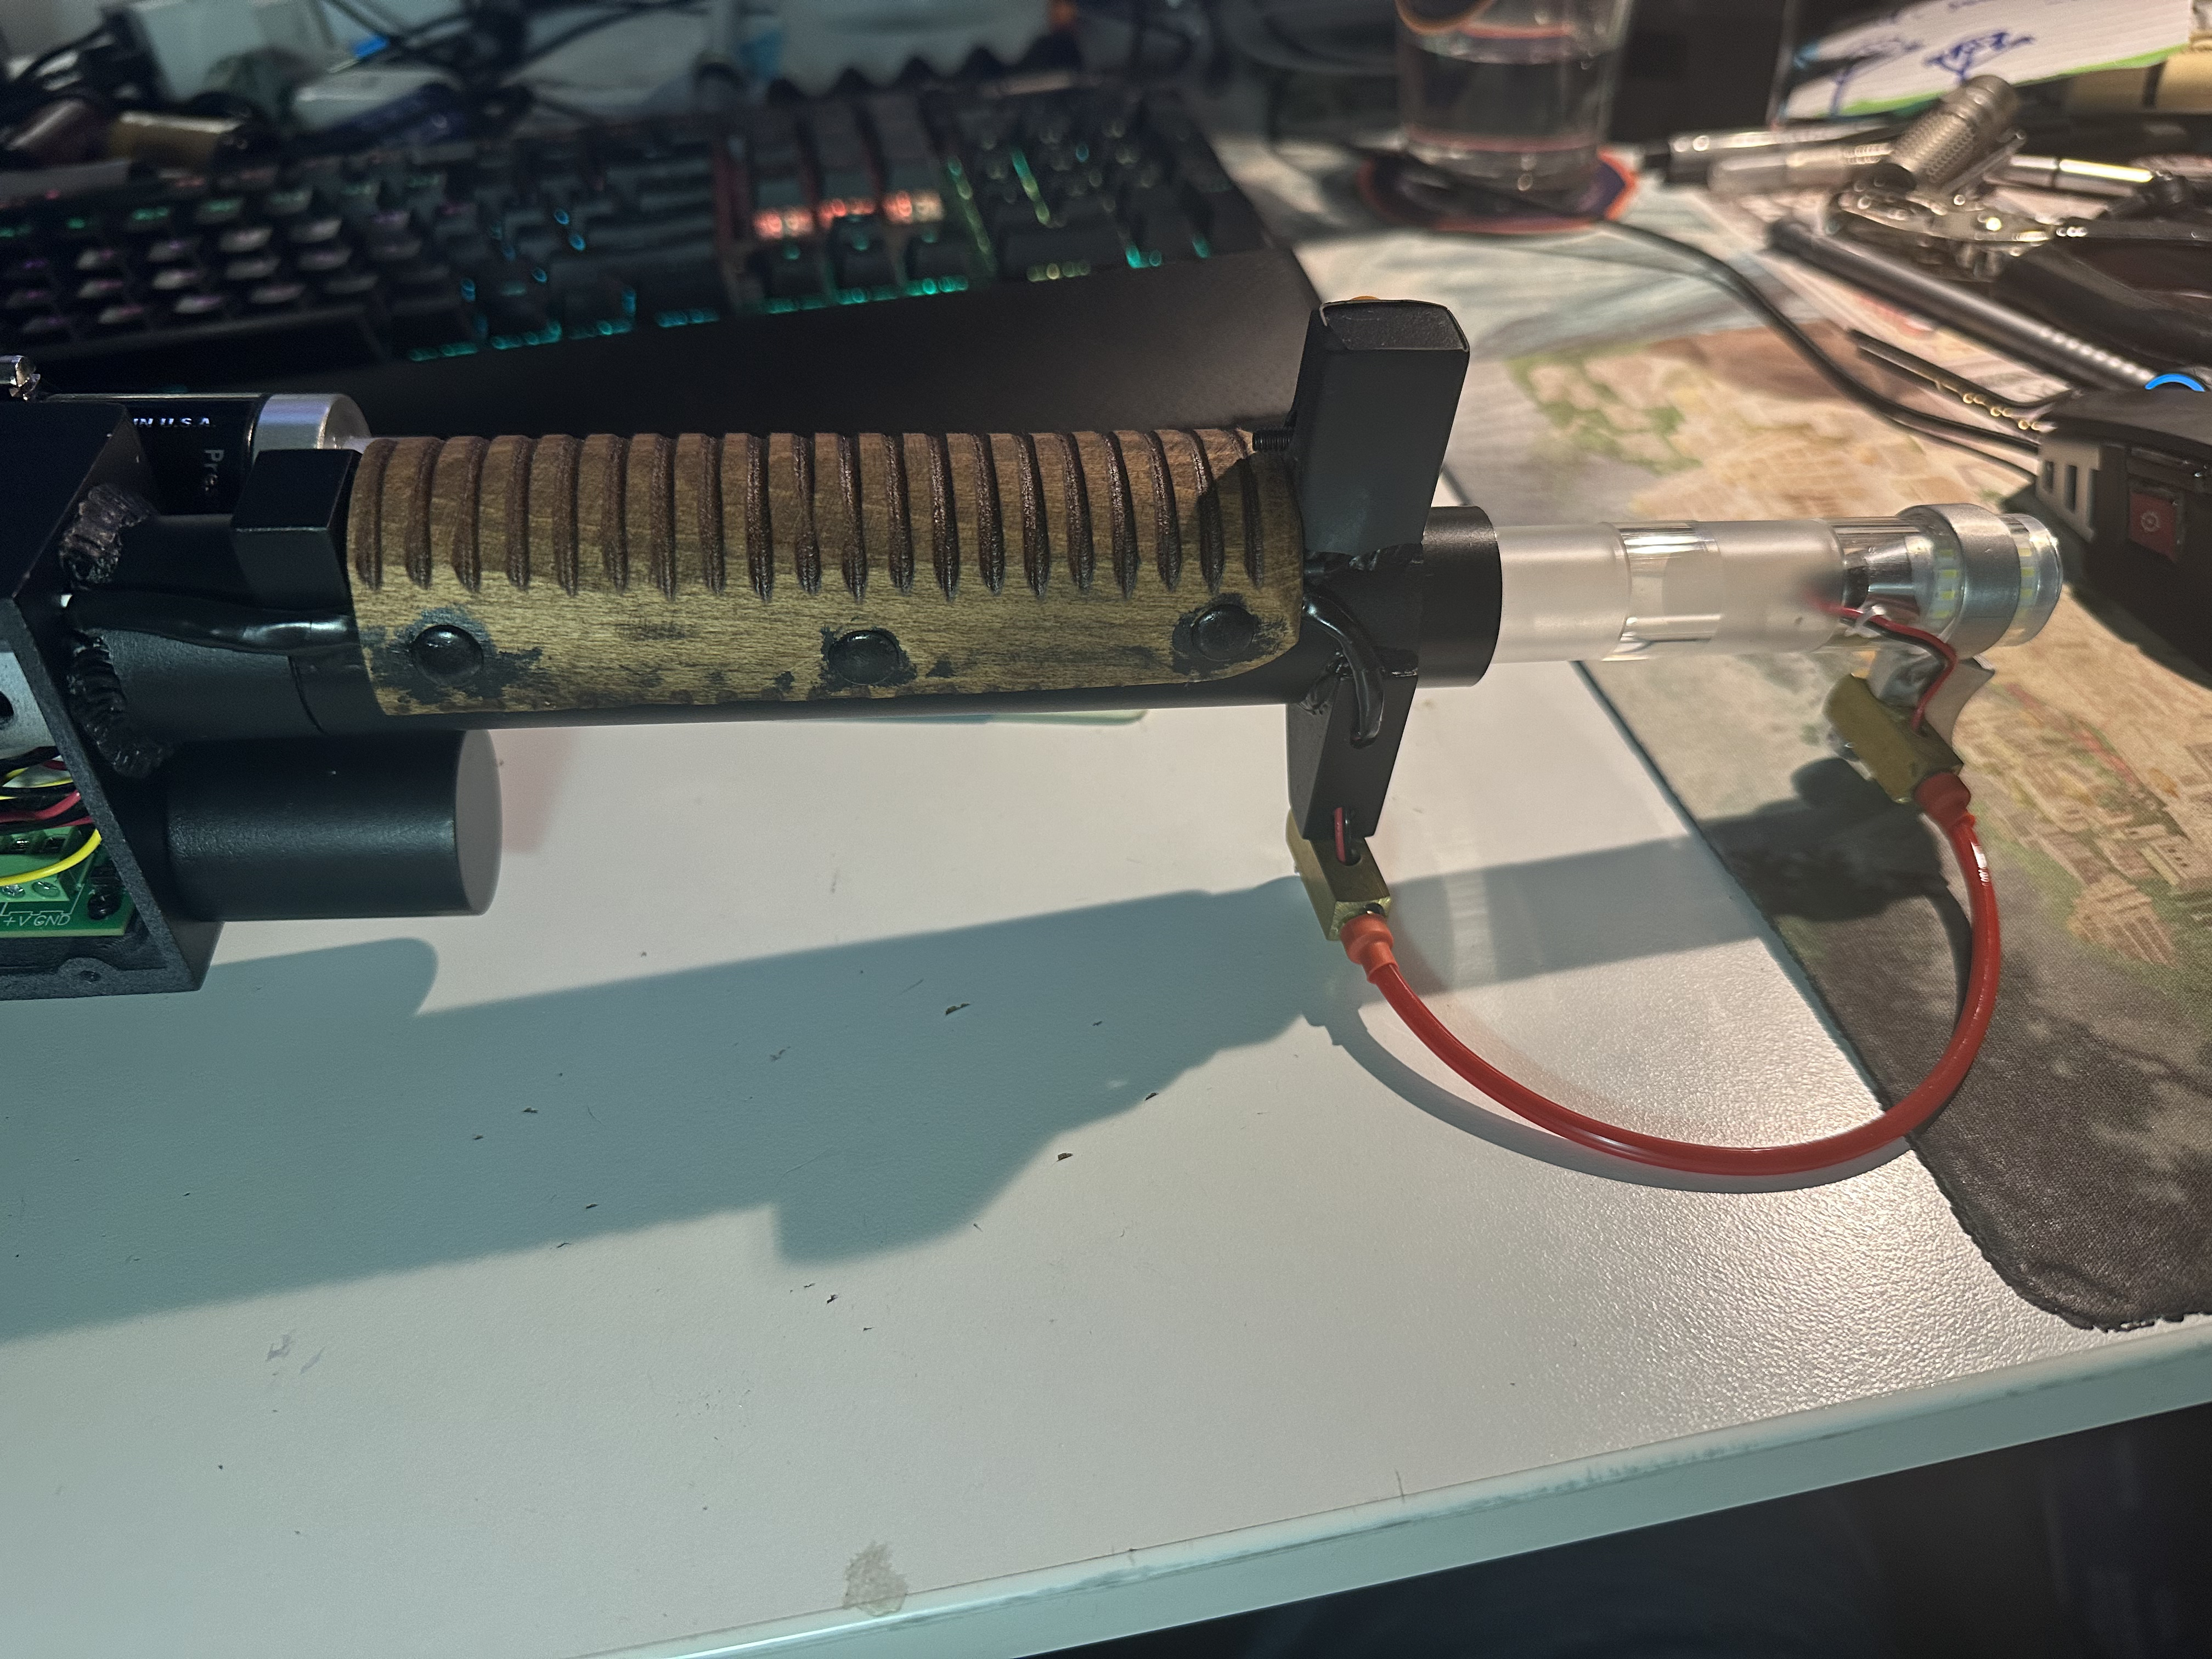
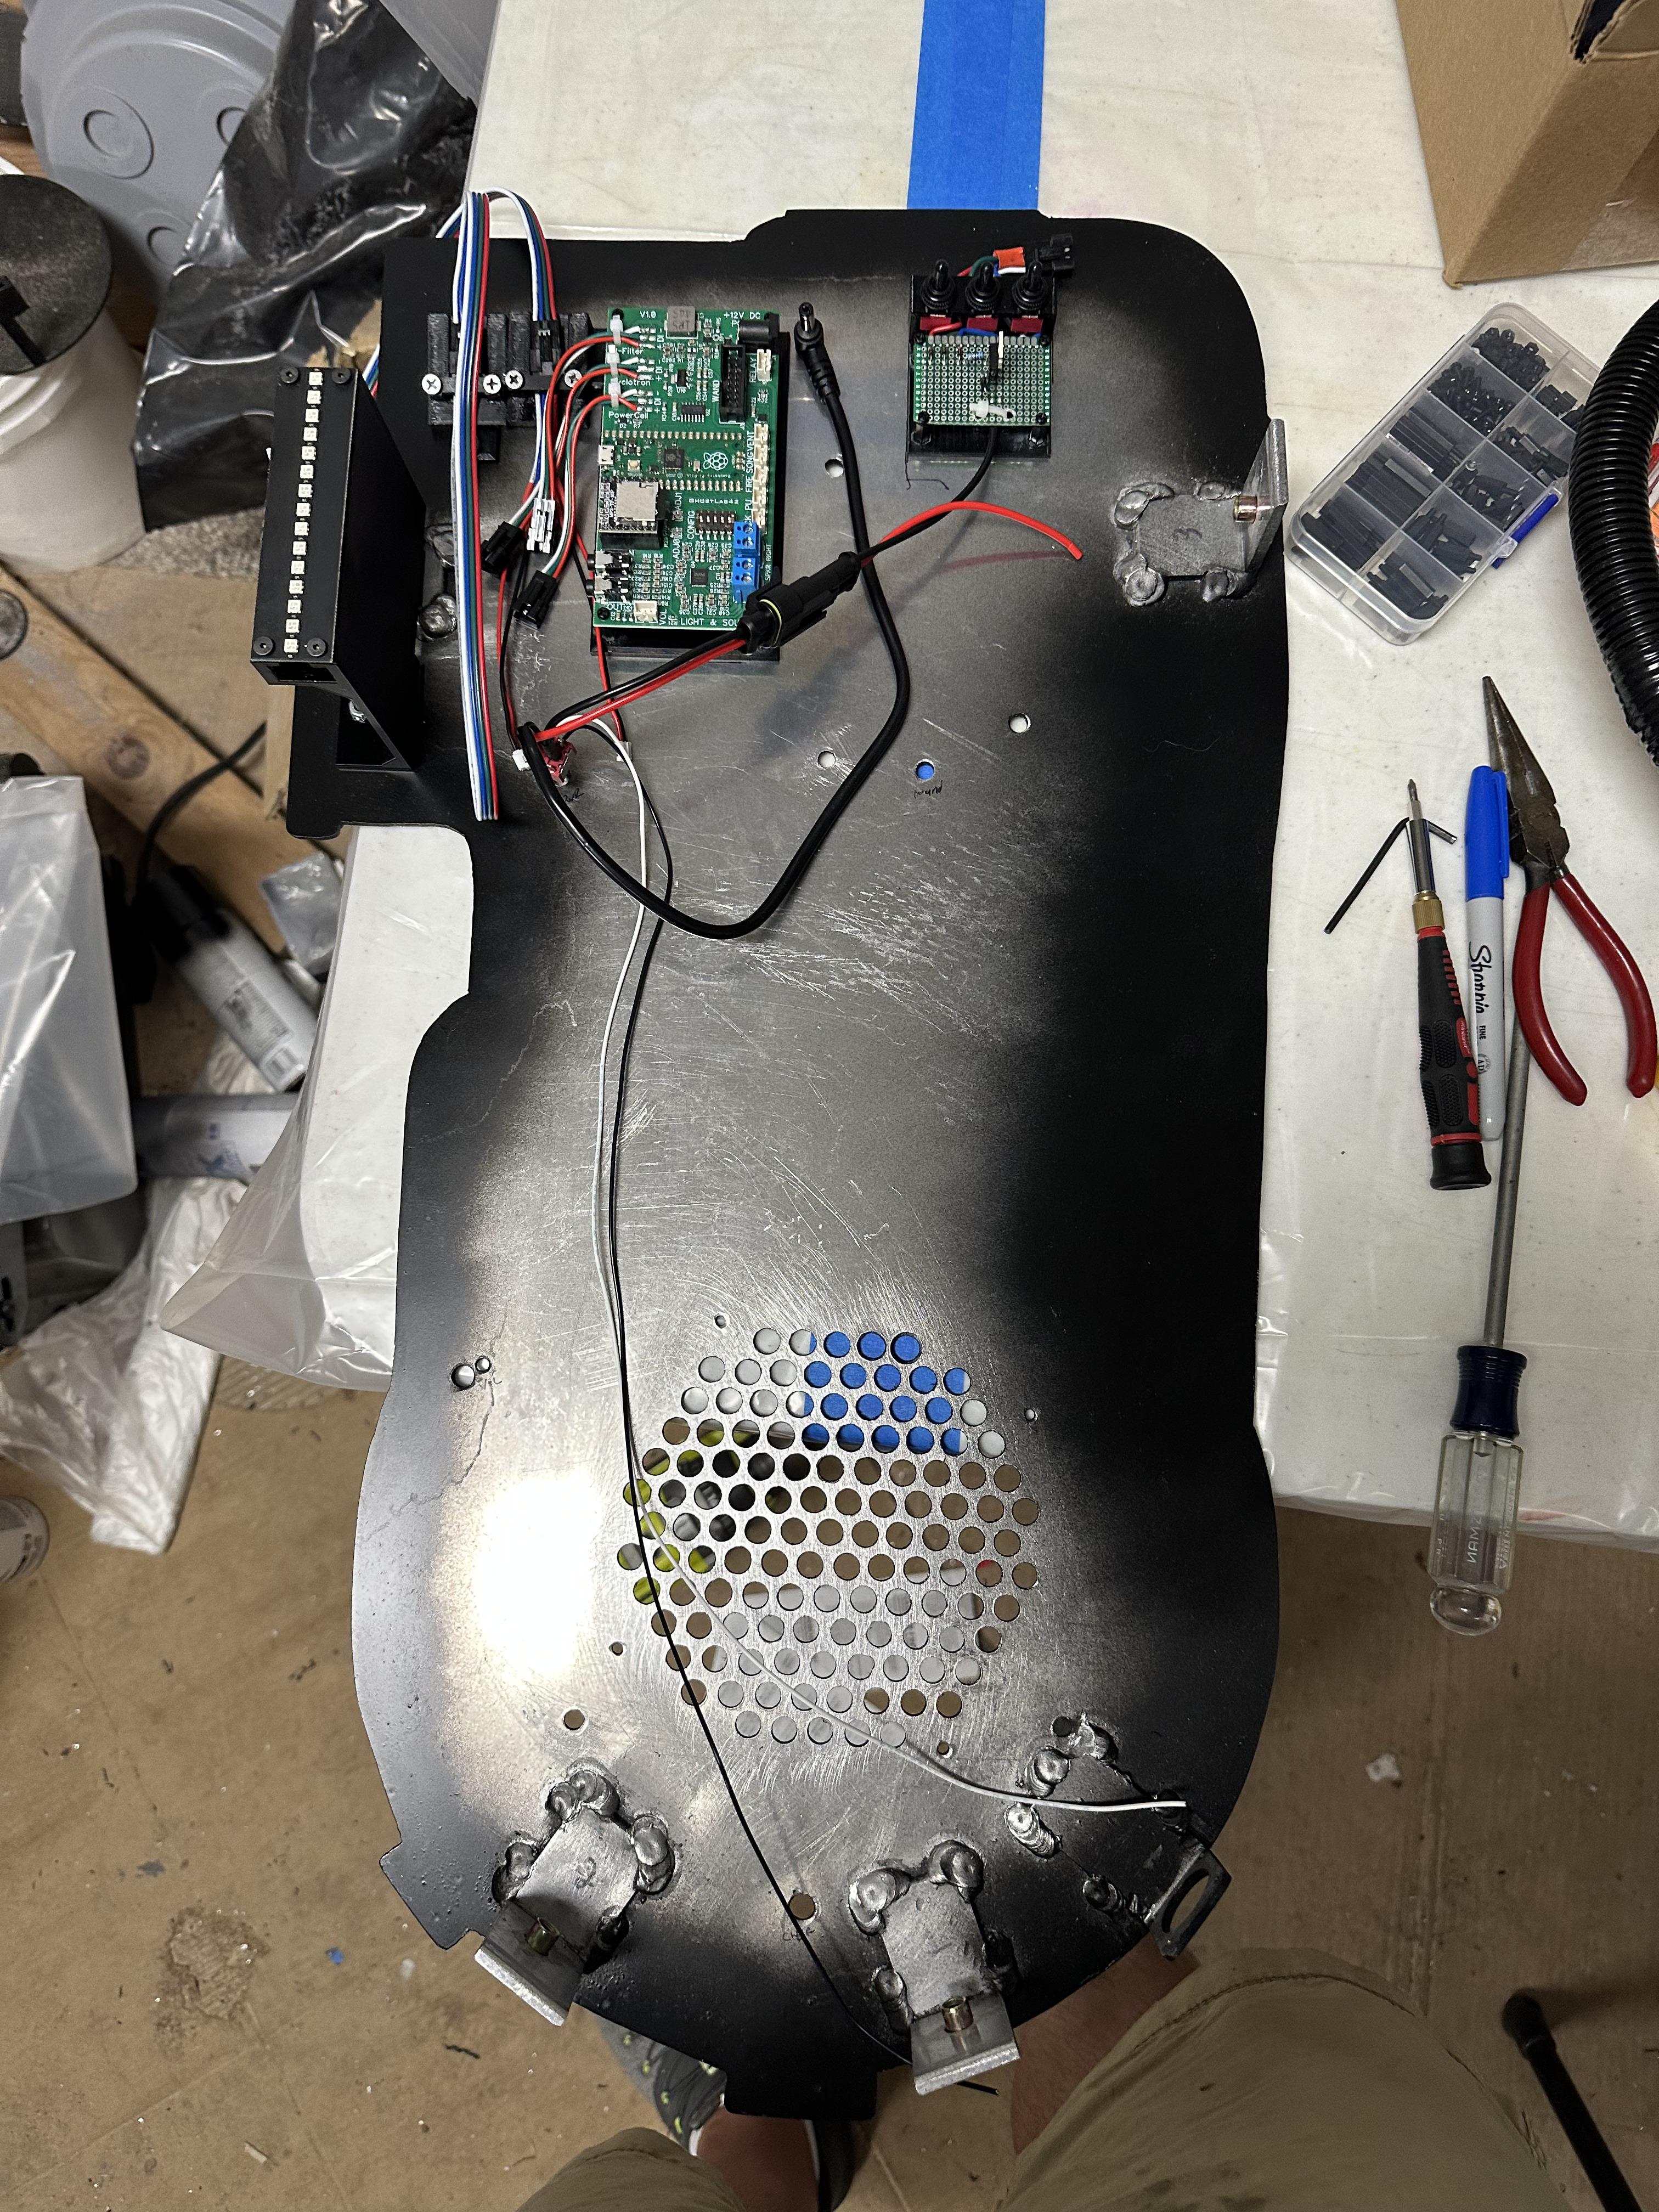
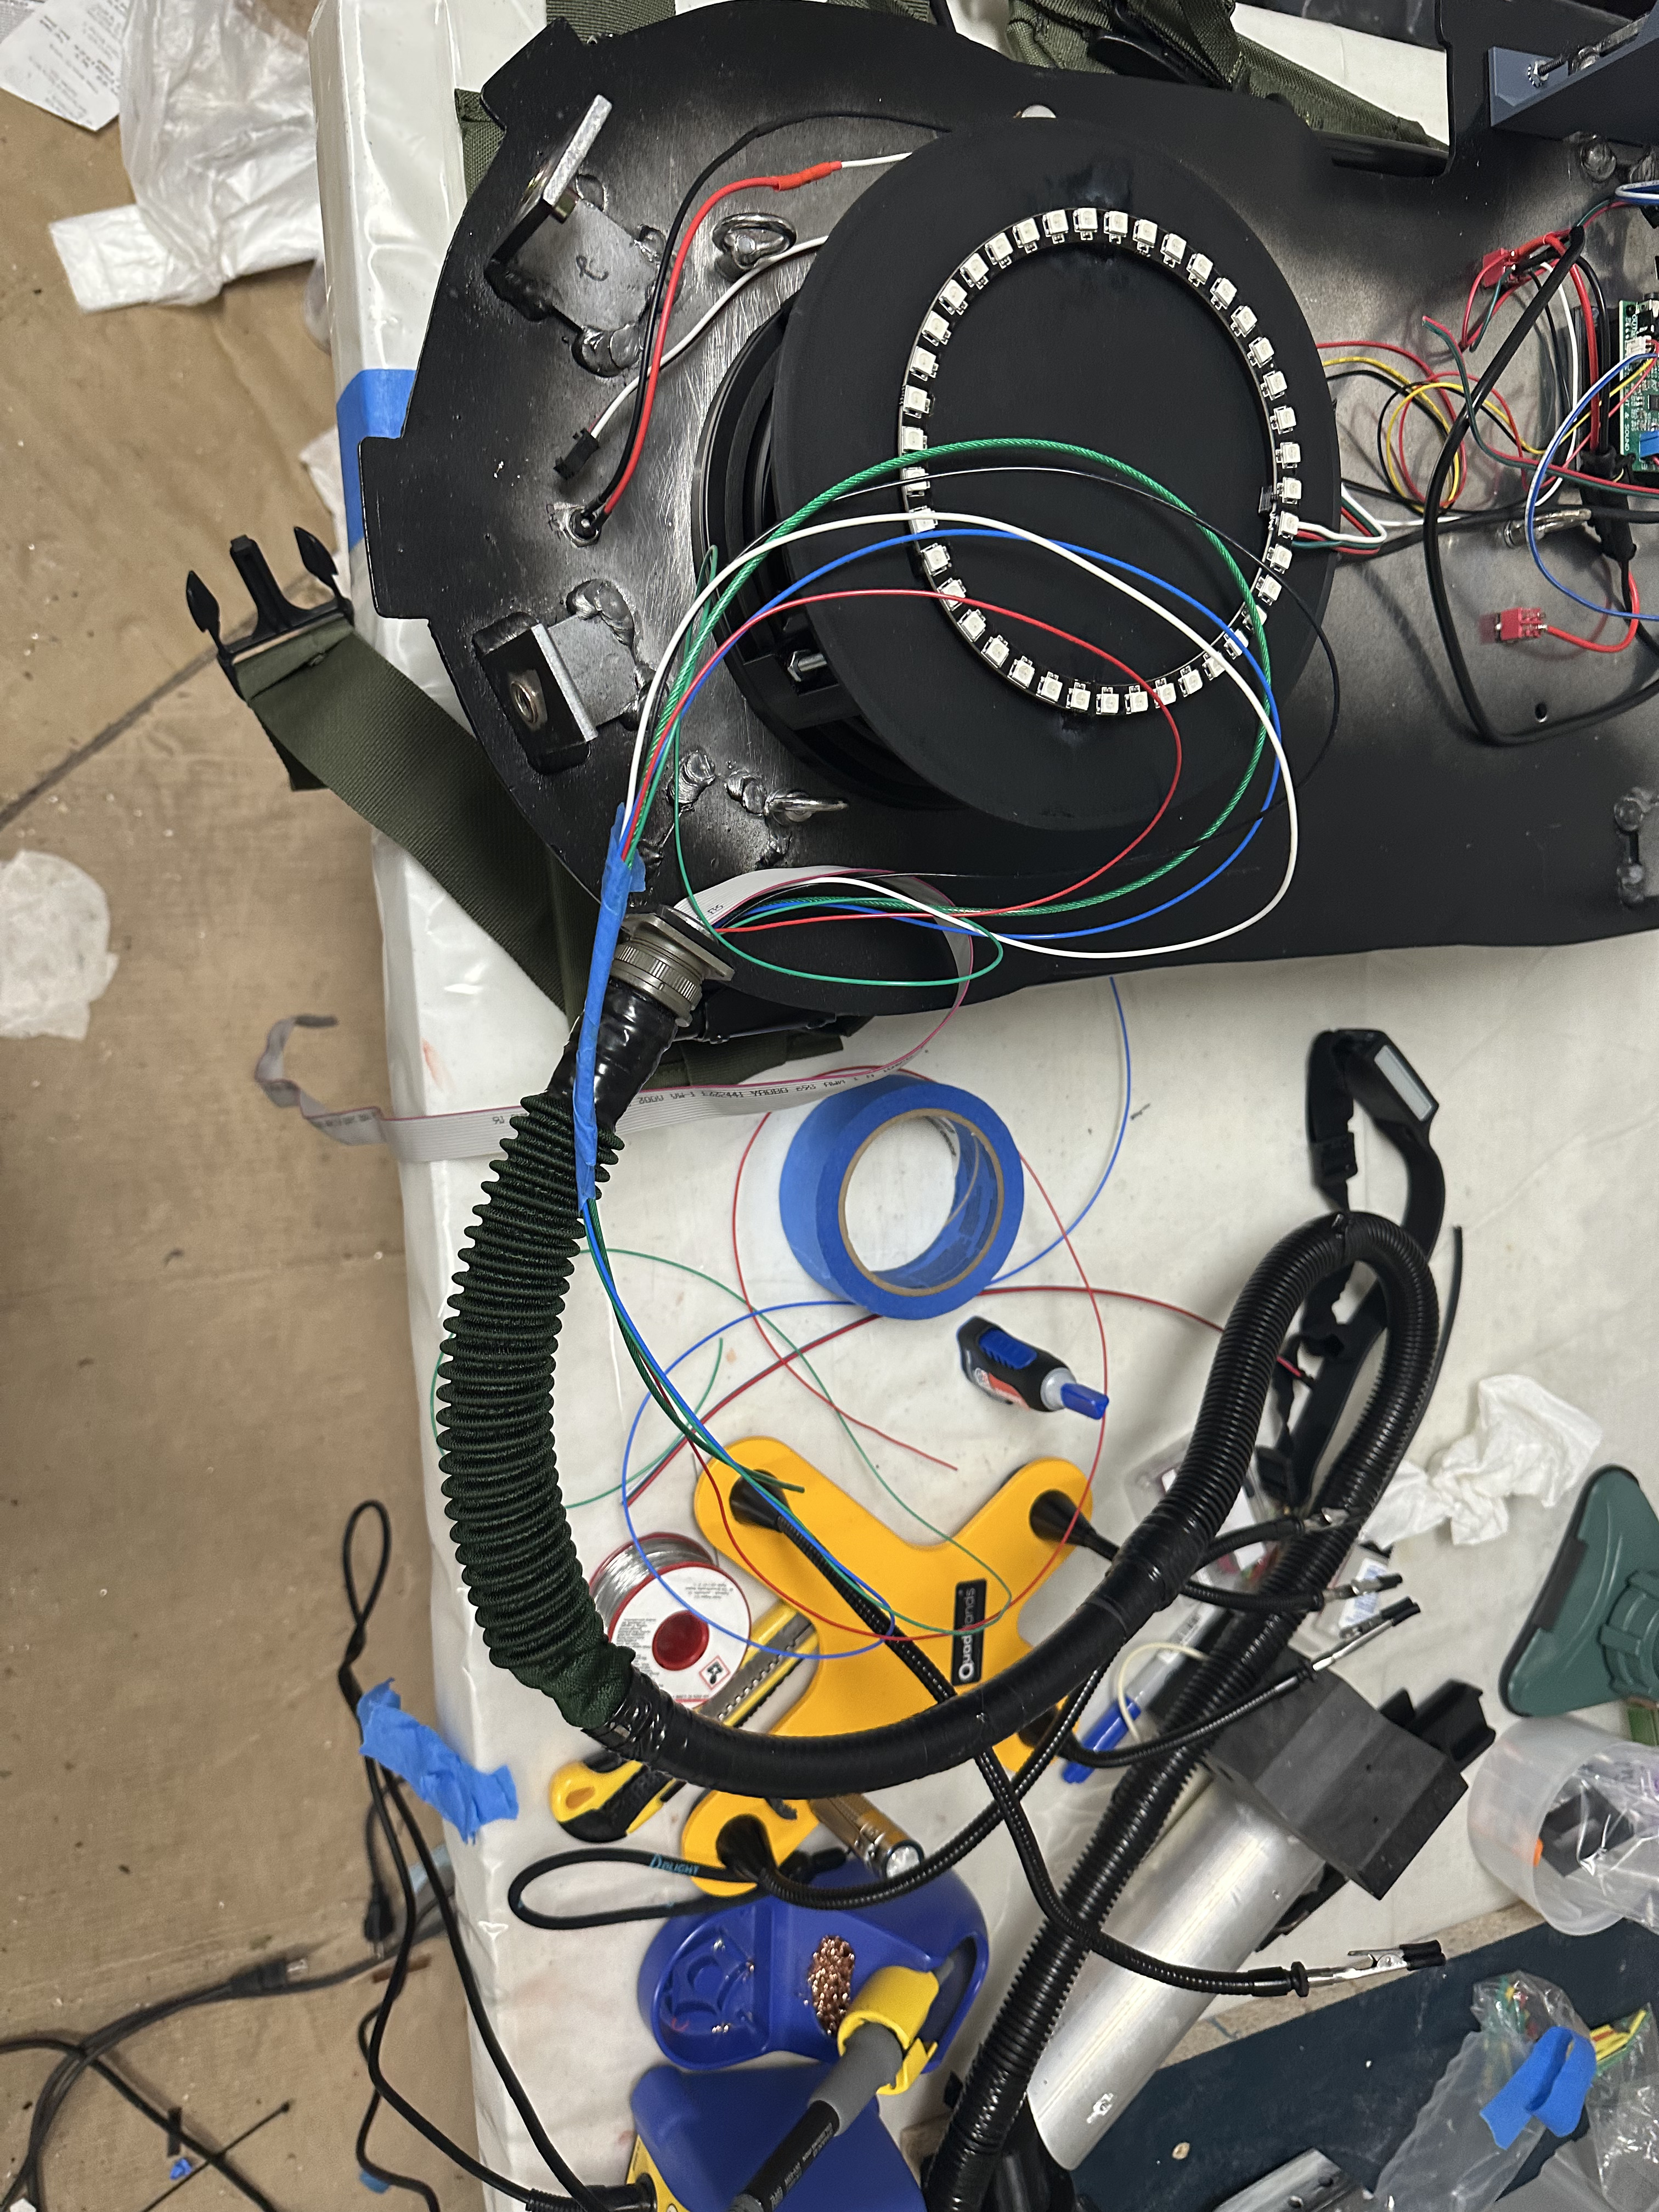
Welding aluminum myself wasn’t an option, but a friend of a friend offered to help so I went to work using pieces I got from a local metal supply store that sells discarded excess by the pound. I was able to get the correct size booster tube after a number of visits, as well as some box material that I could cut into all the brackets I need for both mounting the shell and matching the Phoebe wand cable port.
Unfortunately it wasn’t the cleanest weld job, but I’m not going to complain about someone being willing to help. I had to go in and clean up a few areas where it was interfering with the pack shell.
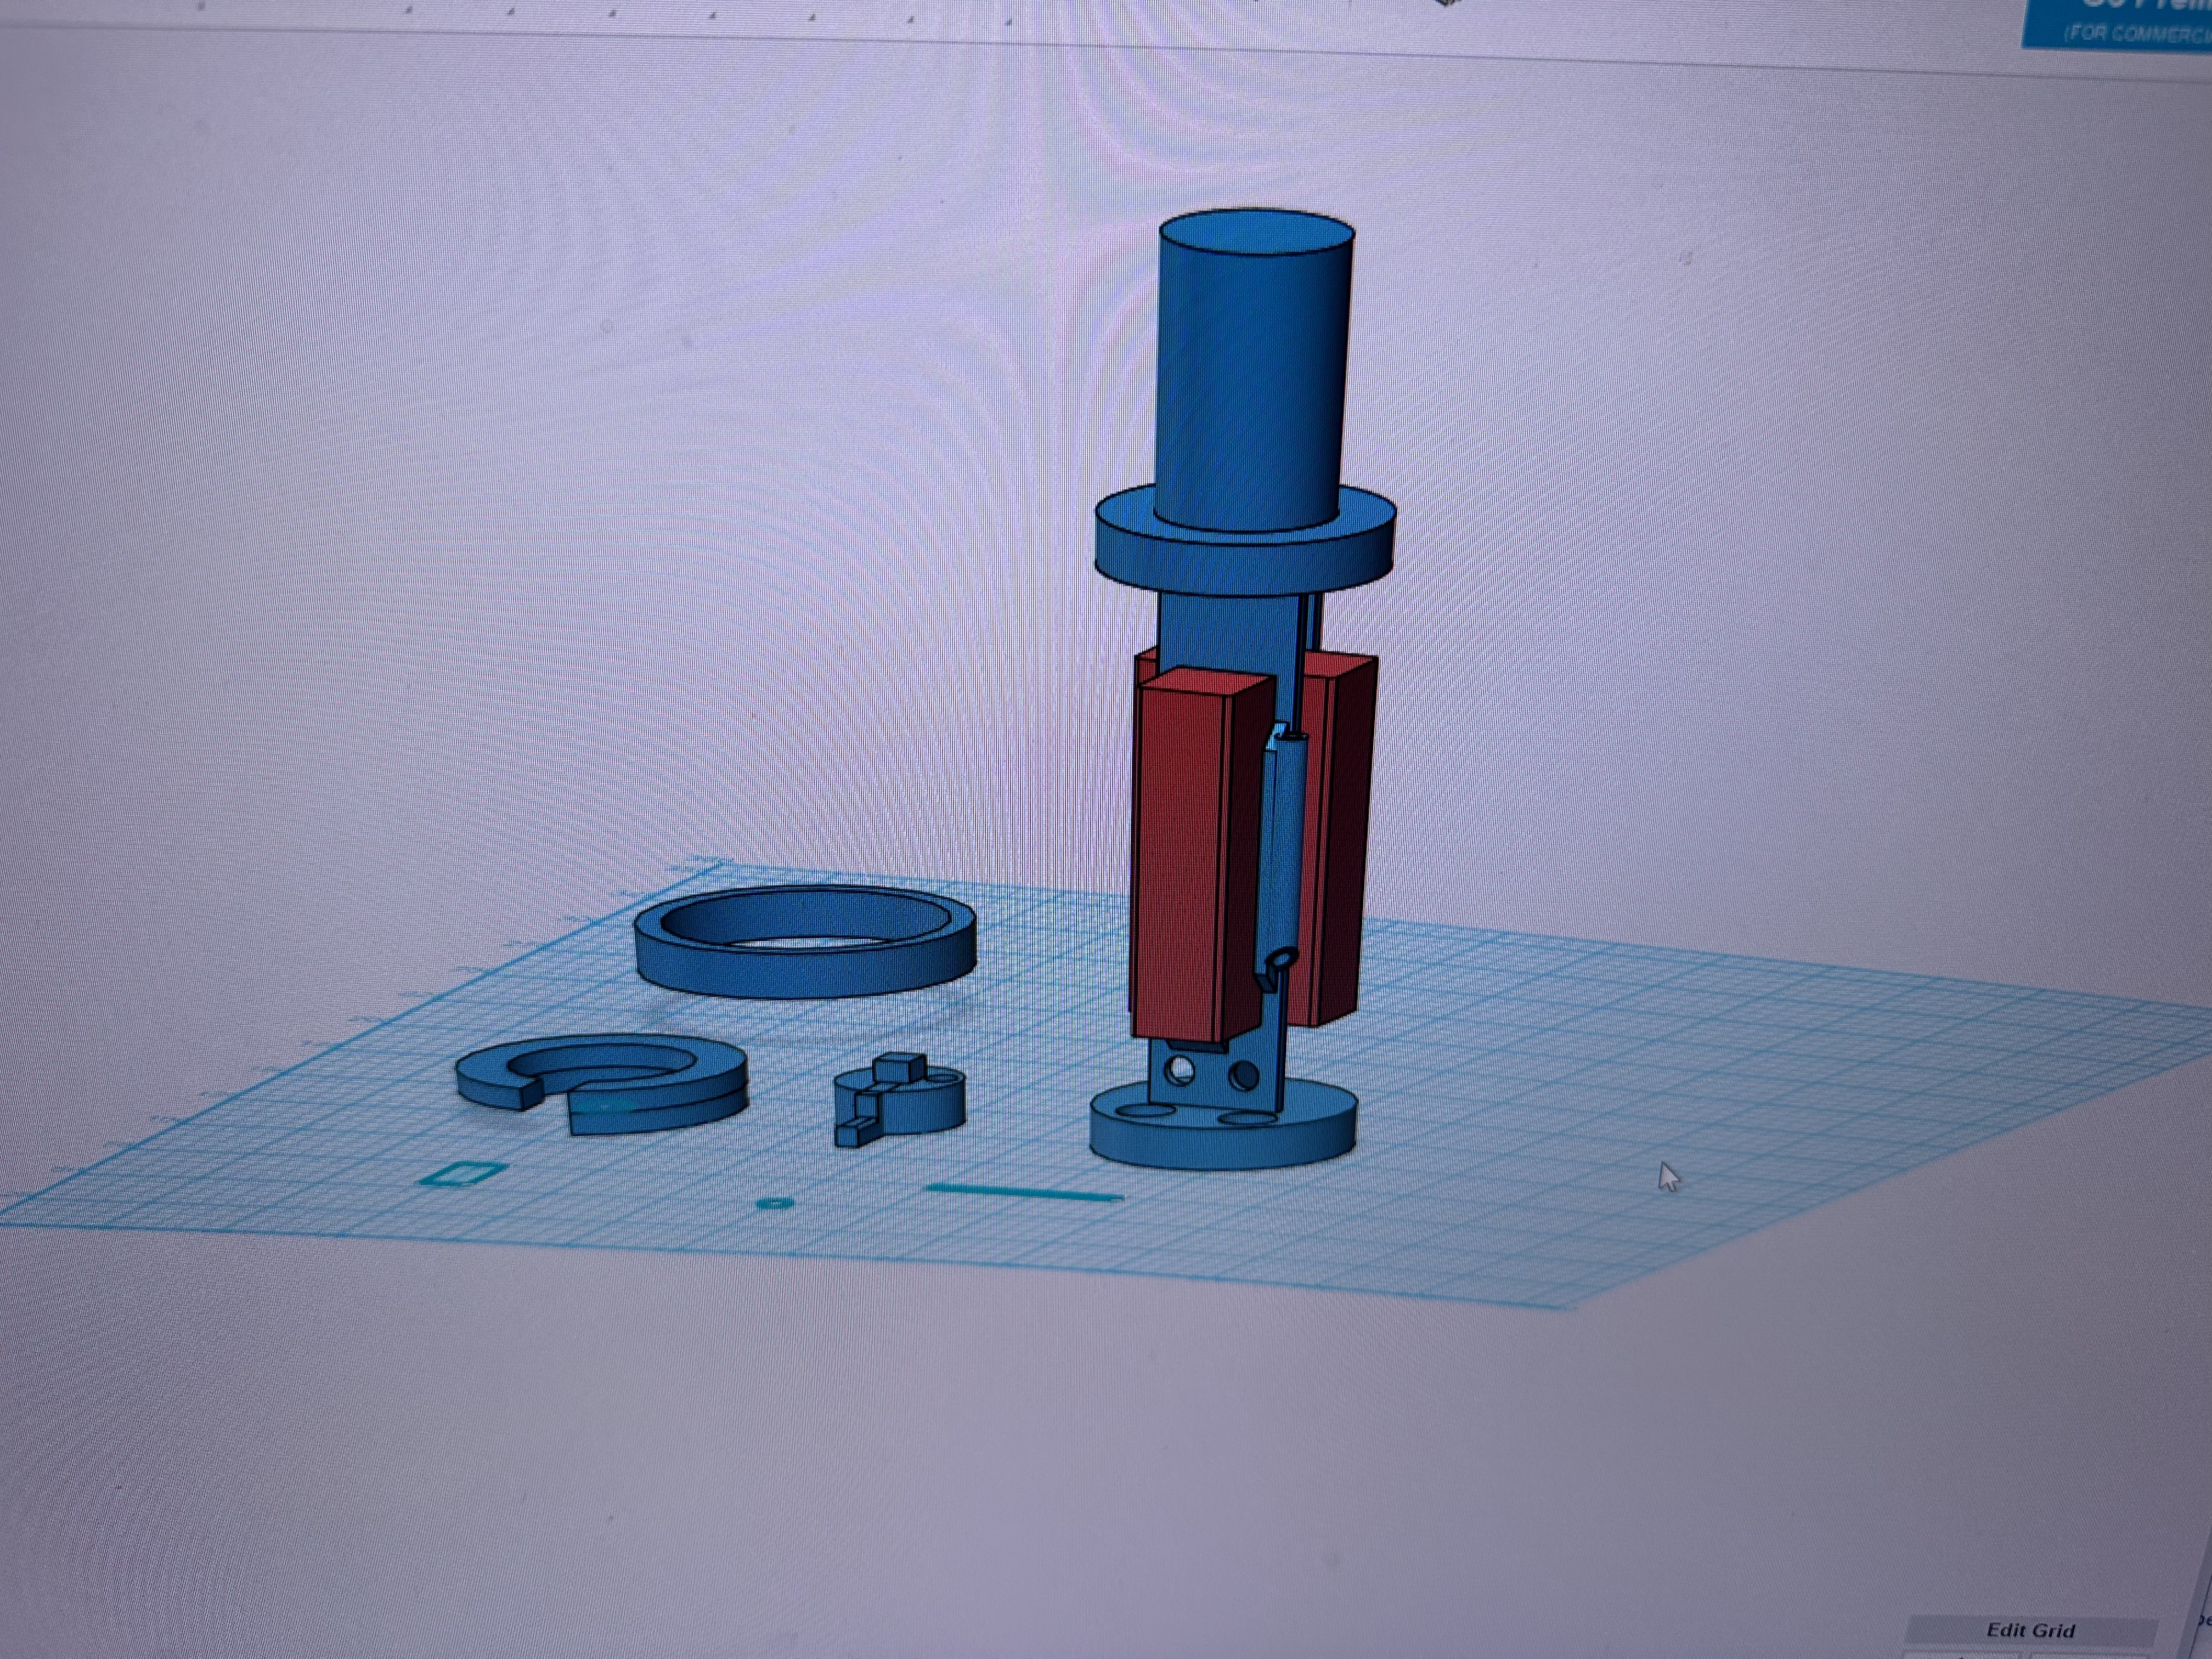
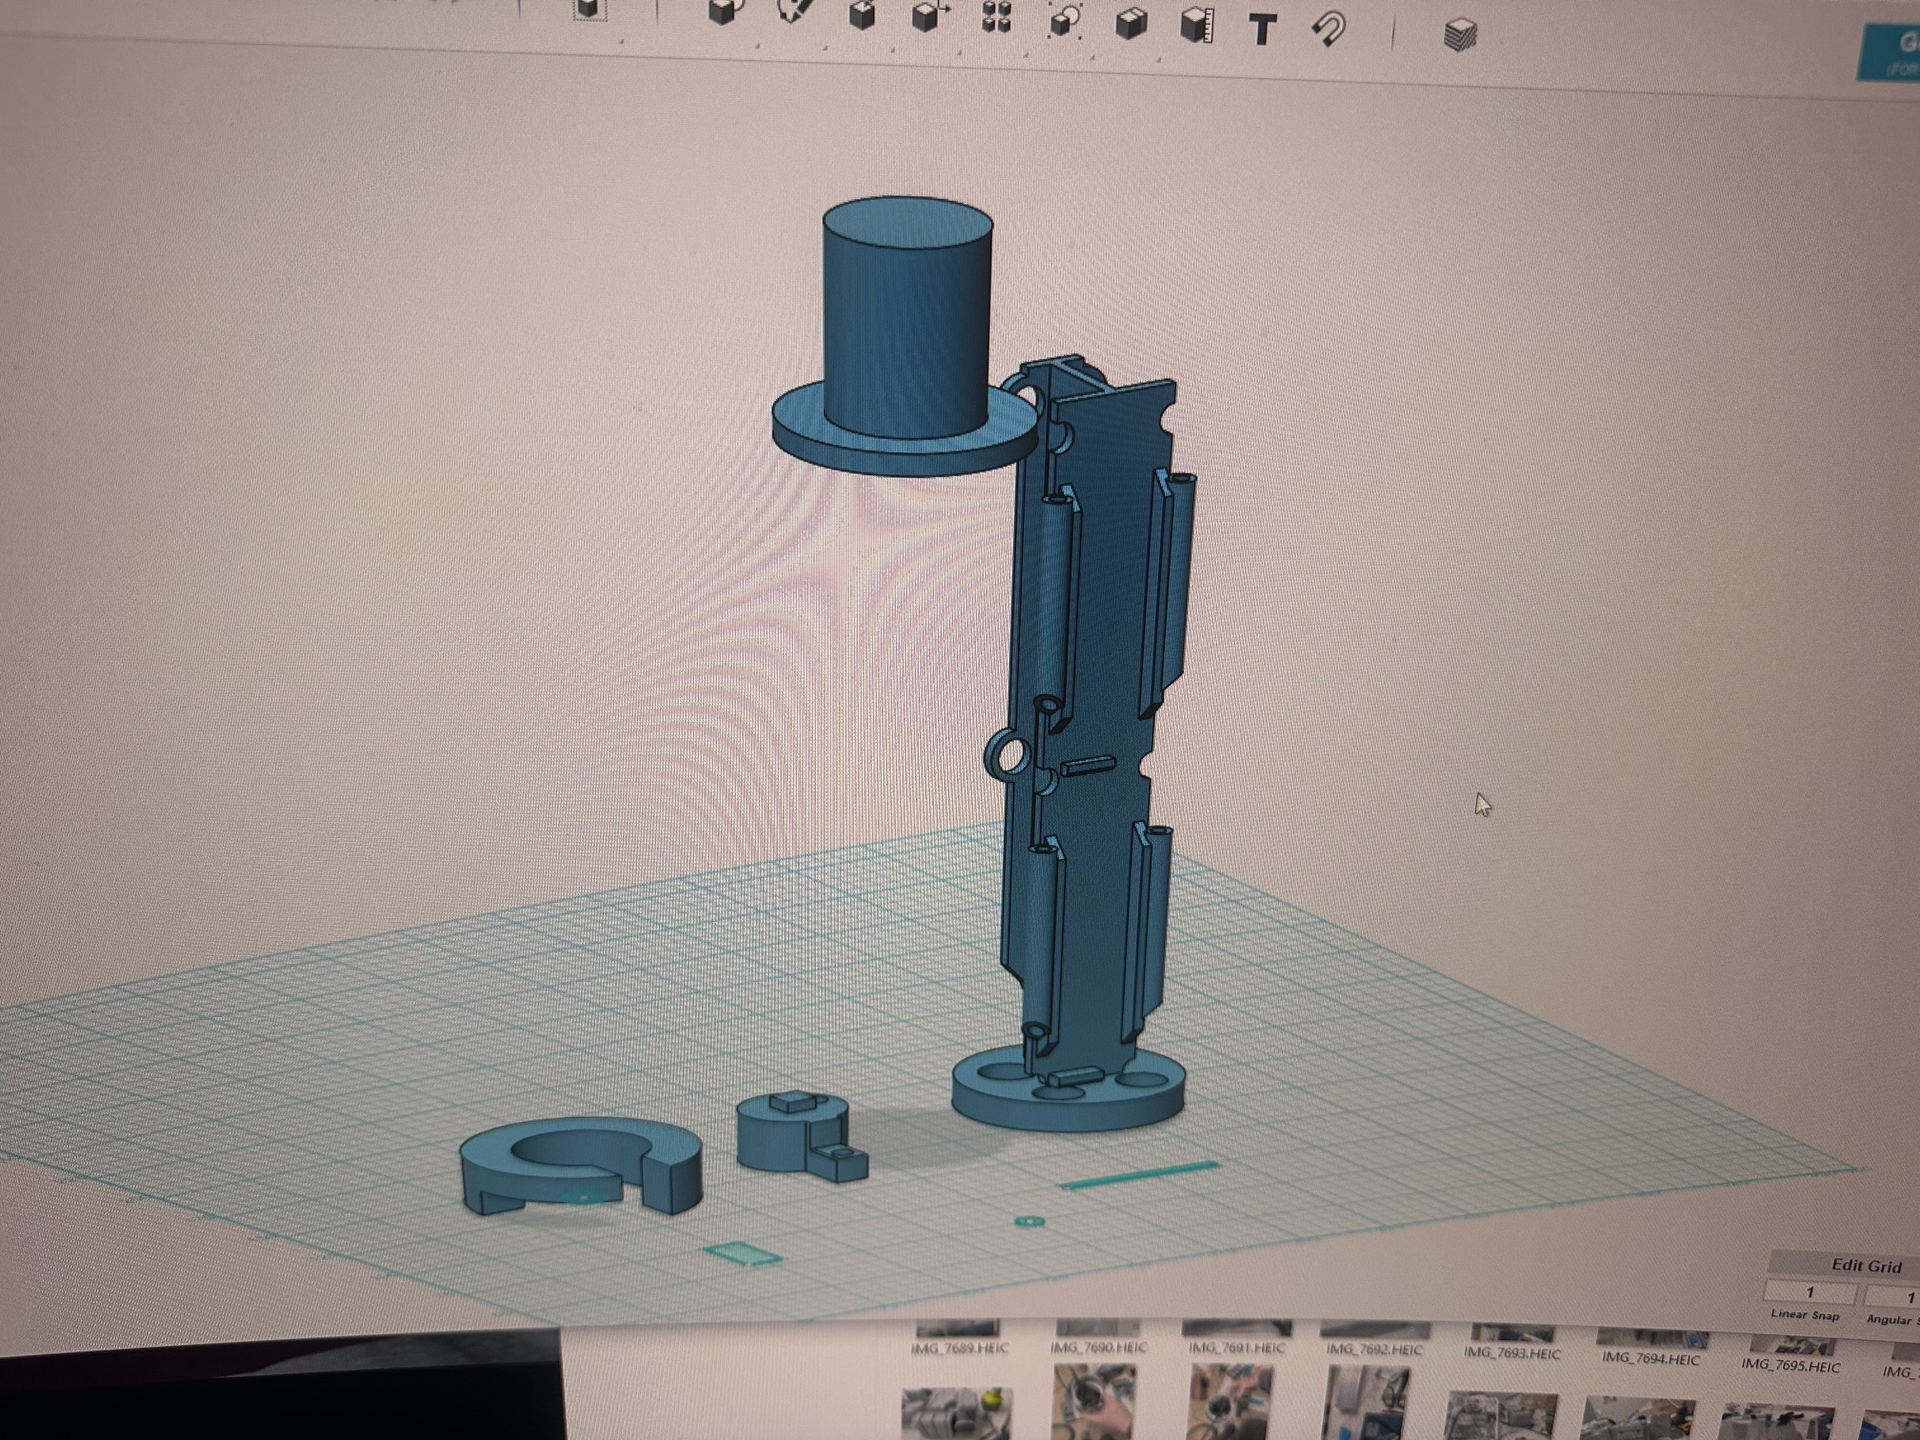
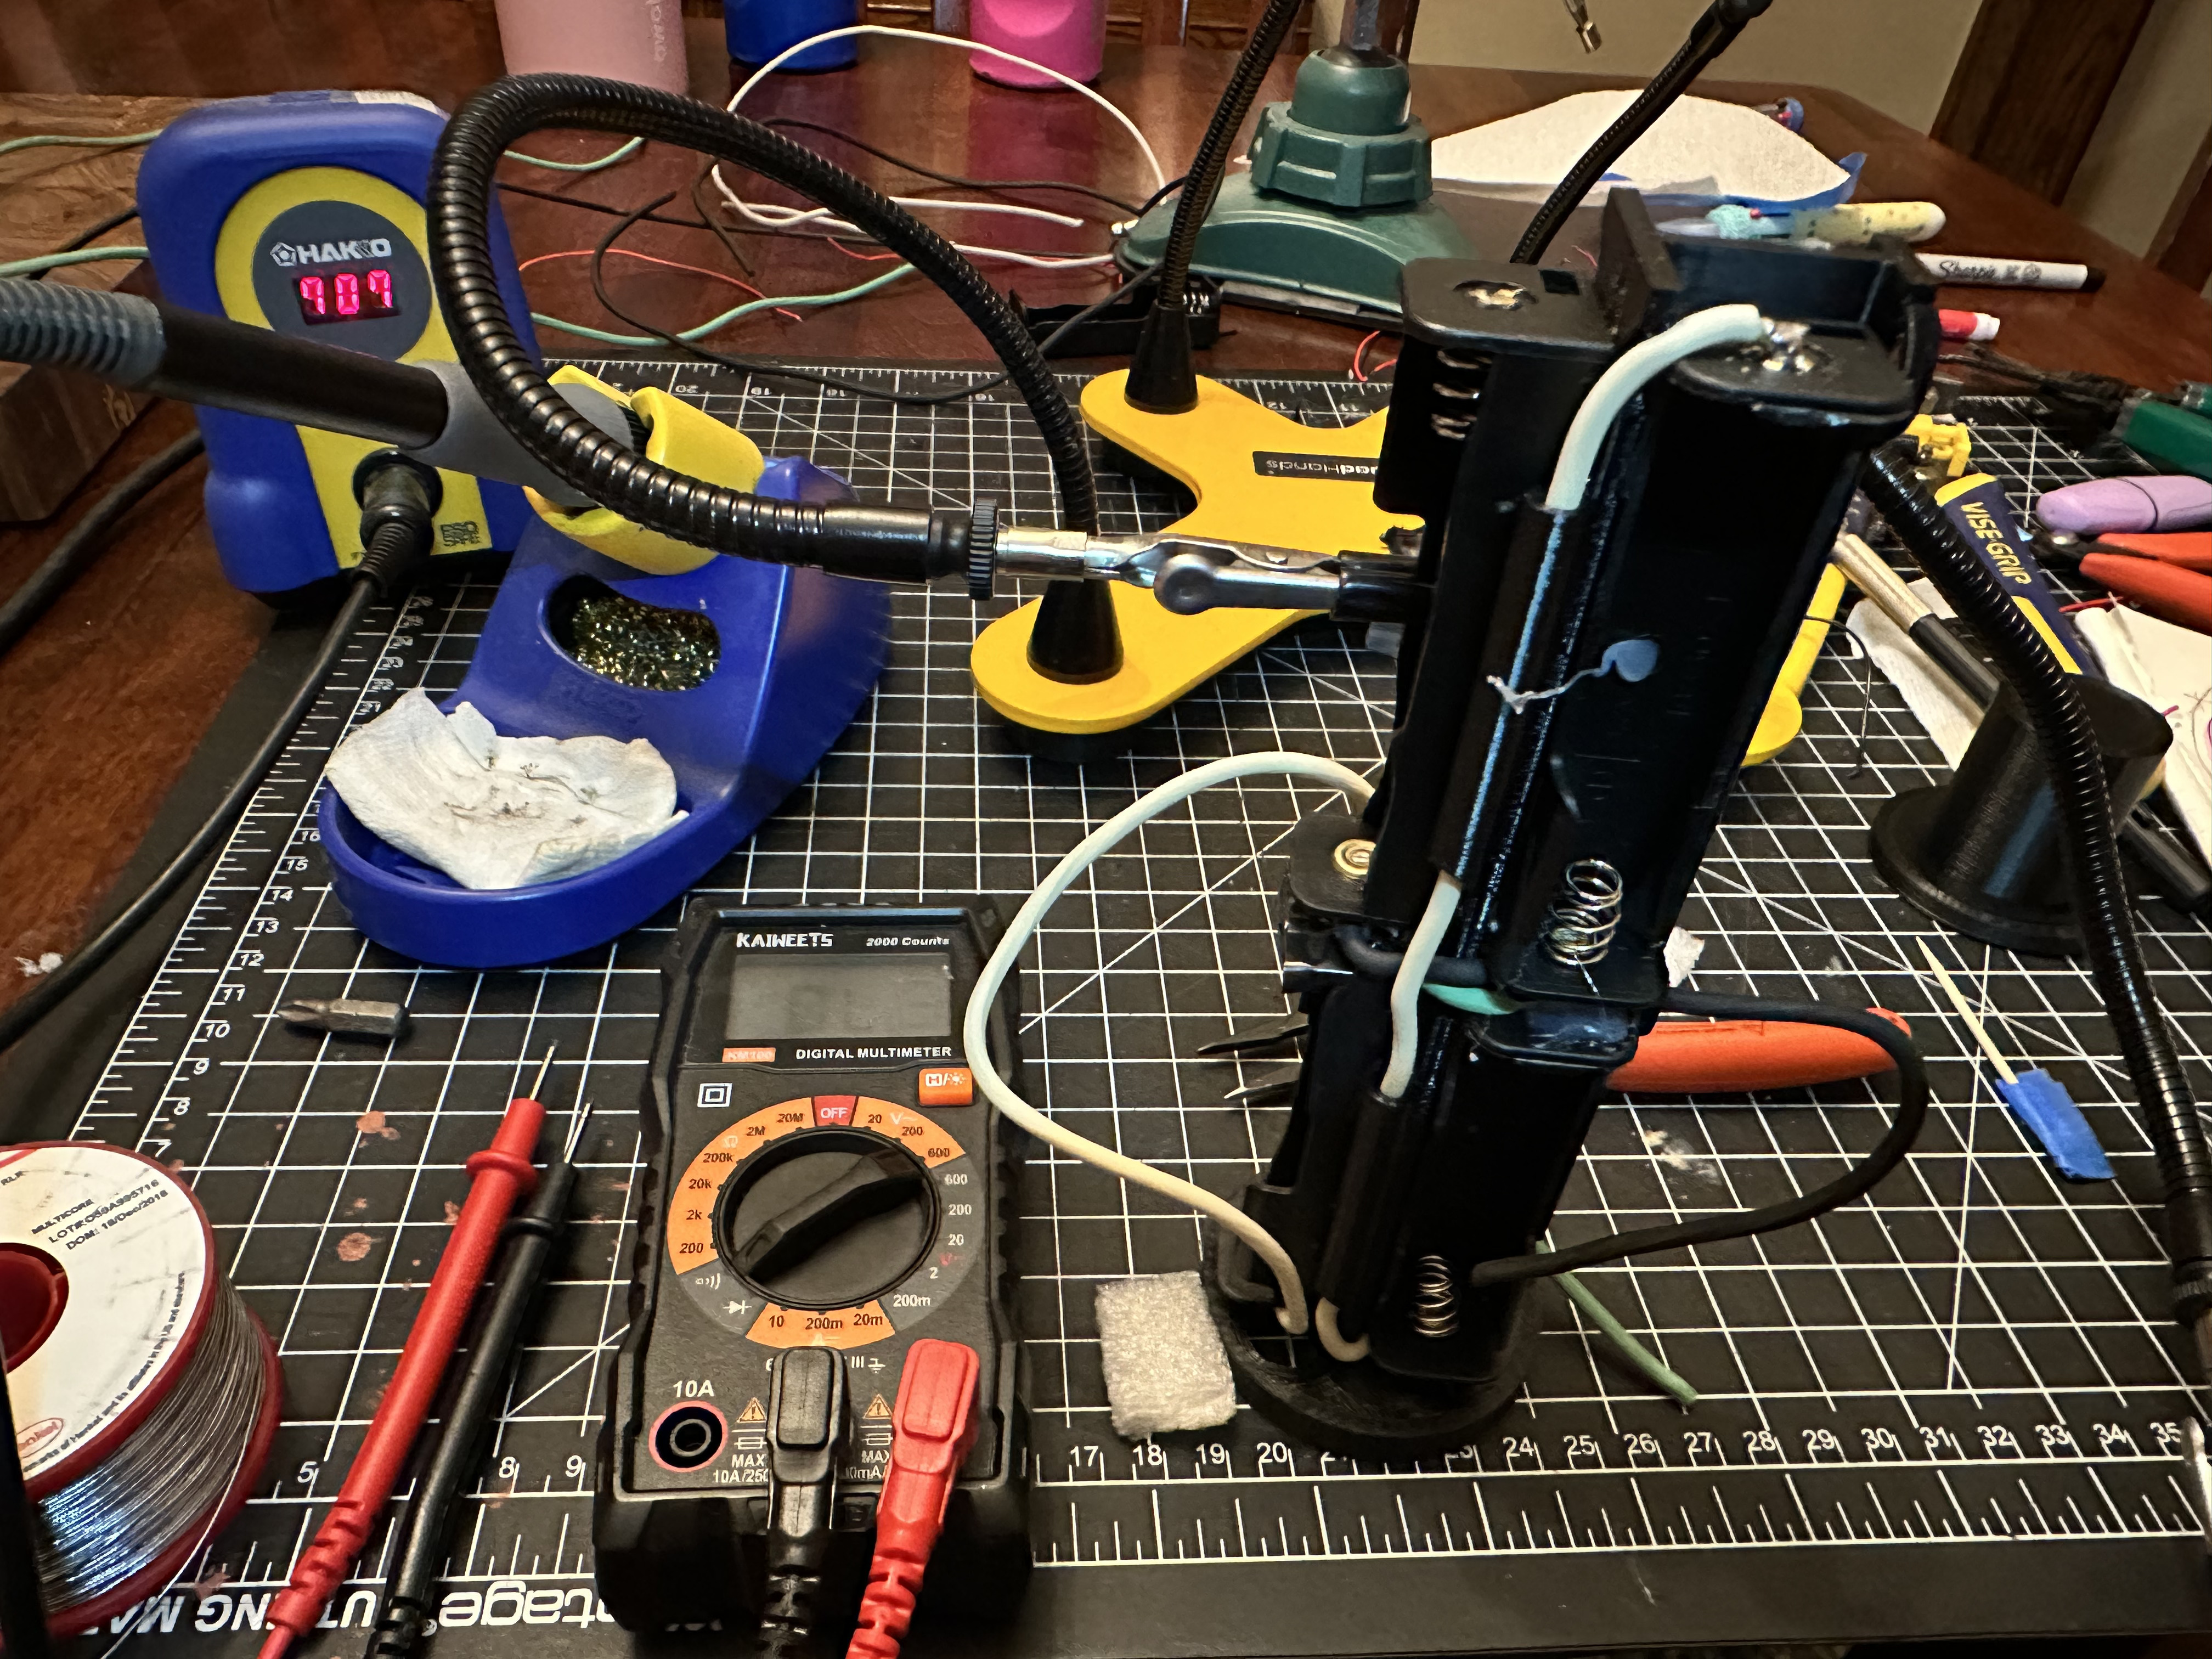
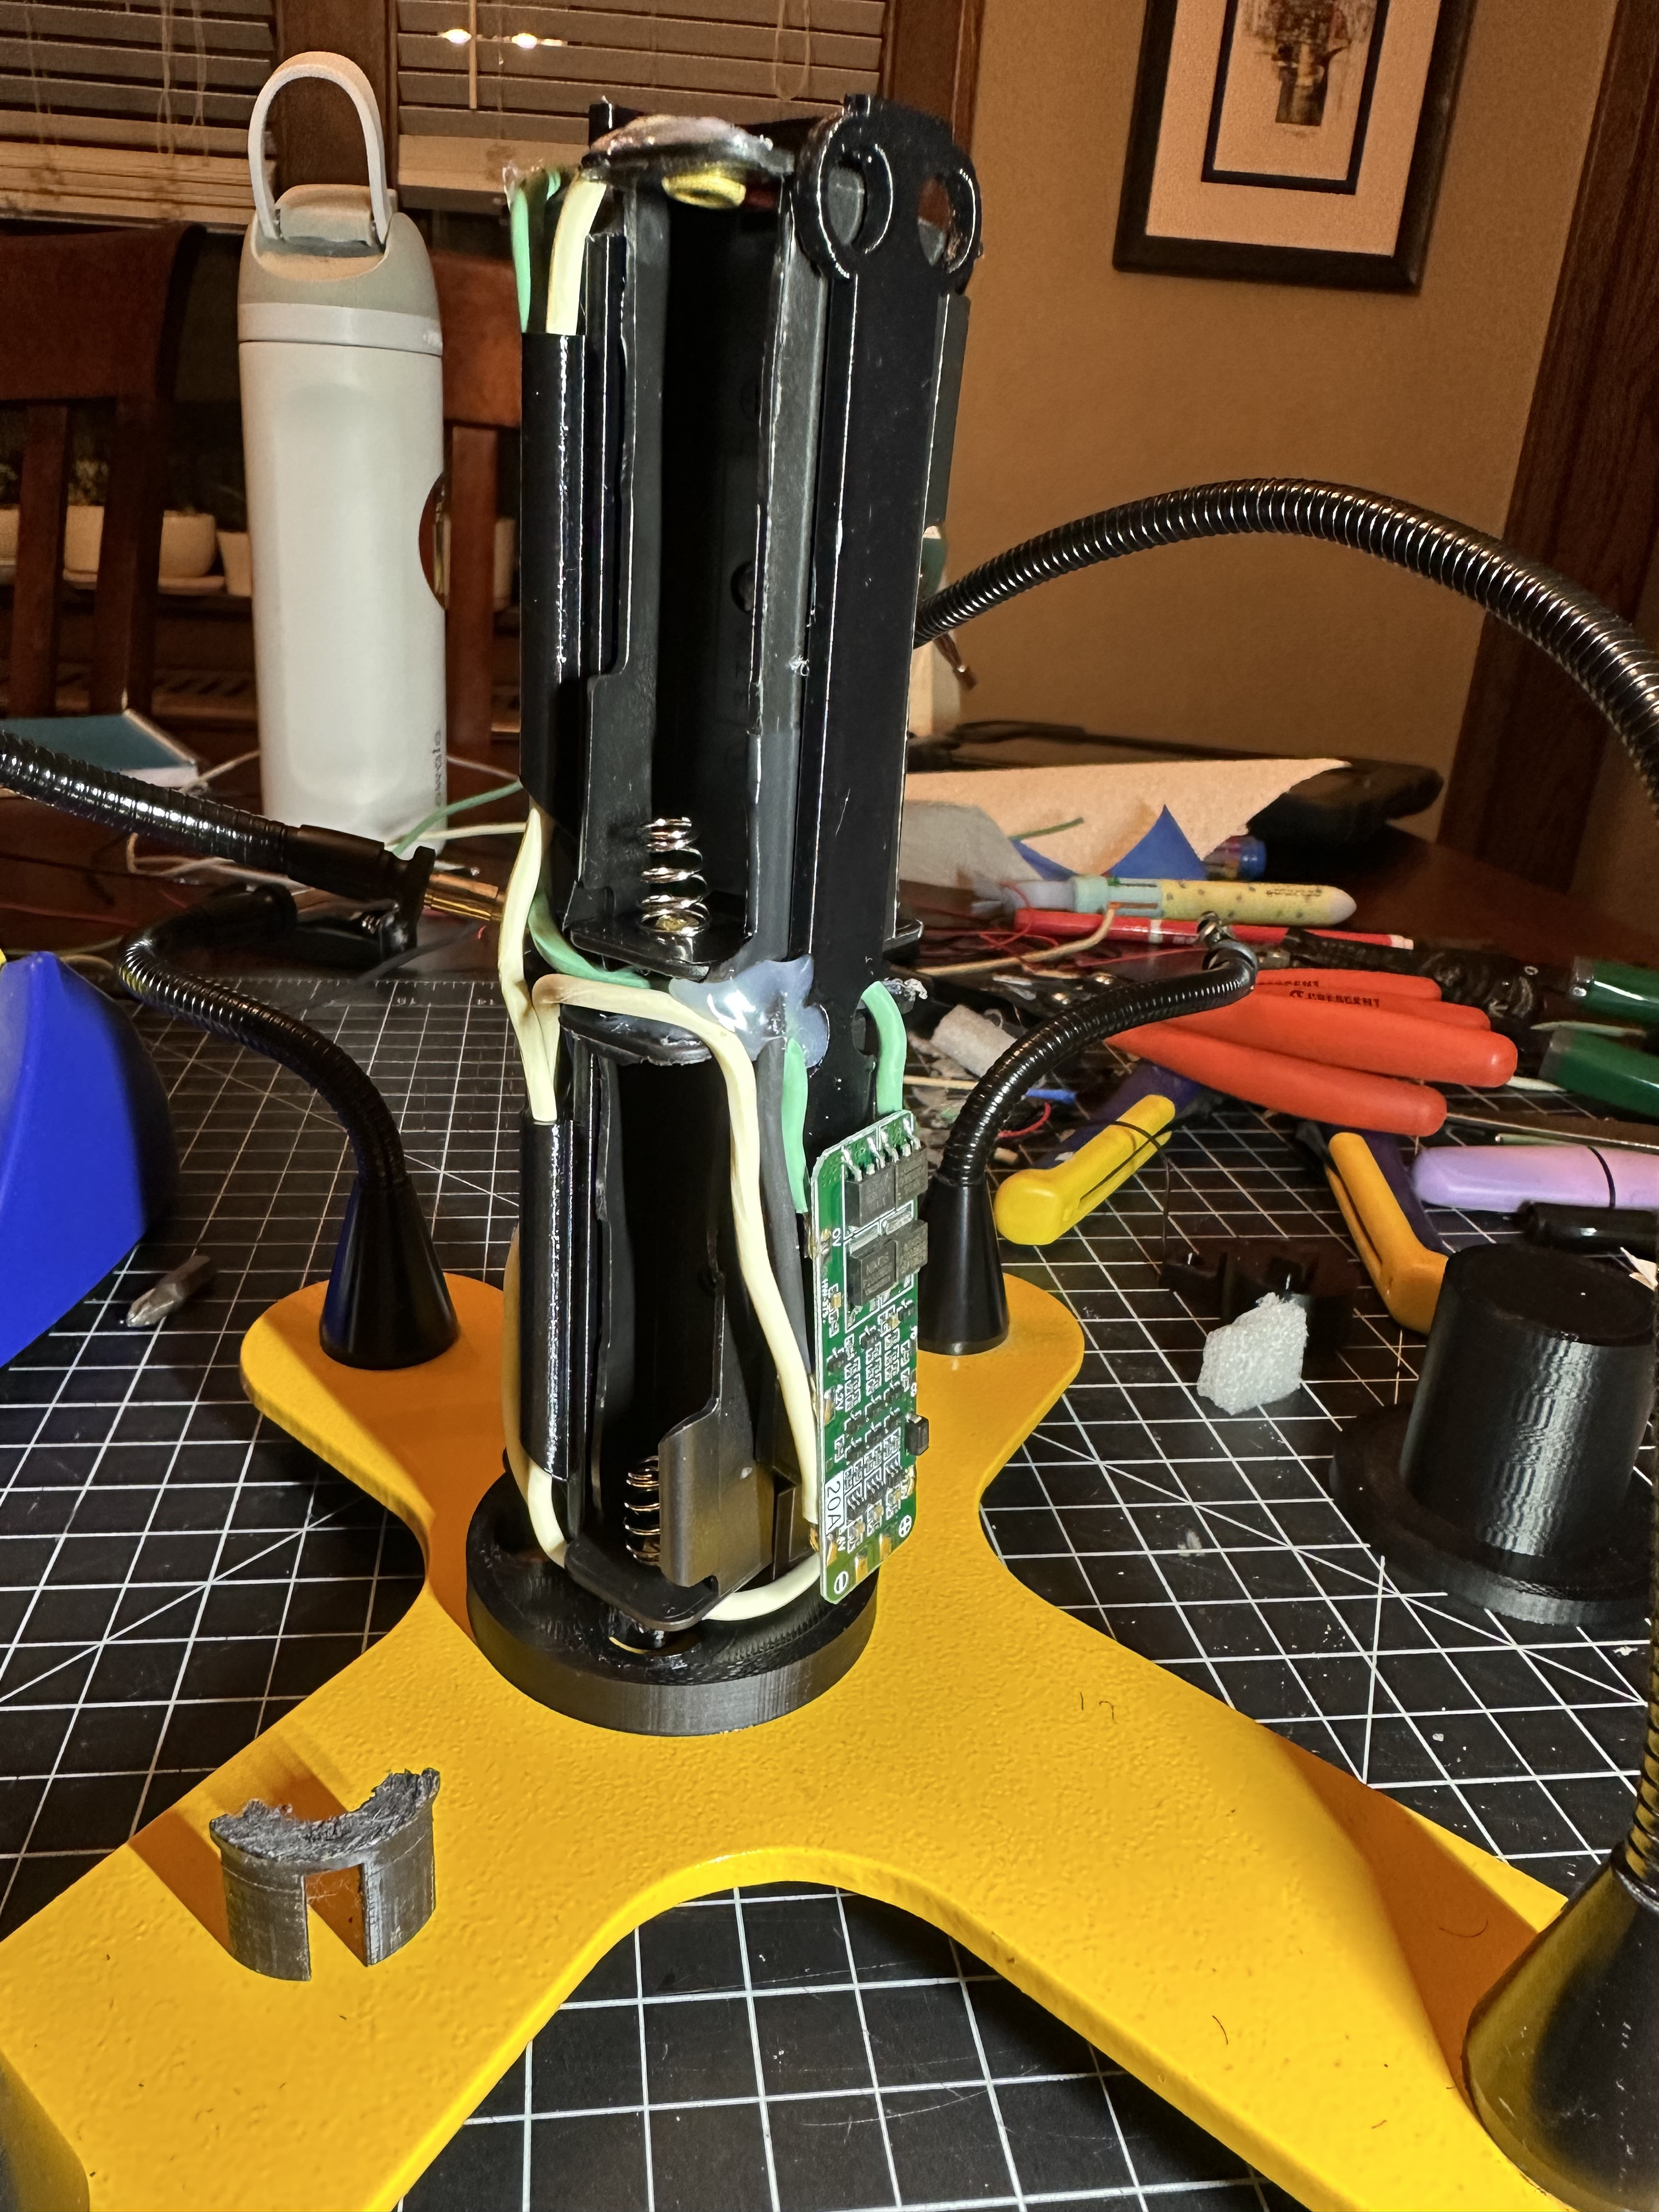
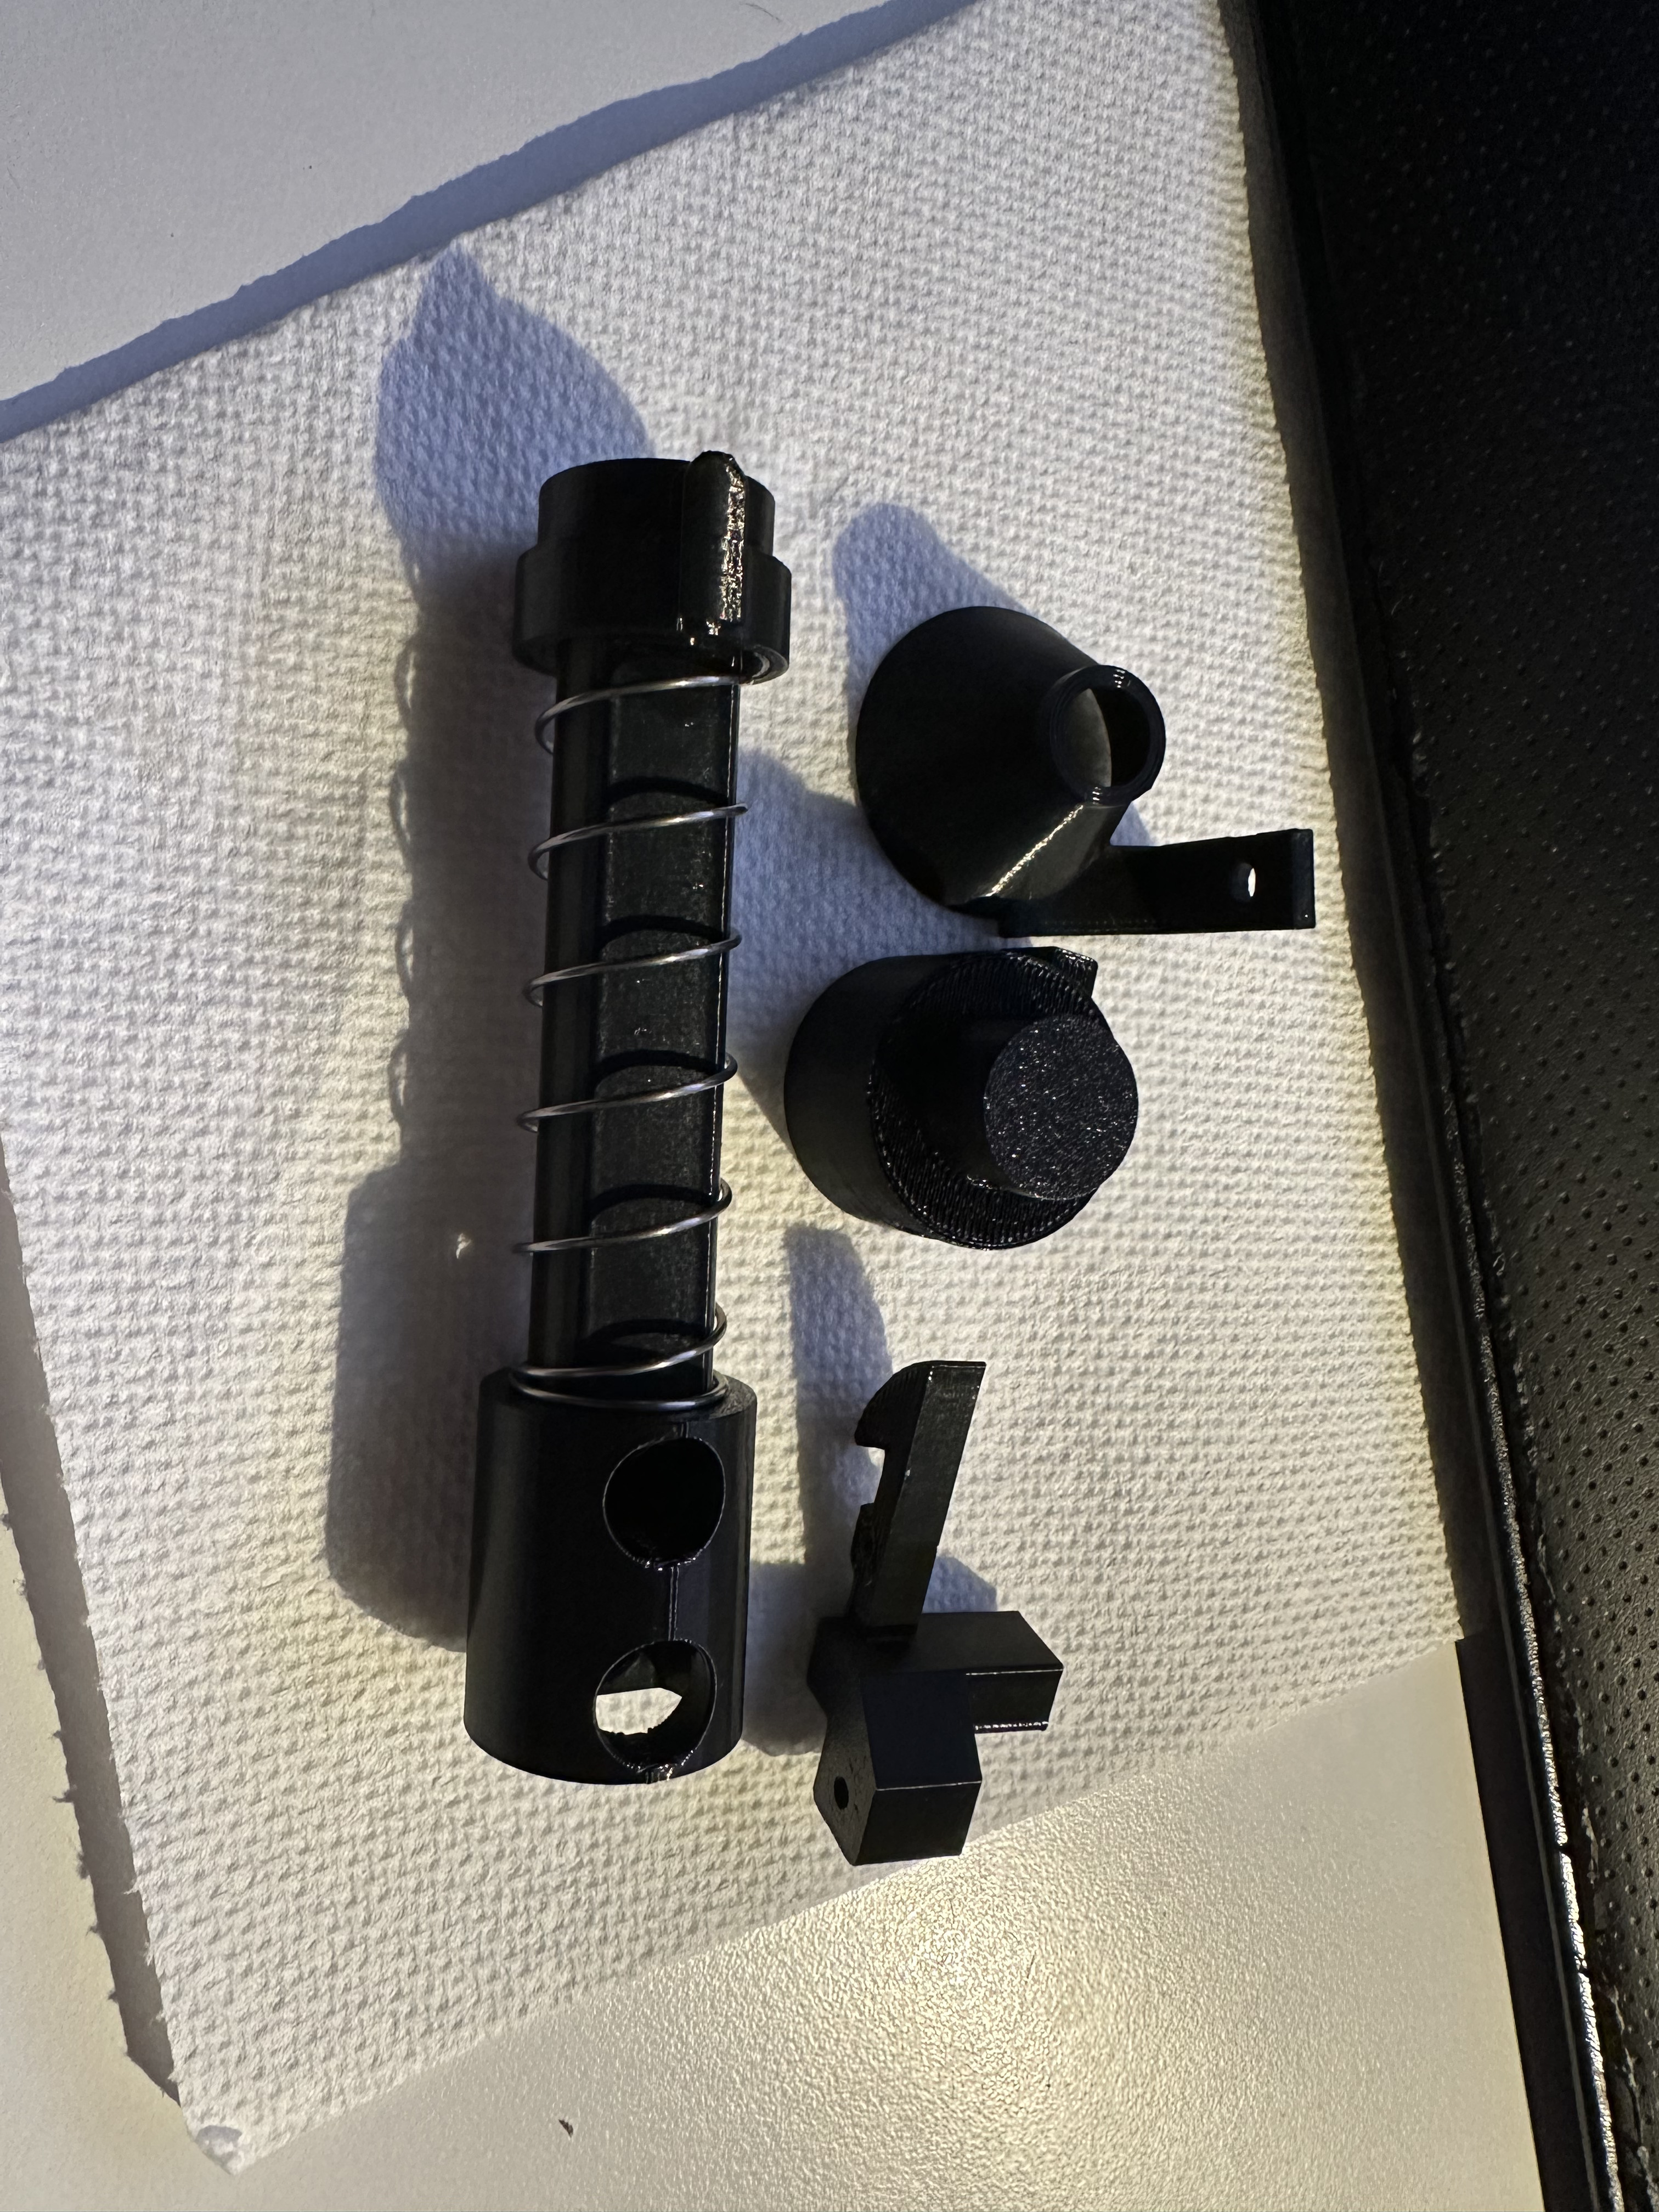
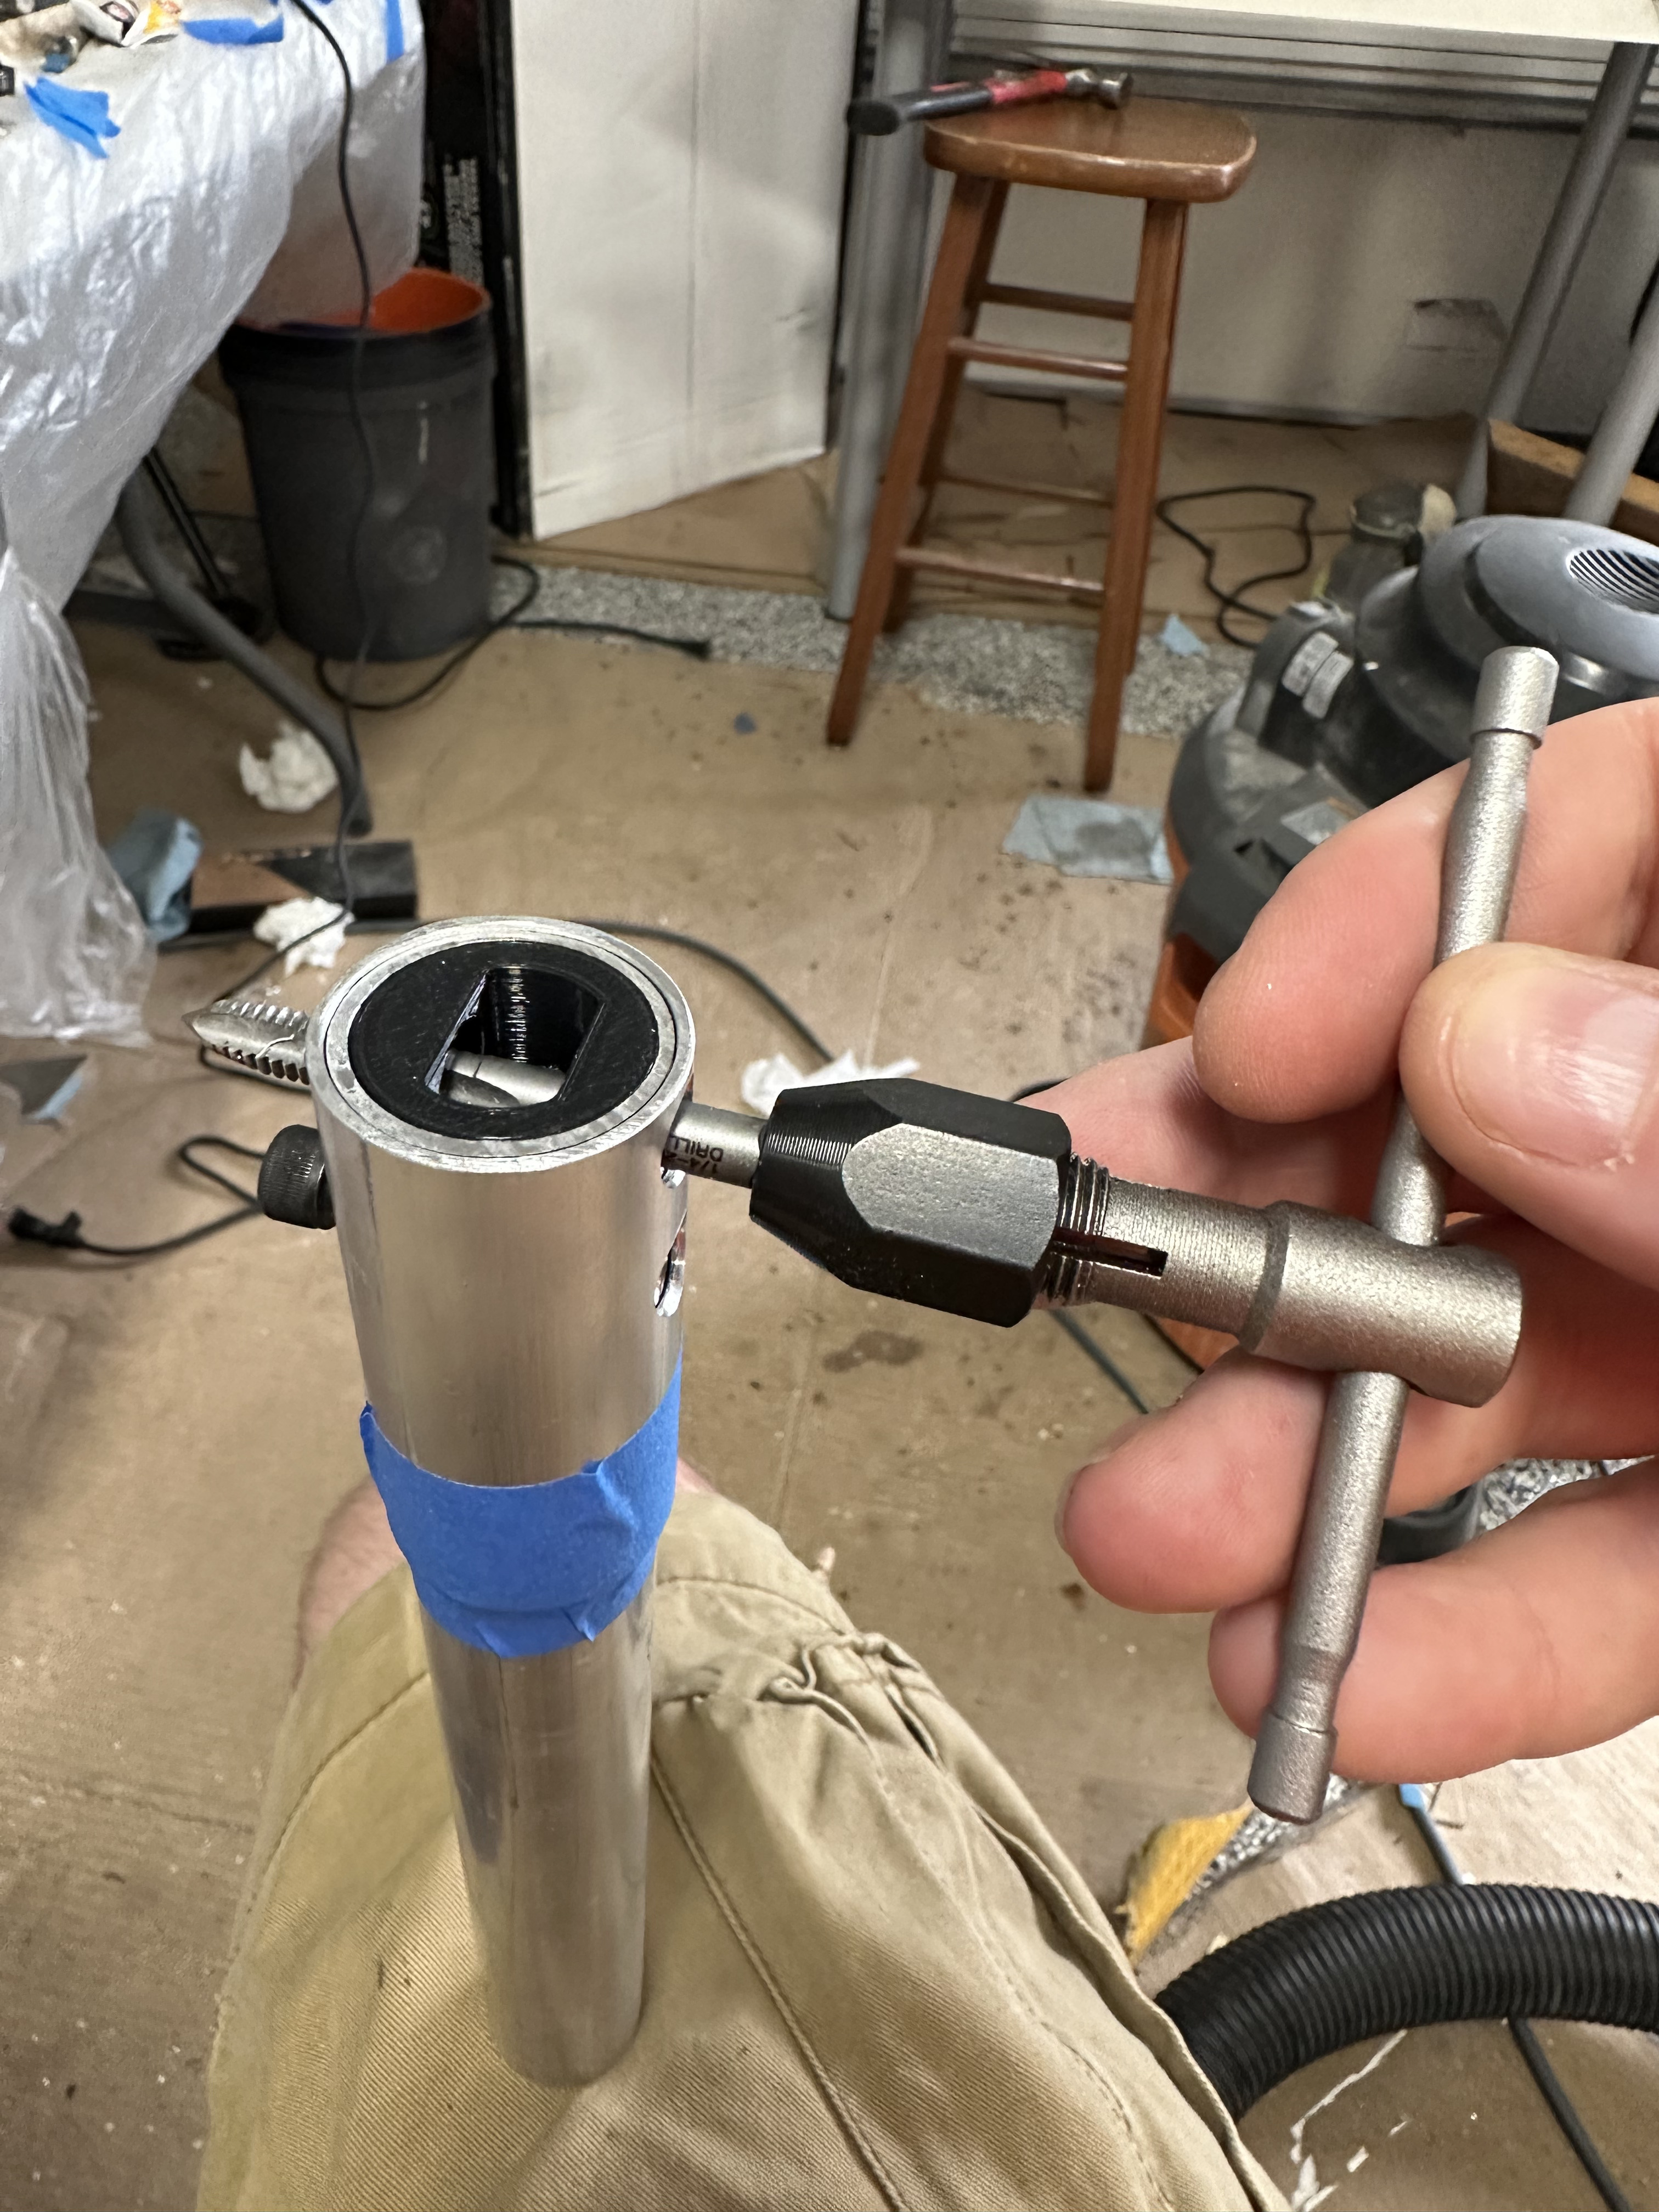
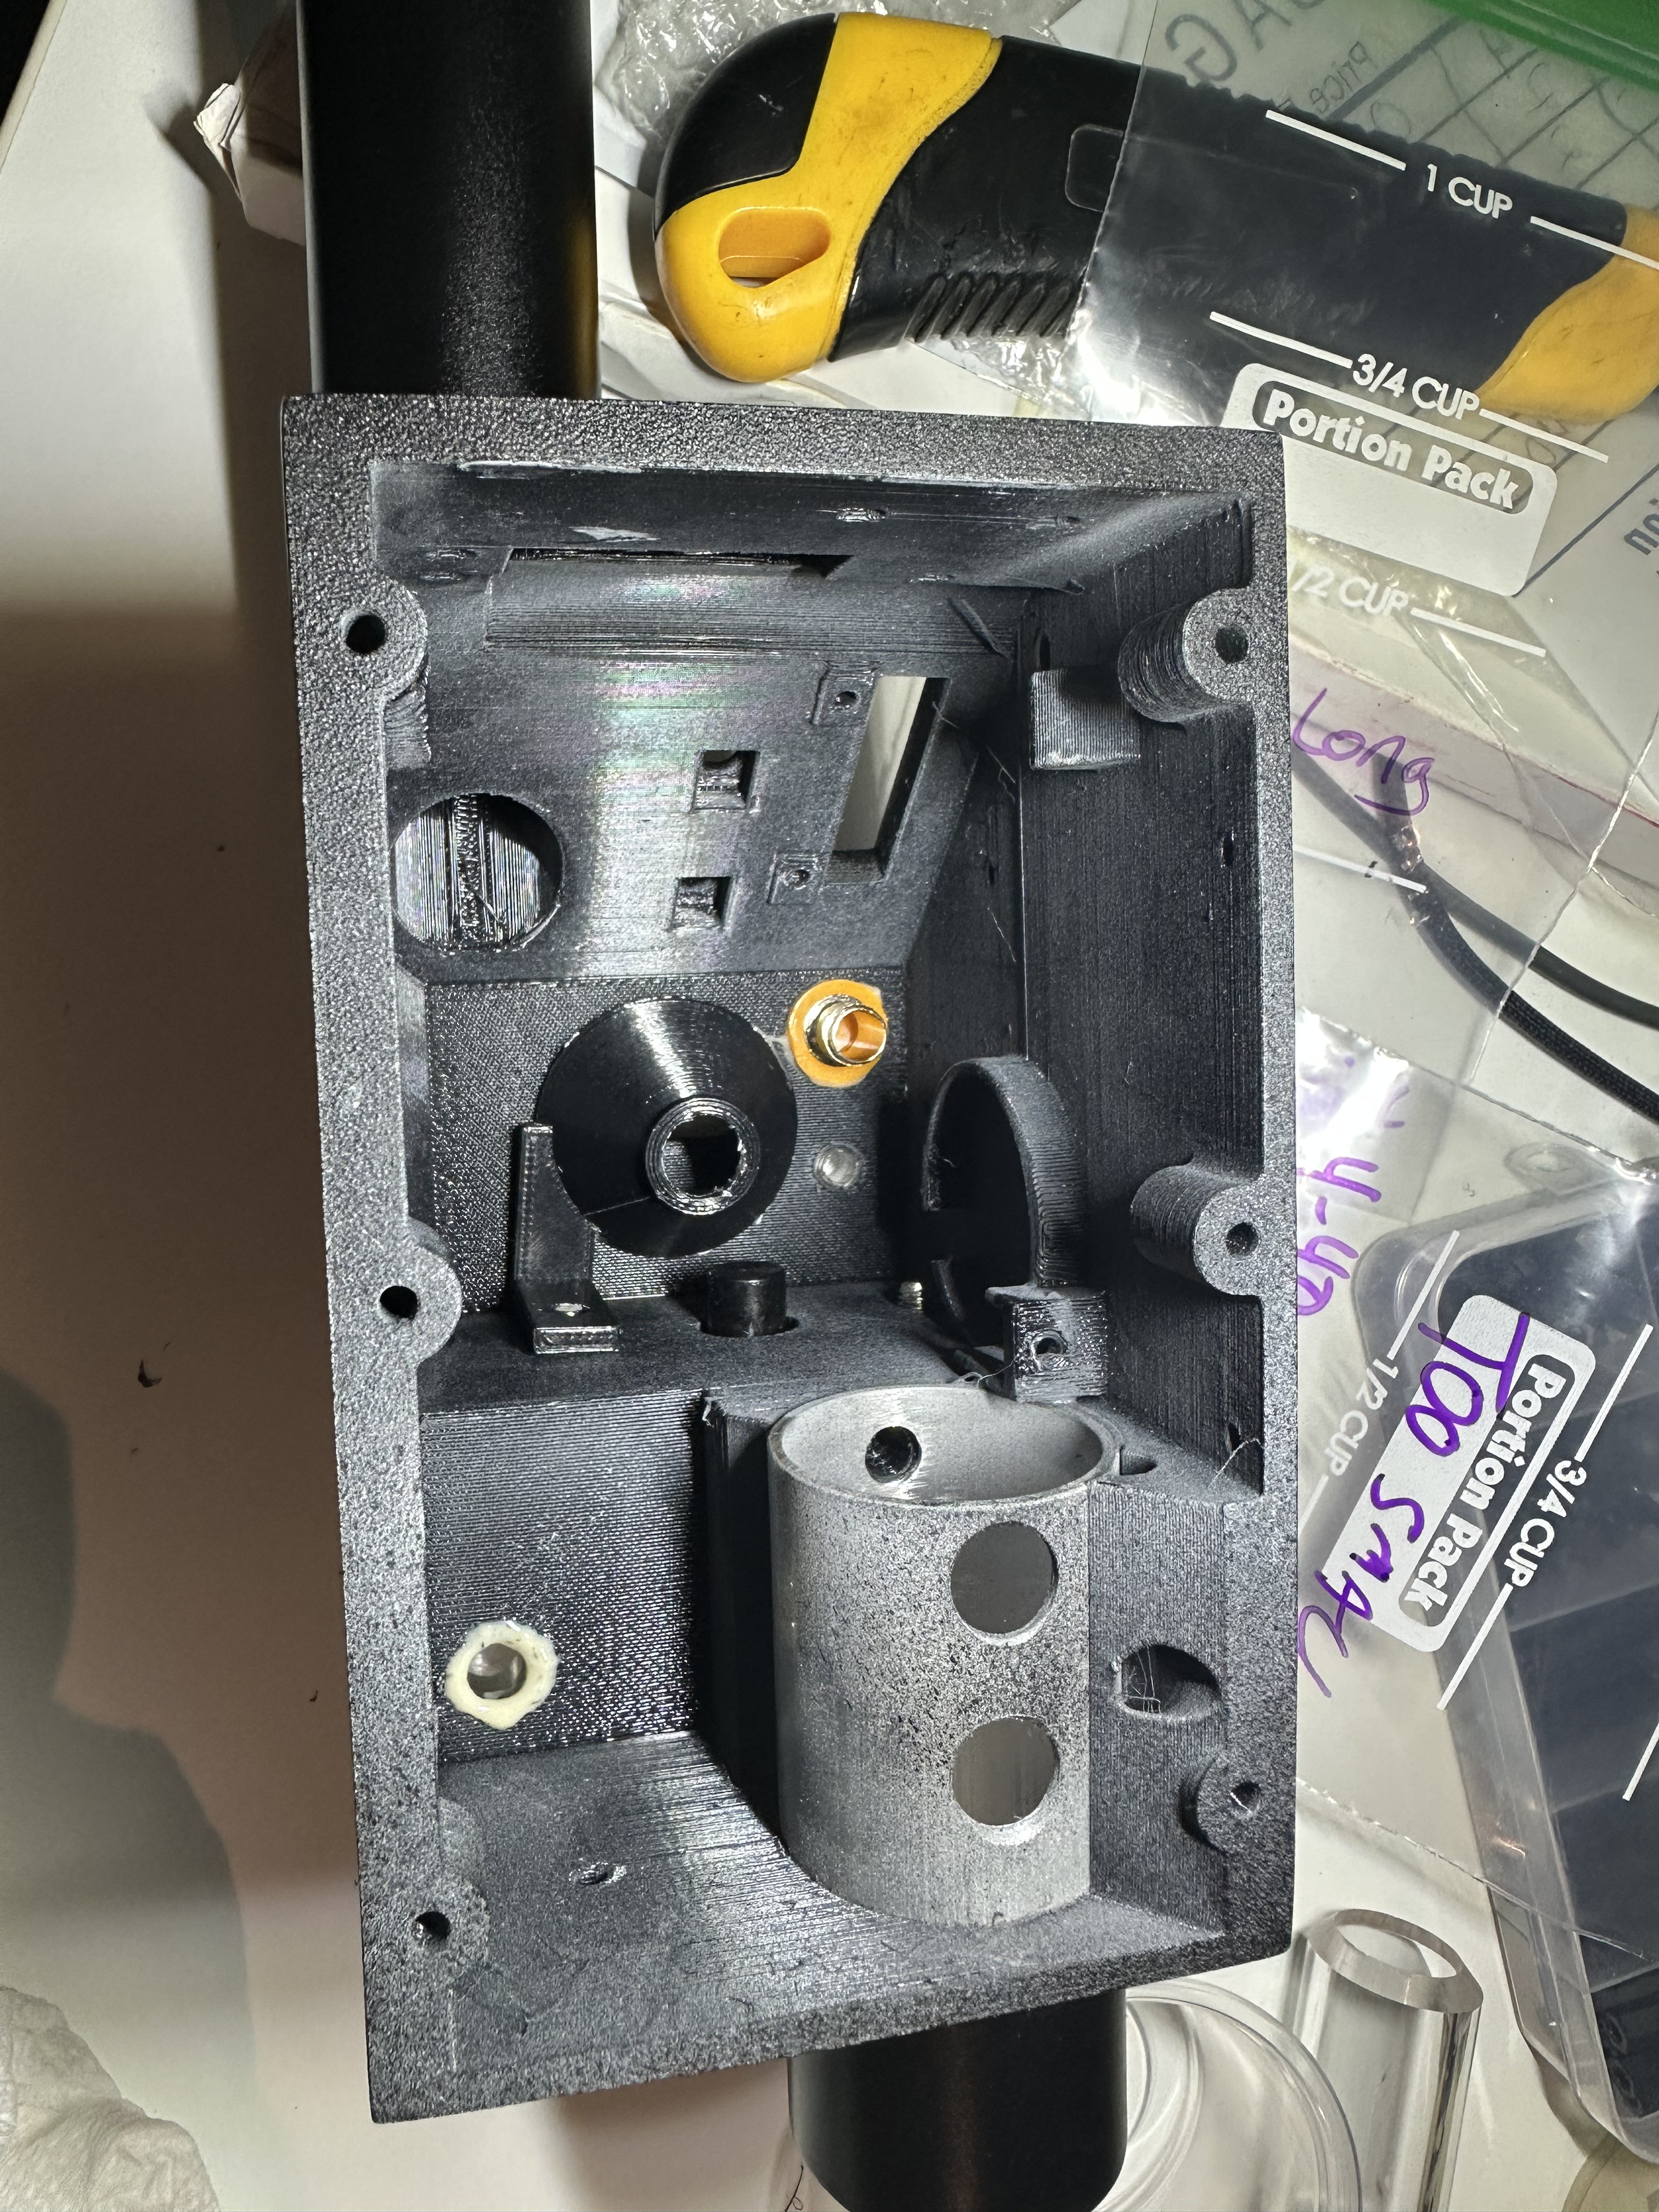
Next up was everything to do with the Booster Tube. This was a particularly interesting element because I both wanted it to be the correct size, and also had thought to include my batteries inside for easier external access (I don’t know why, but putting a door on the motherboard side just felt like something I didn’t want to do). In any case, I set out to design and build a battery pack that would fit well inside the booster tube and be easily removable in the event I needed to swap batteries but didn’t want to take the shell off.
I used a heavier wire than I may have needed, but with zero extra space inside, I didn’t want to risk additional heat build up from wiring that was too small. In the end, I was able to get six 18650s in a nice package with a magnet twist mechanism all in one piece. Added a BMS as wiring six 18650 cells together without one felt like a risk. It’s probably not the most beautiful thing in the world but it 's fairly compact, strong, and should resist heat build up decently well. I can turn the booster plug ~45 degrees and slide the whole assembly out the top of the booster tube to hot swap the batteries. These photos skip ahead to when I actually mounted a bunch of the pieces more permanently but shows how it looks in the bottom.
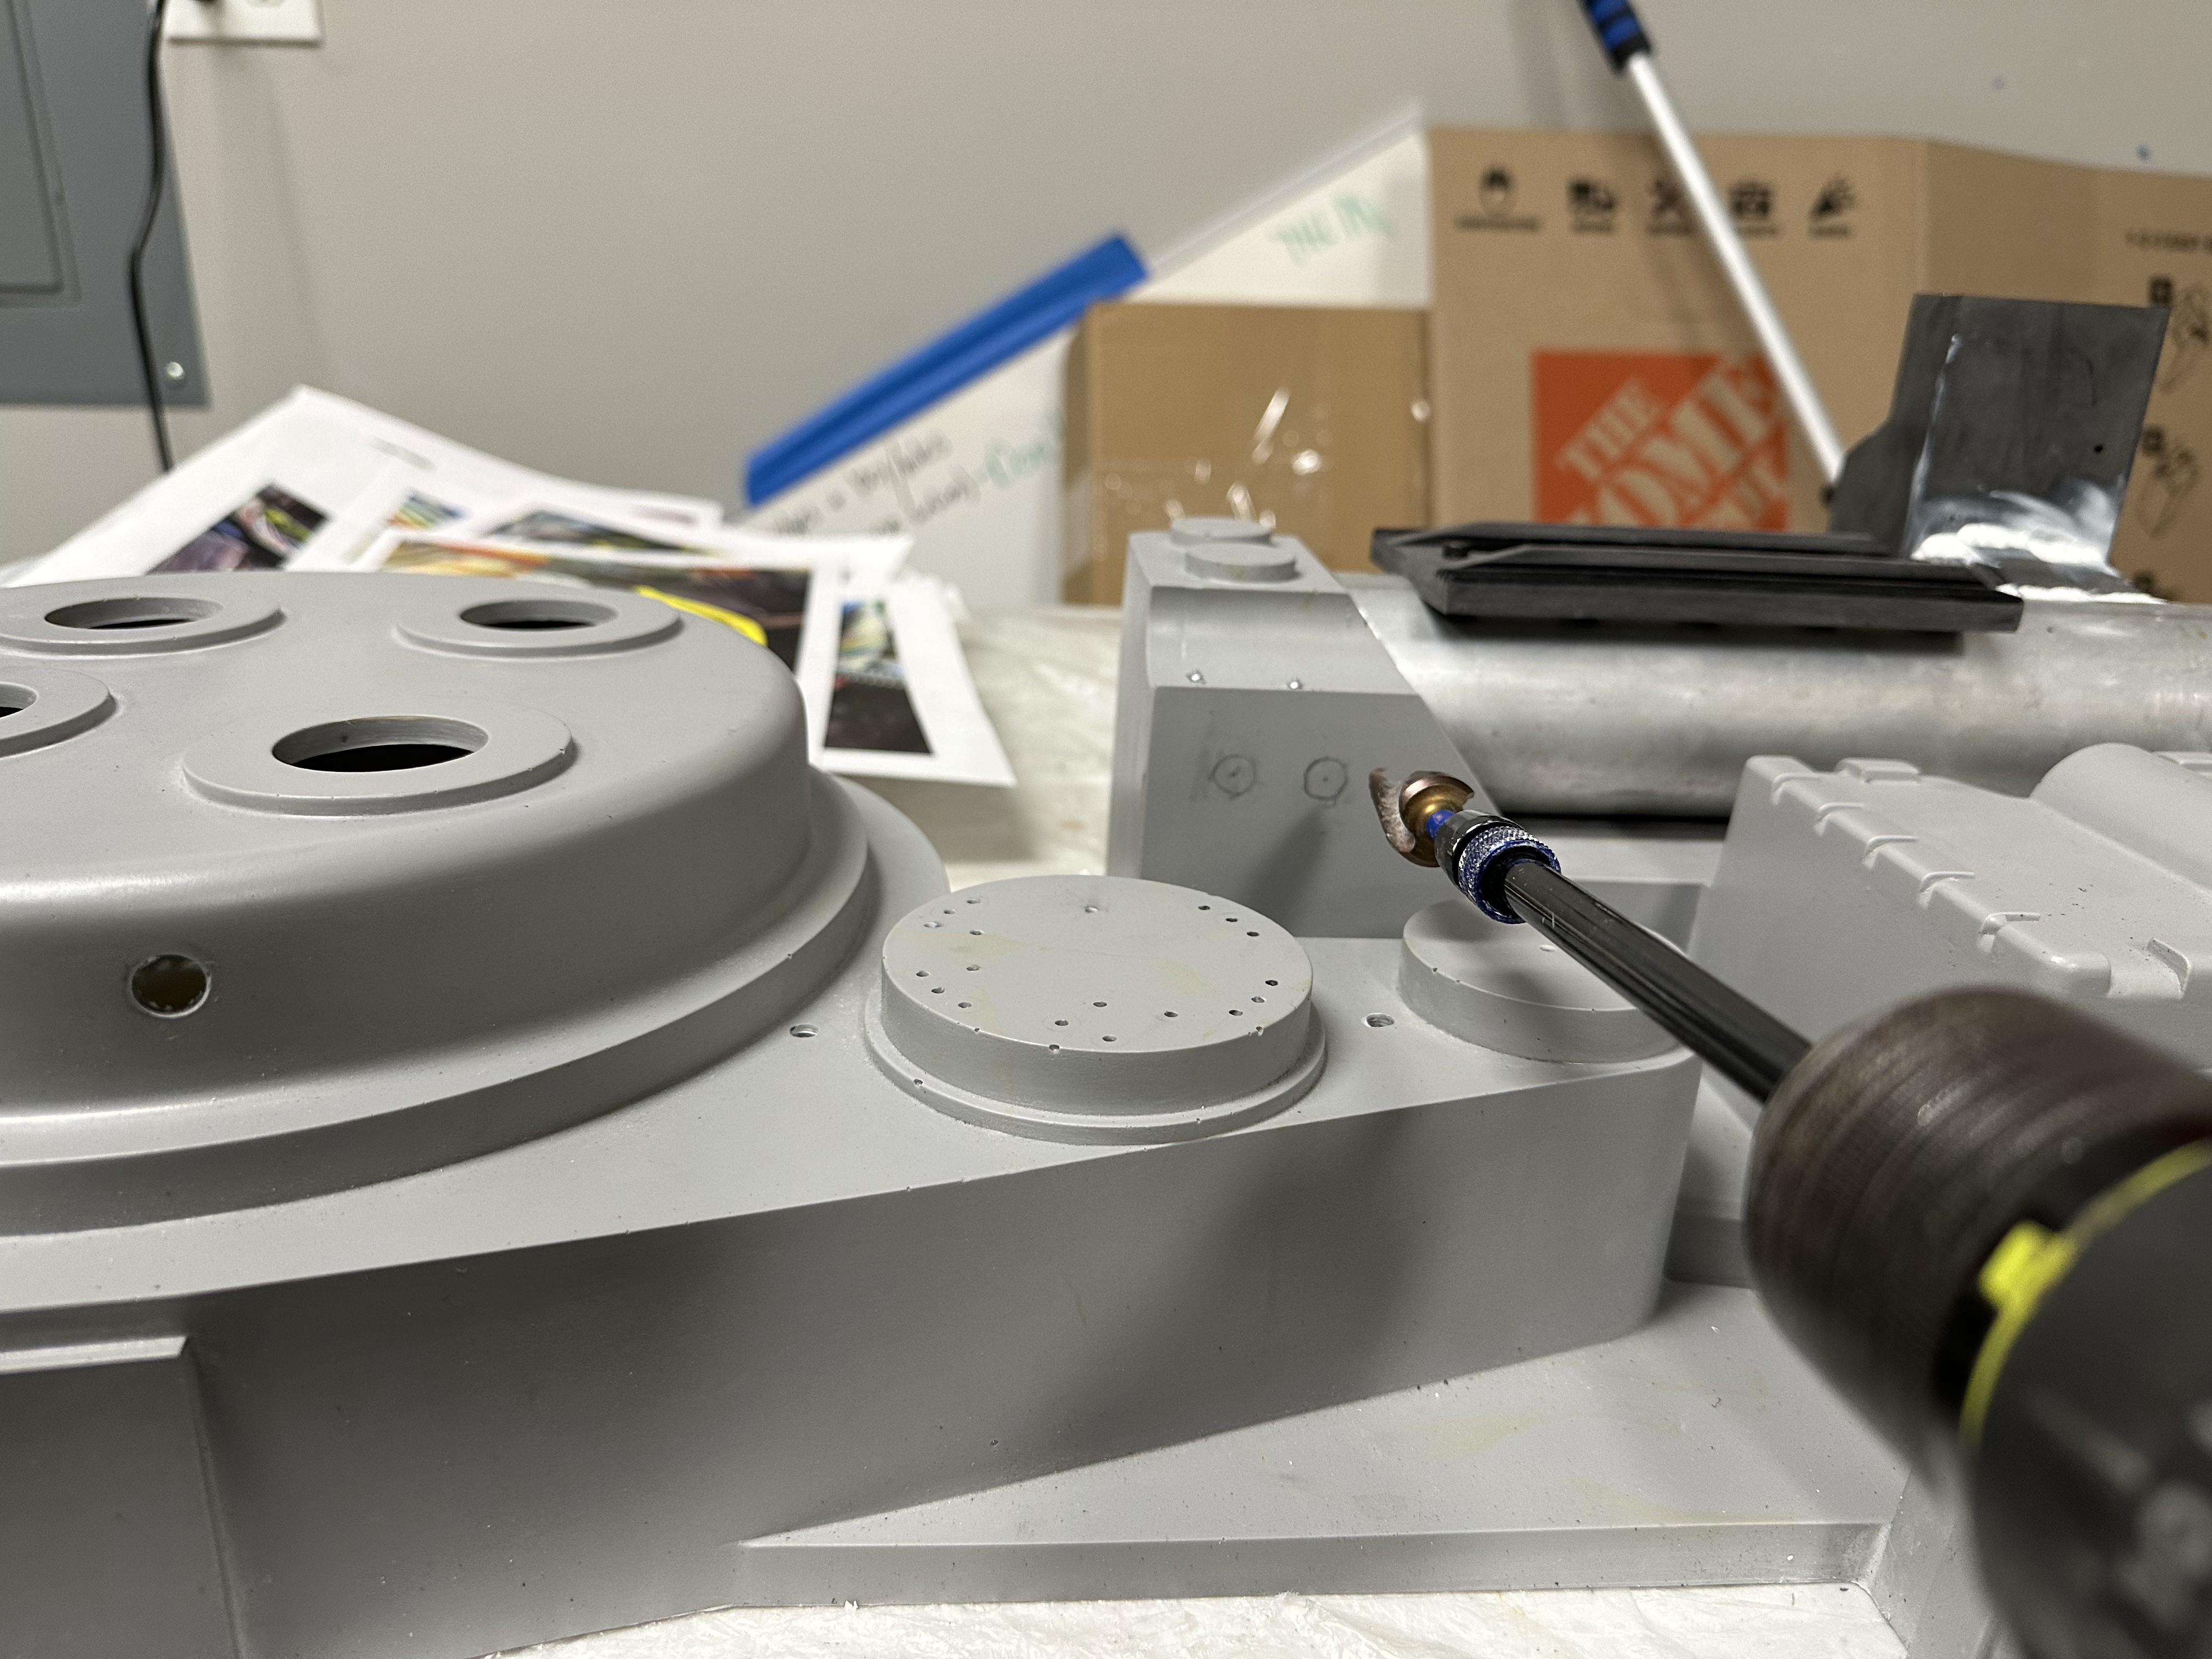
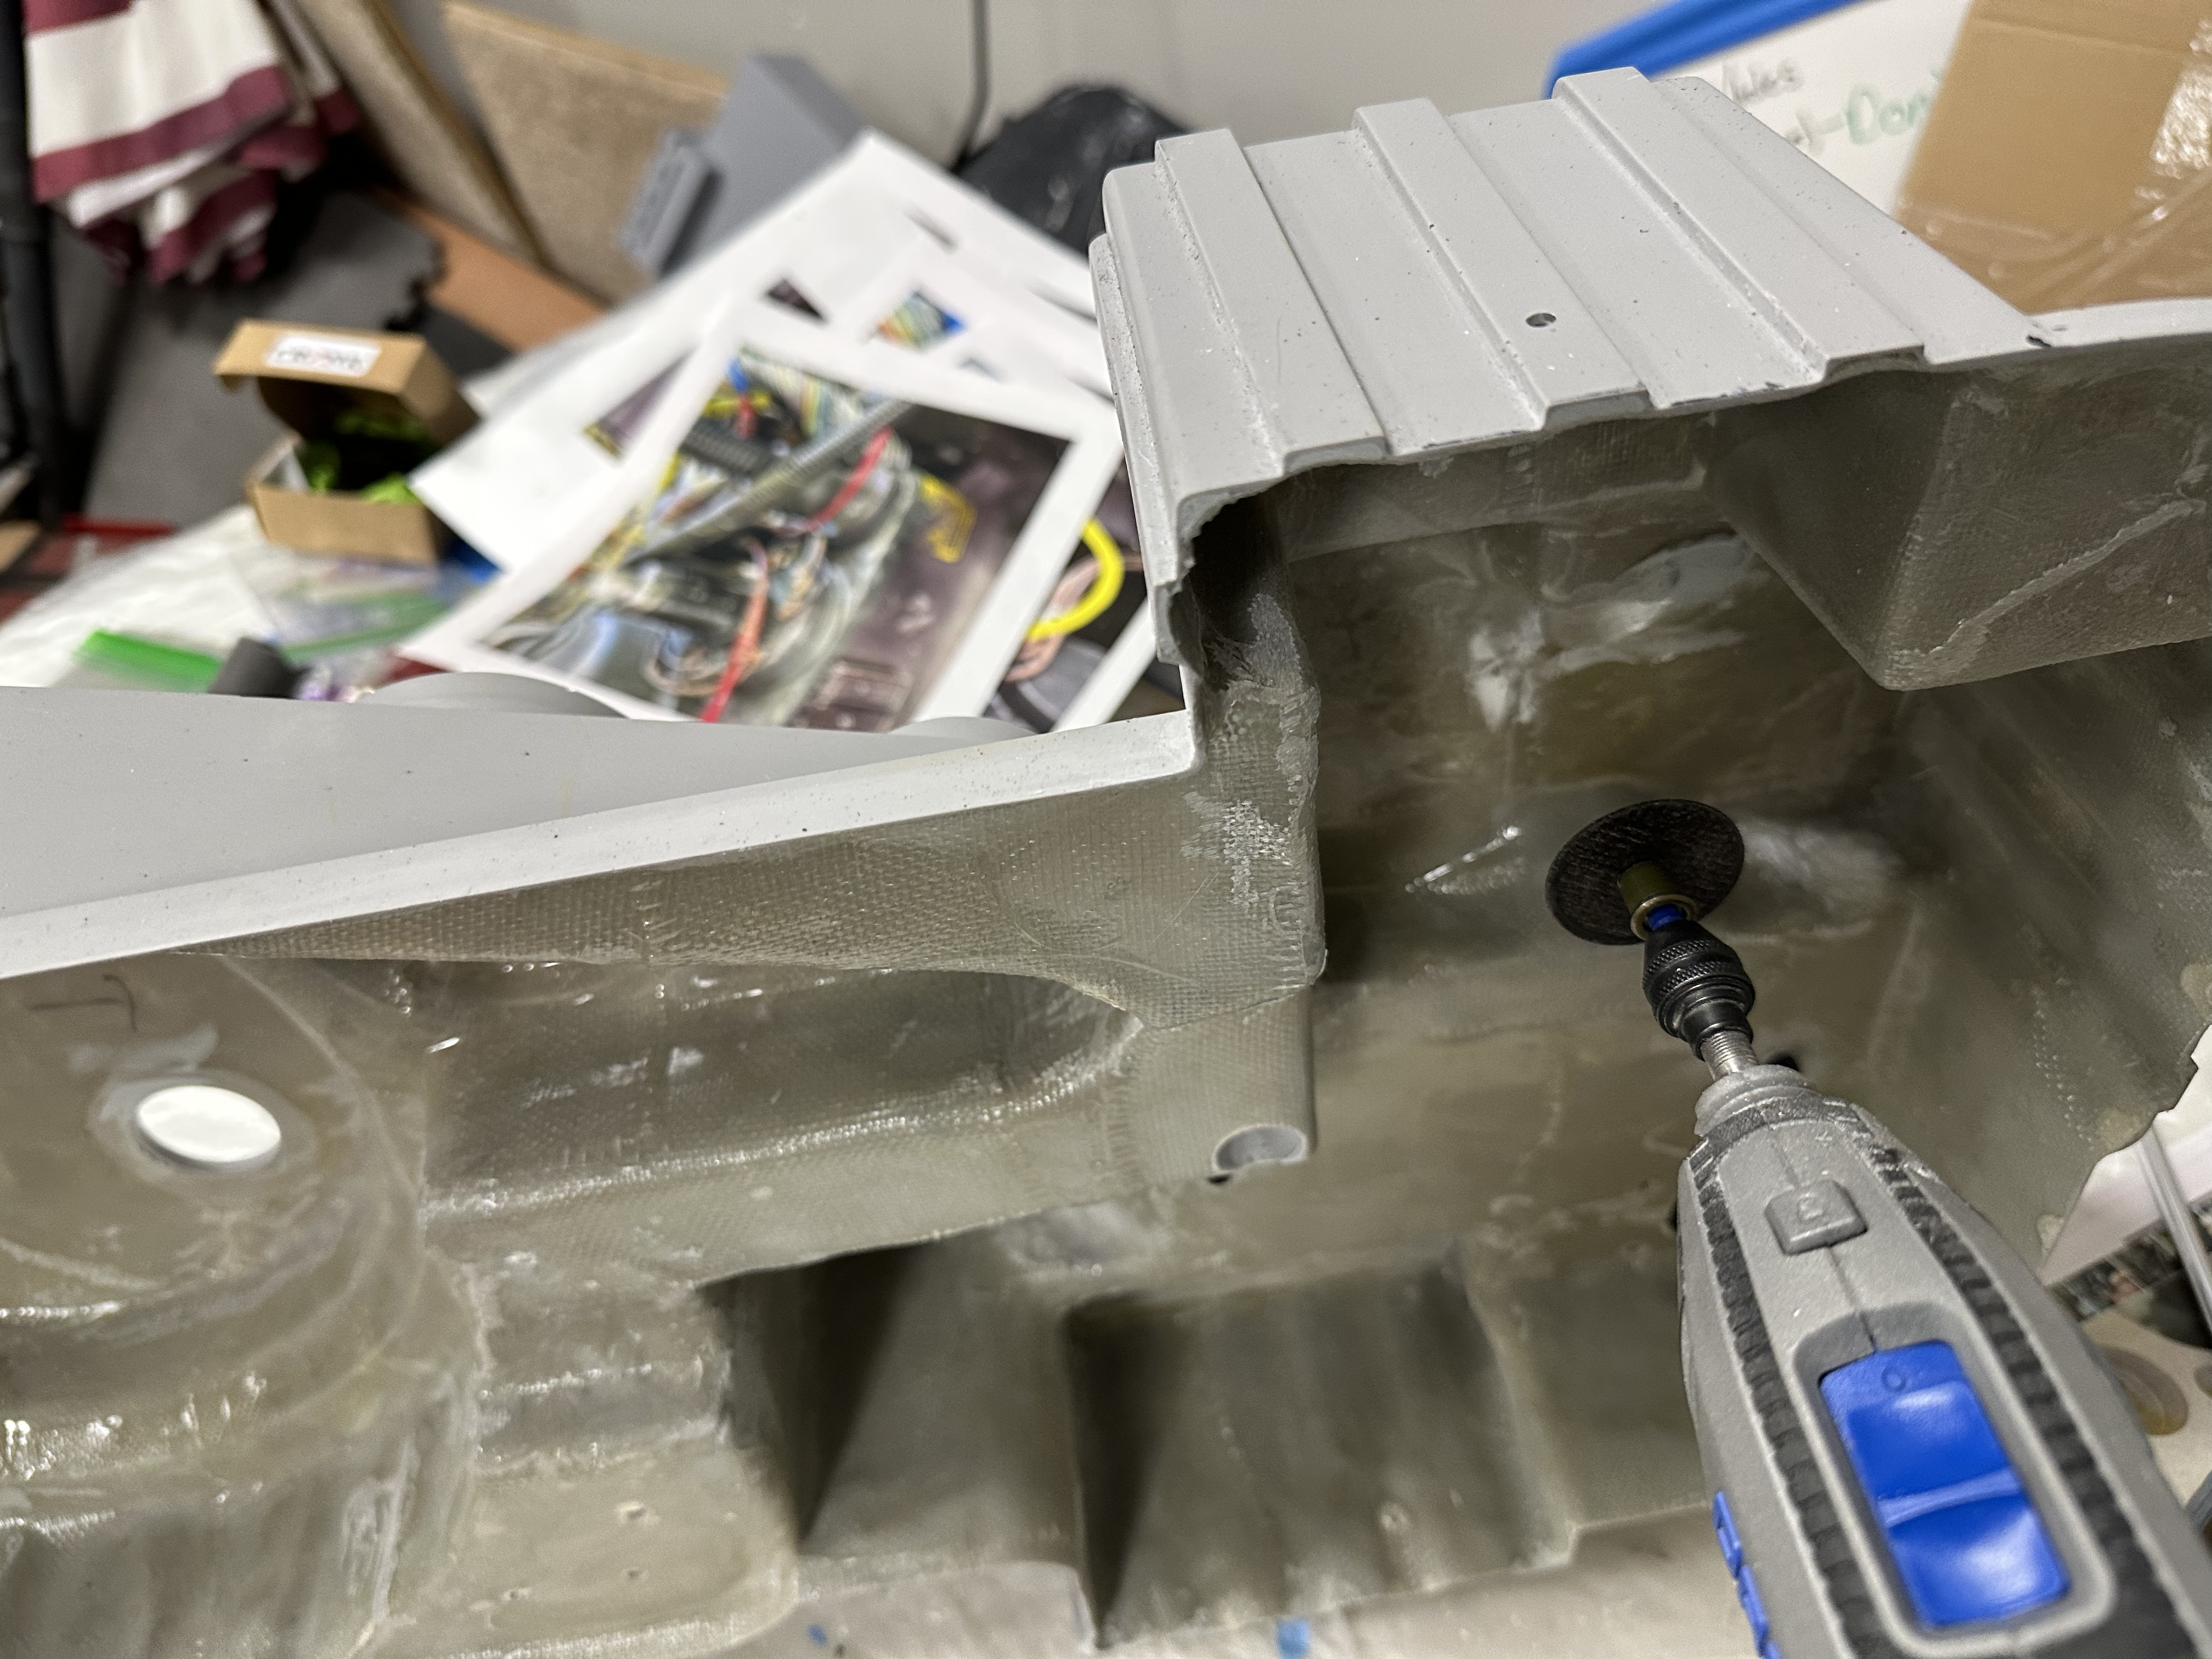
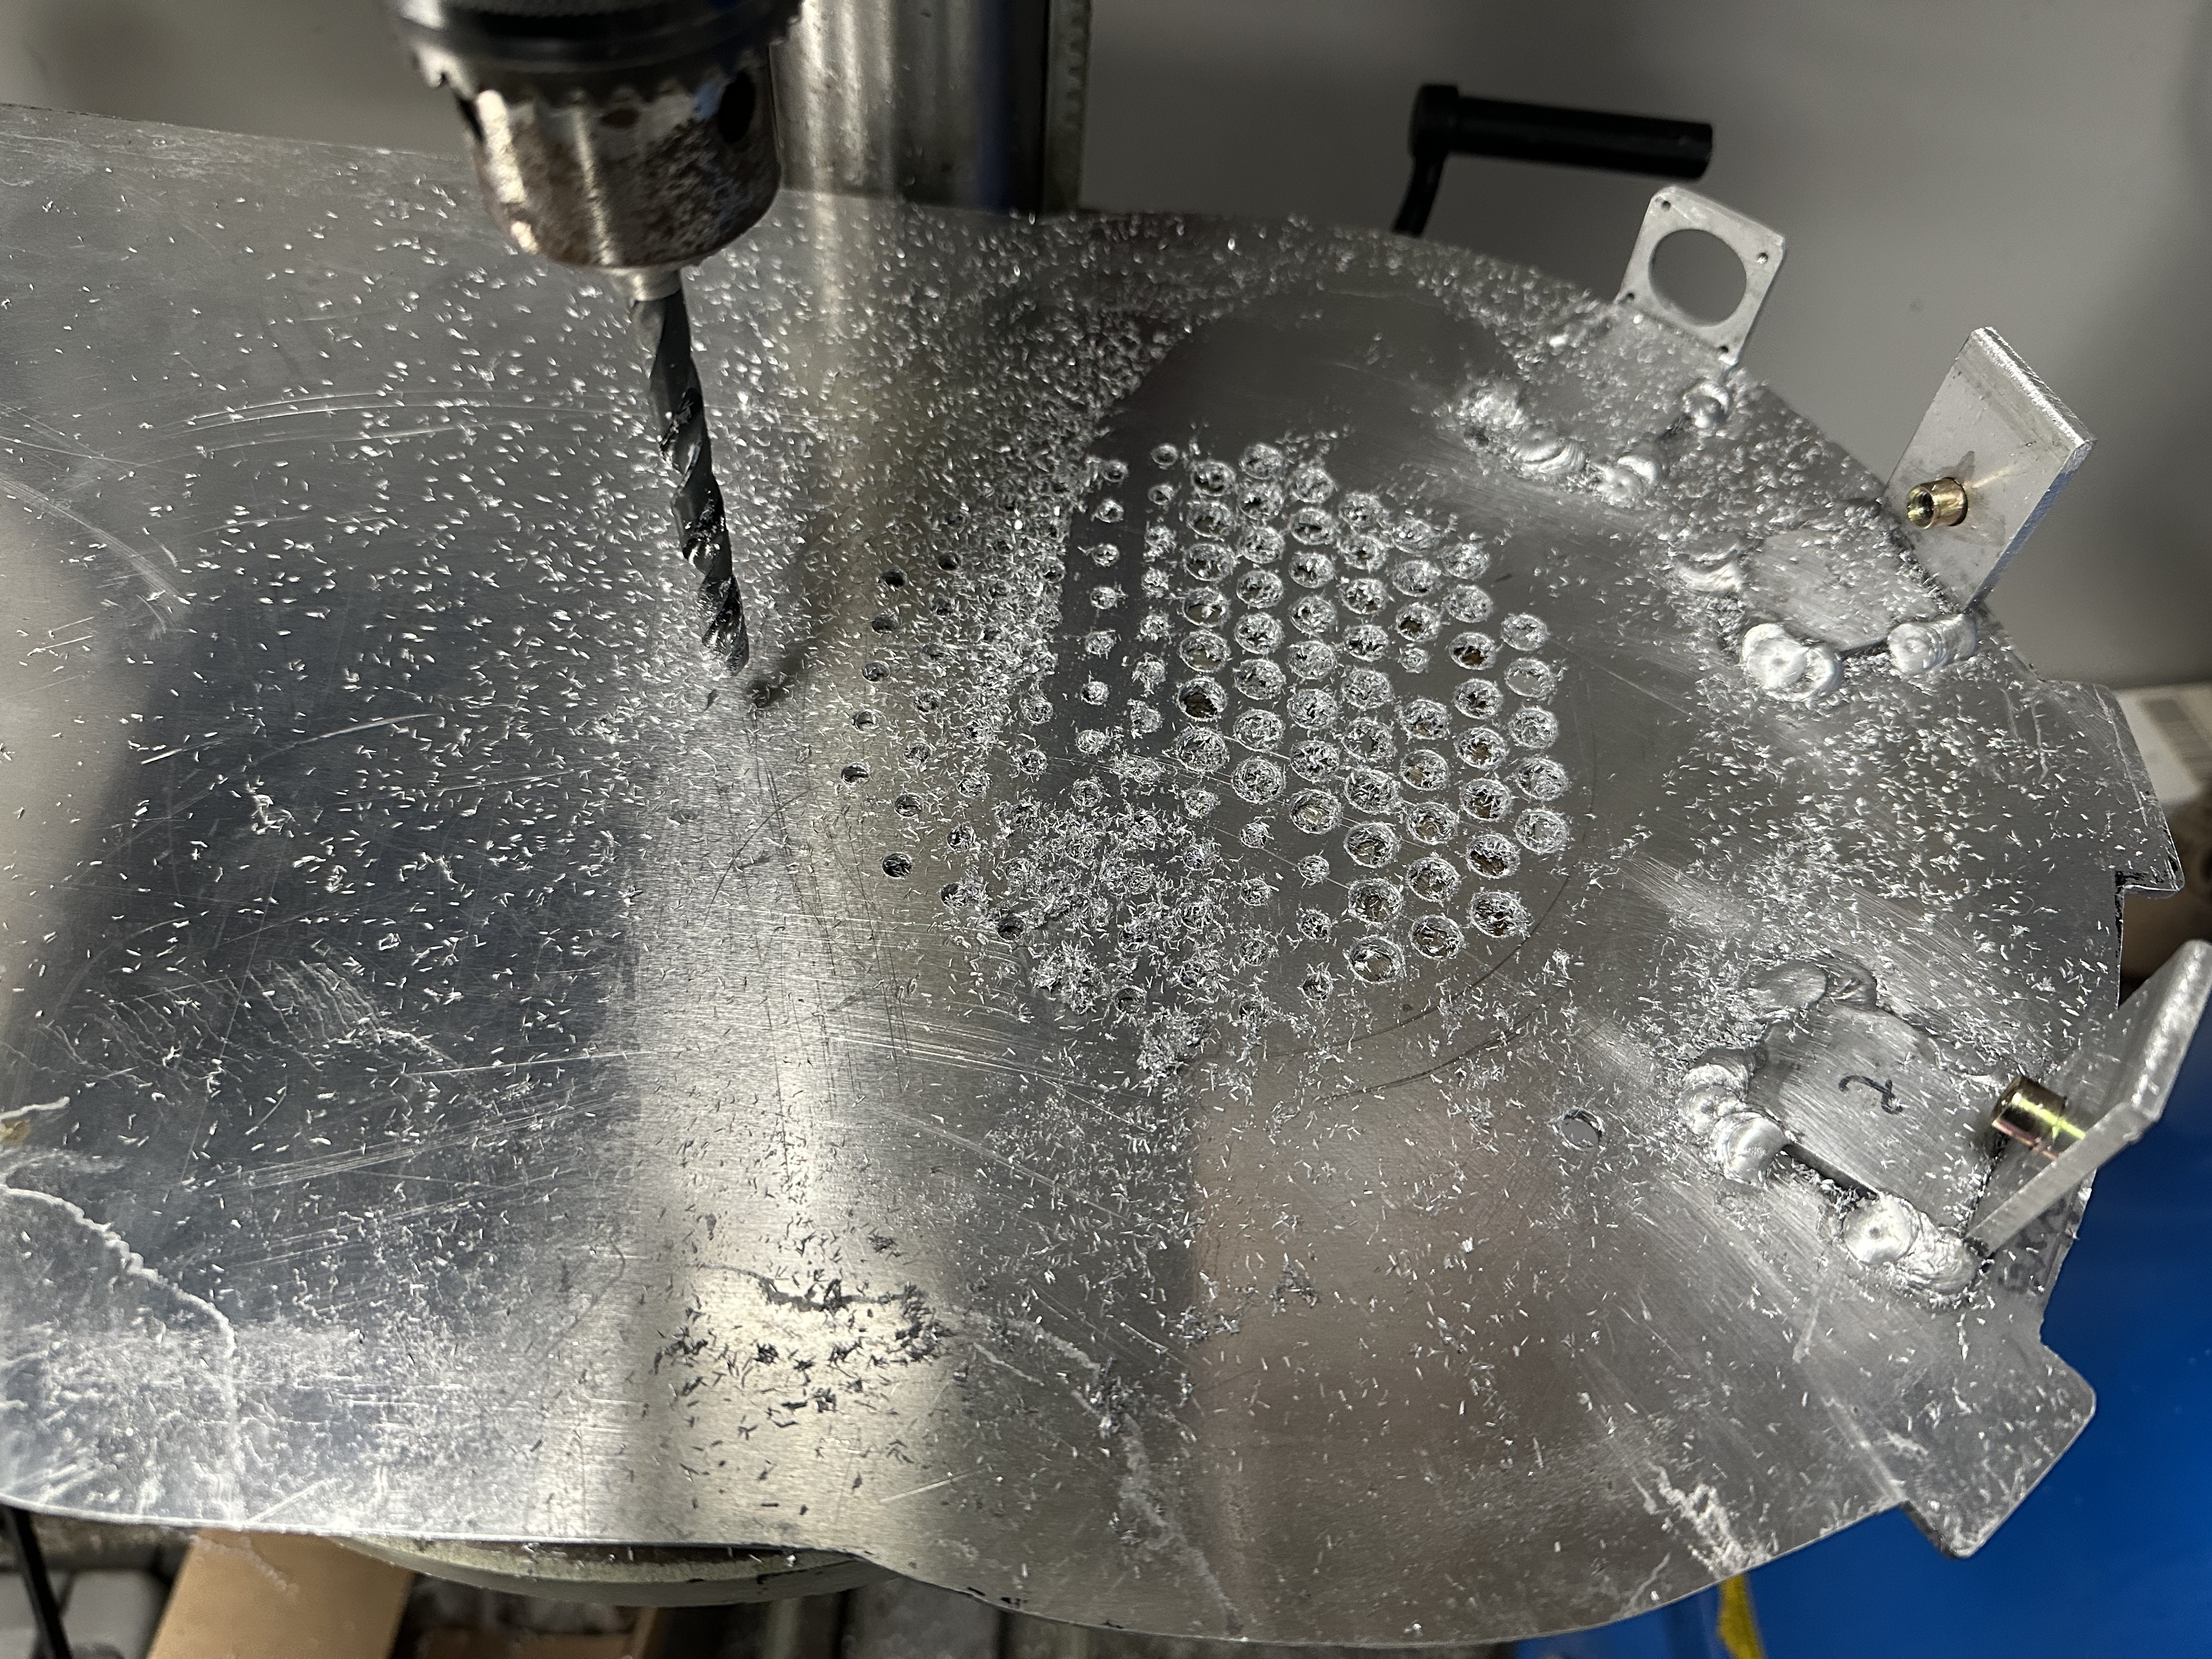
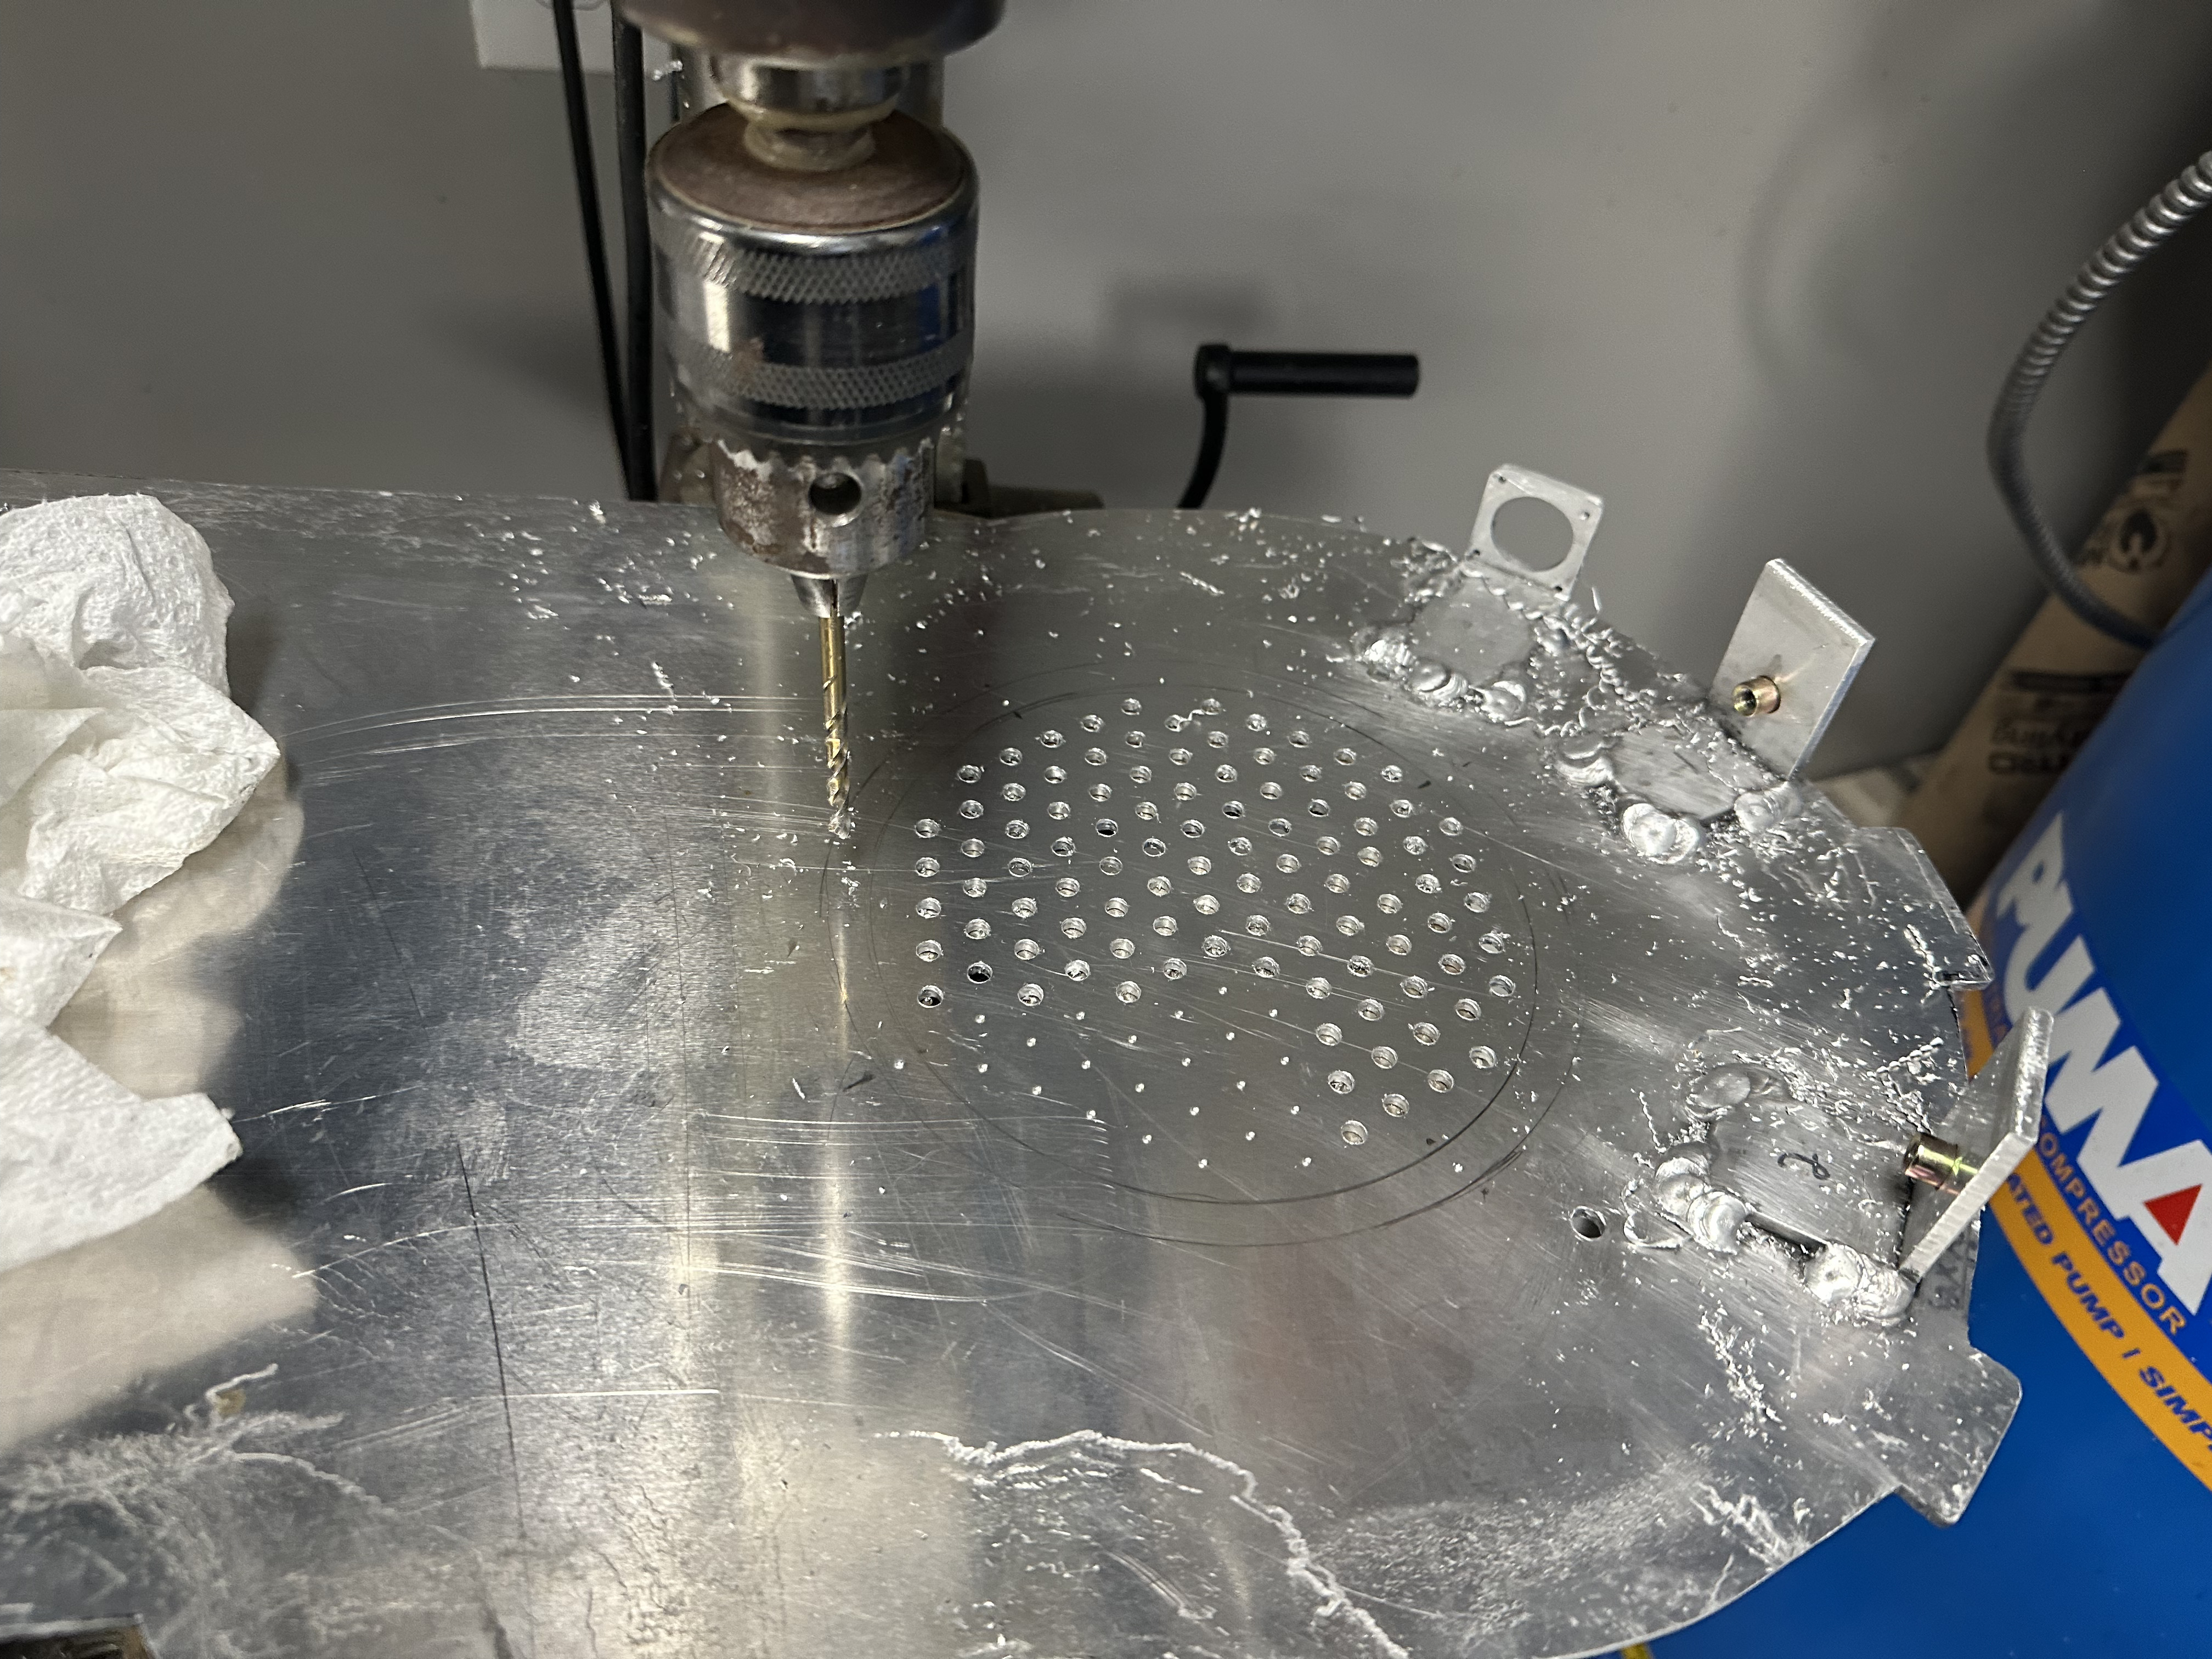
In the middle of a bunch of of the design of the battery pack, I continued work on a bunch of the elements that need to attach to the shell. Everything around the booster tube, ion arm and spacer, cutting holes for the afterlife switch on the crank gen, drilling holes for the brass PPD fittings, all the little wires around the Clippard, cuttting and shaping the ribbon cable clamp…have I mentioned I totally underestimated how many holes were in this thing!?
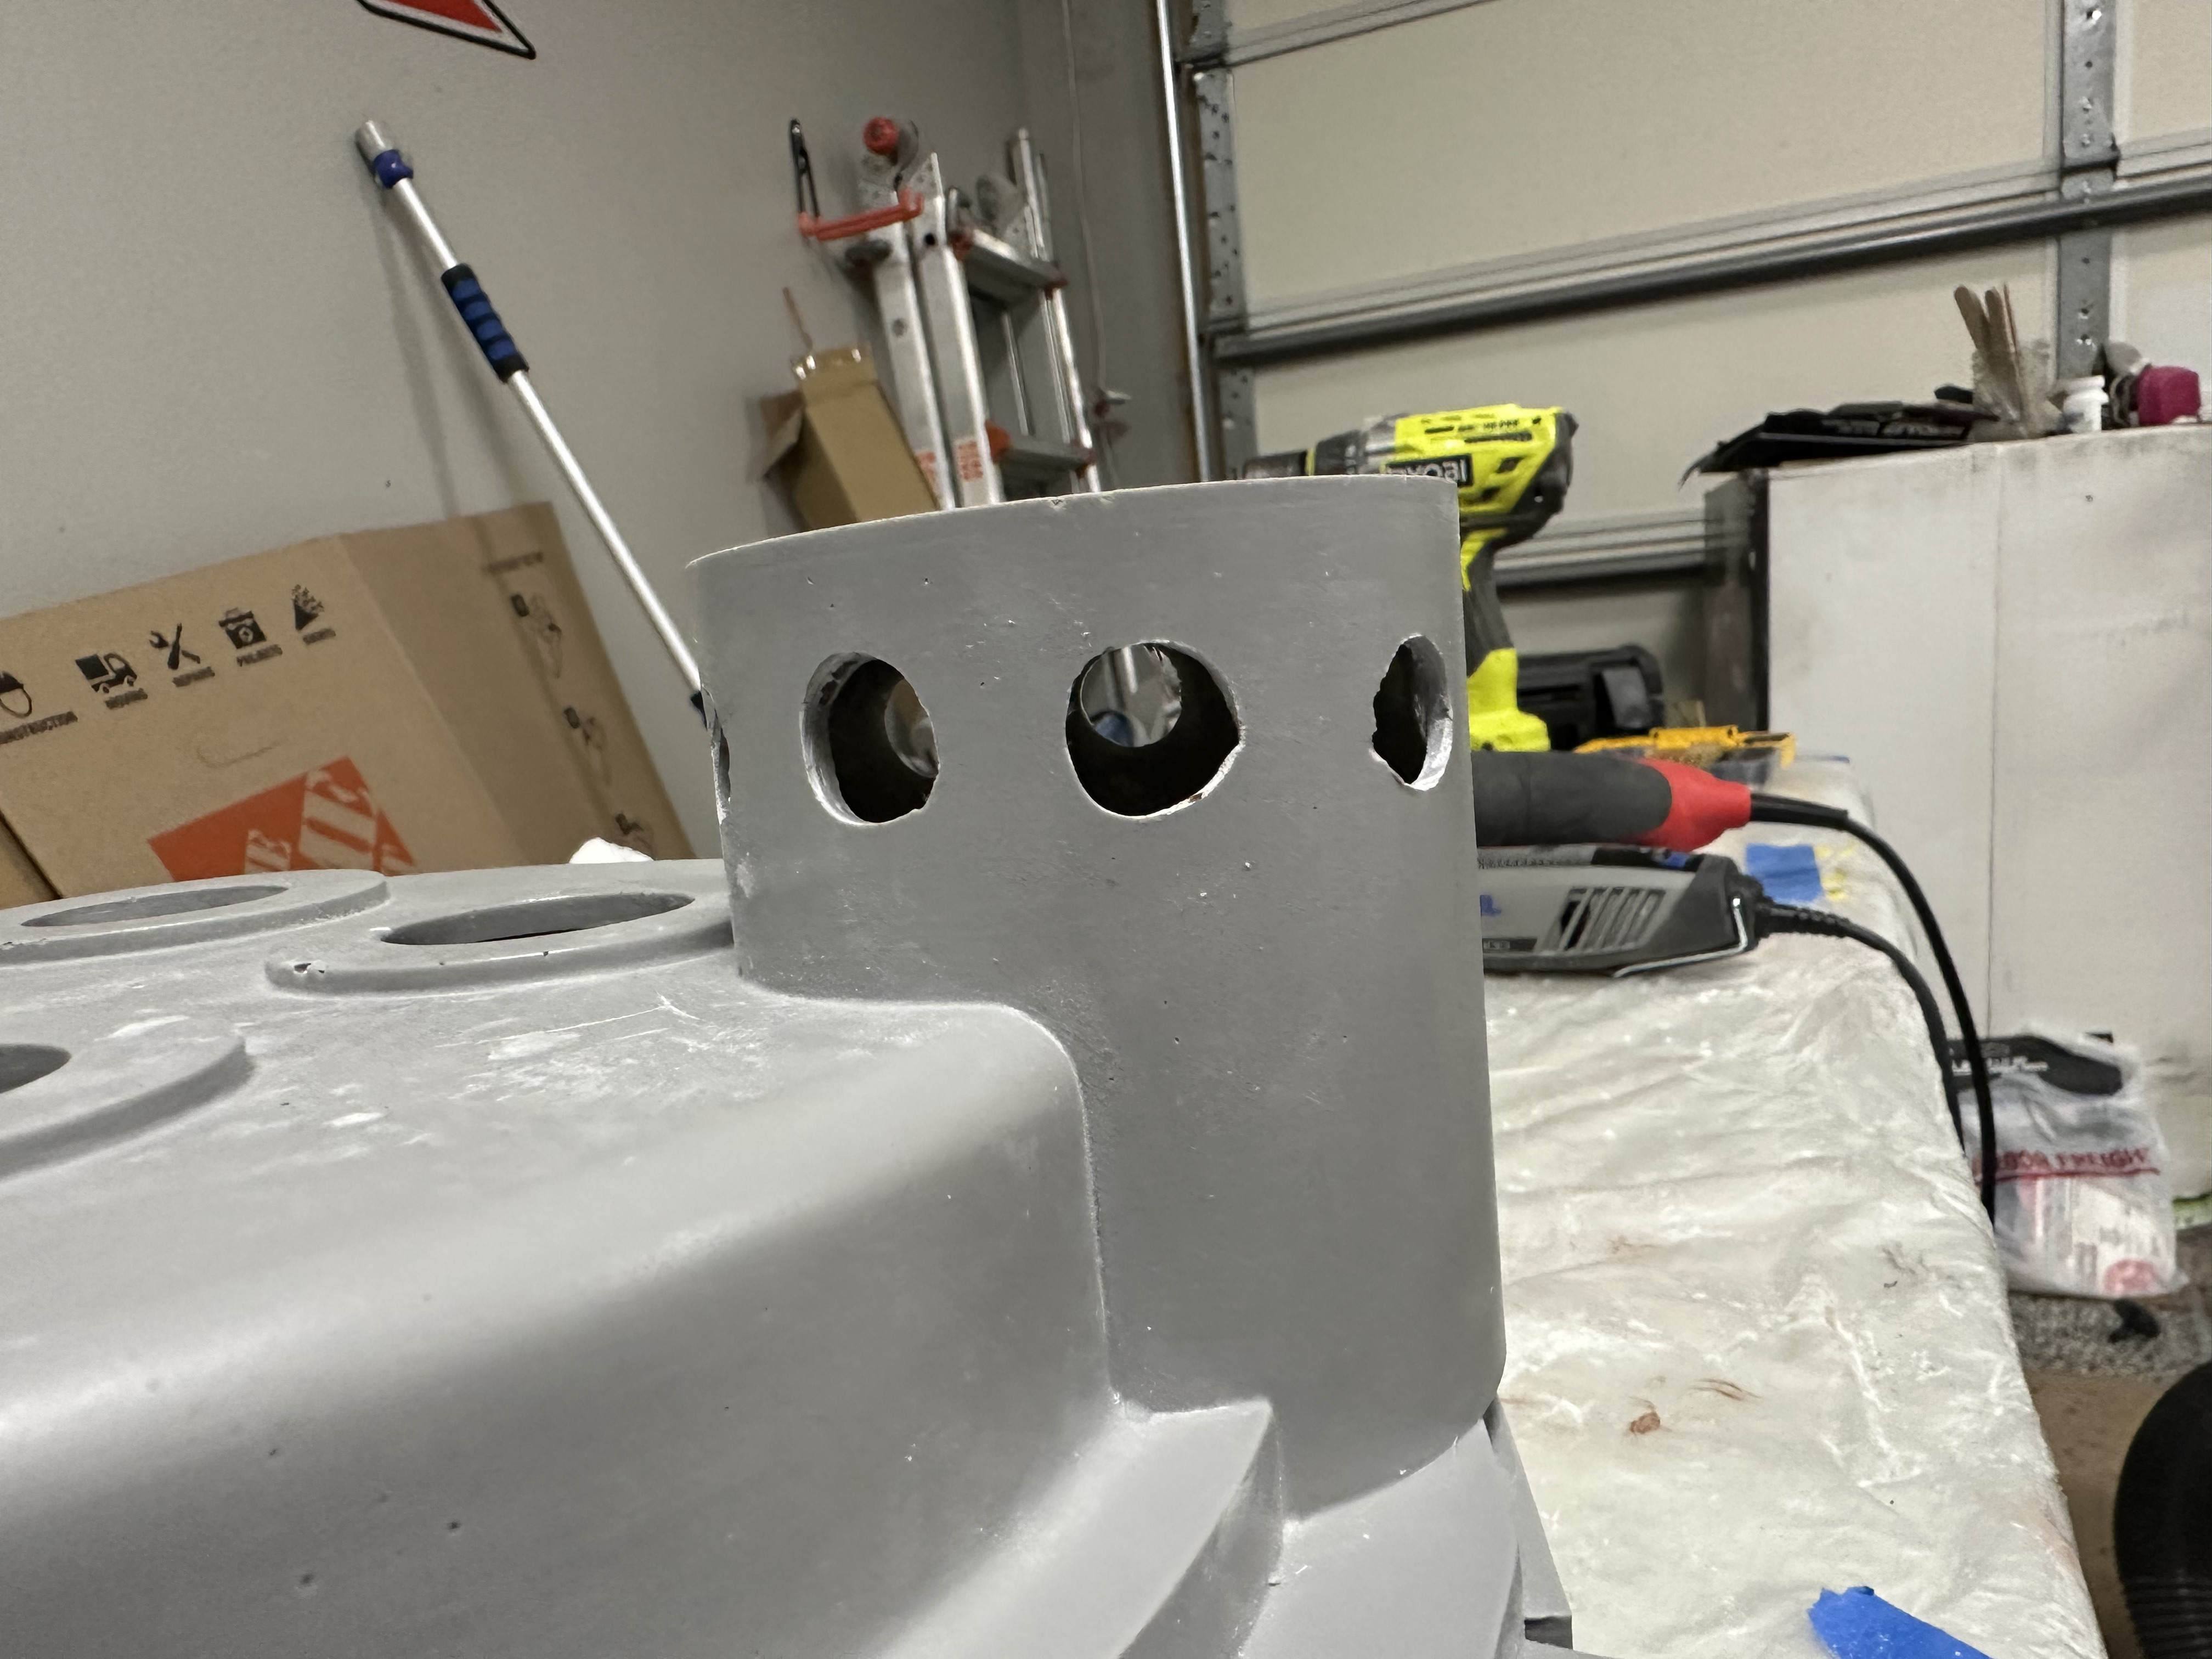
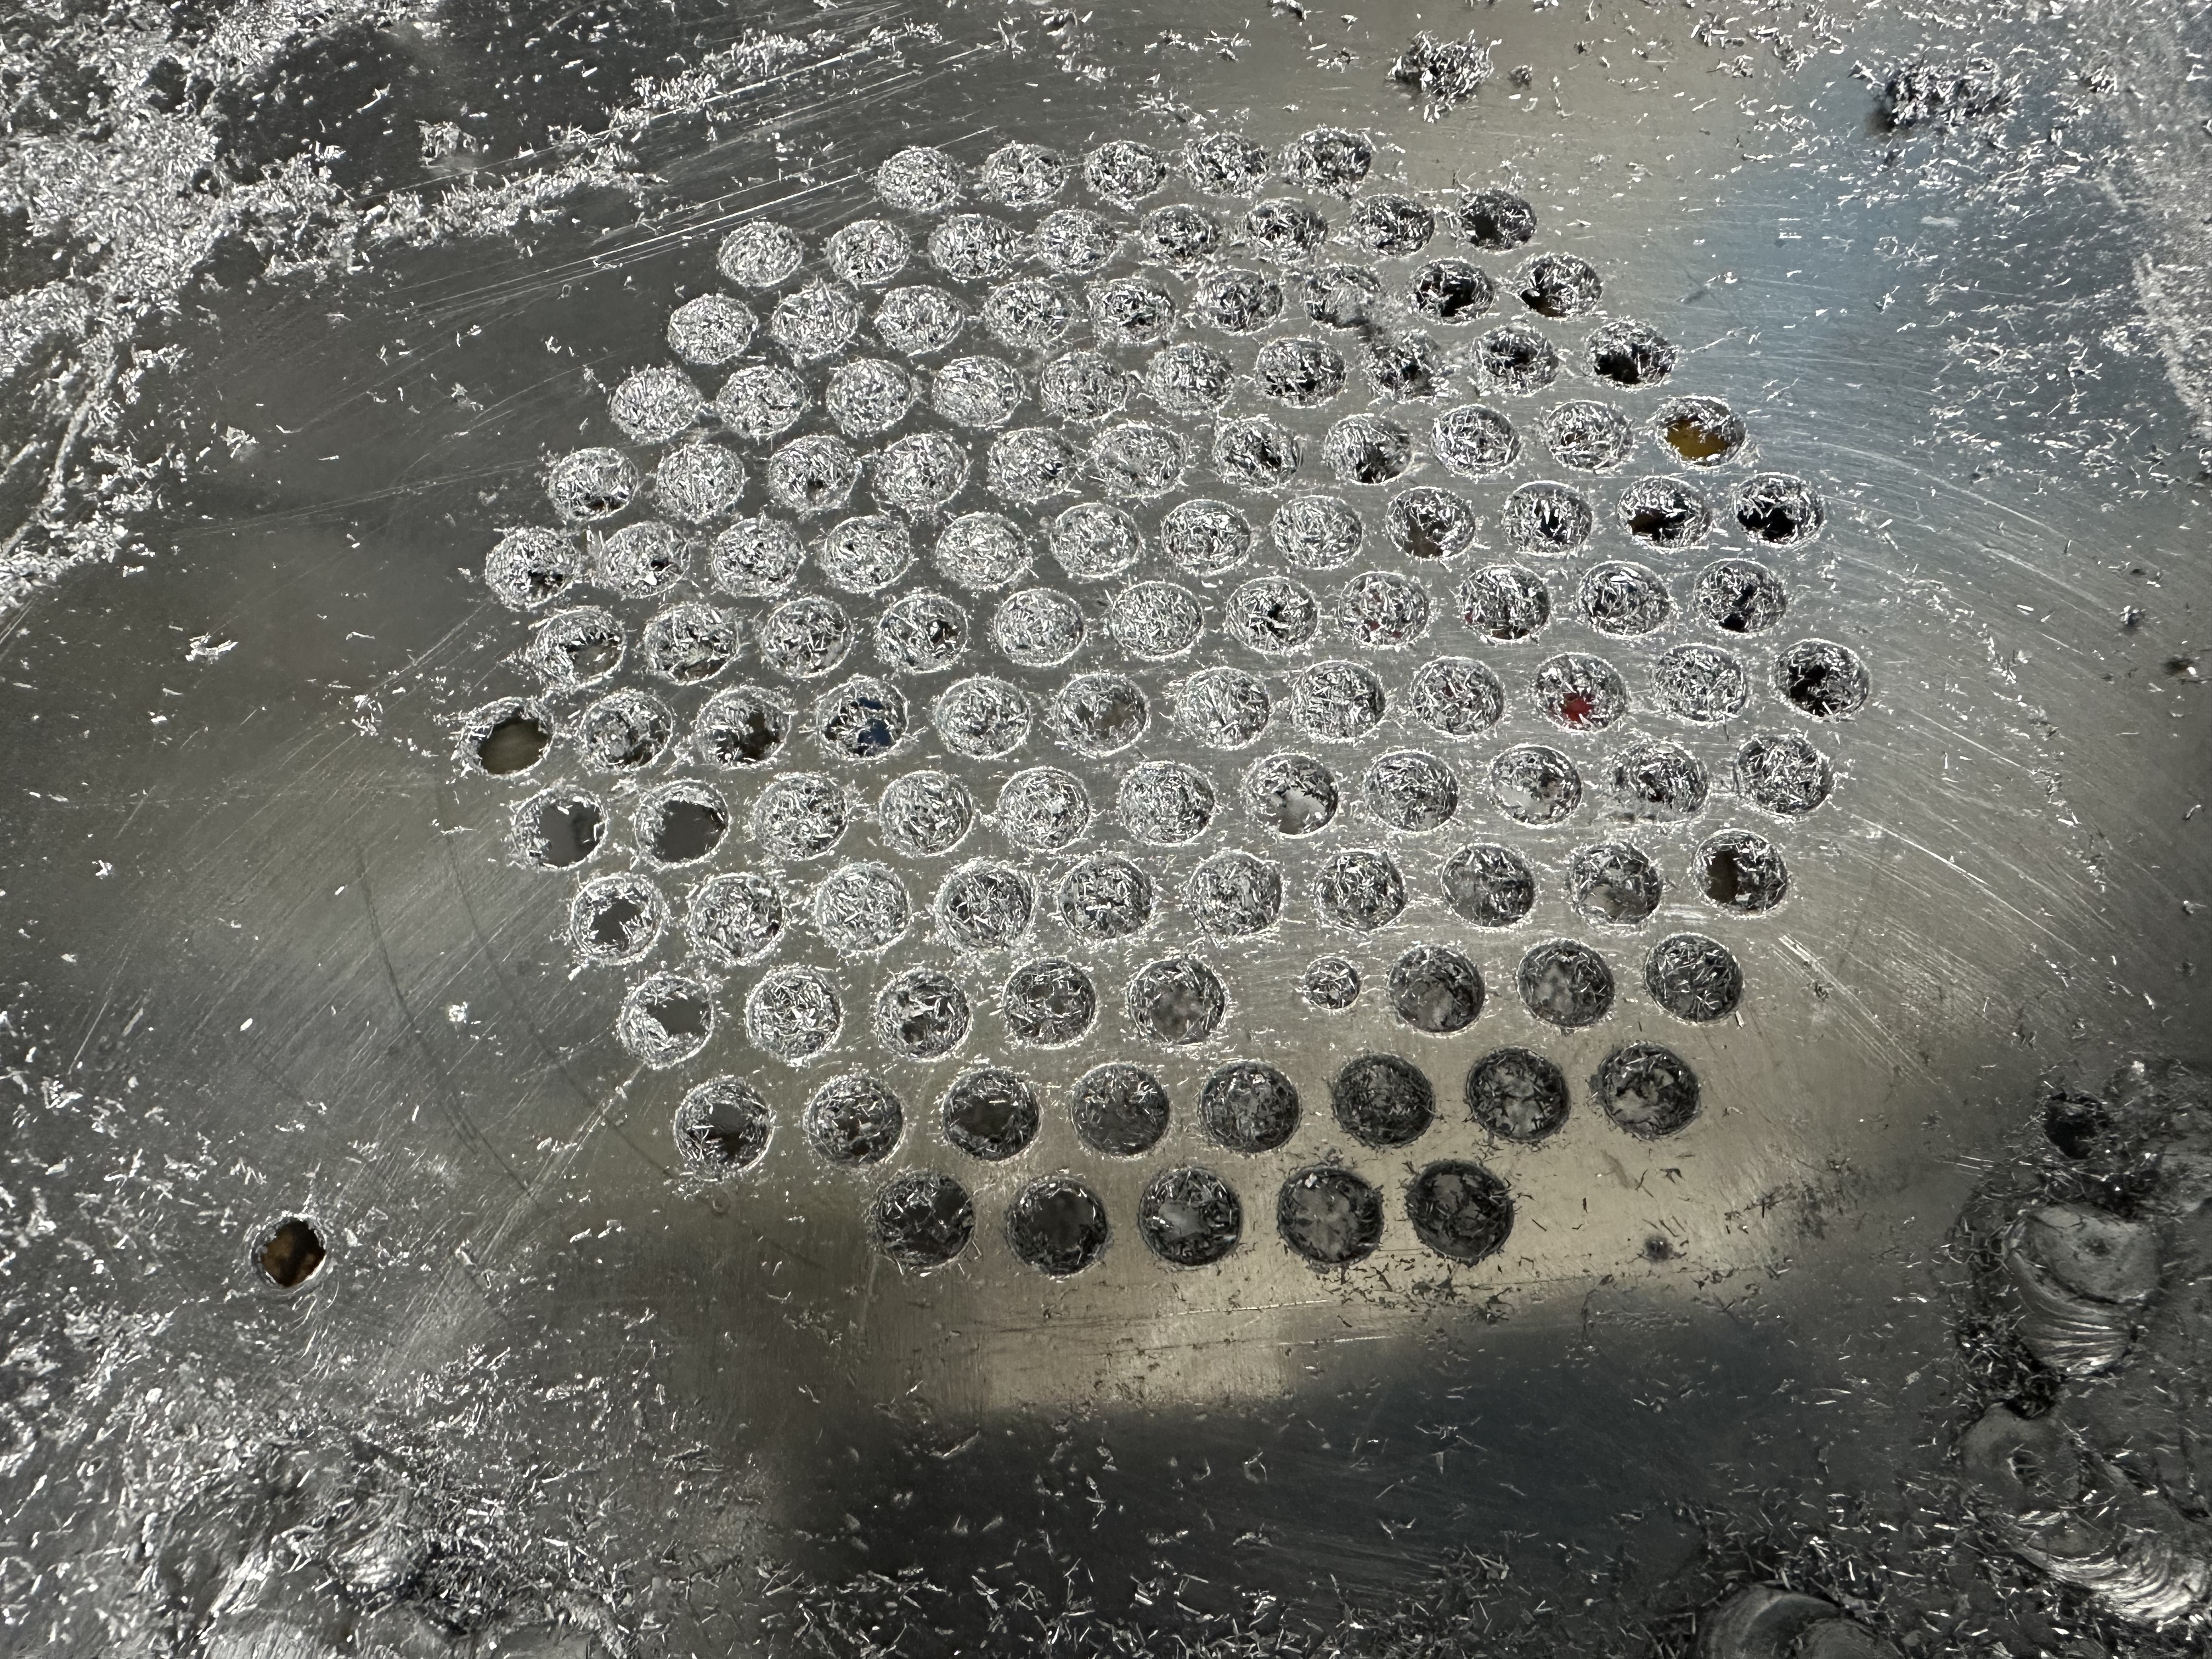
Drilling the N filter holes caused me particular issues because my 1/2" bit had too much wobble in my hand drill which resulted in some gouging and made the holes not round. Had to go back and repair and redrill them with a step bit instead.
In this stage of the pack I found myself jumping between different elements. As I was trying to figure out where some stuff went or waiting for a part I’d ordered I’d move back and forth to other areas. I went back to some more aluminum work - installing riv nuts and lining things up to physically attach my shell to the mobo for the first time.
The Savage photos of the Phoebe pack have been absolutely critical for reference. Used them in trying to make my v hook (and nearly every other element of this thing).
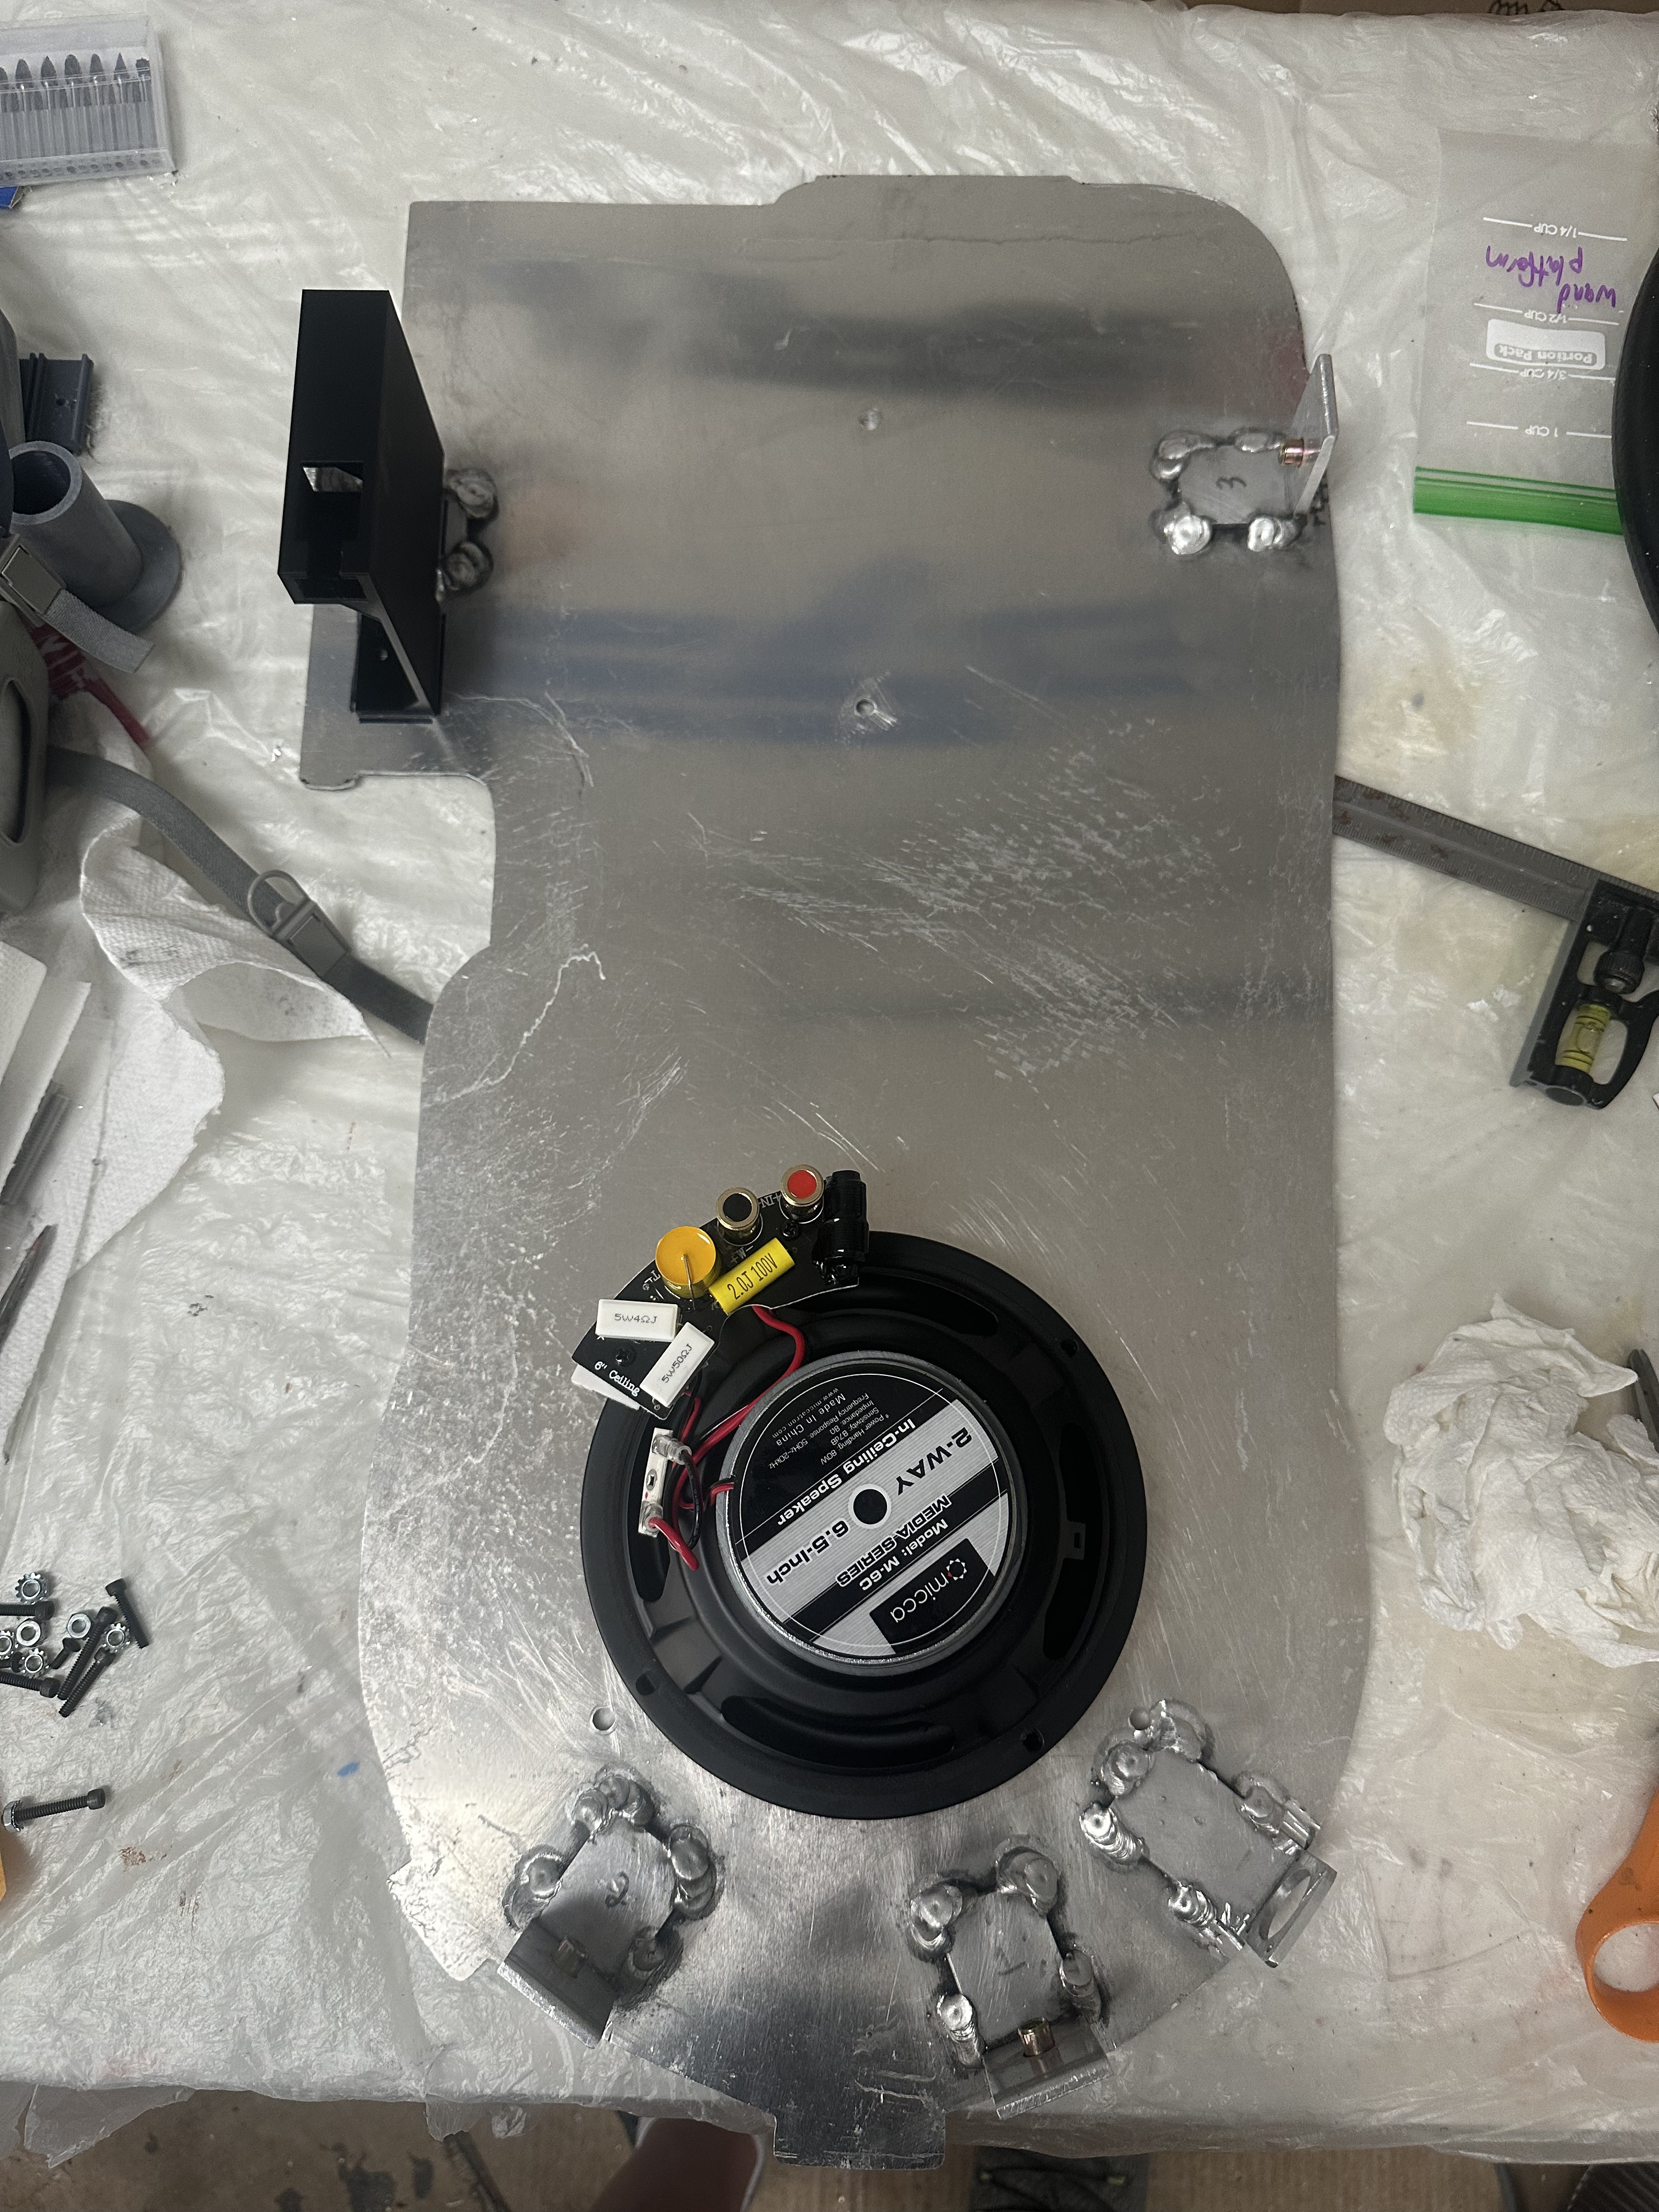
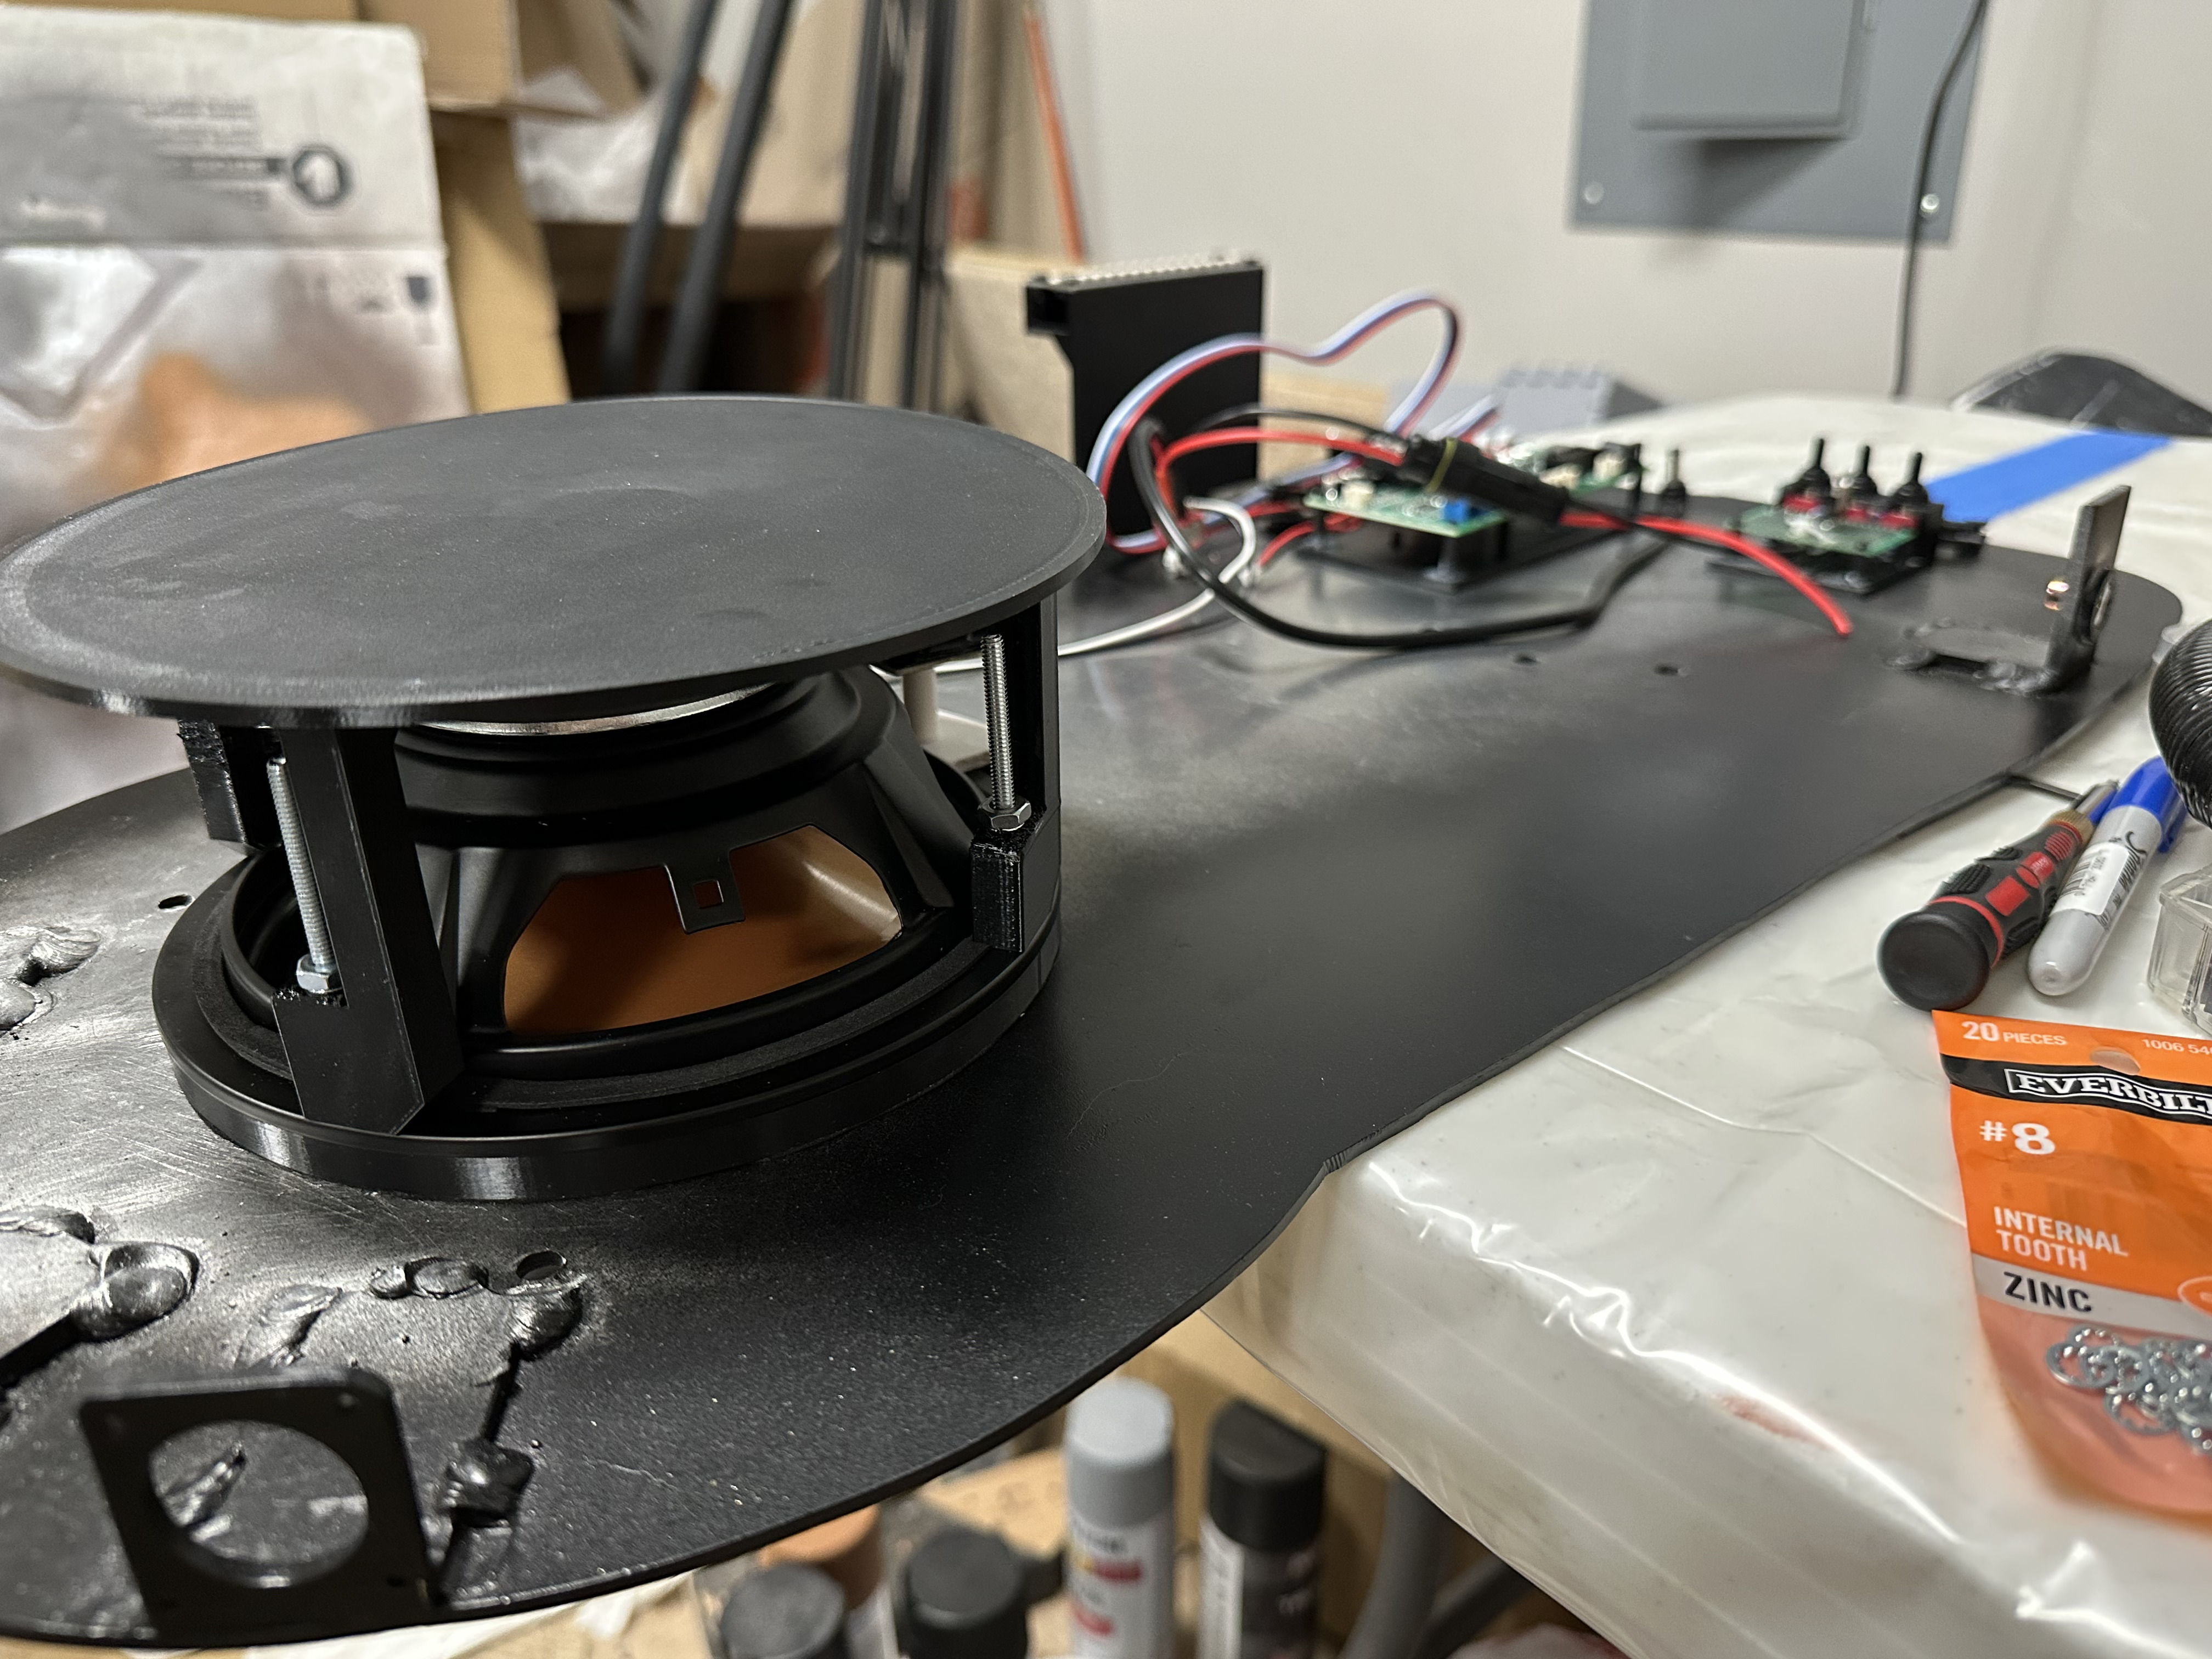
Drilling holes in the motherboard for my speaker - so many holes. Went for a pretty large speaker as I’m only doing one and I wanted both some oomph as well as a good balance of highs and lows.
Its amazing to see the progress made and just how long it can take when you want to build a prop from scratch and the dedication put in. Nice job so far!
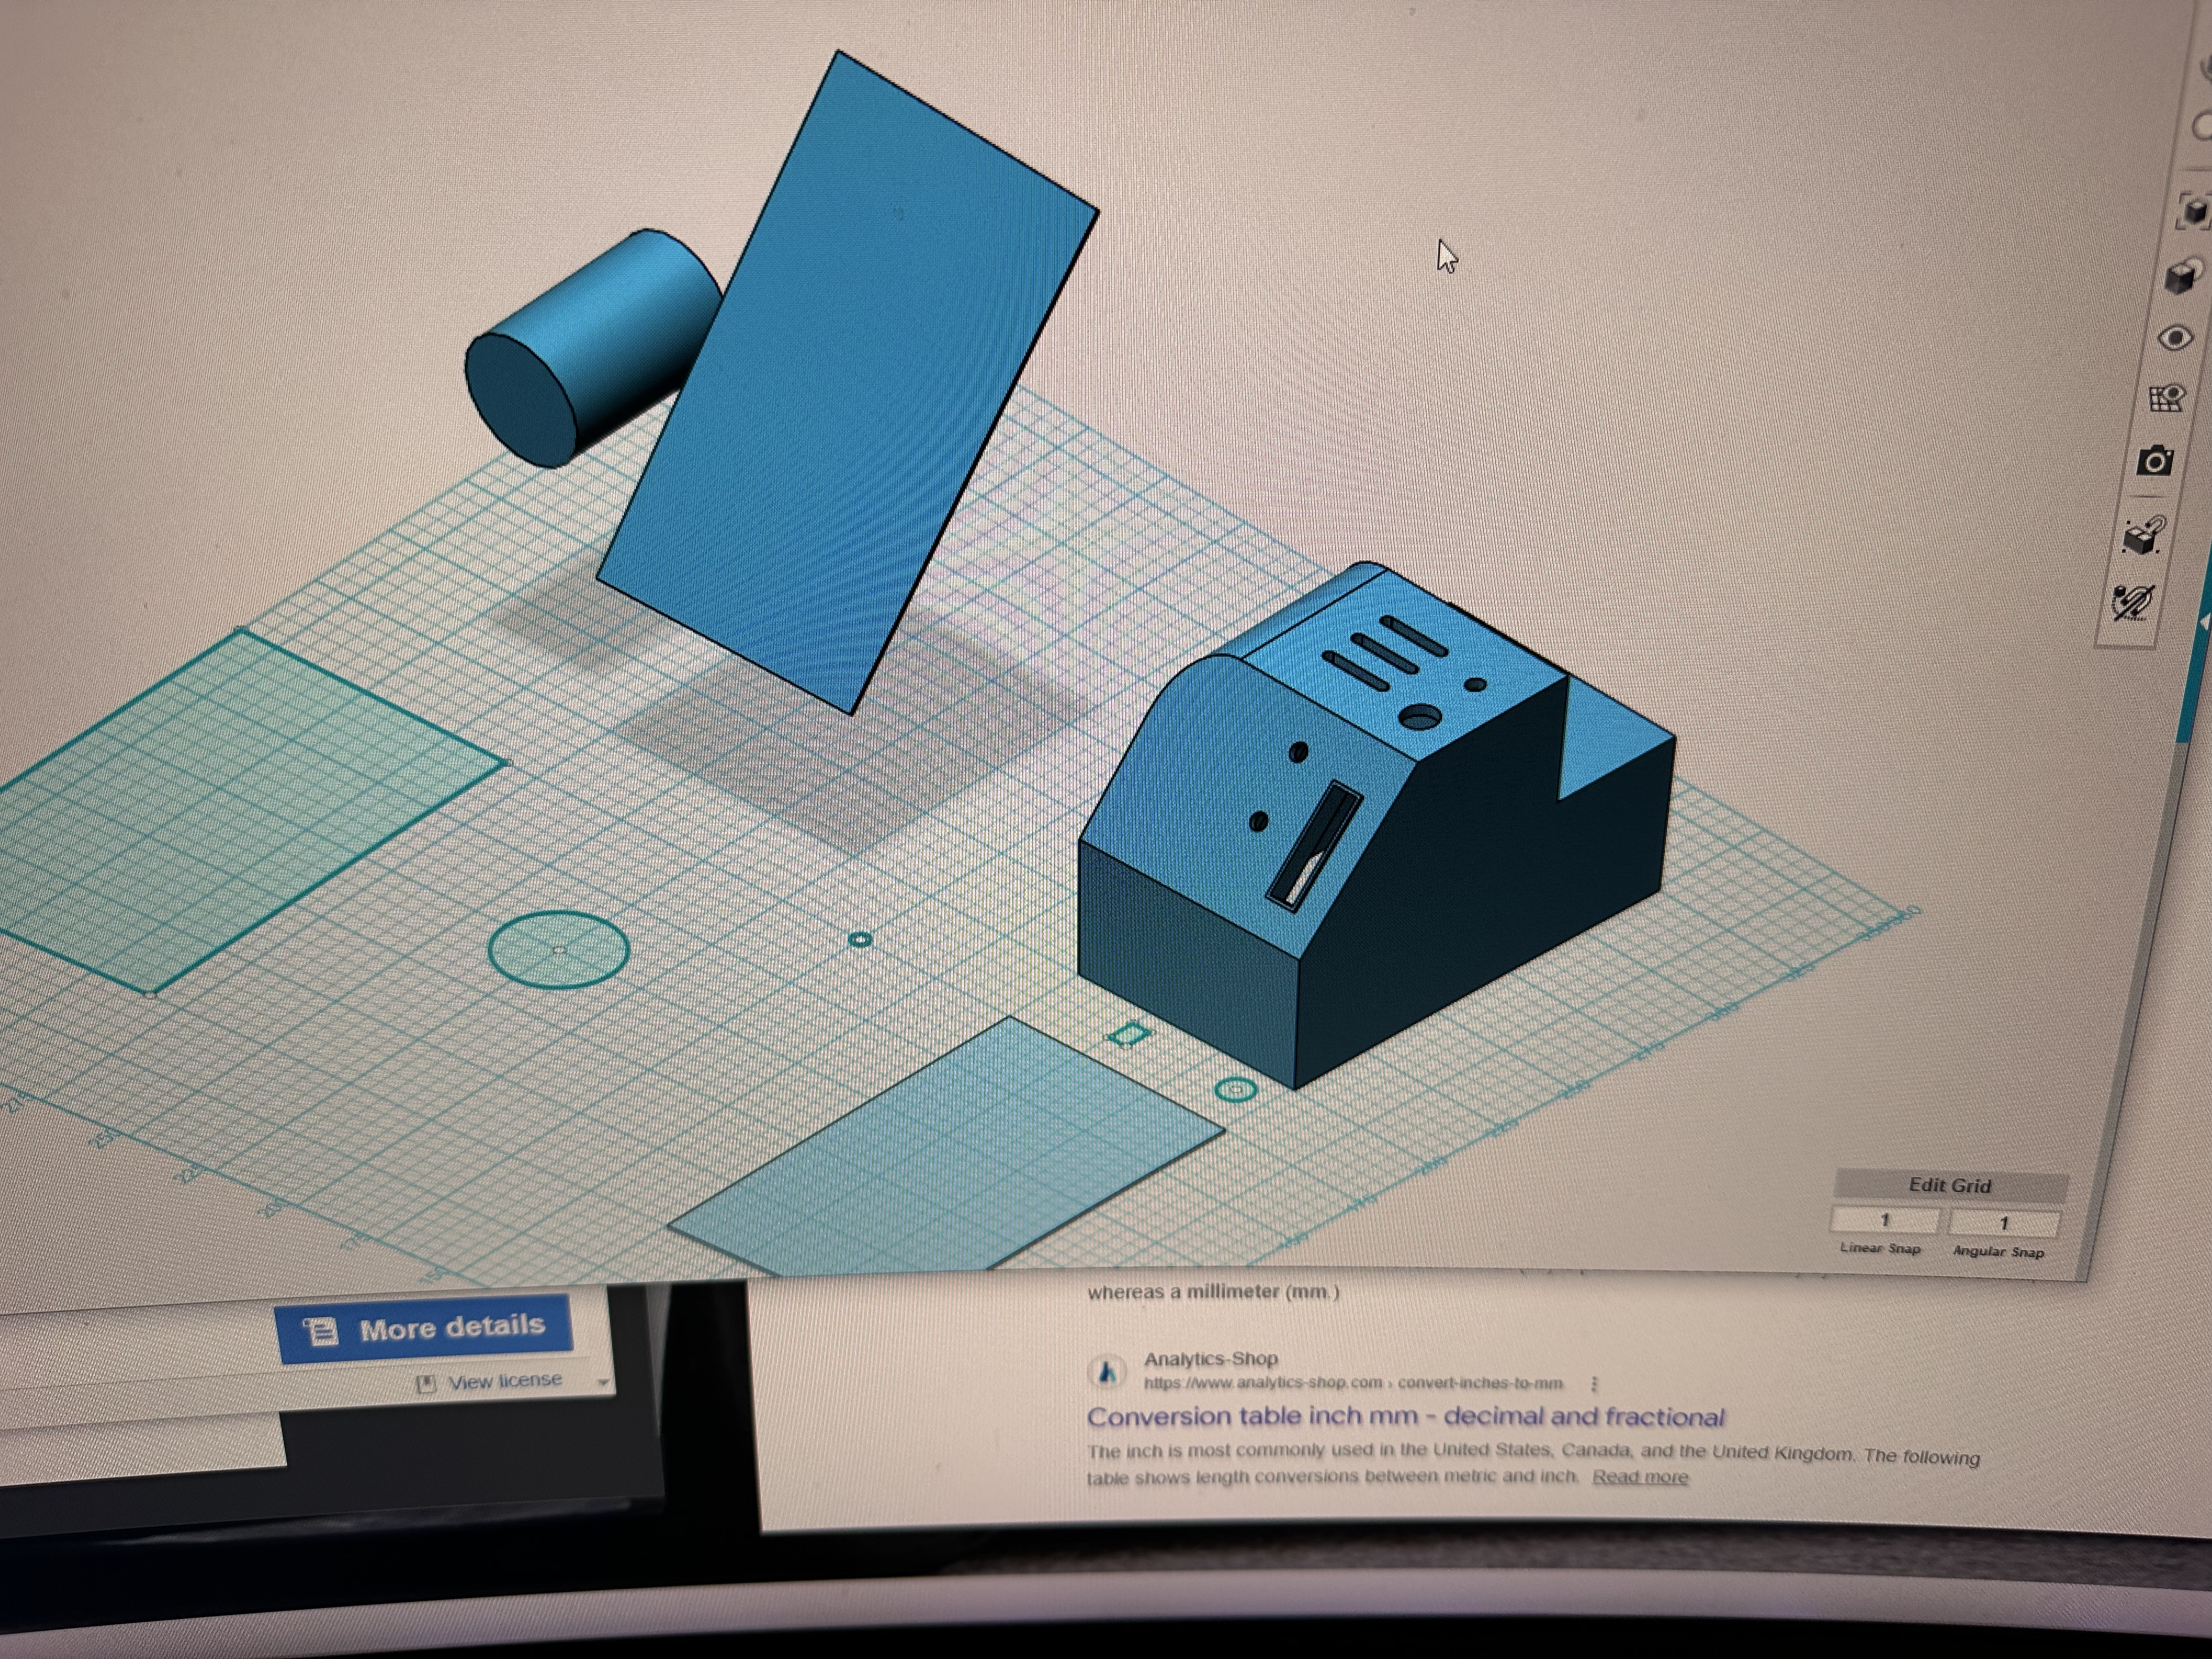
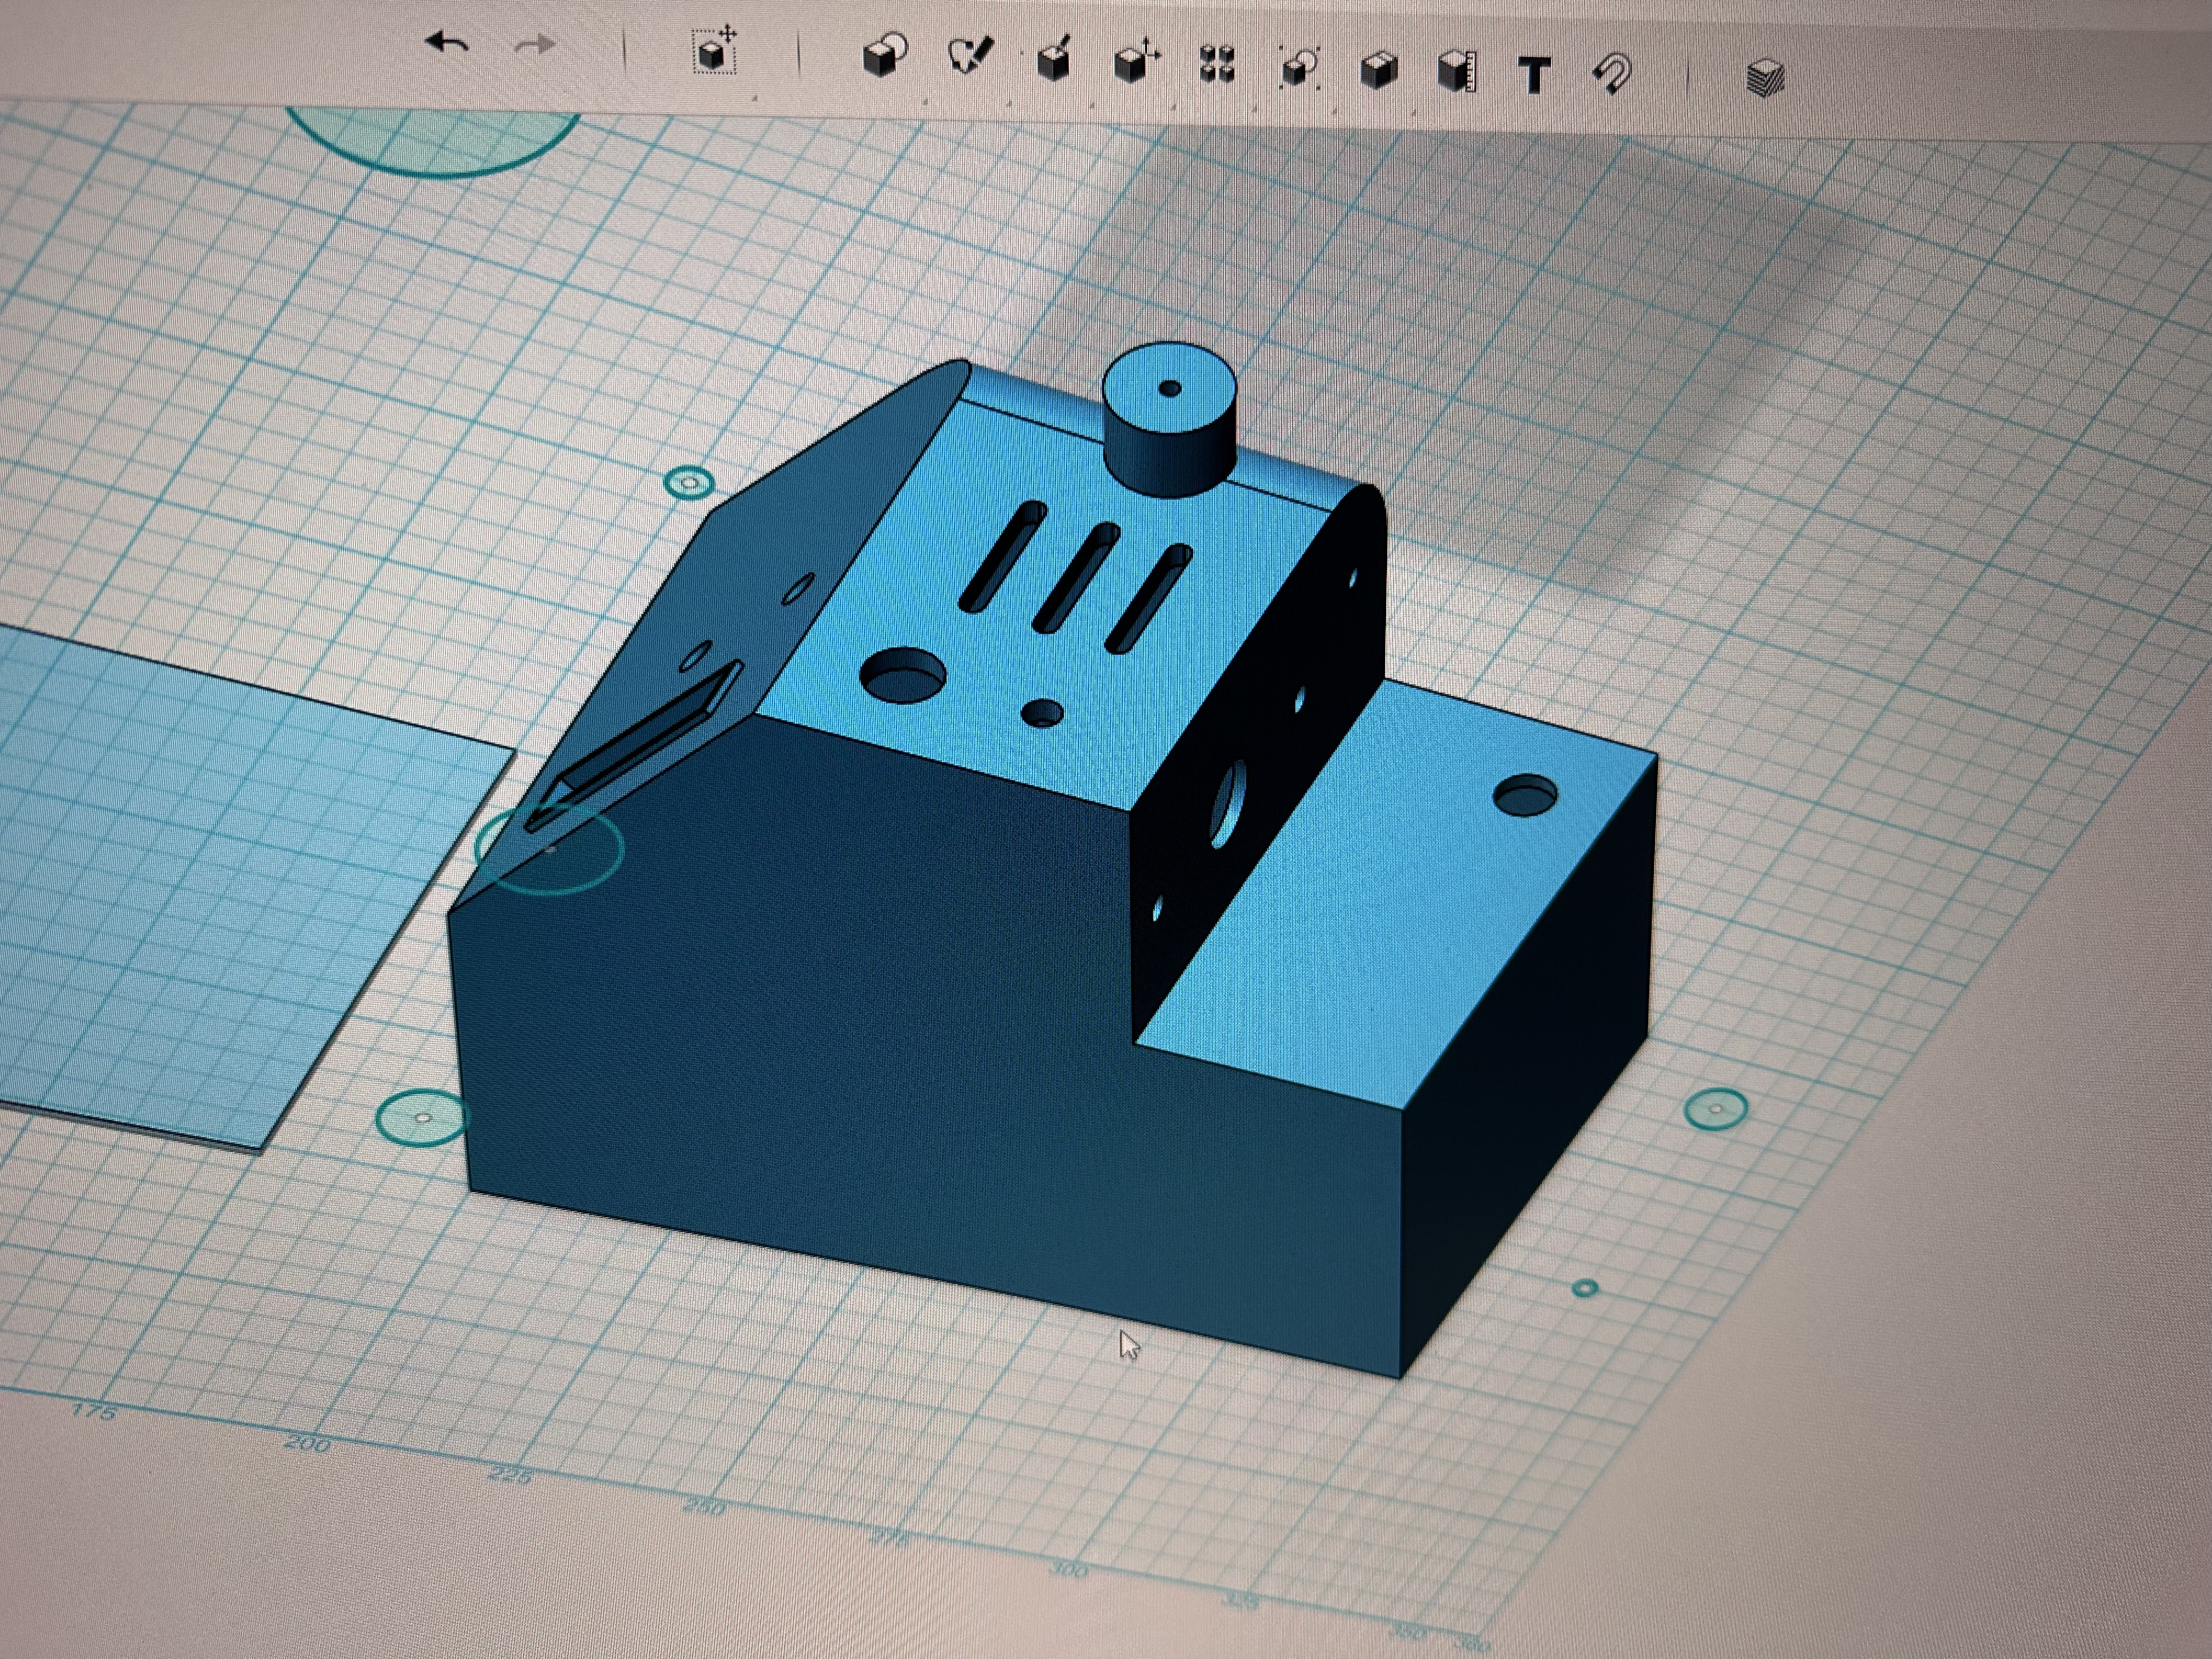
With my speaker test fit I realized it was soon going to be time to begin testing electronics but I hadn’t even started on the particle thrower yet. I wanted to figure out those details so physical work went on pause while I designed the thrower body and pop mechanism. The thrower body was very straight forward as there is quite a bit of reference out there. I looked at a bunch of measurements as well as a few existing 3D models and decided to model my own as I wanted to maximize space in the body and make use of some of my own shop supplies. Honestly, this part took as long as anything I’ve done up to this point - hours of going back and checking references, making decisions about which version looked right to my eye and then a lot of iterative problem solving. I know others had solved a bunch of this already, but especially for the pop mechanism portion, I really wanted it to be my own design as much as is possible after so many have done it before me.
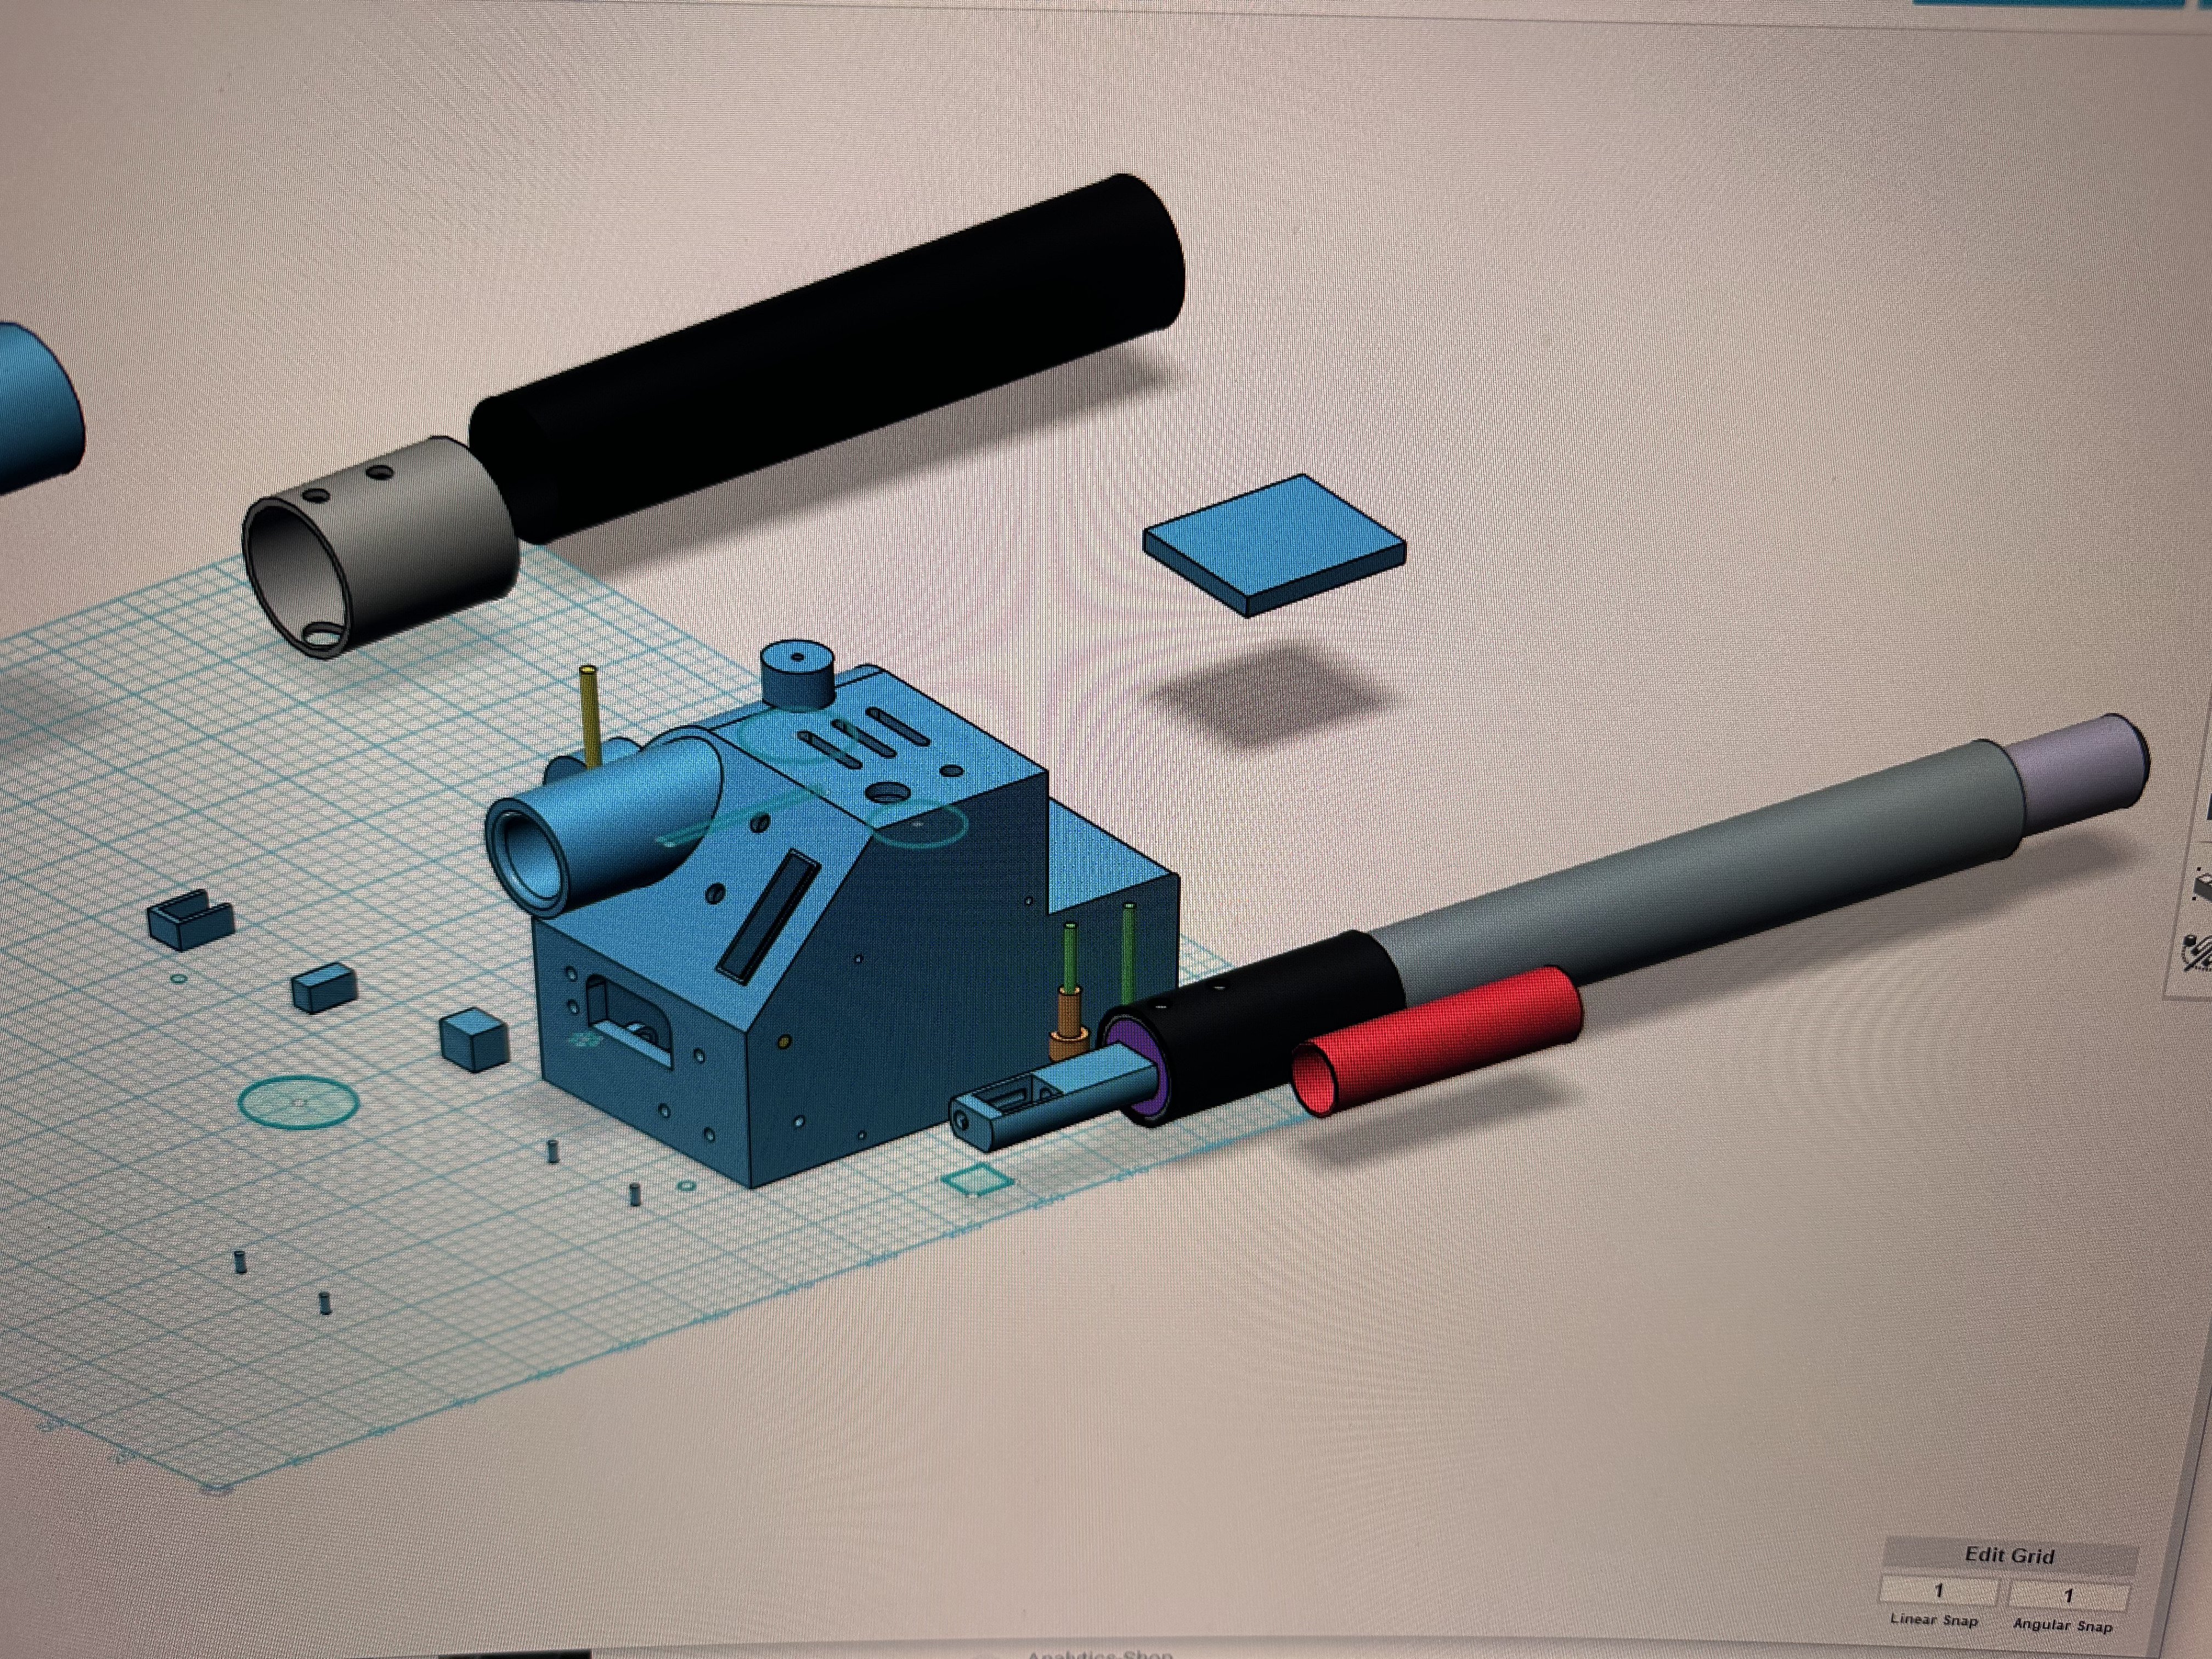
I had already purchased telescoping aluminum tube so I could use that for measurements and built a pop system with an extension reaching back to a hook that has a collar on it (blue flat sided “tube”) connected to portion of aluminum tube (green) to which the clear acrylic tip would mount. That whole assembly would connect as one piece and slide back and forth inside a larger tube (grey) and have a spring (represented by the red tube so I could confirm length) which sandwiches in between the blue collar on the sliding tube assembly and a fixed stop (purple)- which is what the spring pushes against to slide the rest forward.
It’s probably not the best design anyone has come up with, but I liked that the pop spring is self contained and the whole thing takes up minimal space in the body even when retracted.
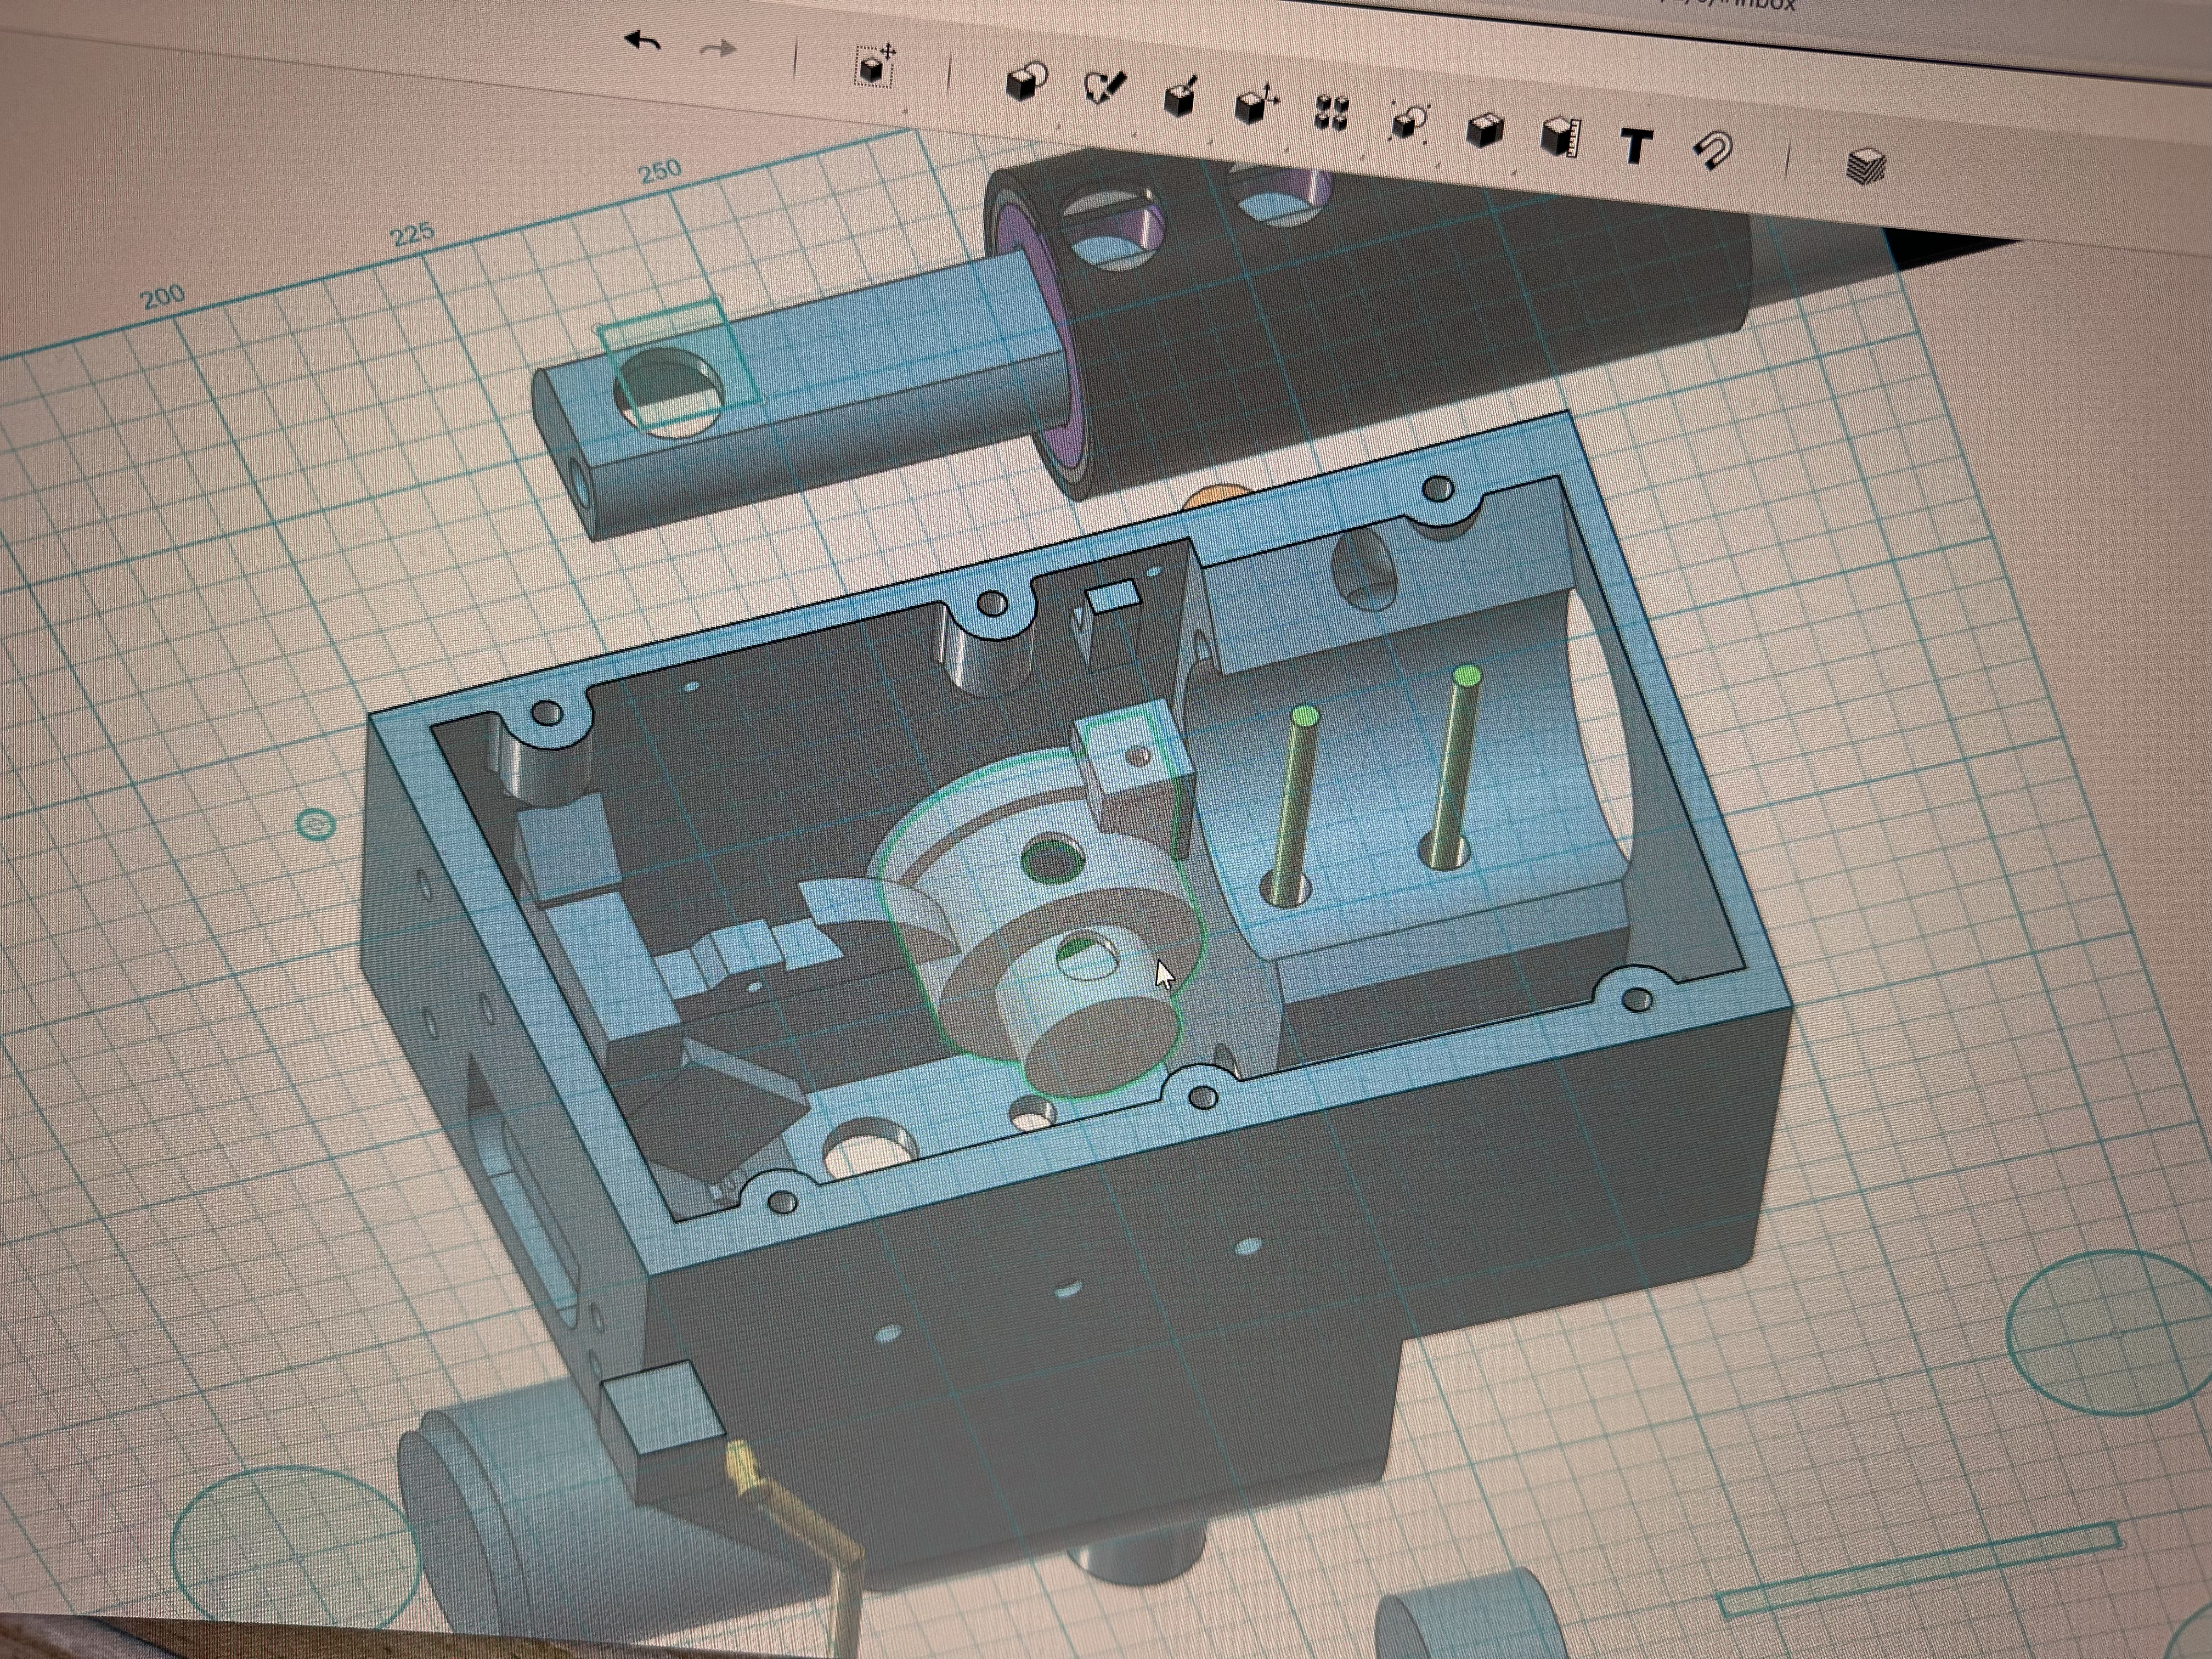
I also added a cage around a vibration motor which I wanted to include but didn’t want to risk the spinning hitting any of the wiring (the highlighted part here)
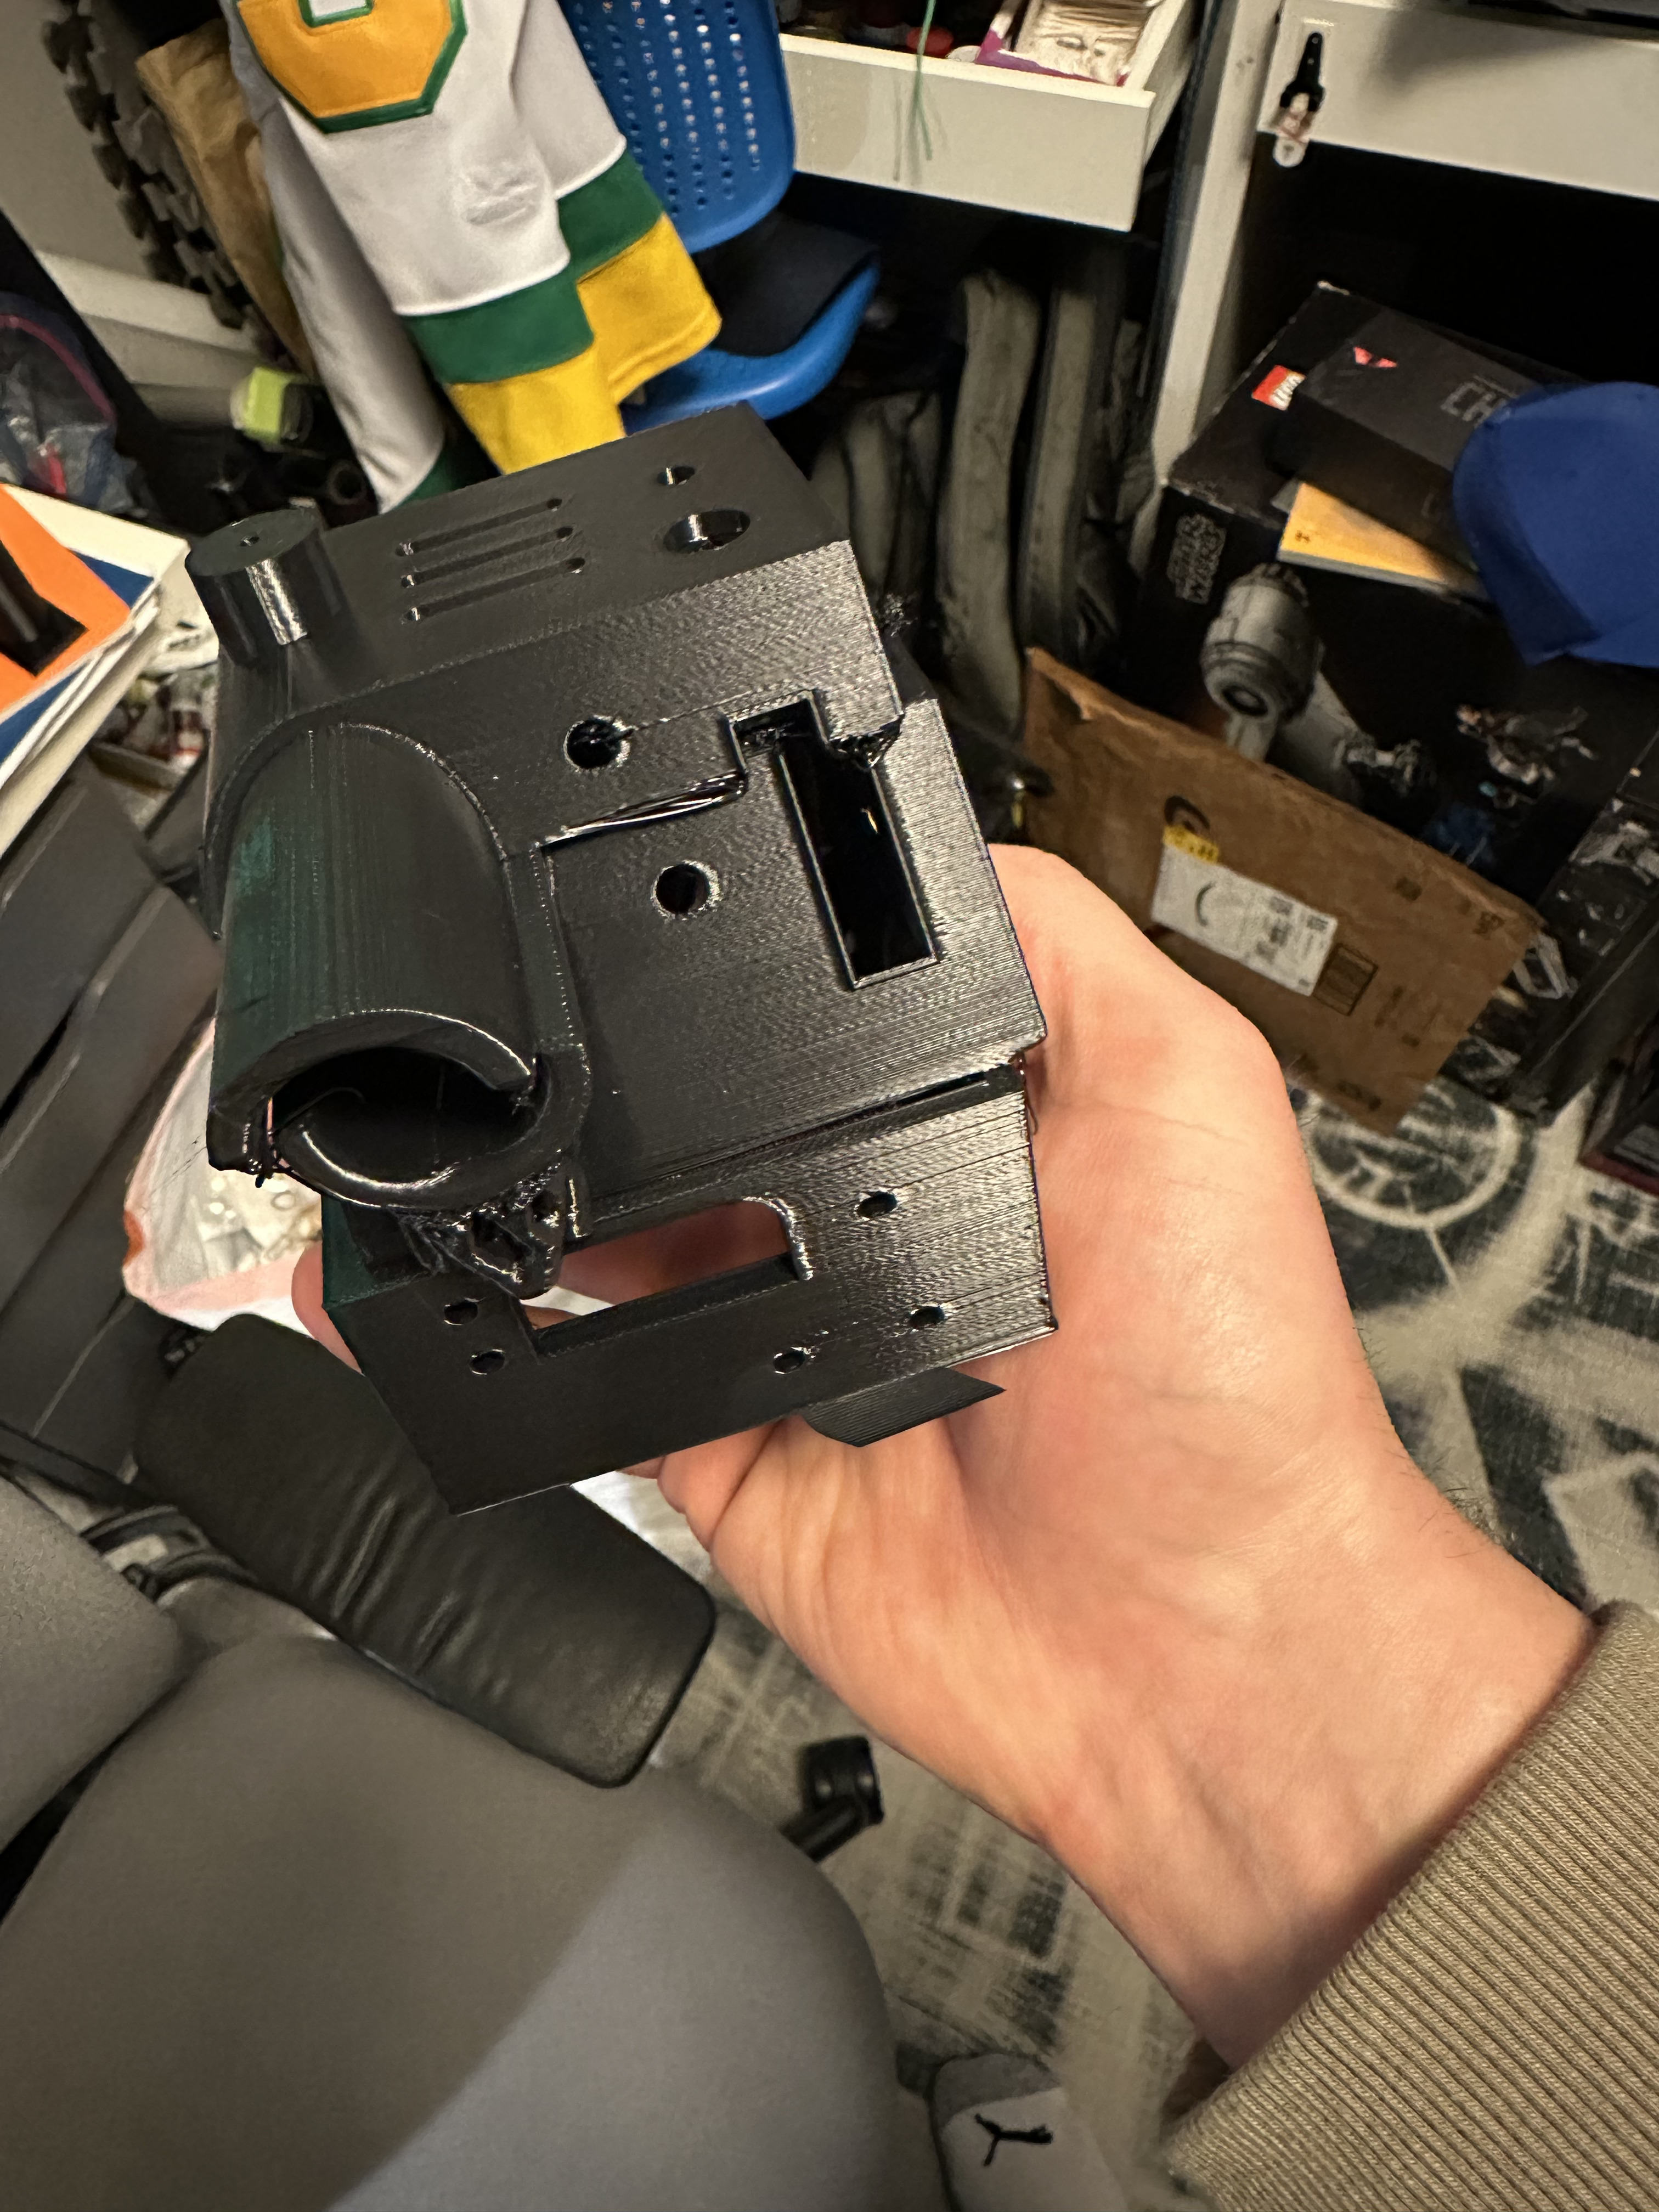
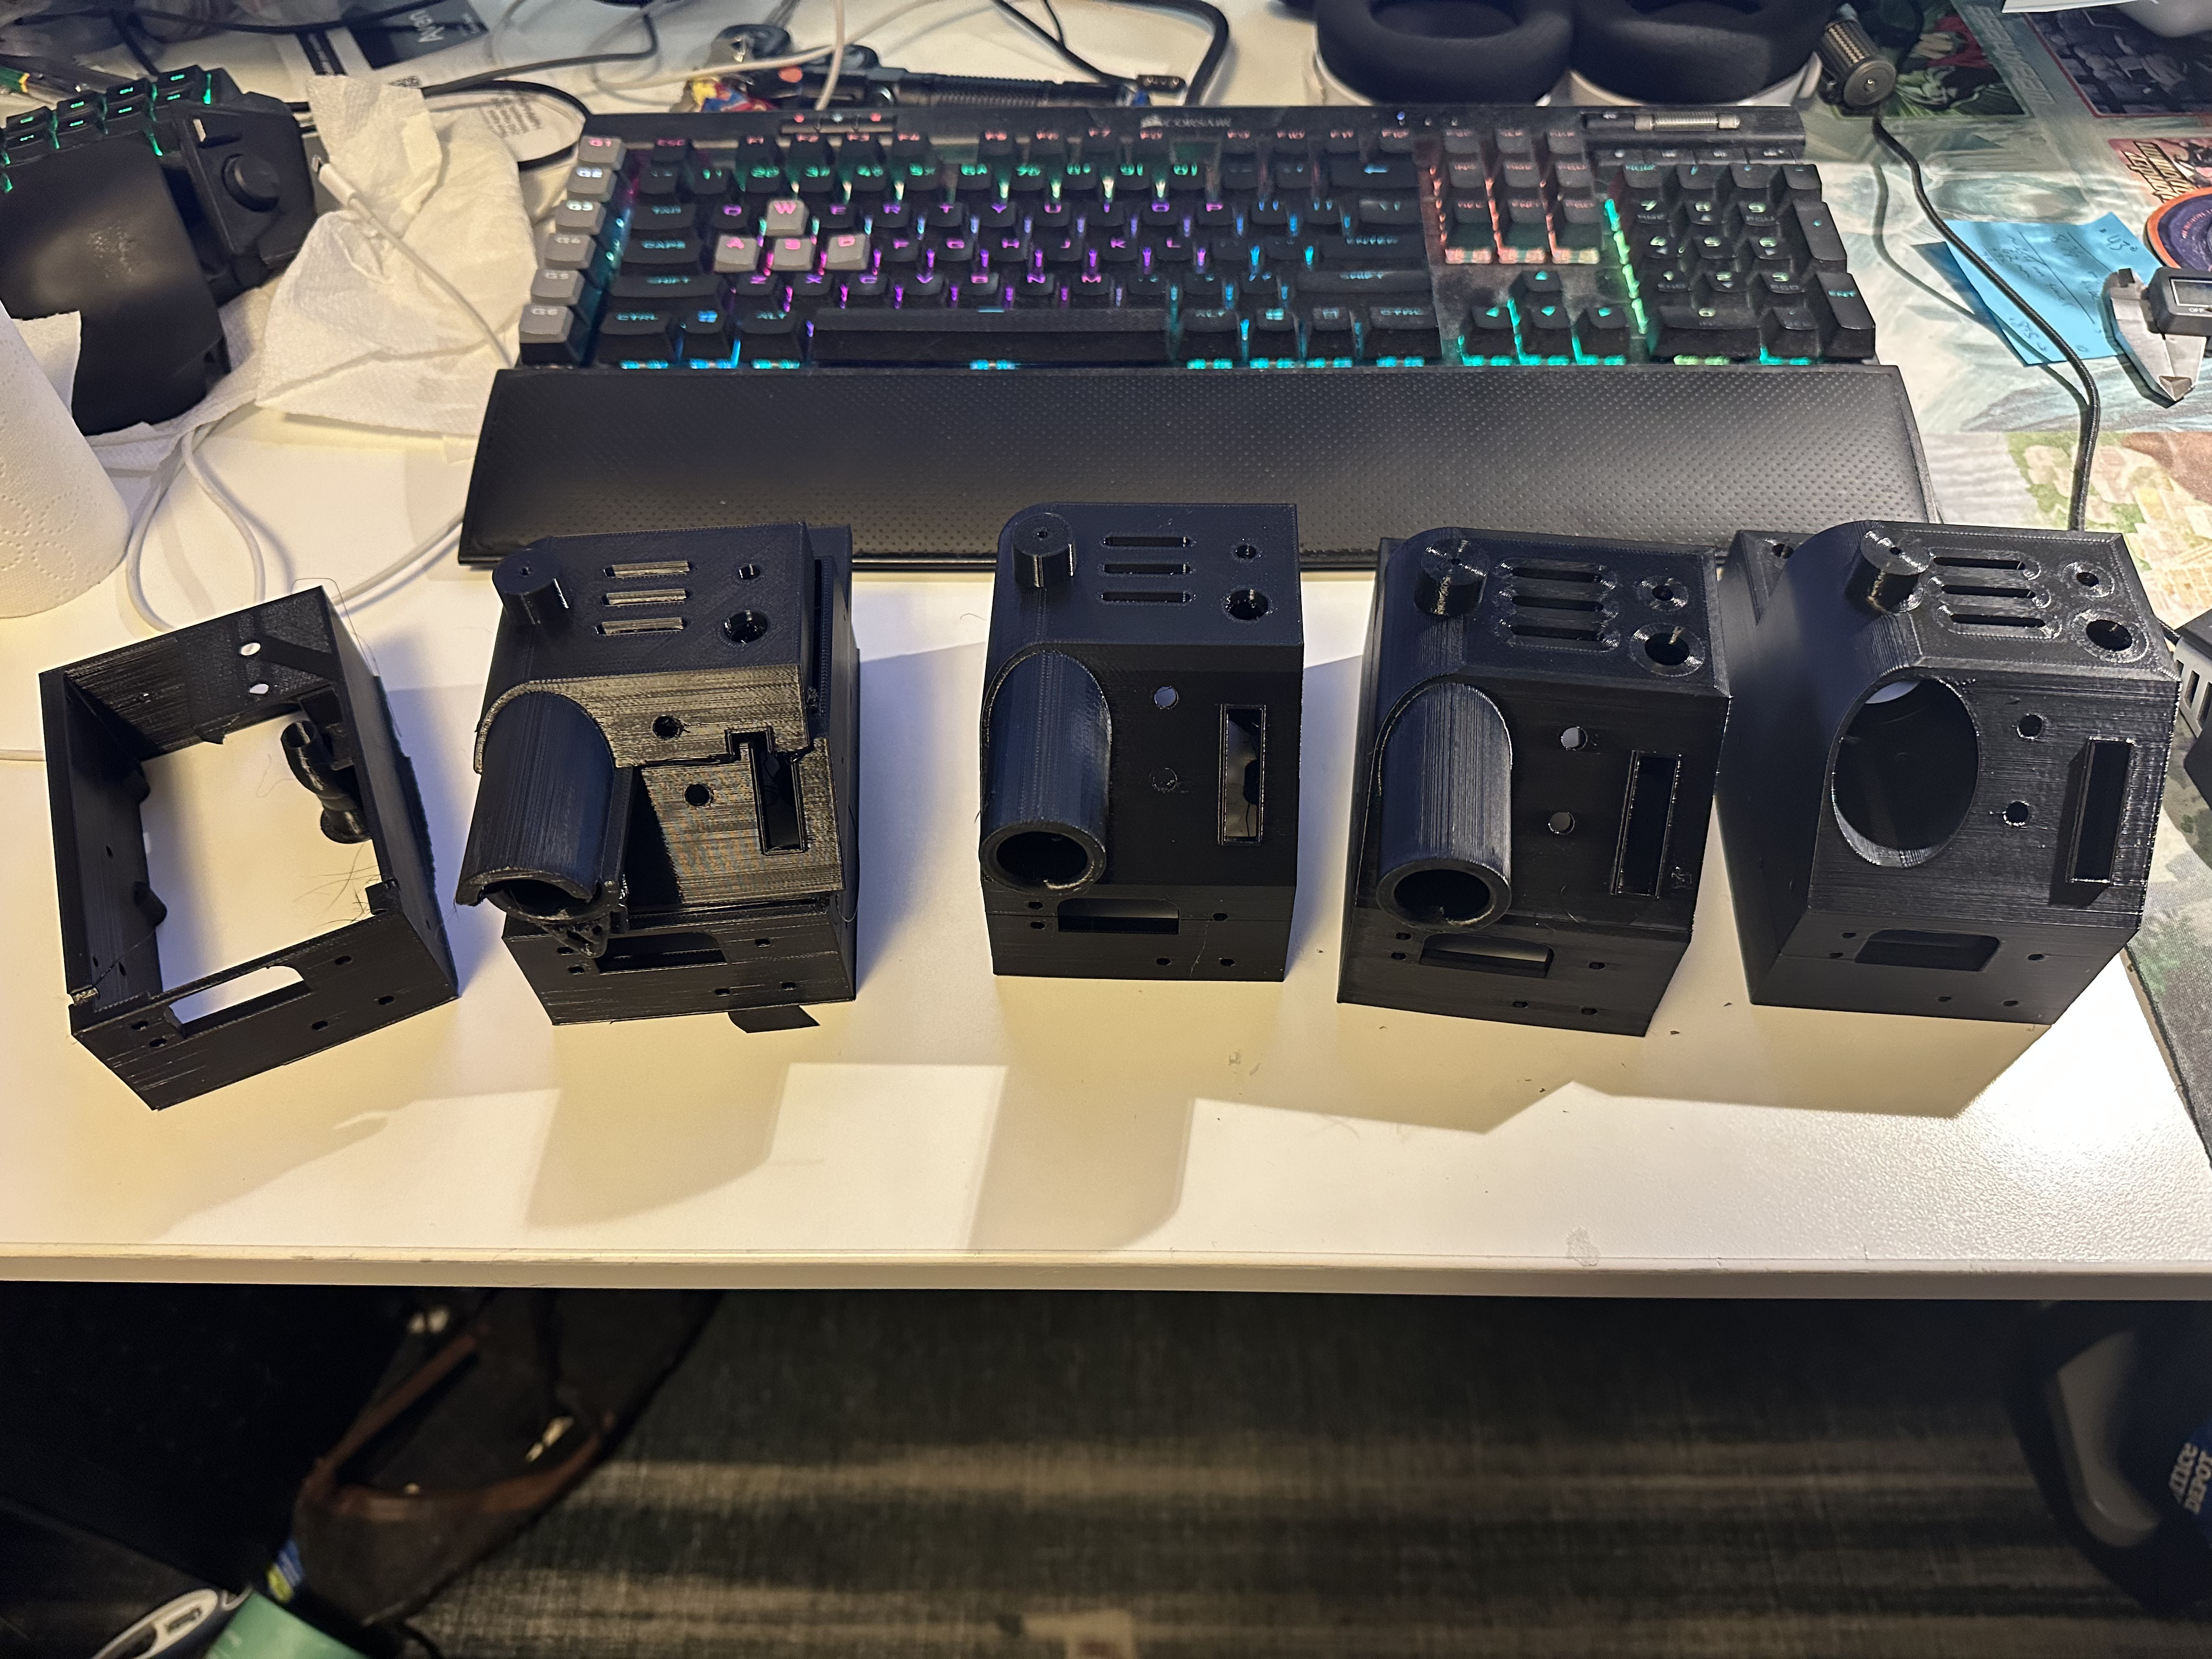
I printed probably 8 different versions before I was finally satisfied, and ran into some interesting printing issues on a number of the attempts given how long these prints were. In one case, I had the print jump both X and Y coordinates for like 30 minutes before jumping back for no reason I could identify.
This set has the Q pack version on the far right which was a very helpful reference given that was also the base for my shell mold buck. This was the first few versions and I stopped taking photos after a few.
This is such a great build to follow. Amazing work! I’m curious what epoxy/putty did you end up going with for the fake welds? I also don’t love the look of hot glue, but haven’t found a better substitute yet.
Thank you! I can never quite tell but for a few comments if people are actually interested or if it’s just too many photos without enough progress haha.
I ended up going with J-B WaterWeld putty. It comes in a tube and if you slice off a coin sized portion and knead it together it forms a sticky-ish play-dough consistency that I’d roll into a thin snake and press into a seam. Gives you a few minutes before it starts to firm up and I used a small curved tool to push it in and make impressions that look like a weld bead. A few of them turned out really great, a lot of them pretty good, and one or two I felt weren’t perfect but decided to live with anyway - I like it a lot more than the hot glue look for the effect I was going for - I’ll show more pics of a few of those sections later.
Thanks for the info, I think it looks great tbh. Much more realistic than hot glue. The other issue with hot glue is it tends to peel off after a few years, which is obviously not ideal. I imagine JB Weld holds up quite a bit longer!
Once I had the thrower body and pop mechanism designed, then it was on to printing the final version, sanding, printing all the additional pieces that would mate with the aluminum, and starting to slowly put it together and hope the concept to real world conversion worked as planned.
Here is my pop mechanism - collar at the bottom is anchored to the thrower body and collar at the top nests into the smallest aluminum tube which has the clear acrylic tip attached. My vent light lens, rumbler shroud, and pop mechanism latch.
Given the design, I needed to ensure the holes were quite precise so I also had to design and print several jigs in order to ensure I was drilling and epoxying everything in exactly the right spot.
Wiring was very exciting but I delayed starting because I knew once it was in, taking it out would be a chore and would stop me from making any further changes. When I finally got into it I had to work from the inside out. Thankfully, experience in installing electronics in lightsaber hilts had me somewhat used to working in confined spaces.
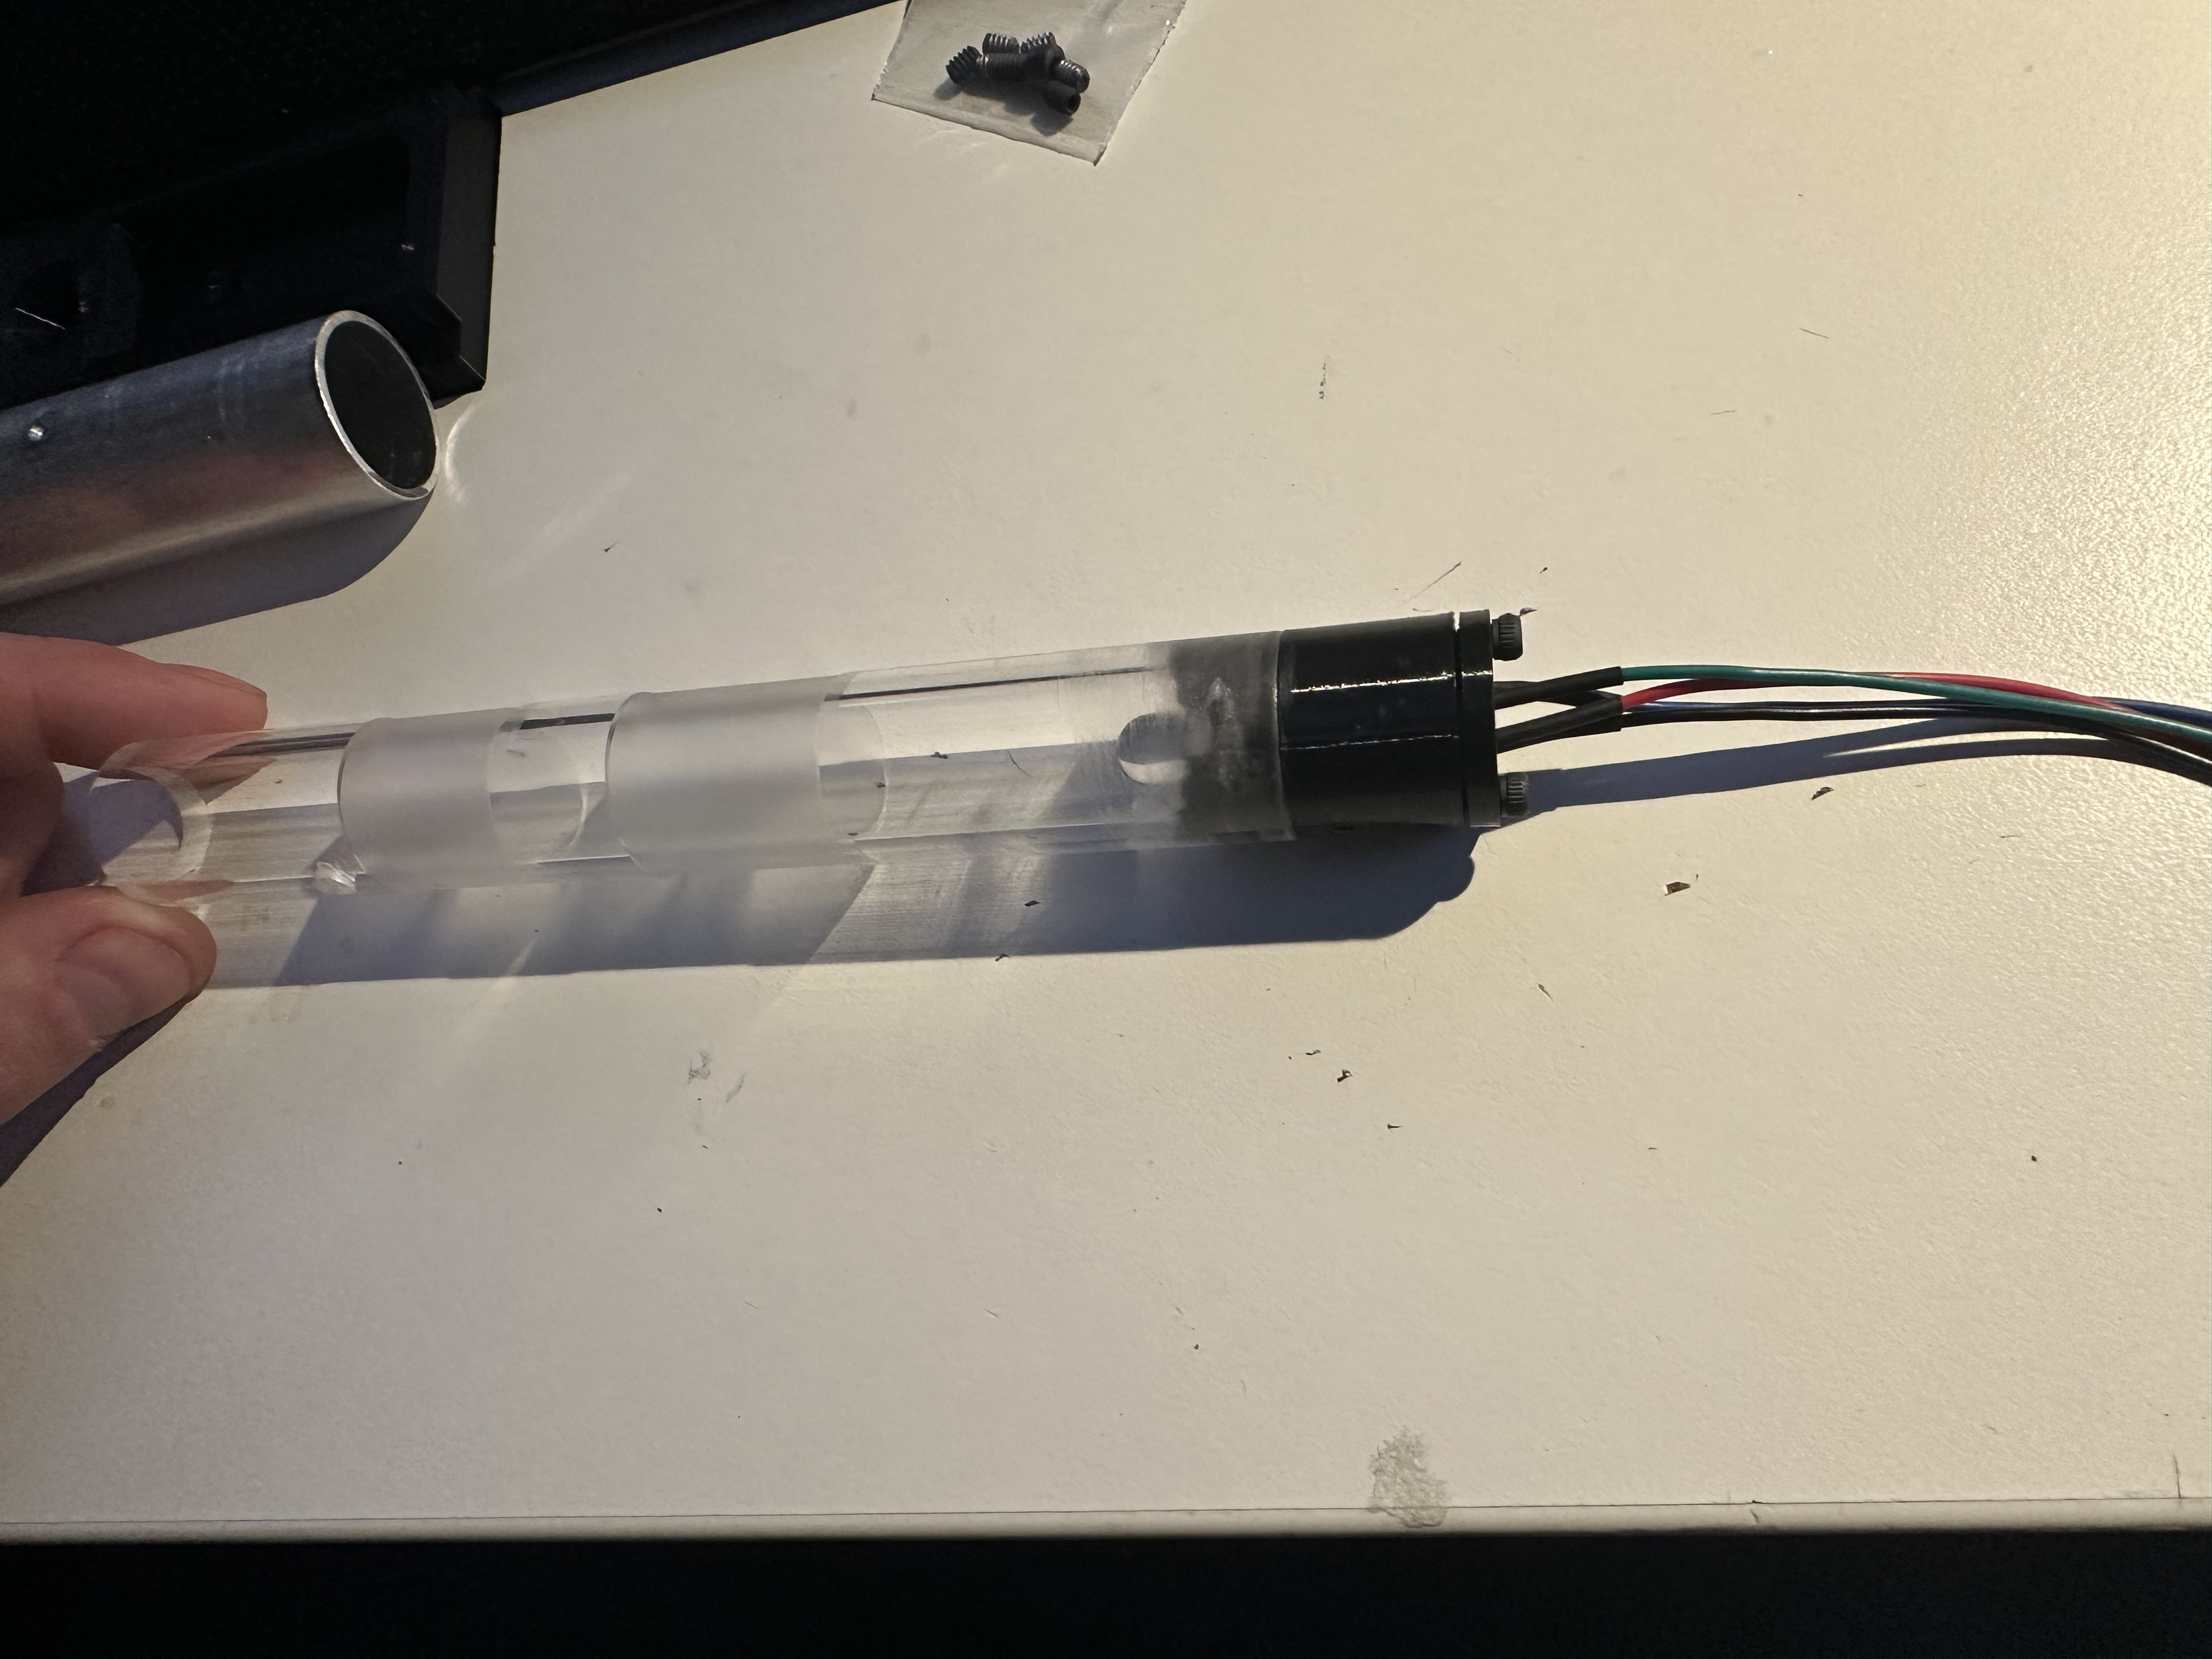
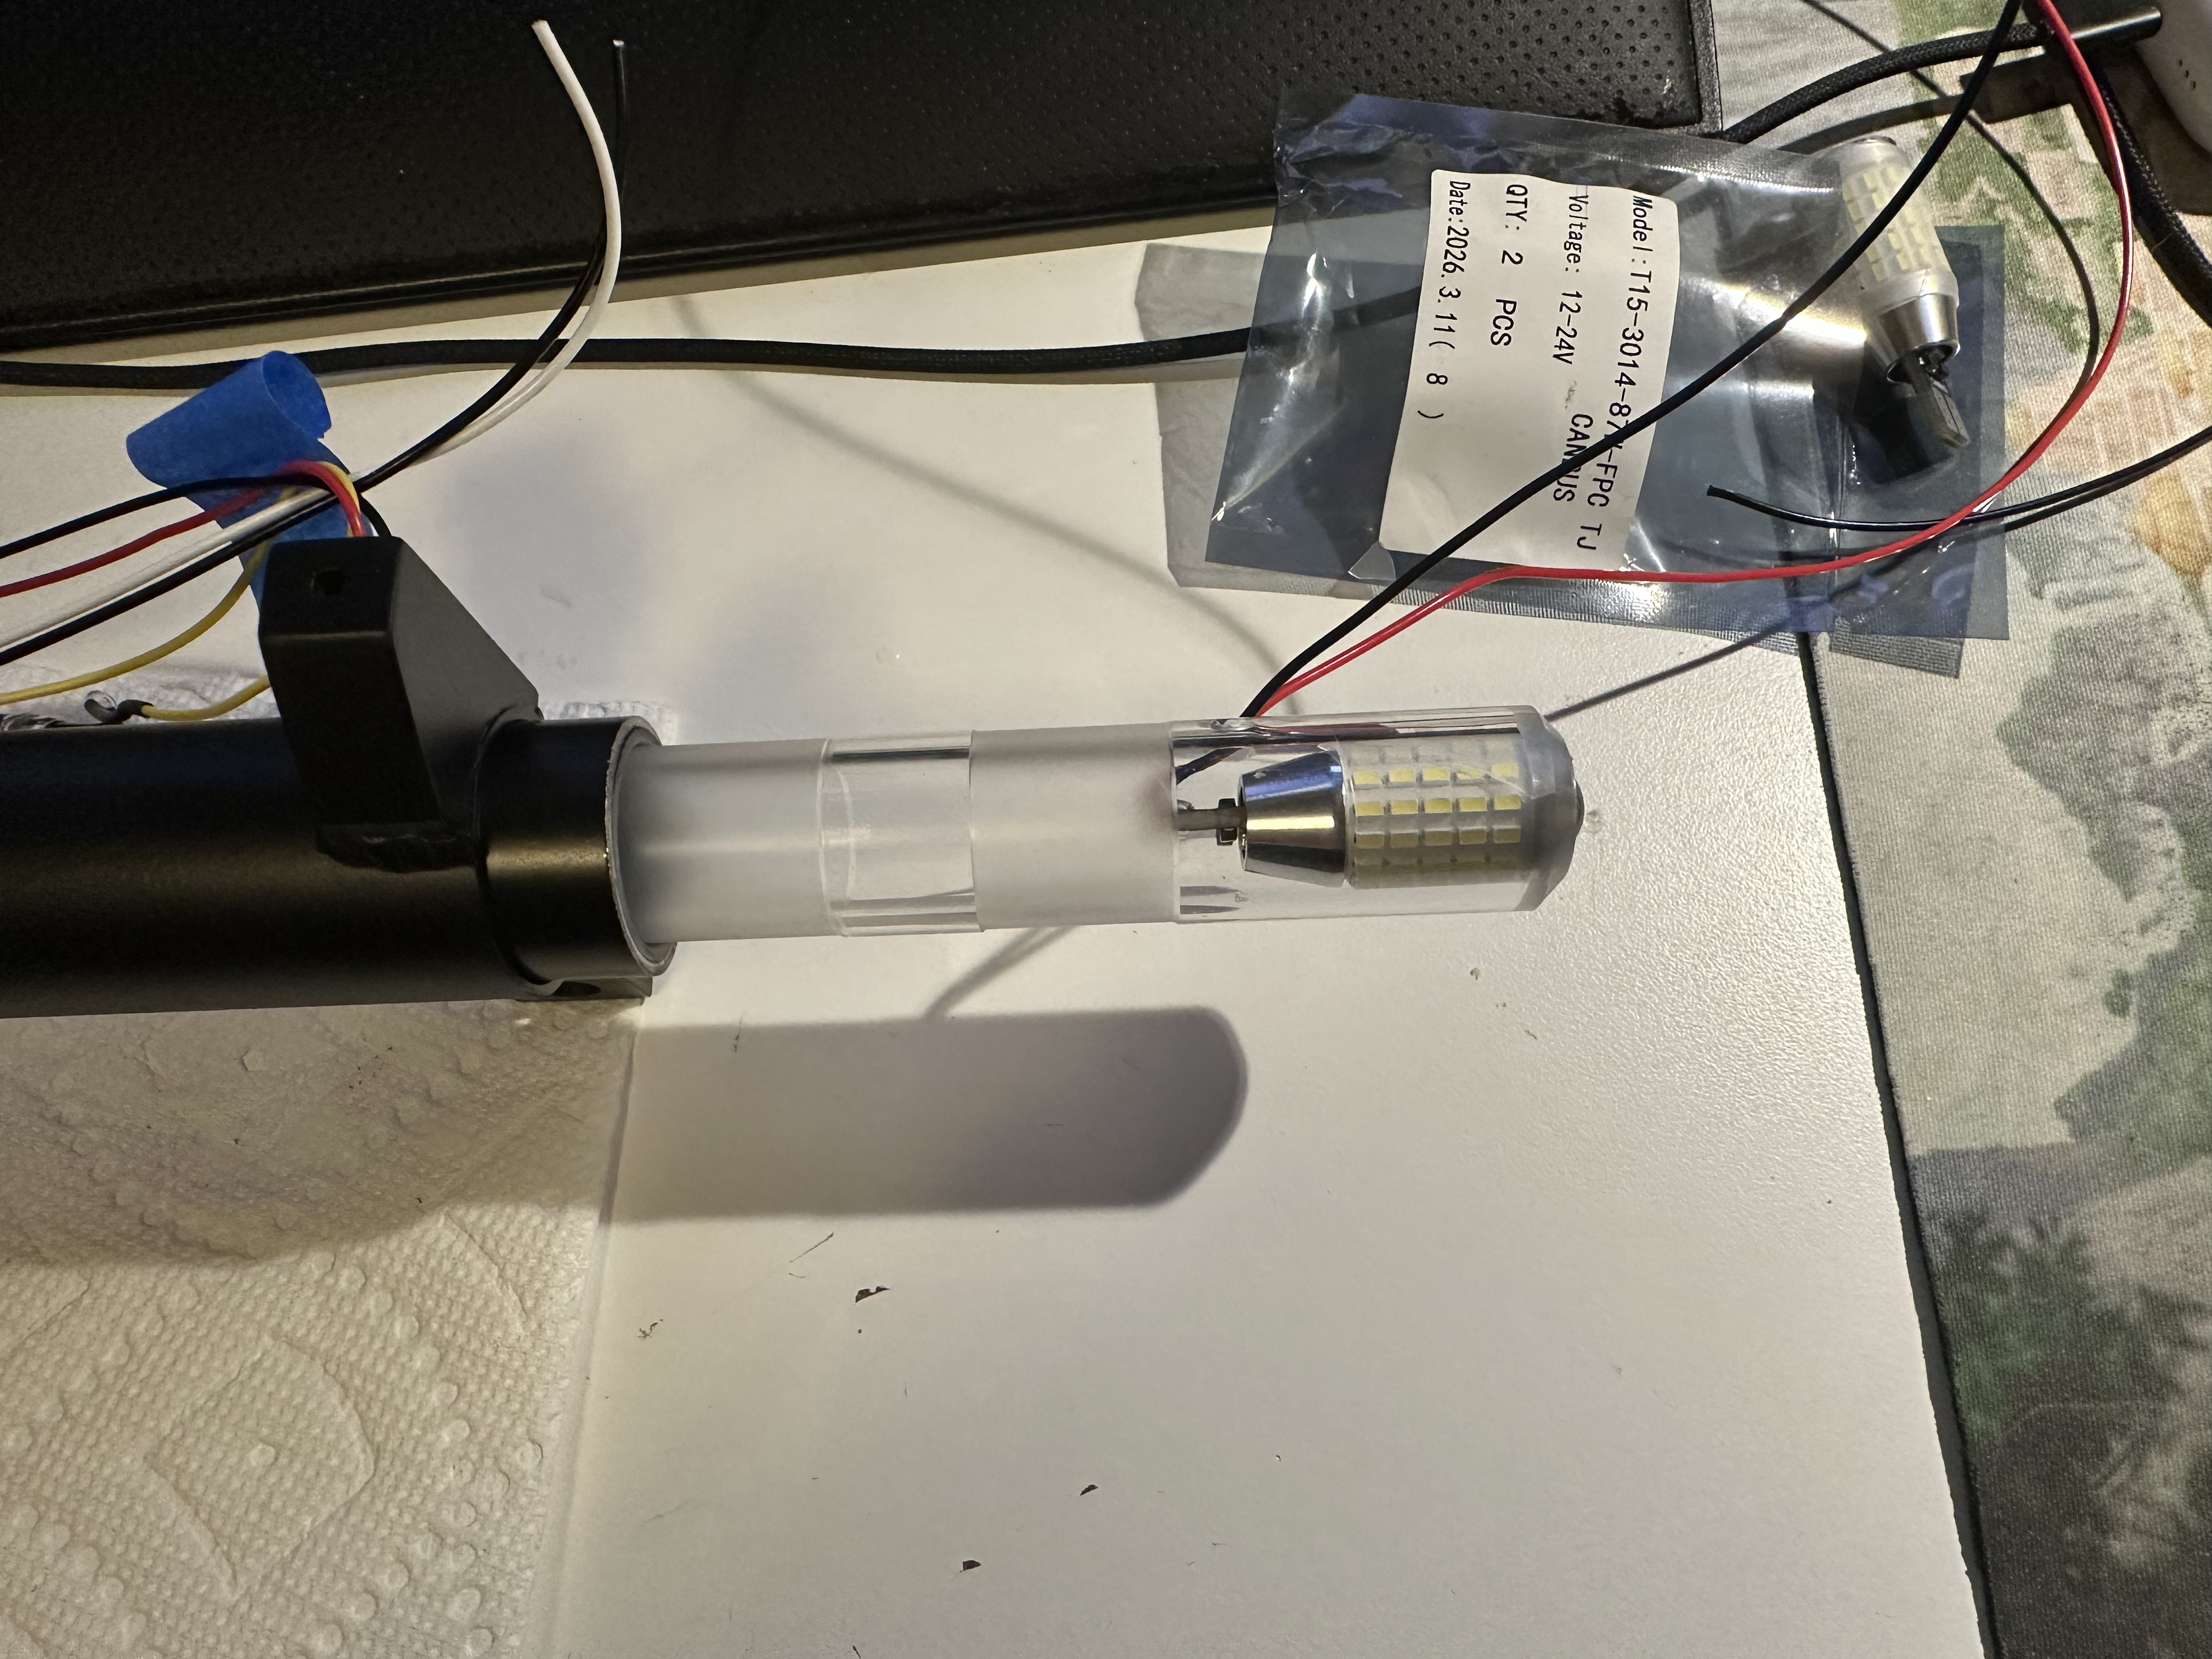
Adding the LED bulb into the clear acrylic and mounting that to the the smallest tube assembly came first.
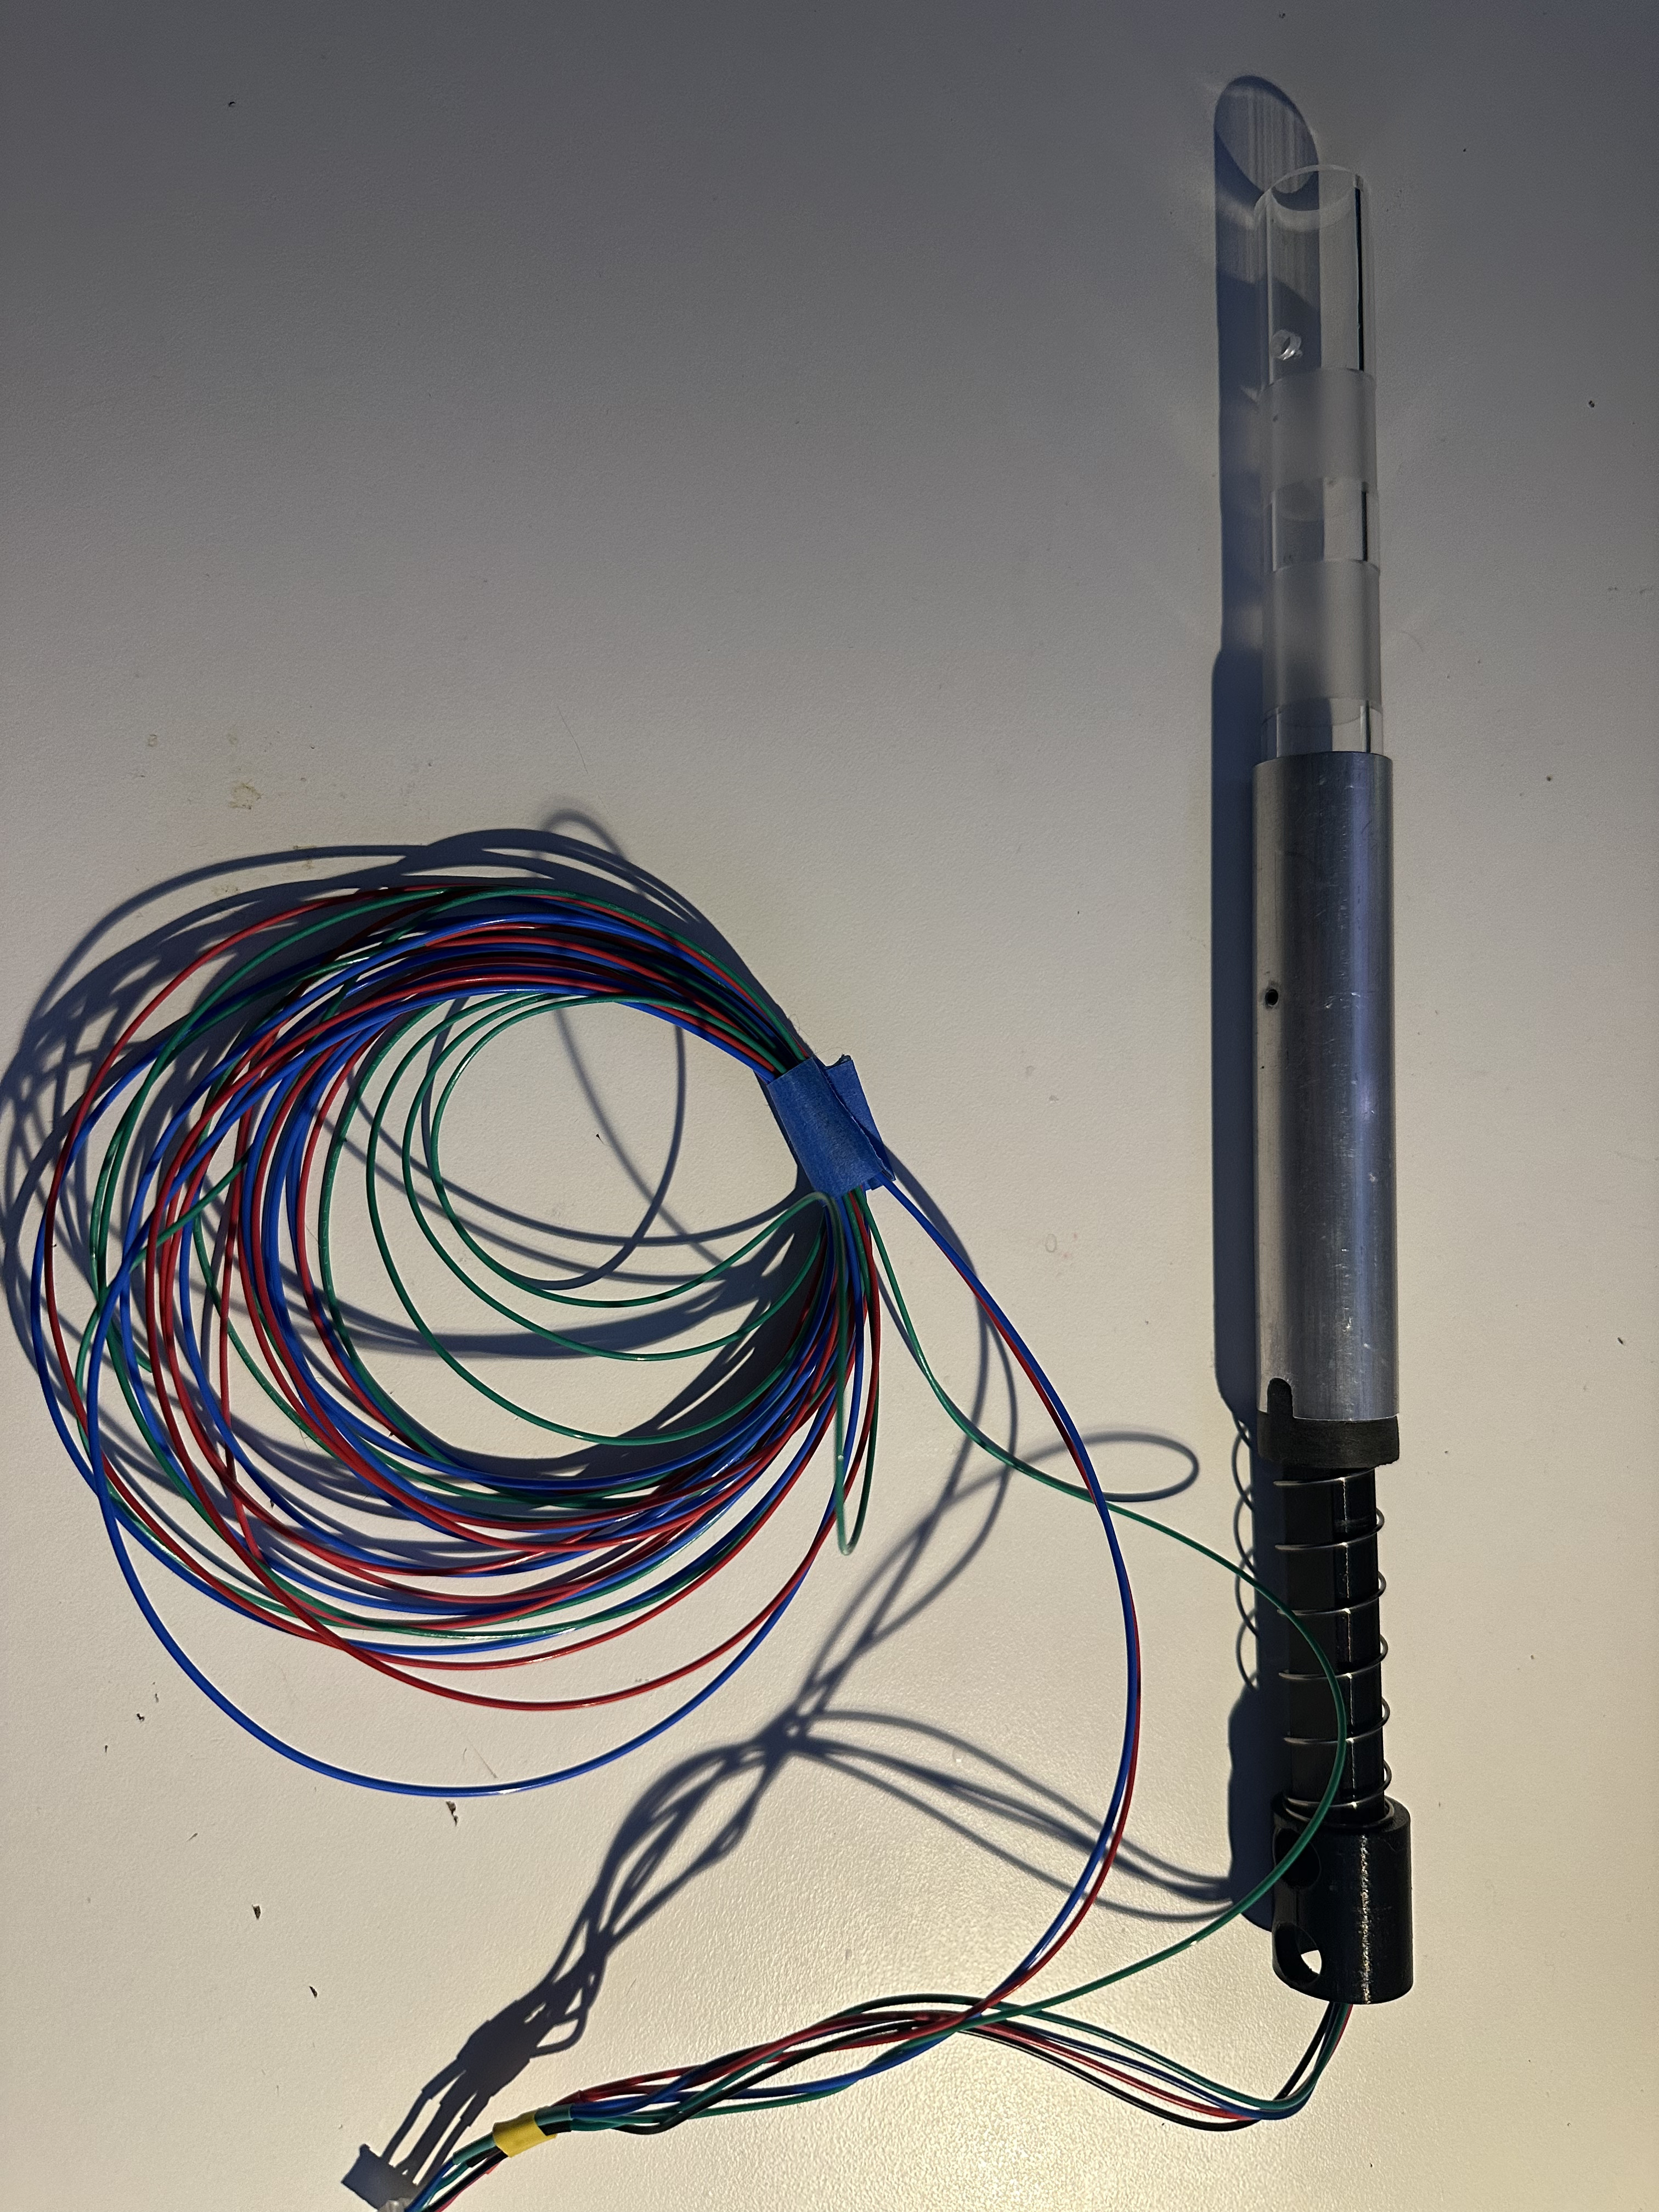
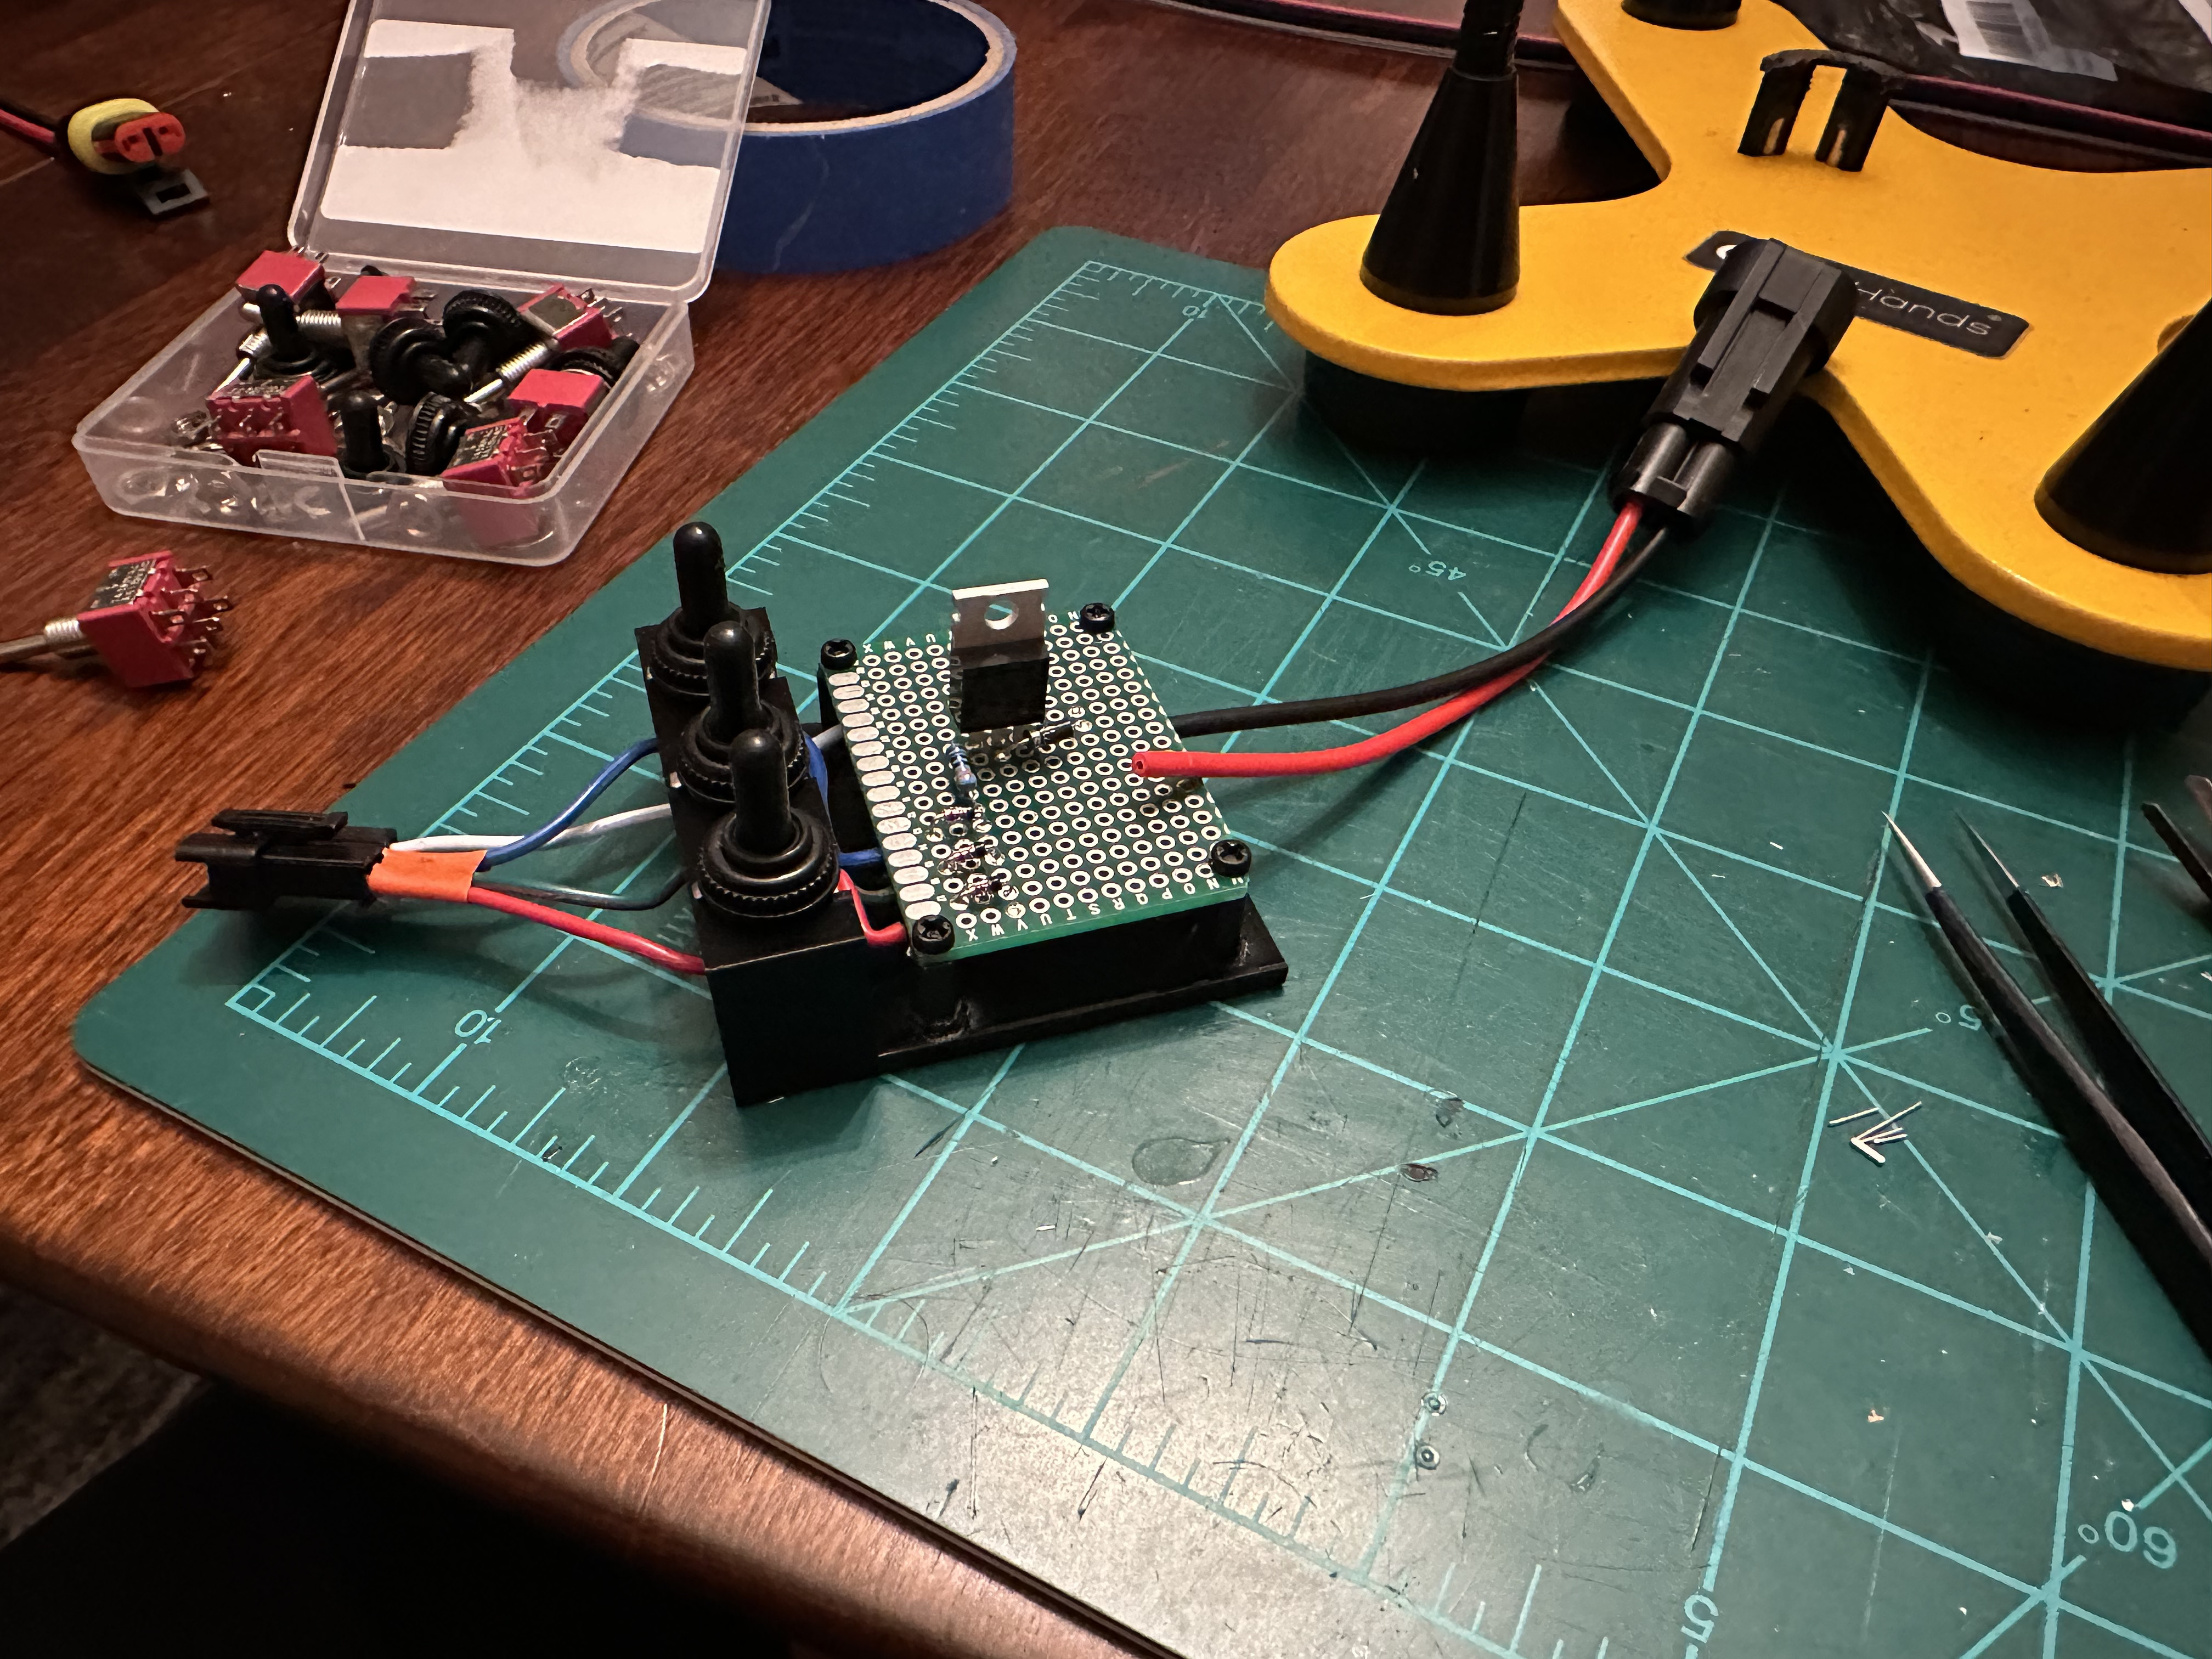
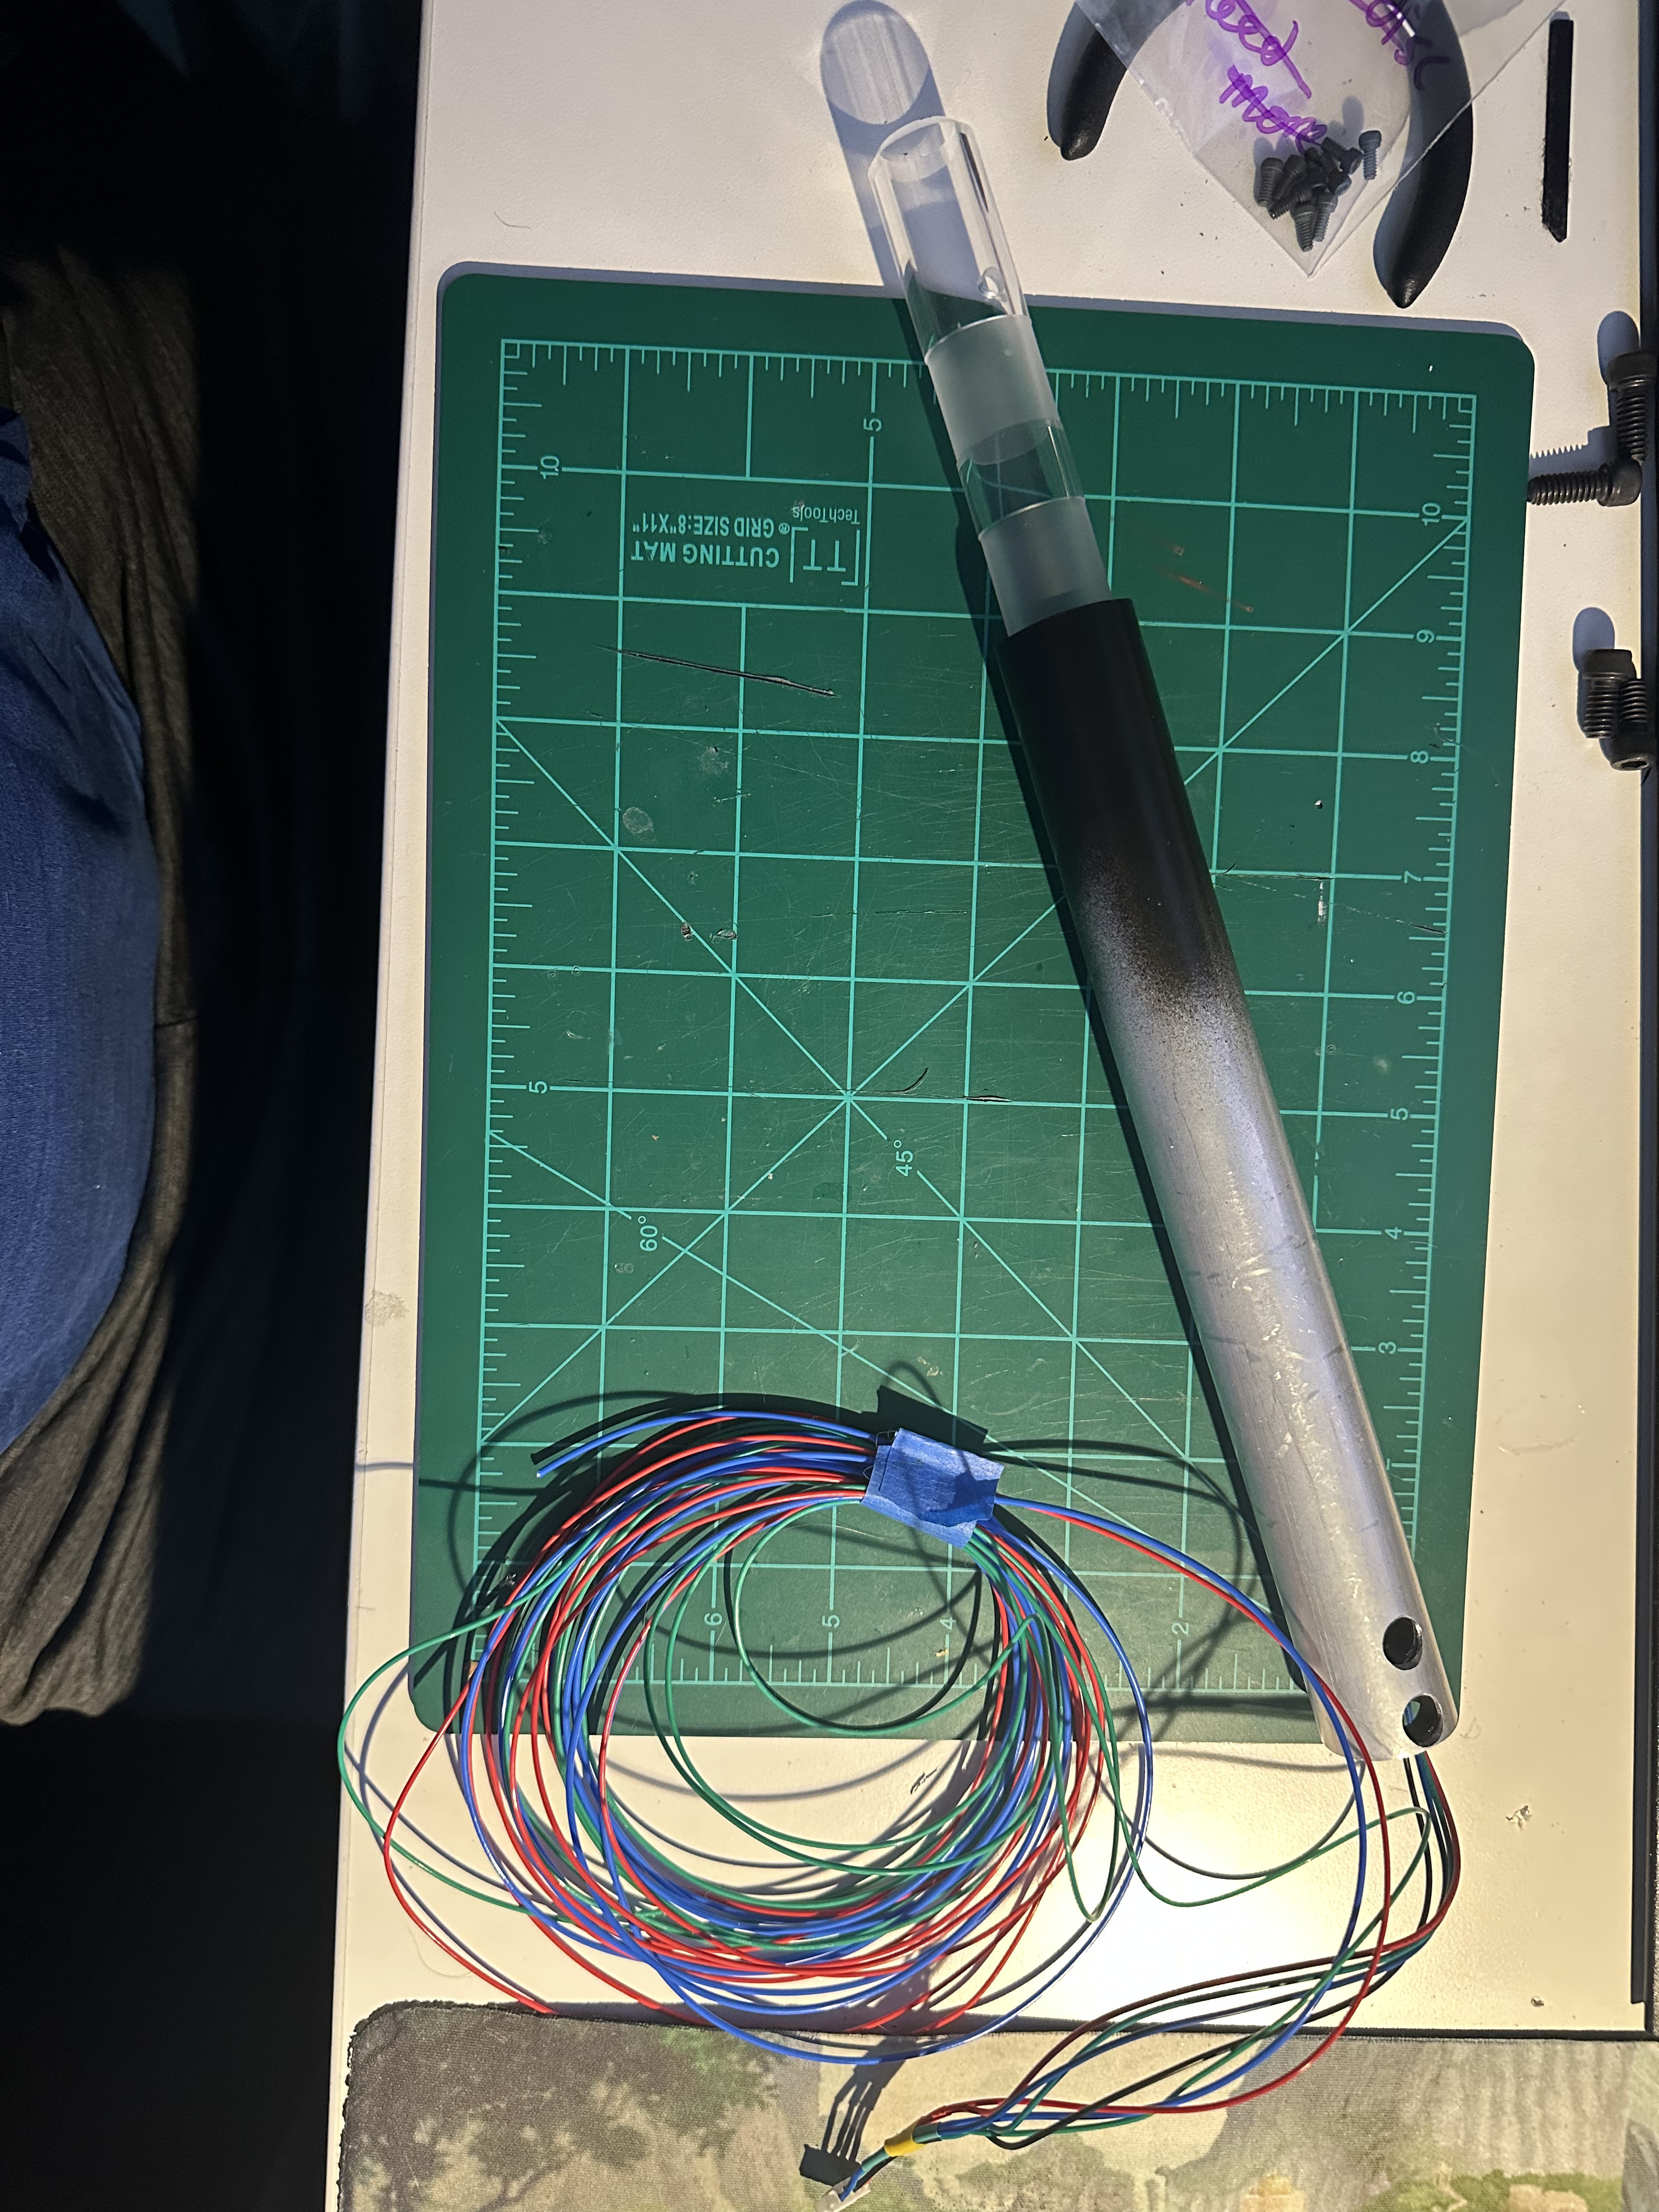
The afterlife wand has a specific led reverse light bulb mounted in the tip of the thrower. I wanted to add that but realized that the 5V from the GBfans boards was not enough to power it to its full brightness. SO, I decided I needed to run separate power directly from my battery for the light. The challenge then because how that bulb would know when to turn on/off. For this, I decided to create my own simple logic circuit using a mosfet. I tapped the RGB wires running to the existing wand light and ran them back to a small board I made which would read those signals individually and give me the option to fire the tip light in sync with whichever color channel I wanted. The coil of wire below are the connections from those RBG wires which I ran back to the pack to this board. It’s much bigger than it need to be and the switches are overkill, but it’s what I had on hand.
Once the tip wires got organized, I could put the smallest tube with the spring assembly in the medium sized tube - then this whole assembly gets firmly mounted to the thrower body
The front end of the thrower had a few elements which were challenging for me
First - getting the right bulb and figuring out how to secure it in the wand tip in a fashion that was secure but not permanent. Regrettably I don’t think I took any pictures of this but I used clear silicone tape with some trial and error to get just the right circumference for a tension fit into the tip. Oh also, drilling the hole for these wires was terrifying - I bought an acrylic bit specifically for the job, but I was still very scared of cracking the tube.
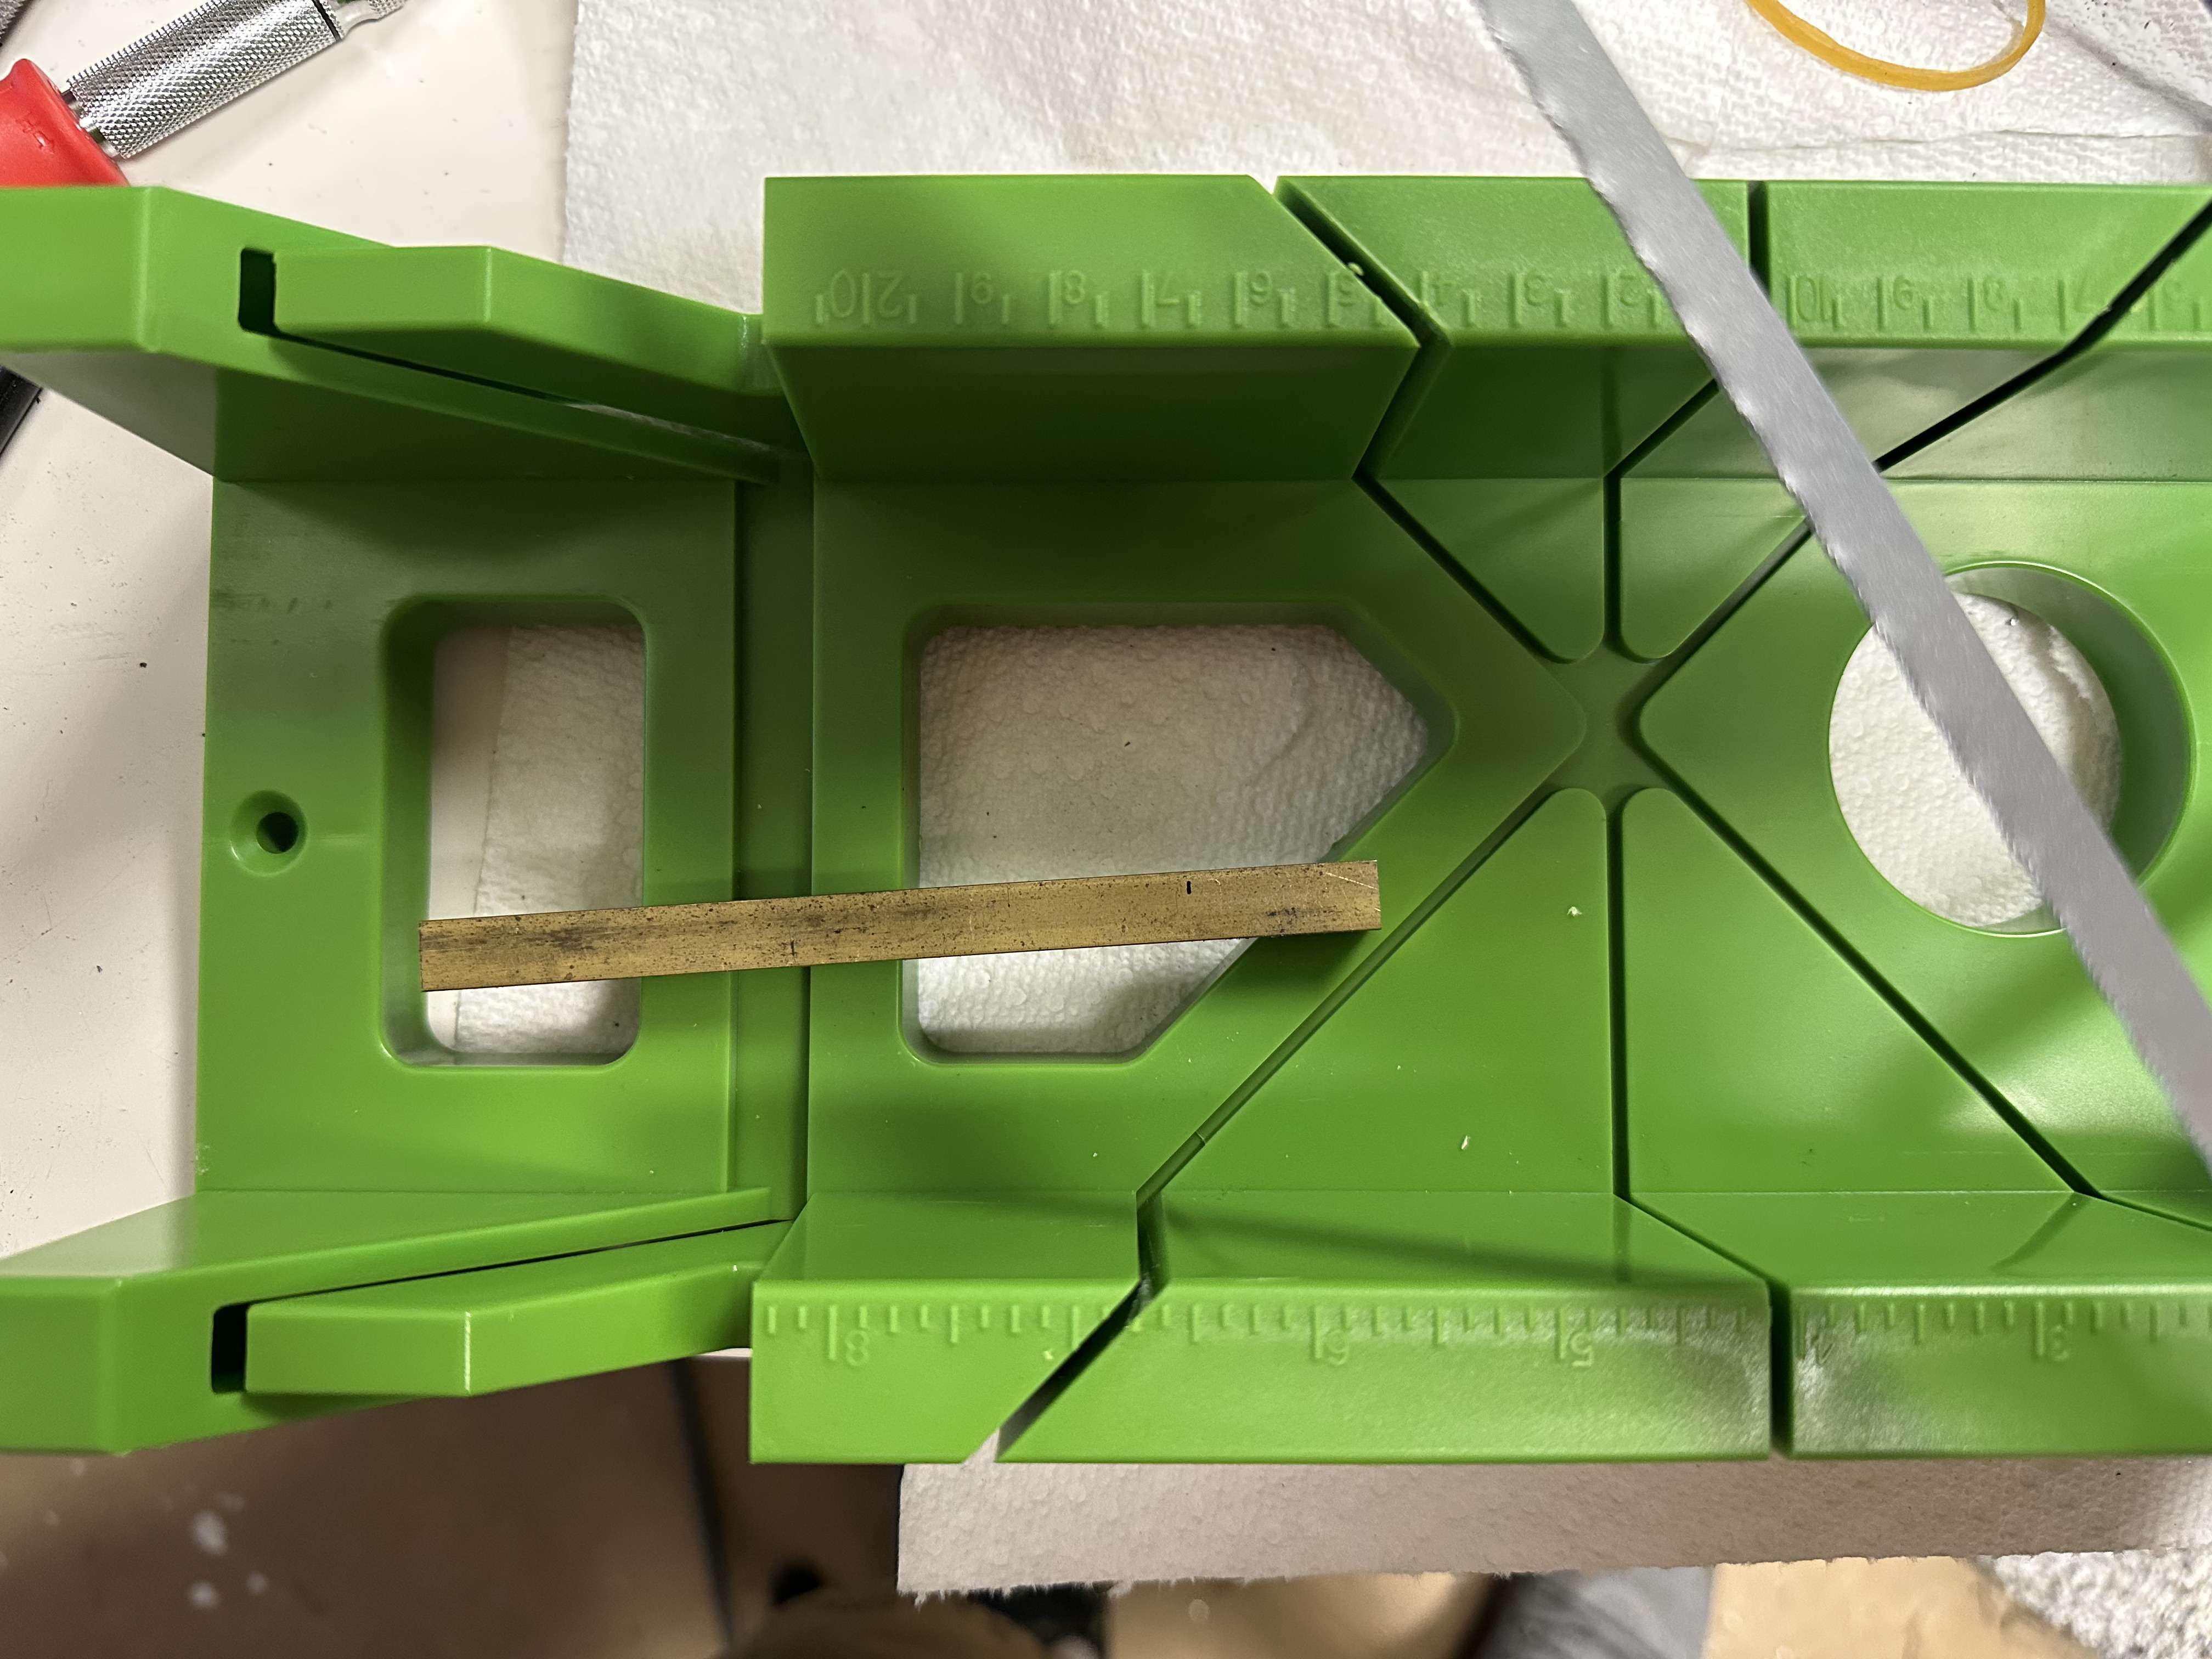
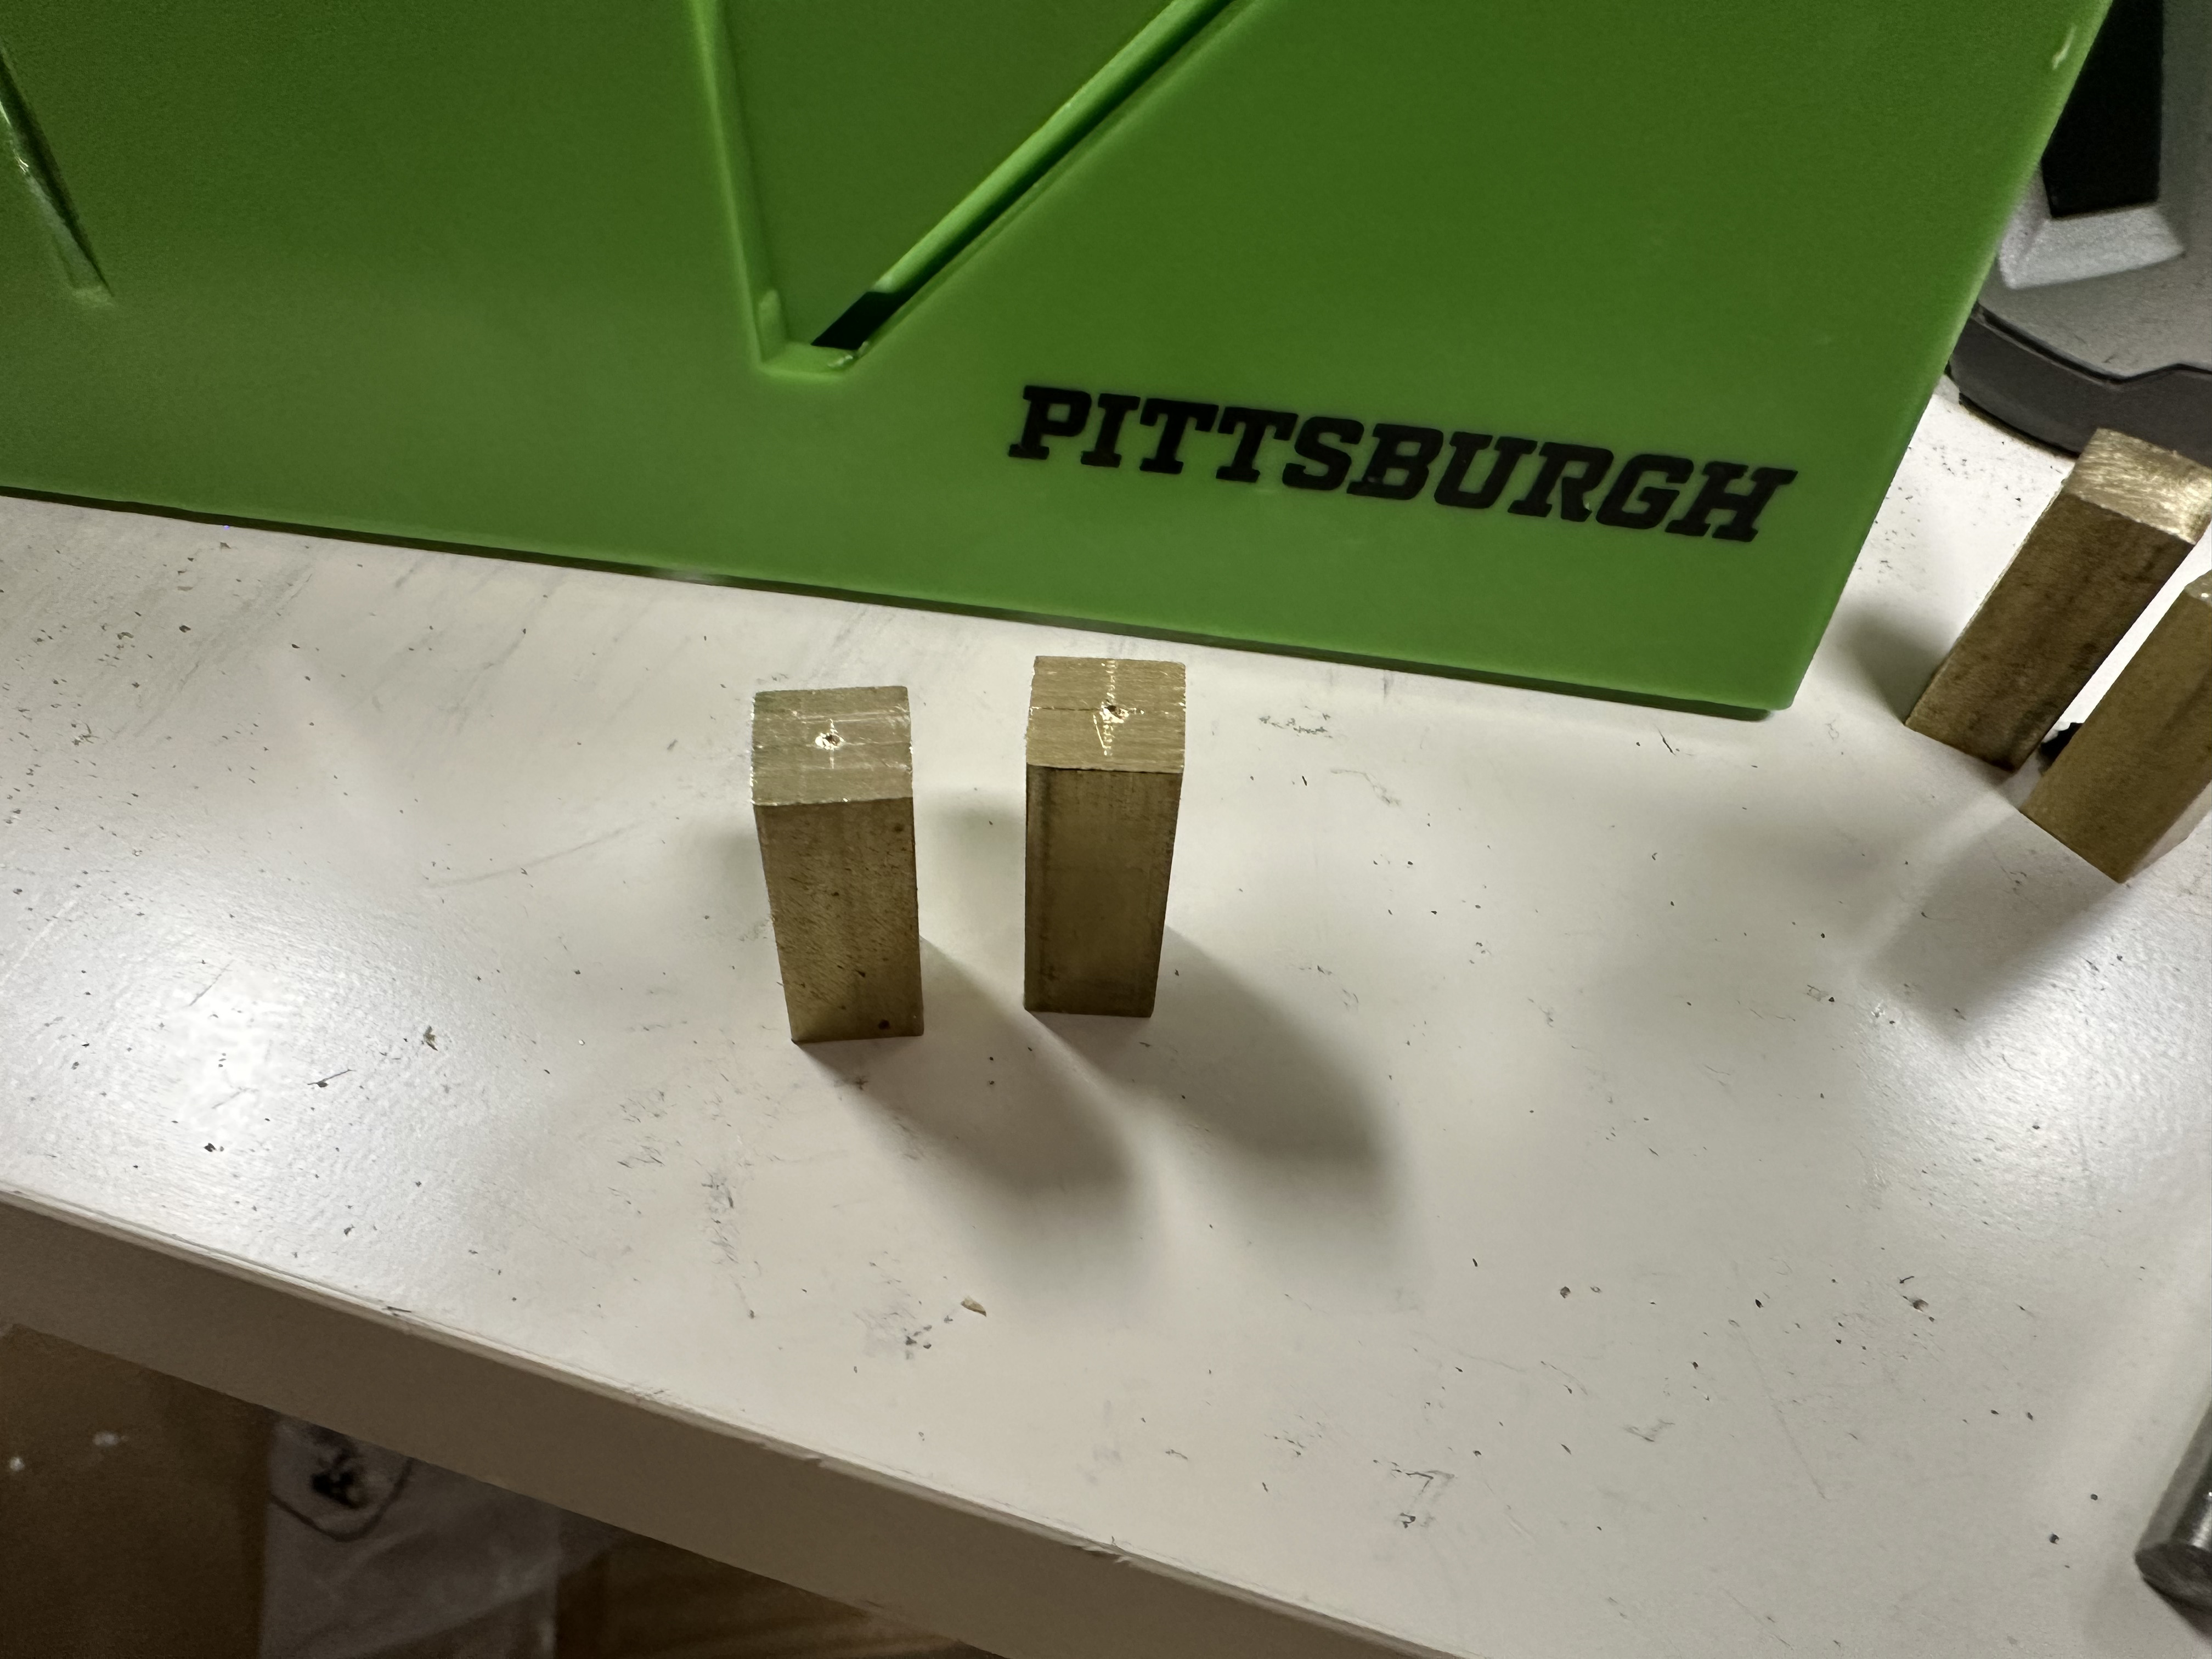
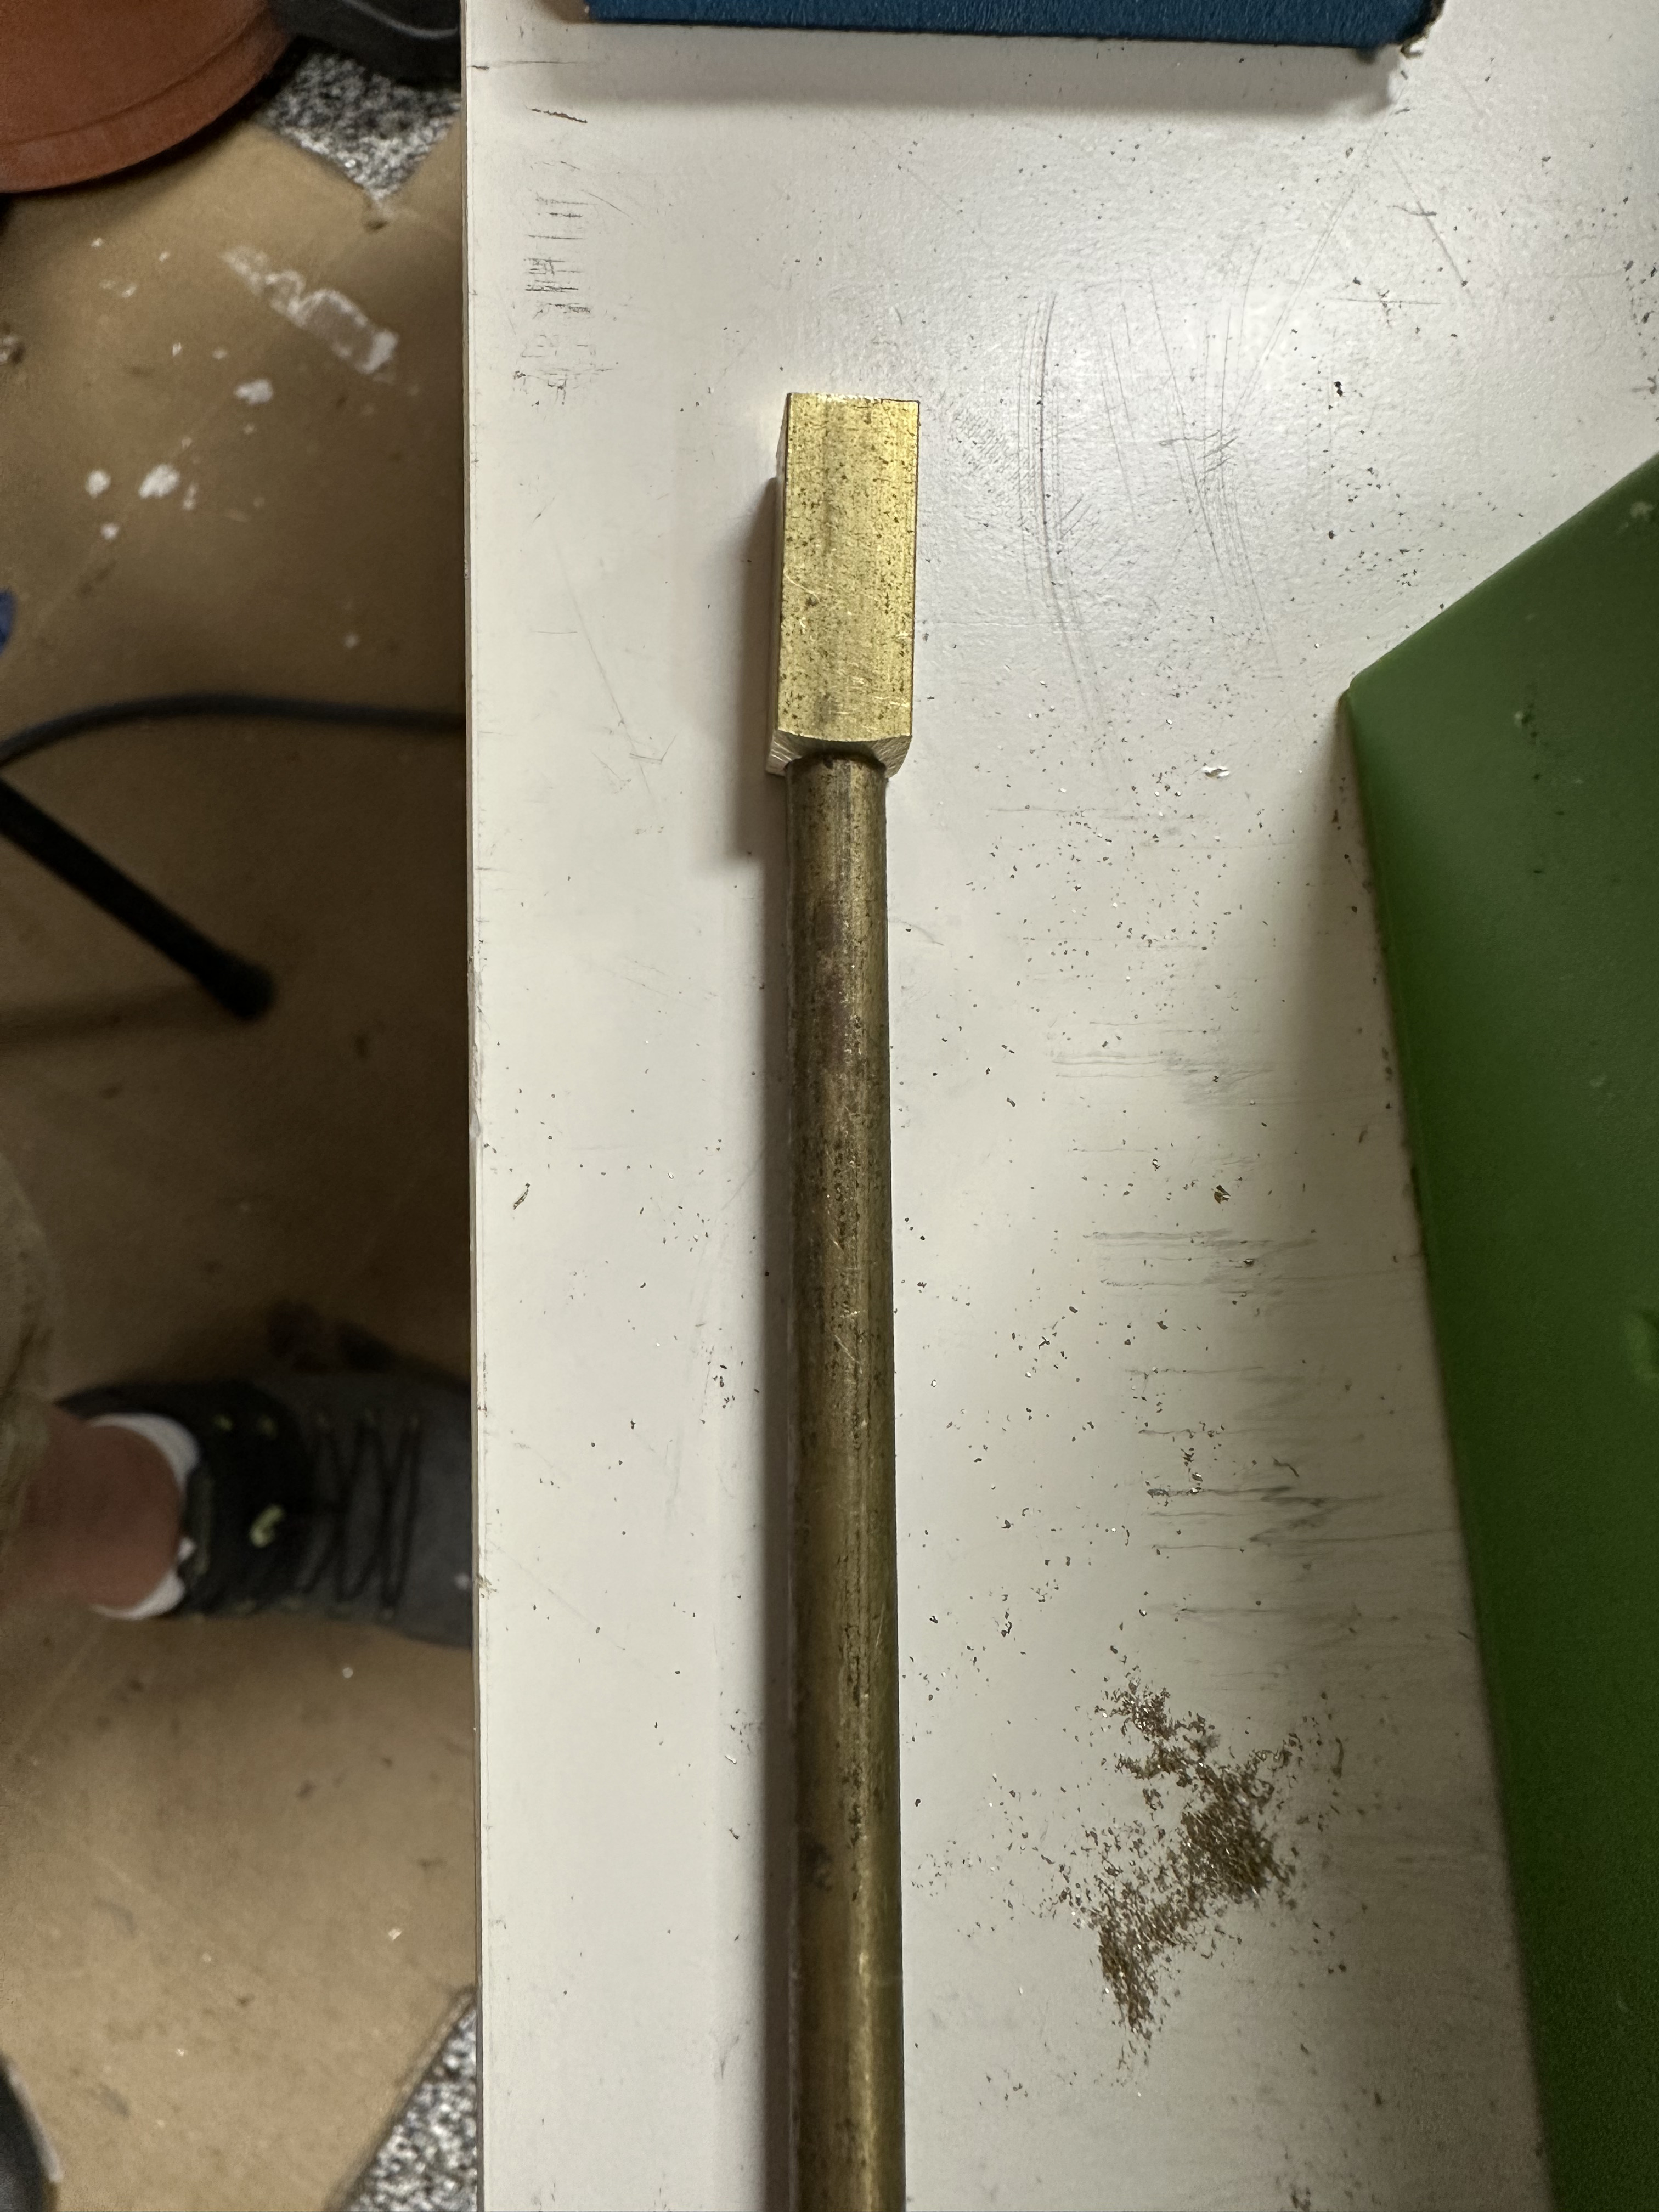
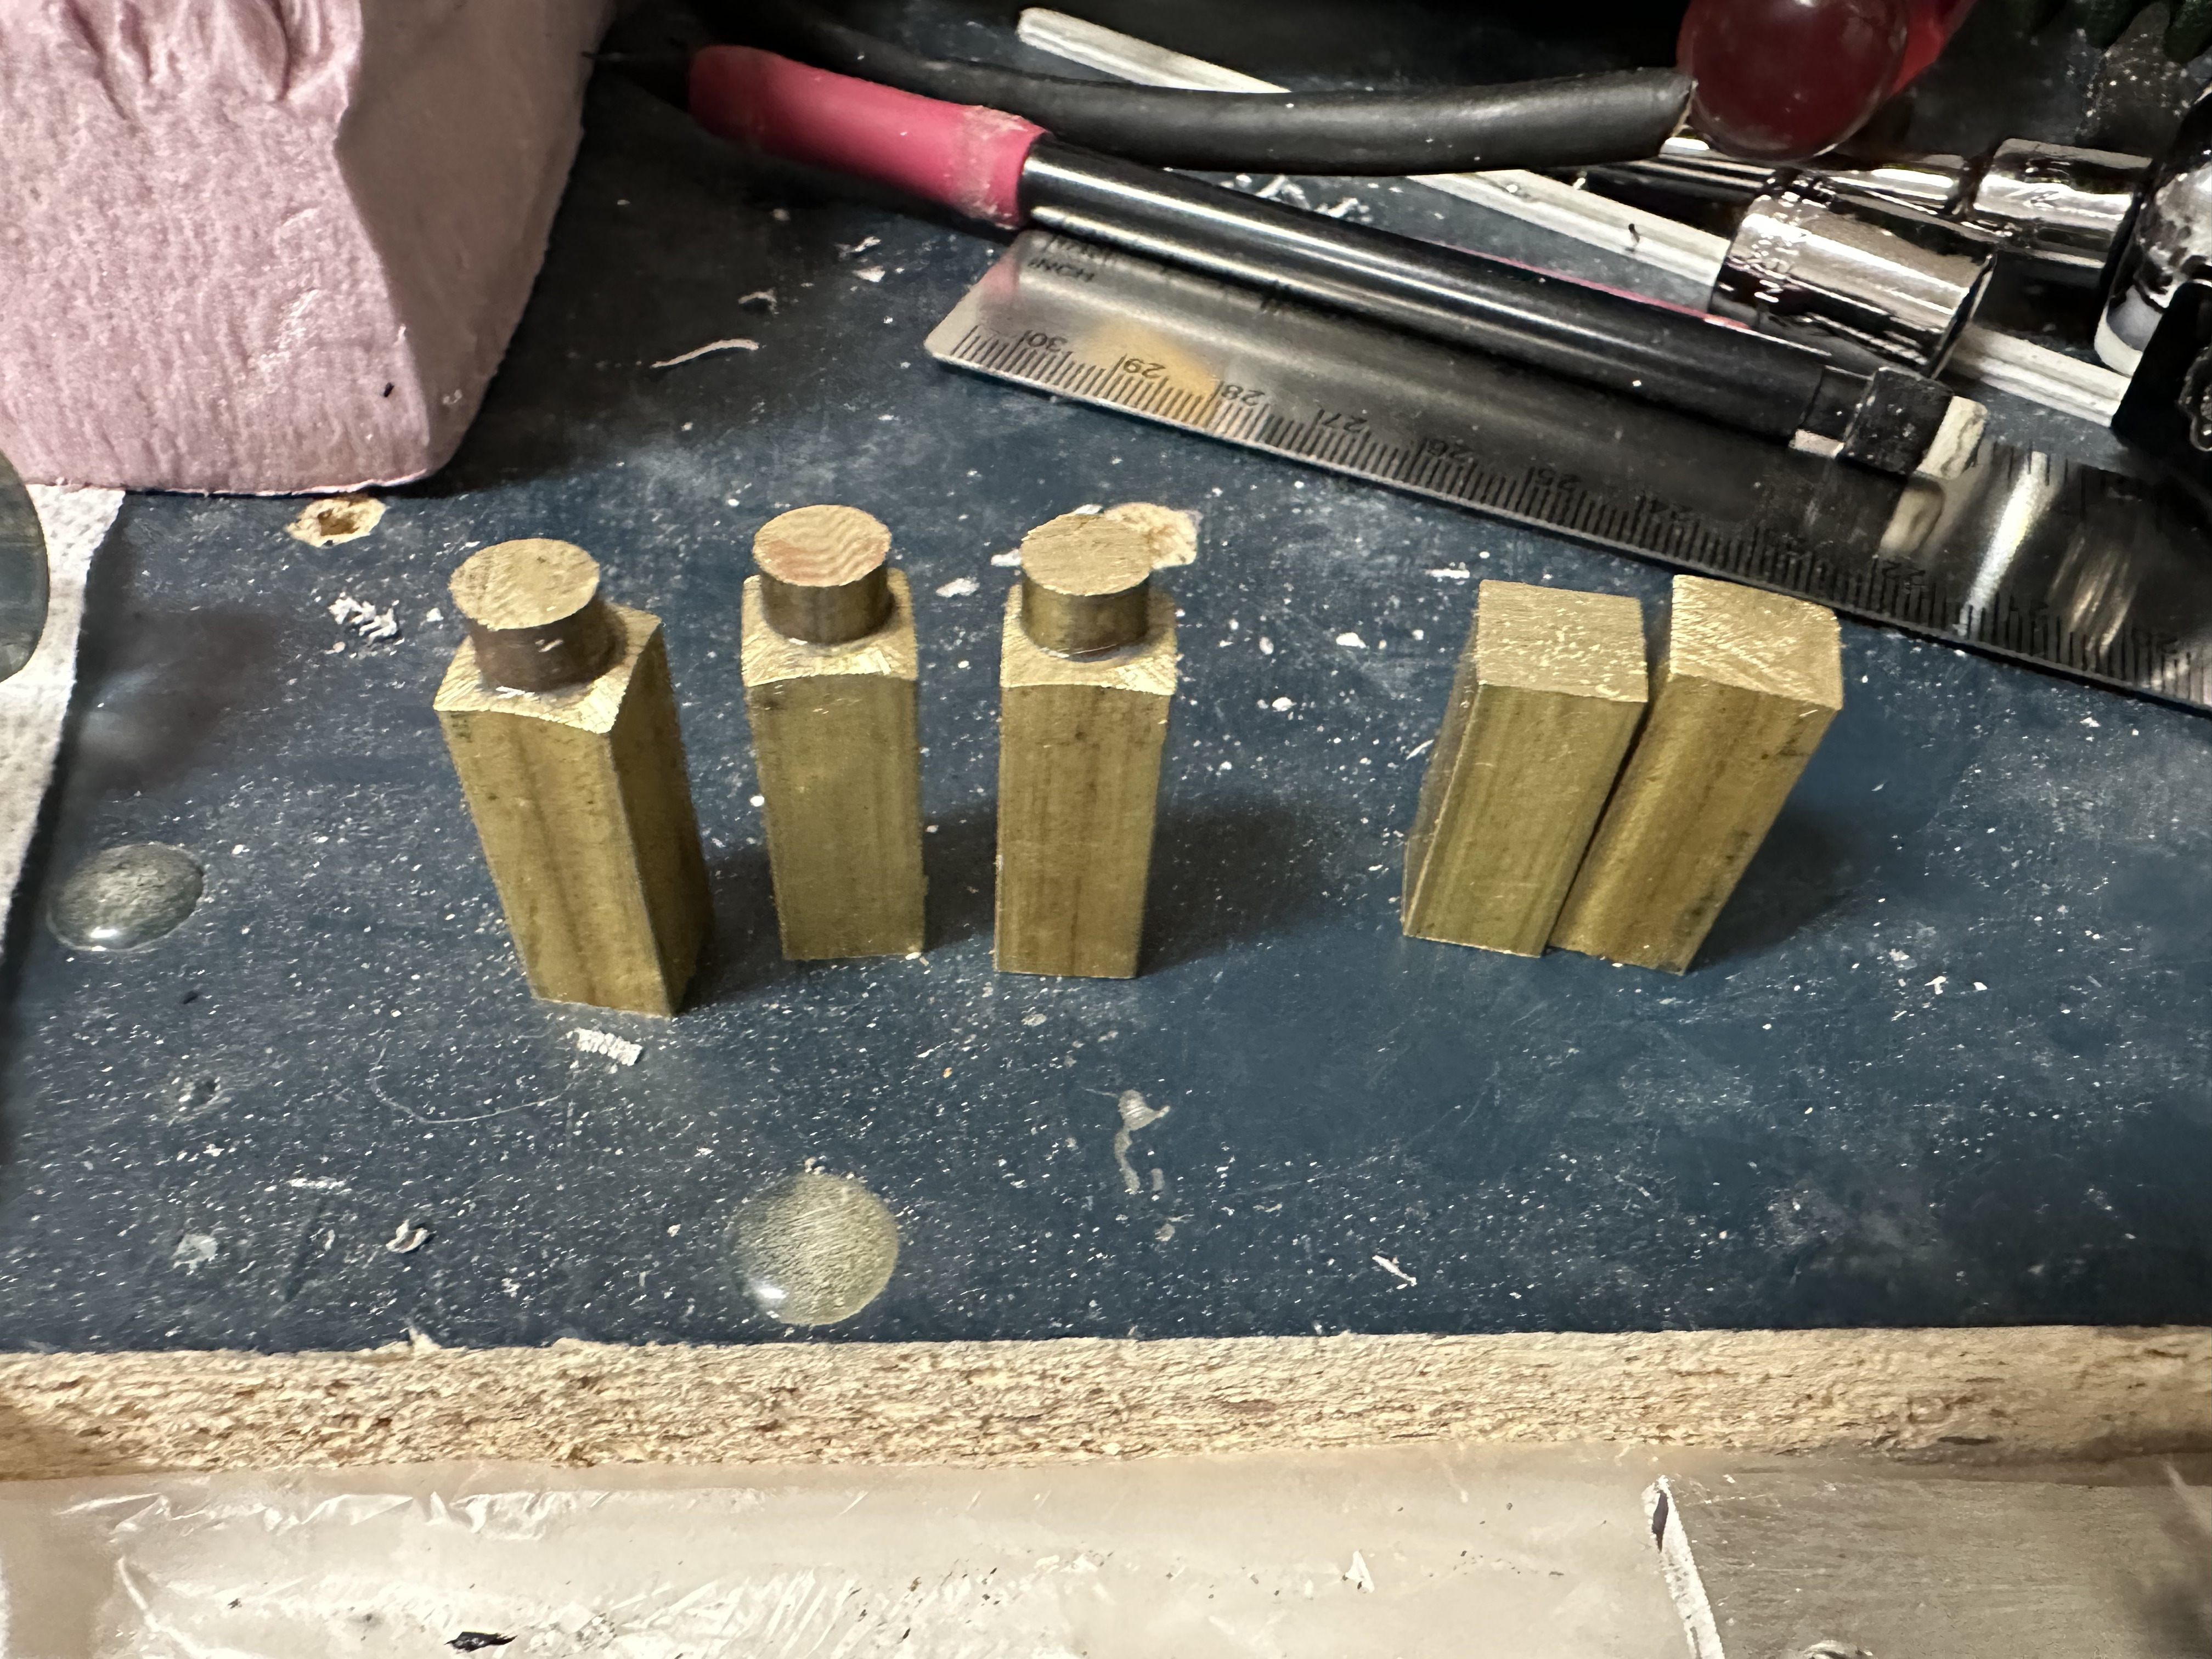
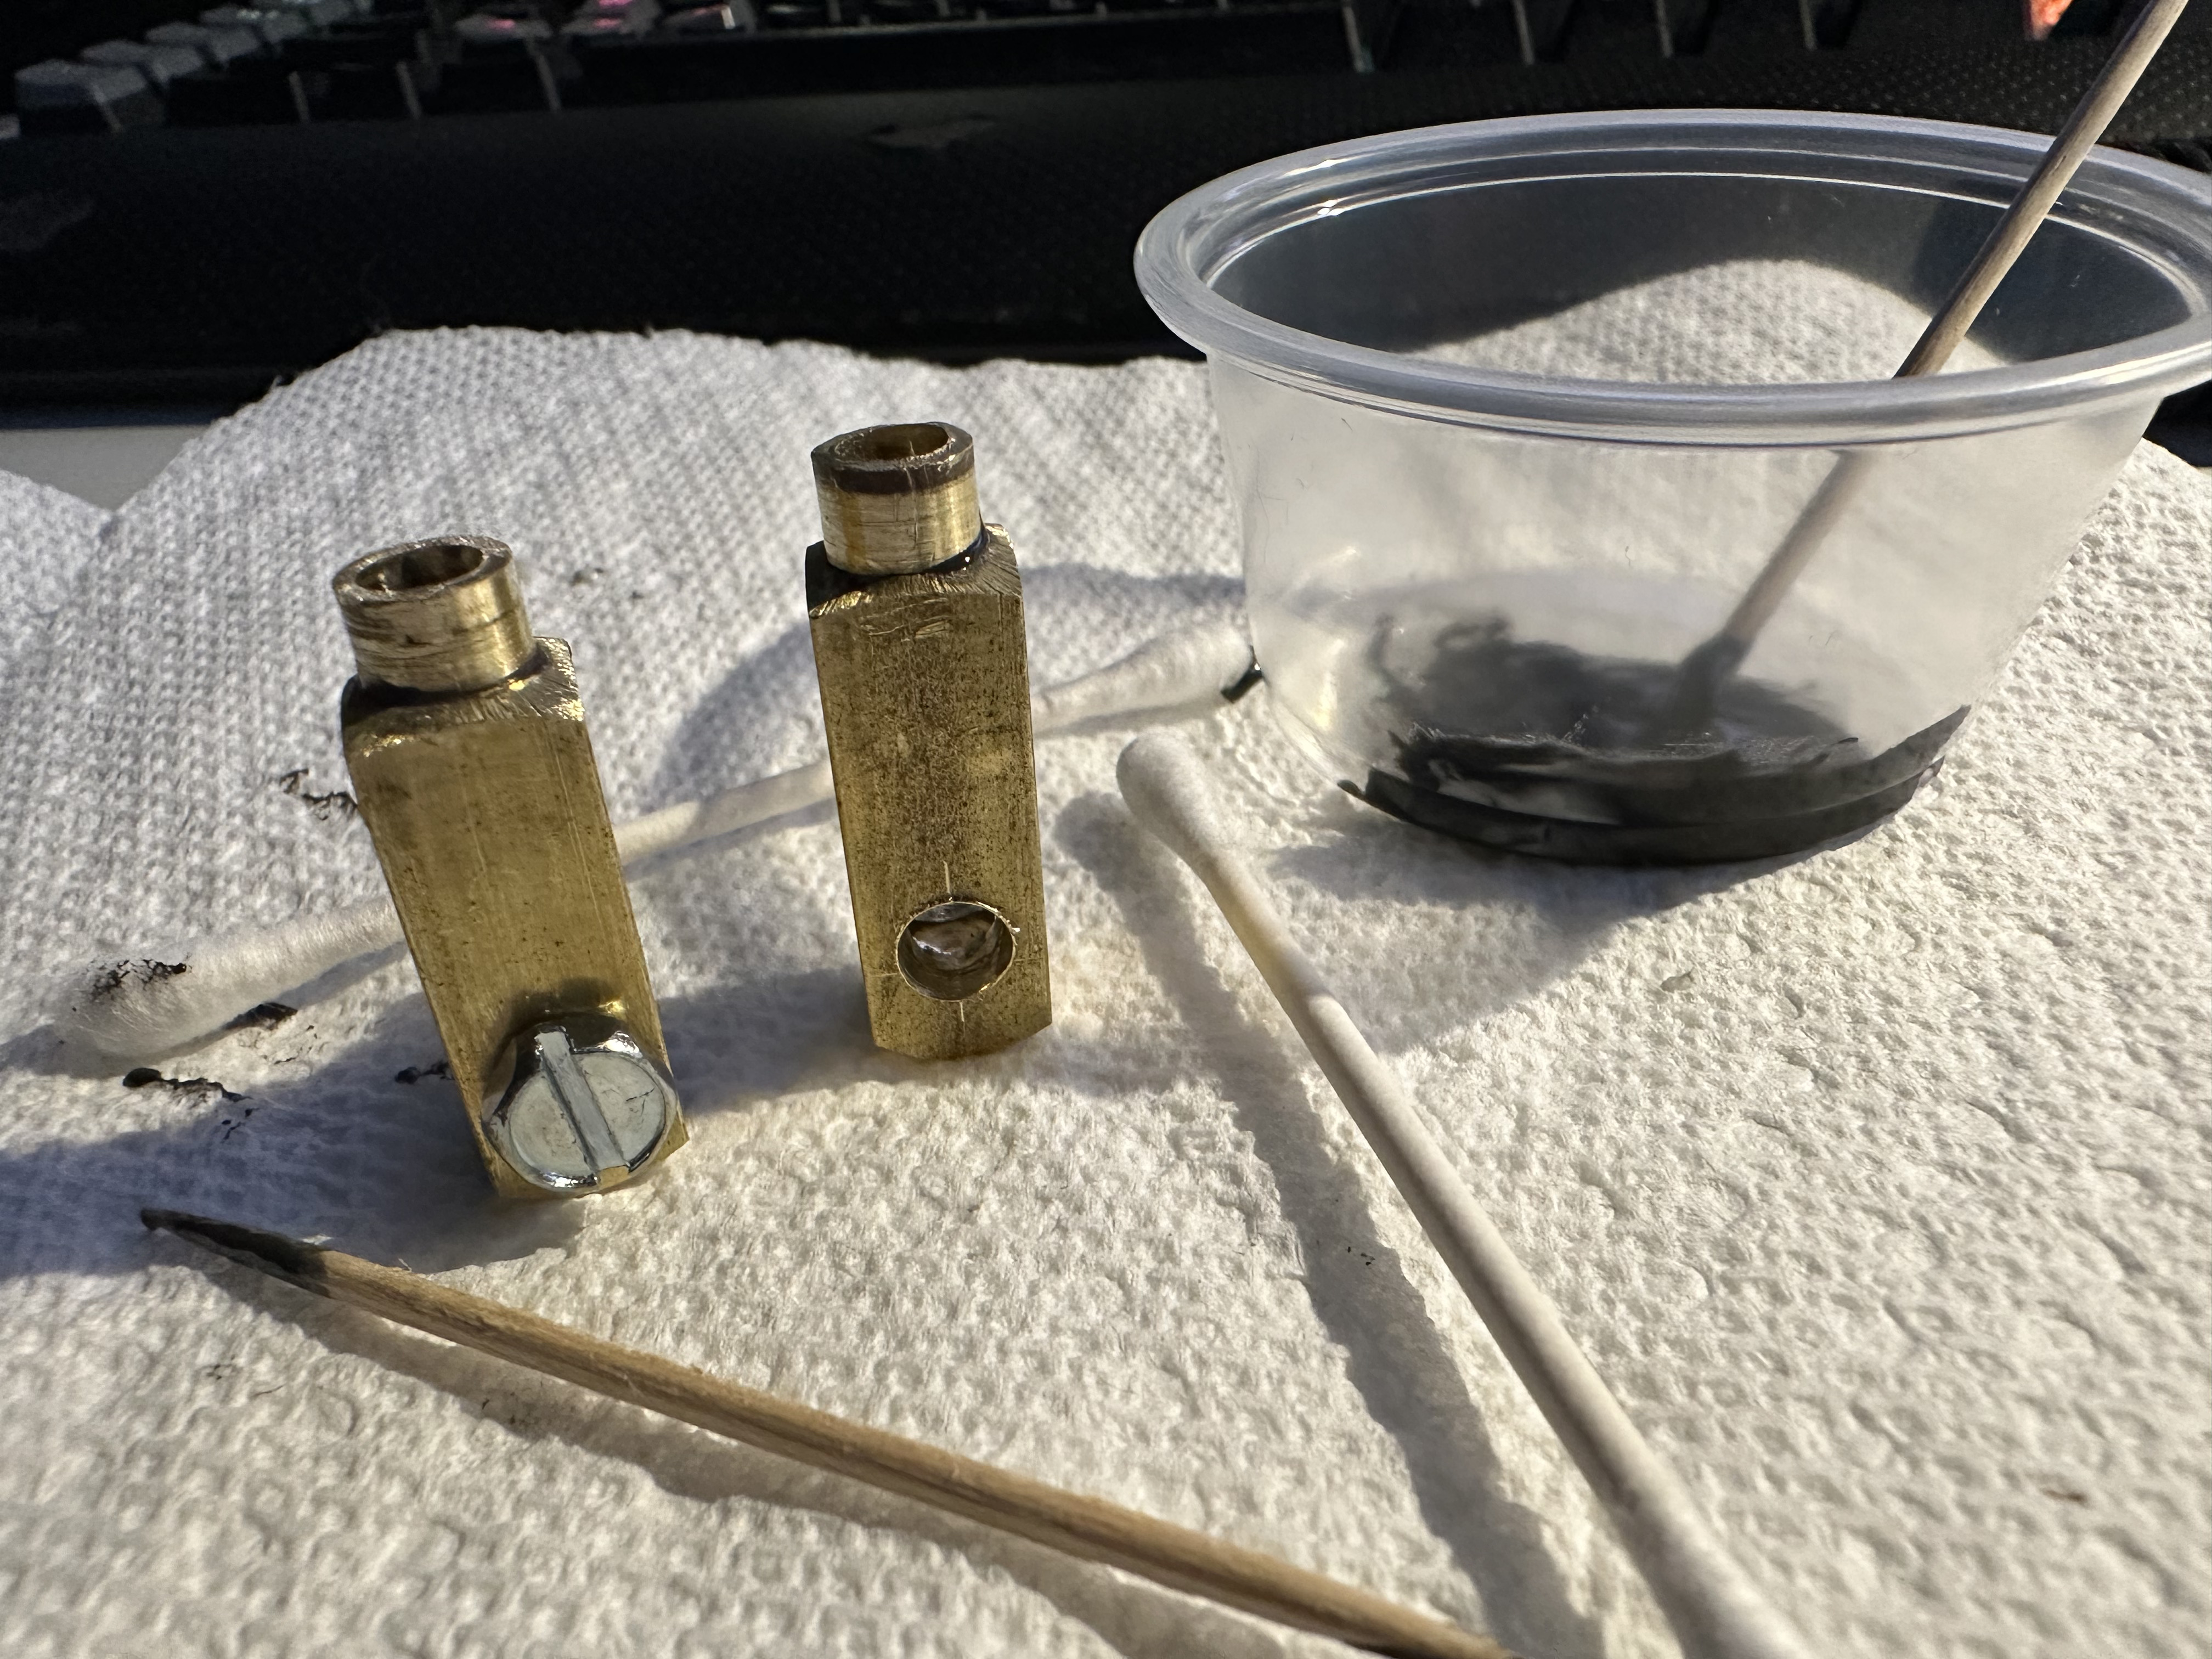
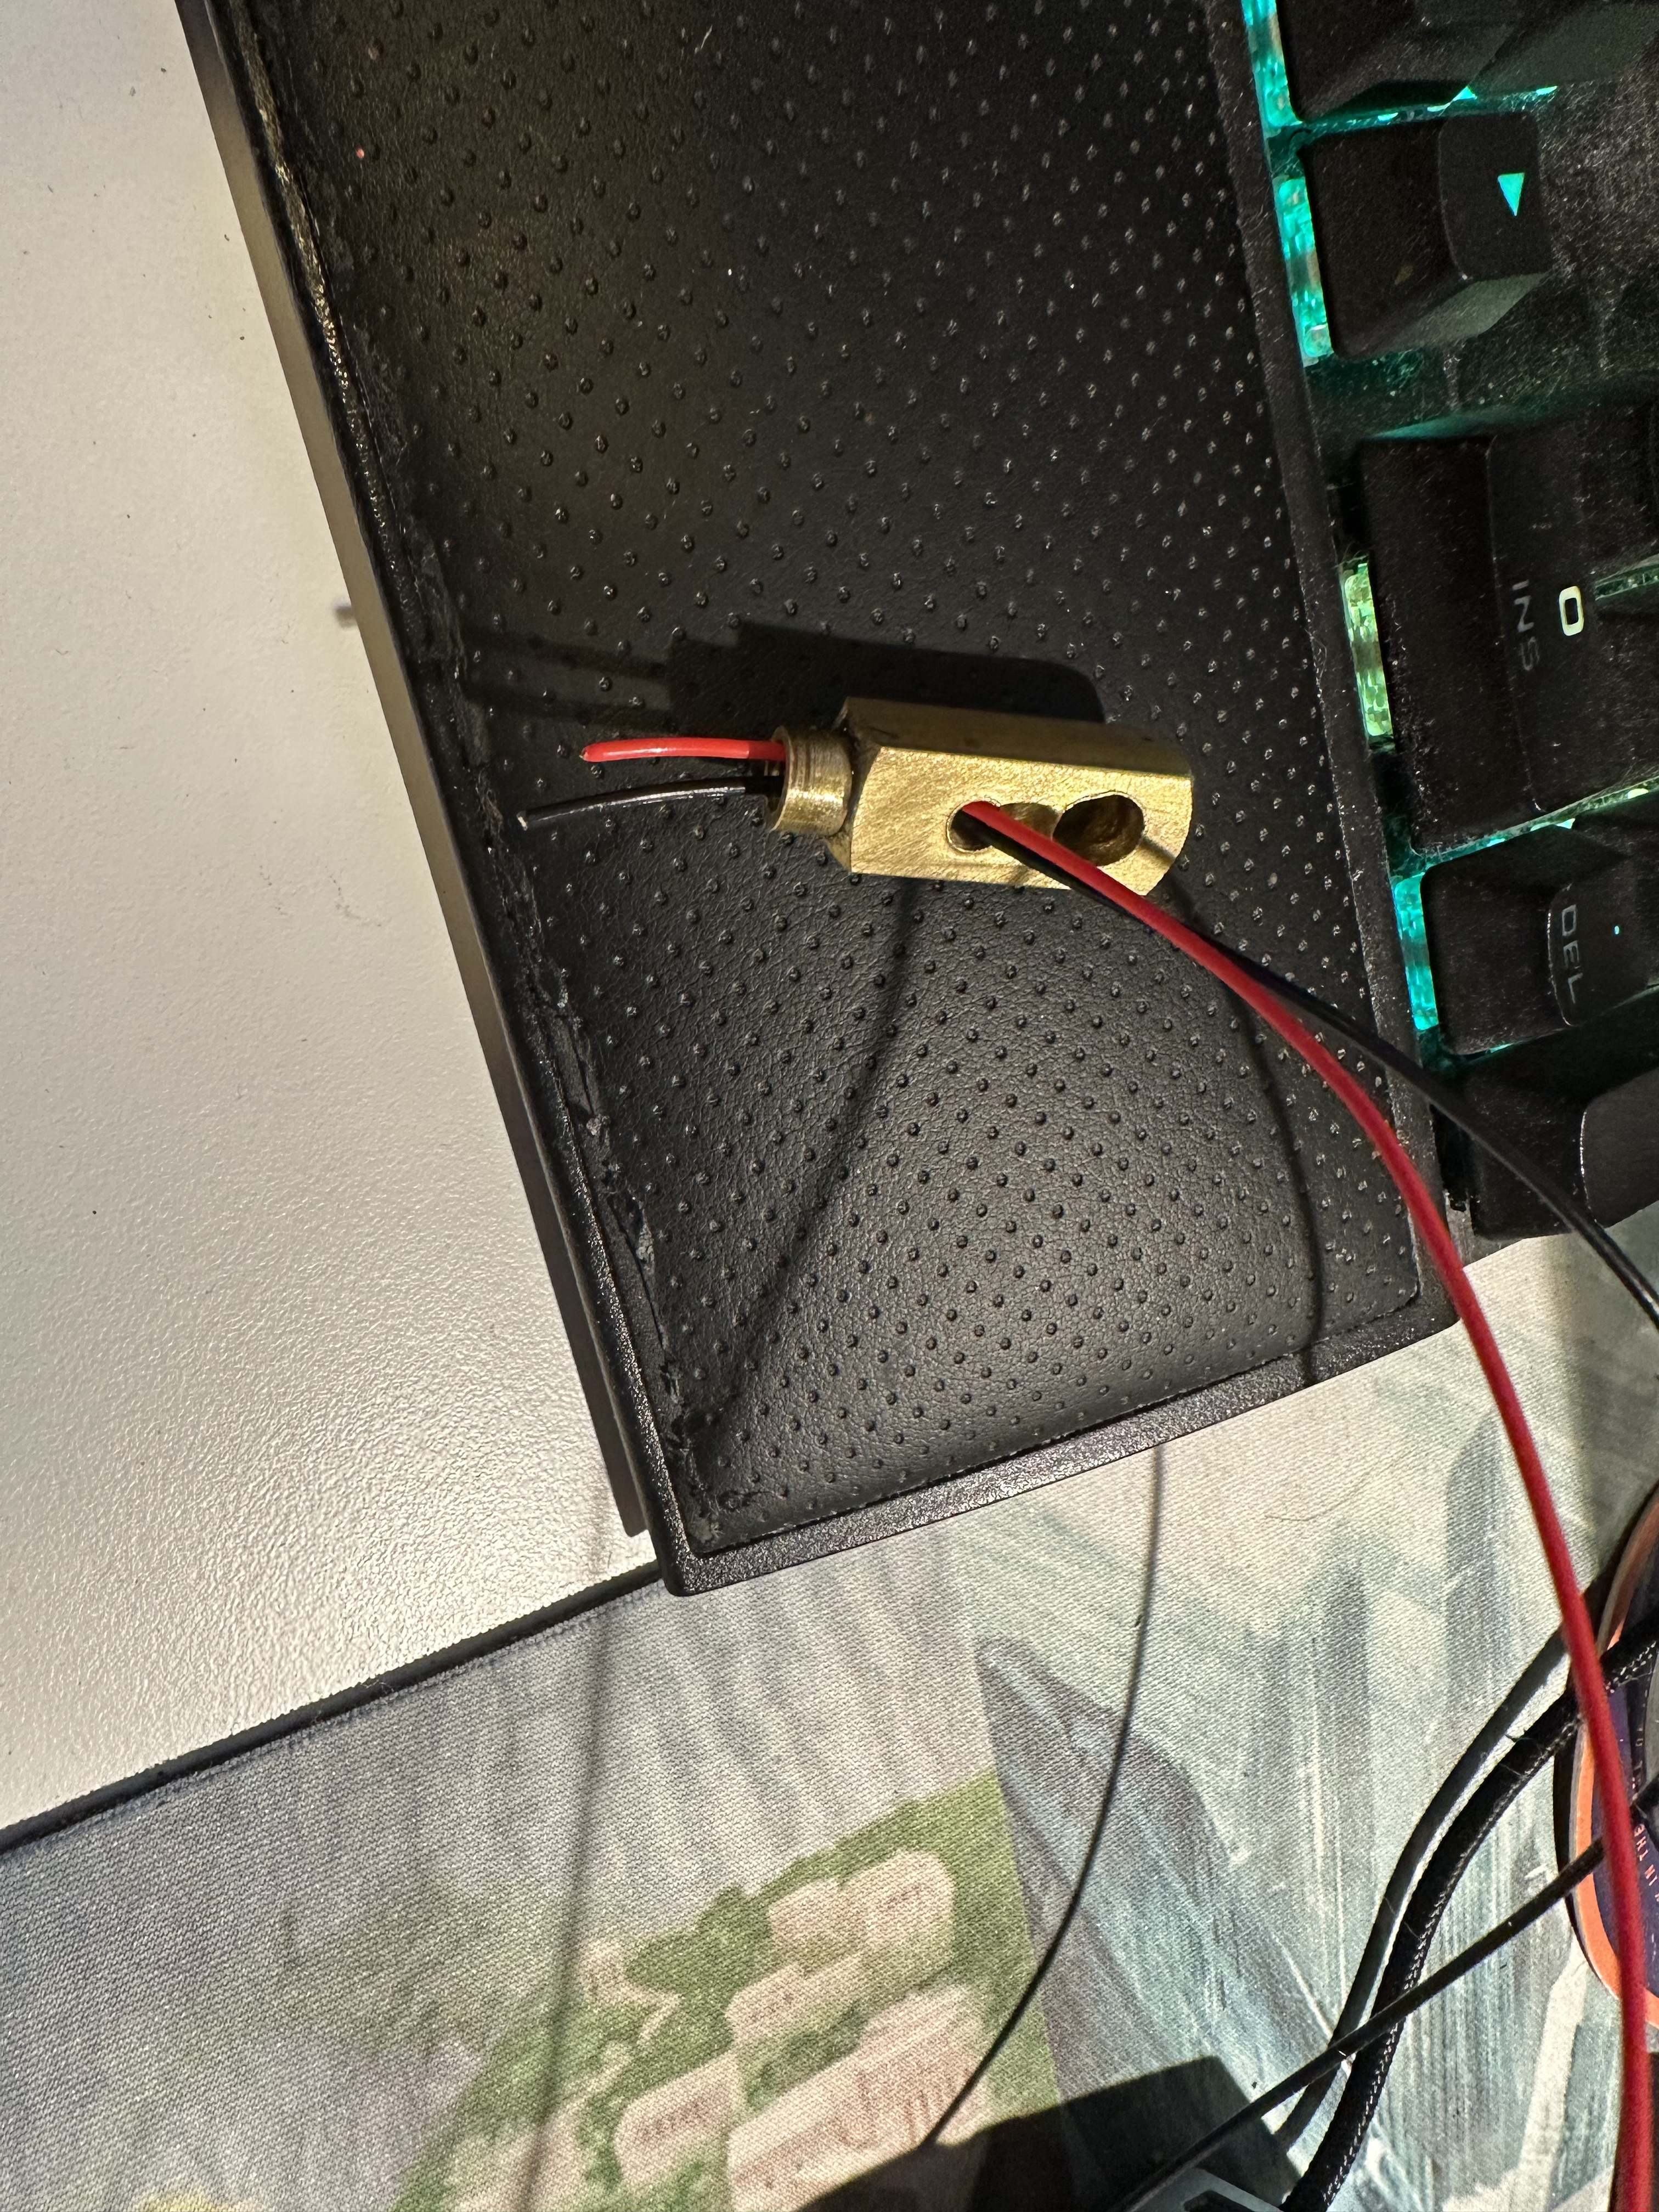
Next was the banjo fittings - these are expensive! I decided I’d make a run at fabricating my own because my metal surplus place had brass stock that was the right size.
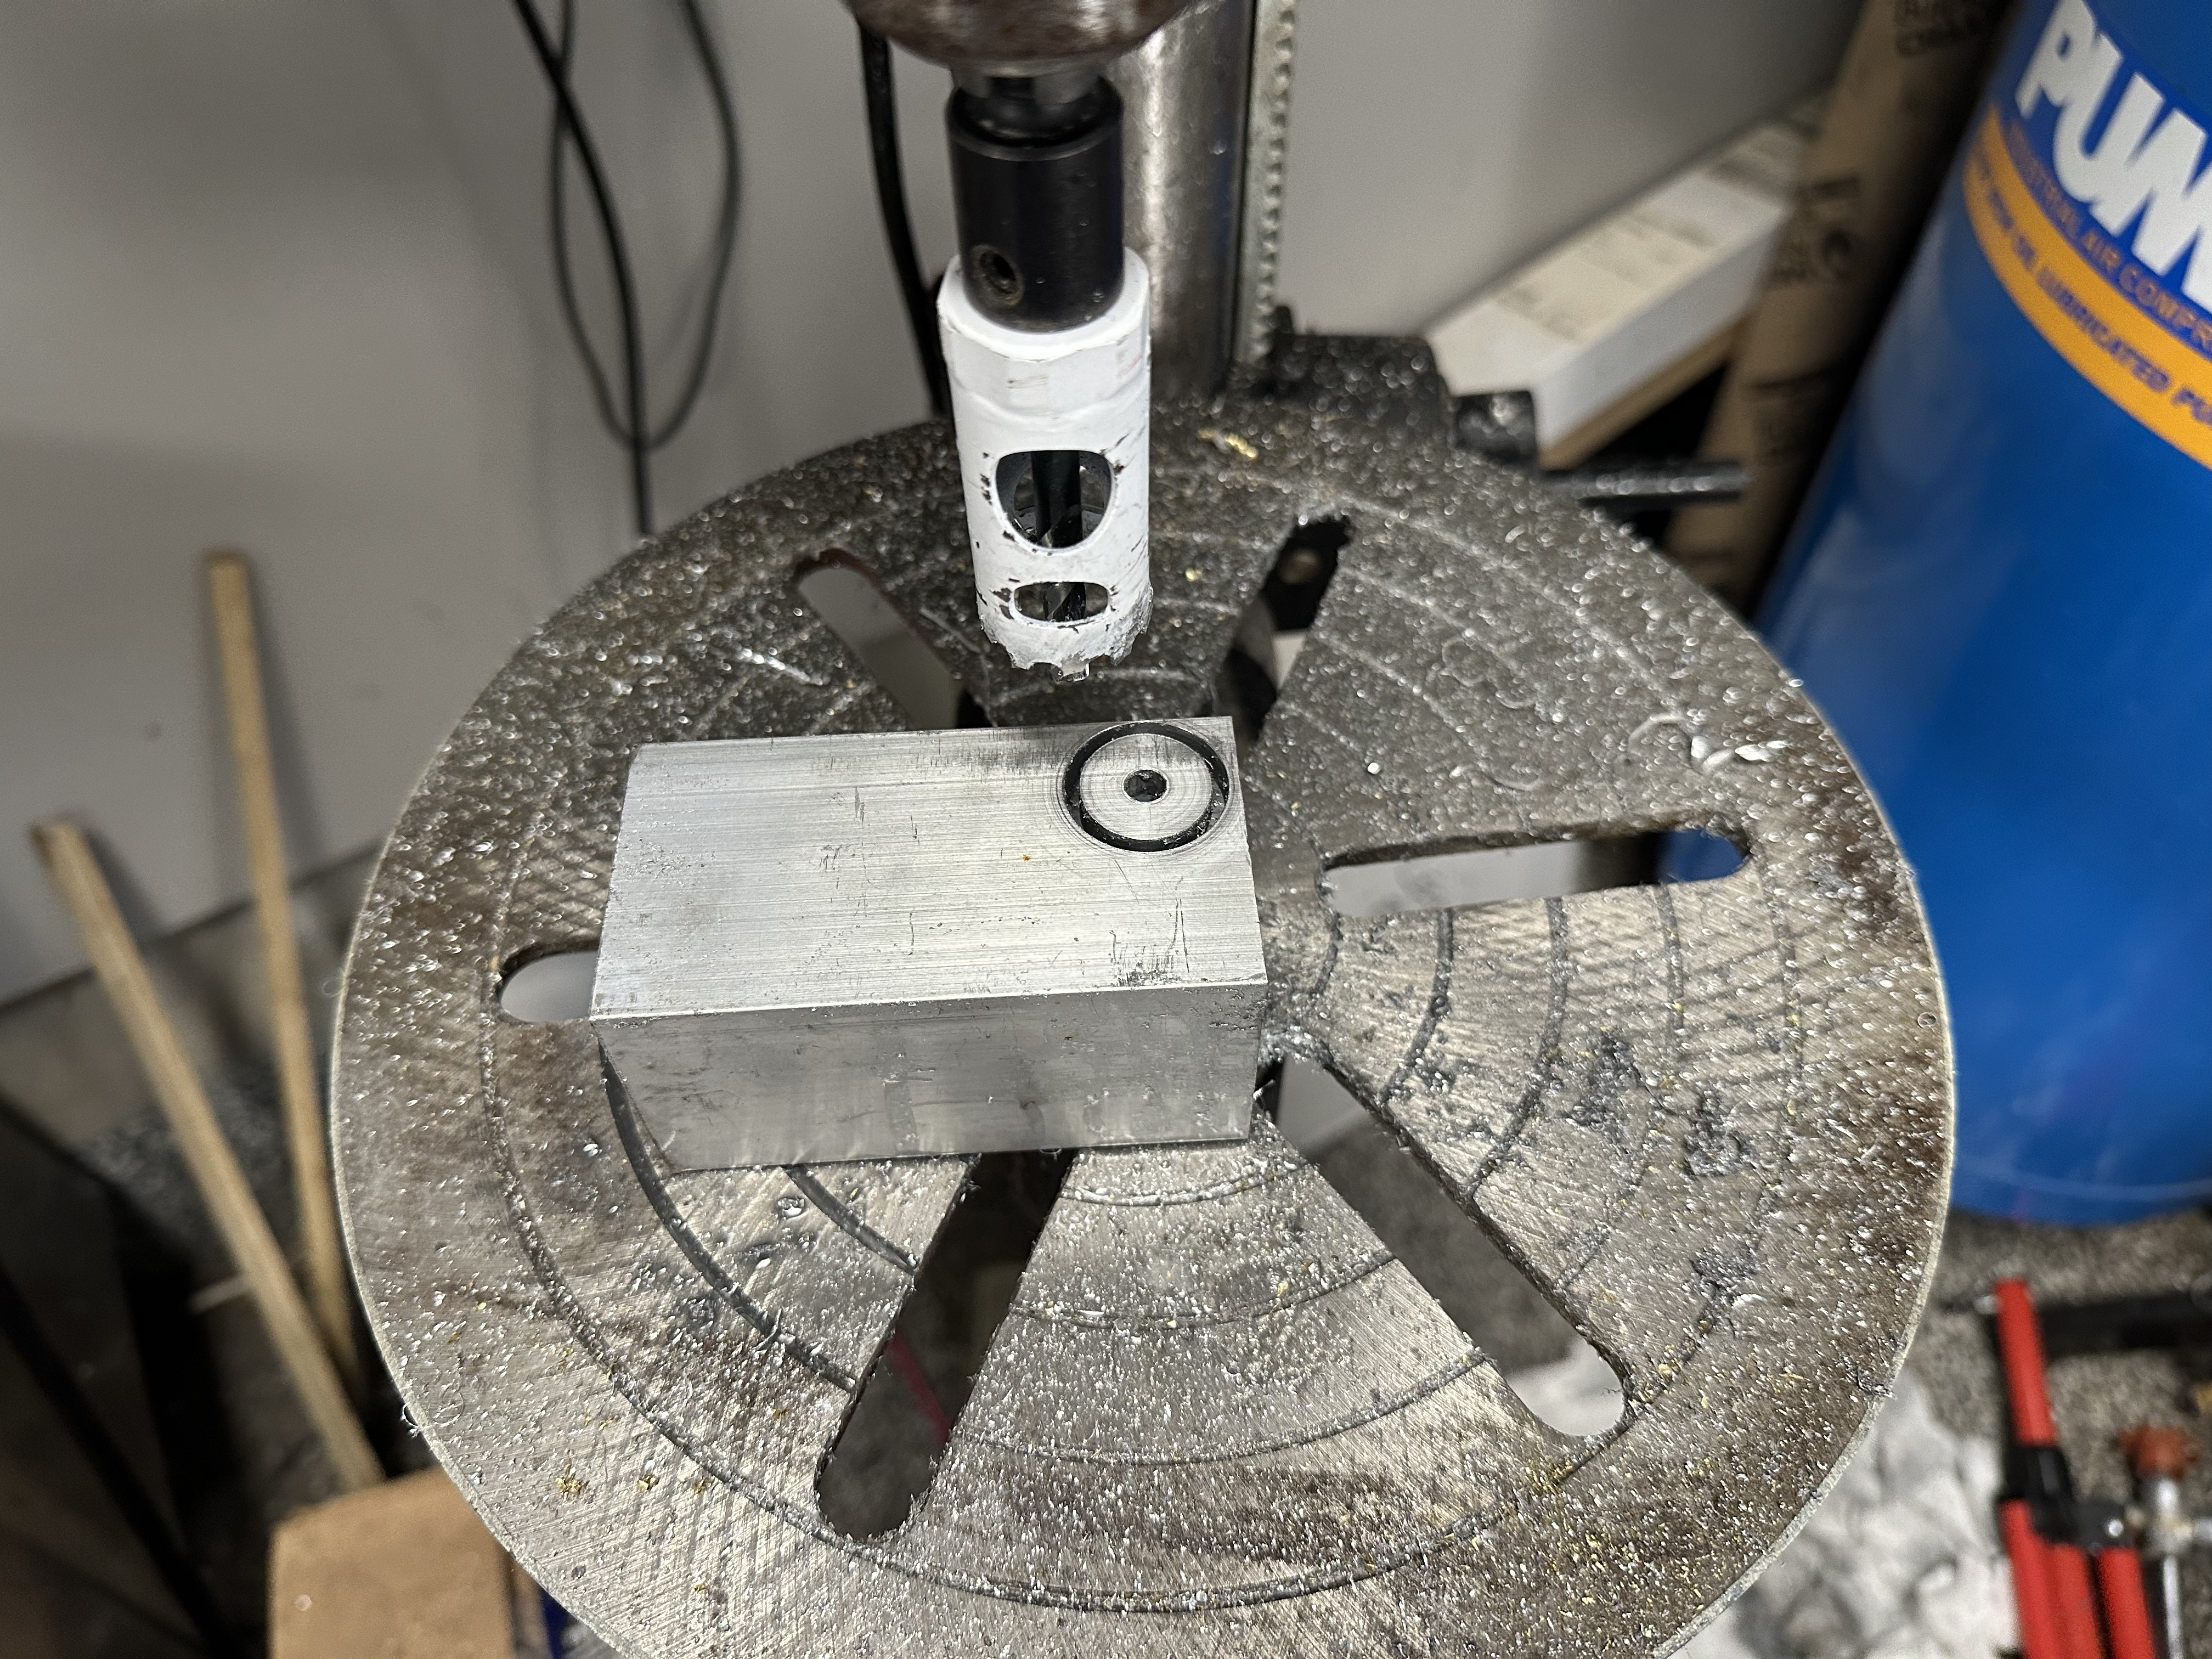
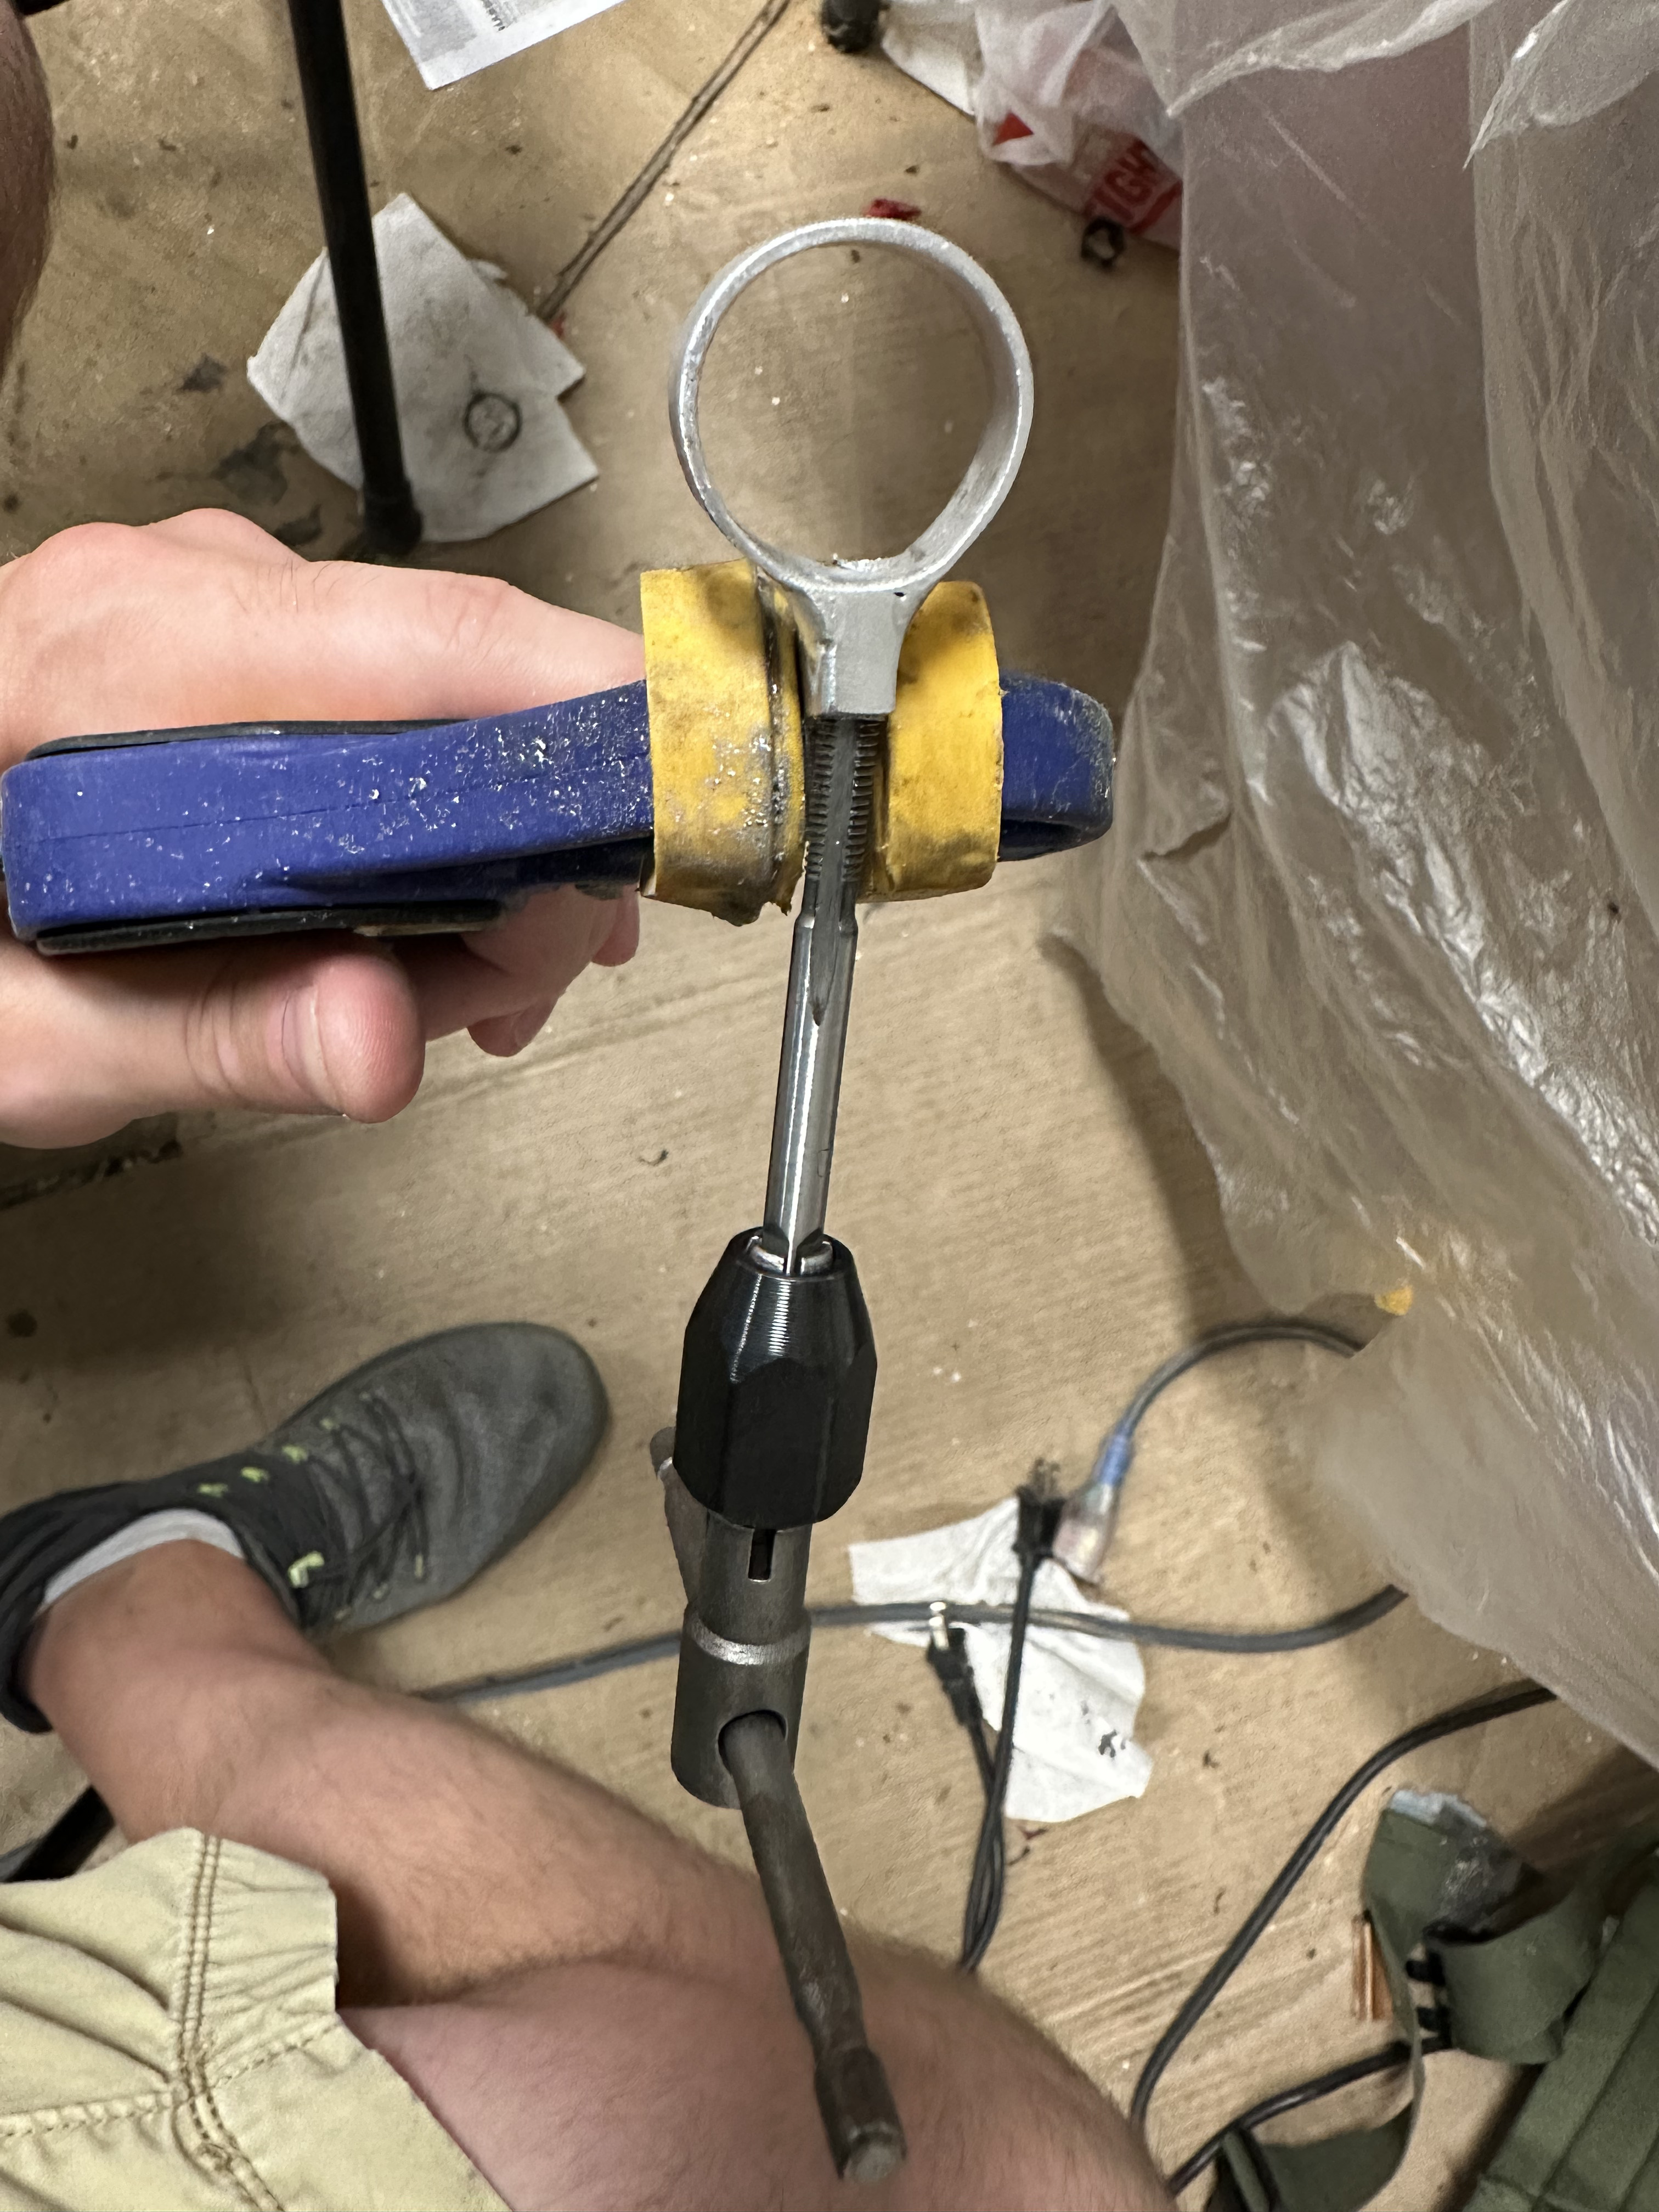
Next, the actual aluminum wand tip - I purchased this initially from gbfans (Macks) but noted after that the one used on the afterlife pack is actually a little different so I decided to test my skills as to whether I could create that piece myself.
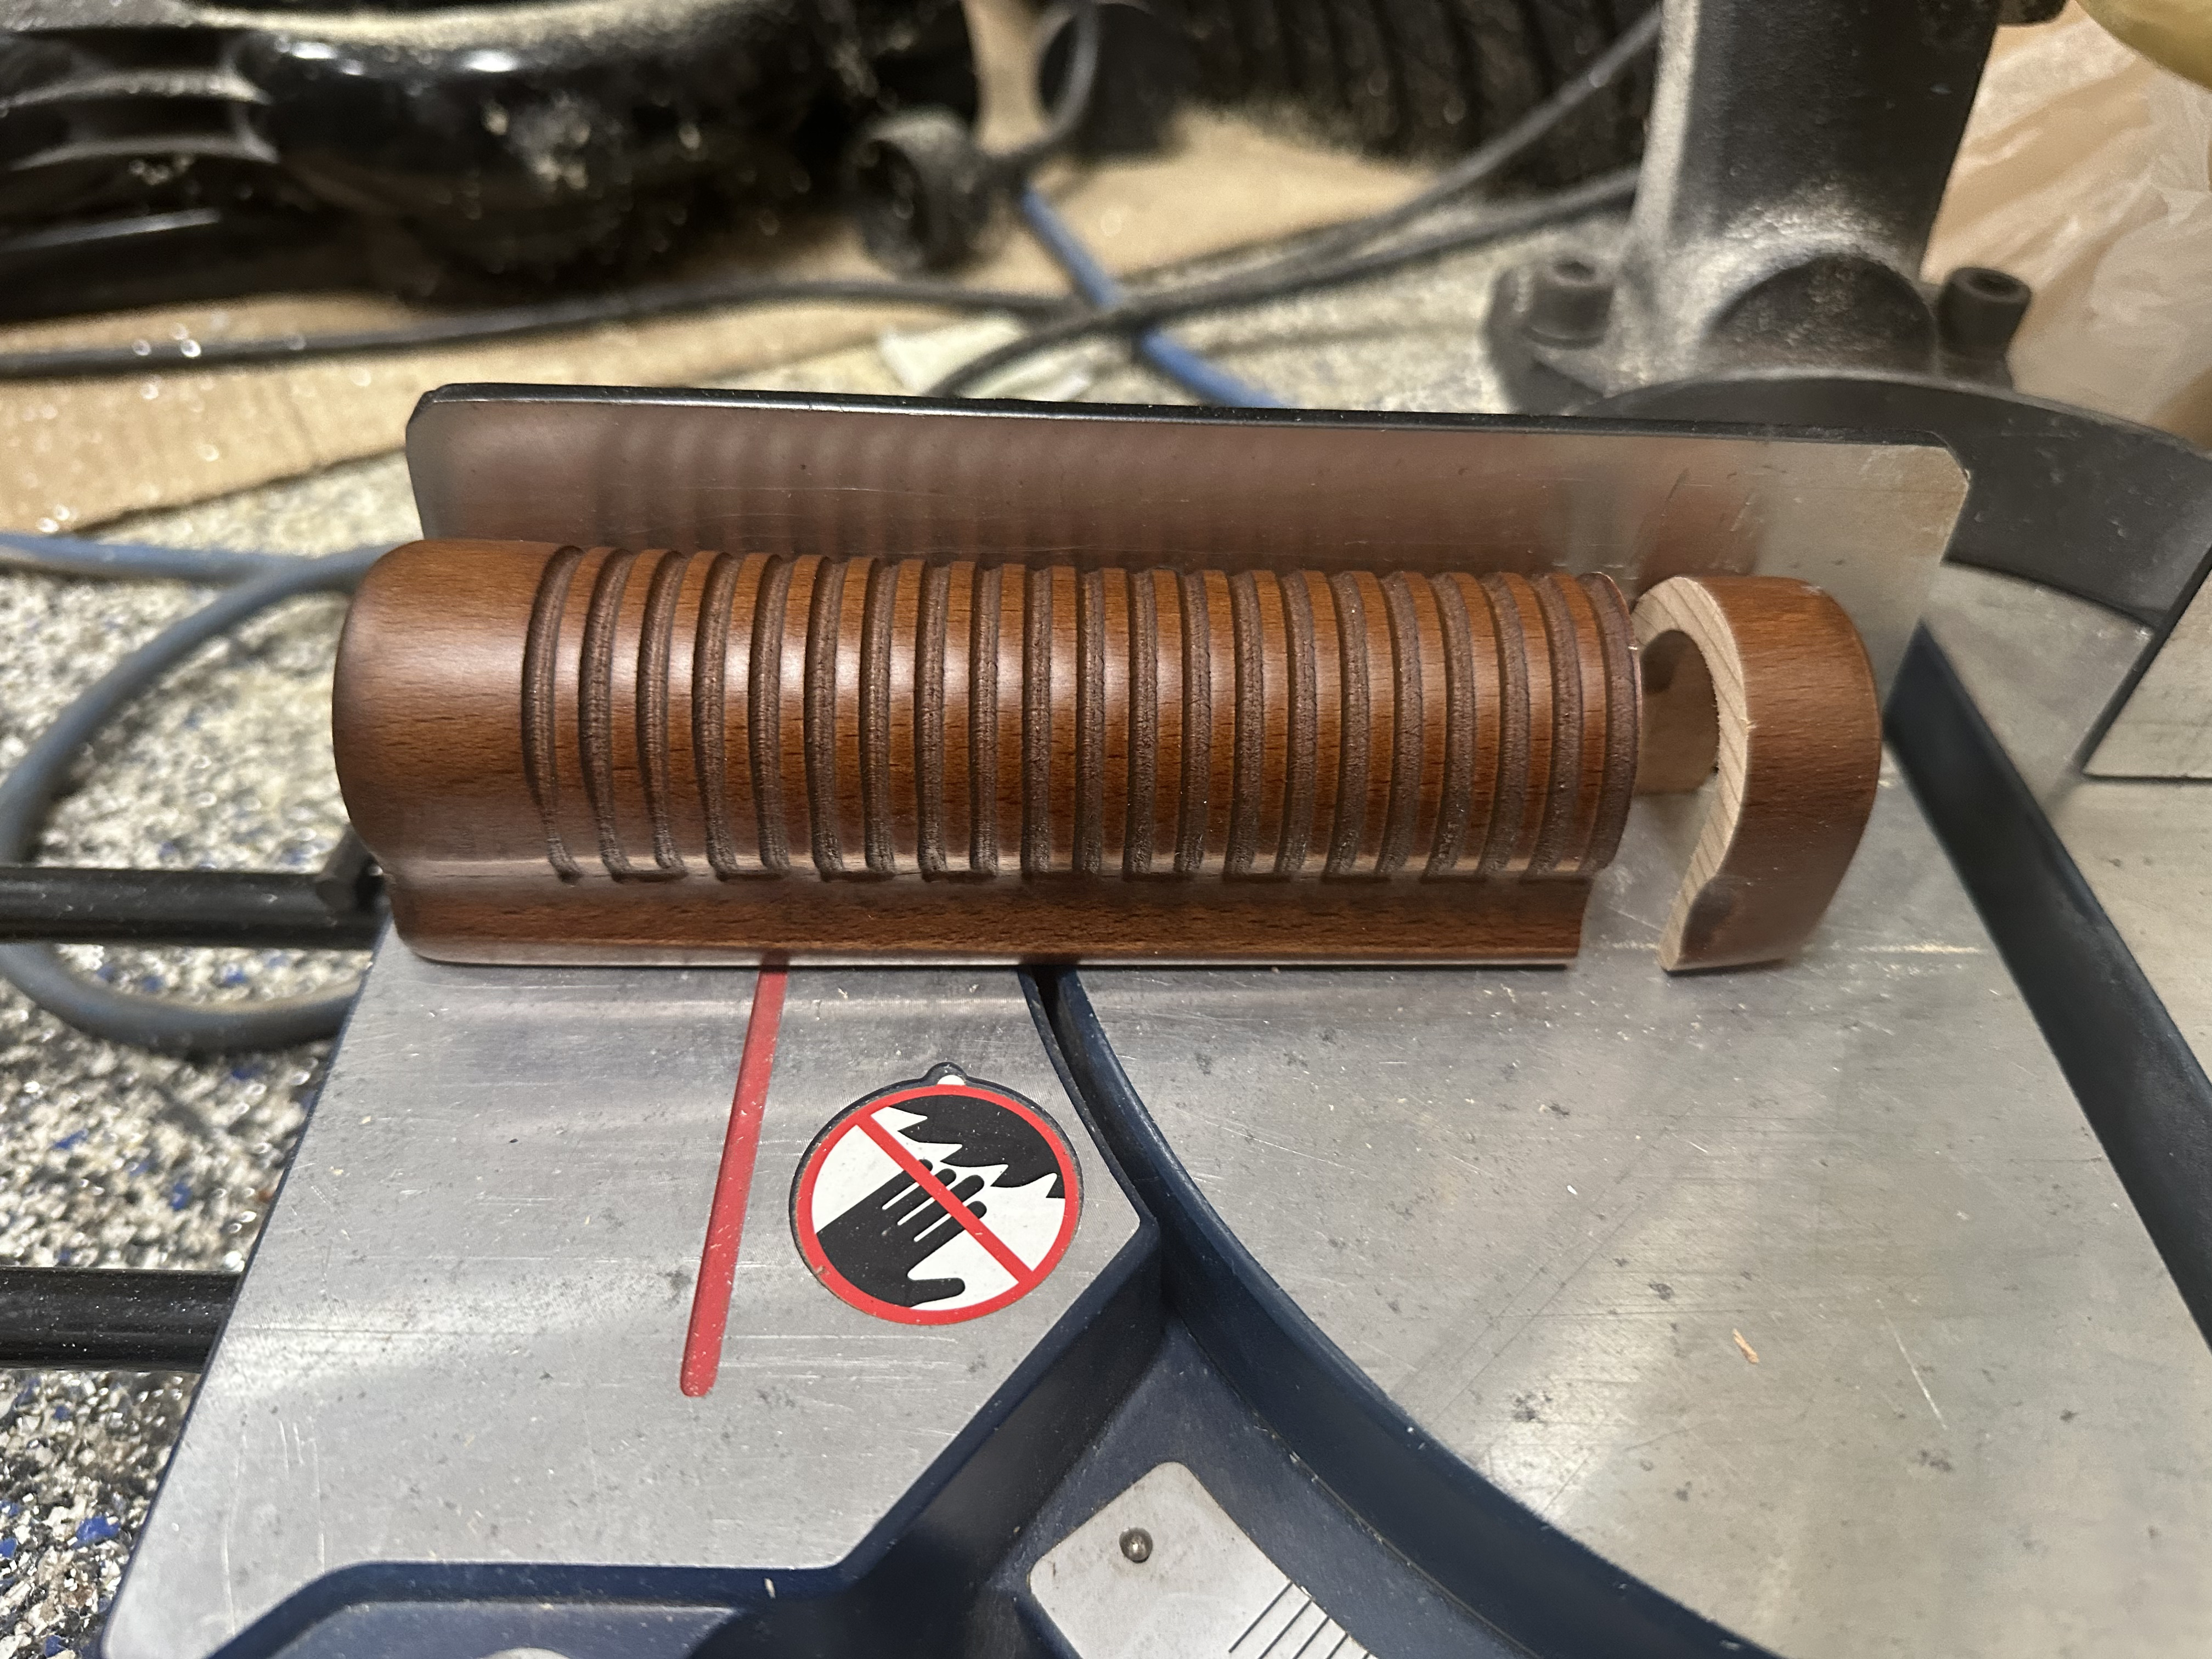
The last major piece was then the shotgun grip - I found the same airsoft grip others have used after quite a bit of searching and went about cutting it down and sanding - I only got one pic at the beginning
But then it was simply on to getting all this assembled - this included painting largest of the tubes that make up the front handle and sliding it over the silver middle sized tube from the previous post.
It’s a little amazing how many hours of work get summarized so quickly here, but’s fun to share larger chunks of progress like this - especially as elements get near to their final form.
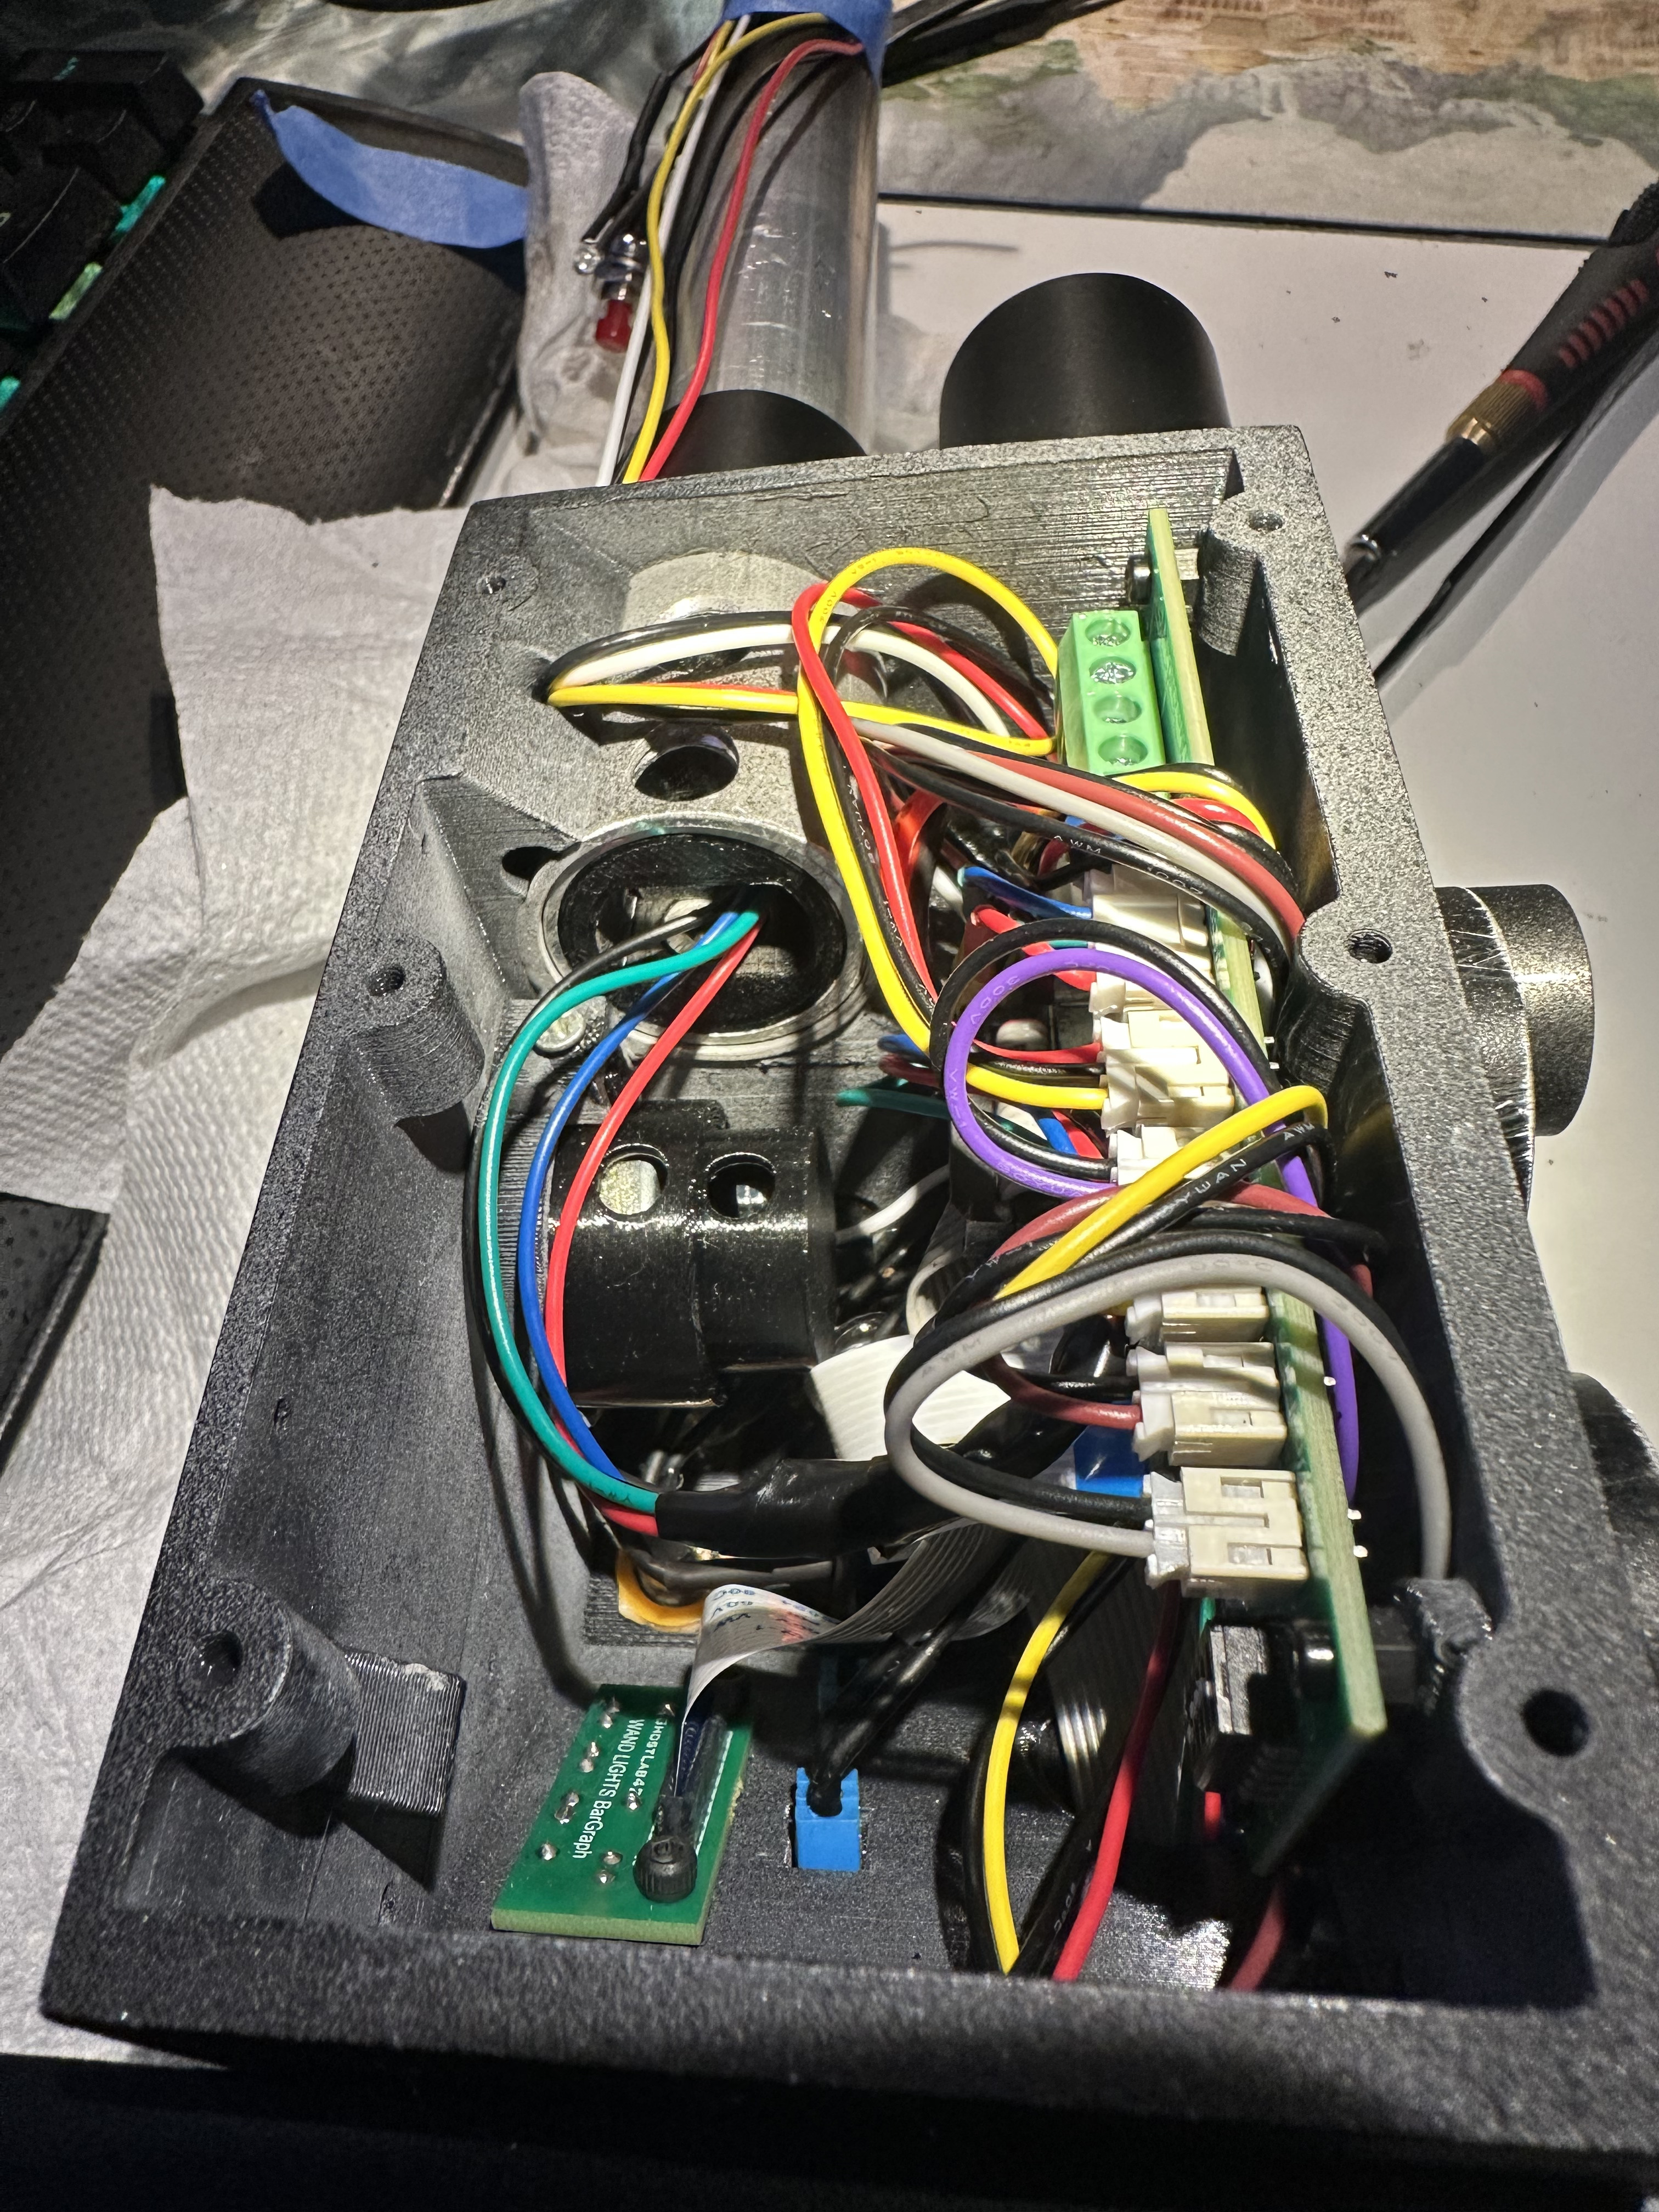
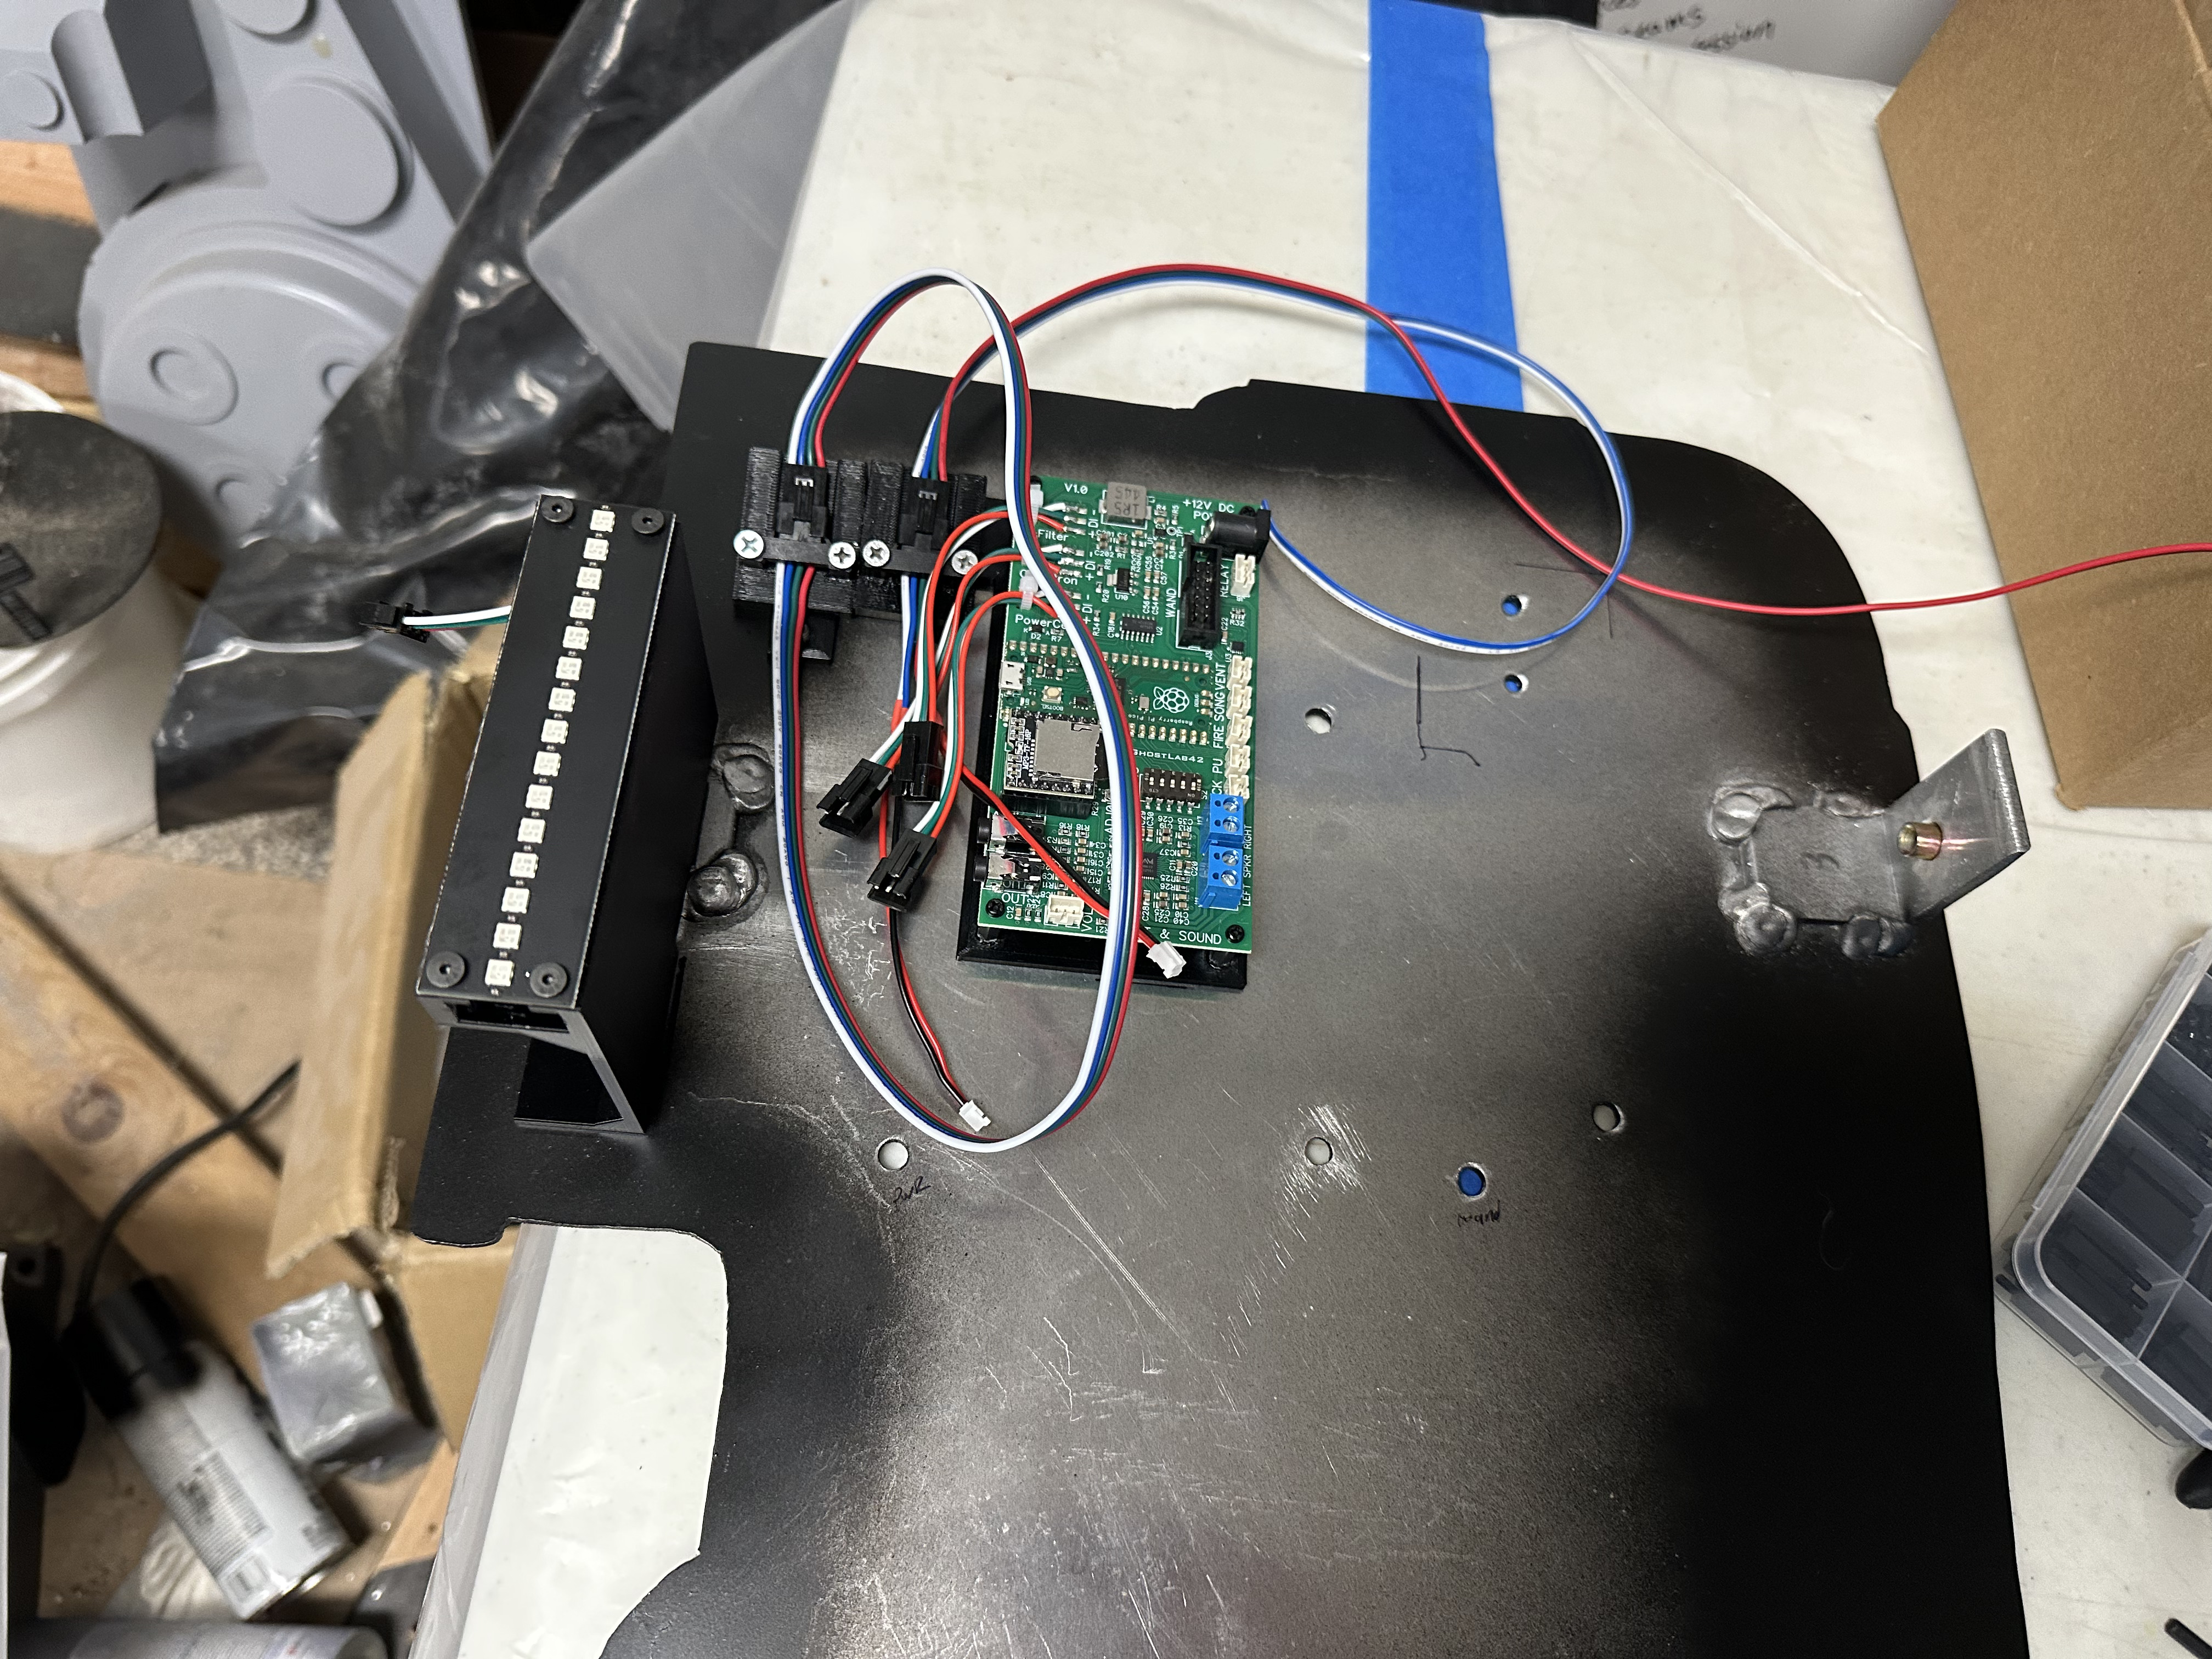
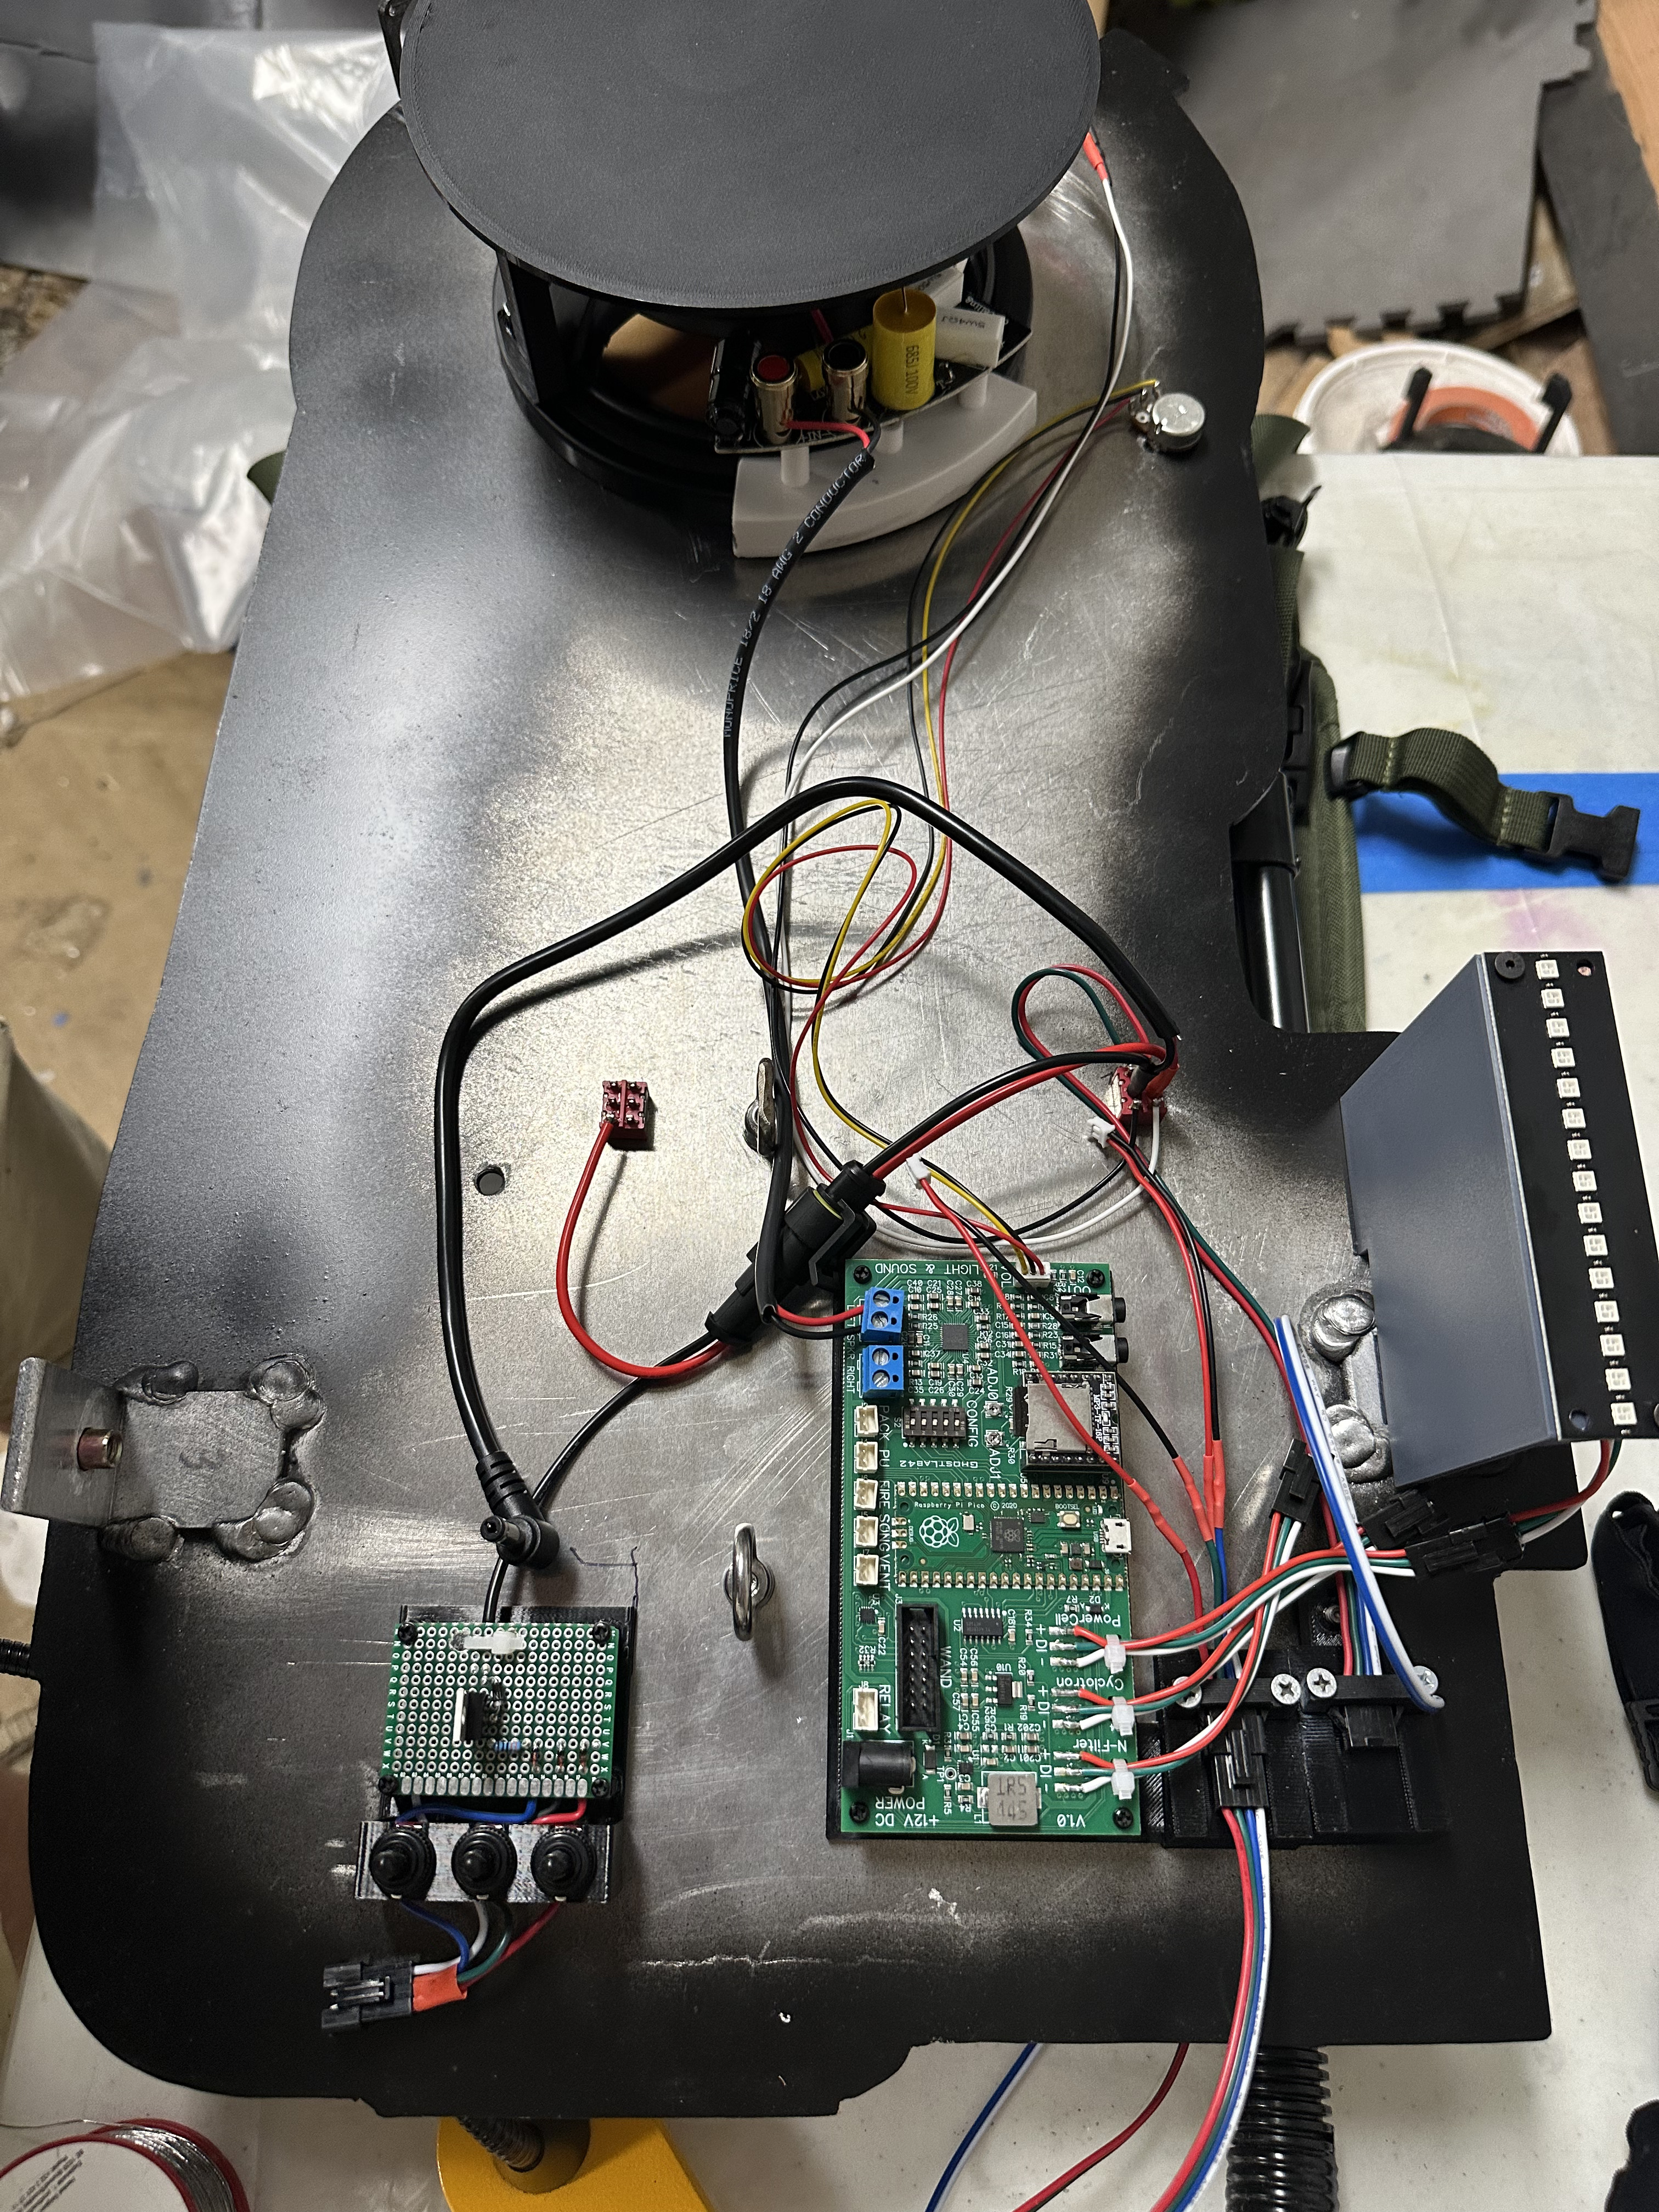
And once the thrower was put together it FINALLY was actually time to get all the electronics on the motherboard laid out, ensure all the holes lined up with the alice pack frame etc.
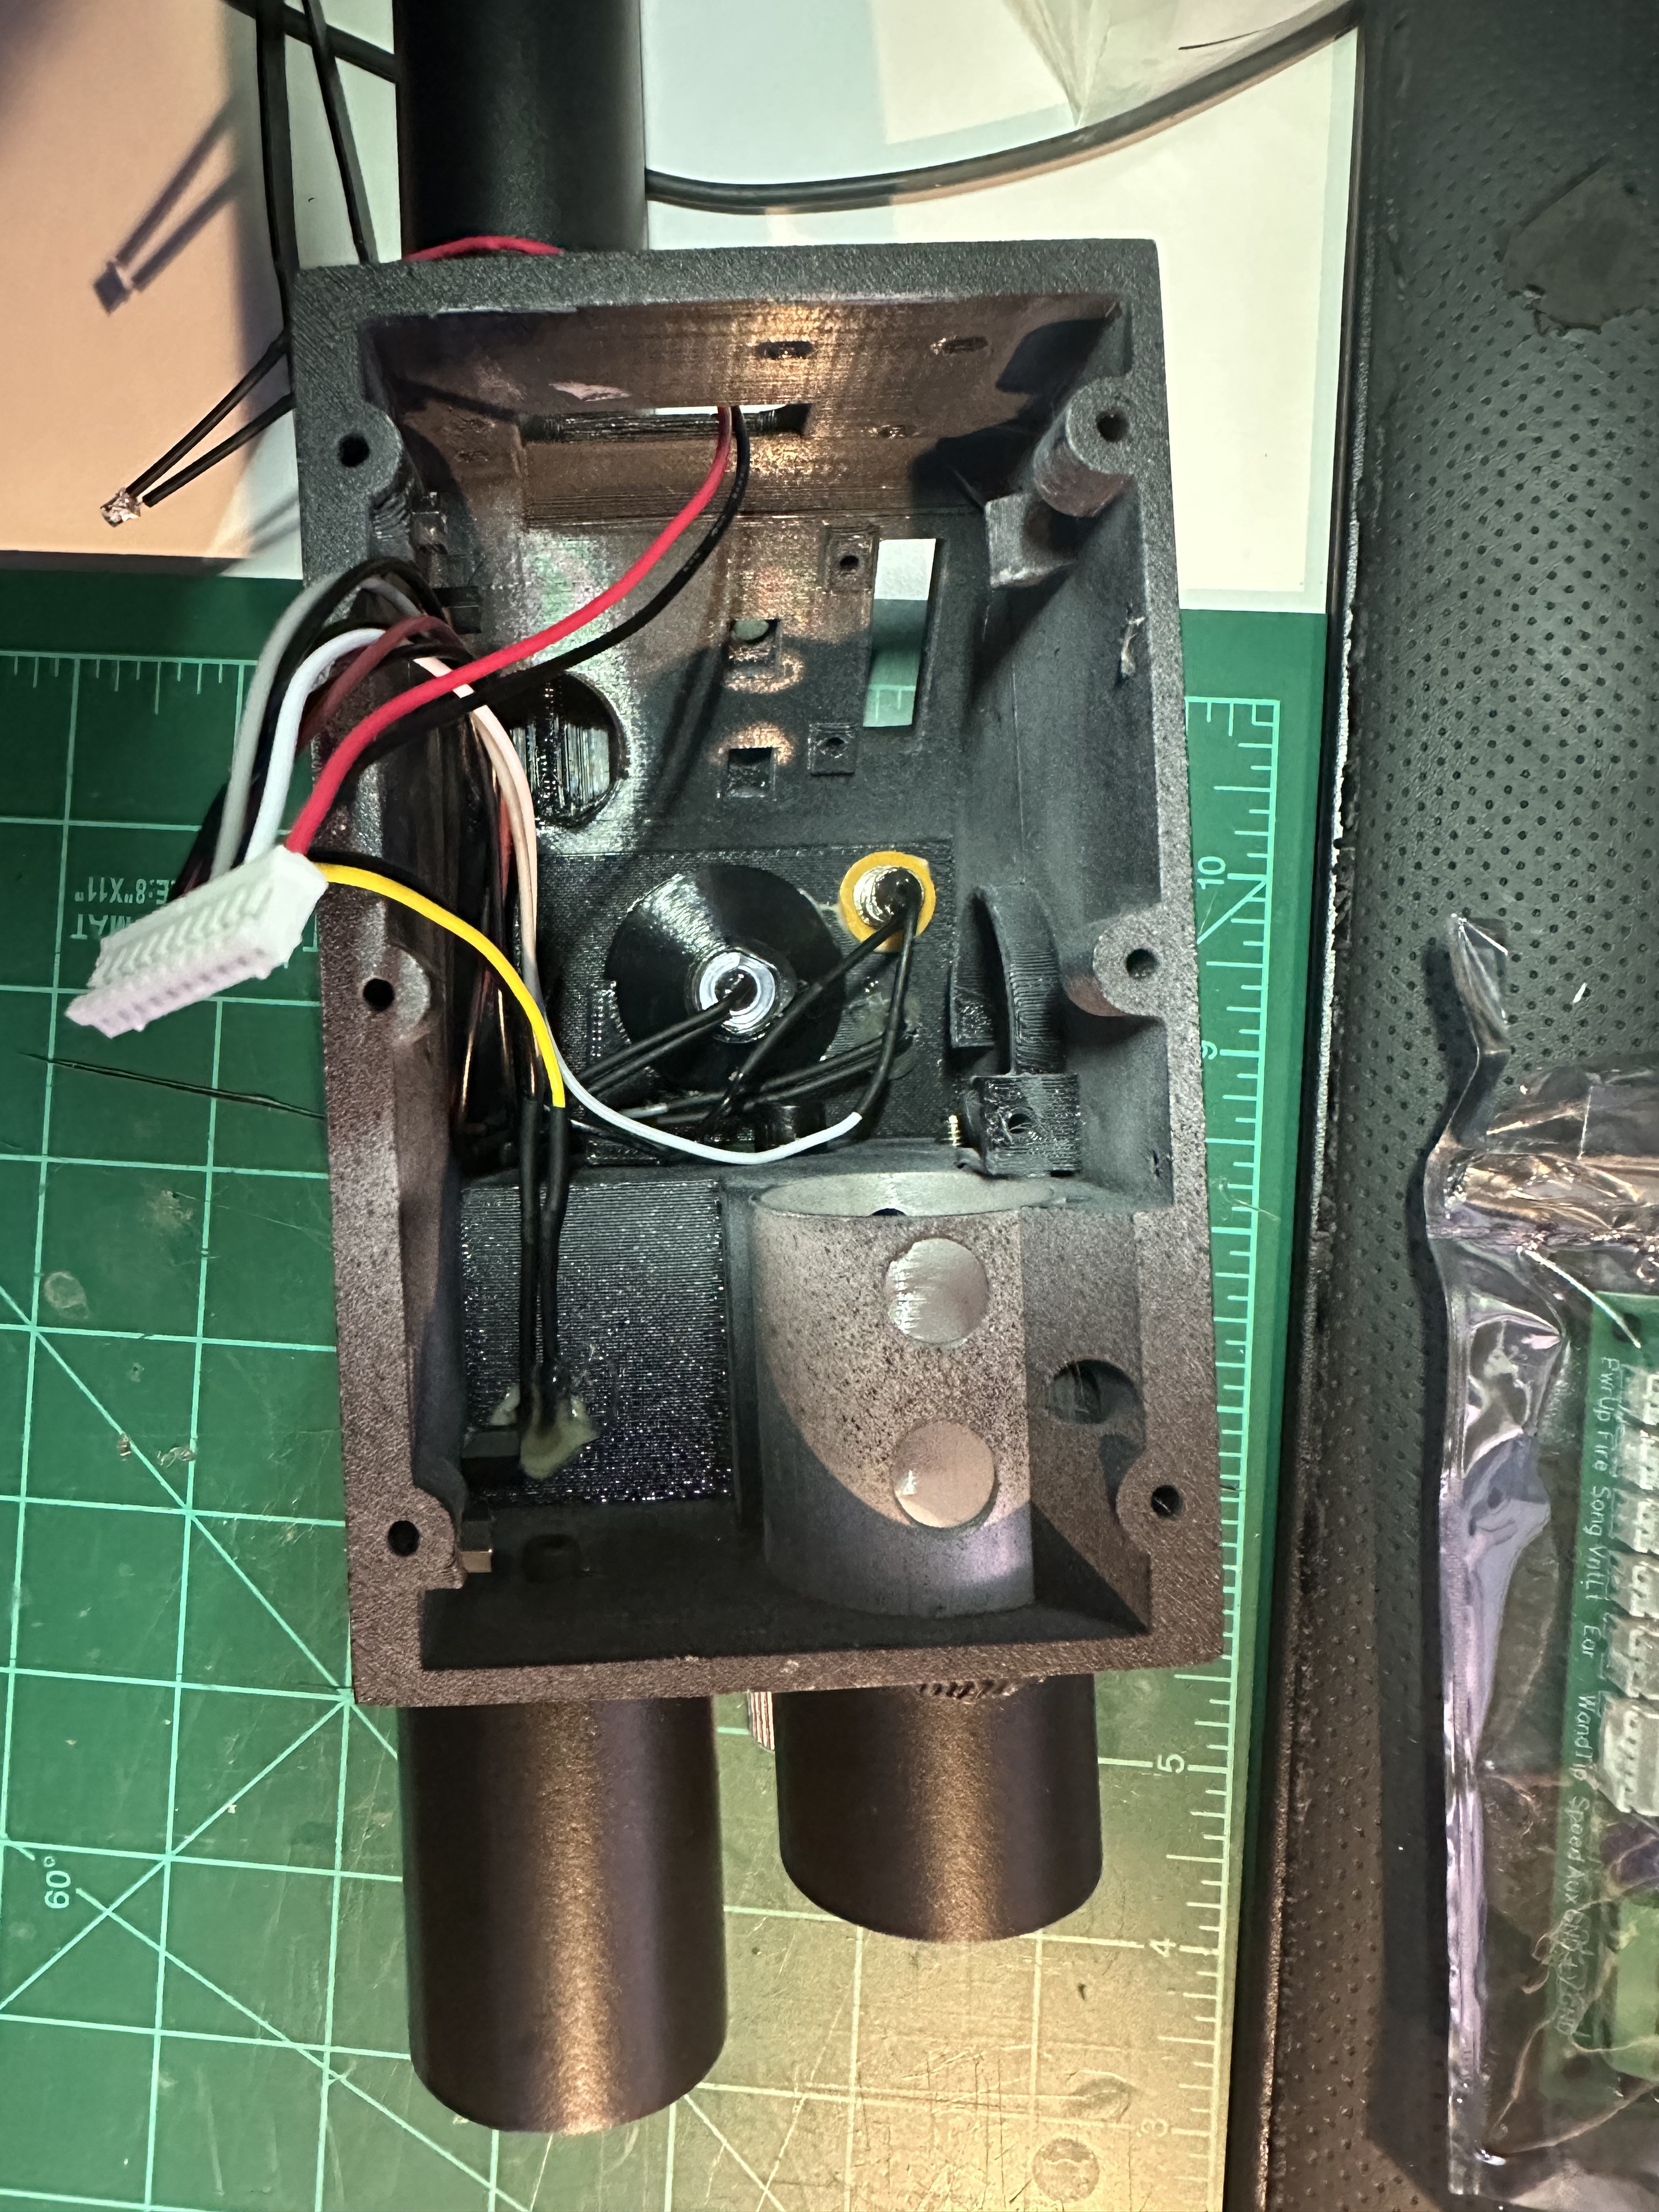
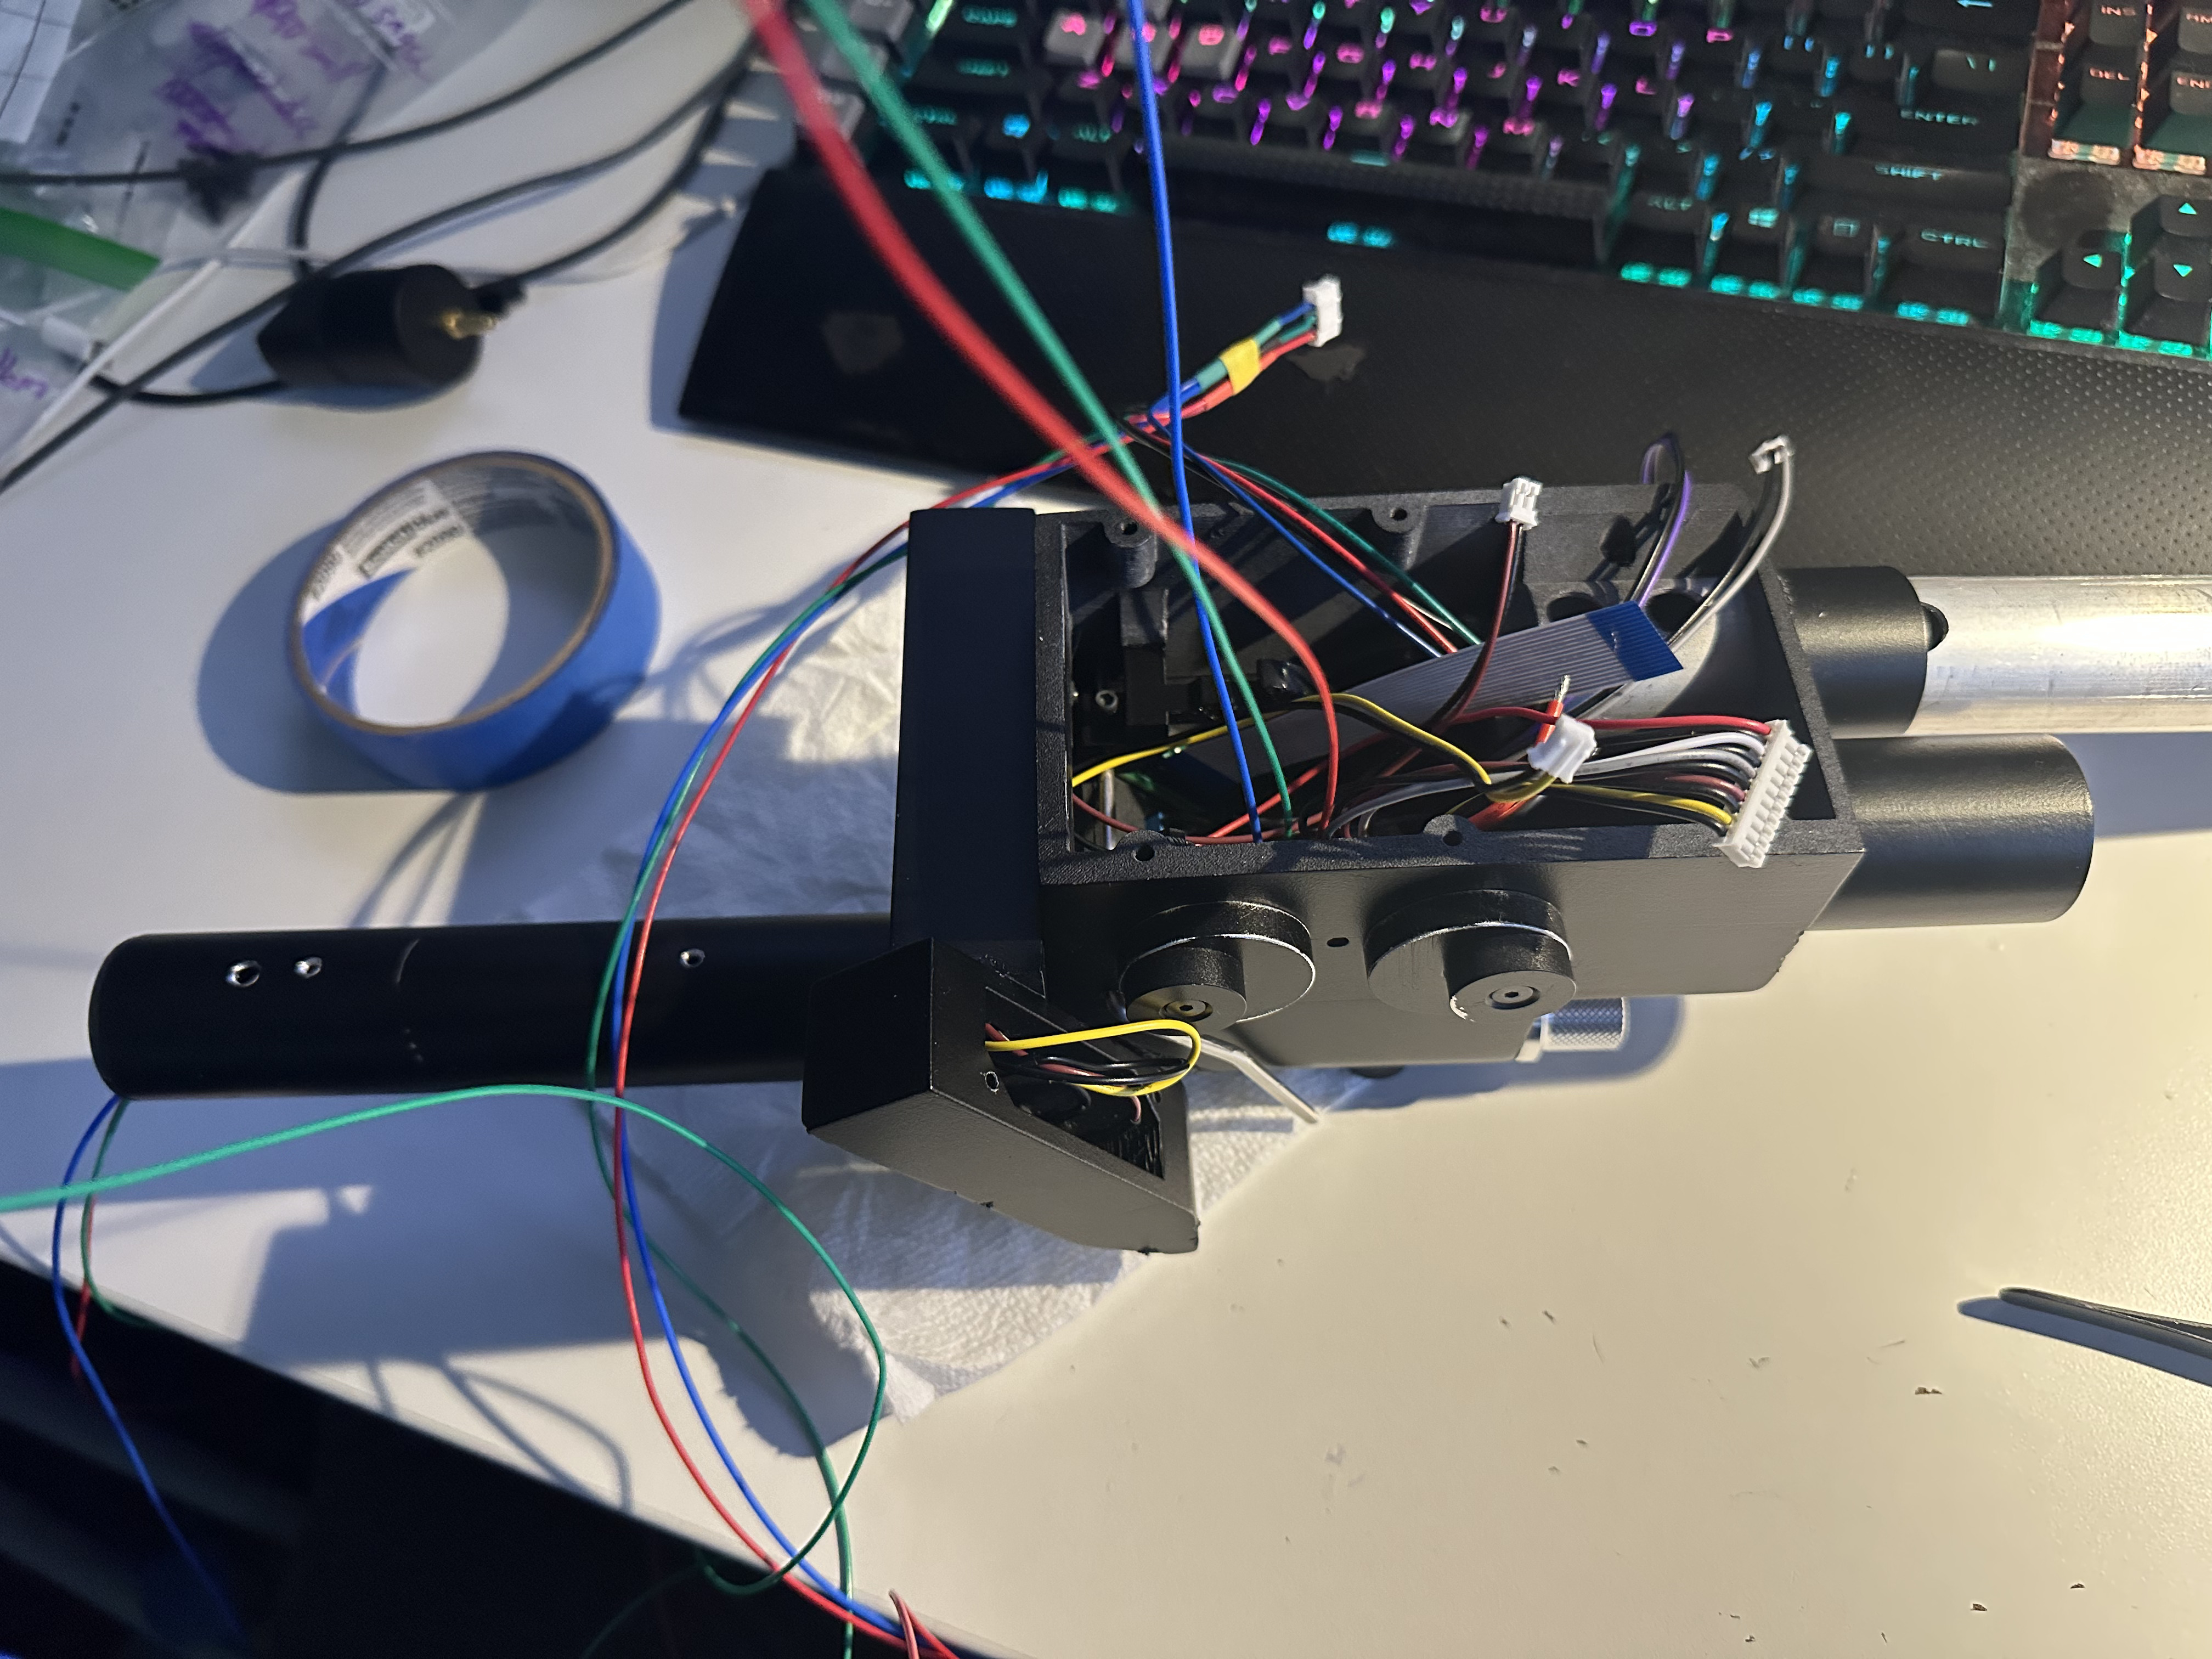
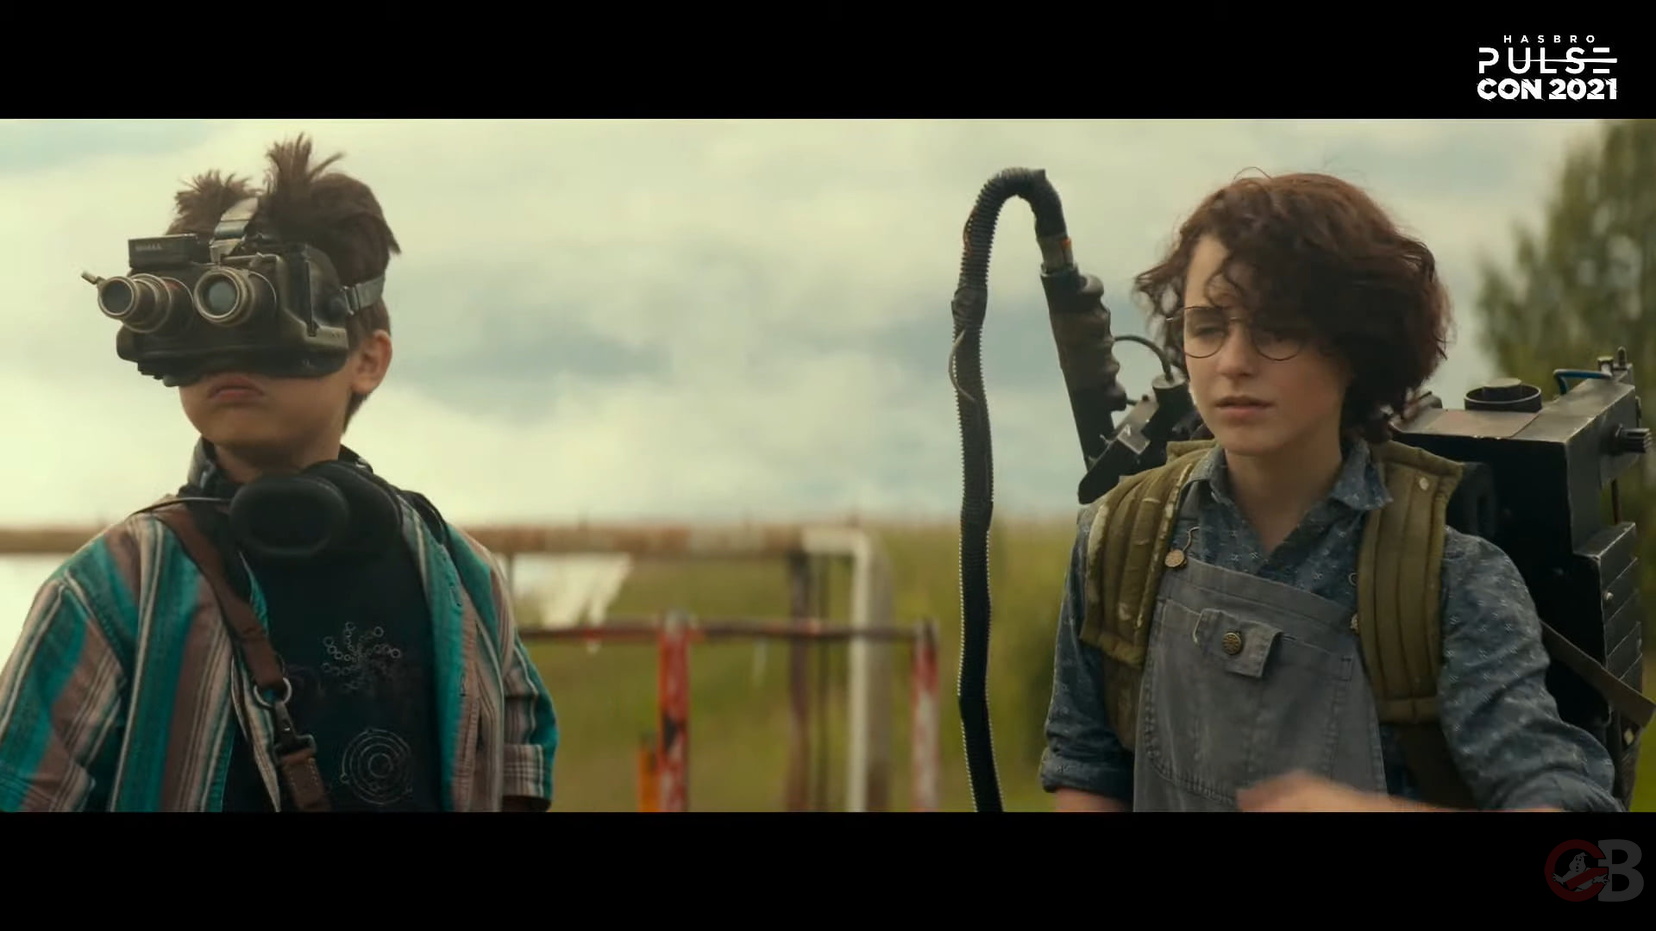
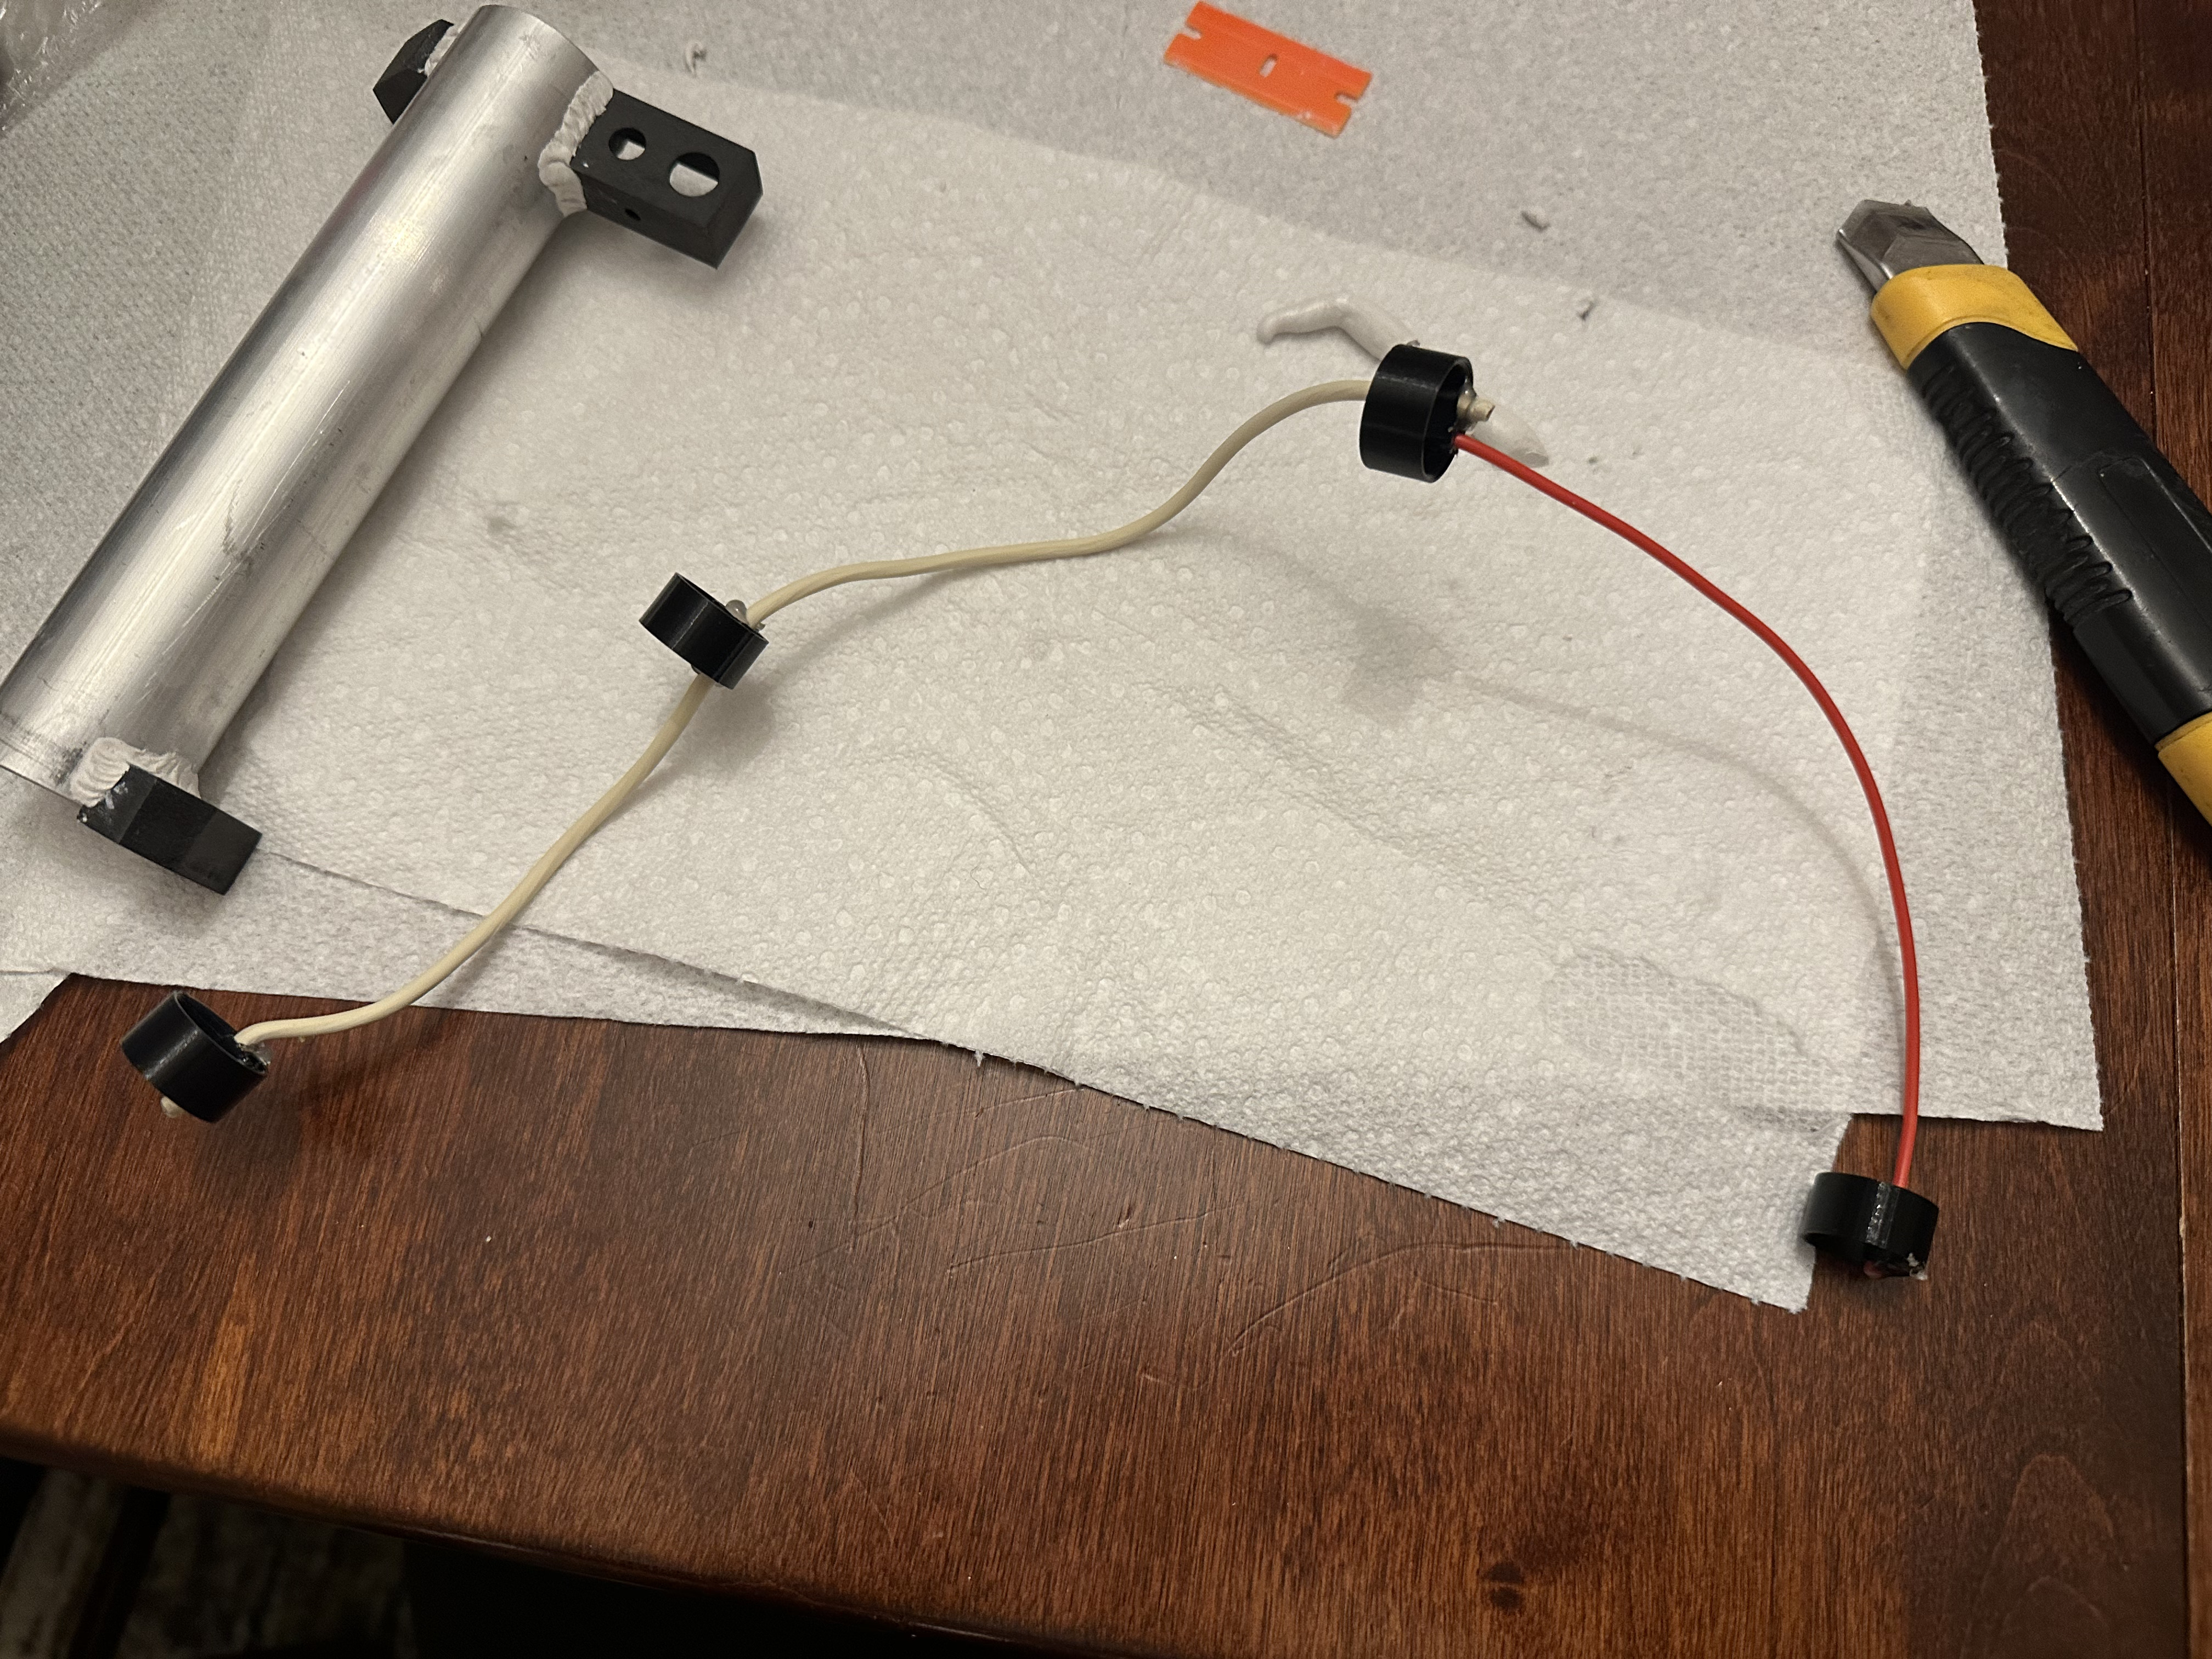
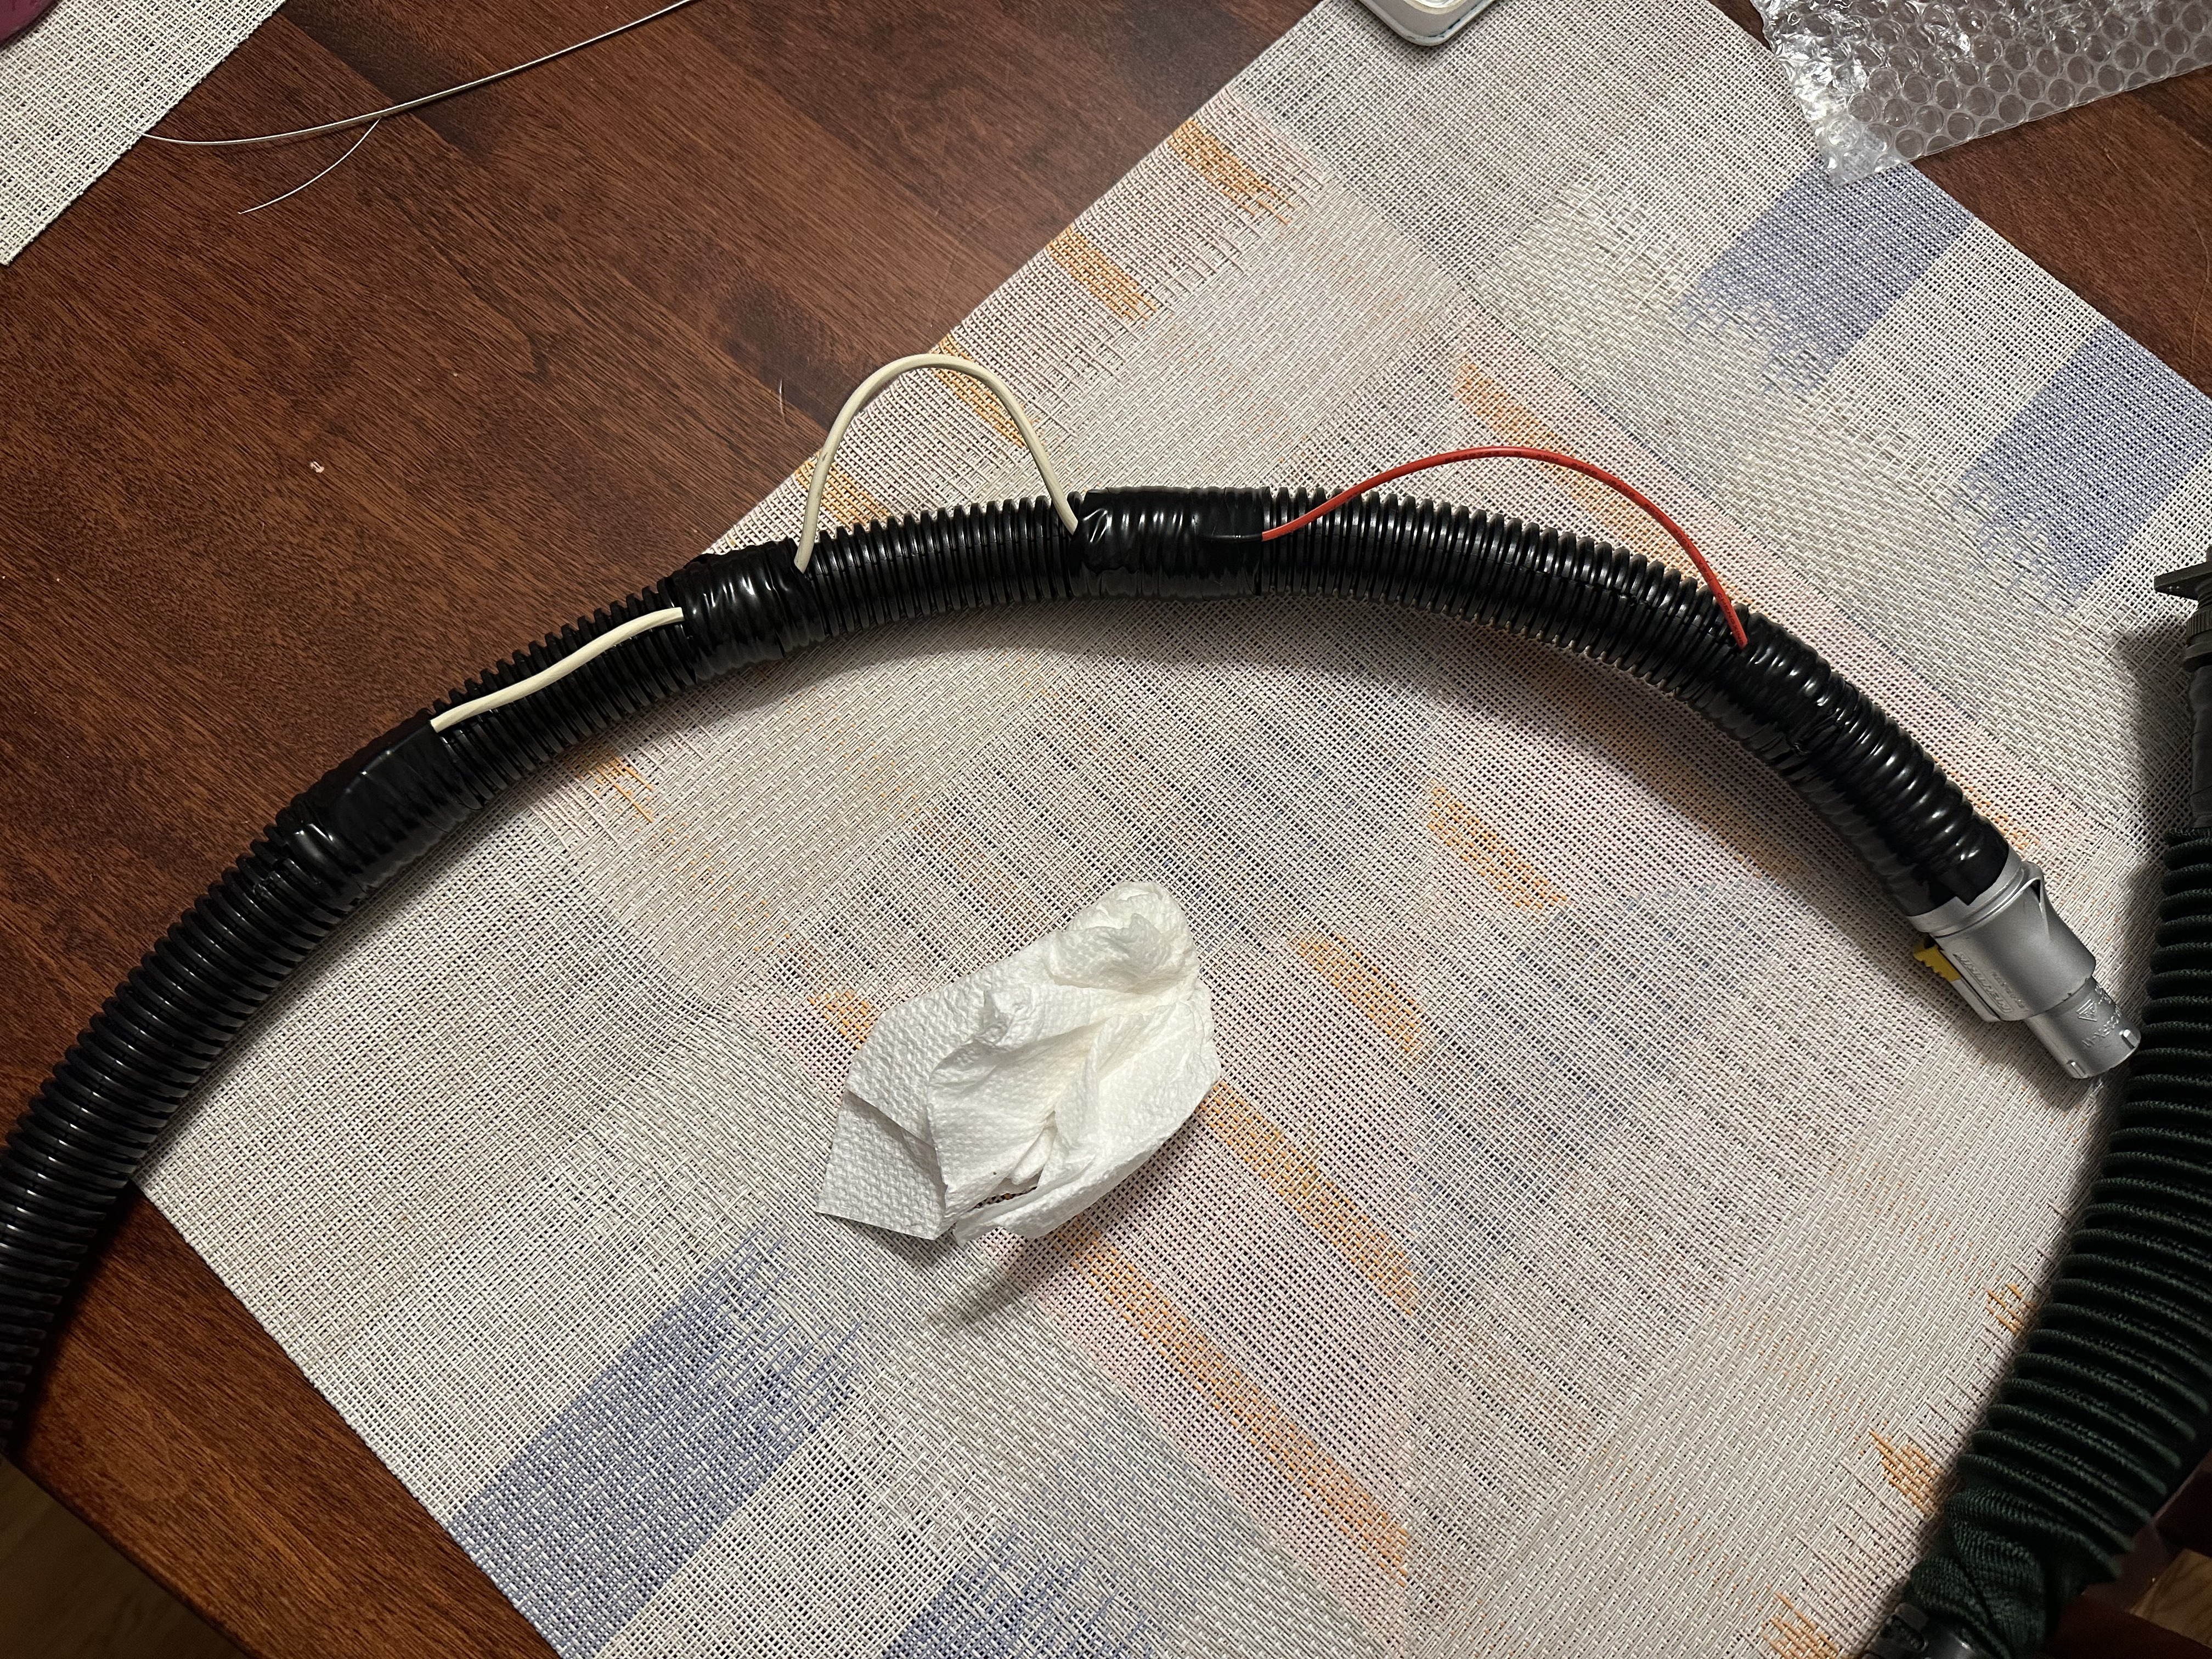
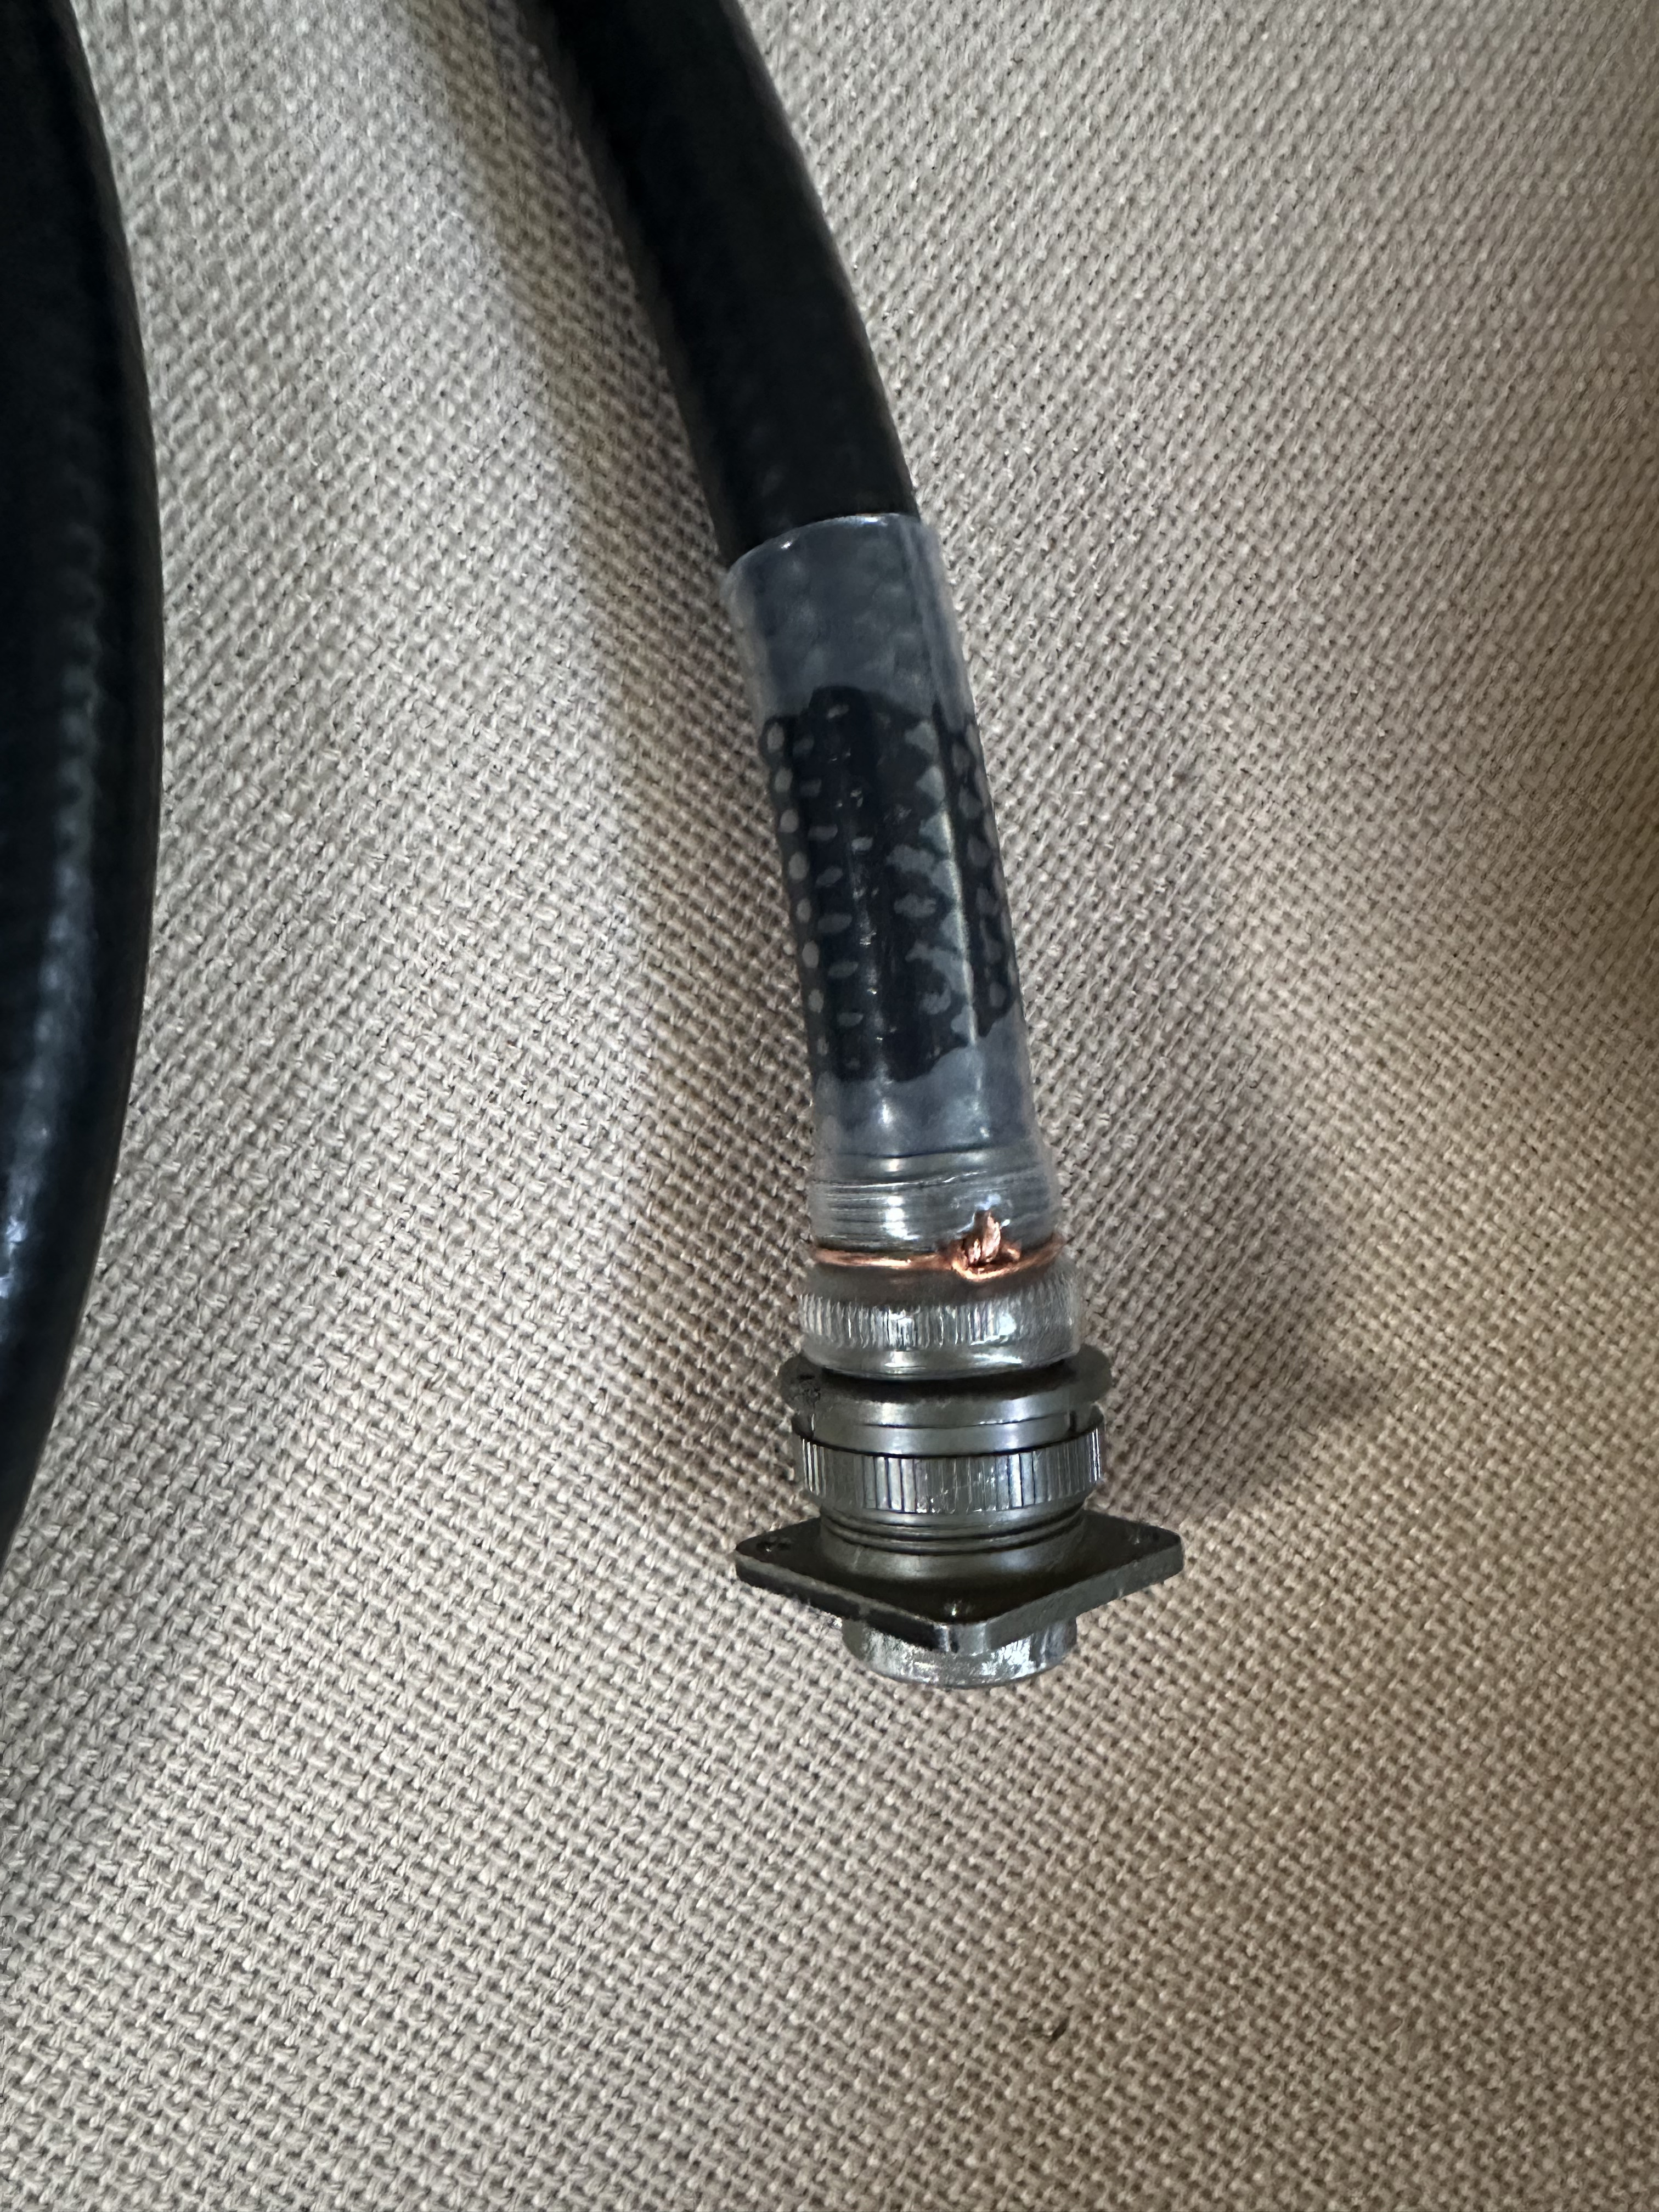
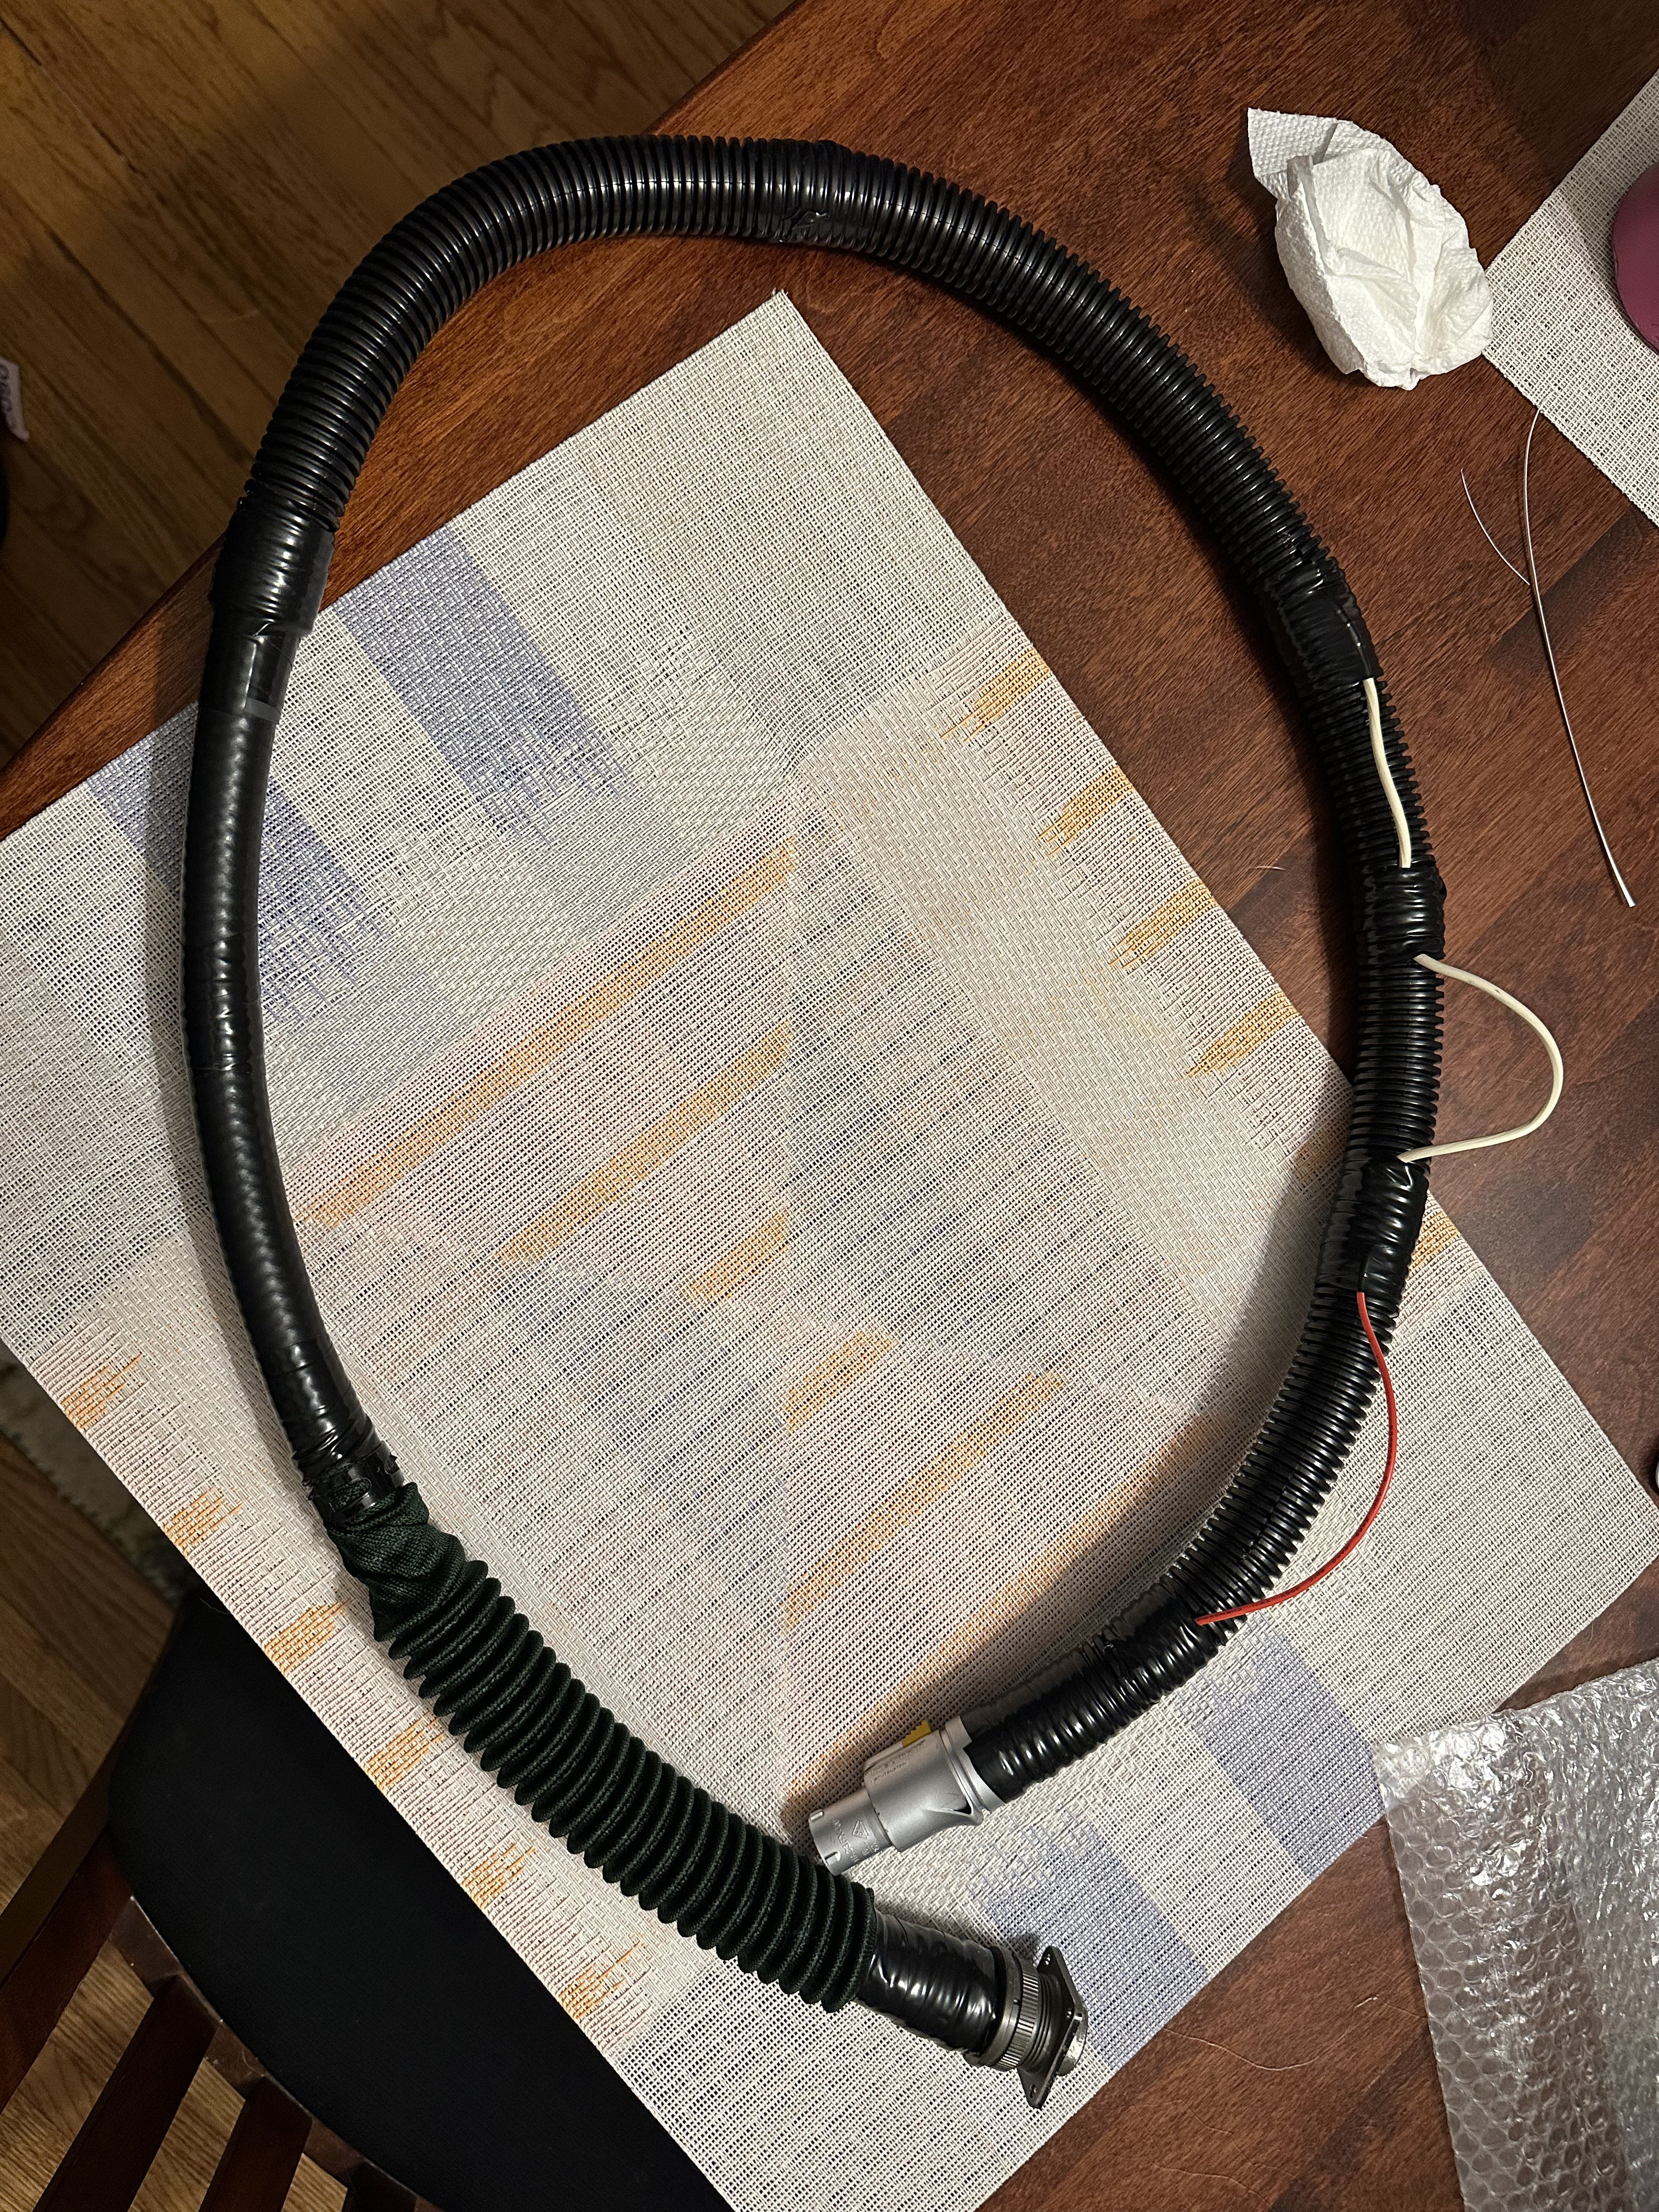
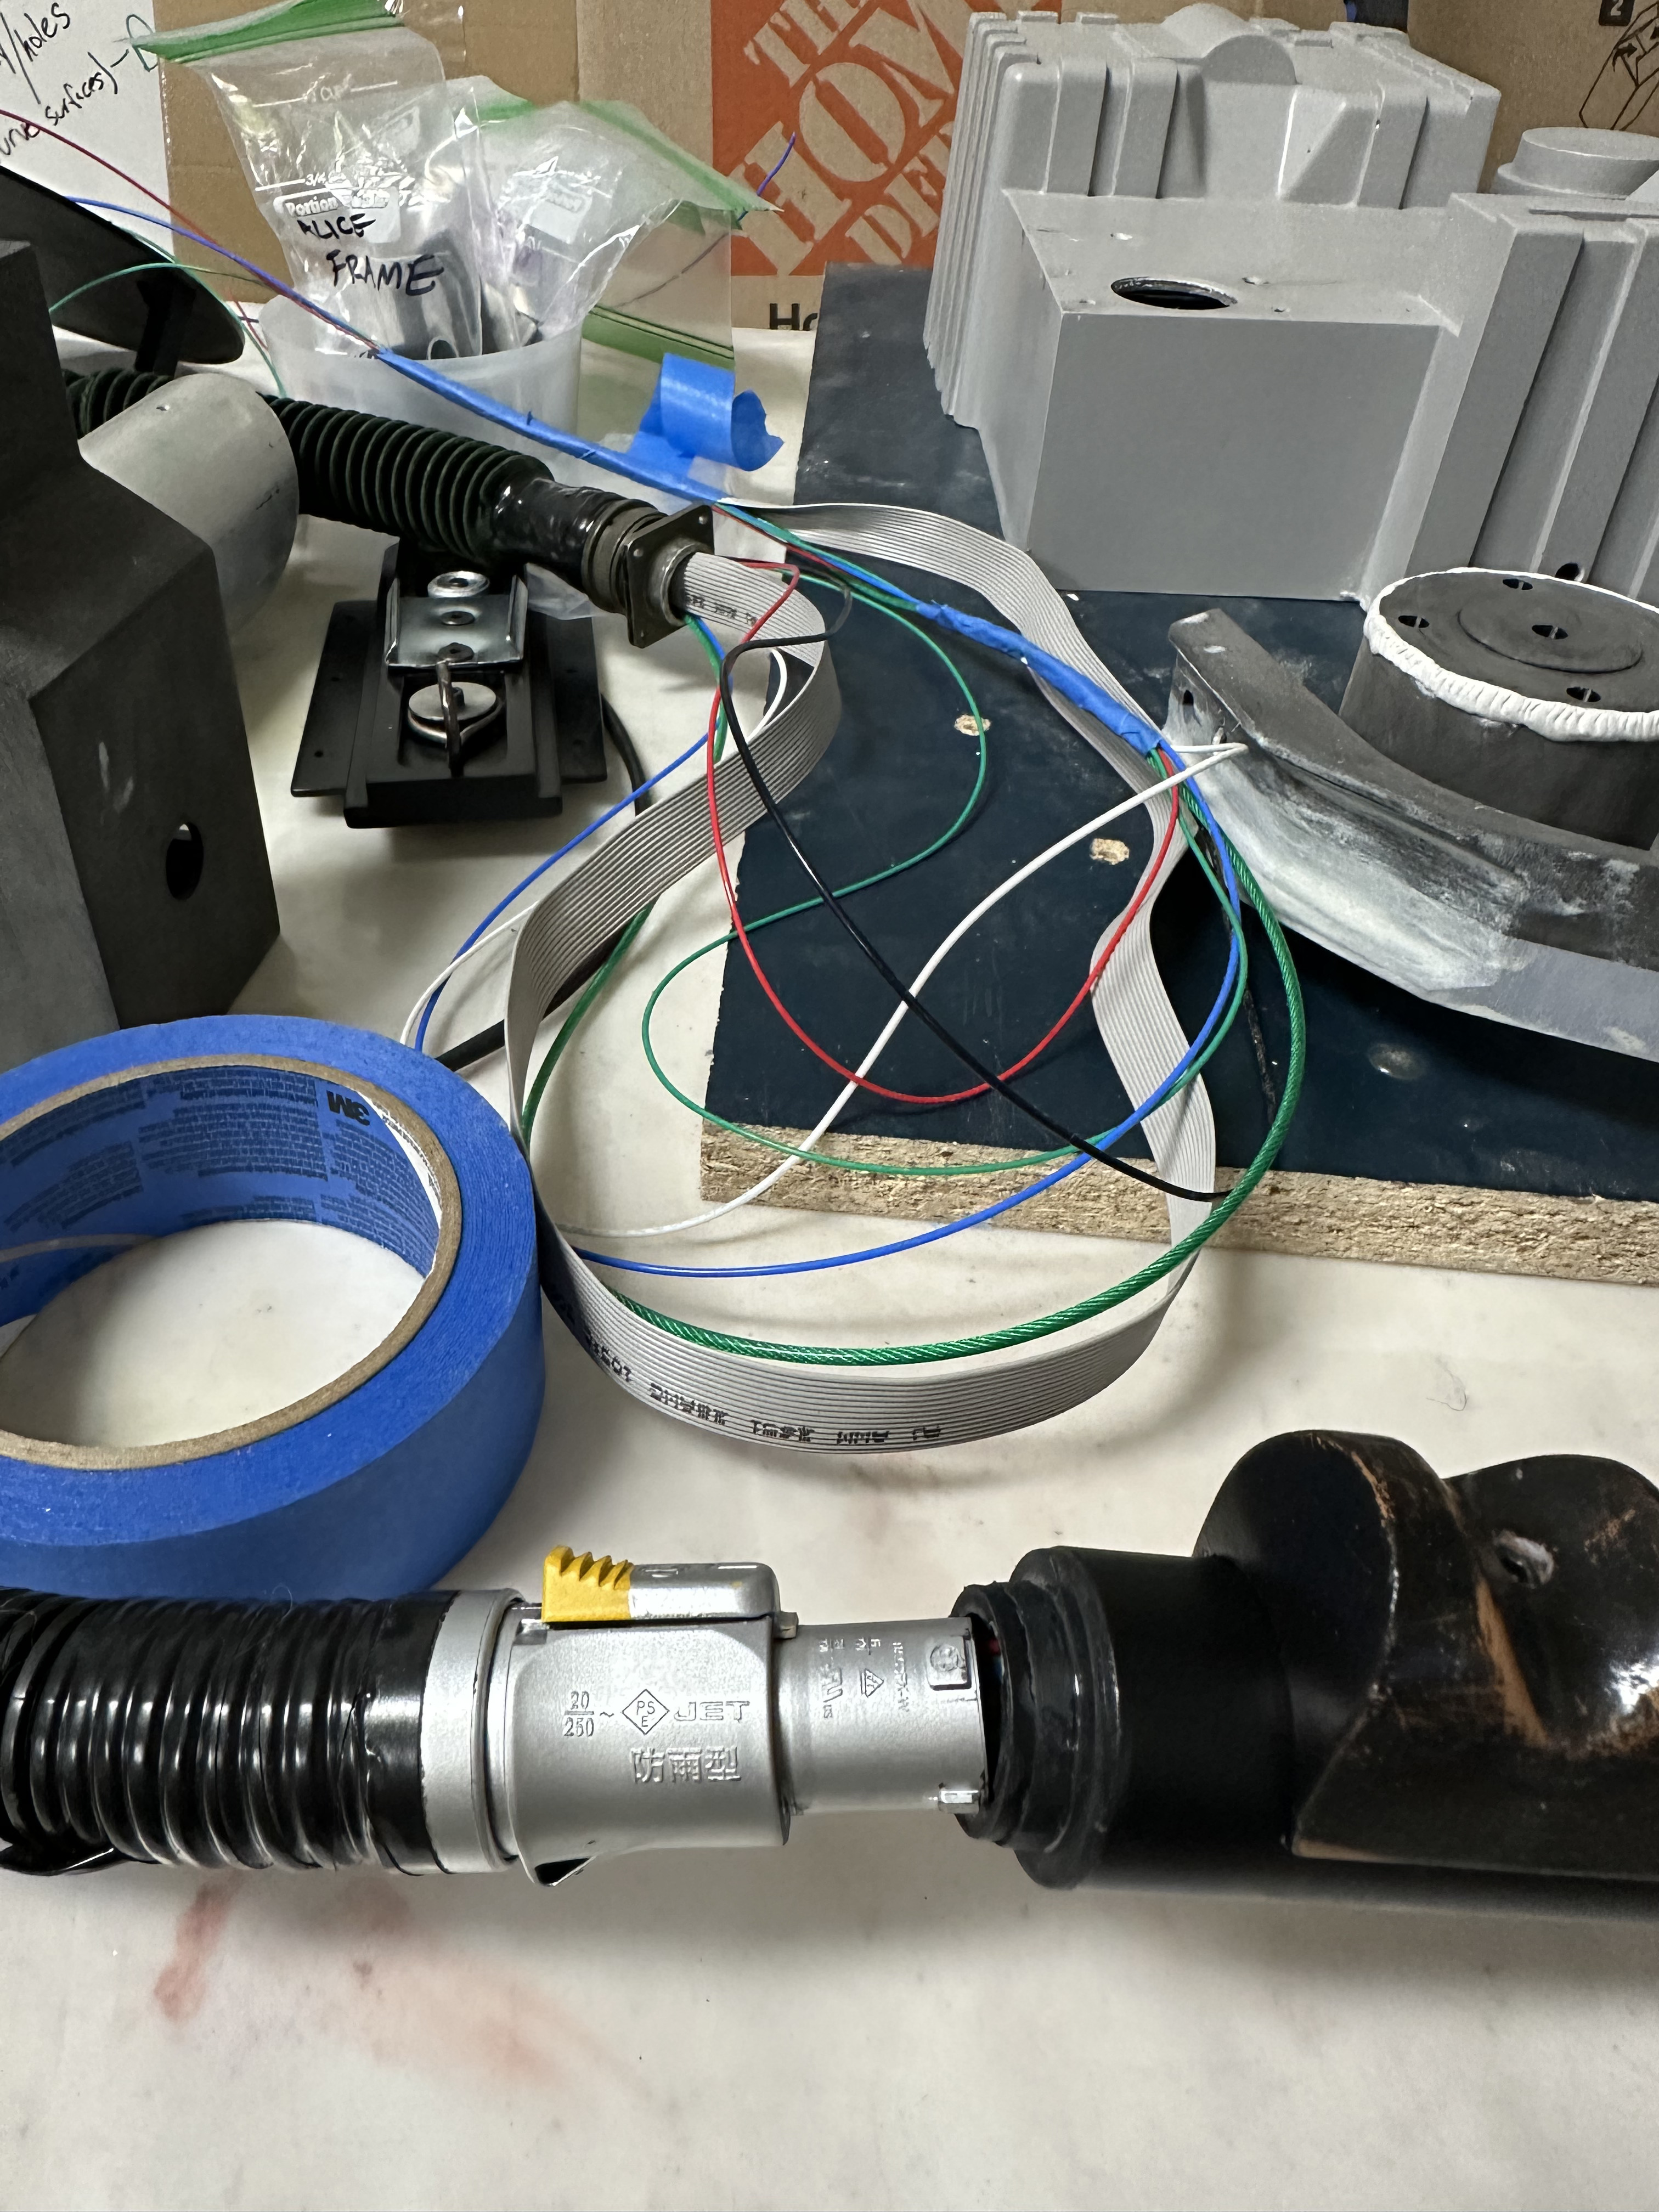
And then I realized I hadn’t built my hose yet. It’s funny - I spent HOURS - I can’t even express how many - looking at Afterlife shots and Savage’s afterlife reference photos. I am confident people in this community have spent even more time than me, but I still spent a crazy amount of time looking at details. In some areas I’ve rigorously tried to replicate what I’ve seen and in others I’ve made compromises for time or creative license or finances - but I at least wanted to know all the areas where I was doing so. It was at about this point in the project I discovered I was still finding things I’d missed in my studying. One of those items is the wire(s) that protrude from the thrower cable on Phoebe’s pack. I hadn’t noticed them before now.
One of the cables I ran was just a steel cable anchored in the wand handle and at this corner so that if someone yanked on my thrower it would take that load rather than any of the wiring inside.
And to my great delight. It worked! Site doesn’t support video, but I was thrilled. This was the moment I went from feeling “in the middle” of this project to getting close to finished. Still some things to make, but I was getting to some of my favorite parts - assembly, painting, weathering