So thanks to the great work by Maverick1983 (HERE), Sksstudios (HERE), and several others with their Kenner RGB trap re-paints, I’ve been on the lookout for a reasonably priced Kenner Ghost Trap for quite a while. About a month ago, I ended up winning an eBay auction for a reasonable-condition trap, along with a few other “guns”. I immediately began planning, even if I couldn’t start work immediately.
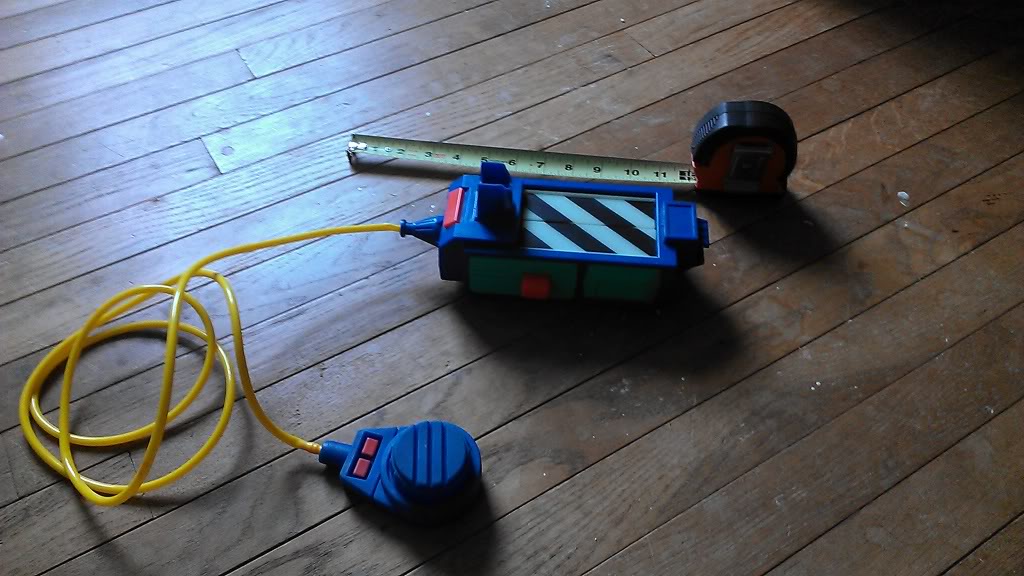
When my trap came in the mail, it was in a bit better condition than I was expecting.
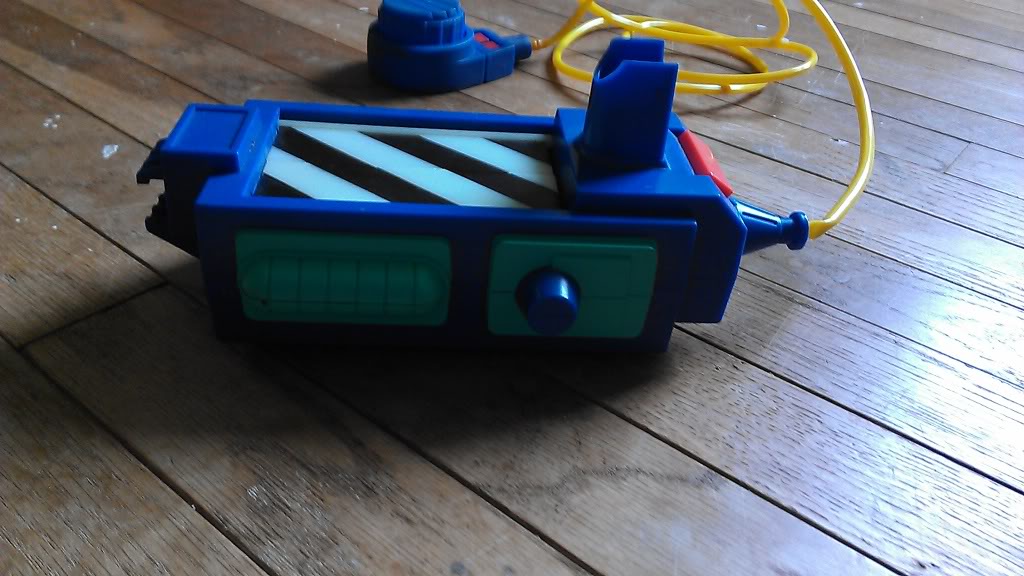
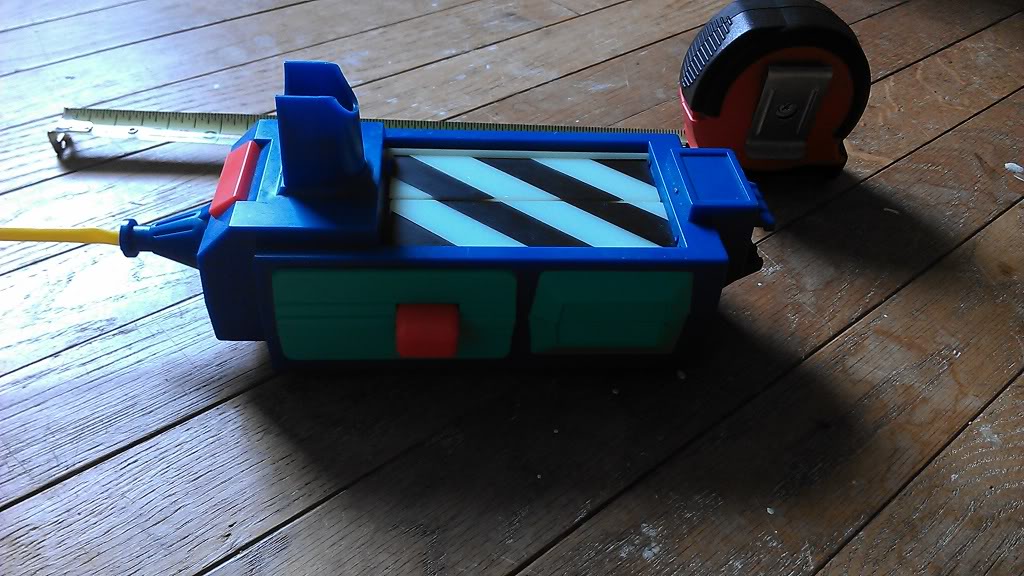
As you can see, the handle is broken off, and the decals are missing. As you cannot see, the pedal is non-functional, because the hose is disconnected inside the main trap housing. None of these issues are huge for me anyway, since I’m repainting the whole trap, and was likely going to want a modified handle to boot.
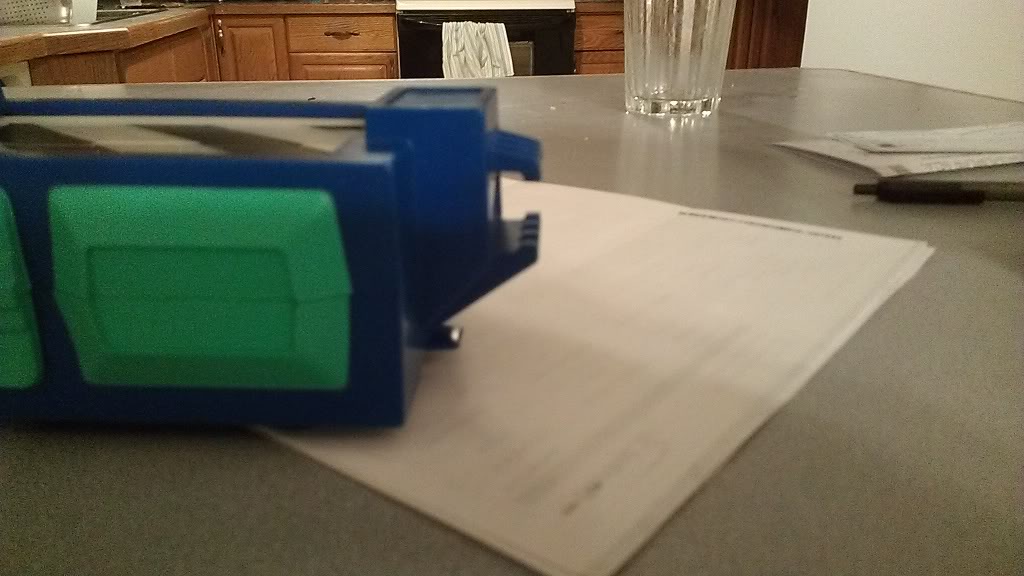
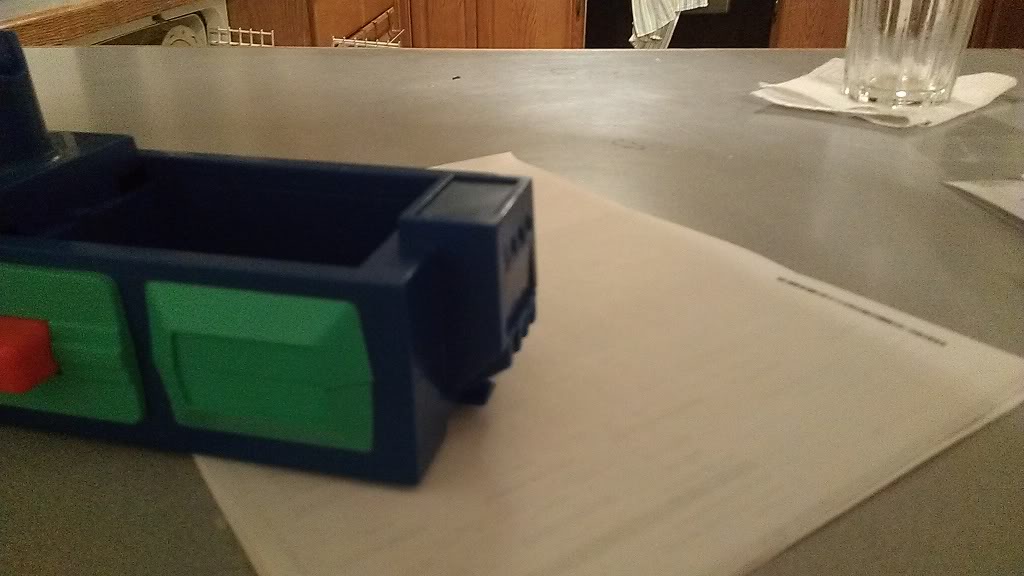
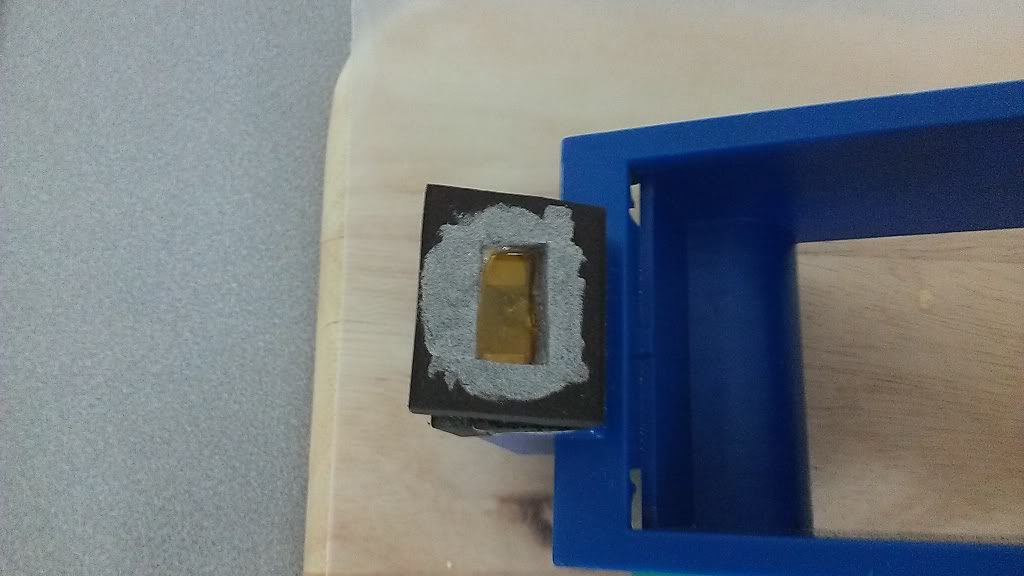
In addition to the handle work, I wanted to do some sort of work on the sides of the trap, and the front “power indicator”. The first area that I could do some work was on removing the “claws” from that front area. So… I did.
I’ve got a little bit of sanding and evening-out to do on that area, but it’s a start. I’ve been picking up some materials over the last few days, so hopefully I can get some progress on this pretty regularly now.
Sounds cool, I wonder how many of these are still out there. From a numbers standpoint just to see how many originals still lurk that kids didn’t beat the crap out of.
Had a little bit of time to work yesterday evening.
I wasn’t sure how much time I’d have, so I started off simple, with a few coats of amber paint on the trap doors:
I think they looked pretty good after the second coat. I’m planning to put a coat of silver on all the remaining white areas, then seeing if I need to do any clean-up work with some black paint after that.
Following that quick job, I had a bit more time than I thought, so I did a good bit of shaping work on the trap:
I added 0.25" square basswood to the edge of the trap as seen above, angling each end to have it align with the contours of the trap a little bit. I need to do a little bit of sanding for where my glue came out, but I’m pretty happy with it so far.
I got this toy when it was originally on store shelves. The handle on my first one broke within hours of taking it out of the package. So I went right back and bought another and left it in the box. My Dad fashioned a replacement handle from a piece of broom handle, and I repainted it.
The other one is still in the box, never been opened, but the customized one got a fresh coat of paint two years ago for my son to use.
Had a little more time last night, so I did a few more small painting jobs. First up is the coat of silver paint on the trap doors that I alluded to above:
Then, as you can see in the edge of that photo, I went ahead and painted all four of the wheels in silver, too.
Hopefully I’ll get a chance to work on some more meaningful modifications in the next day or so.
I may just be talking to myself, but I continue nonetheless!
Had a good chunk of time to work yesterday, and made some good progress. I cut down a 0.5" internal diameter PVC, drilled a hole through, widened the screw hole in the trap itself, then attached the two parts together with a round-headed hex screw.
I think it looks pretty good, but I may want to shorten the length of the handle a little bit. Anyone have any opinions on that?
A few days ago, I put in an order for a vector plate from Nick-a-tron, with plans to attach it to the flatter of the two long sides of the trap. Nevertheless, I needed to make the side flatter than it was in order to attach the plate once it arrives. So after some time with the Dremmel:
The hole looks a little rough, but its actually not too bad. I’m going to spend a little time sanding the opening by hand, and I’ll probably put in some plumbers’ epoxy to close the opening a little and strengthen where my eventual bond with the vector plate will be. At the same time, I’ll be closing up the two open ends of the PVC handle with the plumbers’ epoxy.
I’m hoping to do the last major structural addition tonight, but if I don’t get to it, it may be a little while before I’m back. I’ll be traveling all next week for business.
Had some time over the last 2 days that I didn’t think that I would have, so I did some more work on the trap.
Looking at the PVC I added for the handle, I decided it was a bit too long, so I took off about 2-3 inches from the end. It seems much more appropriate for the scaled-down dimensions of the Kenner trap. I also worked on constructing a better “indicator” portion at the front of the trap. Using Foamies and a razor (with small bits of the square basswood for support), I’ve made the following alteration:
Its a bit rough currently, but I’m going to smooth the edges of everything and fill all the gaps with some plumbers’ epoxy in my next major work. Overall, I’m quite happy with how the indicator has come our so far. Since I know I won’t be adding any sort of lights to this trap, I made the indicator face to look like so:
Hmm… I don’t know what happened with that broken photo link in my last post. I don’t have the original either, so we’ll just have to make-due without that documentation.
I got back from my travel, and had some gifts waiting for me in my mail from Nick-a-Tron.
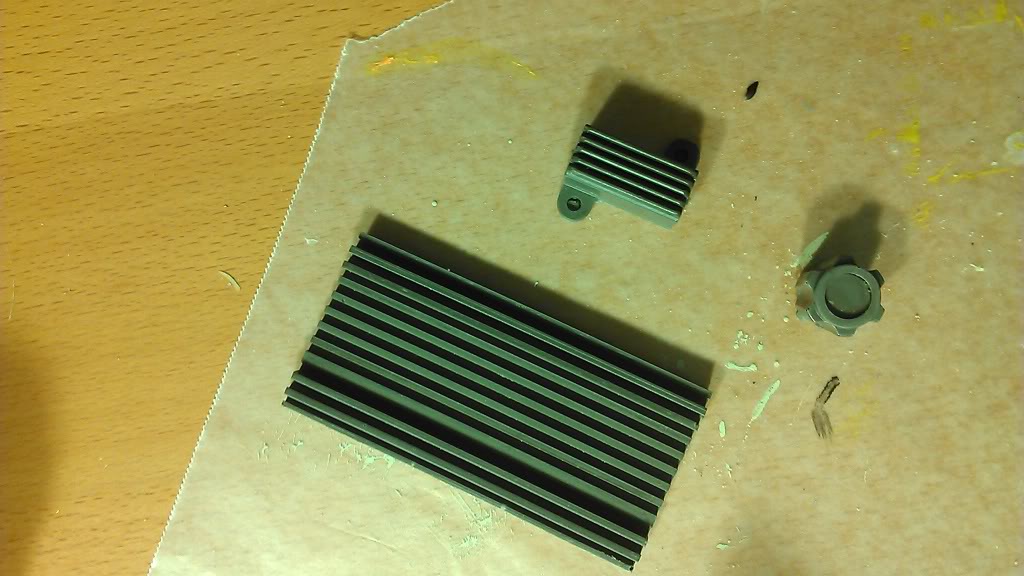
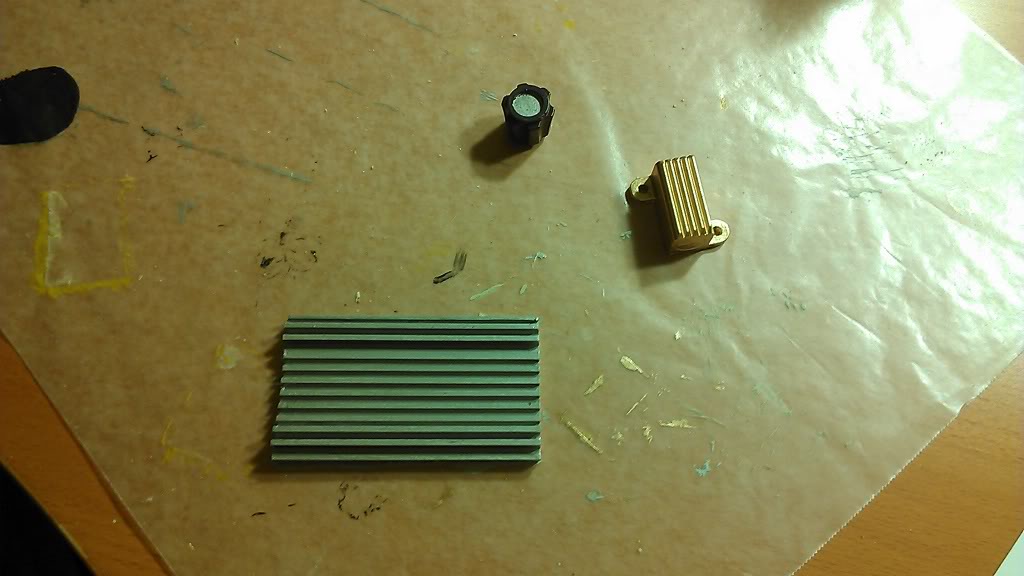
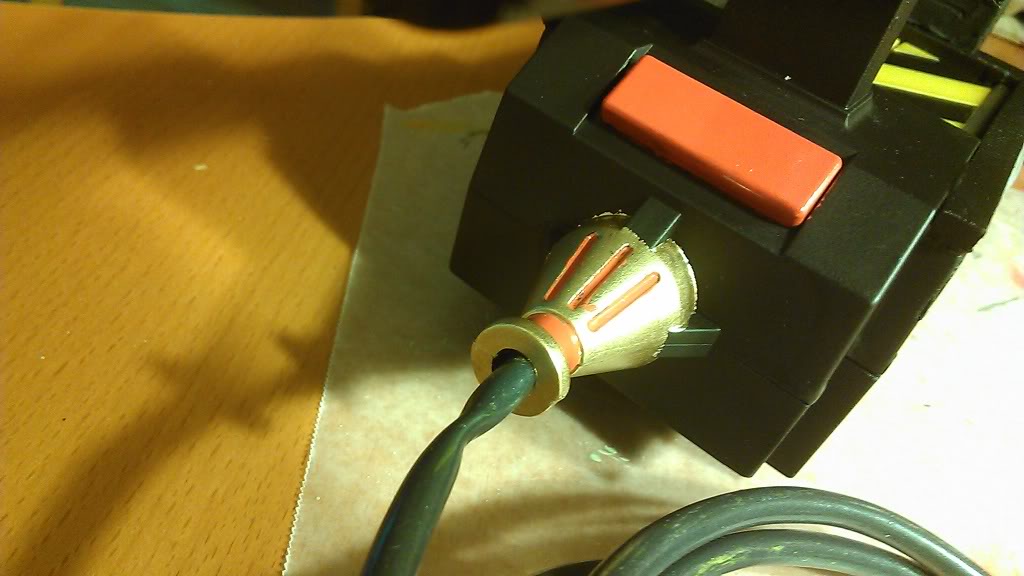
This is a knob, a vector plate, and a resistor for the trap. The vector plate was a bit too long for the Kenner trap, so I cut it down by about 1cm. After some clean-up and painting on all three pieces, I have the following, ready for the main trap body:
I also took advantage of my down-time between paint coats to use my Dremmel tool to shape the front indicator on the trap to make the lines cleaner. Sorry, I forgot to take a photo for that step. I should be working my plumbers’ epoxy within the next few days, then I can finally start with my painting on the main body of the trap.
Like I mentioned above, I used some plumbers’ epoxy to smooth out the indicator area, and also to strengthen the areas that I cut part of the wall of the trap away. After application, sanding, a second application, and more sanding, I had a trap that looked like this:
I washed the whole thing down to remove the huge amount of dust generated from sanding everything down, and then I was ready for some painting. I taped off the top surface of the indicator to keep my clear-yellow “screen” paint free. I used Model Masters flat black enamel for the painting. Here it is between coats:
Once the paint on the trap was dry enough to move, I dry-fit the two halves back together like so:
I’m quite pleased with how it is looking so far. The paint recommends 48-72 hours to fully cure, so while it is doing that, I’m going to work on painting the trap pedal and the hose. Once the trap is ready, I can finish the detailing on the trap surface, and I should be ready to go.
@ Mav - I’m actually trying a fabric paint on the hose to try to keep it adhering as well as possible. I’ll see how it holds up for now, but I may revisit the idea of swapping it out entirely after this weekend (trying to get everything done for Boston Comic-Con).
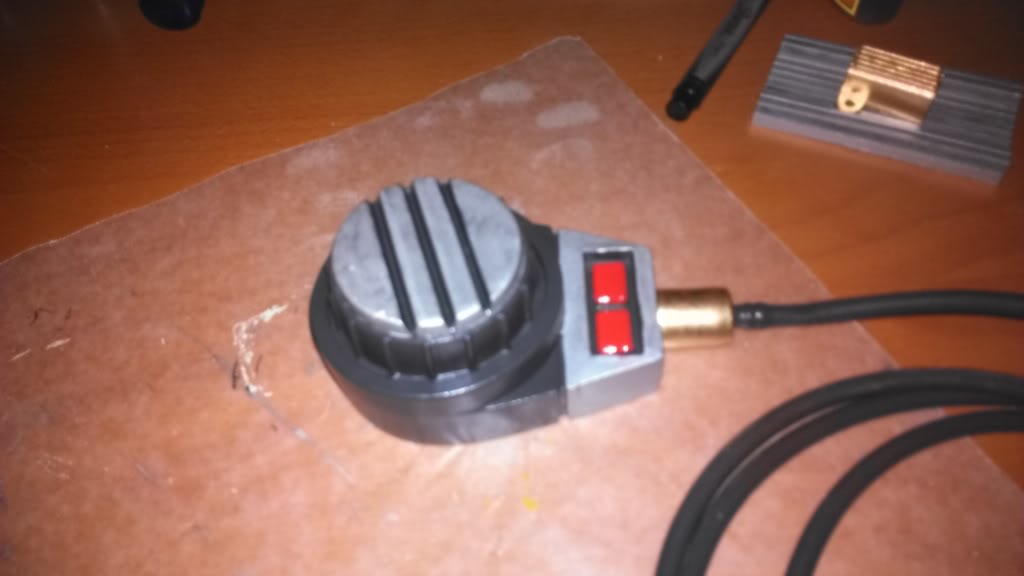
I did paint the hose and pedal with the fabric paint as mentioned above, which as adhered beautifully. The details that I painted over that fabric paint have thus far not done so well. I’m hoping that they’ll dry a little better over the next day or so, otherwise I’ll try to accelerate things with a hair dryer. Anyway, here is my trap pedal, painted to my liking:
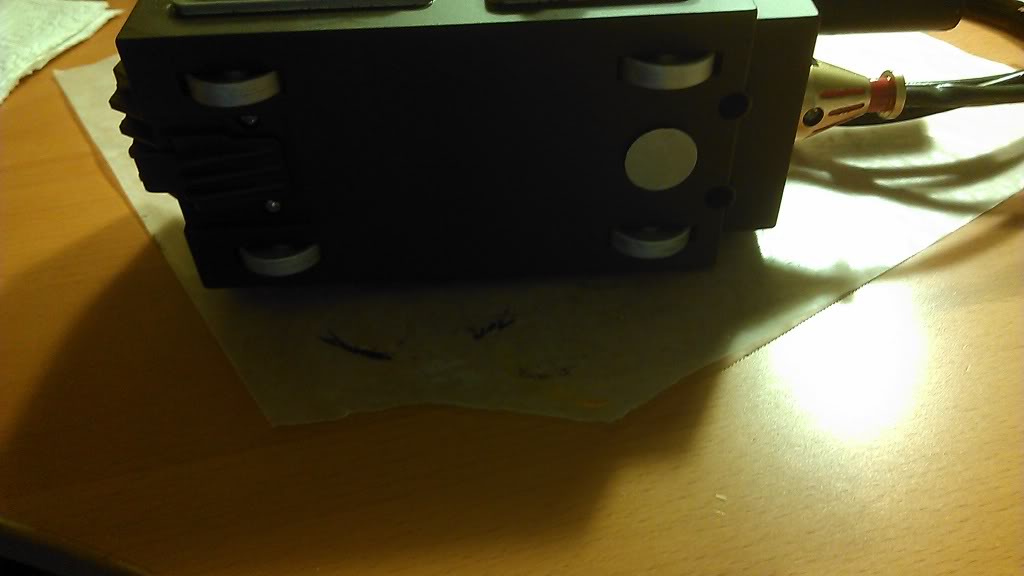
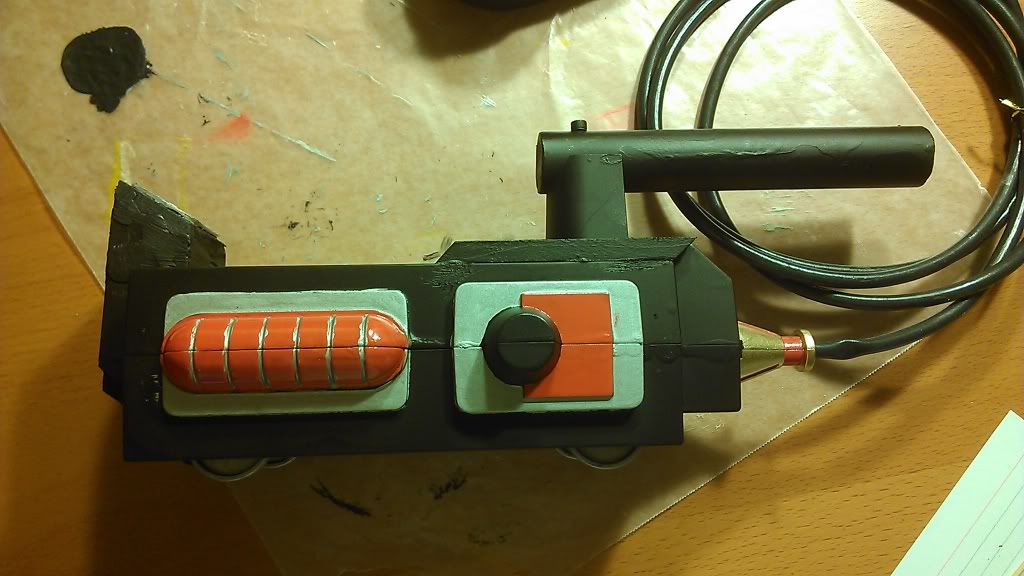
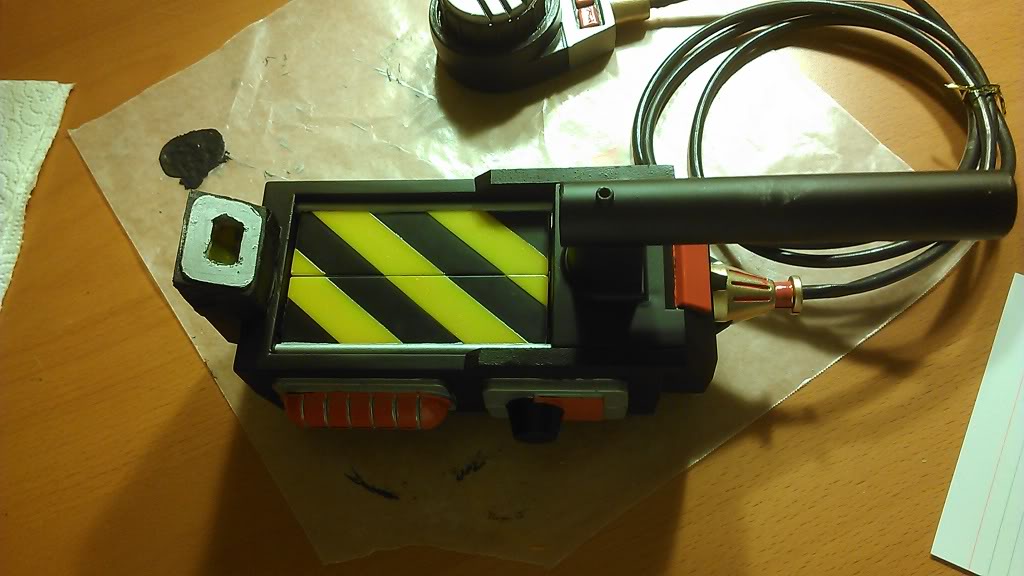
I also did all of the detailing on the trap body over the last few days. I’m pretty happy with how things looks, so I’ve screwed the two halves back together. Here are some shots:
You can see here that I’ve added a piece of plastic to the face of the indicator. I’m much happier with this look than I was just painting the face that was there before.
This leaves me with just my Nick-a-tron items to attach on the other side, and I’ll be done. Look for another update in the next day or so to see the finished project!
So I did get my project finished in time for the Boston Comic-Con, but I simply didn’t have time to get my photos posted on here in the meantime. The piece came out pretty well (in my friends’ opinions), and I got several compliments from people attending the 'Con. I held up alright, but my equipment suffered some damage. One of the lenses on my goggles broke off when I sat down to lunch, and on my way out of the convention center, someone got snagged on the knob on the side of my trap and broke it off. I’ve made the necessary repairs to my trap, and the photos below show the post-repair state of the piece.
Here are my Nick-a-Tron parts (re)glued into place:
You can see that I need to do some clean-up where the glue came out in my re-attachment of the knob.
And here is a view of the whole side of the trap with everything in place:
You can start to see from this view that the fabric paint I had used on the hose did in fact start coming off, despite my best intentions. I think I’ll probably want to look at the split loom as a covering in the future.
And just for the hell of it, here’s a pic of me in my full get-up at Boston Comic-Con, before all of my equipment started breaking: